Hexagon Table
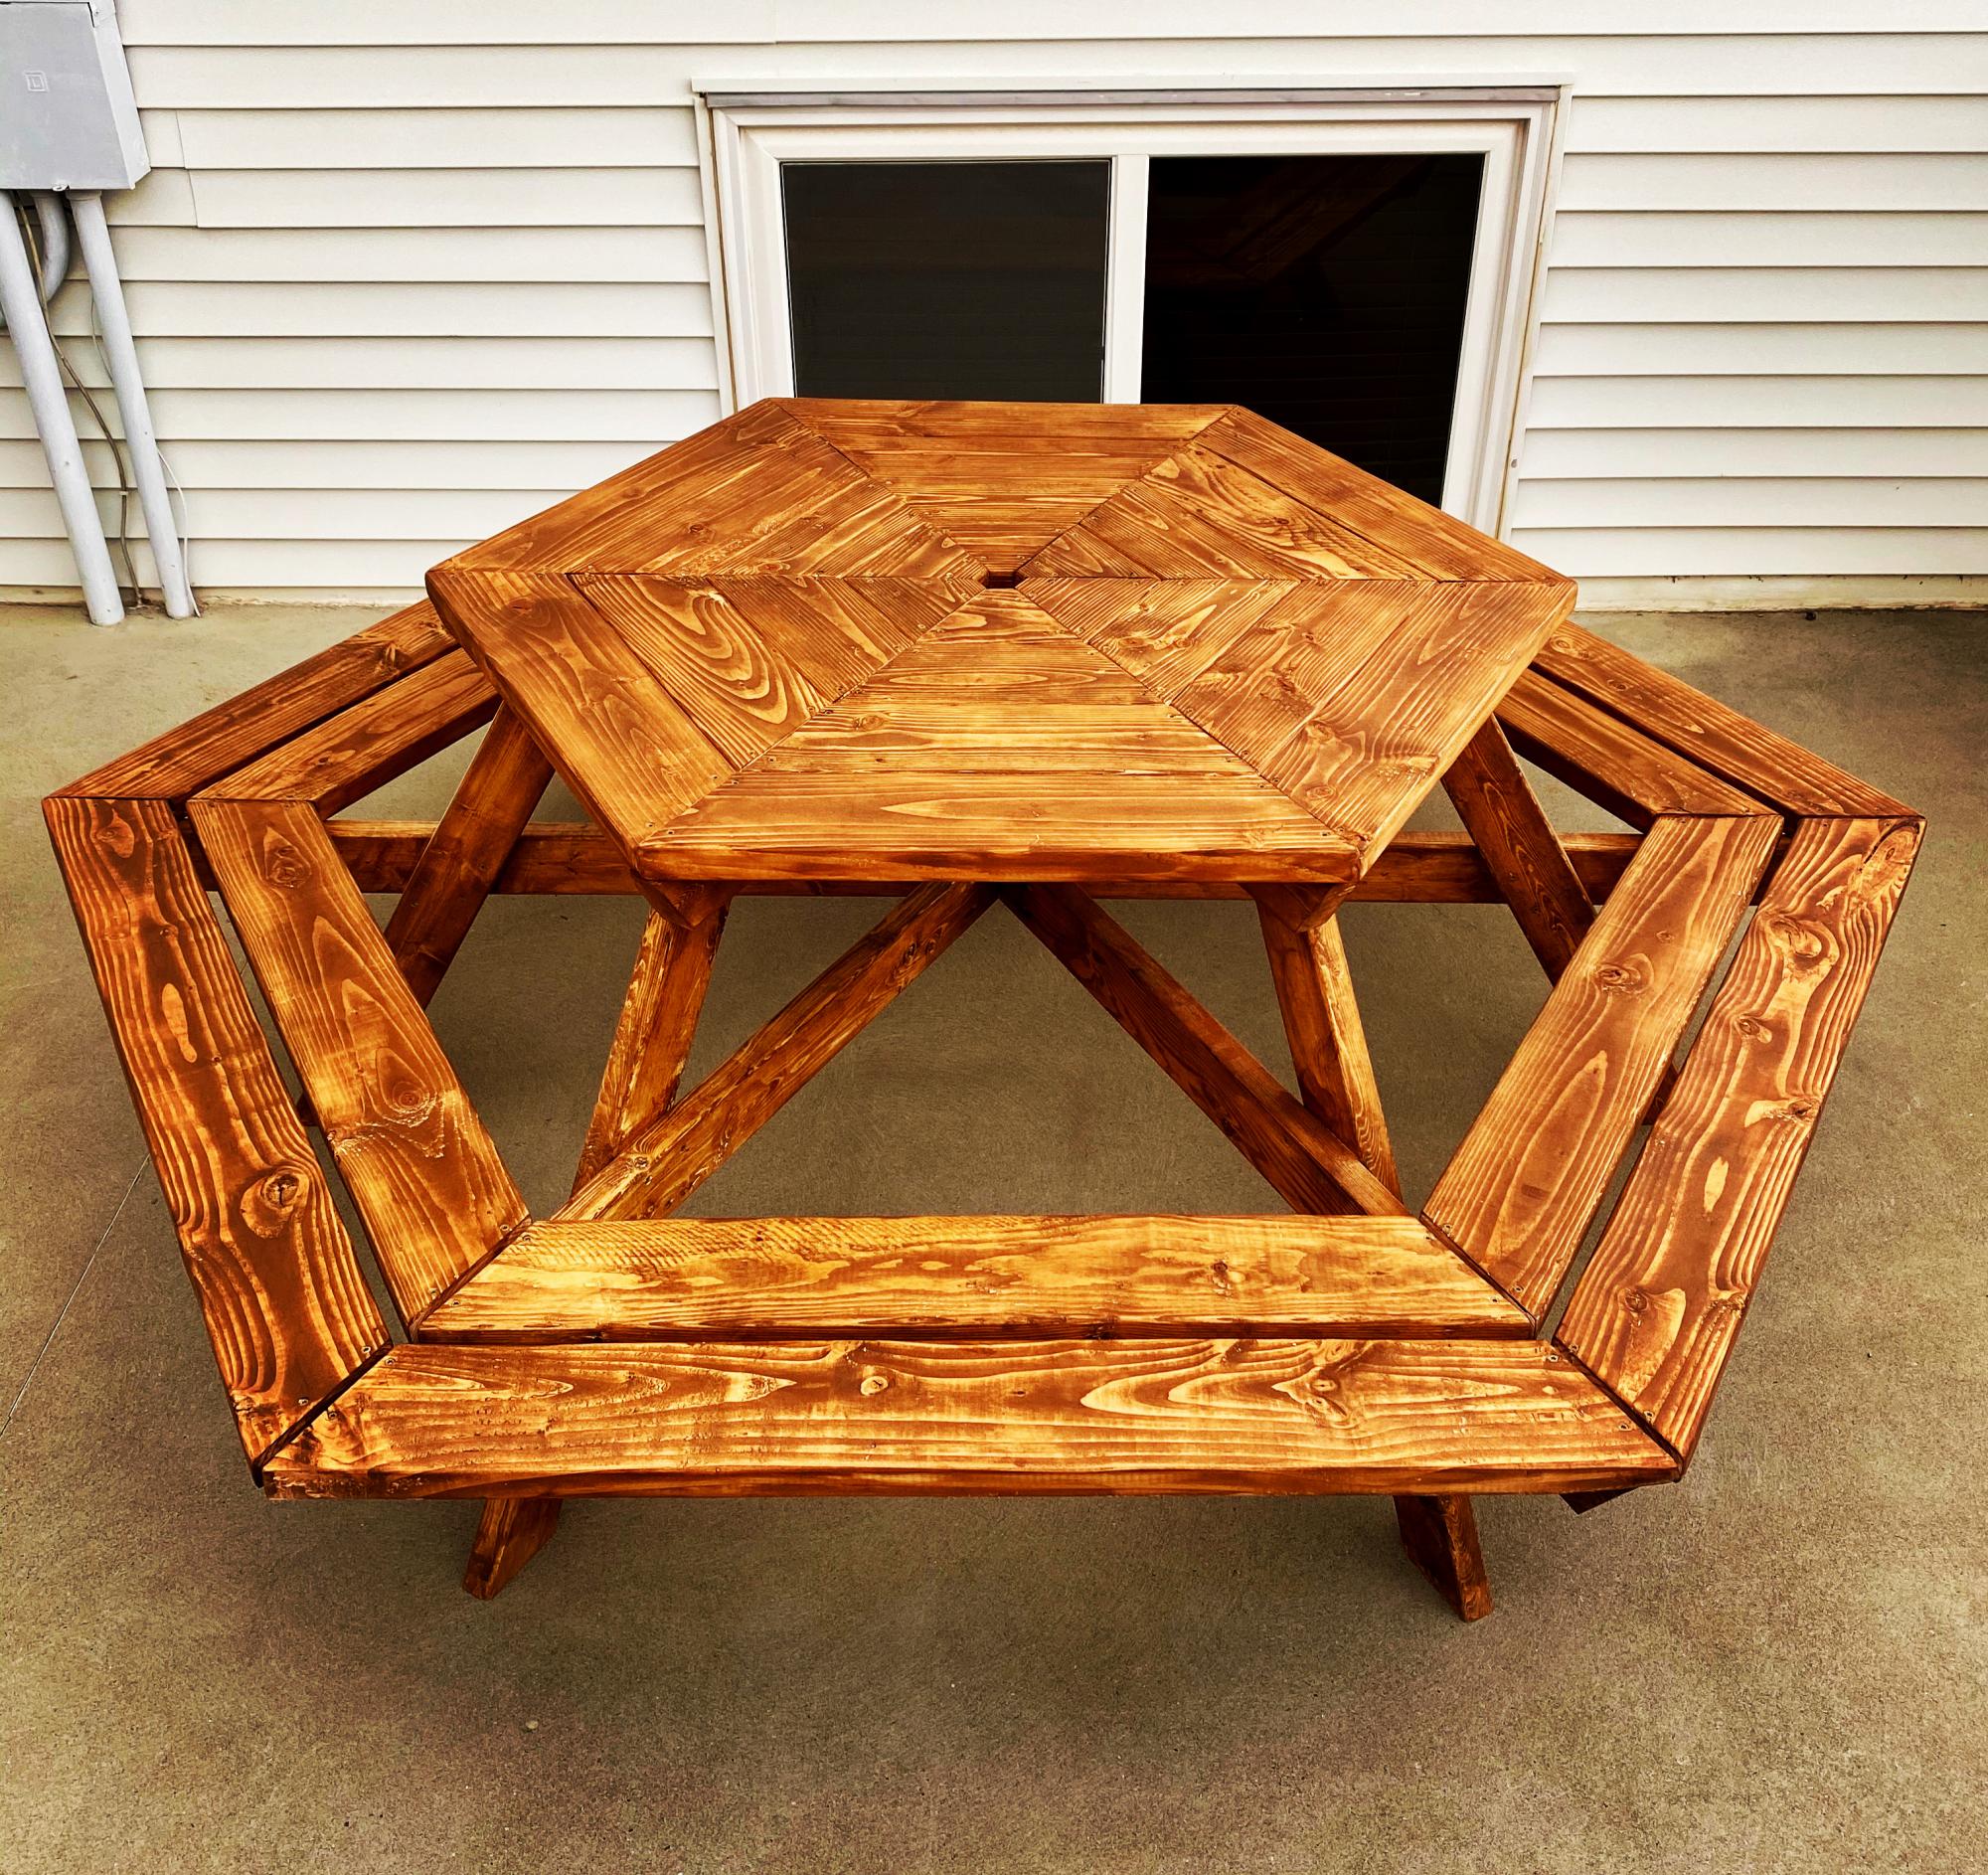
Great build for the patio!
Cabot waterproofing

Great build for the patio!
We built this as a birthday gift for family members and boy were they excited. We, though, were not excited to let it go. So happy with how it turned out. The plans are good for reference but make sure to make your own measurements when using milled lumber from a big box store. Some of the the changes we had to make on the fly were to the back and front panels having to use a different combination of board sizes to fill it in without massive gaps. Its recommended that you lay them out first before attaching them to the frames. Also the measurements on the cooler lid were smaller by 1/4" to 1/2" of what's listed in order to get a snug fit. The shelf on ours is two 1x6's cut to the width of the whole project (around 16.5") and then the shelf brackets were also 1x6's cut to a length of 10". Brackets are mounted inside the legs using wood glue and three 2.5" screws through the backside/inside of the cooler box to hide (obviously done before the cooler was inserted). For drainage we attached a 2" piece of 1/2" inside diameter clear tubing that was fed/jammed through the cooler drain and pulled through the other side and then a 1/2" push on adapter, threaded on the other end screwed unto a 1/2" faucet head. Drilled a 3/4" hole about 2.5" (center mass) from the 2x4 cooler base through the middle piece on the side. We placed the cooler in first and used a pair of pliers to grab the clear tube and line it up with the hole and then pushed a long screw driver through the tube from inside the cooler in order to guide the faucet head/adapter combo into the tube and stiffening the tube so it didn't collapse when pushing it on. We couldn't decide what do to with the center display piece and then remembered we had a can of chalkboard spray paint left over from another project. We spray painted the whole menu board and then painted the "logo" at the top before clear-coating it with a protective enamel. Its a snug fit so the pressure holds it in place but you could also use velcro strips on the back if that tickles your fancy. We took the snug fit route that way if they didn't want the menu board in. A 1/2' hole was drilled towards the top so they can use a finger to pull the board out.
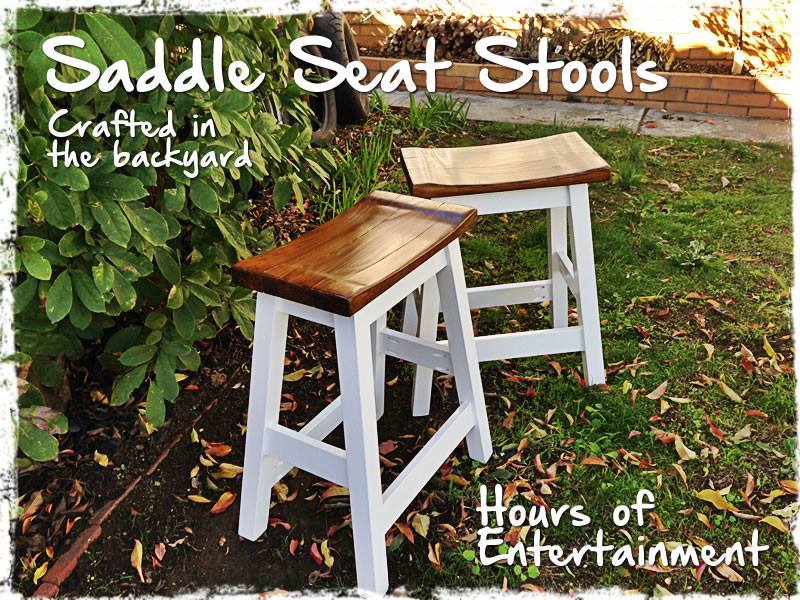
After a lot of cutting, screwing, chiseling and sanding... oh and a lick of paint! My new little Saddle Seat Stools are complete. Time will only tell whether they will hold up to the abuse the boys give them especially Brodie! These new stools only cost me $48 to make the pair and I got all the timber from Bunnings
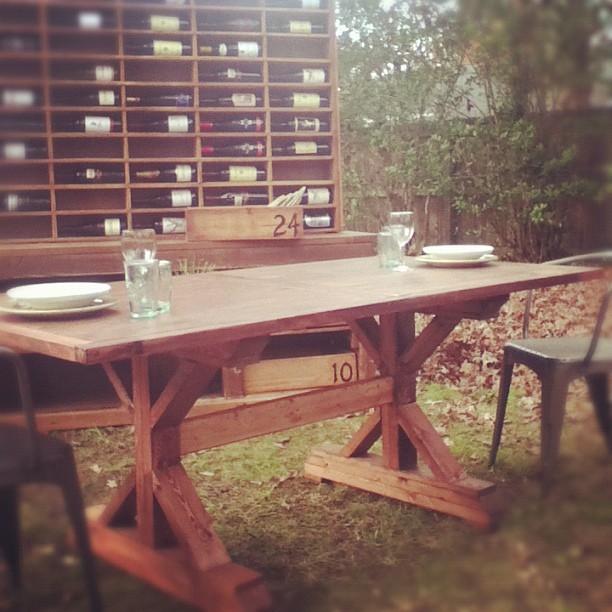
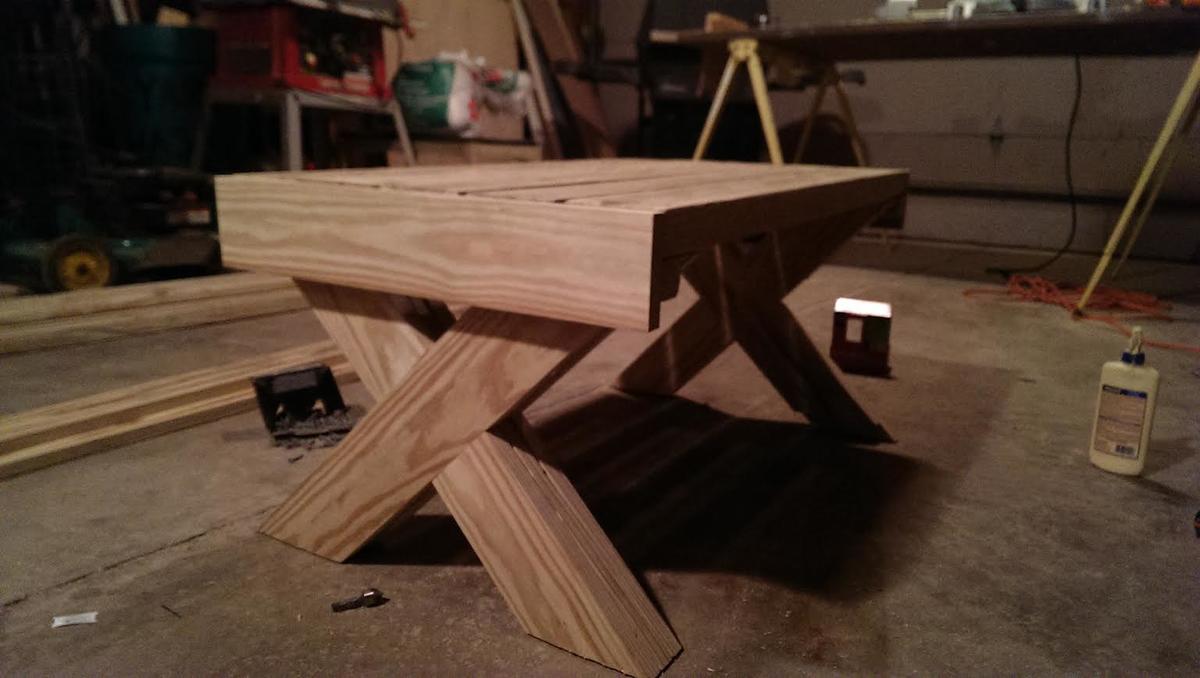
Inspired by the Fancy X Table plans, this table was made from scraps of thresholds and door frames. The table legs were made from the runners and deck board from shipping pallets.
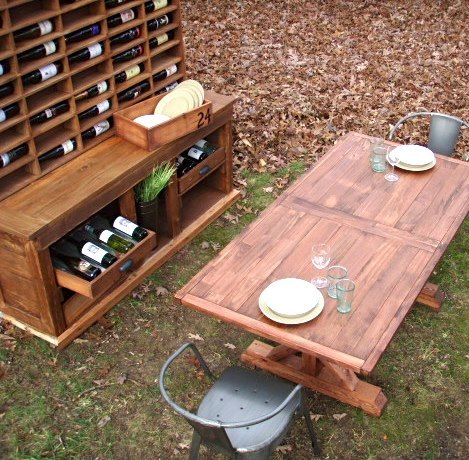
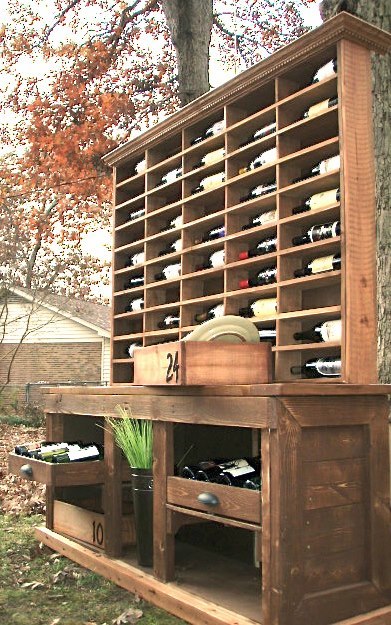
The Vintner's Hutch was created by re-purposing fencing for the wine rack, decking for the buffet top & pallets for the buffet itself.
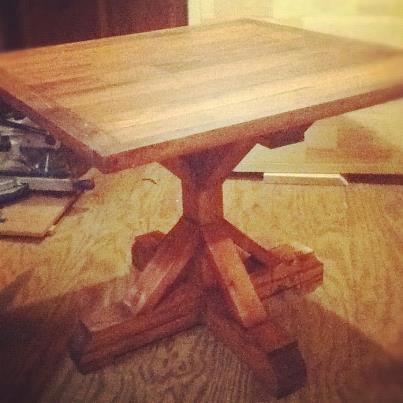
The little guy featured in the additional pics is a twin to another accent table. All three tables can now be joined to make one 12' long table for the ultimate family feast. Magnets are used to make the connections!
It is an honor to post these on the Brag Board since I was inspired by the old "Knock-off Wood" to start building furniture 18 months ago as a way to bring in income and help pay for my wife's MS medicine. A humble and sincere "thank you, Anna" for reminding me that , even if I can't do much, I will never be accused of not doing what I can. You've inspired me to stop feeling sorry for myself when money was tight and collectors were calling. Now I proudly own Chucked Wood; where old pallets go to live!
Here's to life...
Cheers!
Thu, 11/22/2012 - 05:54
You are very talented. These pieces are beautiful. I would never have guessed they were all made by "upcycling" old wood. Your story is very inspiring. Keep up the good work!
Thu, 11/22/2012 - 20:08
Goodness Pam, I really appreciate your kind words. I am always floored by your brag posts!
Cheers!
CP
Thu, 11/22/2012 - 19:09
Makes me want to sit down there and enjoy the company of great friends and some wine, cheese and some fresh crusty bread. amazing!!! Your wife is very lucky to have you!
Fri, 11/23/2012 - 02:08
Makes me want to sit down there and enjoy the company of great friends and some wine, cheese and some fresh crusty bread. amazing!!! Your wife is very lucky to have you!
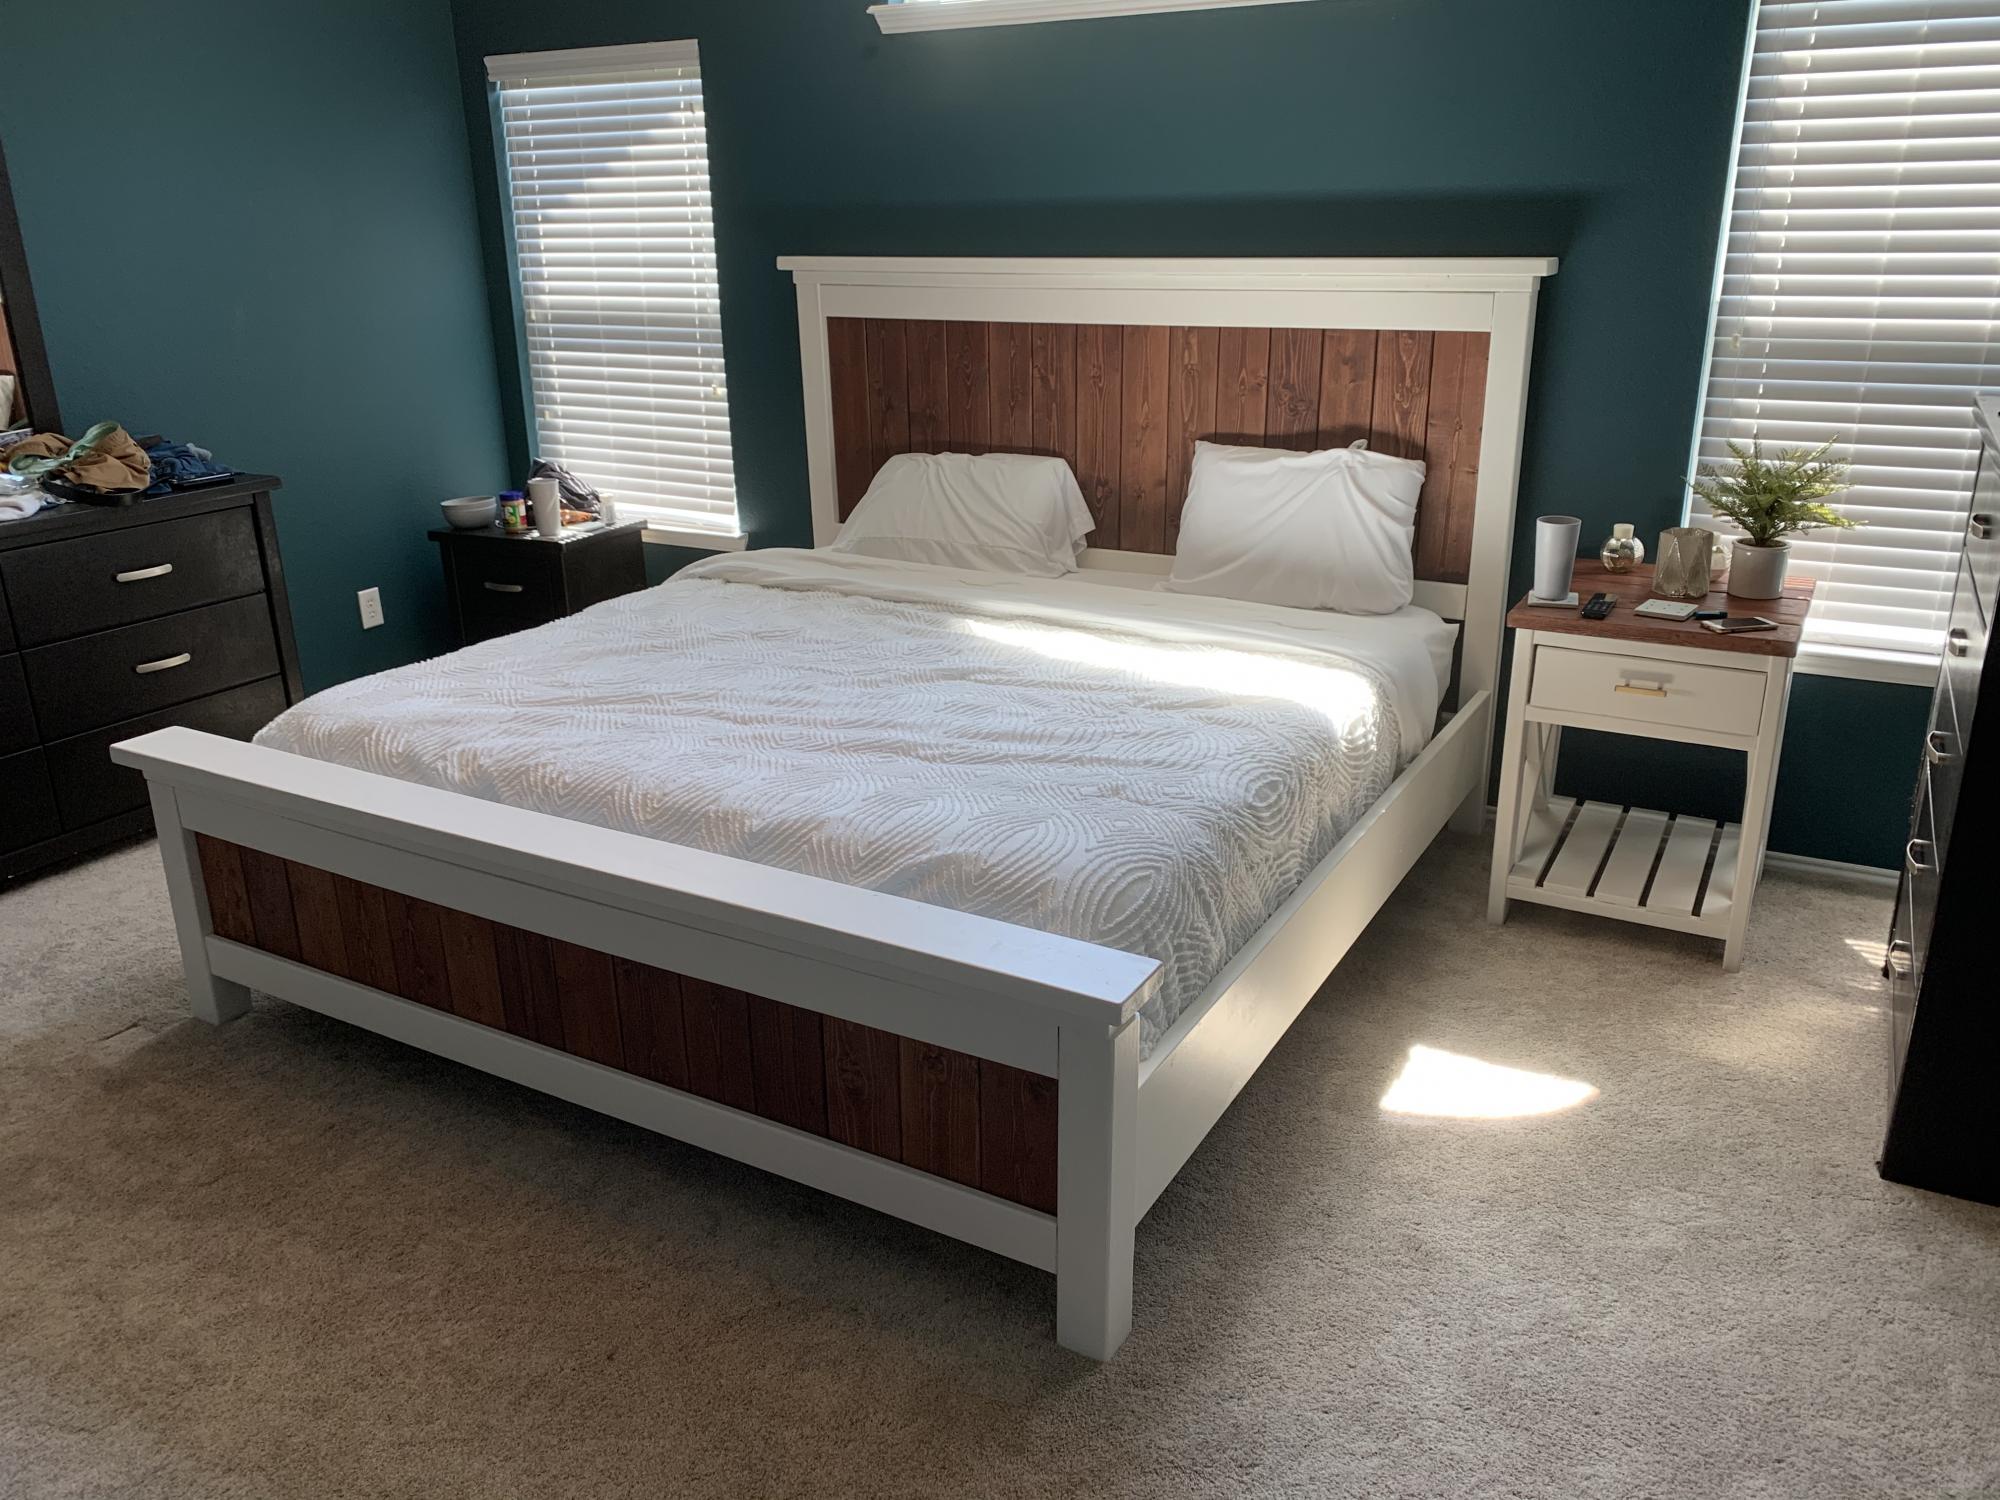
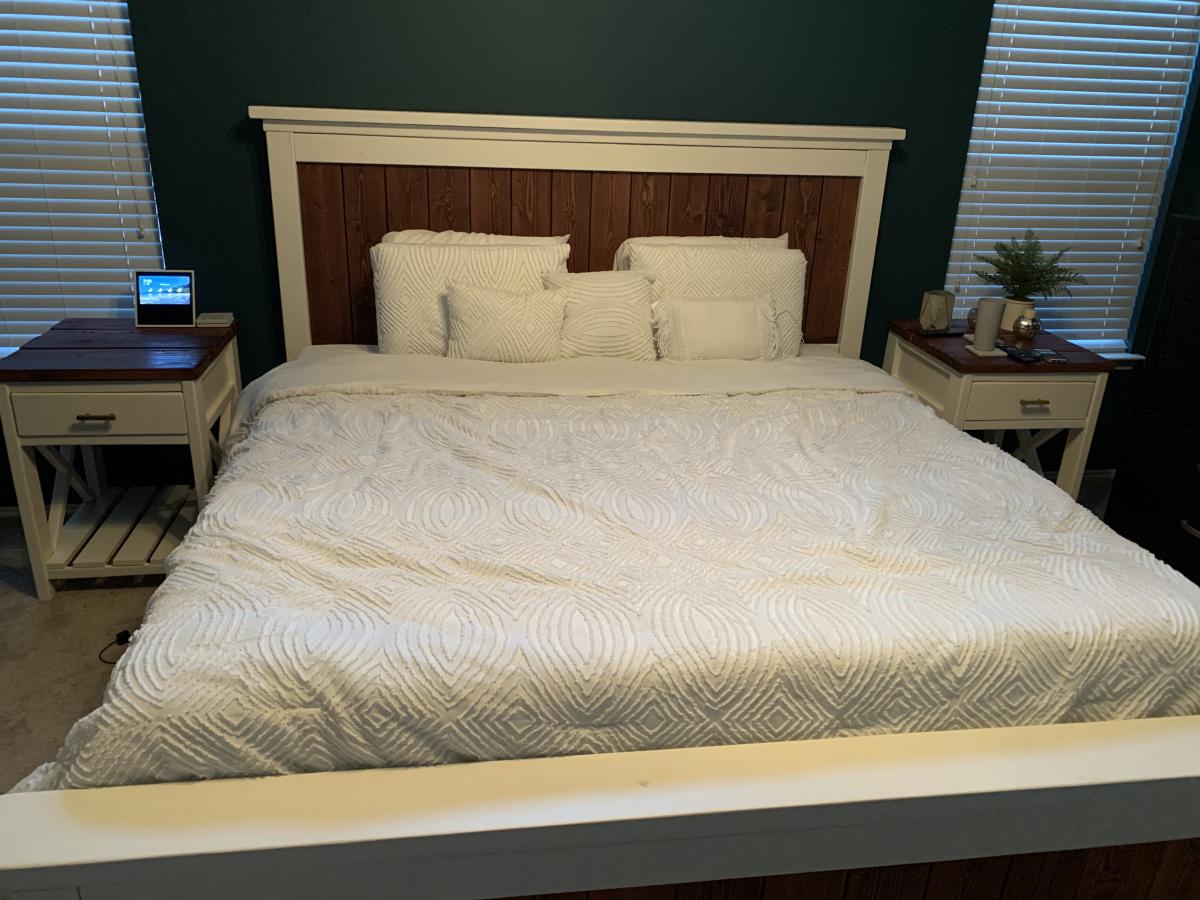
The bed frame was actually pretty easy. I had an adjustable bed frame so I actually need to make the connecting pieces a little bigger so the frame could go up and down. It’s actually extremely sturdy so I’m happy with it. Anyone can build the bed frame.
The bedside table was way harder. The 1x2s were super frustrating and the drawers were annoying. I’m about to finish a second one and I wasn’t nearly as particular about the measurements and I think it looks just as good and I got way less frustrated. This was tougher than the frame for sure.
Cost and time are including the stain. I built the white furniture, plan on eventually building stuff to replace all the black furniture.
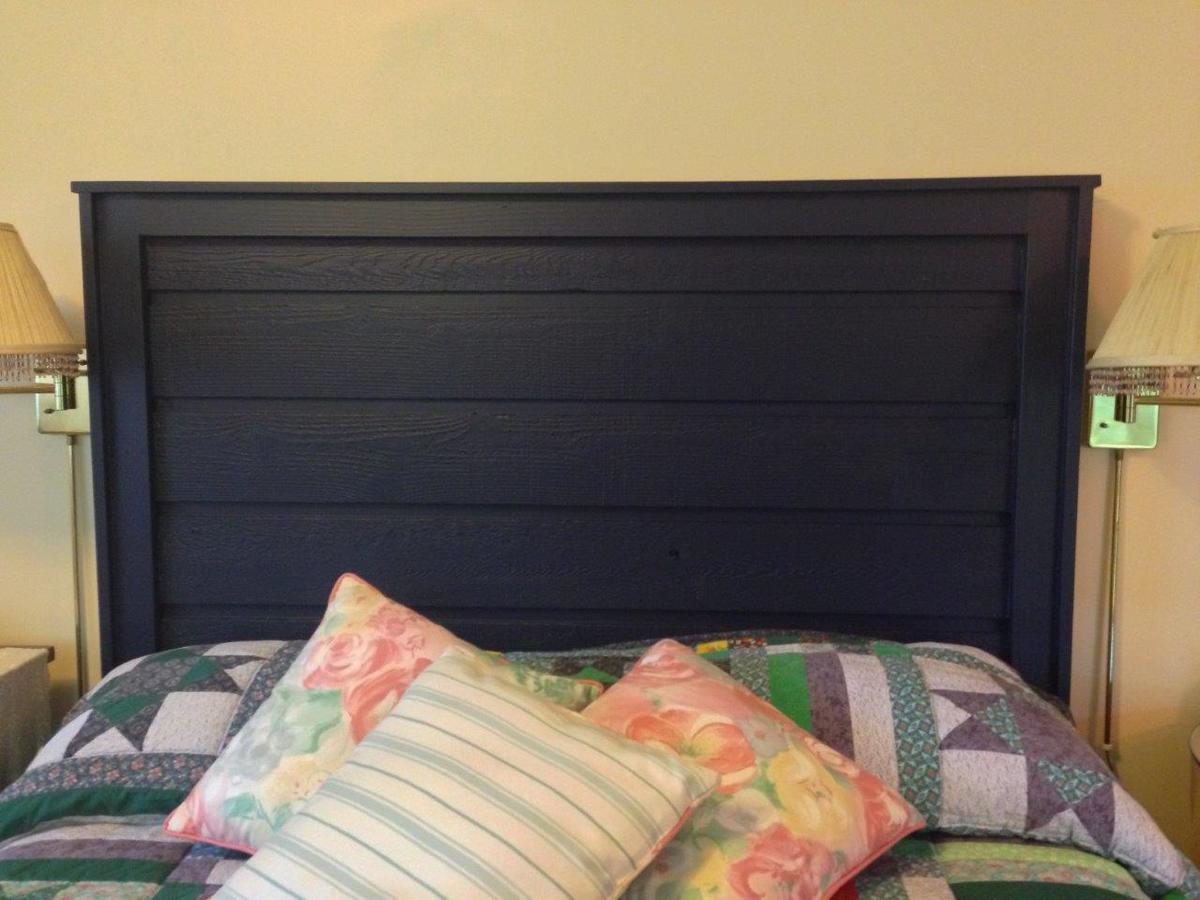
Made with leftover lapped cedar siding from our woodshed, plus a few pieces of reclaimed 1x4 and some new 1x3. Wanted it to be navy, and it is.
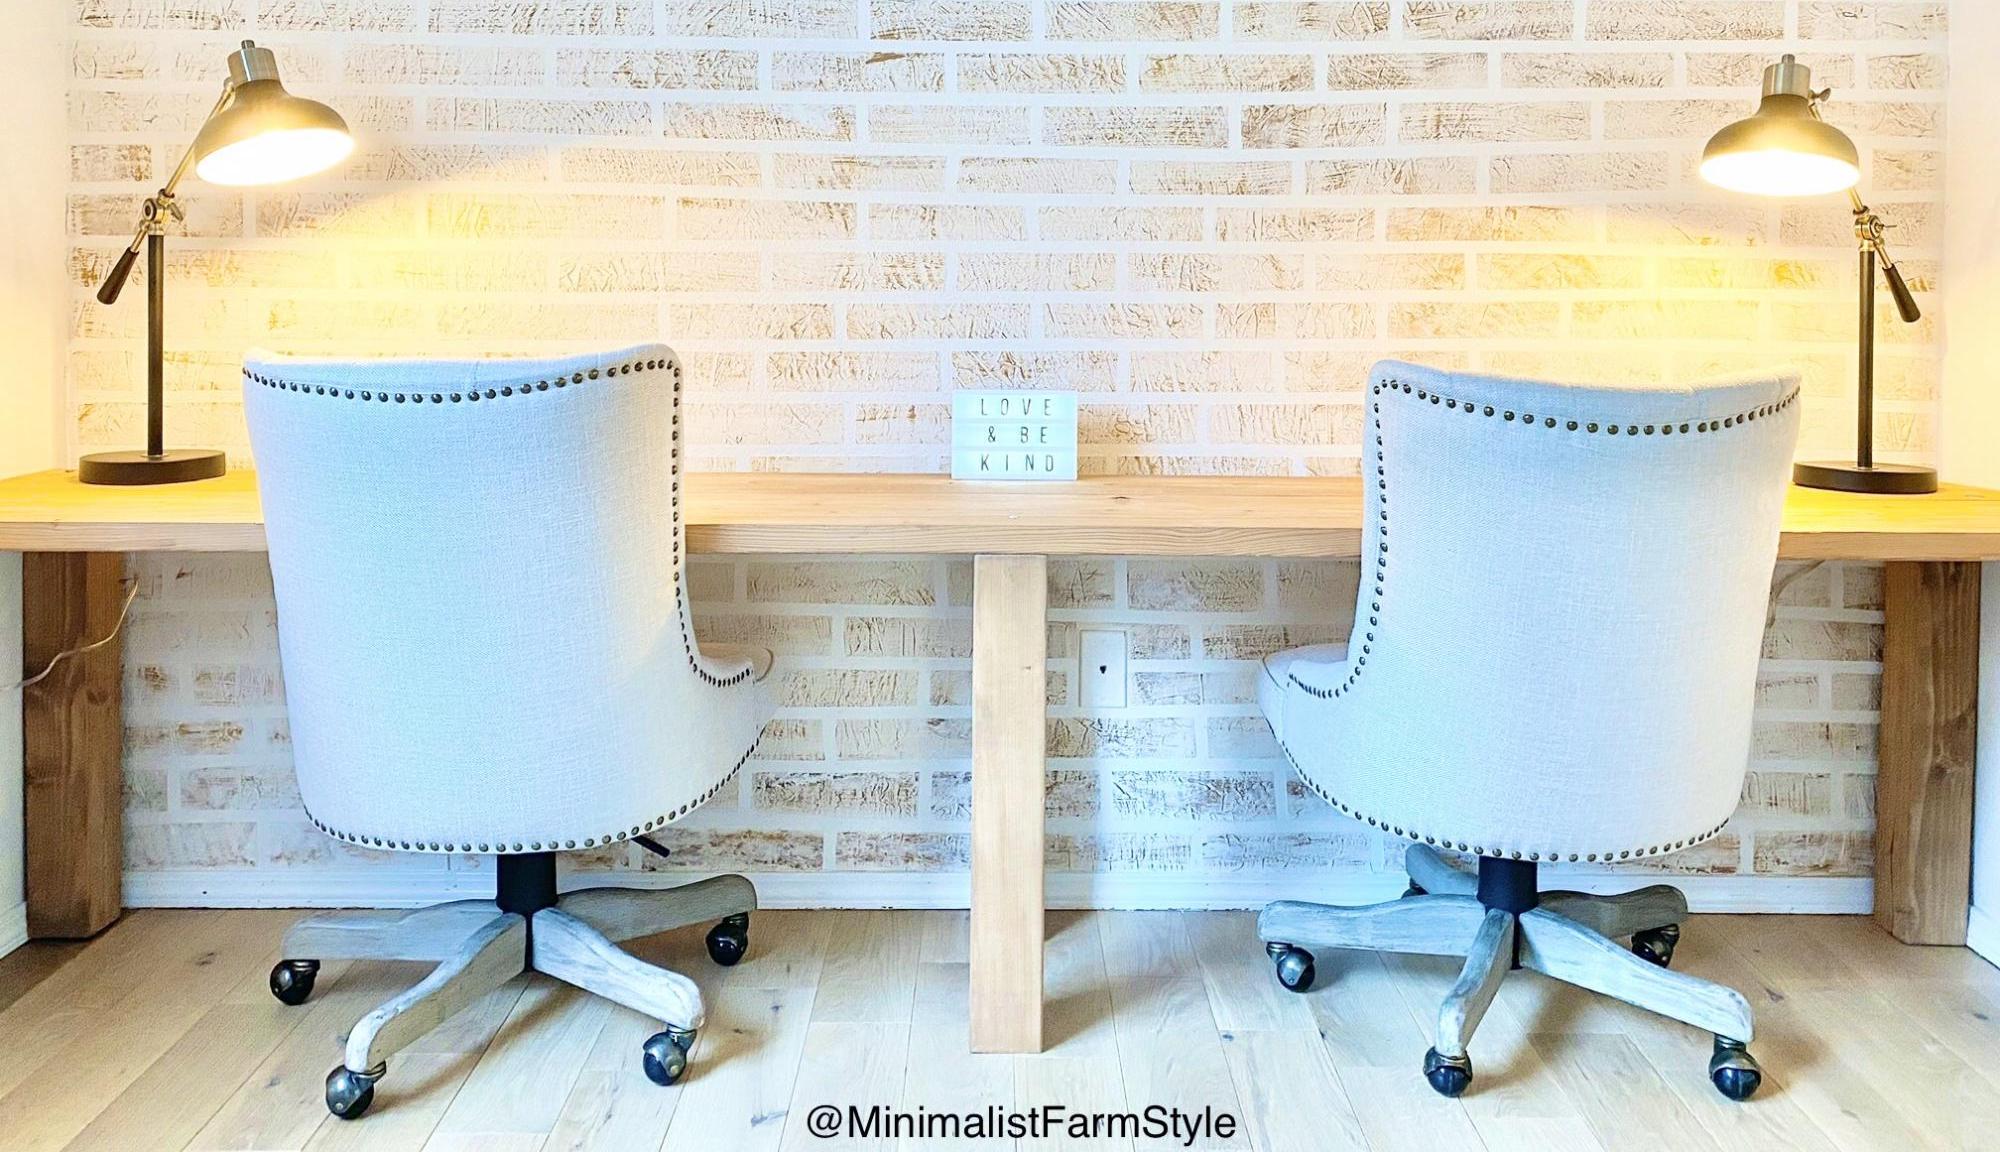
This DIY desk provides workspace for two people. A portion of the desk is for my oldest son during homeschooling and the other portion is for my husband while he continues to work from home. Cost : $35 Difference in length, width and height will result in a change in price.
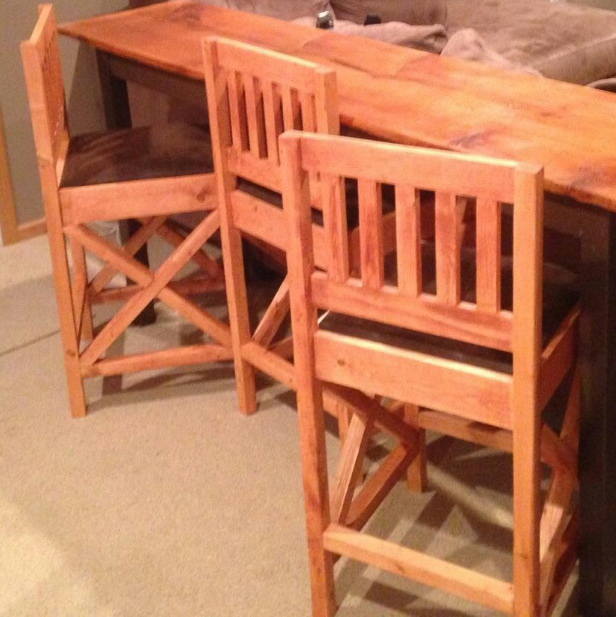
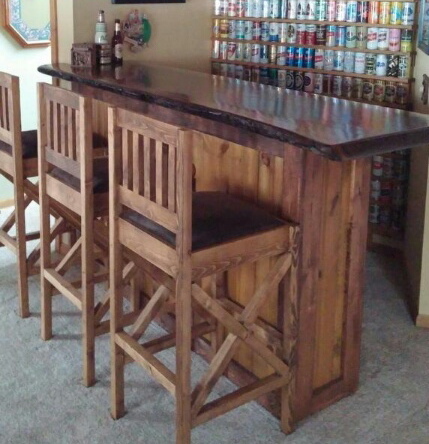
I needed new bar stools for our new bar that we designed and built in our basement family/entertaining room. Regardless of where I was looking, these things are silly expensive. I also wanted a little more of a country/rustic look that would suit my husband and my likes. I used the Vintage Bar Stool plans but my husband isn't a small guy and we have friends that aren't classified under the small frame category either, I needed more structure. After thinking about it for a few days, I liked the rustic X look and used that from so many plans. I also am all about comfort and the padded upholstered seats was a must. Can't wait for my next project. BTW. The cabinets behind the bar also came from here I simply modified for what we needed. We get compliments on it all of the time. Love this website, thank you so much for making simple to read instructions for things I actually want to do.
Mon, 06/26/2017 - 05:44
I need to build 24" bar stools with the rustic x look on the side. Do s anyone have plans to make them?
In reply to Rustix x bar stools by Daisypage
Sun, 07/01/2018 - 13:51
I am sorry. I just saw this. Honestly I don't make any plans, I kind of fly by the seat of my pants. The X's are measured out at the end.
Thu, 12/26/2019 - 03:49
These look great. I think that I'll add them to my build list that my wife seems to keep growing for me. How did you attach the back pieces? In the original design it showed pocket holes, but I don't see any on your work. Thanks for the help.
Tim
Sat, 06/06/2020 - 09:58
Could you please settle a discussion between myself and my husband? Are the legs notched out for the 1x4's to sink in , or are they just attached with pocket holes
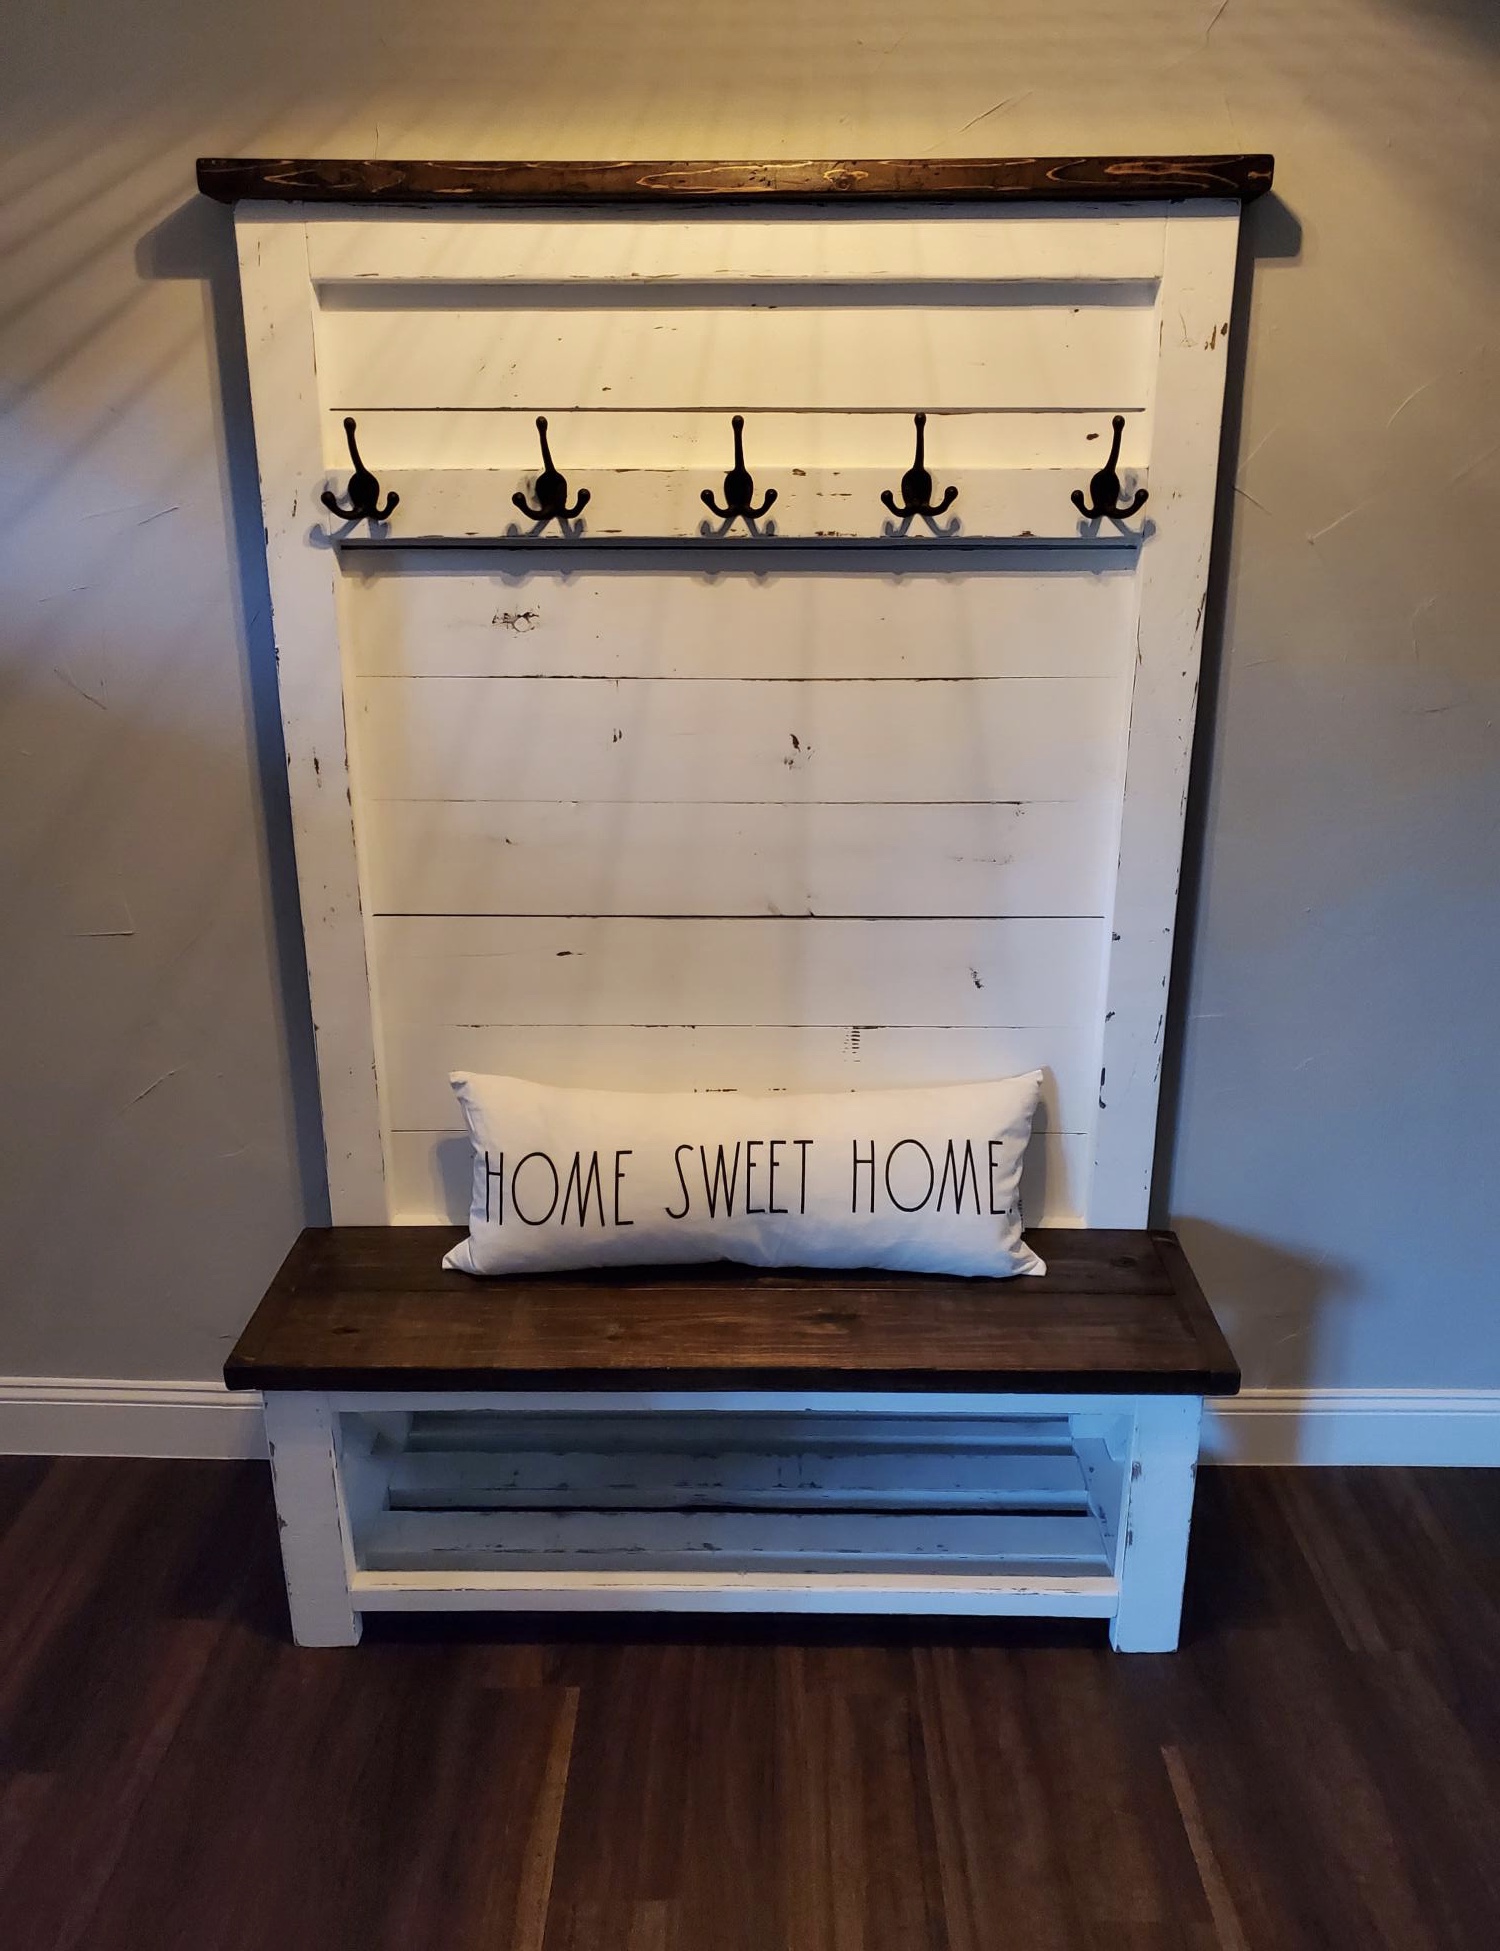
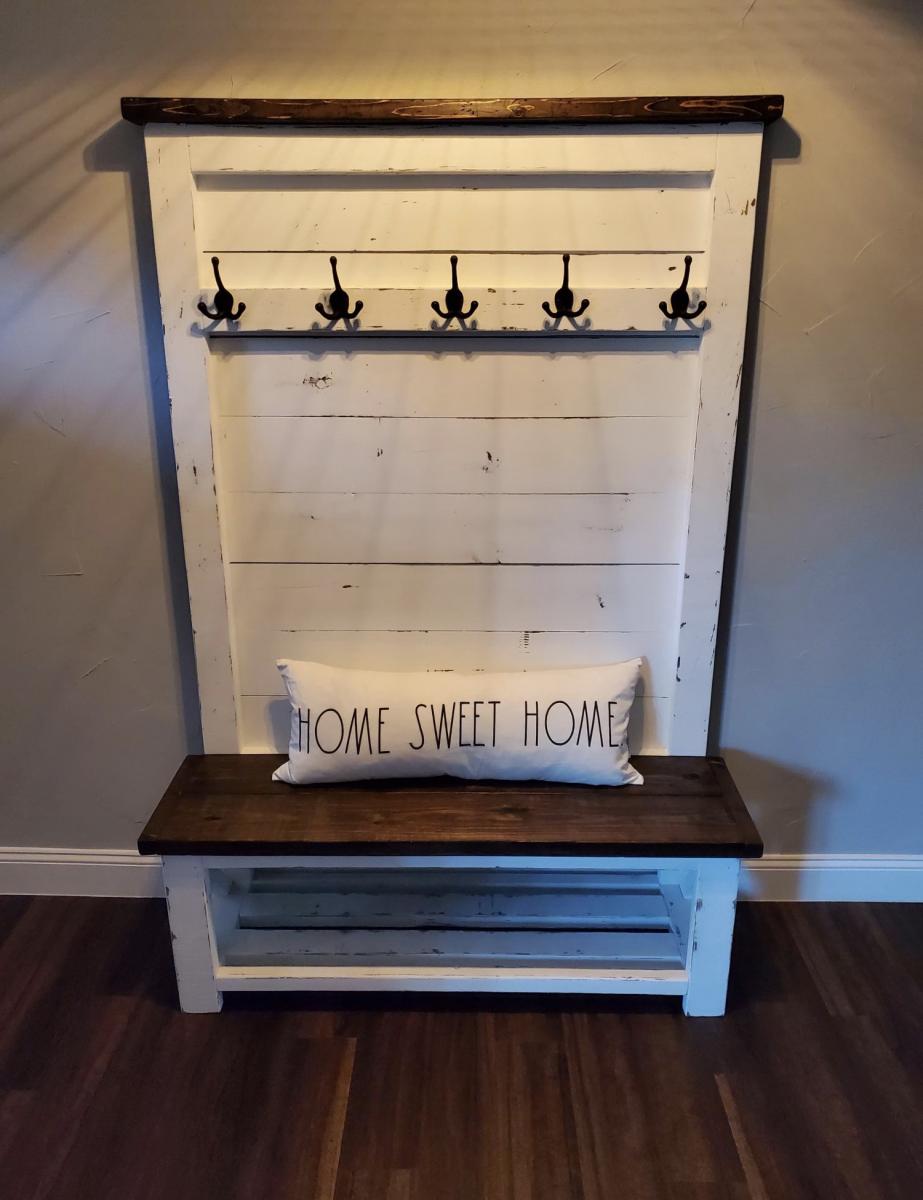
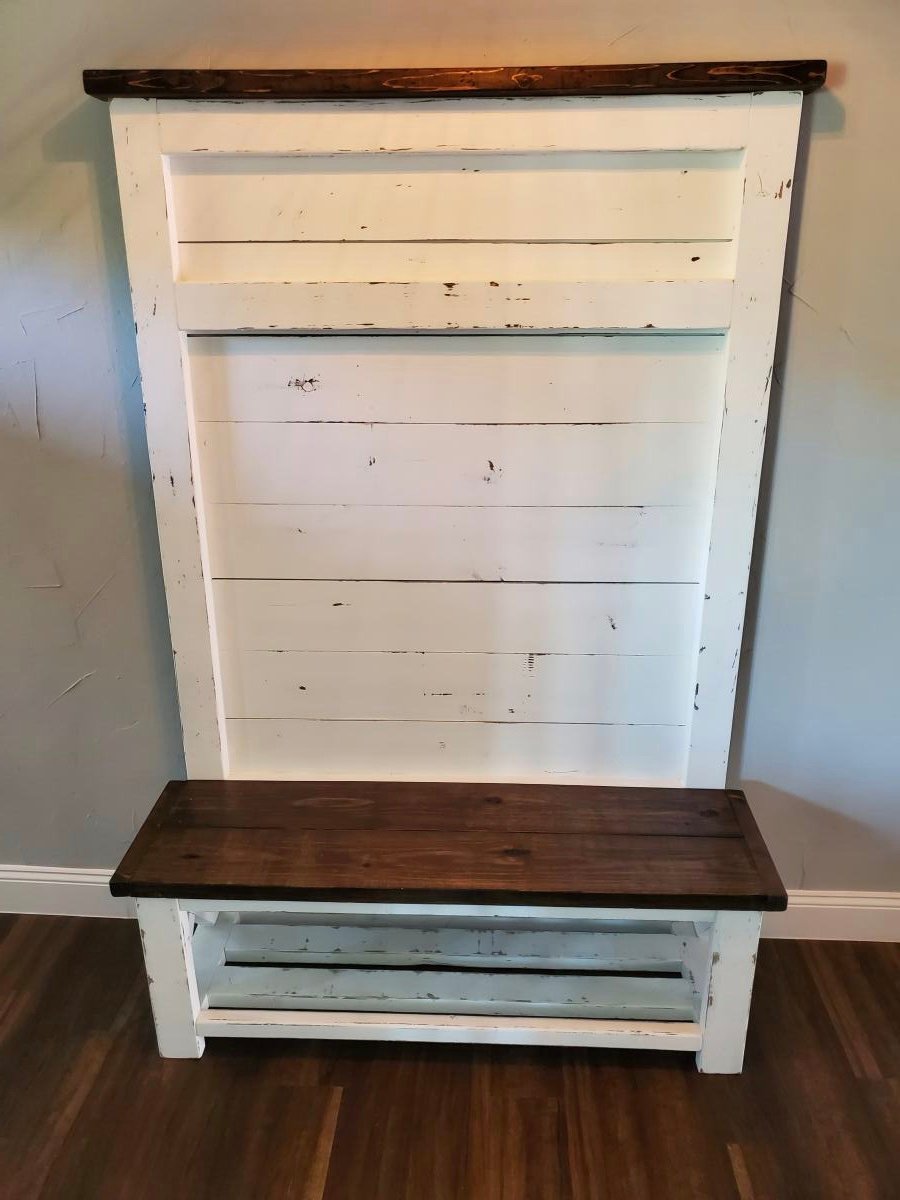
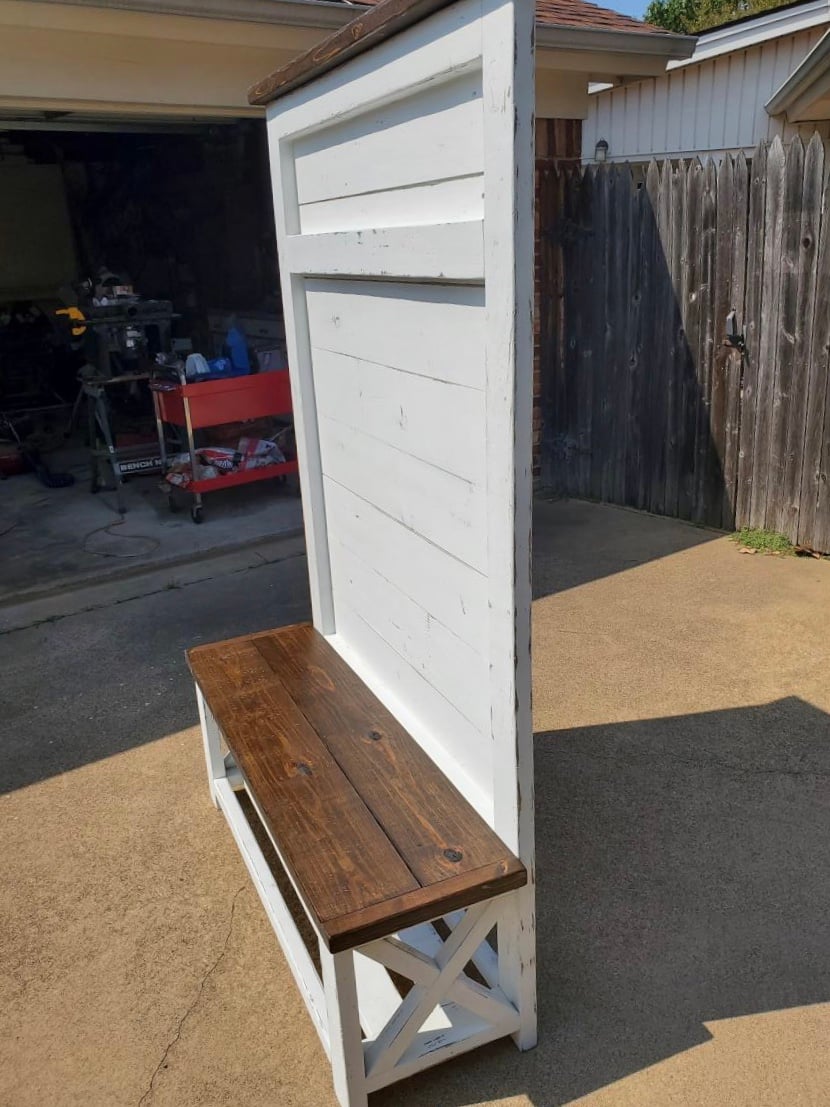
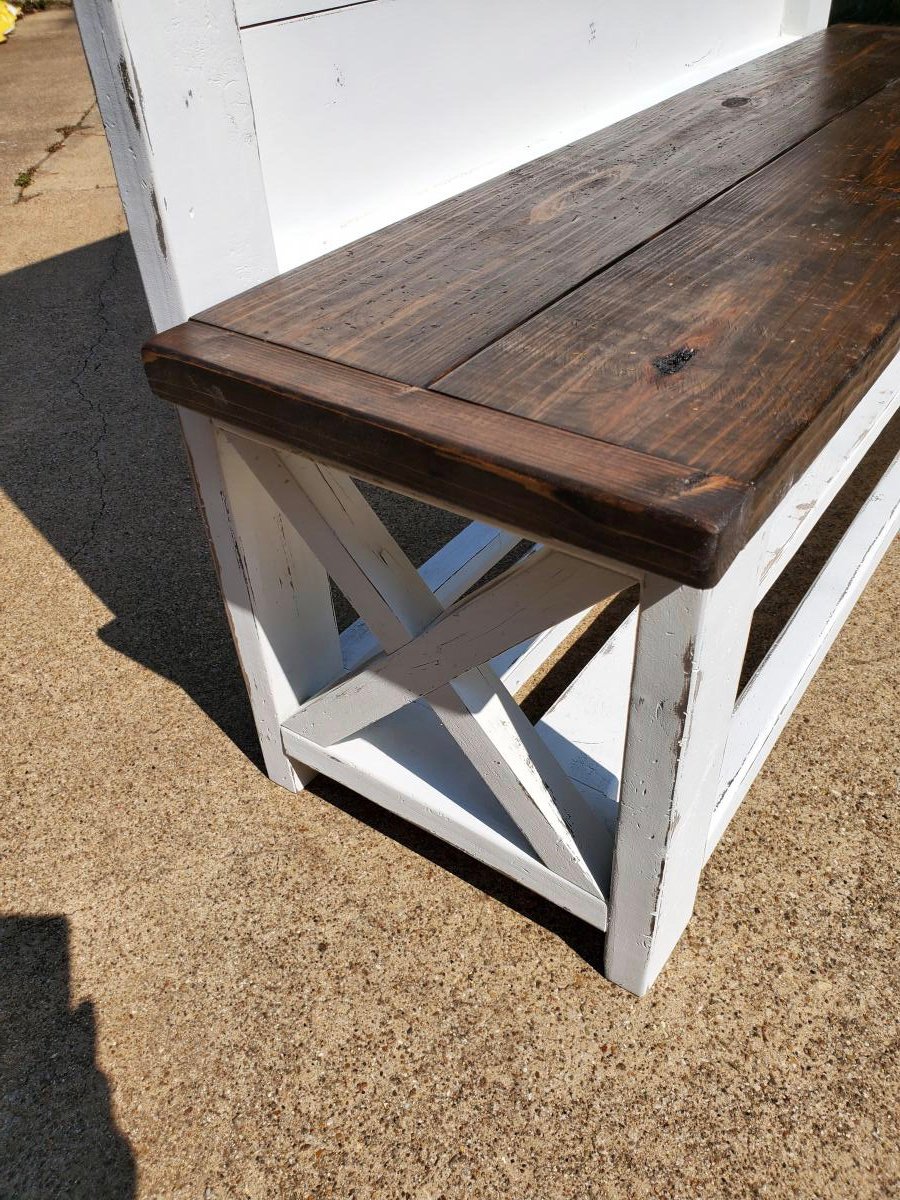
first furniture build from scratch. A few minor differences. I decided to distress by staining entire piece with minwax espresso stain, then painting over with white chalk paint and sanding through. Decided to leave bench and to molding stained for effect. Love the piece and so does my wife.
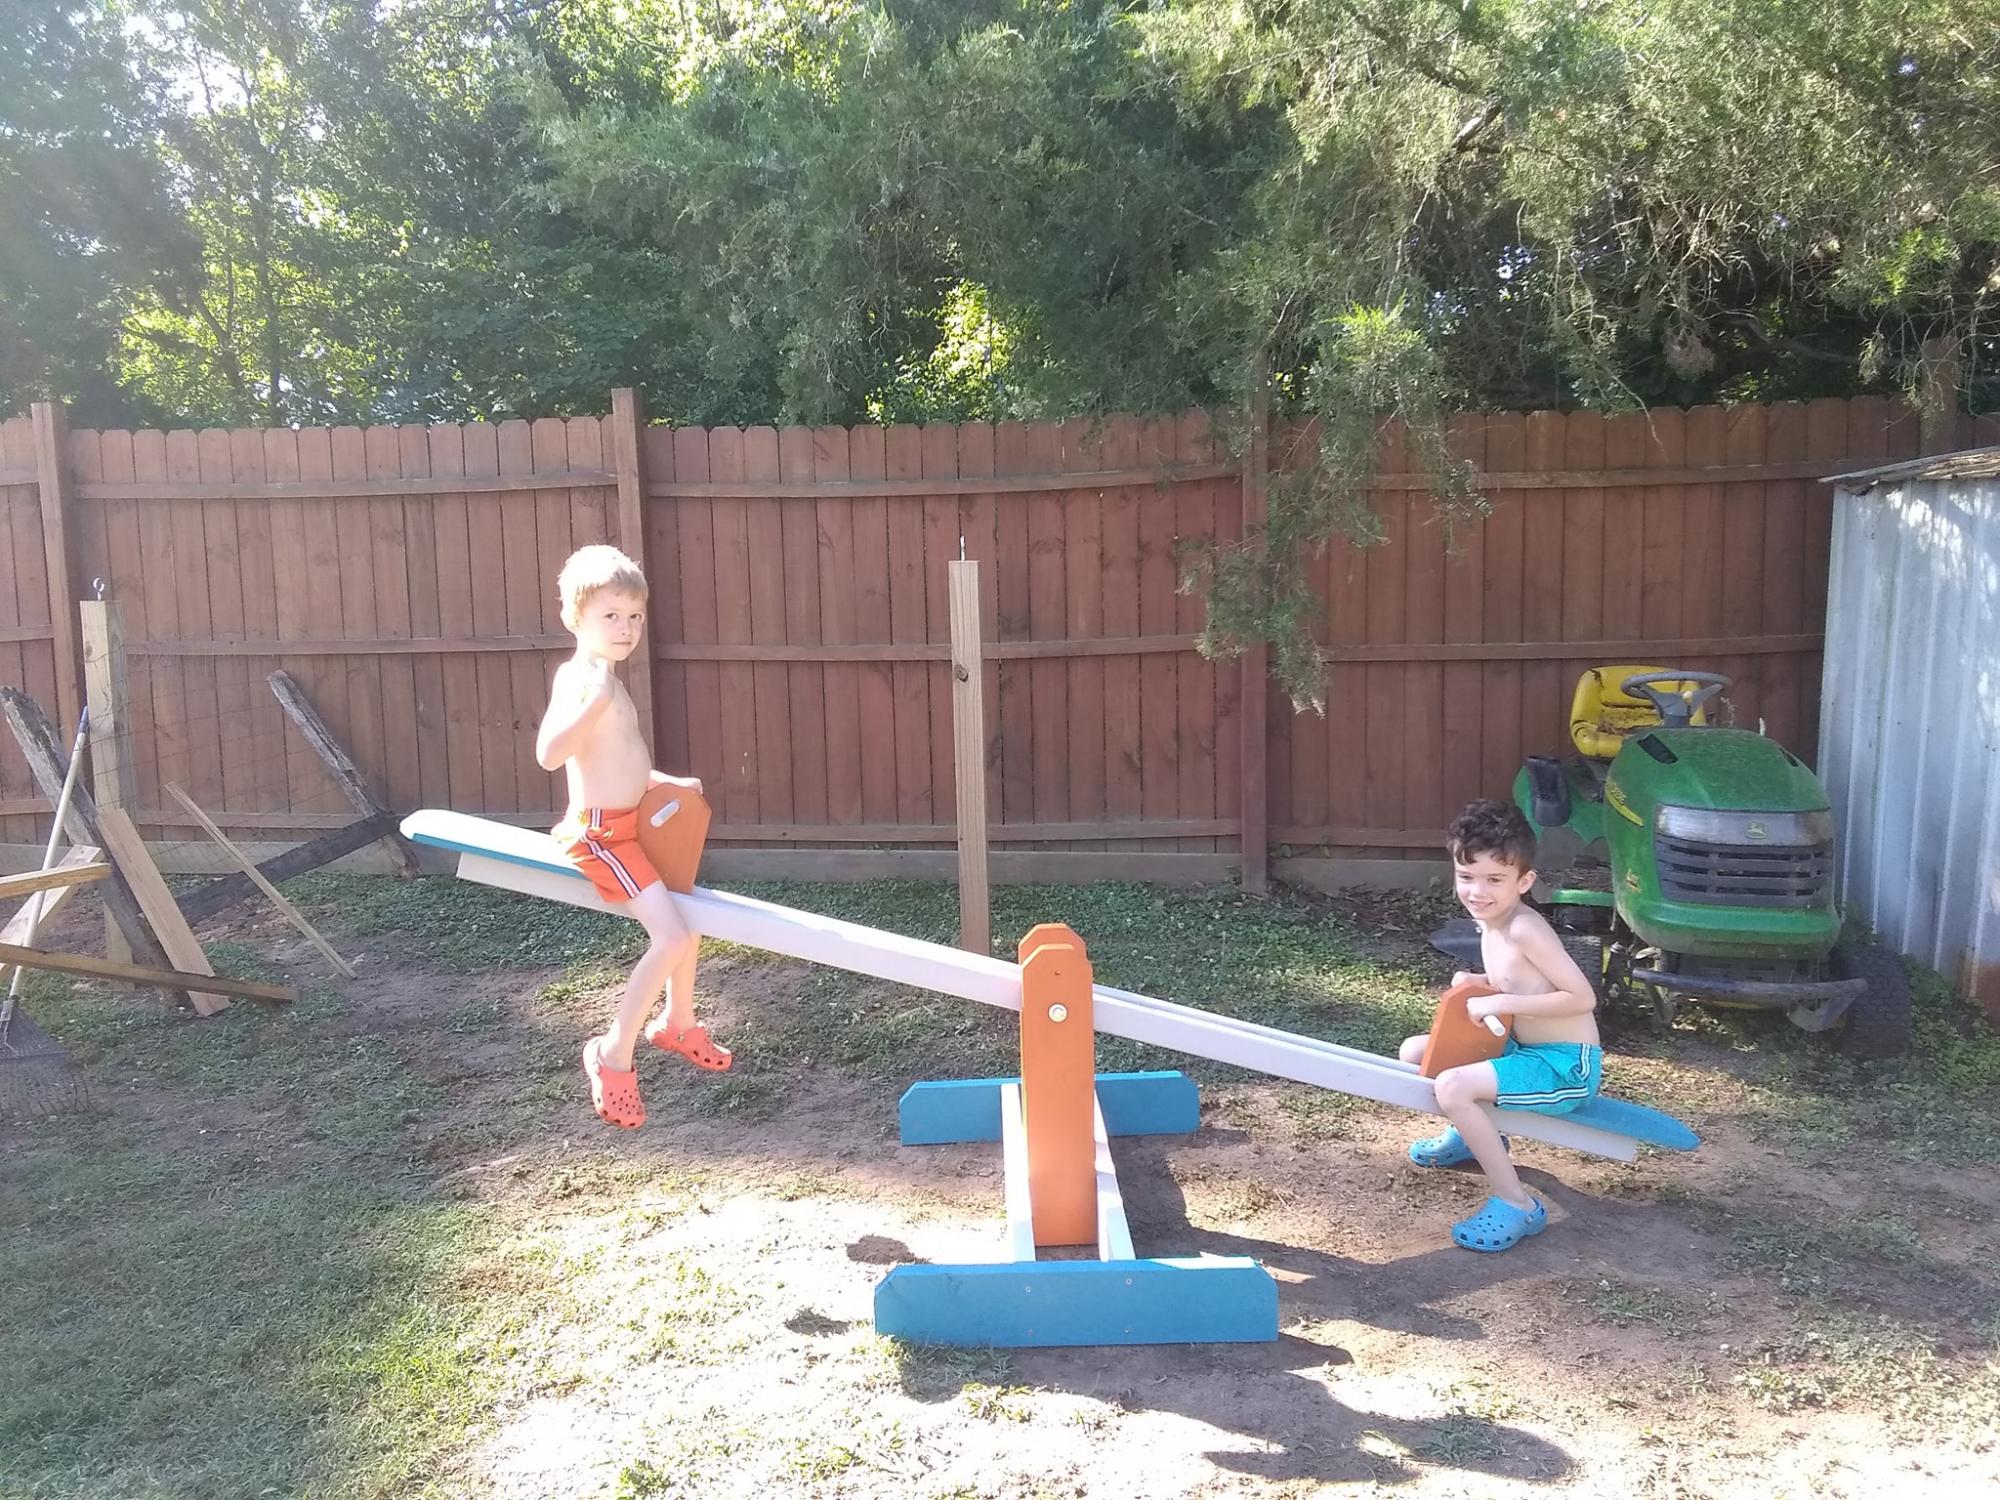
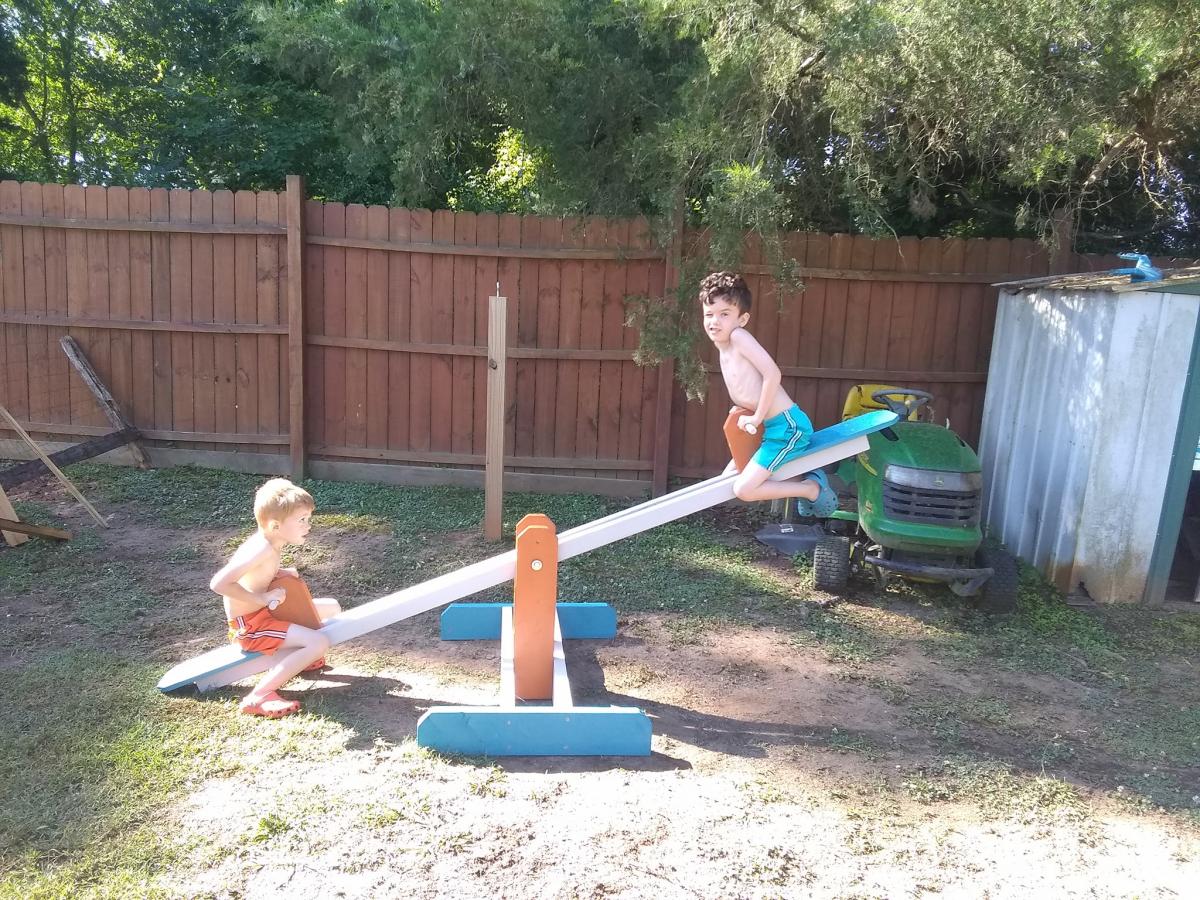
My husband and I made the boys a seesaw a few months ago. We had been spending a lot of time working on our chicken coop and I snuck around to make something for the boys as a surprise. They named it Blue Blade and it has been a fun new addition to their playground. It was straightforward to make. I used 2x3s instead of 2x4s since they were so much cheaper, and it worked really well. I love how it has the extra hole so we can make it taller as they grow.
This playroom set was inspired by the plans you posted. I was forced to make some significant modifications due to the fact that our bonus/playroom has angled ceilings. We have a rock climbing wall, ladder, crawl tunnel with windows, trapeze bar, monkey bars, miniature baskeball goal and a slide. My boys are 6, 3 and 19 months and they love it! Thanks for the inspiration.
Jim and Caroline Sparrow
Sun, 01/05/2020 - 10:03
Hi -
Would you be able to share your modified plans with me , please ?
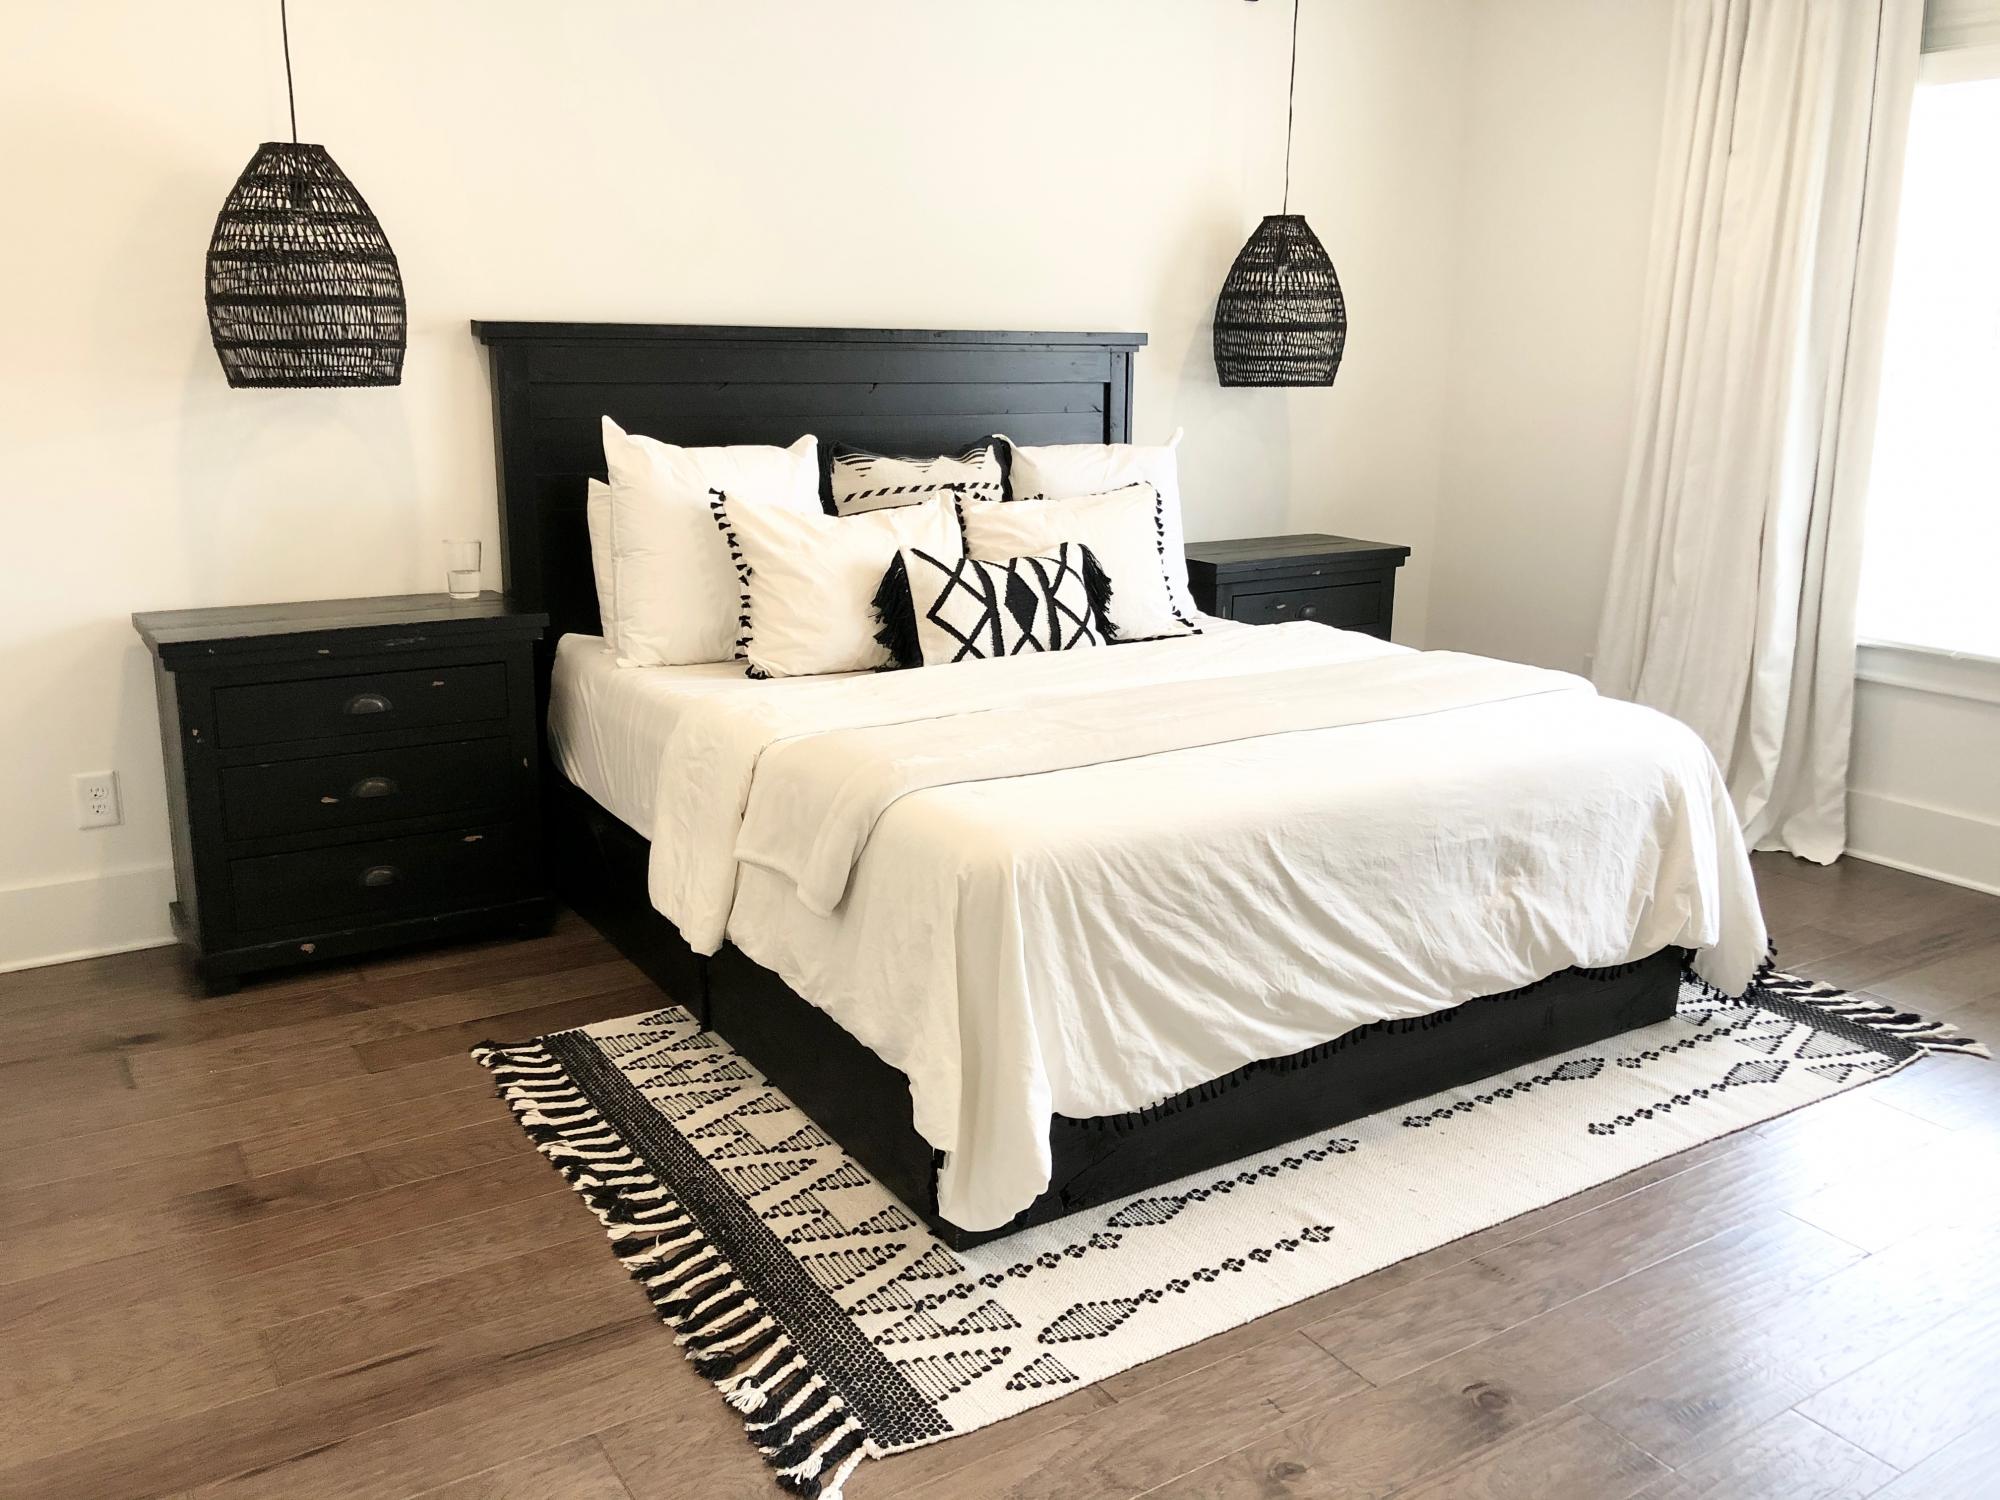
We slightly modified this headboard to fit a California King. We needed something to match the style of our nightstands. This turned out perfect!
Sat, 11/07/2020 - 14:27
Great job, love the finish and the whole look of the space!
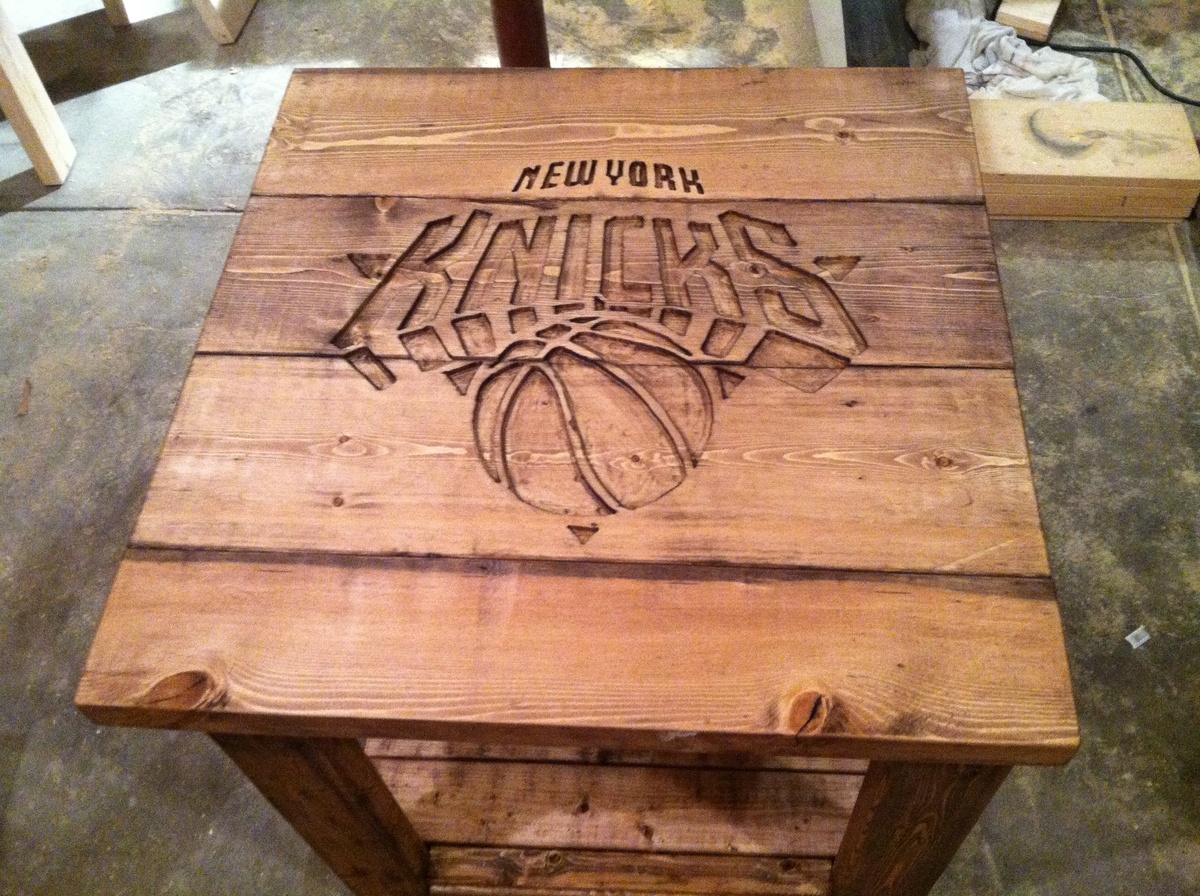
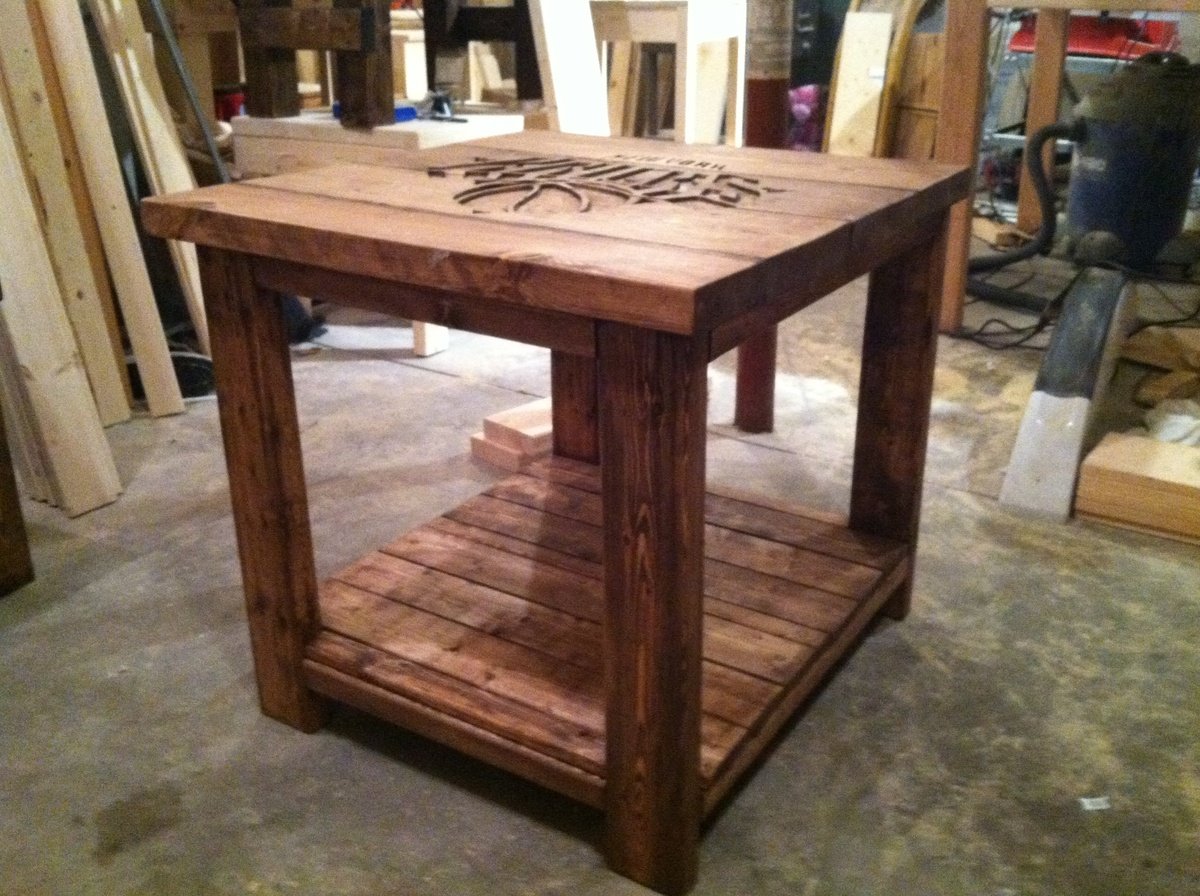
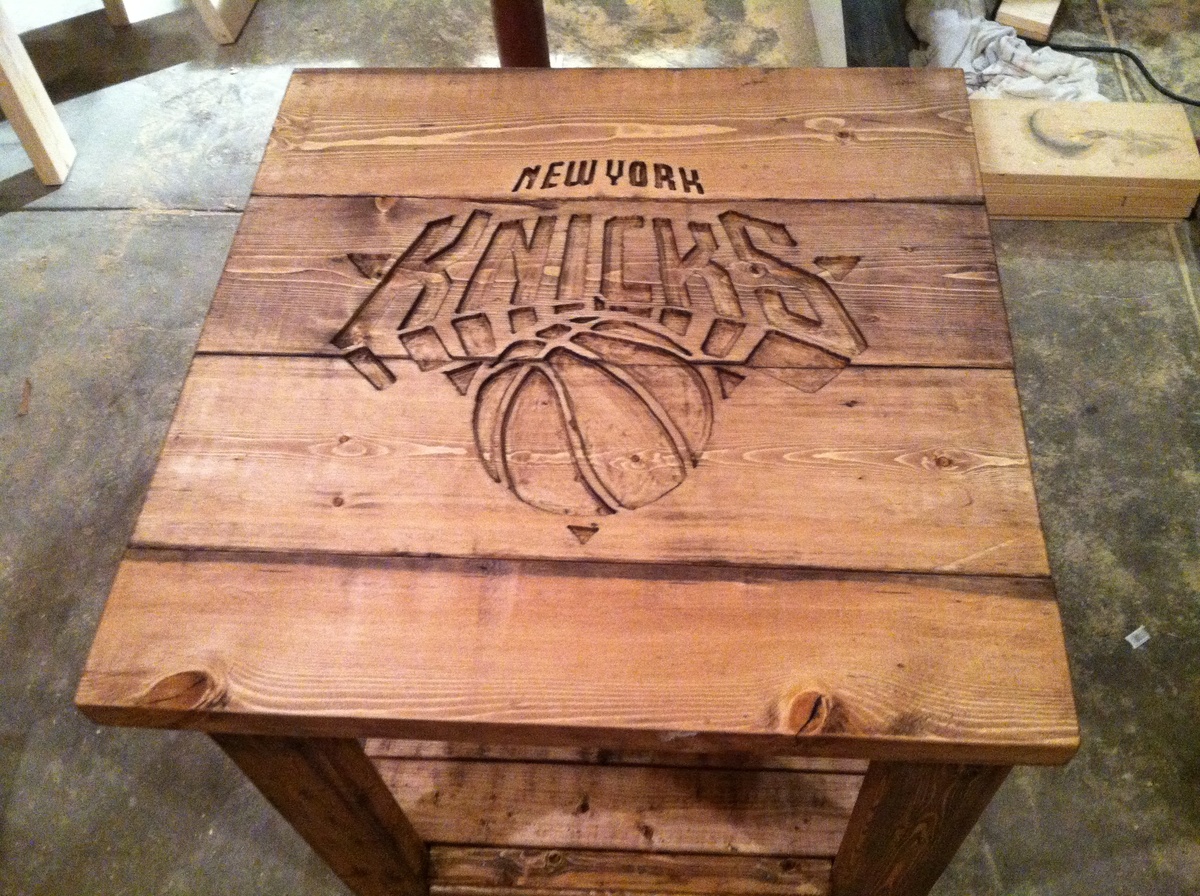
Made a gift for a Knicks lover. Used a dremel trio to etch in logo. Went back and forth on adding color and in end decided not to. But gave me another idea on my next logo table
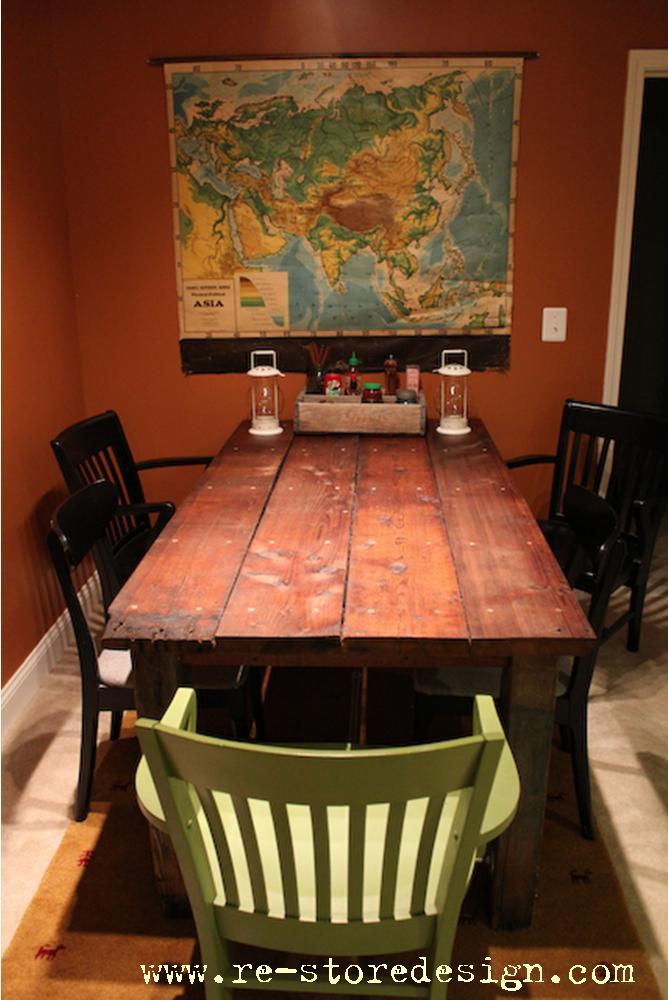
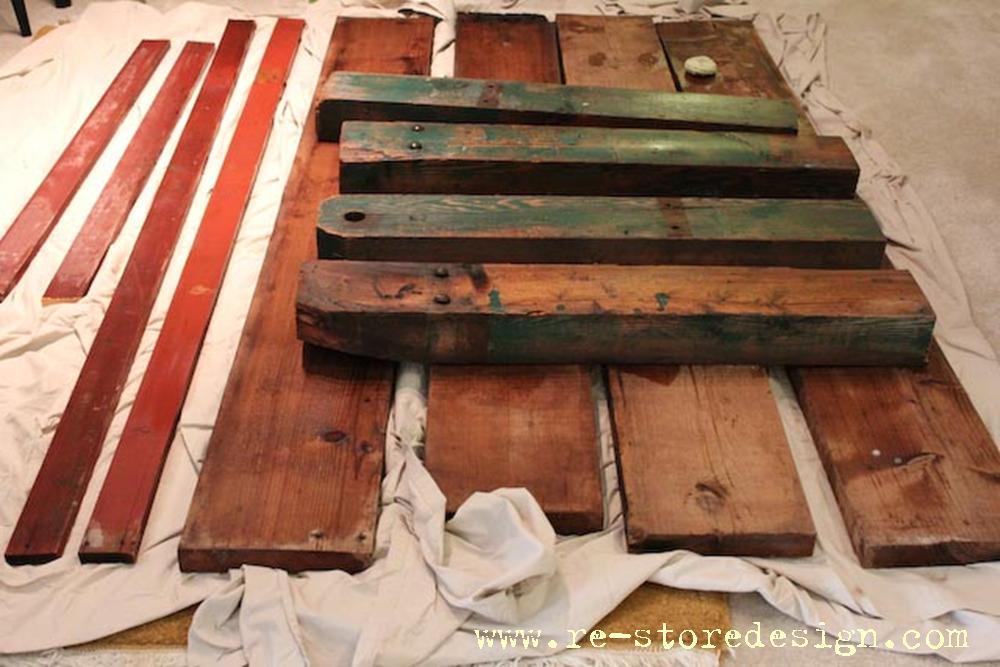
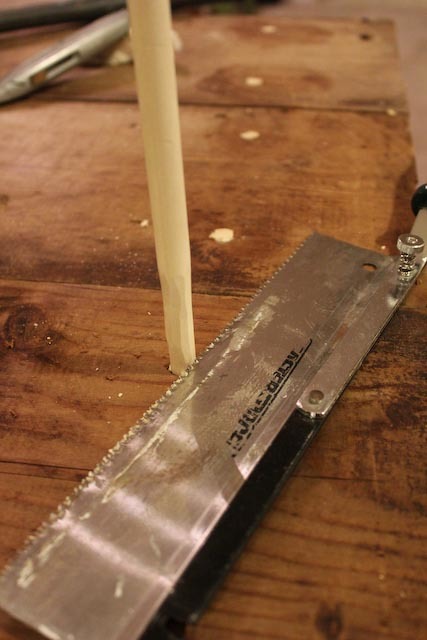
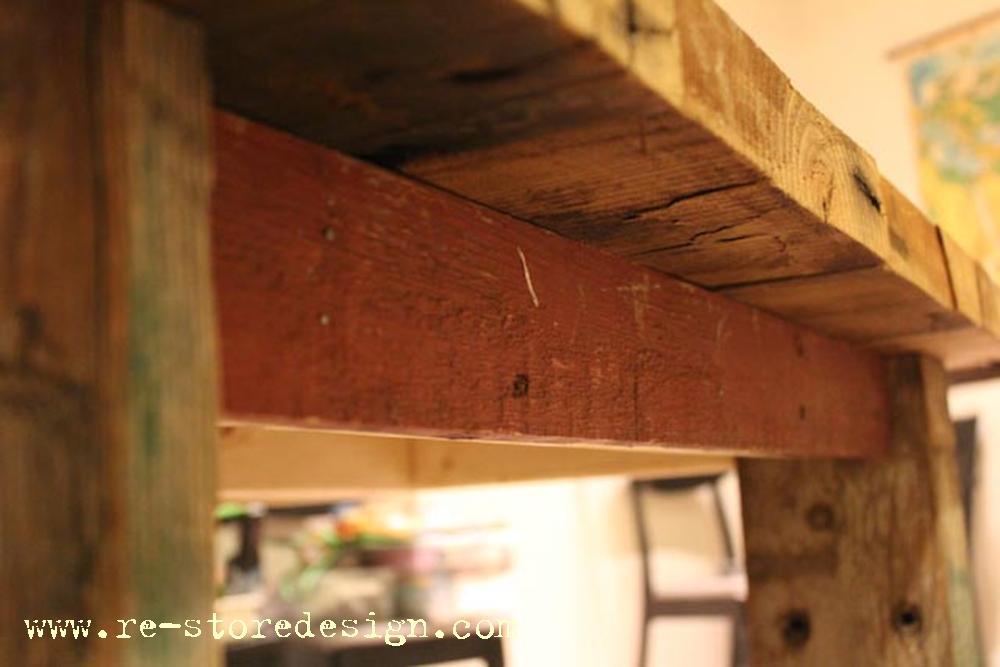
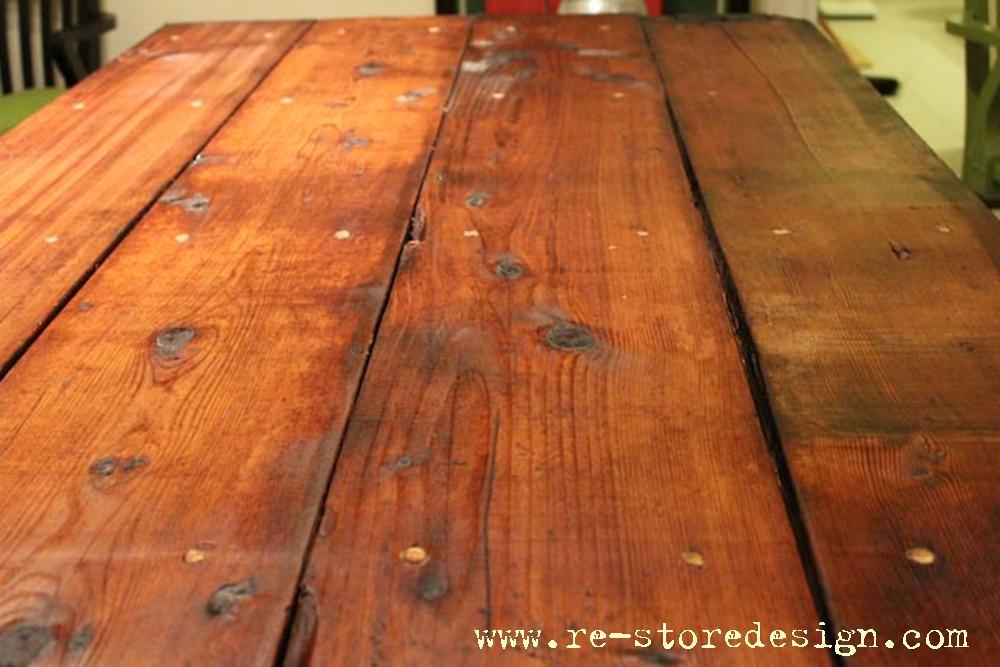
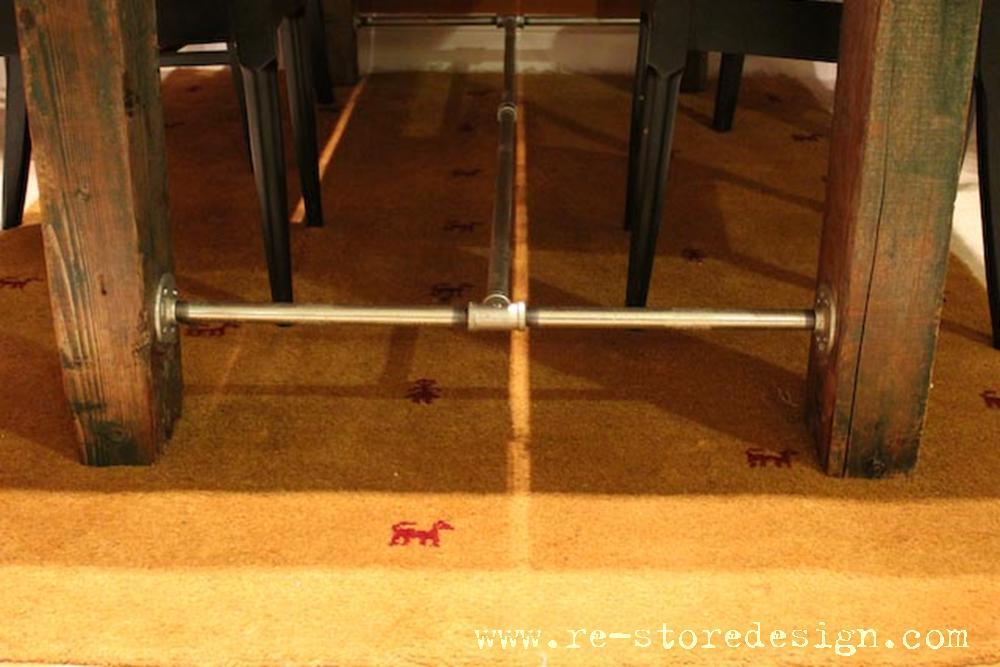
We recently moved from our small Minneapolis Bungalow to an apartment in Maryland. It was the prefect opportunity to build the Farmhouse Table plans I had been admiring. When we went to my parents farm in North Dakota for Thanksgiving we spent a couple hours digging through the barn to find old barn wood for the project. The wood then made the 1,400 mile trek to our new apartment in Rockville. Yes, you read that correctly…the table was built in our carpeted apartment! No excuses people…you can make this table in your apartment! If you do not have access to a saw your local big box home improvement store can make the cuts for you. If you go that route the cut list Ana has will come in very handy!
I do a fair amount of woodworking, so I was able to complete the project in one day. If this is your first project I would allow a weekend to finish it.
Wed, 01/16/2013 - 02:25
wow this is stunning, you must be thrilled with the end result!!
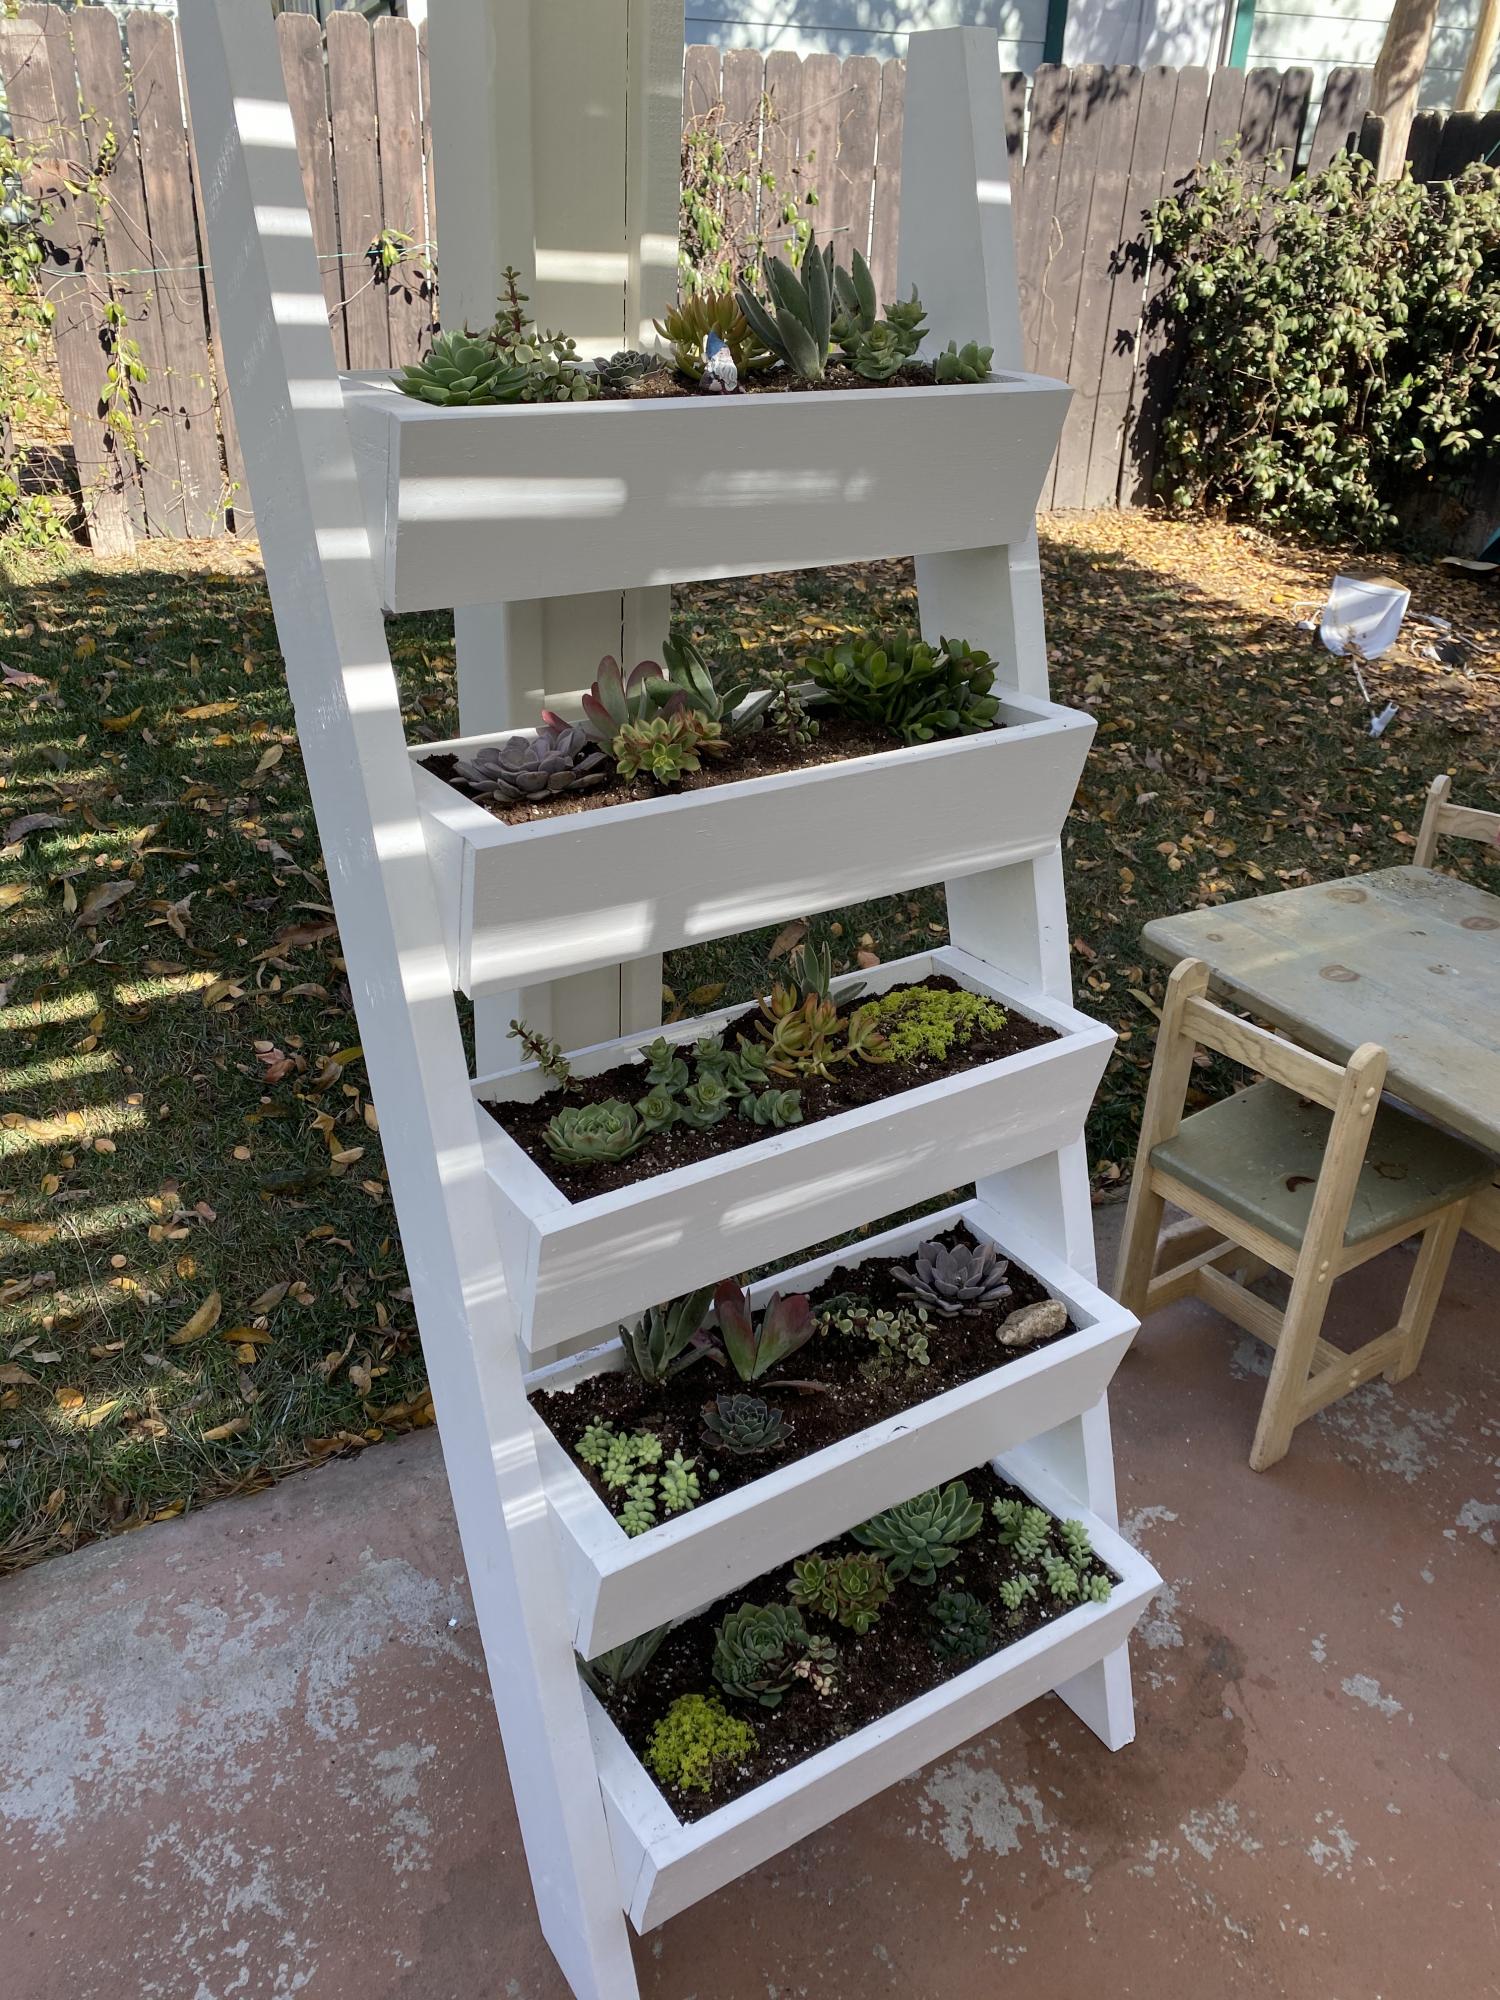
Made this over a few afternoons during the interesting year that is/was 2020! First DIY project and really enjoyed it! I used an opaque white stain and it's filled with succulents from our local nursery (Lincoln Nursery in Pasadena, CA). Painting took the longest as one coat of the stain still let some of the knots in the wood show through. Thanks so much for the plan and inspiration!
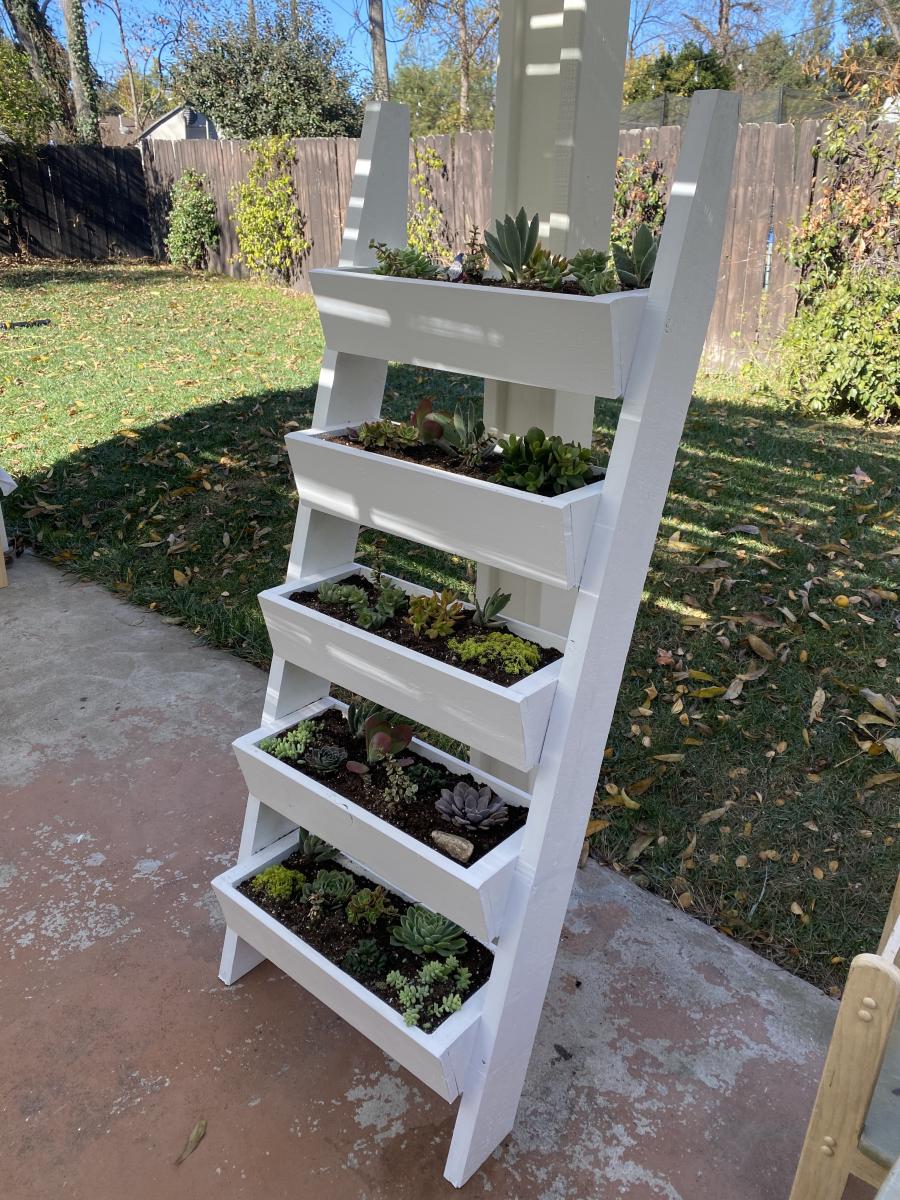
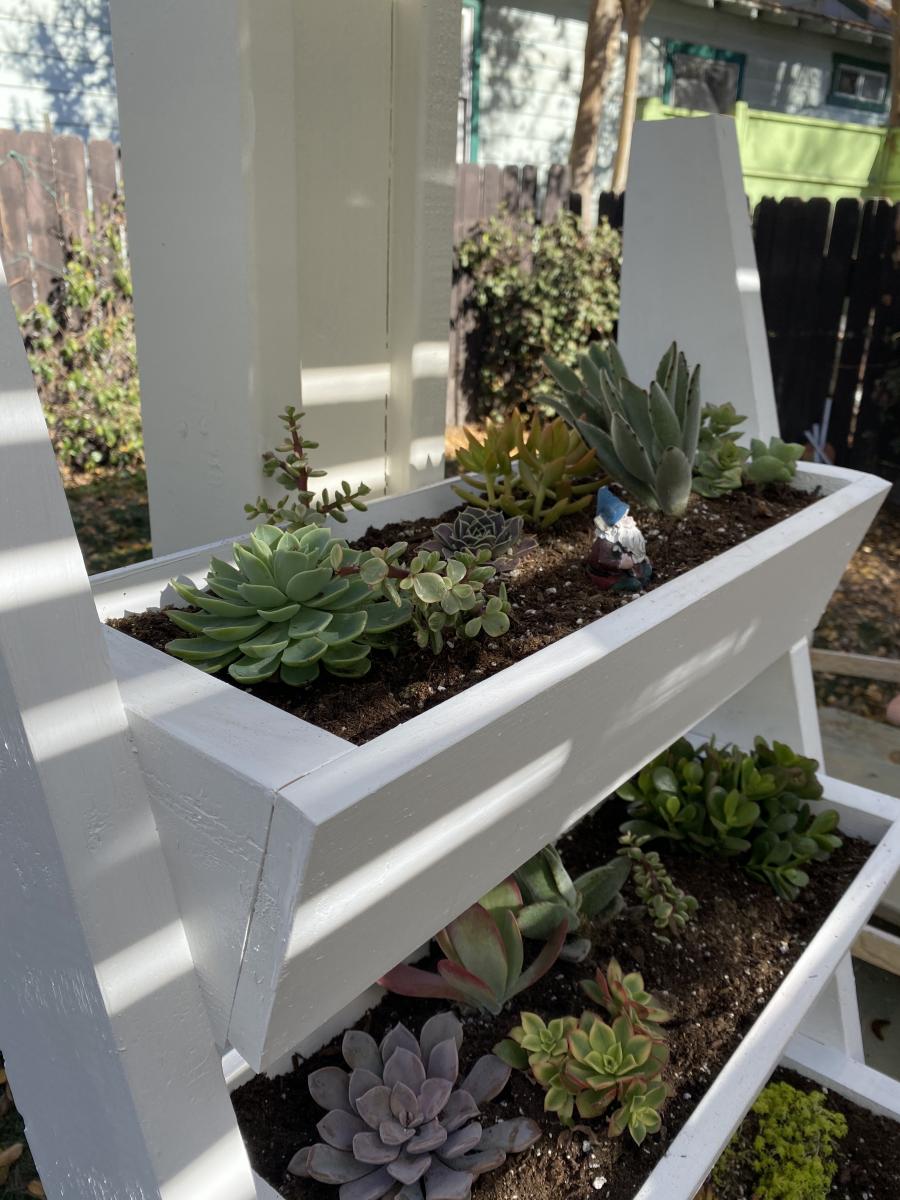
Did a couple modifications but this turned out great and she loved it. Now we wait until spring so we can stain it.
I saw http://www.ana-white.com/2013/02/plans/wall-kitchen-corner-cabinet and knew this was the project I wanted to do in our new home. The side cabients are from http://www.ana-white.com/2013/12/plans/36-wall-cabinet-double-door-momp… project, redesined to fit the wall-kitchen-corner-cabinet plans. This was my first cabient build. Still have to install doors. I am happy way it came out and so is wife.
Thanks Ana for your great site and plans. My next project is the storage sofa :D
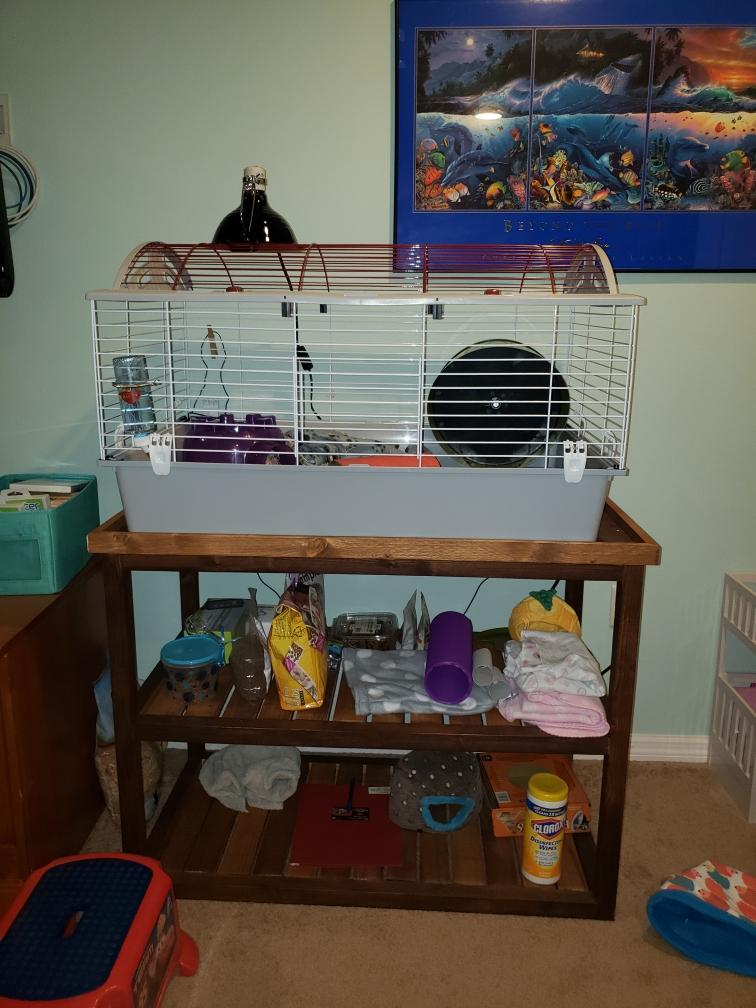
Sorry, the pictures are on their side. I used the Rustic X console table plans, but left out the X and made it taller and wider. I didnt have a stripper nor enough skinny wood to lay the slats on the shelf like that did in the video, so each of those slats are held up by pocket screws. Whew! Will avoid doing that again if possible! I did, however, stain BEFORE i built and that made all the difference! Also for the top I used a quality piece of compressed wood which bumped the cost $20, but seeing that a cage was going on top, i wanted a solid piece to hold any shavings. I also added a railing so the cage would stay in place. My neighbors LOVE it and I'm just super happy with how the stain job came out. It was actually a fluke, I think I failed to stir it completely on the first coat and when I was touching up it got waaay darker so I just rolled with it and made it two toned. LOVE the result and not sure if I can pull it off again haha
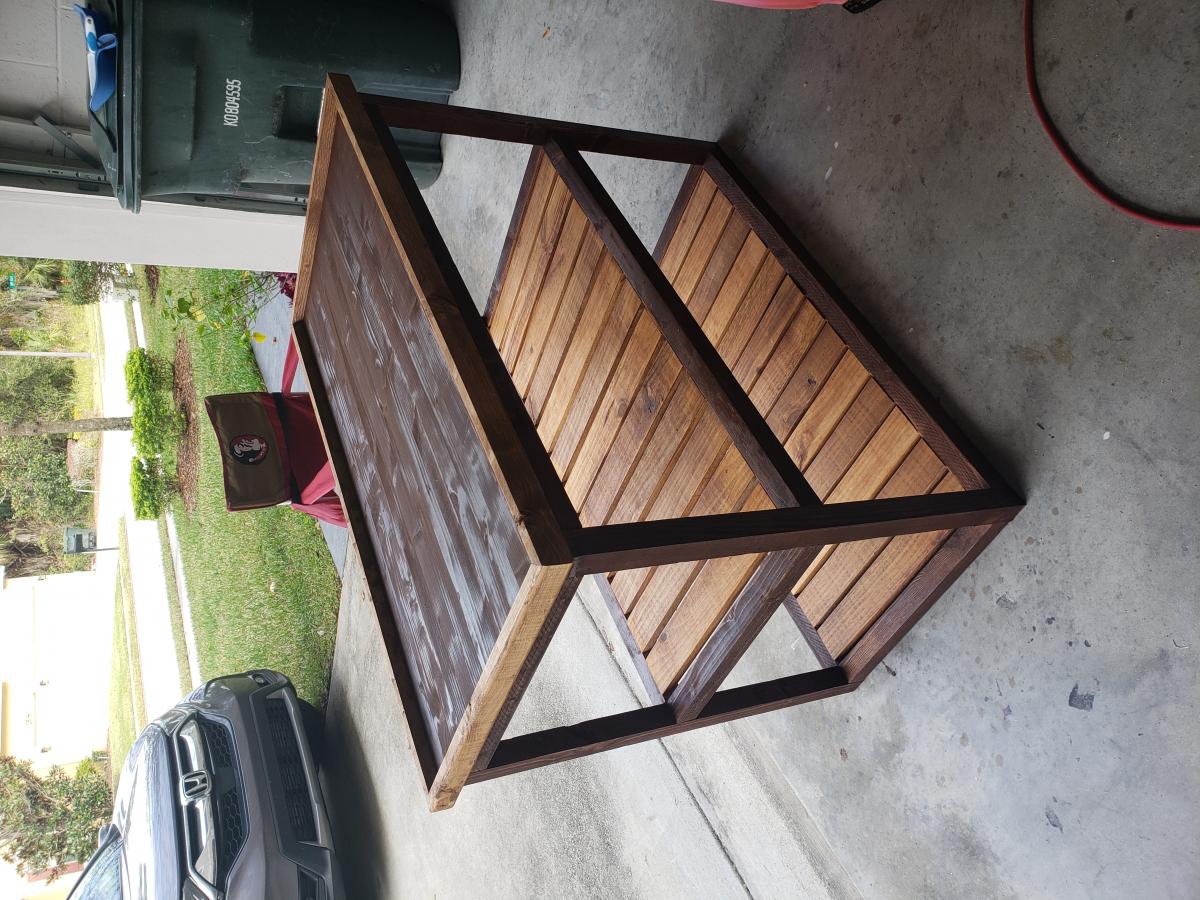
After searching for a table i liked in stores the ridiculous prices for real quality tables made me just resolve it by building one myself. I have three boys under 10 so i knew I also wanted it to be sturdy and resistant to as much wear and tear as possible. Therefore I chose to use oak for this project...although more expensive it is so much harder and will hopefully last longer :)
ok, so I used some examples that Ana posted and some customer projects and combined them to create this table. I also made stools to match and so thankful I did (another brag post) because they are very sturdy with no tipping factor like regular store bought stools.
I probably spend a total of $600 on the table and 6 stools, but it was swell worth it and you cant buy a table like this in the stores for less than $1200 and that is with crap laminate wood that chips and then its ruined. So I feel this was a smart investment (plus I get the enjoyment and fulfillment of making it )
I did not finish painting the leg portion yet, but love the way it is turning out...I did by the Kreg jig finally as well and it is well worth the investment! so much easy, and secure joints.


I built this desk as part of redesigning my homeschool room, and made a few customizations to better fit our needs. It's taller and deeper than the plans, which allowed for a larger work opening for a larger computer. It also gave me much needed extra storage space.
The cabinet is made from 3/4" and 1/4" PureBond birch plywood cut down to size using my Kreg Rip-Cut. The frame is built from pine 1x2s and 1x1s. The three cabinet doors are pine 1x6s and 1x2s joined together with biscuits, and trimmed to the correct size on the table saw. Because the secretary desk is deeper than the plan and the mail slots are small, I finished with stain and polyurethane prior to assembly. This saved a lot of frustration of trying to stain in tight spaces.
Thank you for the plans, Ana!
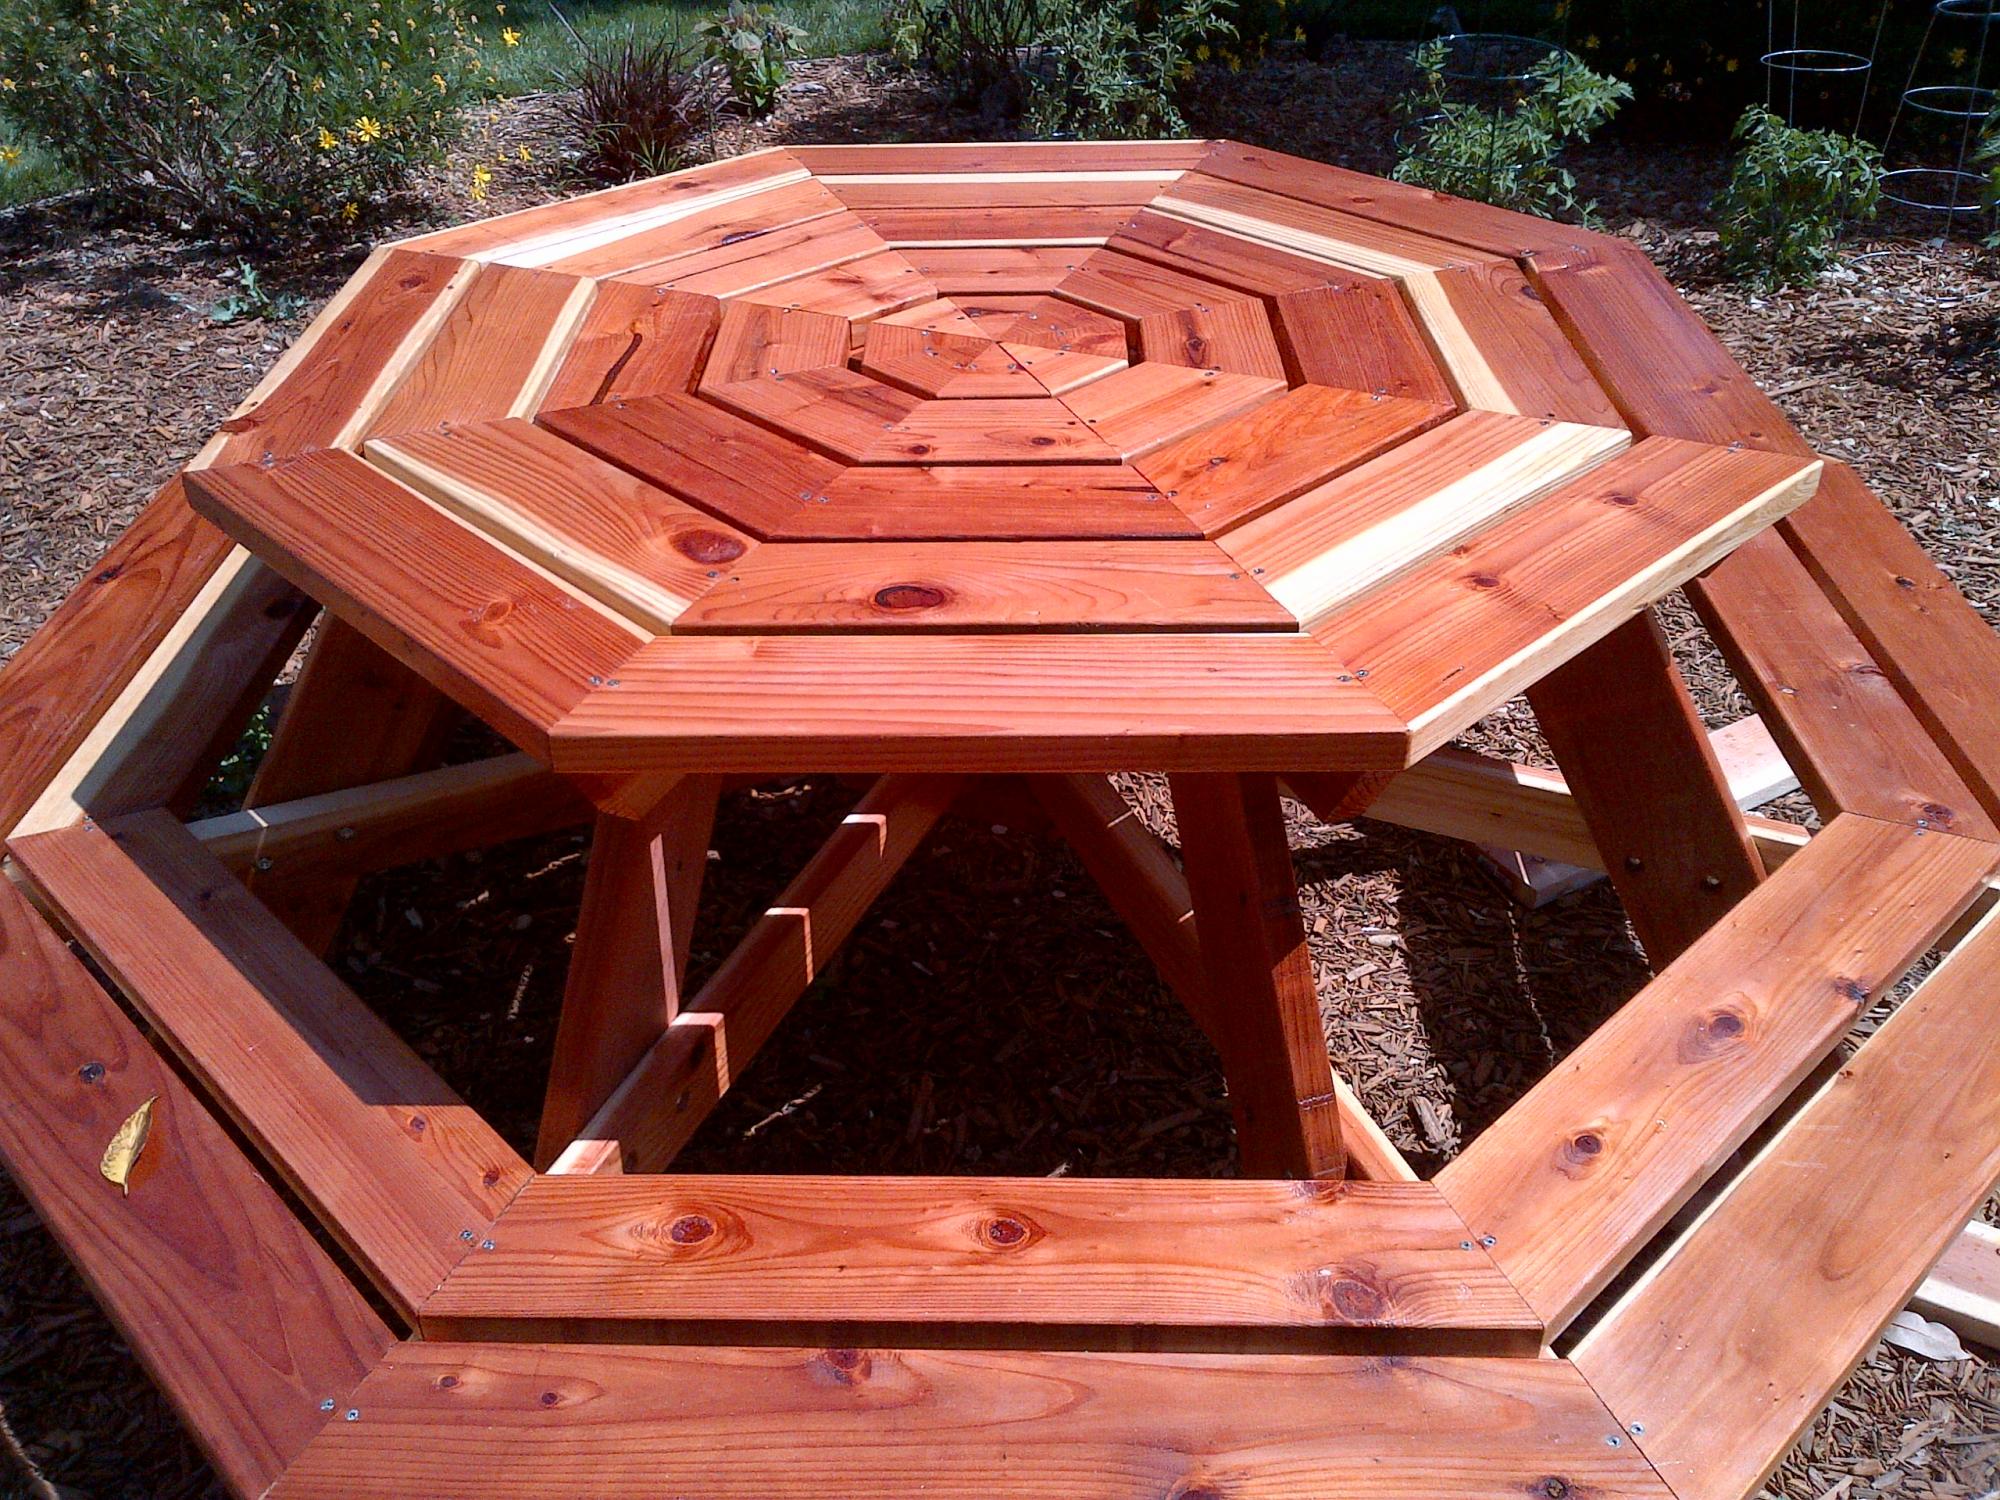
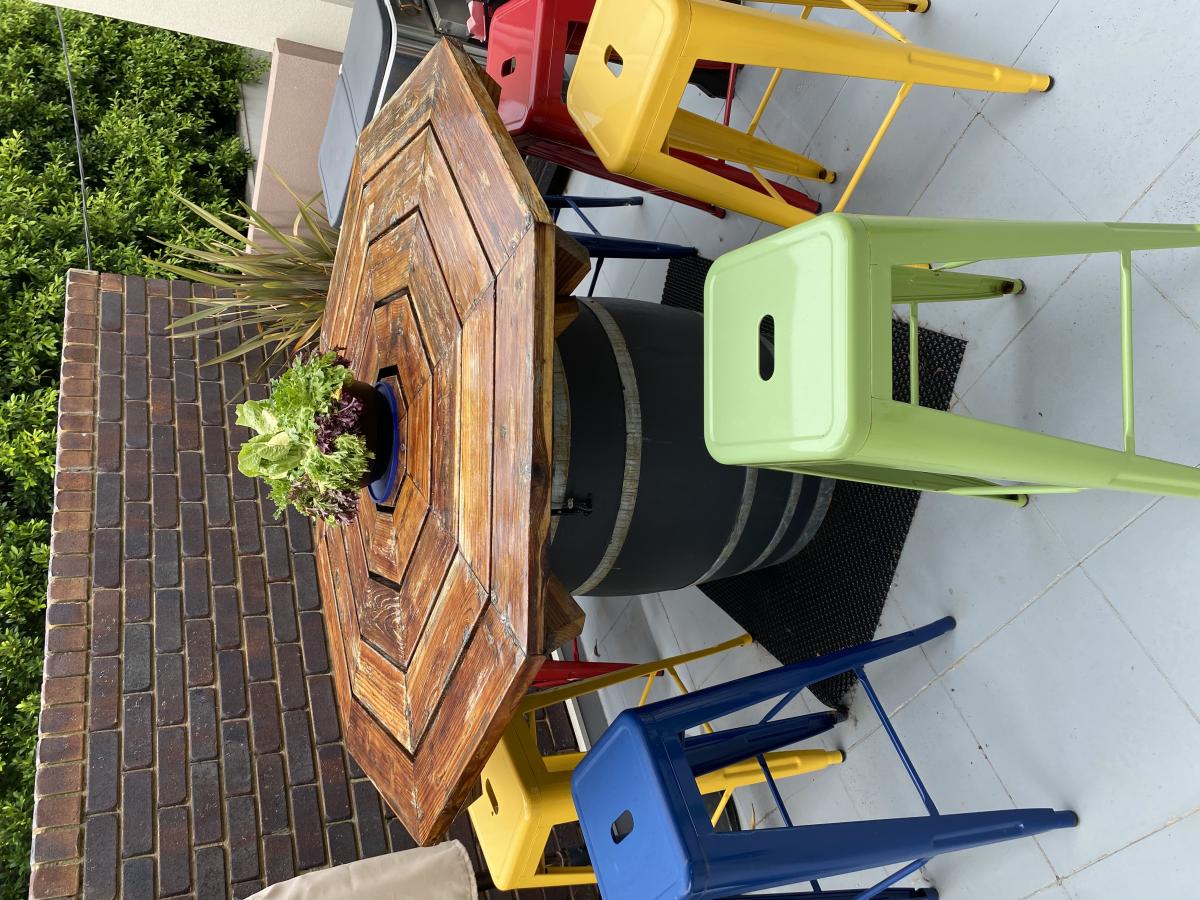
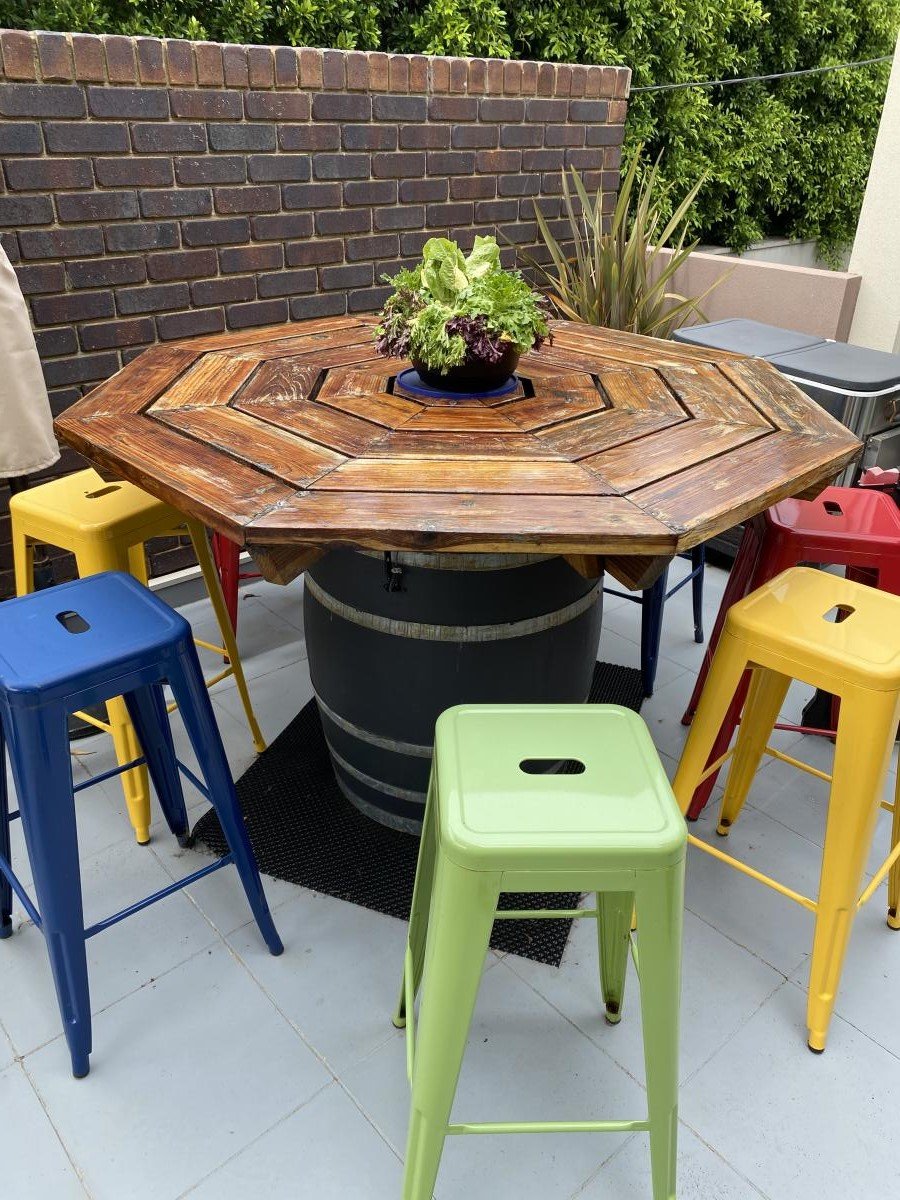
I made the octagon picnic table in 2012, using redwood. We lived in California, then in Asia, and now in Australia. In 2020 I modified the table using a wine barrel, because the original legs had rotted.
