Garage Storage
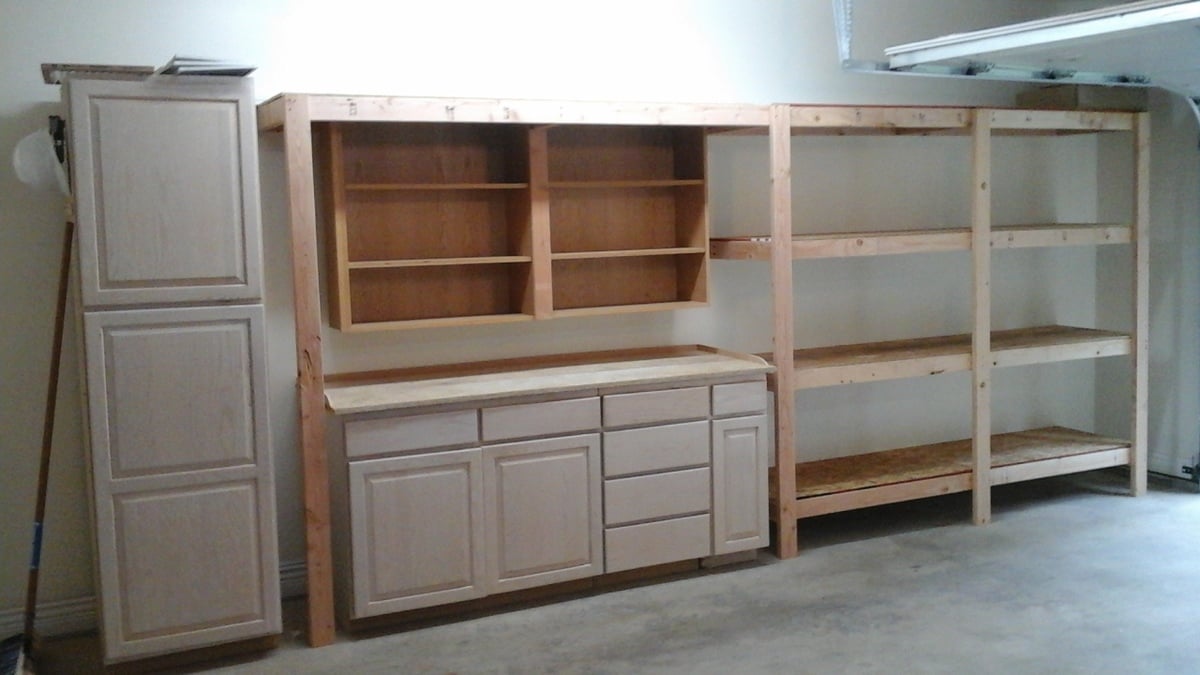
Thanks to Ana's 2x4 storage plan and a neighbor's discarded kitchen cabinets we now have a very clean and convenient storage area in our garage. It even features a work bench and sorting area.

Thanks to Ana's 2x4 storage plan and a neighbor's discarded kitchen cabinets we now have a very clean and convenient storage area in our garage. It even features a work bench and sorting area.
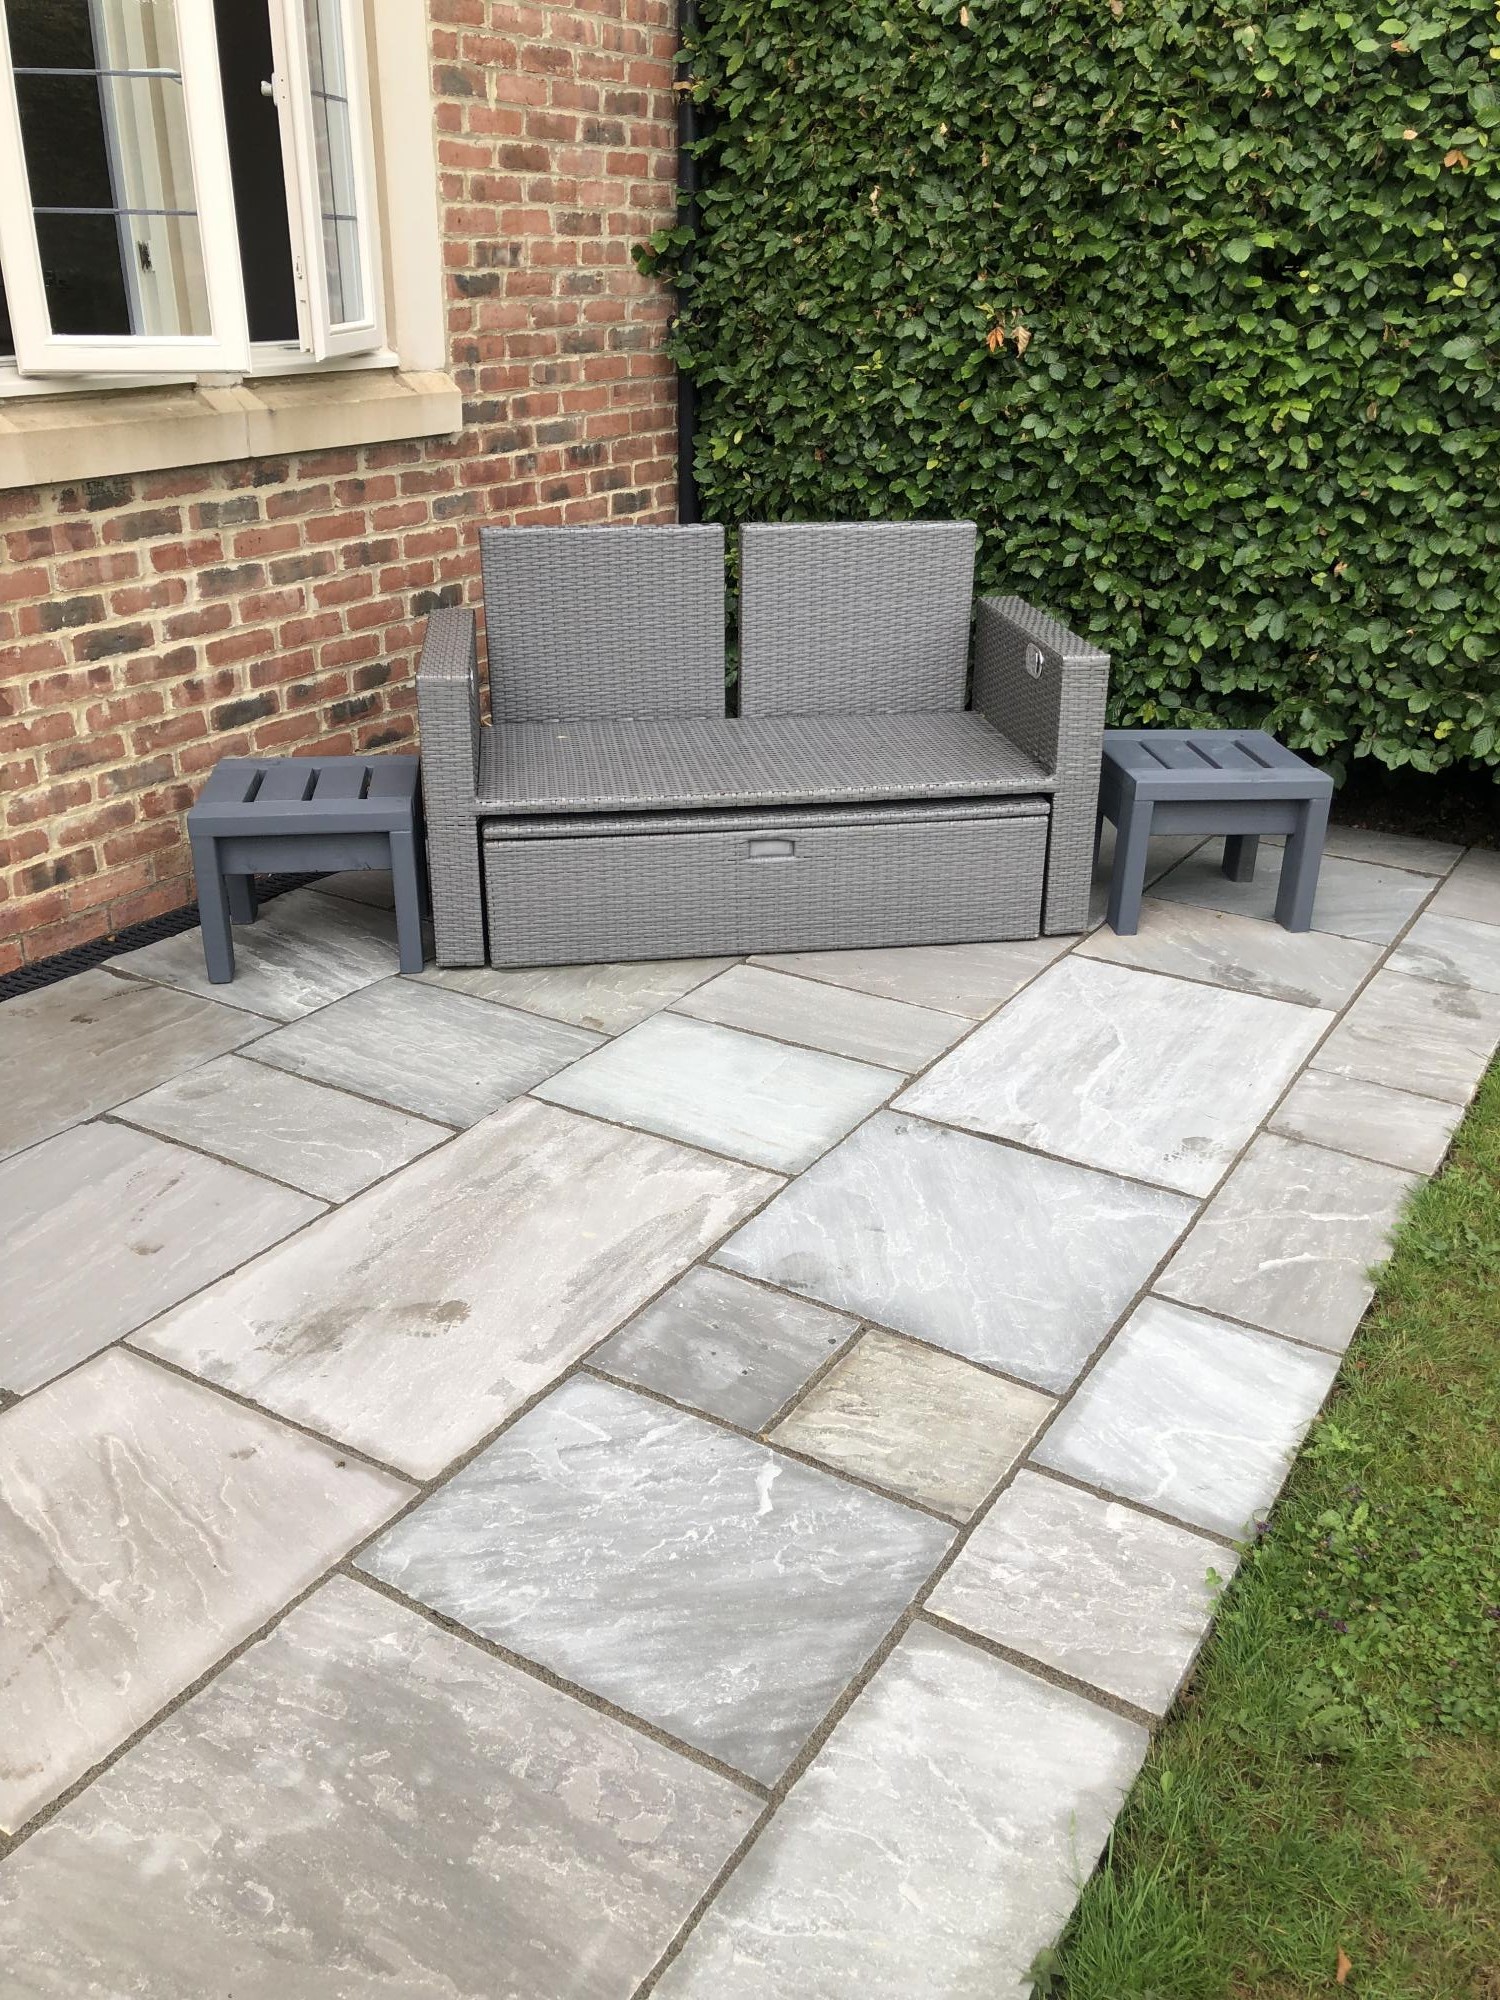
Well my wife bought 2 x 17” square seat cushions the problem was we didn’t have any stools to put them on so decided to enhance our front seating patio area with 2 solid 2x4 side tables that would double up as stools.
I based the design on Ana’s table design but decided to counter sink all the screws & cut plugs to suit so no screw heads could be seen, they turned out perfect & very robust, perfect for the U.K. weather, my wife finished them in grey outdoor paint to match the furniture, all in all they took only around 6hrs to make & paint.
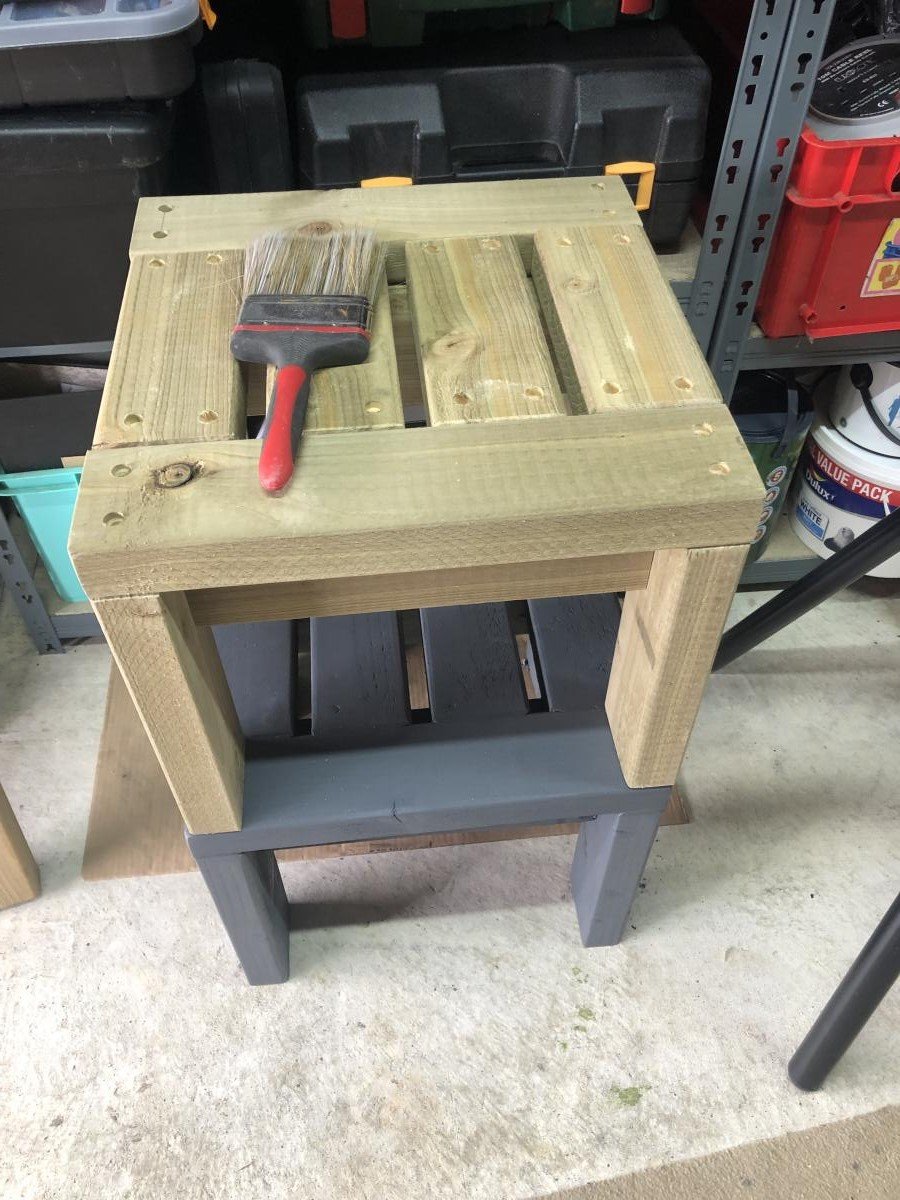
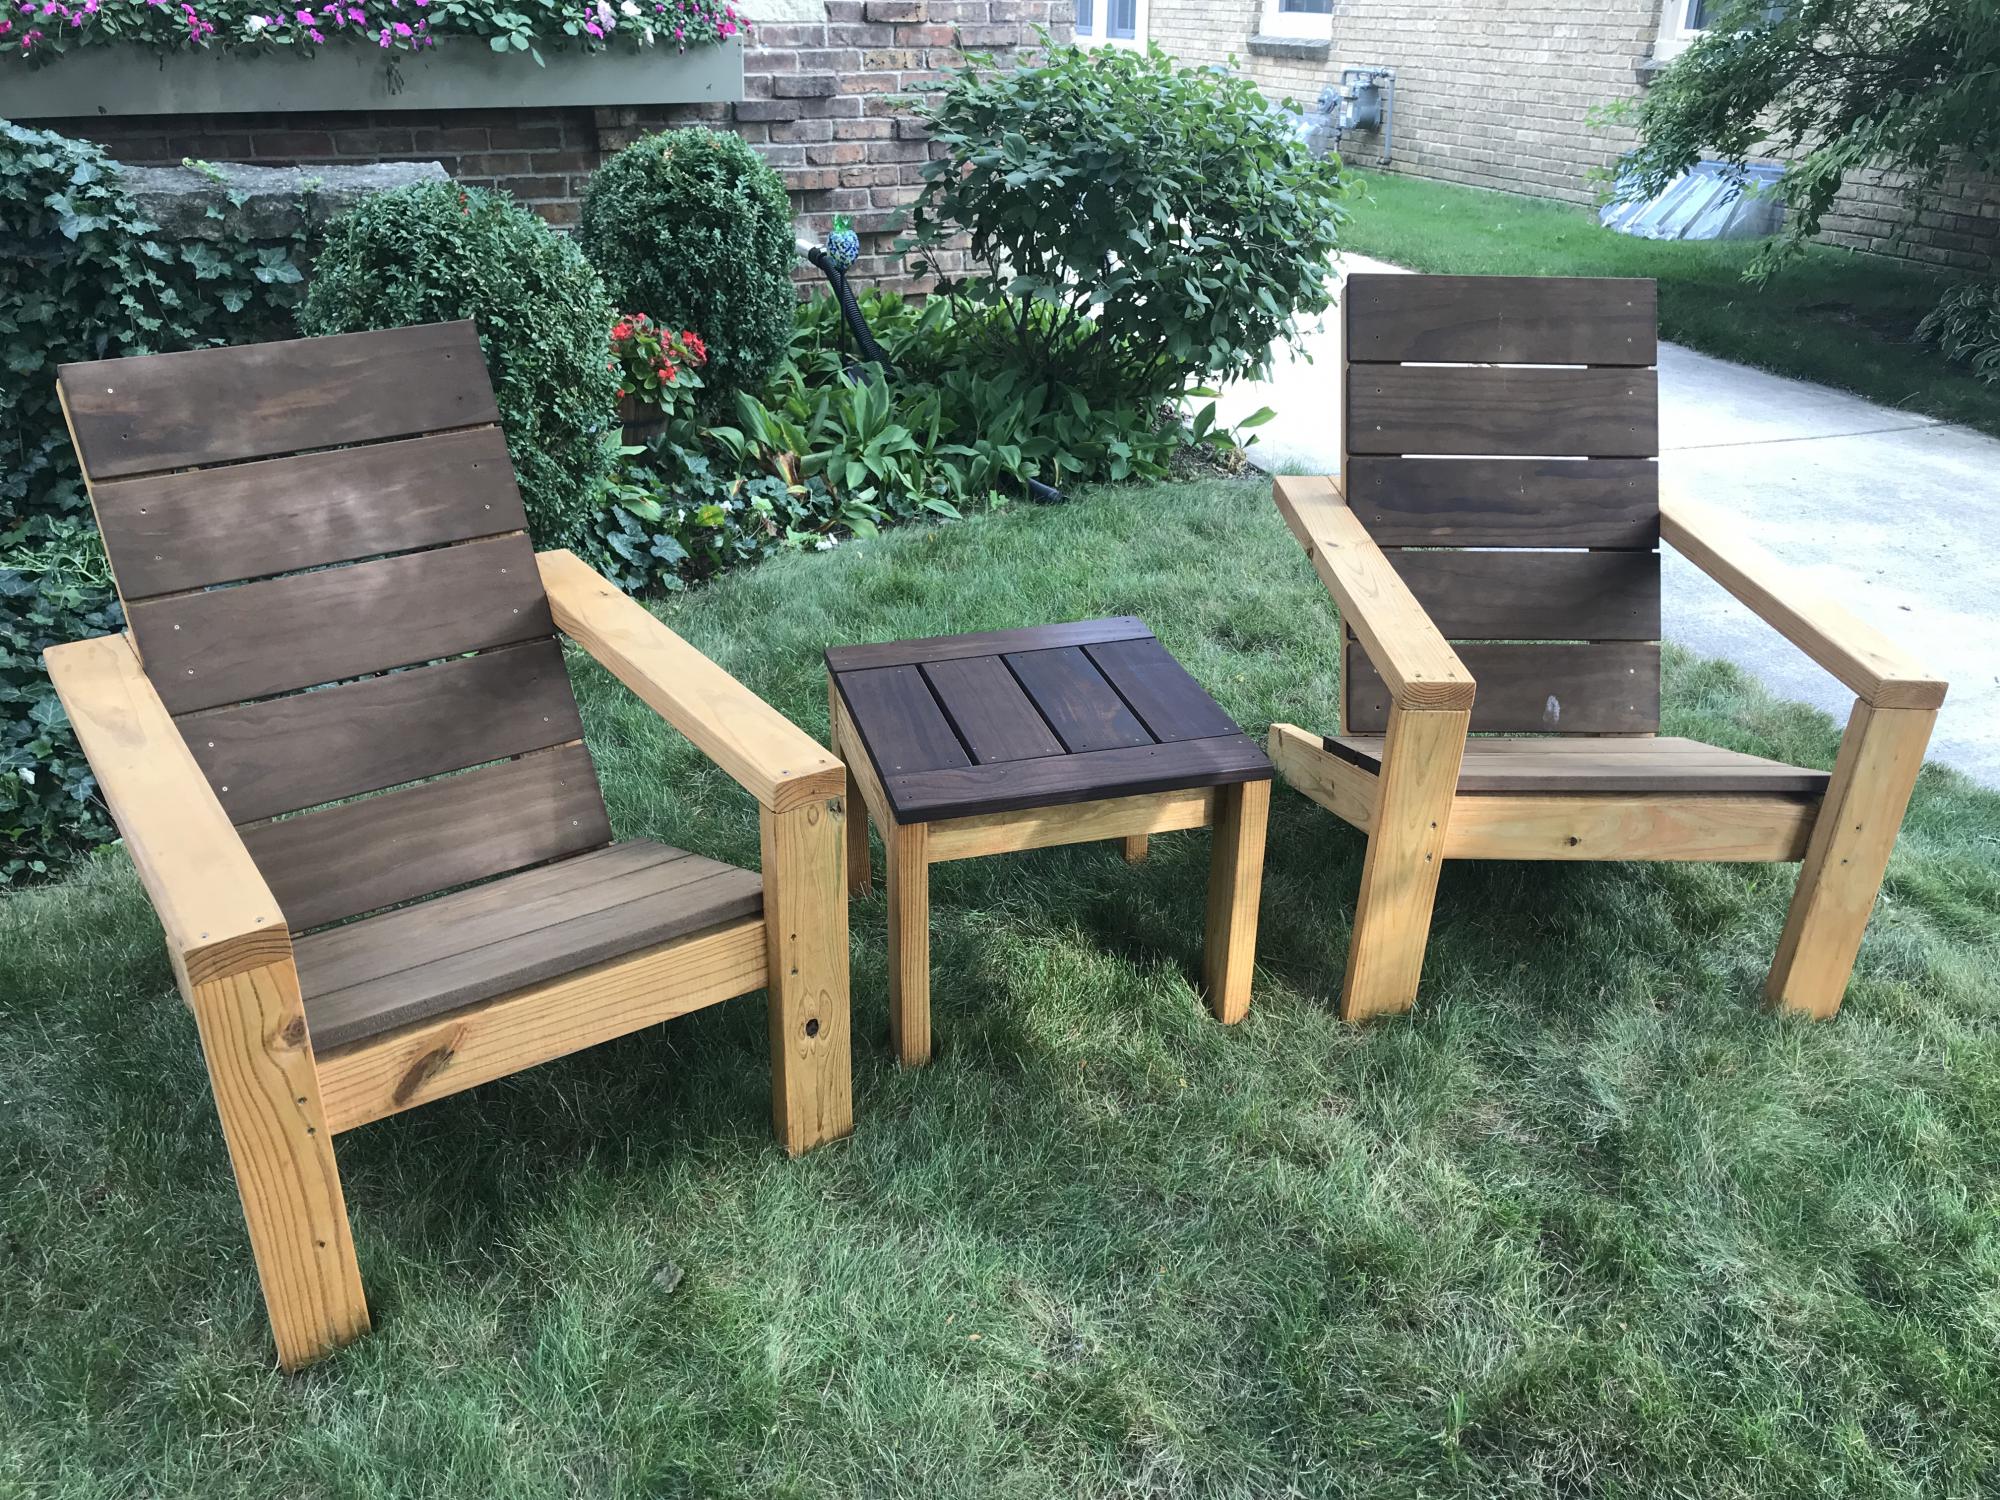
I had some Kebony deck boards left over from another project and thought they would work well. I think they did! Kebony is pine that is soaked in an alcohol and then heated up. It has a 30 year warranty and requires no care. I used a Penofin oil on the 2x4s and Cutek oil on the Kebony
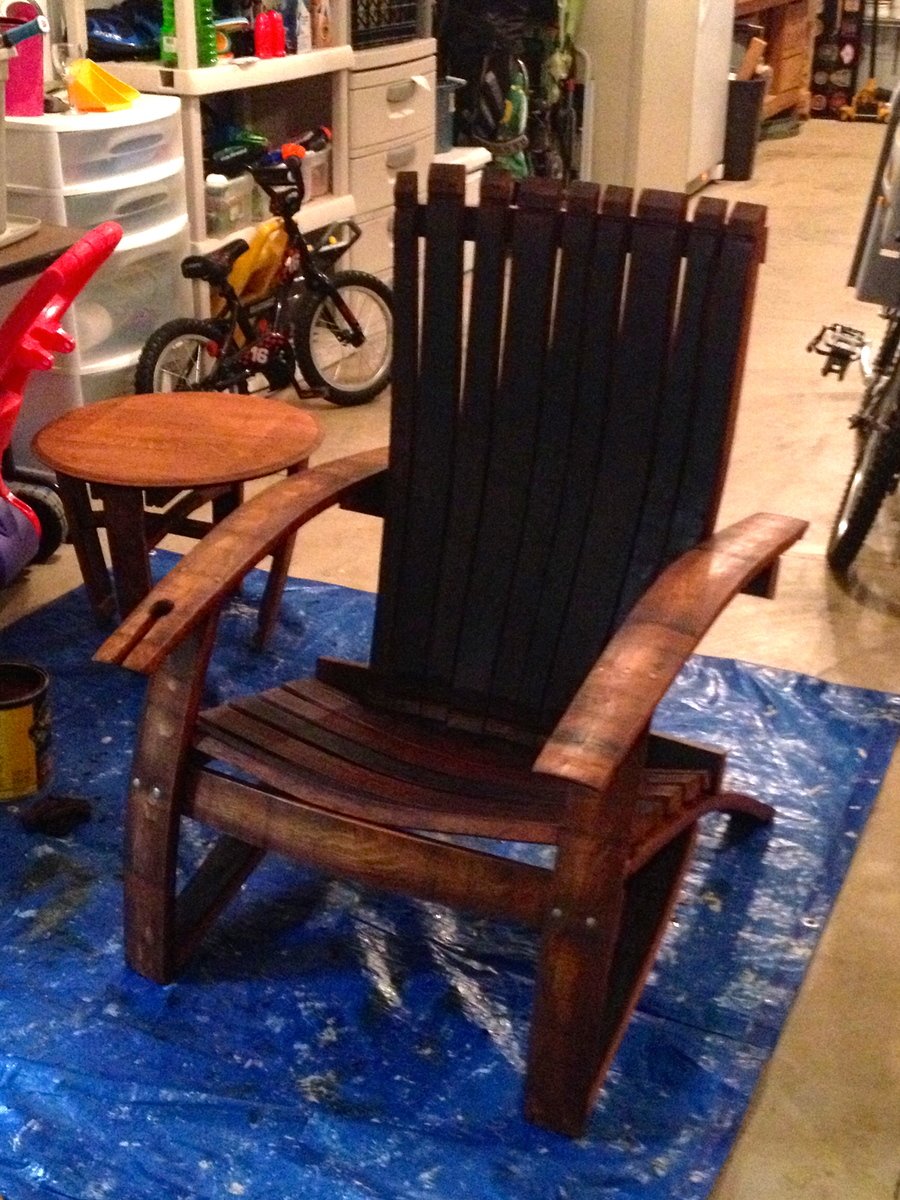
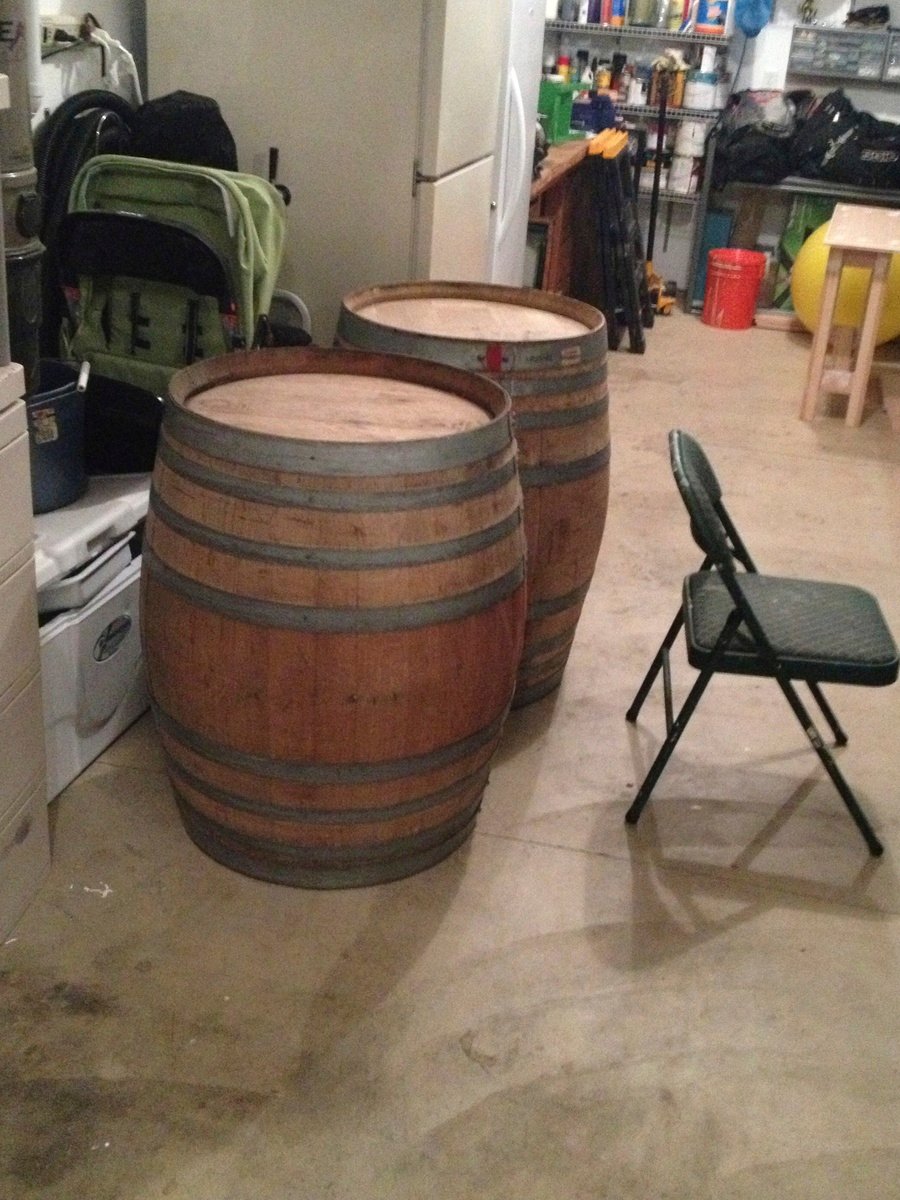
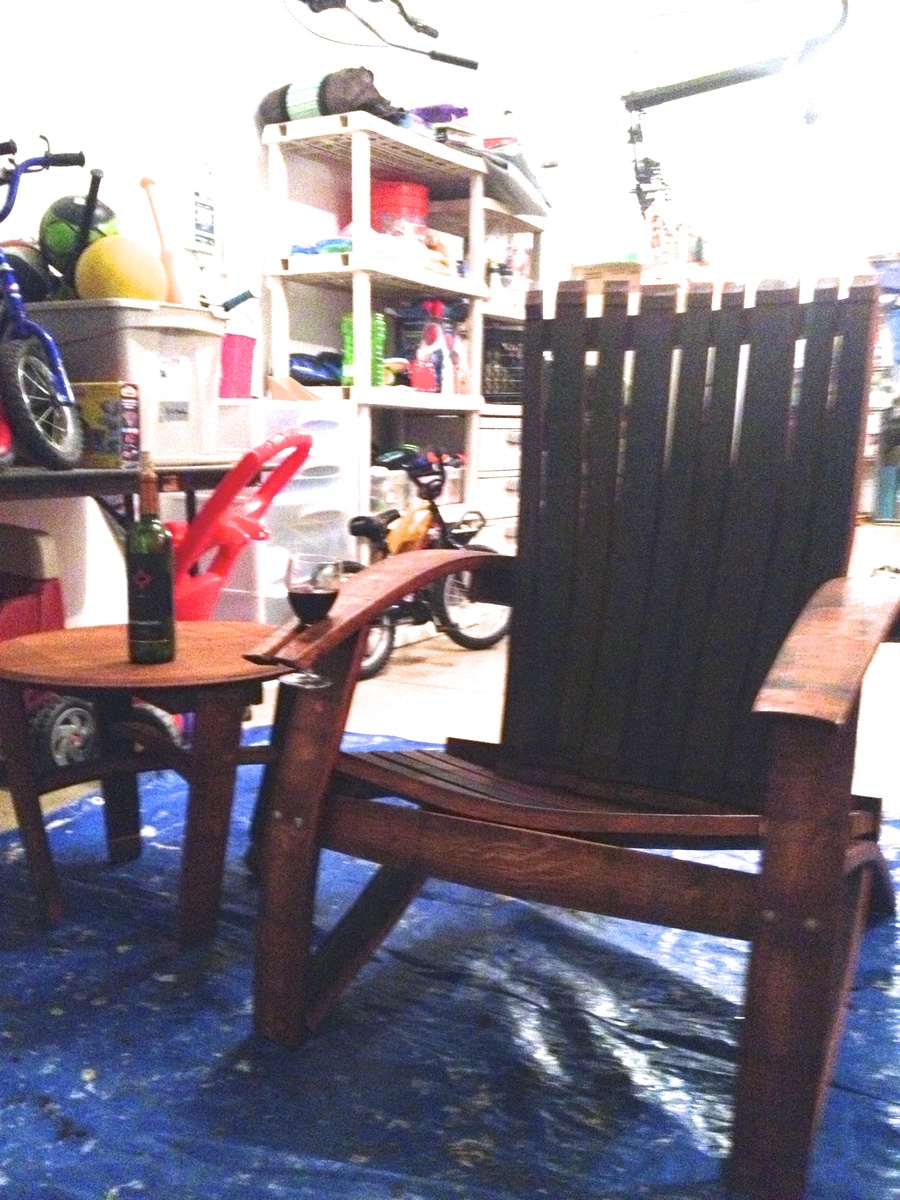
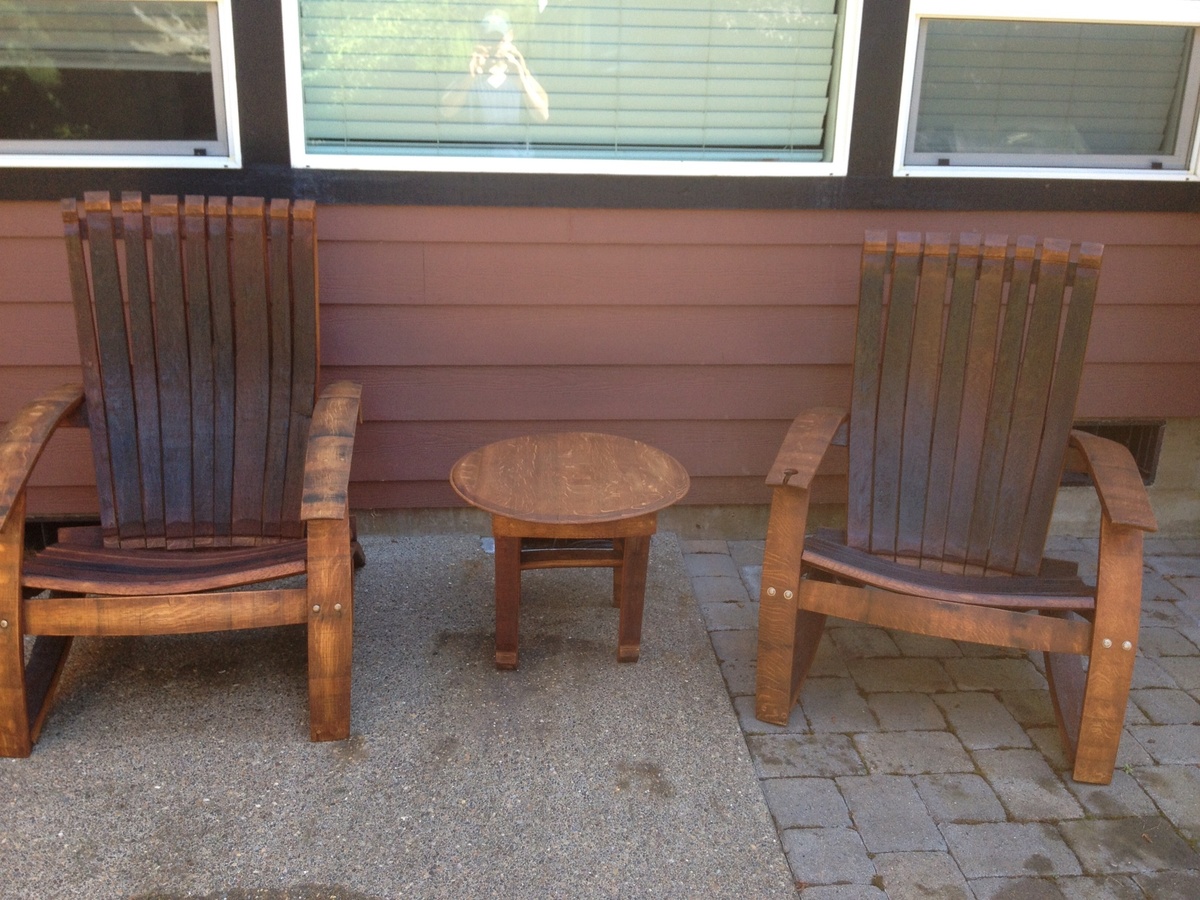
I got some oak barrels from a local vineyard and decided to try making some adirondack chairs. It was harder than I thought it would be, but well worth it!! The stain was a little darker than I thought it be, but it's rubbing off on me!
predrill, predrill, predrill, and learned a valuable lesson in predrilling, as solid wood under strain cracks easy when using 2 1/2" deck screws!
I need to whip out the nice camera and stop using my cell phone for finished products!
Sun, 07/21/2013 - 19:45
I did have some plans, which made it easier. I didn't use them as designed i.e. tracing, and I also altered the plans some to my liking. I got the plans for 15$ from here: http://www.gcwoodworks.com/Wine-Barrel-Adirondack-Chair-Large.htm
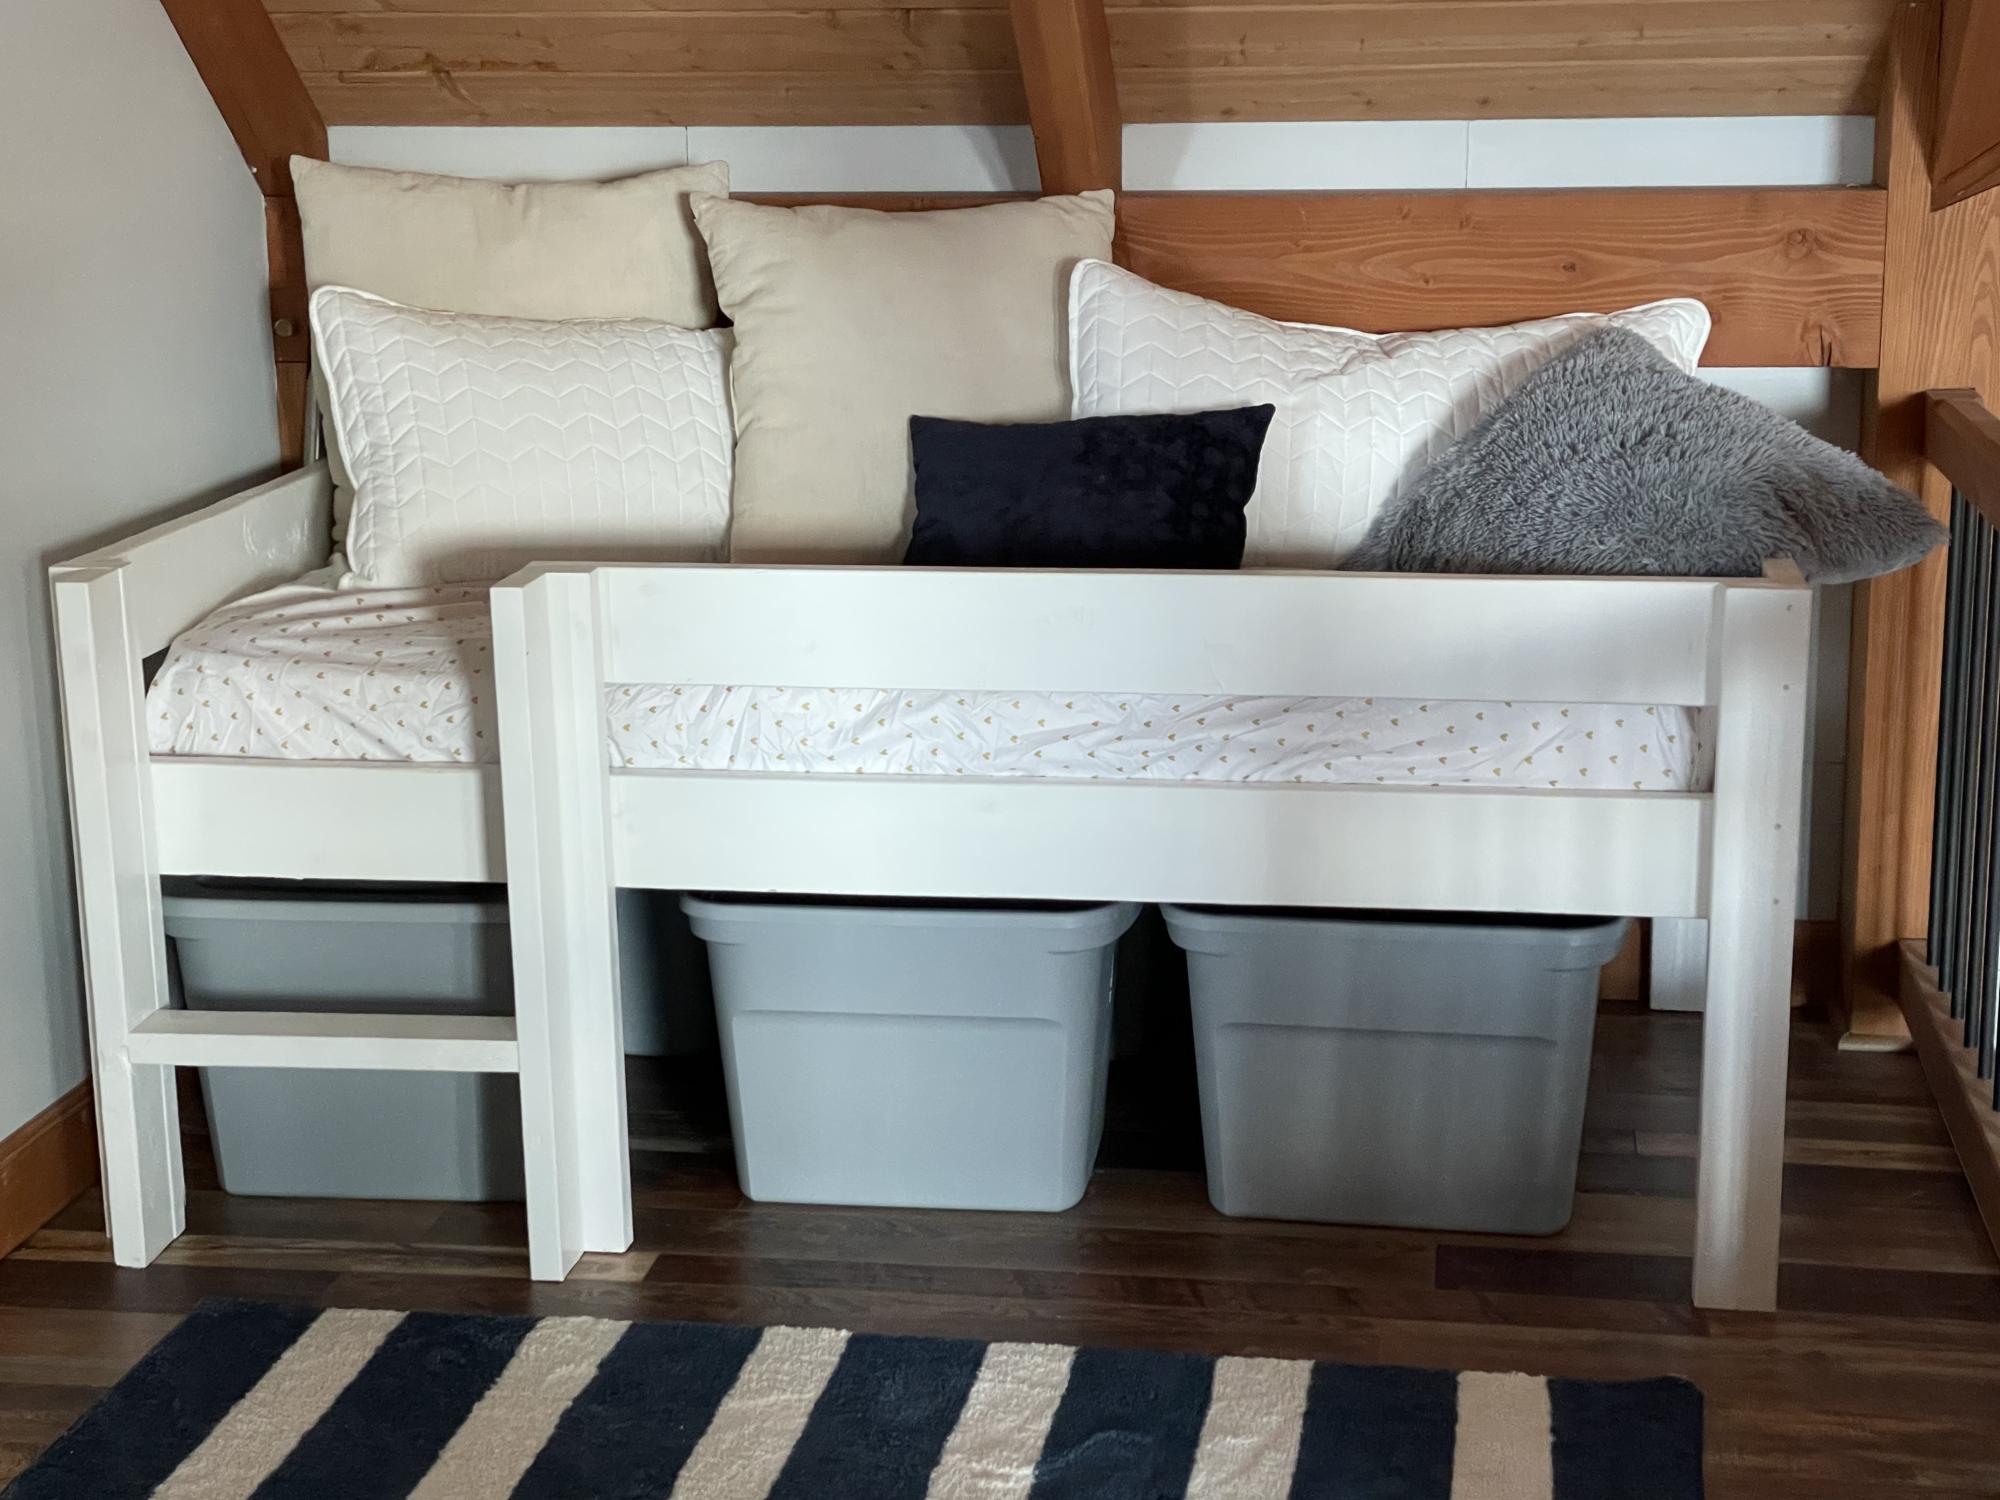
Shortened the essential loft bed up so legs are 32” long. This is the perfect height for putting totes underneath. I fit six totes easily.
The back row of totes is out of season/size/etc stuff. The front totes don’t have lids on them and the kids use them for toy boxes.
The bed itself is at a nice height. It’s easy to put kids in bed and make the bed. The guardrail is great for keeping pillows blankets and kids on the bed. Kids also love the ladder and bunk feel!
This is a great bed that I couldn’t recommend enough. It could easily last from toddler to teen. Very sturdy and comfortable.
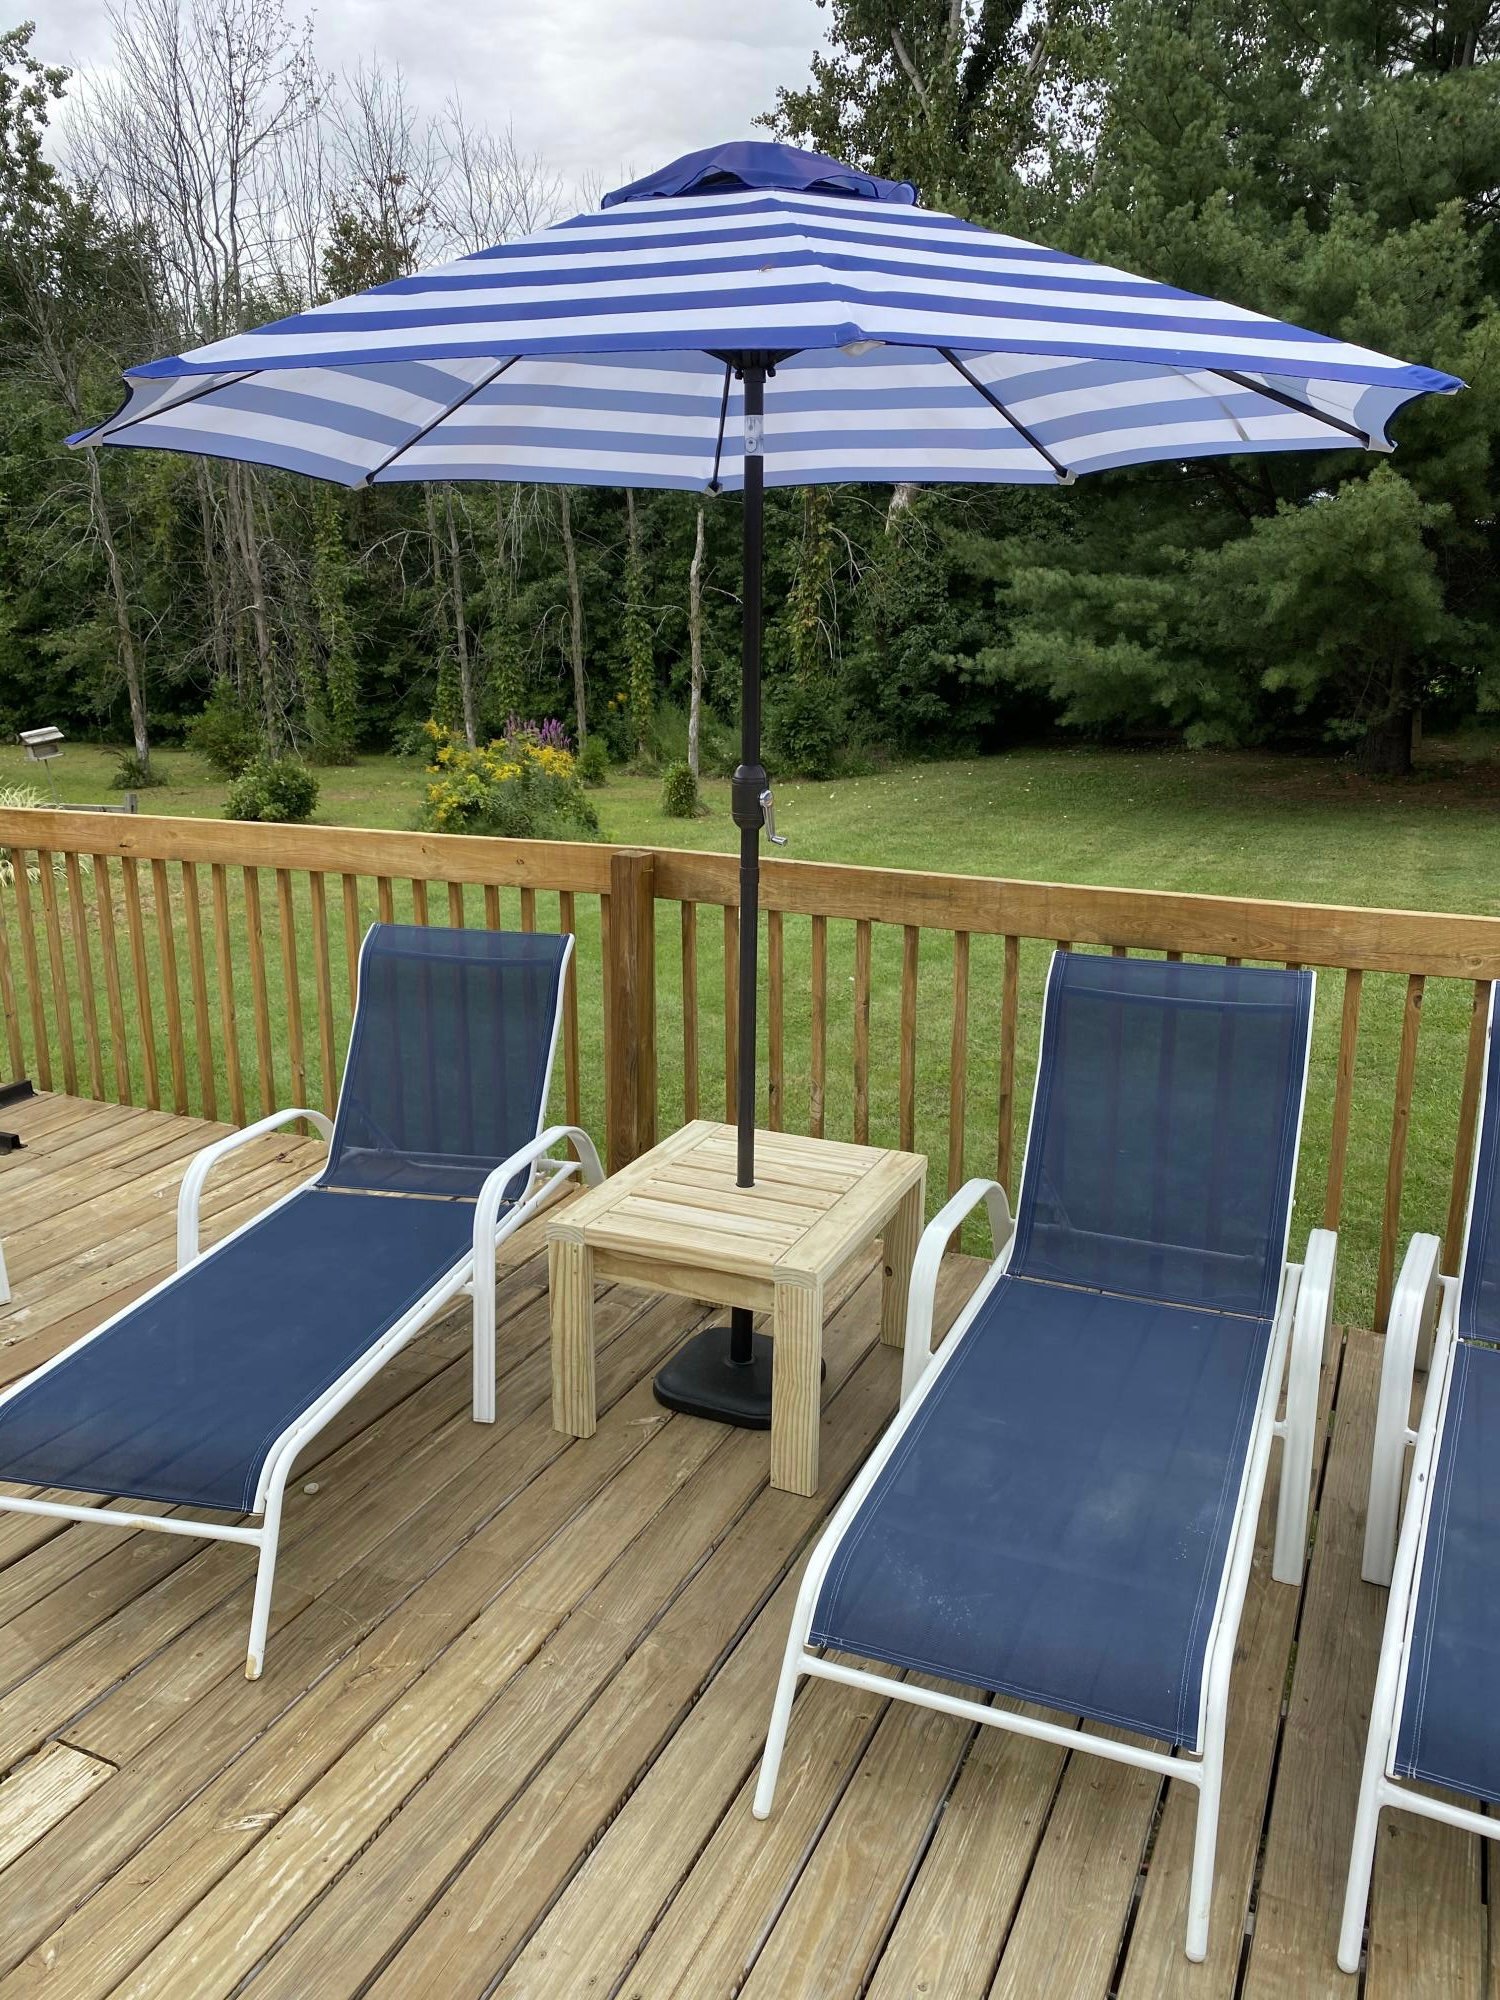
I made the end table a little taller than the instructions and the top boards further apart for rain to fall thru, then drilled a hole so it can be used as an umbrella stand too!
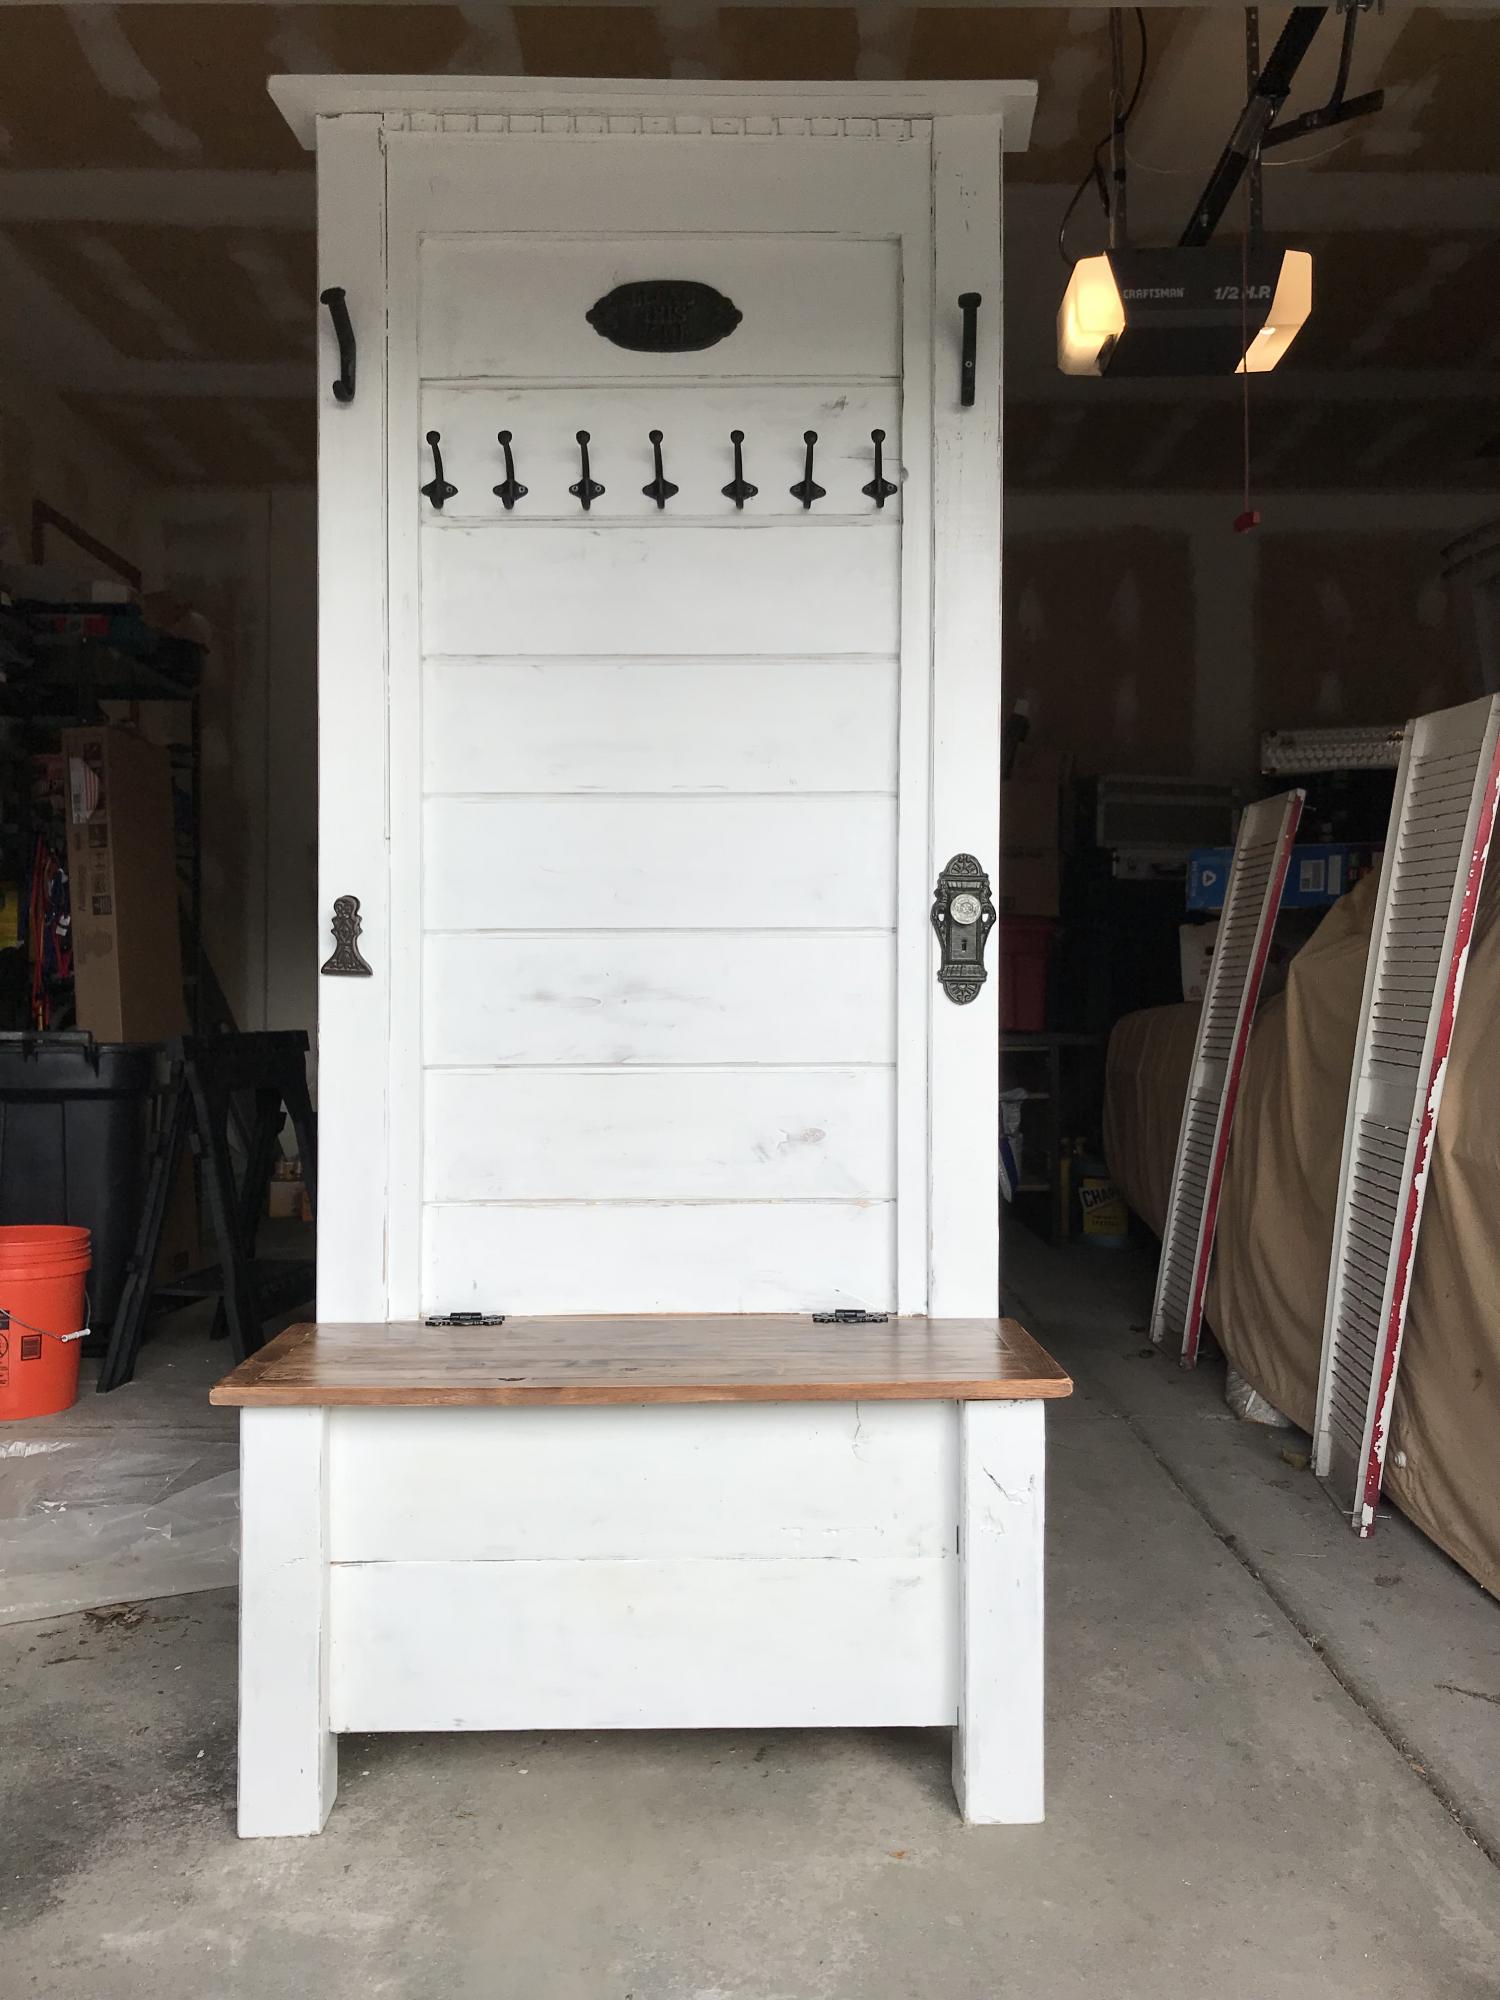
Hi Ana! This project was pretty much inspired by ALL the great things you build on this site, as well as from watching a 'Fixer Upper' marathon (hence, the white color and shiplap). Last Christmas, I promised my sister that I'd build her a hall tree since she's now up to 10 grandkids and needed more hooks for all those coats and hats. Unfortunately, I also came down with a WICKED case of vertigo, so no power tools for yours truly. : (
Well... The vertigo finally cleared up, so it was time to get out my trusty ol' Kreg Jig and fire up the tools.
This project started with 2 4x4s. I cut 17 1/2" off each, then used the long pieces as the back and the sort pieces as the front legs. Then I built a rectangle (shored up by some cross supports) out of 2x3s and used those to attach the back legs together with pocket holes. I did the same thing with the 2 front legs, then attached the 2 sets of legs together with shorter pieces of 2x3s that framed up the side.
Next, I added a front to back support to the underside, and then attached the bottom of the seat on top of that. I built the front, back, and side pieces of the bench section by cutting a couple of 8' x 8" x .5" planks to size, and attached 2 pieces to each side by gluing and nailing them to the frame. Then, I rans some shiplap up the back (glued and nailed to the back frame) and topped it all off with a mantle.
For the seat, I used a 12" project board ($11 at Lowes for a 6 foot section) because I love all the knotty details and nail marks. I framed it out with 1x1 and attached with pocket screws on the underside. I finished that piece by staining it in Rustoleum Dark Walnut.
As for the rest, I just framed the shiplap section with leftover 1x1s, then sanded and stained the whole piece with the same Dark Walnut stain (so that something would show through after distressing). Finally, I applied 2 coats of Rustoleum Linen White Chalk Paint (LOVE that stuff!), distressed it, and topped with one coat of Minwax 1 Coat Poly (ALSO love that stuff), and added some hardware and country do dads from Hobby Lobby (Rustic Hooks, 'Bless This Home' Sign, Decorative Doorknob, and "Mitten Clip" for wet mittens and gloves coming off little hands) . What do you think? ヅ
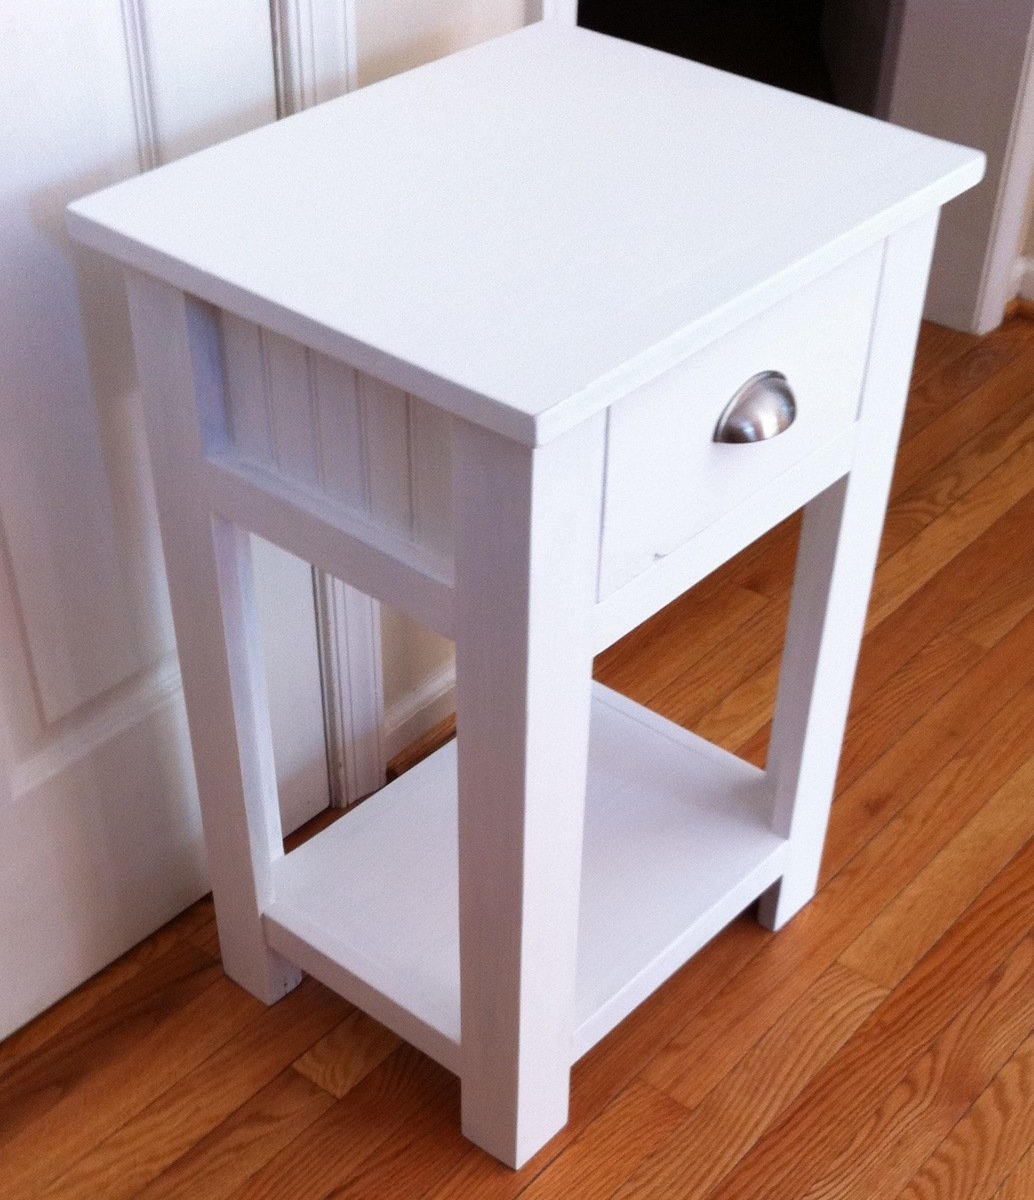
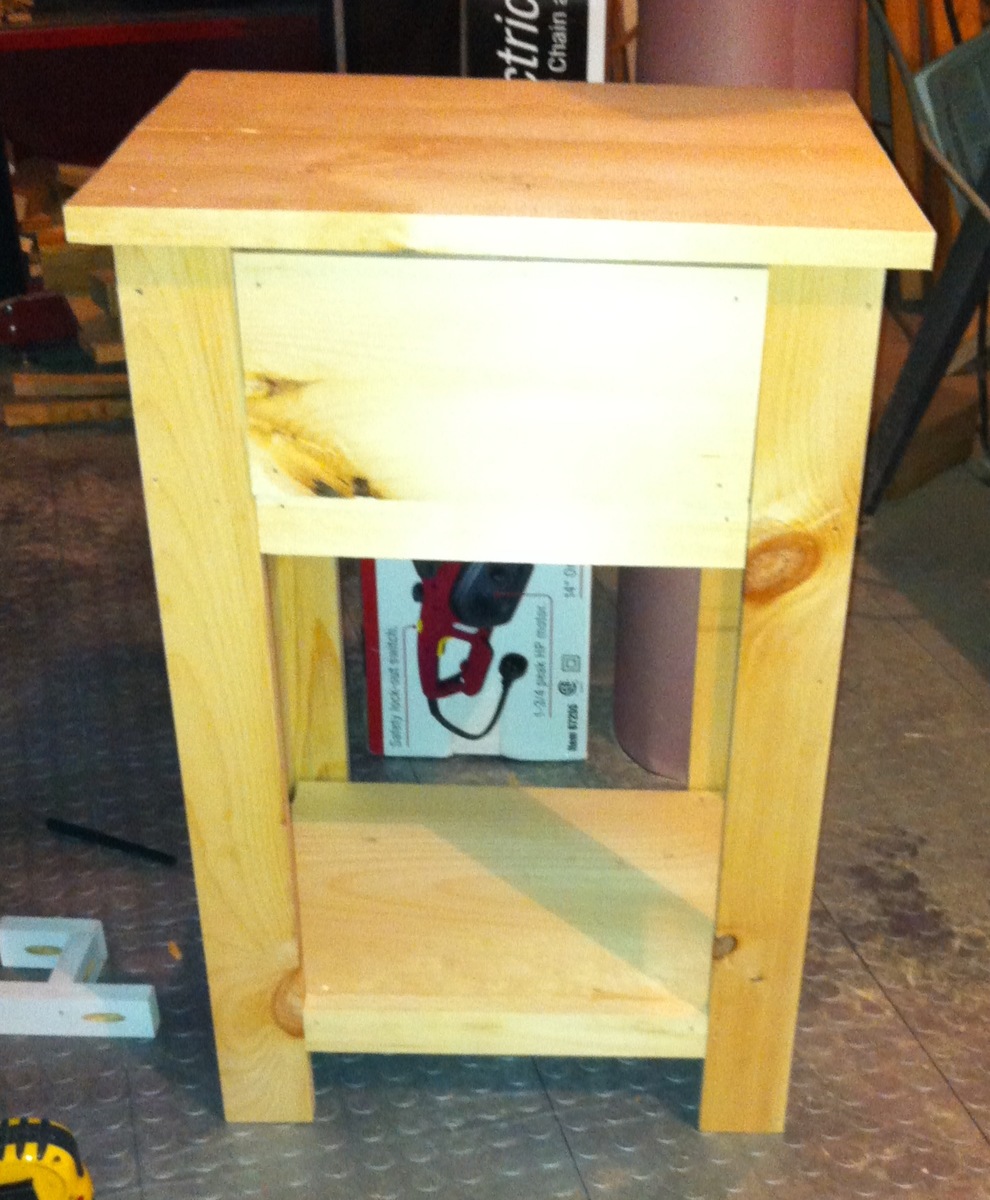
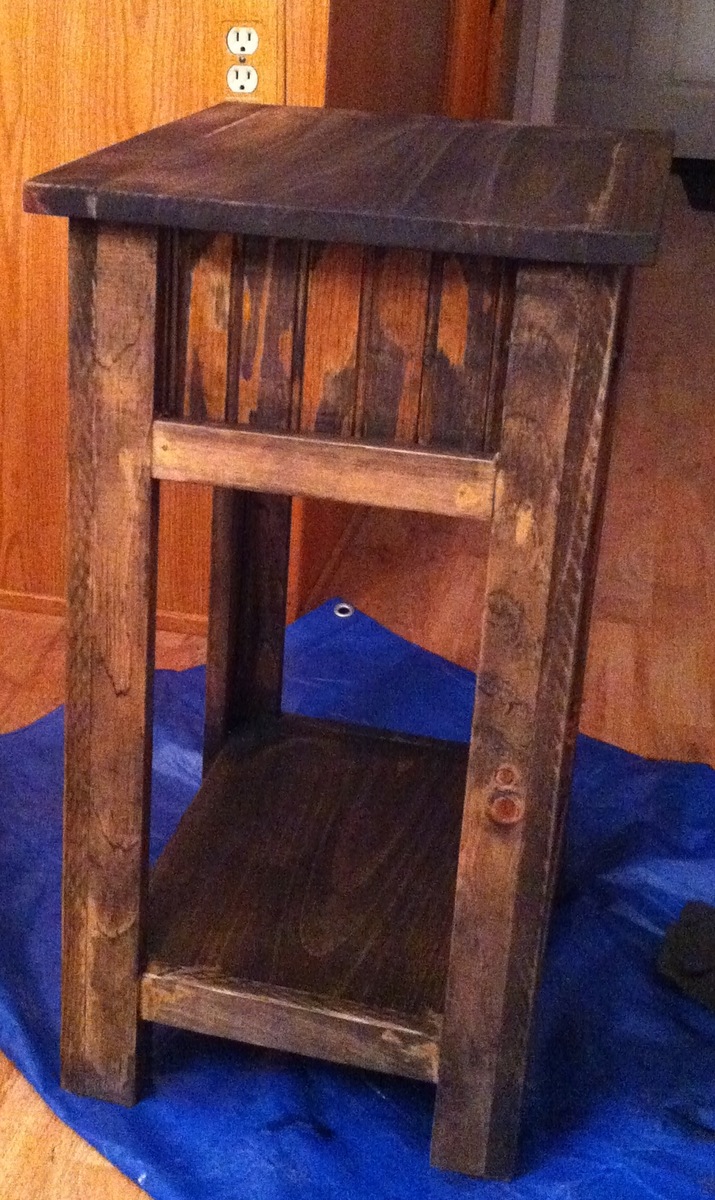
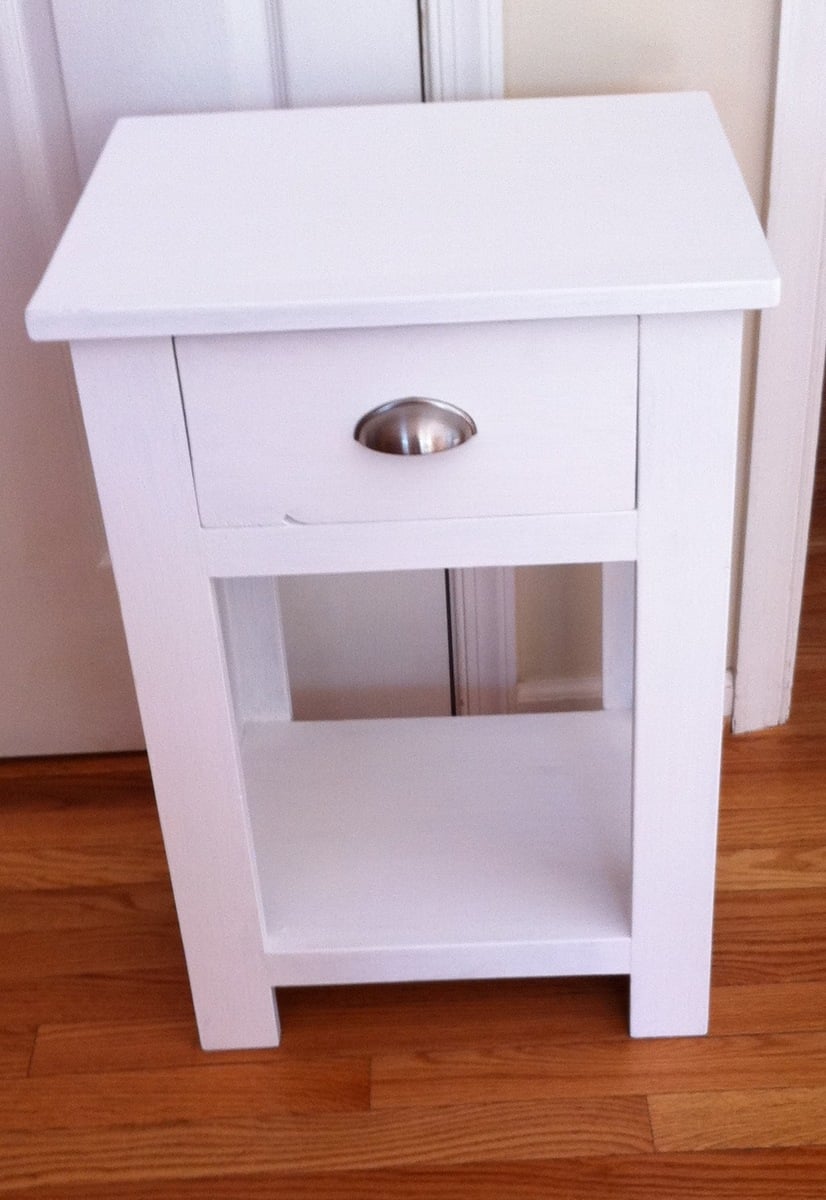
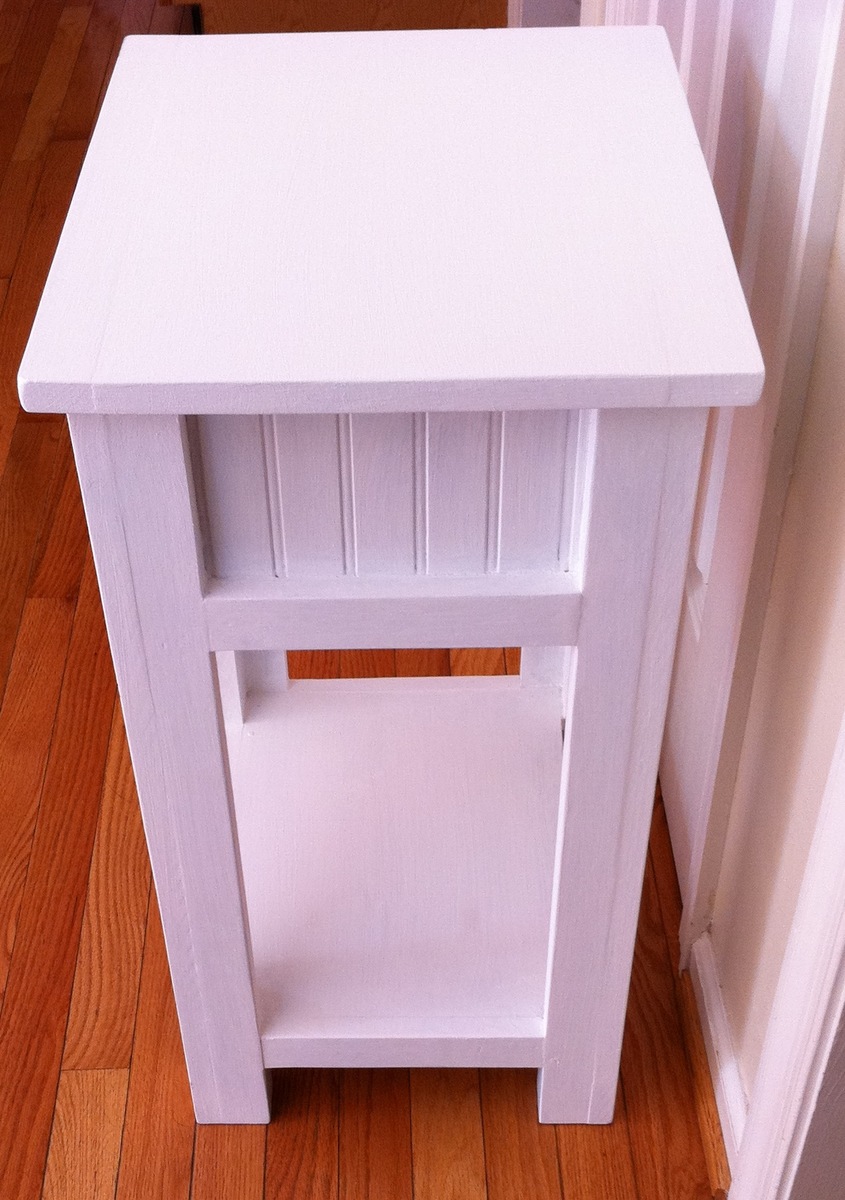
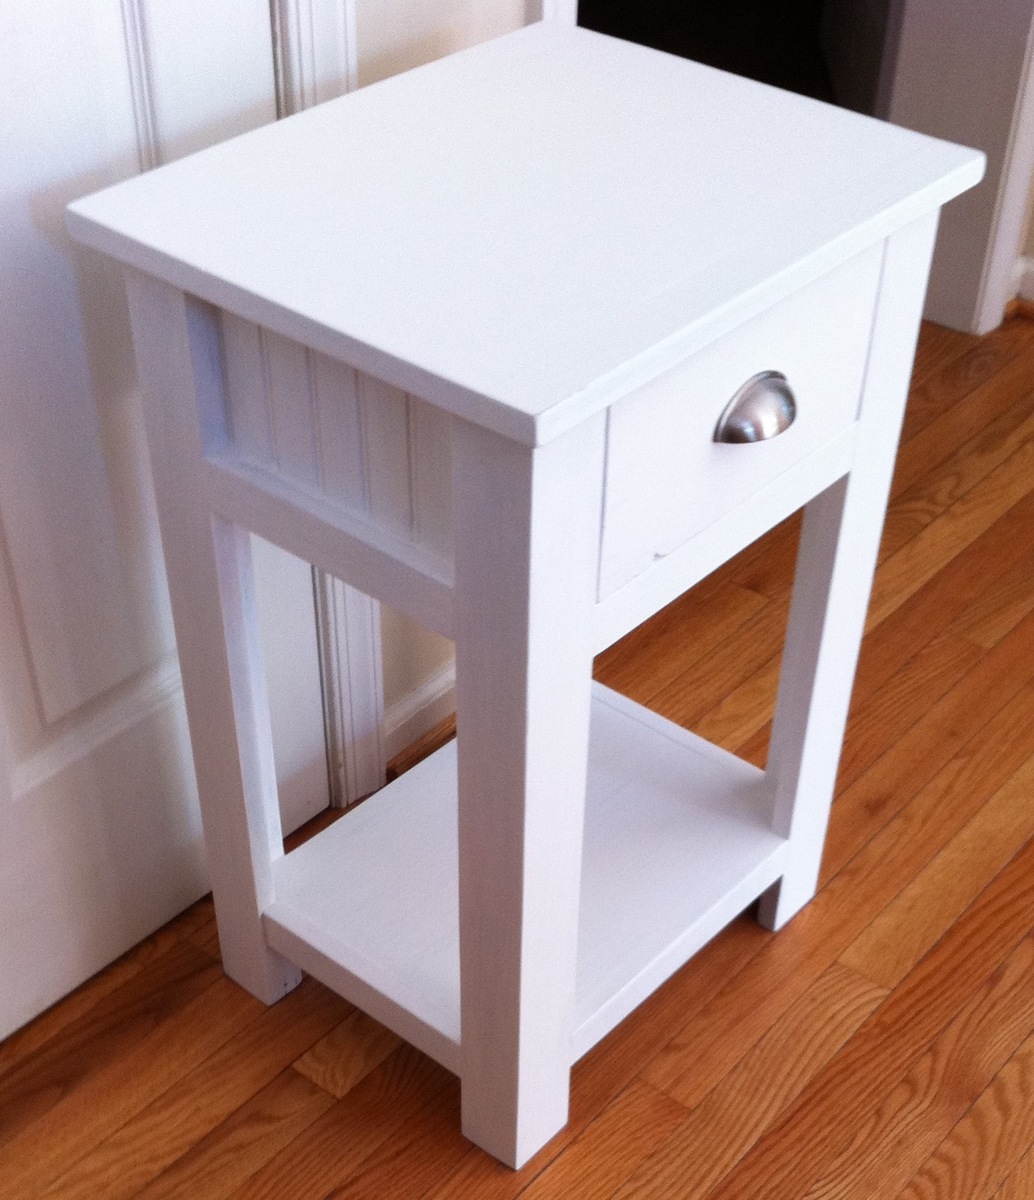
It is a friend's birthday on 5/6 and I noticed she didn't have a nightstand so instead of buying a present, I decided to make her a nightstand. I really liked how the person who built "Lee and Beth's Simple Nightstands" used bead-board on the sides, and I have a lot of bead-board left over from our master bathroom renovation, so I decided to use it, too, and that way I wouldn't have to buy the wood for there, because I didn't have any extra plywood to use there. I also used the bead-board on the back and as the bottom of the drawer.
It looks more modern-cottage than it does modern, like I wanted, but it still looks good.
Pictures are of what it looked like pre-sanding and wood-filling, with 1 coat of the stain on it, and then finished with white paint.
With the combination of scrap wood and new wood, I only spent $20 on new wood for the project, and $5 on the drawer pull!
For the top, instead of a 1x12 and 1x3, I used a 1x12 and and then flanked it with 2 1x2s - for a more balanced look. I also cut the 1x12 at like 19 1/2 inches instead of 18 1/2.
I built my first daybed in May of 2010, and my second one in August of 2010. I've since moved one of the daybeds to my new nursery I'm creating. These beds are so versitle, so sturdy, and can be moved anywhere and 'go' with whatever decor. I love both of them!
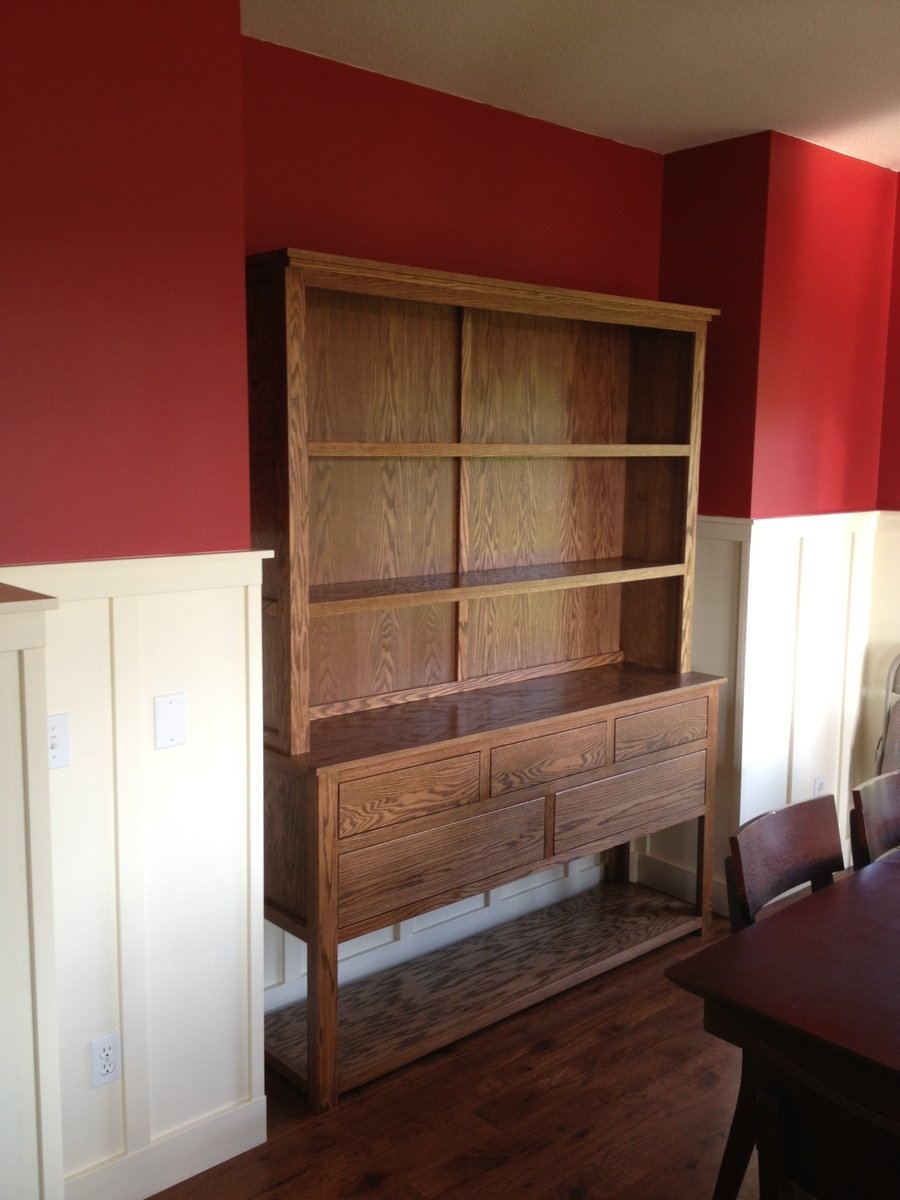
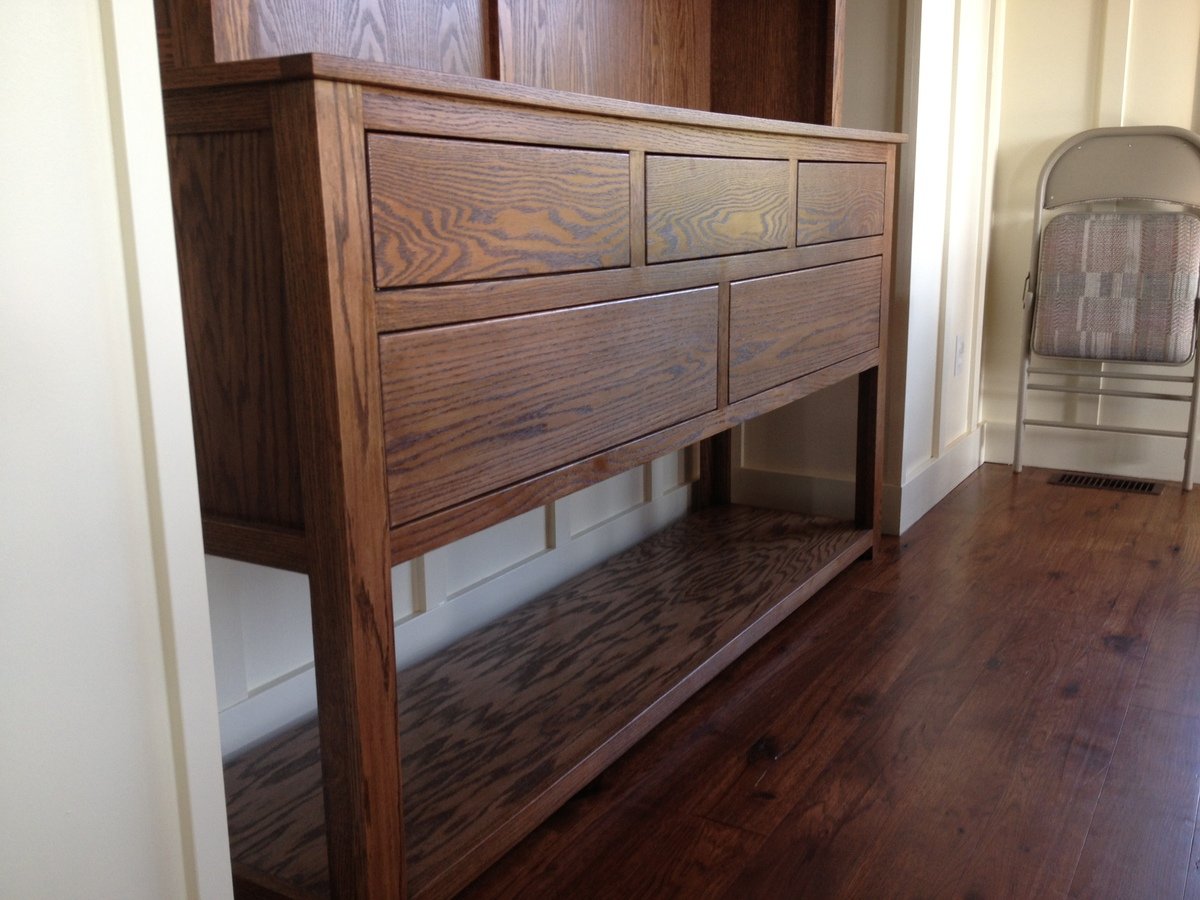
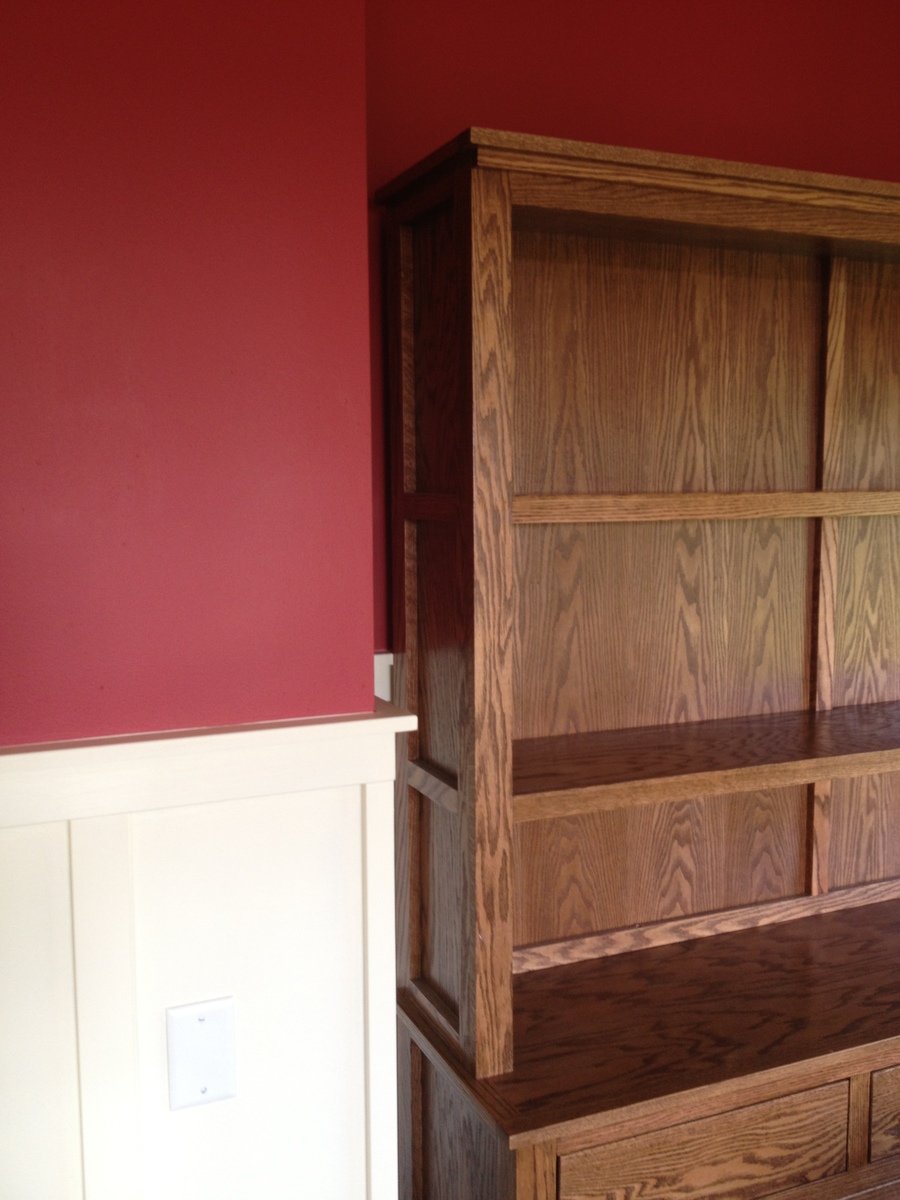
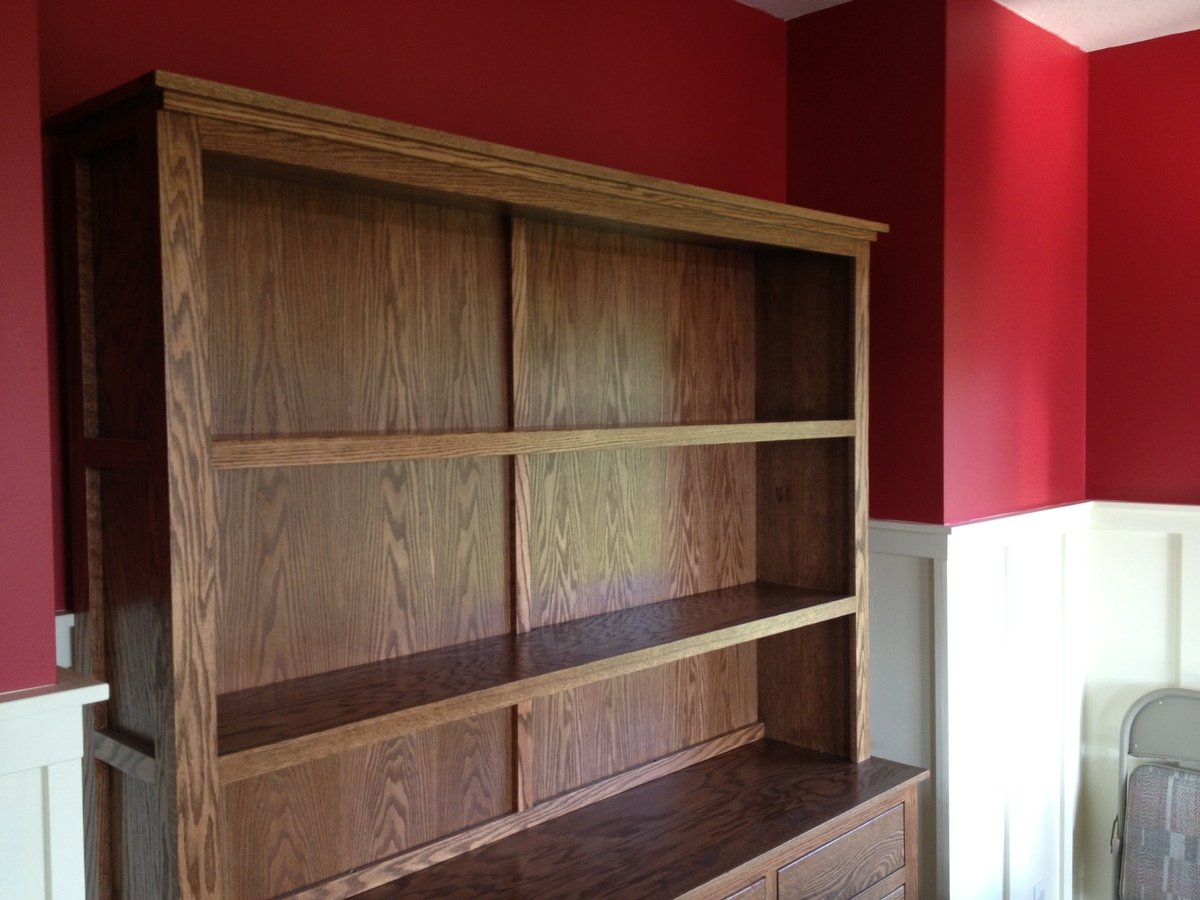
This project was on the honey-do list. My wife was looking for antiques and had a pretty specific look she wanted this one fit. It was a fun and relatively fast build. I choose Oak as that is the most regular wood I use and had some on hand.
I modified the dimensions a bit making the hutch a foot taller and the buffet a little larger in width and smaller in depth. I used full extension ball bearing drawer slides for the drawers.
I rabbeted the back in and put a middle brace in for support and so that I could hide the back seam. I don't like to face nail face frames, but for this it turned out pretty nice nonetheless.
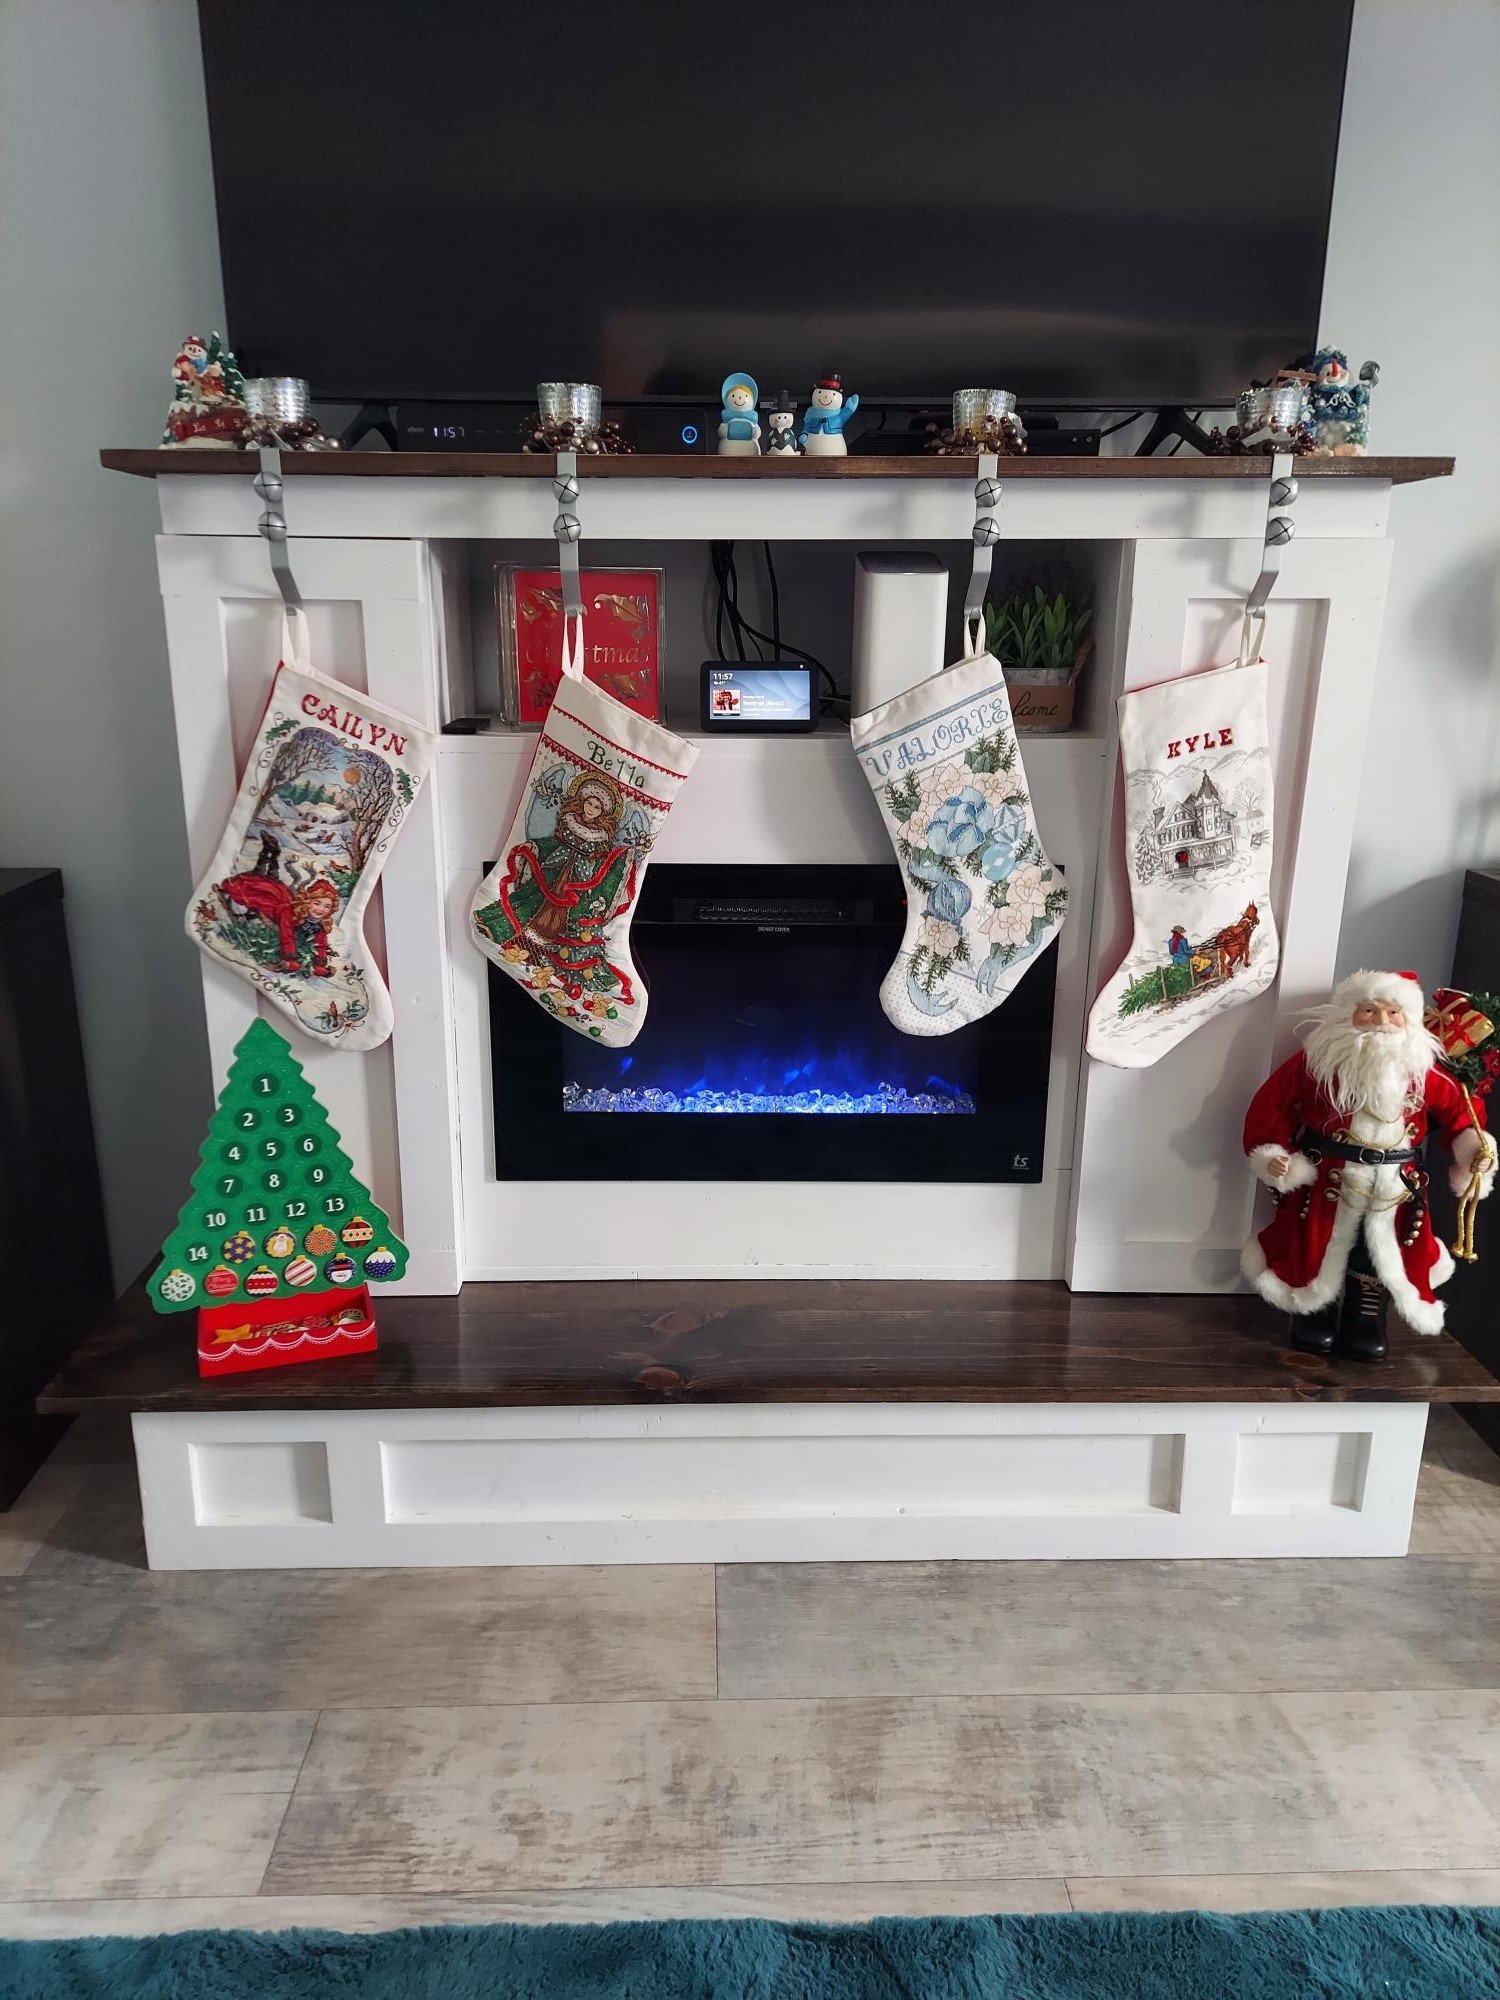
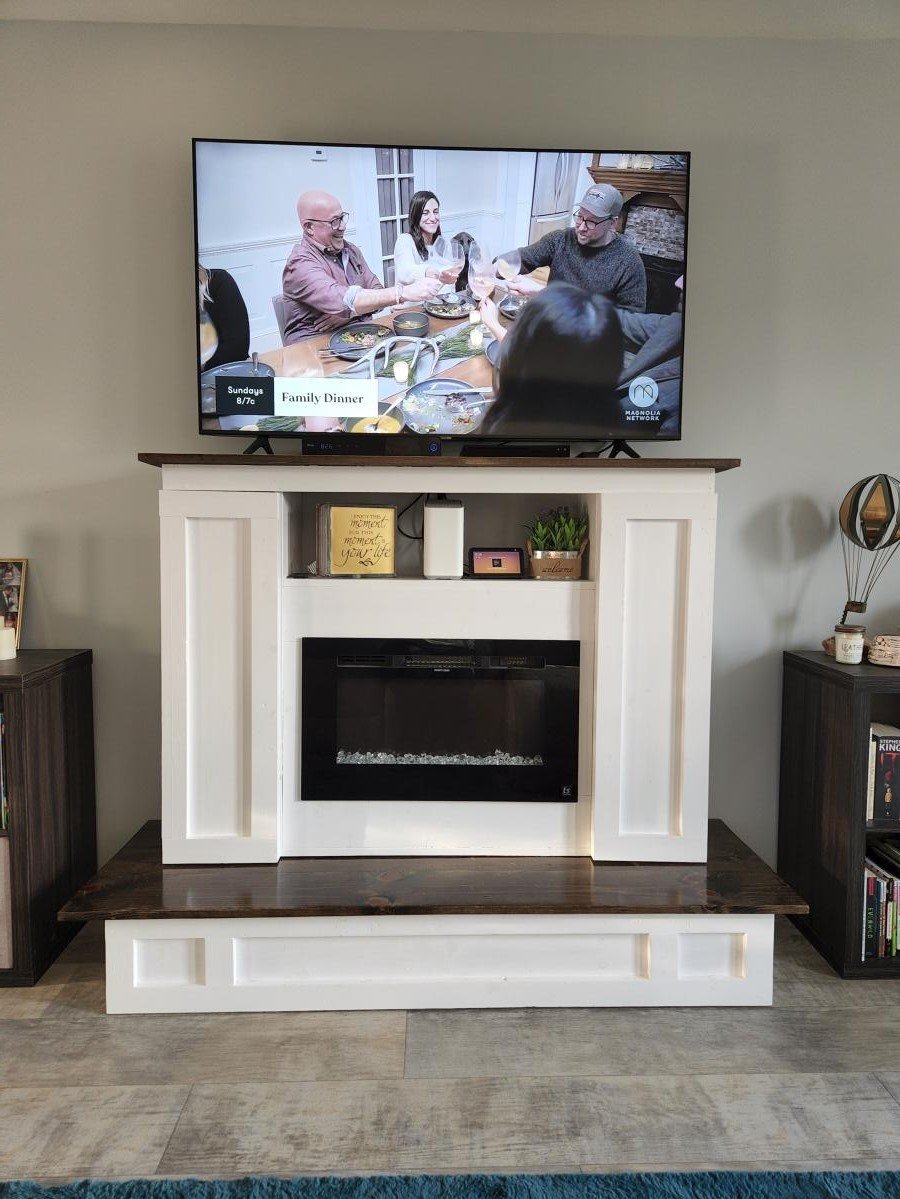
We bought a new house that didn't have a Fireplace and we didn't want an entertainment center, so I built this for the best of both worlds. Electric fireplace insert, side panels open for additional storage, and left the nook above the fireplace open for the wifi router and other decorations.
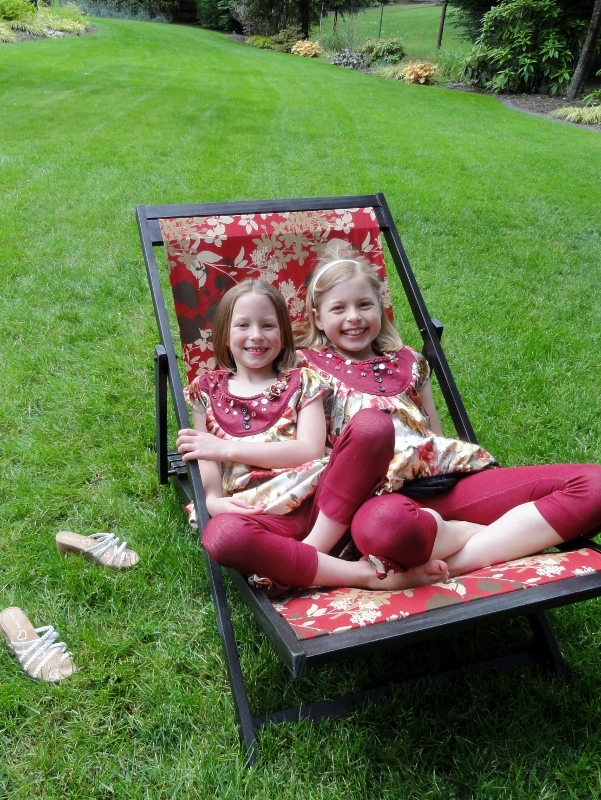
Once I saw these plans on here, I was thrilled to get started on them. I let the girls do most of the miter saw cuts (with lots of supervision) and they were a huge help sanding. Pine has really sharp edges, so they helped me round down every edge by hand. I would have used an electric sander, but *gasp* I couldn't FIND IT!
Aaargh!
Anyhoo, this is a gift for Daddy for Father's Day! I bought enough wood and fabric for a matching chair for myself. :) The girls are begging for matching kid-sized ones too. :)
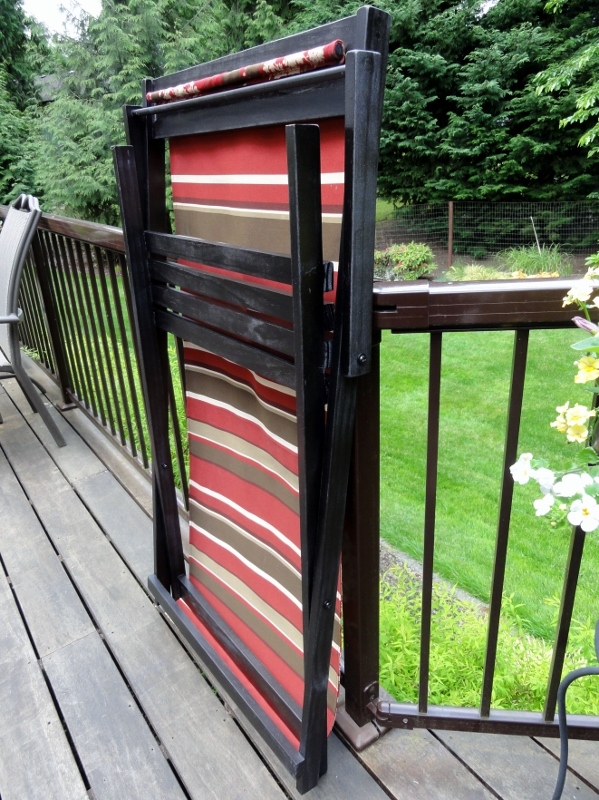
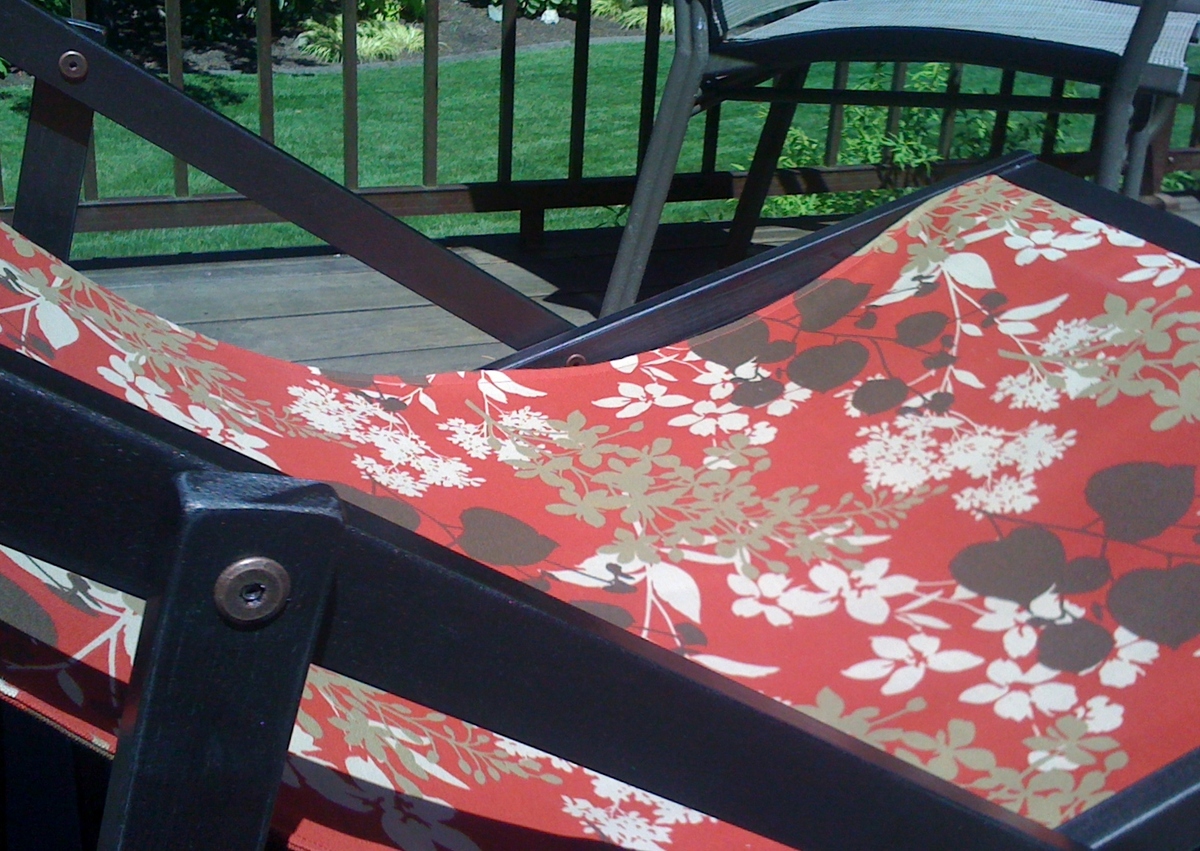
I just LOVE how it folds up so flat (last photo below) to be hung under cover outside. :)
I used Connecting Bolts & Connecting Cap Nuts rather than just bolts and I love them!!! I did keep a washer in between the 1x2's to keep the wood from rubbing. PERFECT fit! Check out my last photo below to see it up close.
The bolts fit through the 1/4" holes Ana's plans instruct you to drill, but the caps need a larger hole. I drilled 3/8" holes into all OUTER 1x2 where the connector caps needed to be and kept the inside 1x2 holes at 1/4" per Ana's instructions. Hope that makes sense!
Then I finished them with Rustoleum Oil Rubbed Bronze Spray Paint.
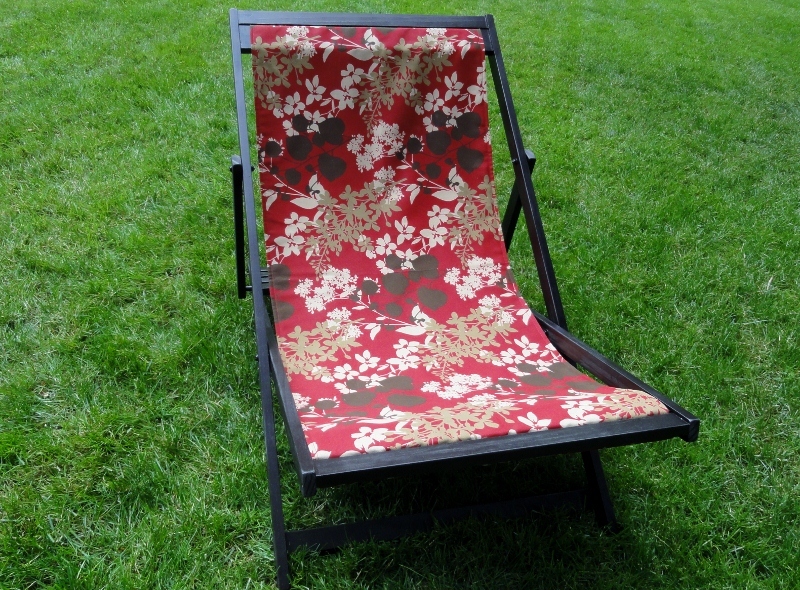
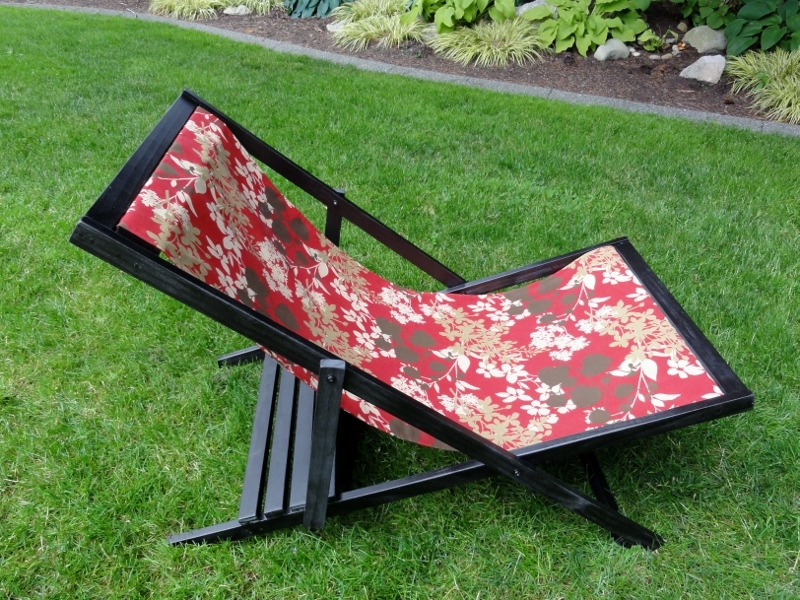
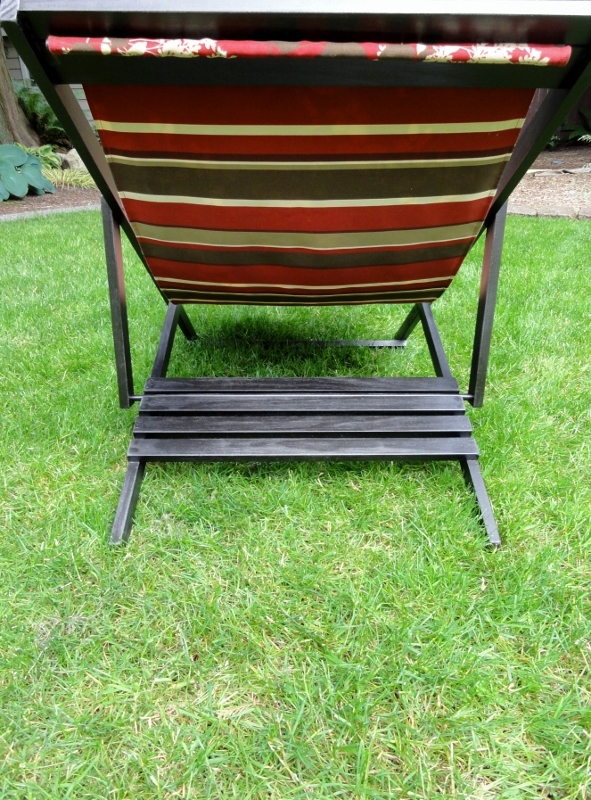
Fri, 06/17/2011 - 15:51
Great job! How fun for the girls to be able to help. Can't wait to begin my own chairs
Fri, 06/17/2011 - 16:31
I think that you should print and frame the first picture to give to him along with the chair. Great job!
Mon, 09/18/2017 - 09:54
hey there...this looks REALLY good! I especially like the bronze bolts you used.
I'd like to do the same, but I'd love your advice on bolt length. If they're connecting two 1"x2" boards, I assume the width of those two pieces together is 1.5" (.75+.75), right?
Therefore, do you recommend a 1.5", 1.75" or 2" connecting bolt?
Thanks!
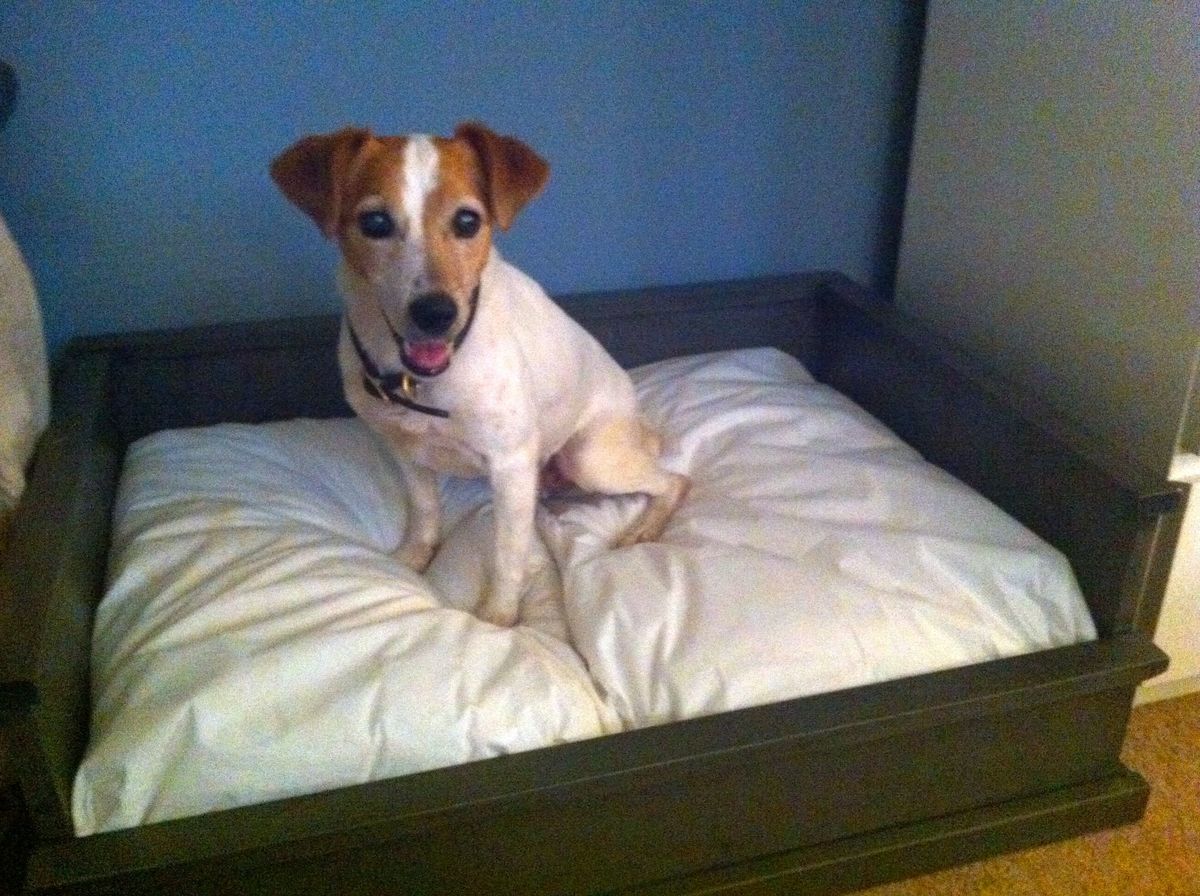
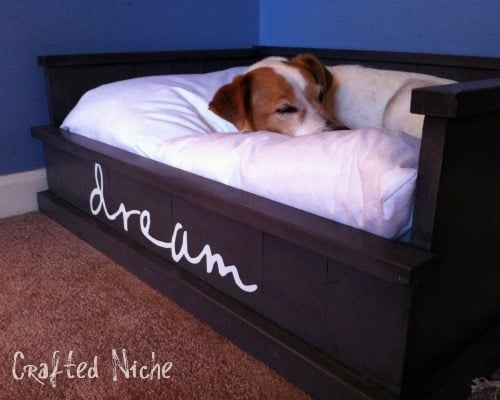
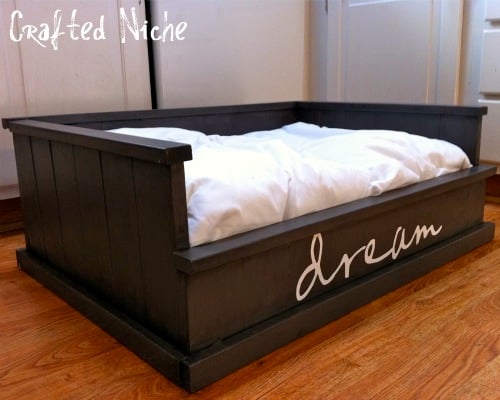
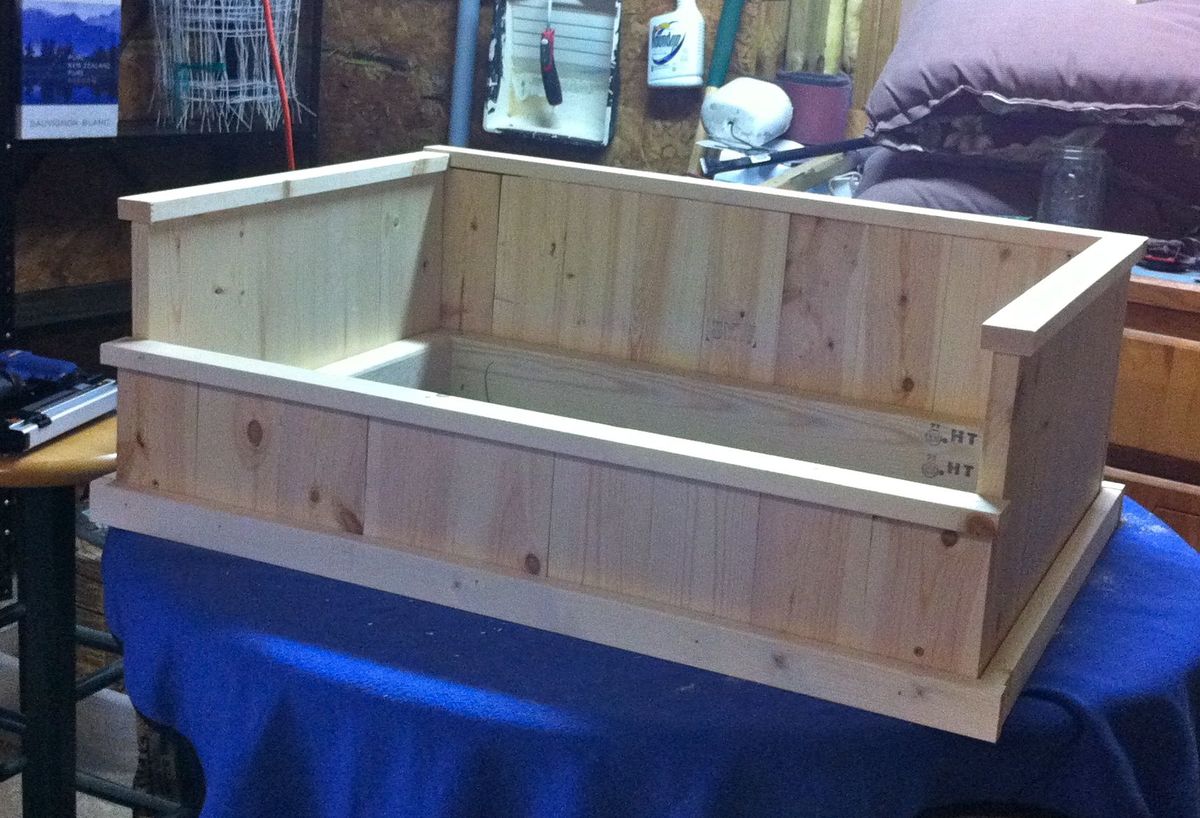
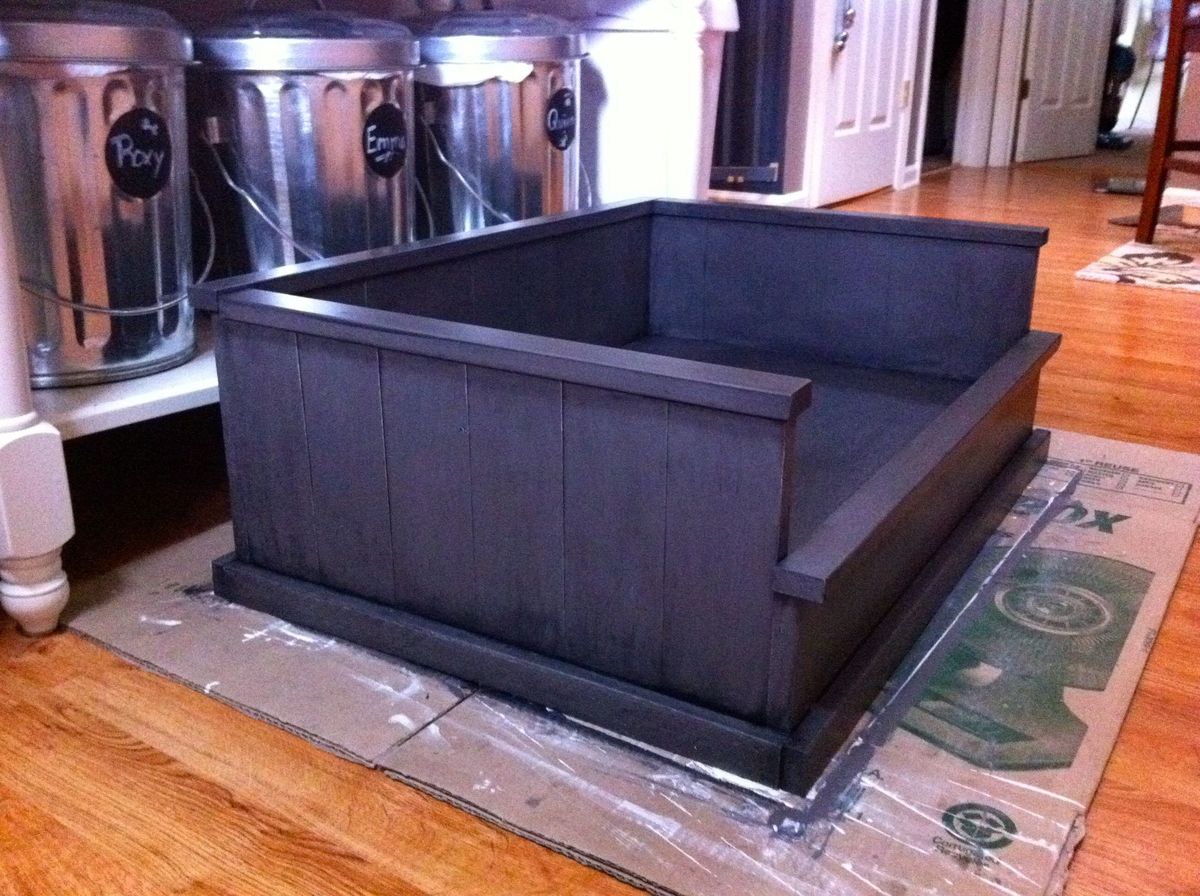
Inspired by Ana's Farmhouse Bed plans, I built this dog bed for my Jack Russell. I measured and planned for it to comfortably fit two standard bed pillows (in waterproof covers of course!). She loves it!

In reply to This is so cute!! You did a by benfoldsfivealive
Thu, 06/23/2011 - 14:20
Thanks! I figured after 14 years she deserved a comfy bed. :-)
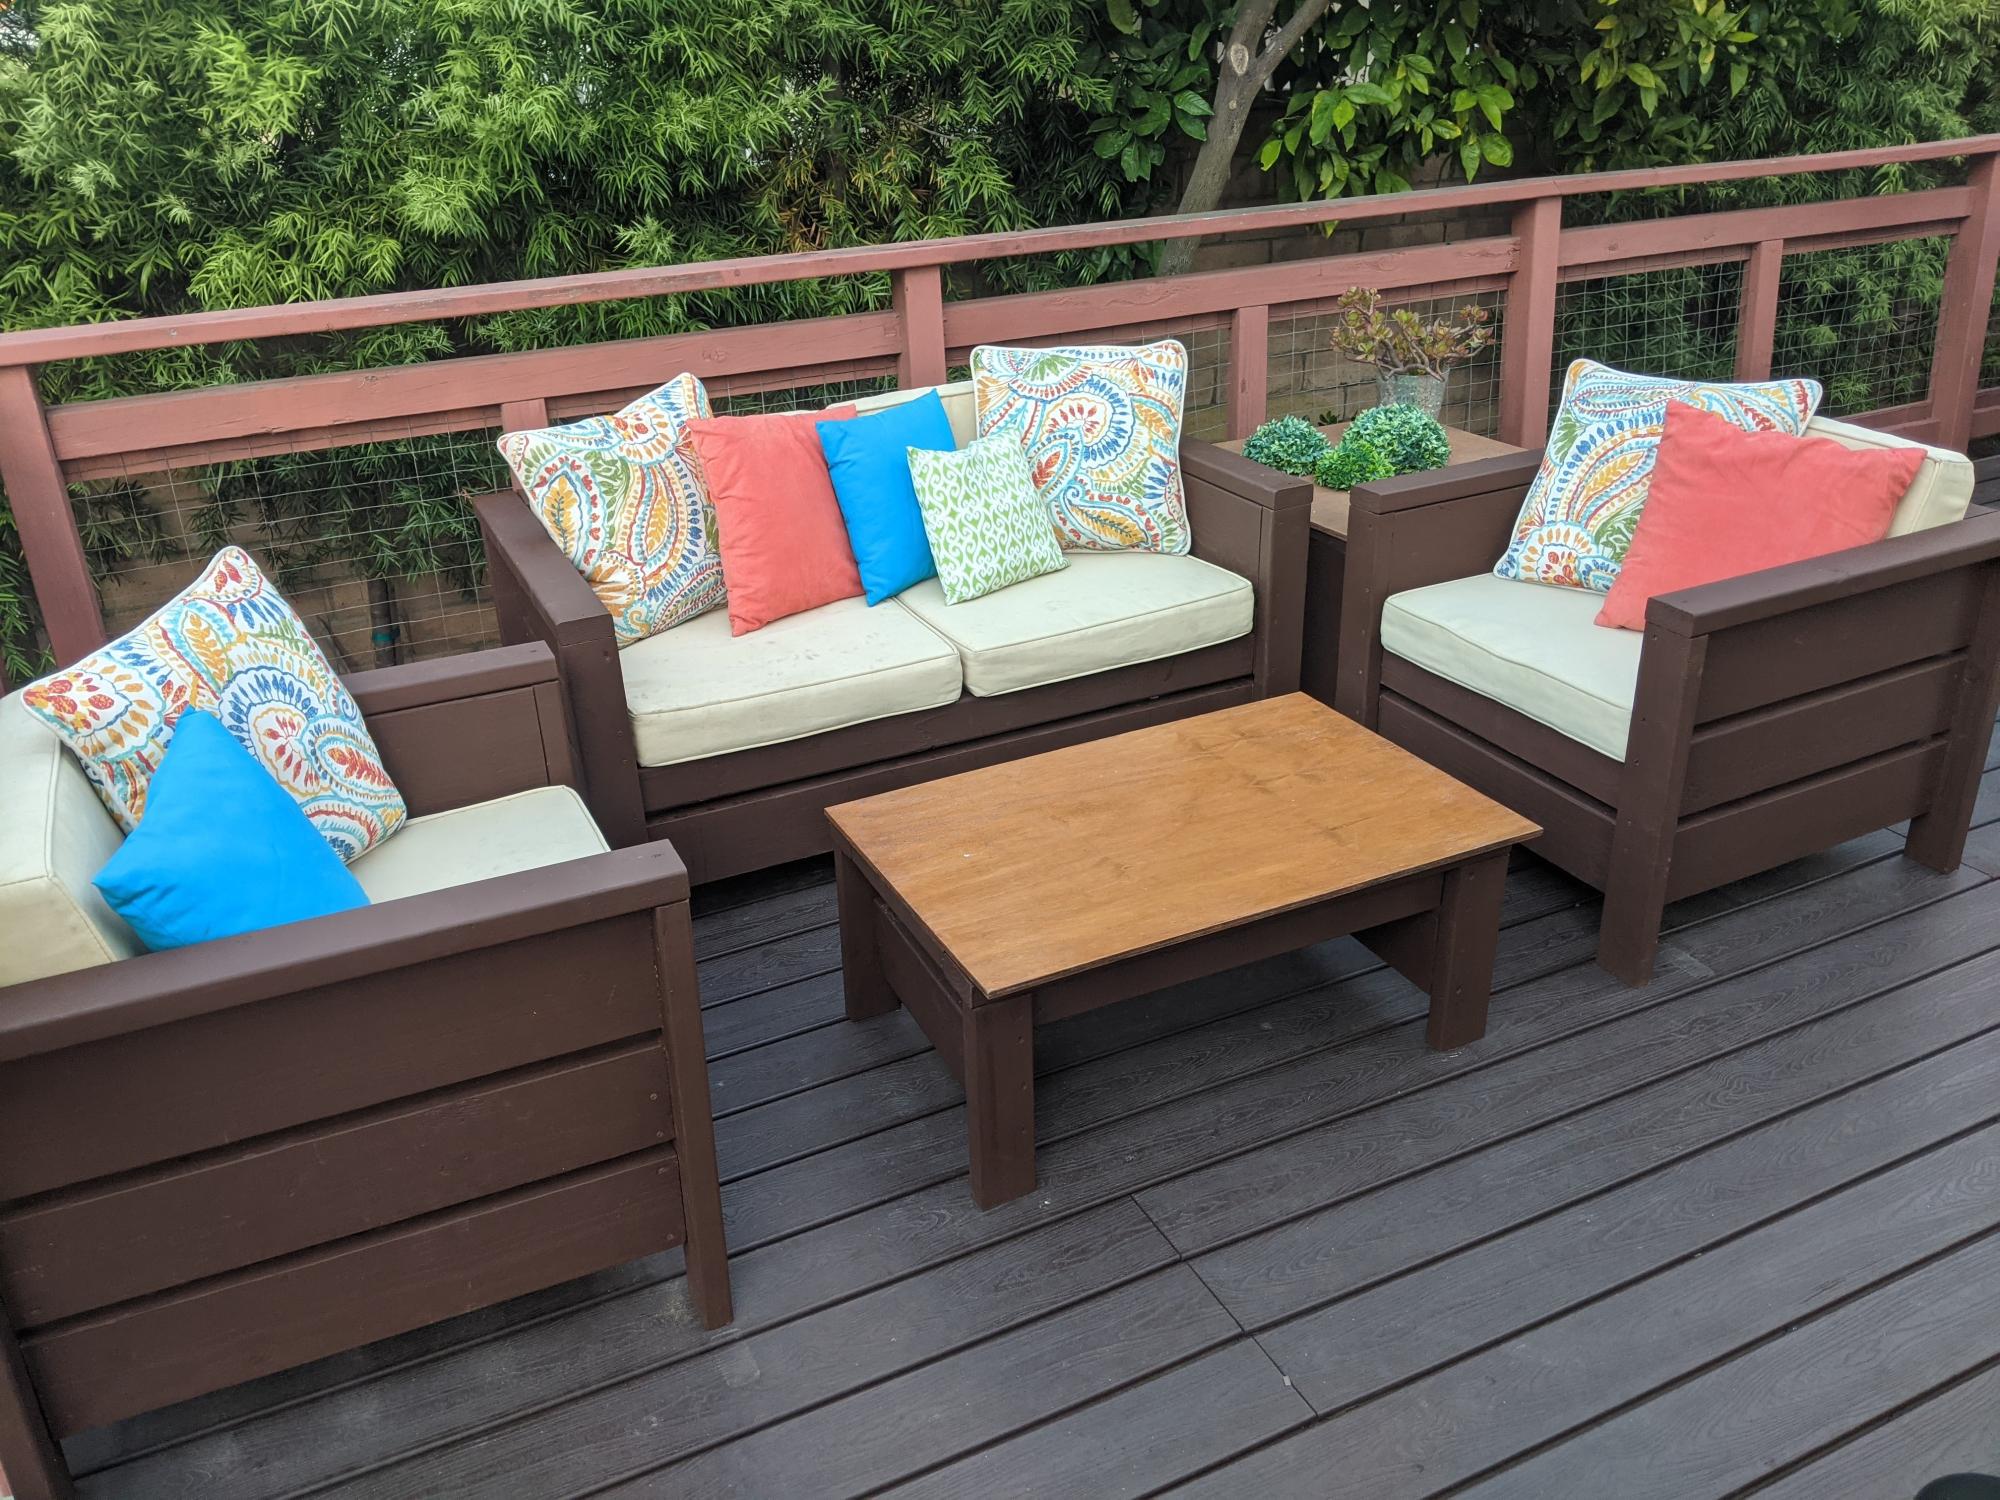
When our outdoor furniture started falling apart, we decided it was too expensive to replace until we found your plans for the “Modern Outdoor Chair from 2x4s and 2x6s.”
The design was almost exactly right.
The only change we made was to make the arms taller so the cushions from our original set would work. Instead of 2x6s for the sides we changed one of the boards to 2x8 and adjusted the arm height by a couple of inches. We made the chair first.
We then used the plans for the Loveseat and completed our set.
After painting the first chair after assembly, we decided it was easier to cut the wood and paint the parts prior to assembly and touch it up after.
The design adjustment matched perfectly. We also created a coffee table using the same type of assembly.
We know these loveseat and chairs will last!!!
Thanks so much
Kim and Scott Griffin
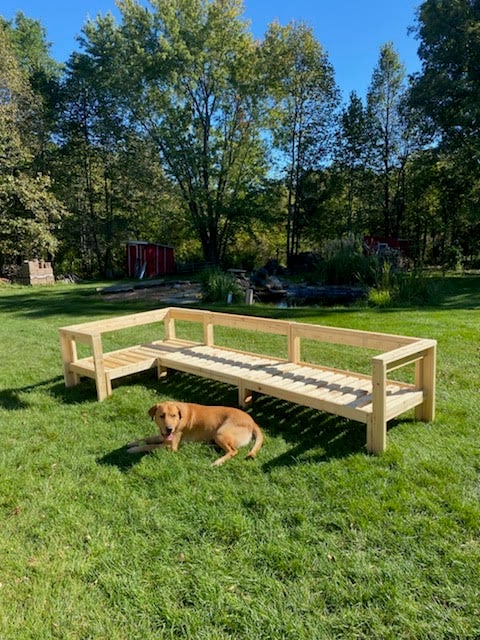
Outdoor wood sectional!
by Elizabeth
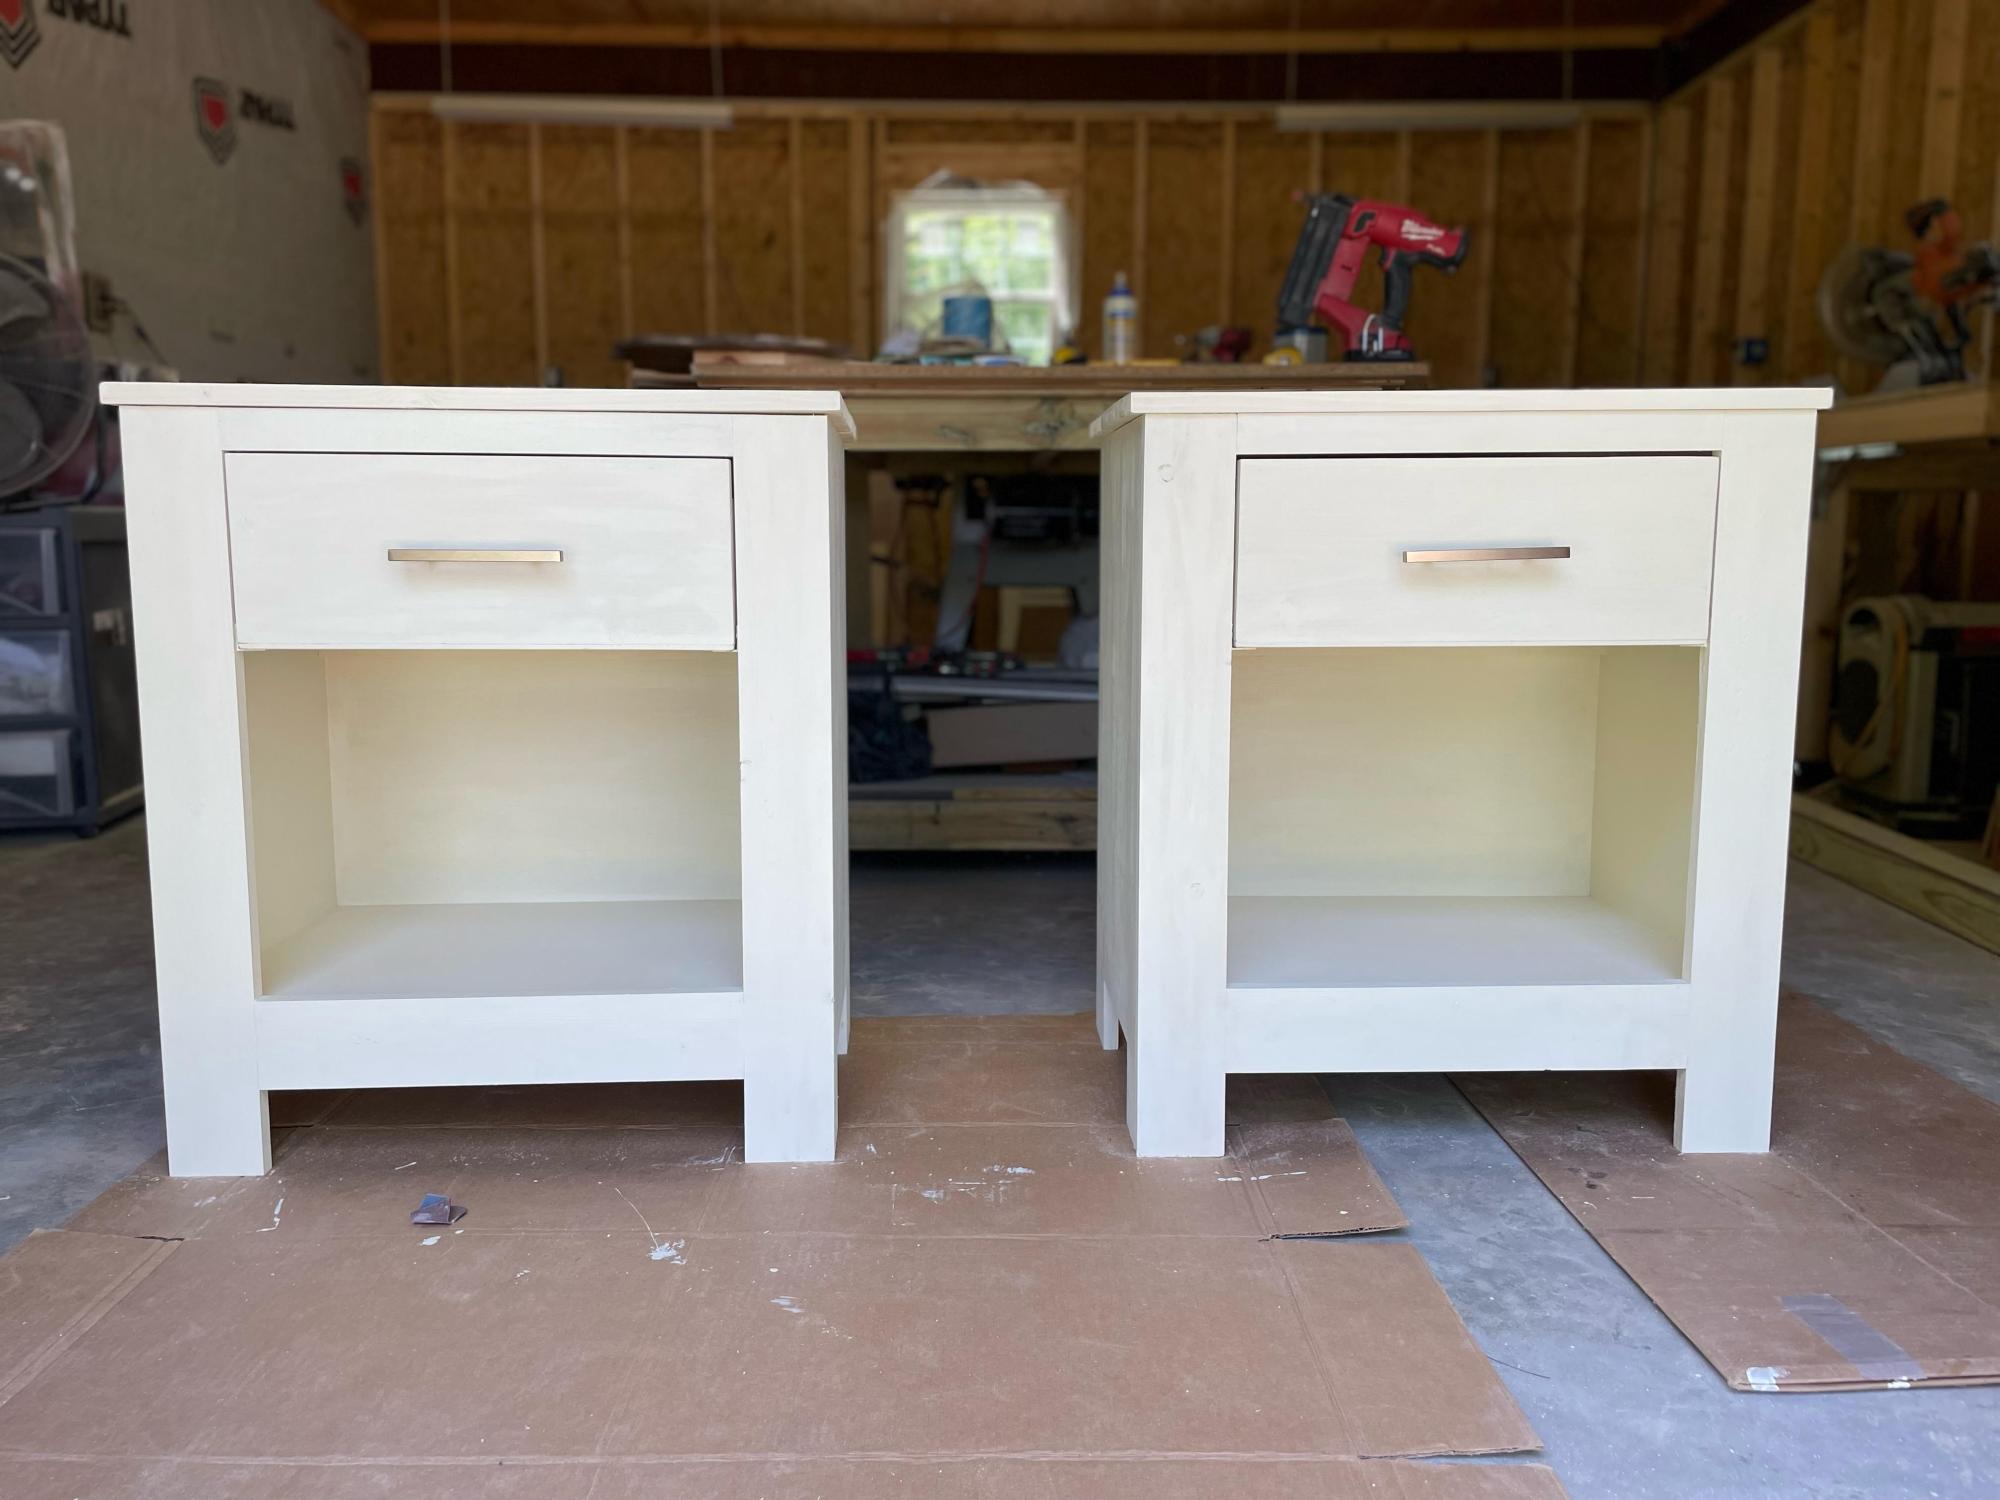
Off white standard king farmhouse bed and matching nightstands and modified (horizontal slats) standard king farmhouse bed stained.
I love your plans!!!
by Tiffany
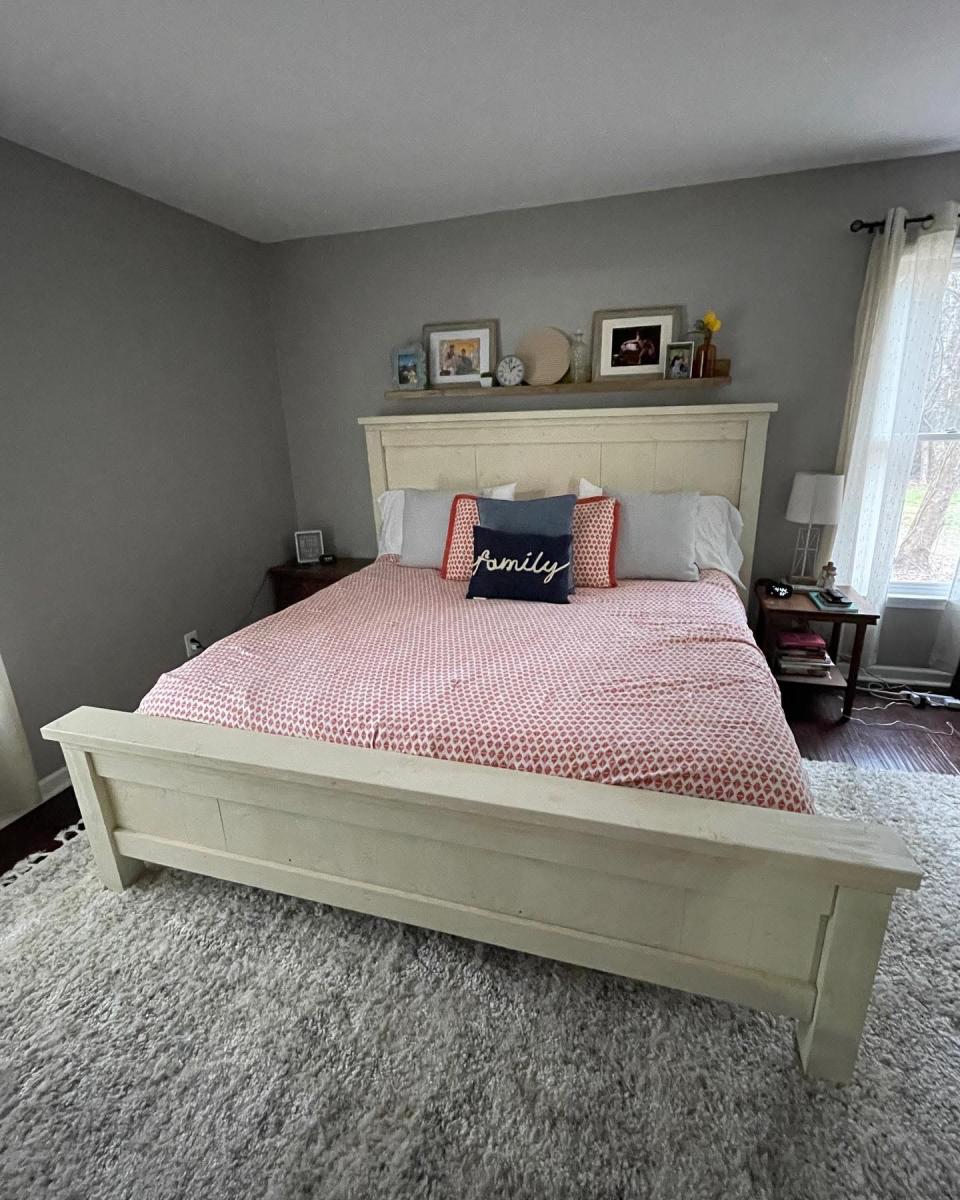
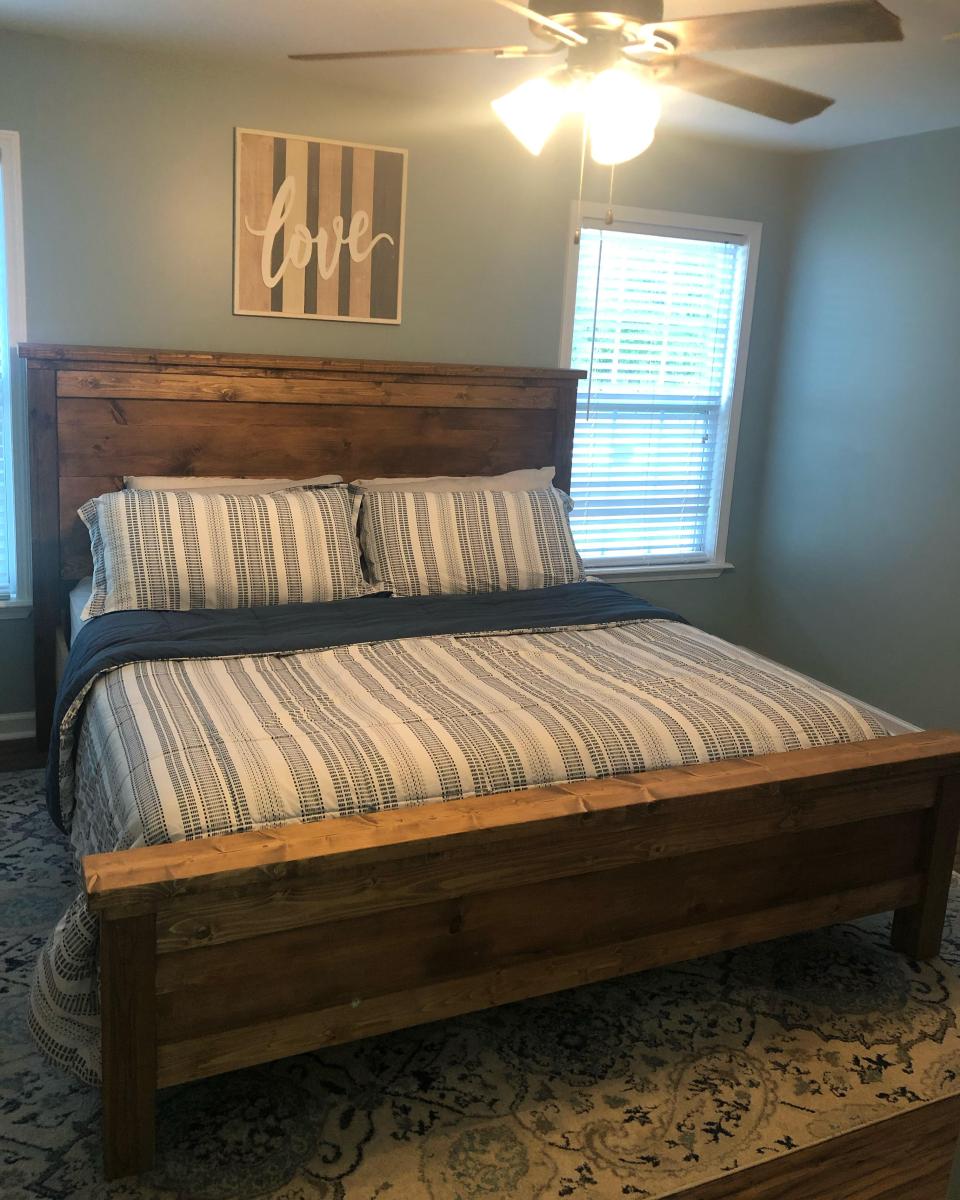
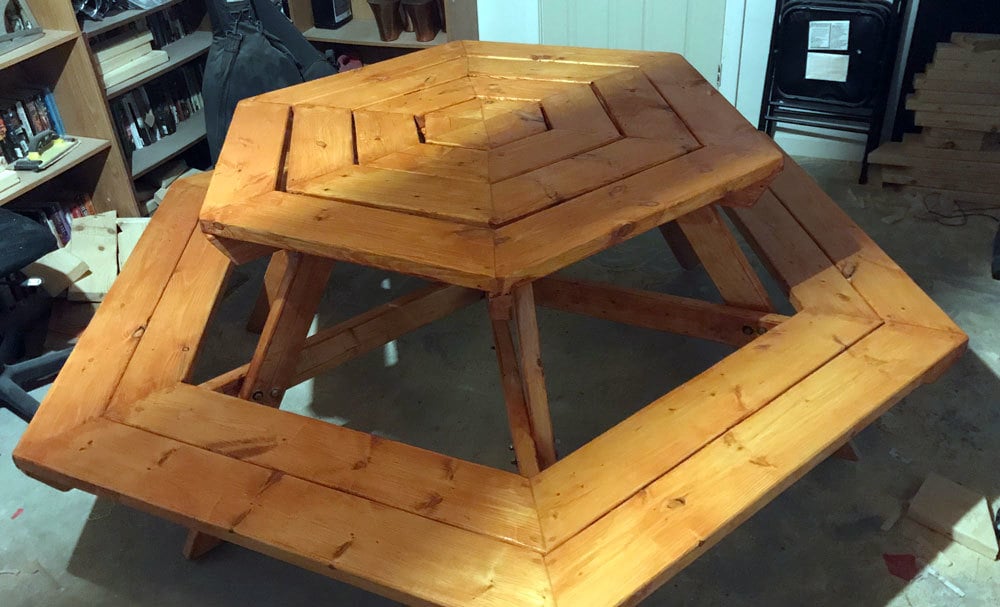
Made for my wife for a Christmas present. Awesome project.
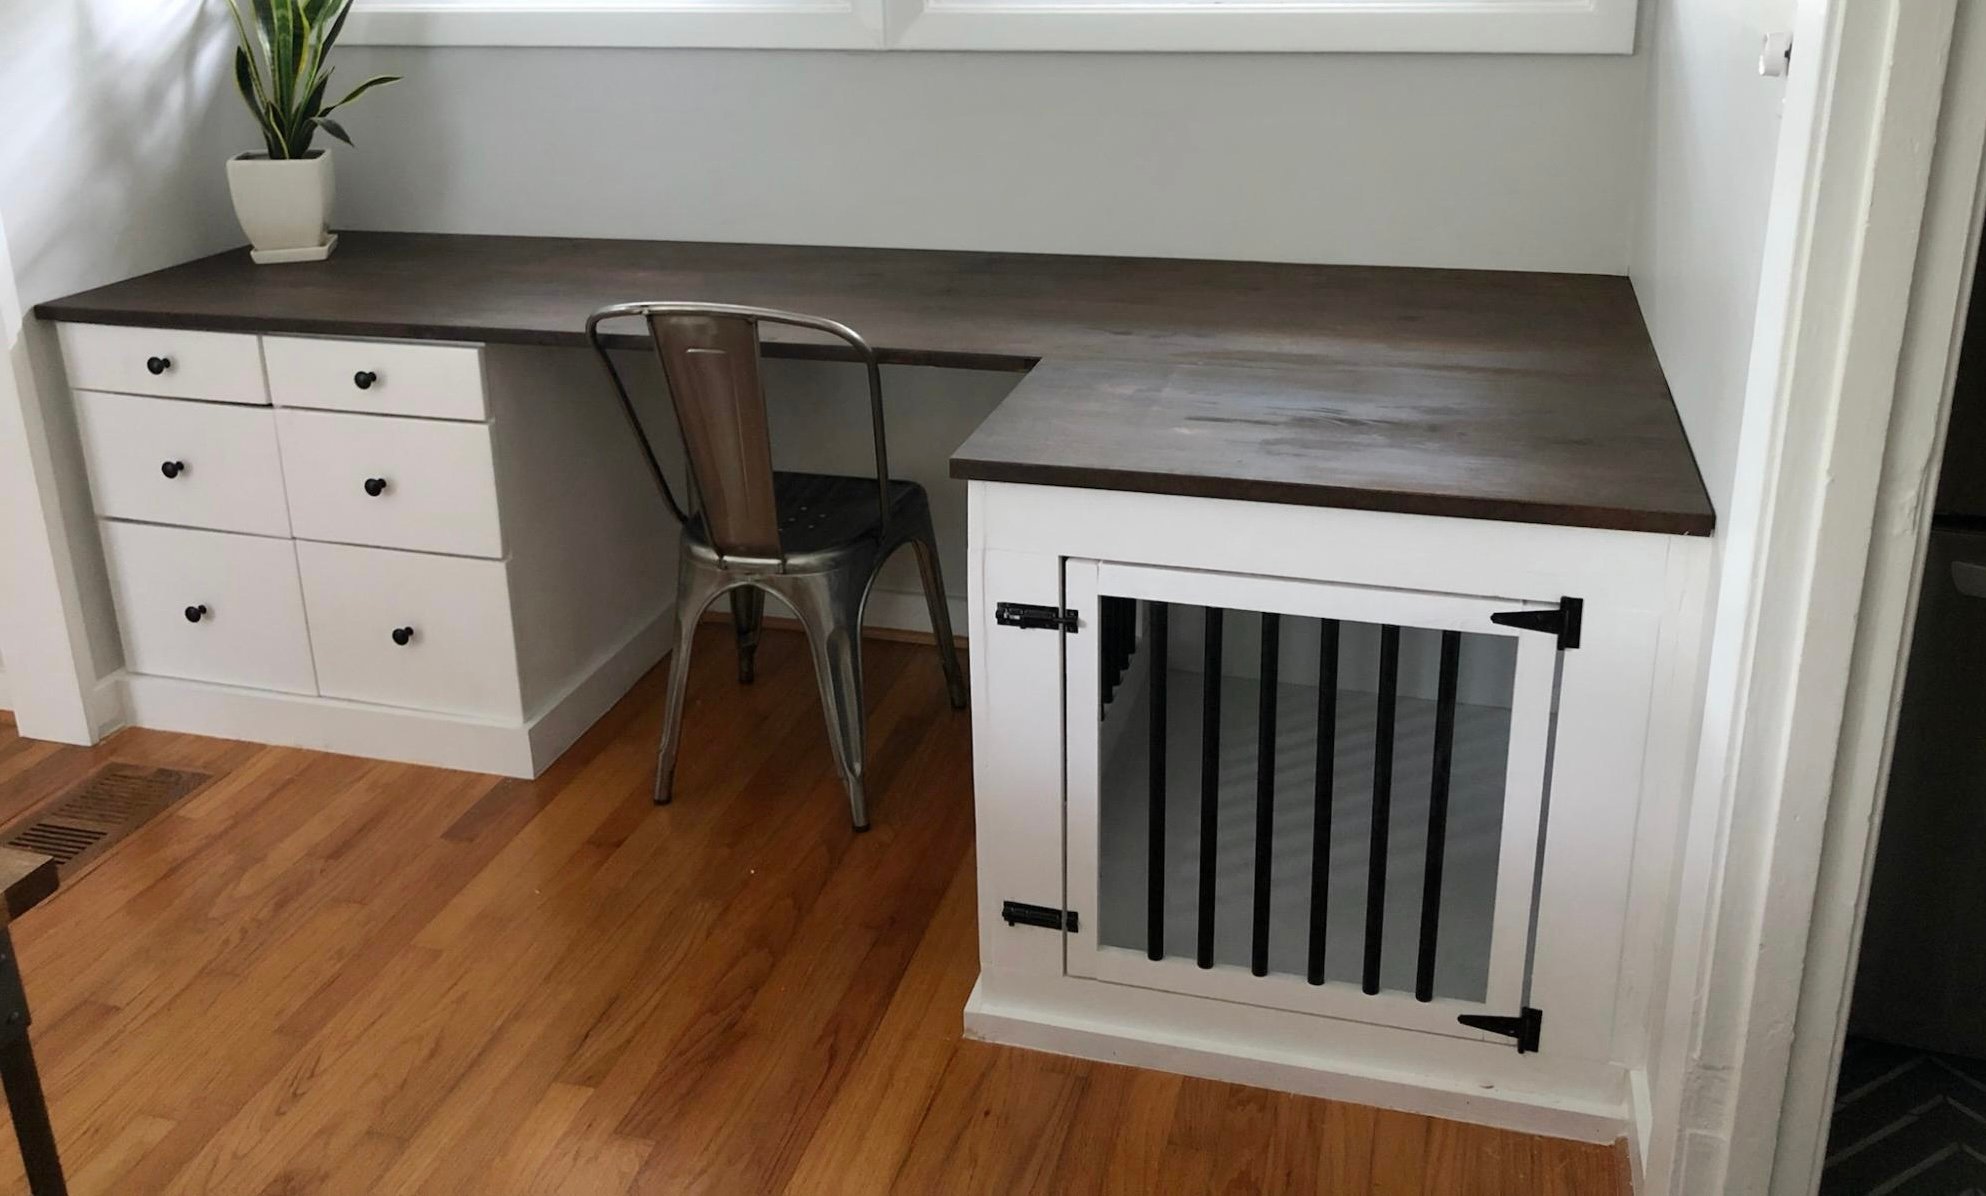
Built in desk with dog kennel complete with slide out printer drawer!
by Lisa

I saw this bed and just had to have it for my daughter. She loves it so much and it looks great in her room. It was easy to make, but very heavy. We were very meticulous to hang, we might have spent more time hanging it than building it :) There is more info on my blog.
Sat, 05/19/2012 - 01:31
Thu, 08/04/2016 - 18:45
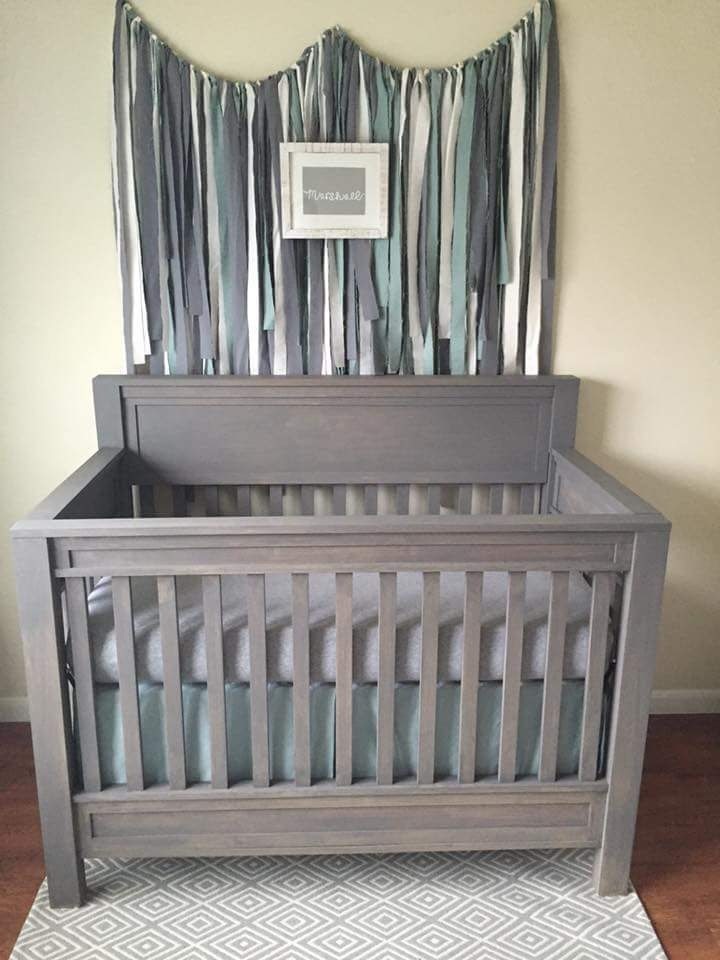
Delivered the nursury Furniture and have a very satisfied daughter preparing to bring our Grandchild into the world.
From Ariel "My sweet baby boy has the most beautiful nursery I've ever seen! I am so thankful for my father who hand built this furniture. It is definitely made with love and it's everything I dreamed of. I'm also thankful for my husband and brother in law who set up this entire nursery for me this morning. Thank you"
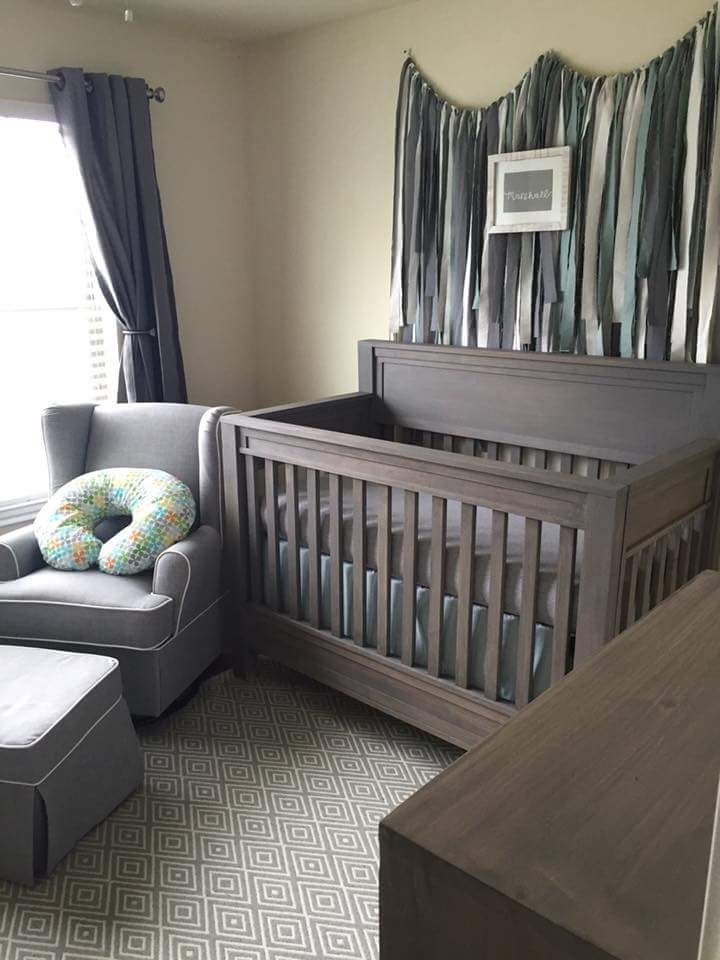
I started with plans and inspiration and then added some creativity. For the legs on this crib I laminated three 1x4 poplar and used threaded inserts. #anawhite
Tue, 10/18/2016 - 18:33
With the help of taking wood sample to Sherwin Williams along with our daughter we picked the stain and the color. Interesting thing is that the exterior stain actually goes on easier than interior and is as safe as interior.
Fri, 03/11/2016 - 09:20
My husband would like to build our son a crib and I love this one! Is there a way to get the plans??
Mon, 11/07/2016 - 19:14
I like your husband really like and want to build this crib. However pondrider hasn't replied so i was wondering if he/she sent them to you by chance.
Thu, 06/30/2016 - 16:33
I love this crib and was wondering if there is plans for this. I would love to build it for my sister!
Tue, 10/18/2016 - 18:51
Folks I am going to tell you to suggest you get the frame and hardware at place called products america .They have a link to plans that were on a magazine web site for sale. I got the plans but the crib you see only used those plans to get started. If you look at each side independently you will notice that you can build this with Free and better written plans for Ana-White farmhouse bed. yes, you'll do a little modifying for the sides but as we build that is beauty of everything we build in that we build for the size we need. The plans from build America will help with dimensions. The other key with a crib safety and the fact that it must be assembled and disassembled in the room. The plans from build america will attempt to show how to install threaded inserts. I found Youtube and other instructions to be much better. My build has fixed sides meaning the front and the back do not come down. And I did not set it up to be convertable.
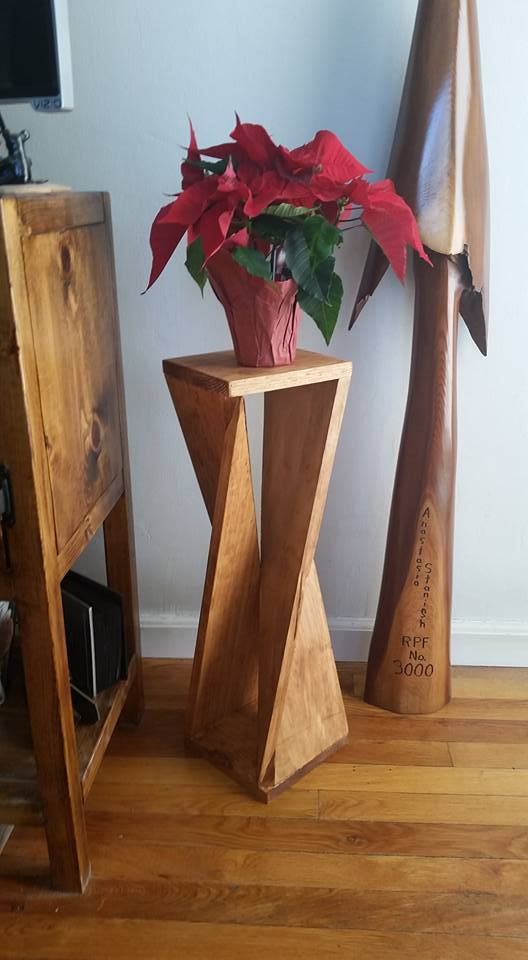
Saw this clever side table on Pinterest. It's made out of 1 1x8x8. I was able to figure out how to build a jig for the table saw to suit the project and then it was easy peasy lemon squeezy from there.
Mon, 12/21/2015 - 09:41
This is so clever and would make an inexpensive yet first-rate gift! I love it...thanks for sharing.
Fri, 10/28/2016 - 08:40
I would love to build this unique table, but can't seem to find some actual plans with dimensions and jigs
Fri, 10/28/2016 - 08:45
Would you please email me the plans for this table. Thanks so much
Comments
Ana White Admin
Fri, 03/20/2015 - 10:22
WOW!
That worked out nicely! Thanks for sharing!