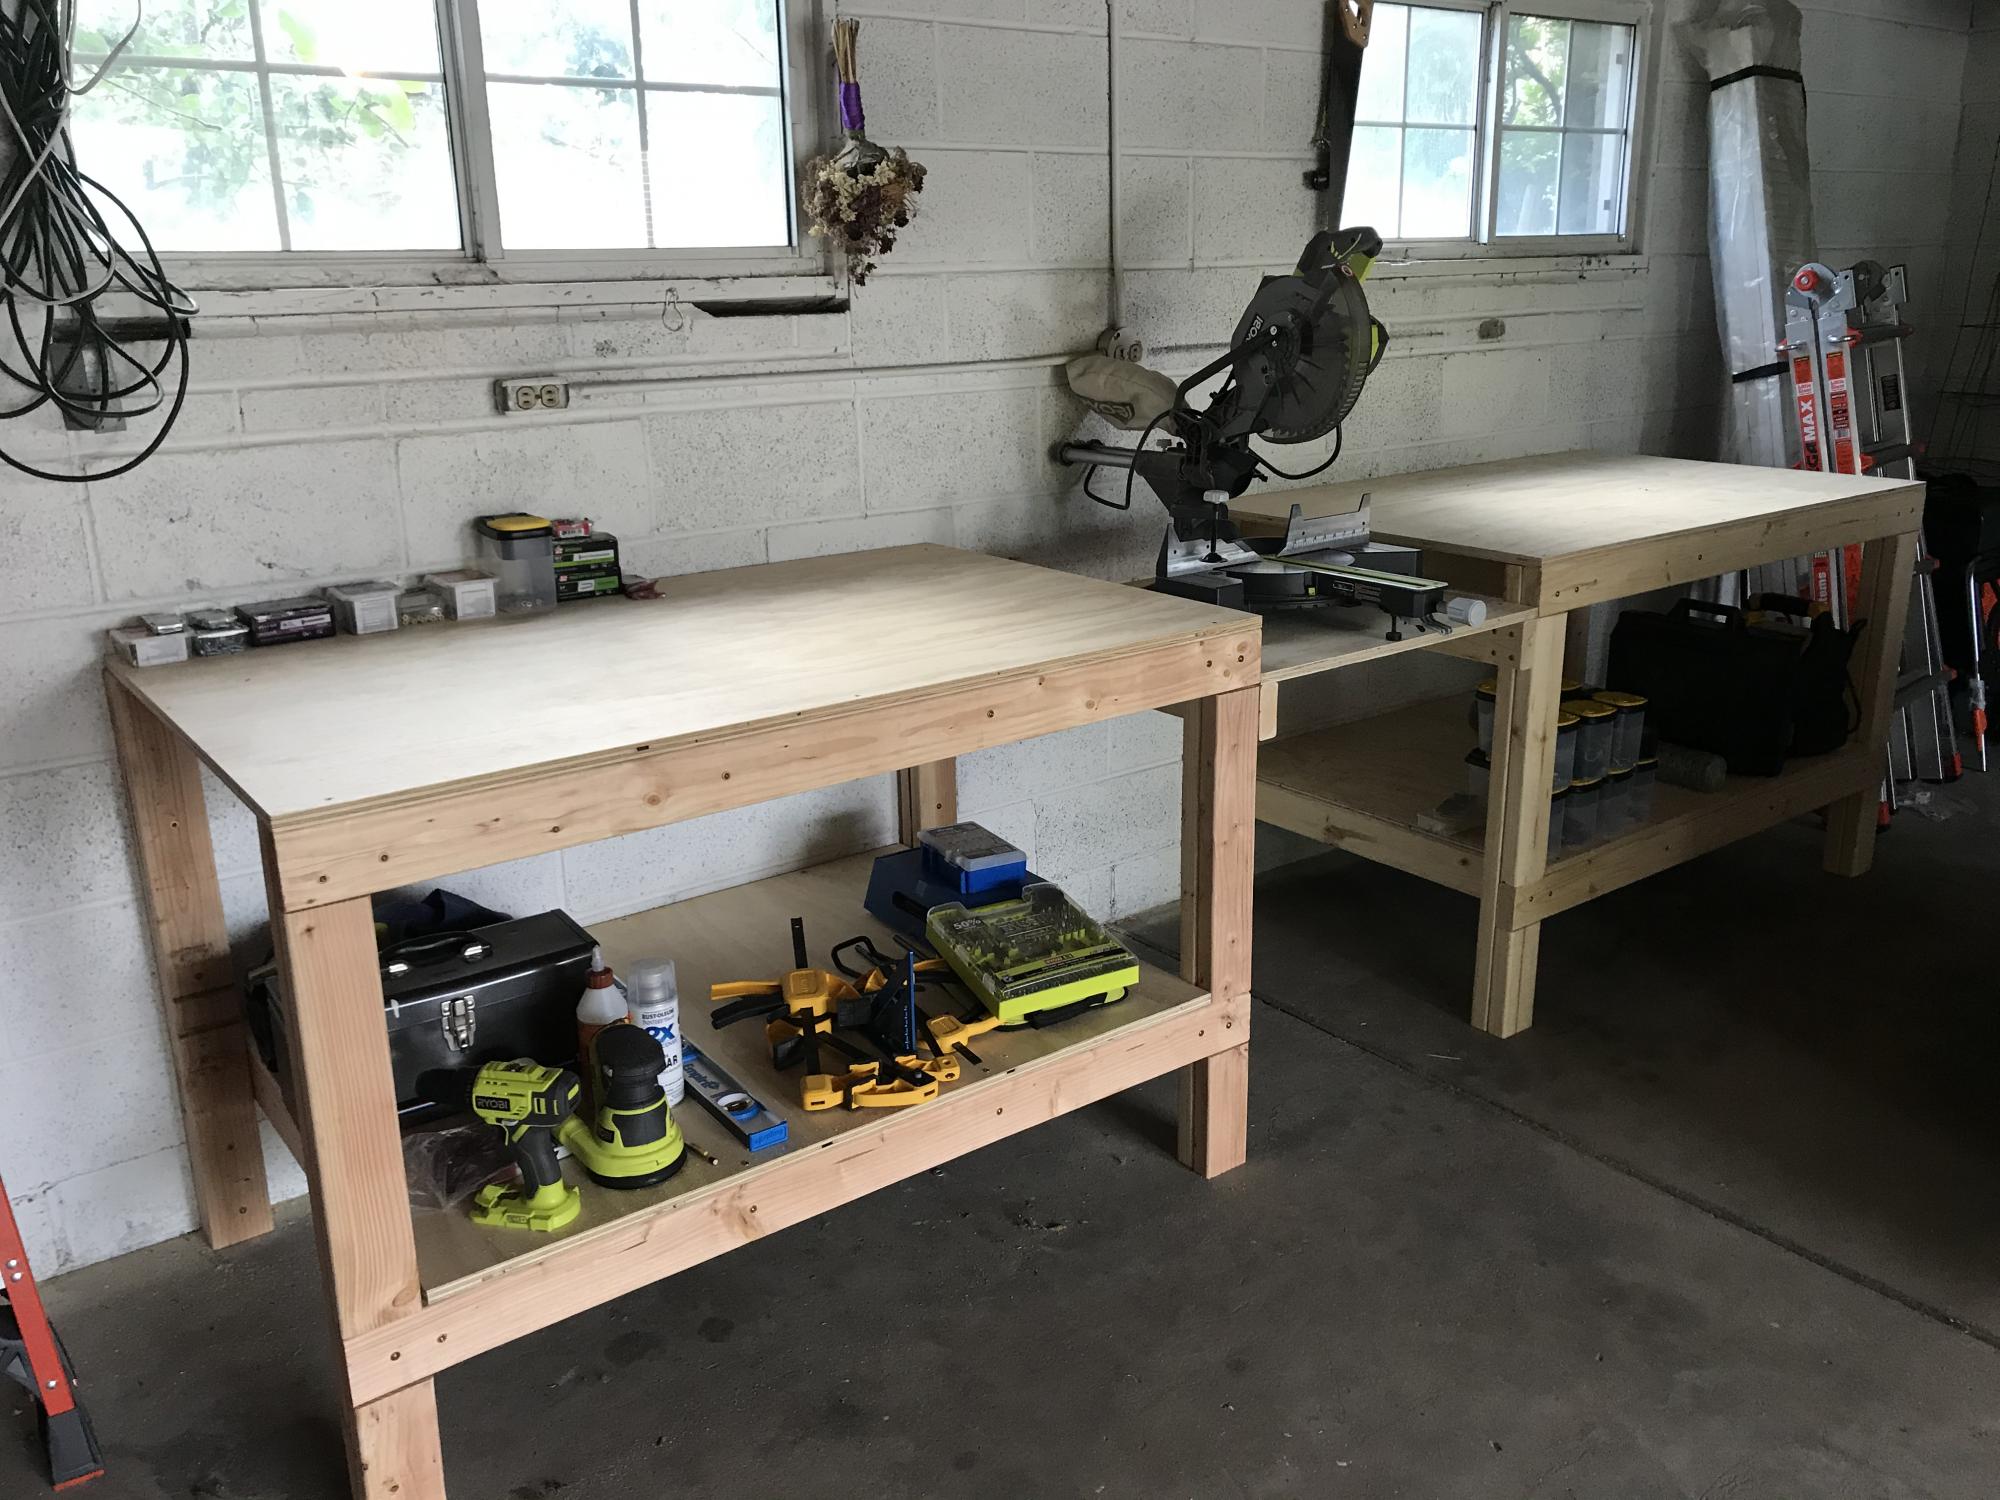
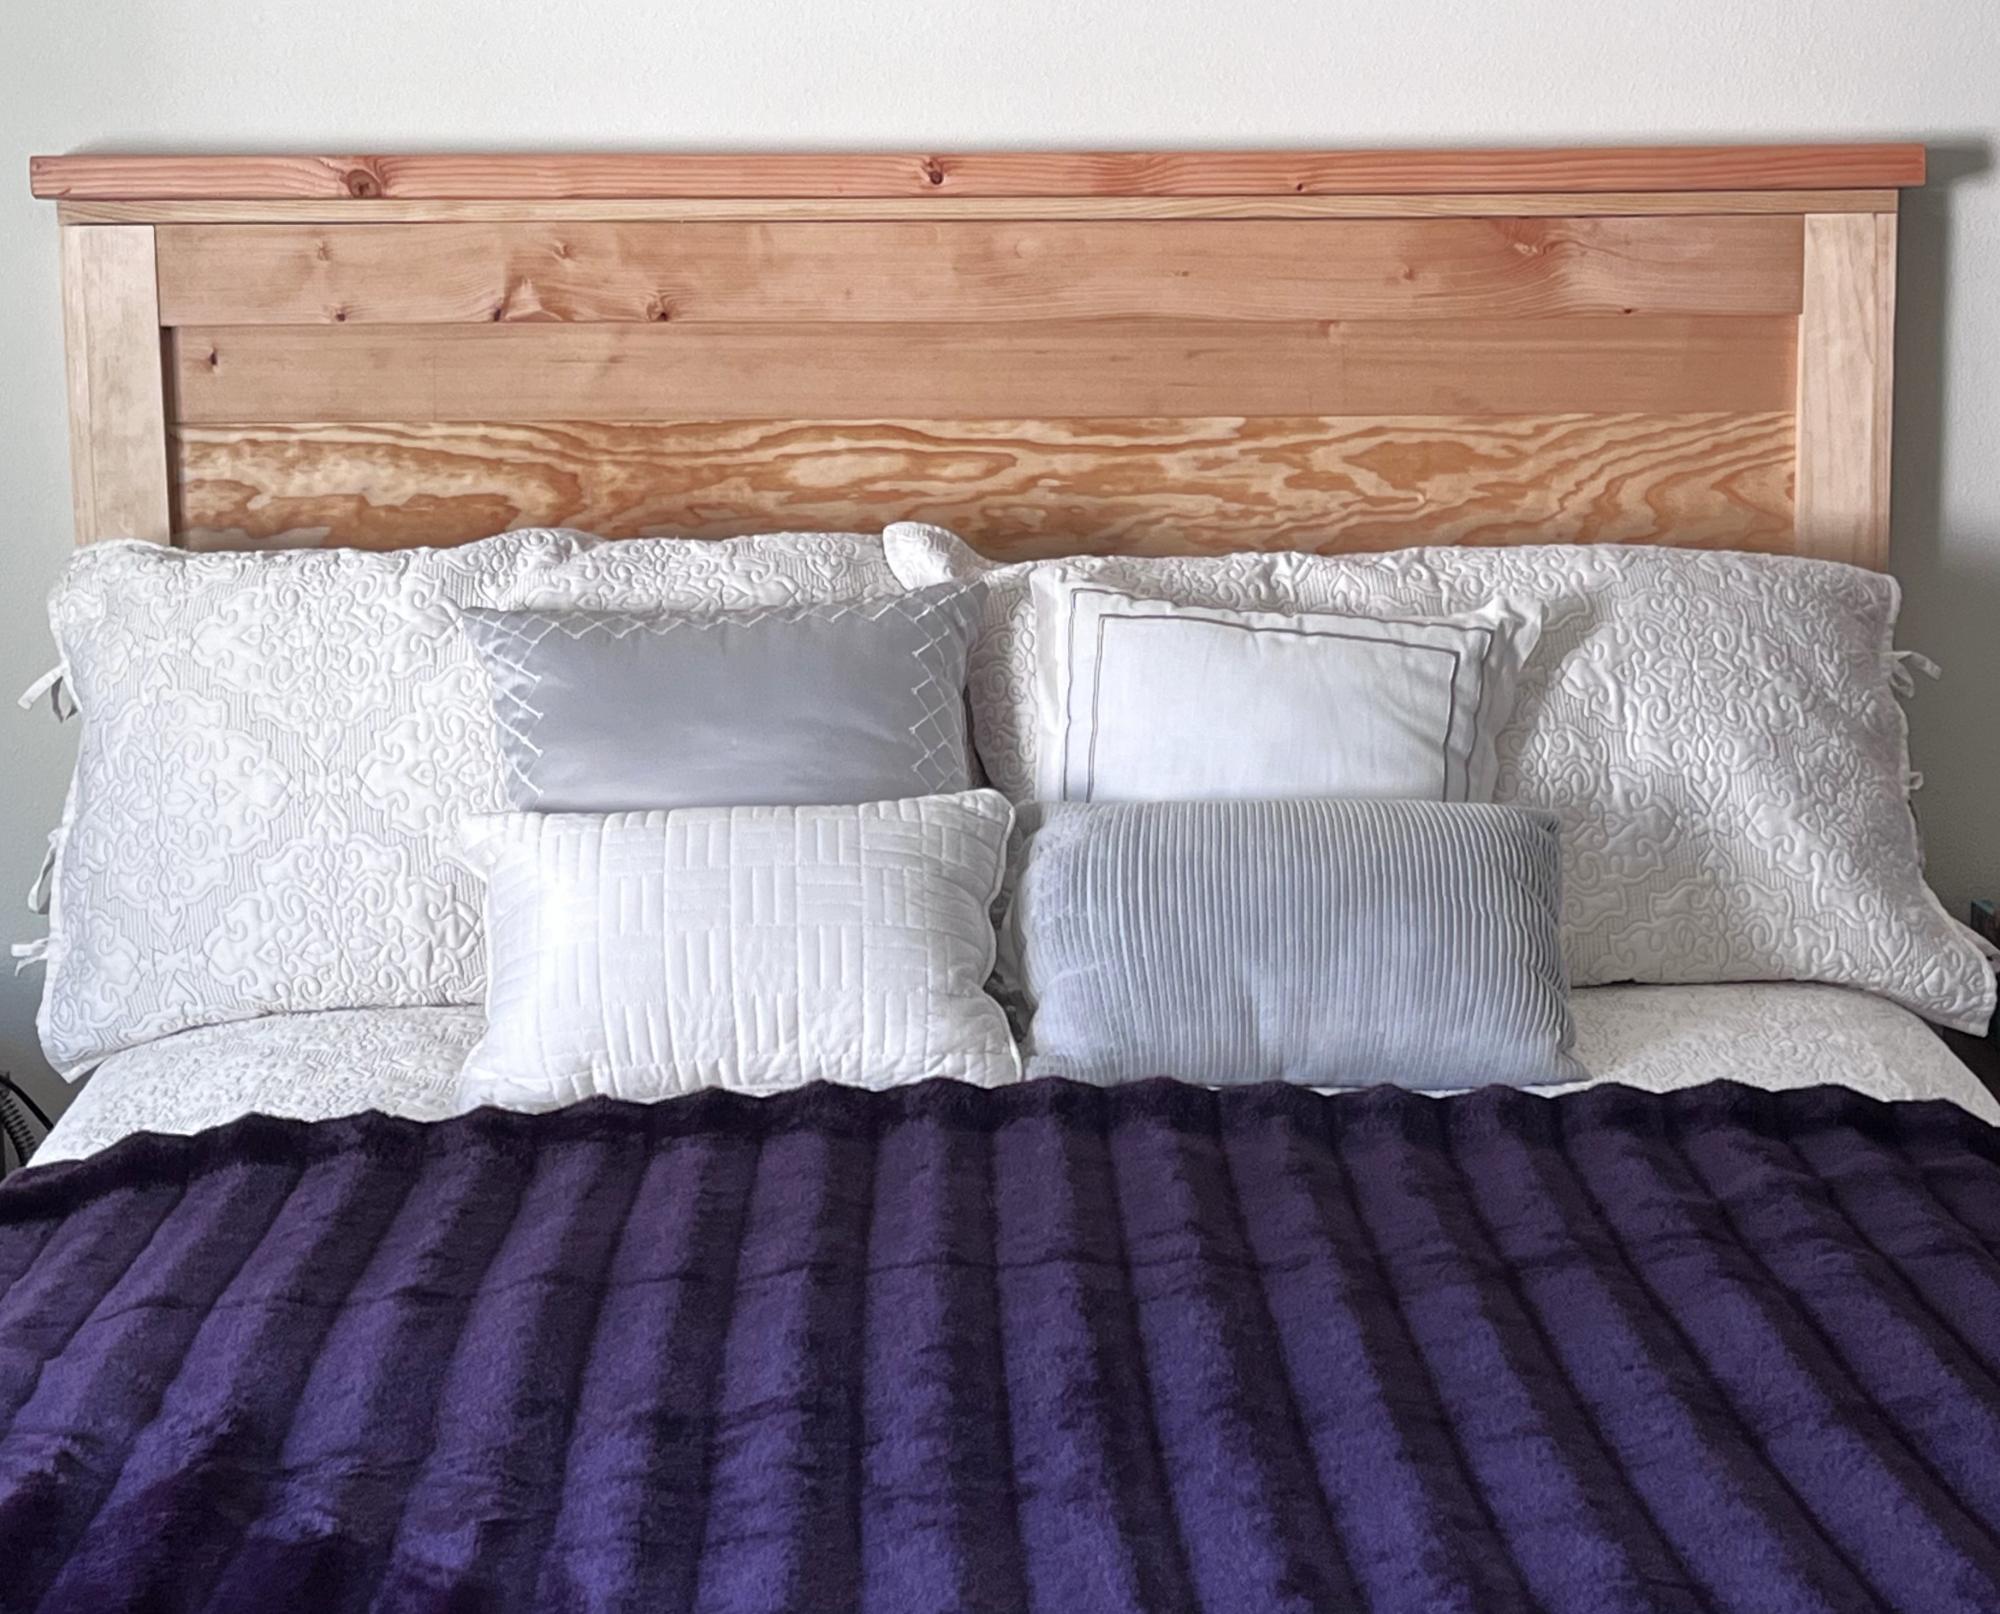
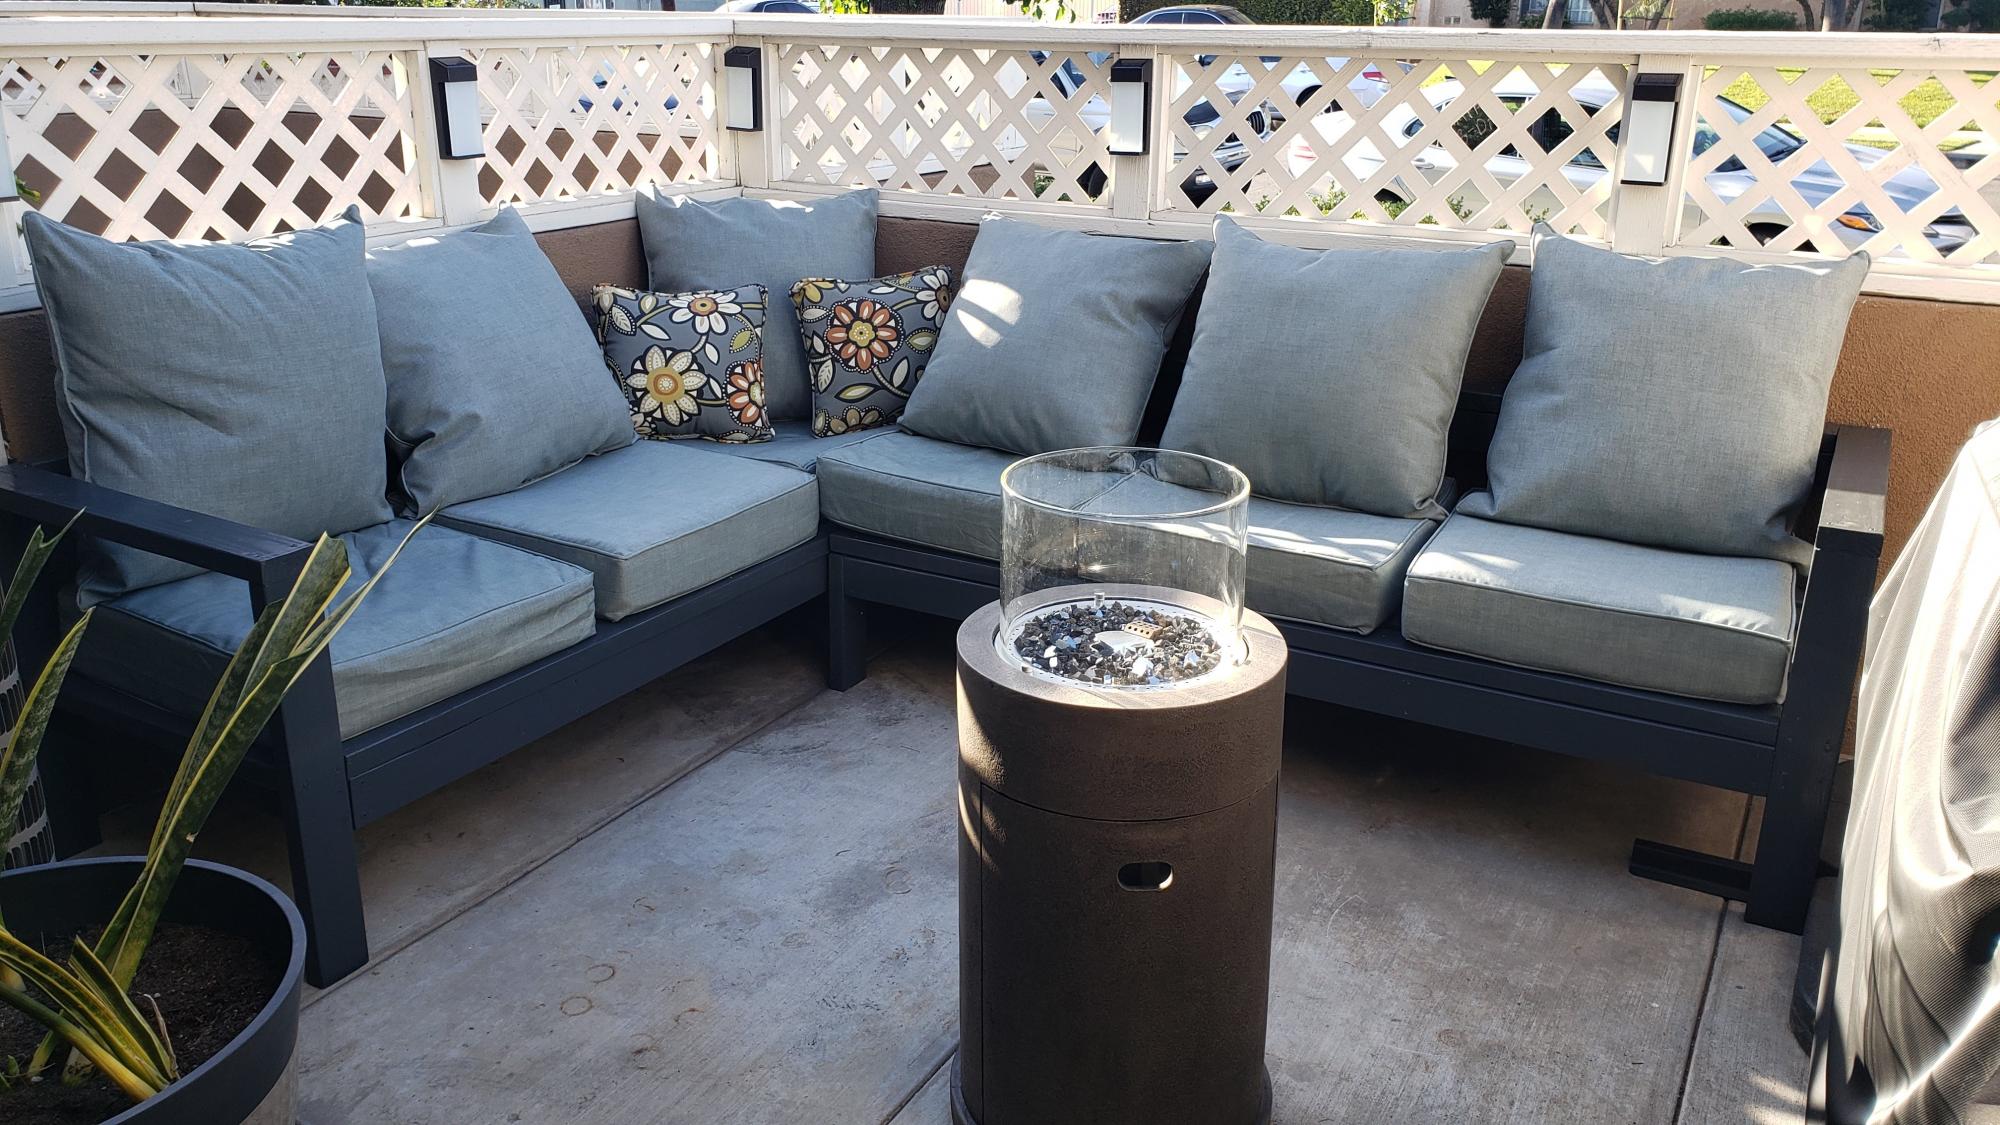
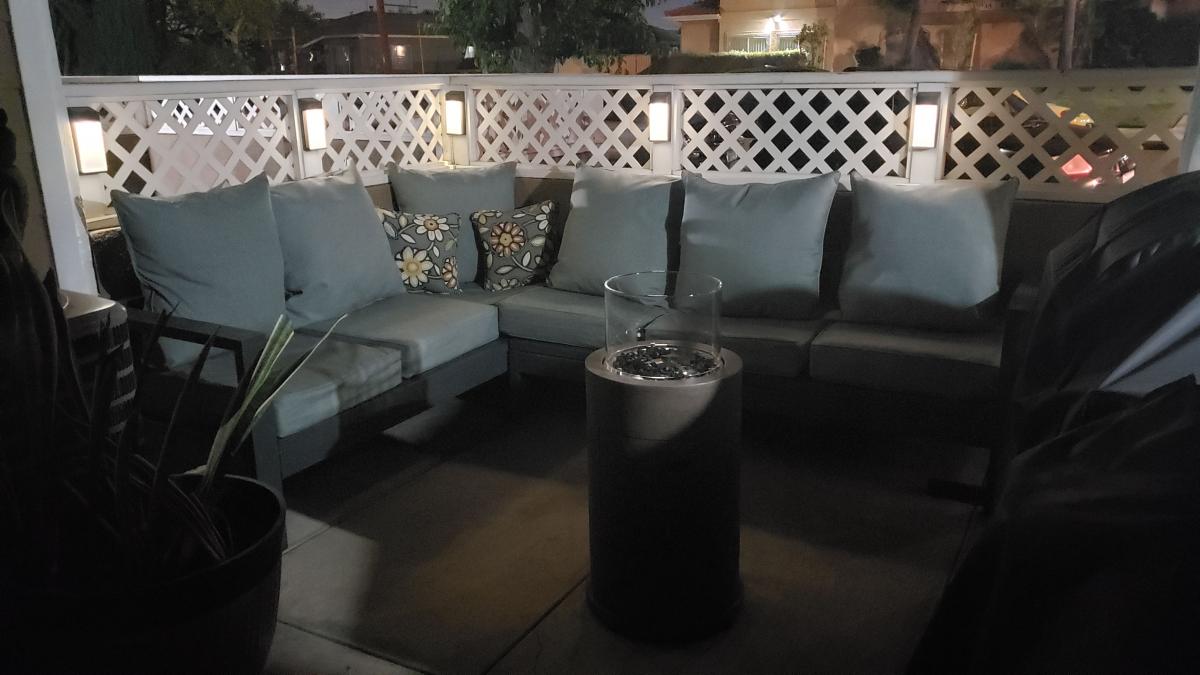
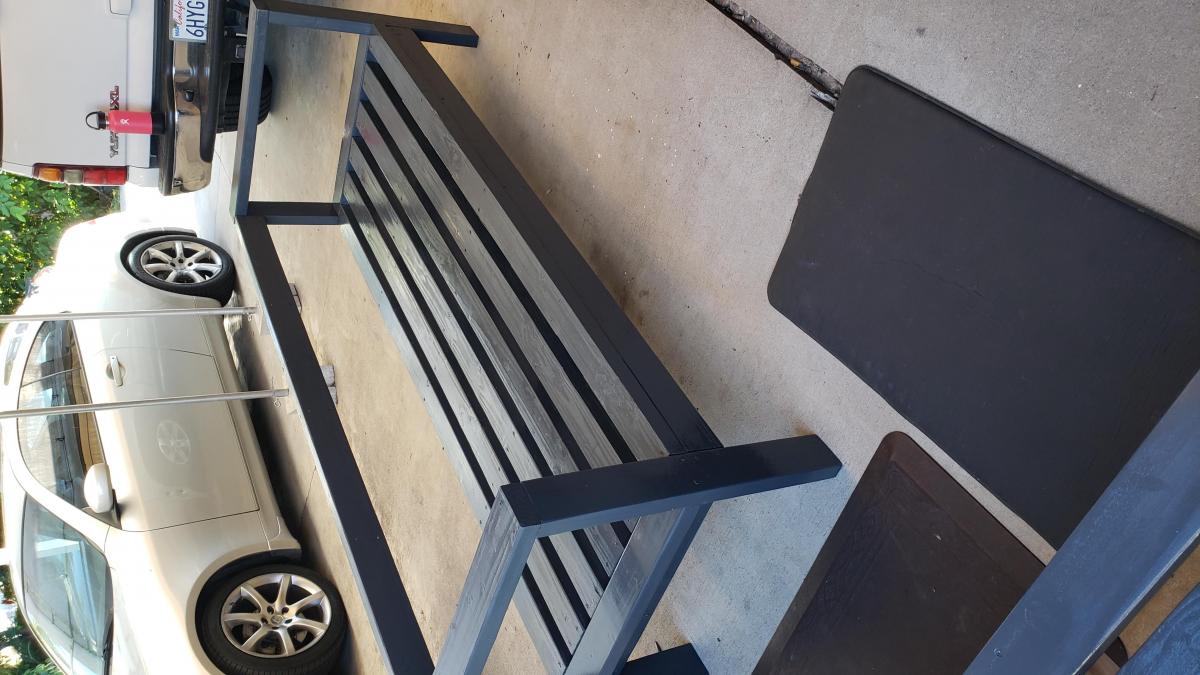
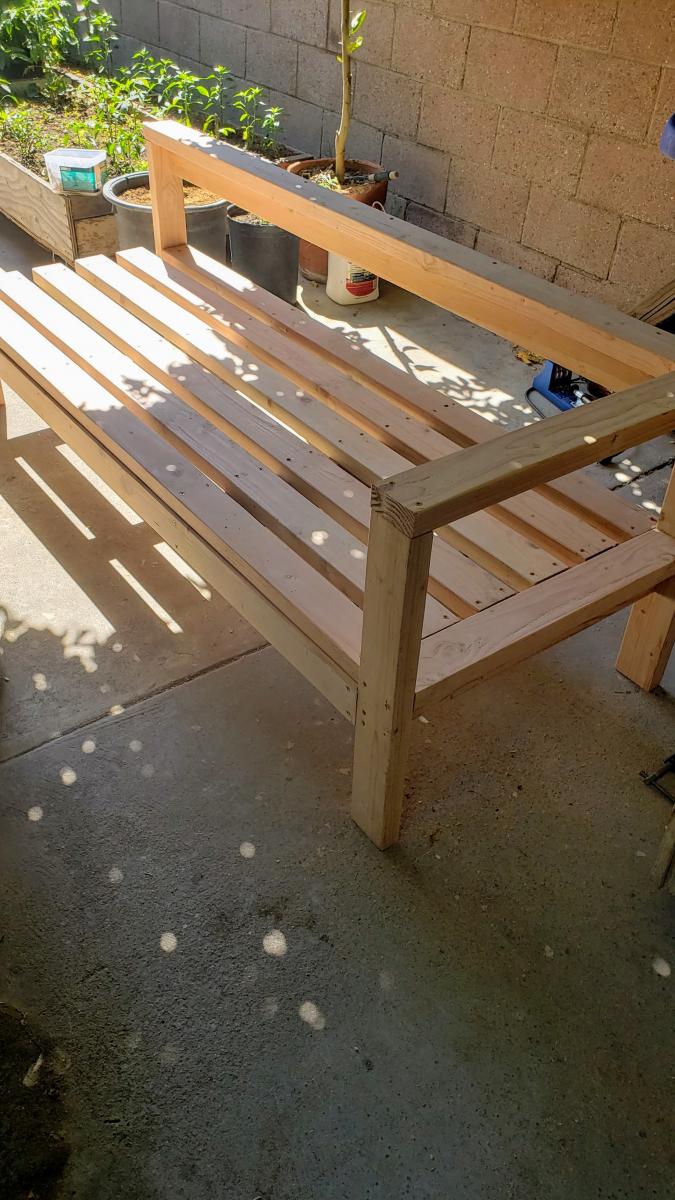
Have been wanting to spruce up my little outdoor patio with an outdoor sectional, but couldn't bear to purchase one due to the high cost. Made the decision to build the outdoor sectional, but purchased the cushions first in order to commit myself to the project. While I worked on the outdoor sectional, my younger sister built herself a bed frame from Ana's plans. I purchased the pre-drill screws, but my dad suggested I pre-drill the wood with his horizontal table drill (made the screws go straight in). Extremely happy and proud of the final product. Super affordable and it was a great project to work alongside my parents.
You do need to add an additional 28.5" 2x4 Outdoor Sofa /One Arm 2x4 Outdoor Sofa (missing from the plans). I can't remember which one was missing the piece.
~$350 ("grey" cushions were a little less than ~$200 from Big Lots (used 15% discount during Memorial Day Sale). Wood, stain, screws, wood putty, and glue ~$150.
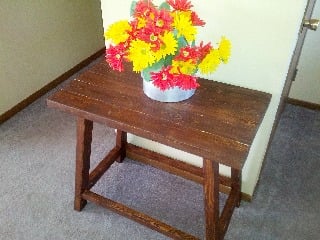
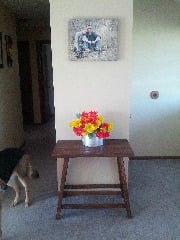
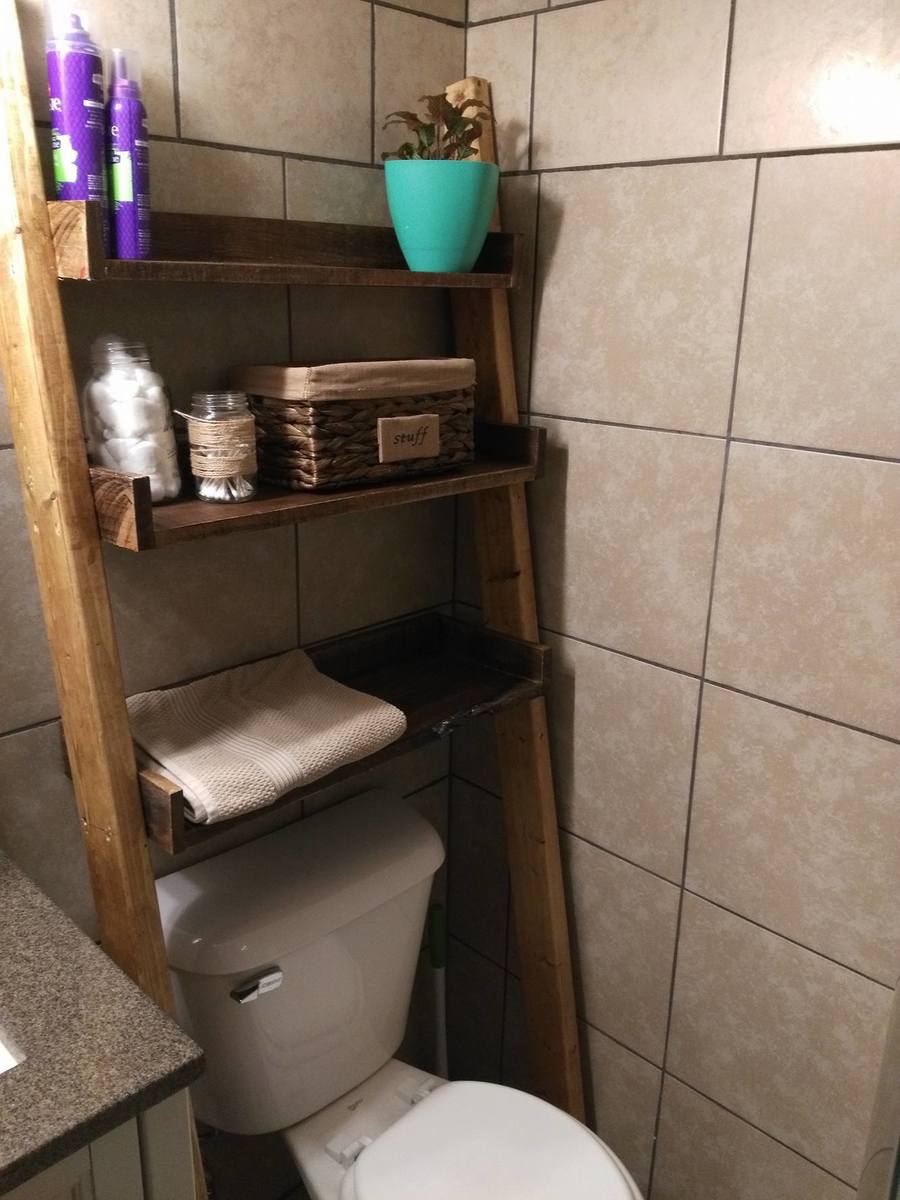
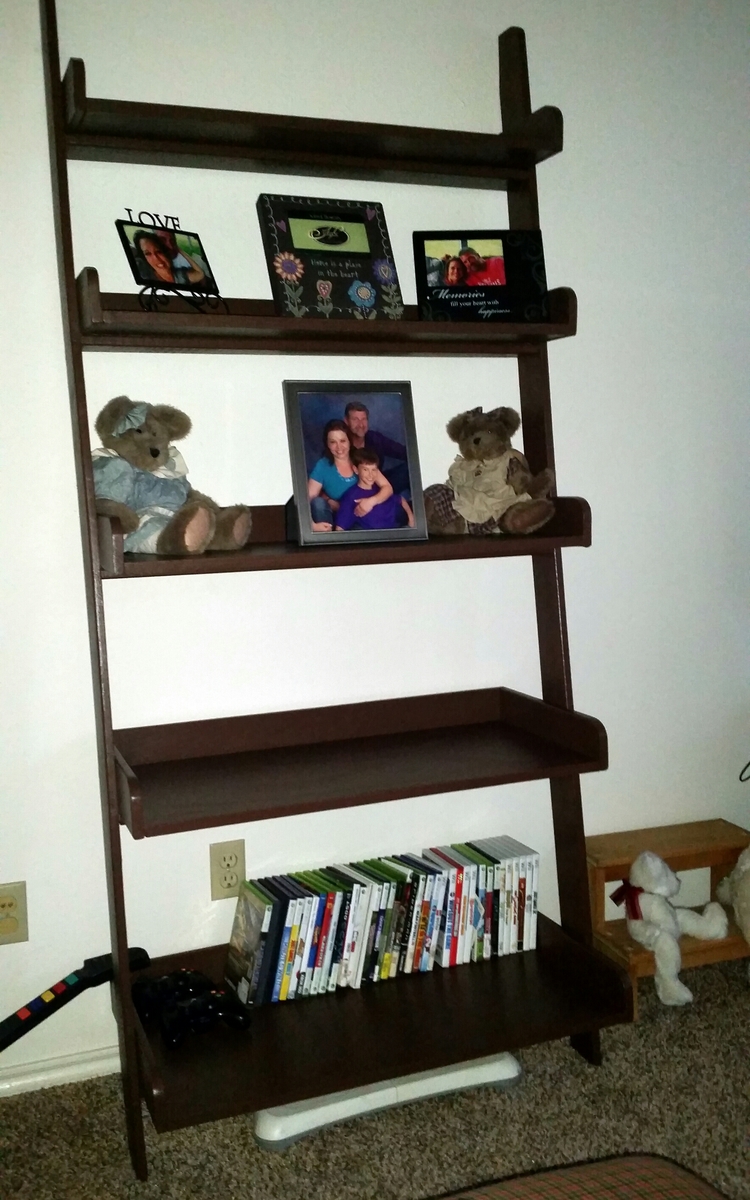
Originally used Valspar Tintable Neutral Base Semi-Transparent Exterior Stain and Sealer (1 quart) in the color "Dutch Licorice". The color was more of a blue-grey, which was not what I was going for. Had some leftover Varathane Carbon Gray Interior Wood Stain (less than 1 quart) from a ladder blanket project and painted over the Valspar Stain/Sealer.


Comments
Ana White Admin
Tue, 02/22/2022 - 14:06
So smart!
Wow, that's awesome!