Community Brag Posts

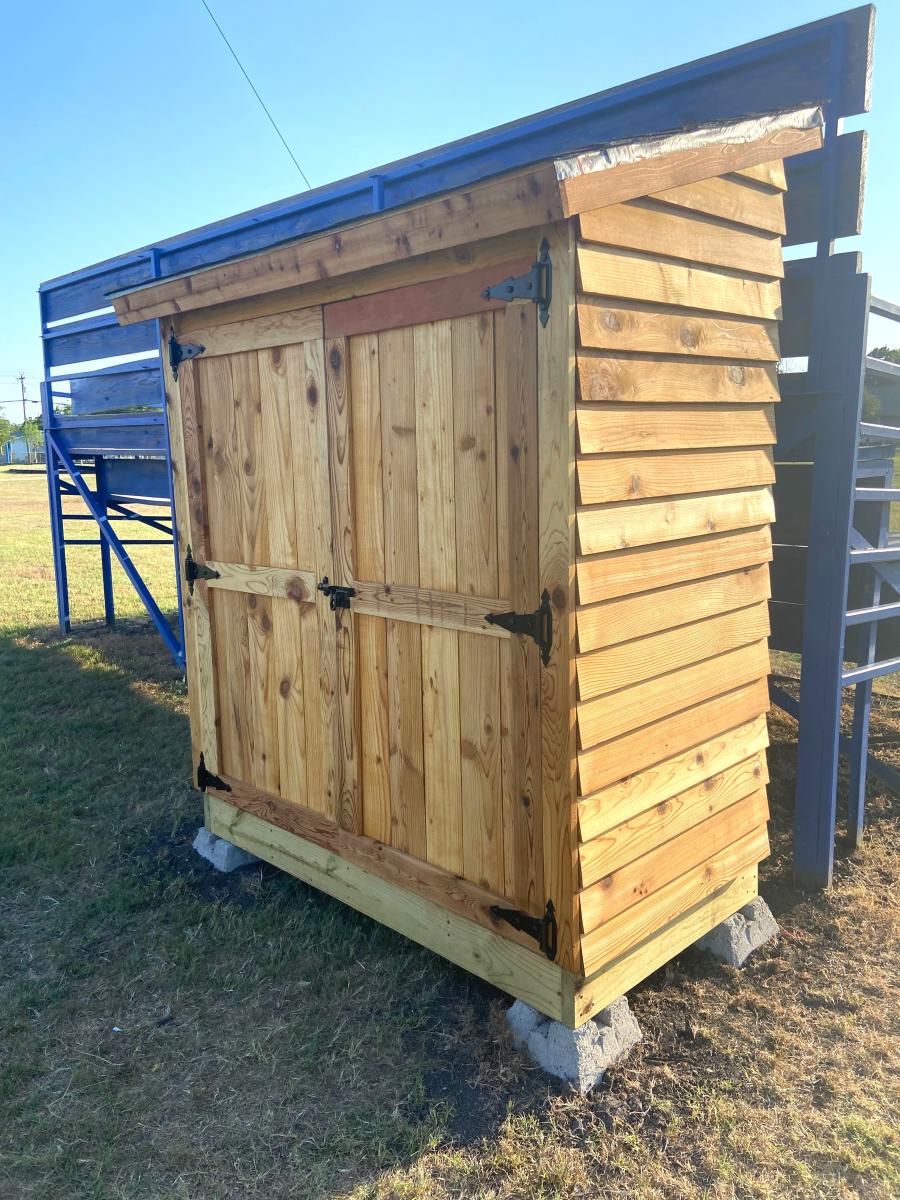
Eagle Scout School Shed Project

Submitted by Anonymous (not verified) on Fri, 08/25/2023 - 11:10

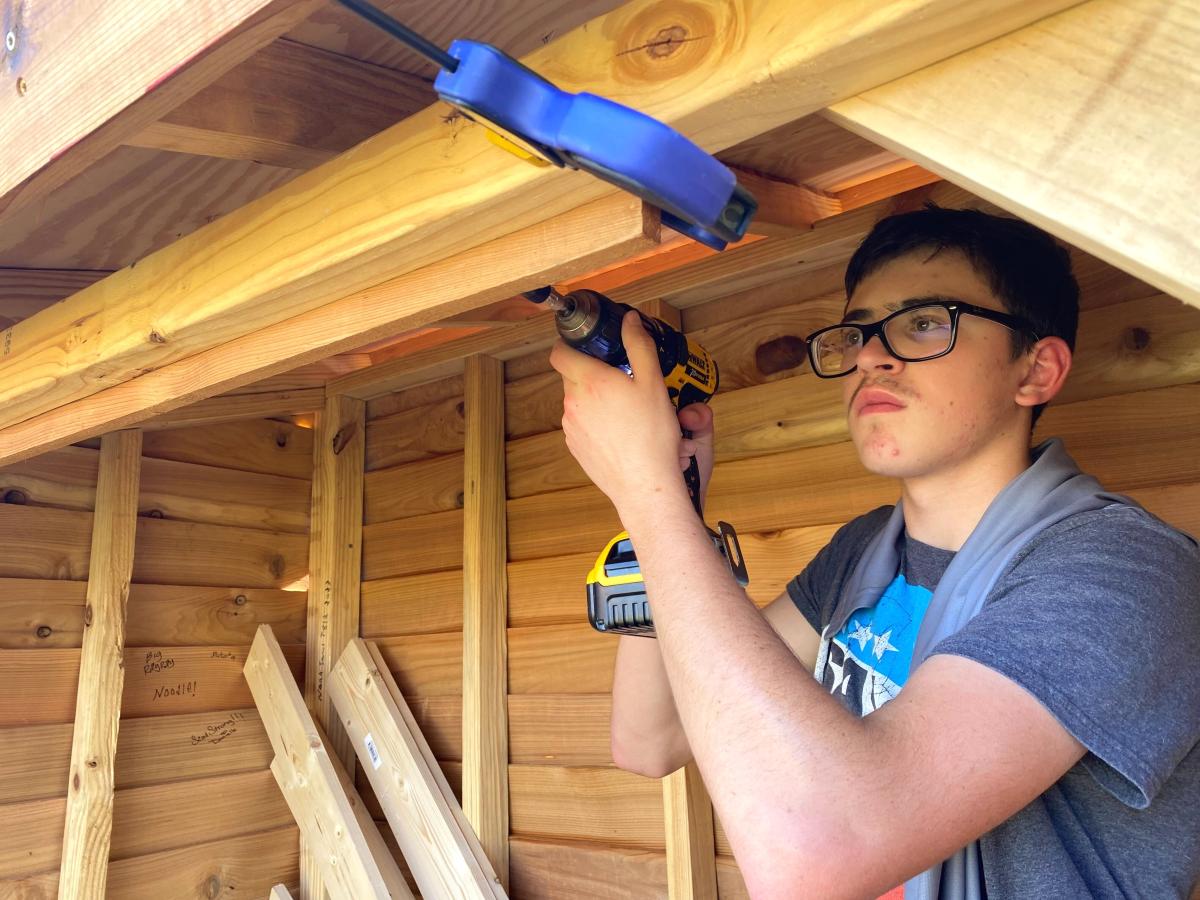
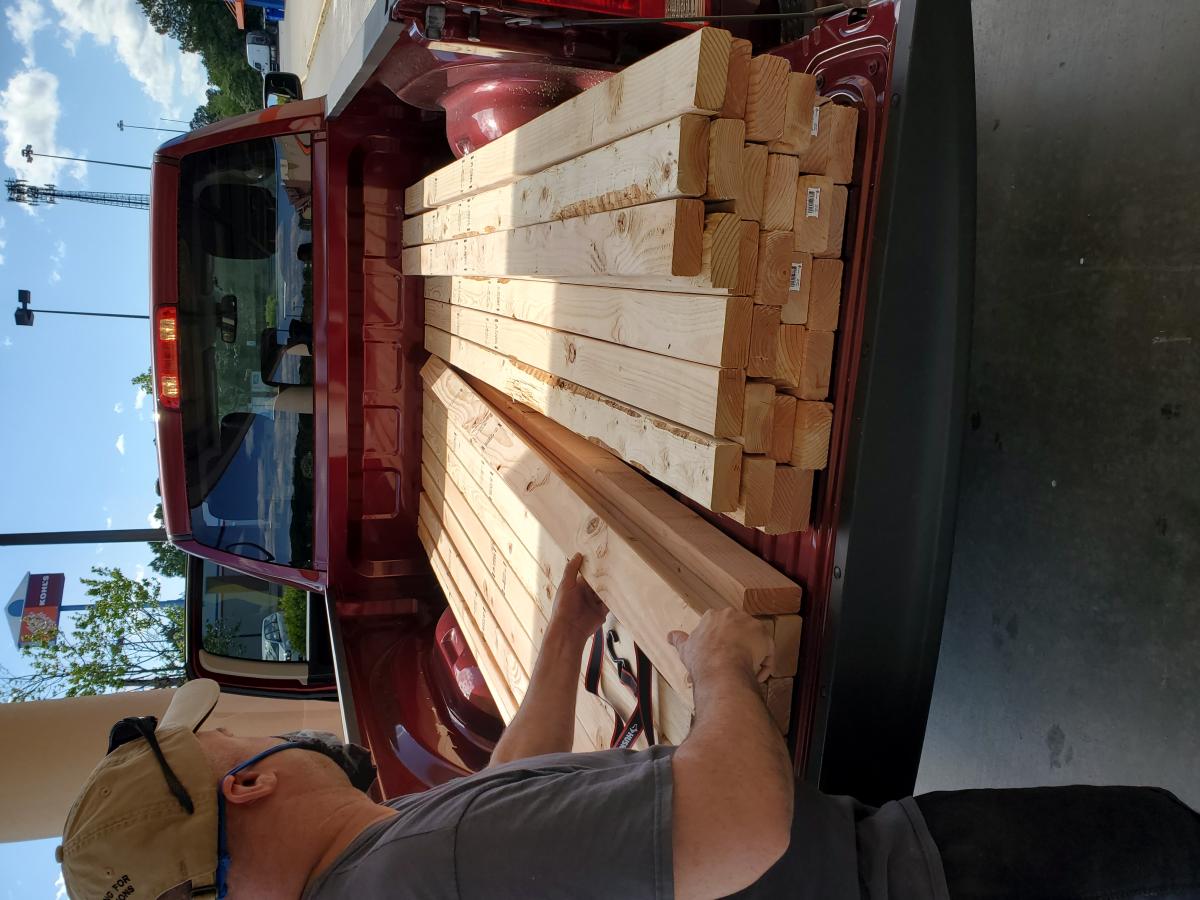
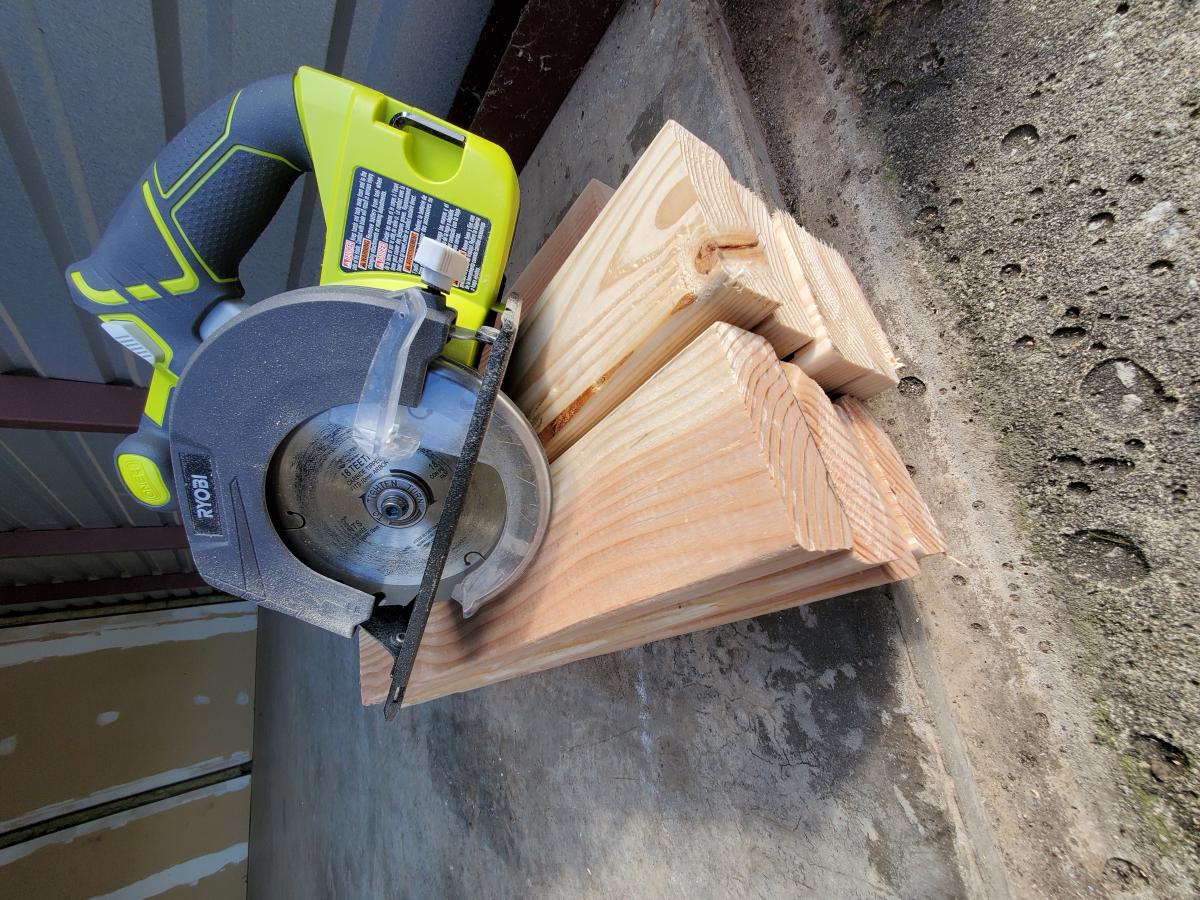
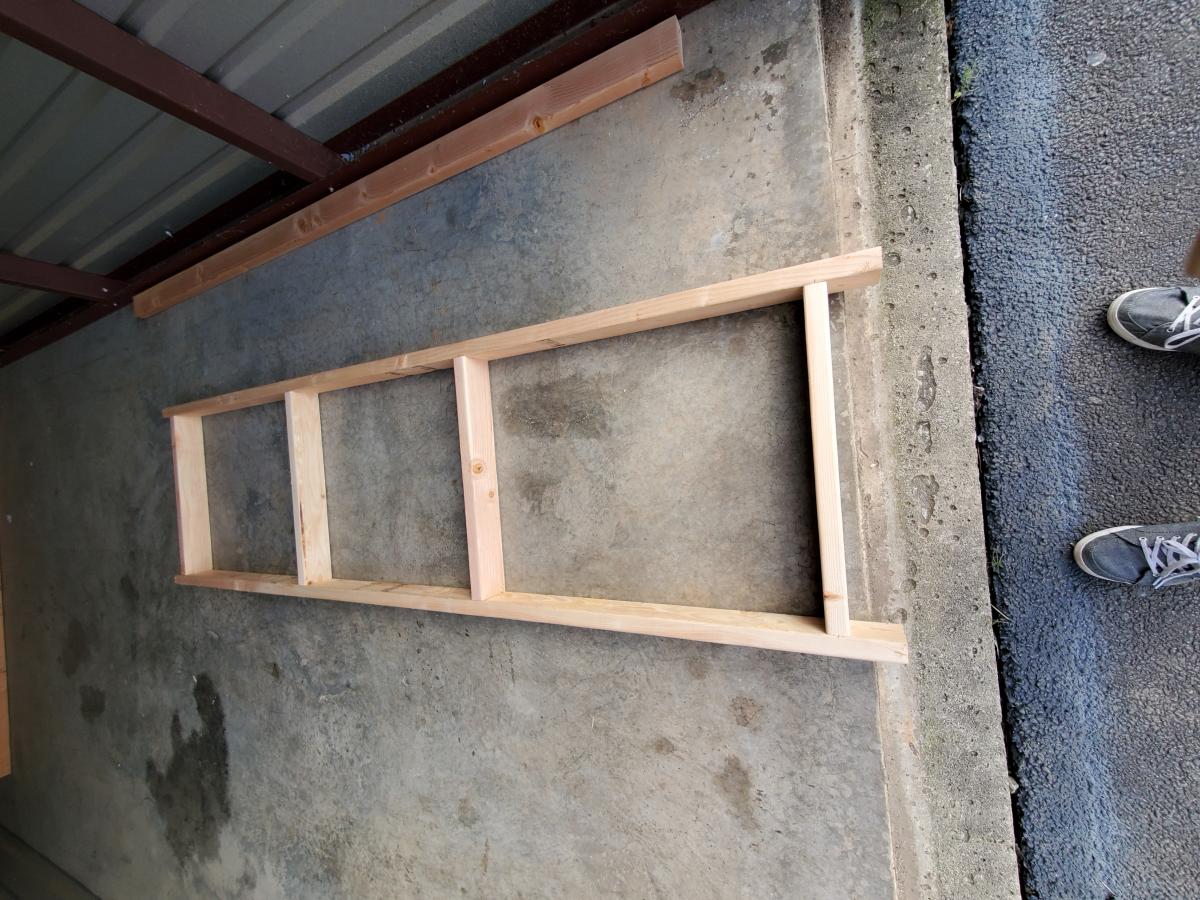
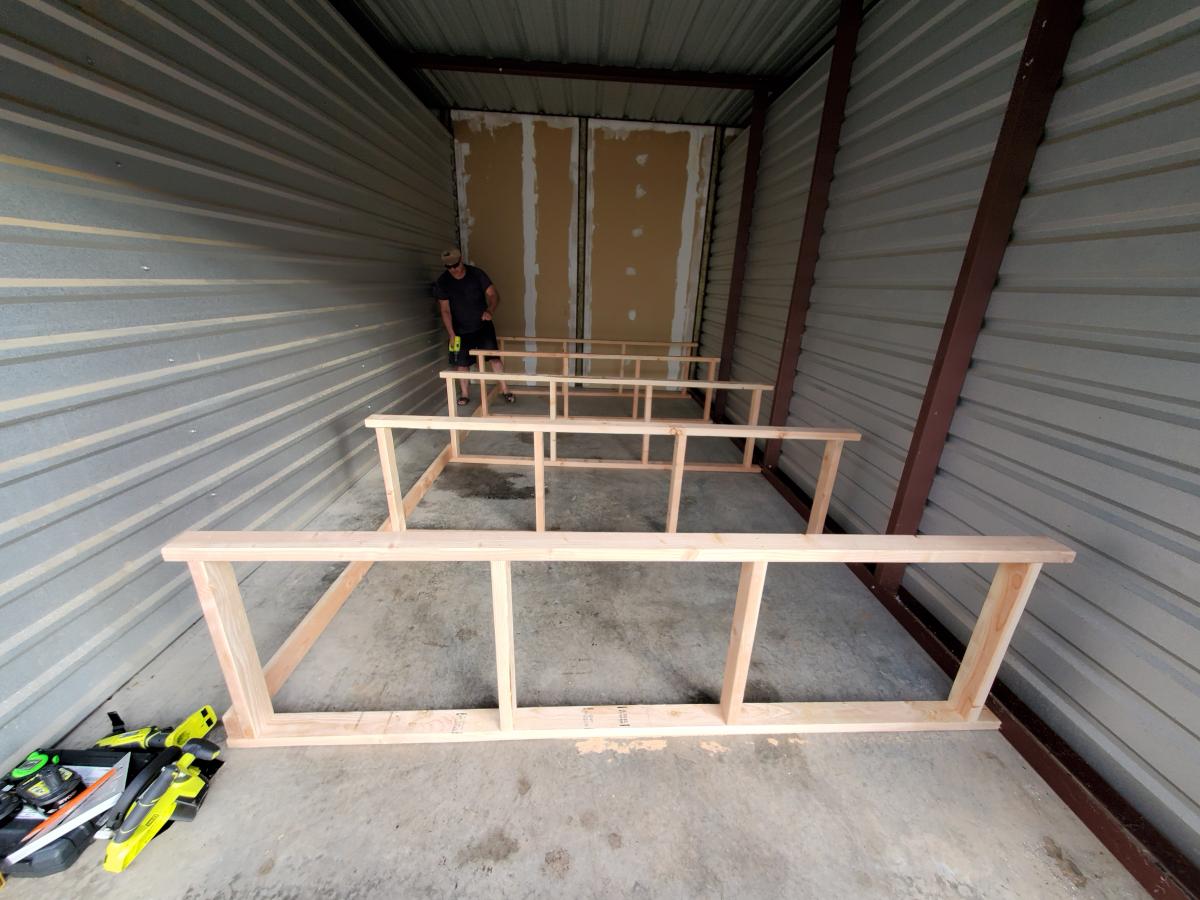
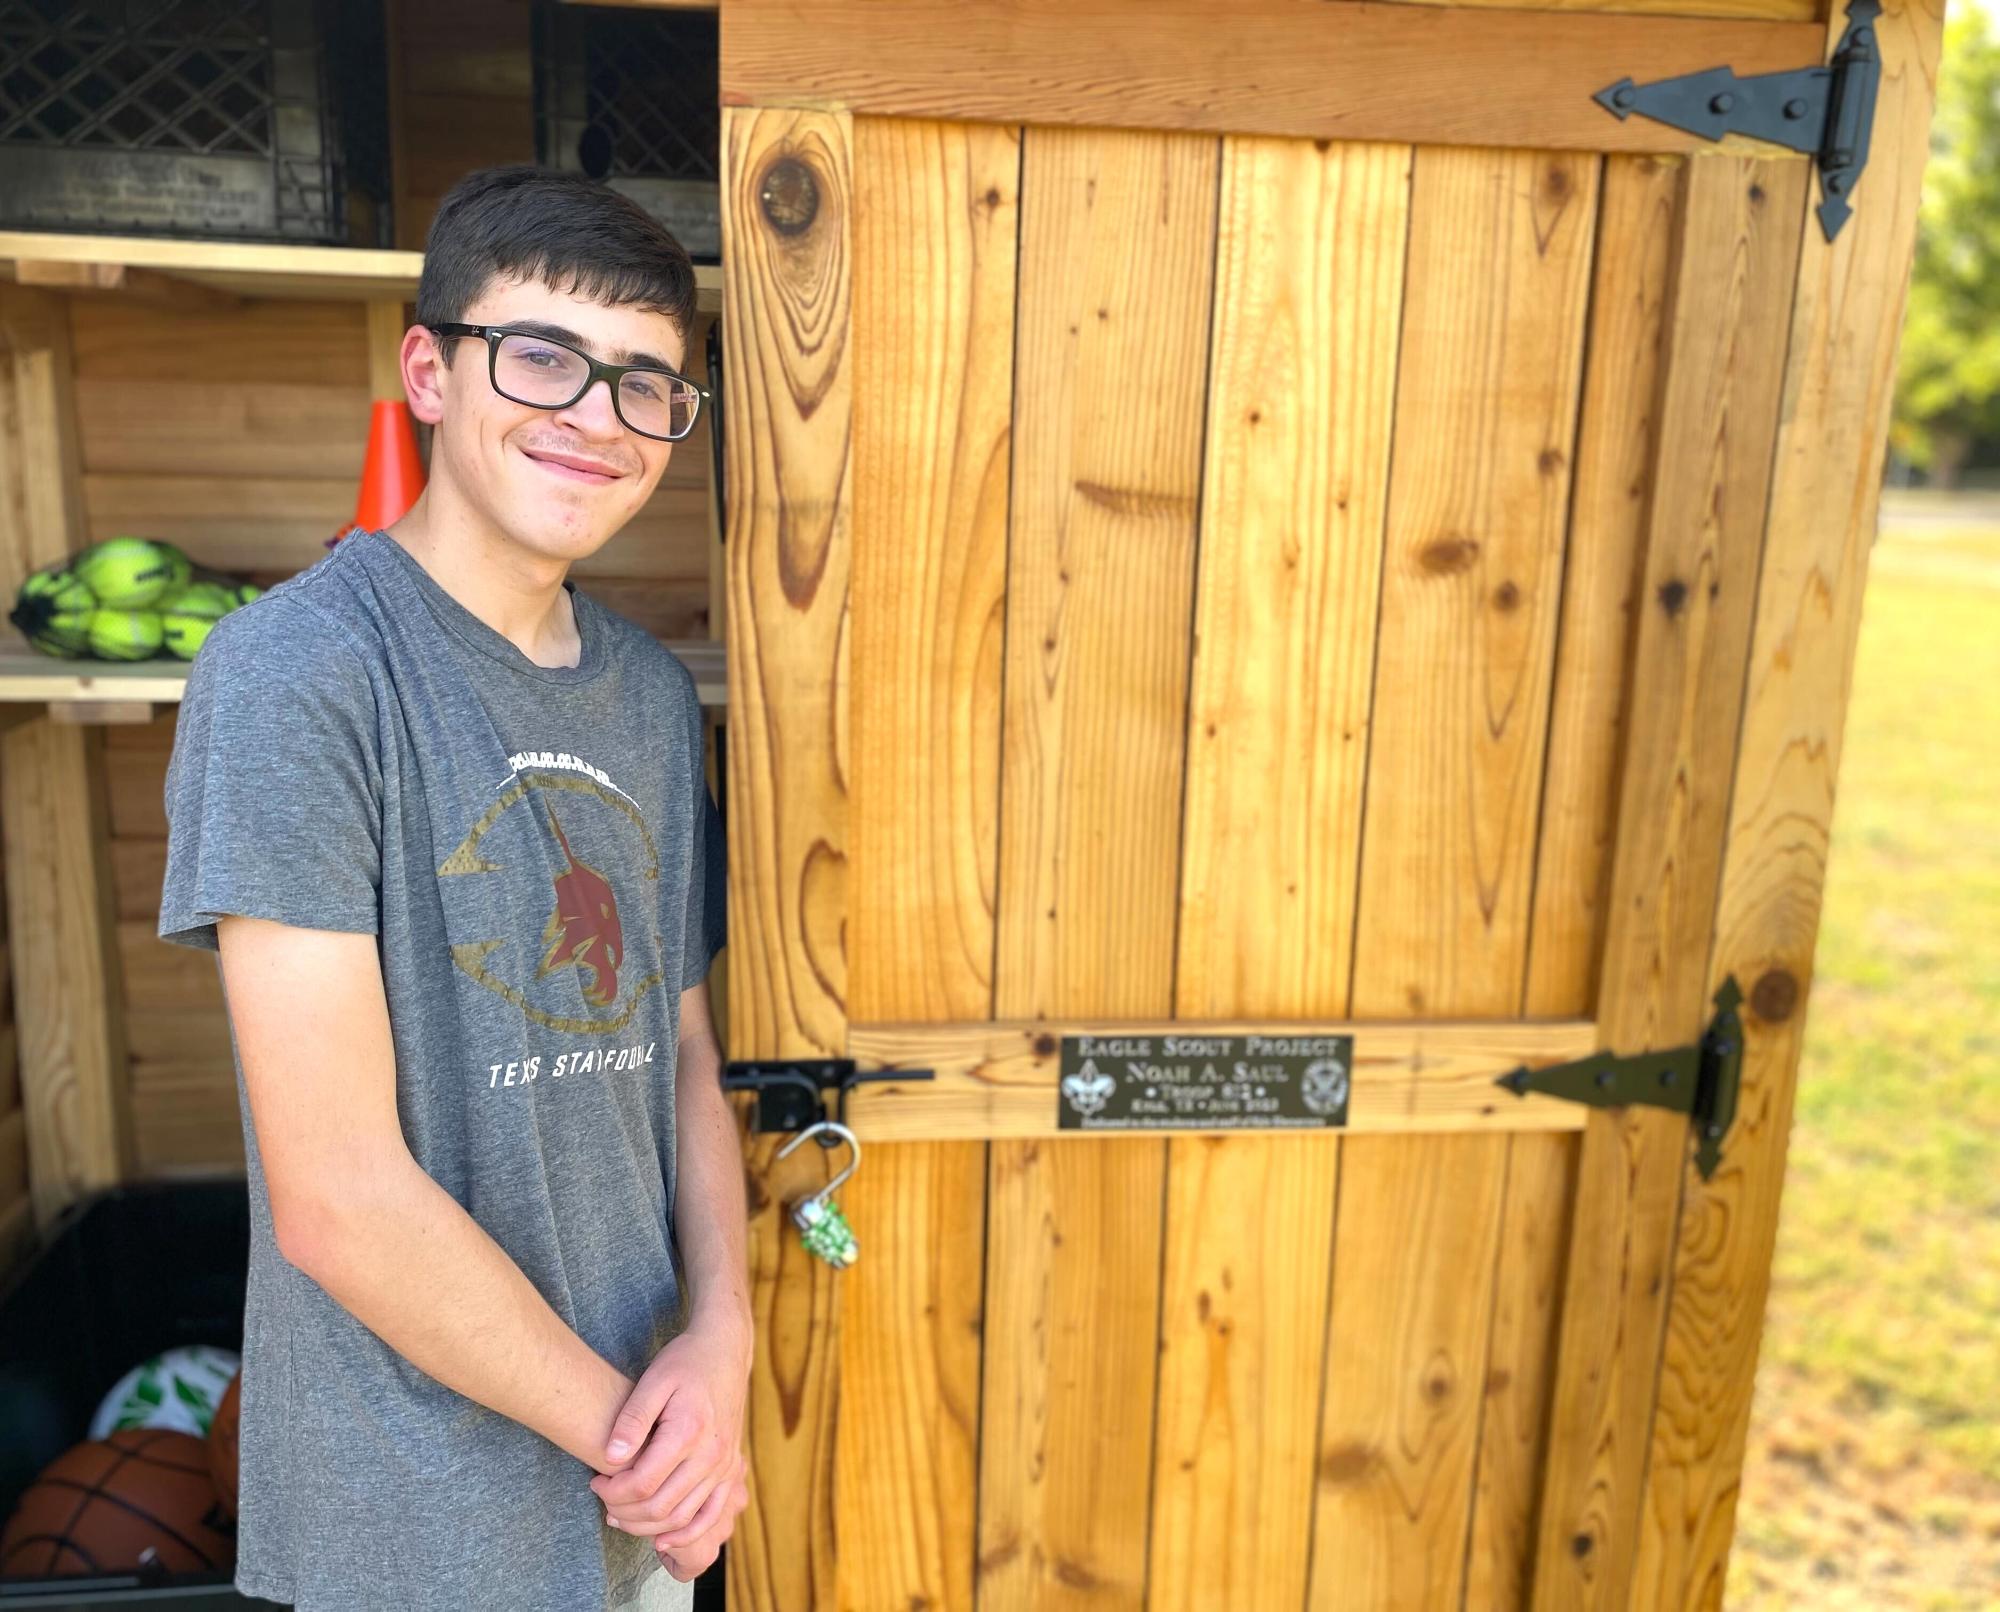
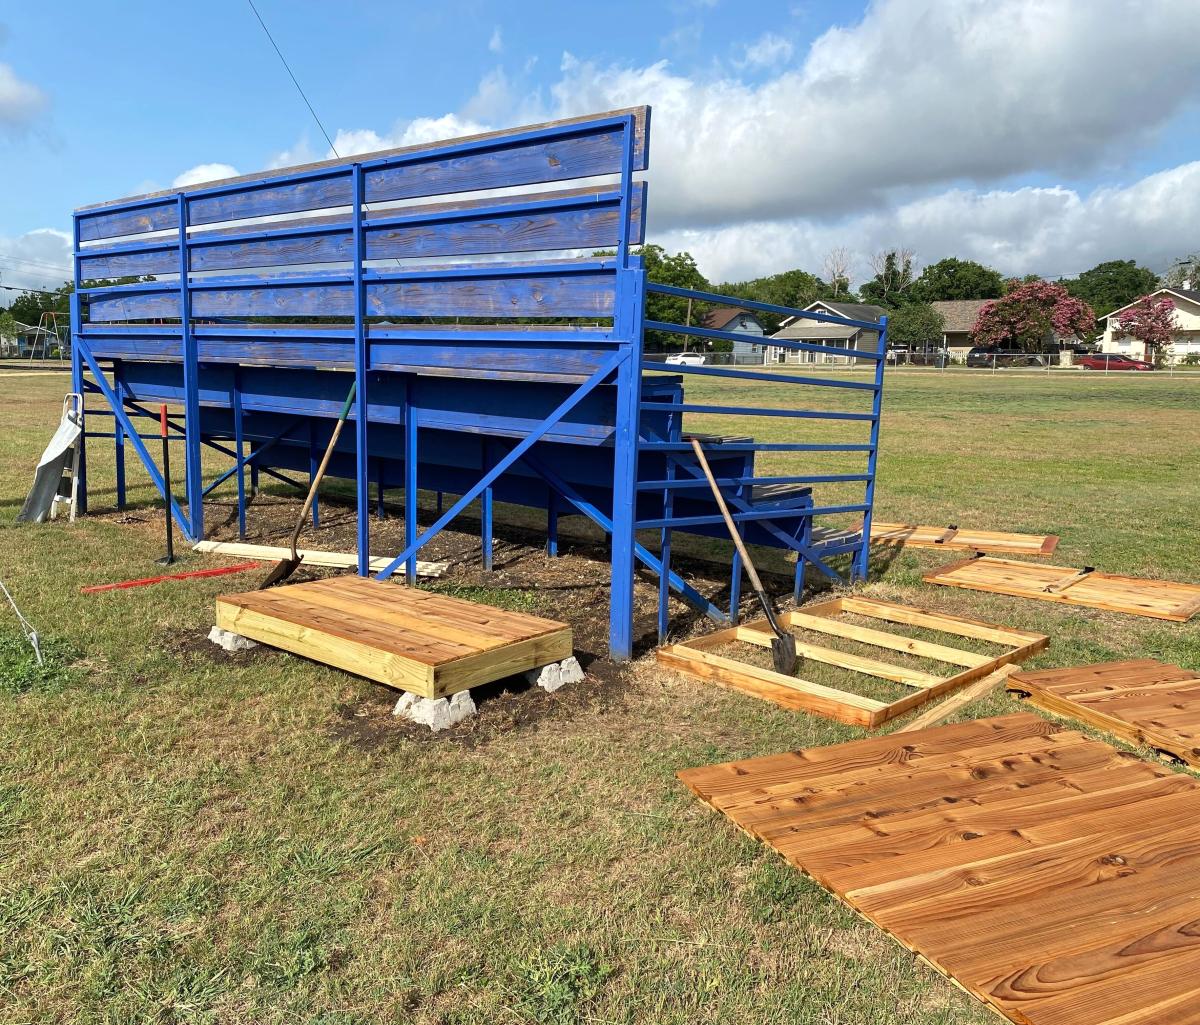
My son used your plans to help students at his old elementary school for his Eagle Scout Project. He was able to adjust the plans to meet the school's needs. Local Austin Texas news did a report on it. Thank you for the inspiration!

https://www.fox7austin.com/news/boy-scout-builds-shed-stocks-it-with-re…

Robert Saul

Built from Plan(s)
Seasonal And Holiday

Full Size Storage Bed

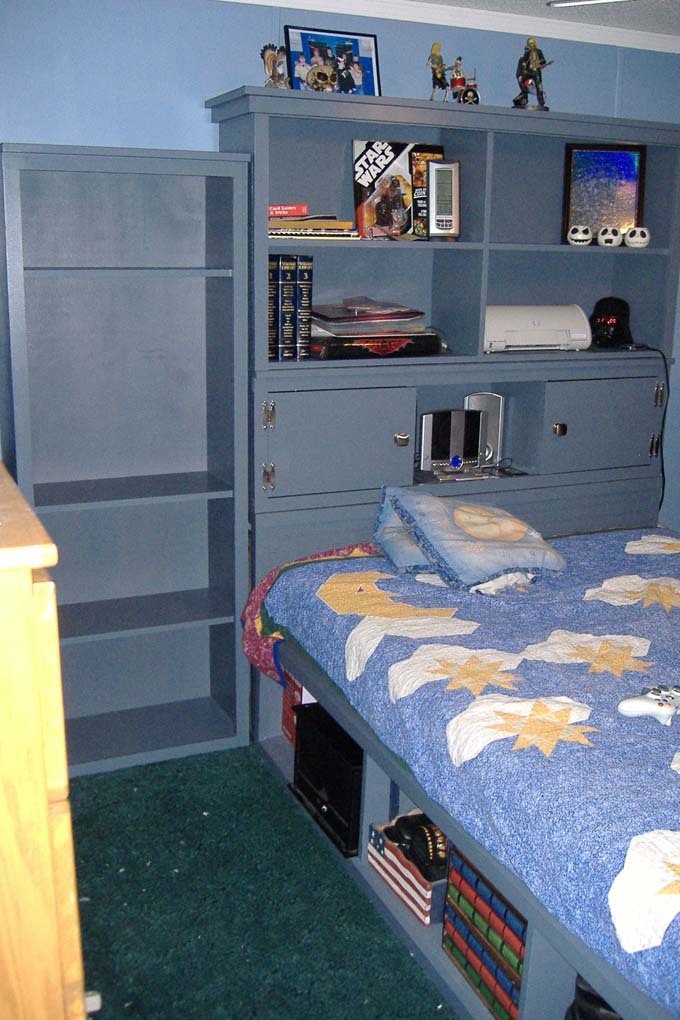
My son chose this system for his room (minus one bookcase - the room wasn't large enough!) and even painted a few of the pieces himself! he's very tall so I lengthened the bed to 92" which is the length of the extra-long mattresses. For the time being, I added 6" high-density foam to the end of his mattress. I also used plywood with edge banding instead of 1x12 boards.

Built from Plan(s)
Estimated Cost
Around $200
Estimated Time Investment
Week Long Project (20 Hours or More)
Finish Used
Dutch Boy Interior Satin in Alloy
Recommended Skill Level
Advanced

Comments

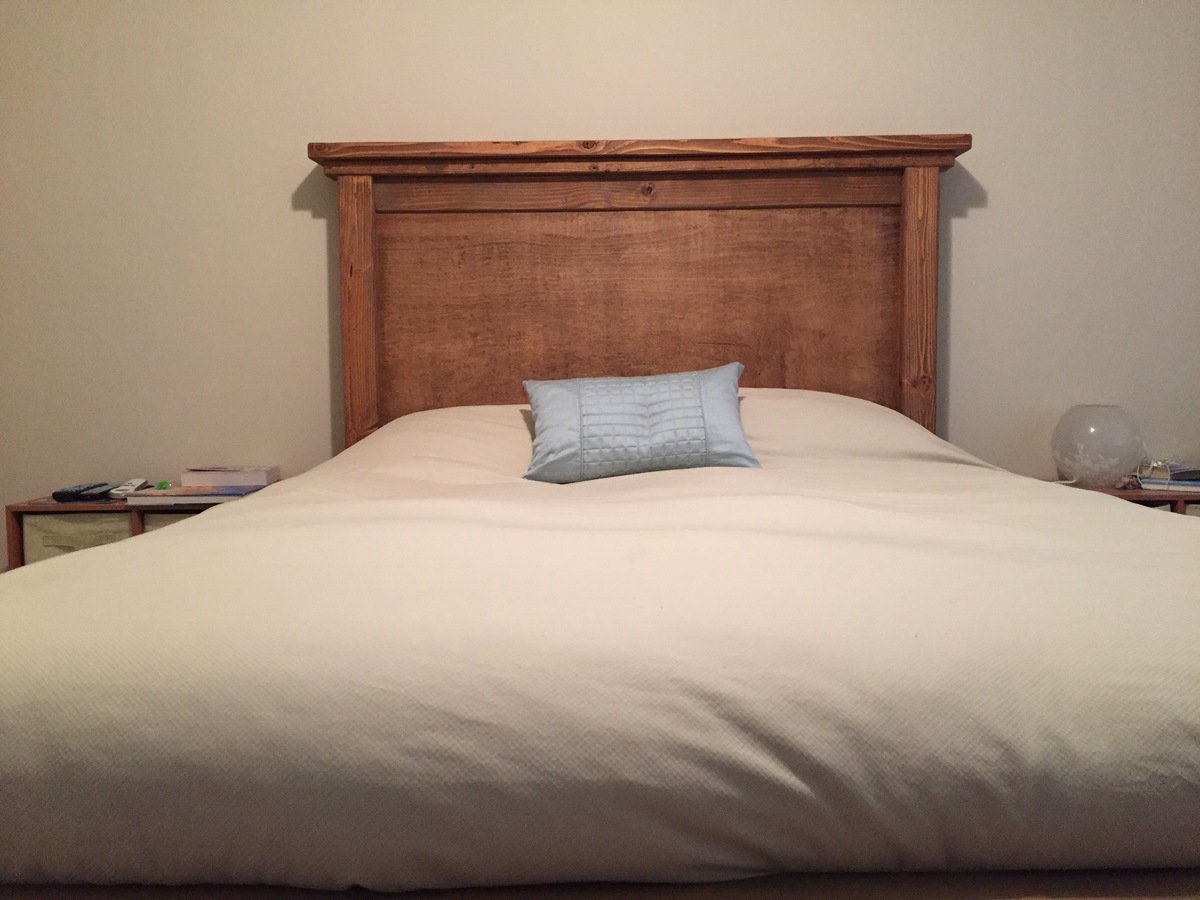
Farmhouse Bed Headboard

Submitted by Anonymous (not verified) on Mon, 01/27/2020 - 14:26

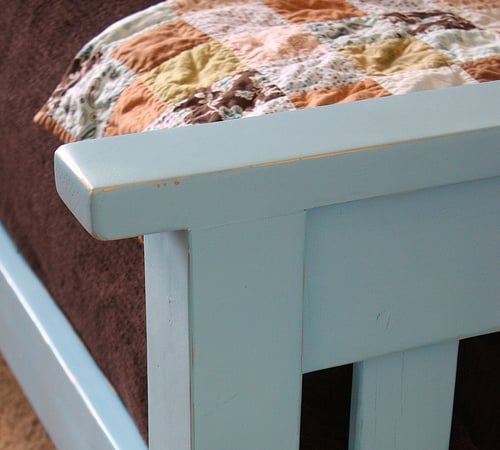
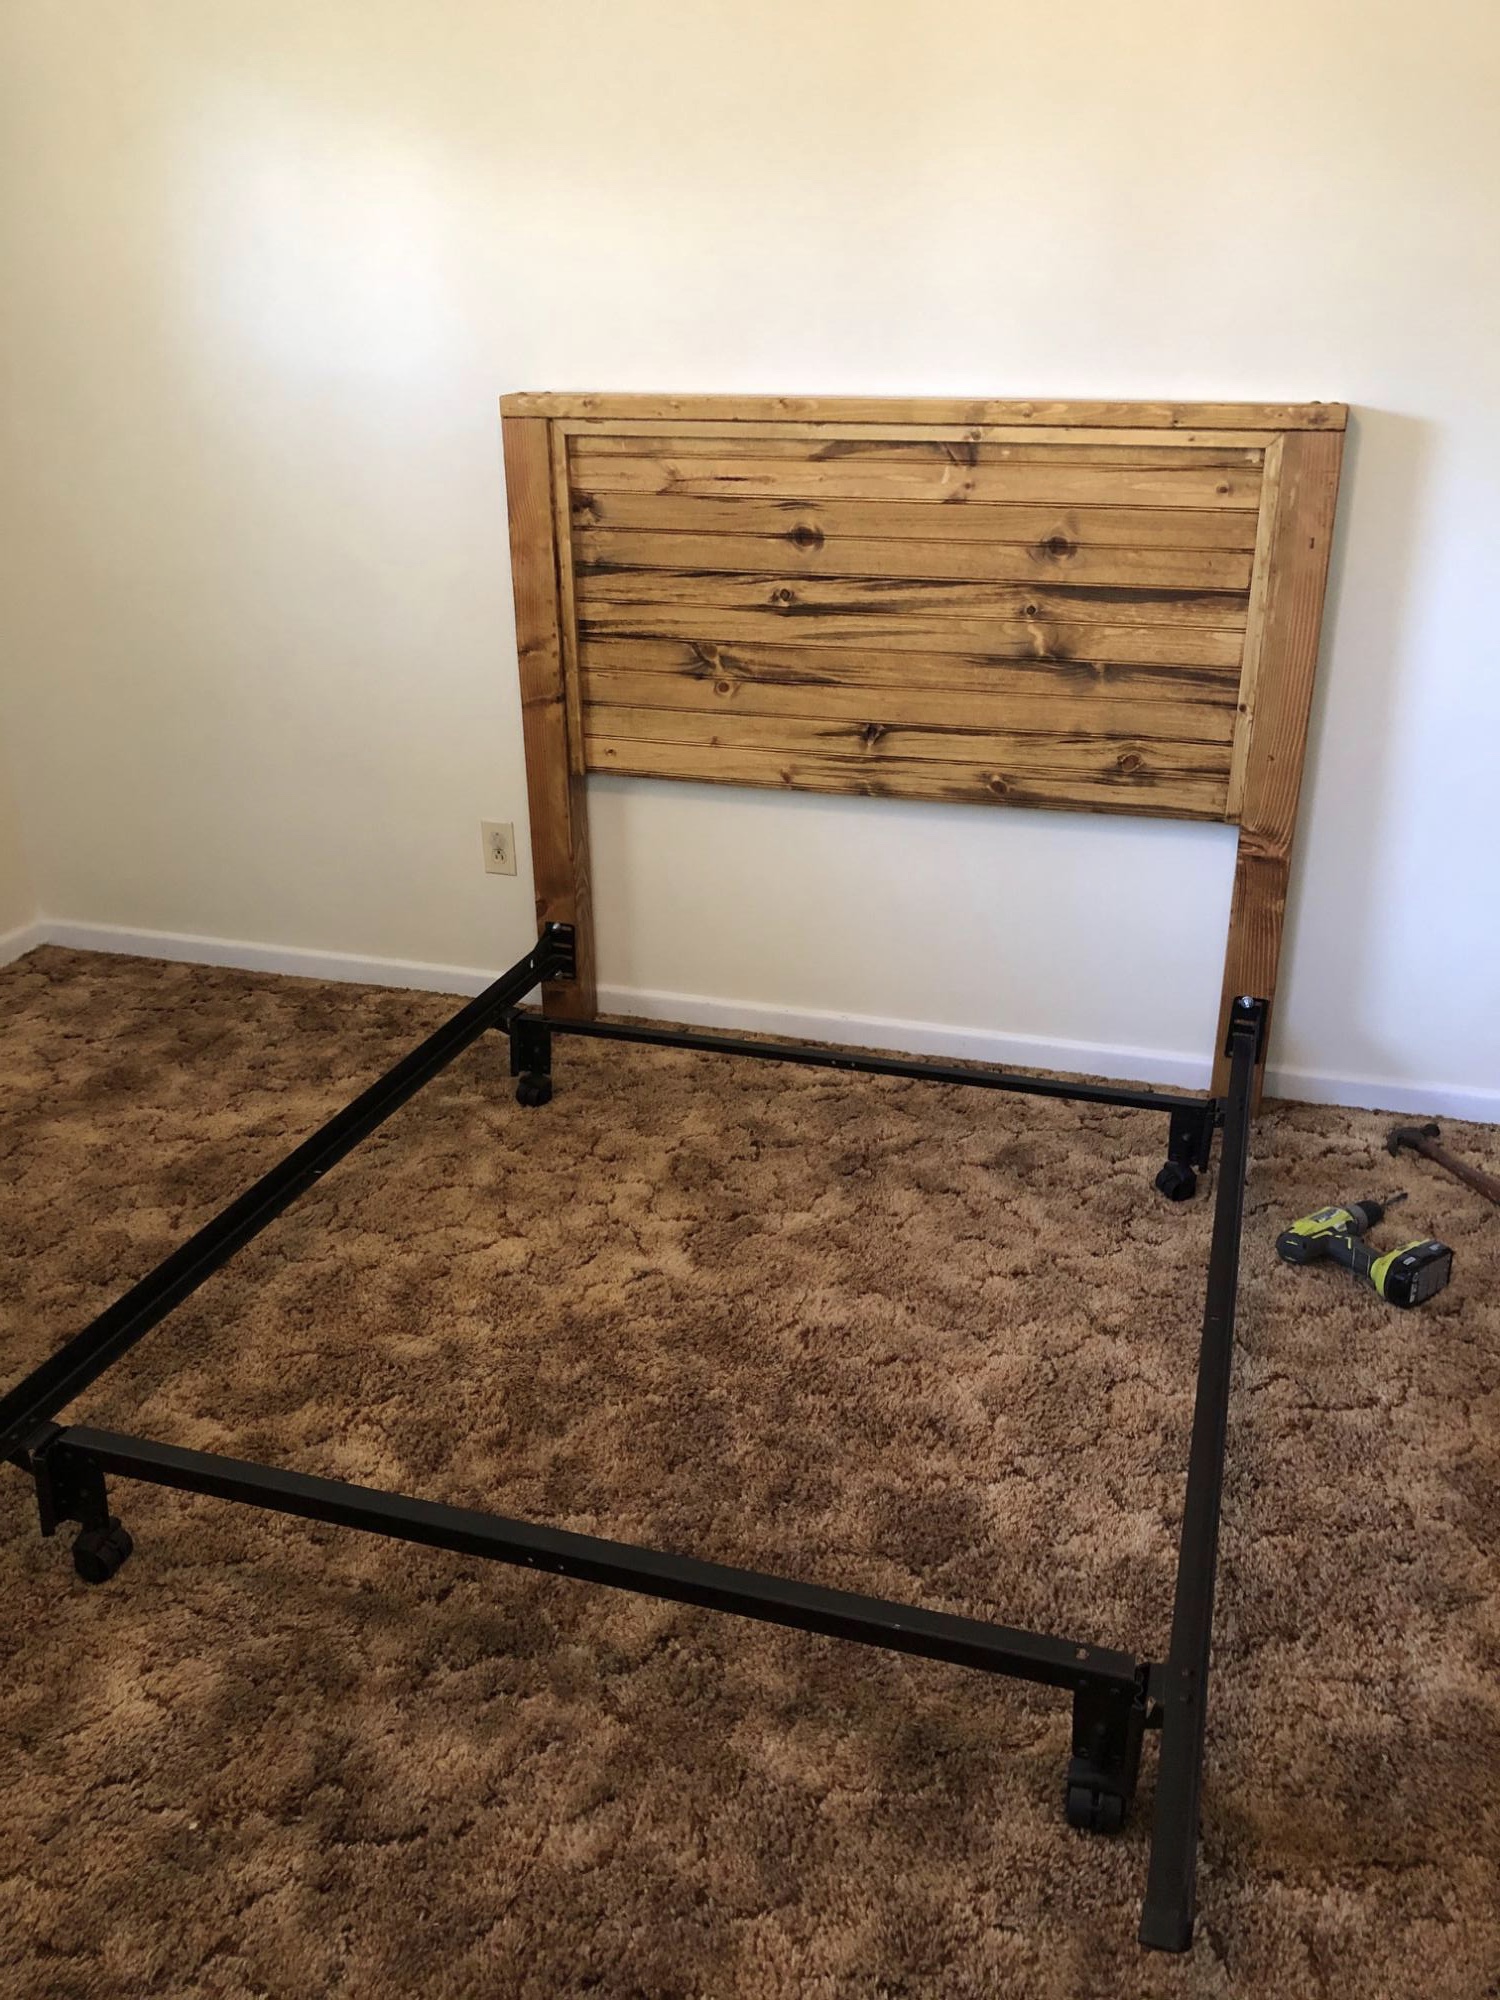
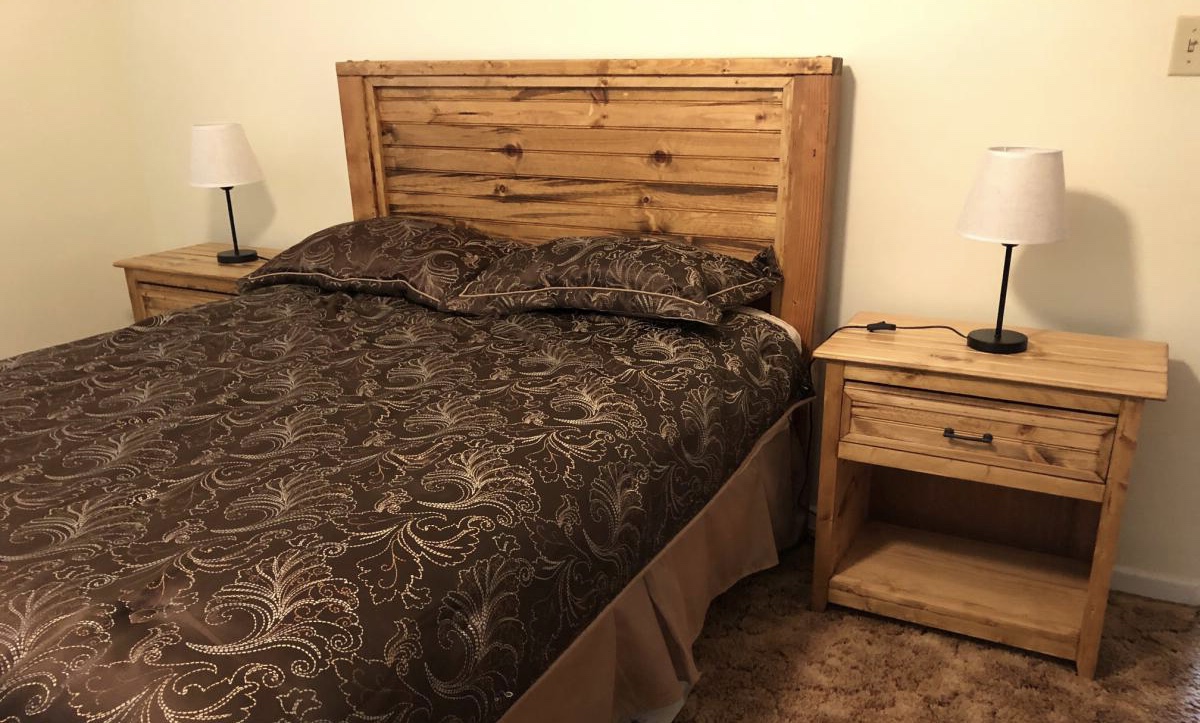
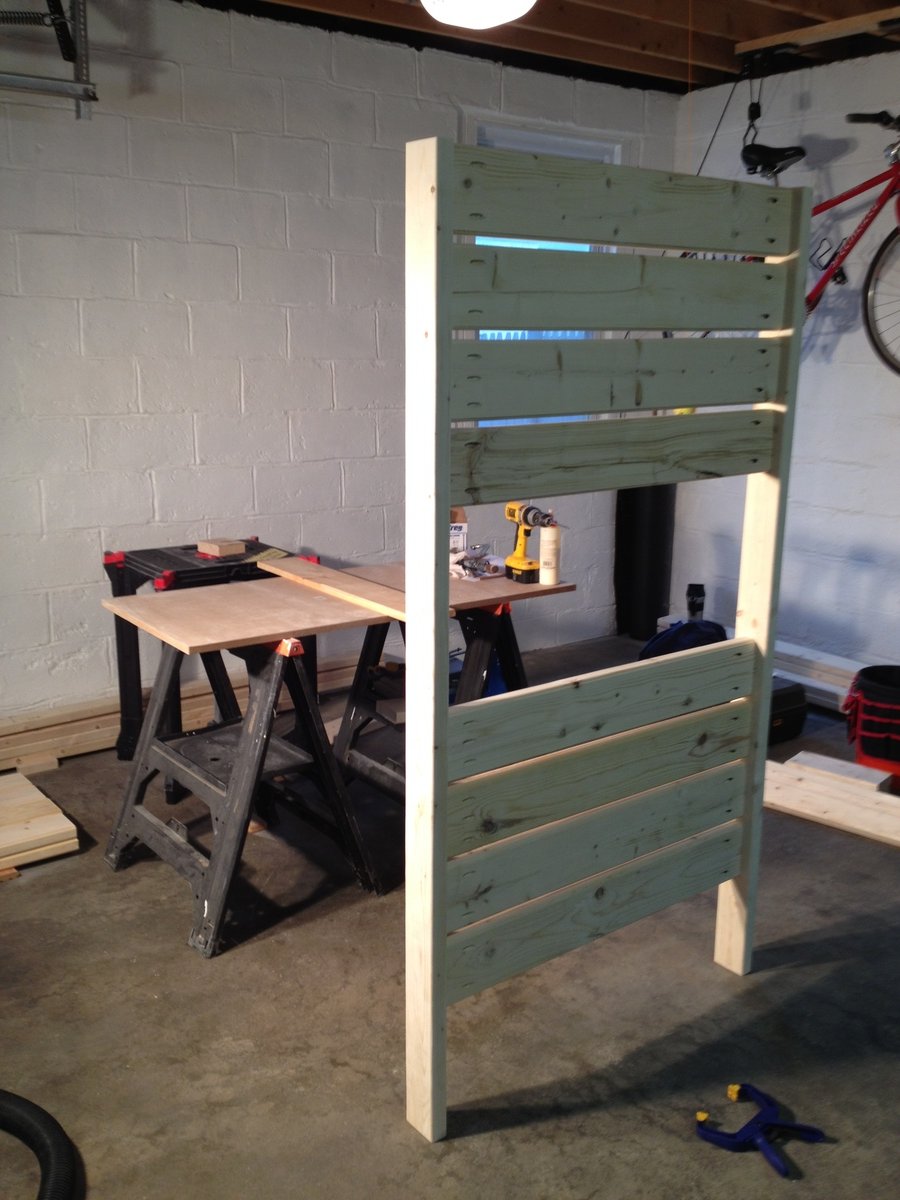
I only needed a headboard for the full size bed in my guest room. I attached it to the existing metal frame with carriage bolts. I built matching nightstands from plans found elsewhere on this site.

Built from Plan(s)
Estimated Cost
$35
Estimated Time Investment
Afternoon Project (3-6 Hours)
Finish Used
Honey Oak Stain
Water based polyurethane
Recommended Skill Level
Starter Project

Trestle Coffee Table

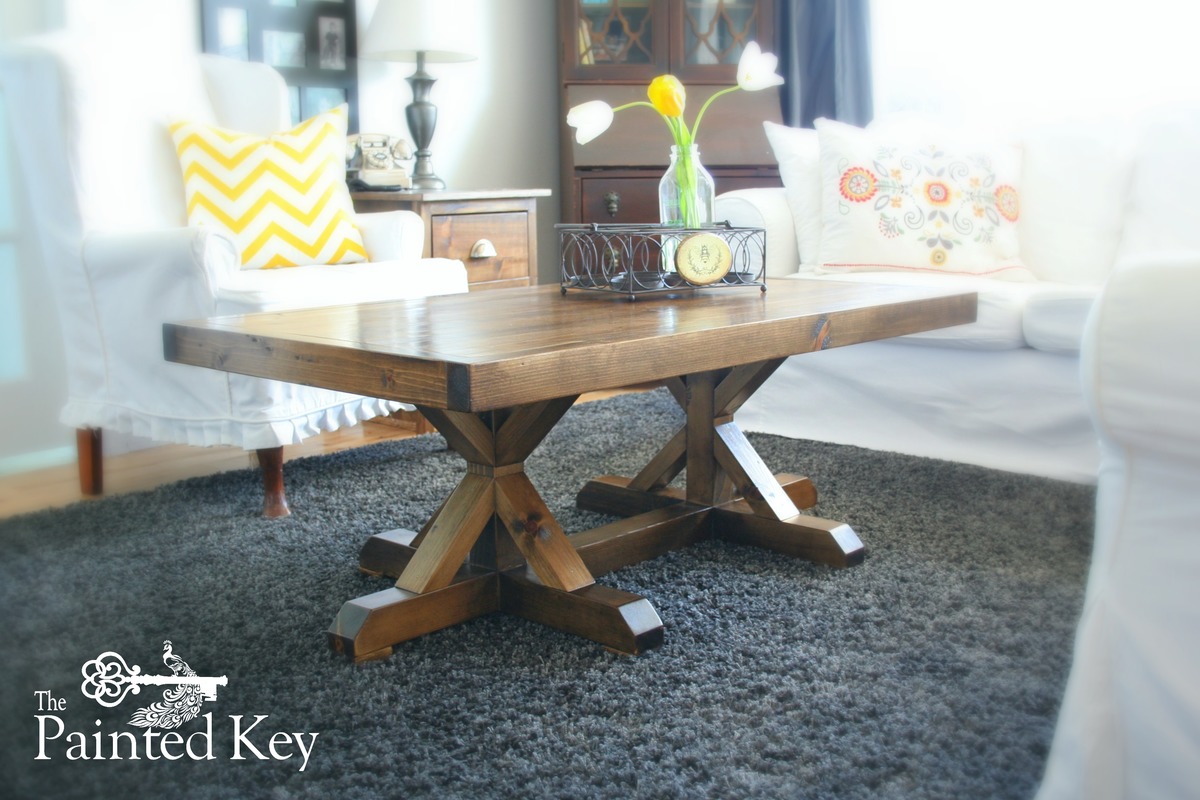
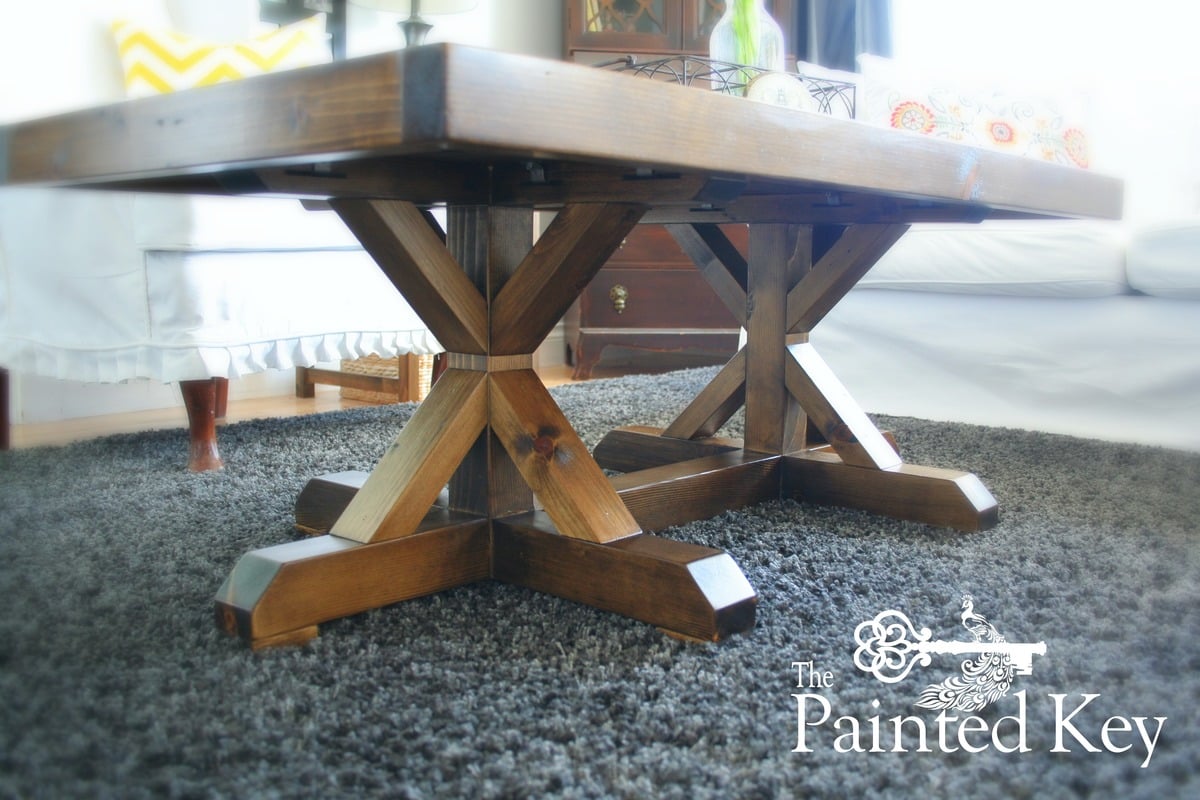
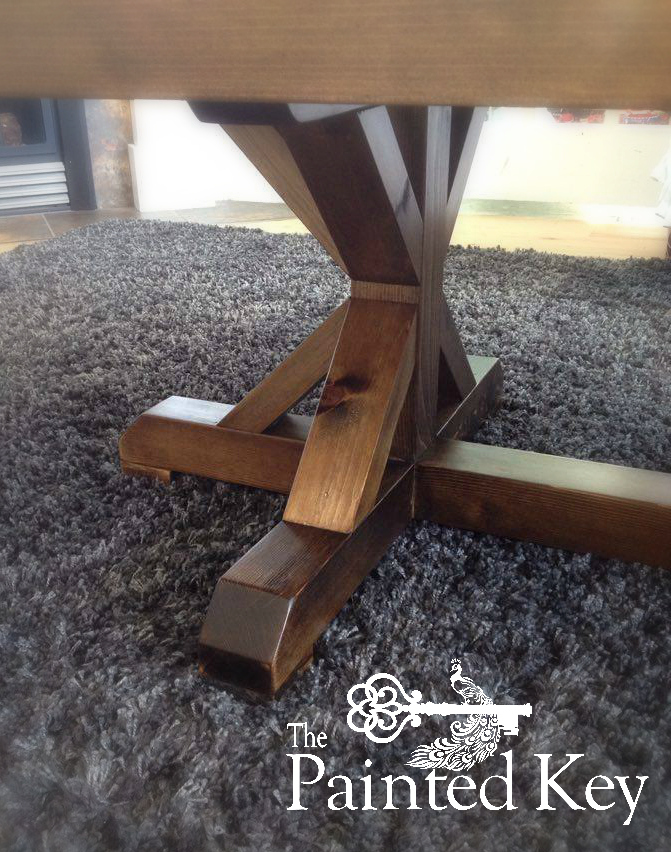
When a friend sent me a picture of a Restoration Hardware inspired dining table from Shanty to Chic and asked if I could recreate it as a coffee table, I was up for the challange.  After sketching up new plans to the measurements she needed, I came up with this and am thrilled with the finished piece...and so is she!

All lumber is knotty pine.   I used pocket hole construction for most of it, but used my 16 guage nailer and glue to attach the angled pieces.  I attached the table top with "z" clips, first cutting a slot with a biscuit joiner for the clip to slide into.

Estimated Time Investment
Week Long Project (20 Hours or More)
Finish Used
Stained in Minwax Jacobean and finished with Minwax Wipe-on Poly in Satin.
Recommended Skill Level
Intermediate

Comments

Reporposed Corner Bar

Submitted by Anonymous (not verified) on Wed, 10/11/2023 - 10:32

DIY bourbon bar cabinet made from old corner entertainment center. Purchased for $40,

Dallas Garner

Farmhouse Bed with Storage and Bookshelf footboard

Submitted by rbgreene04 on Sat, 05/21/2016 - 15:50

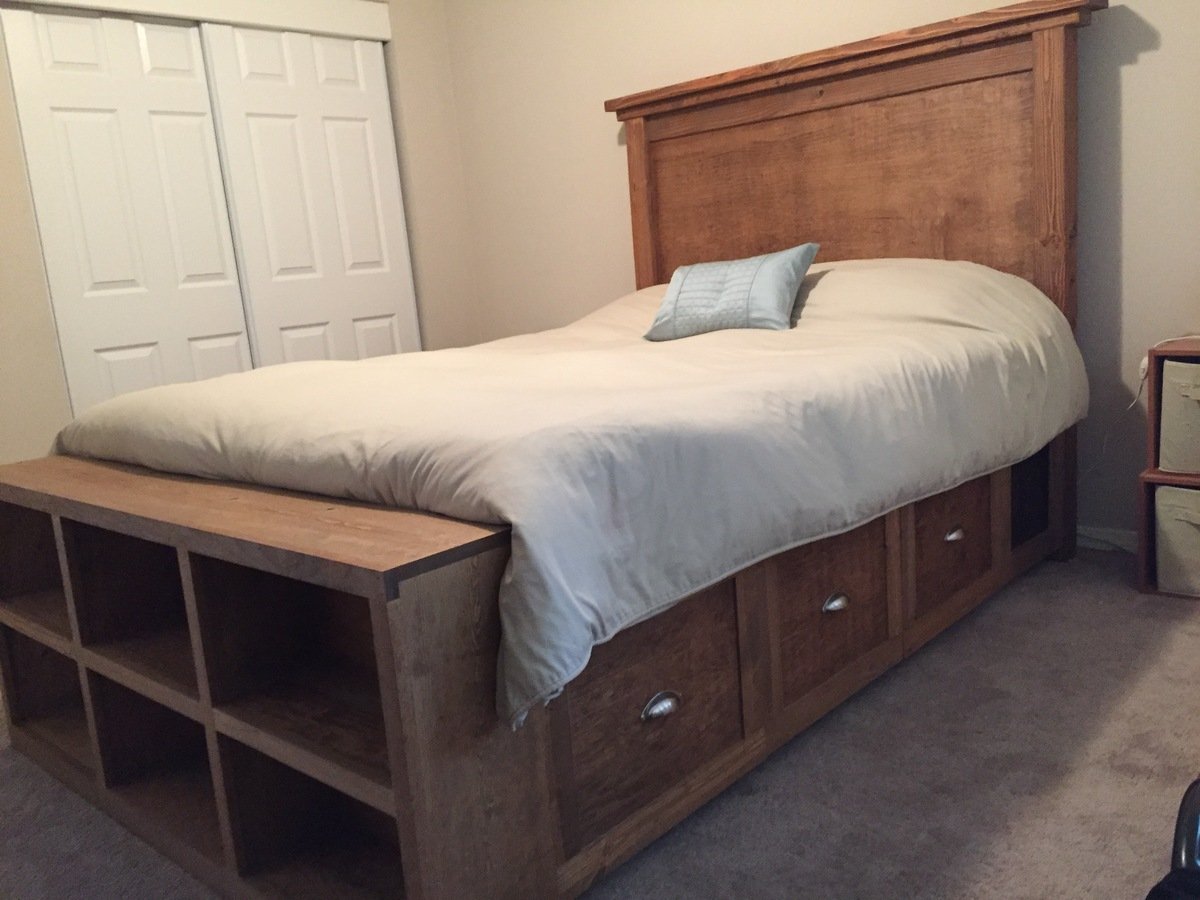
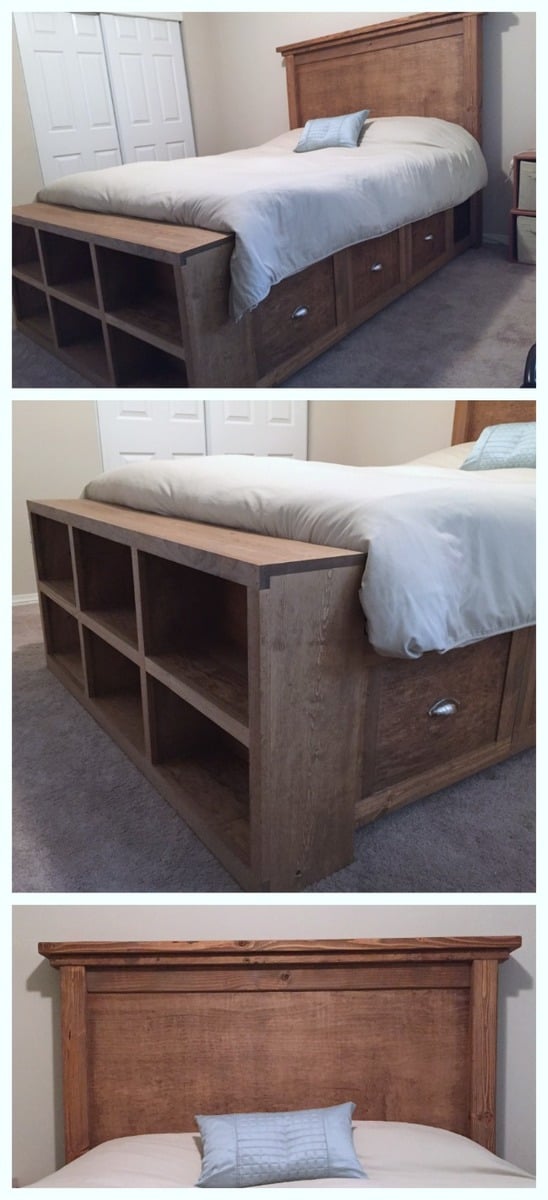
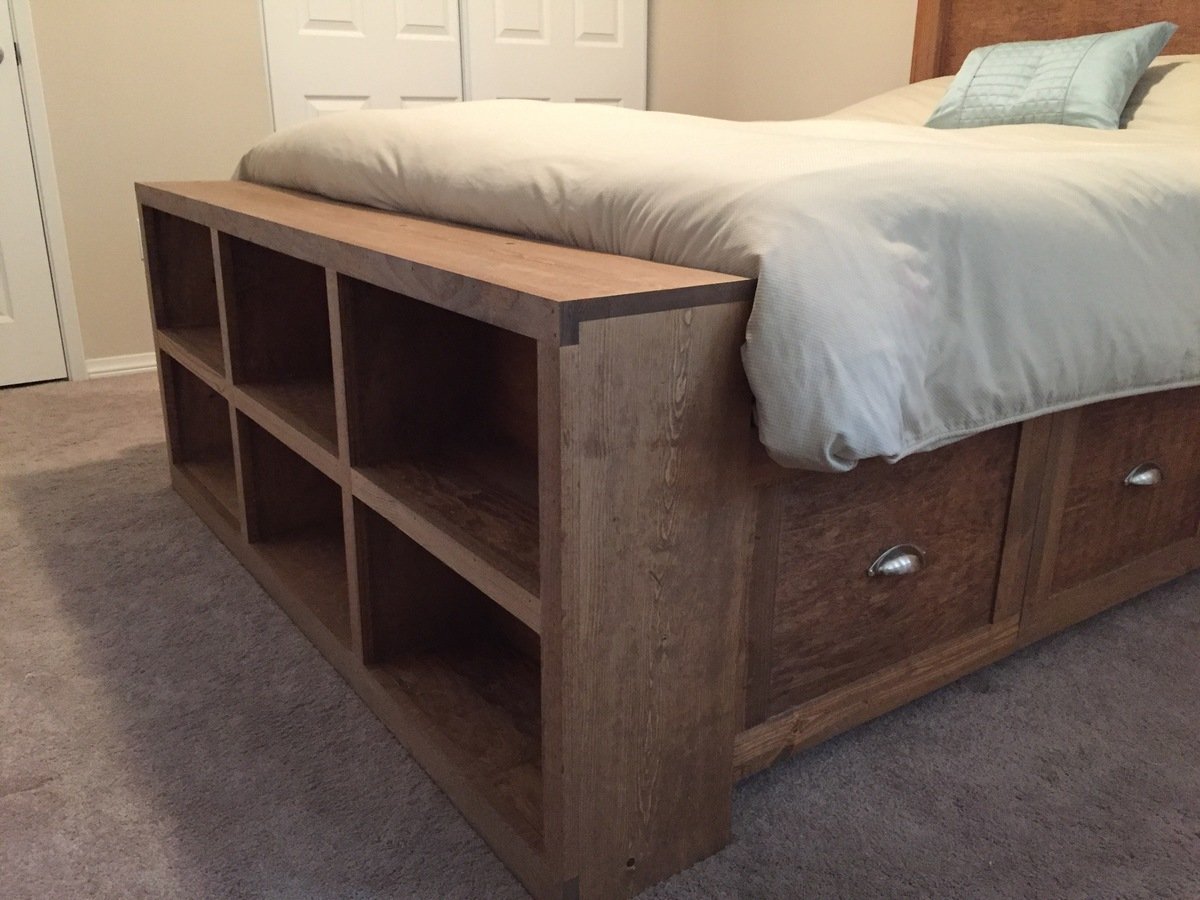
I altered the plans just a bit so that I could make use of the drawer closest to the headboard, while using bedside tables as well (not the ugly ones in the pictures, but some that only exist in my mind as of now). With the plan as is, I didn't think that first drawer would be able to open if you have a nightstand. So I left about a 17" gap that can be used as an open shelf for storage, and still had room for 3 drawers. I also wanted to include a bookshelf as the footboard to make it multifunctional. We have a ton of books and no place to store them (fear not, a large bookshelf/media center is coming soon!) I also altered the top of the headboard just a bit to give it more texture and visual appeal (hopefully, but beauty is in the eye of the beholder so I've been told). Lastly, I did not put the 1/4" plywood backing on the drawer carcasses. They were pretty sturdy as is, and only got more sturdy as they were attached to the headboard and footboard; I'm not worried about racking at all. Leaving the back off also allows me to pull the drawers out and access some hidden storage in between the two drawer carcasses. 

I wanted a simple finish, so I rubbed it with dark walnut Danish oil. Super simple finish and I think it'll hold up as the bed is not like a desk that needs poly or something. 

Estimated Cost
Cost? Great question! I build things, but don't keep track of receipts. Whoops! It's a major flaw of mine, and I'm working on it. I'd estimate just shy of $300.
Estimated Time Investment
Week Long Project (20 Hours or More)
Finish Used
I sanded to 120 and then lathered on Dark walnut Danish oil. I let it soak into the wood, and boy was the wood thirsty. Then reapplied after about 30 minutes and wiped off the excess, which there wasn't much excess--did I mention the wood was thirsty?
Recommended Skill Level
Intermediate

Comments

ciara5545

Sun, 08/28/2016 - 19:50

This bed turned out amazing.  I love the modifications and agree the first drawer will be more usable.

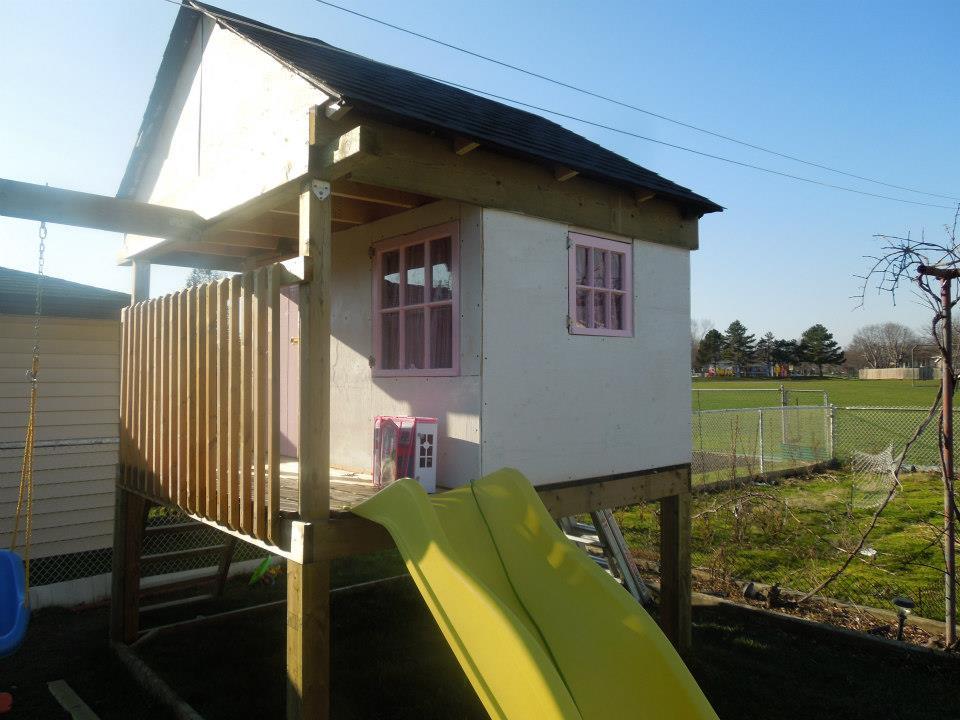
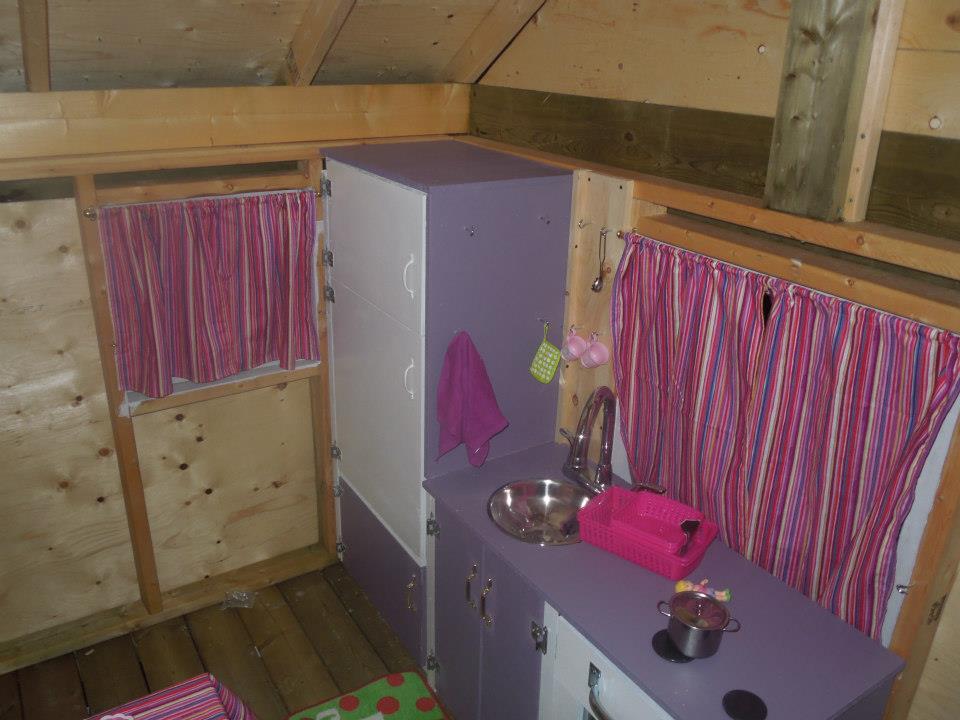
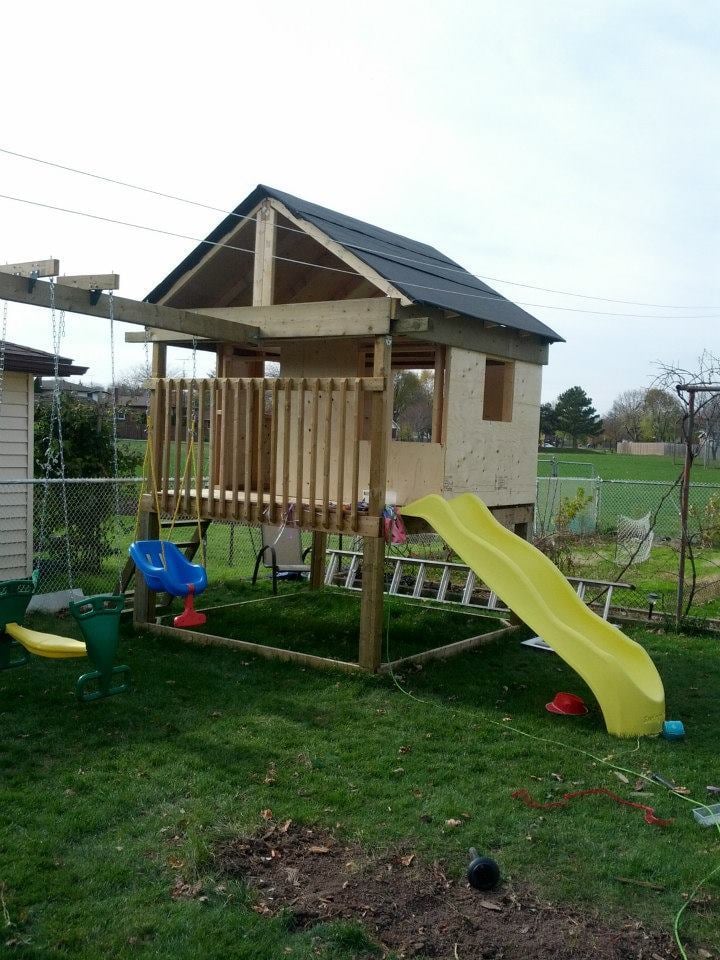
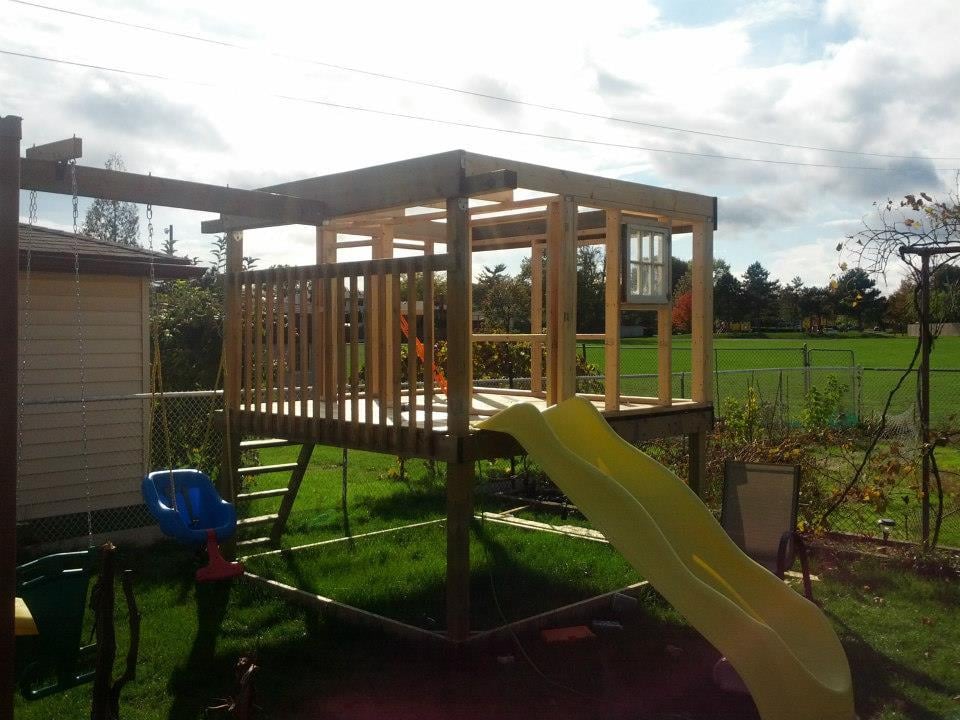
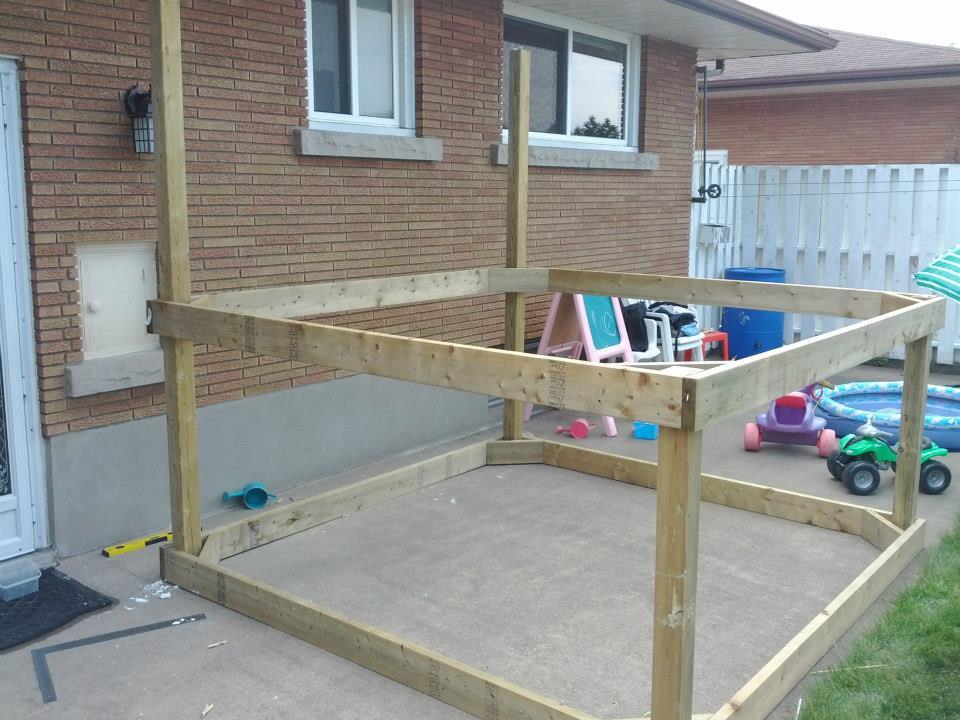
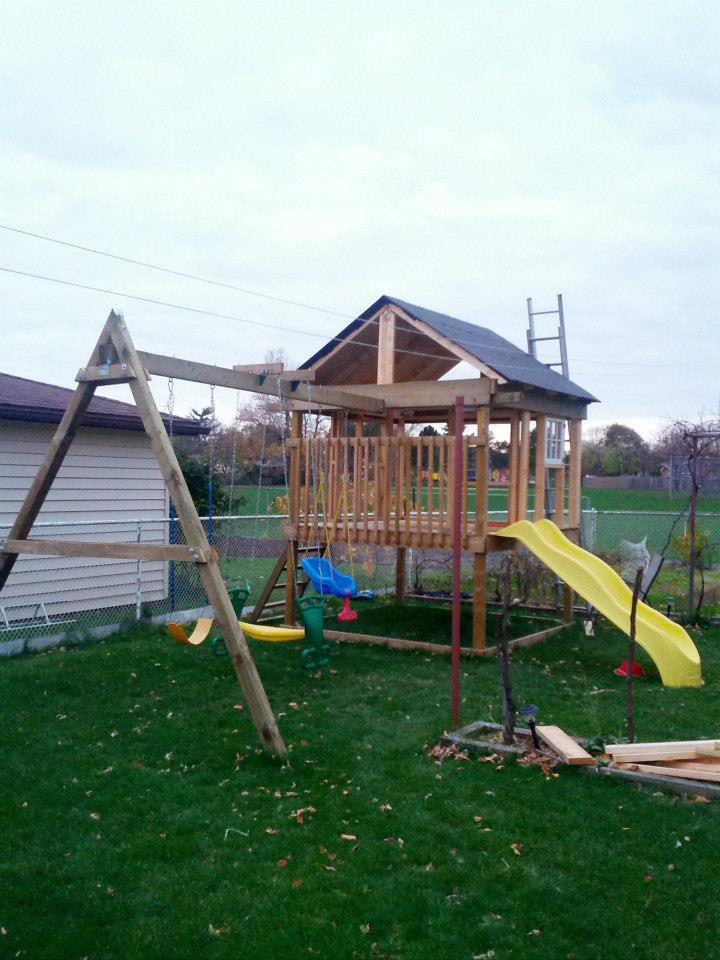
Playhouse with swingset

Submitted by GreenEnvy on Tue, 02/25/2014 - 21:58

I combined a few different plans here, mostly the Playhouse deck, swingset.

I haven't finished it yet, this spring I want to finish the exterior as it's just primed plywood right now. Still going to add a window above the balcony (there is a loft up there).

I insulated the roof/ceiling and will insulate the walls when we finish it. In the bottom we'll be putting in a sandbox with a cover that folds up into benches.

It was a fun project and should give our girls many years of fun.

Estimated Cost
$1000
Estimated Time Investment
Week Long Project (20 Hours or More)
Finish Used
Right now the plywood is just primed, we'll be putting some sort of siding or other exterior sheets to finish it.
Recommended Skill Level
Advanced

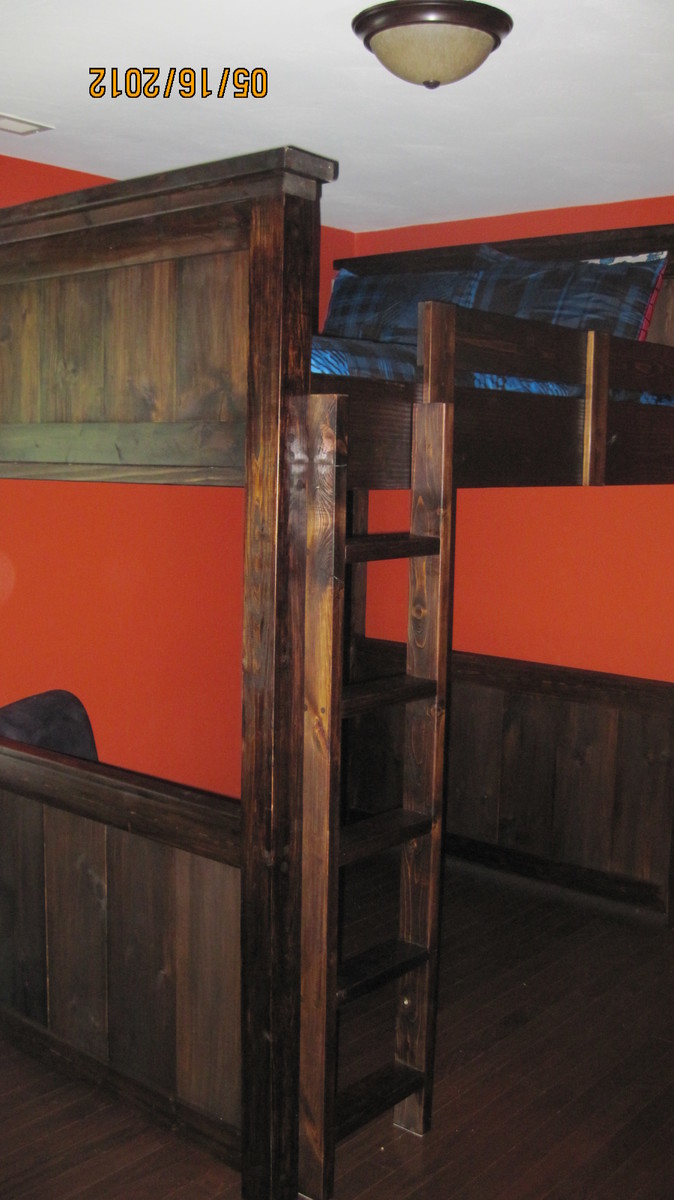
Farmhouse Loft Bed (Full)

Submitted by Sugarpig1 on Wed, 05/16/2012 - 18:03

HI all!
This is my first project and brag post. I really like this website and reading all the blogs and brag posts. The information is very informative and inspiring.

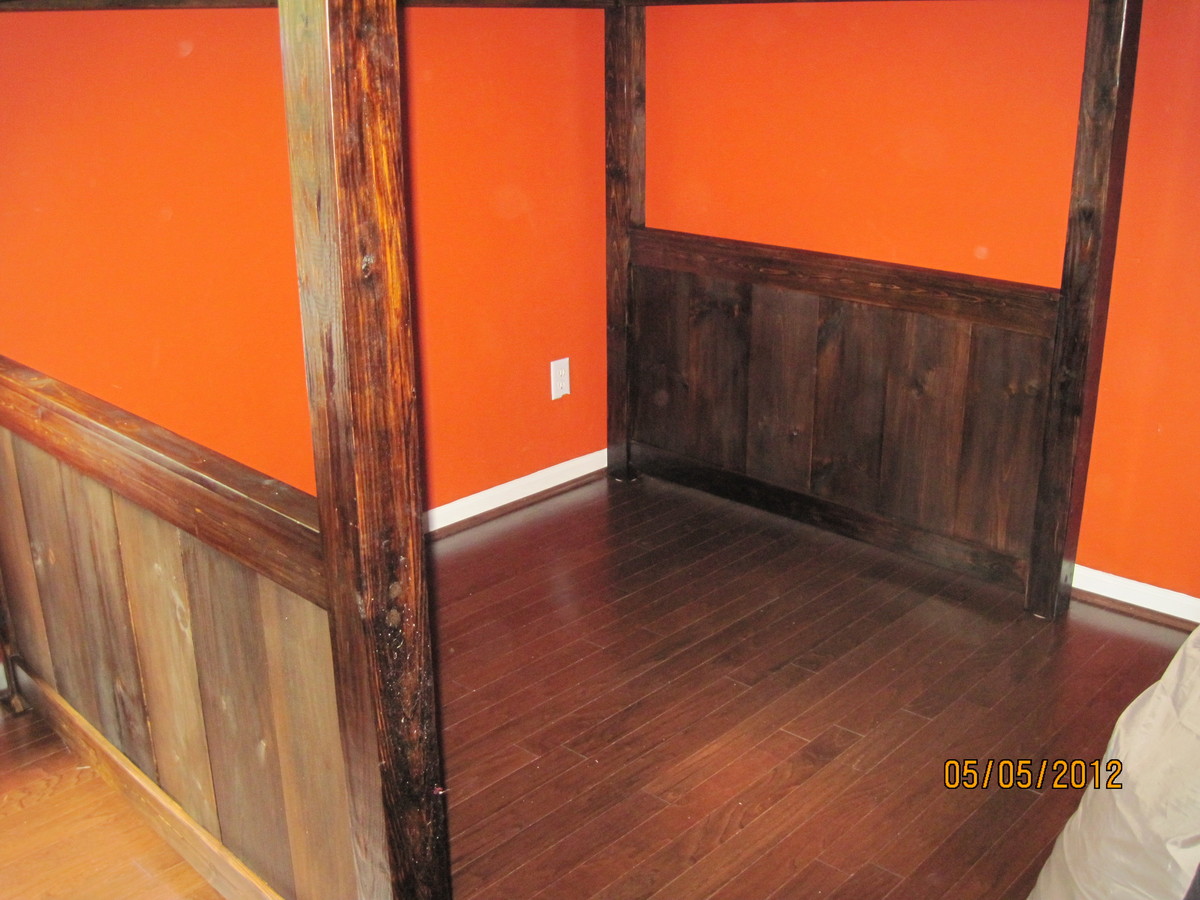
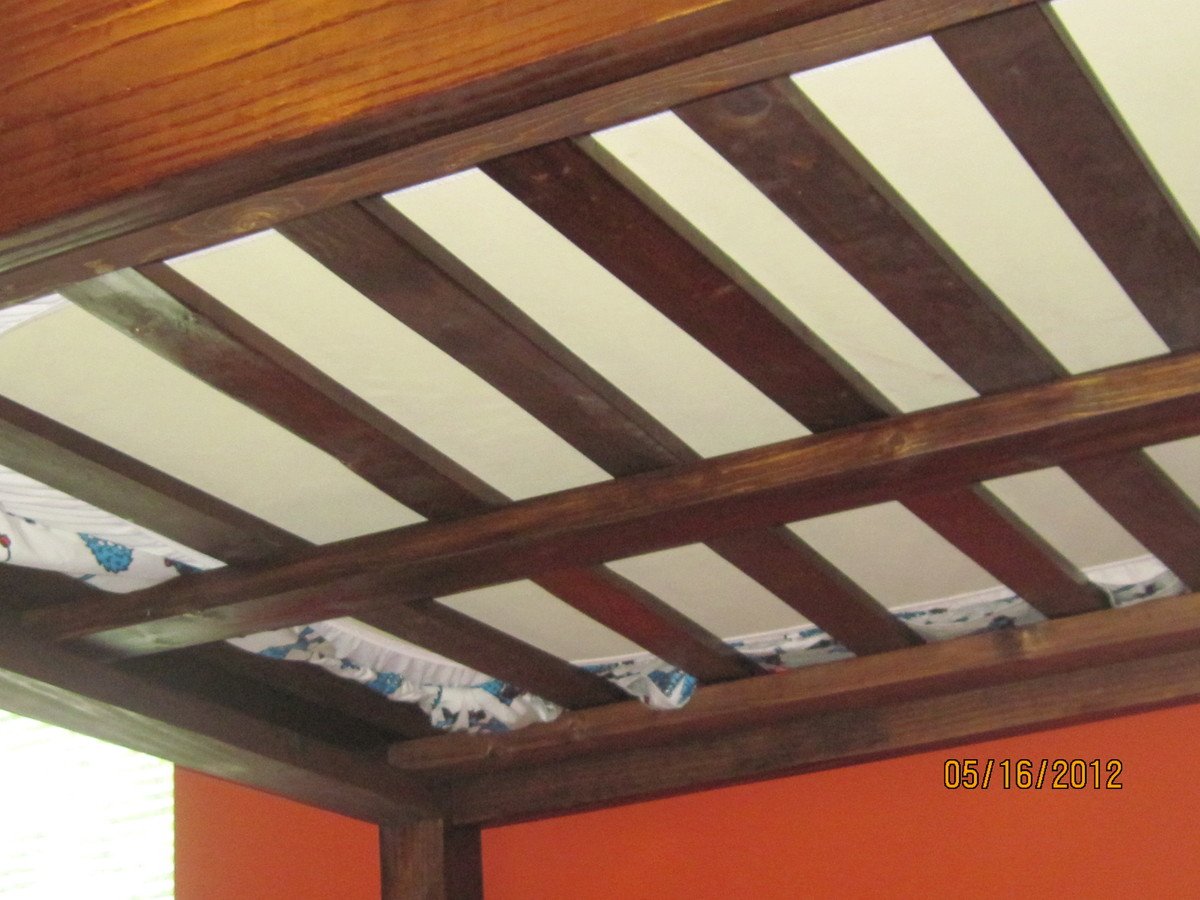
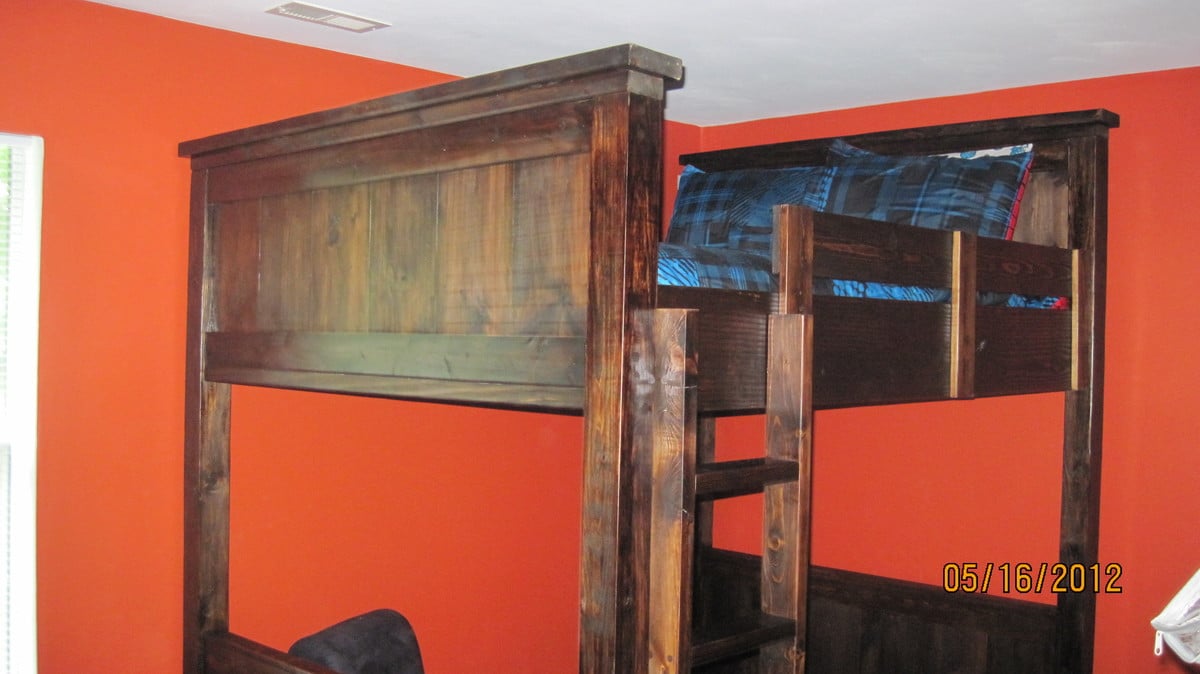
I really liked DirtSquirt's Loft Bed (Double Mattress), so I decided to give it a try! I contacted DirtSquirt to get a copy of the plans (Full size Farmhouse Bed and How to Build a Loft Bed) and the Google Sketch up. I pretty much followed the plans except I made the area underneath the bed taller (approx 58 inches), I chose to stain, and I did not secure the slats to the side rail as they are pretty were pretty snug. I'll probably go back and secure in the near future for uniformity in the spacing.

To be honest, I think the staining was the hardest part...LOL. I had never stained before so in hindsight I probably should started off with a way smaller project. Eventually, I got the hang of how to putty the holes with wood filler and then stain to get a consistent look and feel without the blotches!

My future plans are to build a desk to create a study area underneath.

Sugarpig1

Estimated Cost
$550-600
Finish Used
Minwax- Dark Walnut
Polyurethane
Recommended Skill Level
Beginner

Comments

rdissell

Thu, 06/21/2012 - 20:02

This bed is amazing! It looks so sturdy. I am in love with the farmhouse bed, but I have been looking to build a full size loft bed for my daughter. I just haven't found a design that I'm 100% in love with. This is the perfect melding of a farmhouse bed with another loft design that I really like. Love, love, love it! I'm definitely going to have to design this for her now. Thanks for sharing your work!

lplus10

Thu, 09/26/2013 - 08:17

I have contacted dirtsquirt several times to get the plans for this bed. Did they get back with you right away or did it take them awhile? If you have the plans would you mind emailing them to me? Lplus10 at yahoo dot com

thanks!

gina10151

Tue, 05/19/2015 - 02:00

Not sure if anyone checks this blog post. But I have contacted dirt squirt too and have never been able to get the plans.

Please send me the plans you used to build this bed... I am dying to build it. Similar to yours with the bottom wood there, as it is for boys. But this is my first time building anything and I need plans....

Juniperlily217

Mon, 08/26/2019 - 19:25

Has anyone ever been able to get dirtsquirt’s original plans for the loft house full sized bed? I’m in desperate search of them!!! Please, PLEASE, please message me and I’ll provide you with my email! PLEASE and thanks. :)

2x4 Loft Bed

Submitted by Anonymous (not verified) on Mon, 11/06/2023 - 11:04

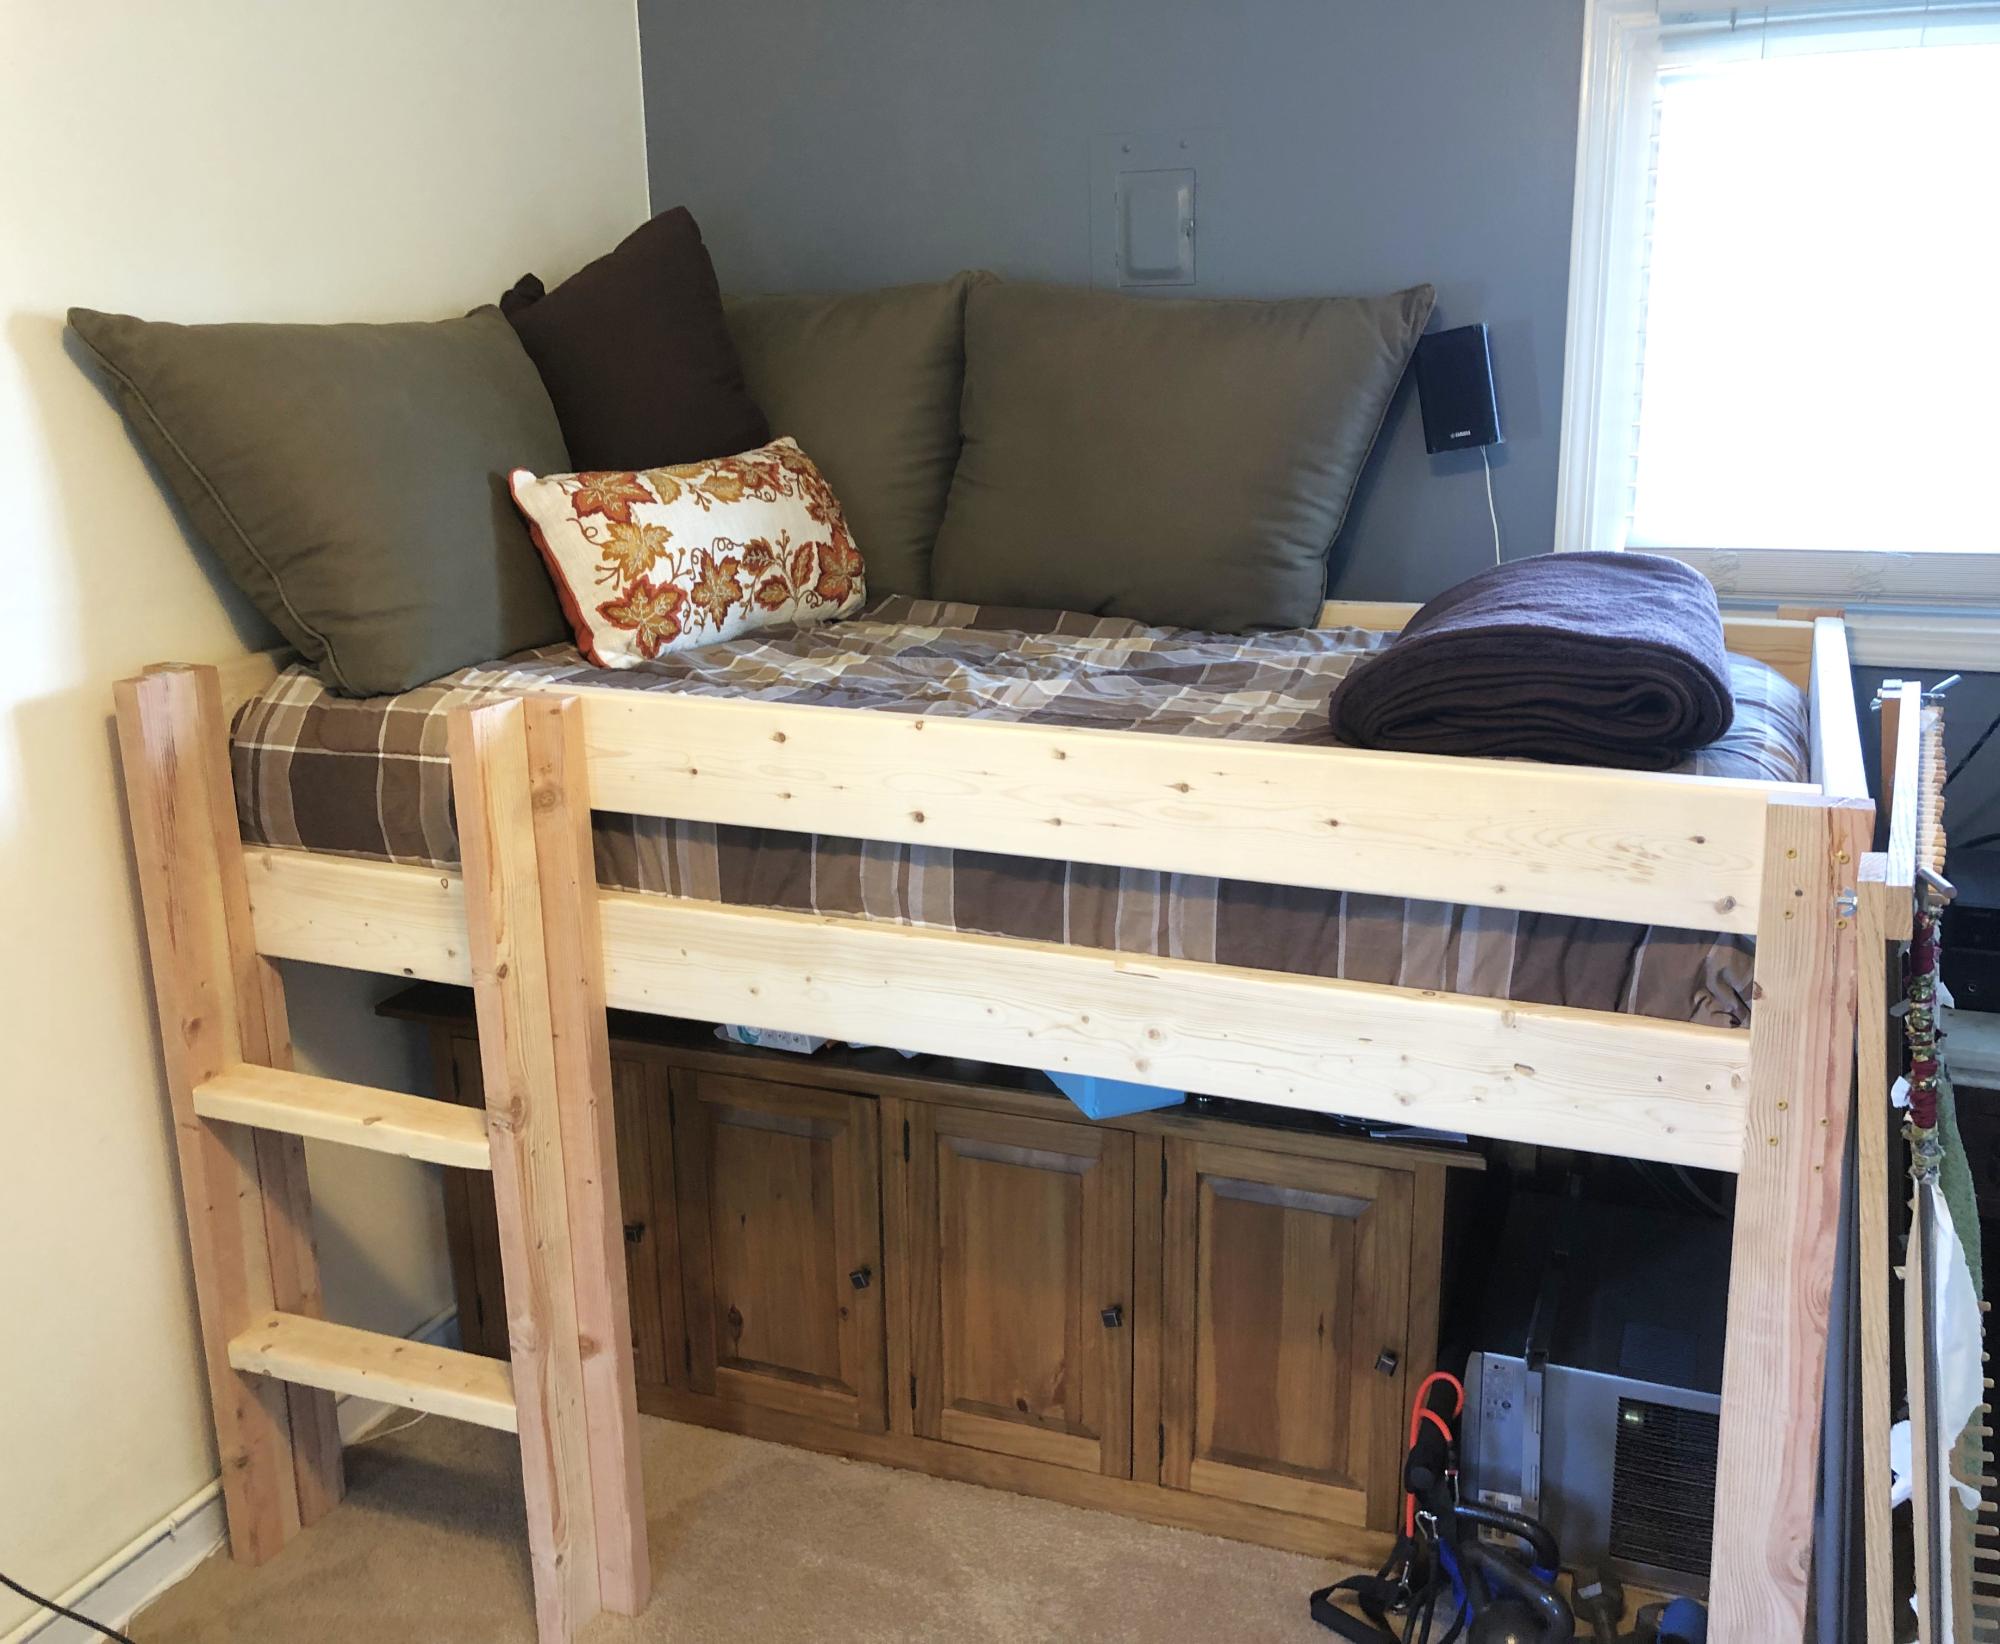
I added support for more weight by adding a 2x4 on the inside of the four legs. This way, I have the entire frame supported by screws AND 2x4, so I can rest easy.

Rebecca Nemeth

Sturdy Bunk Beds

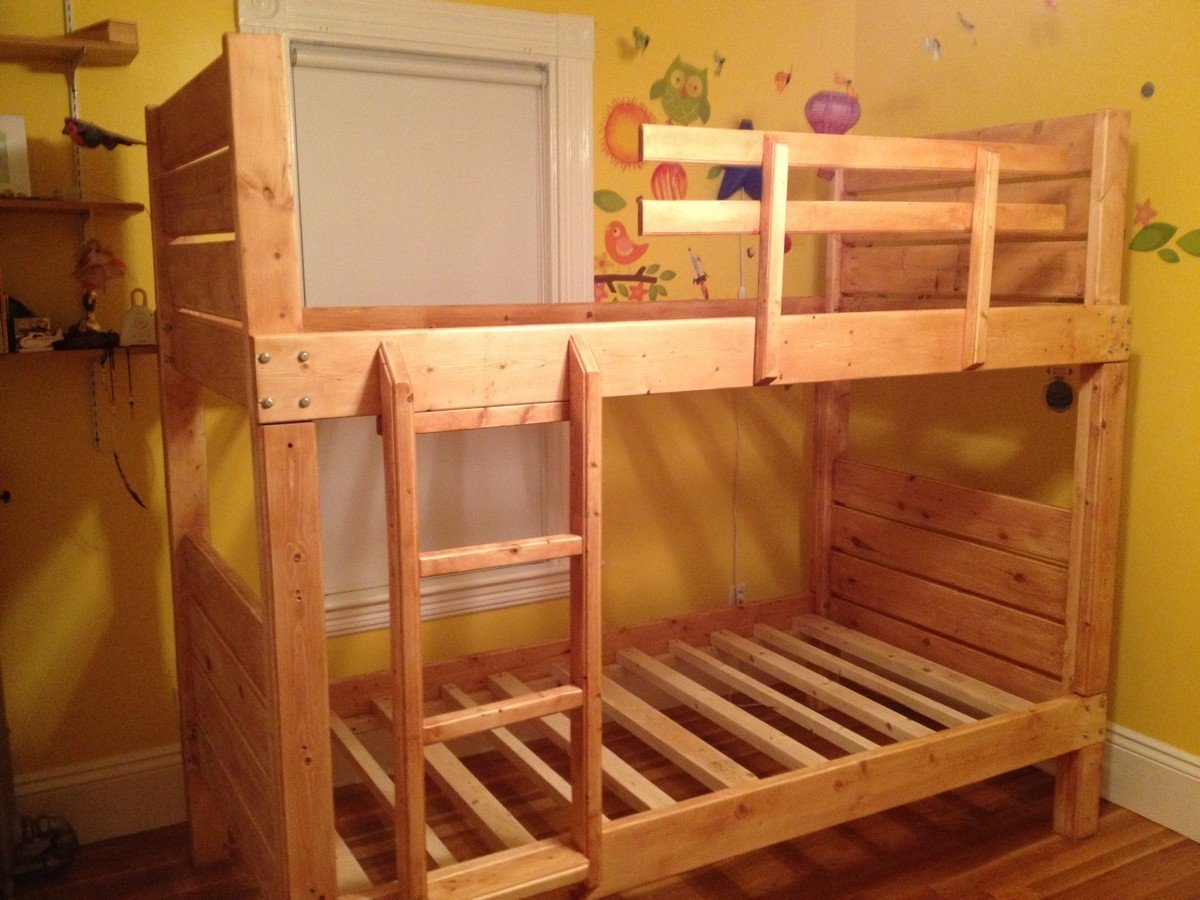
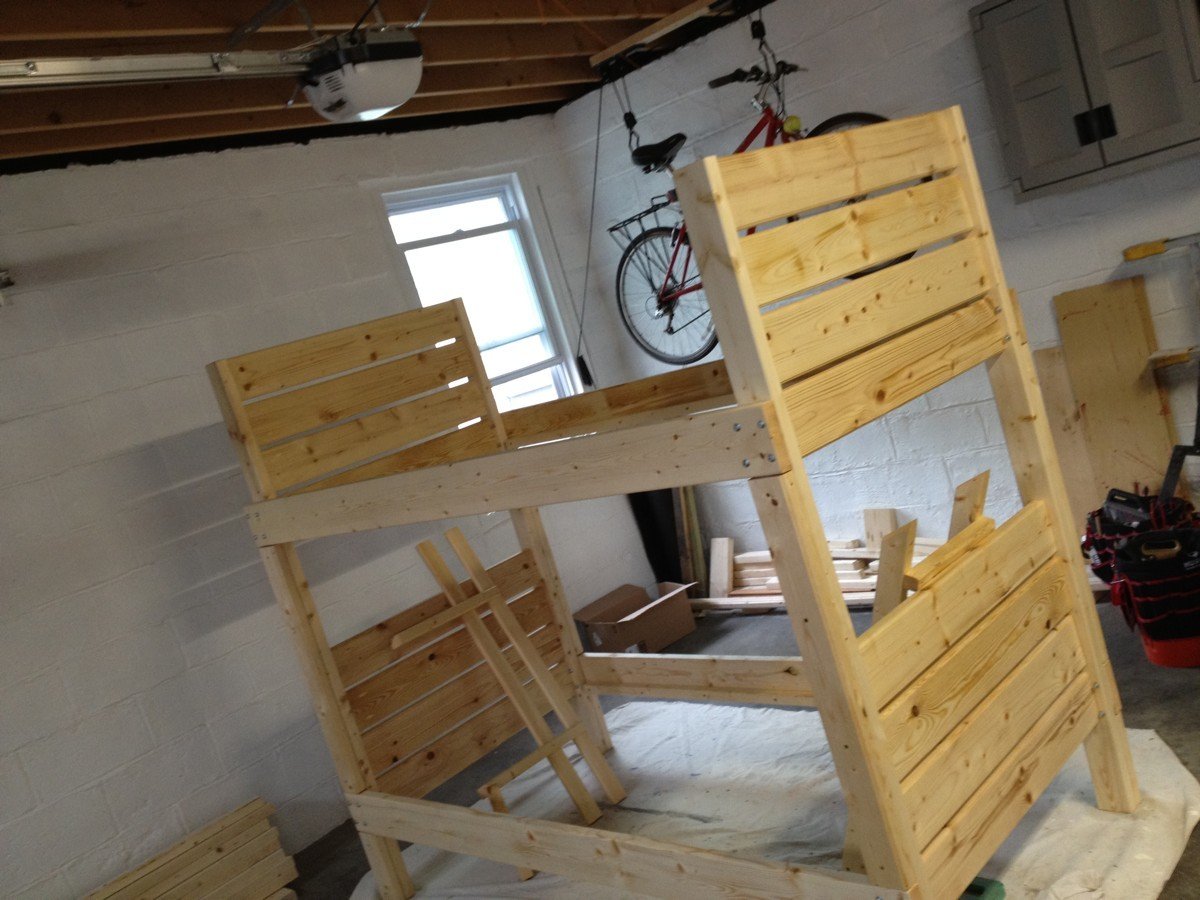
We were shopping for bunk beds for our 5 and 3-year-old kids, and everything I saw was overpriced, mass produced junk. I'm not kidding - we were looking at $800-$2000 for anything that appeared to be remotely stable, let alone well-designed.

Naturally, I started searching for plans (it's the right thing to do), and naturally, I found my way to Ana White. This project began in earnest when I found the Side Street Bunk Bed plans here:
http://ana-white.com/2012/03/plans/side-street-bunk-beds

I figured I'd give it my own twist. I needed to practice using my DeWalt compact router (and the new trim router table my wife had given me months before), and any excuse to bust out my Kreg Jig is fine by me. I also had different ideas for the ladder and guard rails...so I printed out the plans, sketched out my variations, and proceeded to suffer through the indignity of lumber shopping at Home Depot.

I know what you're thinking - WHY would anyone even bother trying to find a straight board in THAT place? Well believe me, I suffered for the convenience of driving to the HD two miles from my house. I had to work each and every board like crazy, but eventually I got em all into fine shape. Wood wants to be good, even the crap they sell at HD.

About halfway through the build, I started to worry that what i was building was TOO sturdy - total overkill. But now that it's in use, I can tell you I'm glad I built with these plans. I can still climb up on top of the bed with both my kids if I want to and this thing doesn't budge. Not an inch. Not a creak. SOLID. Exactly what any parent wants.

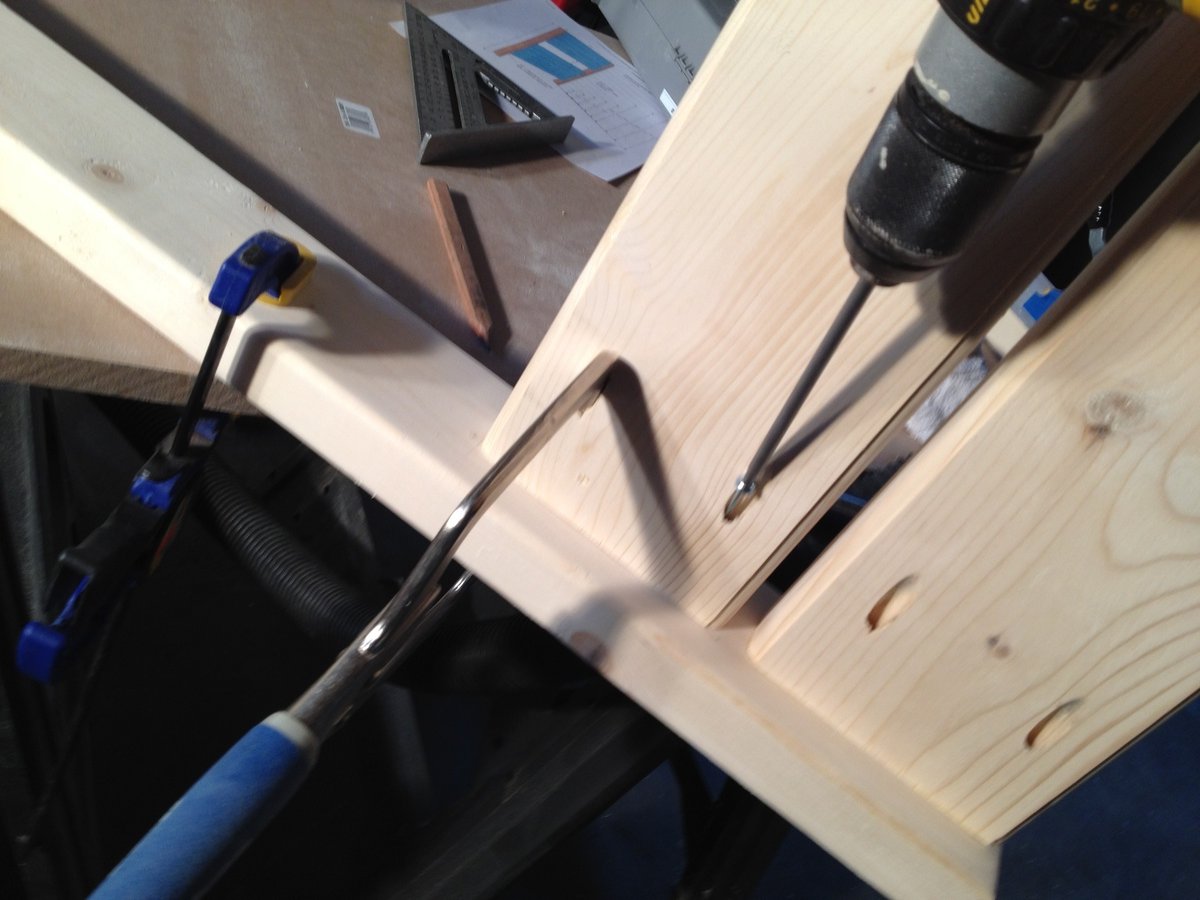
Not a lot of complex tools involved here; my trusty Delta chop saw, my DeWalt 18v cordless drill, a DeWalt palm sander ( I spent hours with this), the Kreg Jig and a couple of clamps (of course), and the DeWalt Compact Router and table. The router really made a difference in the overall design – and I wasn't afraid of screwing up the lousy lumber I was working with. In the end, it all finished rather nicely.

I treated every piece with Minwax wood conditioner, then a single coat of Minway Polyshade in Pecan. Nothing fancy, but after sanding it down and giving it a polish, I gotta say it looks just as good as your average IKEA finish. Not bad at all.

This is the largest piece of functional furniture I've ever built, and my kids LOVE it. They talked about it for days after, and you can't buy that on Amazon. It was a real confidence builder, and I'm PSYCHED to move on to some nicer lumber and more complex projects!
Built from Plan(s)
Estimated Cost
$300
Estimated Time Investment
Week Long Project (20 Hours or More)
Finish Used
Minwax Polyshade
Recommended Skill Level
Intermediate

Comments

hammertime

Thu, 05/24/2012 - 09:42

That is really lovely. You should be proud and how wonderful that you created this experience for your boys instead. No doubt you have inspired and impressed them. Way to go.

Trent (not verified)

Sat, 07/14/2012 - 16:01

Great job. We just bought the wood to make the same bunk bed. Would you mind sharing your dimensions/cut list for the ladder on your bunk bed? We would like to build the same ladder instead of the one that goes out to the floor.
Thanks.

Workbench

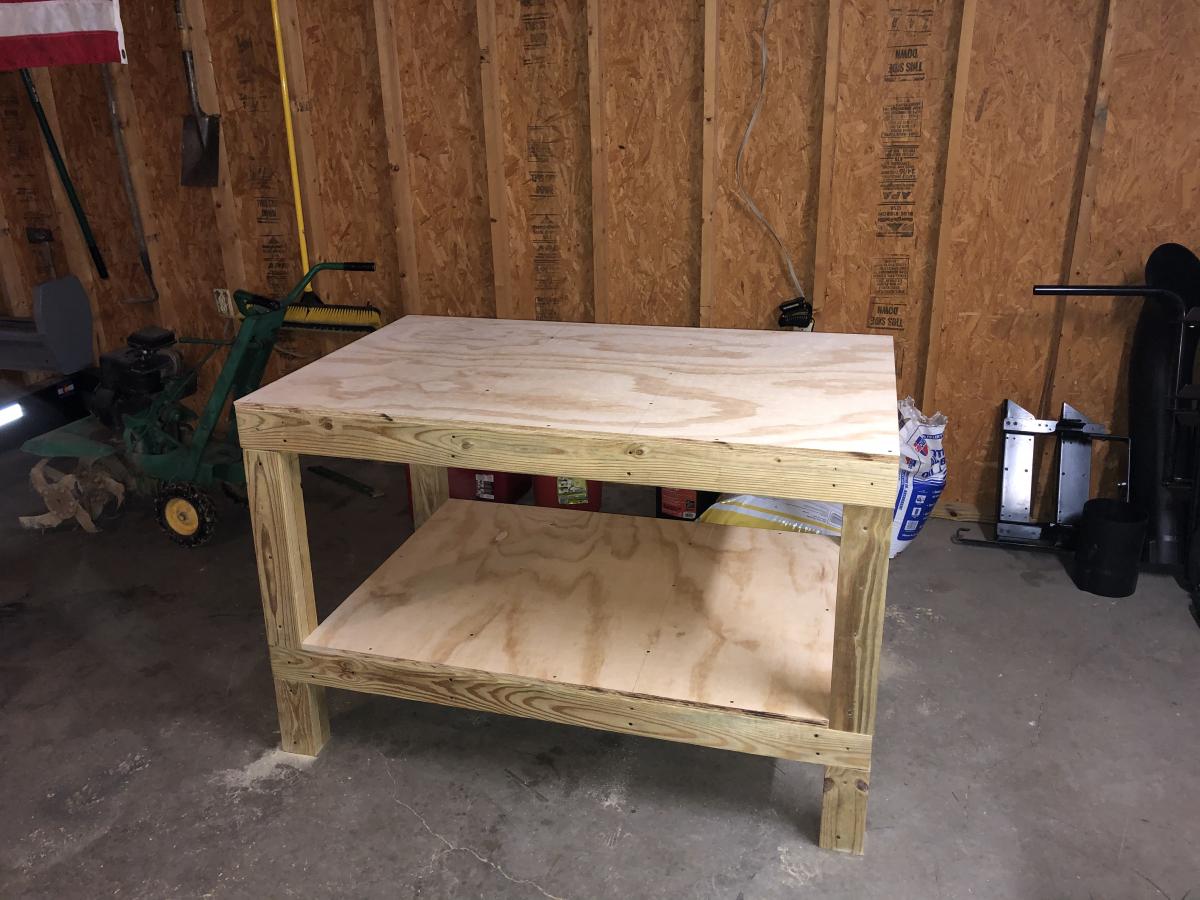
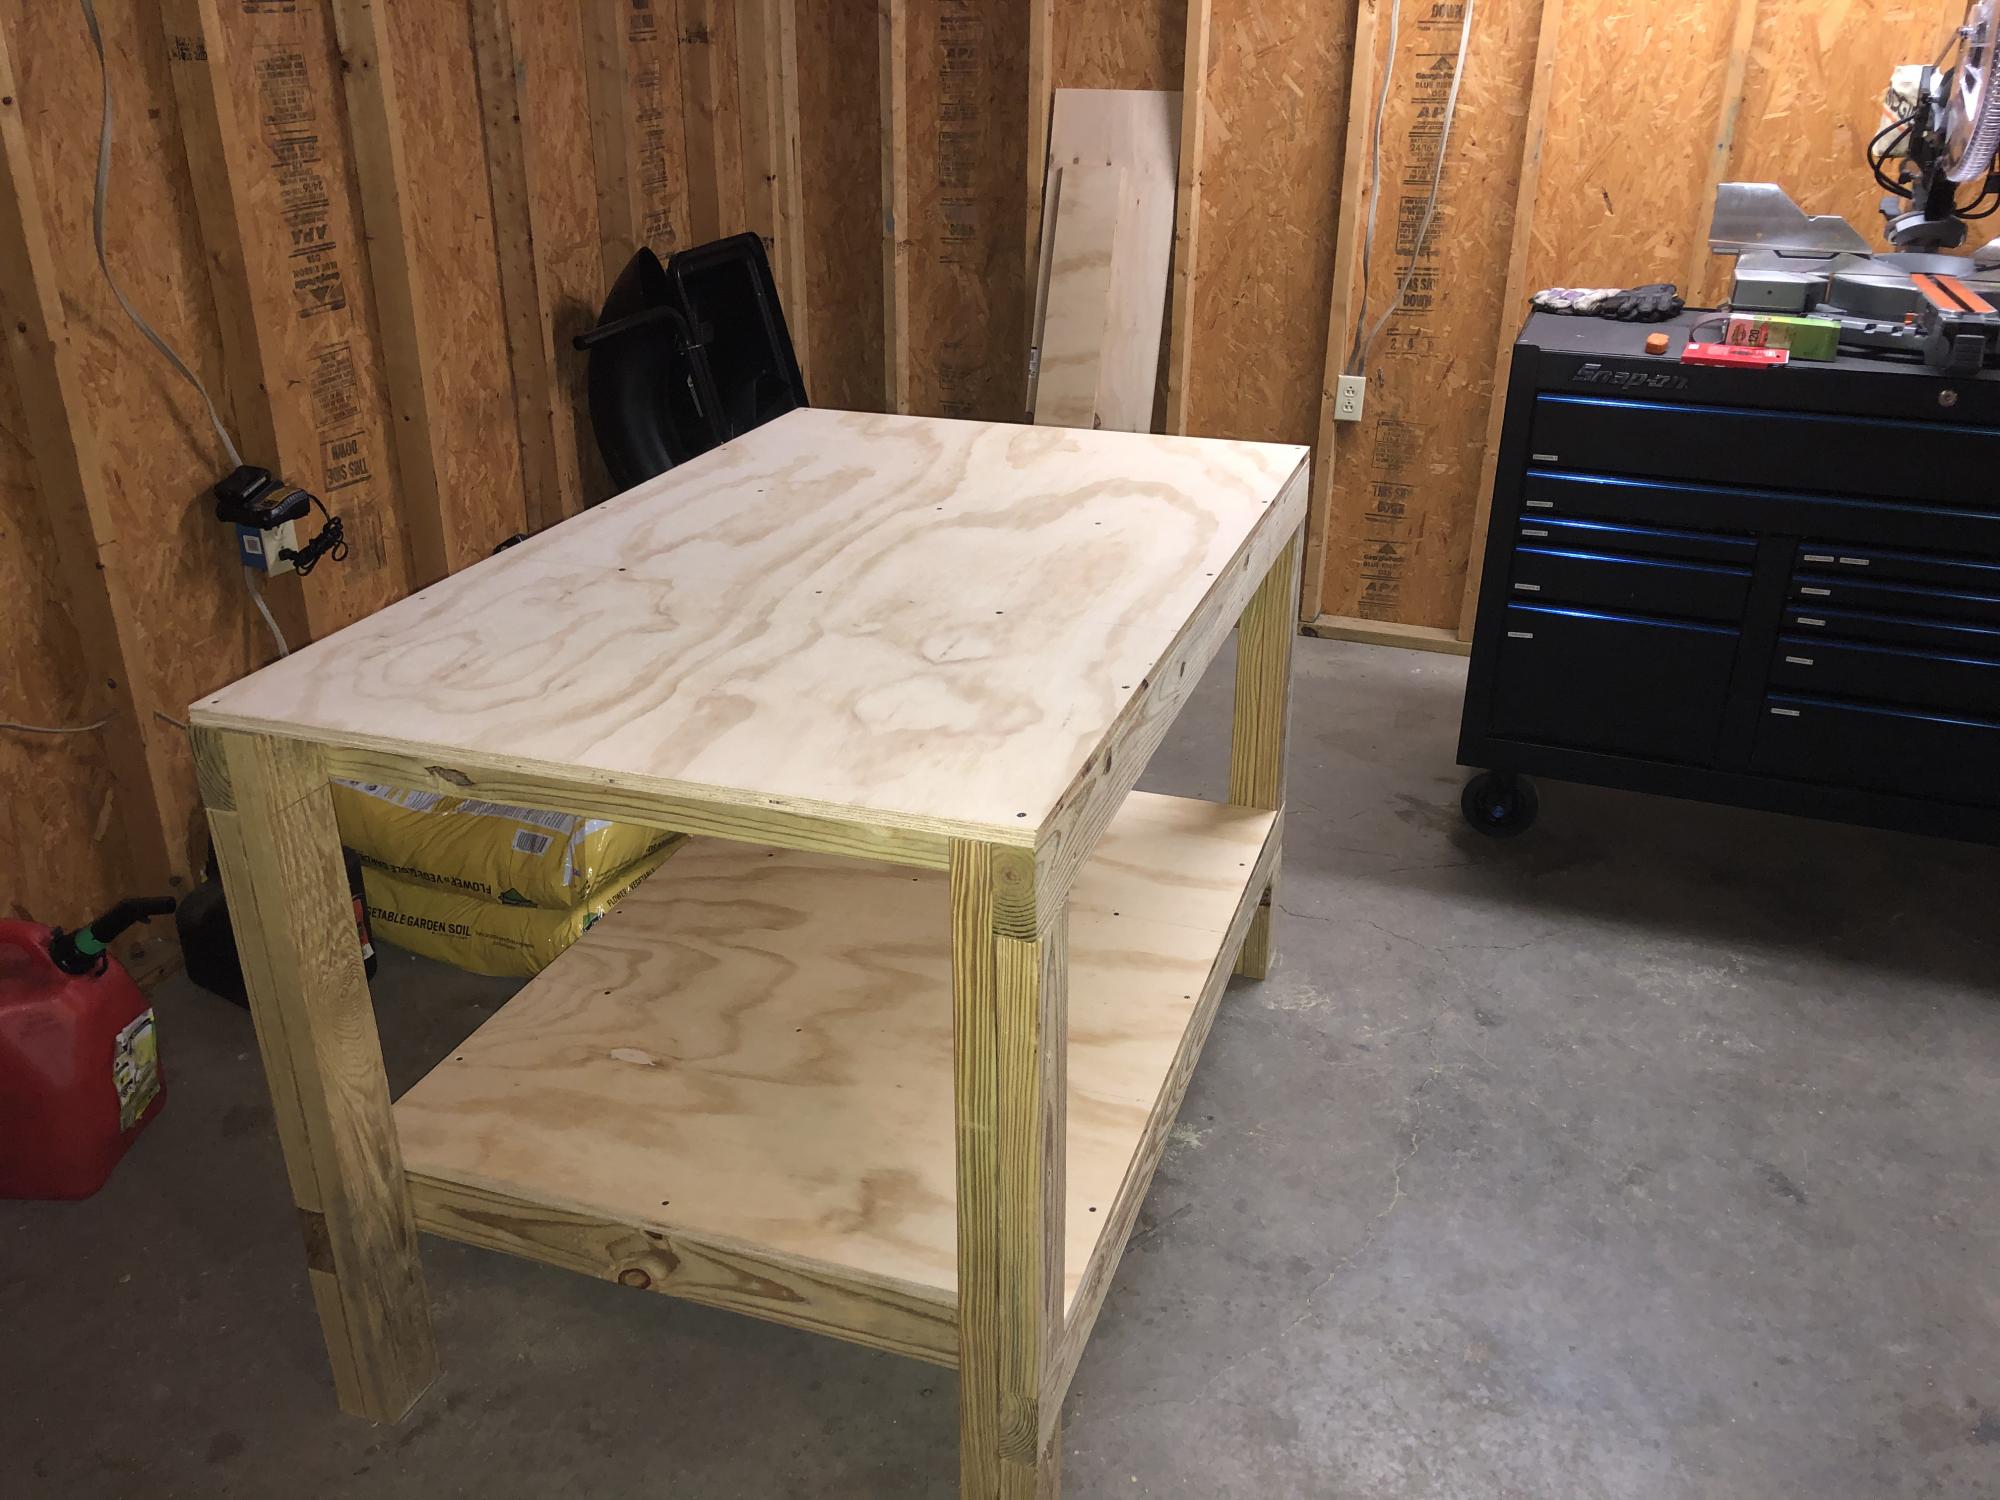
Wasn’t too awful bad. The cuts were basic and easy to duplicate. I would recommend having some clamps to hold the supports in place while you try to screw them together. Otherwise, this table is pretty heavy duty and a lot bigger than I thought it would be. I sprung for a more durable and harder wood top, oak so the cost was about $25 more.

Estimated Cost
100
Estimated Time Investment
Day Project (6-9 Hours)
Finish Used
None
Recommended Skill Level
Beginner

Freestanding Garage Shelves

Submitted by Jeanna on Mon, 04/27/2020 - 08:07

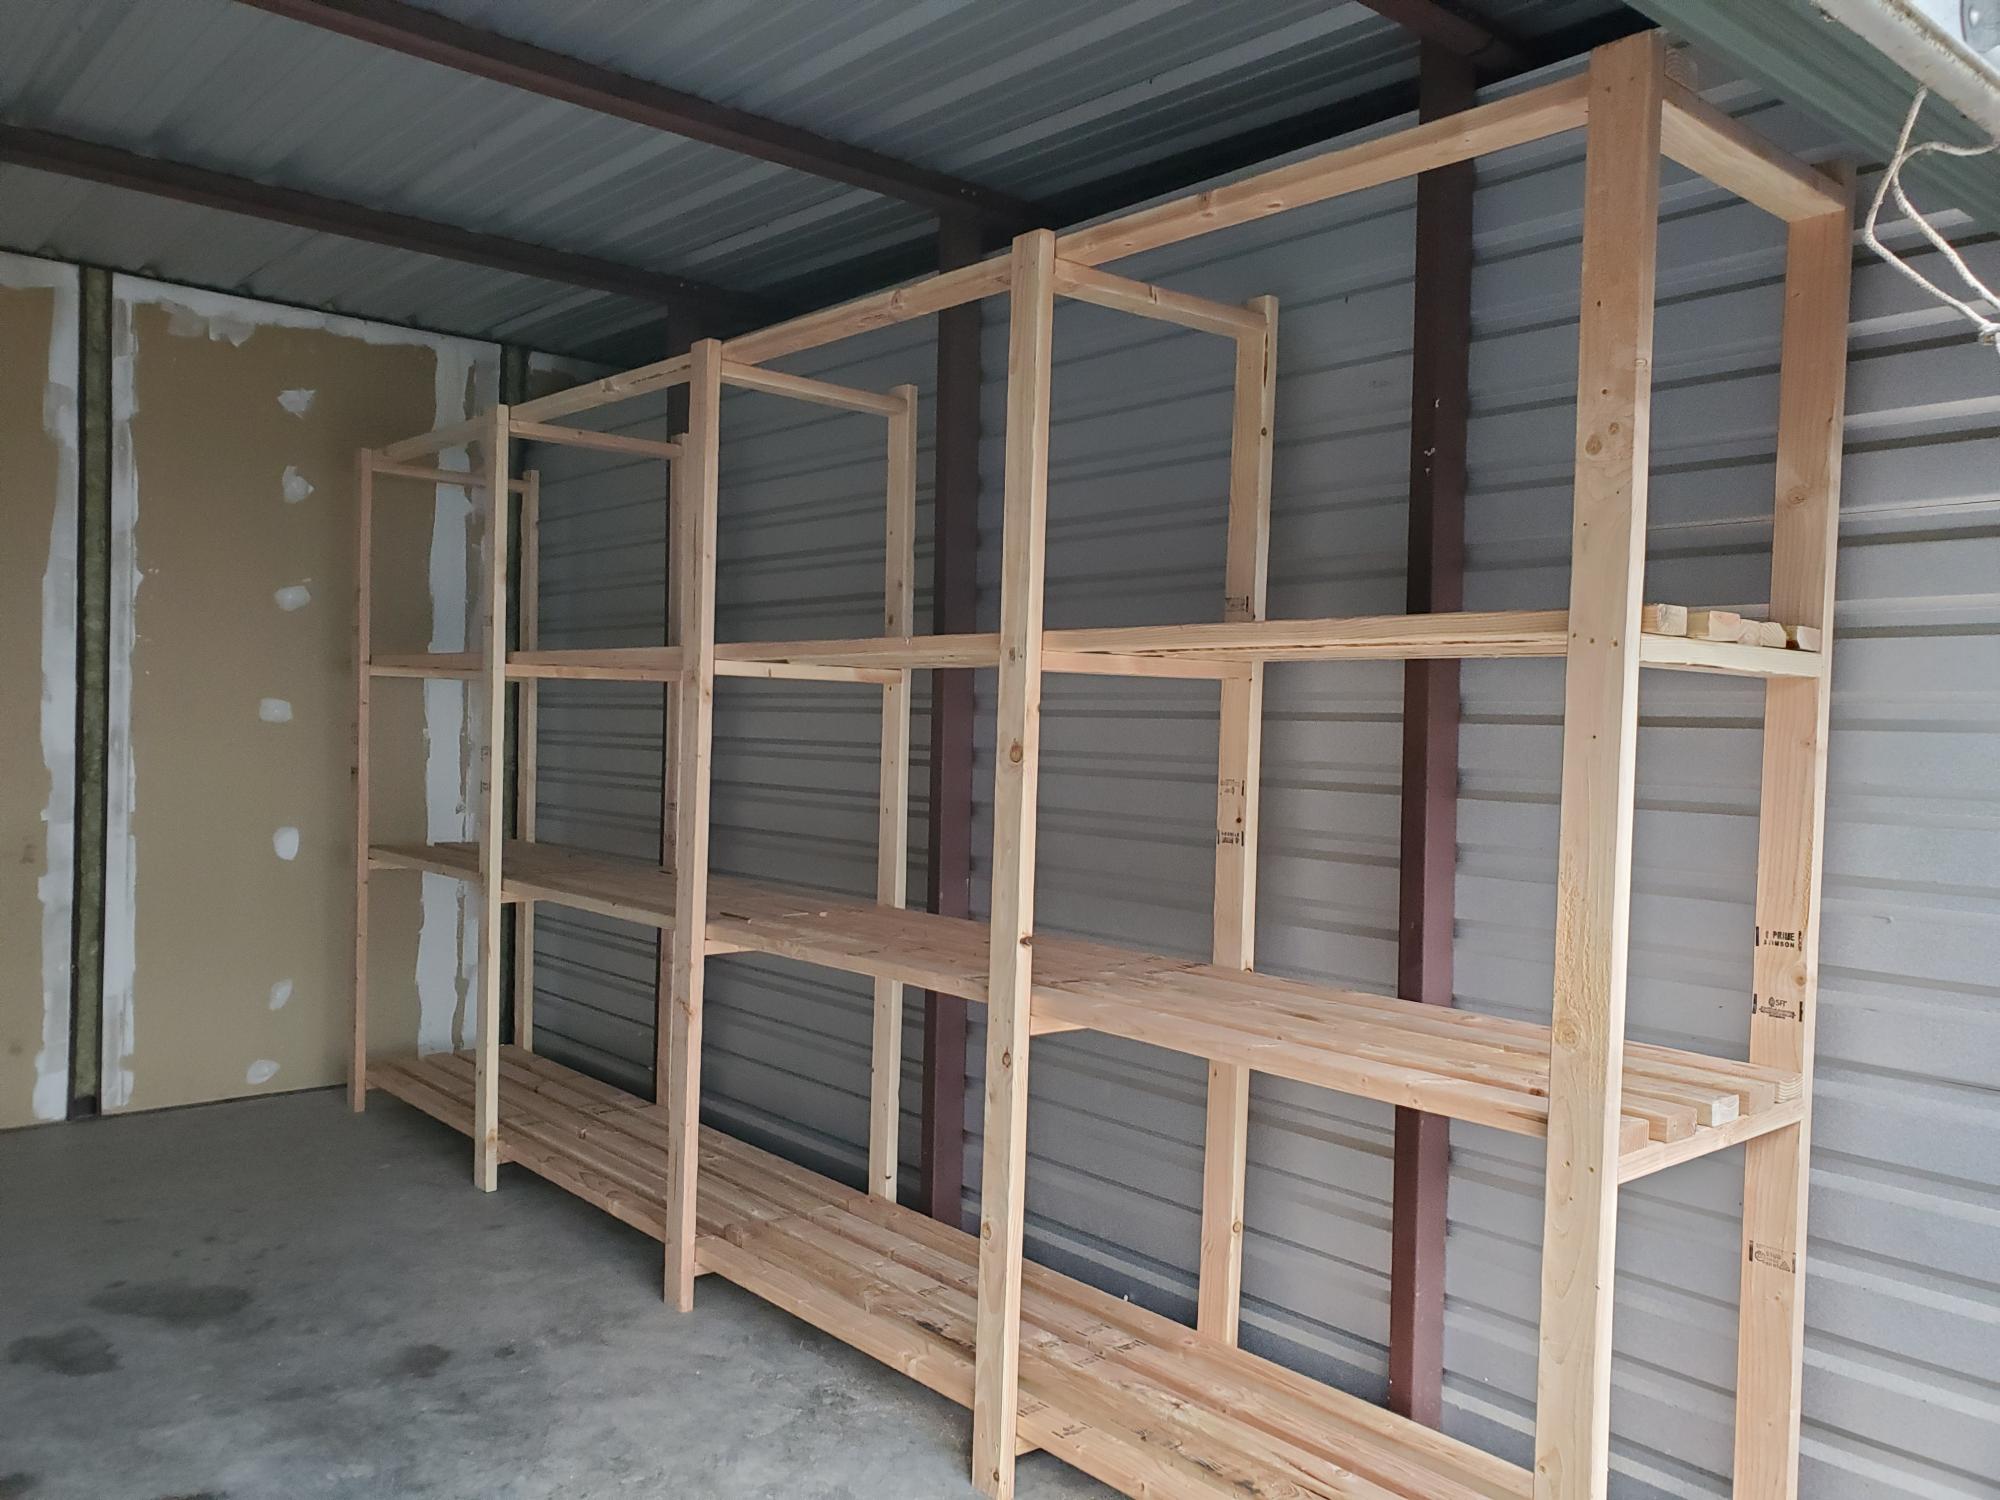
This was our first real DIY from scratch project. We somehow made it a bit too tall and so have not put the top shelf planks on. Over all we are pretty happy with it. This was in a rental storage unit. We plan to give it another go in our garage too.

Estimated Time Investment
An Hour or Two (0-2 Hours)
Finish Used
None
Recommended Skill Level
Beginner

Farmhouse table

Submitted by gough4it on Thu, 04/24/2014 - 14:04

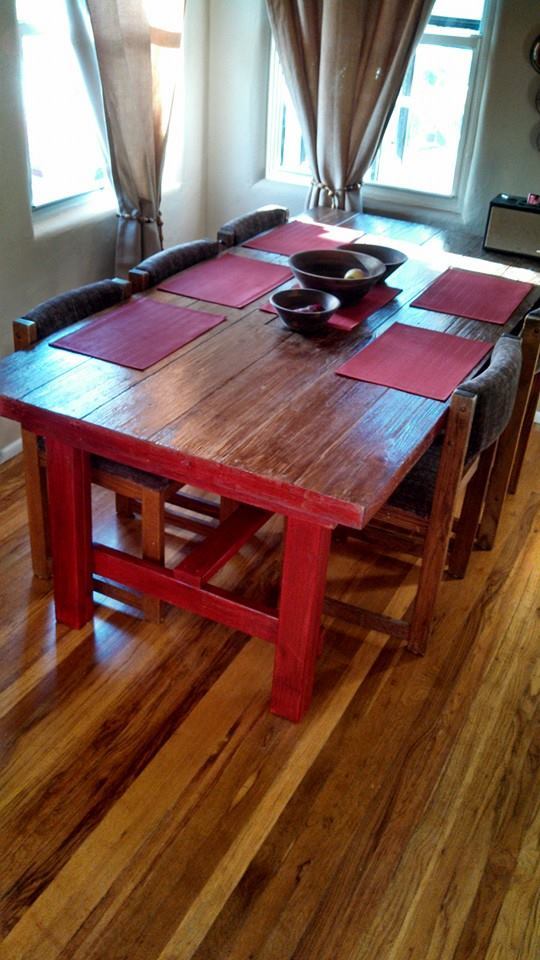
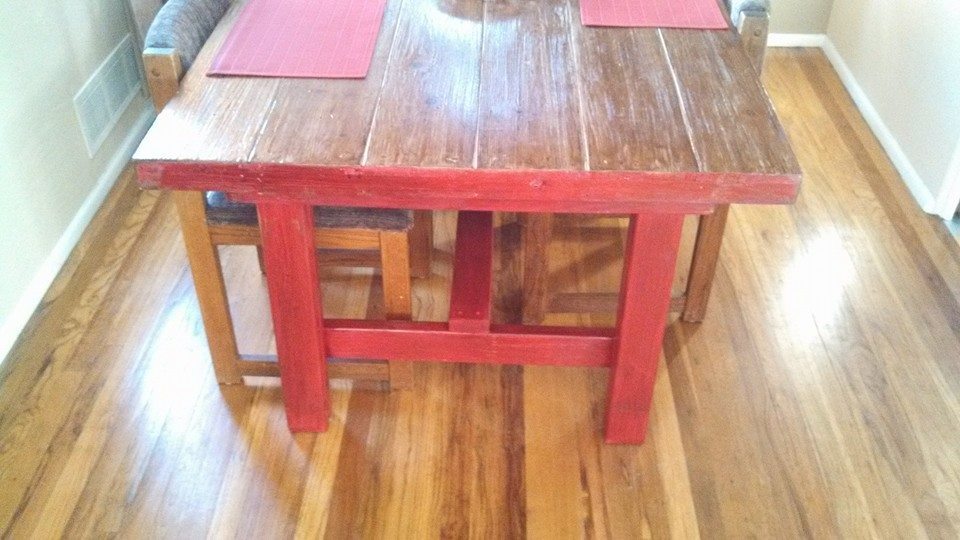
Loved the Farmhouse table project. I took it a step easier. A local door builder had clearance doors for a cheap cost. I found the door I wanted (42"x96"), cut off about a foot length wise, refinished the top and then added a modified farmhouse table apron and legs to it. Then used the distressed finish I found here on Ana-white.com to finish it with. I used a red paint and a dark walnut stain. All together it took about 4 hours of actual time. Though there was a overnight wait period after paint and another one after stain before I finished putting it together.

Estimated Time Investment
Afternoon Project (3-6 Hours)
Finish Used
I used the finish steps found here: http://ana-white.com/2011/08/reclaimed-wood-patchwork-multi-color
Recommended Skill Level
Beginner

I did it!

Thank you for all the wonderful plans!
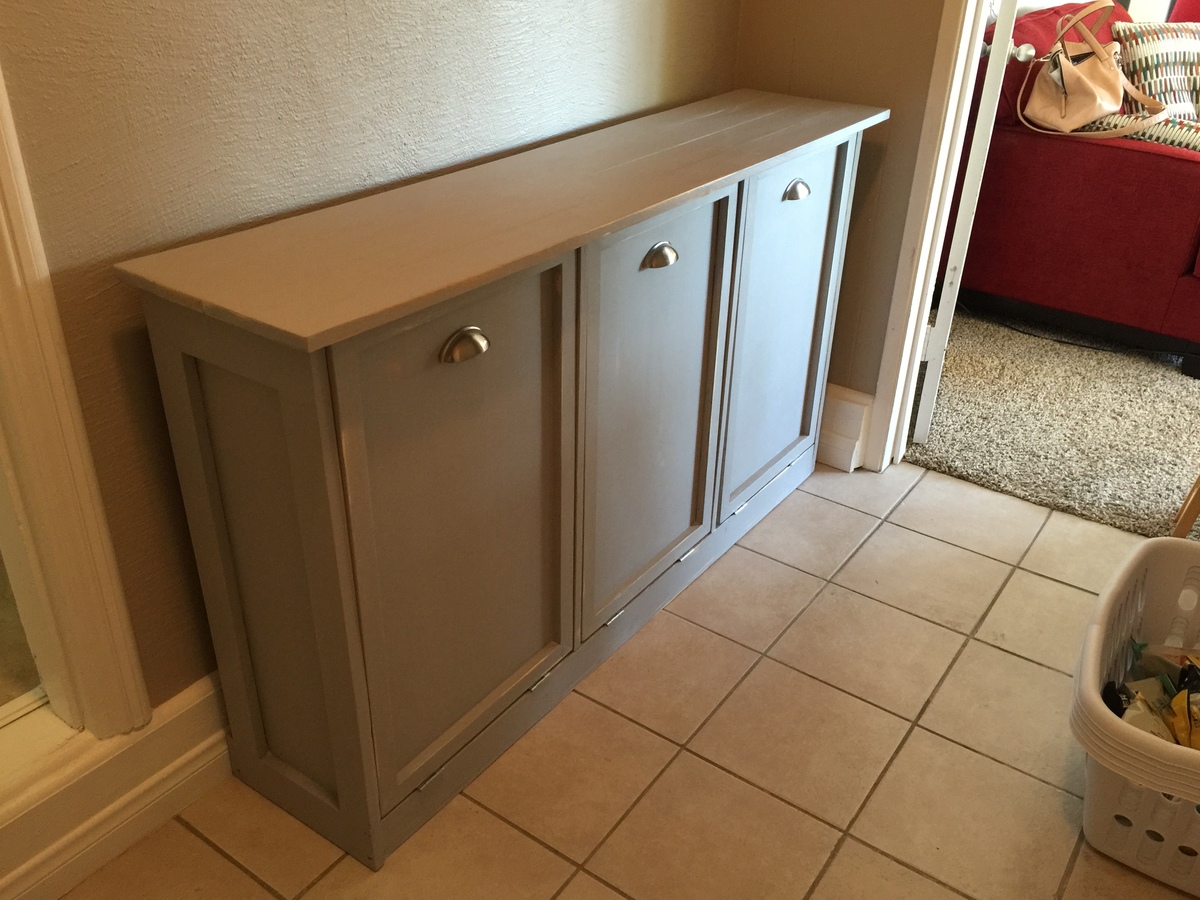
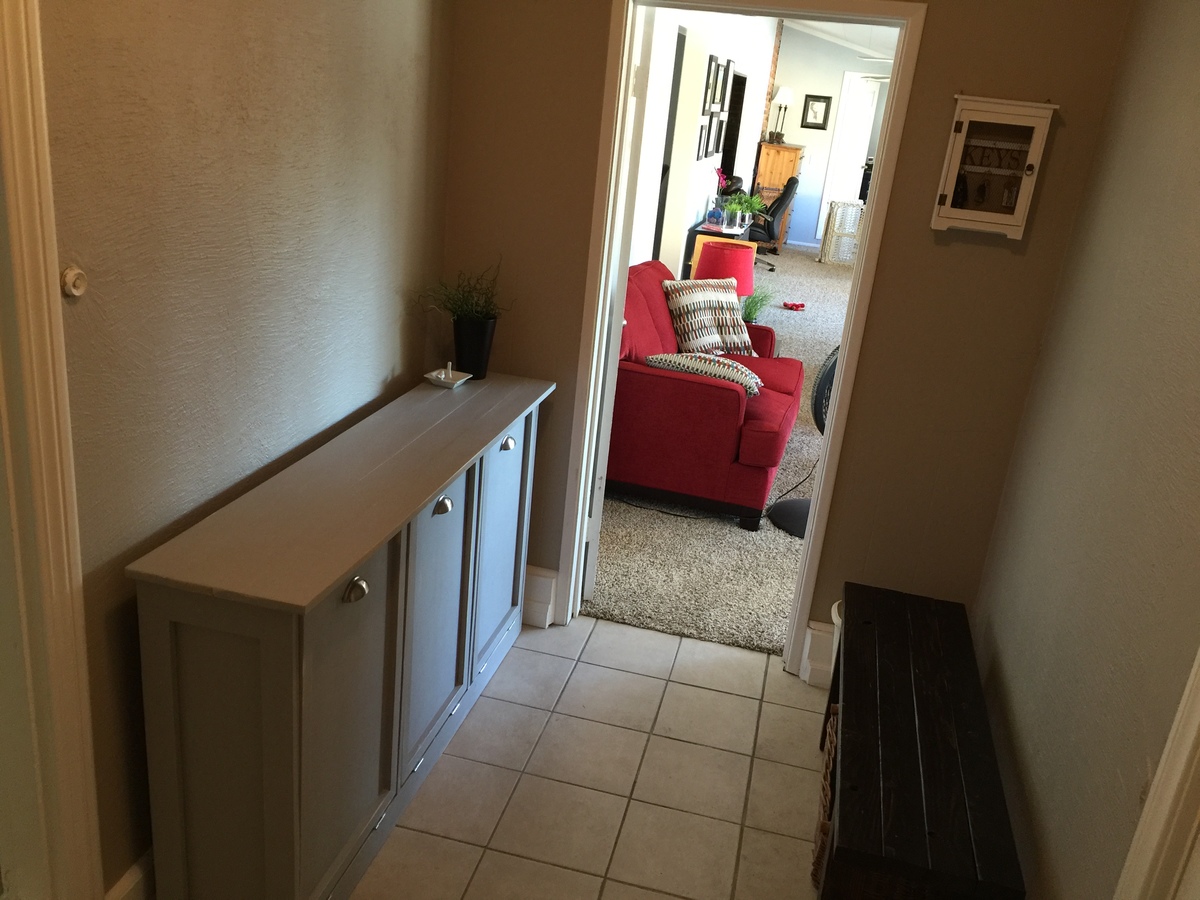
i used the modified plan of the tilt out waste bin that Shanty2chic put out as a three bin laundry sorter.   It turned out great!  
It is finished with chalk paint, lightly distressed. 

Estimated Cost
$40 or so
Estimated Time Investment
Weekend Project (10-20 Hours)
Finish Used
Rustoleum's Chalk paint in old gray. Lightly distressed with the ryobi corner cat.
Recommended Skill Level
Beginner

Comments

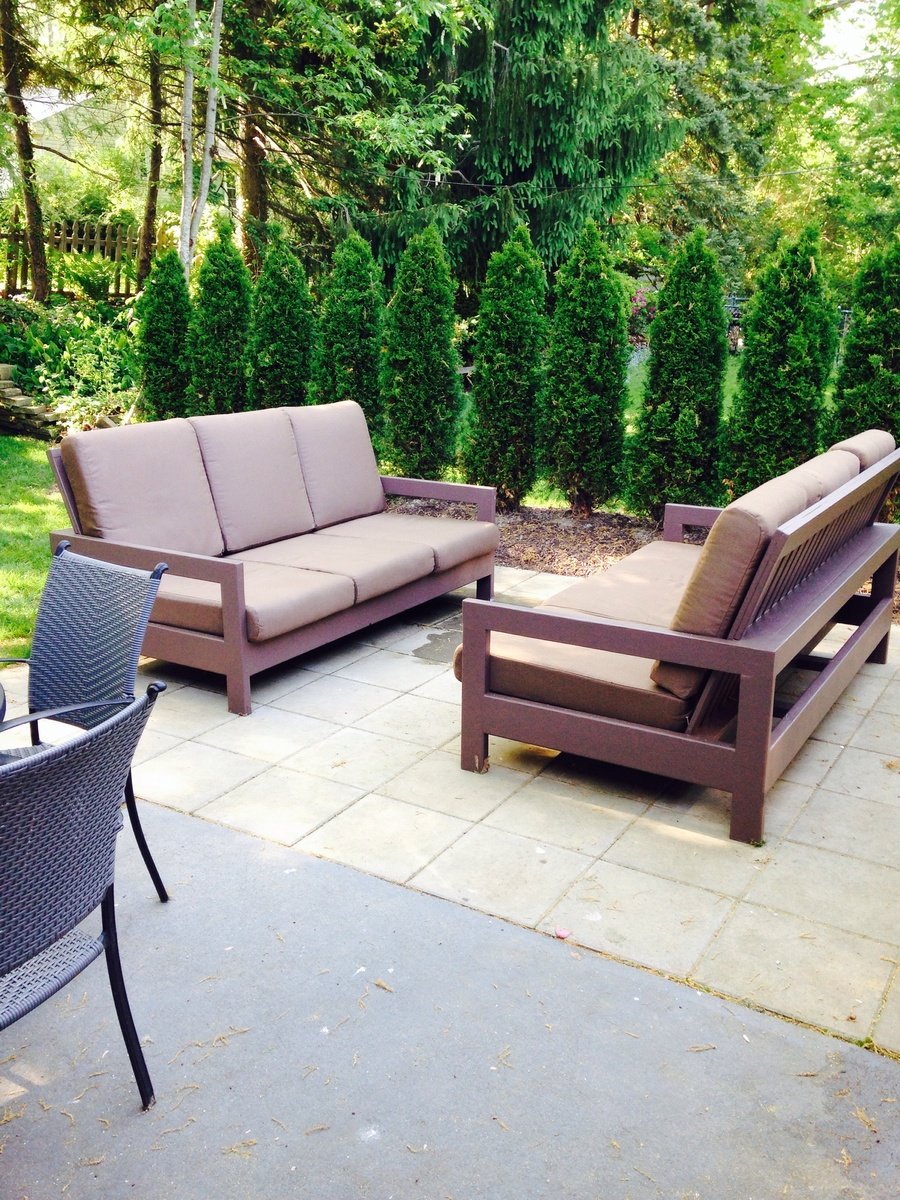
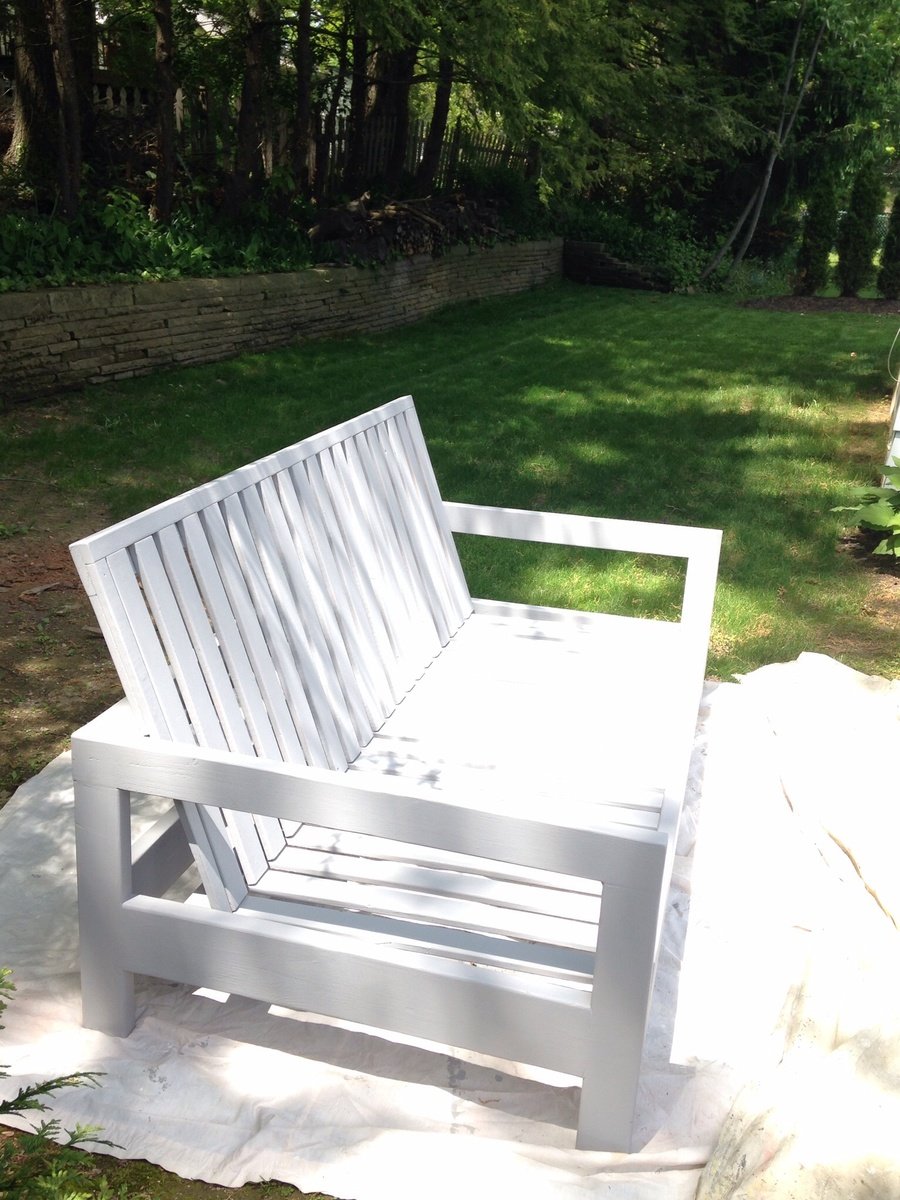
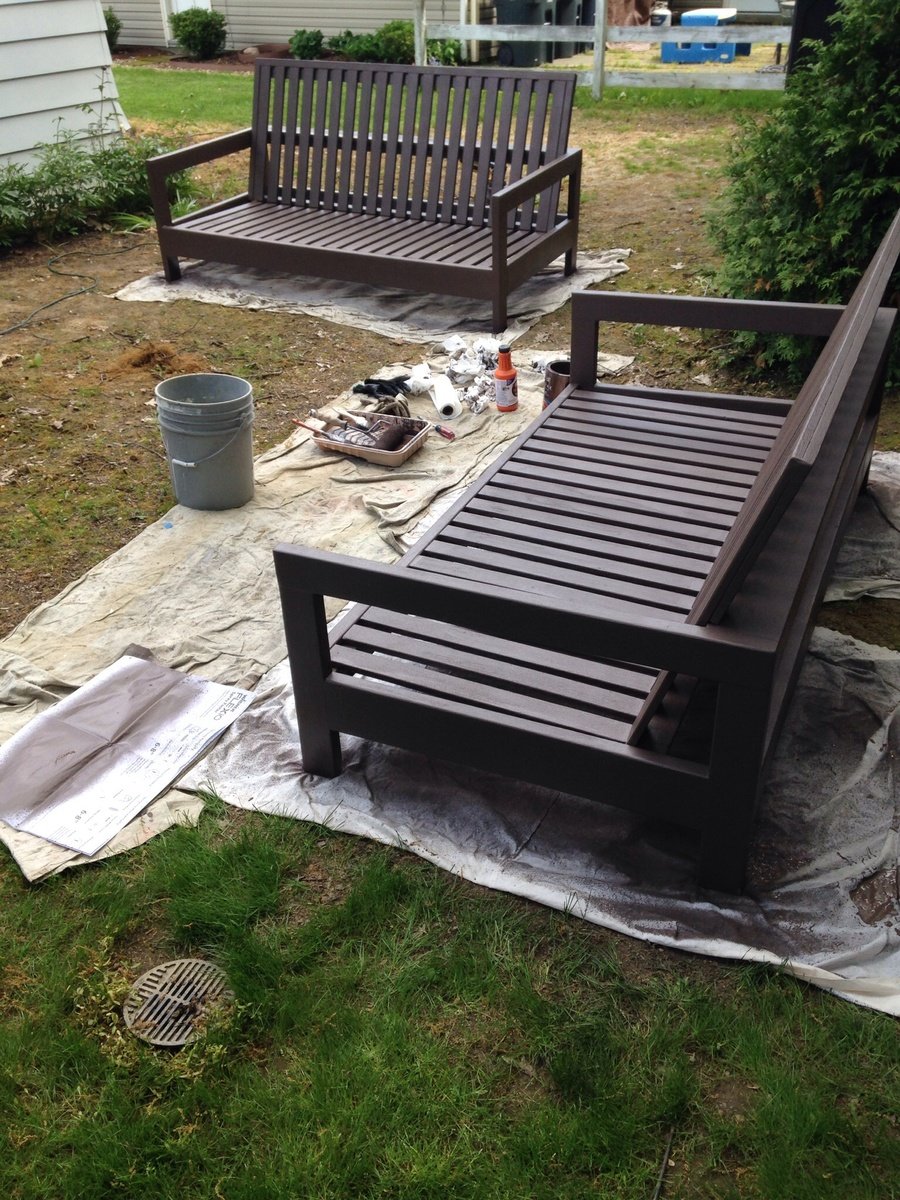
Outdoor patio couches

Submitted by Chrisann on Tue, 05/27/2014 - 11:06

Love this design! We had to adjust the plans to fit a different cushion from Restoration Hardware. The couches turned out great and we had a party the day after the paint dried! Thx Ana-white!

Estimated Cost
Material $200, cushions $700
Estimated Time Investment
Week Long Project (20 Hours or More)
Finish Used
Valspar outdoor paint "frontier road"
Recommended Skill Level
Intermediate

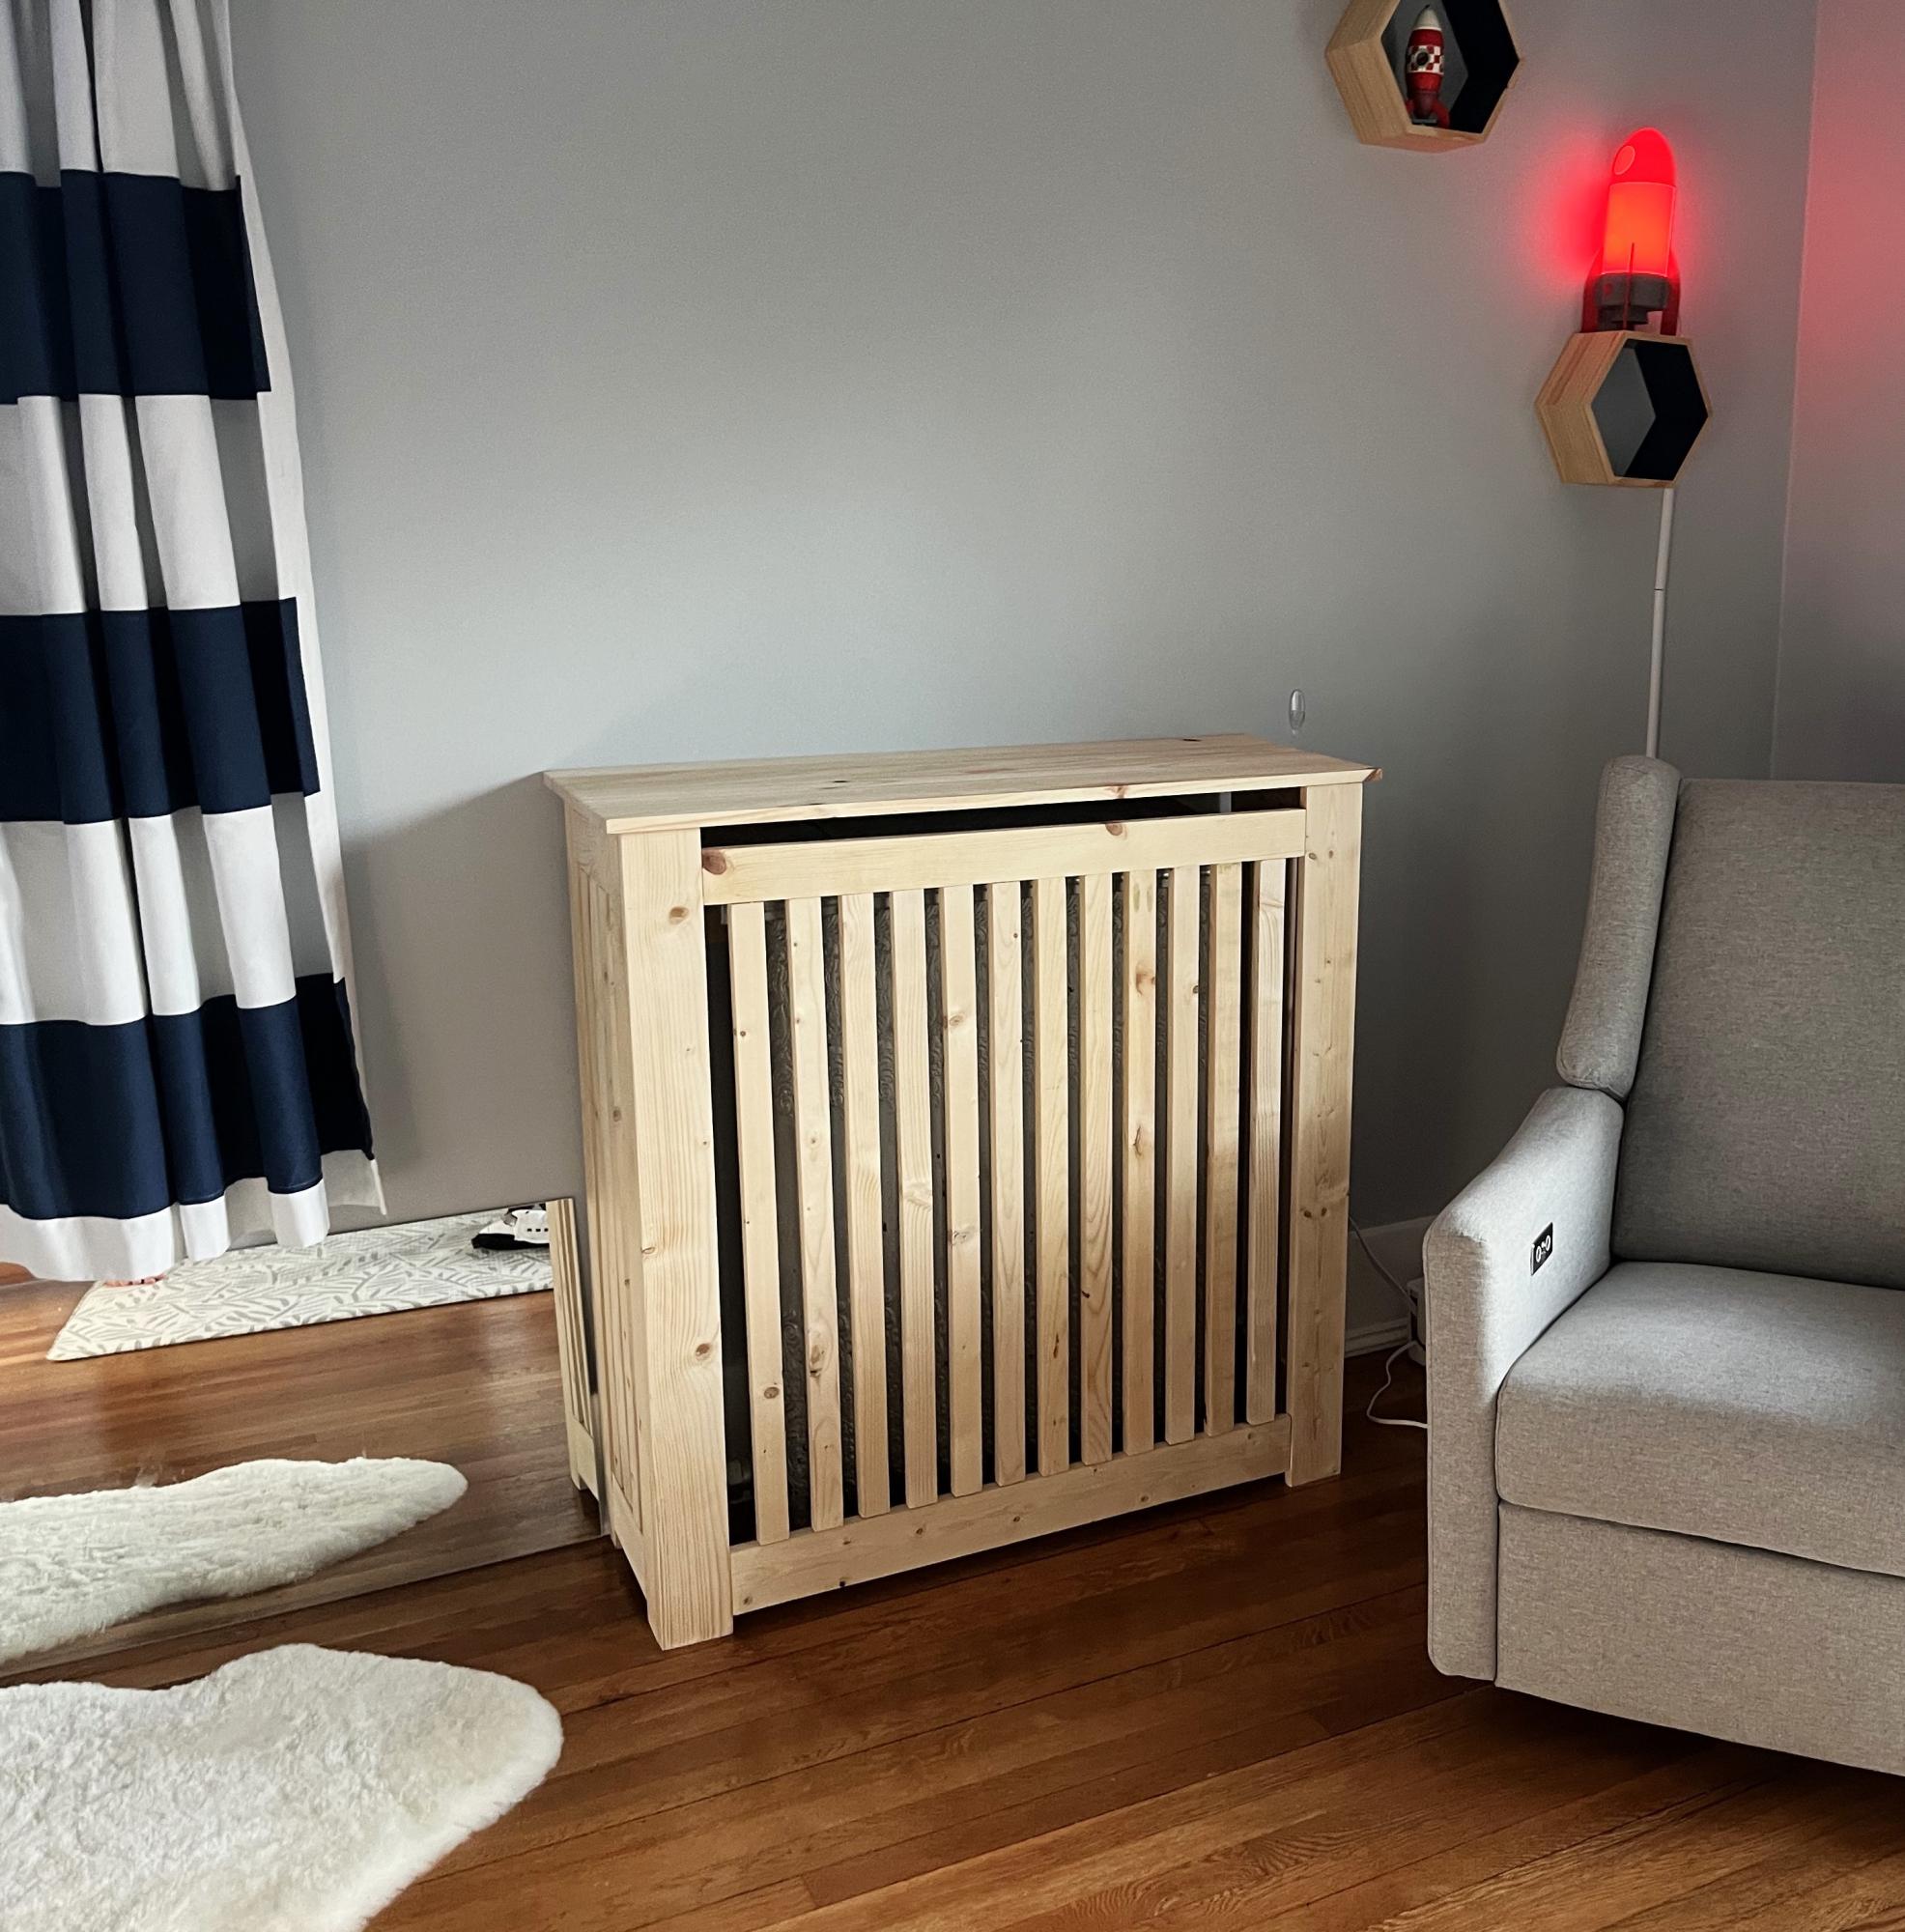
Wood Radiator Cover

Submitted by Anonymous (not verified) on Tue, 04/02/2024 - 10:00

Radiator Cover! My son was starting to crawl and be interested in the giant radiator in his room, so it was time to cover it. I'm so happy with how it turned out and since we left 4-5 inches of space from the top, we can use it as a space to keep his air filter & light. I left 2-3 inches around the sides as well and put a board across the back for support and to keep the cover in place.

Margaret Cember

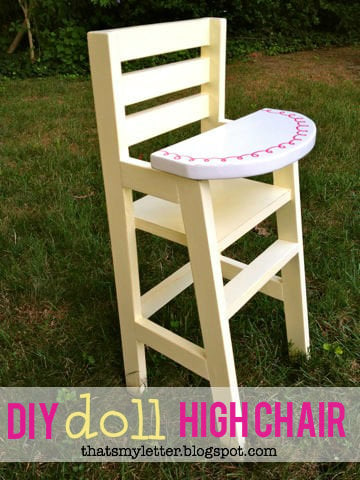
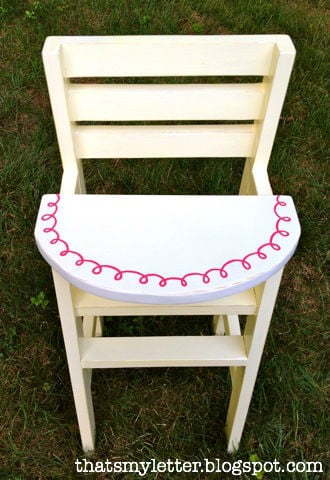
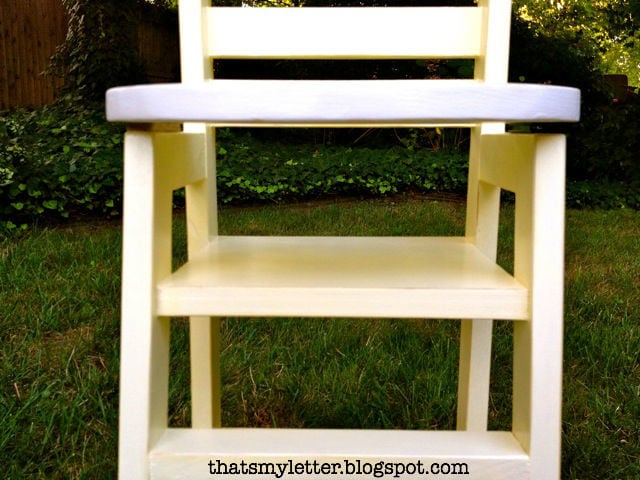
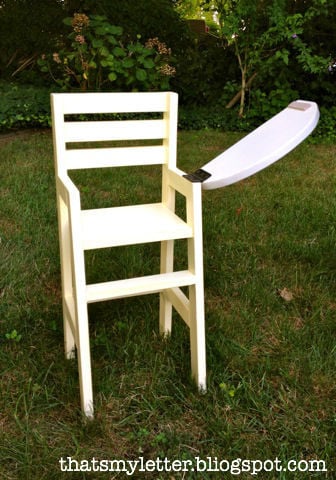
doll high chair

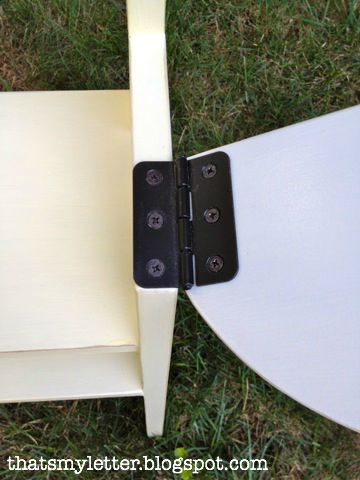
doll high chair with movable tray

Built from Plan(s)
Estimated Cost
$10
Estimated Time Investment
Afternoon Project (3-6 Hours)
Finish Used
1. prime
2. tray: Behr swiss coffee
3. chair: Behr frosted lemon
4. seal Minwax clear stain
Recommended Skill Level
Beginner

5 foot picnic table with pocket holes

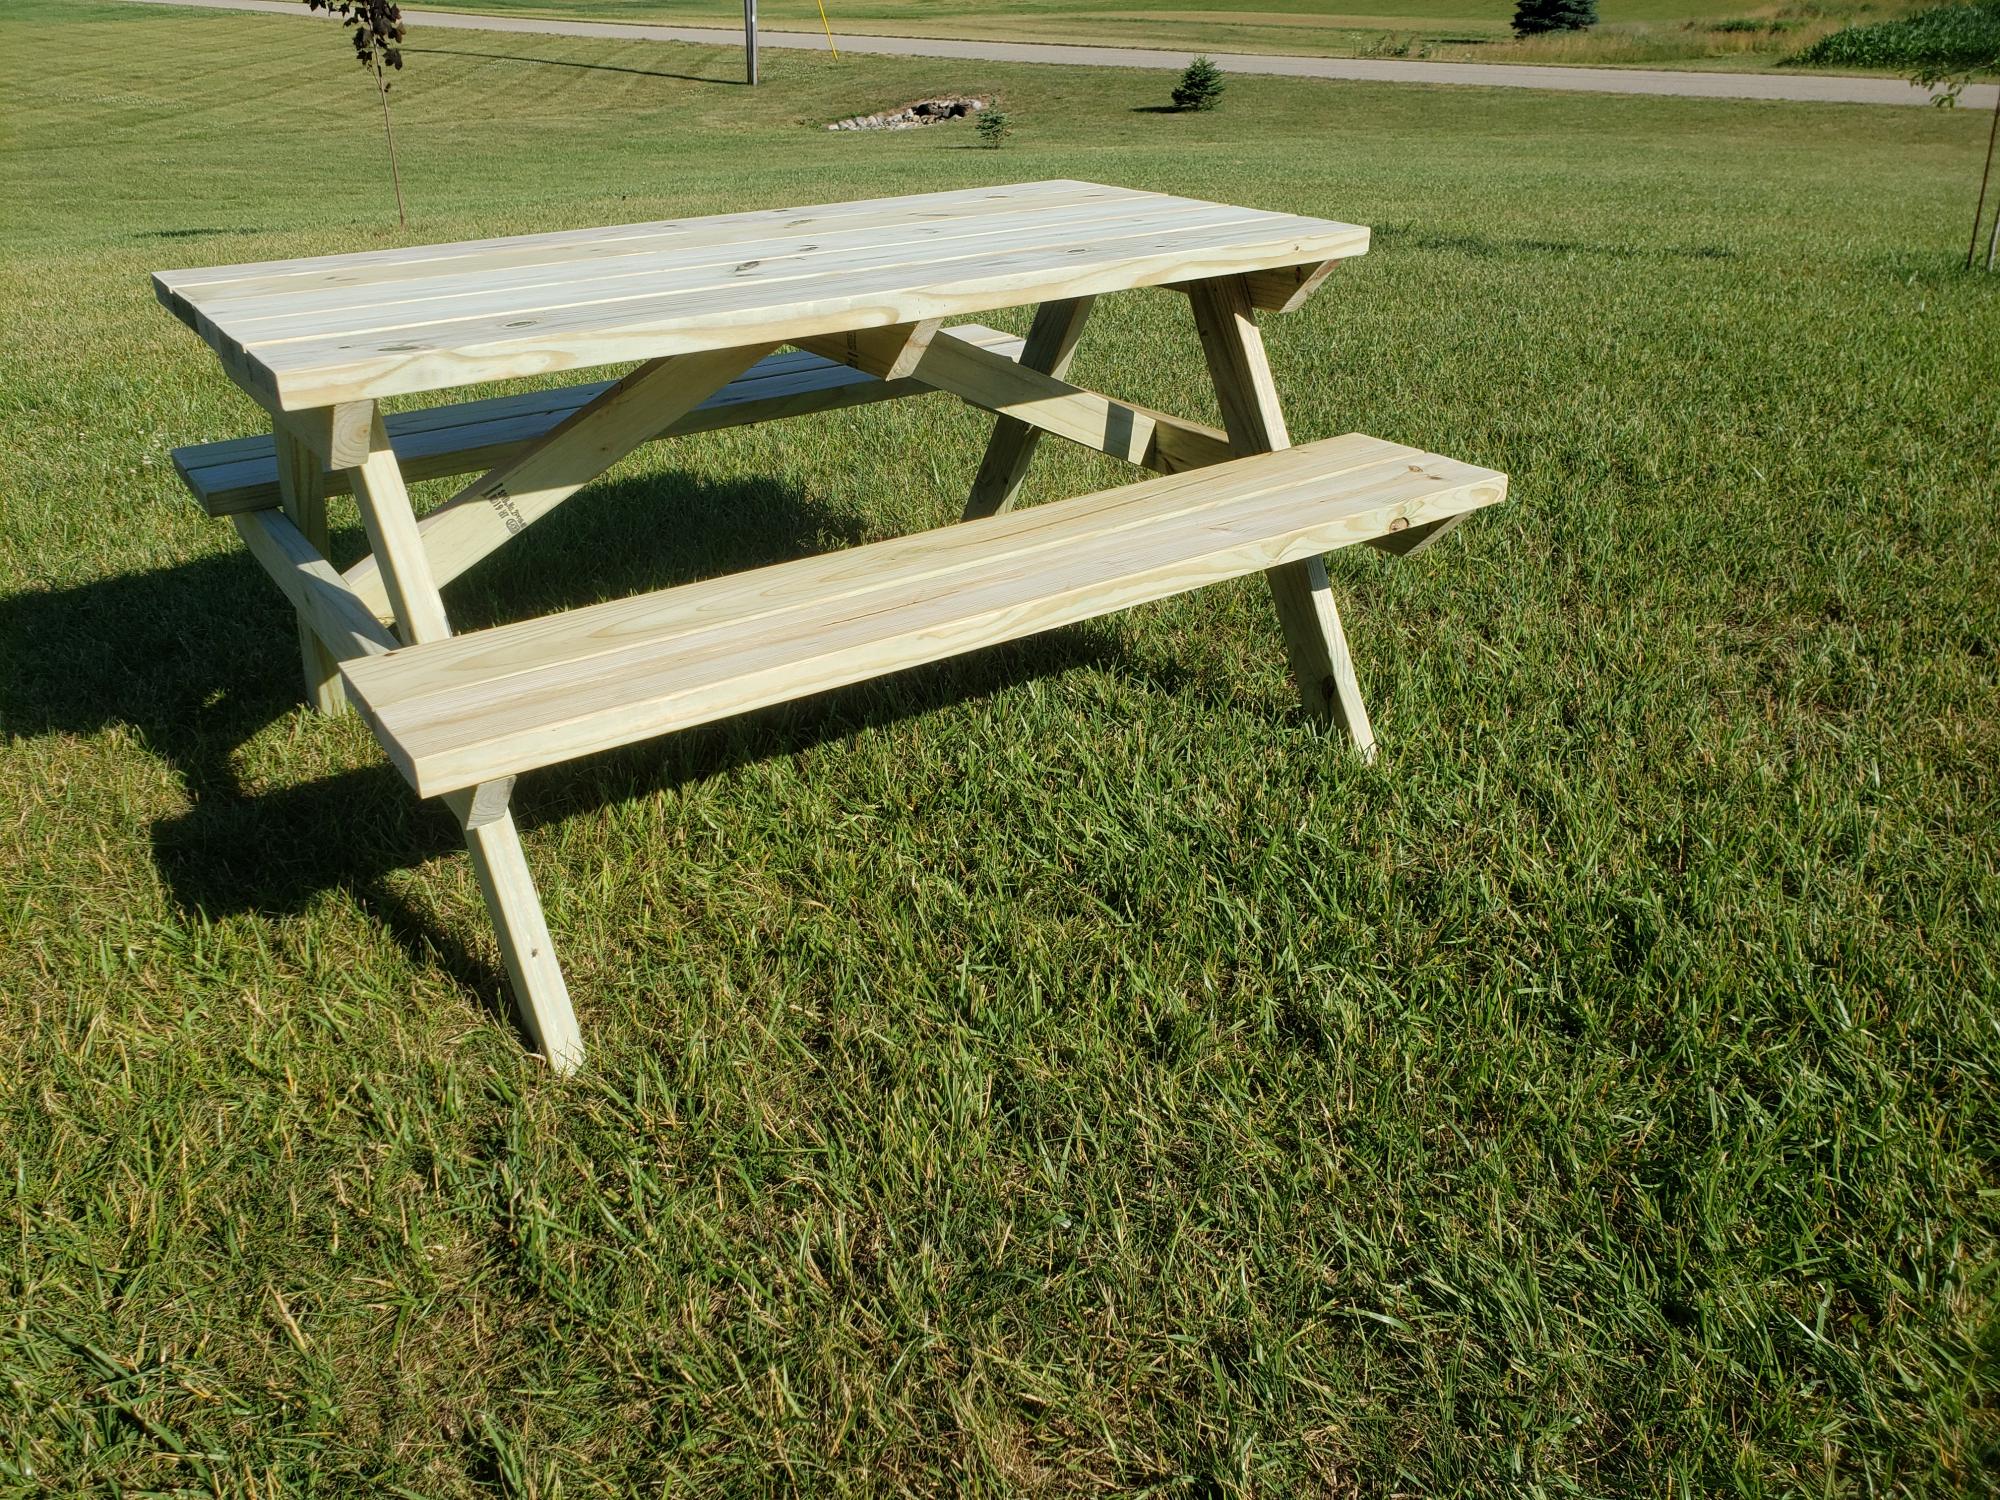
Submitted by milleall on Thu, 07/02/2020 - 08:56

We built from the plan with green treated lumber. We also joined the top and the seat with pocket holes and outdoor blue Kreg screws so there are no screw holes exposed on the tops. Easy build. Great compact picnic table.

Estimated Cost
$90
Estimated Time Investment
Afternoon Project (3-6 Hours)
Finish Used
None
Recommended Skill Level
Beginner

Easy Jewelry Box

Submitted by JoanneS on Tue, 08/28/2012 - 16:12

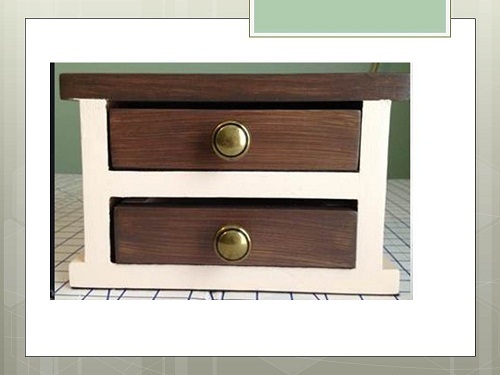
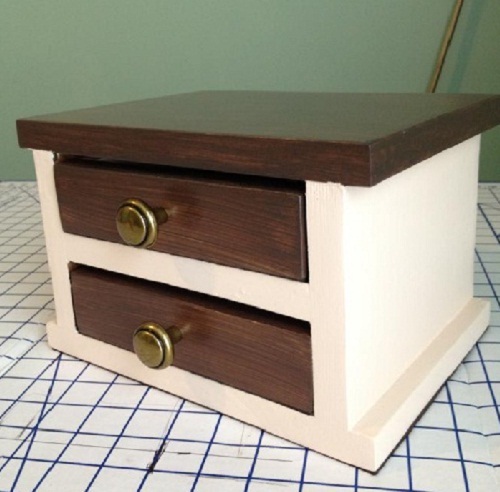
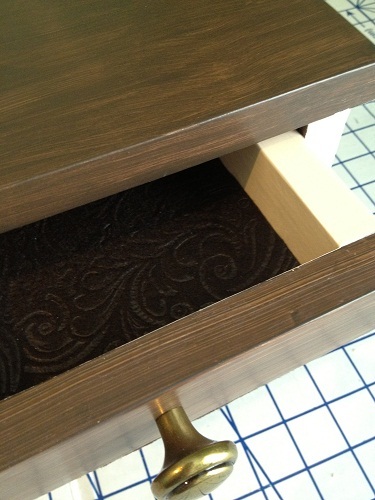
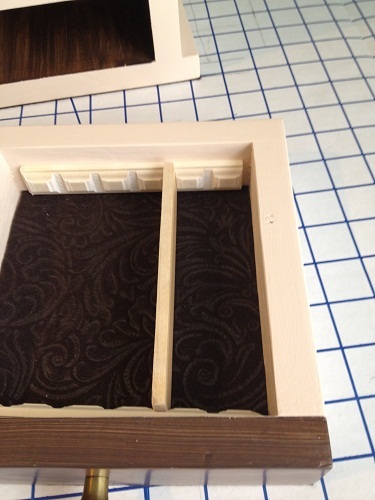
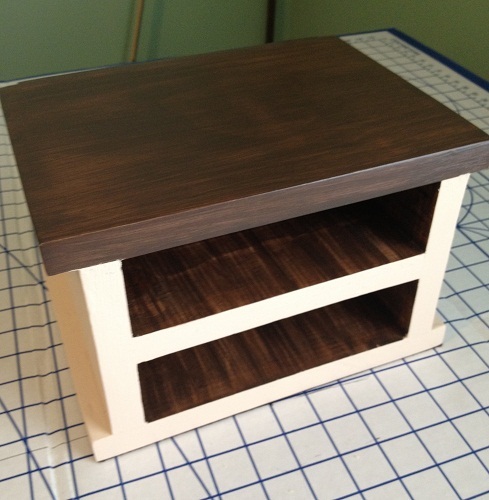
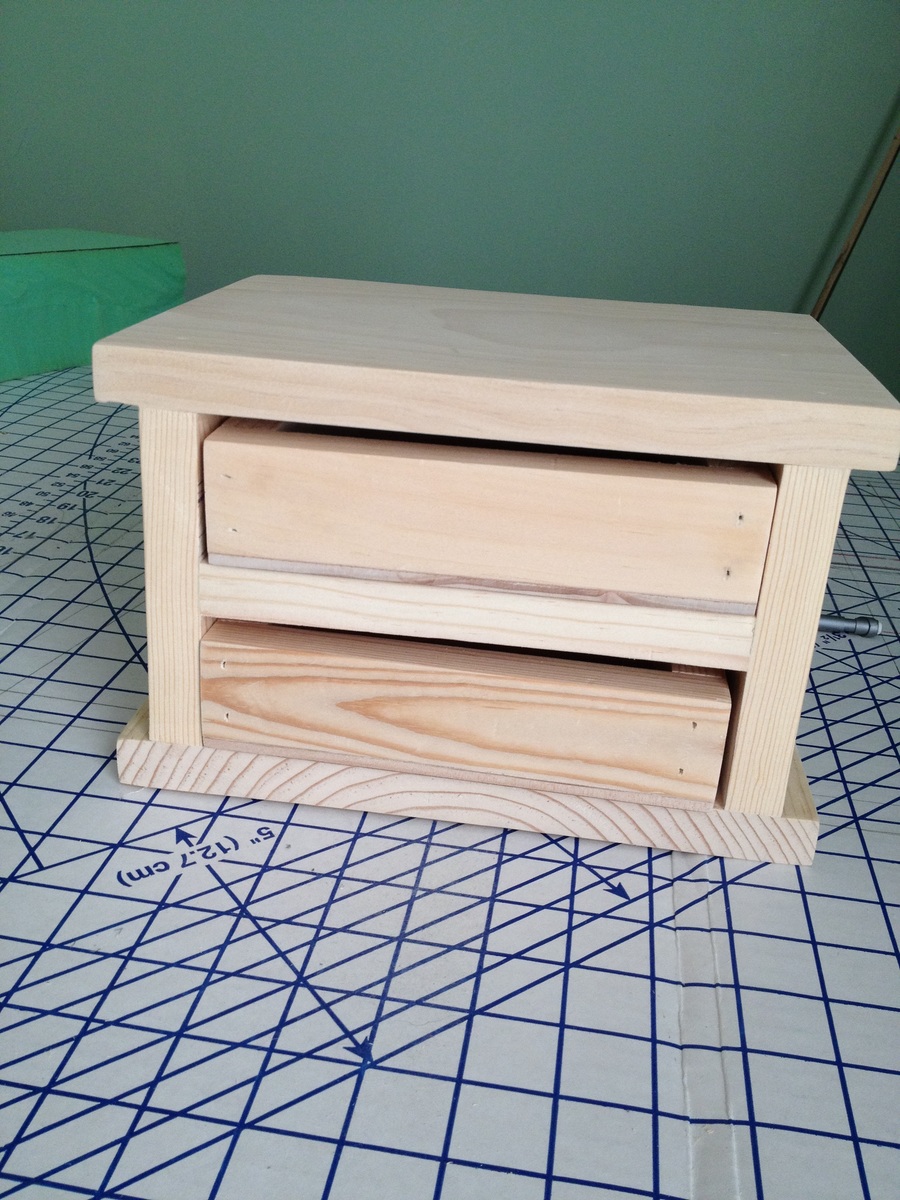
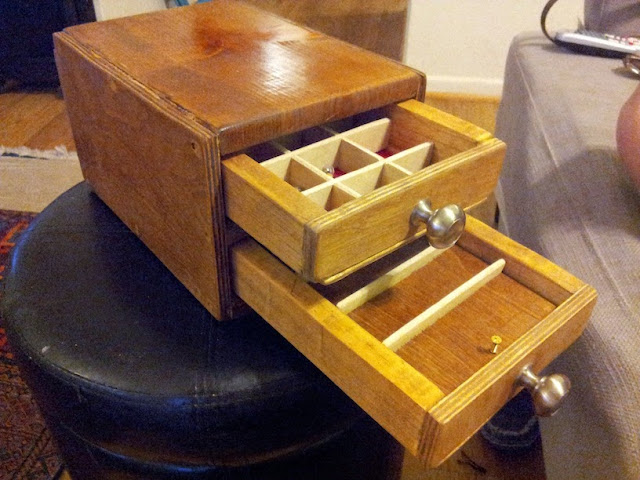
I built this jewelry box out of scraps as a prototype to test out my Easy Jewelry Box plan, which is inspired by the Willy Bookcase and Master Closet System drawers. When Mom saw it unfinished, she liked it and called dibs on the first one! Well, since this one is now for Mom (and the lumber was free), I went ahead and spent some extra $ for hers – used the self-adhesive felt for the drawer and box bottoms, some embossed felt to line the drawers, added adjustable drawer dividers, and solid antique brass knobs – ‘glammed’ it up a bit. It is painted and stained to match her bedroom furniture. For Mom, I even stained the inside of the drawer box. :)

The build was easy, and took less than 2 hrs. I did both stain and paint for the finish on this one, and it took about 2 hrs to do that. I’m planning to make several more of these in different finishes, and give them as gifts.

Estimated Cost
$30
Estimated Time Investment
Afternoon Project (3-6 Hours)
Finish Used
Paint: Territorial tan by Ace, Stain: Minwax Wood-Sheen in Plantation Walnut, with a few drops of black added in, followed by 2 coats of Minwax polycrylic in satin over the stained parts.
Recommended Skill Level
Beginner

Comments

JoanneS

Tue, 08/28/2012 - 16:15

“Shop” your scrap bin before buying your lumber for this project, you may have enough left overs already on hand. Probably would cost about $20 for whitewood boards, birch ¼” ply, regular felt and unpainted wooden knobs, and you’d still have some left overs. One sample size paint (~4 oz.) was more than enough for one box. The 7/8” unpainted knobs are great, and they only cost $1.49 for 2 (found these at Ace). These solid brass mini knobs ran about $4 each. The 2 sticks of moulding for the optional drawer dividers cost me about $12, but these pieces are more than enough for 4 boxes. For the ¼” plywood – one 2’ x 2’ piece is enough for 3 boxes. I’ll be making several. :)

Long Bookshelf

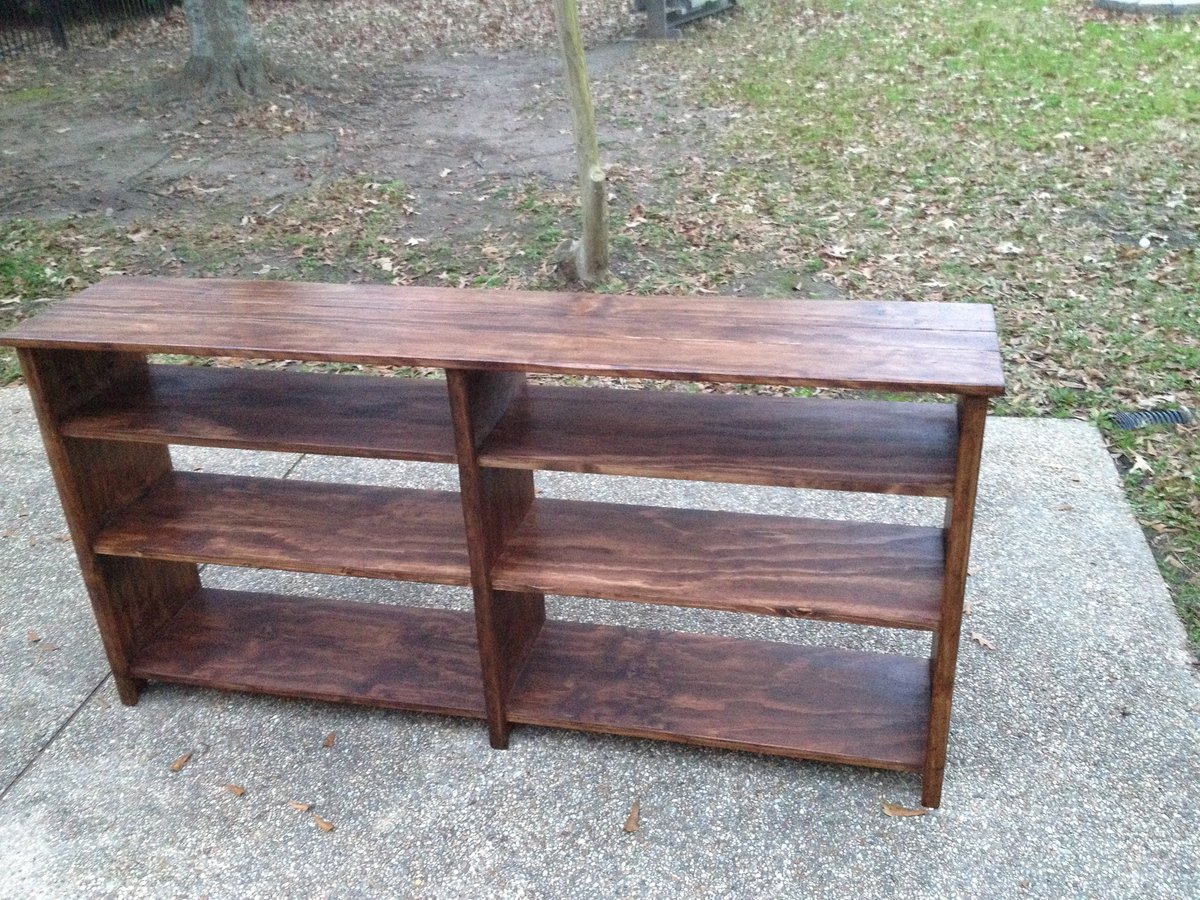
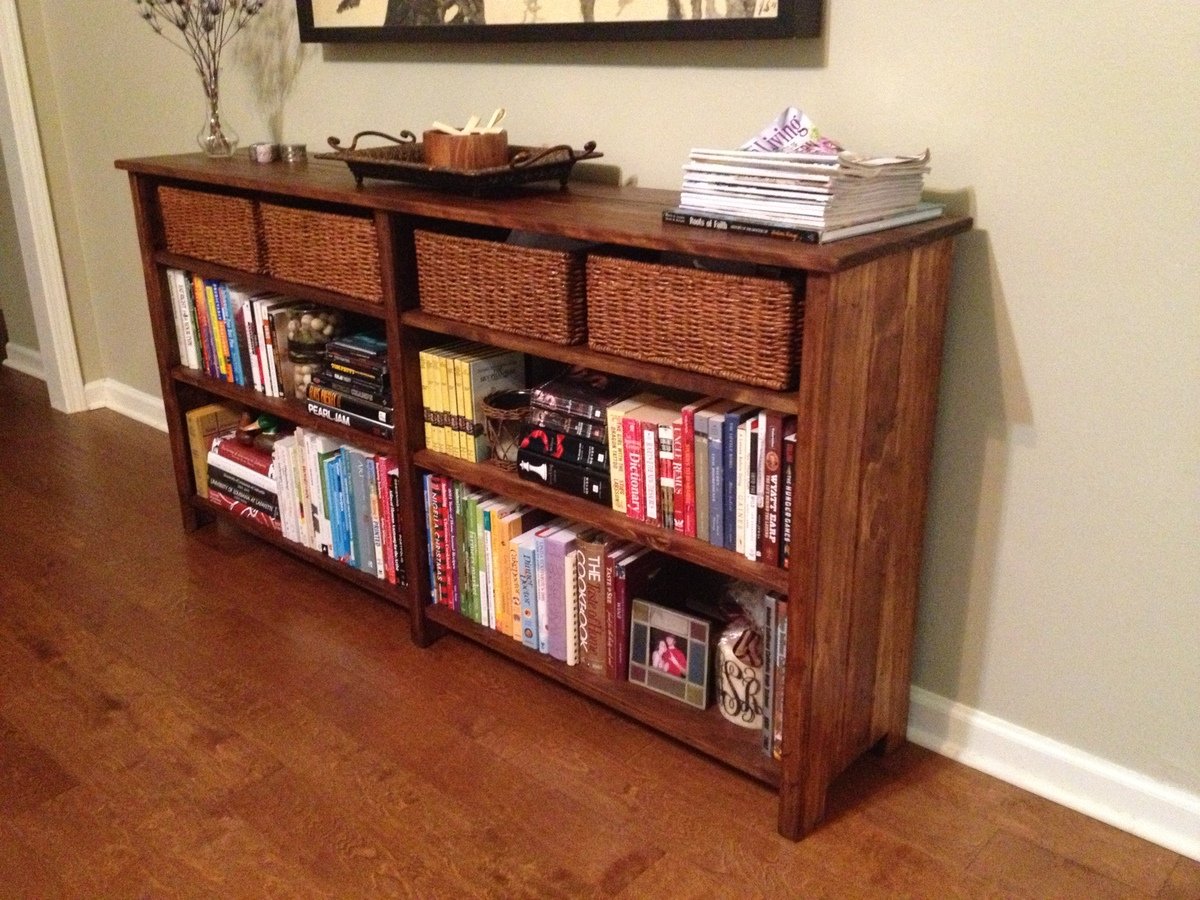
Submitted by Jon1985 on Mon, 06/23/2014 - 15:59

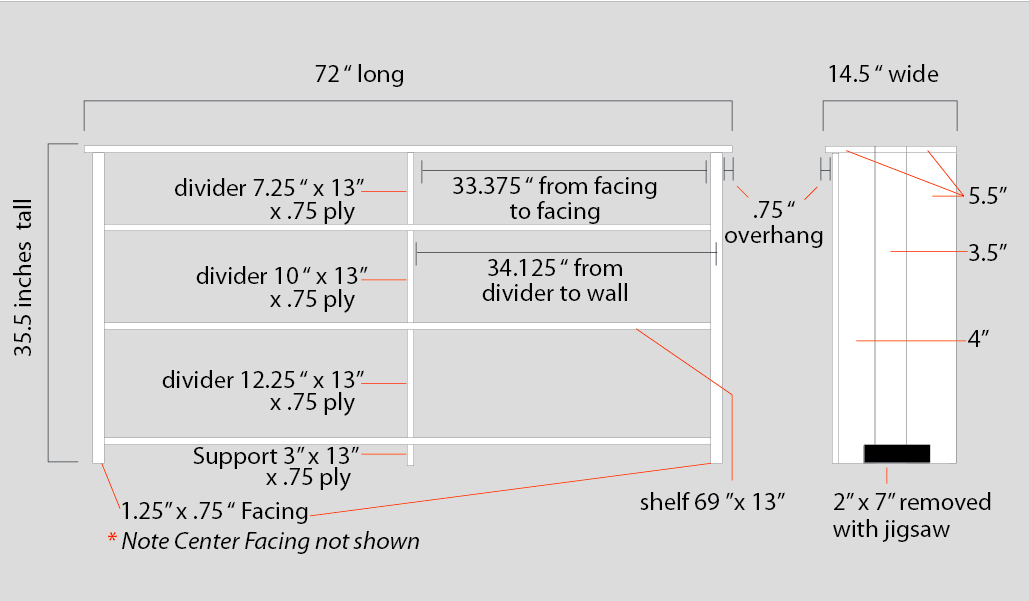
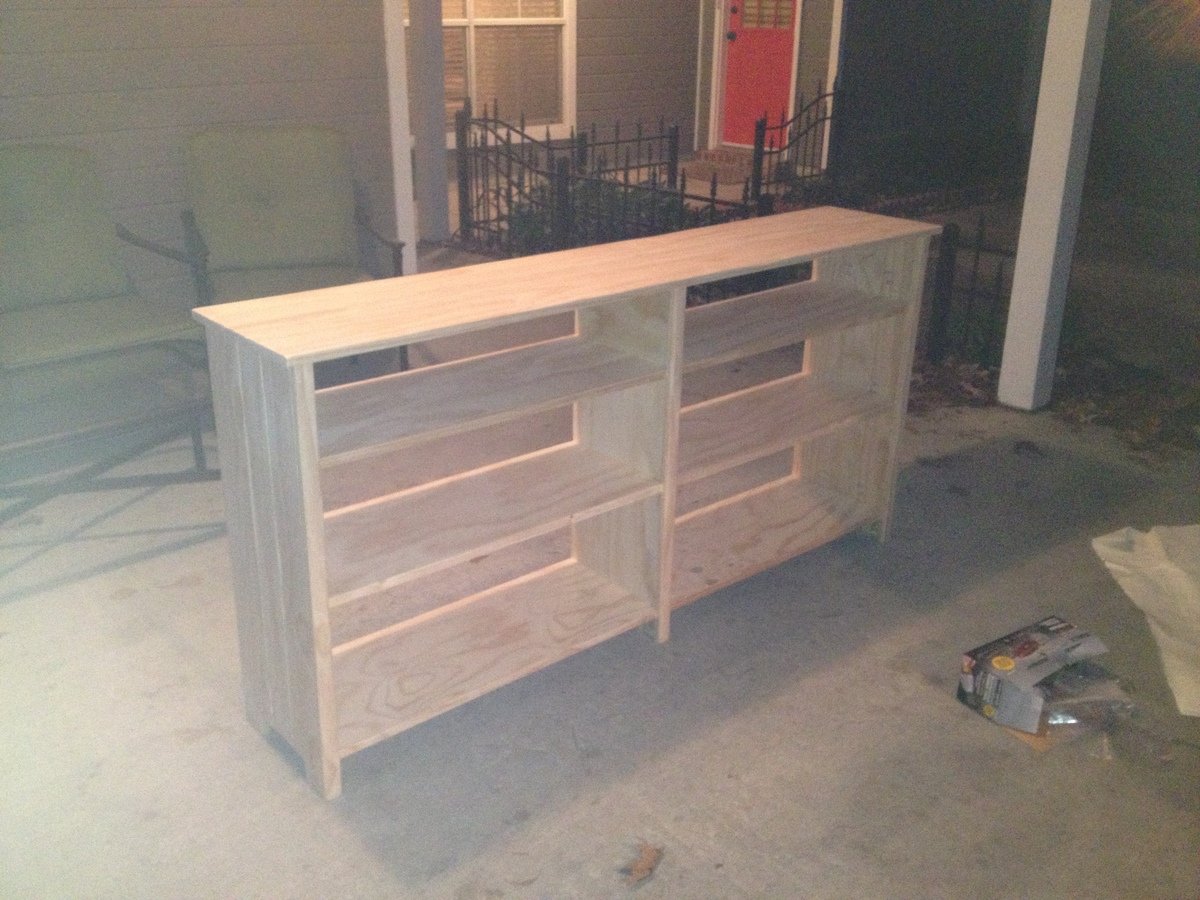
This is my first Ana White project and was a great learning experience. This project is a modified version of the 6 cube bookshelf plan.

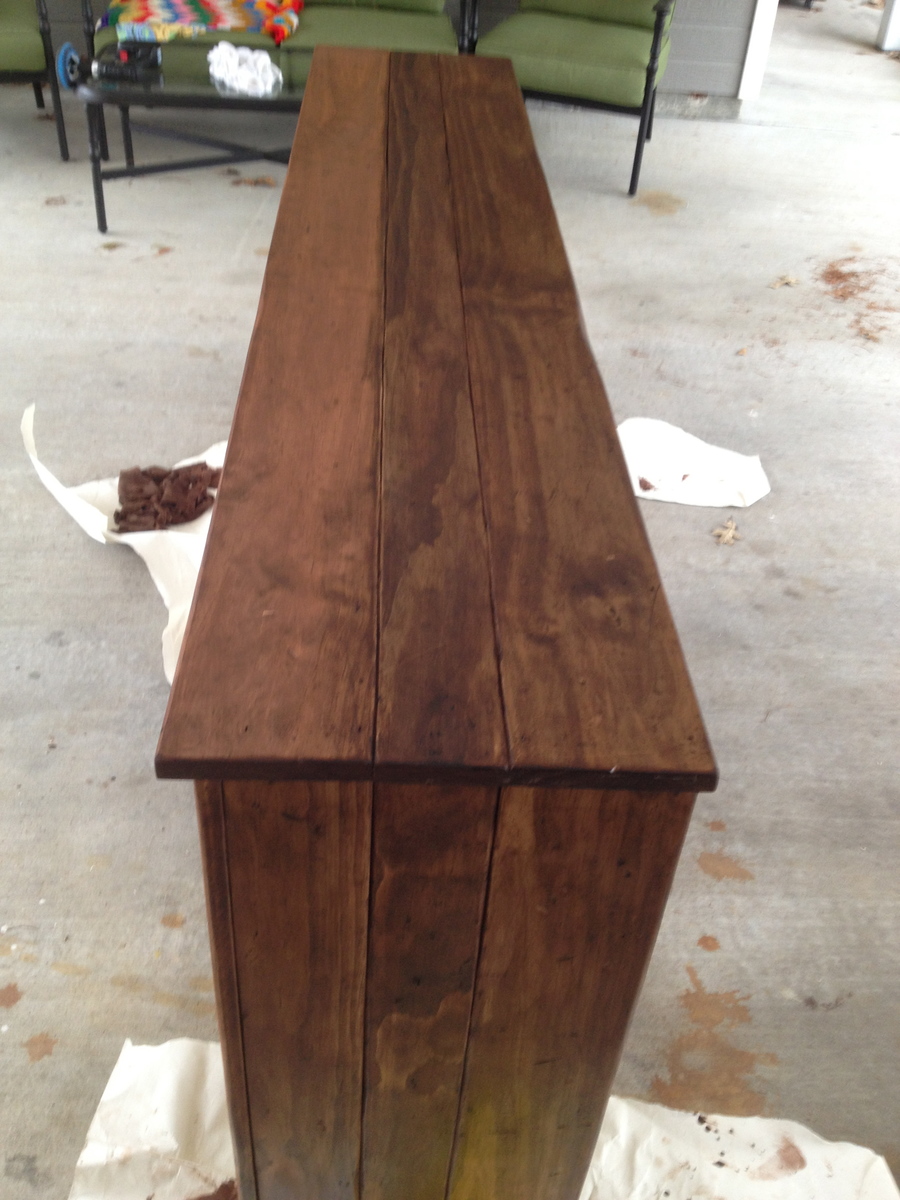
Rips of Pine were used for the top, sides, and facing. 3/4" Plywood was used for the shelf planks and the shelf dividers. The sides were also modified so they worked as the legs. Overall dimensions for this piece is 72"x14.5"x35.5".

Built from Plan(s)
Estimated Cost
$150ish
Estimated Time Investment
Week Long Project (20 Hours or More)
Finish Used
First I applied Minwax Red Chestnut Wood Finish Interior Wood Stain then Dark Walnut Briwax.
Recommended Skill Level
Intermediate
Back