Community Brag Posts

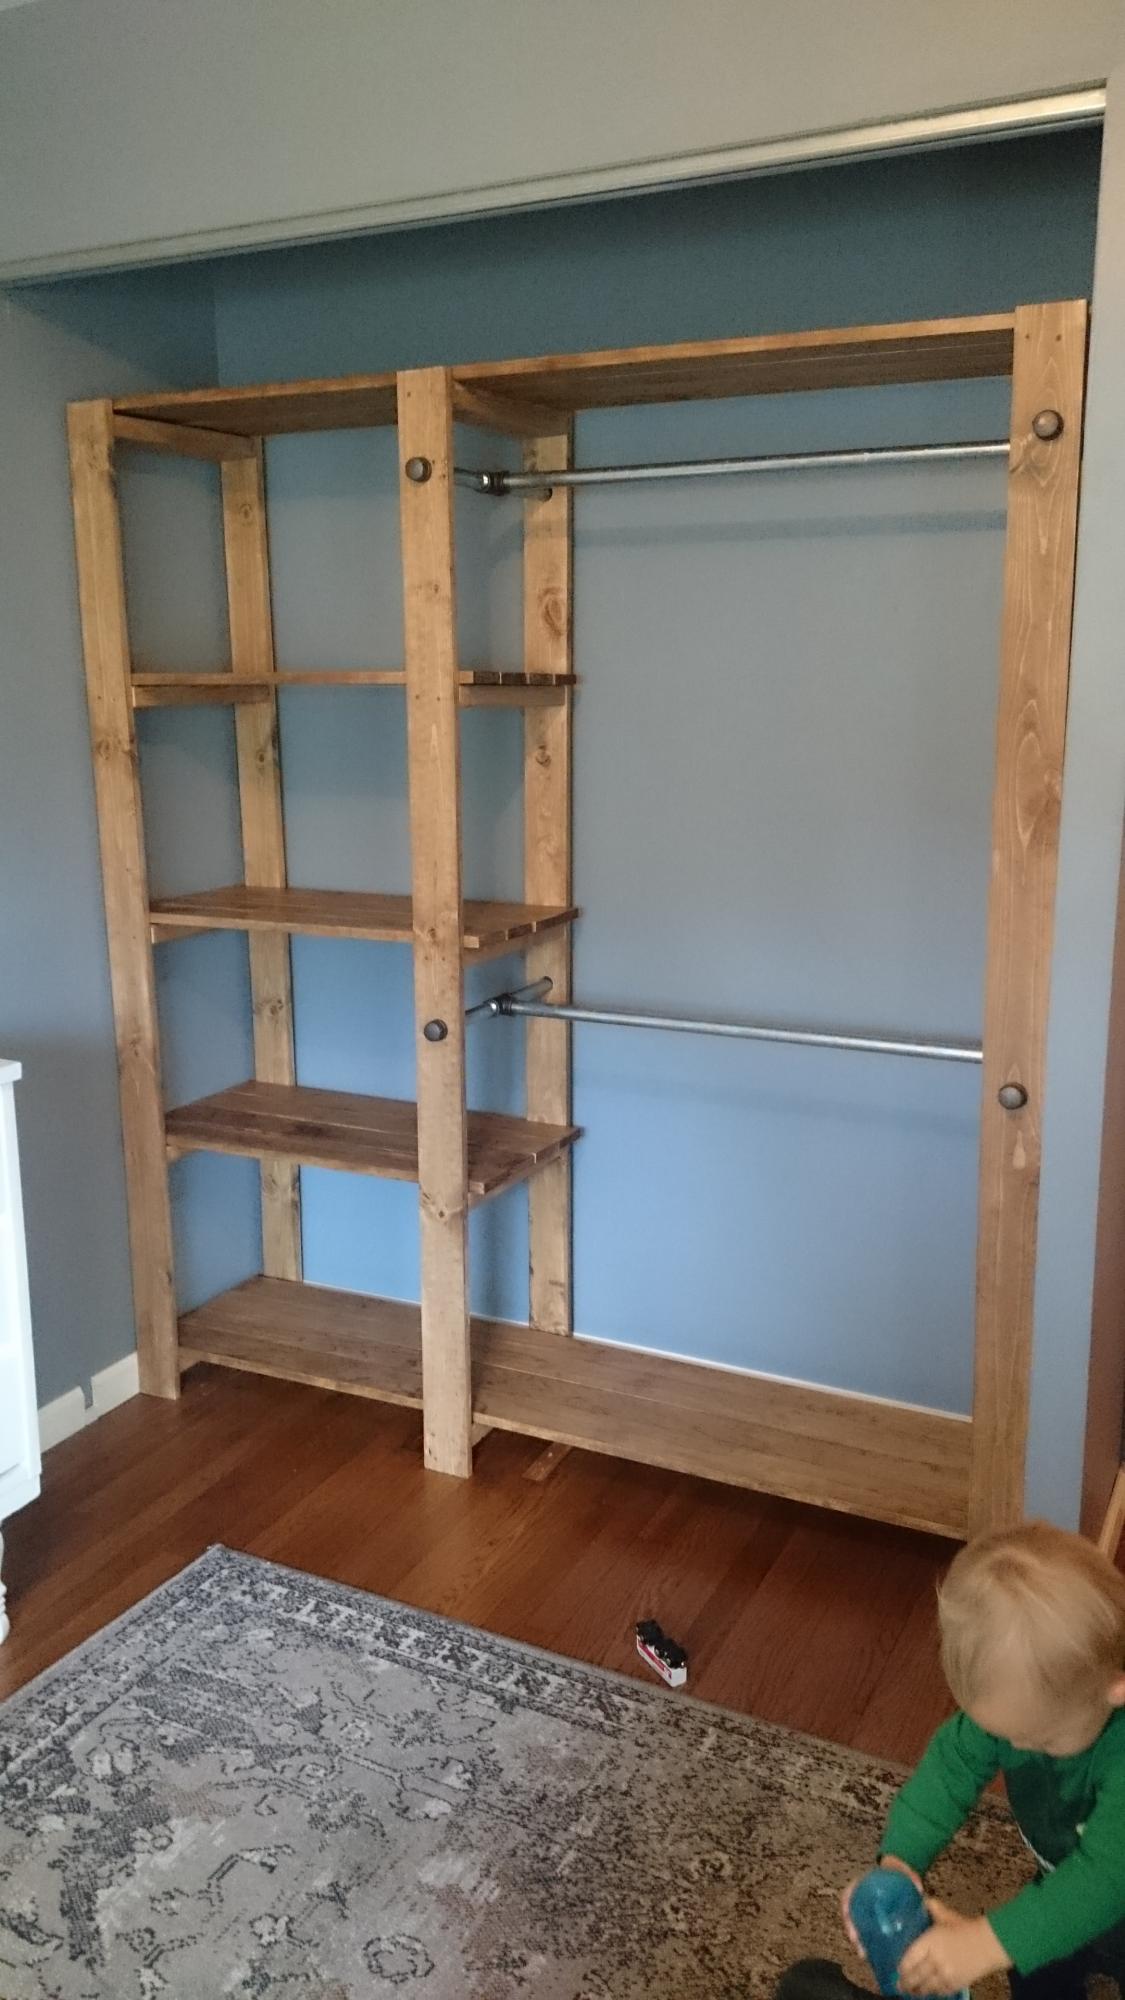
Baby Ray's New Closet!

Submitted by Katurn89 on Wed, 11/14/2018 - 08:24

This was the second building project I've ever completed. I had to make a few adjustments to make it fit the size of ray's closet, but it was totally worth it. most of the work was in the measuring, sanding, and sealing of the wood. Ftting the frames can be a little tricky if your planks aren't perfectly straight. Otherwise, this project was pretty straight forward and can be done in just a few days depending on how much time you have to dedicate to it. Thanks Ana!

Built from Plan(s)
Estimated Cost
About $150
Estimated Time Investment
Week Long Project (20 Hours or More)
Finish Used
Early American stain and polyurethane
Recommended Skill Level
Beginner

Outdoor Sectional and Pallet Coffee Table

Submitted by Anonymous (not verified) on Sun, 11/20/2016 - 17:56

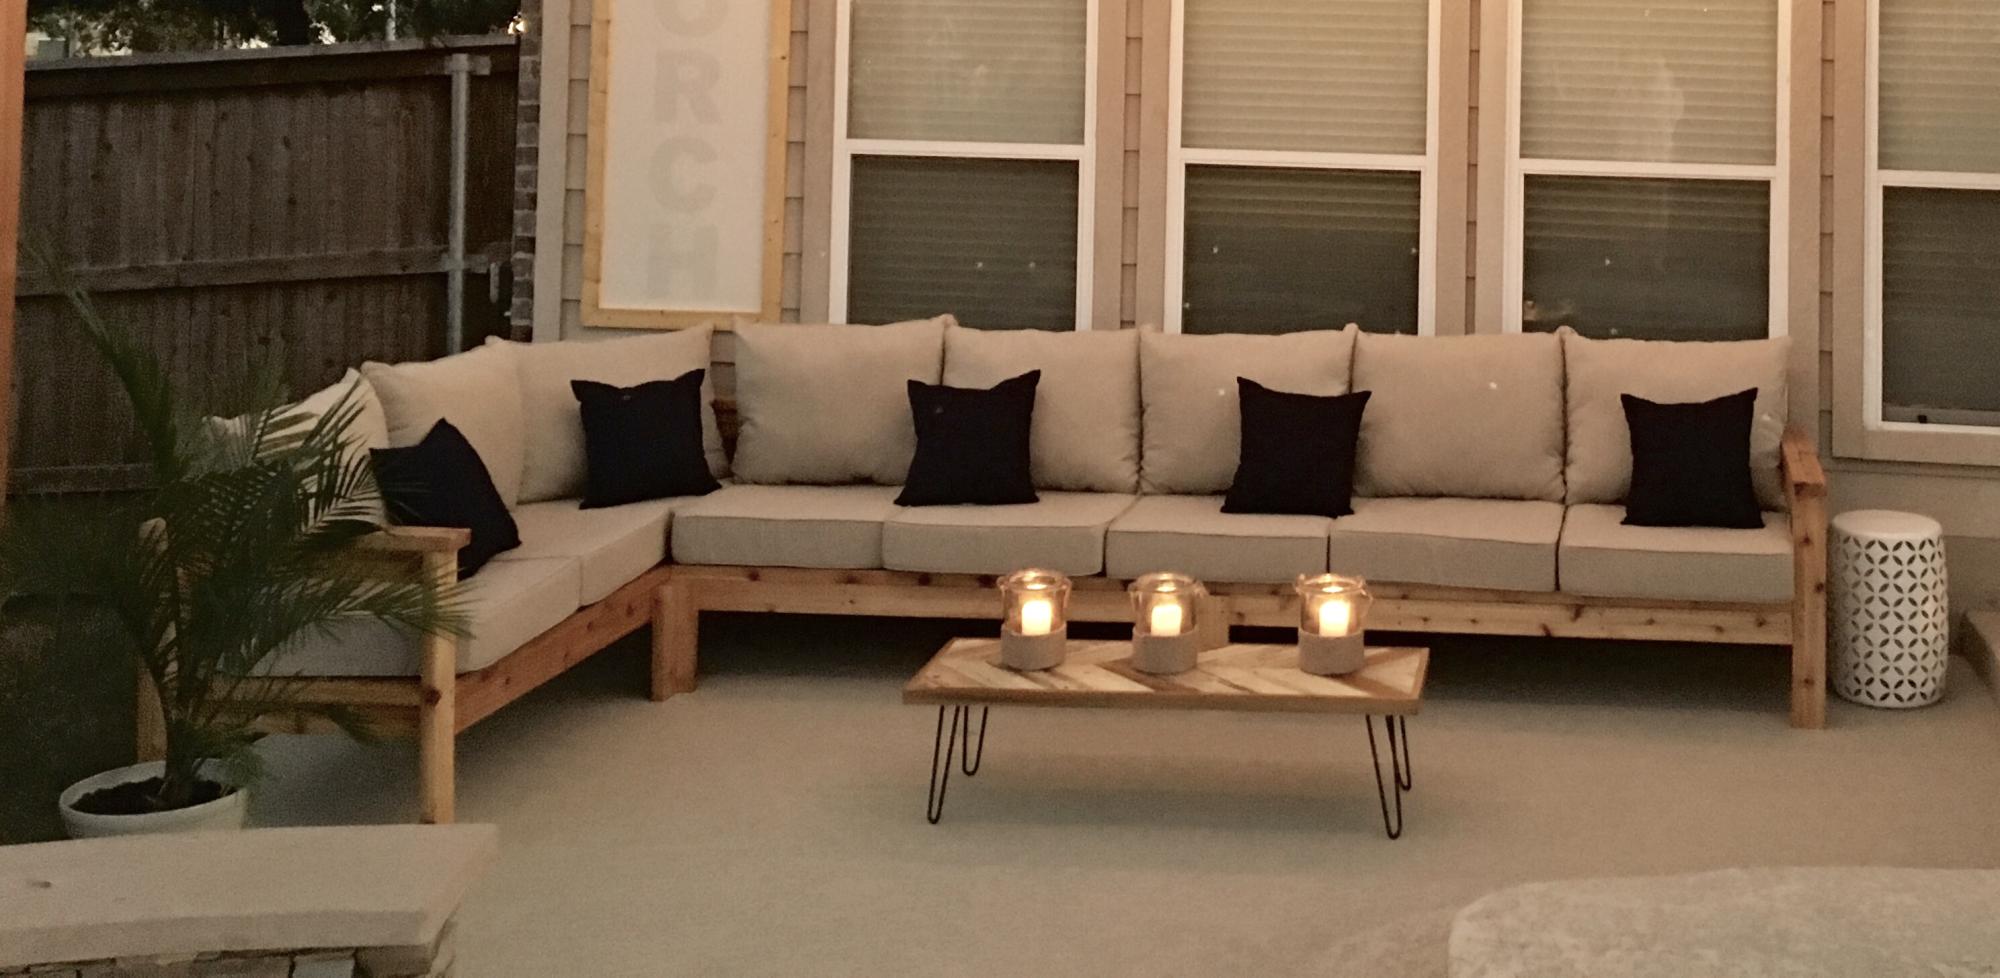
Hi Ana! 

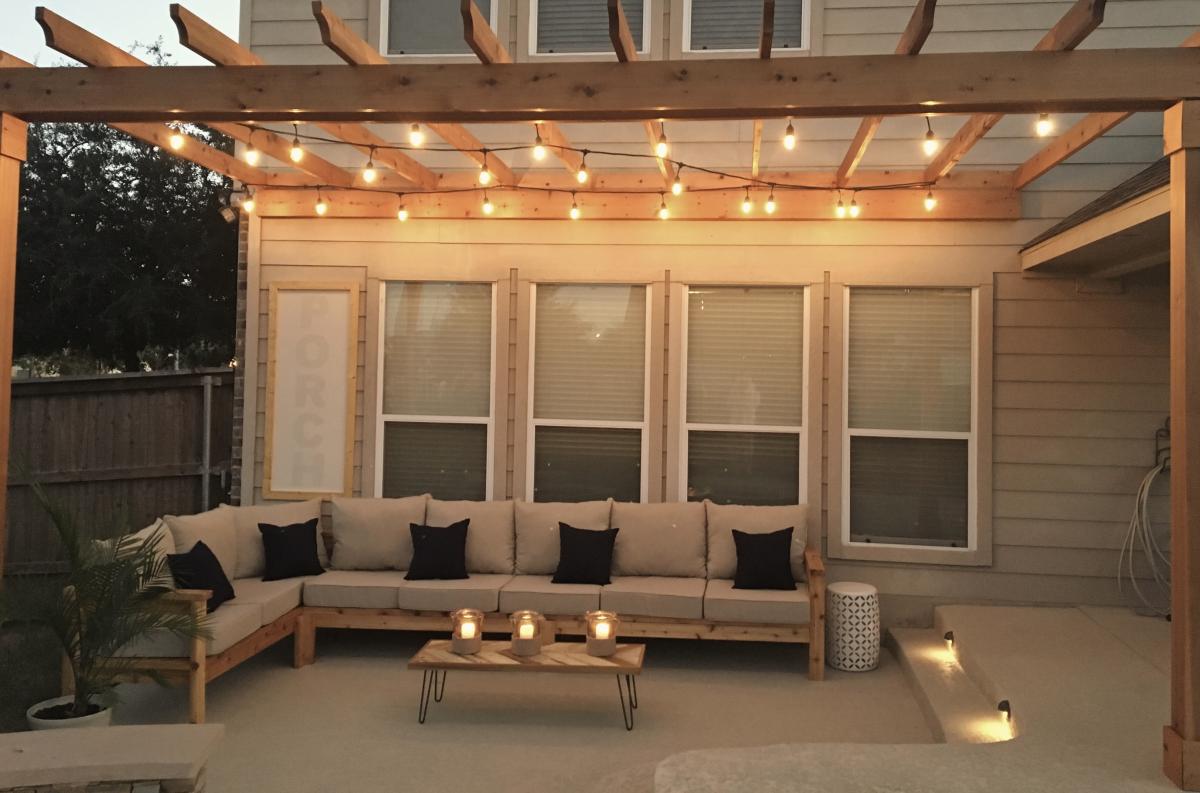
My husband used your plans to build the 2x4 outdoor cedar sectional :) He did it in 1 day and it couldn't have been easier! He even tried first time working with pallets to make a small table and it came out perfectly too! Can't wait to enjoy family time on our new back porch.

Thanks Again & Love From Austin ❤️

Kathleen 

Estimated Cost
$350
Estimated Time Investment
Day Project (6-9 Hours)
Finish Used
Stain
Recommended Skill Level
Beginner

Comments

meredithl

Thu, 10/24/2019 - 16:35

Hi, your furniture is beautiful.  May I ask:   Where did you find your cushions?  And what color/ brand stain did you use?  Lovely job.

Seasonal And Holiday

Adirondack Chairs and Table

Submitted by marretje74 on Sat, 08/09/2014 - 13:44

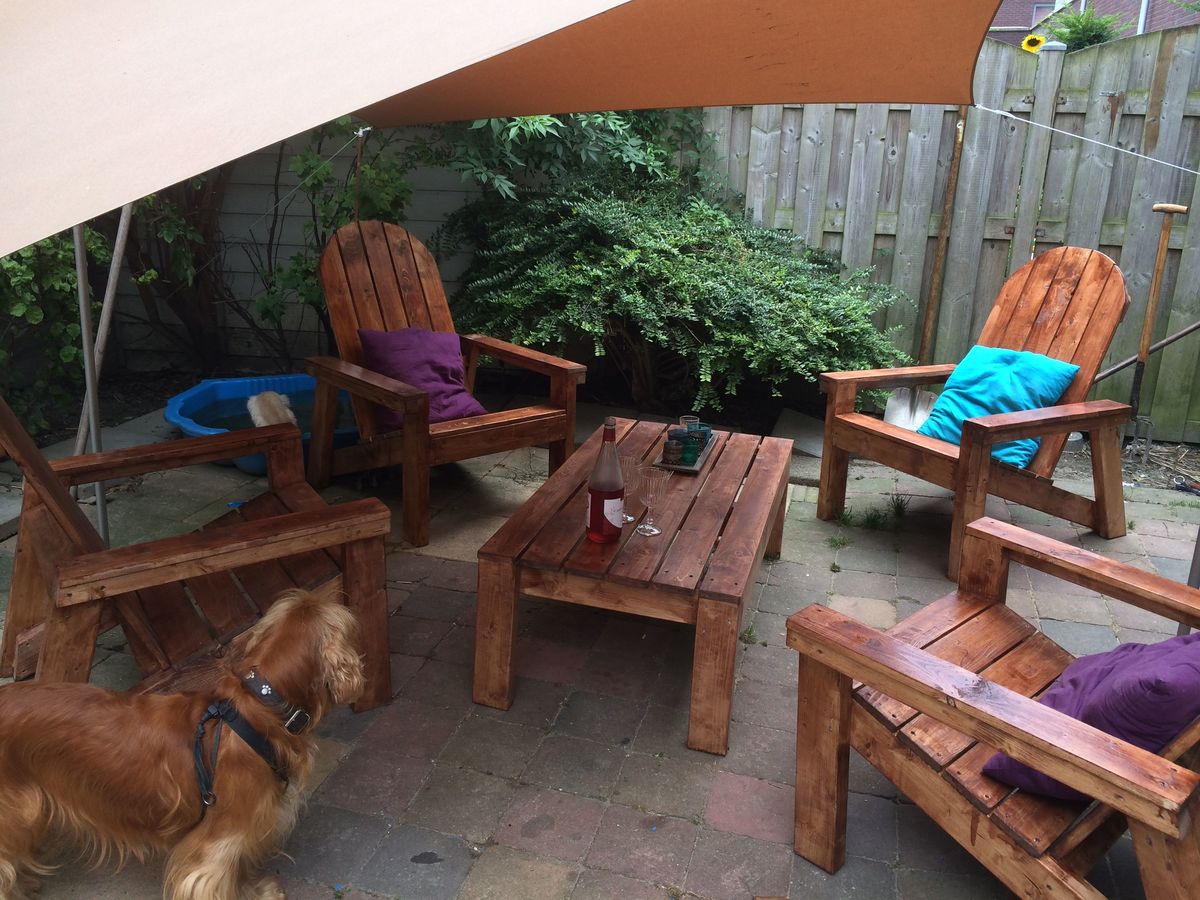
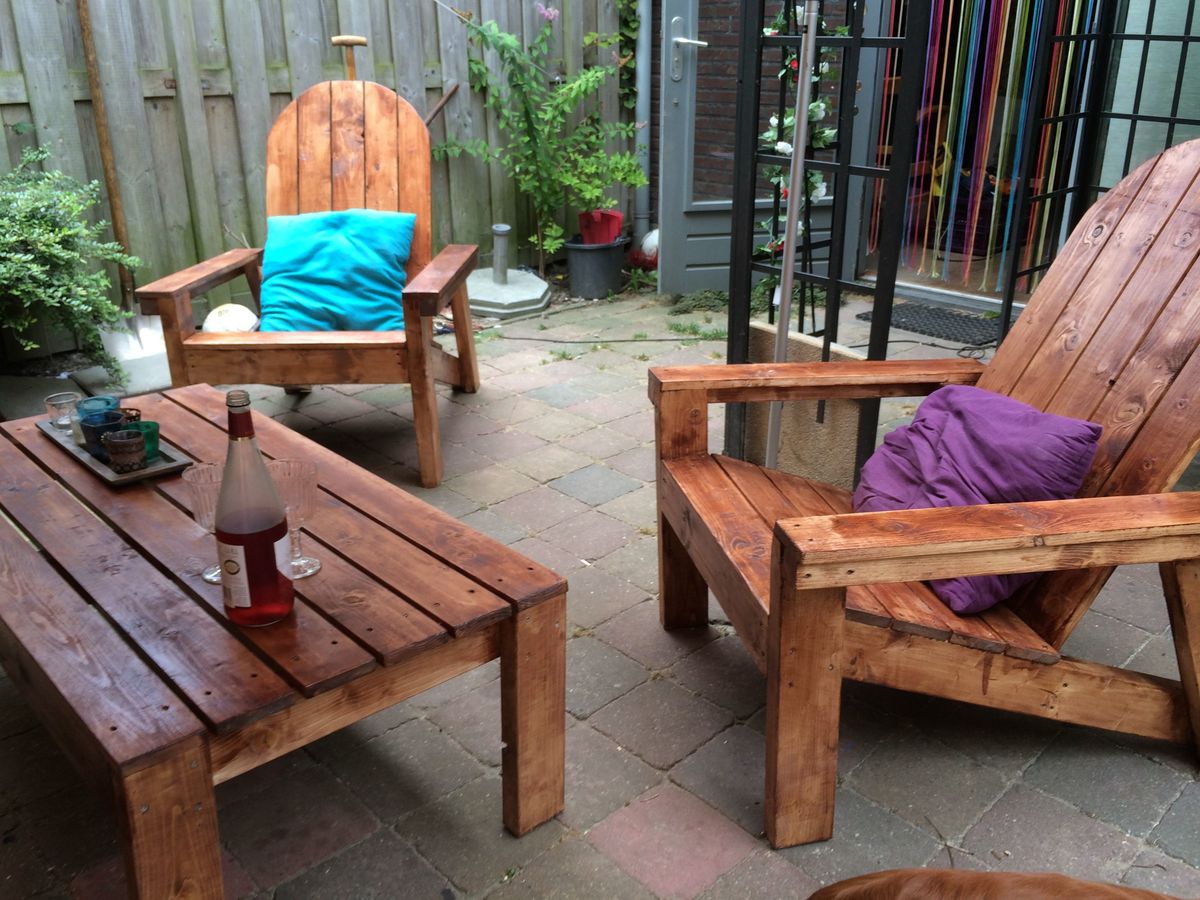
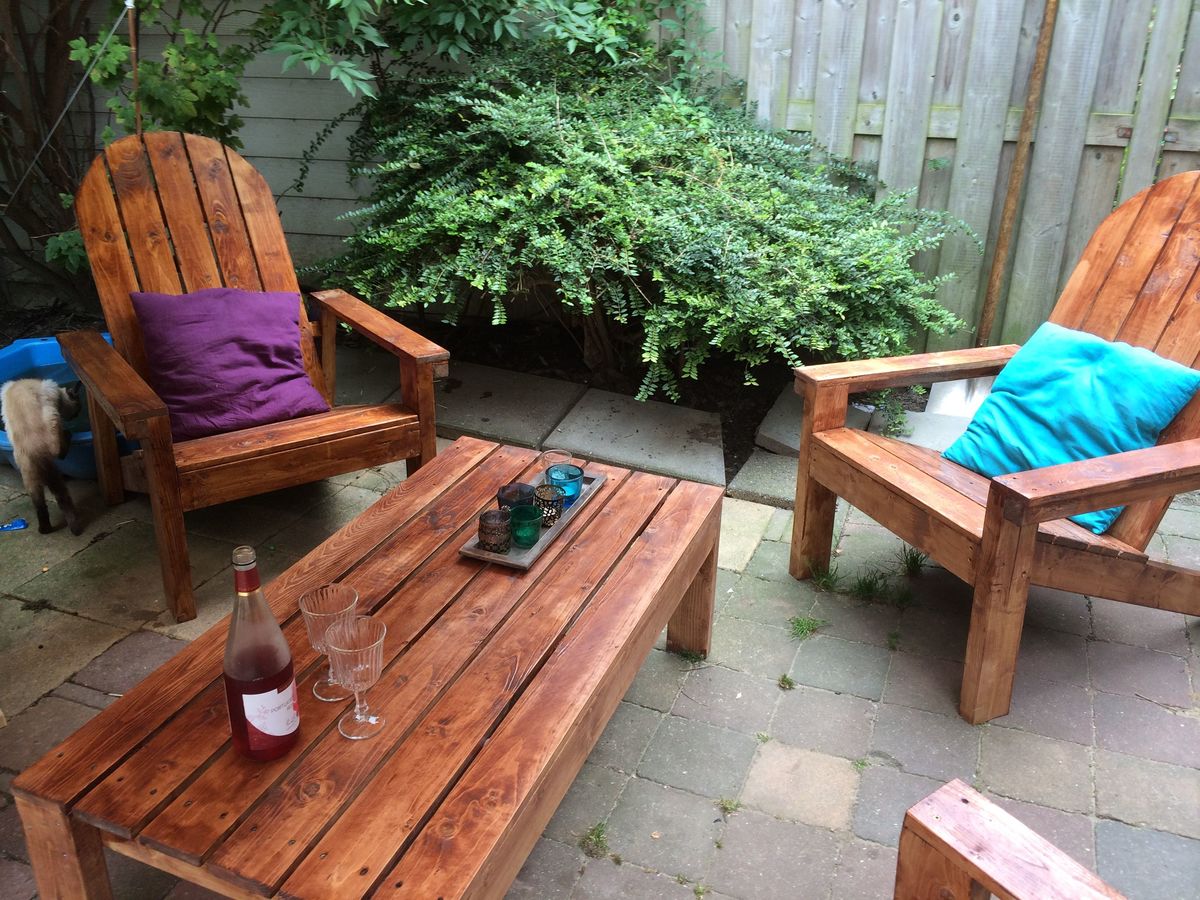
My first project ever... Had a bit trouble convert it all to metric measurements (I'm from the Netherlands), but as you can see it turned out pretty well. I get a lot of compliments, even from the (teenage) friends of my children! They really like to hang out in our back garden all of the sudden ;-)

Estimated Time Investment
Week Long Project (20 Hours or More)
Finish Used
Wood-stain, teak colour
Recommended Skill Level
Intermediate

Peg Doll House

My grandson wanted a set of peg dolls and a house to play with them in.  I wanted to build something that was gender-neutral - so many doll houses are pink and feminine!  This doll house is sized just right for his peg dolls and playmobil people.  It's made from 1/2" poplar, although it could also be cut from a sheet of 1/2" plywood.

Estimated Cost
$20
Estimated Time Investment
Day Project (6-9 Hours)
Finish Used
clear polycrylic
Recommended Skill Level
Beginner

School Room Table

Submitted by bayoujac on Tue, 10/28/2014 - 14:00

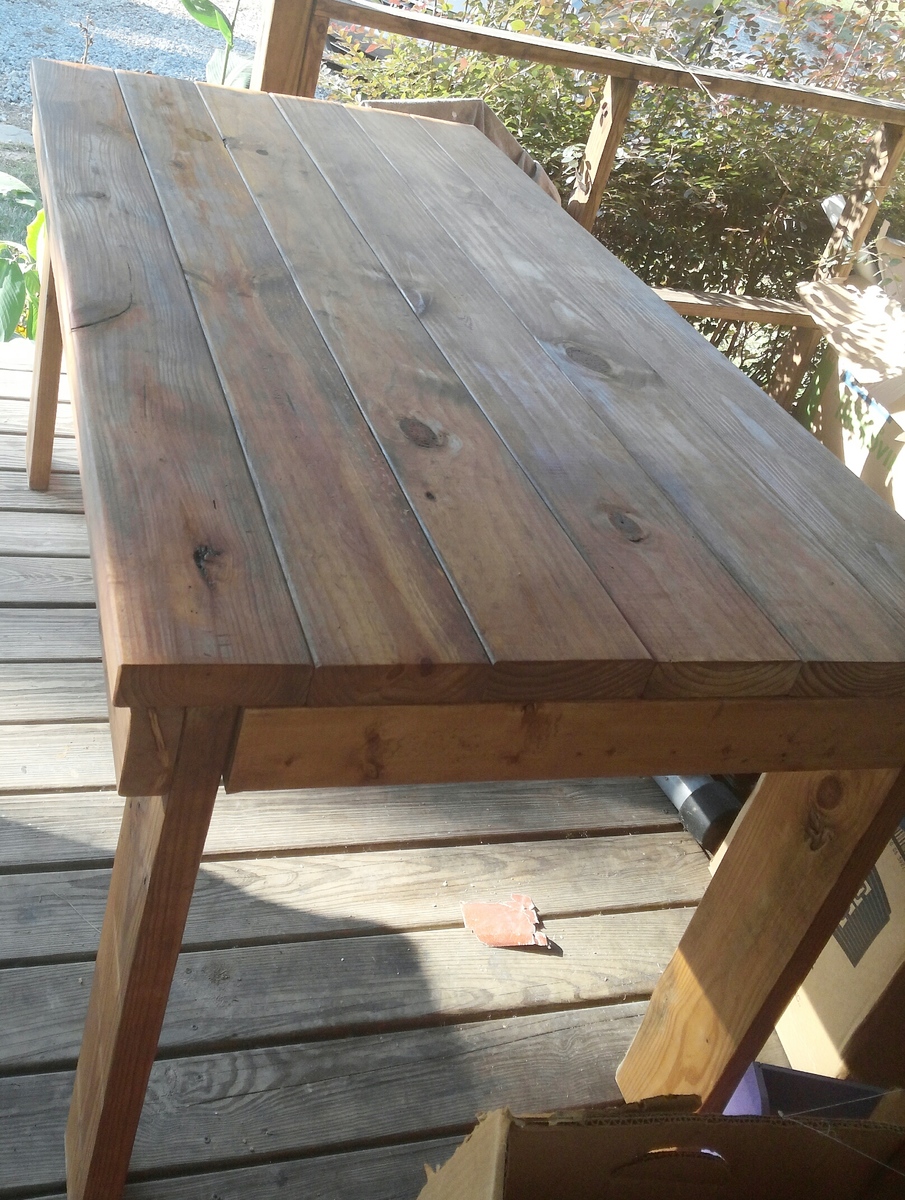
I had to alter the original plans to work for me, but I loved this project! I even took the time to stain this table.

Estimated Cost
$20
Estimated Time Investment
An Hour or Two (0-2 Hours)
Finish Used
Minwax Finish: Ipswitch Pine
Recommended Skill Level
Beginner

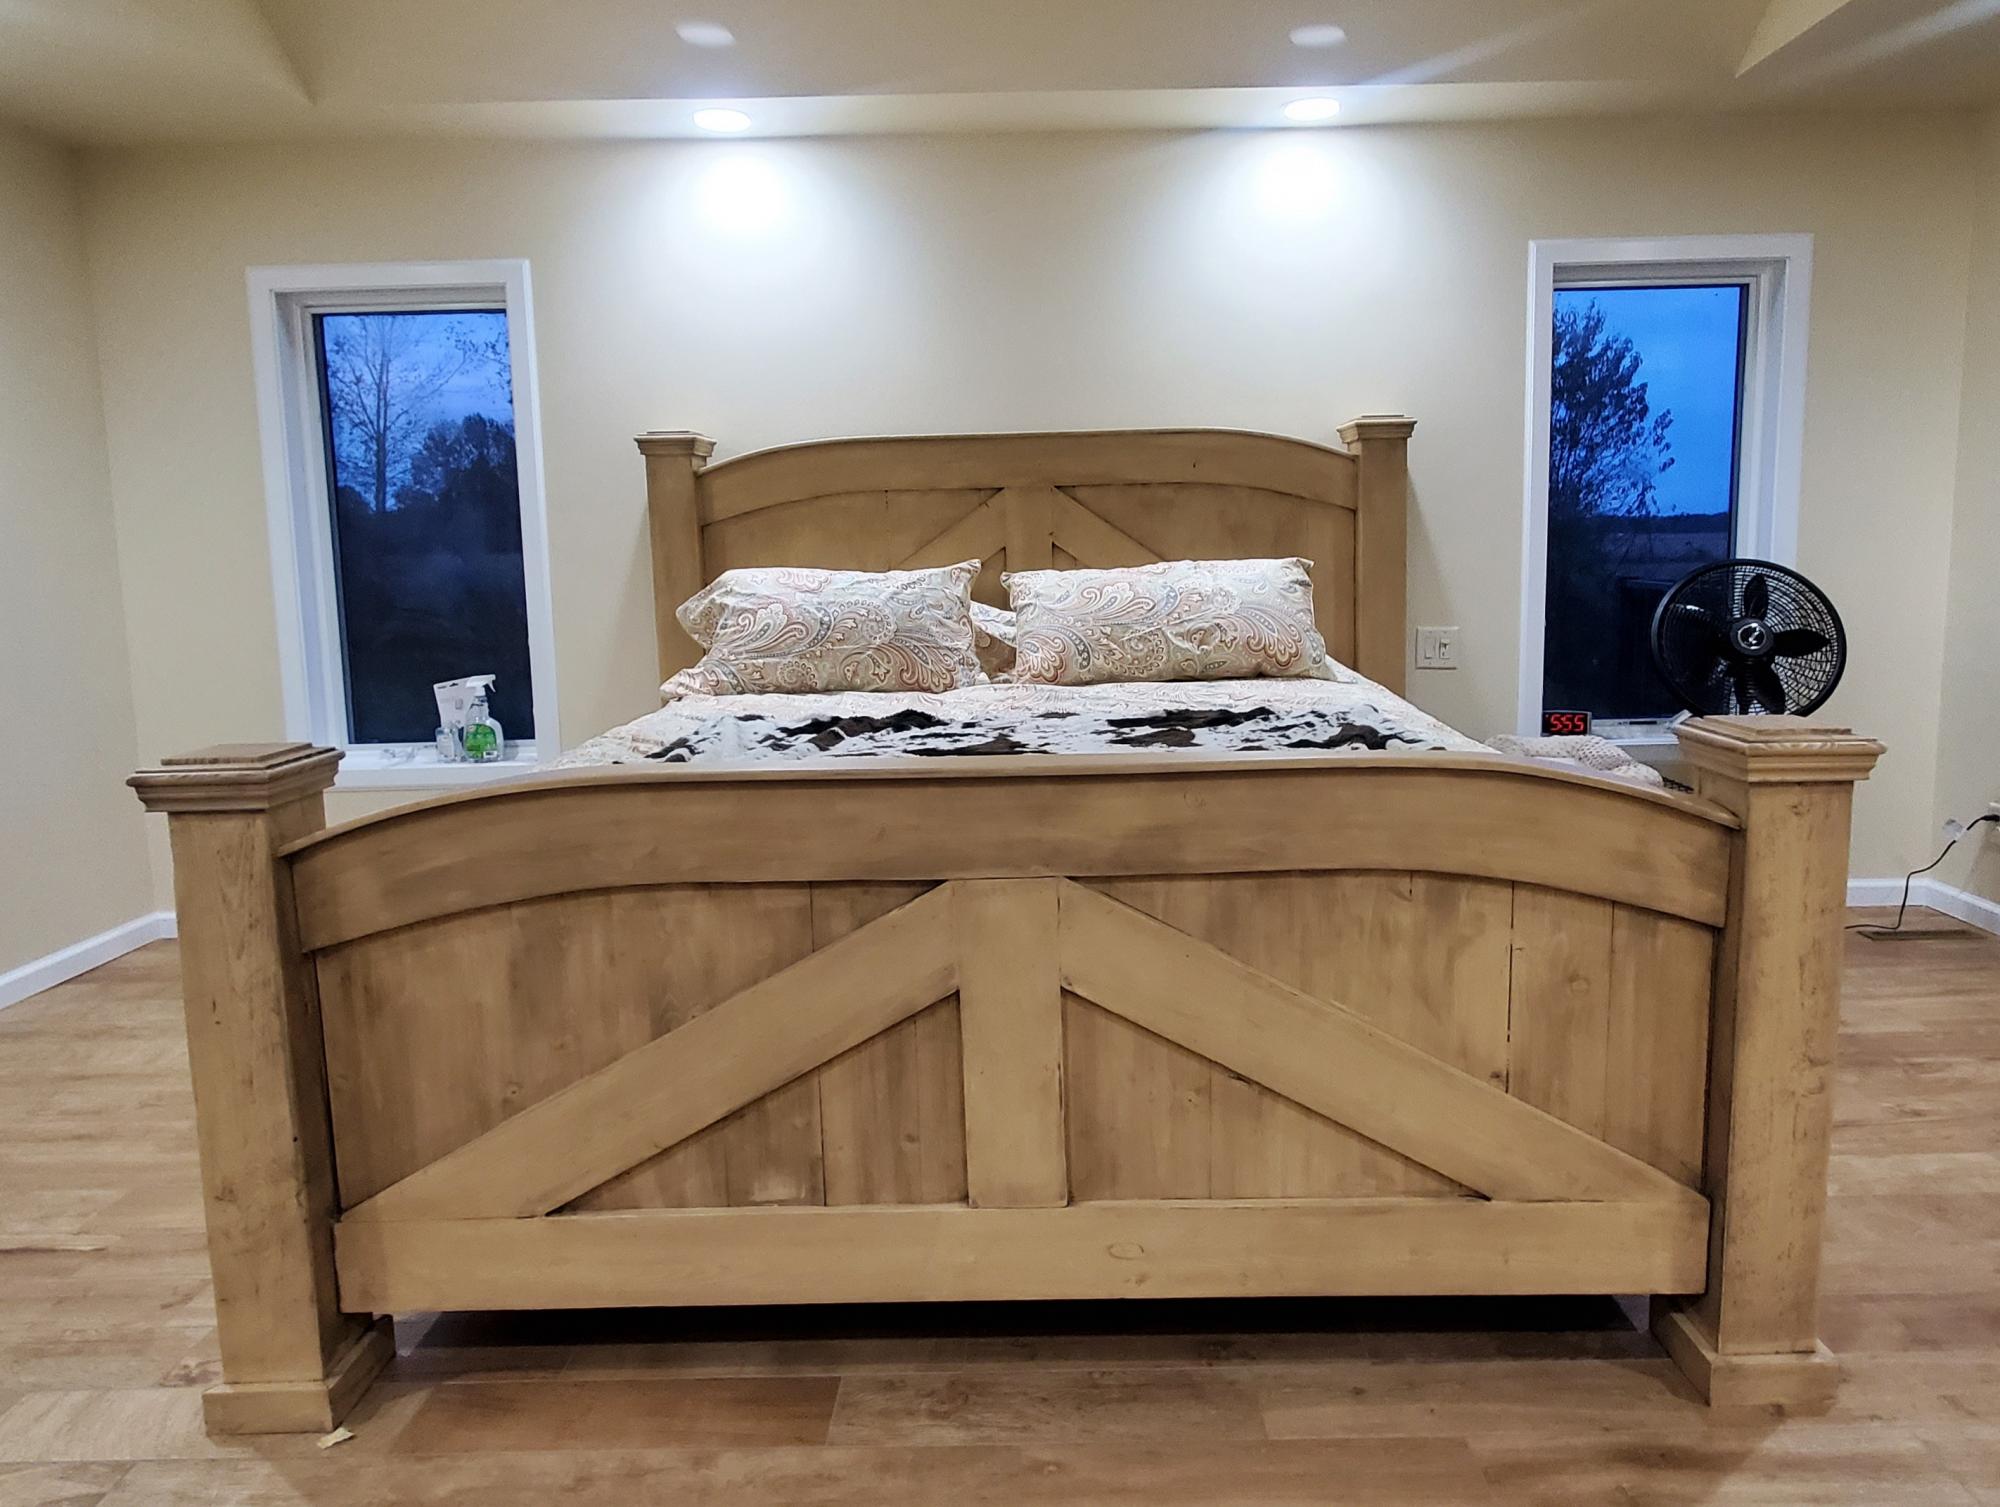
Modified farmhouse king bed

Submitted by hrsgrl337 on Thu, 11/12/2020 - 09:26

I used the king farmhouse bed plans and modified to build our new bed. Painted then used briarsmoke stain over paint.

Estimated Time Investment
Week Long Project (20 Hours or More)
Finish Used
Paint and stain

Comments

Modern Outdoor Chairs (modified for 24in cushions)

Submitted by Anonymous (not verified) on Wed, 11/25/2020 - 18:25

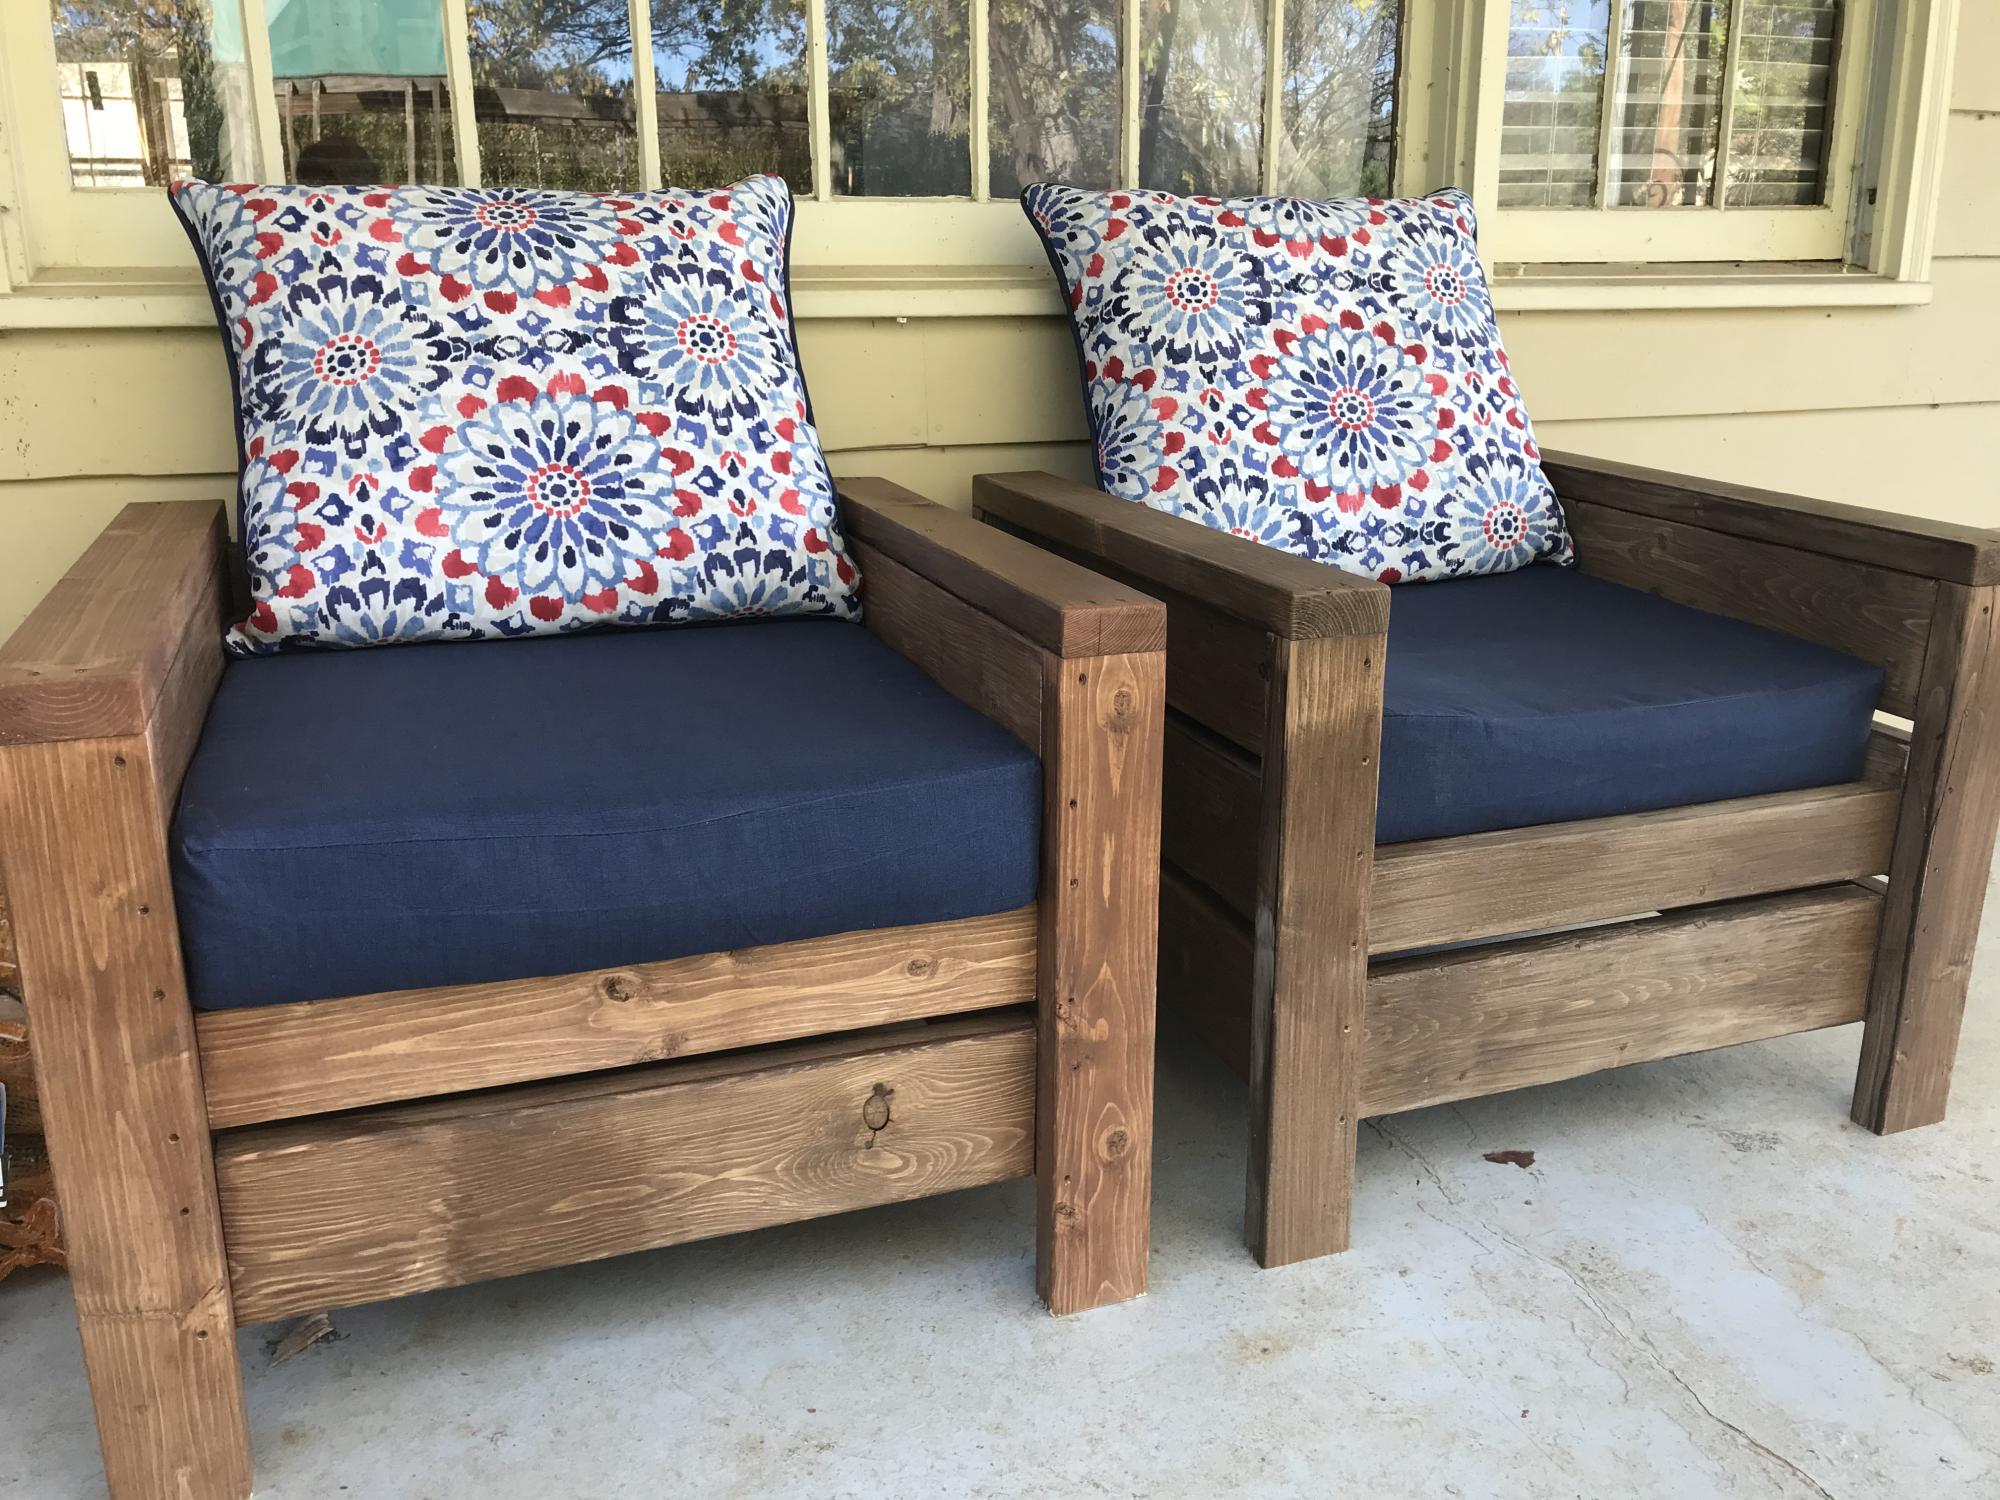
I built two of Ana's "Modern Outdoor Chairs" and adjusted the plans to accommodate 24" in cushions. We're pleased with how they turned out and have gotten great use out of them. Thanks for the plans, Ana!

Estimated Cost
~$60 per chair (not including the cushions)
Estimated Time Investment
Weekend Project (10-20 Hours)
Finish Used
I used the exact finish that Ana recommended.
Recommended Skill Level
Starter Project
Seasonal And Holiday

Outdoor Toys Contained

Submitted by lmflerlage on Mon, 02/22/2021 - 12:32

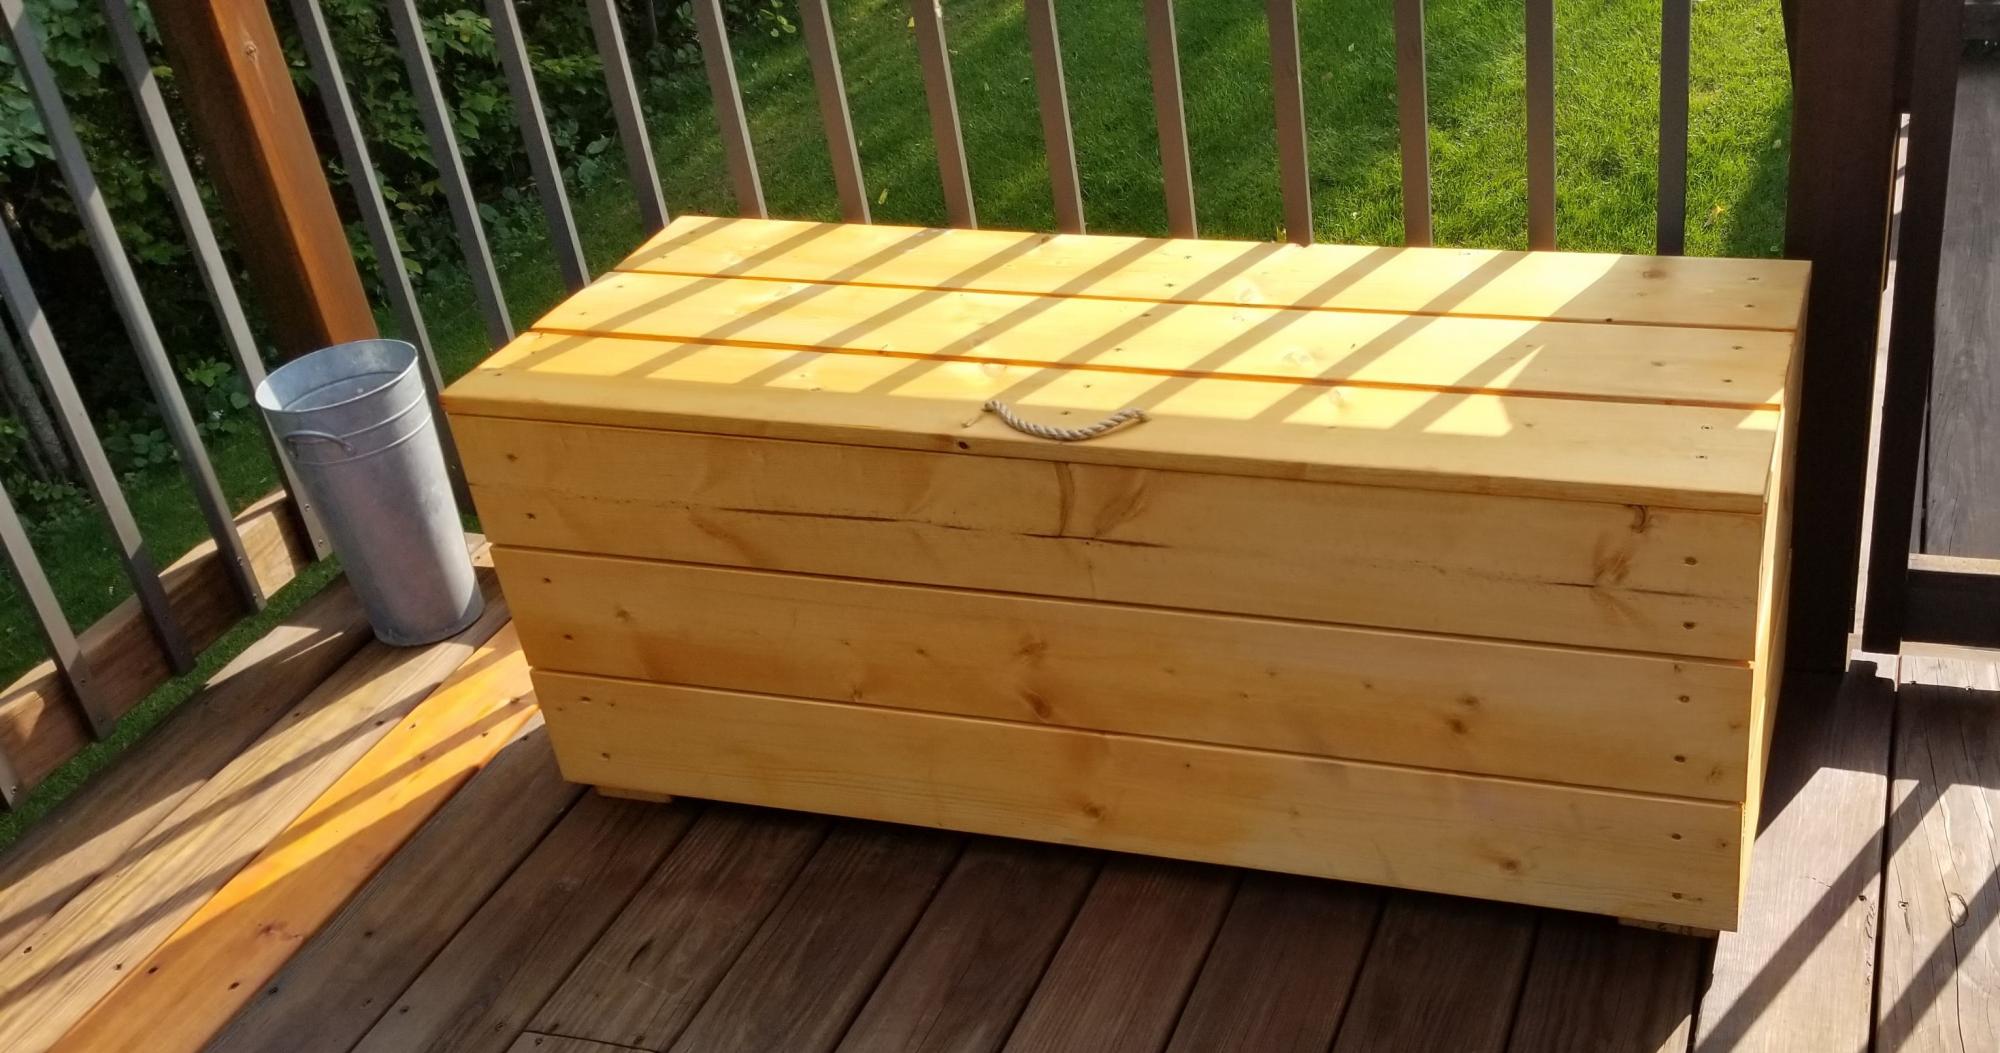
I love this dual outdoor seating plus toy storage bench. I lengthened the plans so I needed to add some additional support for the lid. I also decided to go with a rope pull which is easier for the kiddos to utilize.

Estimated Cost
$40
Estimated Time Investment
Day Project (6-9 Hours)
Finish Used
Cedar finish
Recommended Skill Level
Beginner

Comments

Ultimate roll away workbench

Submitted by jkjackson on Sun, 03/14/2021 - 09:09

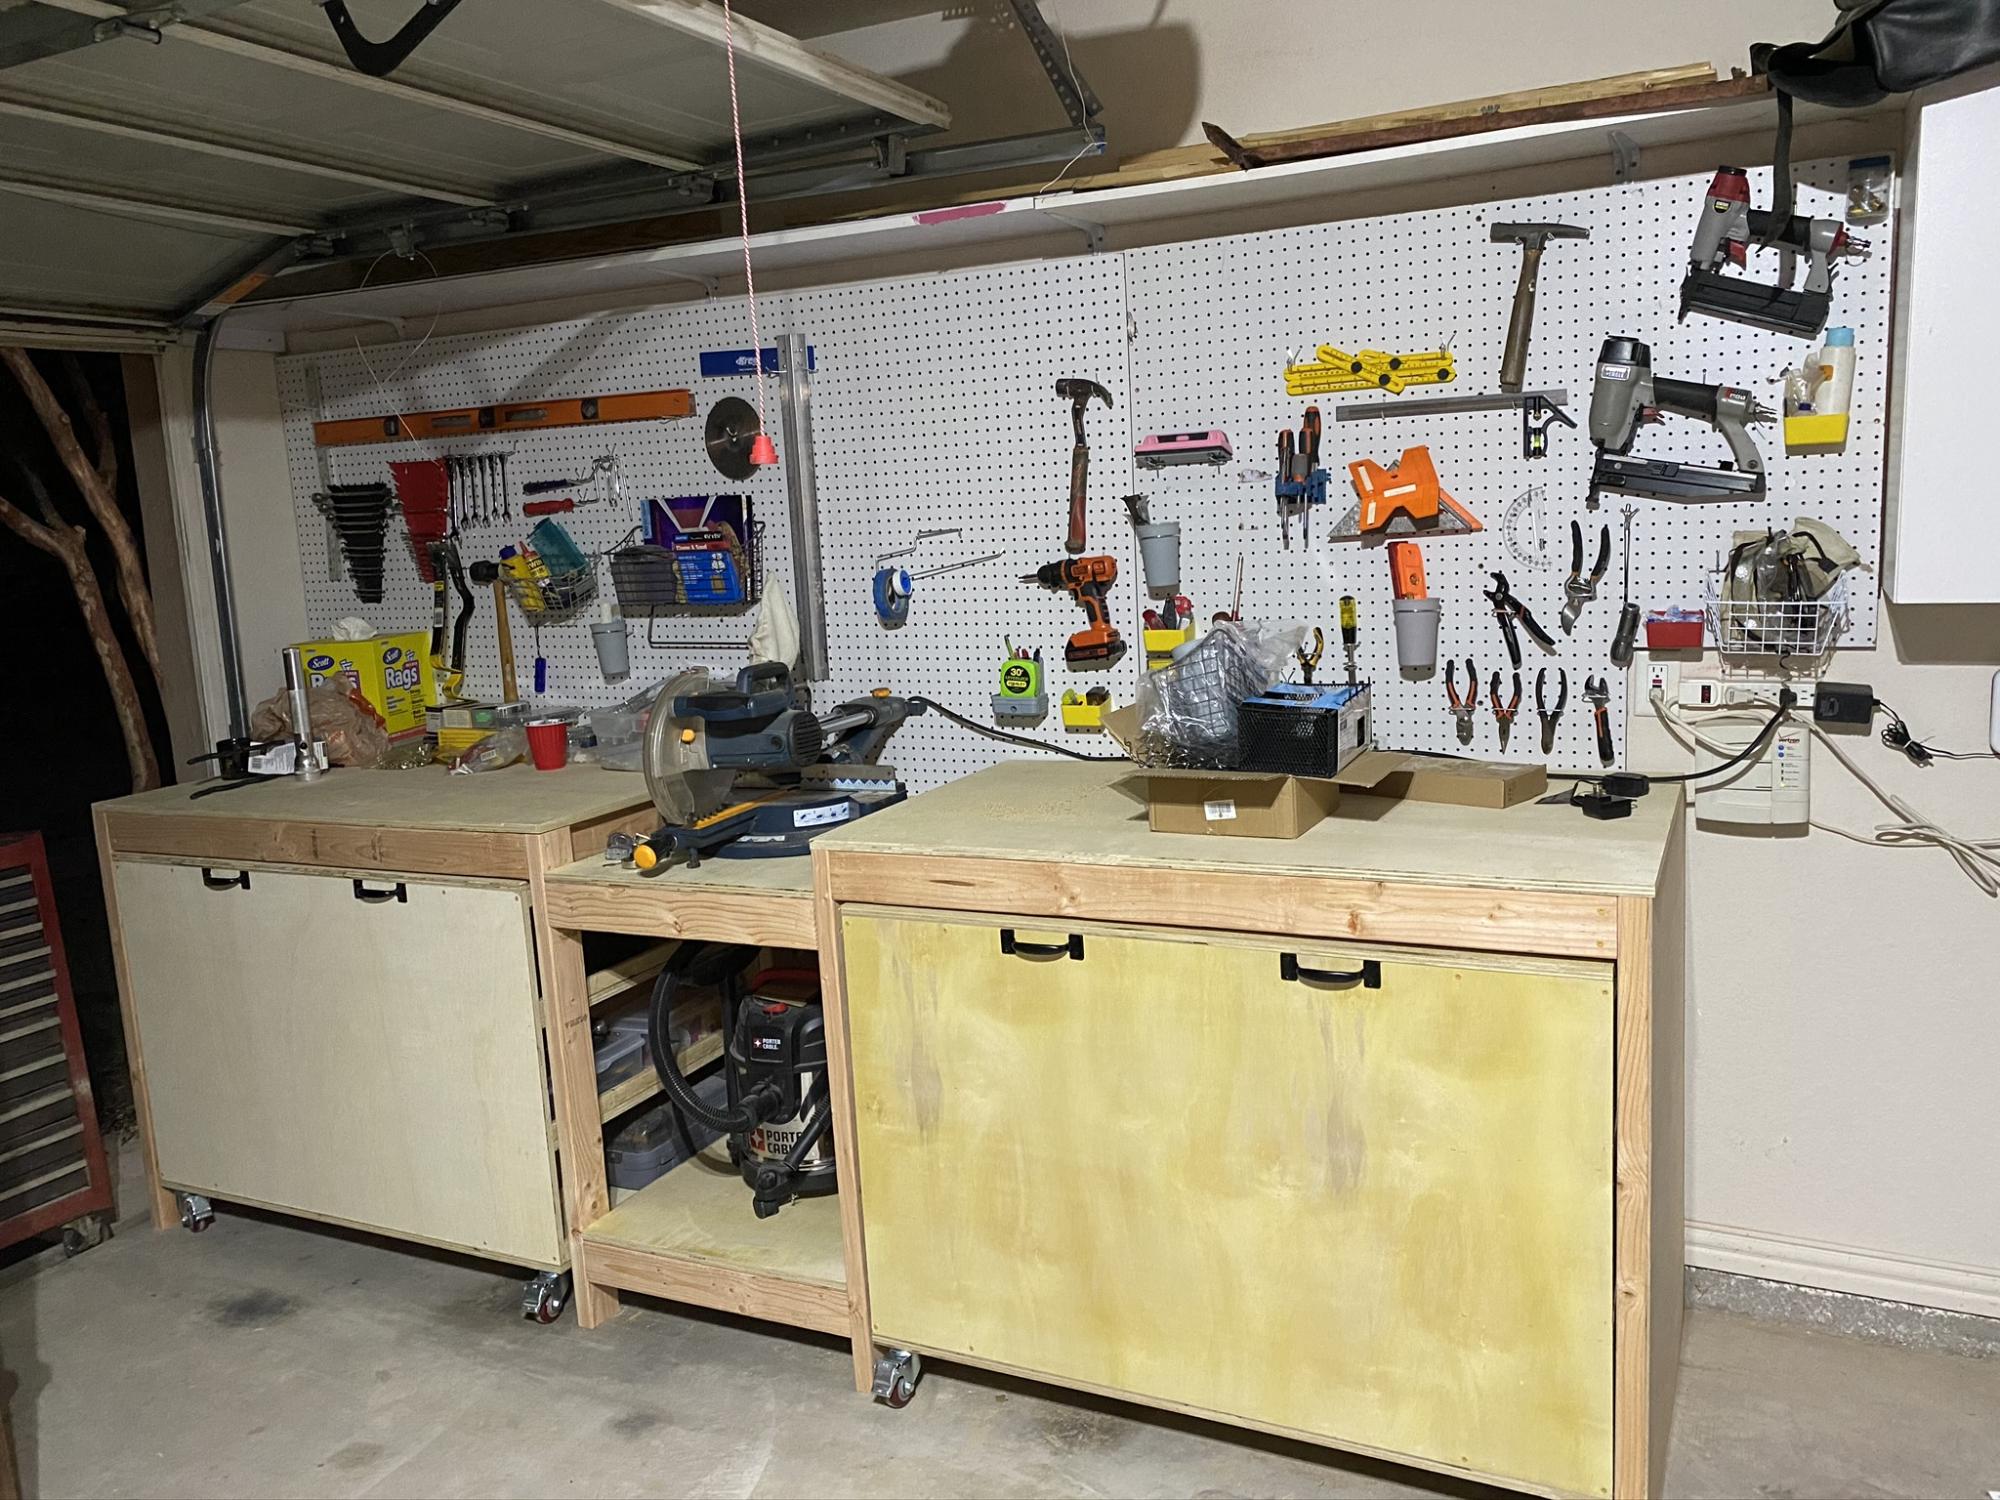
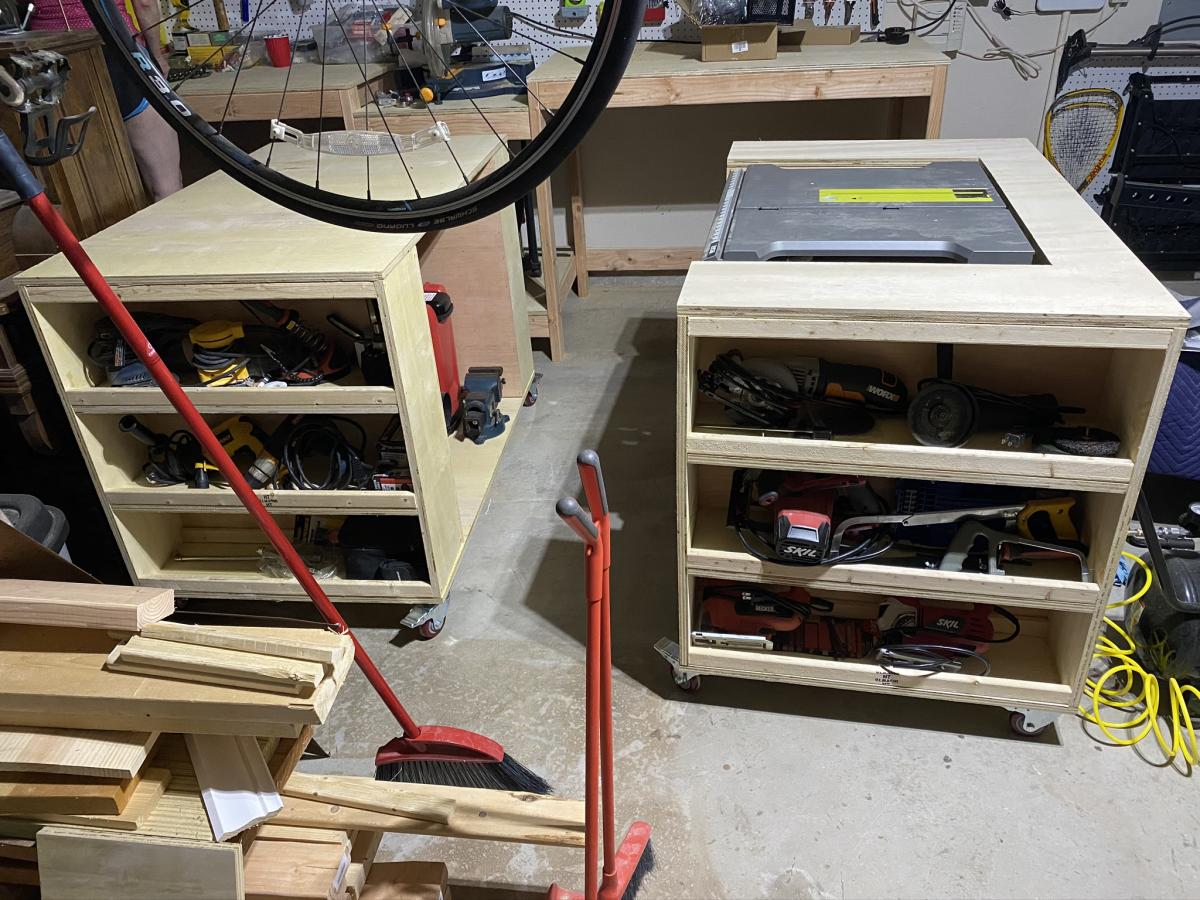
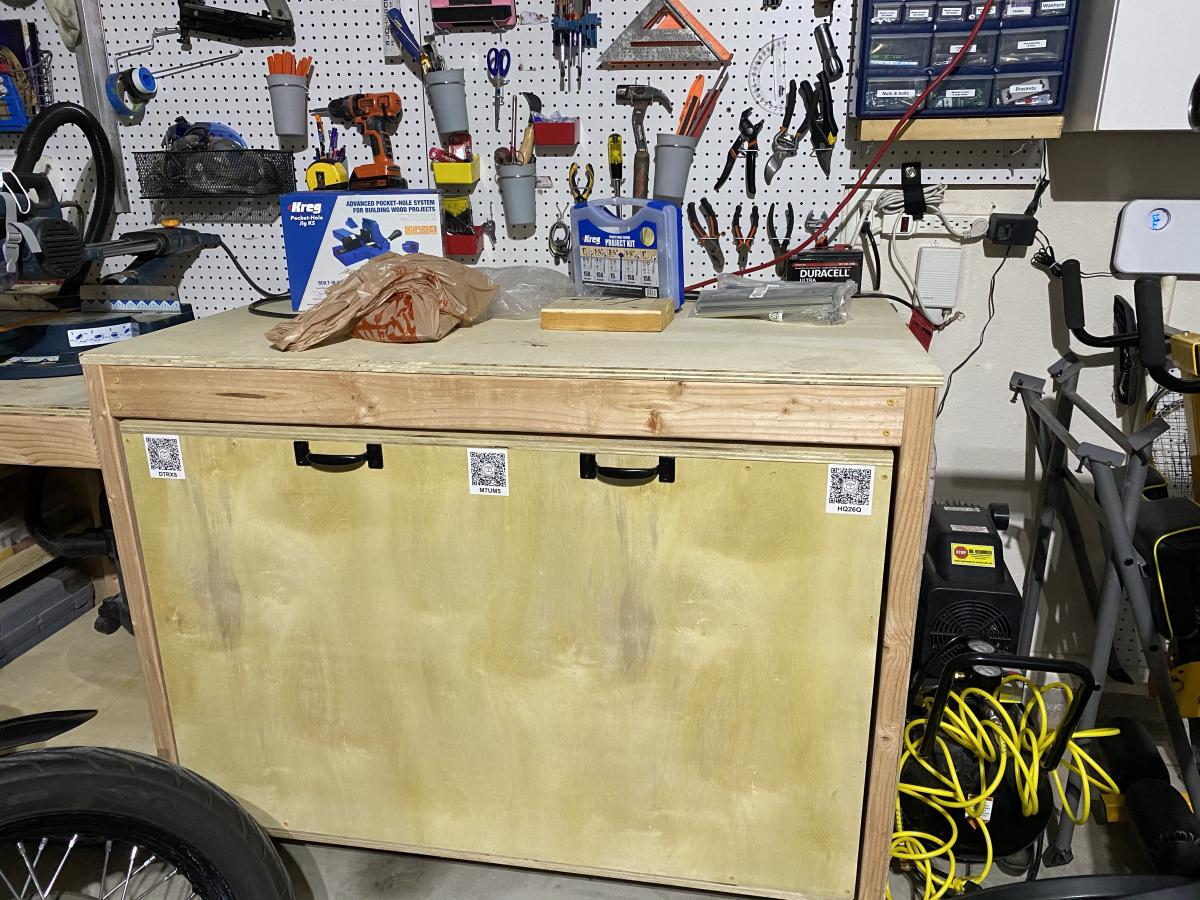
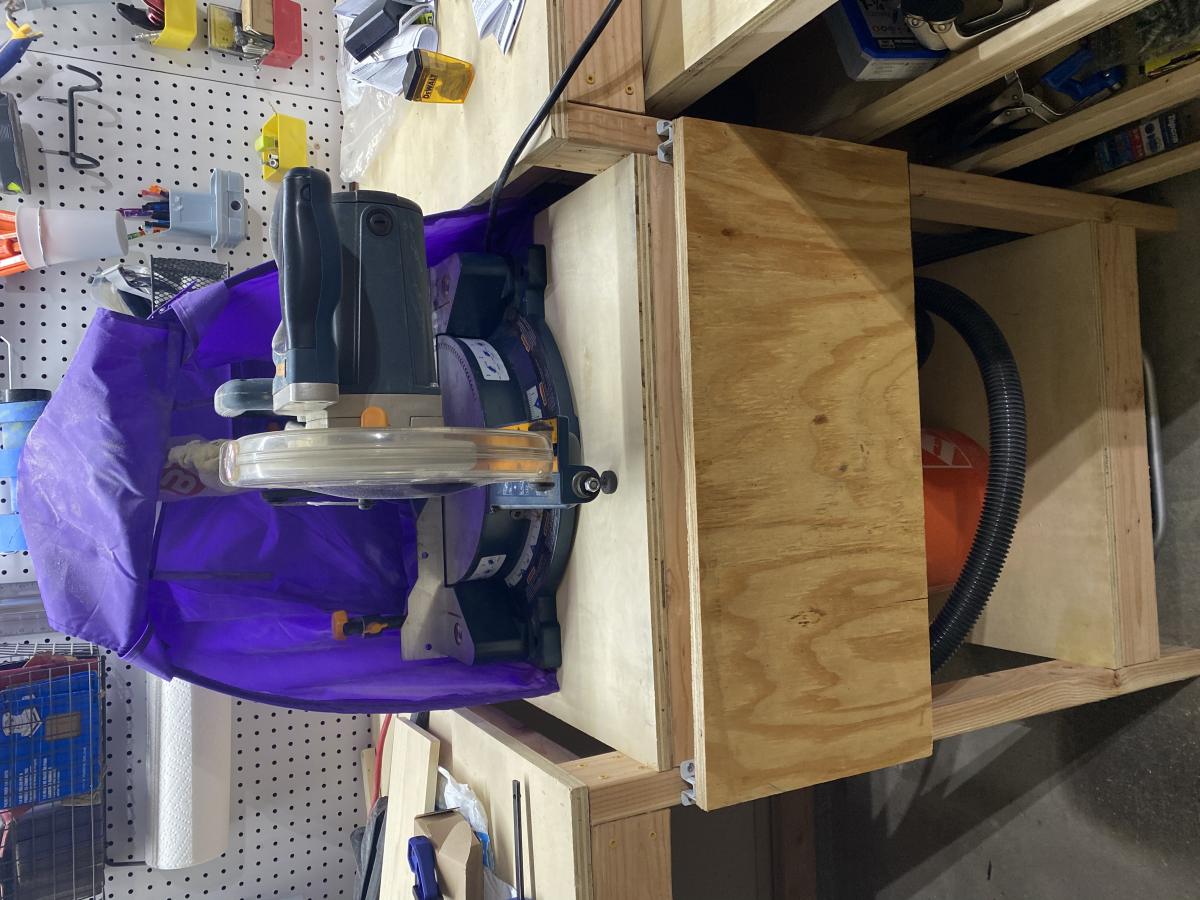
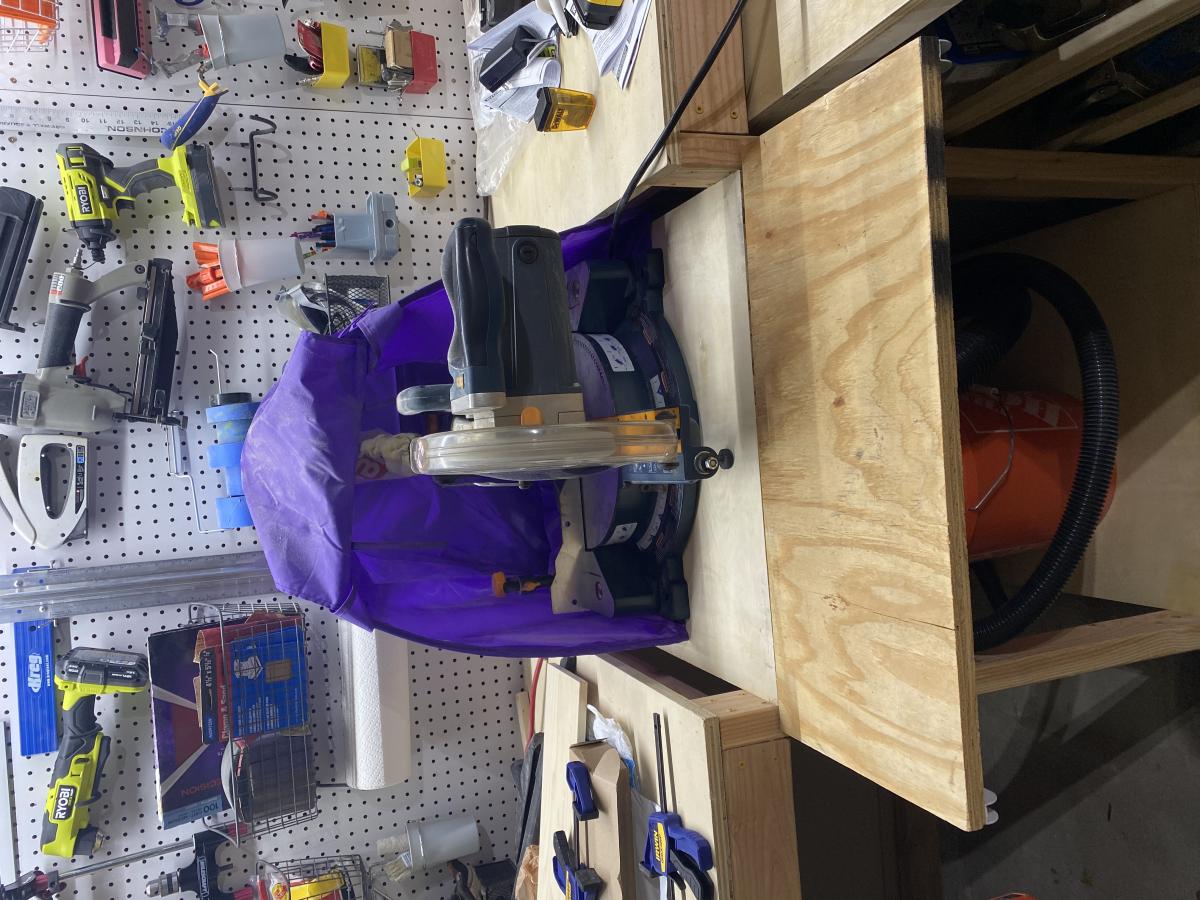
This was the perfect solution for our small (single garage bay) work space! I added a drop leaf shelf from some scrap in front of the miter saw to create a surface for clamping. I also added 3 ToteScan QR code stickers to each cart (one for each side shelf and the center space) that allow me to create a searchable inventory, complete with pictures, to allow me to find less frequently used things faster.

Estimated Cost
$450
Estimated Time Investment
Weekend Project (10-20 Hours)
Finish Used
None
Recommended Skill Level
Intermediate

Comments

Teen Loft Bed

Submitted by KailuaGirl on Fri, 03/15/2013 - 12:59

Aloha!
I was inspired by what I saw on Ana's website. My daughter was obsessed with the PB Teen version of the loft bed, so I tweaked the plans here to make it more like the $2500 bed from the catalog!!!!! Yikes and don't even get me started on what the shipping to Hawaii would be....It was well worth the effort! My daughter loves her new loft bed...Now if I can just figure out a way to get the dog to love the high bed!!!
Cheers, Tina

Built from Plan(s)
Estimated Cost
$250 because I added a glass top to the desk
Estimated Time Investment
Weekend Project (10-20 Hours)
Finish Used
white glossy paint
Recommended Skill Level
Beginner

Comments

DawnL

Sat, 06/22/2013 - 02:57

Aloha Tina!

You did a great job! I was wondering, how high is the bed, room and clearance? We also live in Hawaii and my daughter's room is small. Any feedback on what modifications you made would be greatly appreciated! Mahalo!

KailuaGirl

Tue, 06/25/2013 - 13:35

Hi Dawn,
Yes, my daughter's room has low clearance, so I tweaked the loft bed height.
I determined what top clearance I could maximize that would allow my daughter to sit up in bed comfortably, but it will be tight as she grows. She's 5 feet now...
Then I tweaked the desk area height as well to maximize without too much of a struggle to get into the area.. I hope this reply is helpful..
Floor to ceiling height is 96 inches. desk area has clearance of 56 inches and from the top of the mattress to ceiling has a clearance of 28 inches.
Aloha, Tina

hansje01

Tue, 12/17/2013 - 16:06

Im having a problem finding the plans for the teen loft bed shown above. any direction would be appreciated! Thanks!

KailuaGirl

Tue, 12/17/2013 - 16:59

HI! There are no plans for this loft bed.. I used the plans on this site and just literally DIY'ed to fit my needs.. Sorry I know this doesn't help you much…
If you have a specific question, maybe I could help…
Aloha, Tina

Wooden Lanterns

Submitted by mrich_d60 on Fri, 05/14/2021 - 15:39

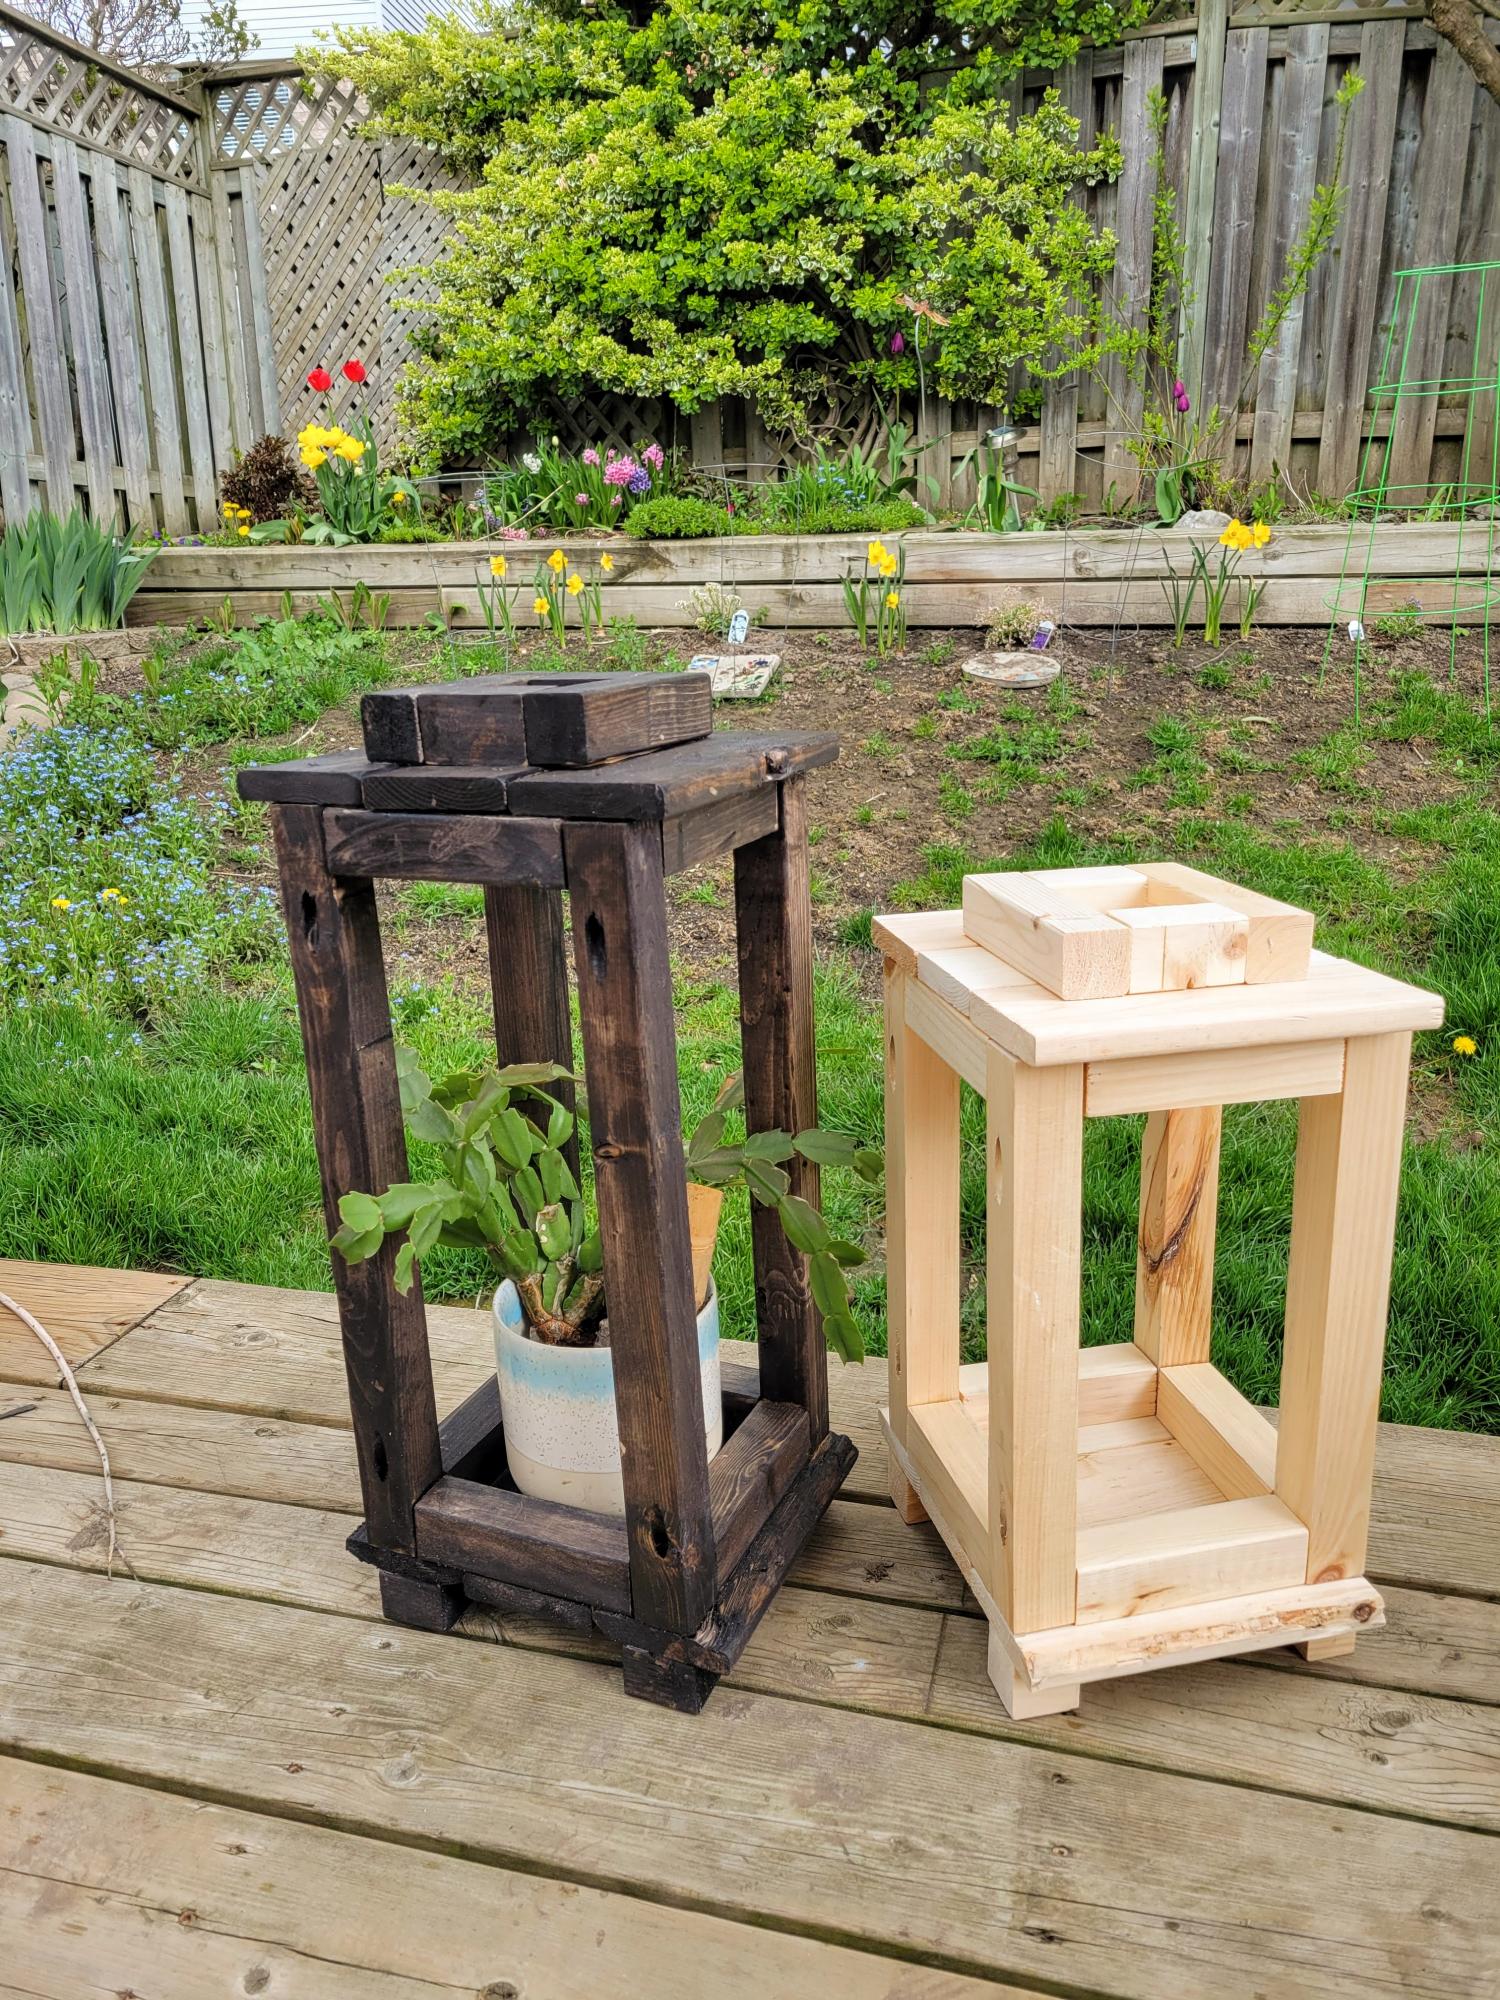
I made 7 lanterns - 6 with 18" uprights and 1 with 13". They were originally just for my daughter's backyard wedding. They aren't decorated yet because she's going to use them on the patio now and is waiting for the solar lights and LED candles to arrive. They were too nice not to use them right away!

Estimated Cost
About $9.00 each
Estimated Time Investment
Afternoon Project (3-6 Hours)
Finish Used
Varathane Ultimate One Coat coverage stain + Varathane Triple Thick one coat clear finish on entire lantern. Thompson's WaterSeal Waterpoofing Stain semi-transparent for underside and feet.
Recommended Skill Level
Beginner

Comments

Farmhouse table and bench - white base with stained top

Submitted by Anonymous (not verified) on Mon, 05/15/2017 - 19:36

We went off the Farmhouse table and bench design but had to customize the length of the table and bench so that it fit in our kitchen space. The table was our first ever project and we made a few mistakes but learned from them and built the bench and are hoping to move up to the Farmhouse bed and then the fullstorage bed. 

Estimated Time Investment
Afternoon Project (3-6 Hours)
Finish Used
Used everlasting in chalk paint for bottom and top then brushed blue over the top let dry then stained the top with minwax dark walnut and wiped off. Applied a few layers until desired look. Dry brushed more blue and white in between stain layers then used polycrylic semi gloss finish
Recommended Skill Level
Starter Project

Triple Pedestal Farmhouse Table

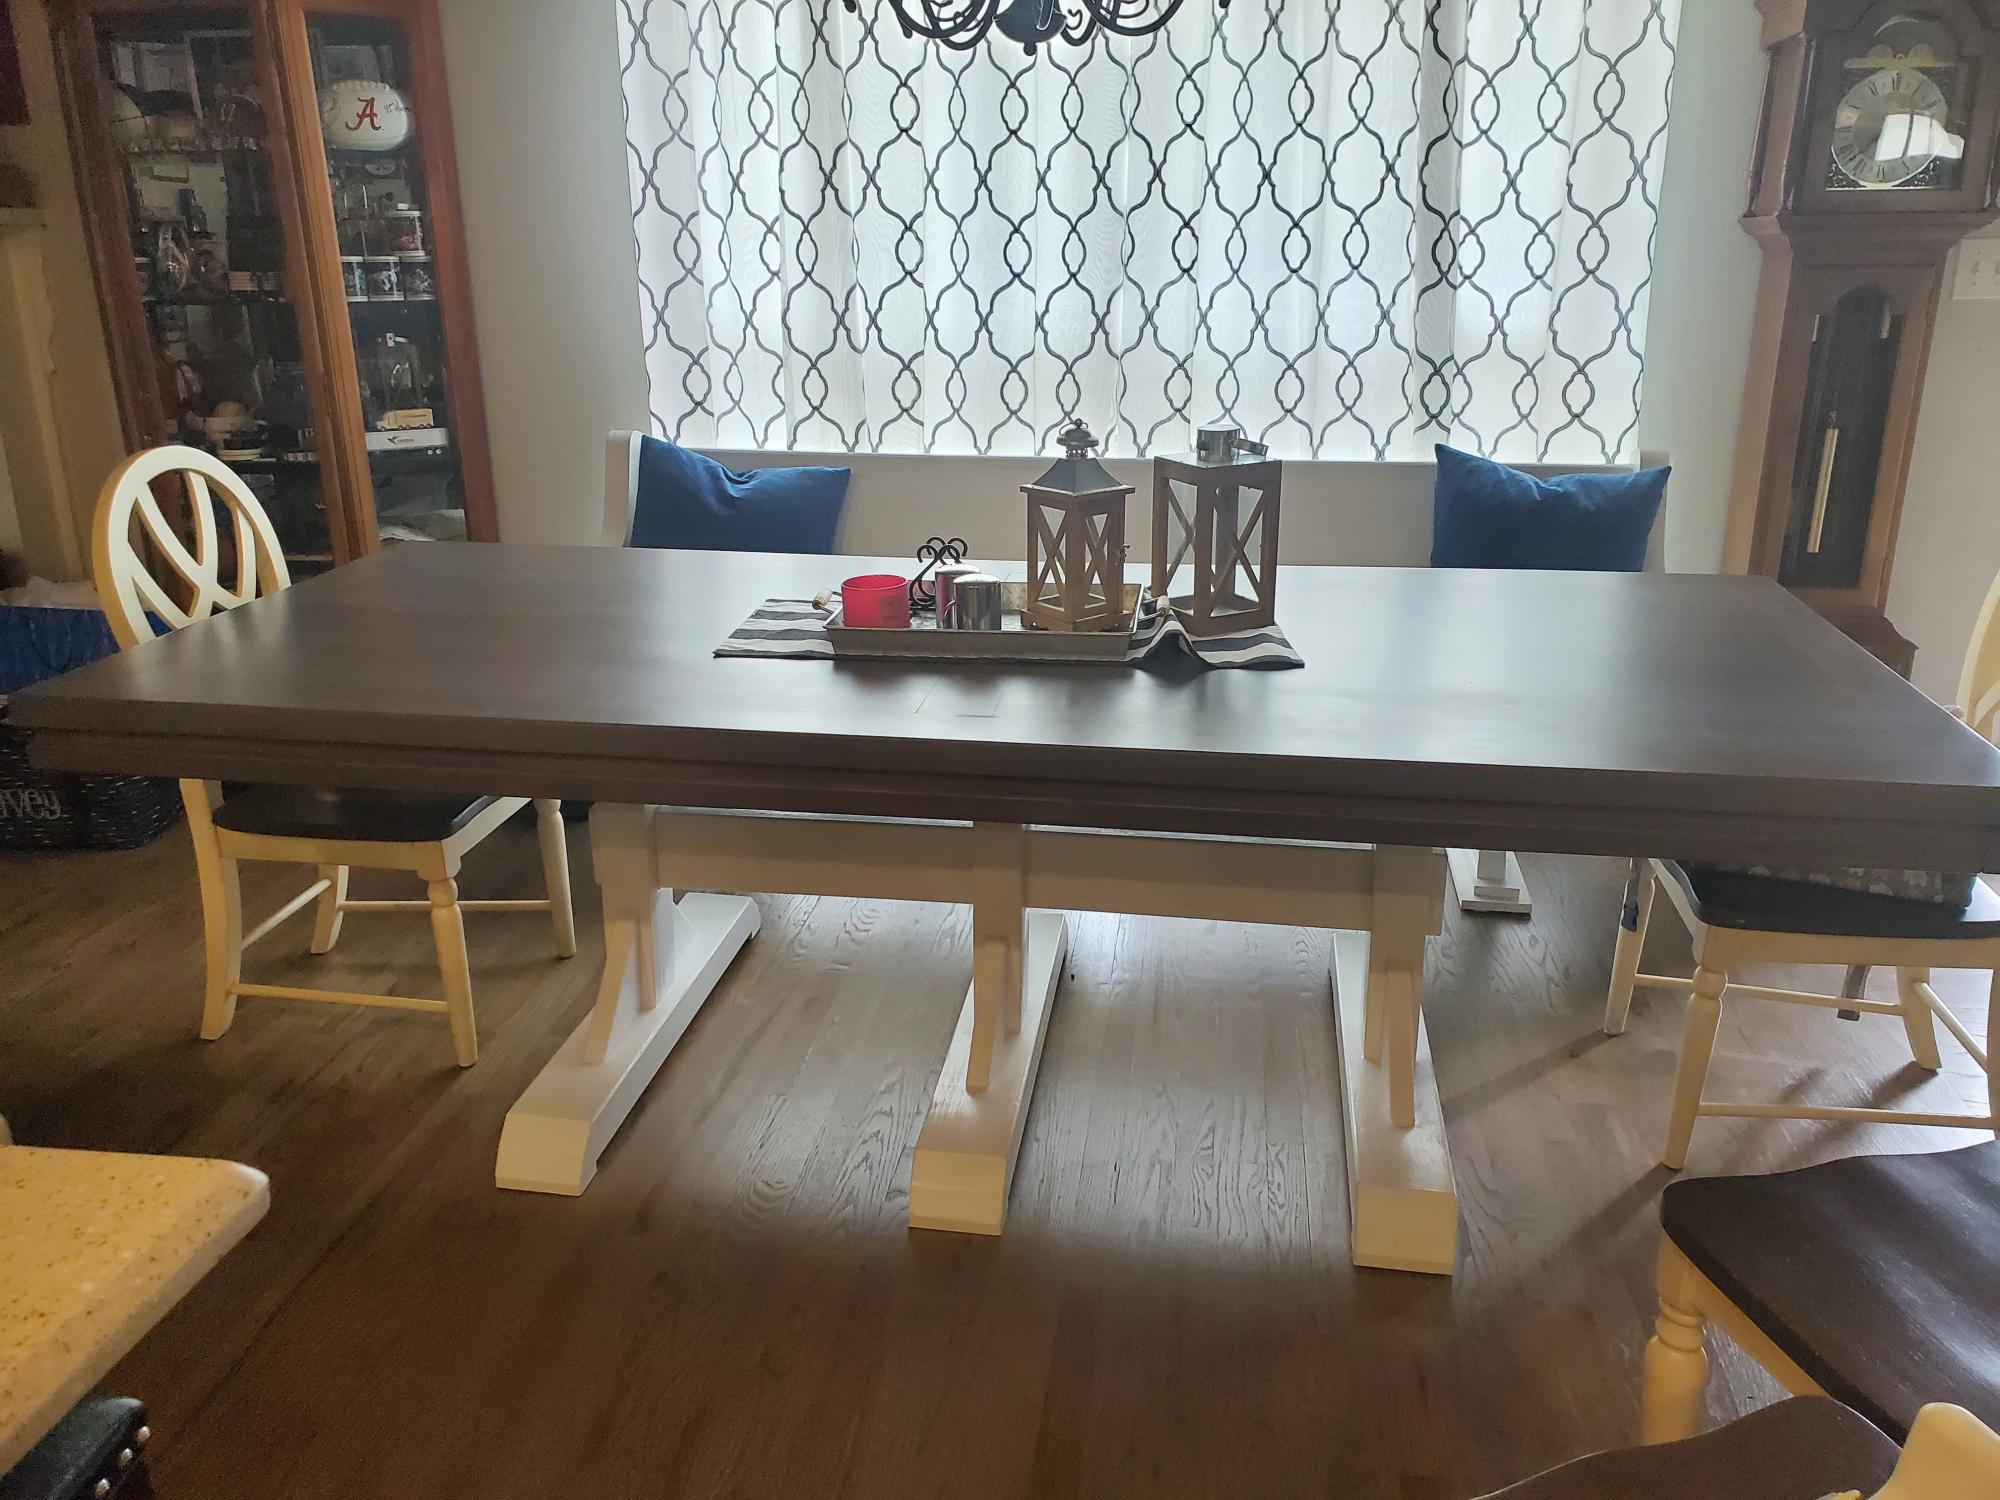
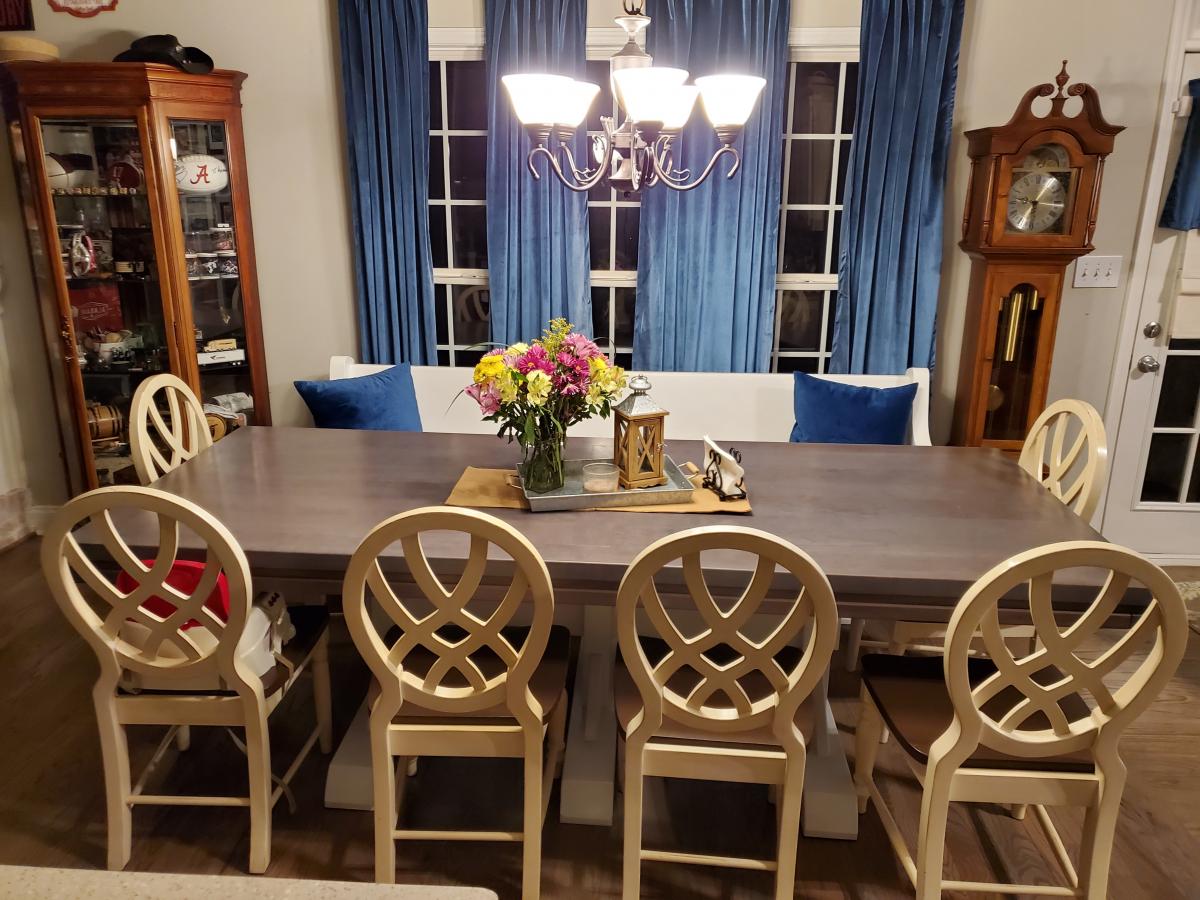
I did many 2020 (Covid projects) and this was my favorite. My wife has an 8' church pew that she wanted a farm table to go with it. The table ended up being 8'10" long. The most time was spent on sanding, painting and finishing. Enjoyed this project.

Built from Plan(s)
Estimated Time Investment
Weekend Project (10-20 Hours)
Finish Used
Satin Poly
Recommended Skill Level
Intermediate

Comments

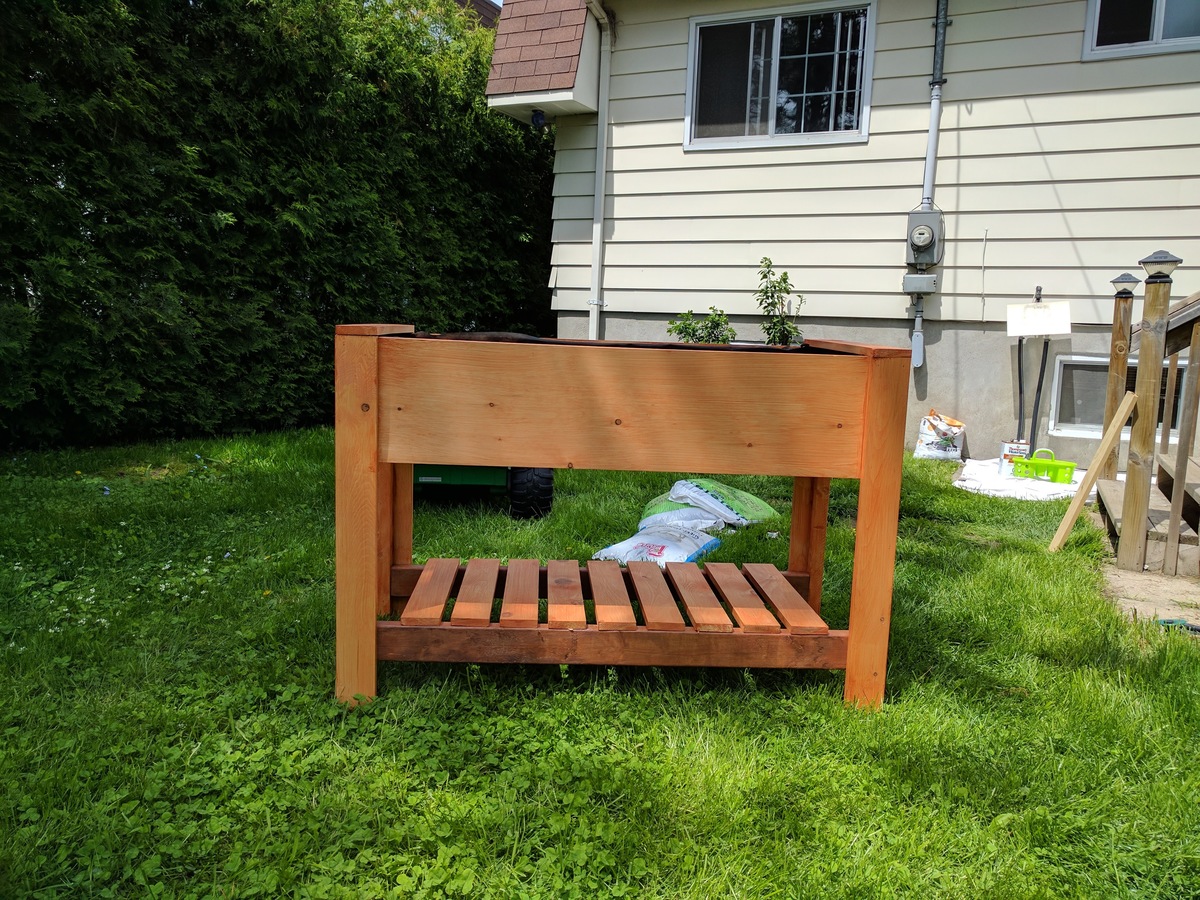
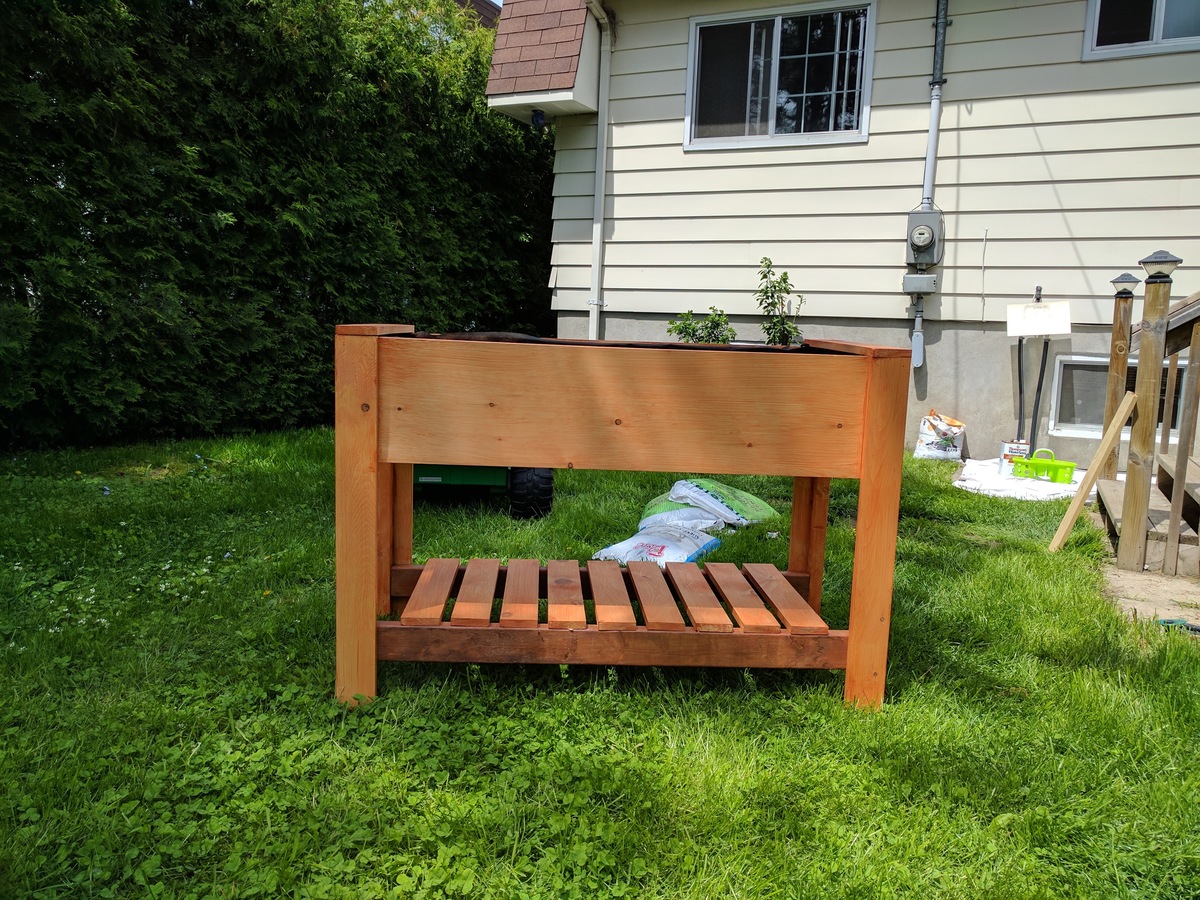
Raised planter box (modified)

Submitted by Anonymous (not verified) on Sat, 06/10/2017 - 07:50

Completed the project in about 4 hours including pre-staining the cut lumber (Thompson's water seal). I made a few changes on the fly. 

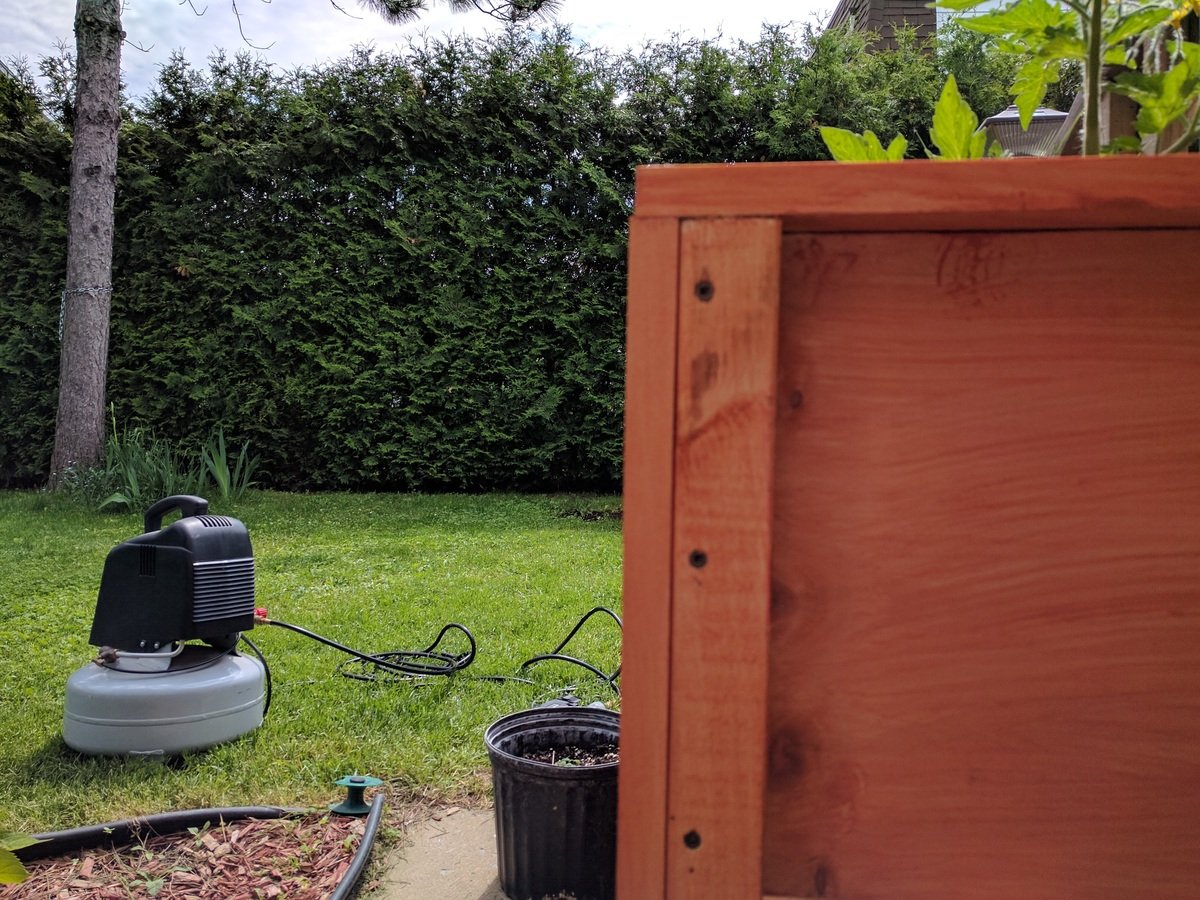
1: I assembled the front and back panels by tacking them together with a nail gun using 2 1/4 inch finishing nails. This allowed me to forego the drilling of pocket screw holes and instead drill pilot holes through the 2x2's and into the 1x12 panels then securing them with 2 1/2 inch deck screws (see the second picture).

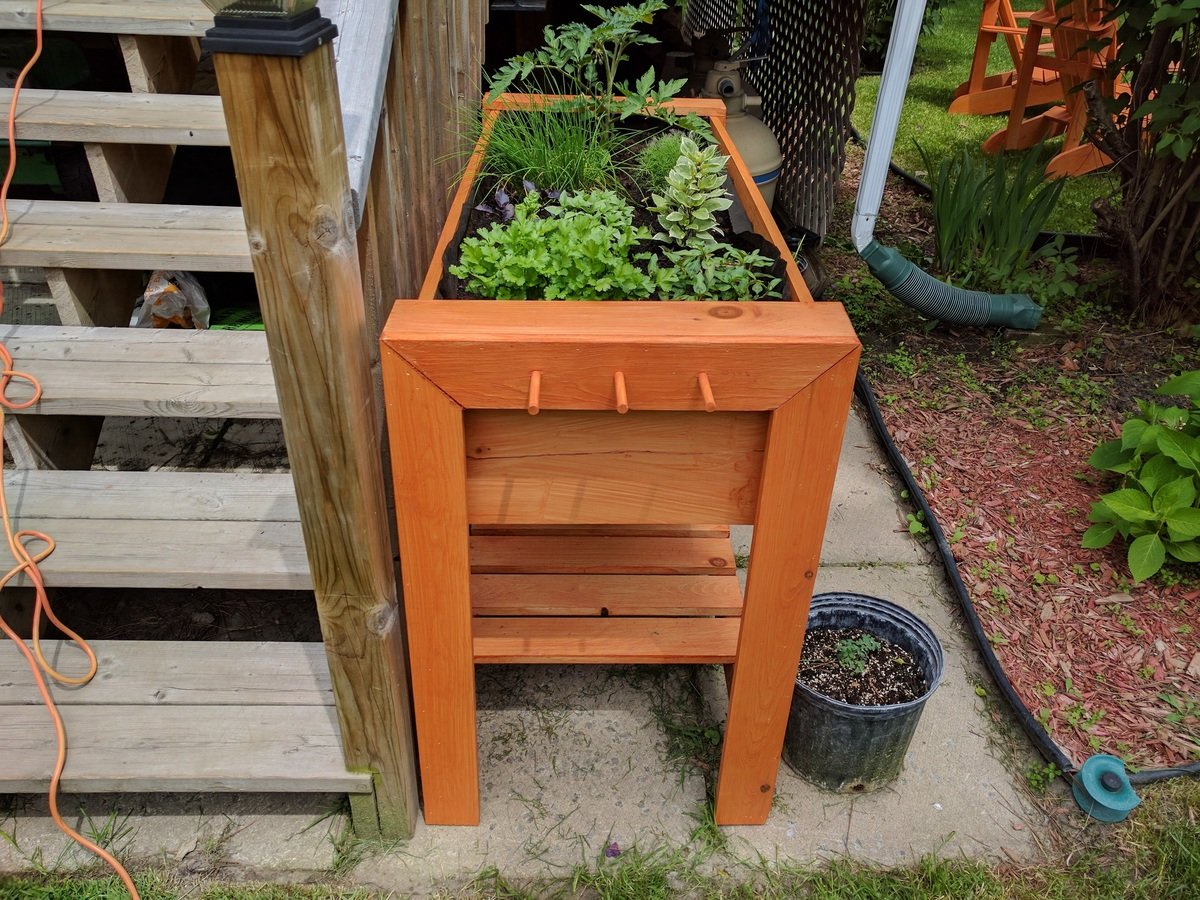
2: after completing assembly I found that I did not like seeing the 2x2 legs from the side. I cut some more 1x4's at 45 degree angles and nailed them to the sides in order to conceal the legs (see third picture).

3: I decided to add some pegs to one of the sides to hang garden implements (third picture). I used 7/16 round dowel stock, drilled holes for them using 3/8 bit with some tape wrapped around it at 1/2 inch mark in order to avoid drilling completely through the board. I slightly whittled the first 1/8 inch at one end of the pegs which I had cut to 3 inch lenghts. Applied some wood glue to the holes and gently hammered the pegs into the holes.

All in all a good looking planter.

Estimated Cost
$100.00 Usd
Estimated Time Investment
Afternoon Project (3-6 Hours)
Finish Used
Thompson's water seal (cedar colored). Sand boards before applying 2 coats 1 hour between coats.
Recommended Skill Level
Intermediate

Comments

Wide Short Pine 1x12 Bookshelf

Submitted by ariela on Wed, 03/09/2011 - 03:15

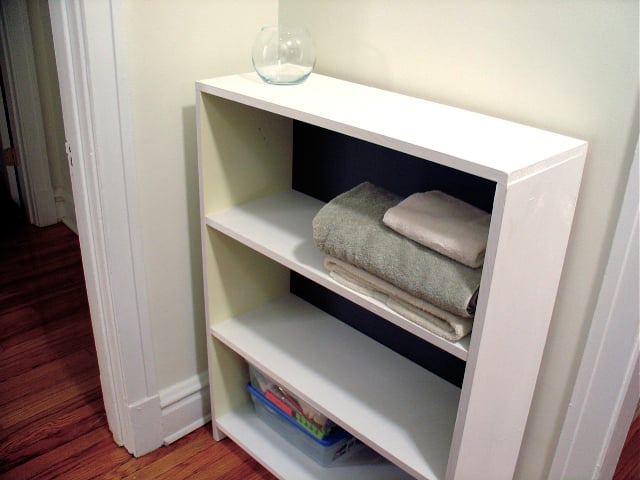
This was my first project ever, and while there are a few things I could have done better (don't judge the imperfections!) the shelves still came out beautifully. I followed Ana's plan exactly, painting the backboard a charcoal grey before attaching, and the shelves themselves white with light lemon yellow on the inside-sides. If I were to make these again, I would want to sand the shelves down more and use a higher gloss paint or sealer. The matte finish is more difficult to clean when it gets dusty, which happens pretty quickly!

Built from Plan(s)
Estimated Time Investment
Afternoon Project (3-6 Hours)
Recommended Skill Level
Starter Project

Garage Pegboard Storage Wall

Thecreativityexchange.com did such a great job with the original project, so of course I had to give it a try! I had only a few minor adjustments in size. I made this one 8ft X 8ft and only using one sheet of pegboard. My amazing wife stained it too with English Walnut!

Estimated Time Investment
Afternoon Project (3-6 Hours)
Finish Used
English Walnut Stain
Recommended Skill Level
Beginner

Simple Pallet Storage Crate on wheels

Pallet Crate on Wheels
I had some leftover pallet boards and wanted something for storage to put under my new pallet sofa table and found this plan on Ana whites plans. I changed it up a bit with the side of the crate being different only because I had to use what I already had on hand....if you want to read more and see how I built it, come check it out at my website...http://www.mysimplehomelife.com/2011/04/pallet-crate-on-wheels.html
Built from Plan(s)
Estimated Time Investment
An Hour or Two (0-2 Hours)
Finish Used
I did not use a finish, just chalkboard paint for the stencil. I wanted to keep it rustic.
Recommended Skill Level
Beginner

Dog Sleeping Kennel Night Stand

Submitted by Anonymous (not verified) on Wed, 12/15/2021 - 21:12

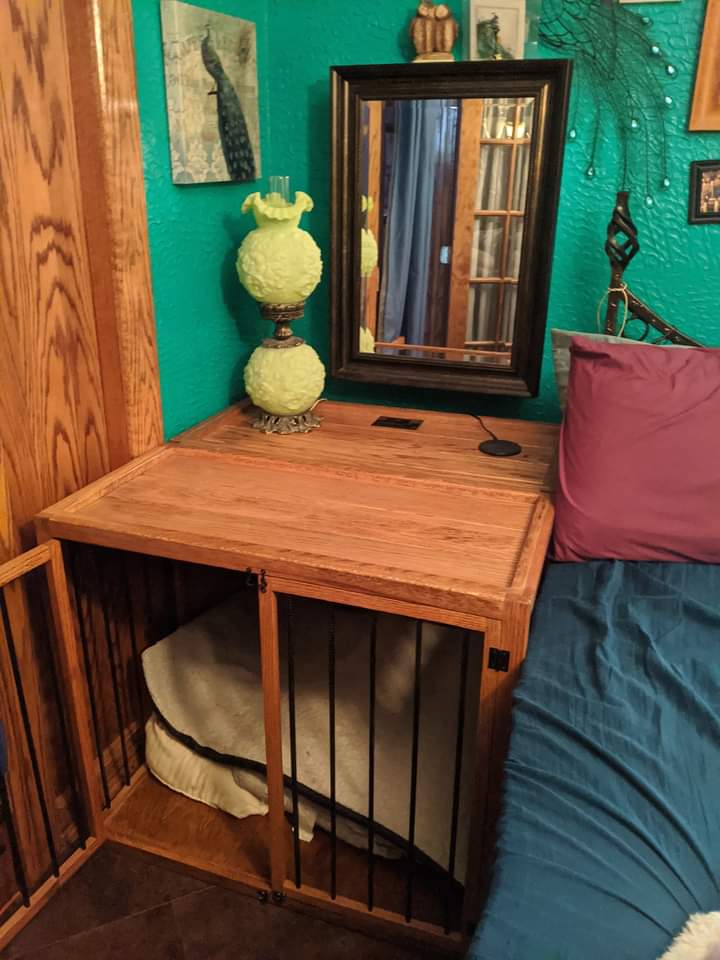
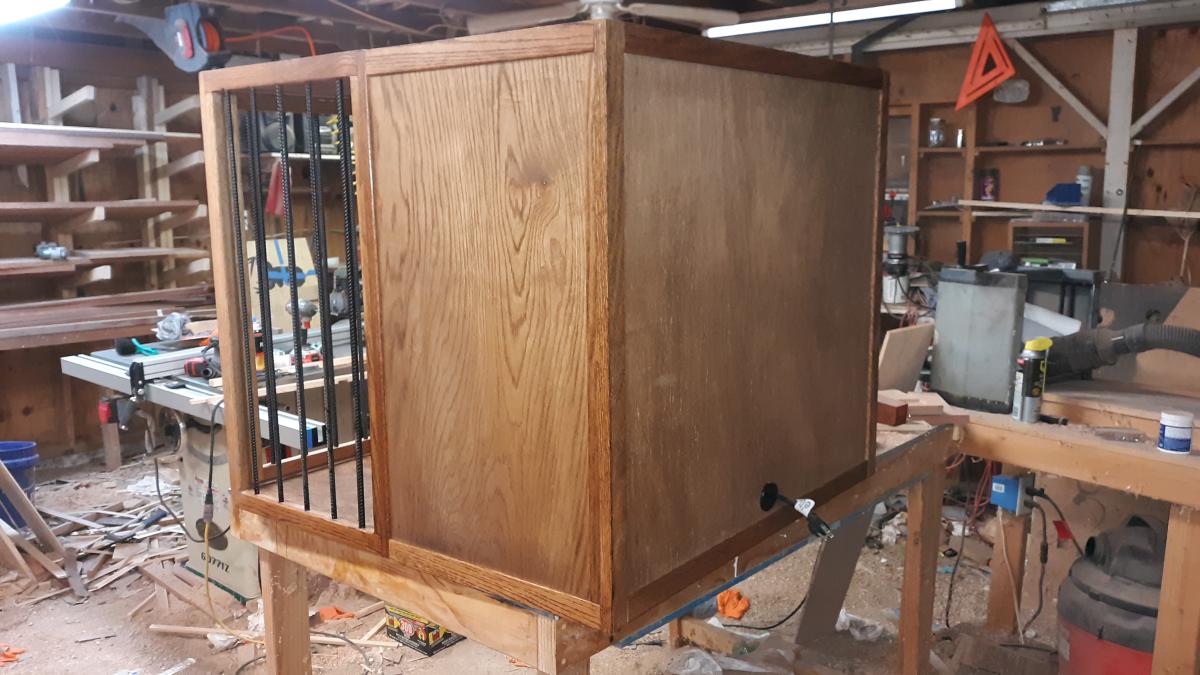
Dog kennel I built for a friend of mine. They have a pure bred poodle and had to build this big enough for the dog to keep growing. Made out of red oak with rebar on the sides and cabinet doors. I added a phone charger and electrical outlet to the top so they can plug in a lamp and their phones.

Comments

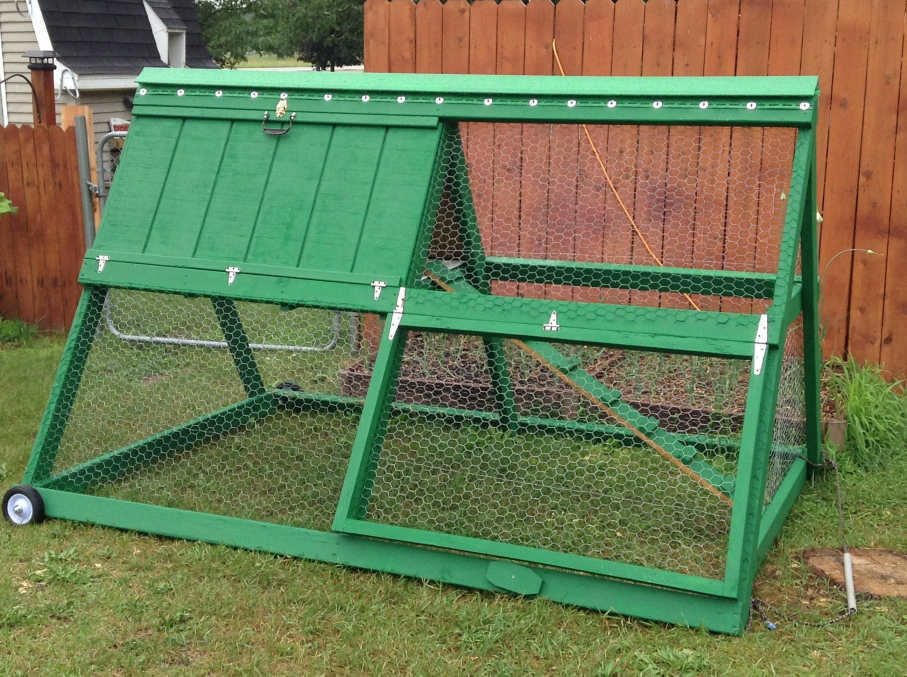
A-Frame Chicken Tractor

Submitted by Tonya P on Tue, 07/09/2013 - 19:46

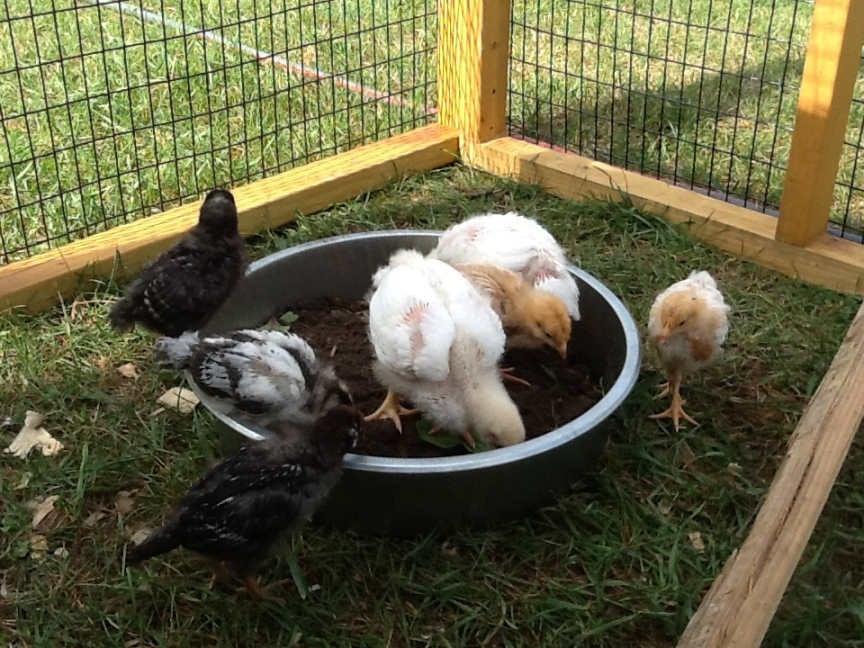
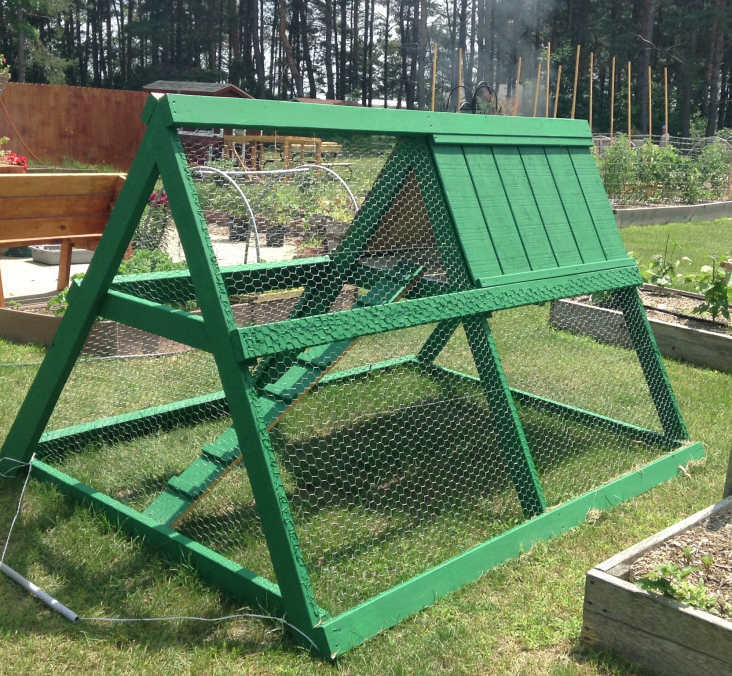
New to raising chickens, but eager to jump right in to it.
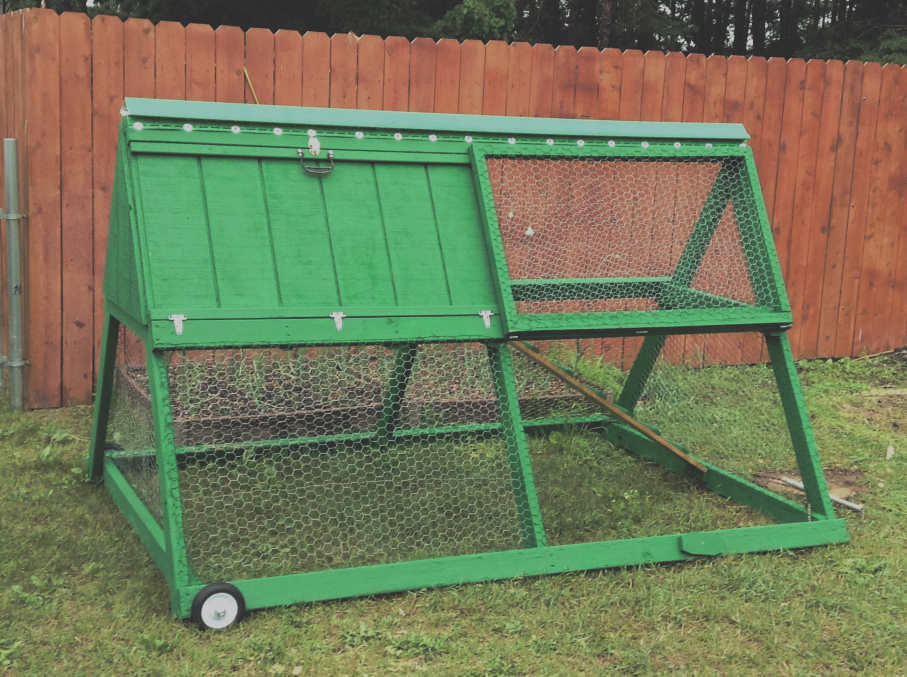
We bought a pre-made coop for the main home for our new chicks and it's very nice, not something I could do myself since I'm not yet at that level, but I saw this chicken tractor and thought it would come in handy for what I have in mind so I made up my mind to build it.
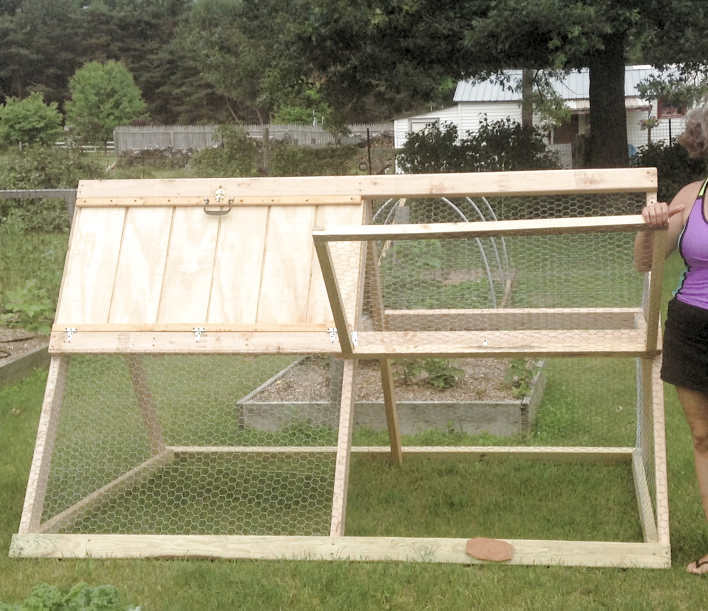
The lumber, chicken wire, staples, and wheels are all store bought new and came to about $75. The materials we had on hand were the screws, hinges, plastic coated metal shelving (used in the nesting area, I thought that would make it easy to clean), paint, and the corner piece of vinyl siding for the roof cap (hubby's brilliant idea, and I painted it green with spray paint for vinyl).
I did not try to build it quickly, I don't really know how much time it took me, but if I had to guess I'd guess total time would amount to about 3 afternoons, by myself.
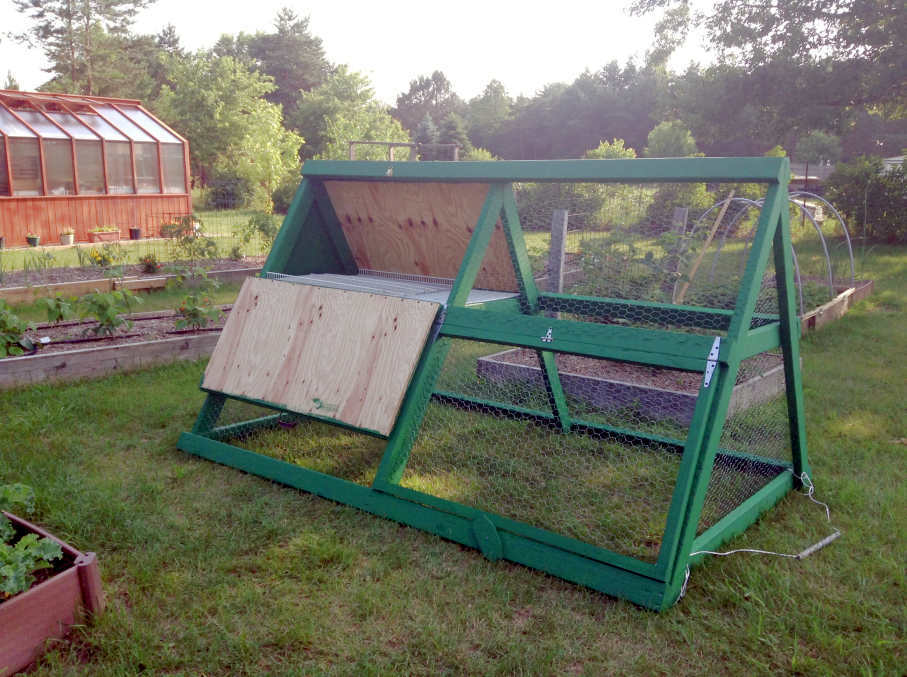
I wanted to leave the top on the one side open with the option to slap on the other boards if/when the need arises. I have the other t1-11 panels that can sit right in those areas because I stapled the chicken wire in a way that would allow it.
I also added a flip up panel as seen in the pictures for access. I didn't want a small door that I would have a hard time getting to things in there. I'm so glad I added this feature, it sure gives plenty of room for me to maintain the food and water dispensers as well as get in there and catch the little chickies :)
I wanted it green to blend into the wooded background in our backyard. I didn't want to take any beauty away from the cedar greenhouse and fencing we added last year, and this tractor would be moved from time to time and I felt this green that we had on hand was perfect to help it blend in rather than stand out.
This thing is heavy! I have a hard time moving it around and usually need my husband to move it so I won't hurt myself. I am considering some options... I don't like the rope I have on it to pull it, any suggestions would be appreciated.
As with the other items I've made with Ana's plans, this was fun and pretty easy to make. I love this site! Soon I will take on my next project, I've bought and gathered the materials, I'm anxious to get started :)
Thank you for looking :)
Built from Plan(s)
Estimated Cost
$75 - $85 for the new materials listed
Estimated Time Investment
Weekend Project (10-20 Hours)
Finish Used
Green exterior paint we had on hand.
Recommended Skill Level
Intermediate

Patio Stools 35 inches

Submitted by Kcirone on Sun, 08/09/2015 - 17:10

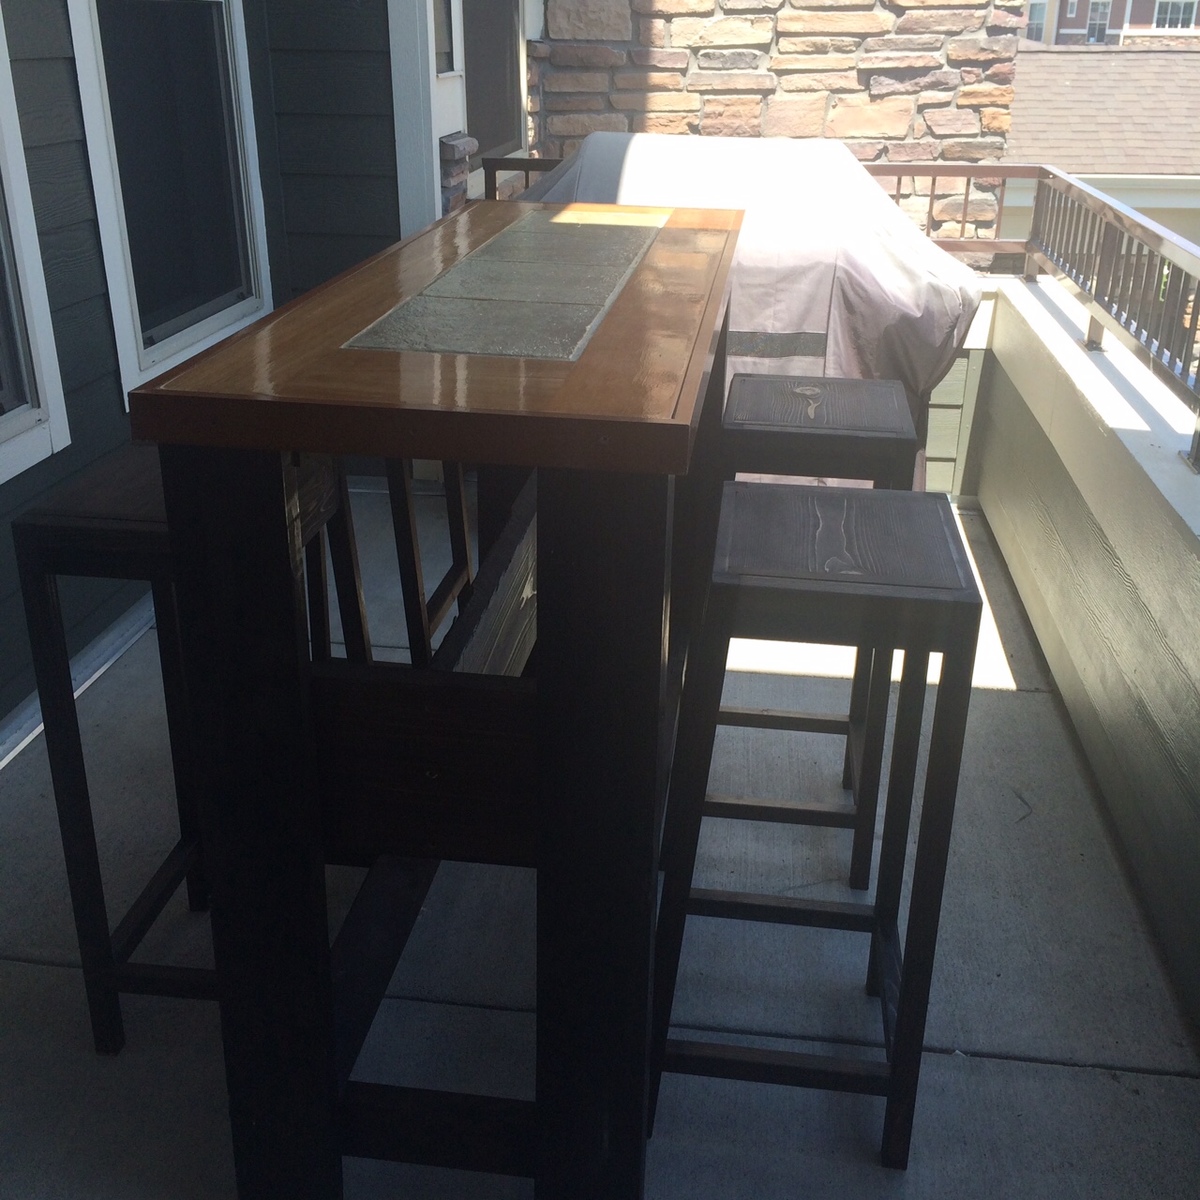
I adjusted from the plan to build the stools to 35 inches and found they remianed very stable! Used Cedar for the seat and aprons, and redwood for the legs and supports. 

Built from Plan(s)
Estimated Cost
25 per stool
Estimated Time Investment
Day Project (6-9 Hours)
Finish Used
Jacobean stain
Recommended Skill Level
Beginner