Community Brag Posts

Shoe Bench

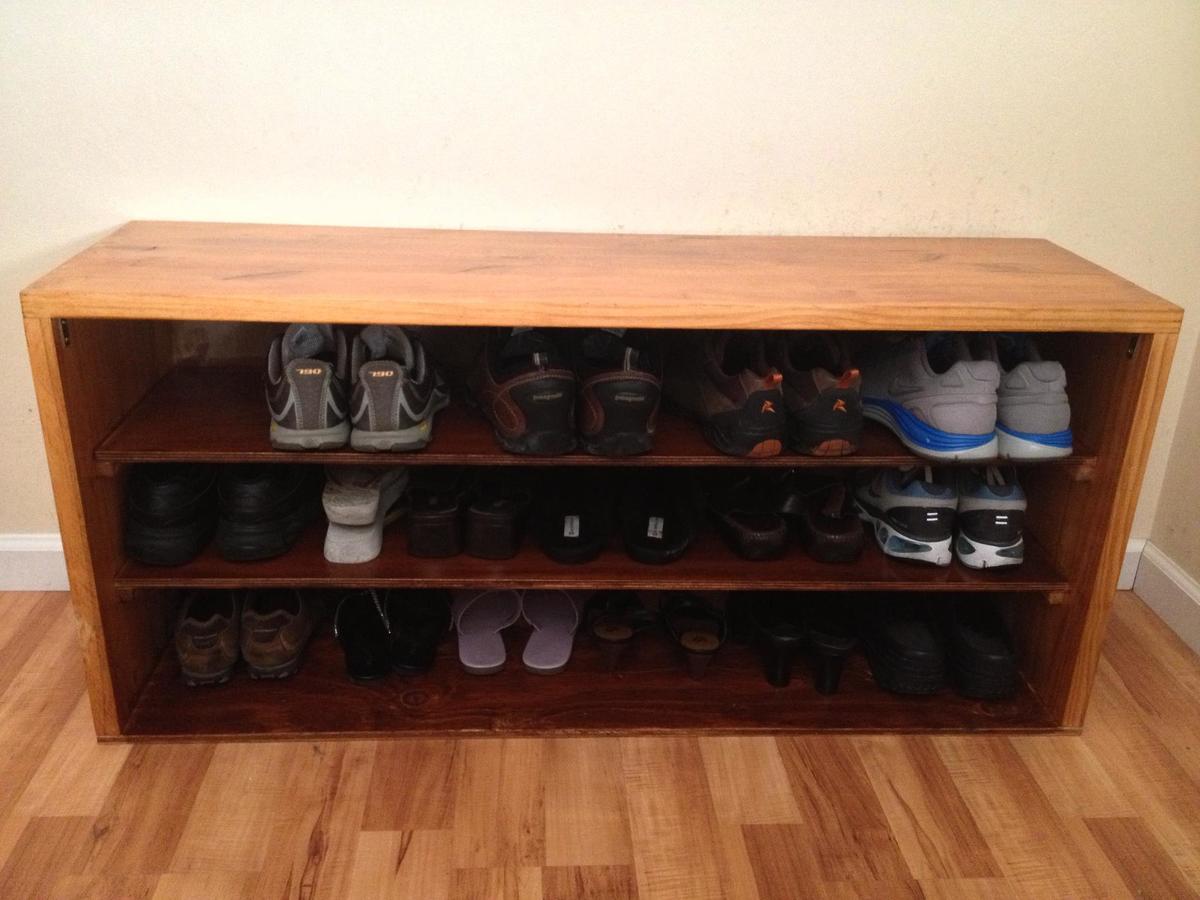
Ana's spa bench inspired me this project. My shoe rack had been screaming 'foul' for a long time and I had been on the market looking for a three-tiered shoe bench. The benches I saw online were either too small or too expensive. So when I found this plan, I said "why not?" So the rest is history.

Estimated Cost
$70 - $85
Estimated Time Investment
Weekend Project (10-20 Hours)
Finish Used
Stain in Maple Walnut.
Recommended Skill Level
Starter Project

Twin Platform Bed

Submitted by mcm76 on Mon, 03/02/2015 - 23:00

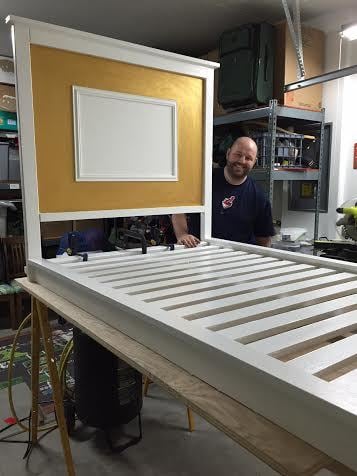
This is a great bed for todlers.

Estimated Cost
$100 Bed
$150 Matress
Estimated Time Investment
Weekend Project (10-20 Hours)
Finish Used
Paint and gold primer
Recommended Skill Level
Beginner

Comments

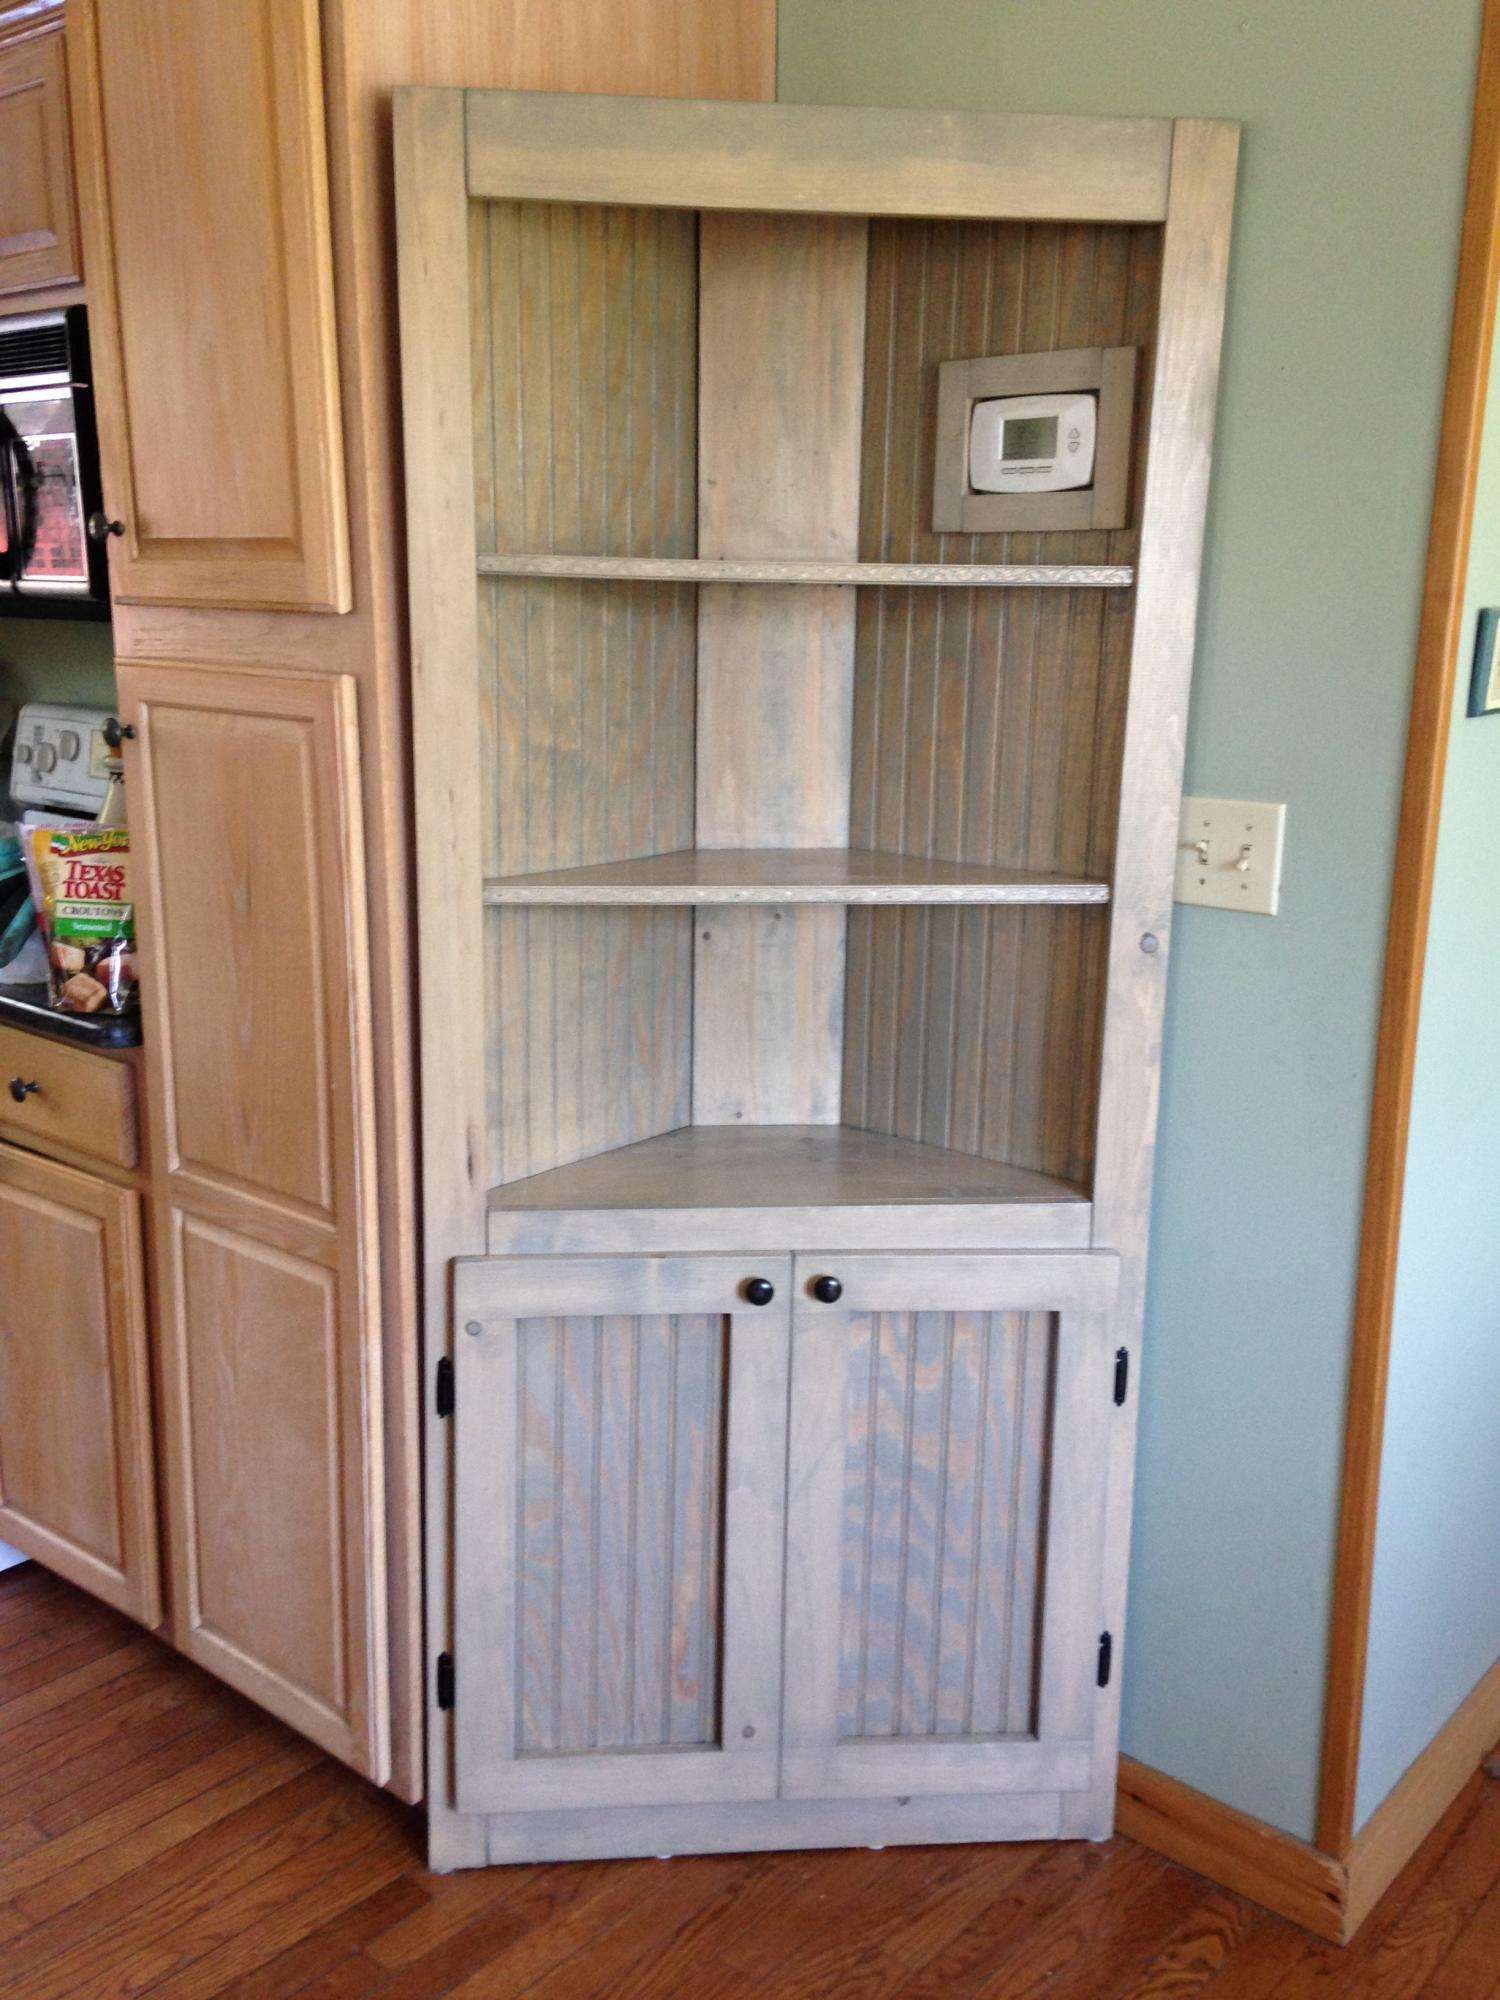
Corner Hutch

Submitted by Anonymous (not verified) on Thu, 06/01/2017 - 12:58

Built the corner hutch from Ana's super easy plans!  LOVE IT!

http://www.ana-white.com/2010/12/plans/corner-cupboard

Made a cutout for my thermostat on the wall.  Gotta love building what you need for your space!

Built from Plan(s)
Estimated Time Investment
Weekend Project (10-20 Hours)
Finish Used
Grey Paint wash
Recommended Skill Level
Intermediate

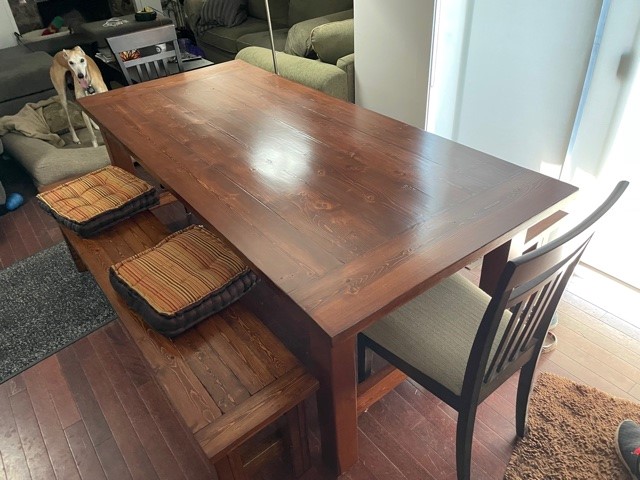
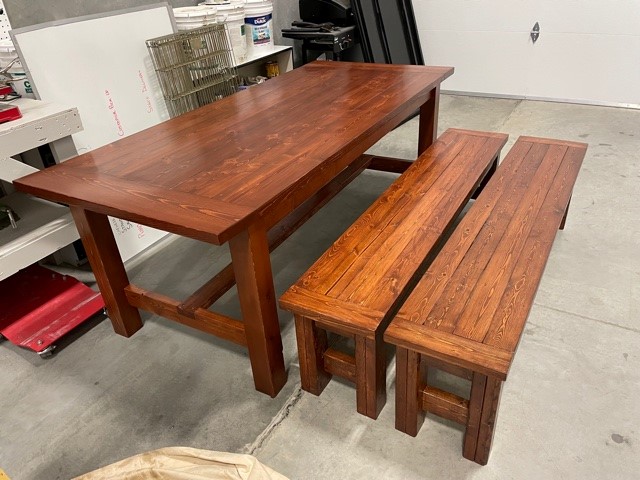
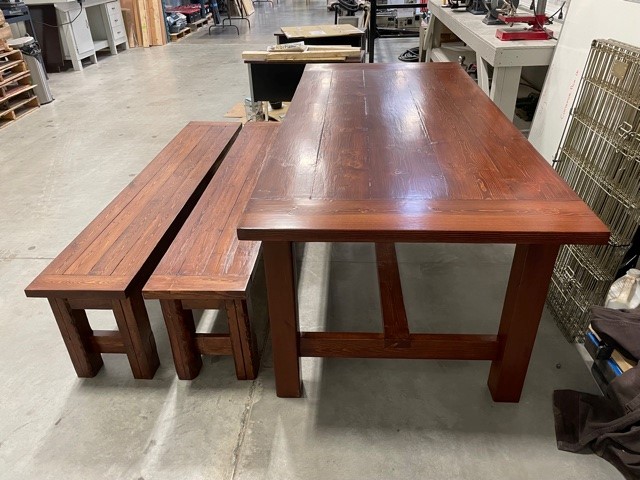
My first big woodworking project - a farmhouse table!

Submitted by jfleming on Wed, 06/30/2021 - 12:02

I used the no pocket hole plans and as per someone's great recommendation - I moved the stretcher supports to the inside of the legs to give a little more room when the chair is pulled out and someone is sitting on an end. I also made a planer tool for my table saw so I could square off the edges of the table top boards and the bench seat boards. The boards then sat closer to each other so I don't have places for crumbs to fall down between the boards. I did have a couple of sections that didn't quite match up and used resin to fill those areas after staining the boards. I then used a lacquer finish (Watco clear satin lacquer). The stain is Minwax English Chestnut but I did use the Minwax wood conditioner prior to the stain for a more even uptake of the stain. All great recommendations from folks on this site!

Comments

Odd Mudroom Cupboard

Submitted by romanweel on Tue, 04/16/2013 - 15:53

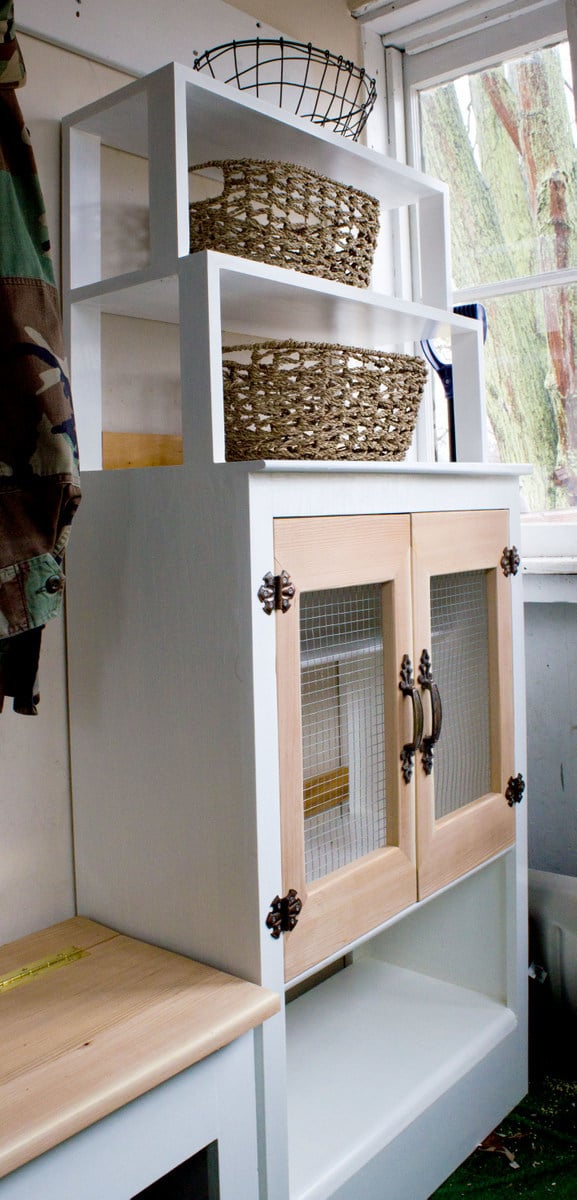
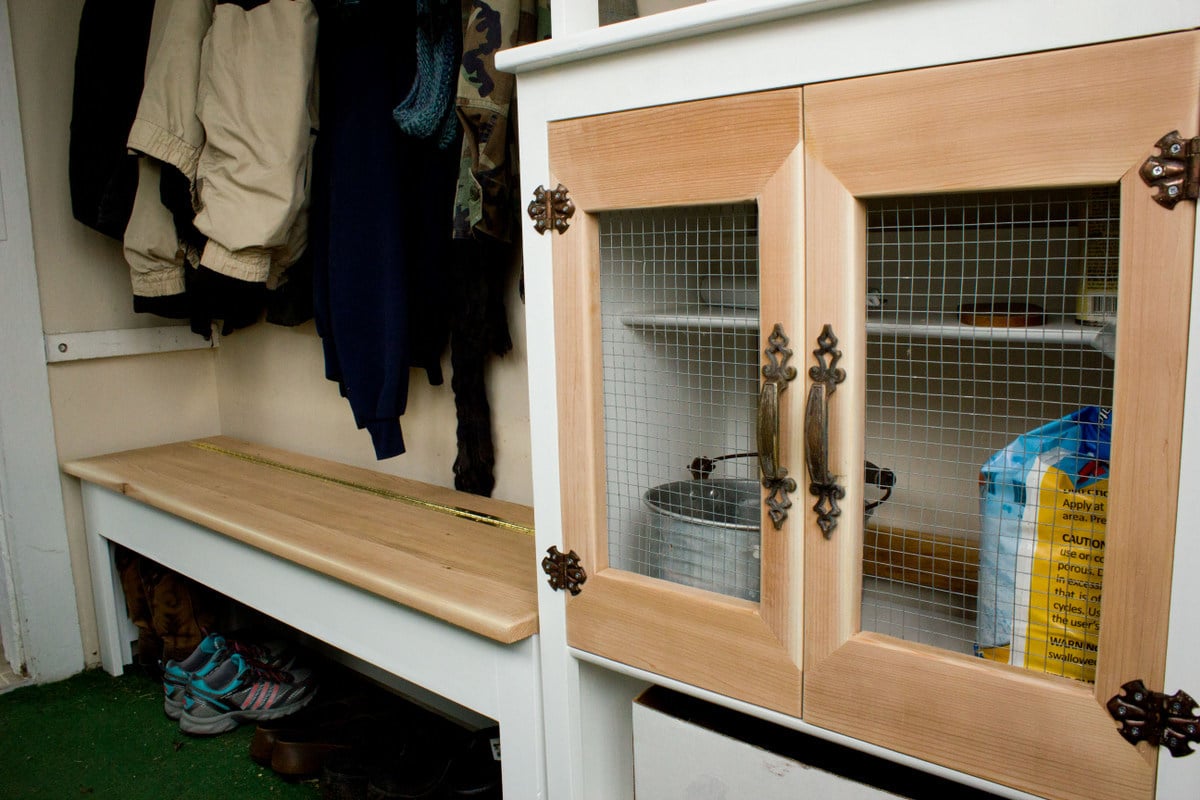
I meant this cupboard to be more like Patrick's Jelly Cupboard...but my infernal "let's customize everything!" attitude morphed her into what she now is. The open bottom shelf is exactly sized to hold glass milk bottles awaiting return to our local dairy (I am SO lucky!), the bottom shelf behind the doors is large enough for sidewalk salt and potting soil, and the upper shelf behind the doors holds bug spray, spray paint, and odds and ends. The top shelves hold baskets...one for library books and store returns, one for things that need to go farther (like to our relatives), and one just for looks. I guess.

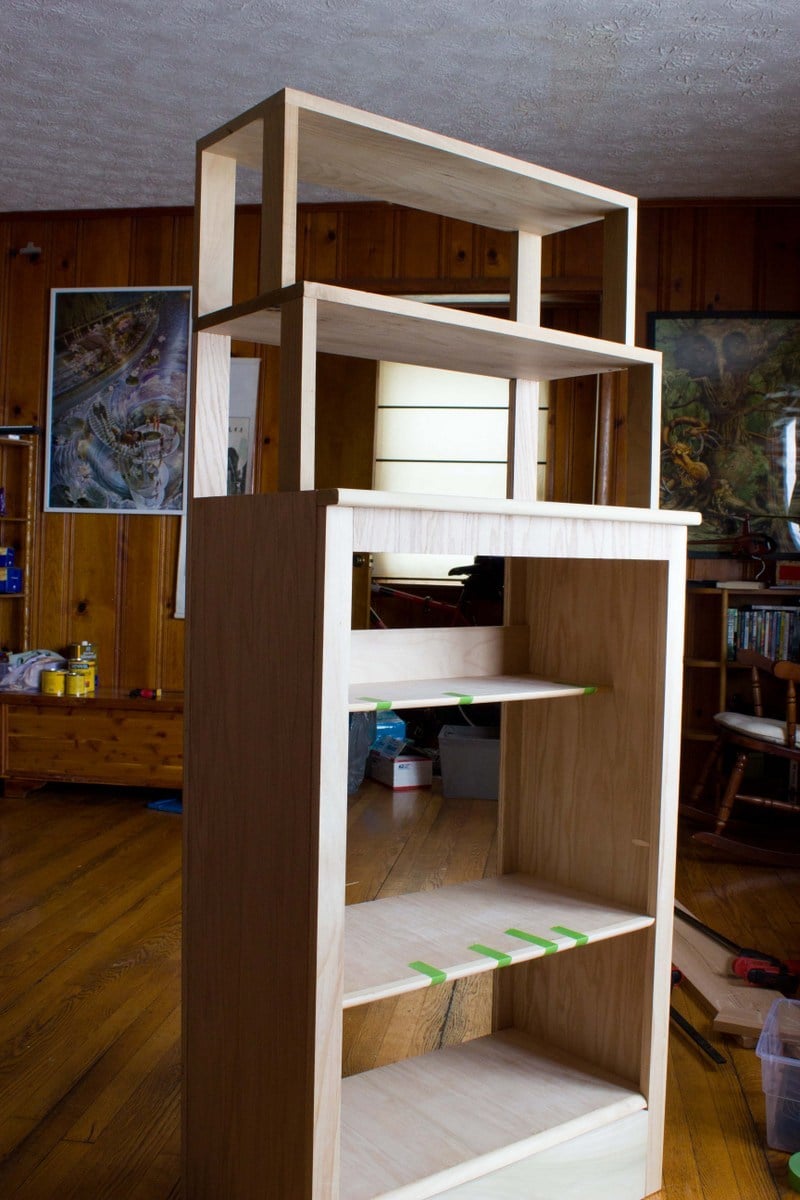
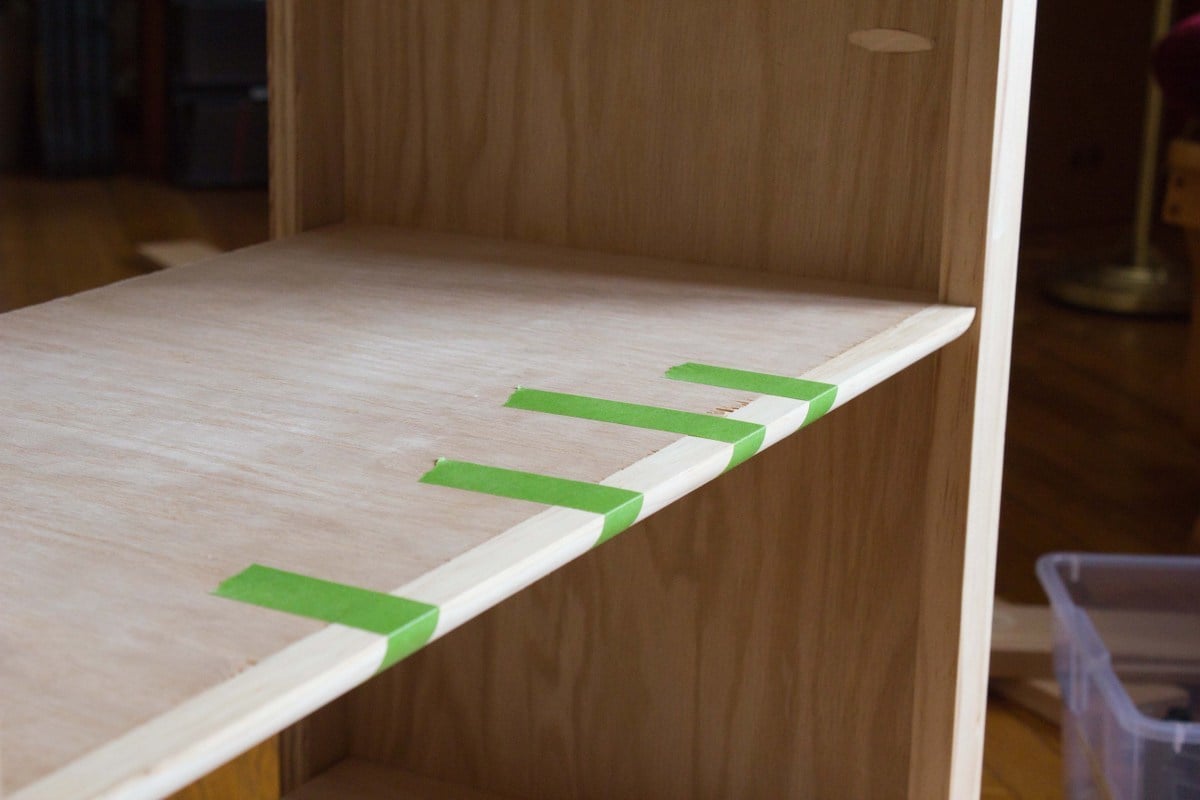
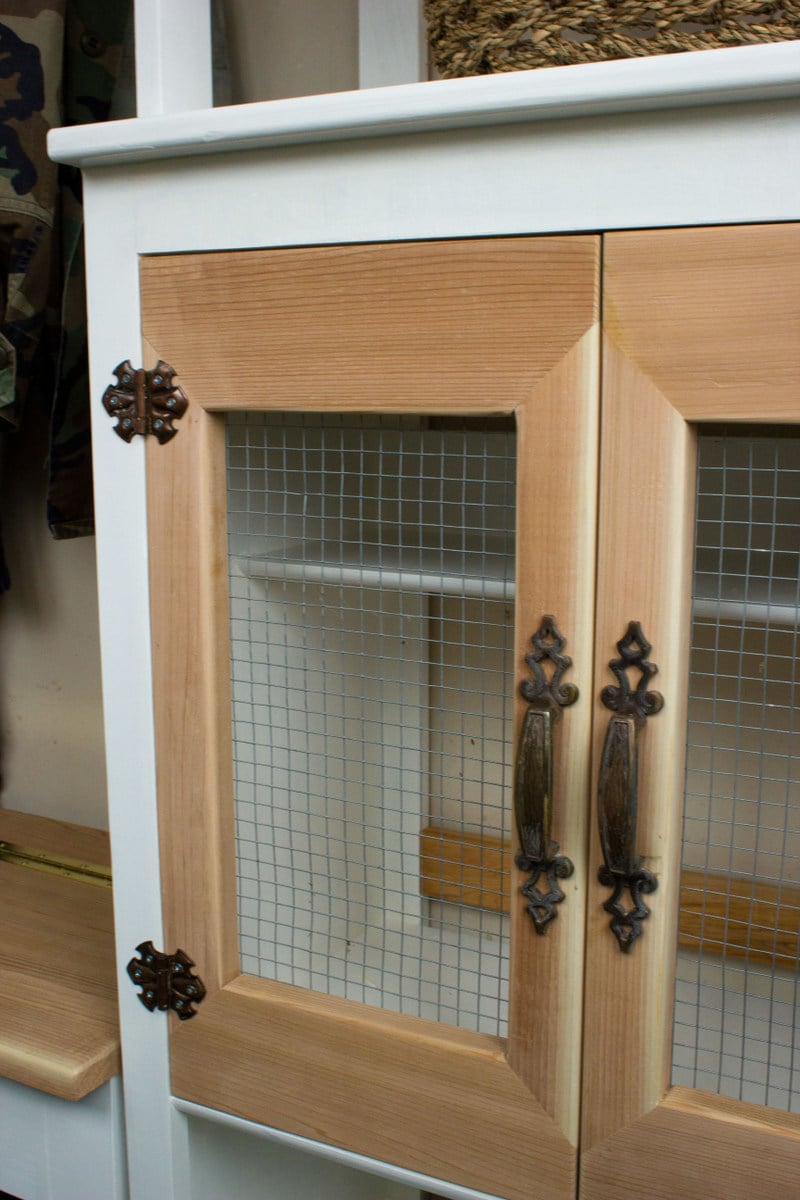
The bottom construction is entirely plywood. The face trim is 1x2 pine, the footer is a 1x6 poplar board, and the top of the construction (including the short support legs for those shelves) is poplar (from a garage sale - I saw it back there, asked a price, and walked away with a $5 board of poplar at 1x12@10' - it never hurts to ask!). The doors are cedar (leftovers from the bench construction to the left) with hardware cloth we had on hand from garden projects.

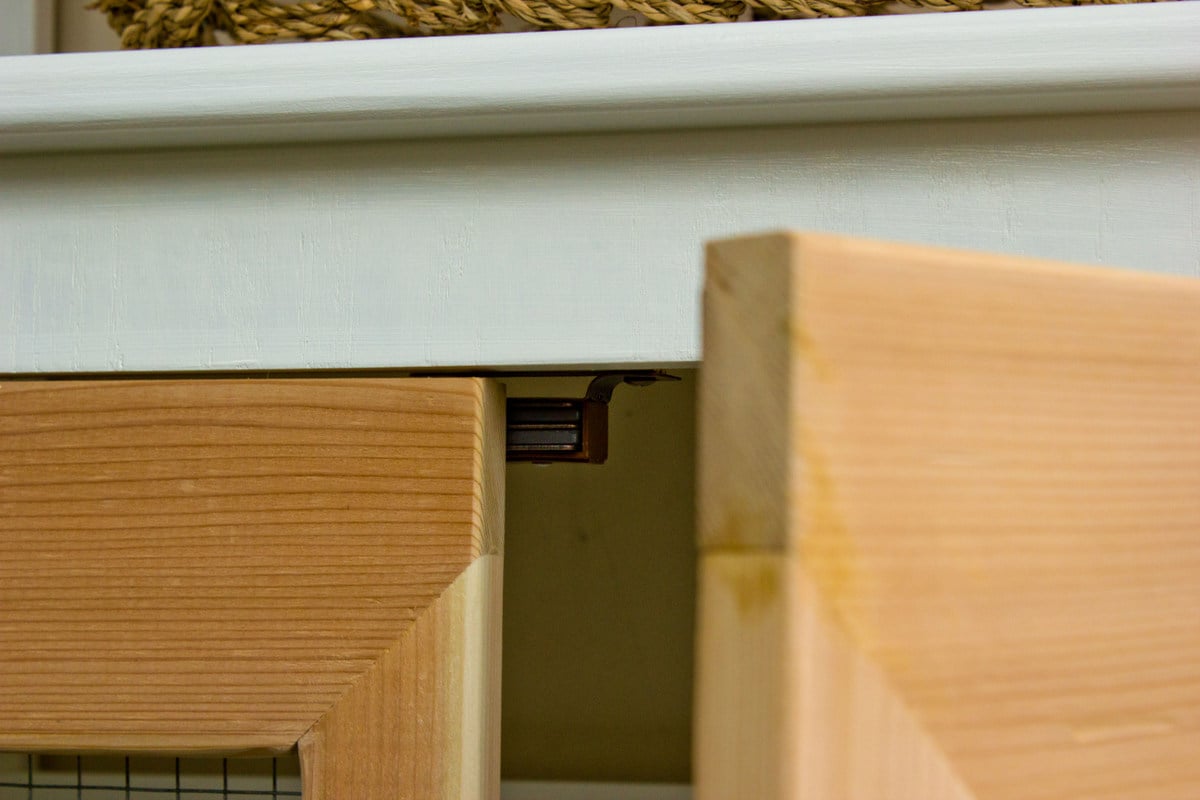
The body is painted in an off-the-shelf Behr white, and the doors are unfinished cedar, inset with a magnet closure at the top center. All the other hardware came from garage sales. If you can see them, there are a couple of cross supports at the back of the piece...they are discarded hardwood floor boards, stripped, sanded, and tung oiled.

I absolutely love my mudroom now! It looks like I spent a fortune getting this tailored, custom look, when all I really had to spend was about $70 total (including bench, coat rack, AND cupboard), plus some creative juices and elbow grease! I keep walking back in there to just stand and glow over it...
Estimated Cost
$50
Estimated Time Investment
Weekend Project (10-20 Hours)
Finish Used
Plain white Behr paint on the body, and tung oil (back boards only). Cedar doors are unfinished with hardware cloth stapled on. Nasty garage sale handles and hinges were placed in a crockpot overnight on low with water and baking soda, rinsed, then used as-is. Plus a little WD40 on the hinges.
Recommended Skill Level
Beginner

Comments

Lady Goats

Wed, 04/17/2013 - 13:02

WOW! First off, the workmanship is stunning, and I love how you constructed the doors. The fact that it was only $50-70 only adds to my liking, but it really just seems so... Natural! Does that make sense? Like, it just looks like it belongs there and is cozy and inviting. Truly amazing job!
Entertainment center

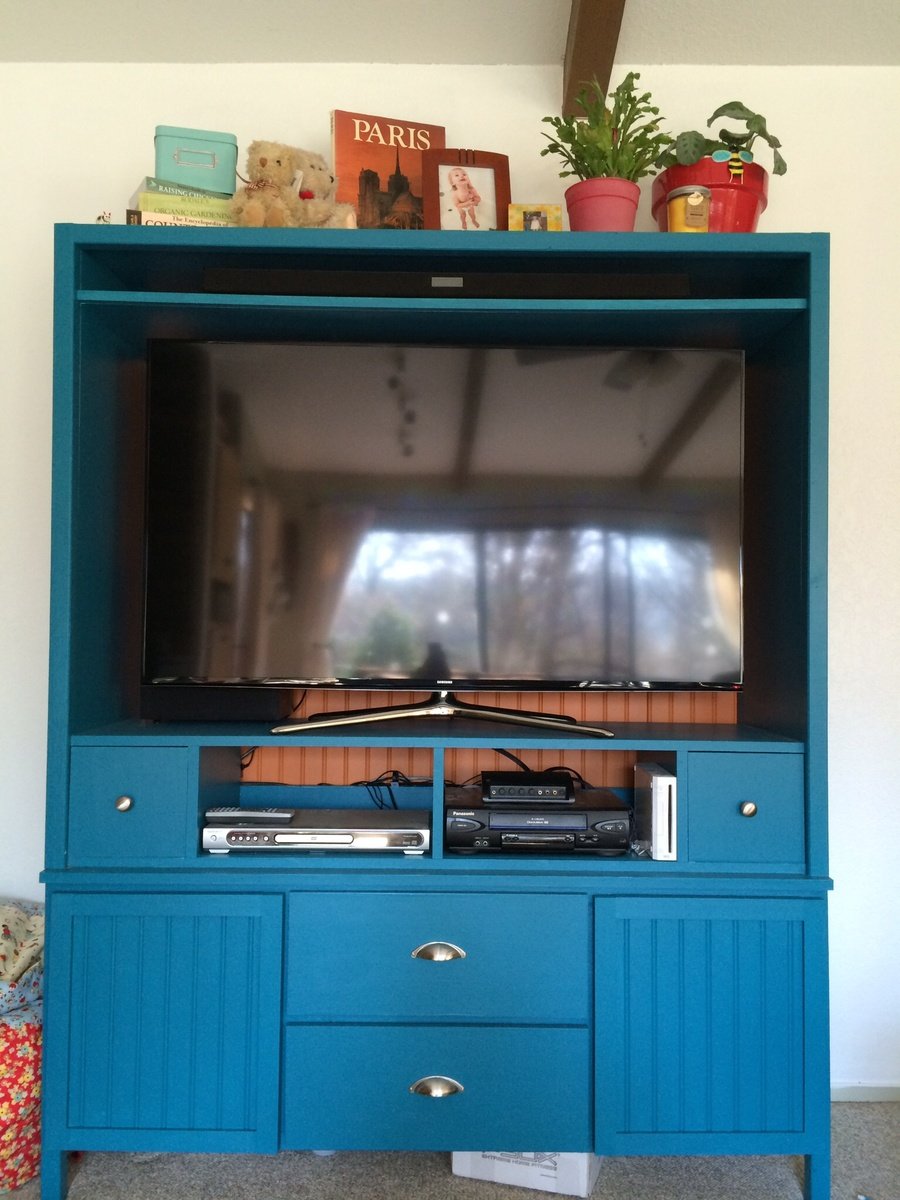
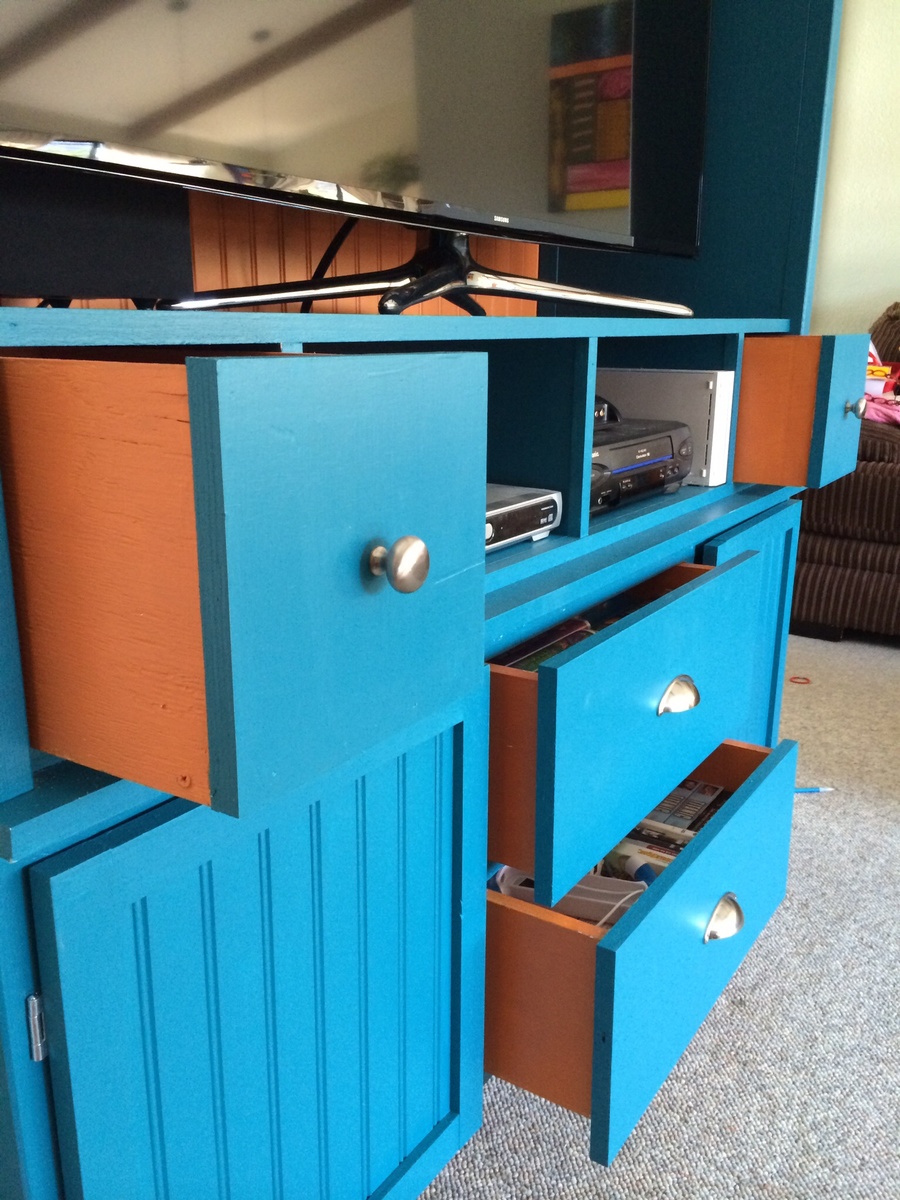
I decided to alter the plans to make it 15.5" deep 6' tall and the inside width @ 55" to accommodate a 55" TV. I used bead board as my wife recommended to give it a little more charactor. I also decided to have the drawers and doors on the bottom fit around the openings. Making this in different dimensions and tweeting it made it a much longer project and also having to paint it with 3 coats was time consuming. That being said I am pretty happy with the outcome. Now I just need to start on the side units. I also wanted to thank Ana for all of these wonderful plans. I have done many of these projects and hope to do so many more.

Built from Plan(s)
Estimated Cost
350
Estimated Time Investment
Week Long Project (20 Hours or More)
Recommended Skill Level
Intermediate

Comments

Child's Folding Sling Chair with Headrest

Submitted by Anonymous (not verified) on Sun, 06/04/2017 - 17:41

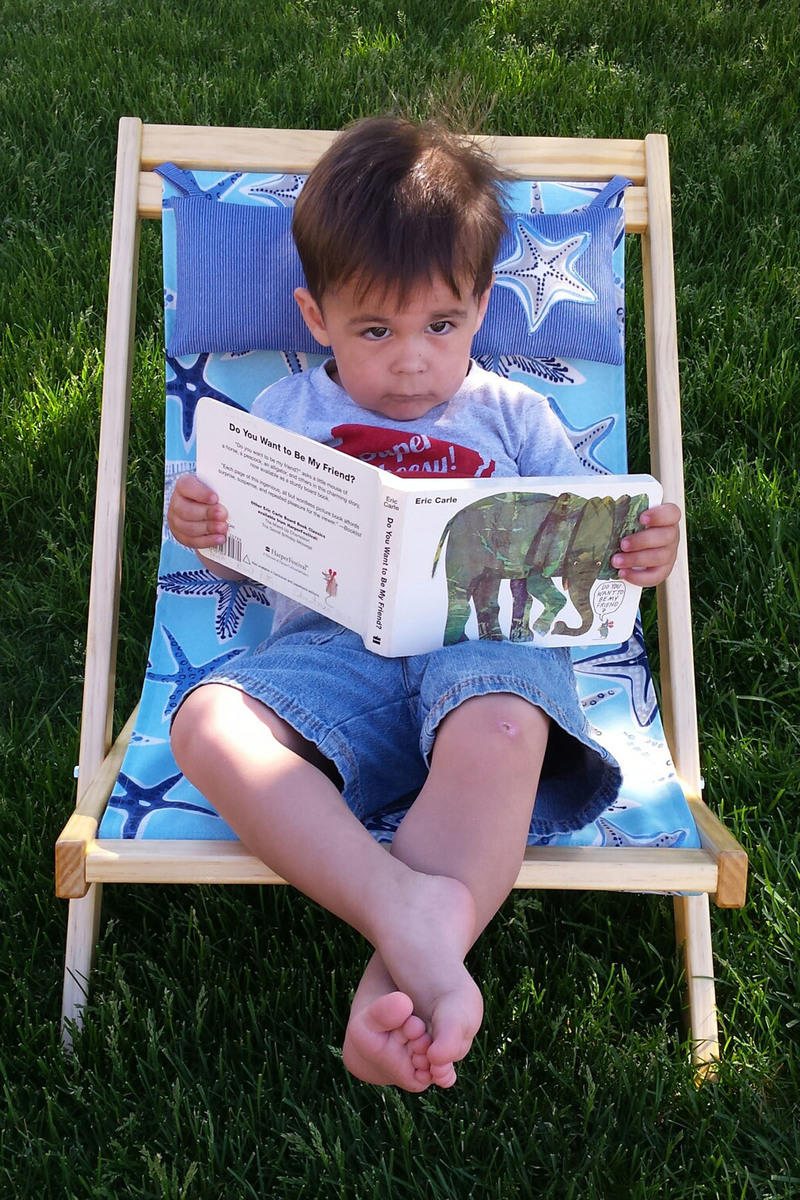
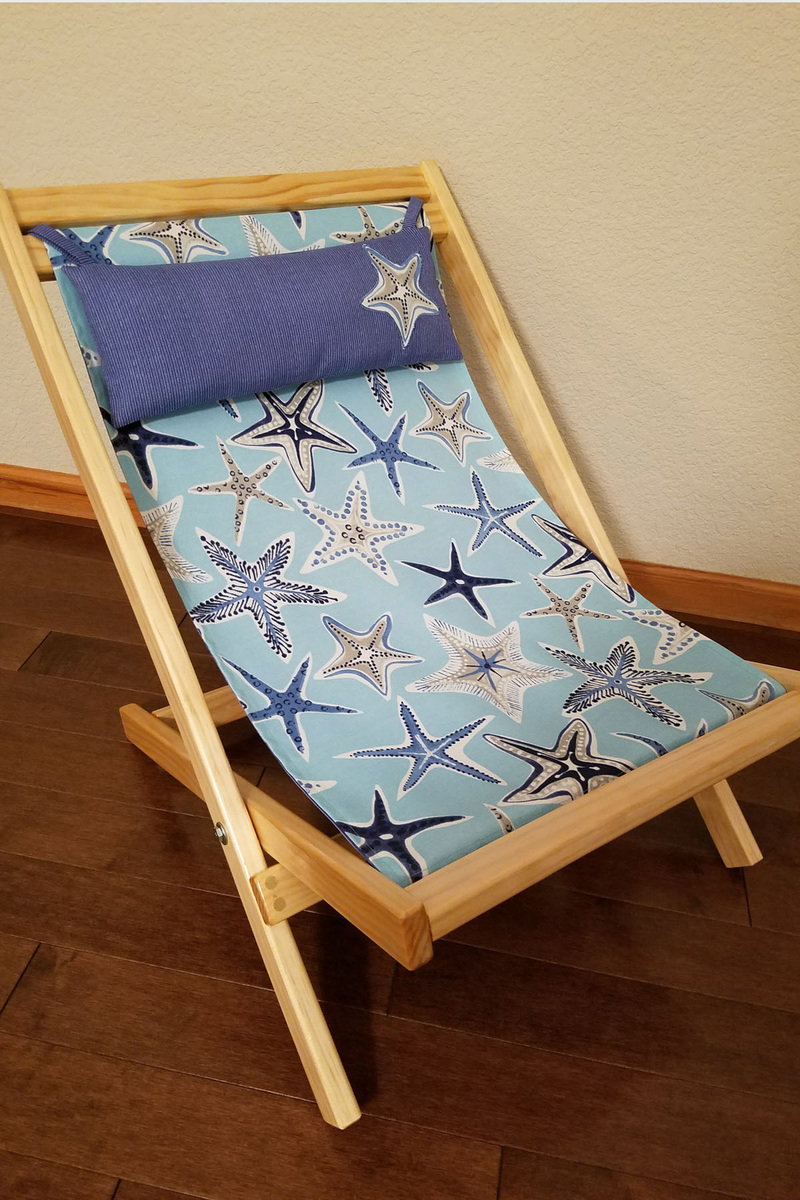
We made this sling chair for our 2 year-old grandson, Cedric.  As you can see, he loves relaxing in it as he 'reads' his books. My husband made the frame and I made the sling. I also added a headrest, made from the same fabric as the sling backing with an appliqued starfish and stuffed with a bit of polyeser fiberfill I had on hand.  The frame was made from select pine and was sealed with clear outdoor varnish. I made the sling and headrest with indoor/outdoor canvas from JoAnn Fabrics so they can be easily cleaned and will hold up to outdoor use. Fabrics are P/K Lifestyles Outdoor Fabric Stars Collide Nautical (front) and Solarium Outdoor Canvas Fiera Marinem Outdoor Canvas Fiera Marine (backing).  Since they are 54 inches wide, I have enough fabric left to make slings for two more chairs.  Now, I just have to talk my husband into making more frames! 

Estimated Cost
$20
Estimated Time Investment
Day Project (6-9 Hours)
Finish Used
Clear outdoor varnish
Recommended Skill Level
Intermediate

Coffee table for the win!

Submitted by sidian3 on Sun, 07/18/2021 - 08:11

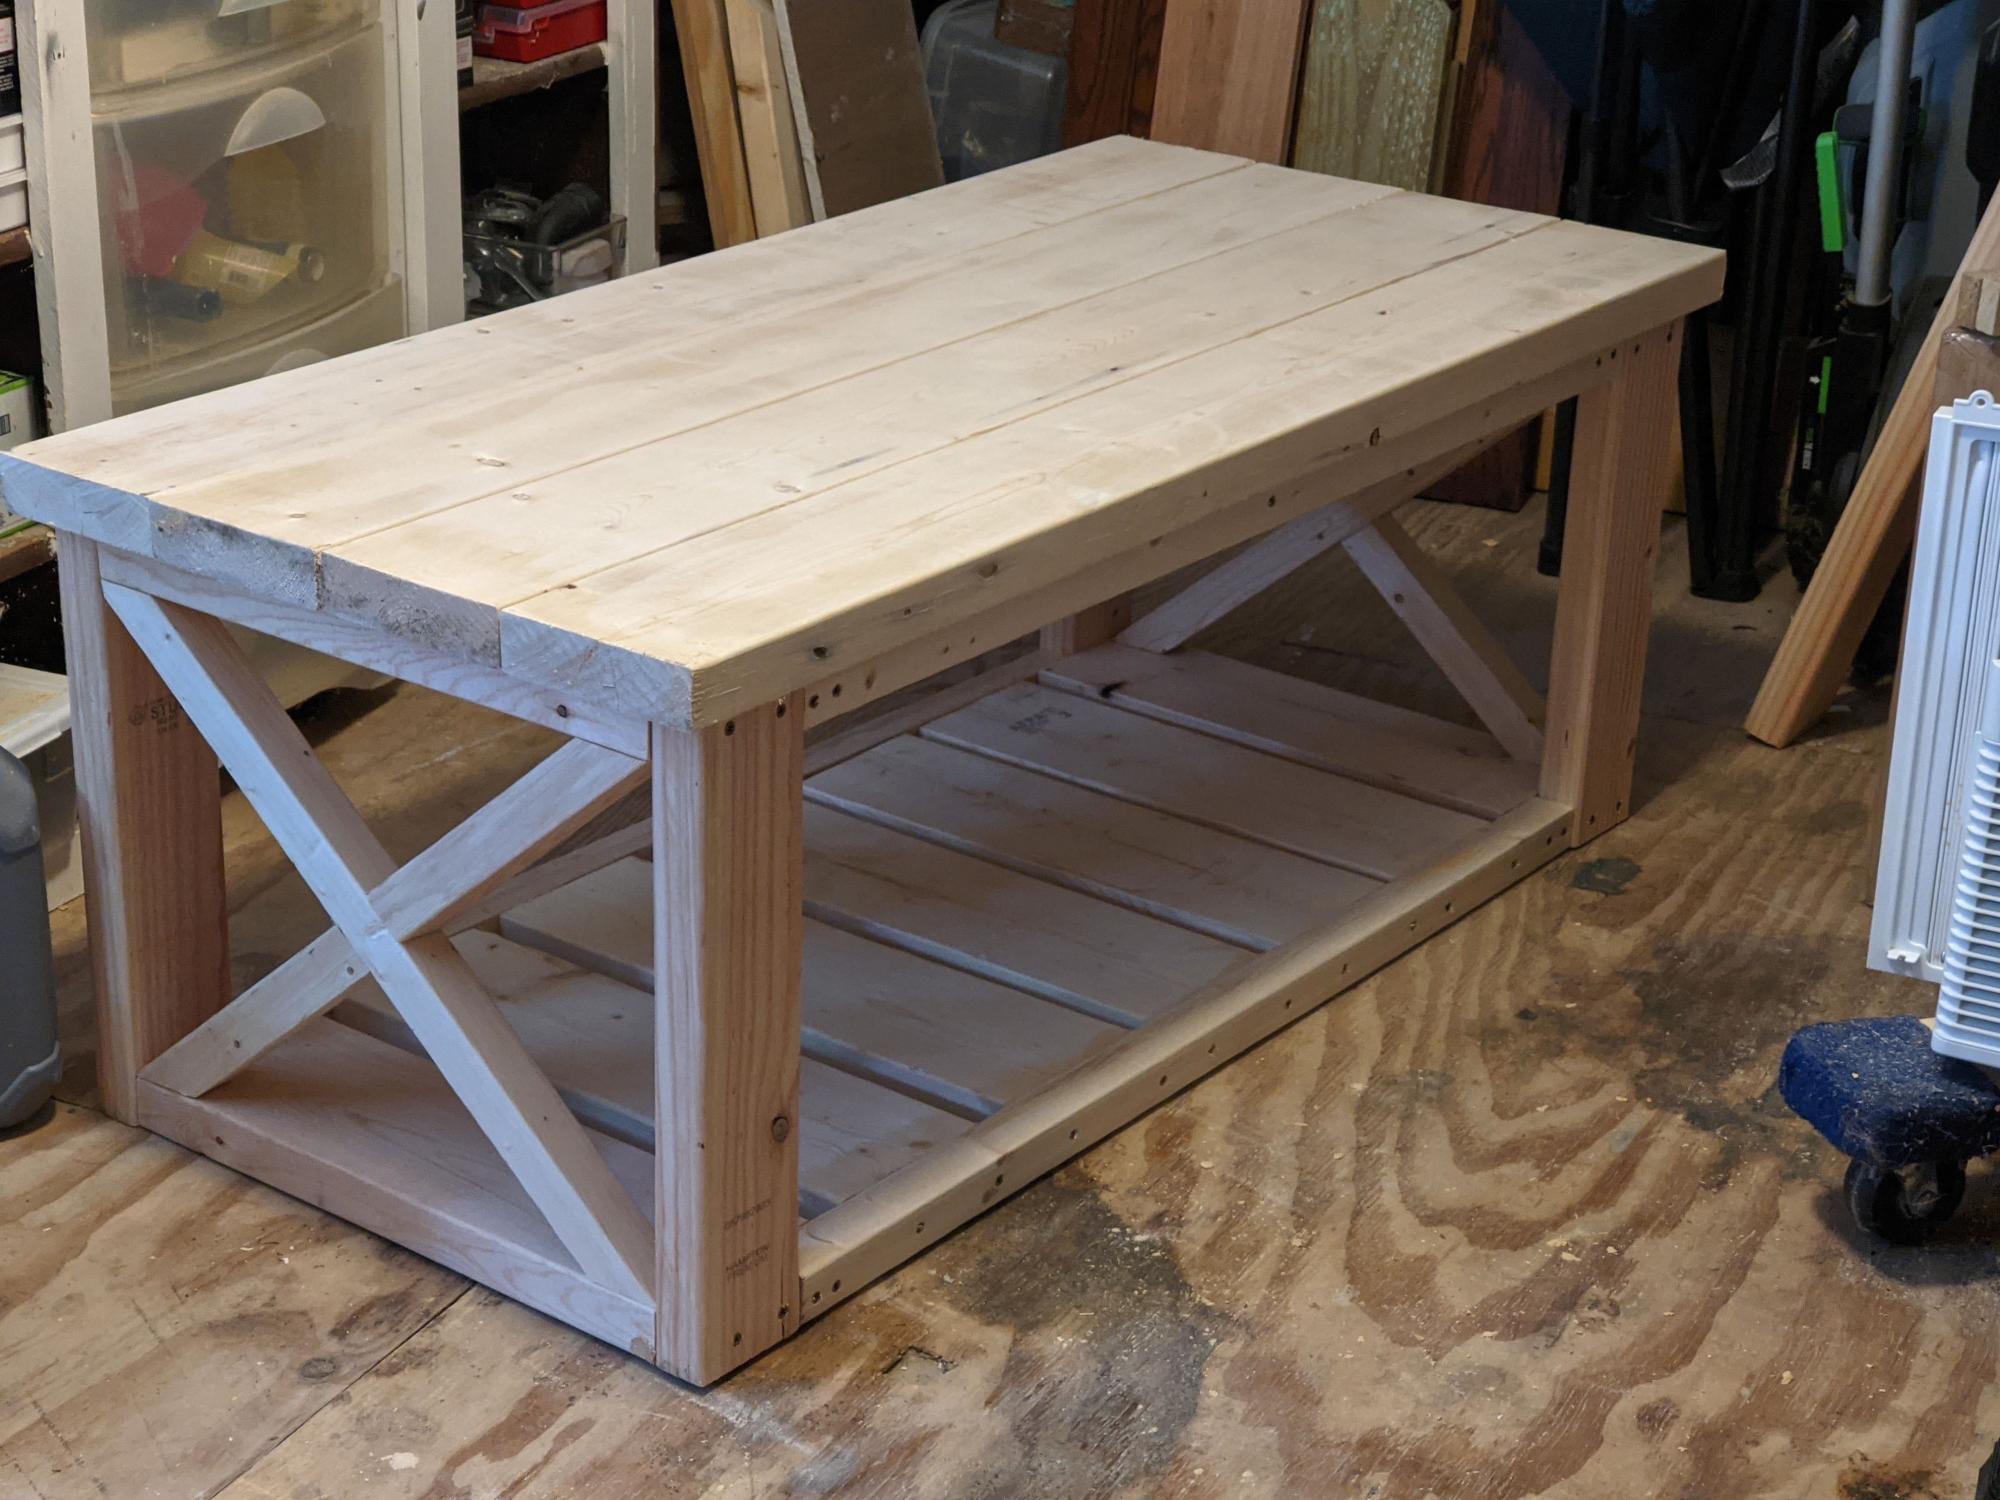
This was by far my favorite project! I haven’t decided on a finish yet. I think i will stain it but still trying to decide.

Comments

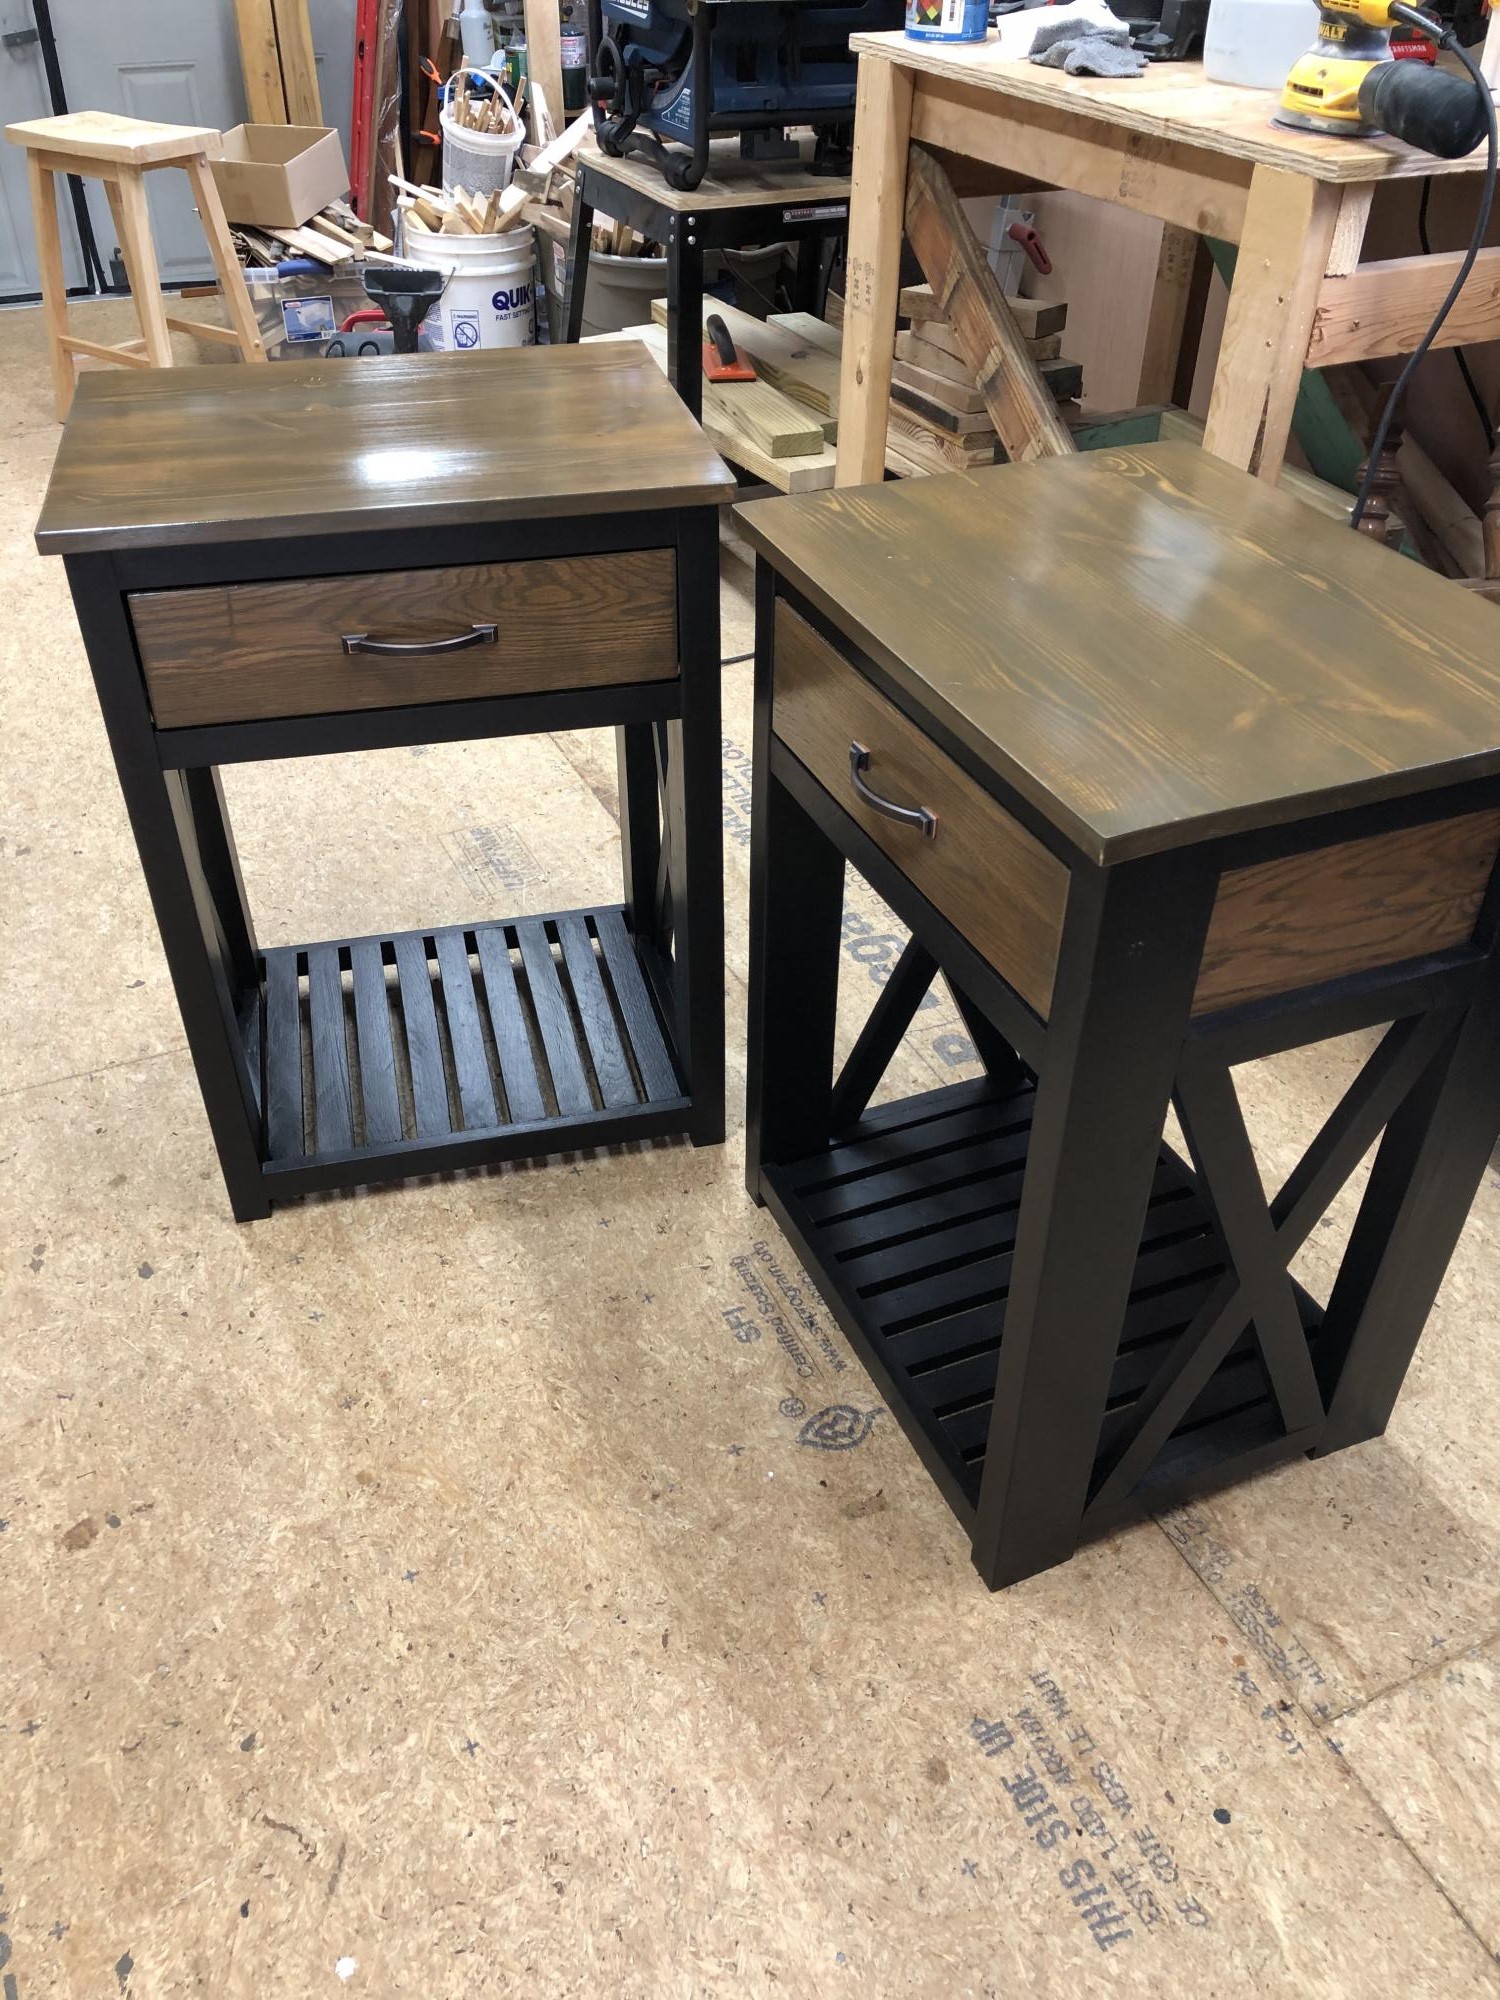
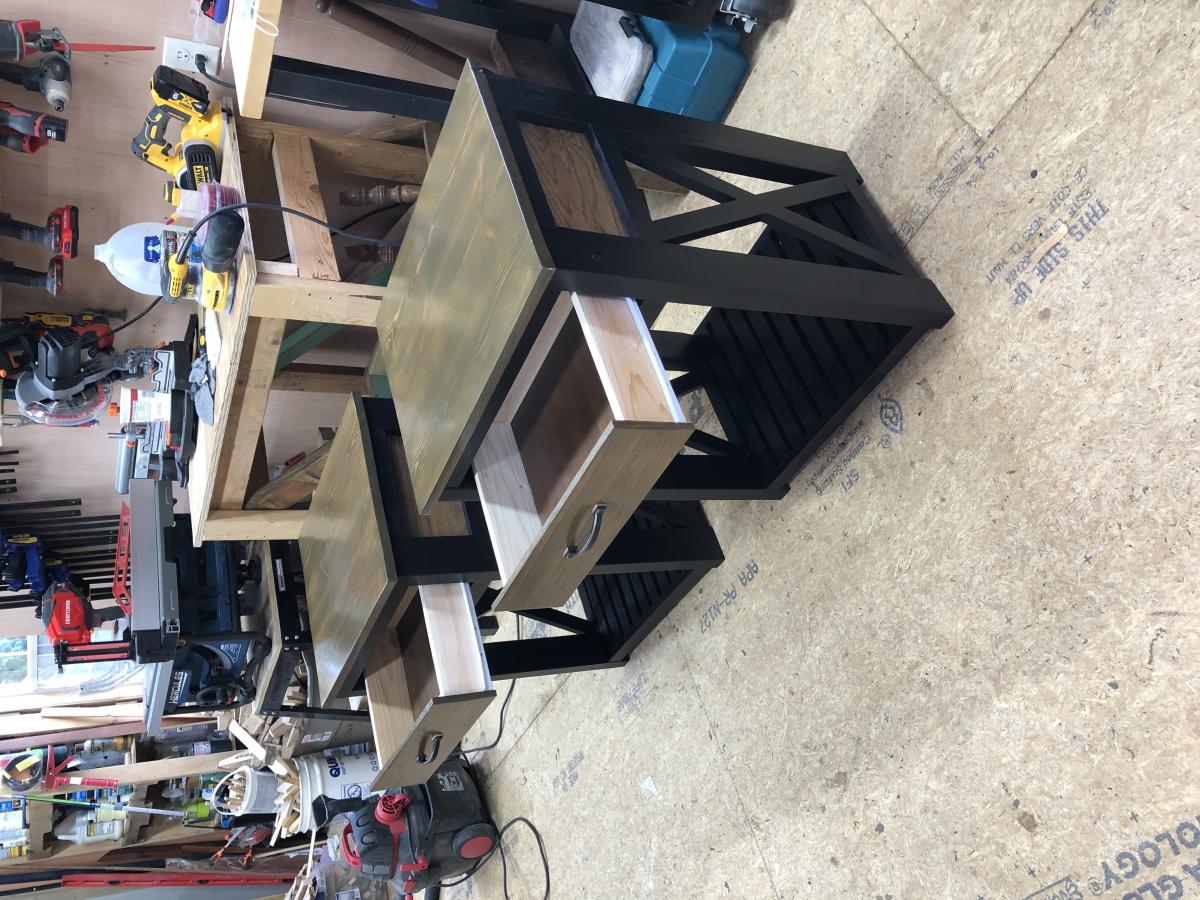
Pottery Barn Style Night Stand (thank you Ana)

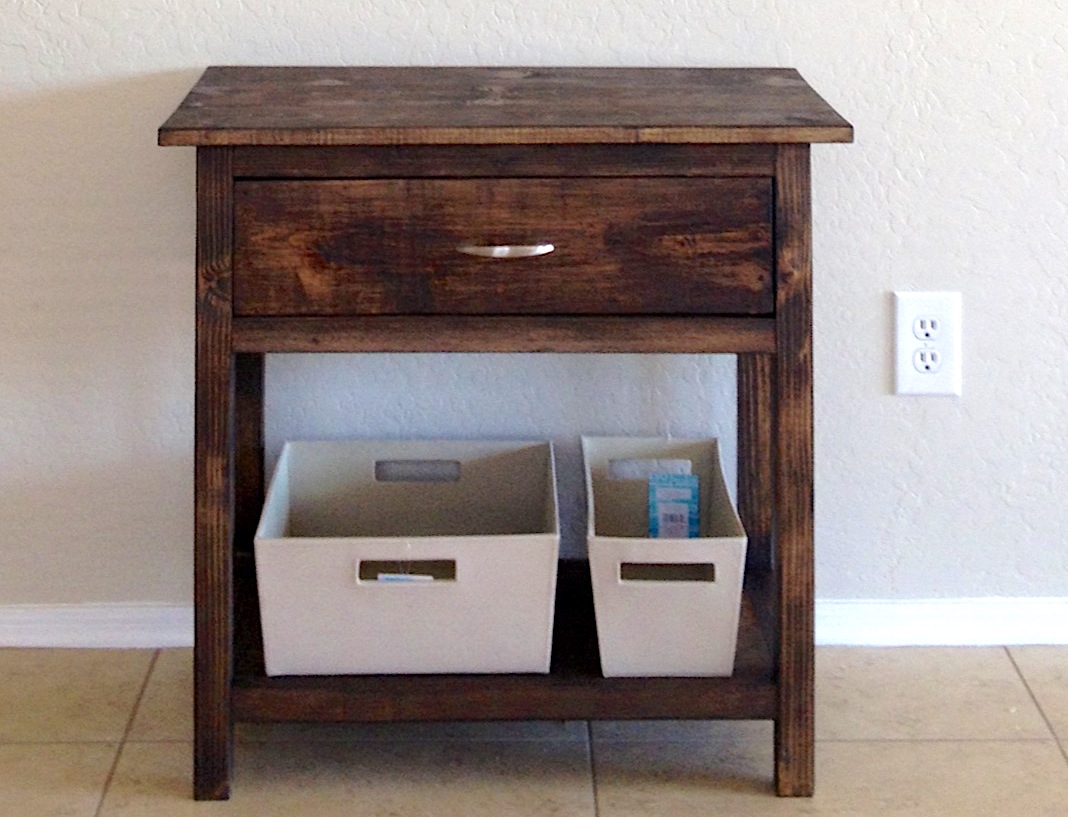
Yesterday I built two of these for my wife and I's room, we just moved from Hawaii to Arizona. The plans were clear and simple, and the end product turned out awesome. Next I will tack the dresser/tv stand. Thank you Ana

Built from Plan(s)
Estimated Cost
$65 for two tables
Estimated Time Investment
Day Project (6-9 Hours)
Finish Used
MiniWax Espresso applied with a paint brush. I used an extremely thin coat.
Recommended Skill Level
Beginner

Comments

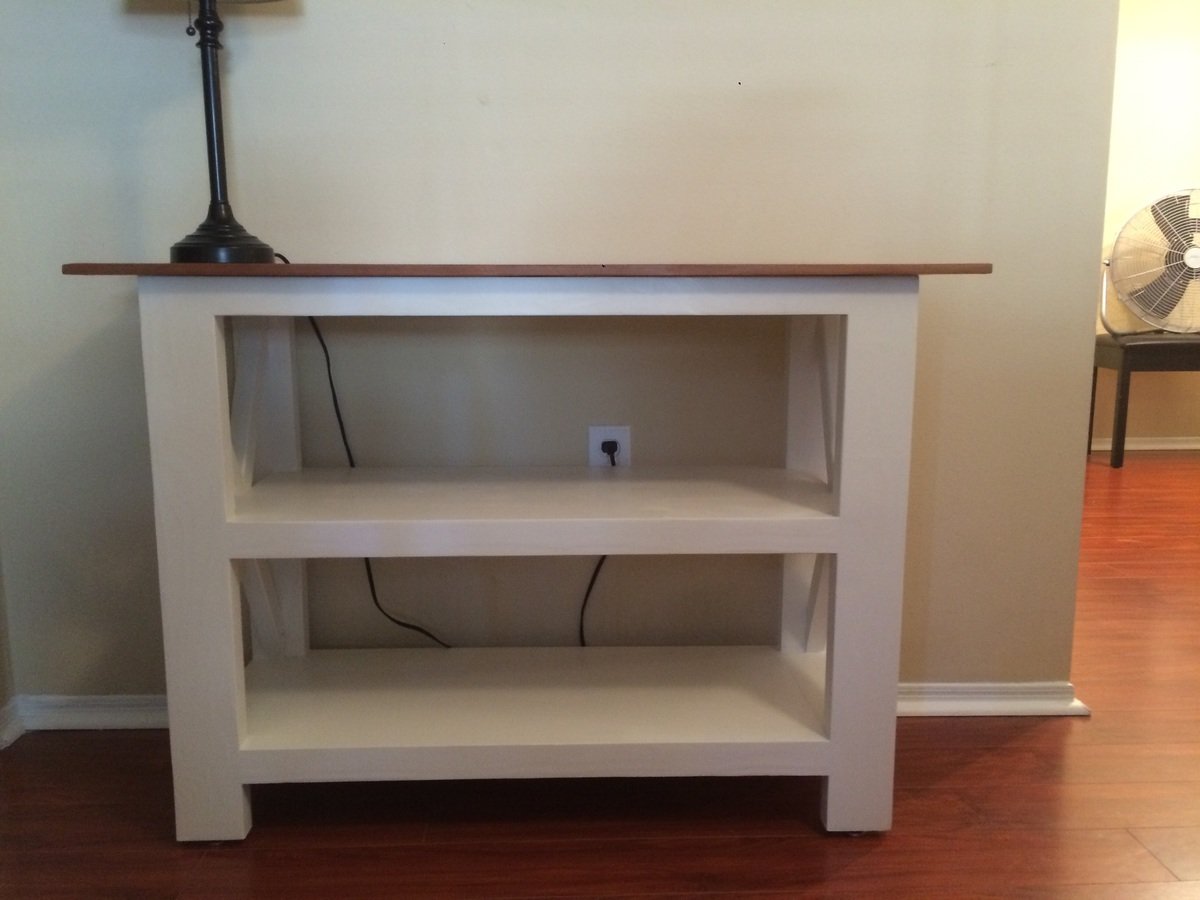
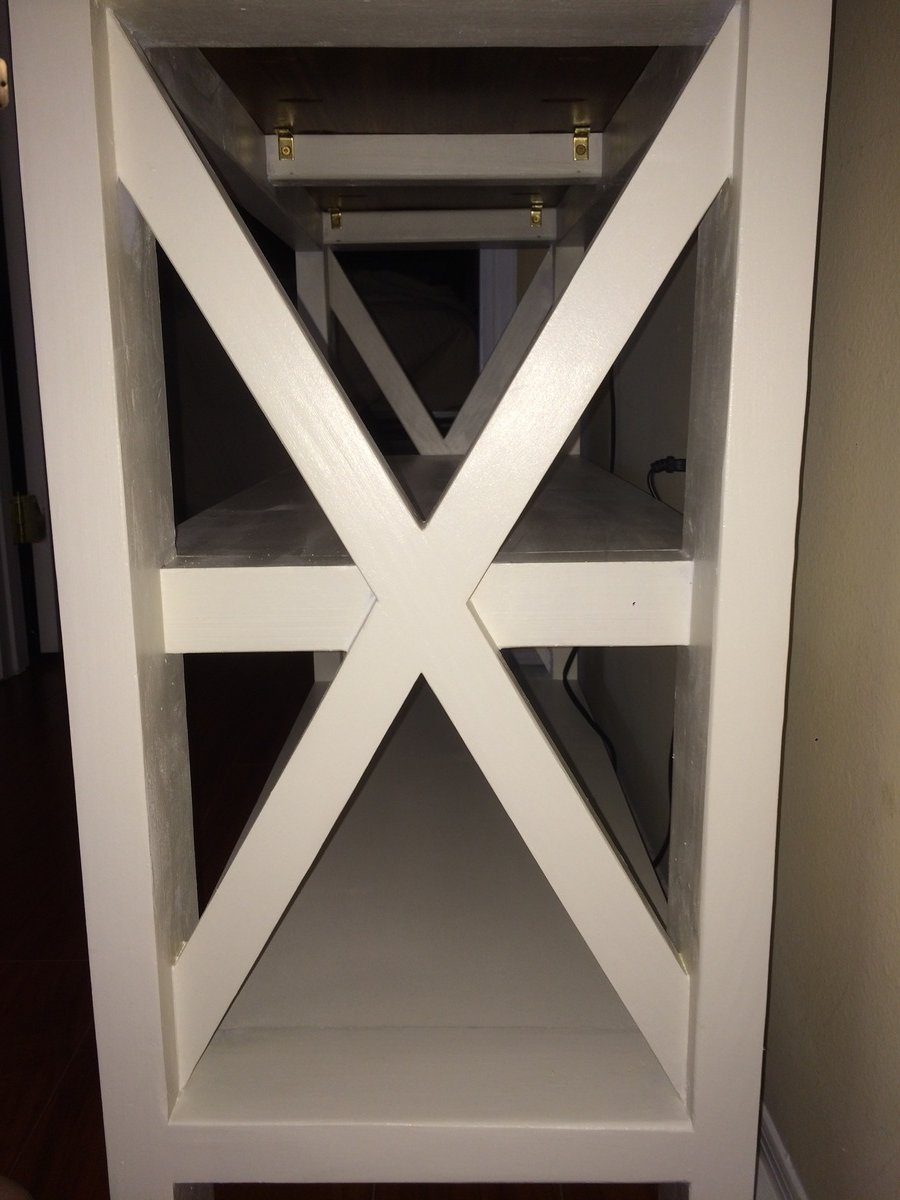
Half-size Rustic X Console

Submitted by Handyman11 on Mon, 03/09/2015 - 10:52

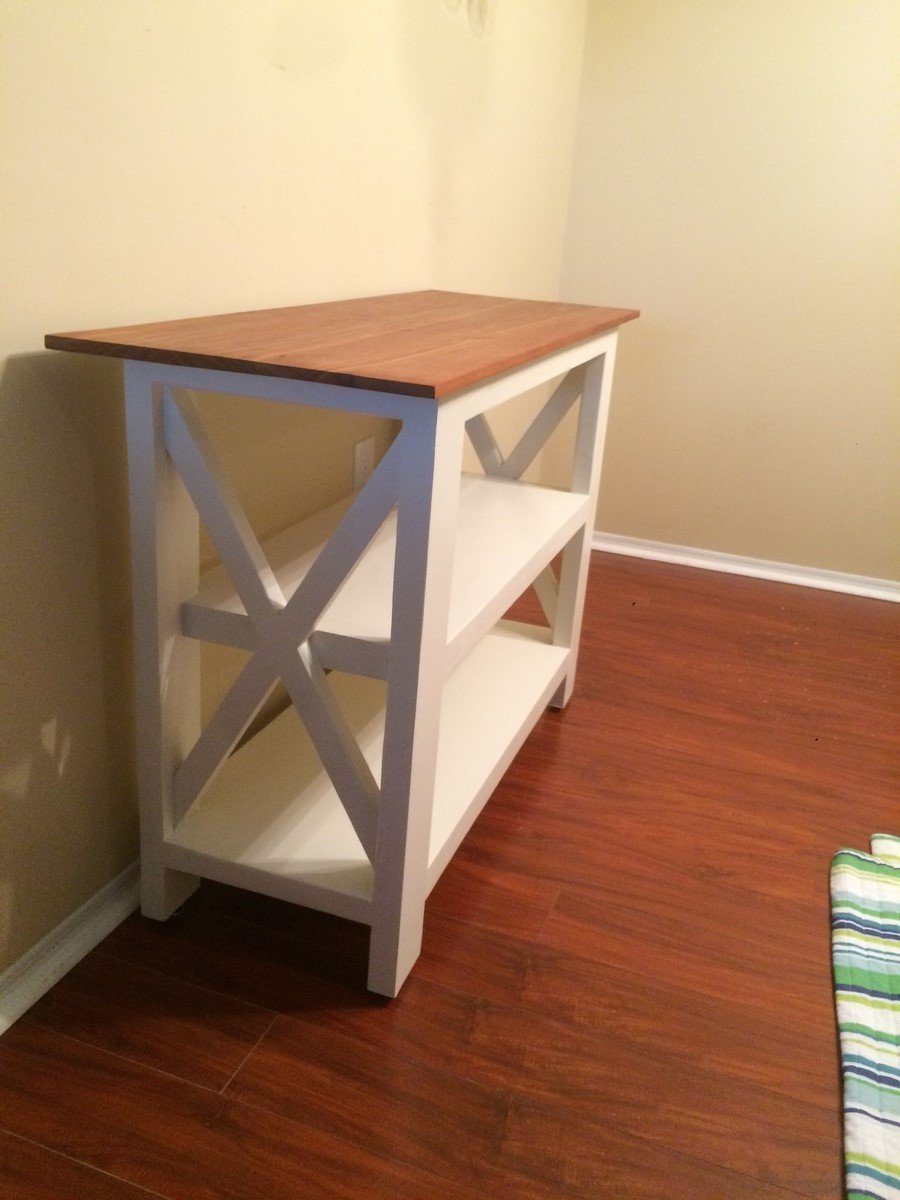
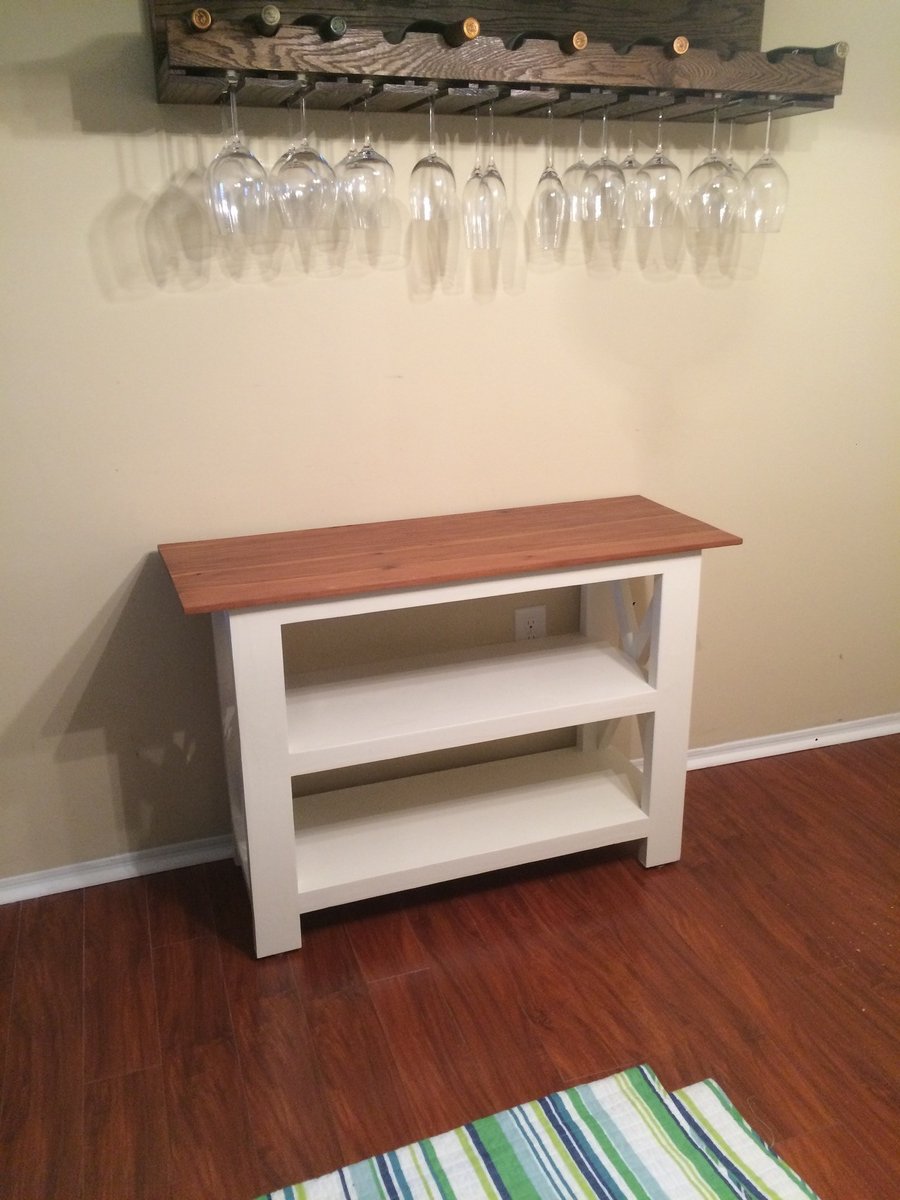
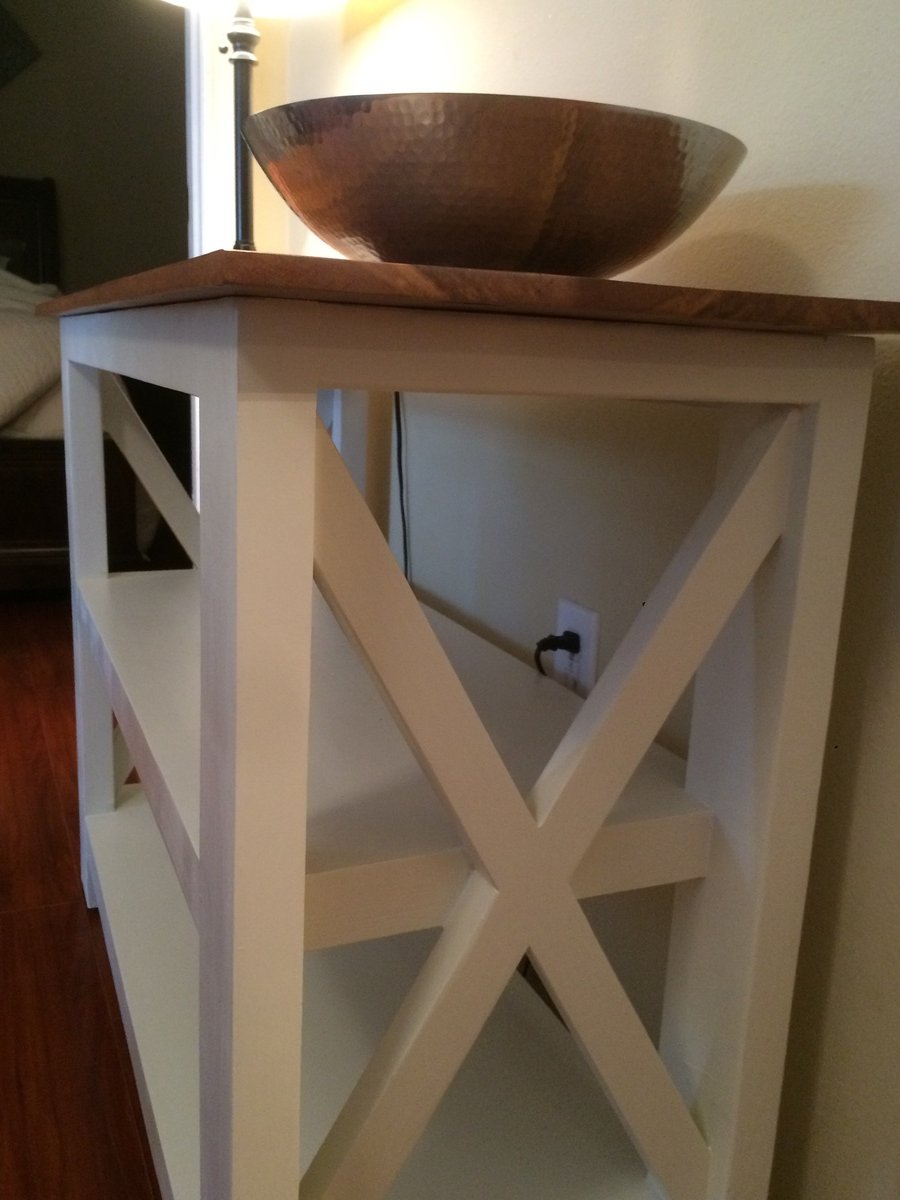
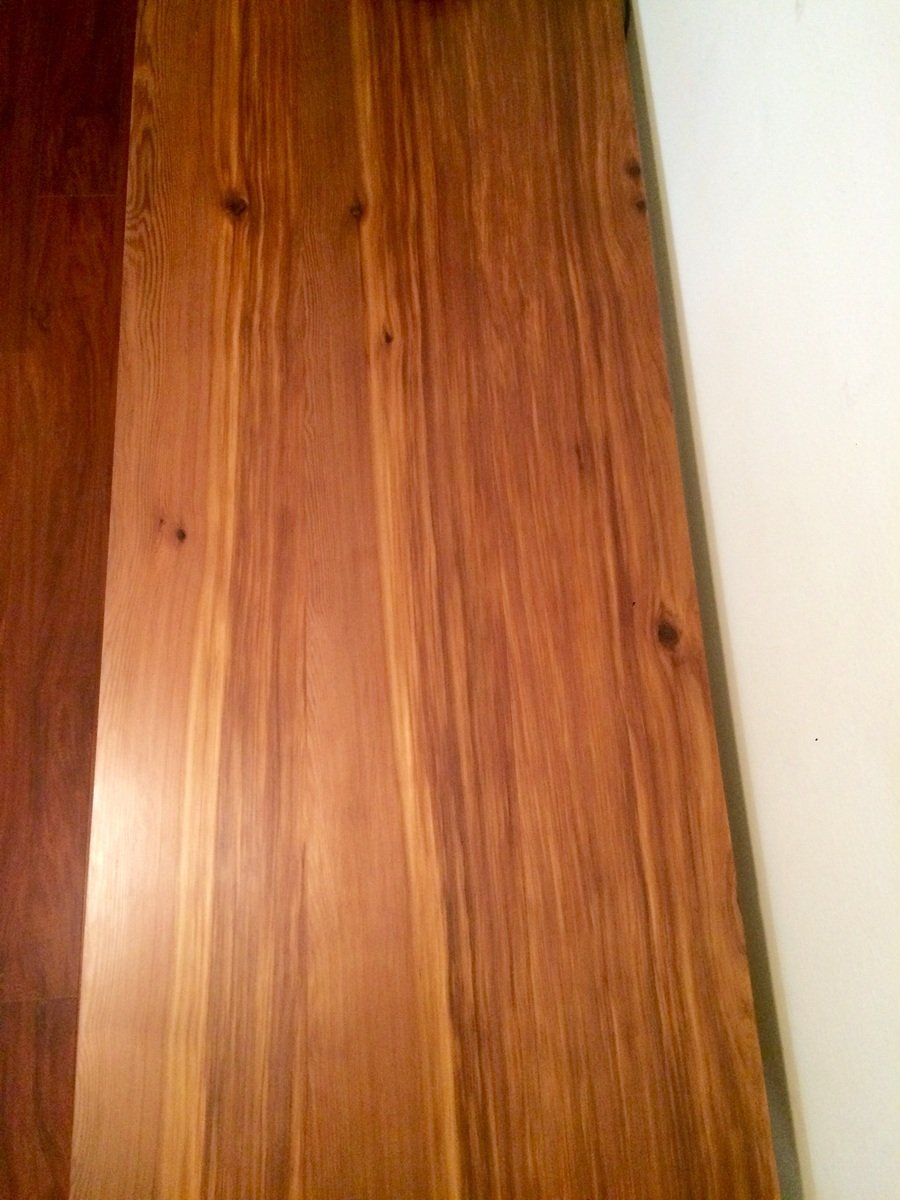
Essentially cut the original plans in half and modified a few things. The major change aside from the size is that is I used cedar plank for the top. I did this because I wanted a more professional look and I simply could resist the beautiful grain of the cedar. Pocket holed and glue cedar prices together after running them through the jointer. Also I connected the top to the frame via L brackets. Sealed the top with 3 layers of satin polyurethane. Apples poly with a 6 in microfiber brush dampened in mineral spirits. Also I painted the majority of the base with a foam roller. Put on slide plates on the bottom to adjust for slight unlevelness. Enjoy!

Estimated Cost
65
Estimated Time Investment
Week Long Project (20 Hours or More)
Recommended Skill Level
Intermediate

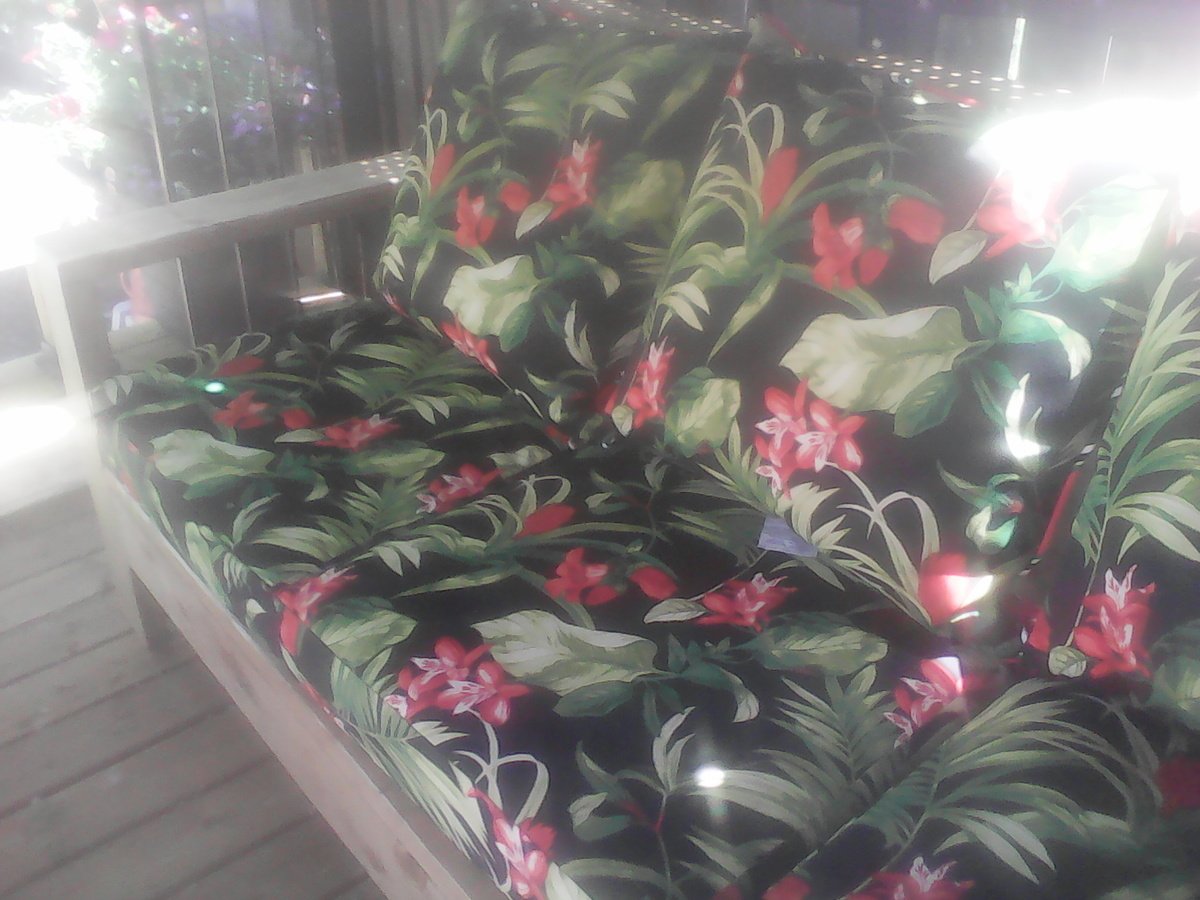
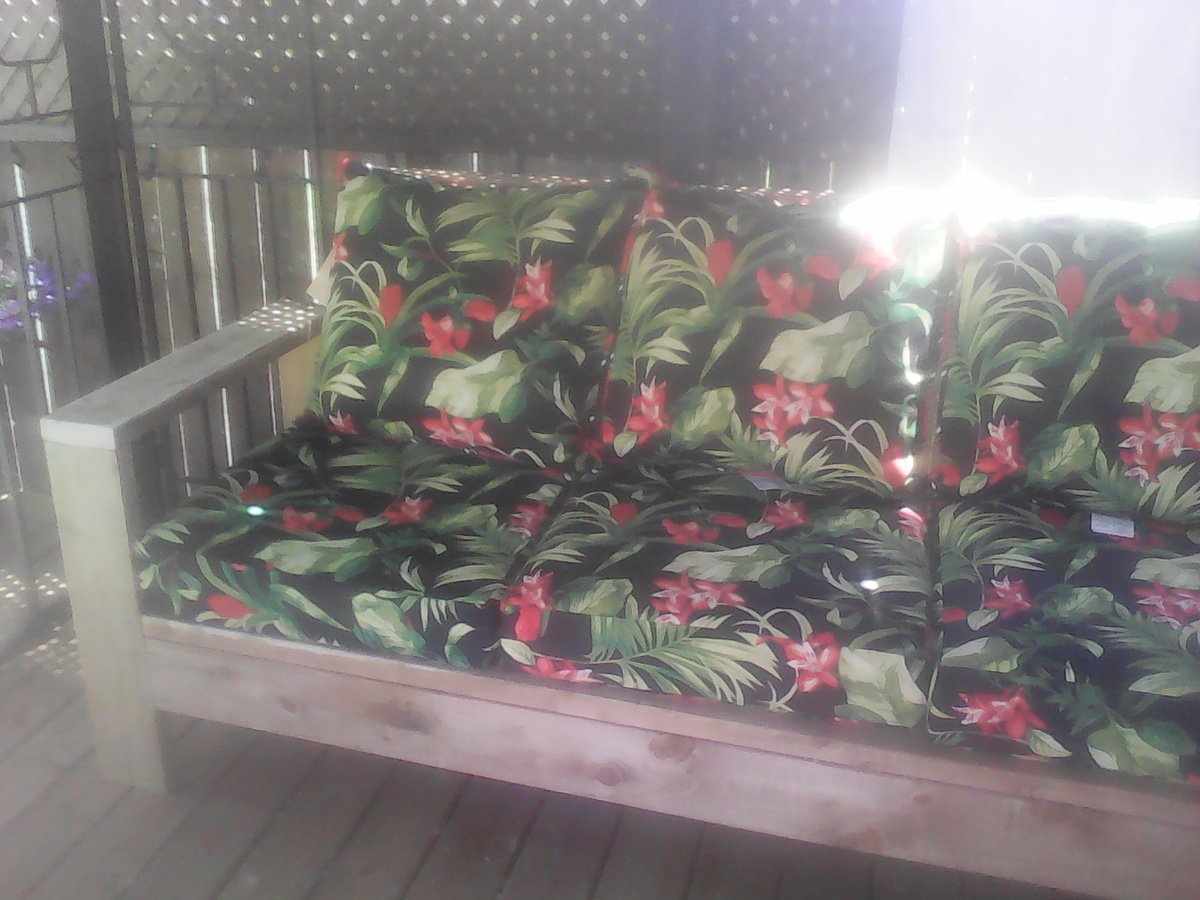
New outdoor sofa

Submitted by Anonymous (not verified) on Wed, 06/07/2017 - 17:57

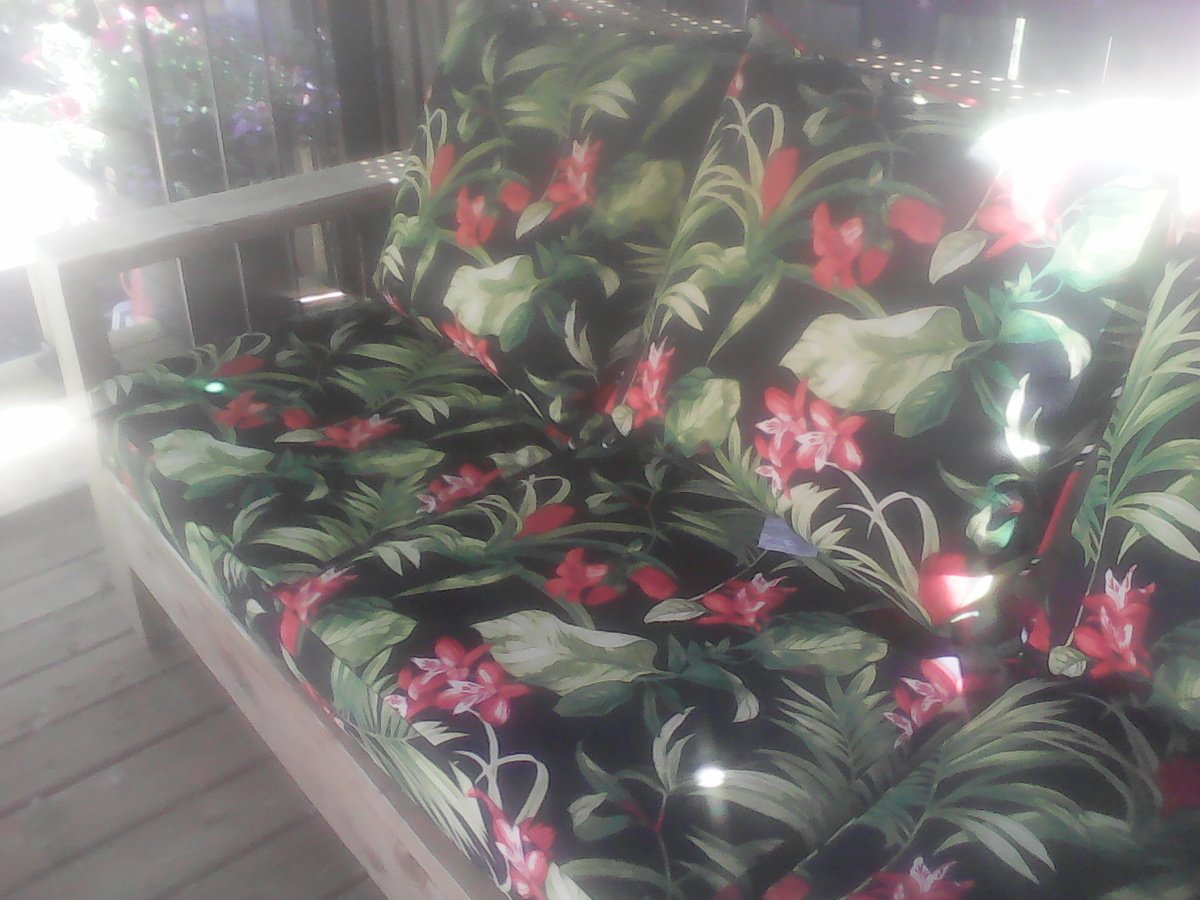
Our new 2x6 outdoor sofa looks great, We liked the look of the 2x6s better then the 2x4s, and we added a taller back to support the cushions better, plus we gave the back a 12 slant for more comfort. Cushions are from Lowe's, 3 fit perfect.

Estimated Cost
140 for PT wood, 140 for 3sets of cushions, $280
Estimated Time Investment
Afternoon Project (3-6 Hours)
Finish Used
The picture is plain PT wood so far, will stain later
Recommended Skill Level
Beginner

Play Kitchen and Refrigerator

Submitted by Brandi35 on Sat, 07/31/2021 - 09:05

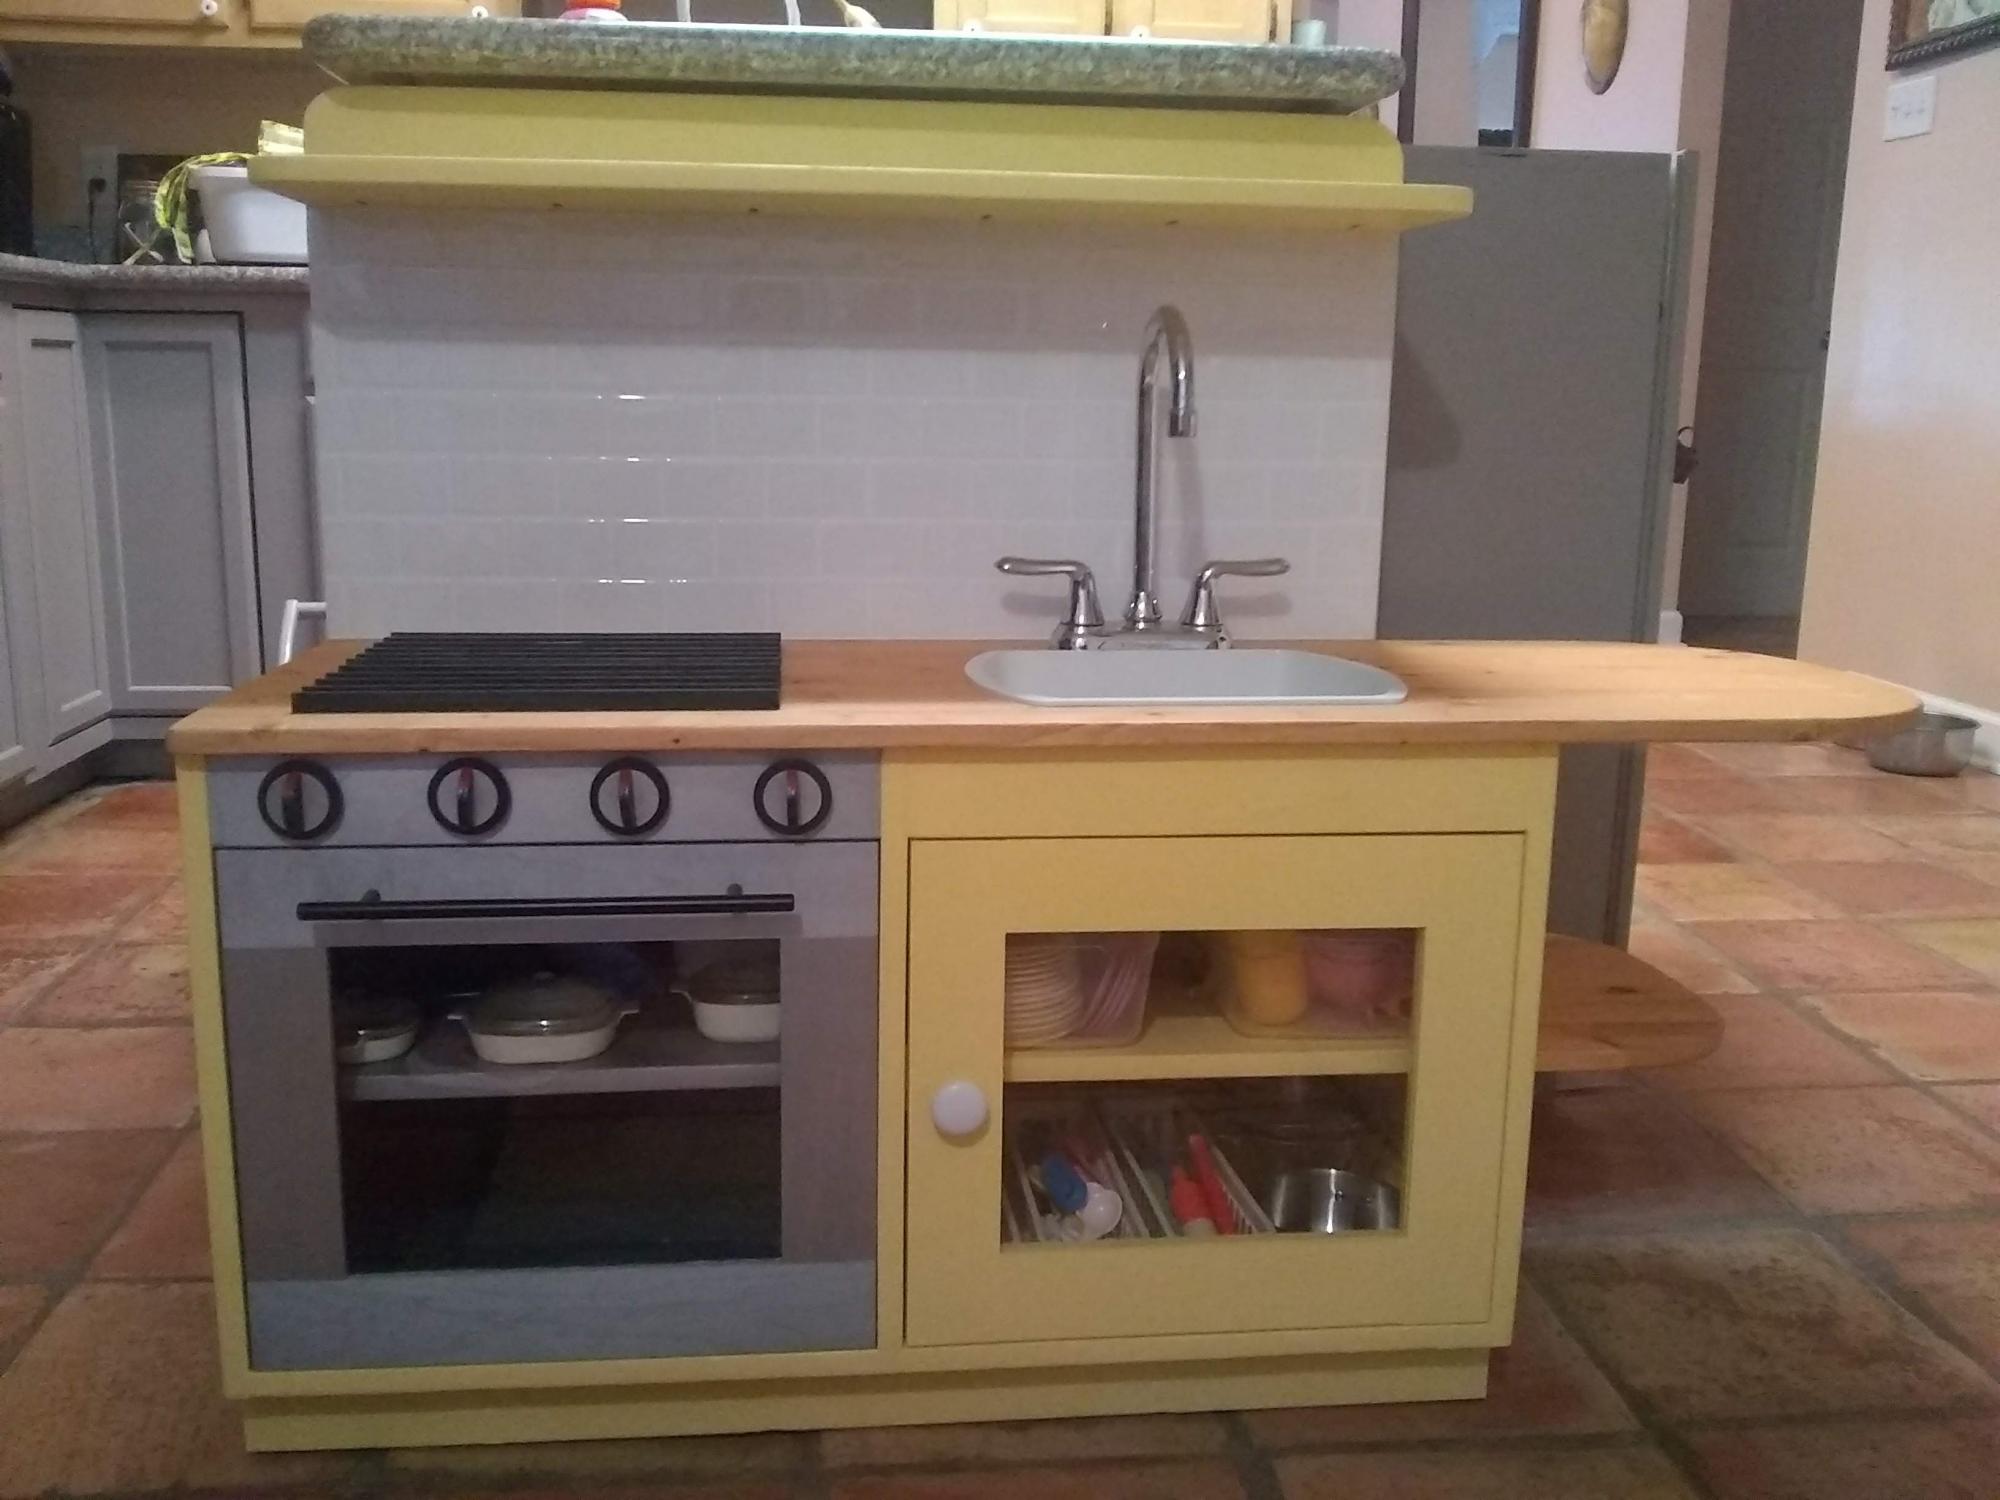
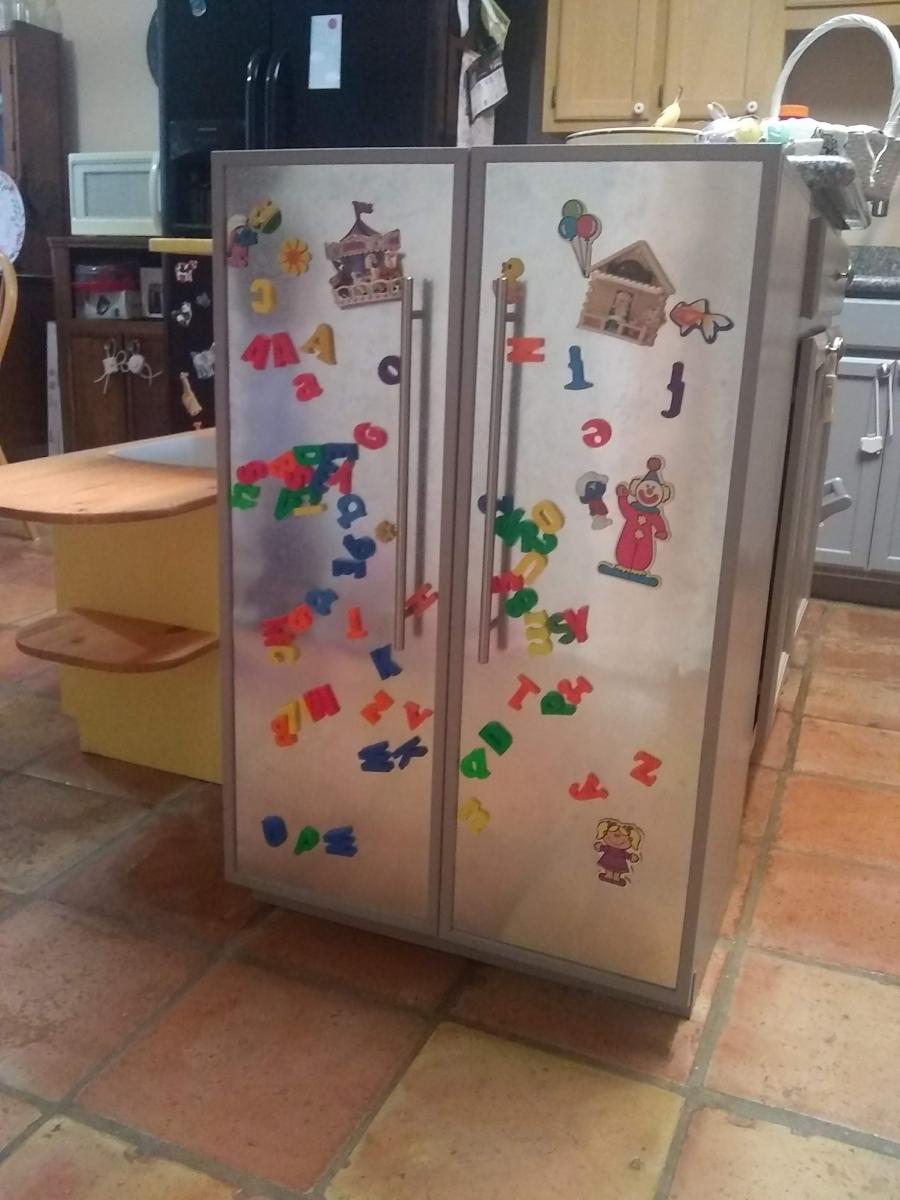
Play kitchen for my 2 year old. She especially loves turning the stove knobs and her own magnetic refrigerator! Used the plans as a base model and modified them for my specific needs and wants.

Estimated Time Investment
Weekend Project (10-20 Hours)

Comments

Rustic Table Completed...just needs to be finished! So proud!

Submitted by Octlibre1 on Sun, 04/21/2013 - 16:51

Rustic table plans with slight modification of the width and the legs were mounted differently for a little added flair. So many finishes to choose from....
Built from Plan(s)
Estimated Cost
$115 for poplar wood and $100 for legs made by local artist from poplar
Estimated Time Investment
Afternoon Project (3-6 Hours)
Finish Used
None yet!
Recommended Skill Level
Beginner

X-Frame Farm Table

Submitted by whittlevin on Fri, 03/13/2015 - 12:48

This was my first attempt at a farm table. I found the fancy x plan for inspiration. The length is 6ft. I had to modify all of the measurements. All of the boards came off my grandad's old barn. The posts are laminated together from guide posts from his corral. There is a lot of history and character to the table. I did have to make the bench to match it. I'll post pictures of that soon. Most importatnly, my wife loves it!!!! Happy wife, happy life!!!
Built from Plan(s)
Estimated Time Investment
Week Long Project (20 Hours or More)
Recommended Skill Level
Intermediate

Comments

DBoggs56

Mon, 05/18/2015 - 12:00

Hello, awesome job on the table. Was wondering if you would mind sharing the table top dimensions. I have a smaller space and was thinking of modifying to make something in the 6ft range as well. Thanks

Farmhouse King Bed

Submitted by wangbw on Sun, 06/11/2017 - 15:36

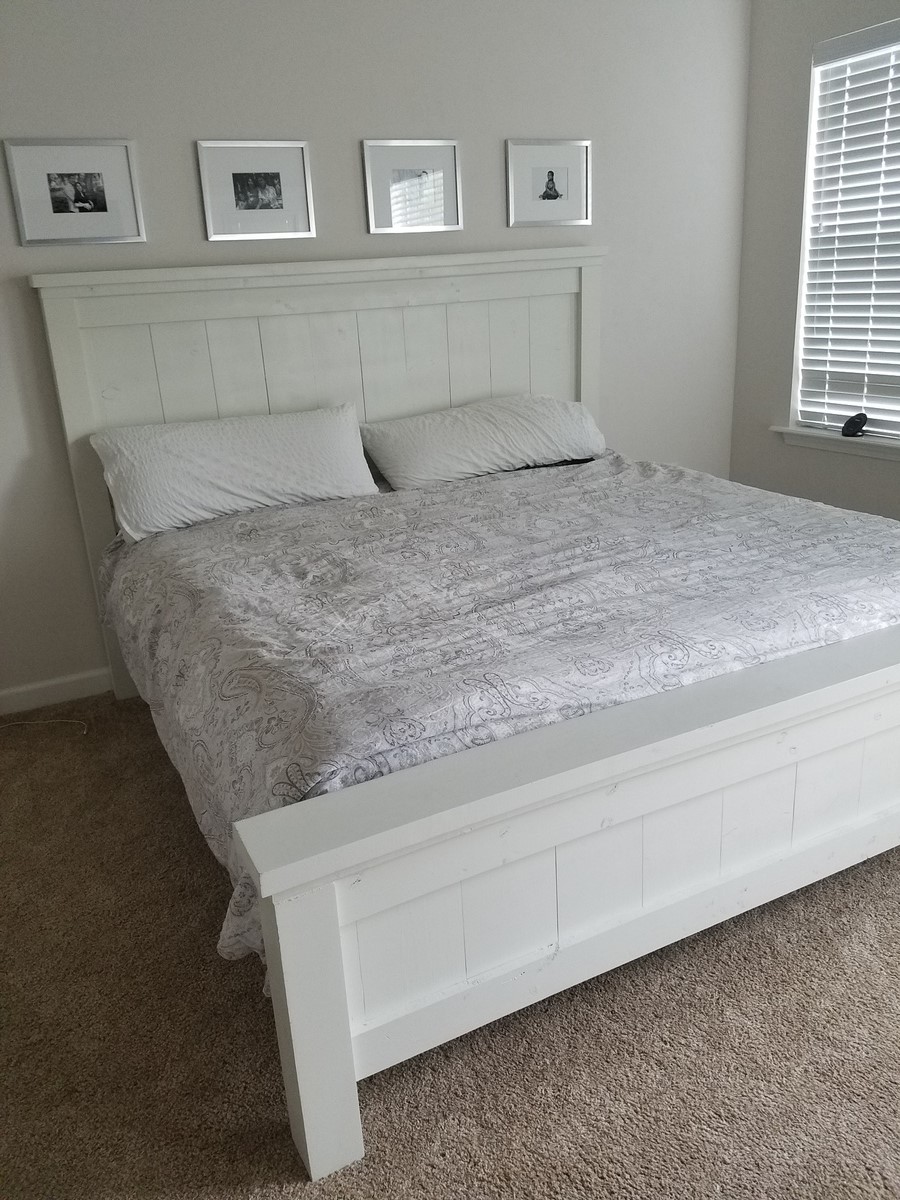
Took a little longer than I anticipated.  By far the hardest part was finding straight boards at Home Depot.  Used Cedar 4x4s for the post to avoid treated wood.  Had to make a few adjustments for our king mattress, but well worth it.   Bed and platform came in right at $300 for the wood, screws, paint, etc.  Thanks for the plans!

Estimated Cost
$300
Estimated Time Investment
Weekend Project (10-20 Hours)
Recommended Skill Level
Intermediate

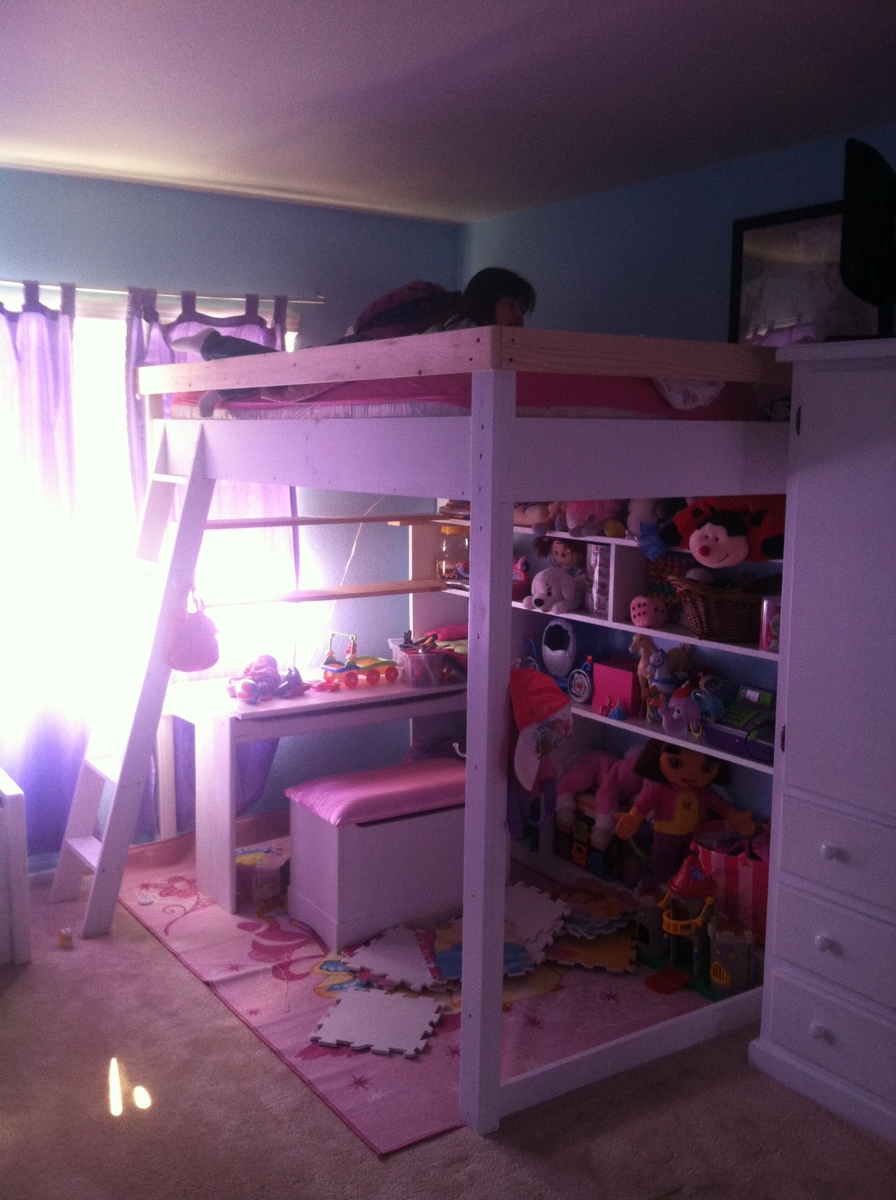
Platform bed for my daughter

Submitted by Chris 1975 on Thu, 04/25/2013 - 11:58

So after I built the one for my son, my daughter was very jealous.... now she is more jazzed than my son to have hers....

Estimated Cost
$250
Estimated Time Investment
Week Long Project (20 Hours or More)
Recommended Skill Level
Intermediate

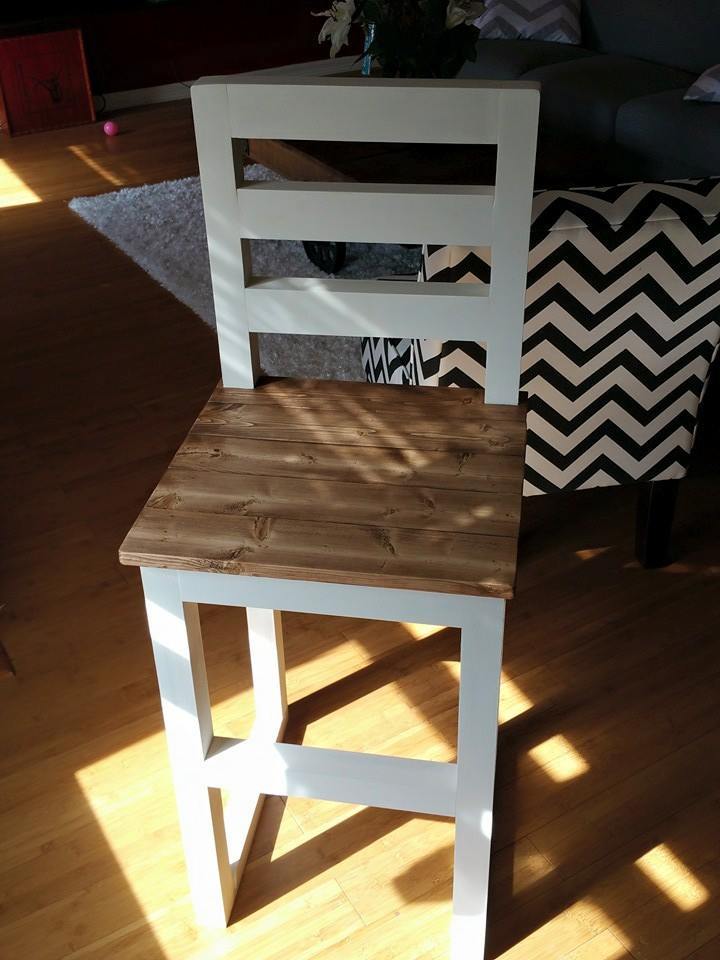
Counter height bar stools

Love my new bar stool, now to build 3 more.    I think it turned out great.

Built from Plan(s)
Estimated Time Investment
Afternoon Project (3-6 Hours)
Finish Used
I used dark walnut for the stain for the seat and painted the rest.
Recommended Skill Level
Beginner

Comments

Entryway Table

Submitted by Anonymous (not verified) on Tue, 06/13/2017 - 11:58

Great plans. Made a height adjustment to fit better in the space. I'm pretty new to the game but this was a great project to work with the Kreg Jig. Make sure if you are going to use the Kreg Jig to attach the table top, drill your pocket holes on the under side of the frame BEFORE you install your middle shelf... I made that mistake and had to live with counter sinking 2 1/2 screws from the top. For the door hardward: Home Depot had awning pulleys that allowed you to take the pin out for easy extraction, make sure to find some that have little spacers in the middle so you can keep the wheel from locking up. 


Really excited to keep on building!

Built from Plan(s)
Estimated Cost
$300
Estimated Time Investment
Weekend Project (10-20 Hours)
Finish Used
White Paint
Dark Walnut Semi-Gloss Stain with Poly
Recommended Skill Level
Beginner

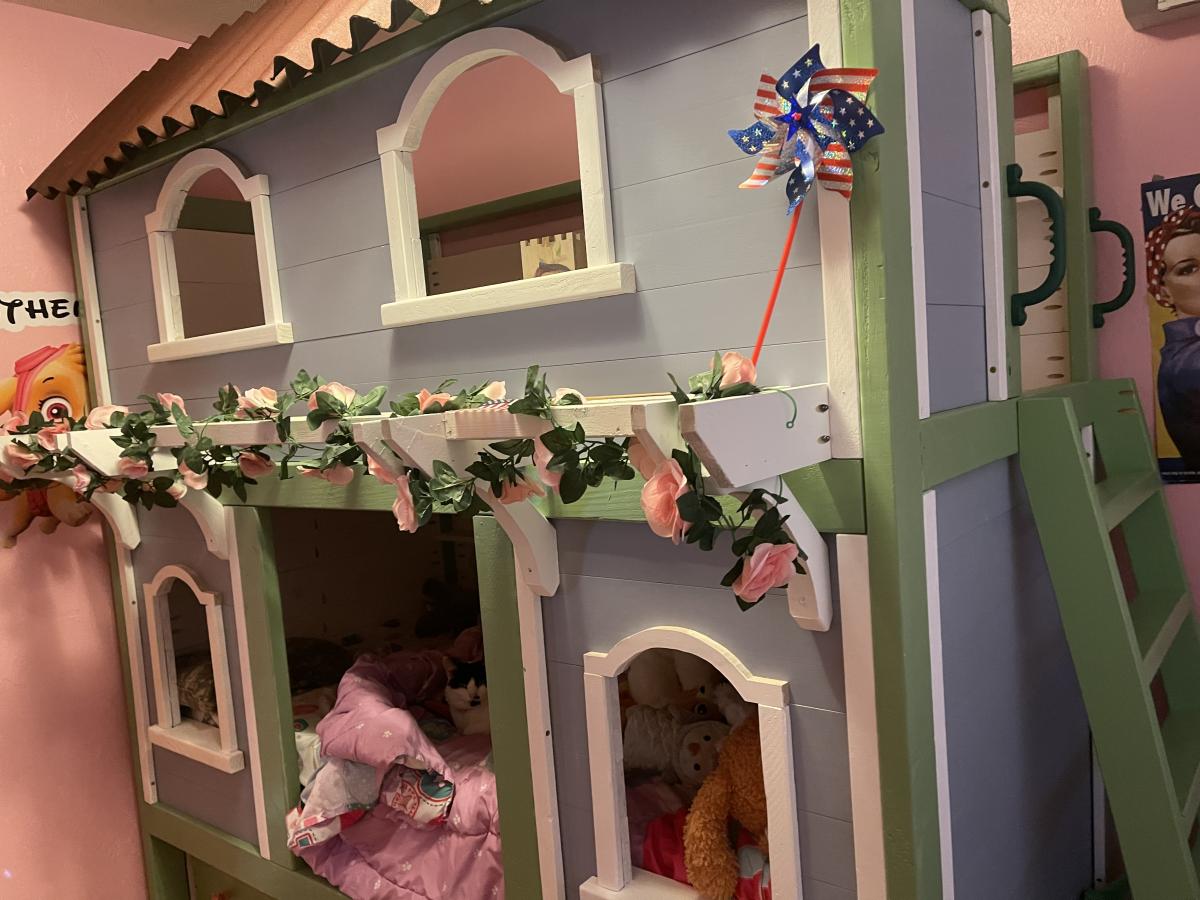
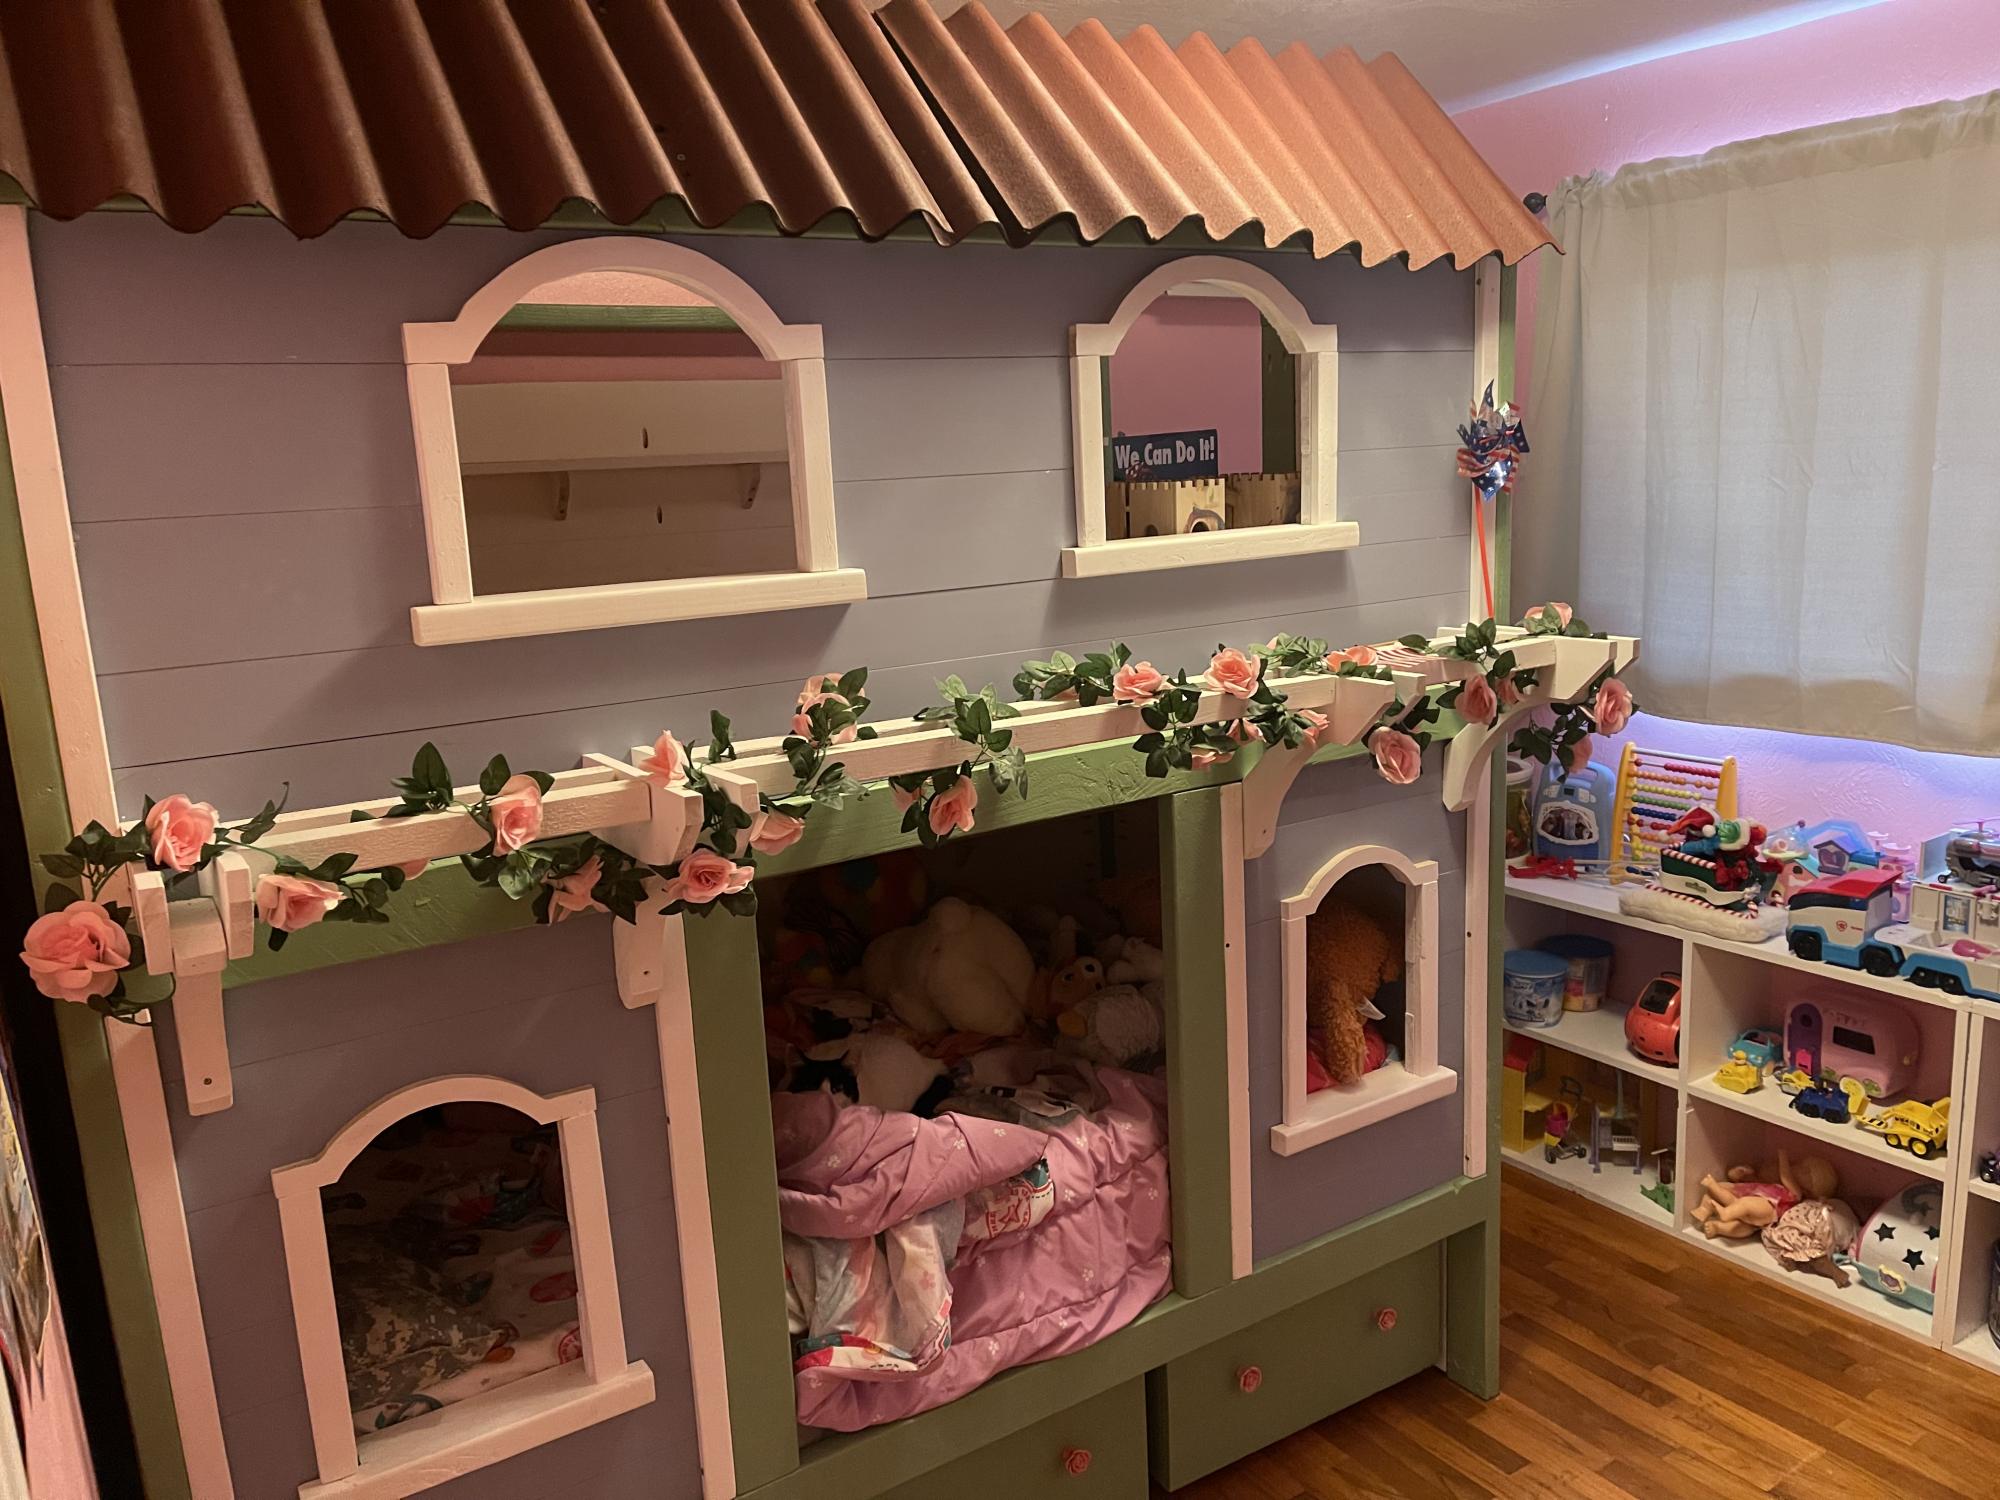
Sweet Pea Bunk Bed

Submitted by johnnylaws on Sun, 08/22/2021 - 06:07

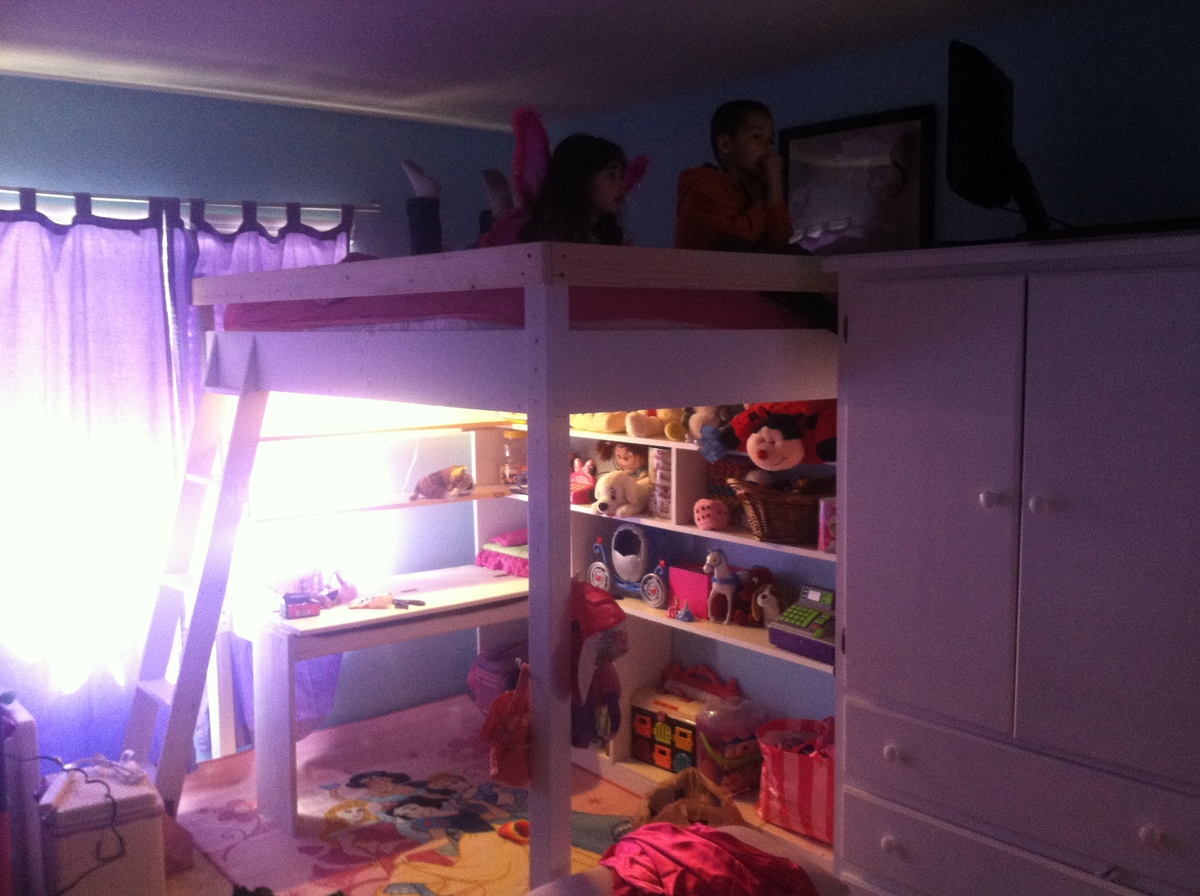
So thankful for these plans. Took me weeks of on-again / off-again work - I’m slow and have a busy schedule. At times frustrating and challenging (I think I overestimated my abilities when I chose this project). But totally worth it.

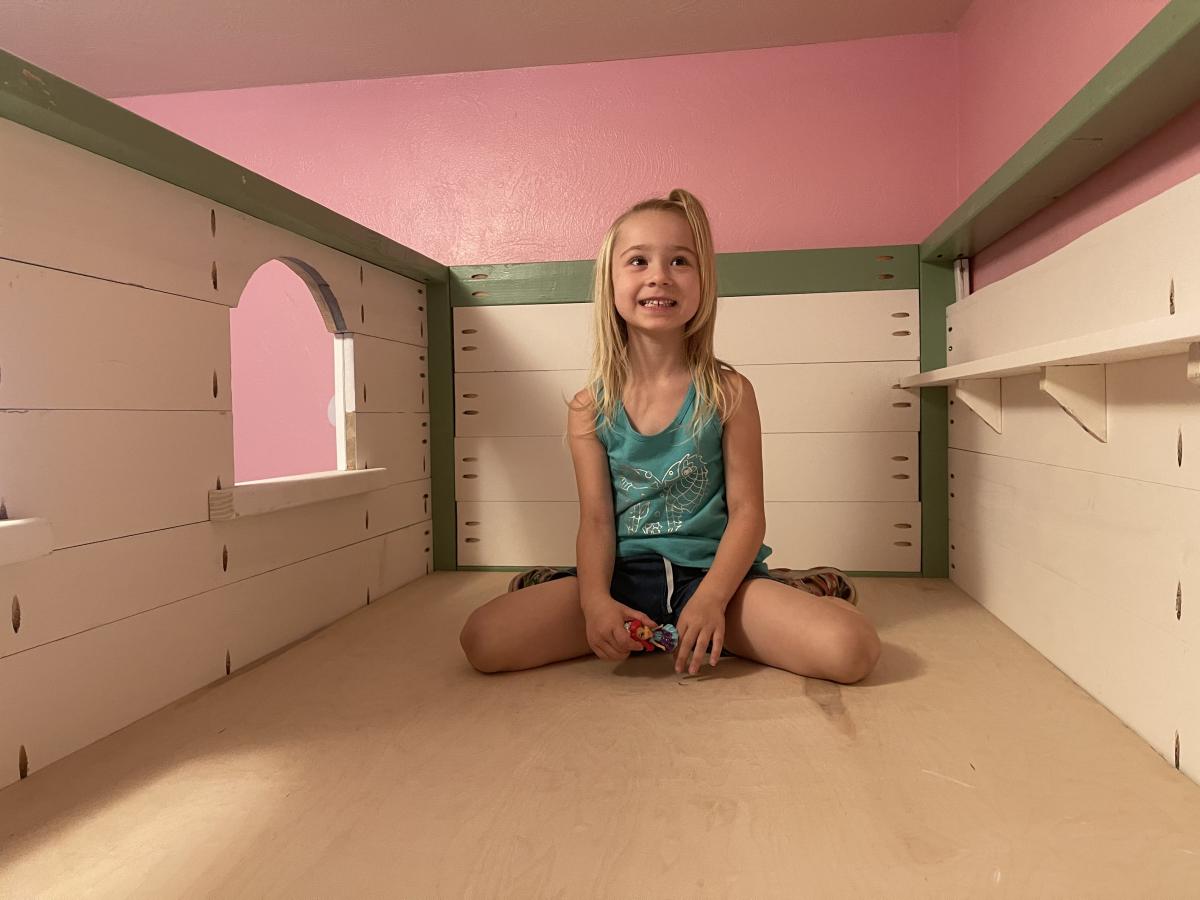
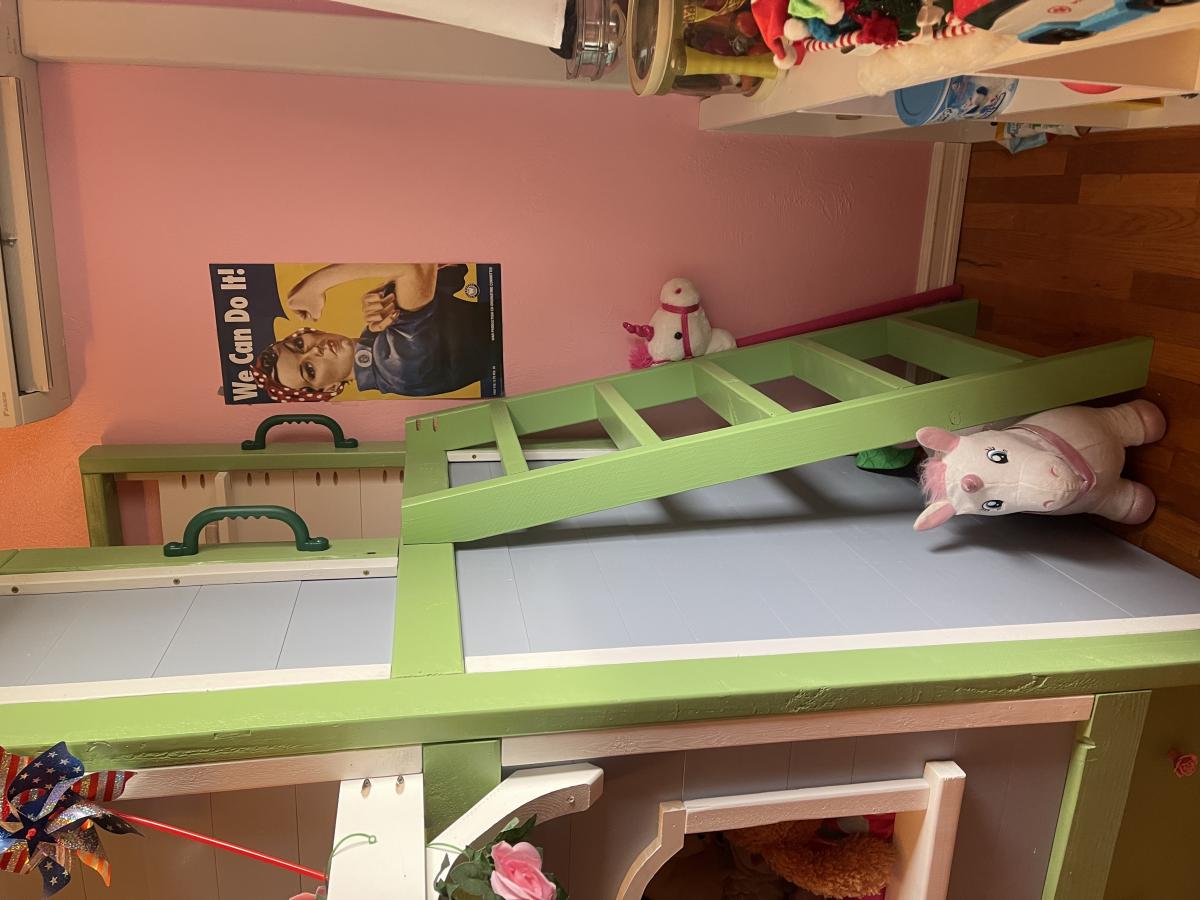
Made the upper story a play area. Added a ladder due to limited space. Storage boxes are awesome and provide ample storage. Daughter couldn’t be happier.

Estimated Time Investment
Week Long Project (20 Hours or More)
Recommended Skill Level
Intermediate

Comments

Closet Tower

Submitted by JoanneS on Sat, 04/27/2013 - 12:03

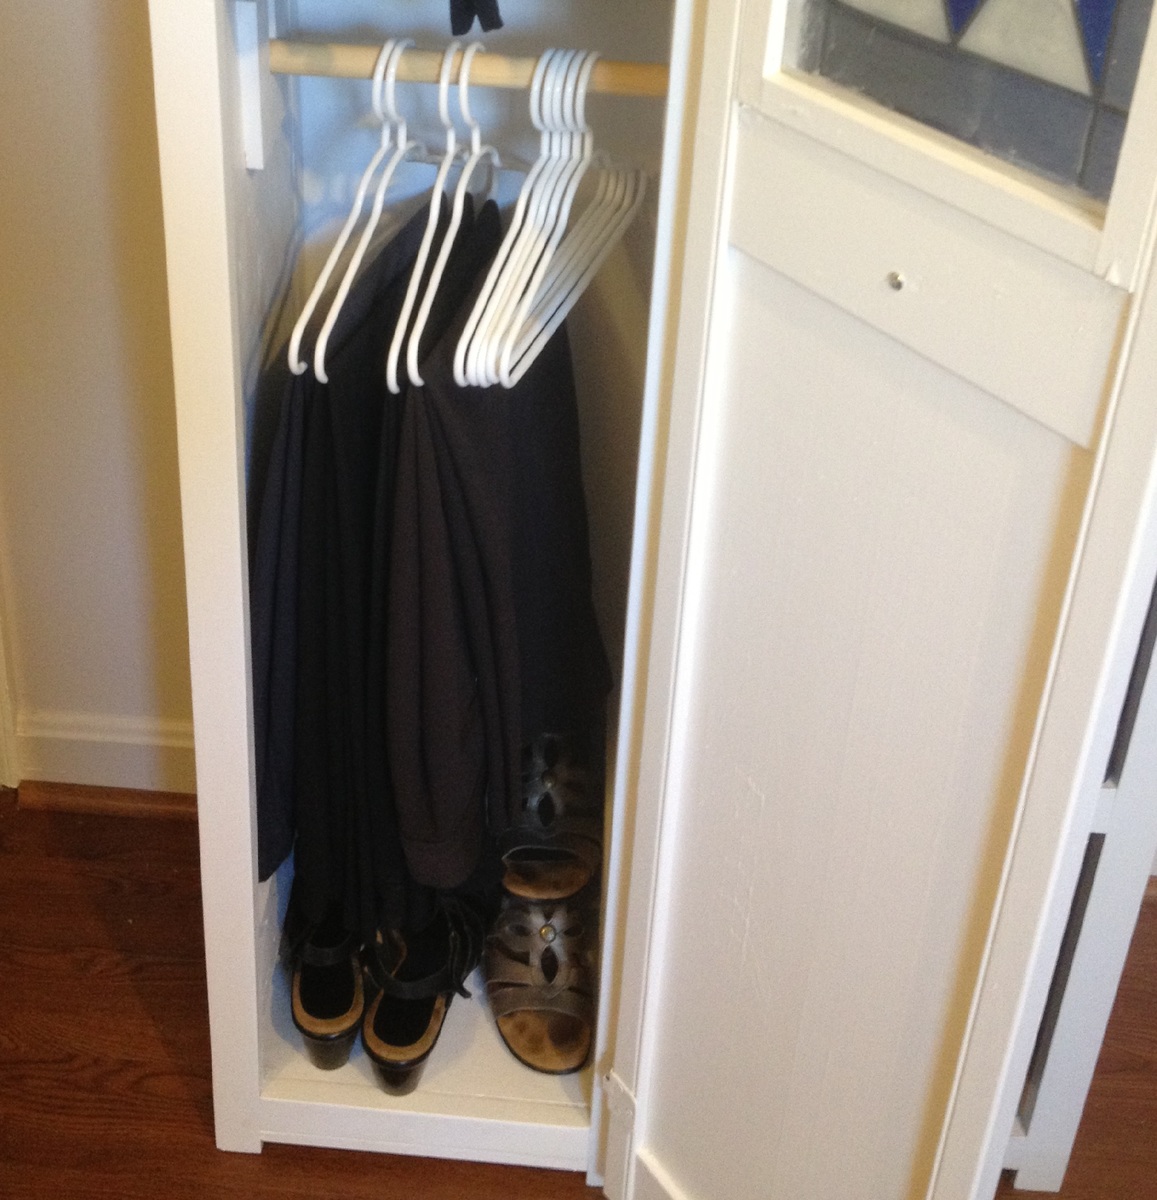
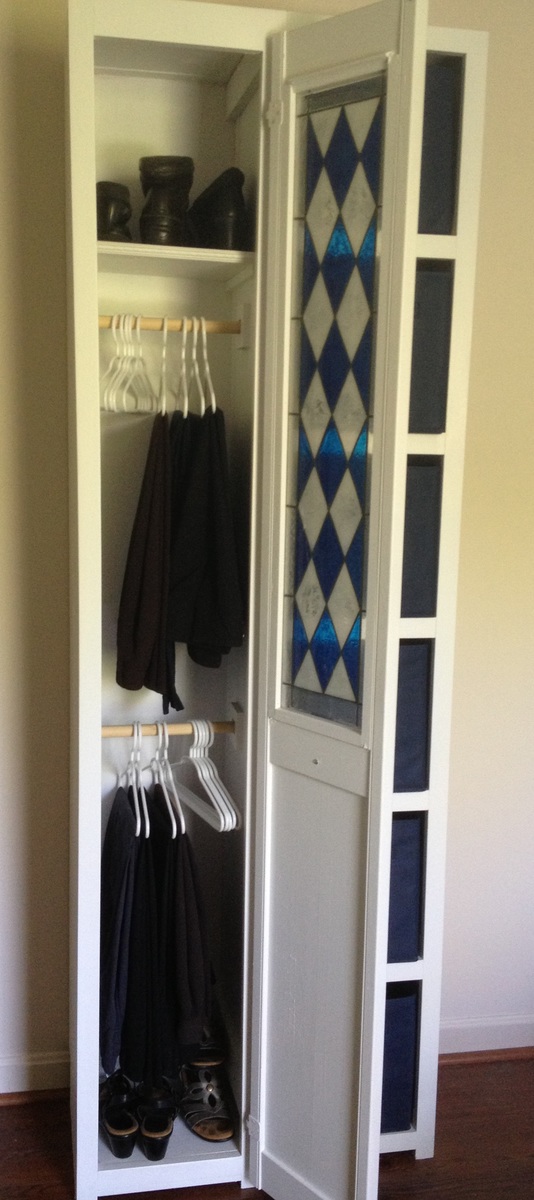
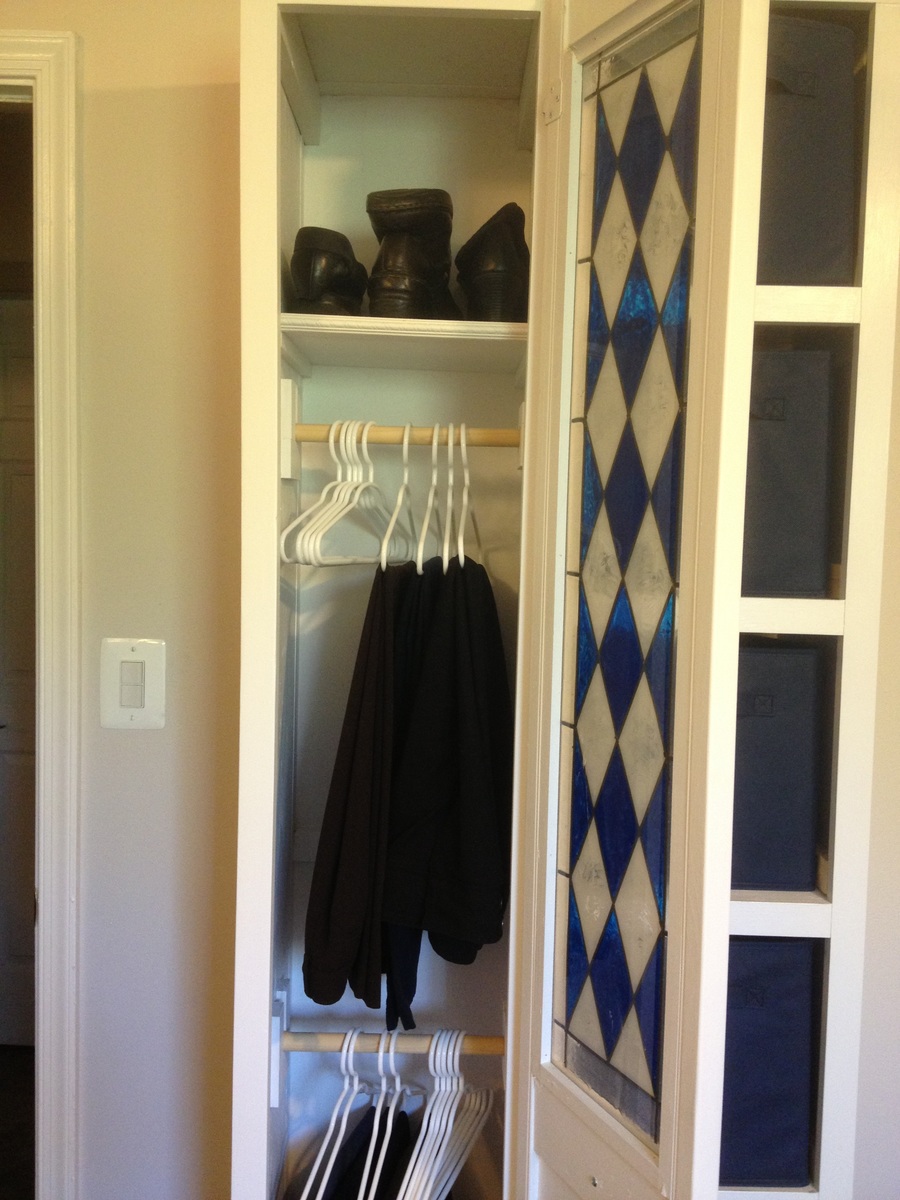
This closet tower is from the Craft Room Storage Tower plan, and made mostly with left overs from other projects. I wanted a shallow tower storage just deep enough to hang pants and slacks in, and to use a 12" wide door I already had in my garage. At Target I found some kid-size hangers that were just the right size - about 12" wide. Trouser hangers are about this same width, but they weren't available in-store so I went with what they had. The only things I bought for this project are the knob, hinges, some 1x2's, and the hangers. The sides are from a lengthwise half-sheet of C/D plywood, ripped down to 12" strips on the table saw, with 1x2 edge joined at the back to create a "toe kick" to clear the baseboard. The front is trimmed out in 1x2 with a scrap of 1x3 to trim the top. The removable closet poles are from a flagpole, and the ends are held in place with some 1/2" craft boards. The back is 1/4" plywood. The longest part of this project was the sanding, because the plywood wasn't the pretty kind - used lots of wood filler on the knots and as a grain filler, then sanded it a lot. This project took about 9 hrs total, (sanding took the longest), construction with the Kreg jig and nailgun was very quick, and then paint and adding the door and poles. The removable shelf was added as an afterthought and is a scrap of plywood, with some S4S to hold it up, and a 12" scrap of moulding across the front of the shelf. It is 82" tall, 13 1/2" wide, and 14 1/4" deep. It's a perfect pair with the 6-cube tower that I built from Ana's cube tower plans a couple of years ago.

Built from Plan(s)
Estimated Cost
$36 (for knob, hinges, 1x2's and hangers)
Estimated Time Investment
Day Project (6-9 Hours)
Finish Used
Ace Royal semi gloss paint in high-hiding white (left over paint)
Recommended Skill Level
Beginner

Comments

yurra-bazain

Fri, 08/30/2013 - 17:56

This is such a clever build! :) Thank you for sharing in detail how you put this together. =D I love how tall this is and how little floor space it takes up, which is especially a big issue for smaller home dwellers like myself. =D

JoanneS

Sat, 08/31/2013 - 06:23

Yvonne, thanks so much for the nice comment! I just love tower storage, you get so much for such a small 'footprint' in the room. We've replaced our bulky dressers with towers, which makes the room look much more spacious. If you build some, I'd love to see pictures!

There are 2 other items not mentioned above, that I added during this build: I added the 1x3 at the top of the insides, to help keep the joined side boards tighter together at the top (at the time I was thinking the joint might try to pull apart if it got humid). The second thing (you can hardly see this in the photo) is a 12" piece of 1x2 attached across the back, spaced between the 2 closet poles. This was added to help keep the side pieces the same distance apart when attaching the back, and provided an additional place across to nail it. I thought it would help make it more rigid. This piece is used every day, and so far it has held up great. :)