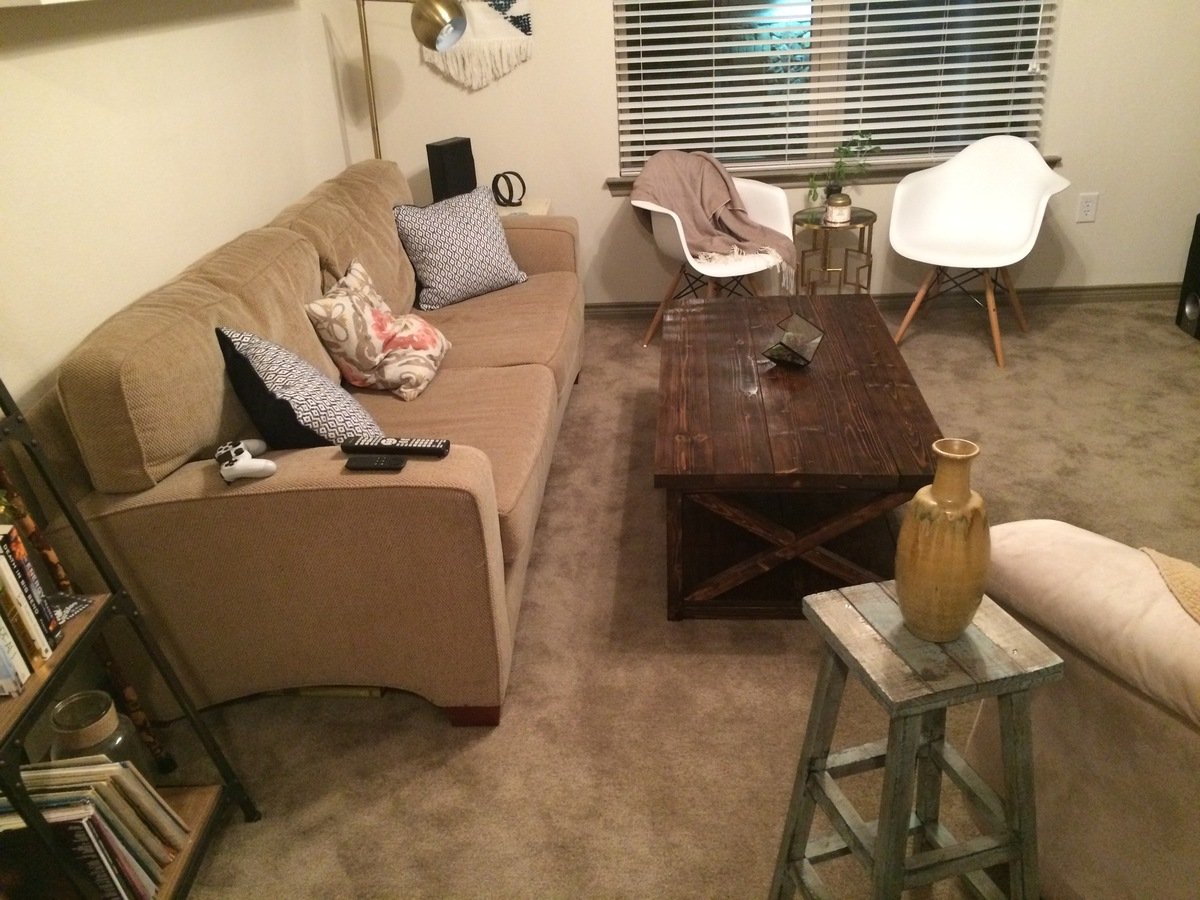
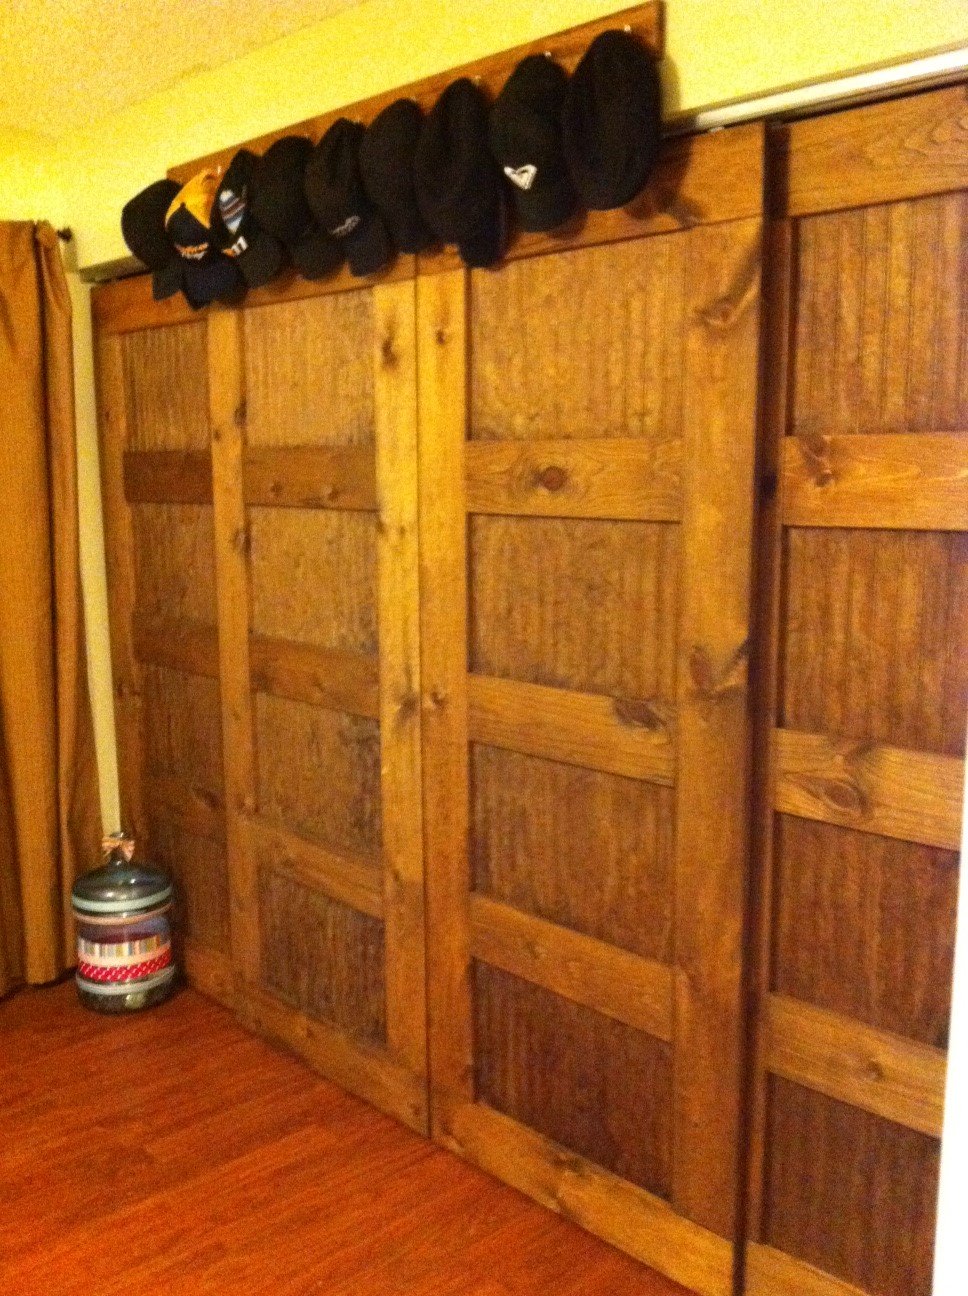
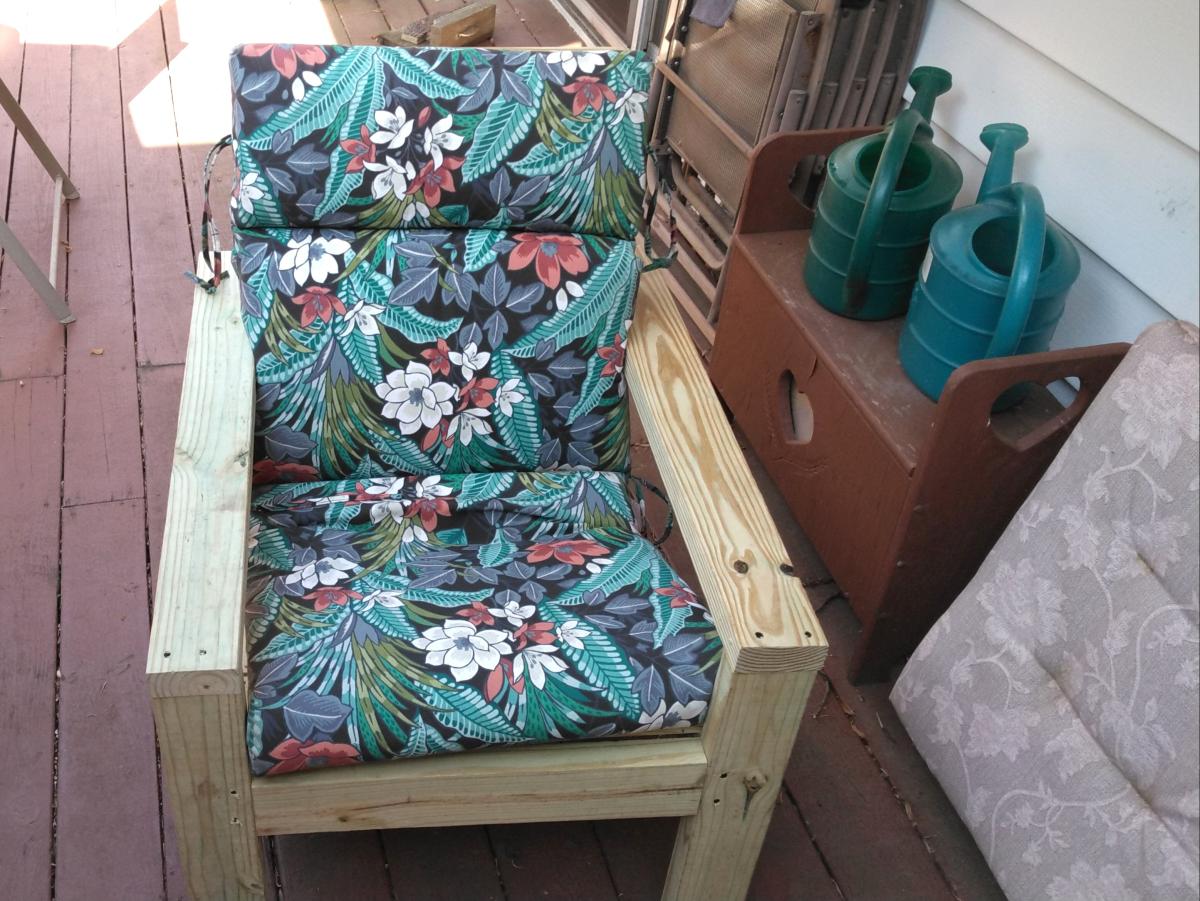
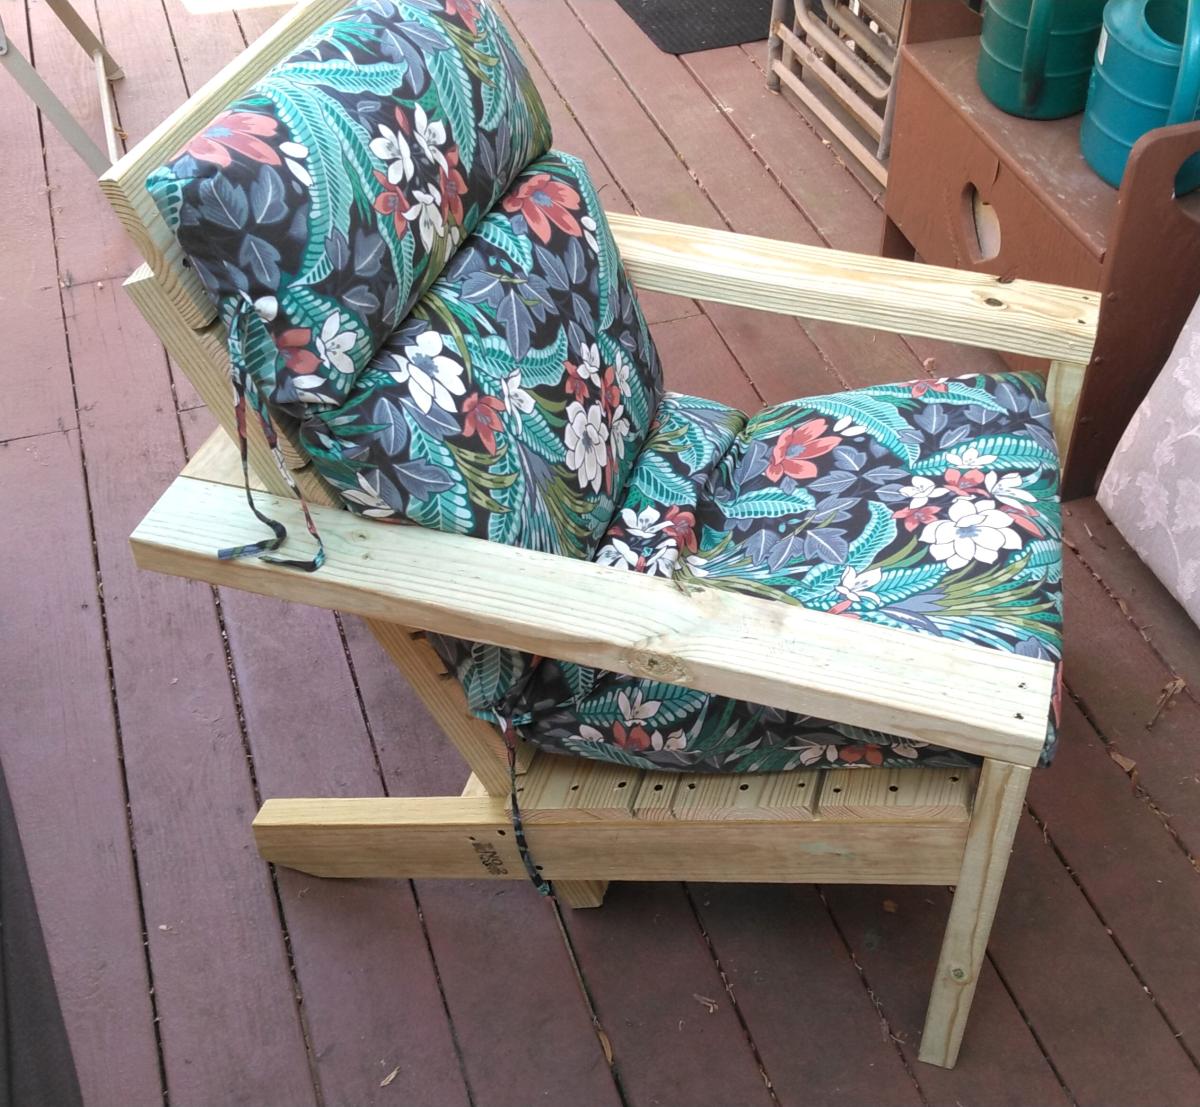
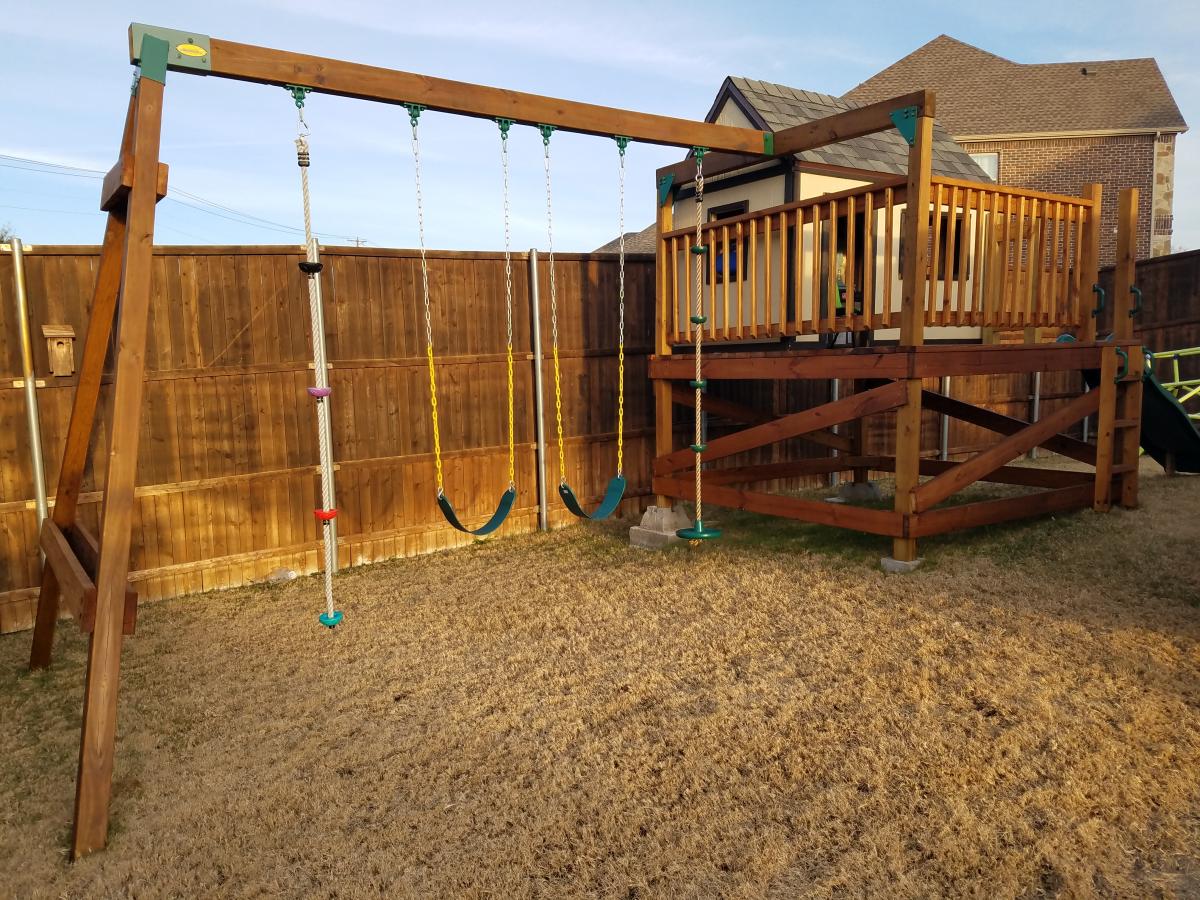
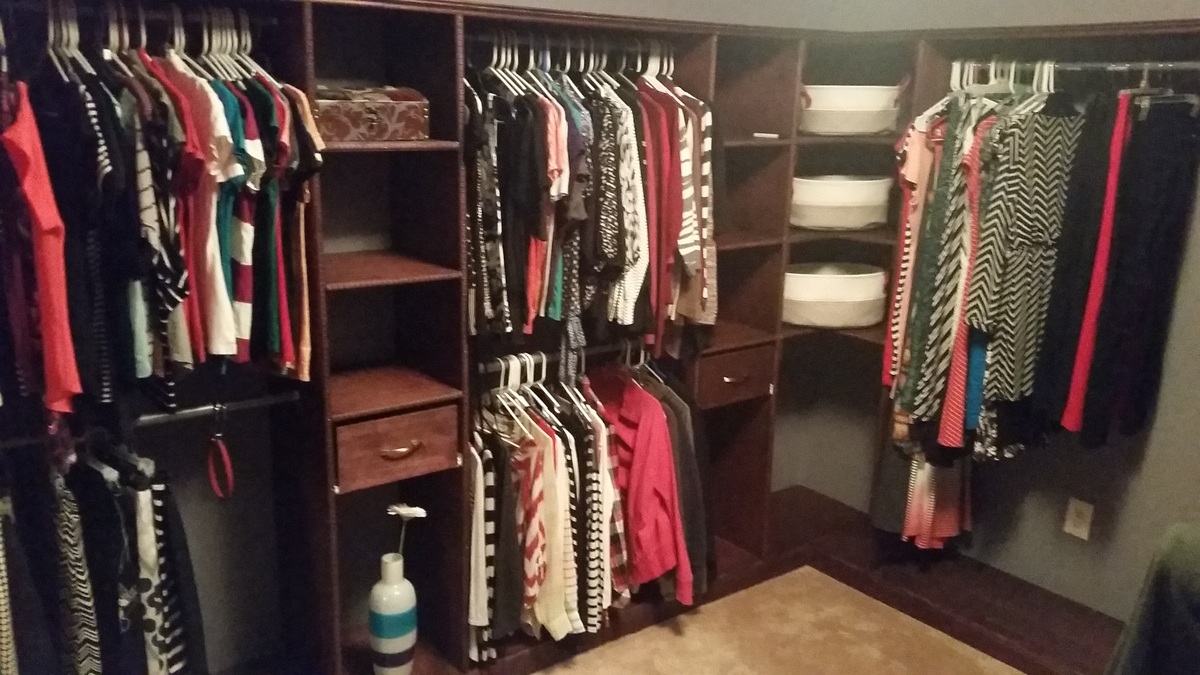
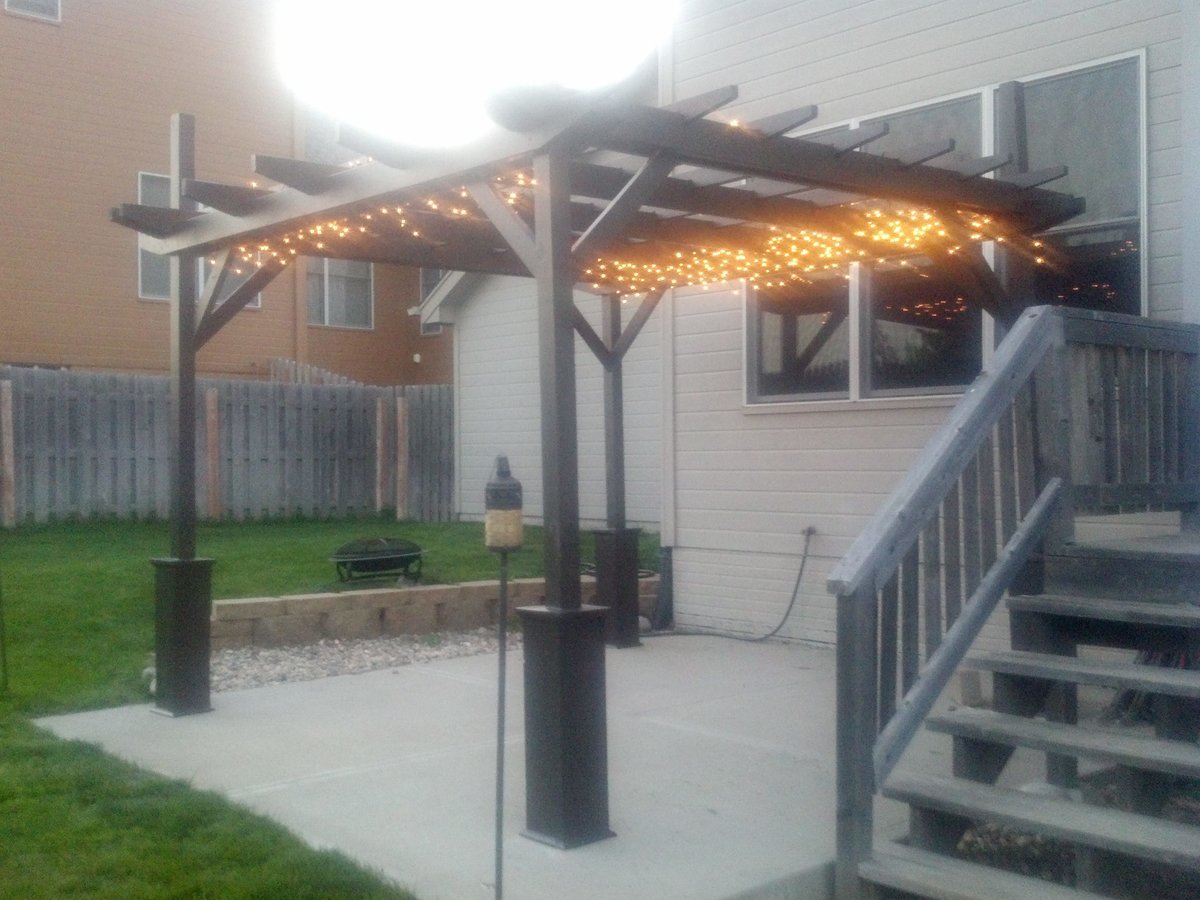
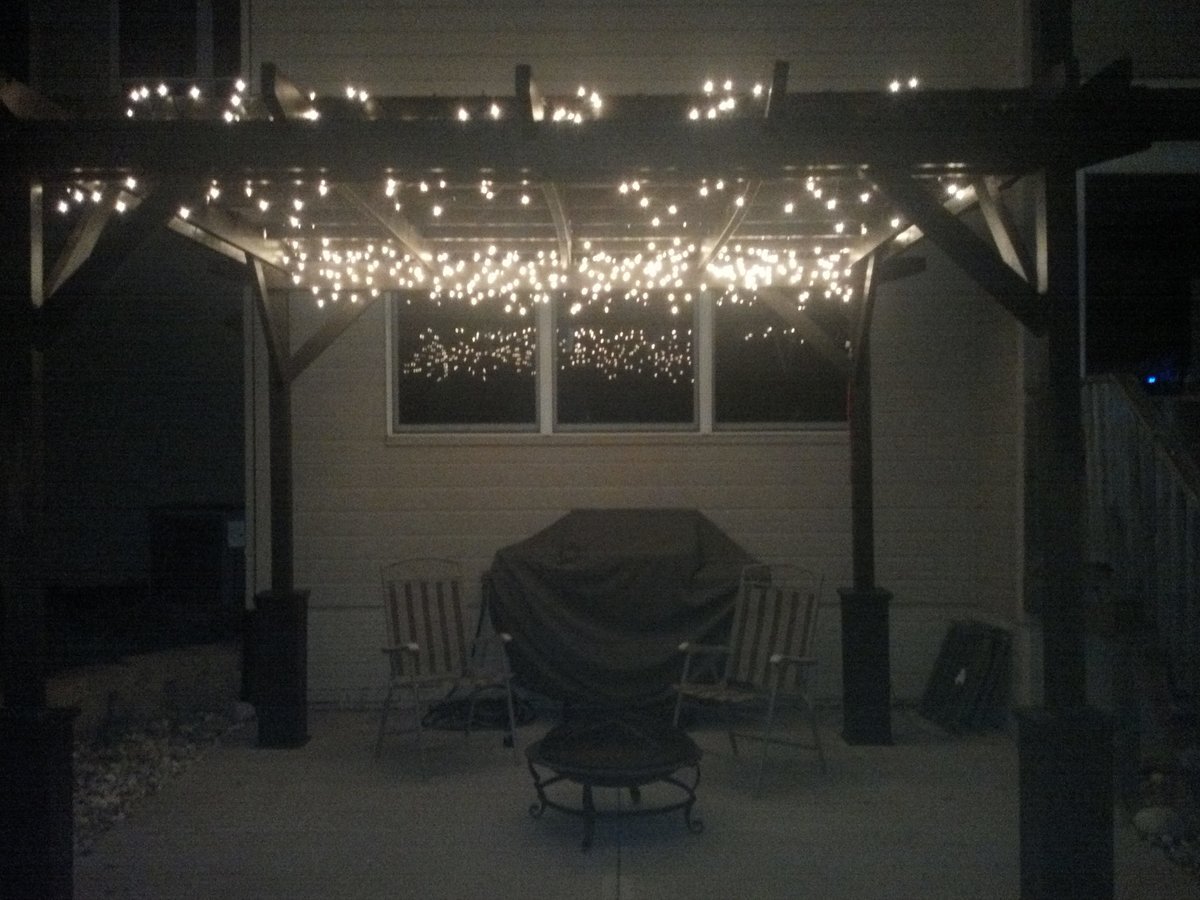
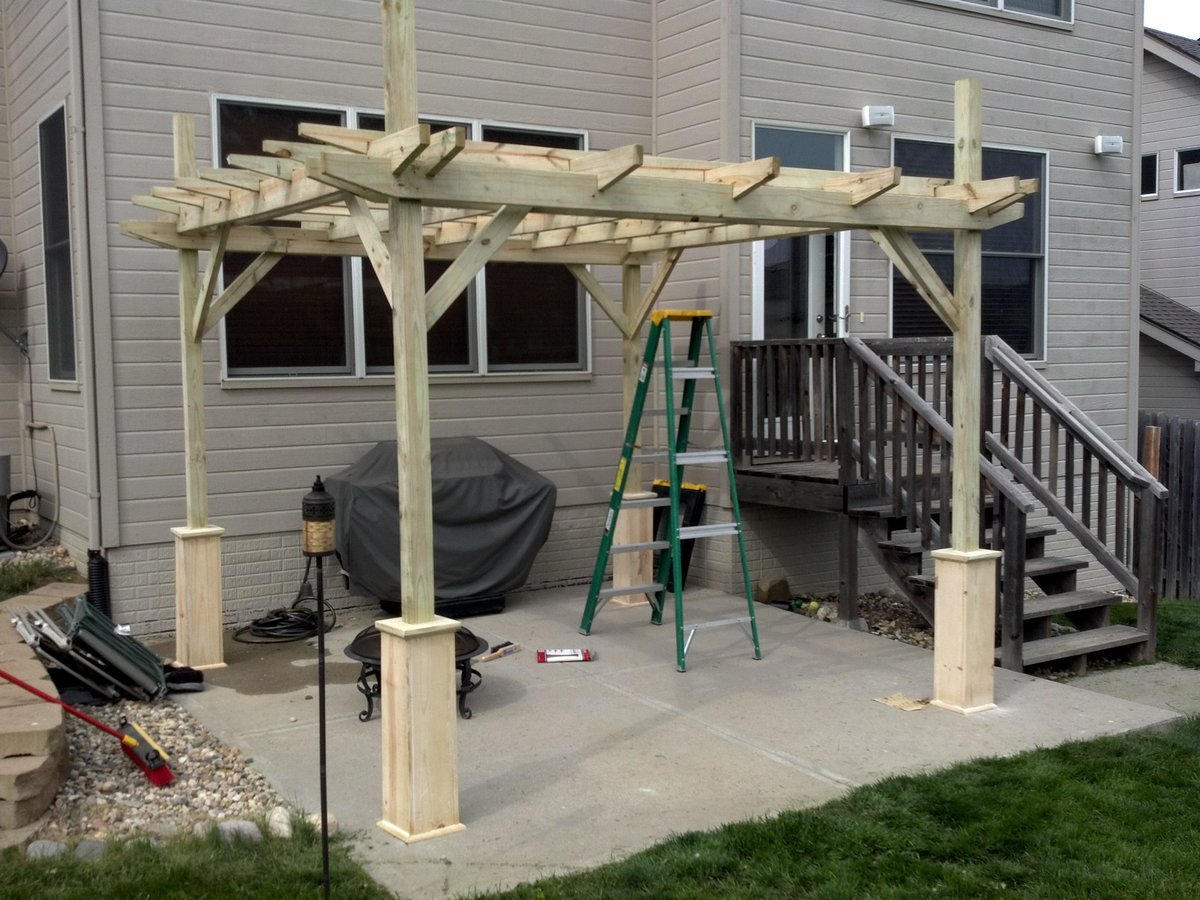
I thought I'd wait and take these glorious after photos once I was done - but nevermind that idea. Here are some pictures of progress, start to finish. I still plan to build some shoe cubbies for the towers so that my wife has a little more shoe-room.
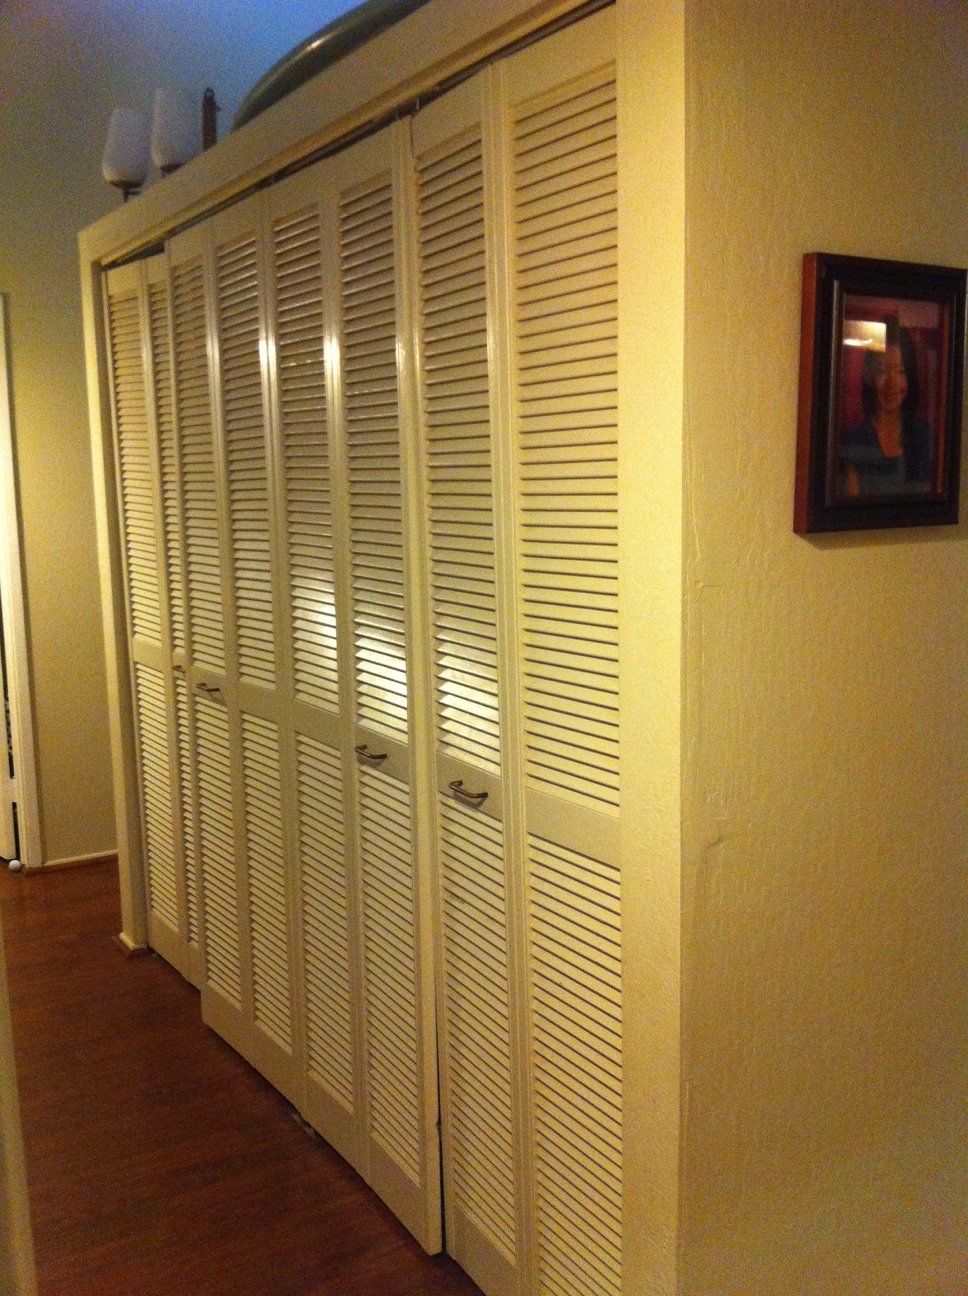
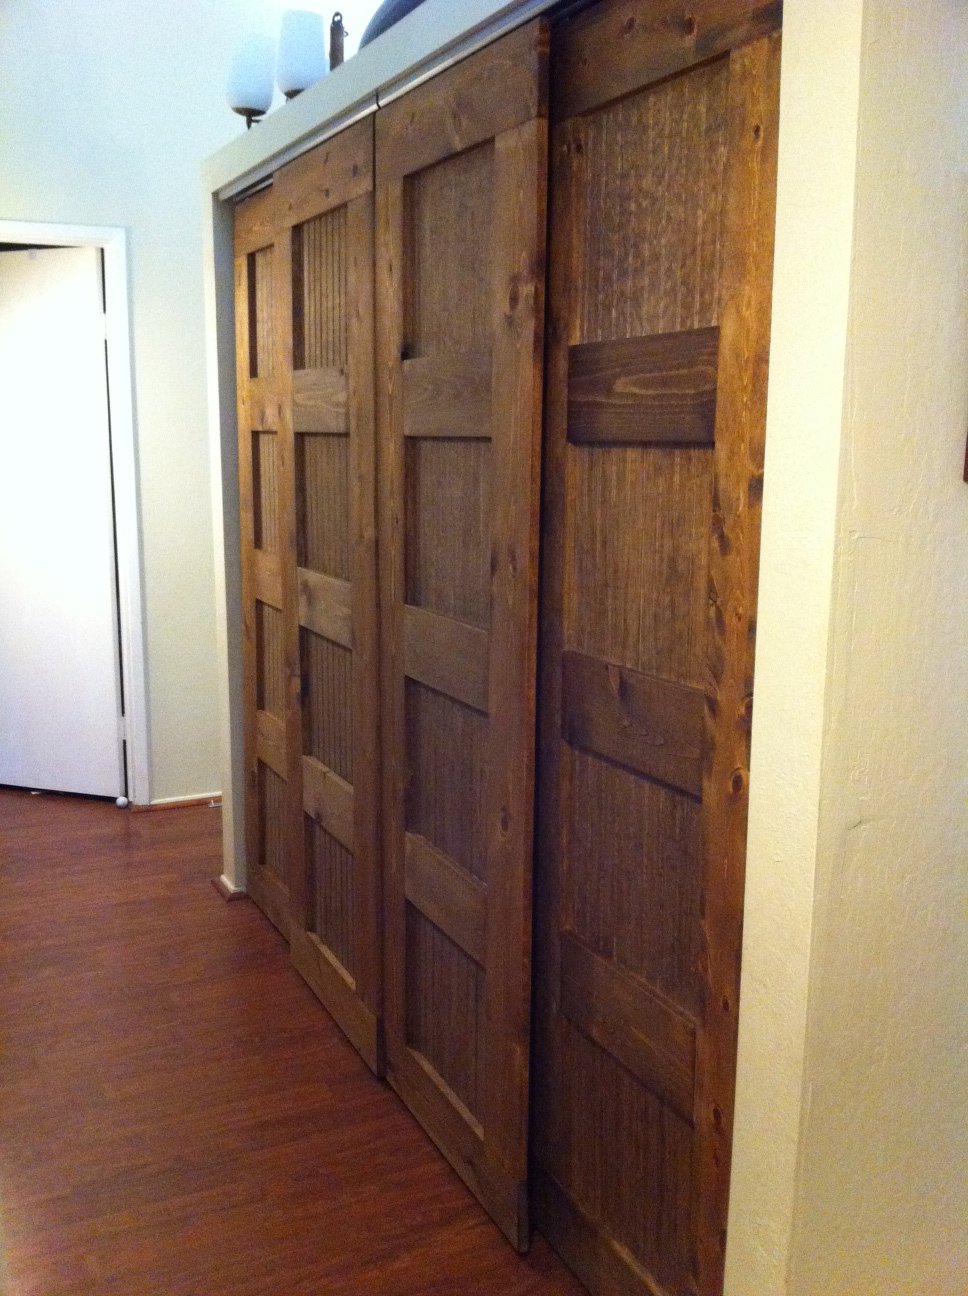
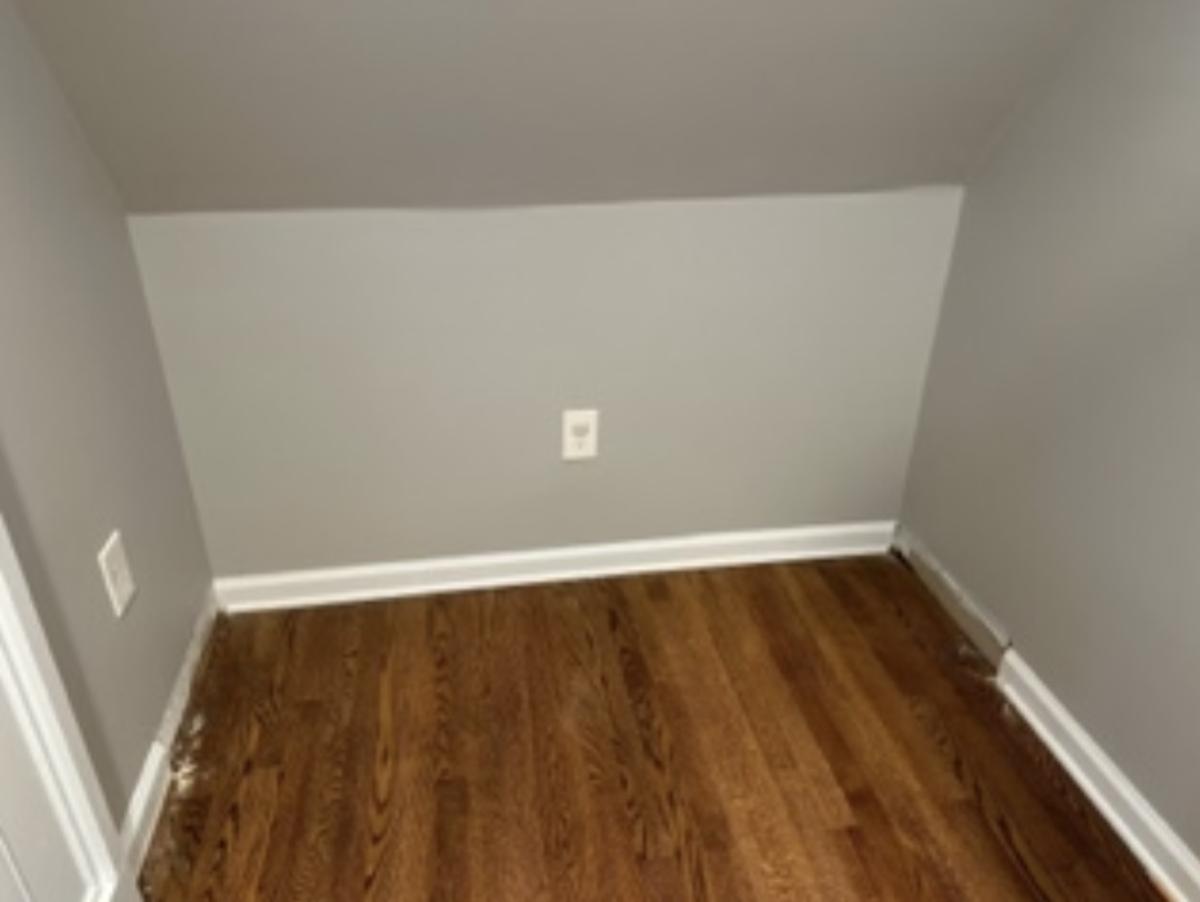
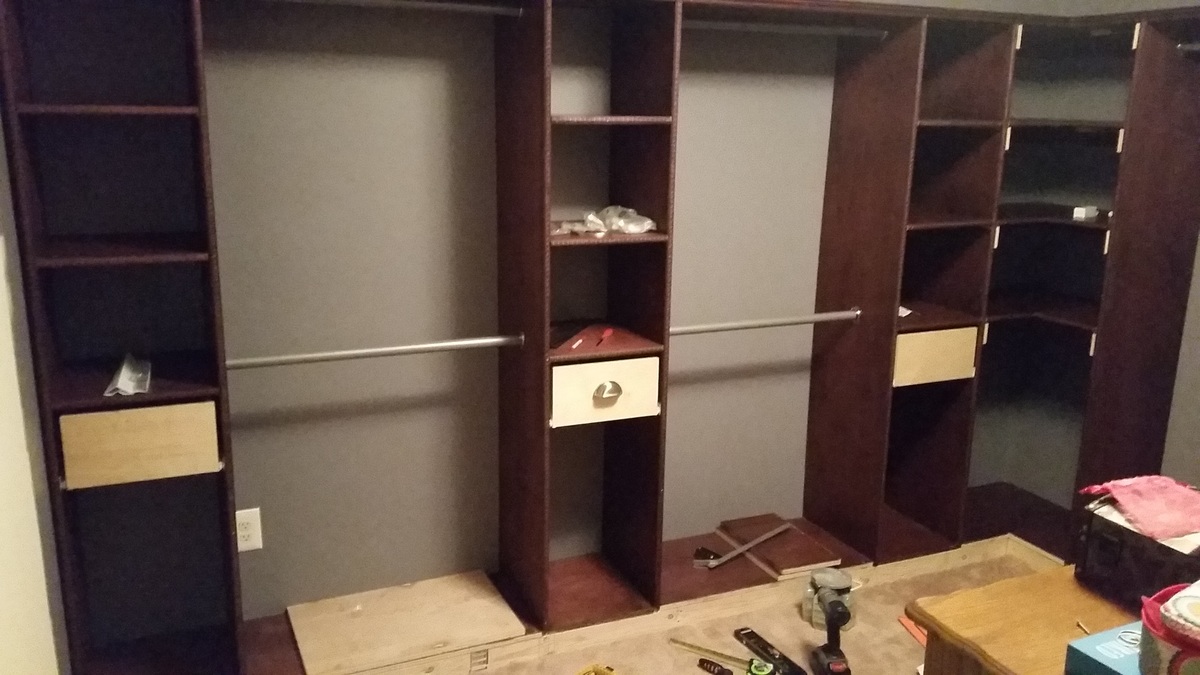
We have a 5th bedroom directly off the master with a double door entrance where the 5th bedroom's closet would have been. The room had been an office for the previous owner and my wife decided it would be a perfect closet for her. I followed the plans quite closely for the towers. I wish I had considered my 8+ foot ceilings and just built the towers taller because 1) storing stuff on top will look messy, and 2) The hanger rods aren't spaced quite well enough for longer clothing. Because of this, I had to build her another hanger on the other side of the wall, which increased the complexity of the project (corner shelves, more wood, more staining, more finishing, etc). In the end, I think it turned out great. I will walk through the process very quickly.
- Bought premium birch plywood, had them cut it down in the store. They did a good job. If I were doing it again, I would buy Aspen or Pine in precut boards, and I estimated it would have cost less than $100 more with a much higher quality and more workability, especially considering I stained instead of painted.
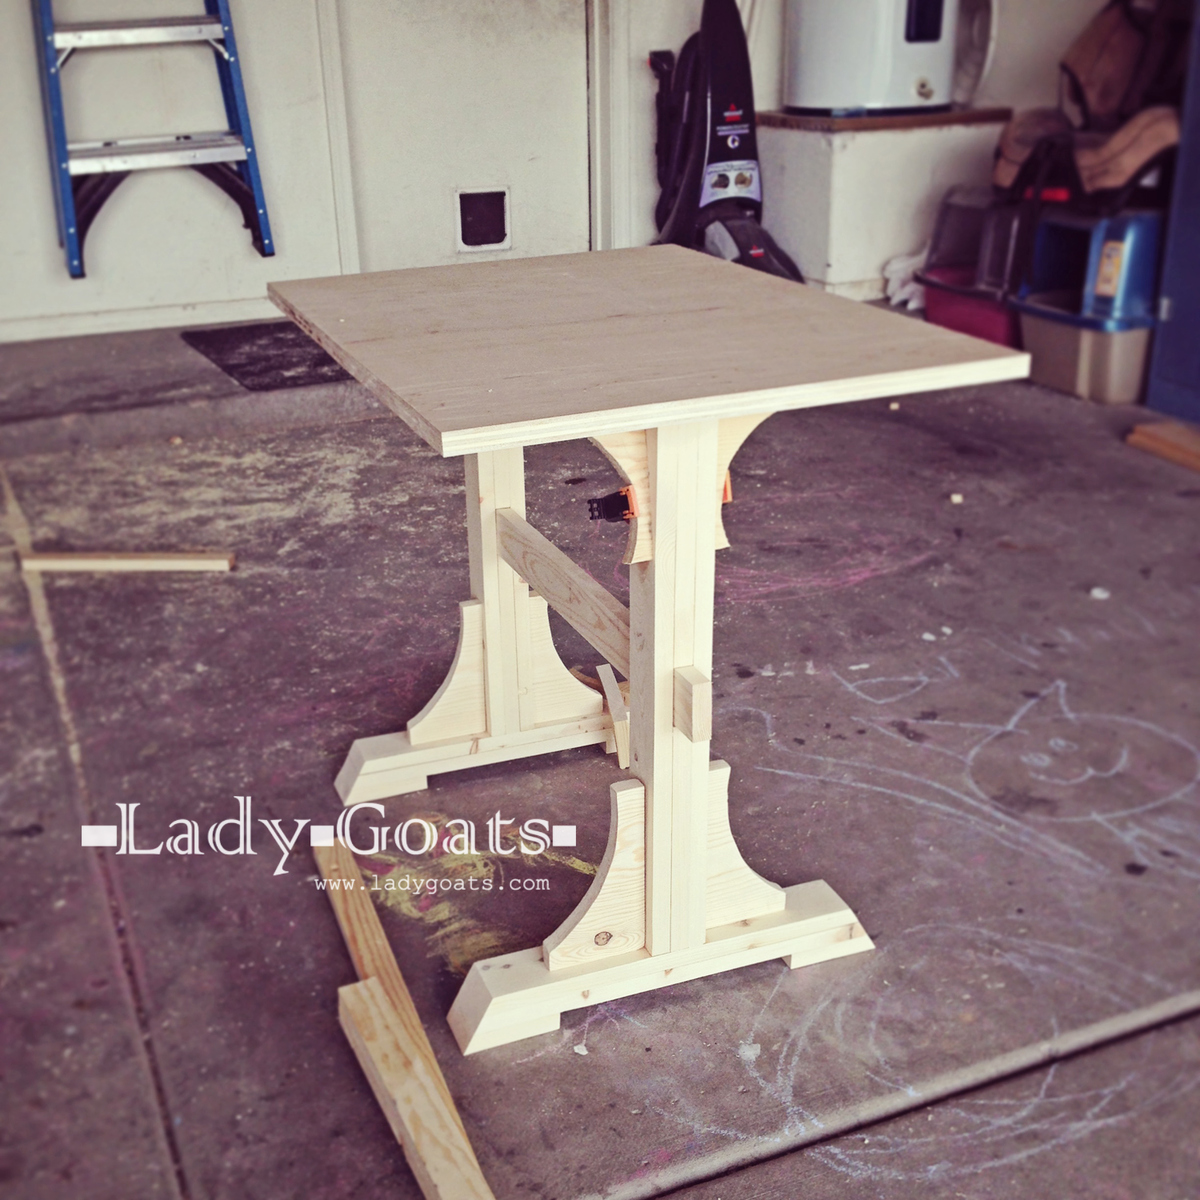
- Built Towers - used my kreg pocket hole jig a TON on this project. For boards across the top, I put the pocket holes on top, where they will be out of site. For bottoms, I was able to use finishing brads to nail down my boards to the frame.
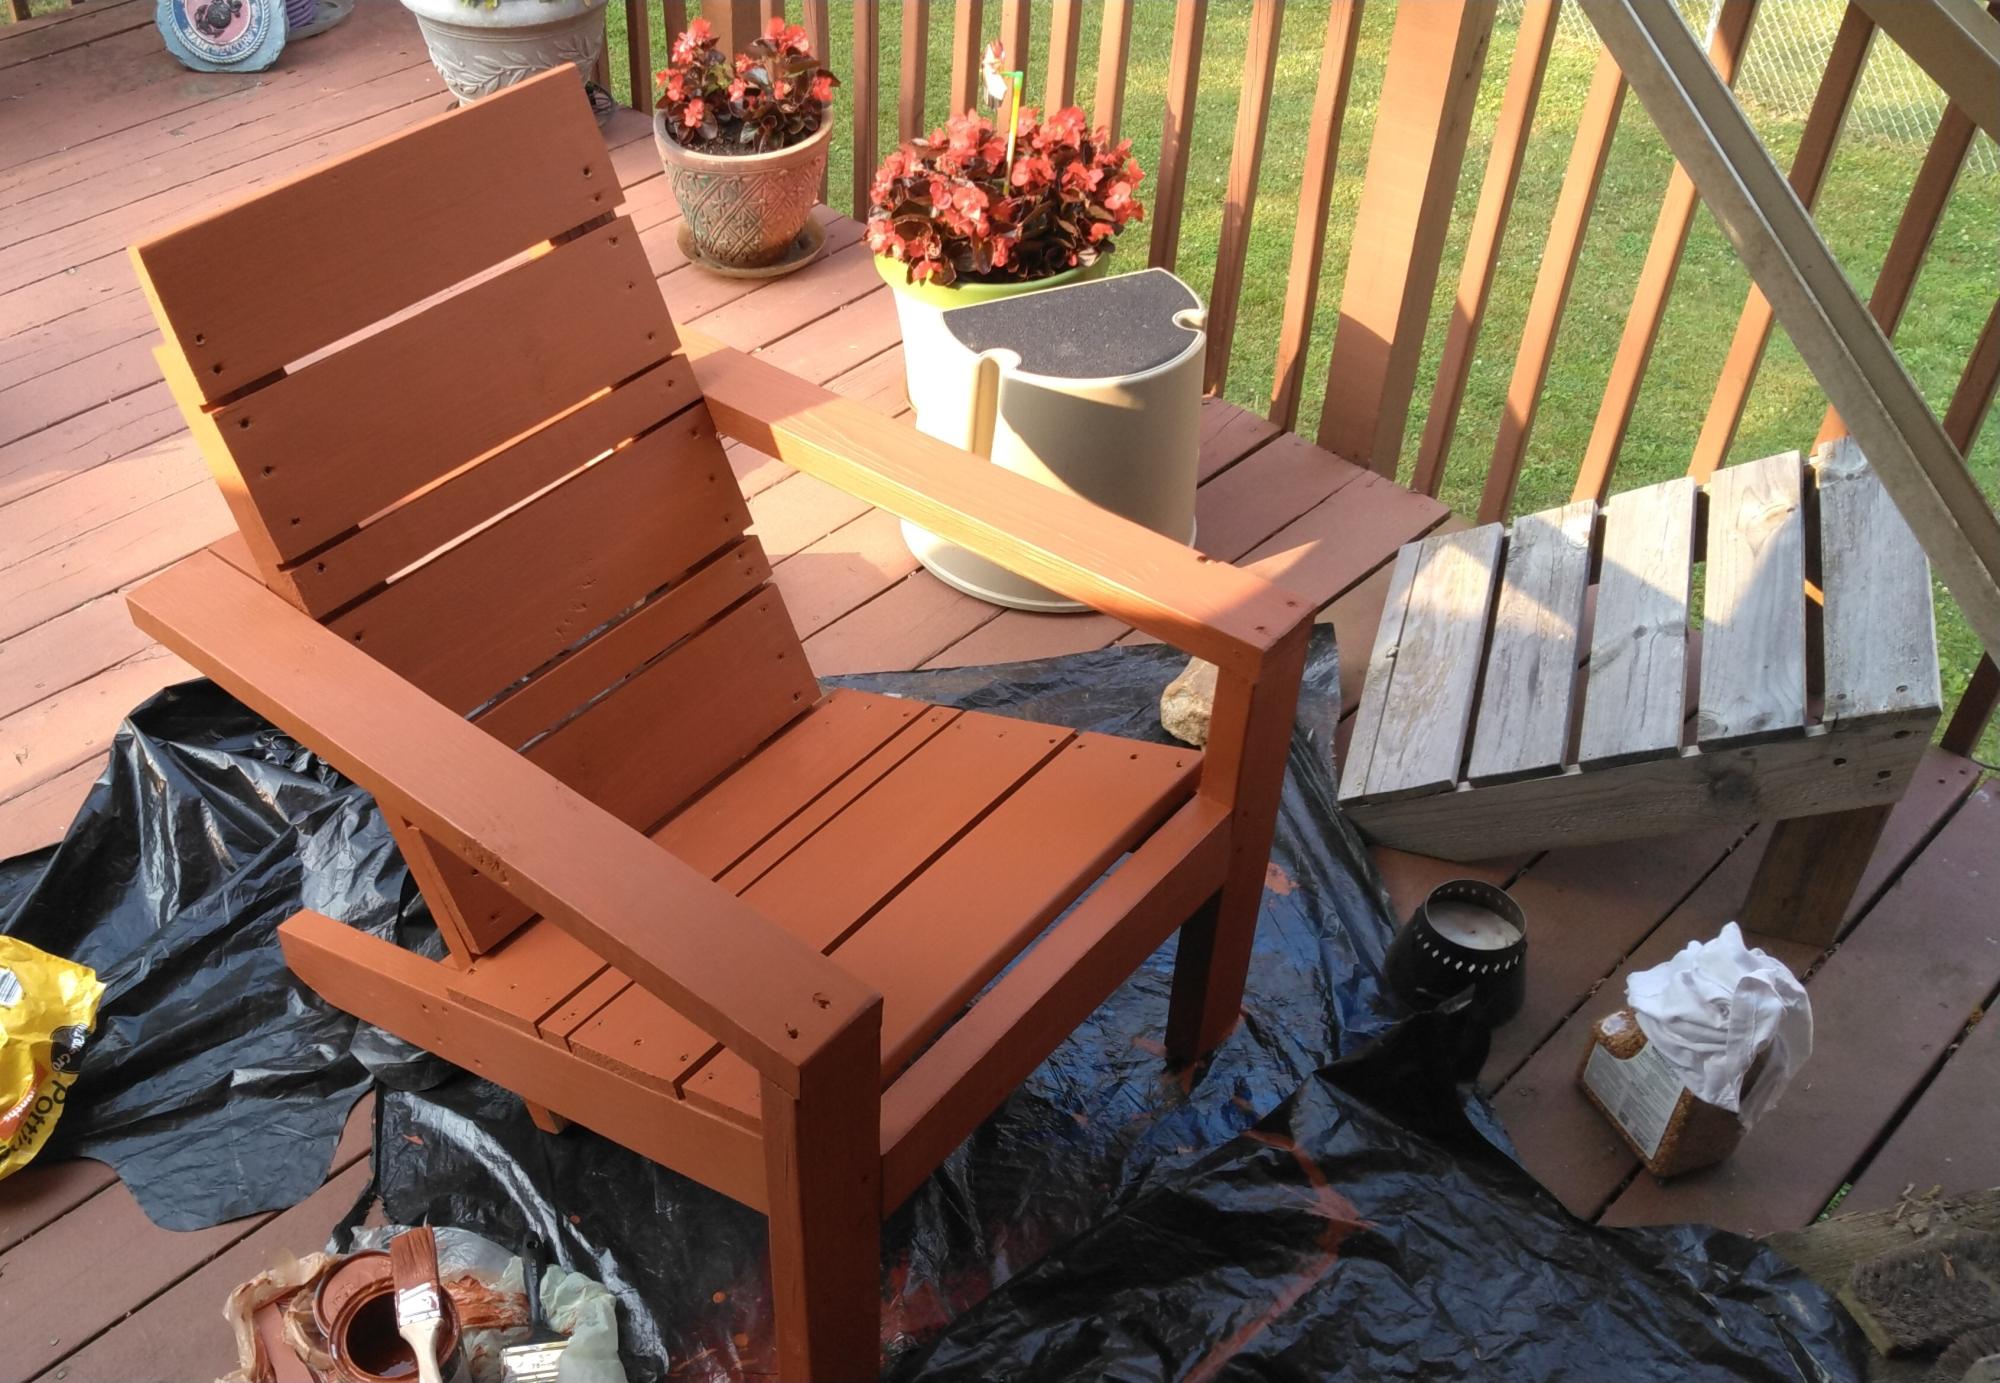
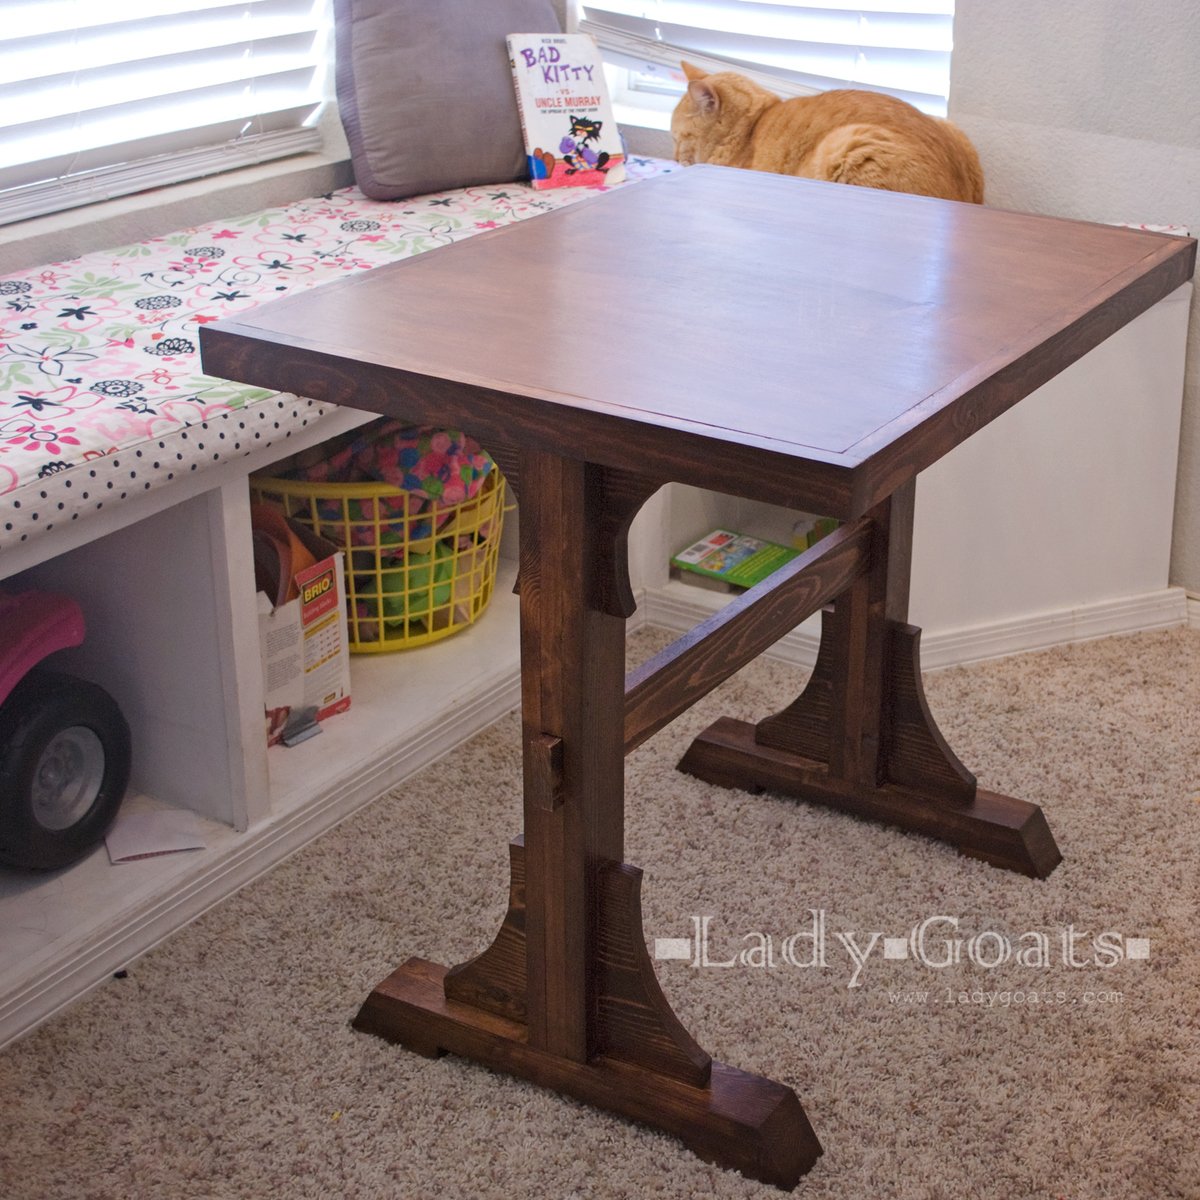
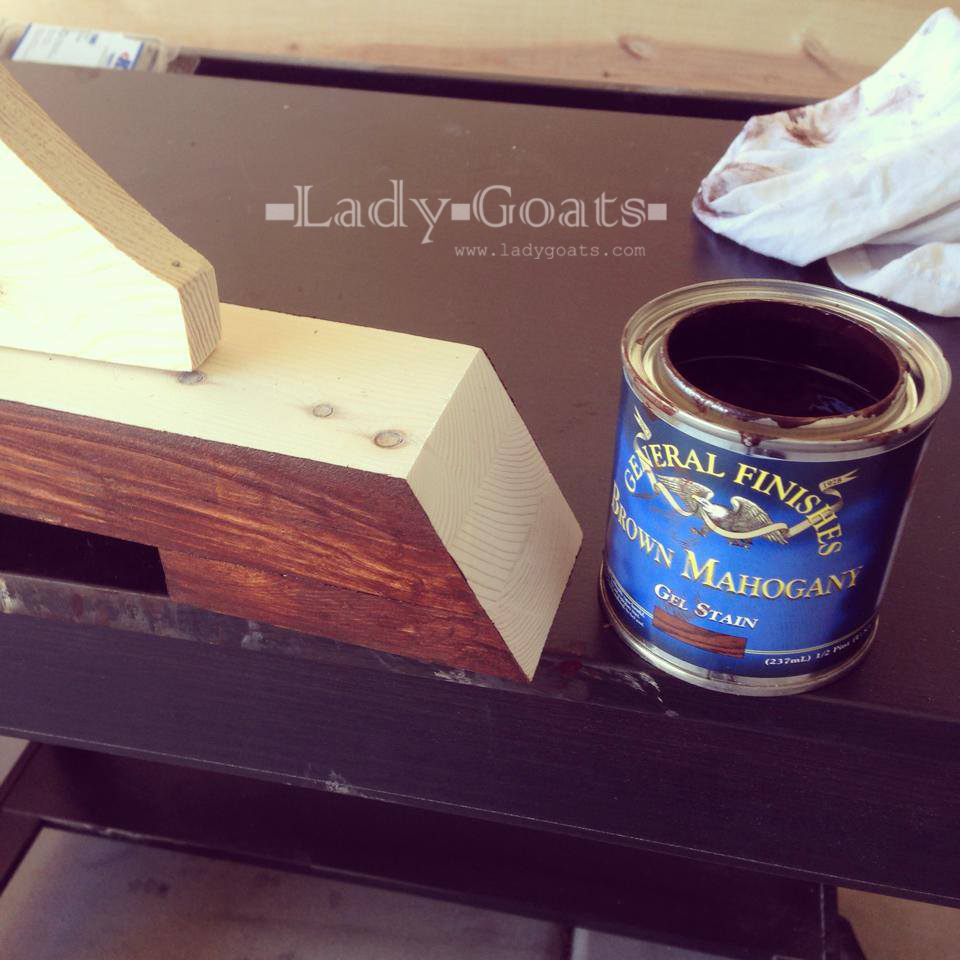
- Stained wood. I used an oil stain. After letting it dry 24hours+, I used finishing wax to turn make the plywood very smooth. I painted on the wax real heavy and then buffed with an electric polishing wheel. *tip* no matter what you are thinking, stain your wood before cutting and assembling. It will save you hours.
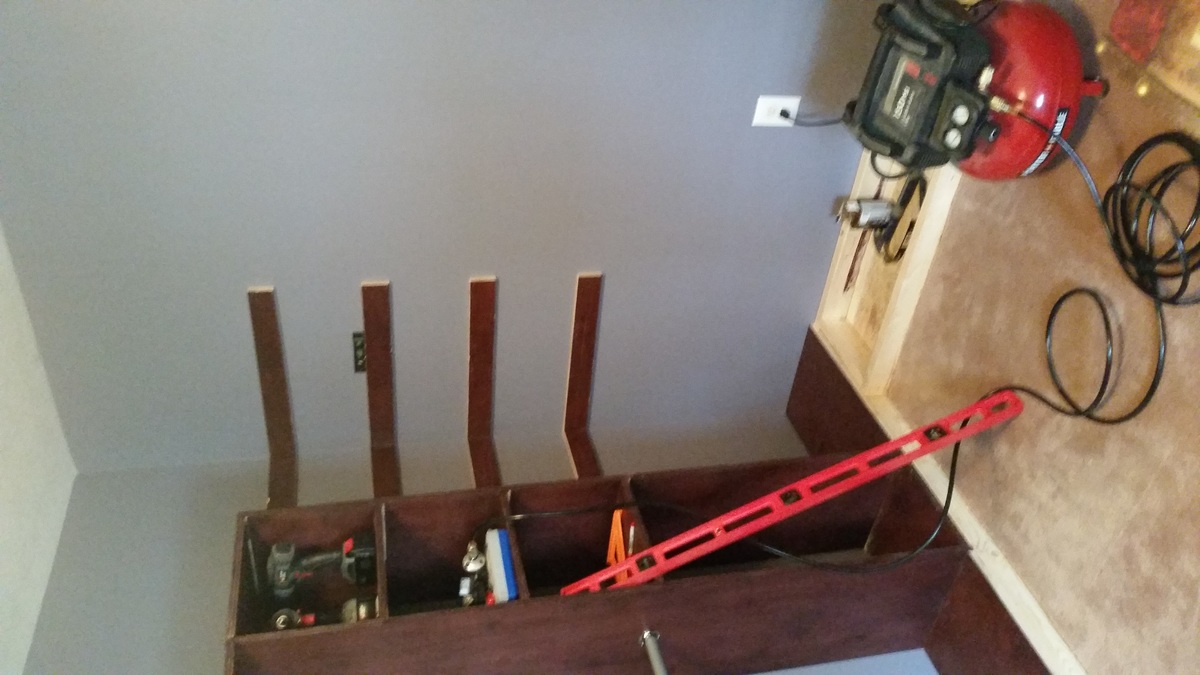
- Built 2x4 bases for the frame of the system. I used my bases as a template for cutting back the carpet. I then fastened the bases into the wall studs and sub flooring.
- Installed towers, played with spacing until it felt right and then fastened them into the walls and into the base.
- Cut wood down to size for the top and bottom pieces and installed and nailed down.
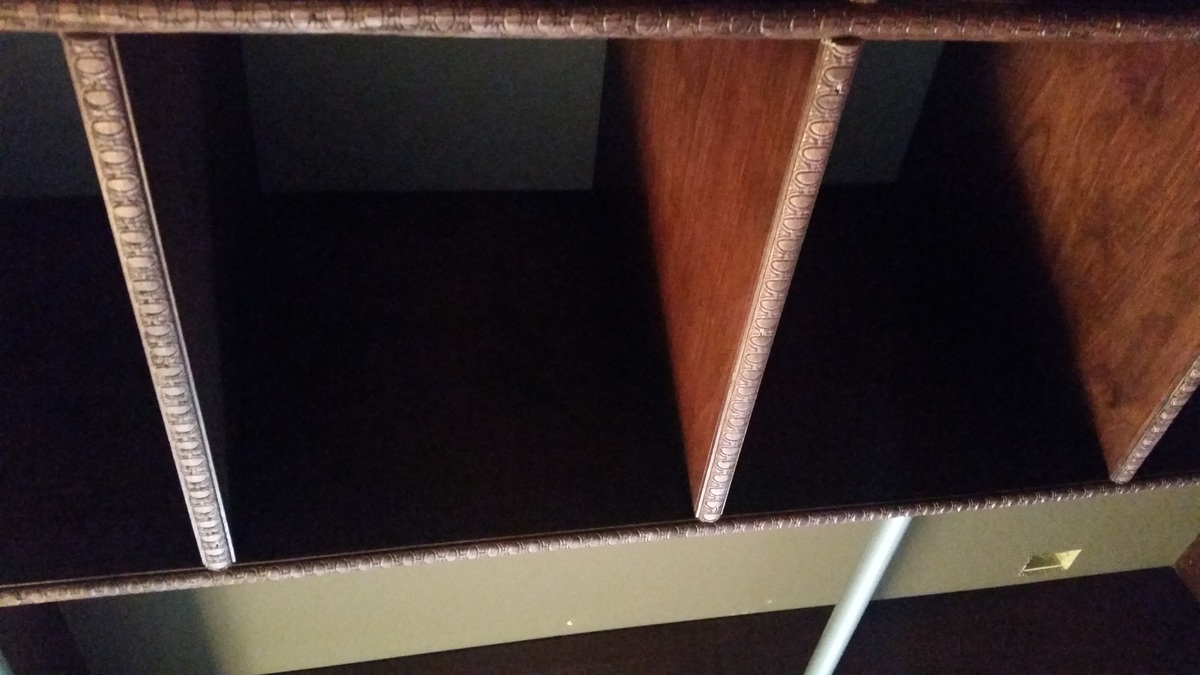
- Cut down scraps into strips to support the corner shelves and nailed them into the wall.
- Cut down scraps into corner shelves. I used 2 pieces of wood for each shelf and added supports on the underside so that they can bear decent weight. I should have just done more pocket holes. It would have been stronger and cleaner.
- Installed mini crown molding along top border. Installed 1/4 inch trim on all facing edges (rather than mess with laminating strips). Installed baseboard trip to cover frame and clean up border of frame and carpet.
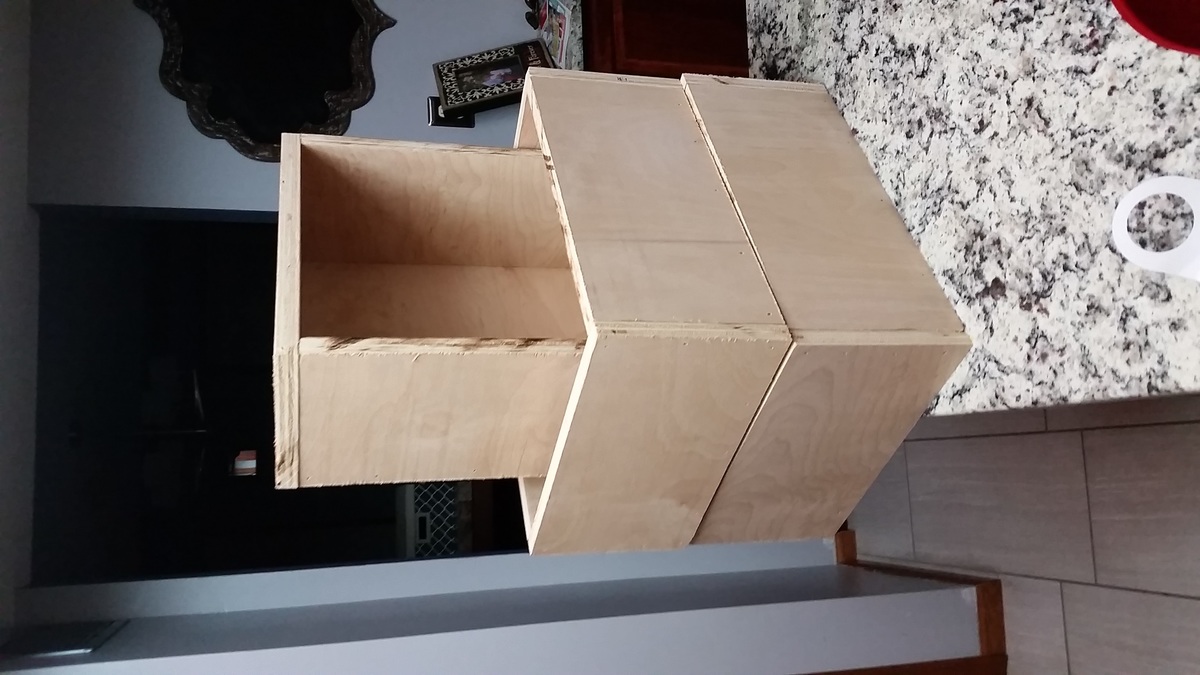
- Built drawers using scrap plywood from the project (via the drawer plans on this site). I didn't mess around, just cut my wood down to the right size and brad nailed the heck out of it. They are very sturdy. A thinner bottom and back would have decreased their weight, but I don't see any issues the way they are built. I opted for the 1/2 inch gap around the border of the drawers.
That is pretty much it. I think I have about $500-600 in it. Probably 60-70 hours. If I did it all over again, I could do it better and faster and on the same budget. As noted in the plans, SQUARE is the most important thing. I had to fix all the tower shelves once I had them mounted to the wall because they just were not level/square enough.


Comments
Ana White
Tue, 07/09/2019 - 11:11
It's beautiful! Love the…
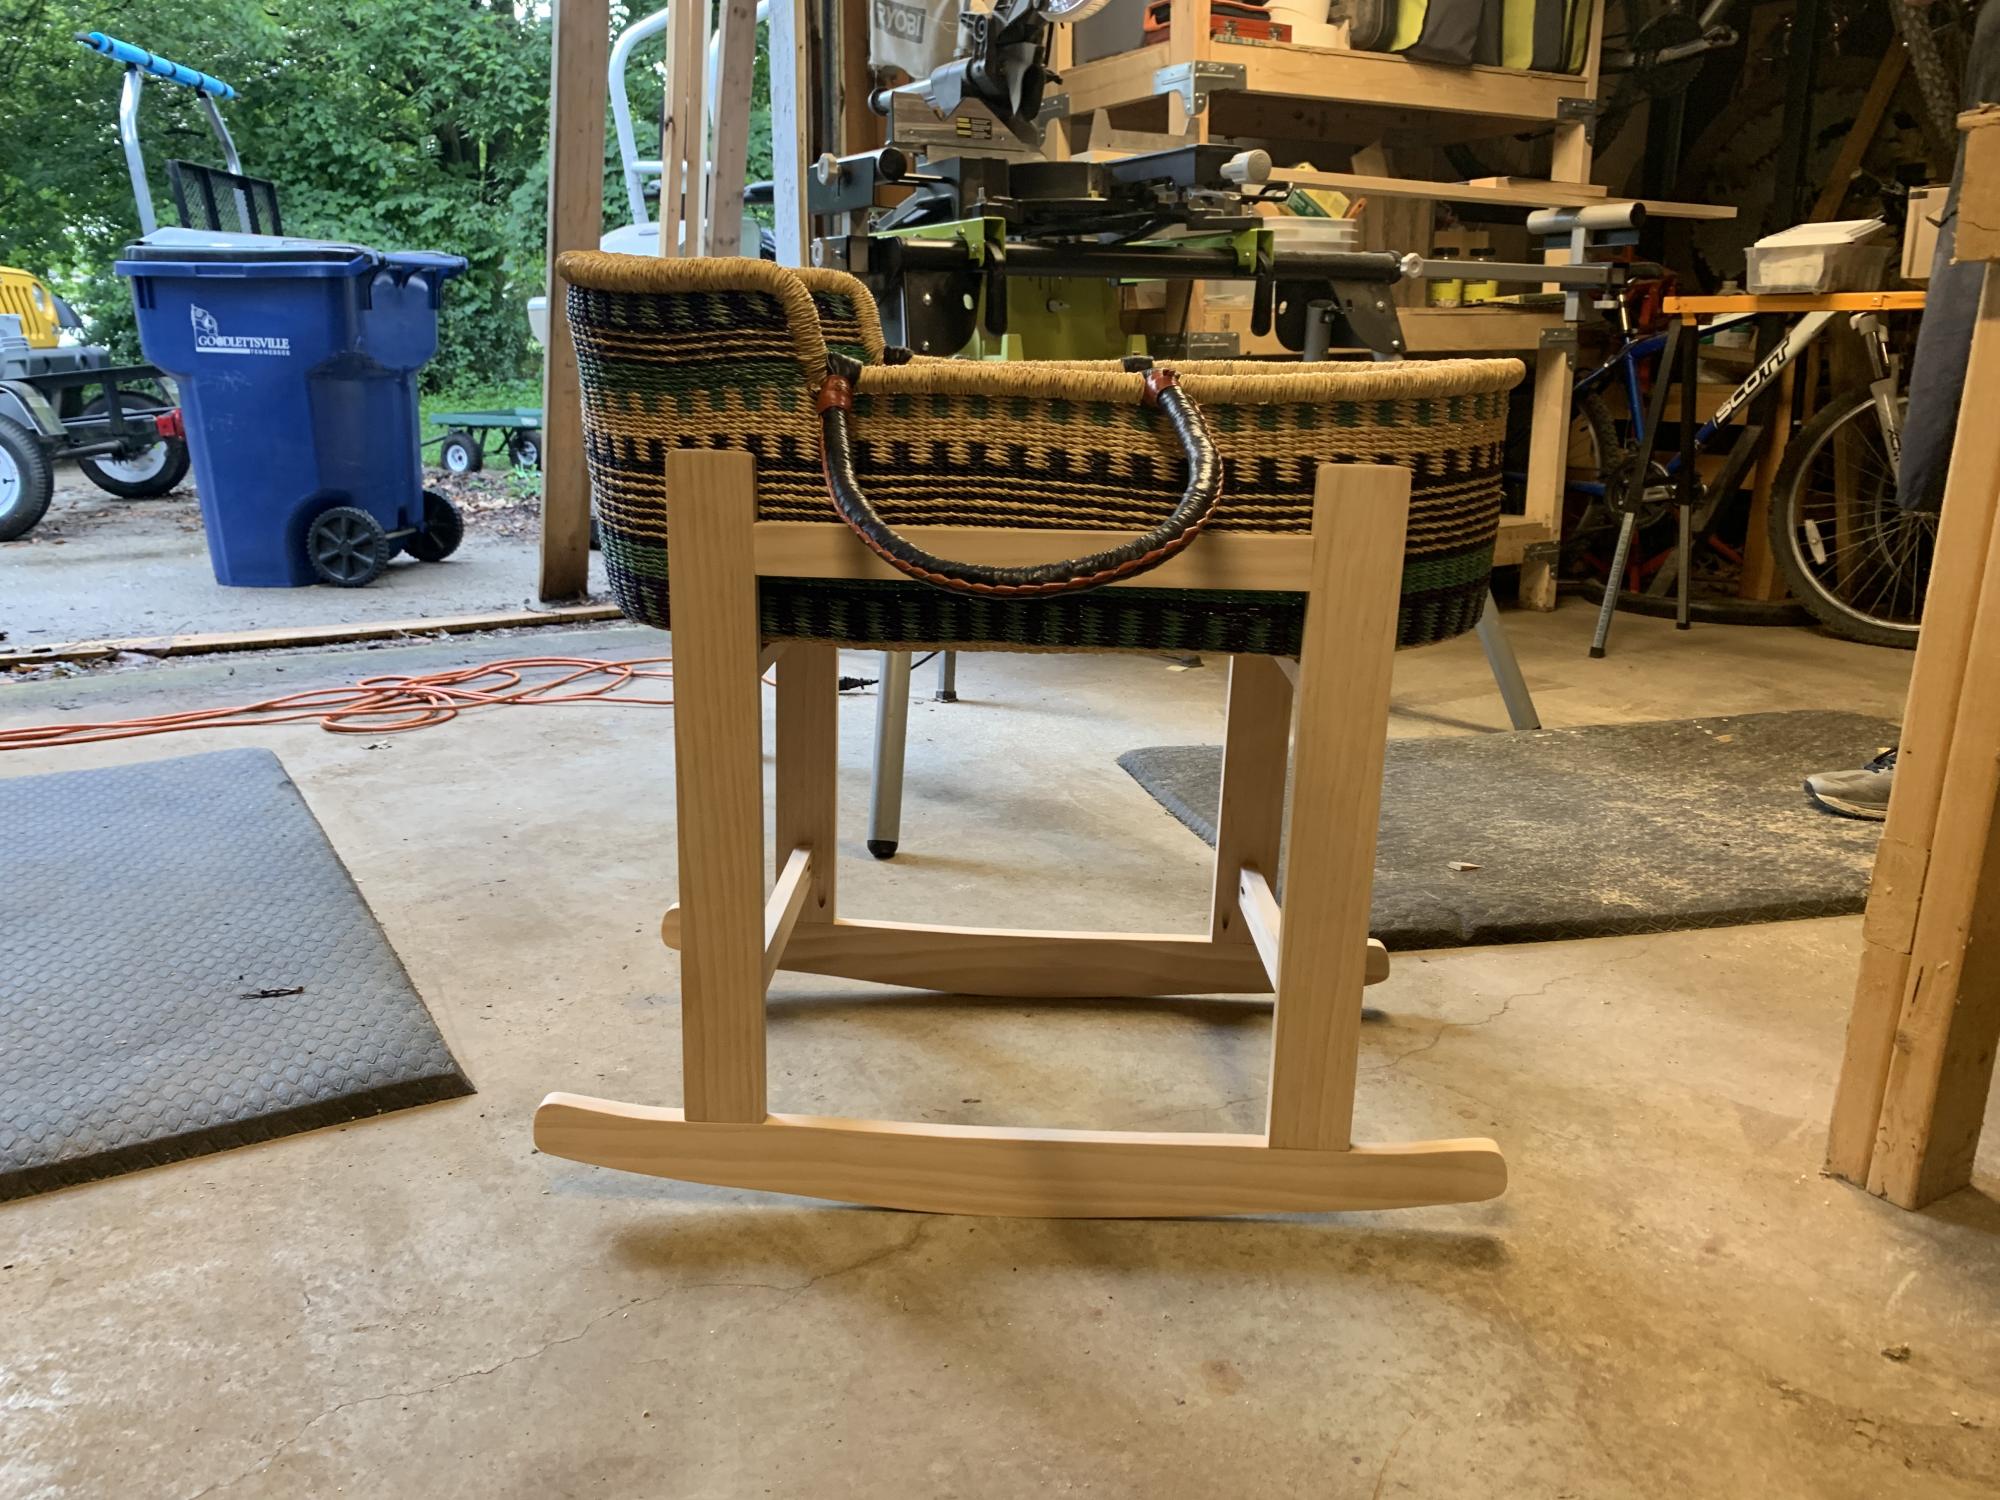
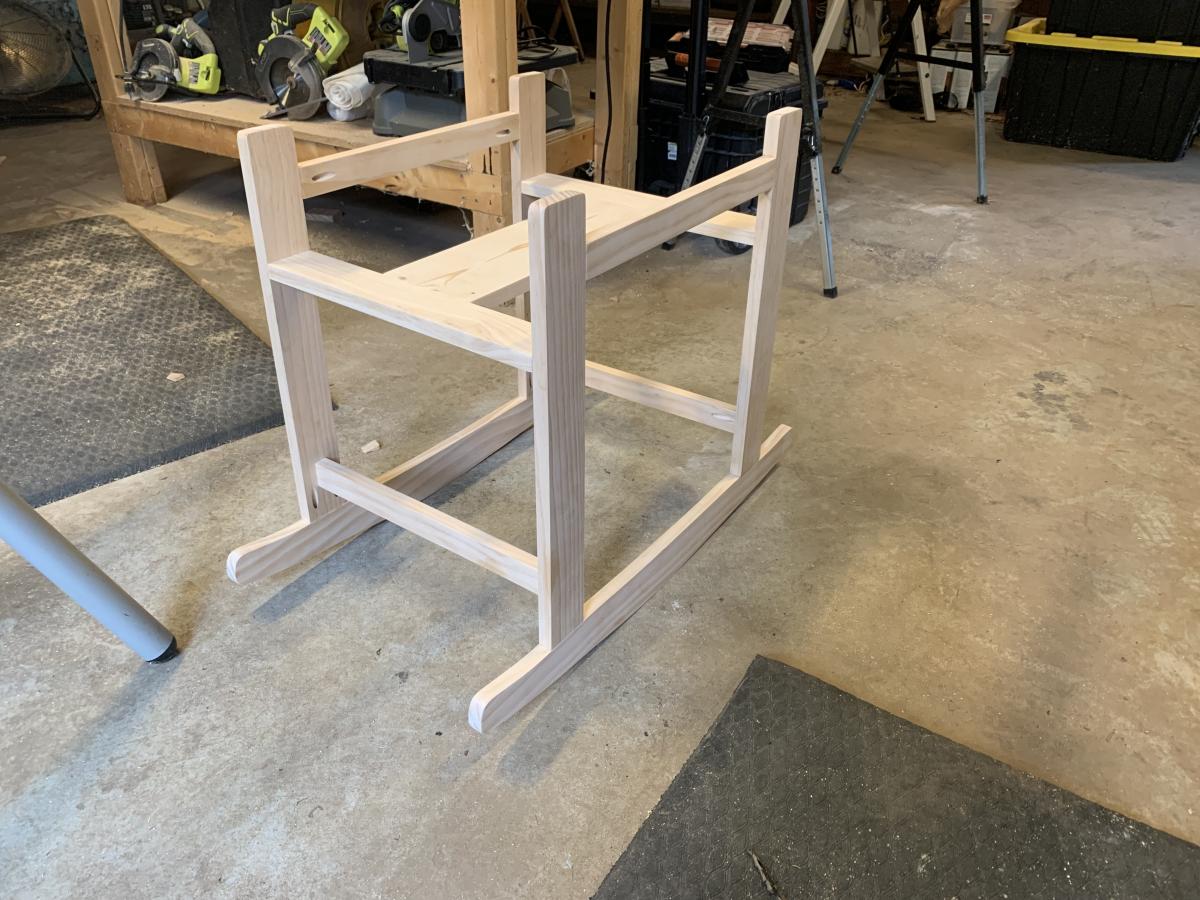
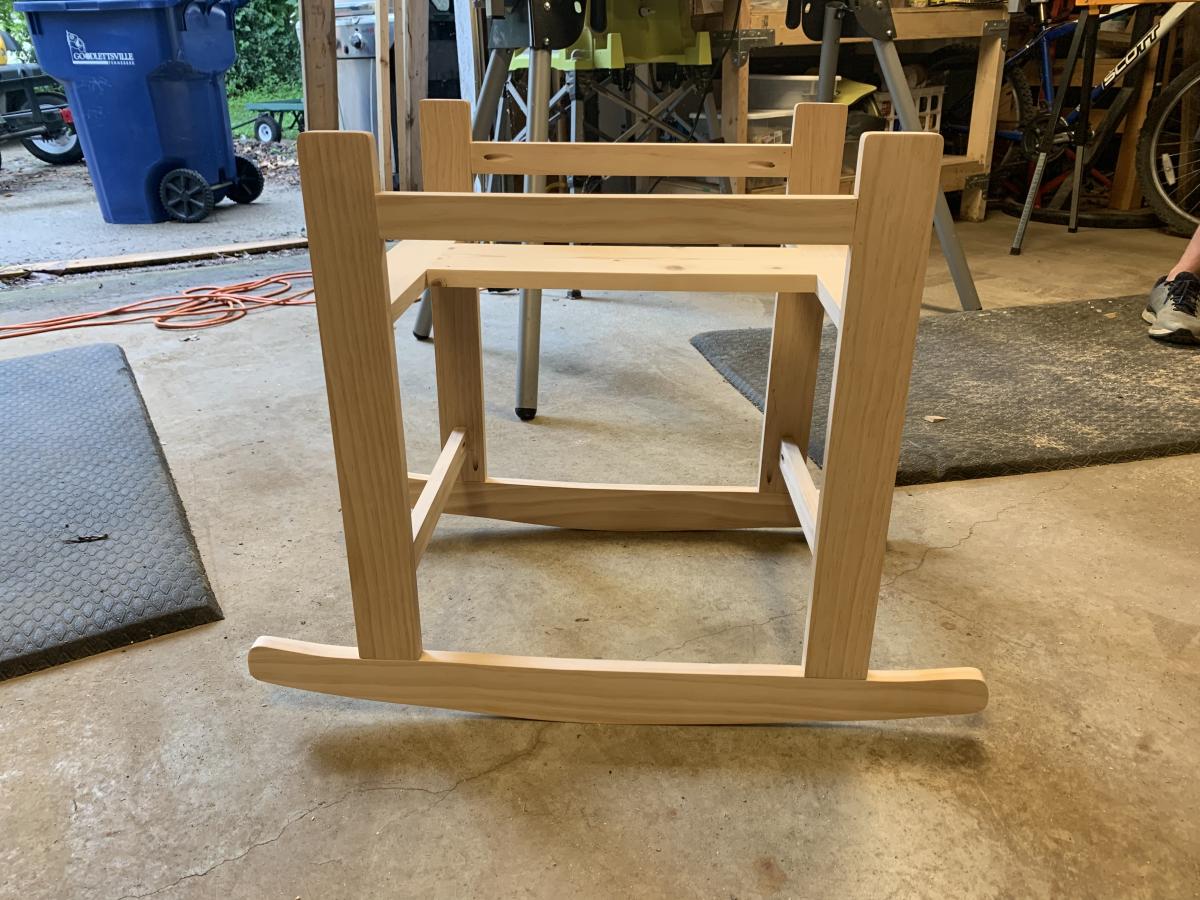
It's beautiful! Love the moses basket too!