Community Brag Posts

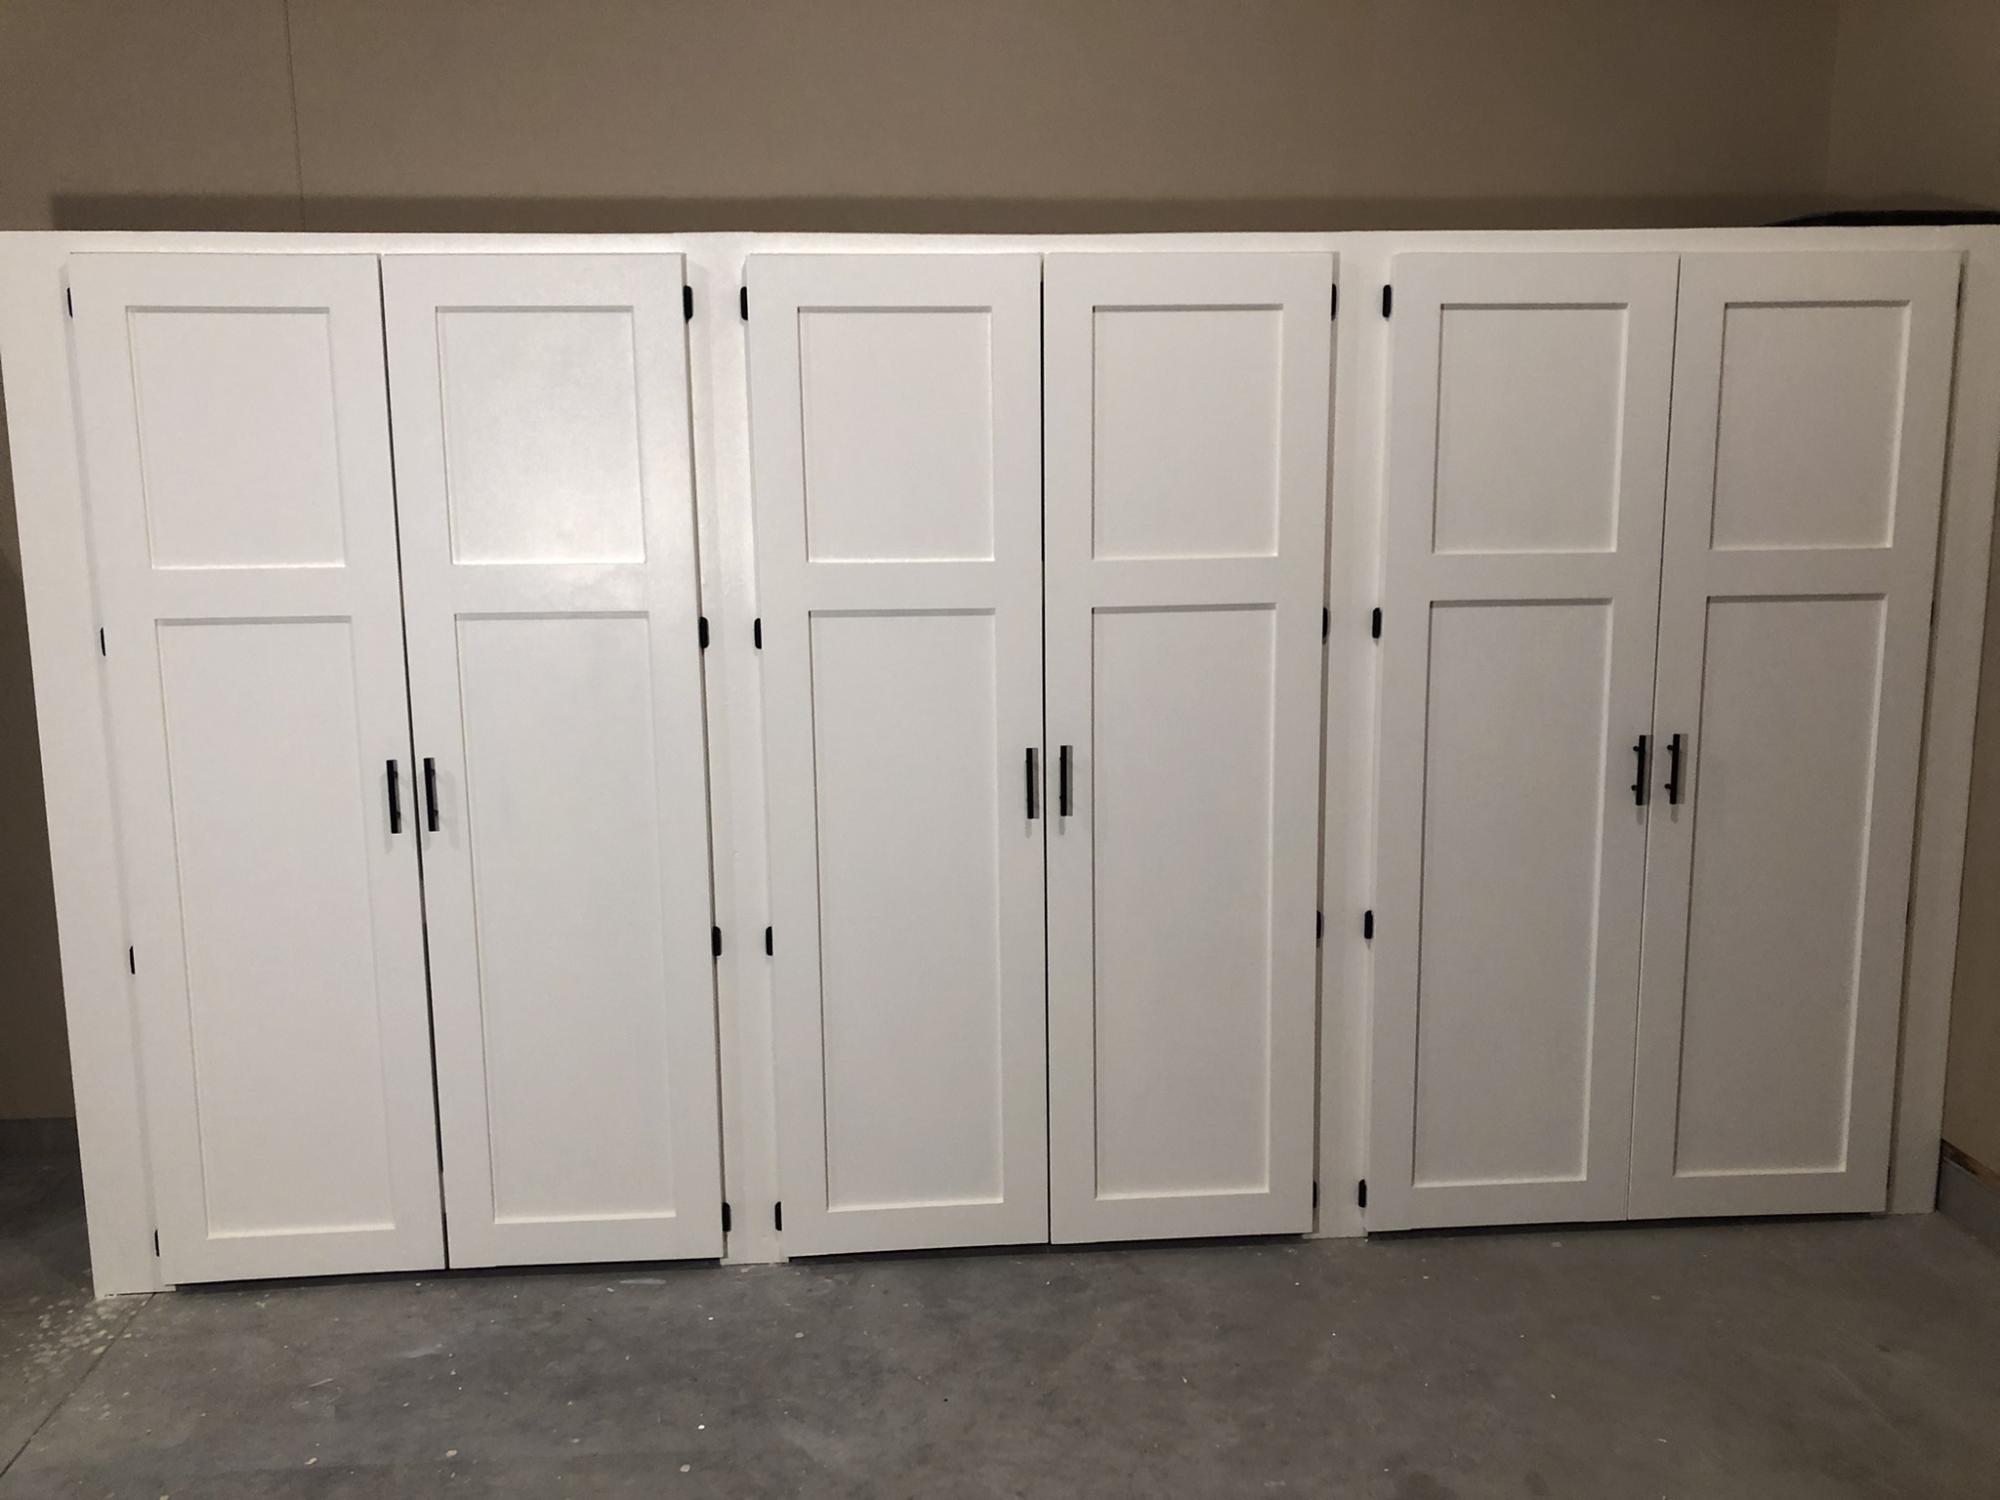
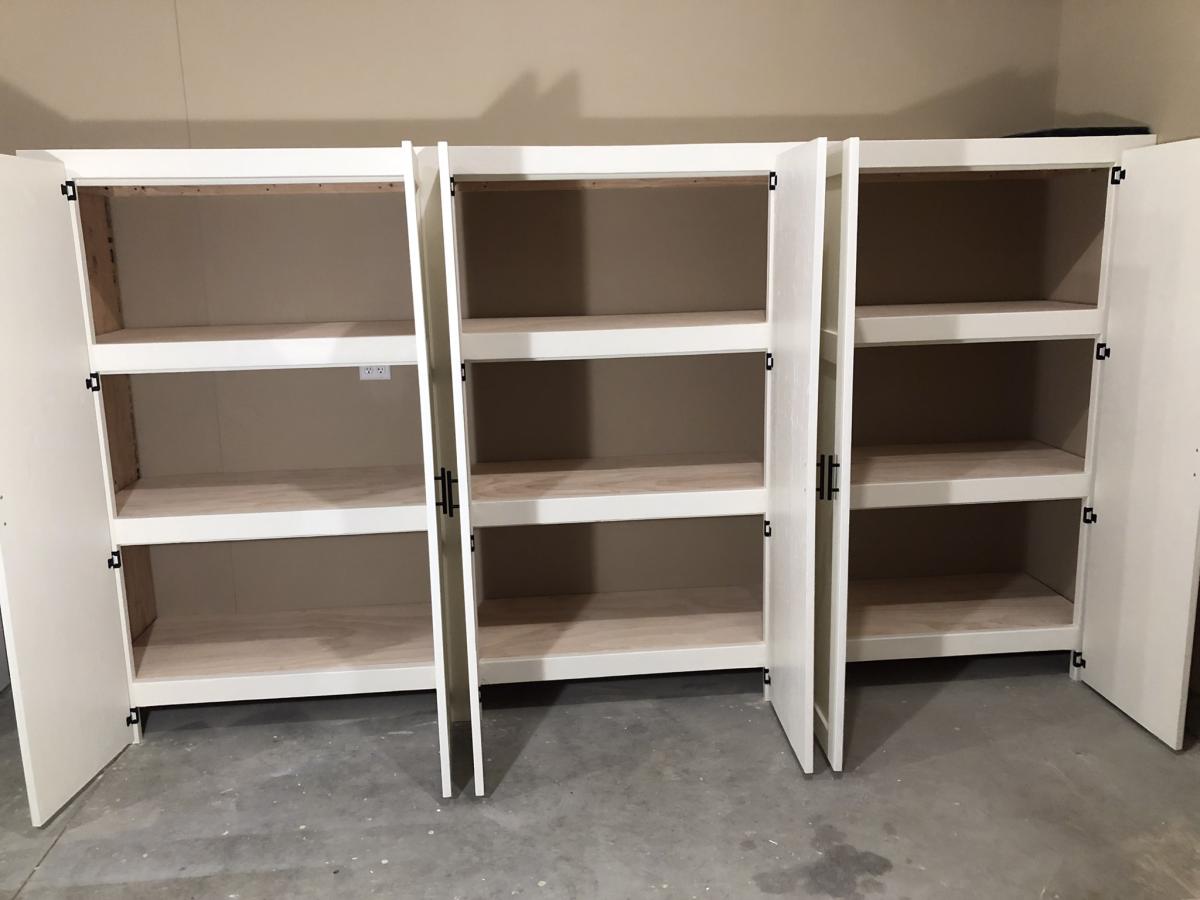
Using Ana White’s Garage Cabinet Plans

Submitted by Anonymous (not verified) on Wed, 04/20/2022 - 09:23

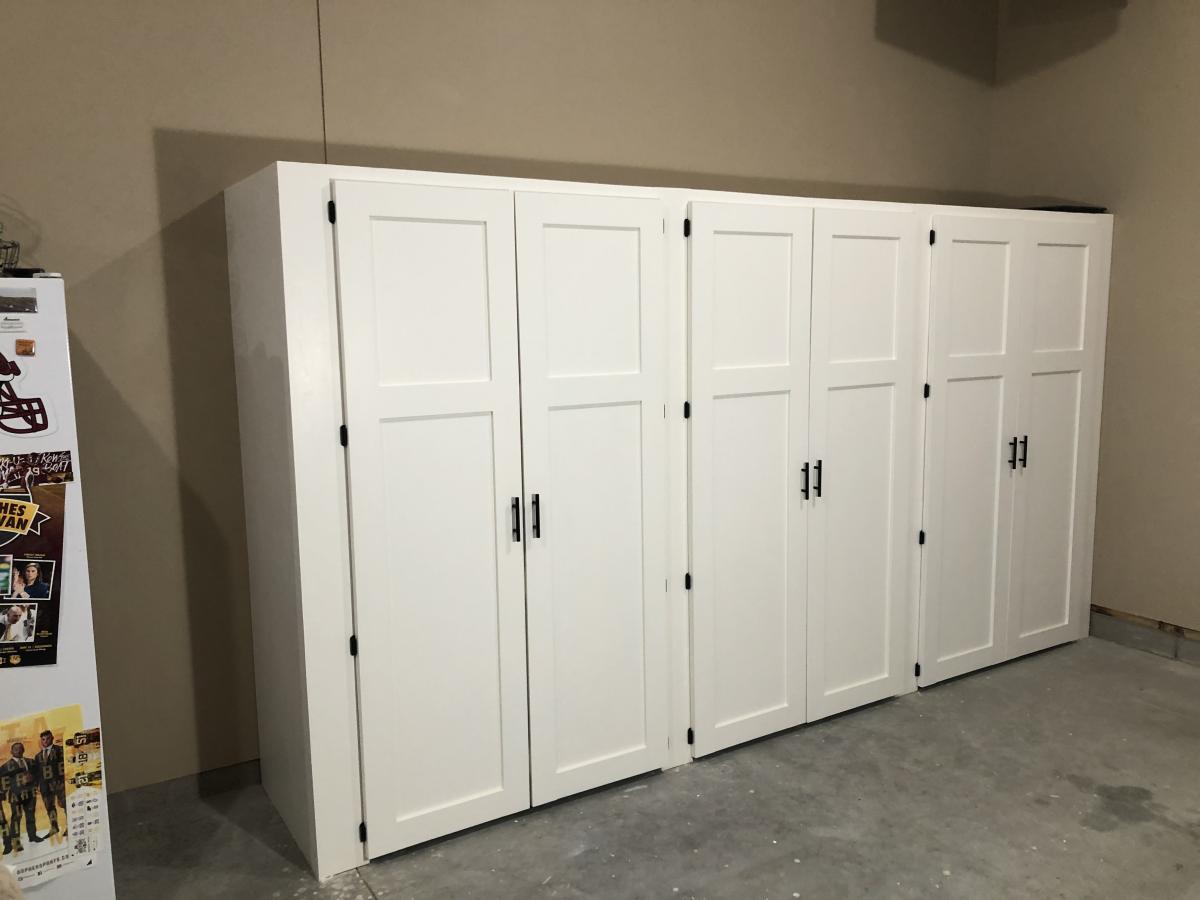
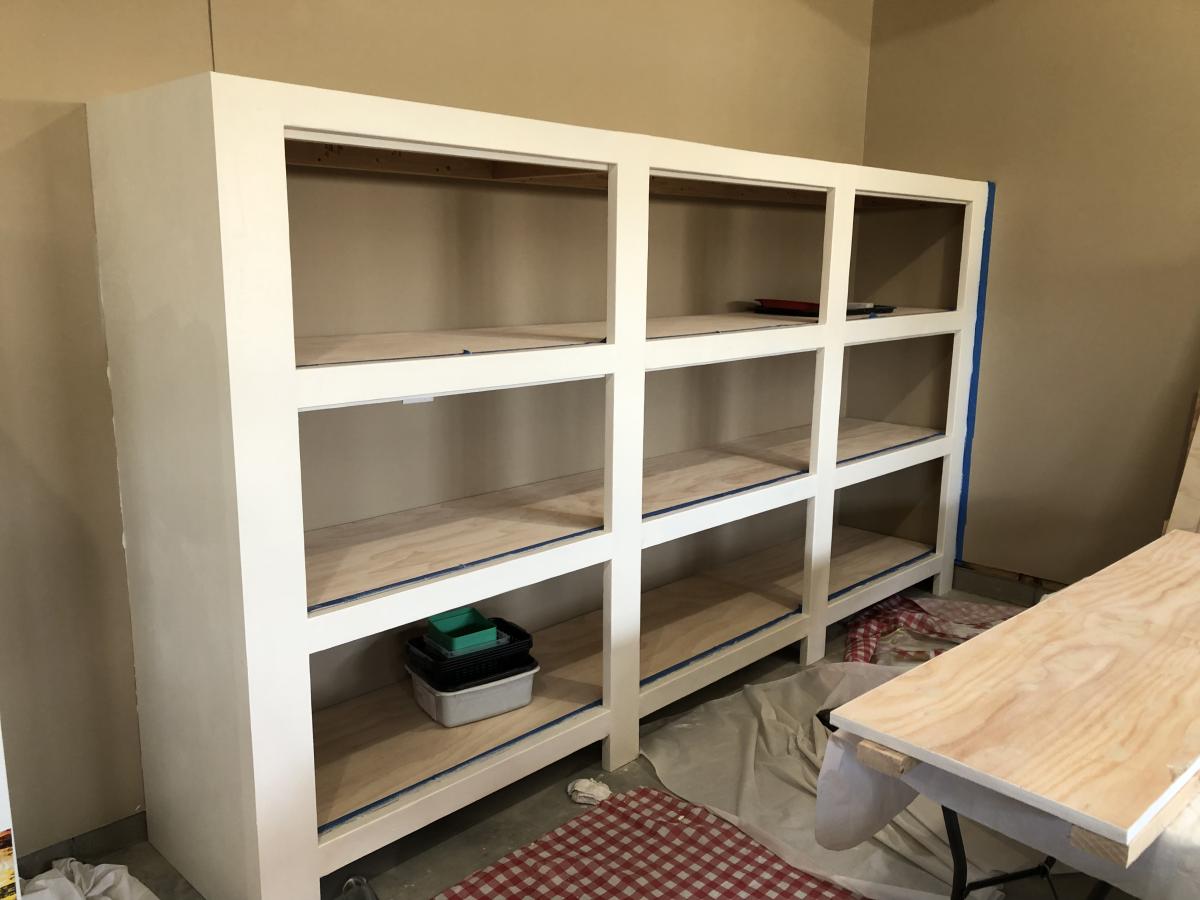
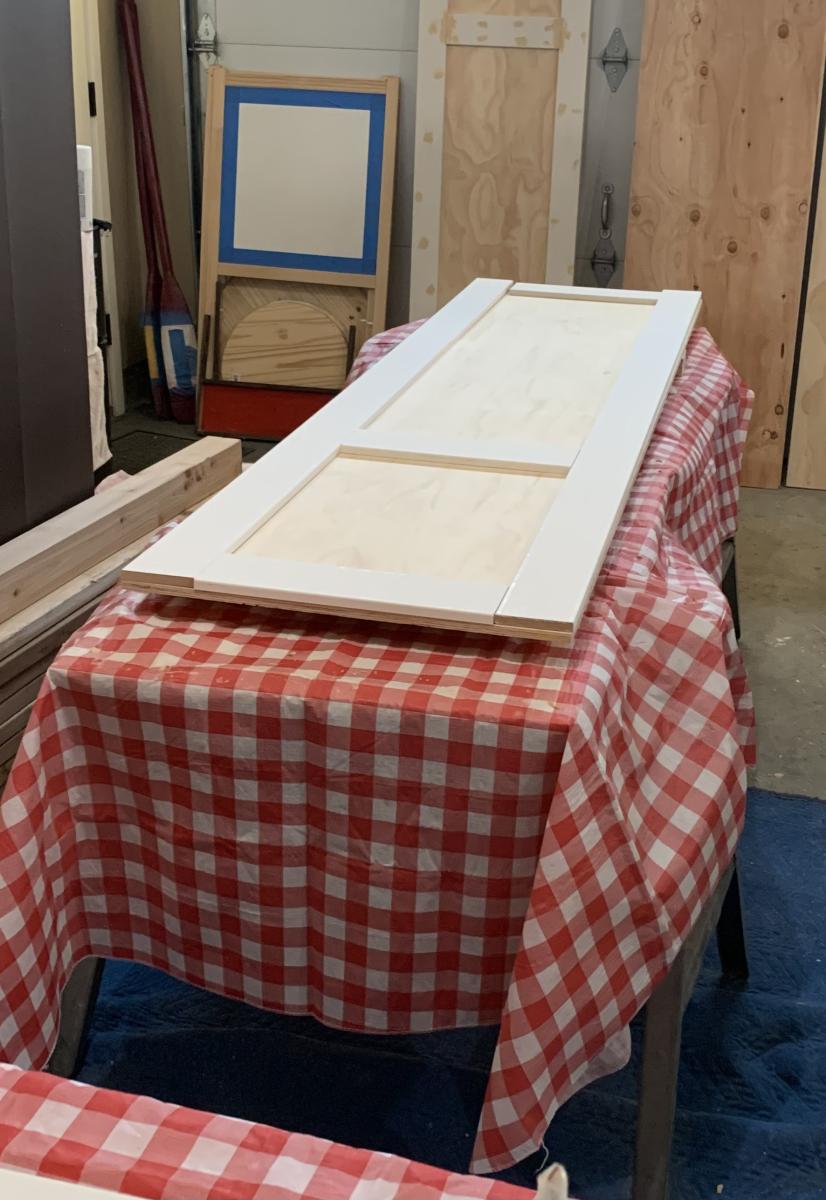
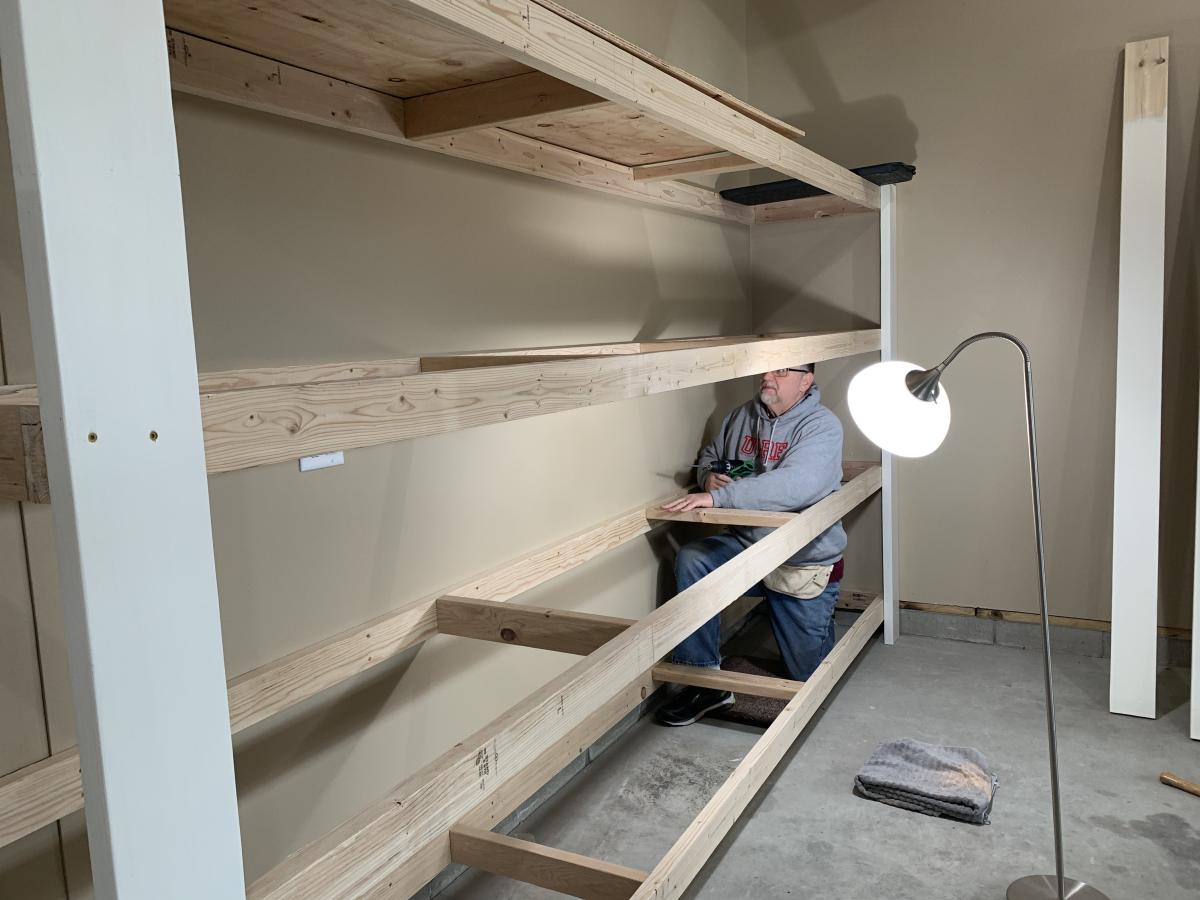
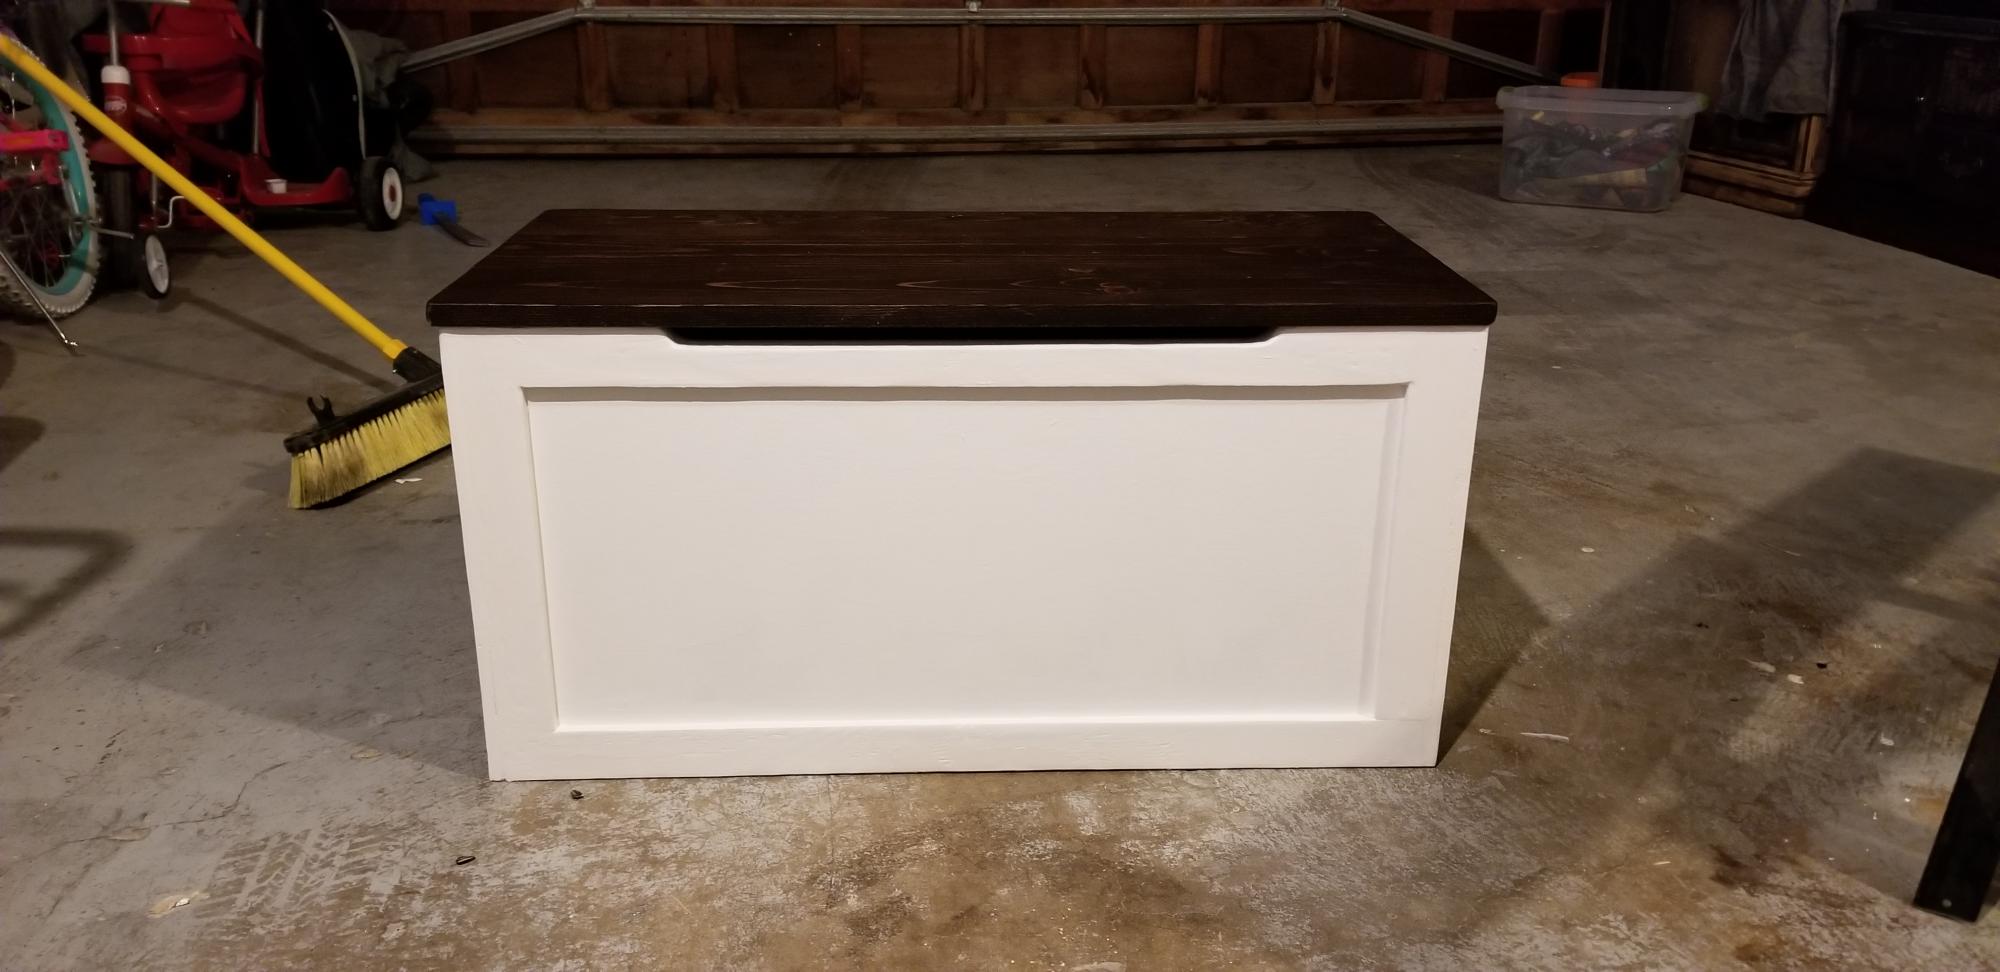
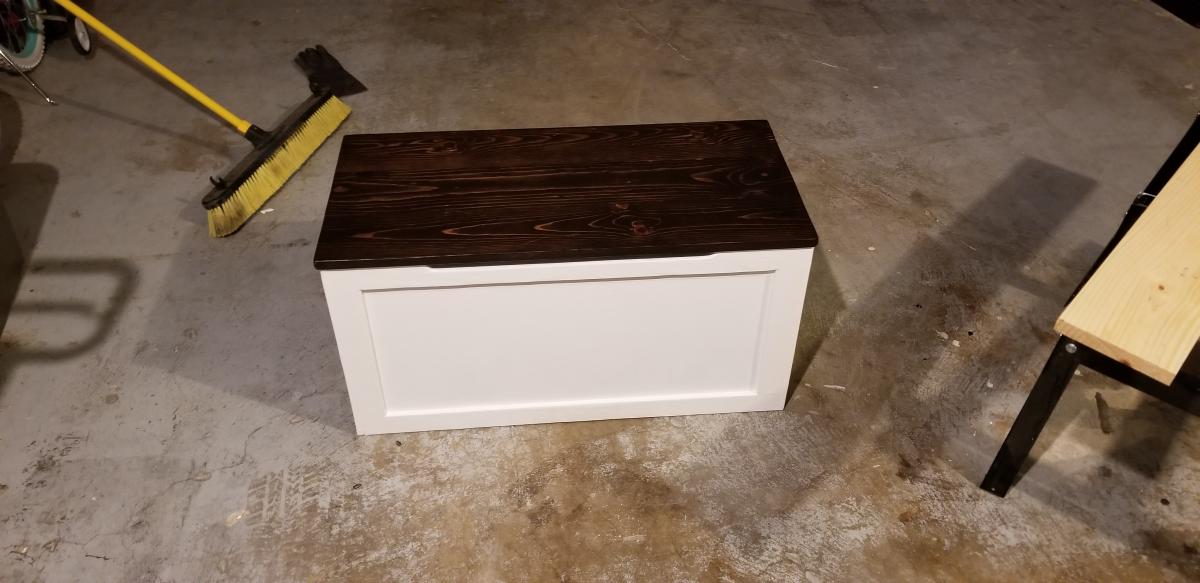
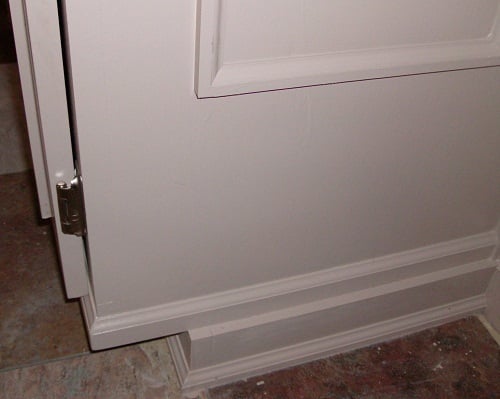
Thank you so much for the two videos we watched of you and your husband explaining and demonstrating how to build garage shelves. We used your plans as a guide. We chose to add shaker style doors to create cabinet shelves. We absolutely love them. We are not handy as you can see we had a living room lamp for a work light and a lifetime table as a work bench. Thank you!
The Paulsons

Comments

Storage Bin

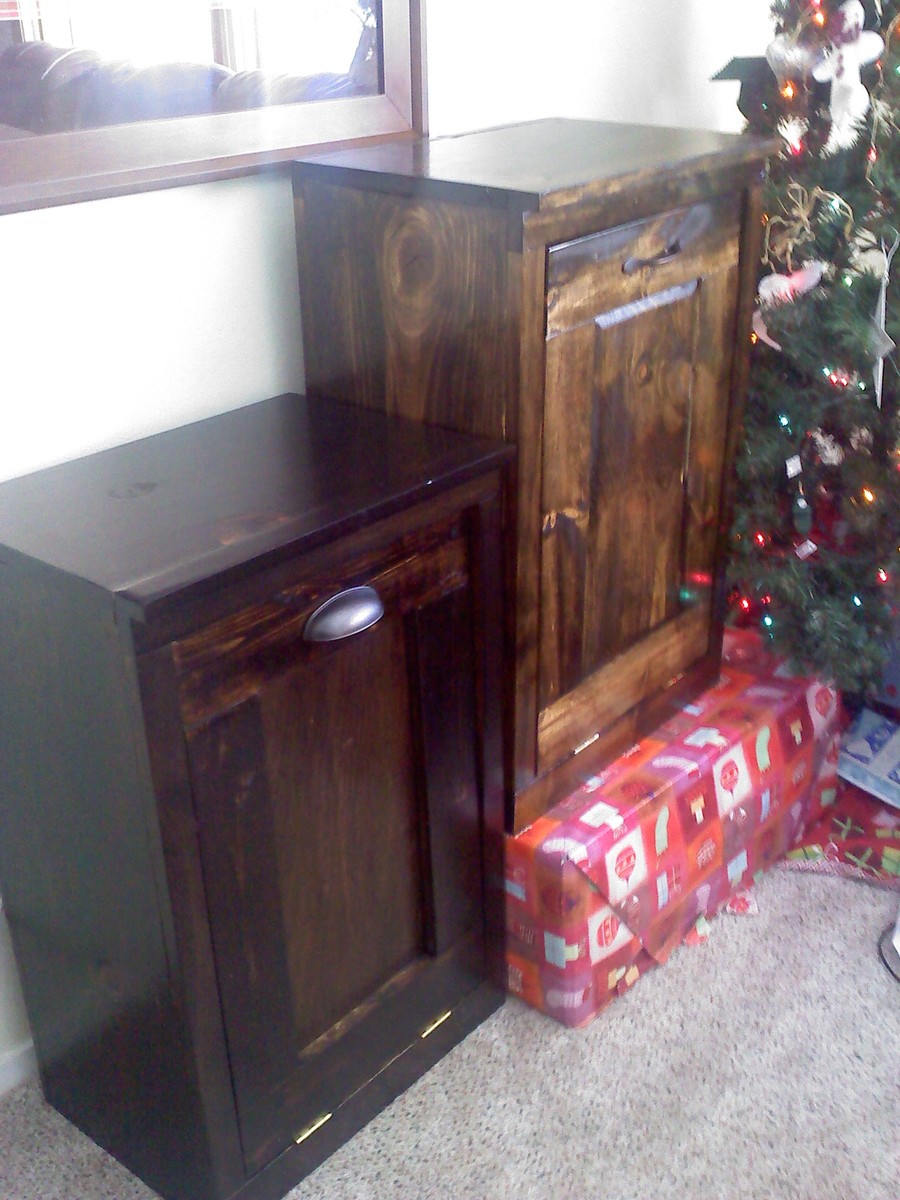
I love this storage bin from plans at morelikehome.net, and it was easy to build, too! It's nice and big, about 21"W x 21"D x 18"H. I selected 3-6 hours as the time spent, but to say closer to six would be about right. I need a large work surface in my sewing room (I'll be building the storage table as well),and a place to store my "stuff".This should be a pretty good start!

Estimated Cost
About $20
Estimated Time Investment
Afternoon Project (3-6 Hours)
Finish Used
Two coats of Early American by Minwax, and one of Varathane's Diamond Finish topcoat, all applied with a rag.
Recommended Skill Level
Beginner

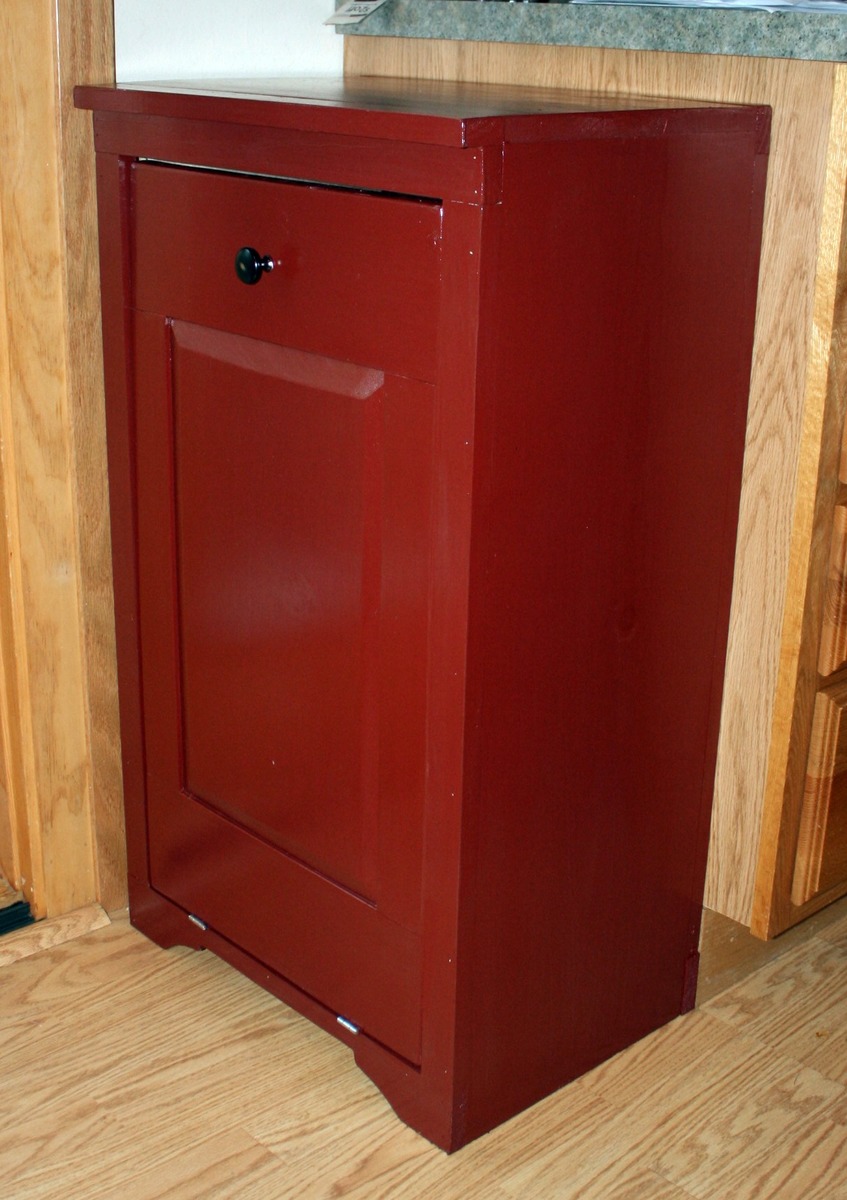
I couldn't be more happy about a garbage can!

Submitted by hoffer5353 on Mon, 08/01/2011 - 12:29

I started this project thinking that I would put in a rental home we were working on. But after I completed it I couldn't part with it.

I found the plans to be easy to follow! I watched the videos and tackled the raised panel doors. I wanted to add some height so added a few inches just in-case. I couldn’t bear the thought of completing this project and my garbage can not fitting. So I did use 1x6 for the rails and found it didn't look too bad.

I put a lot of thought about what color and finish I wanted. I thought about distressing it but couldn’t decide on the color or technique. So I decided on Color Place paint that I had left over from another project. I am going to find a spray paint that matches and do the inside.

I choose an oil rubbed bronze knob that I had left over from a kitchen remodel, added a magnetic closure as well as a door safety chain. I have lots of little hands and toes that I don’t want getting smashed. I like the idea that if I want to open it all the way for cleaning all I have to do is unhook the safety chain.

Over all I am so pleased with how it turned out. It keeps the garbage and smell in and curious fingers out! My kids love to put stuff in the garbage now!

I spent a weekend with a visiting friend and made one as well as completed two more for Christmas gifts.

Thanks Ana

Estimated Cost
$30-35
Estimated Time Investment
Afternoon Project (3-6 Hours)
Finish Used
2-3 coats-ColorPlace-Redwood semi-gloss exterior
1 coat-Minwax-Polyurethane-Semi Gloss
Recommended Skill Level
Intermediate

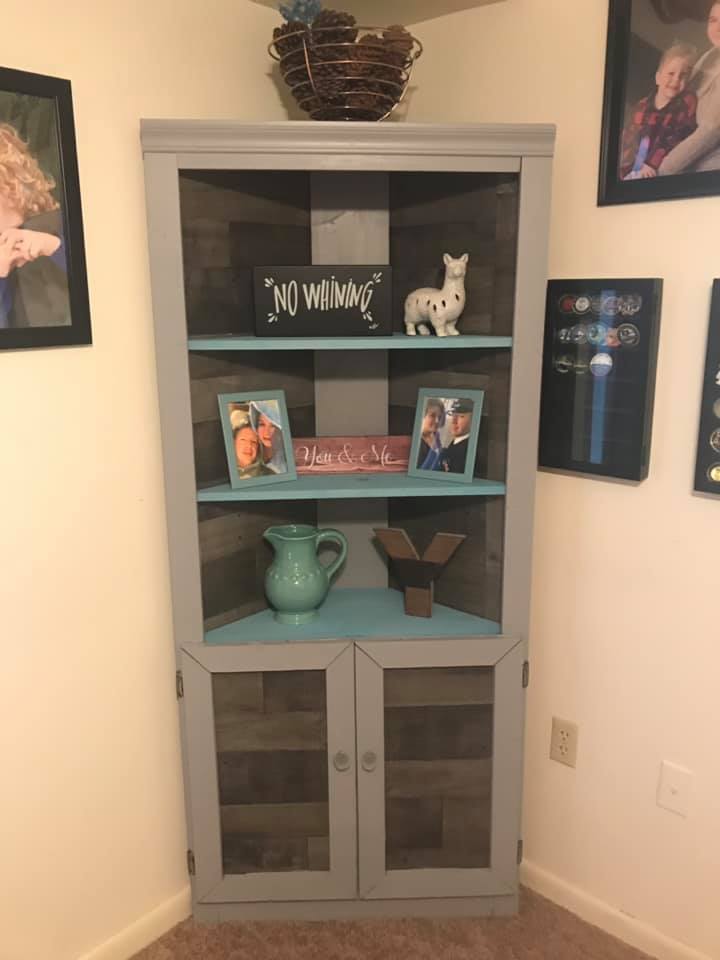
Corner Cupboard

Submitted by Anonymous (not verified) on Tue, 01/08/2019 - 15:11

Made this corner cupboard in an afternoon. It was easier than expected especially with the sliding compound miter saw, and the kreg jig haha!

Built from Plan(s)
Estimated Cost
$130
Estimated Time Investment
Day Project (6-9 Hours)
Finish Used
Varathane vintage aqua wood stain for the shelves, Behr "power grey" for the colors. I used weathered grey plank MDF paneling from Home Depot for the backing and doors.
Recommended Skill Level
Beginner

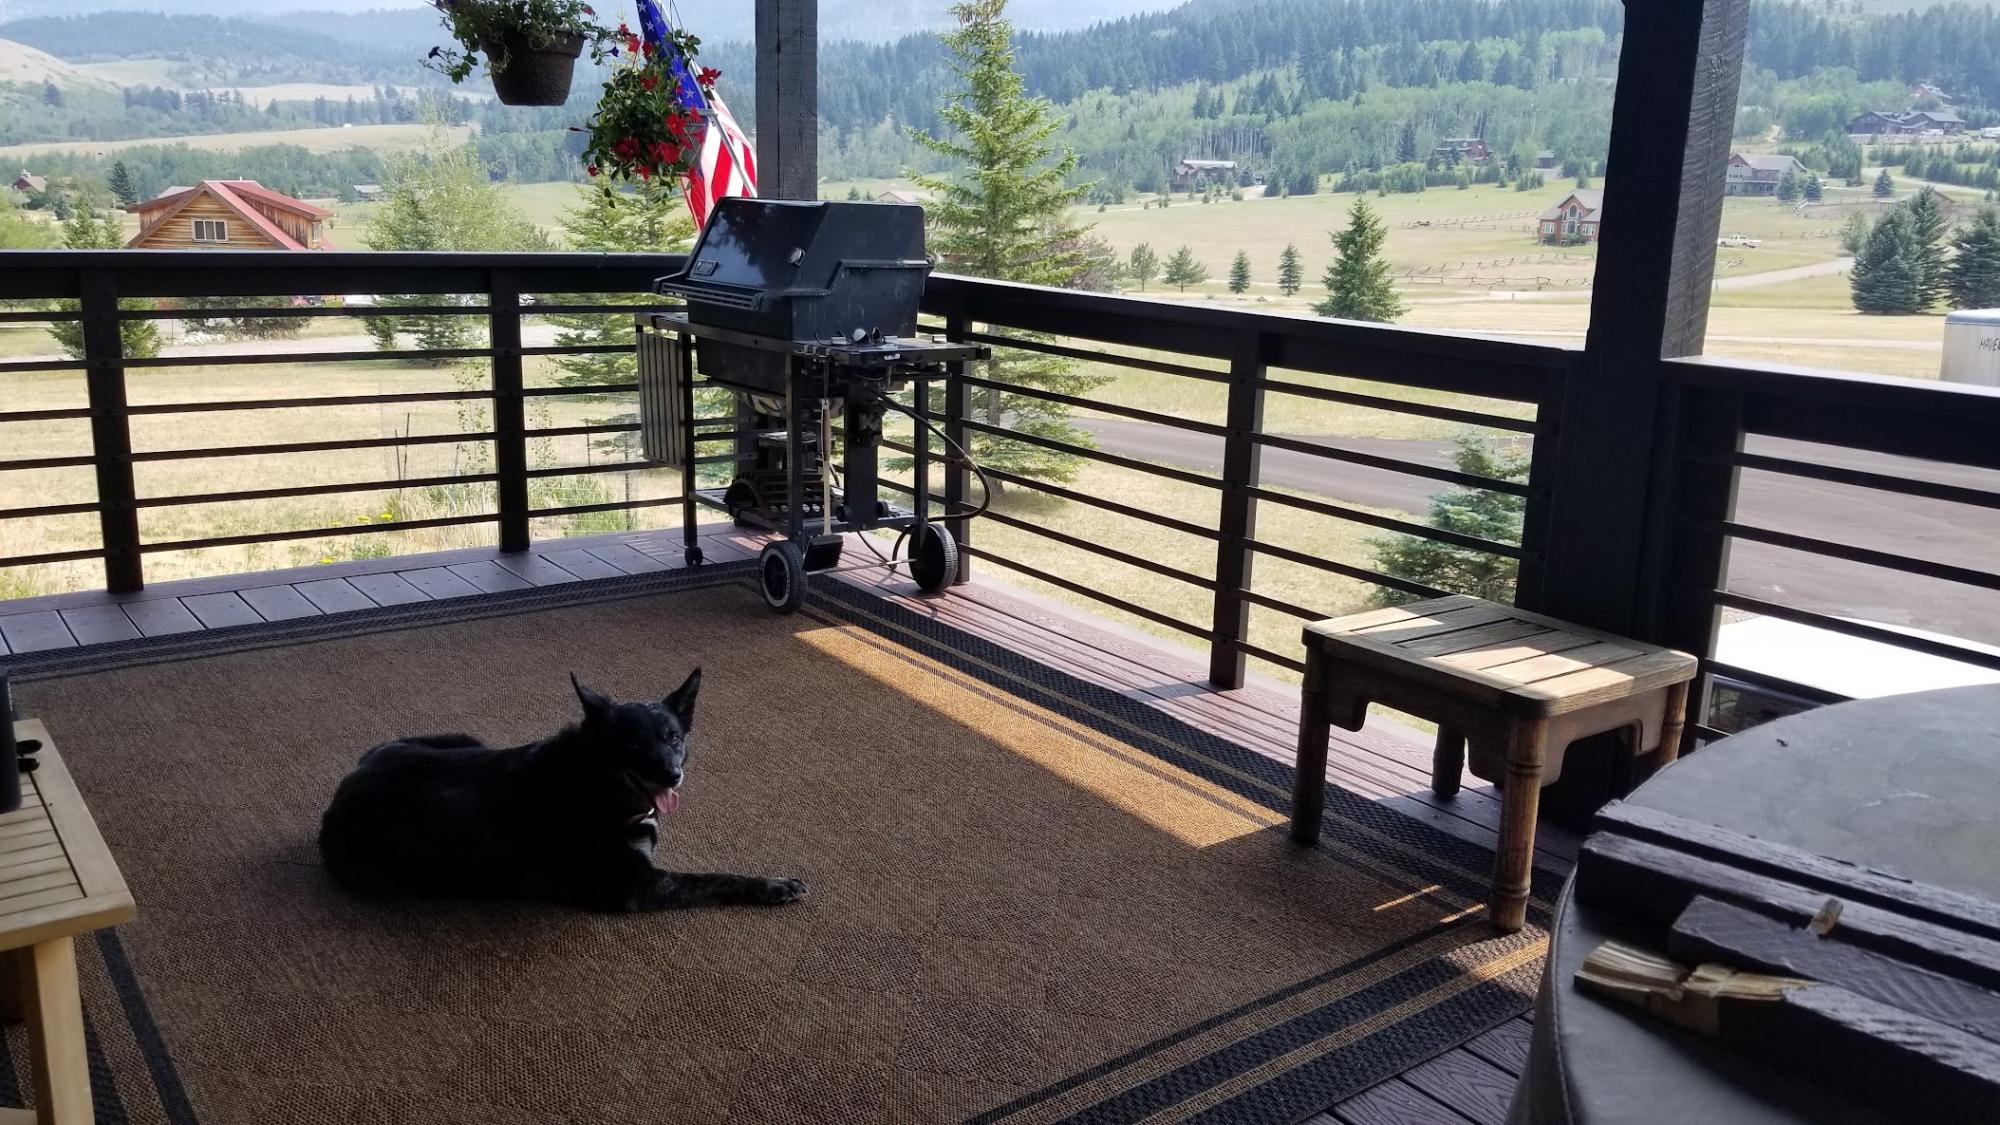
Modern Farmhouse railing on a deck

Submitted by Anonymous (not verified) on Fri, 01/13/2023 - 09:07

Inspired by the modern farmhouse railing we decided to install the same style on our deck. Our old railing was aged an deteriorated. The project took about two weekends, one to treat the metal with black magic, another to build the actual railing. We love how it looks!

Comments

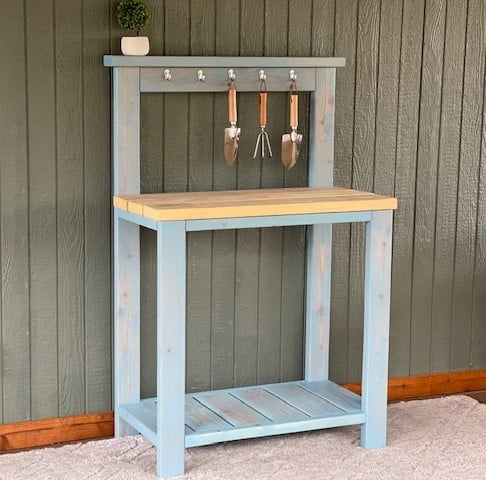
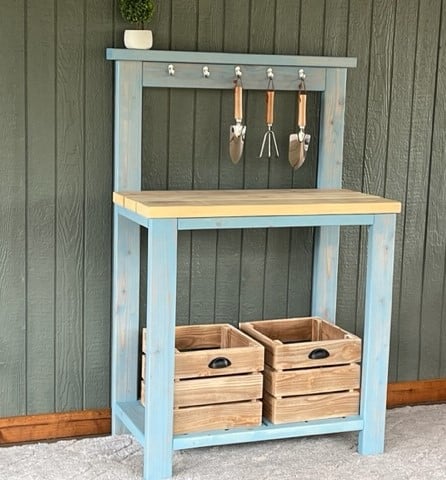
Compact Potting Bench

Submitted by vendo on Wed, 02/01/2023 - 12:43

I used Ana's Farmhouse Potting Bench plans and modified it to be more compact and left out the x detail. I built it for under $40 in material. 

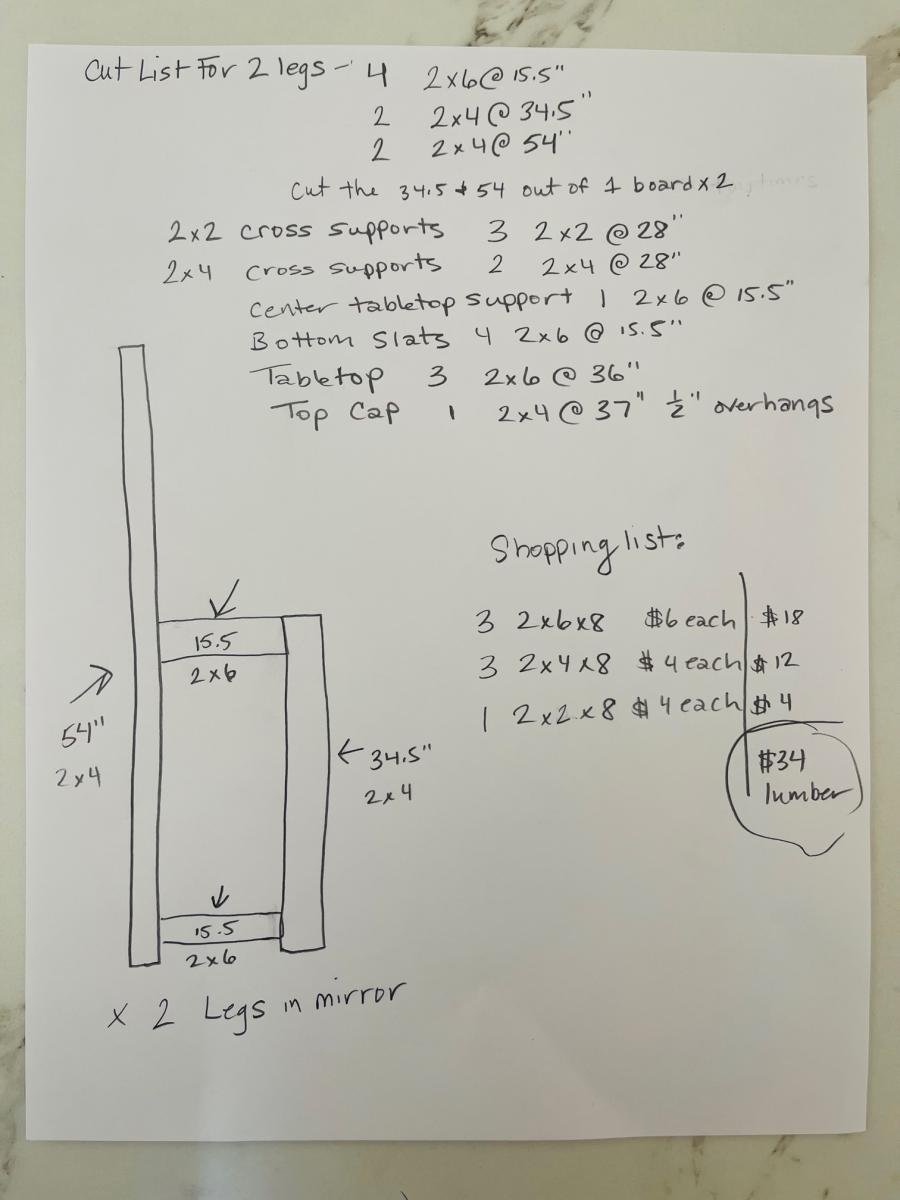
Modifications for Shopping and Cut List - Construction and placement is same as Ana's original plan, so make sure you look that over.

Shopping List 

3 - 2x6x8

3 - 2x4x8

1 - 2x2x8

Cut List

FOR 2 Legs
4 2x6 @15.5"
2 2x4 @34.5"
2 2x4 @54"
(cut the 34.5 and 54 out of 1 board and repeat)

2x2 Cross Supports
3 2x2@28"

2x4 Cross Supports
2 2x4@28"

Center Tabletop Support
1 [email protected]"

Bottom Slats
4 [email protected]"

Tabletop Boards
3 2x6@36"

Top Cap Board
1 2x4@37" leaving 1/2" overhangs

VIDEO OF THE BUILD PROCESS

Built from Plan(s)

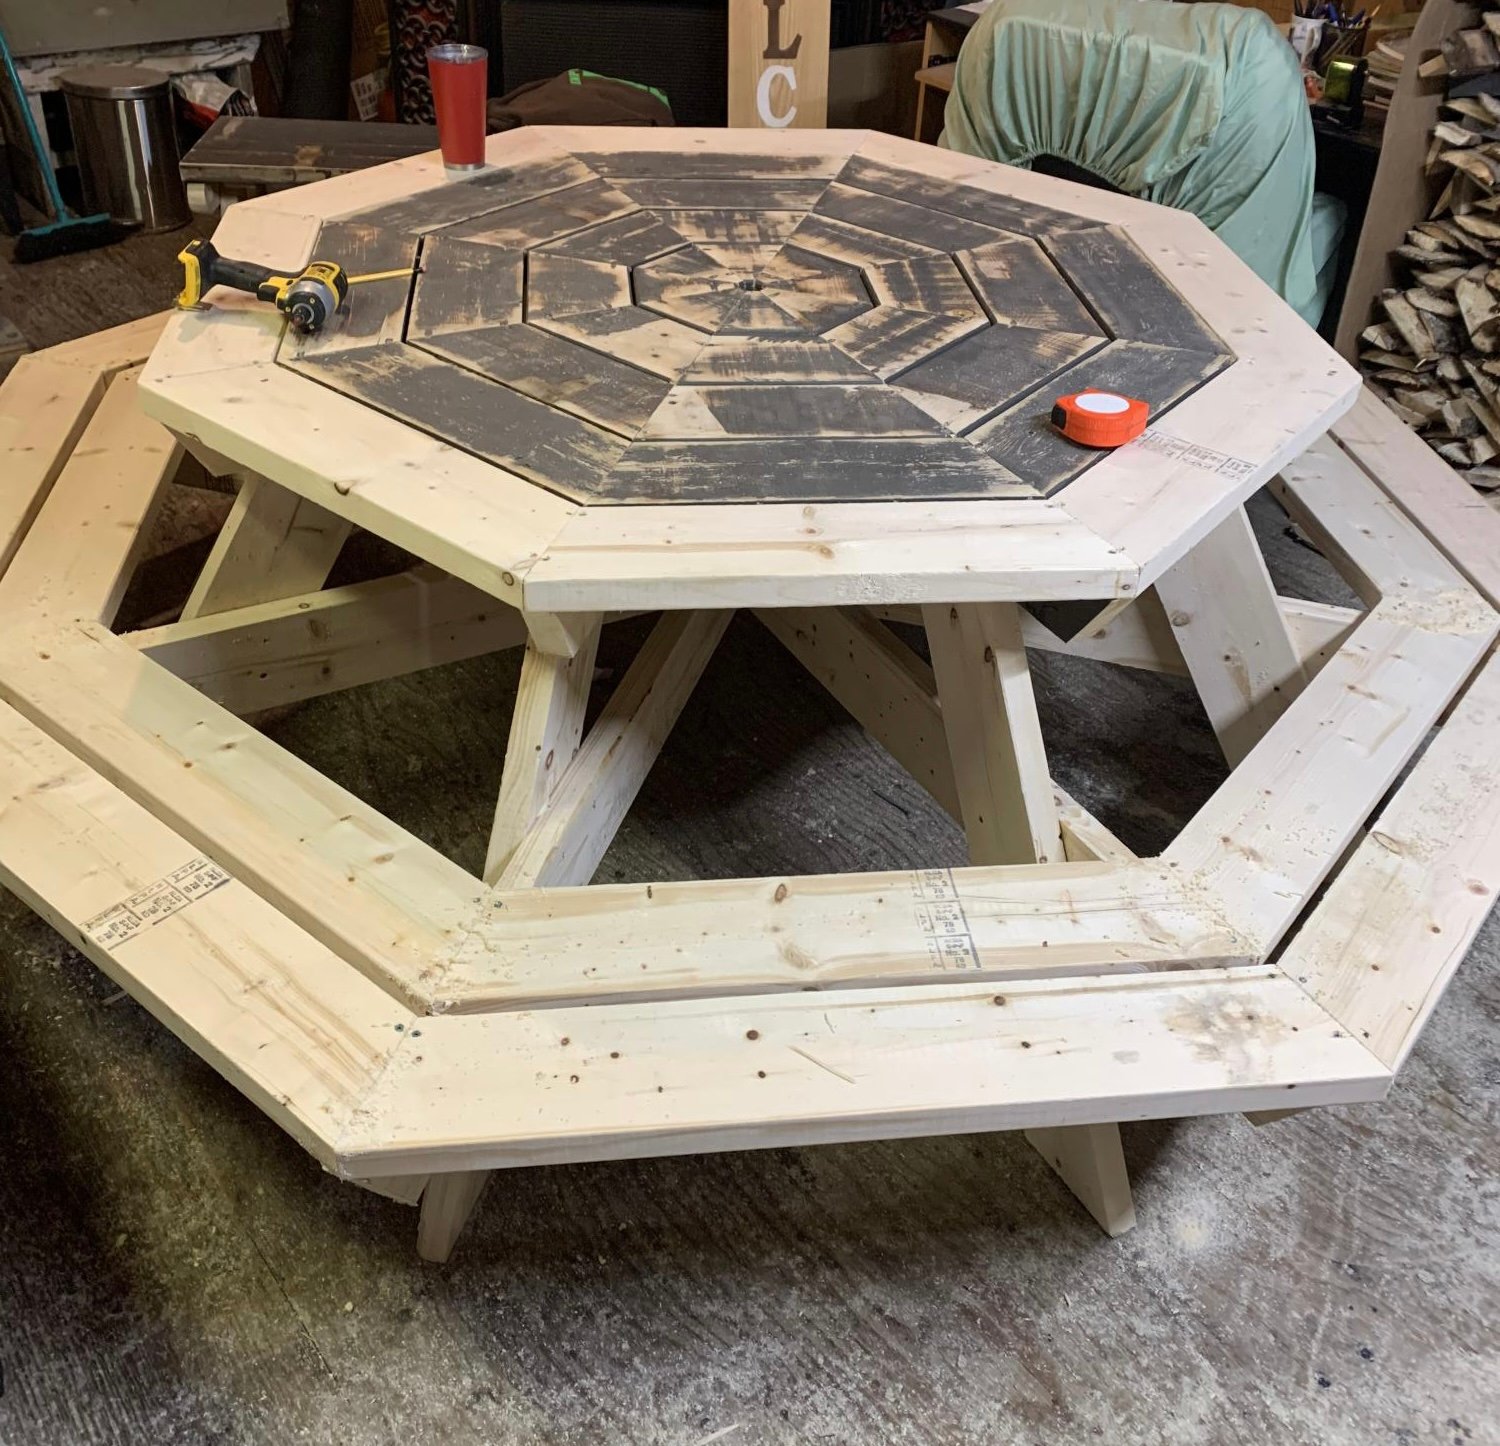
Octagon picnic table

Submitted by Anonymous (not verified) on Fri, 03/03/2023 - 02:27

Great project . Easy plan to read .

Built from Plan(s)

Comments

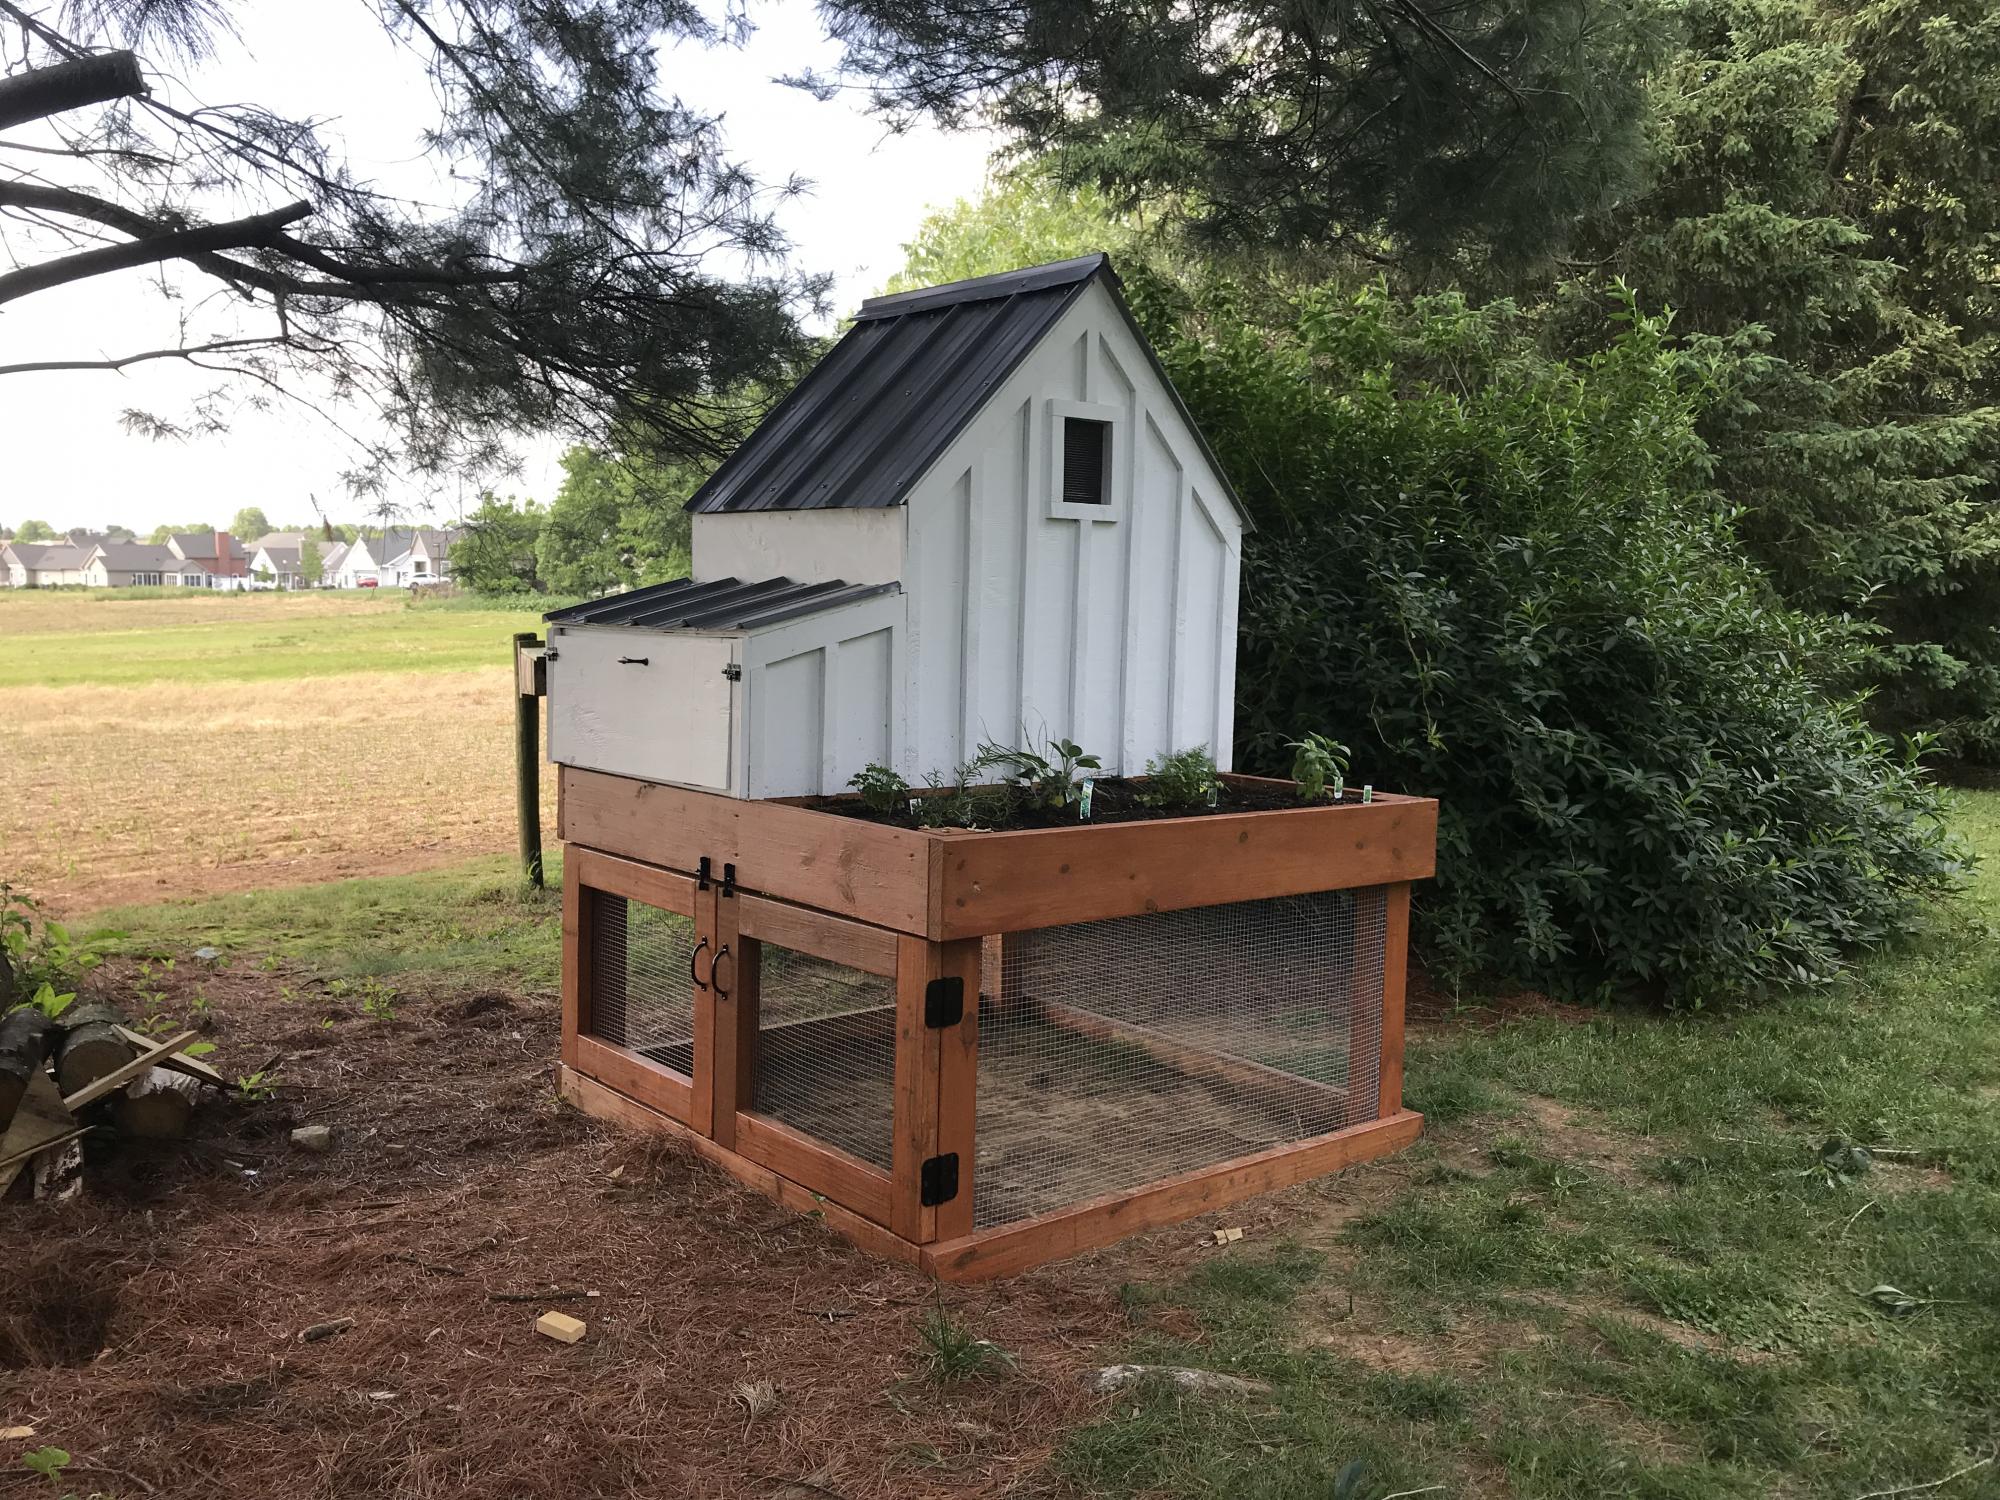
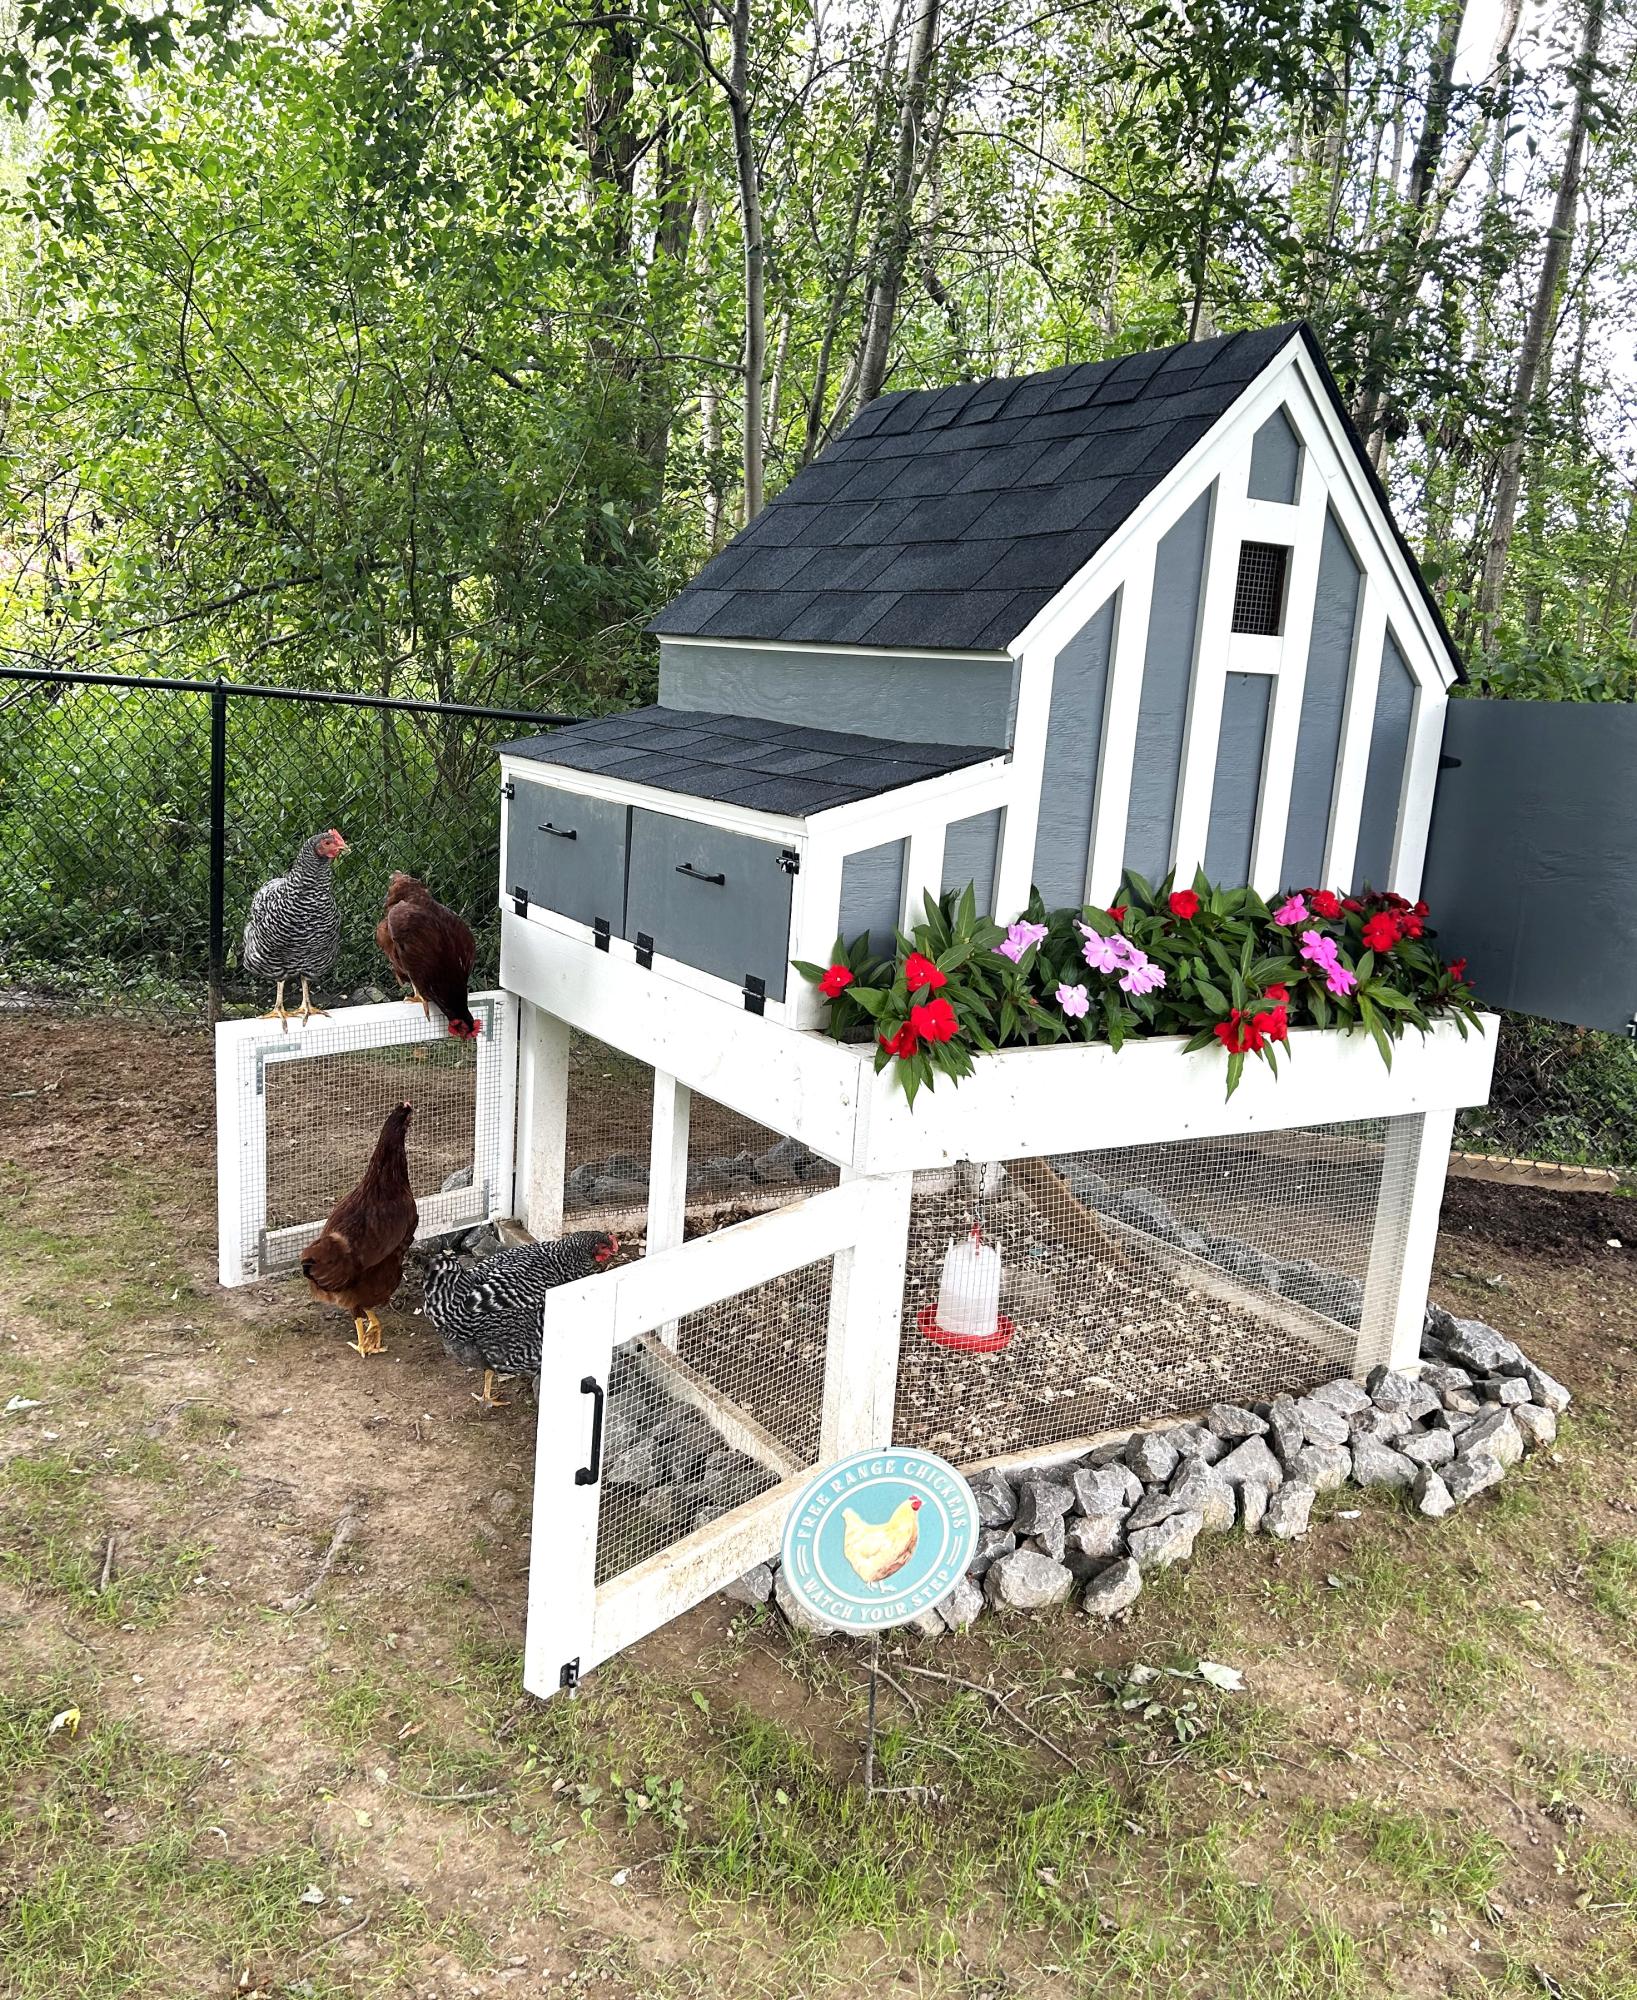
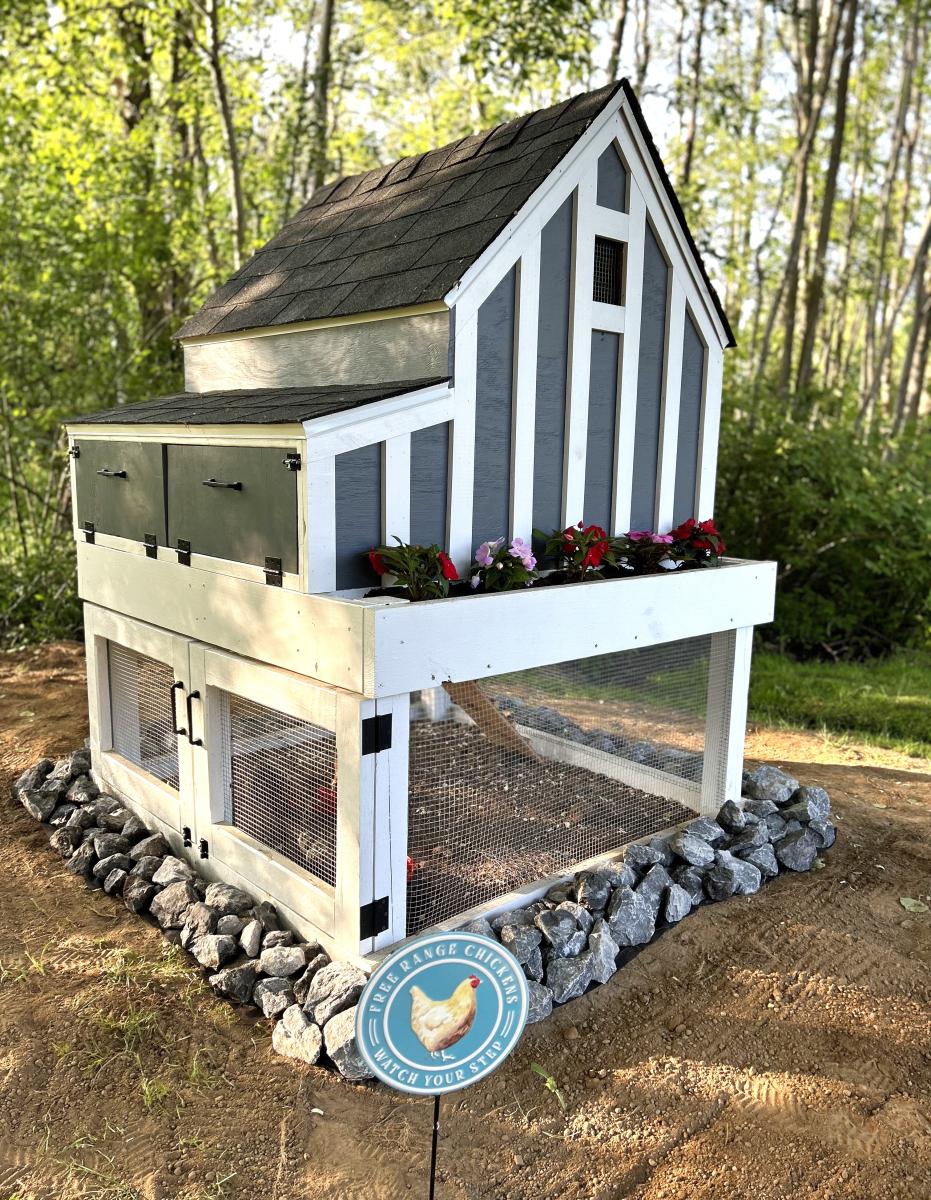
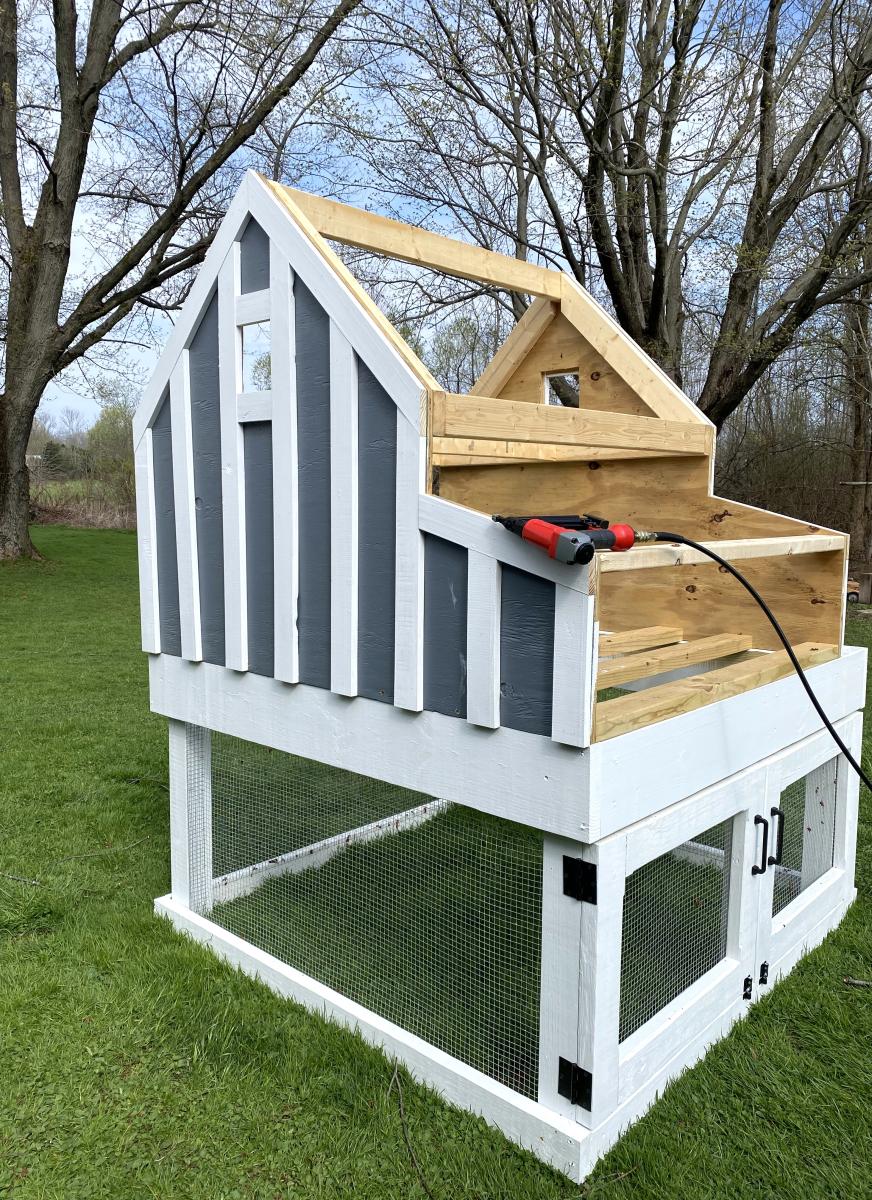
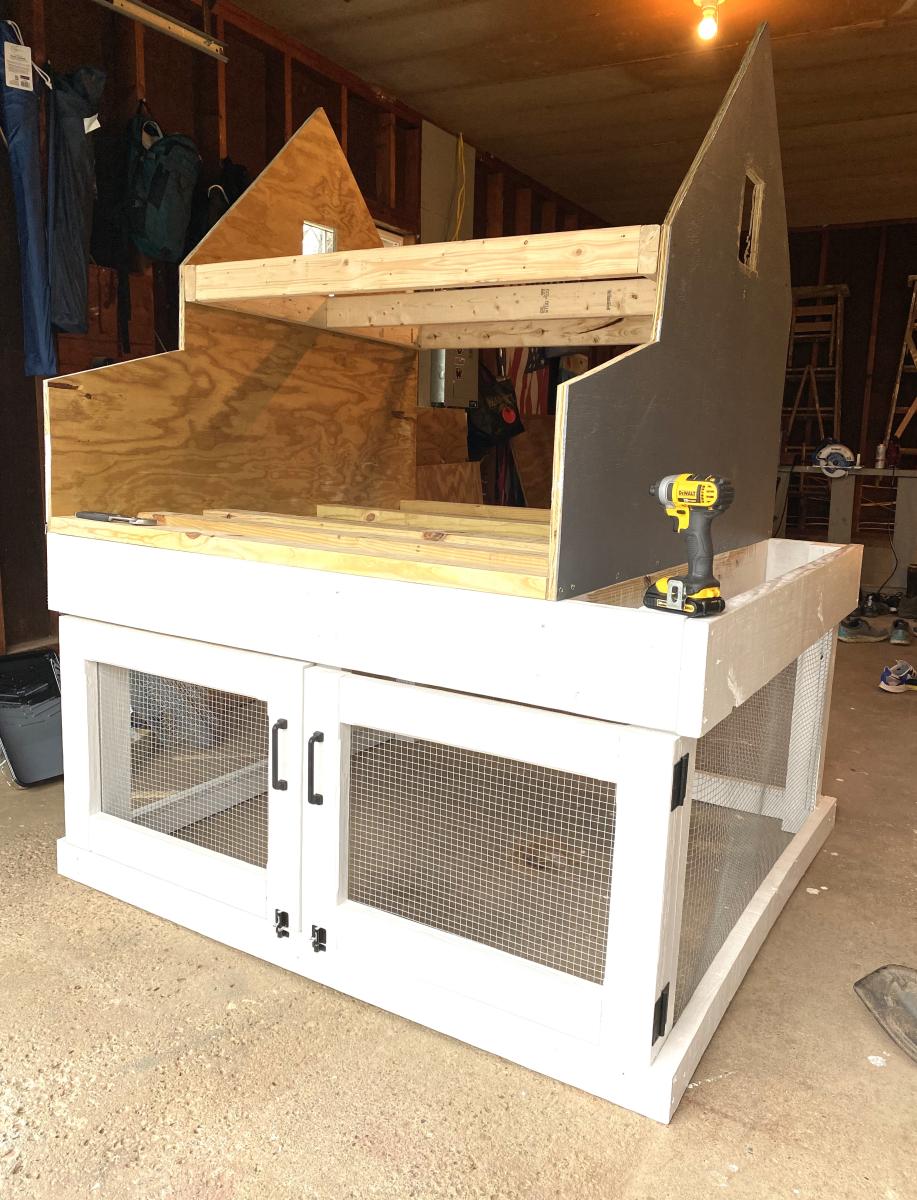
Small Chicken Coop with Planter

Submitted by will m. on Sat, 05/25/2019 - 12:14

Great plans! Fun project

Estimated Time Investment
Weekend Project (10-20 Hours)
Recommended Skill Level
Advanced

Comments

Seasonal And Holiday

Kids' Playhouse (under stairs)

Submitted by kdins31 on Sun, 12/18/2011 - 09:22

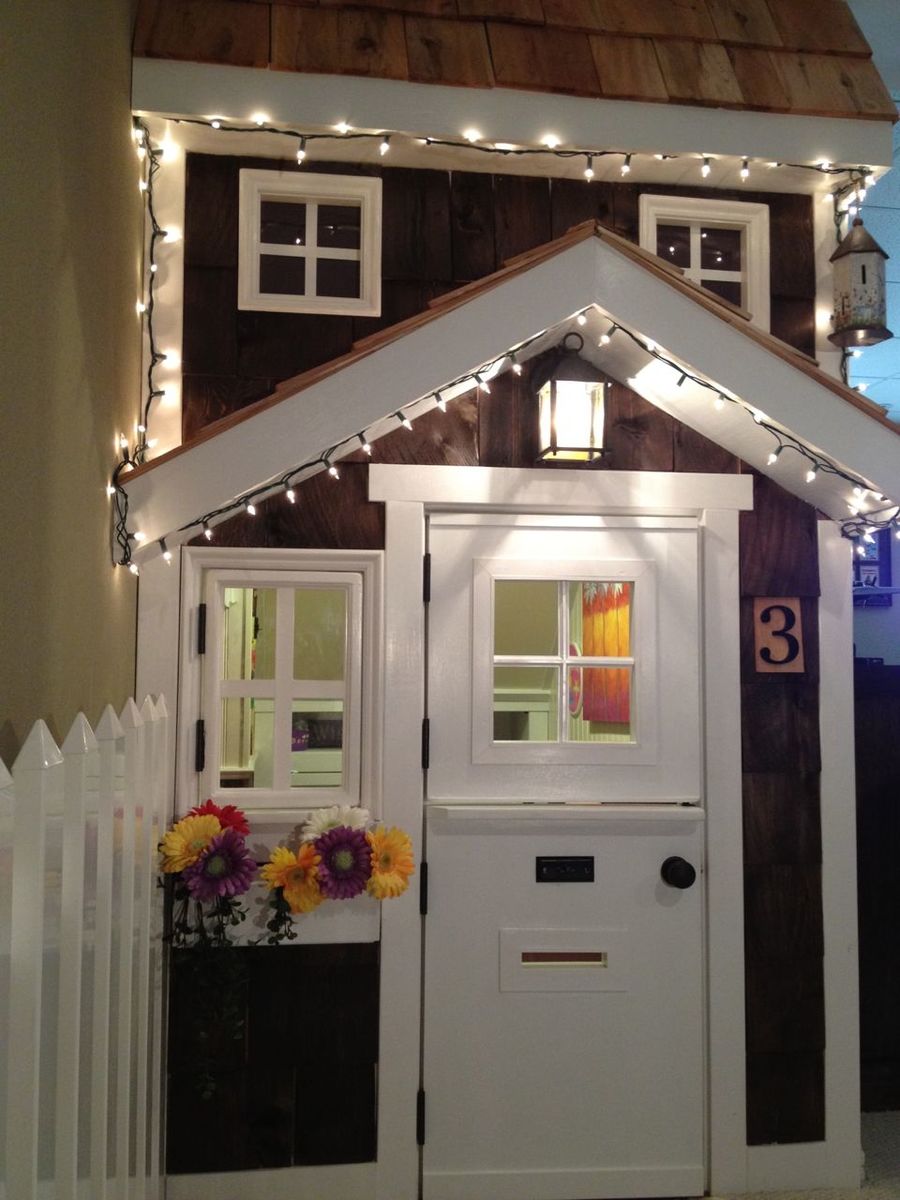
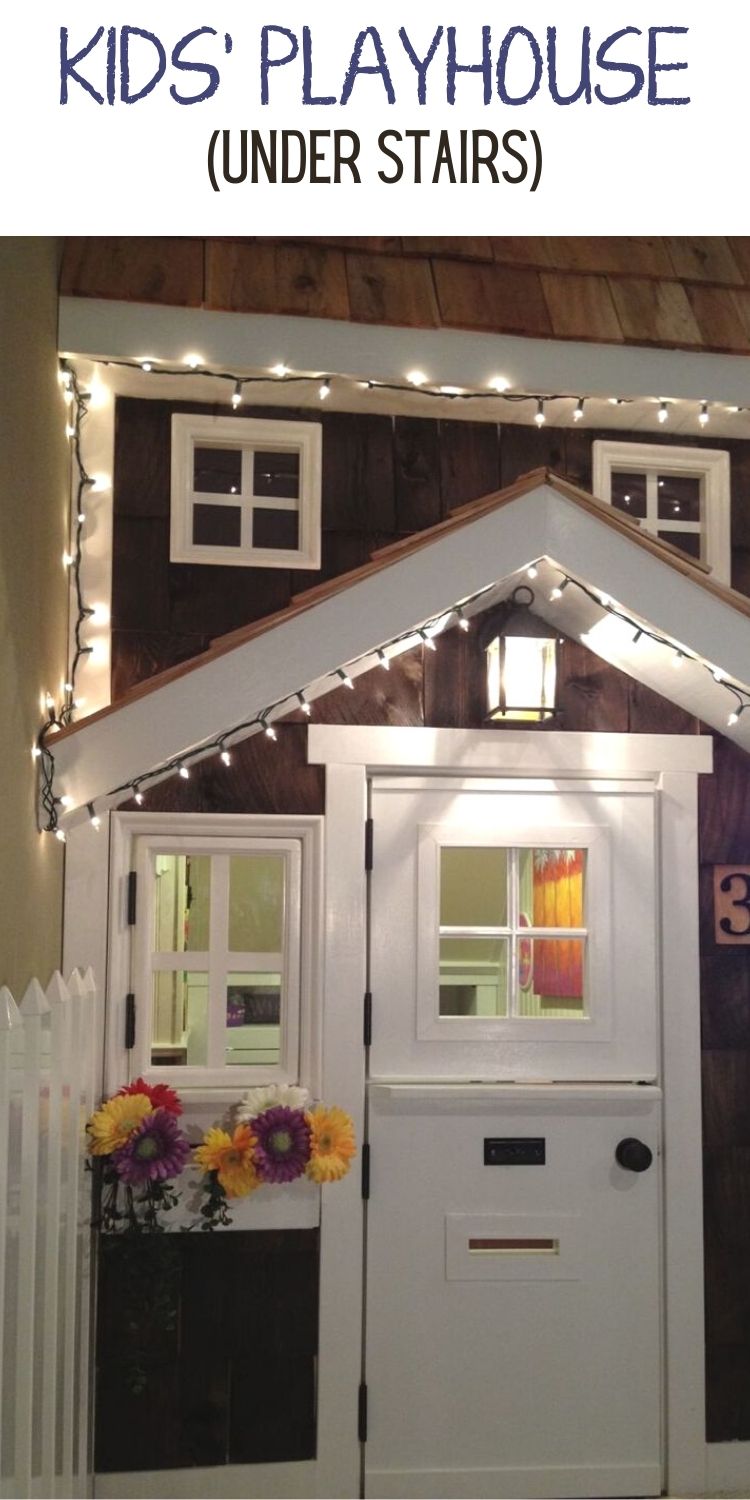
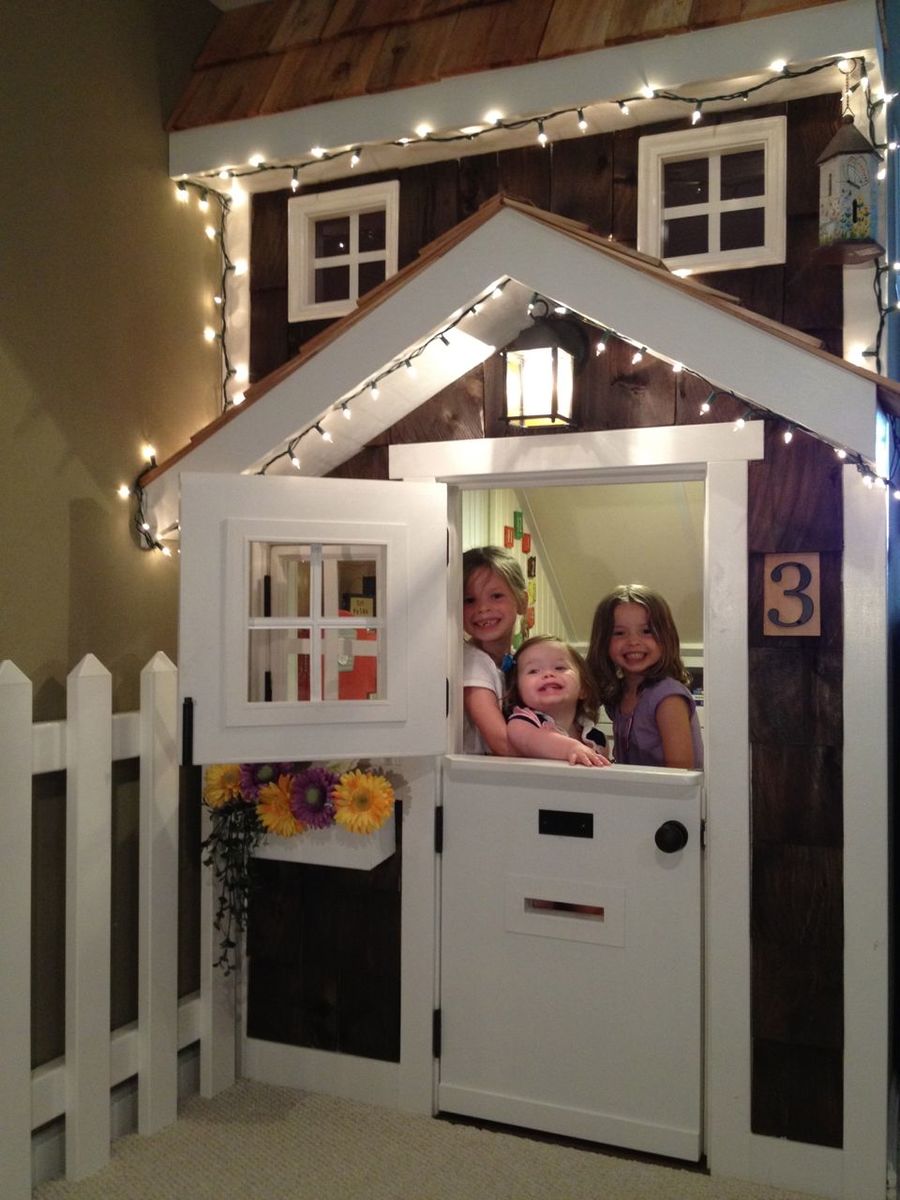
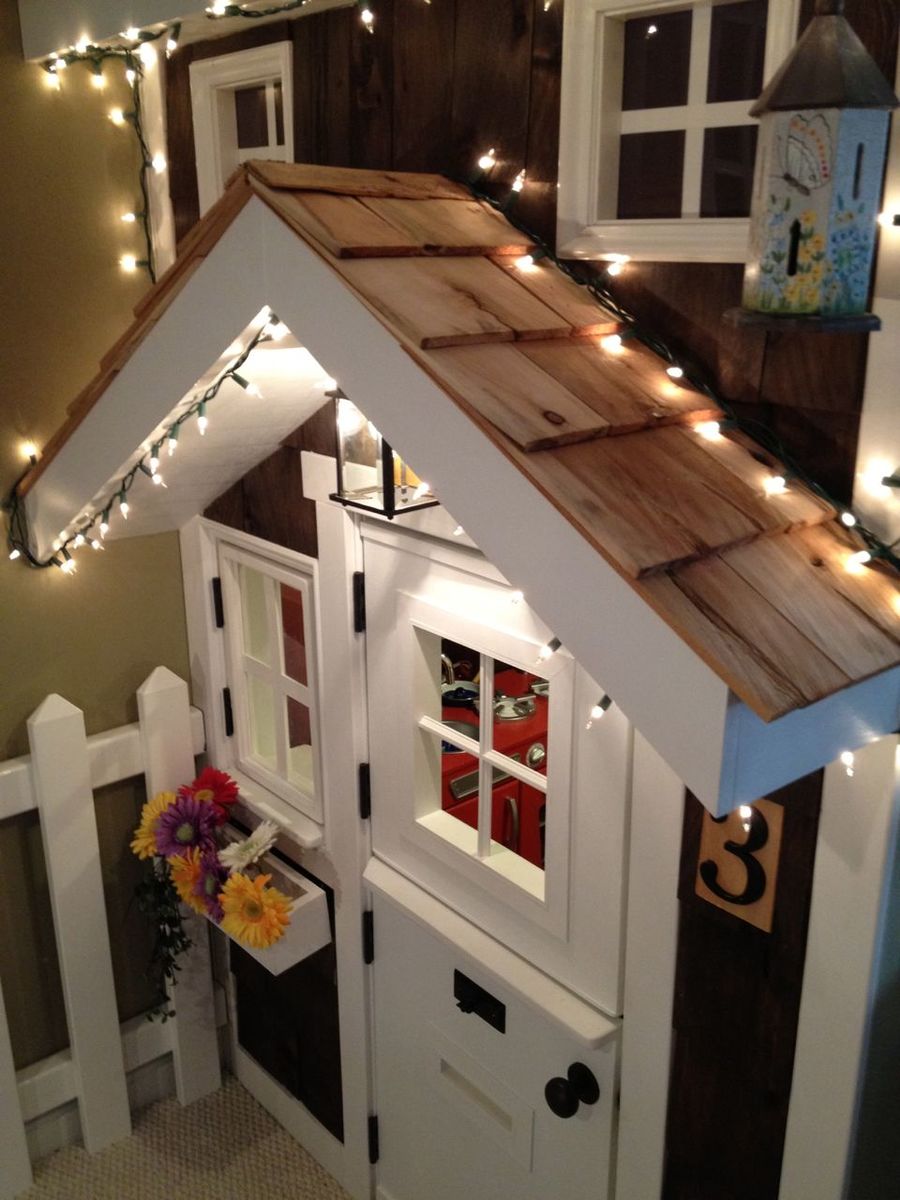
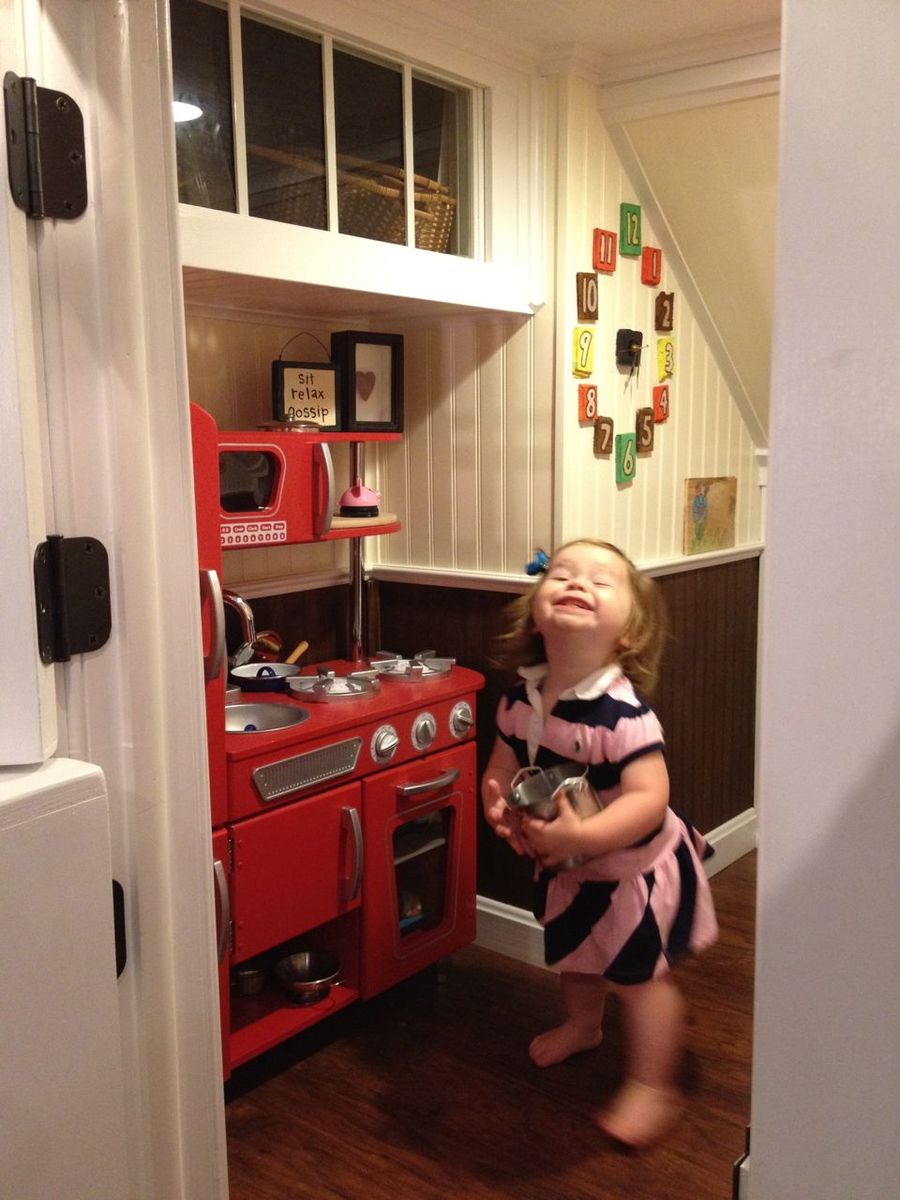
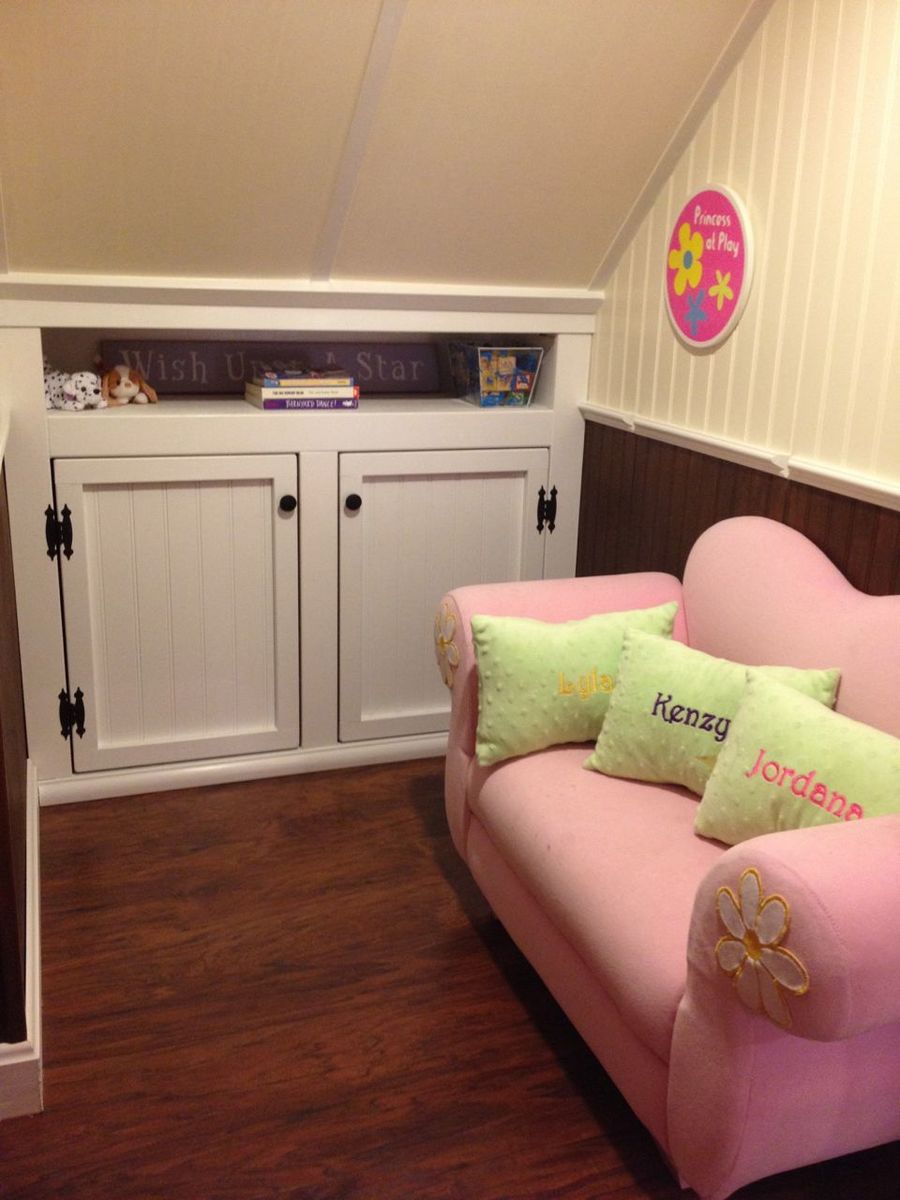
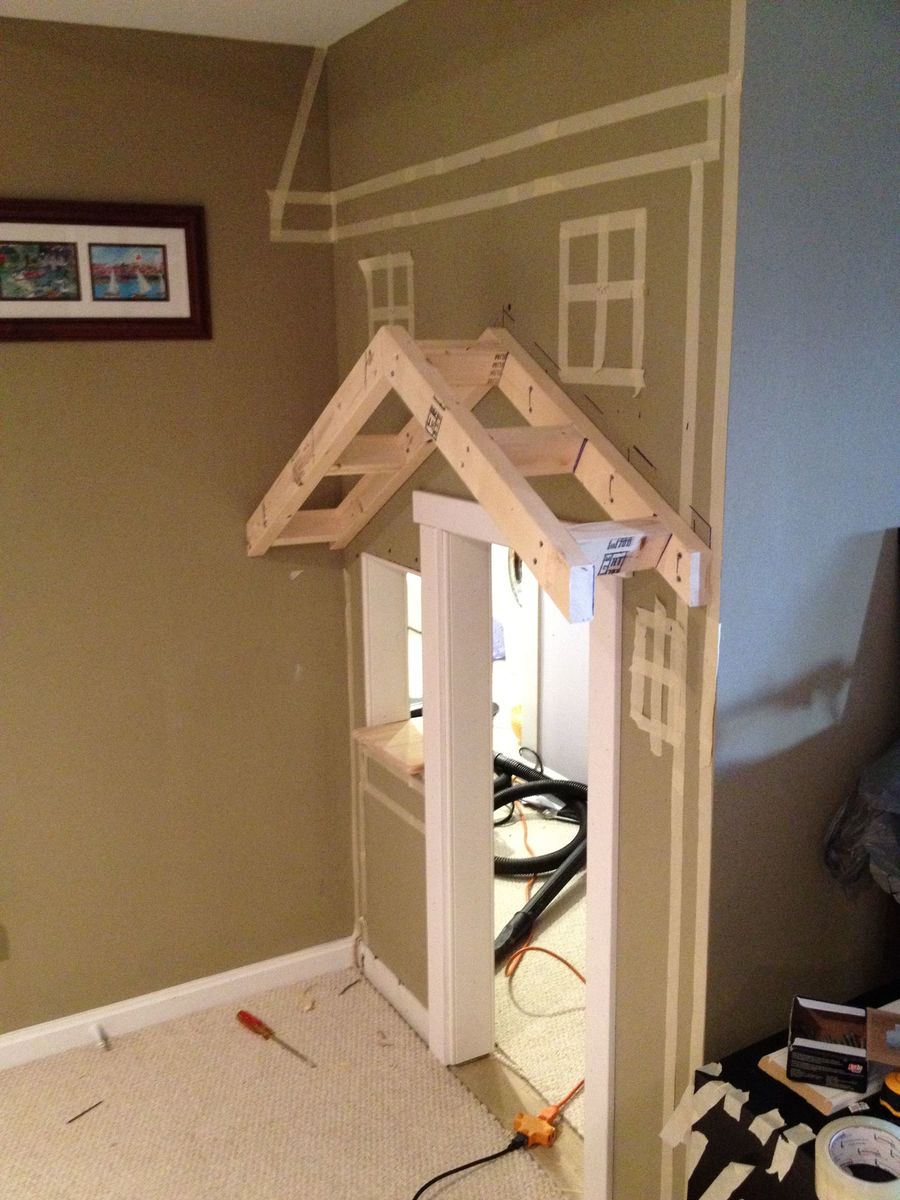
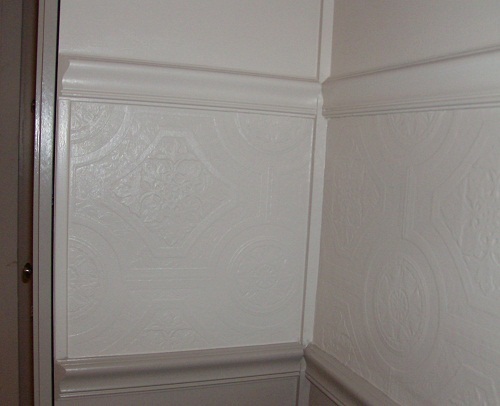
Had the perfect space for a little playhouse under the stairs in the basement and it's been our plan for 4 years to do something. Finally, we did something. Wanted depth so I added the roof and portico. Also added cedar shingles that I picked up for $7 at HD. Inside I had extra laminate flooring so I put that down and added beadboard, chair rail and crown molding. There's also a small transom window above the small kitchen area. The kids love the barnhouse doors with old fashioned doorbell, mailslot and window. The bookshelf under the stairs was the final touch. I didn't use any plans from this awesome site but did, as always, get a bunch of tips and inspiration!

Pin for Later!

Kids' Playhouse (under stairs)

Estimated Time Investment
Week Long Project (20 Hours or More)
Finish Used
Dark walnut stain on cedar shingles.
Recommended Skill Level
Intermediate

Comments

Cindy from Indiana (not verified)

Sun, 12/18/2011 - 19:00

Wow! That is awesome!

You really did a great job on that! So imaginative, too. WTG!

Guest (not verified)

Sun, 12/18/2011 - 19:58

That is so stinkin' adorable! Fantastic job. I love everything about it. Your kids (and grandkids) will remember the playhouse under that stairs forever!

spiceylg

Mon, 12/19/2011 - 06:54

Wow, this is too cool! They are going to love love love this! Can't wait to see the kitchen reveal!

bhoppy

Mon, 12/19/2011 - 08:43

LOVE LOVE LOVE this!!!! It looks amazing! Makes me want to buy a new house with stairs. LOL

birdsandsoap

Sat, 12/31/2011 - 18:26

You did an amazing job on this. I'm planning a bunkbed with a similar facade. I love how cozy it looks without having to make an actual pitched roof. The shingles are such a nice touch that I may have to copy you! And it's wired for lights; you've really outdone yourself.

Guest (not verified)

Mon, 02/27/2012 - 21:14

I love this playroom you created. We are currently in the process of building a playroom under the stairs for our girls. Where did you find the door...it is exactly what I am looking for! What a wonderful job you did!!!

kdins31

Mon, 03/19/2012 - 14:26

Thanks to all of you for the nice comments! Re: the door, I just cut a plain 18x80 door slab ($21 from orange) and trimmed it out. I still need to put the window grille over the open space, and was hoping to find a cool 'speak easy' grille that fits the space.

Thanks again!

megan_m

Fri, 04/27/2012 - 09:07

this is such an amazing little space! great work!

MicheleInAlabama (not verified)

Thu, 05/03/2012 - 23:38

This has to be one of the most adorable things I've ever seen! What an awesome idea......how cool is that for the kids??! Love the lighting and the laminate (or is it hardwood) flooring inside. Even the stove is gorgeous! Such fond memories will be made there and remembered forever. Kudos!!

Amanda Rhoads (not verified)

Wed, 12/05/2012 - 15:34

Oh my goodness this is such an inspiration! However, as a beginning tool user, I don't think I could get my finishes so nice. How much experience had you had at this kind of stuff before? Was the area closed in before this project or did you do that too? I've got an open stairway into our basement and would be starting from scratch with ceiling, walls, etc. and have no experience hanging drywall or anything. I think it would take me a year. Great job, and thanks for sharing!

maggieasselin

Sat, 06/21/2014 - 12:51

Hi there!

I was just wondering how you made the door for your play house? We're basically stuck at this level in ours right now... ;) Thanks for any tips!!!

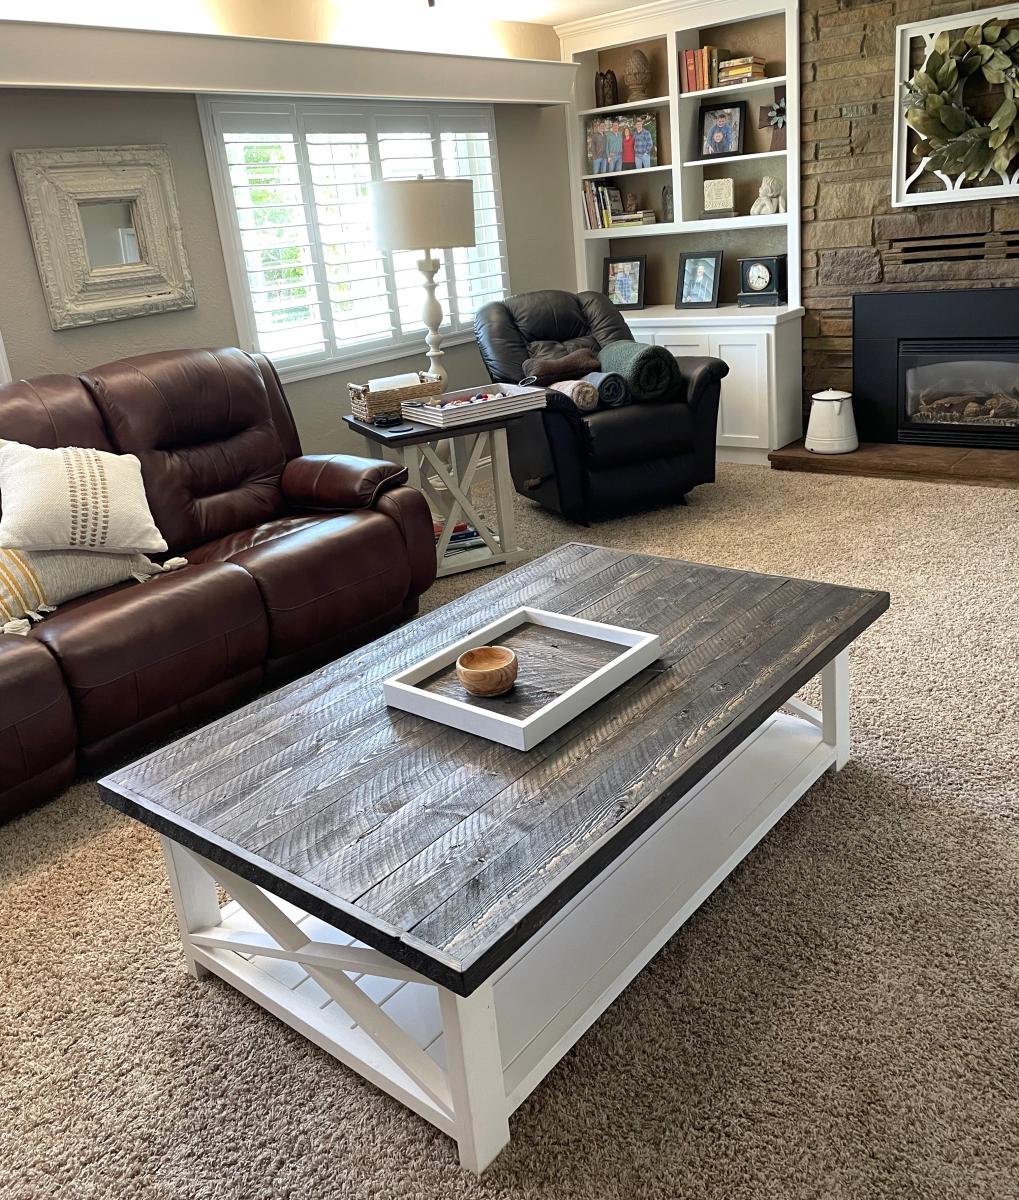
Rustic X coffee table with Minwax Classic Gray stain

Submitted by cariaw123 on Thu, 11/21/2013 - 07:54

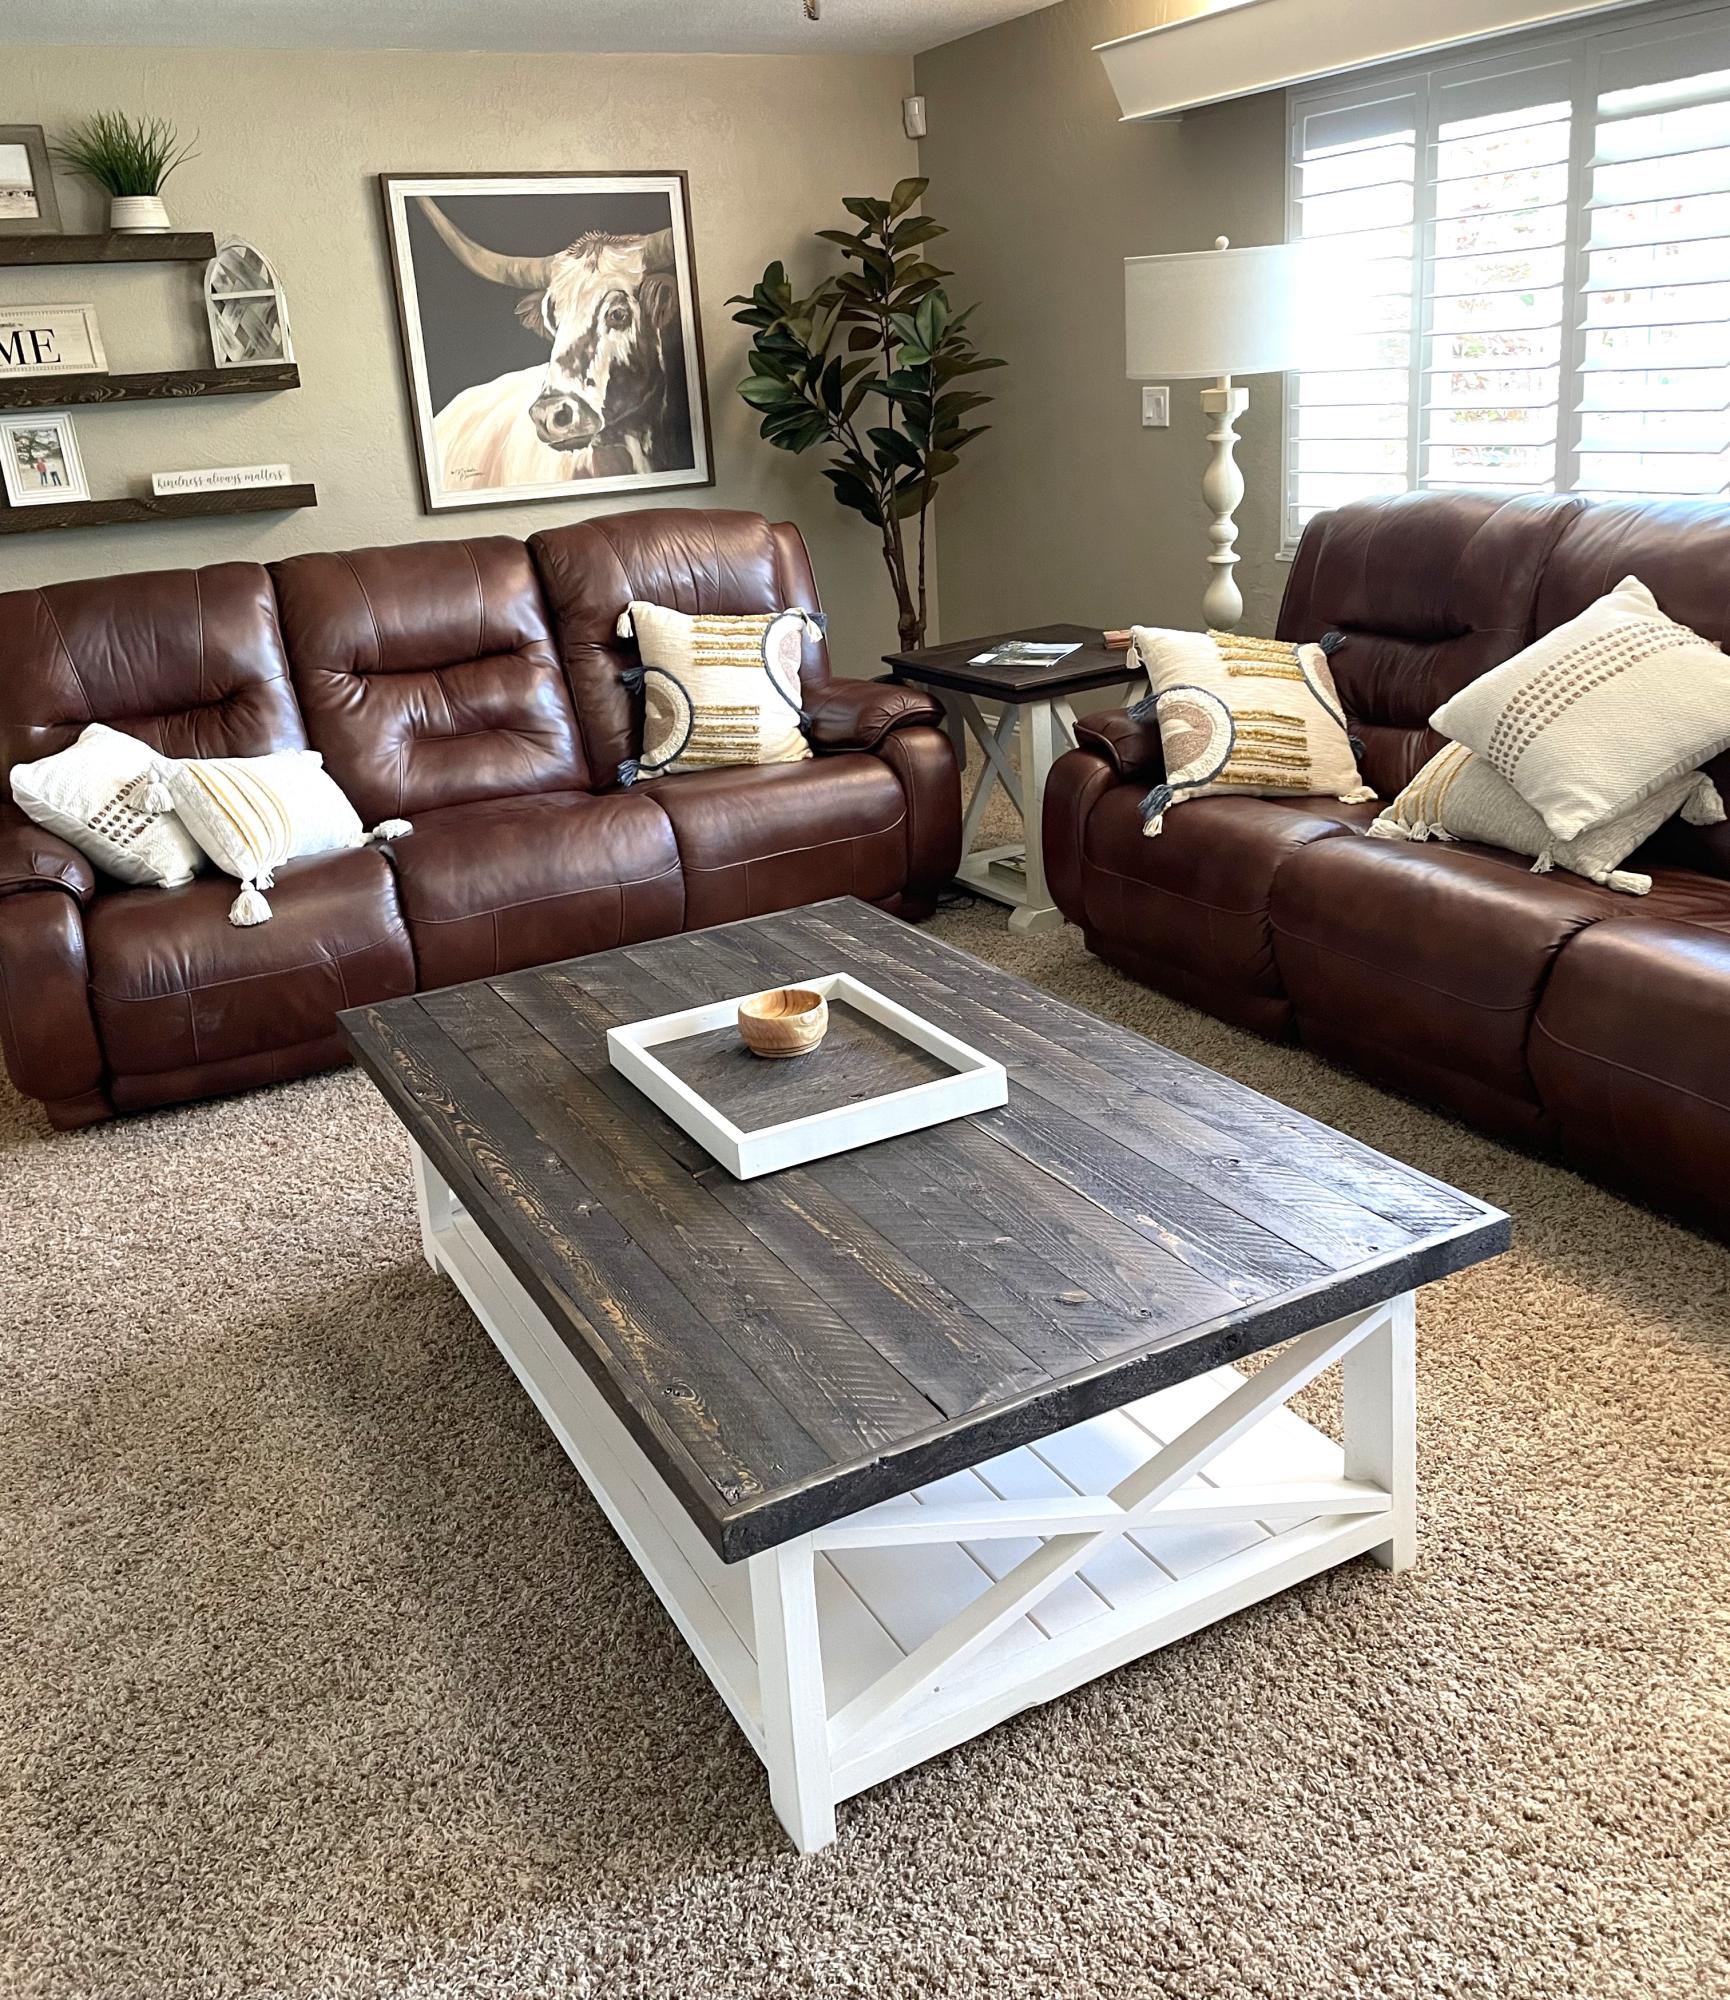
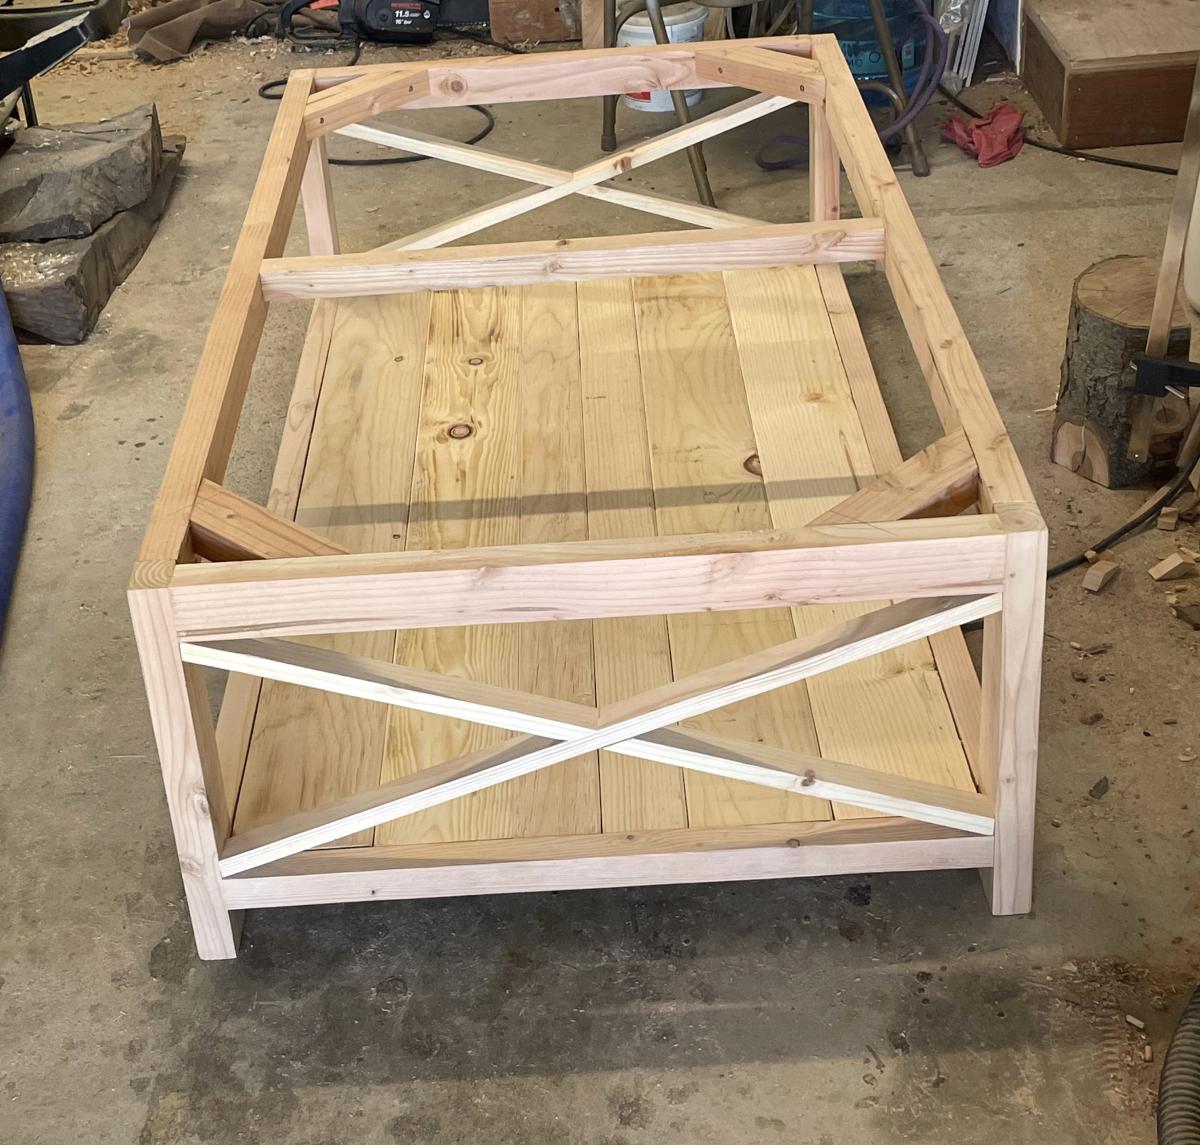
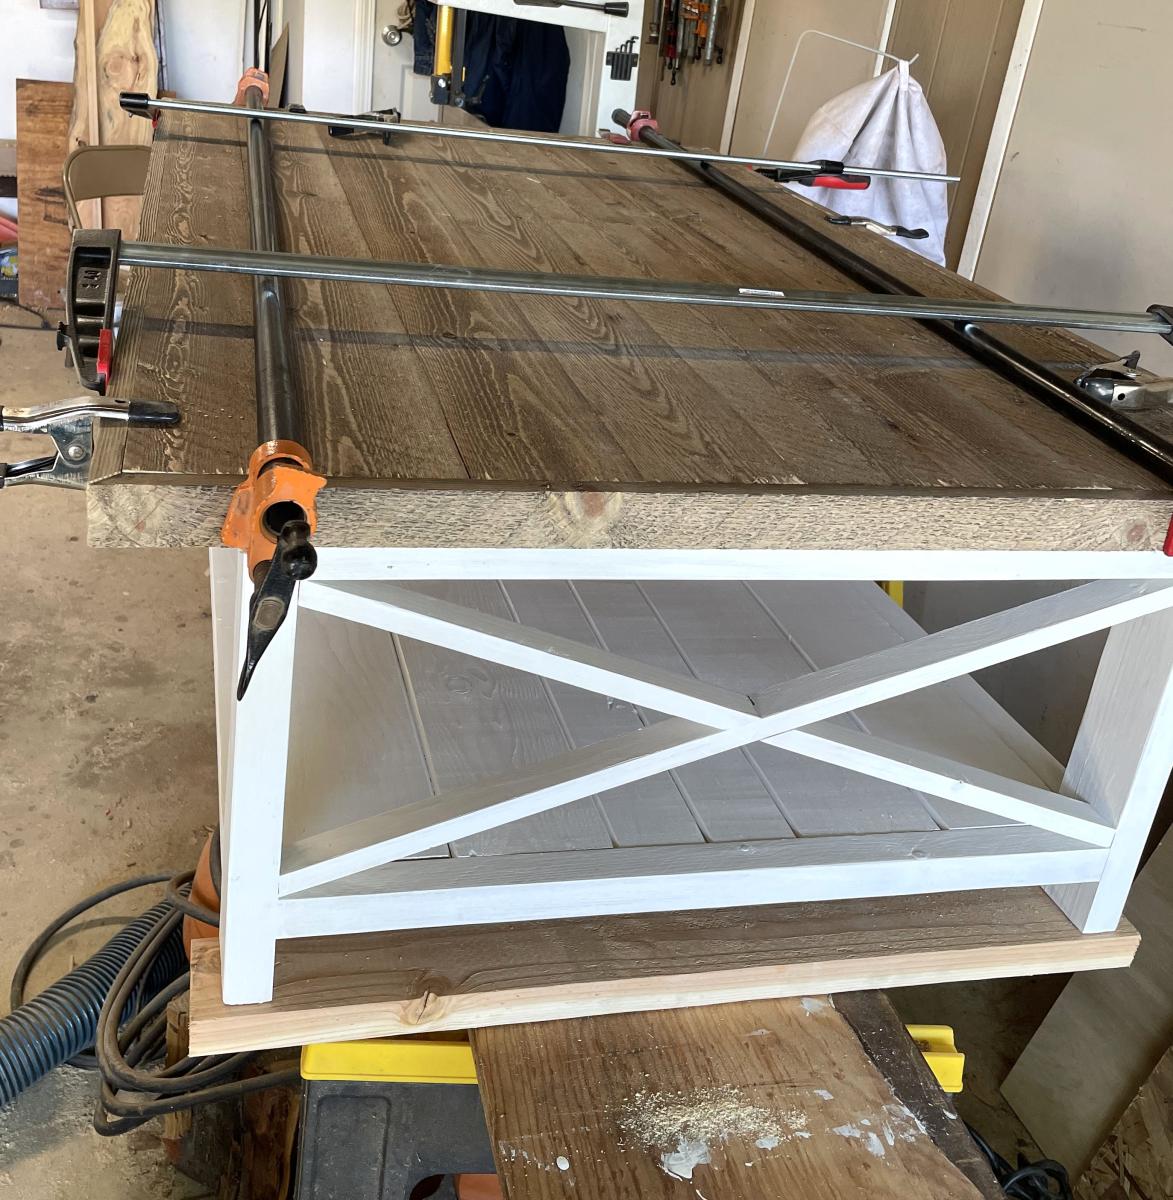
This project was quick and painless. I recommend for a beginners project (but expect to get frustrated over building the x's into the side though). I stained our table with the Minwax Classic Gray stain and used the Minwax water-based polyurethane to seal it. I realize that the stain is difficult to see but it is a beautiful stain that has turned into my go-to stain. The stain is not too gray and you can see the natural color of the wood through it. The photo gives the impression a glossy finish. In reality, it is more matte.

Built from Plan(s)
Estimated Cost
$80-90
Estimated Time Investment
Afternoon Project (3-6 Hours)
Finish Used
Minwax Classic Gray stain with Minwax Water-based Polyurethane.
NOTE:The stain goes on pine and whitewood VERY differently. The pine pieces come out very dark with the stain being brushed on and immediately wiped off. For the whitewood, you can leave it on for 10 minutes and it'll reach a threshold for the amount of stain it will accept. I just sanded the darker pieces down a little bit to match the lighter pieces. (Does that make sense?)
Recommended Skill Level
Beginner

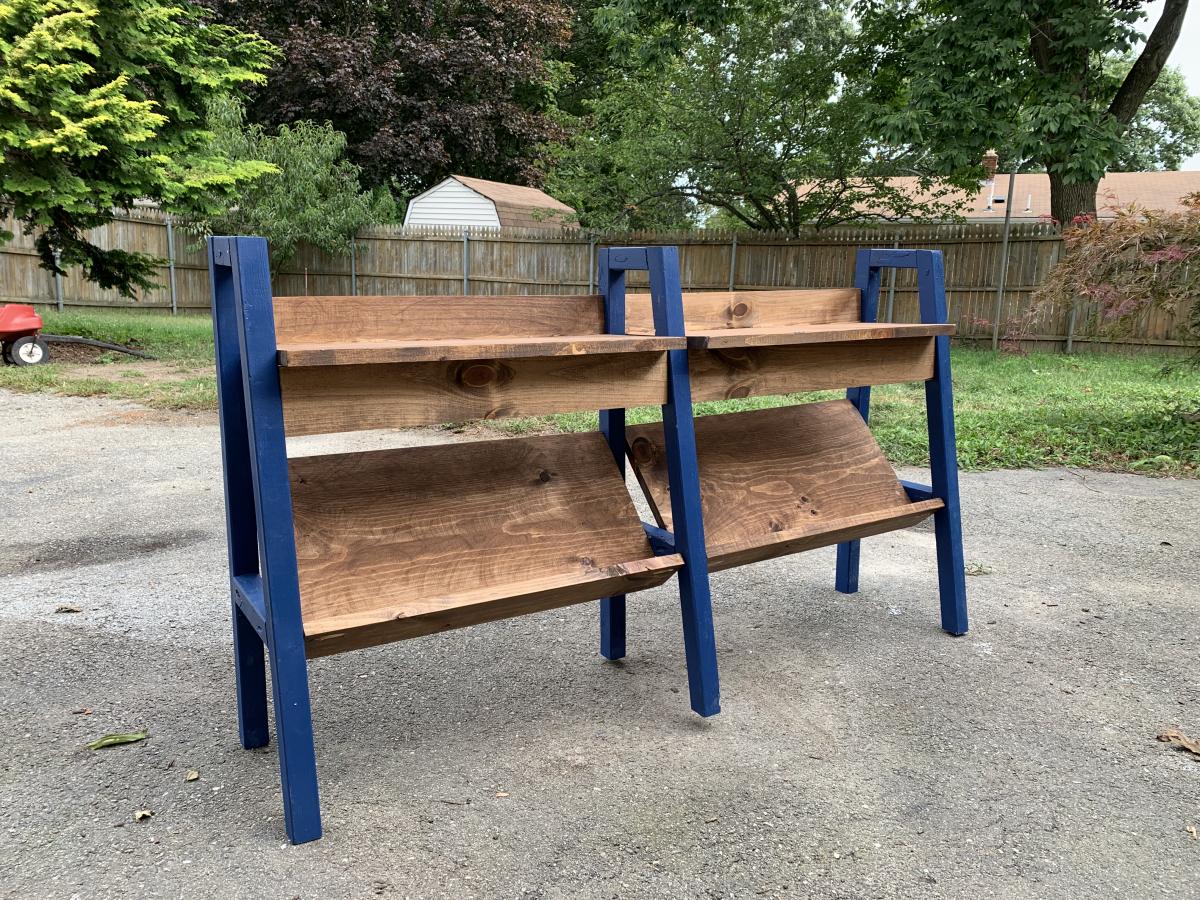
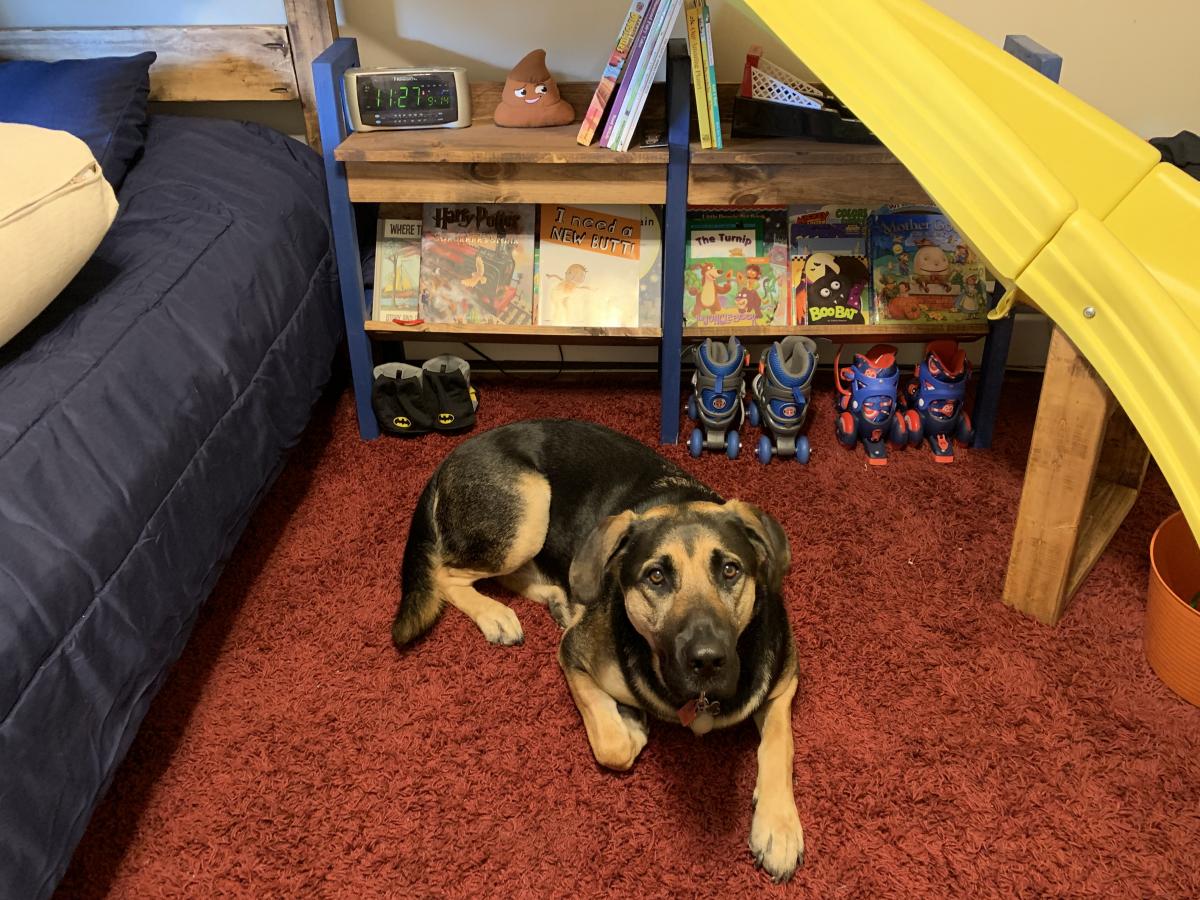
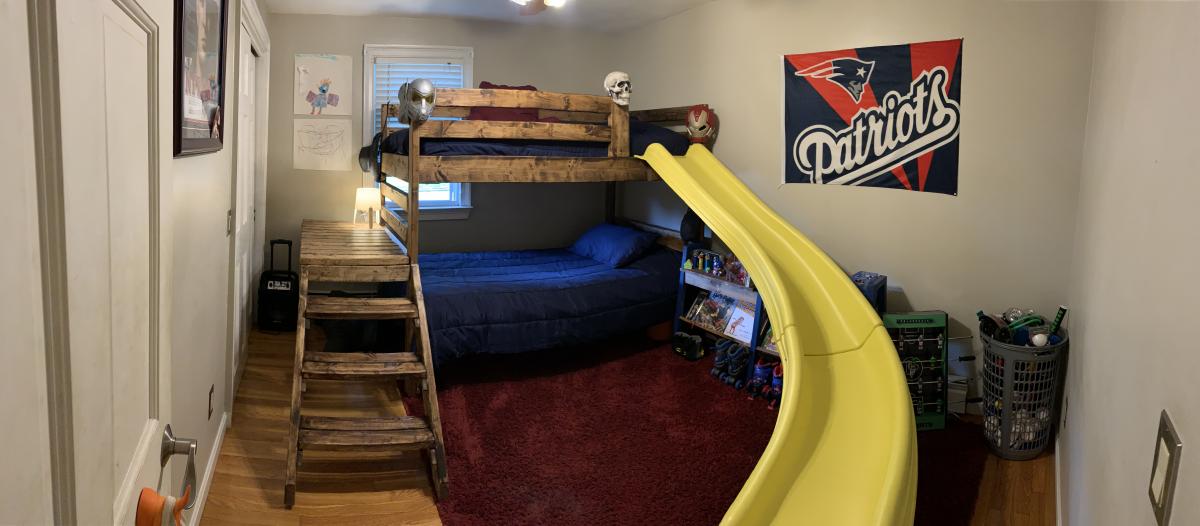
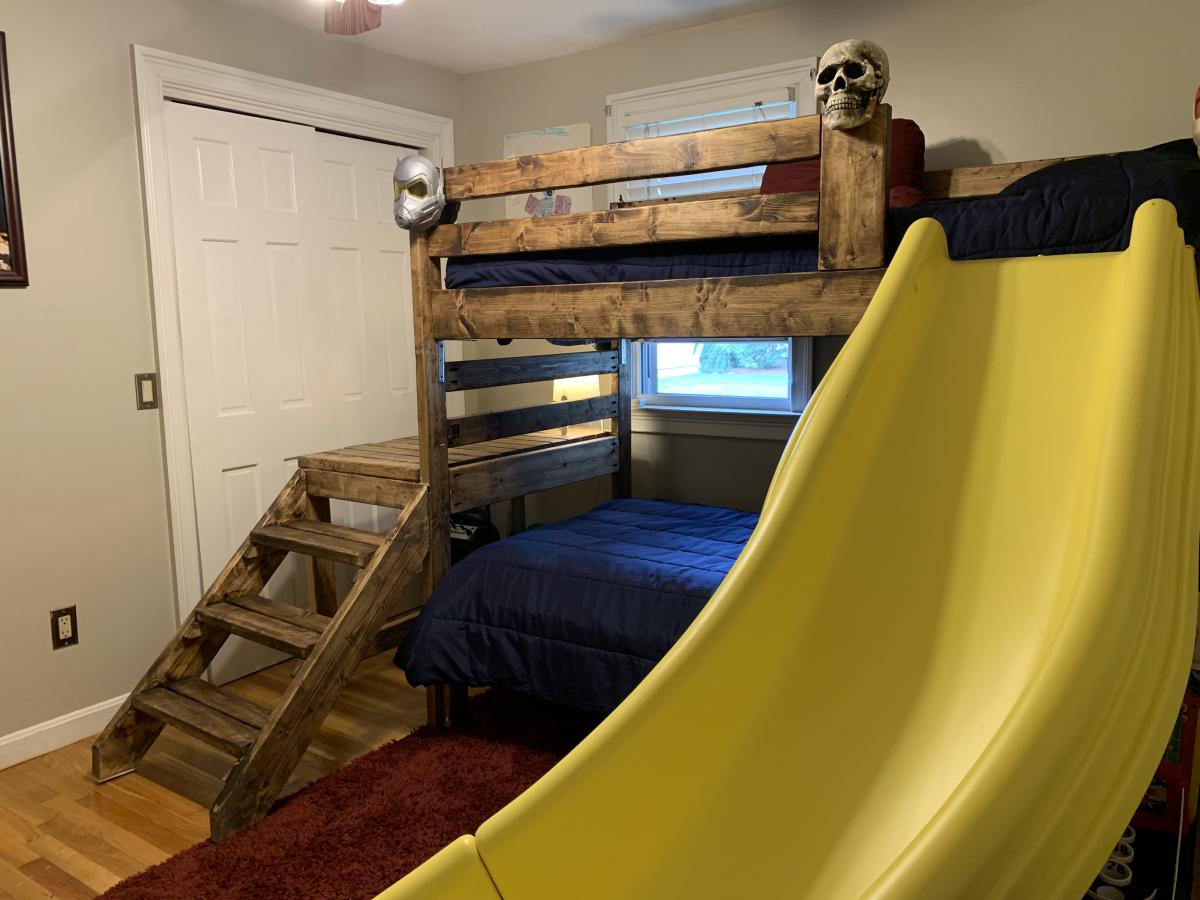
Camp Loft Bed Modified & Modern Kids Bookcase

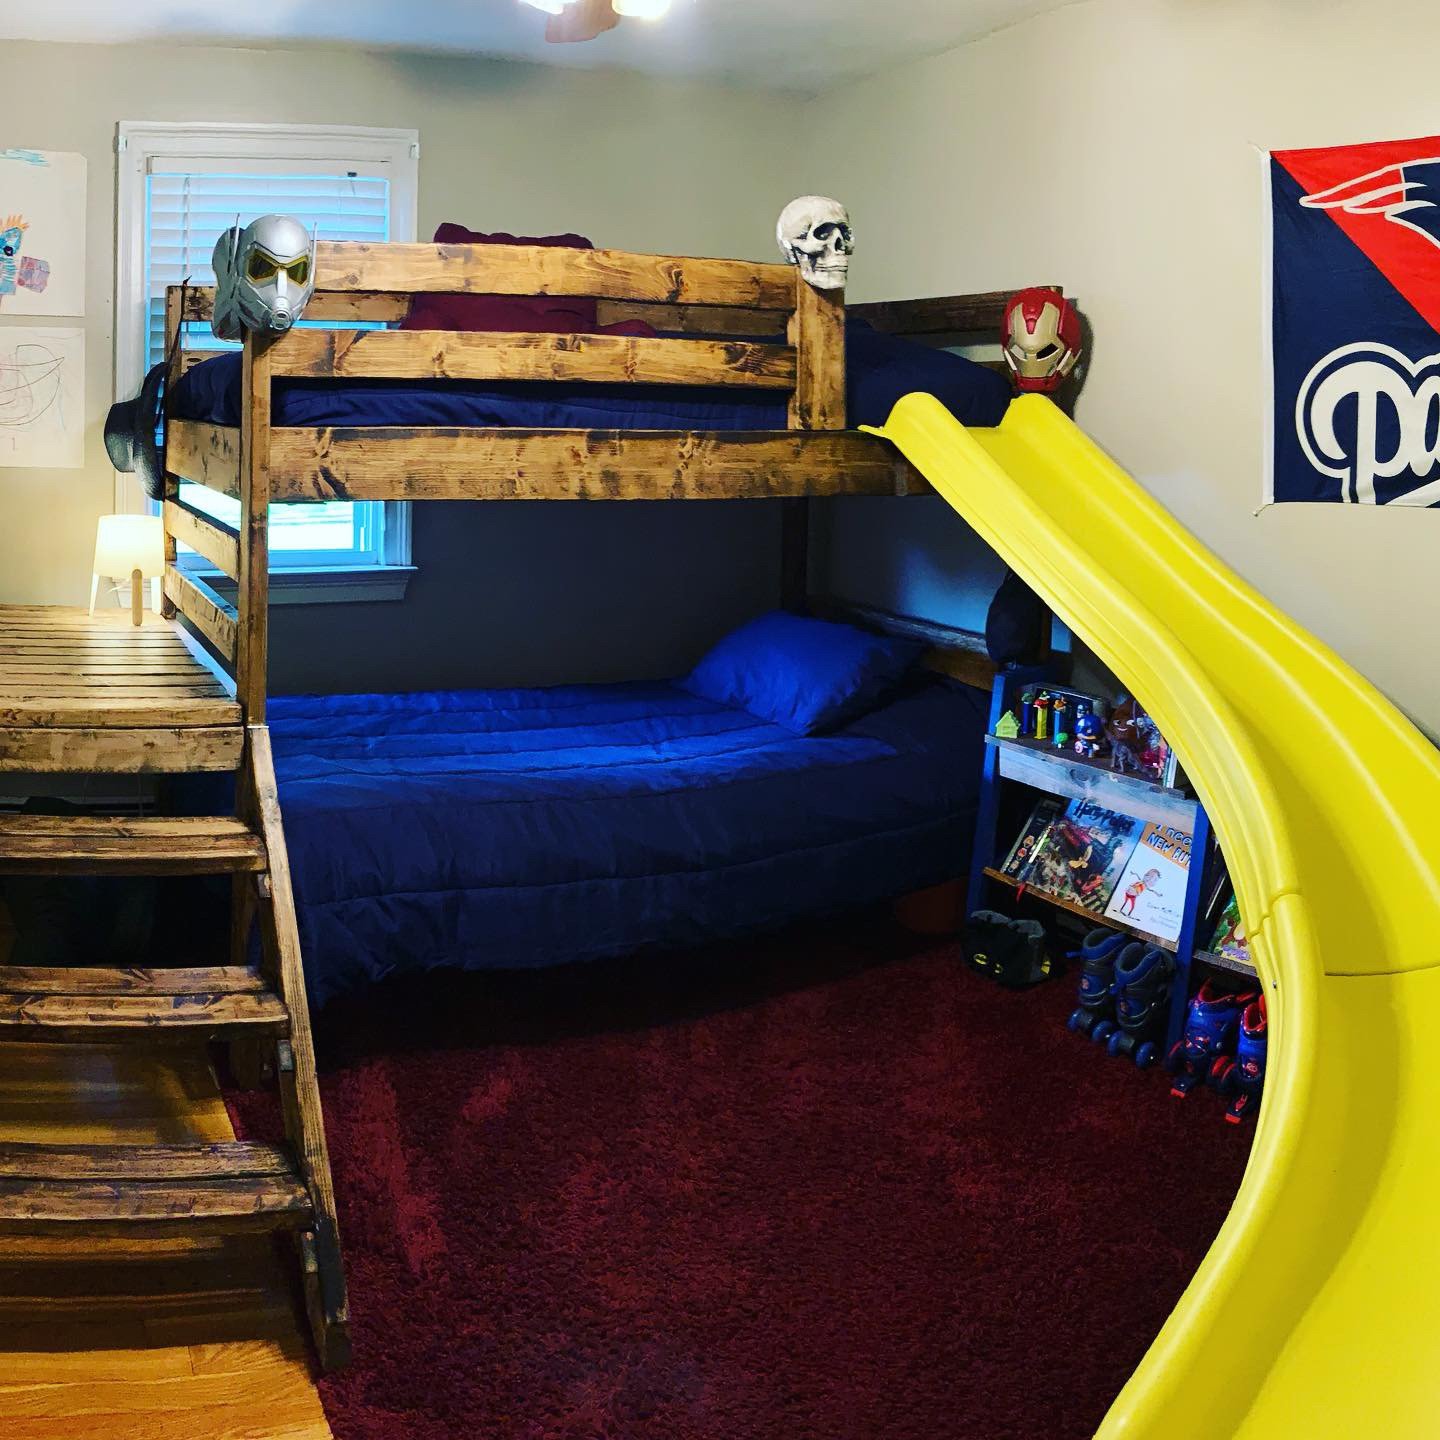
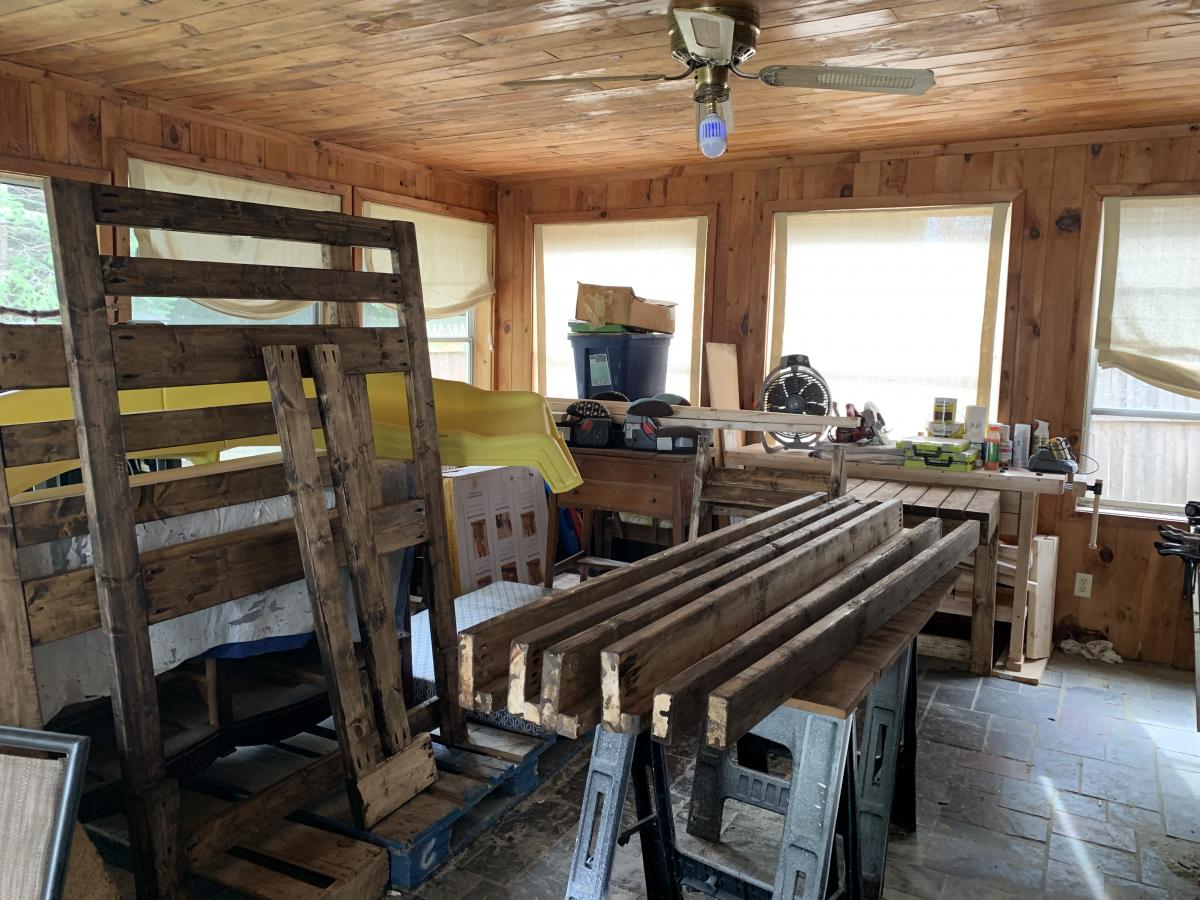
This build was super fun and easy.  I modified it slightly with a bottom bunk and outdoor grade slide for my two grandsons.  The room is only 10x10 so it pretty much takes up all the space, but I left a good amount of space under the bed (11”) for storage or for the dog to hide.

I attached hinges to the stairs for easy access to underneath, maybe for a hidden fort or more storage.  To gain extra support for the beds, I added angle irons to the top bunk legs and 11" 2x4s to the bottom bunks legs for the cross bars to sit on.  Both my husband and I tested, and they're not going anywhere, pretty solid.

Thanks Ana & Jared for sharing your talents with the rest of us!!  I wish I had room in my home to make every single one of your projects!

🥰,

Alexis 


Estimated Cost
$260 (w/slide)
Estimated Time Investment
Weekend Project (10-20 Hours)
Finish Used
Varathane Provencial
Behr Marquee in “Inked”
Recommended Skill Level
Beginner

Grandy TV Stand

Submitted by imsomark on Mon, 02/22/2016 - 12:34

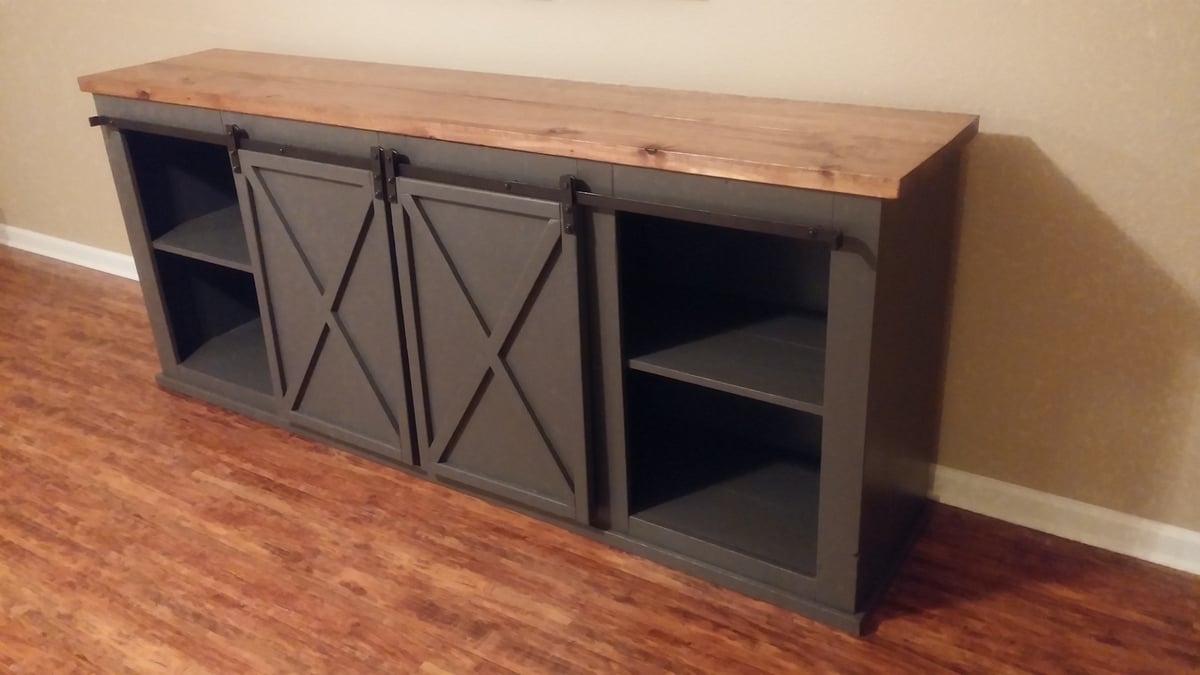
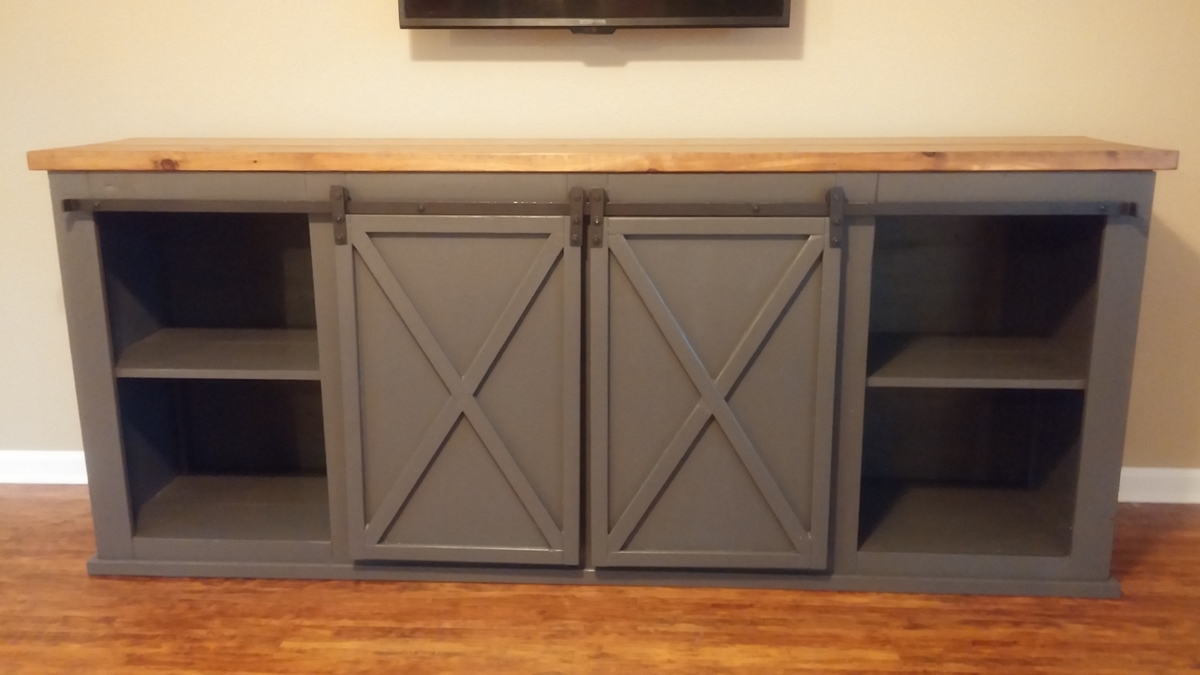
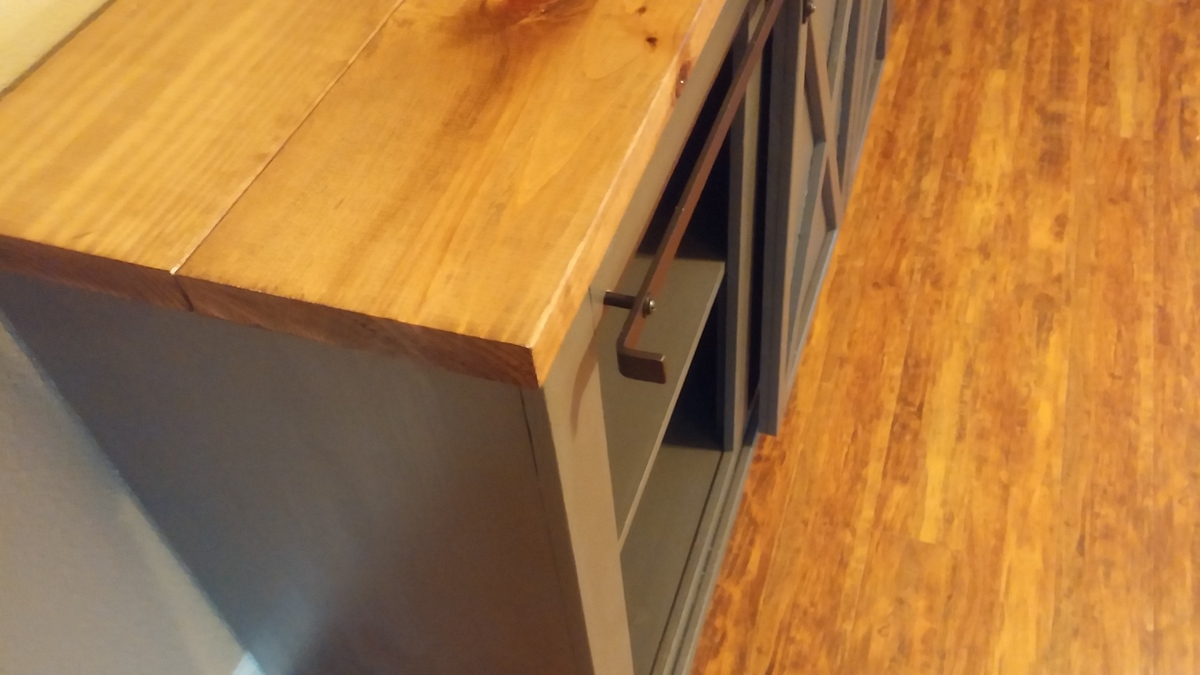
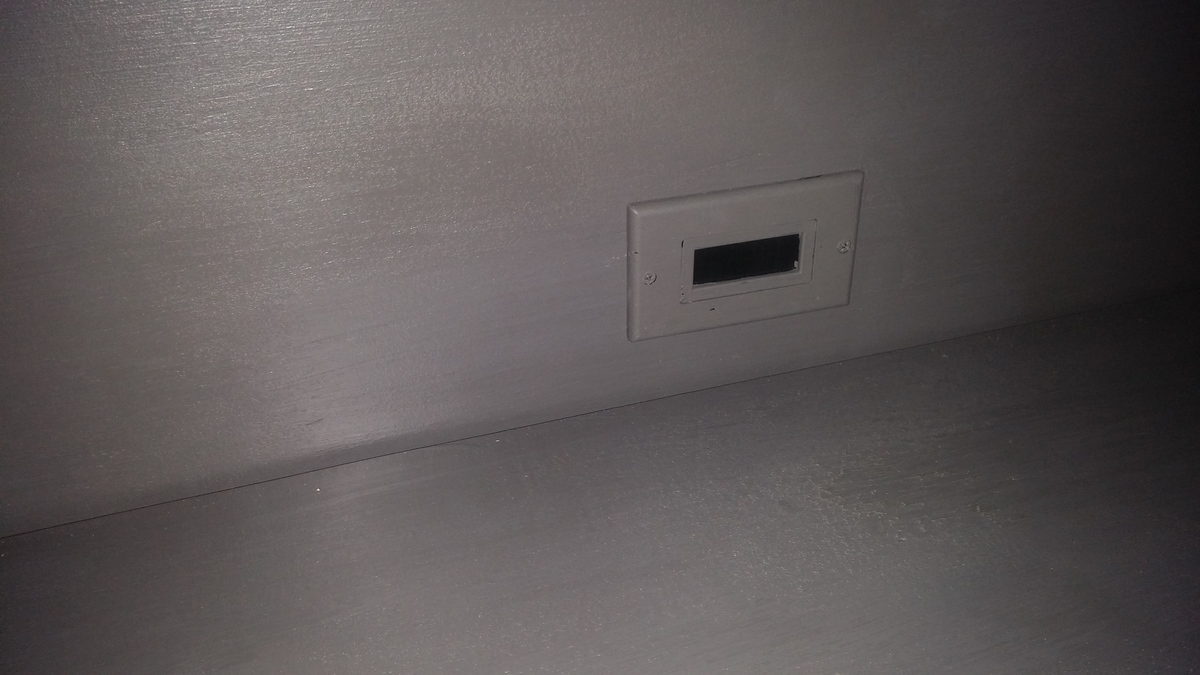
This was my first woodworking project and I really like how it turned out. The instructions for building the unit were pretty clear and I only deviated from them in two ways: 1) Since I am using this as a tv stand, I added a port (pictured) for xbox / cable box HDMI cables. I painted the port the same color as the unit so it blends in well. 2) To attach the top two stained pieces of wood, I used pocket holes instead of drilling down from the top. That way I didn't need to use any wood filler. I think I used 7 or so pocket holes per board and it seemed to be held pretty well. For the paint color, I copied kbdesigns' unit and used 'Intellectual' by Behr. I don't remember the stain for the wood but the stain is a darker color than it shows in the pictures. As far as the hardware, I modified those plans as follows: 1) I used a vise to bend the aluminum flat bar to provide stopping points for the doors, so they don't just slide right off the bar. I think I bent about 1.25-1.5 inches at the end. I just used a hammer and a vise and the metal bent fairly easily. 2) I drilled four holes instead of three for more support. 3) For the bar pieces on the doors, I made them 4.5 inches instead of 8.5 inches. I liked the shorter look in the original Grandy examples. 4) I used the clevis pins from the pulleys I bought to attach the wheels to the bars. Note: her instructions for the pulley wheels seemed very difficult. I was able to find pulleys on clevis pins that could easily be removed from the wheel casing, or whatever it is called. I found them at Home Depot. I think they were 1.5 inches.

Built from Plan(s)
Estimated Cost
300
Estimated Time Investment
Week Long Project (20 Hours or More)
Recommended Skill Level
Beginner

Pantry Cabinet

Submitted by JoanneS on Mon, 03/05/2012 - 16:57

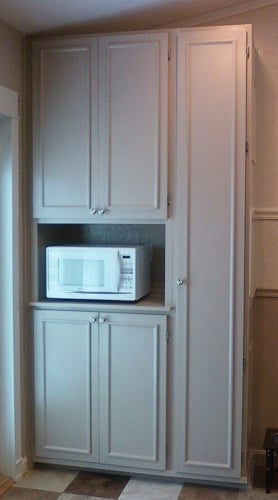
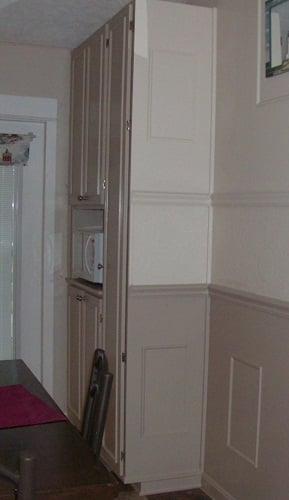
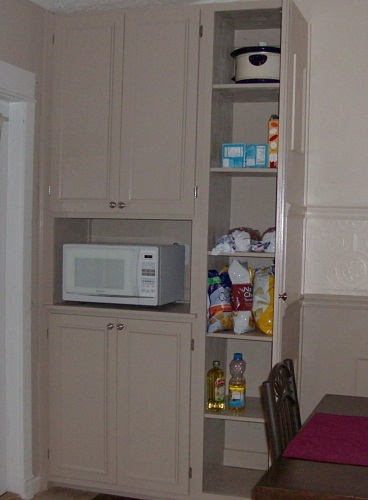
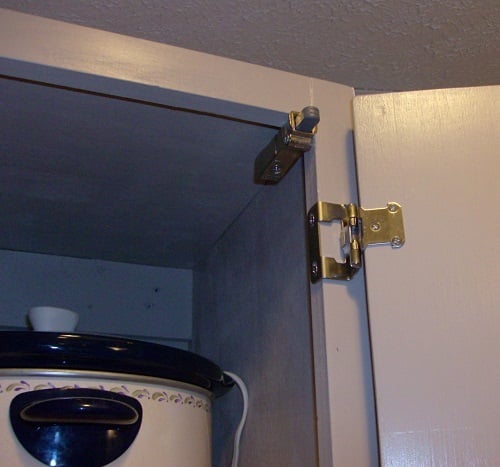
Pantry cabinet, with lots of room, Ana-inspired. We combined ideas from the Momplex kitchen, simple armoire, and benchmark storage, and we are super pleased with how this turned out. We built it in 2 pieces, attached together and then secured to the base and wall studs so it’s a ‘built-in’. Then we added lots of trim and painted to match the dining room. The opening at the left is large enough to fit pretty much any size microwave, and there’s a dedicated outlet behind it in the opening. The shelves are spaced wide enough apart for tall cereal boxes, tall bottles, and chip bags to stand upright. Overall finished cabinet size is 48" wide and 95 3/4" tall. This took us several days to complete. Since the doors are tall and kind of heavy, we added the Blum cabinet door dampeners from Rockler (these things really work!). Ana, thank you so much for the inspiration. I don’t think we would have tried this if it wasn’t for you. We love our new pantry!

Estimated Cost
$600
Estimated Time Investment
Week Long Project (20 Hours or More)
Finish Used
Ace Royal semi-gloss in Wishbone (front and bottom side), and in Crushed Peanut (upper side). We did 3 coats, sanding in between coats.
Recommended Skill Level
Intermediate

Comments

Debi_G (not verified)

Wed, 03/07/2012 - 00:05

Fantastic!

yogashell

Sat, 07/21/2012 - 07:44

It looks amazing! What a great idea to add it as a built-in. Nice modification for the microwave.

Parsons Bookcase

Submitted by Anonymous (not verified) on Fri, 12/06/2019 - 04:07

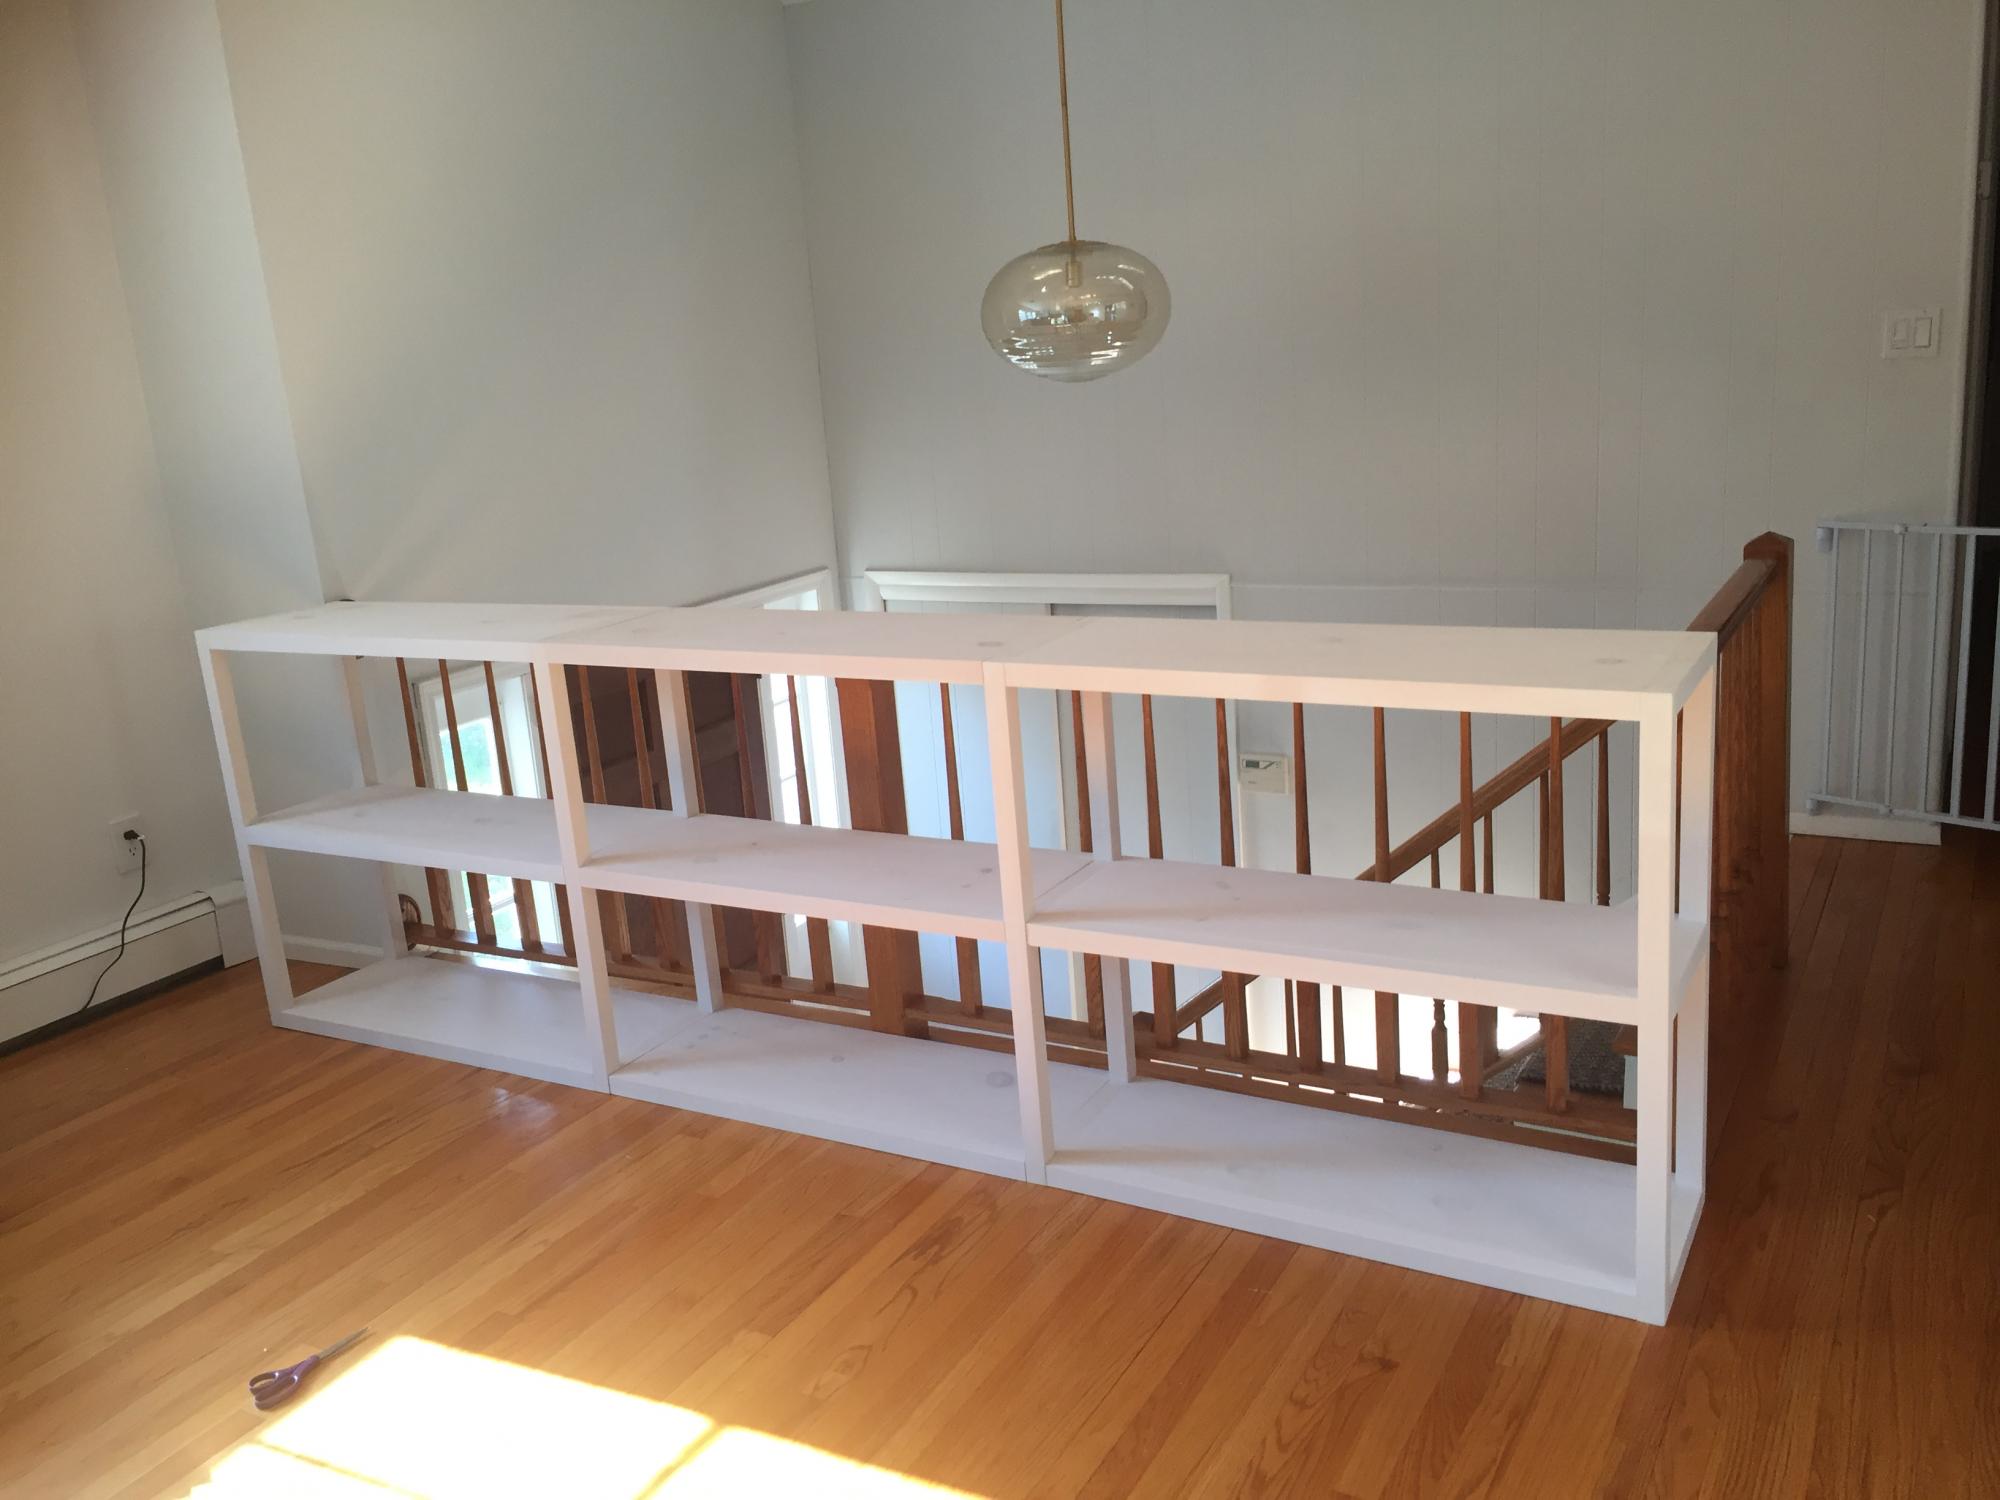
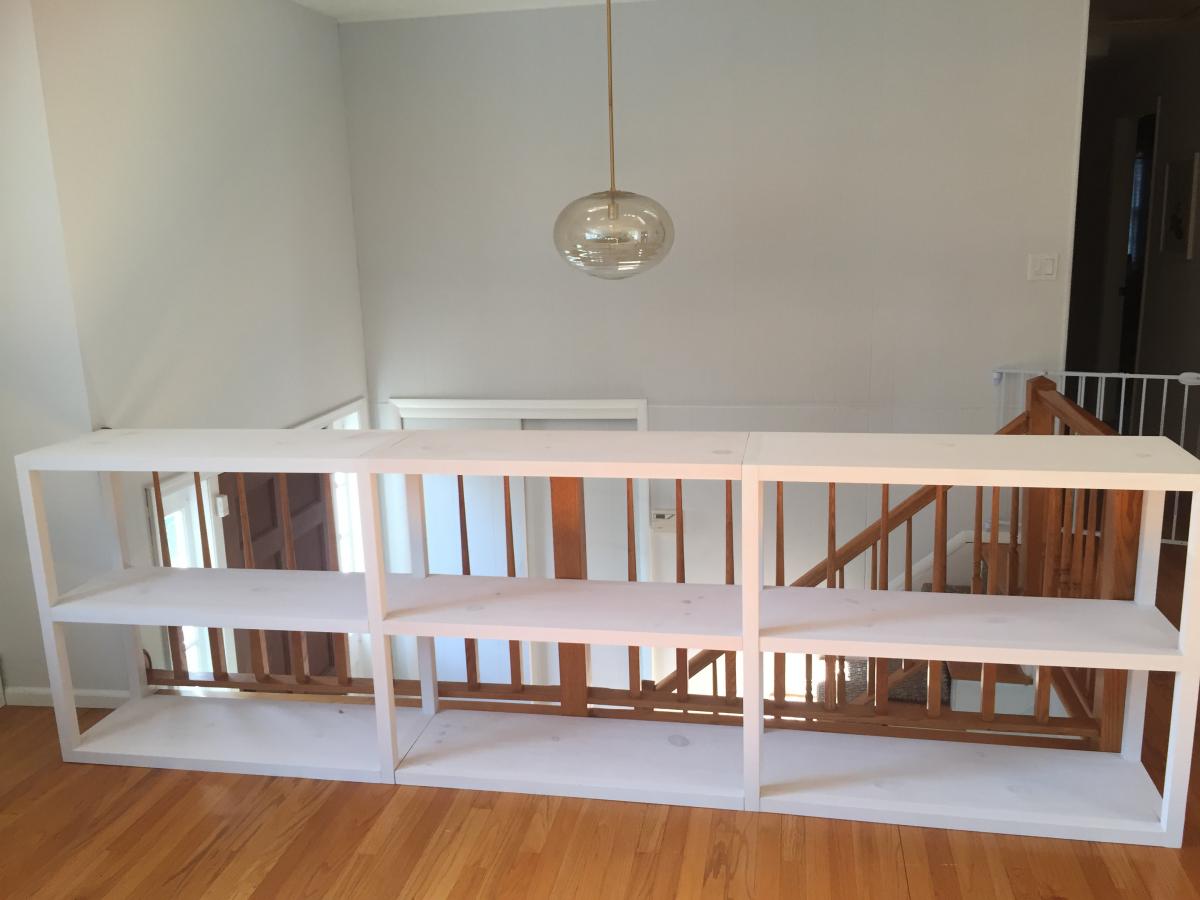
Built two bookcases, and connected with three extra shelves (minus side pieces on extra shelves). Whitewashed pine. Based on parson plans but adjusted dimensions to height and width of railing in my living room area.

Built from Plan(s)
Estimated Time Investment
Weekend Project (10-20 Hours)
Finish Used
Behr white paint color to match walls, diluted 1:1 for whitewash.
Recommended Skill Level
Intermediate

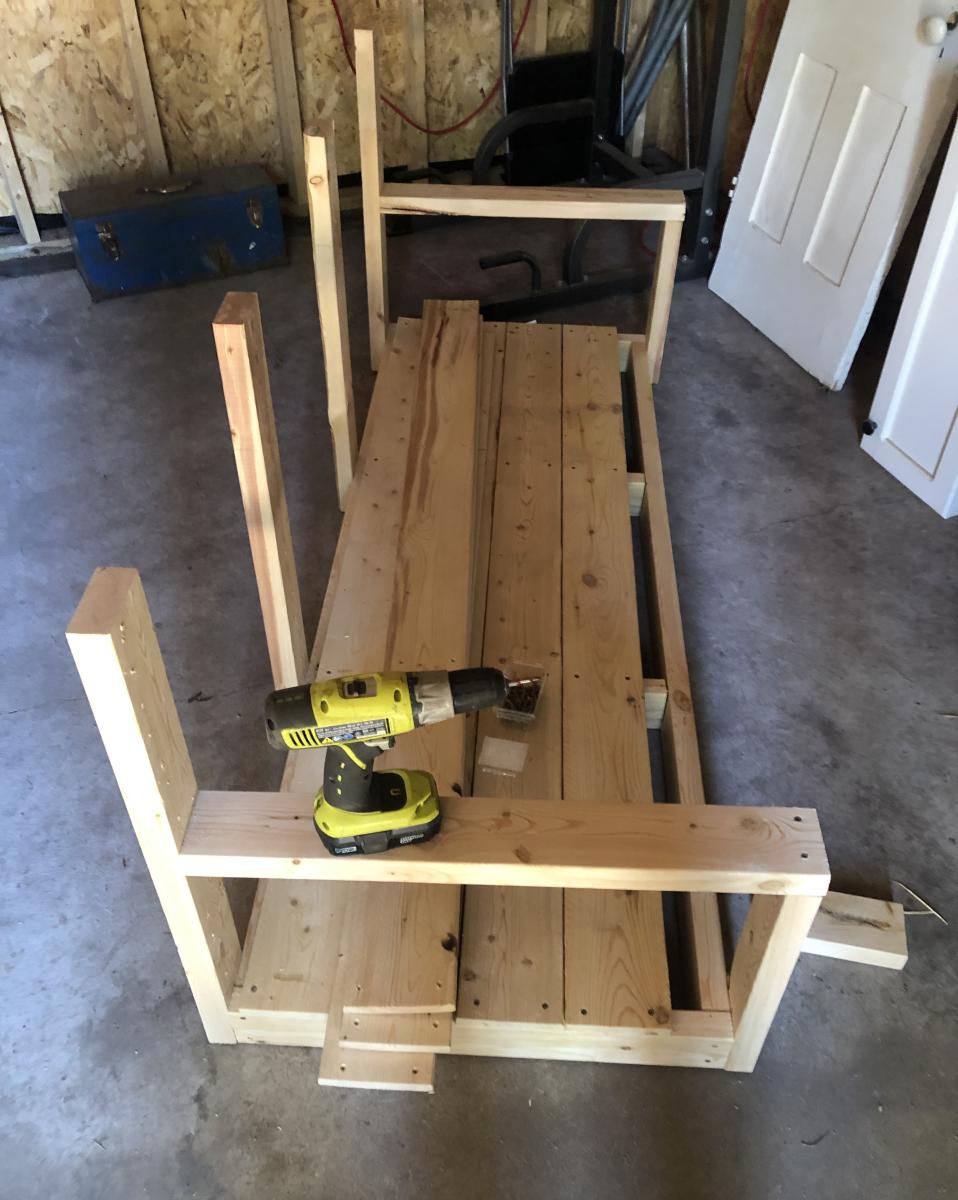
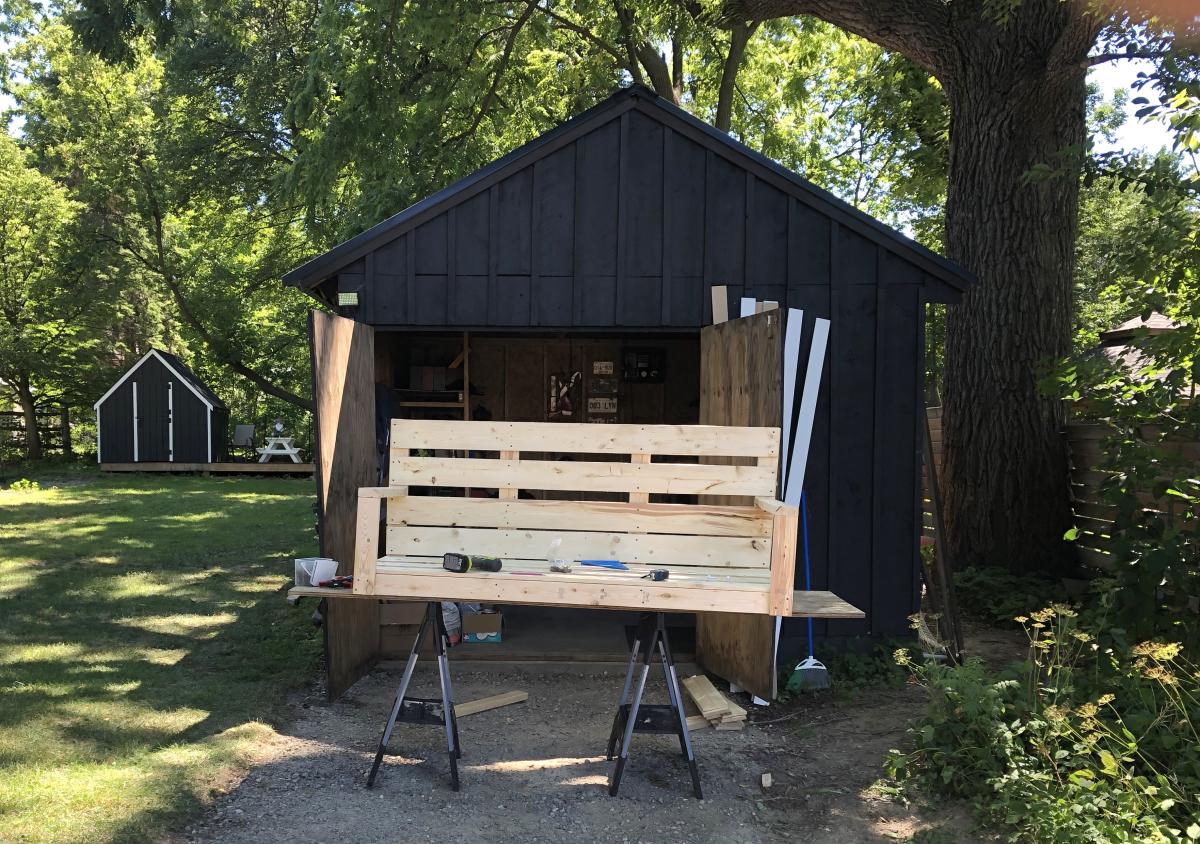
Special Family Bench

Submitted by Anonymous (not verified) on Wed, 08/30/2023 - 09:52

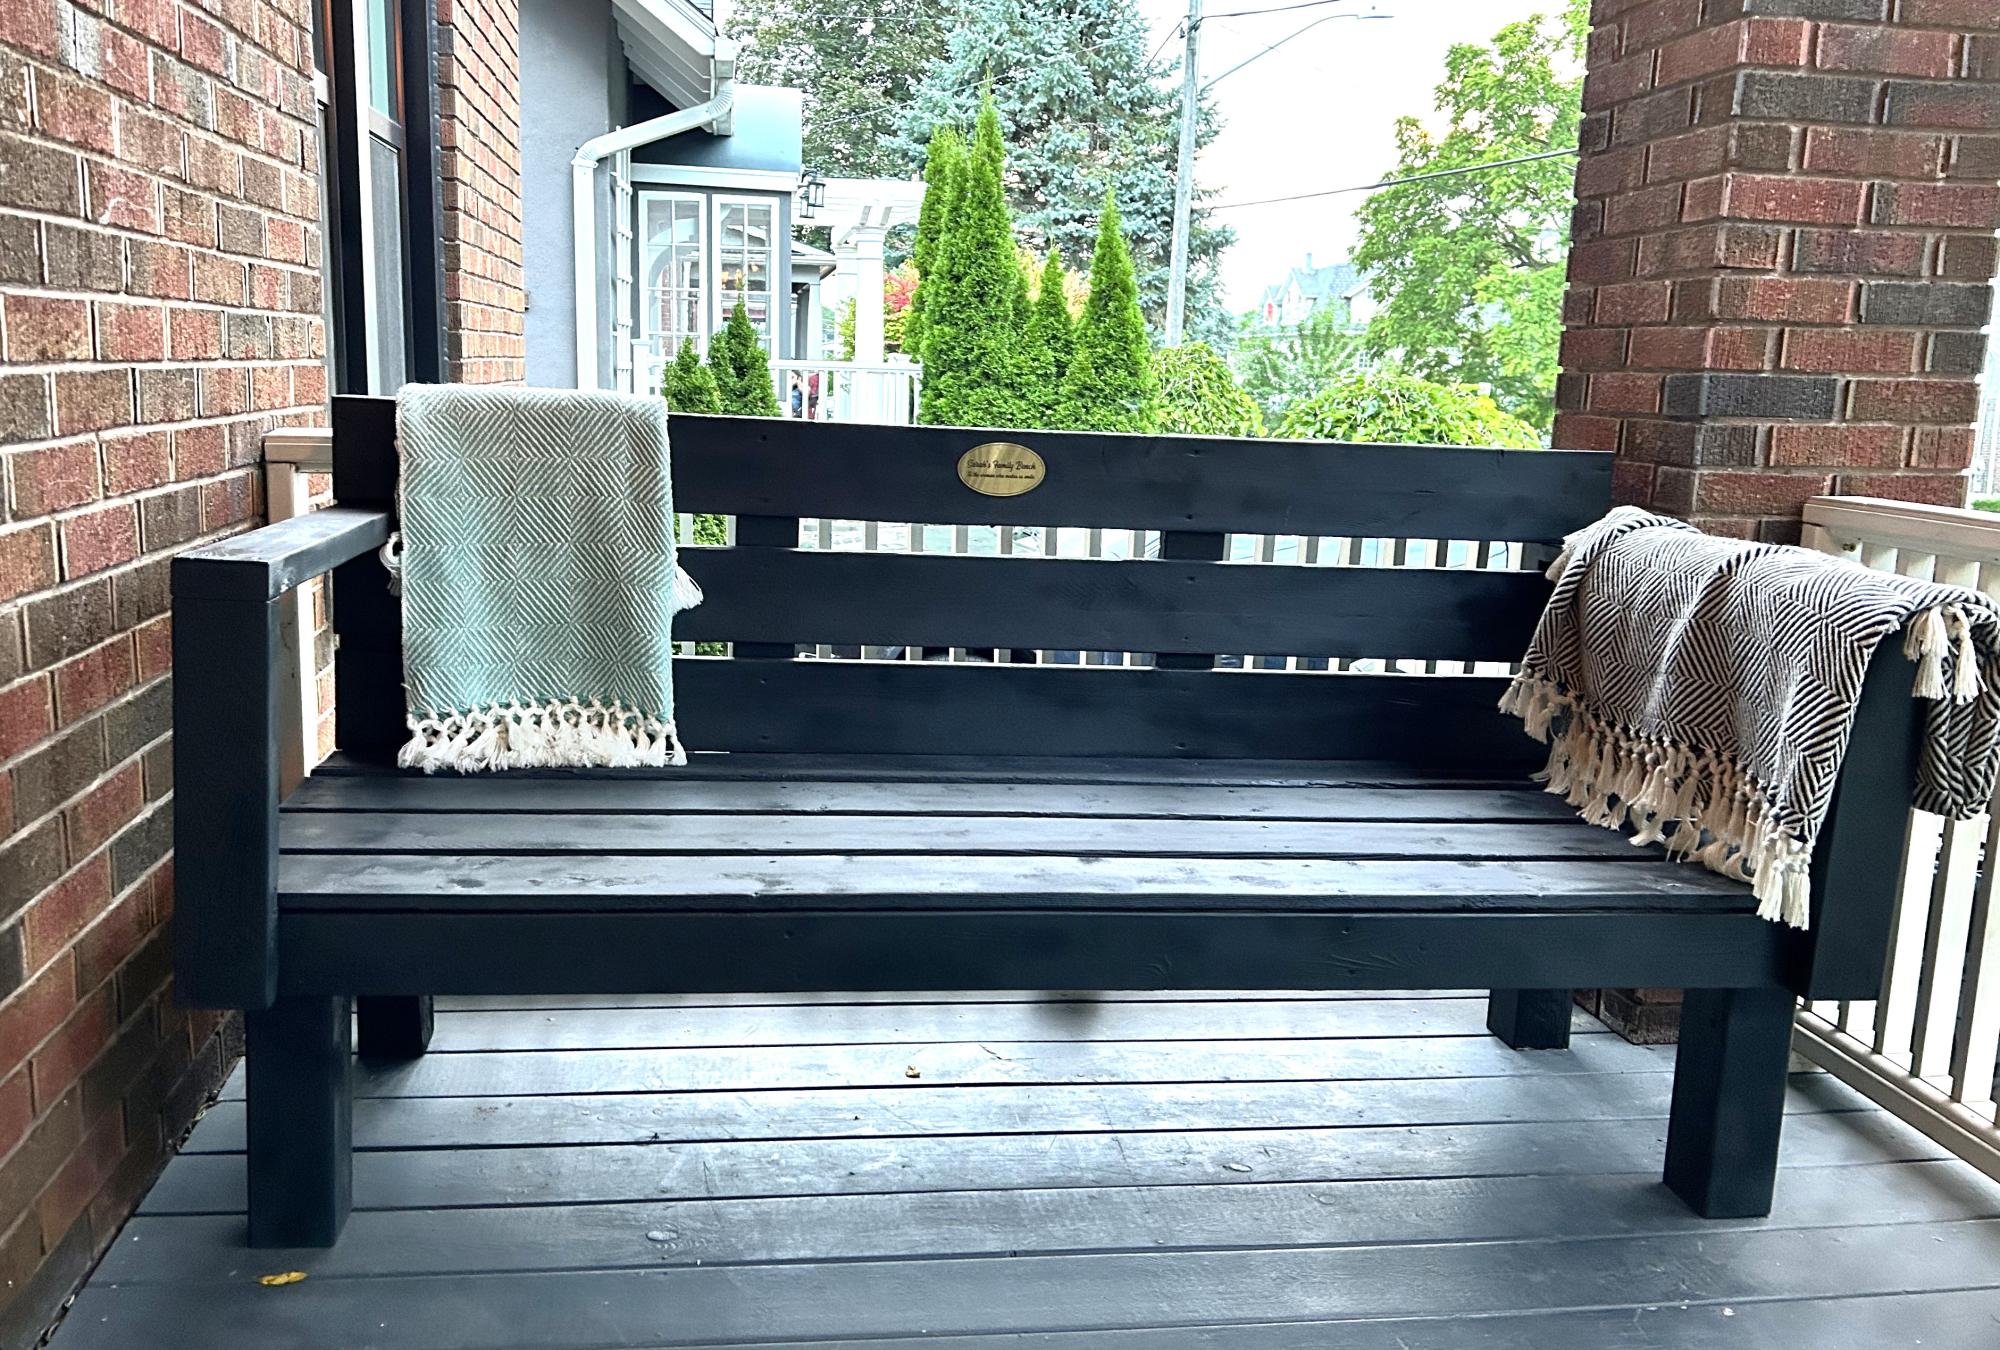
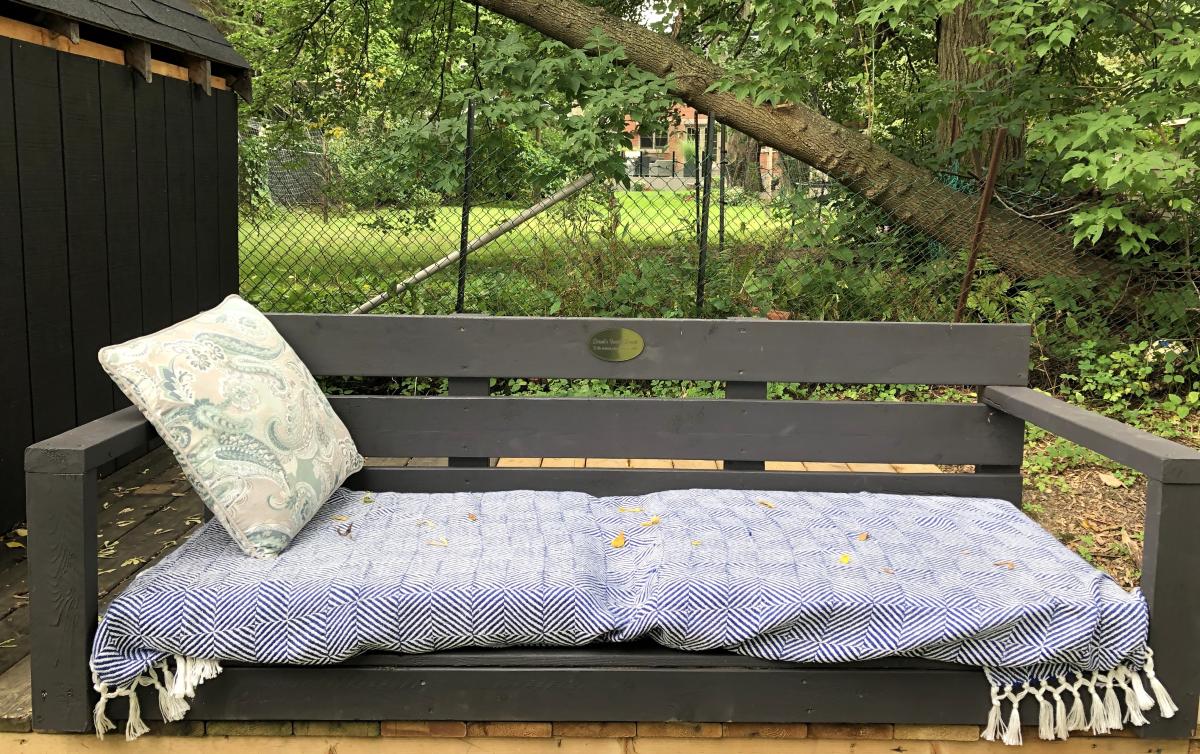
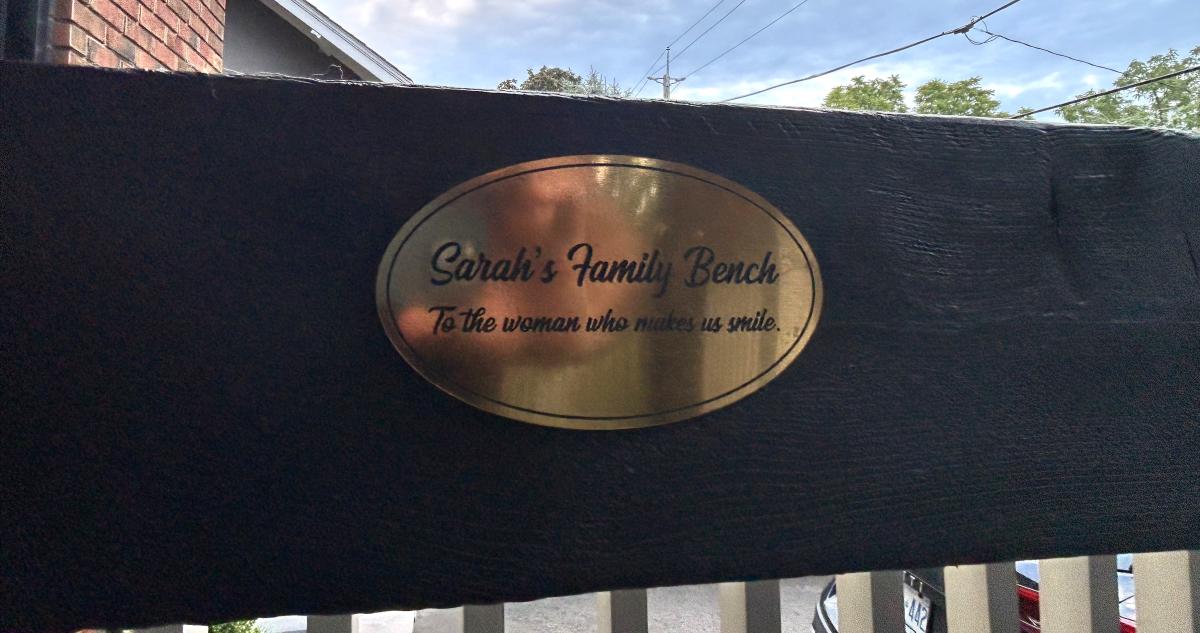
Made my wife a Ana White DIY porch bench for our 10 year wedding anniversary. Had a custom plaque made: Sarah’s Bench.

Looks beauty on our front porch.

Jesse Micak, Ontario, Canada 

Built from Plan(s)

Comments

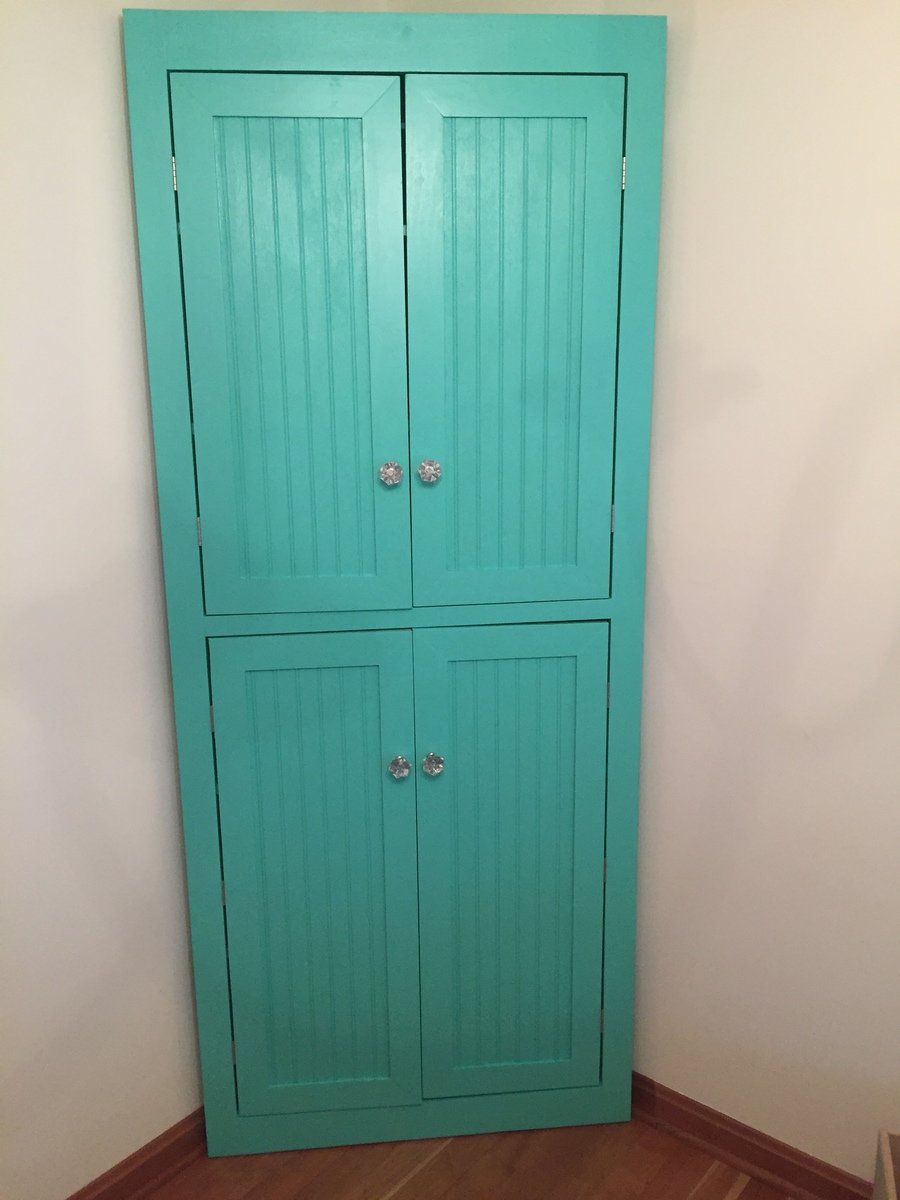
Ana's Corner Cupboard Saved The Day!

Submitted by kar on Tue, 07/05/2016 - 09:08

July 2016: We recently moved and the corner cupboard we purchased several years was too tall for the new house. I needed a new storage solution for our kid's arts & crafts, games, and funny business materials. Of course, Ana and her corner cupboard saved the day! Thank you! The kids have a great place to store their business and mom and dad can finally recycle all of the cardboard boxes stacked dangerously in the corner. 

Our corner cupboard was adapted from Ana's Corner Cupboard plan. The height was increased to 84", adjusted the dimensions for increase heights including the shelf spacing, doors on top and bottom to hide messes, used 1x12 for spine of the cupboard and shelves.

Thank you Ana! 

Built from Plan(s)
Estimated Cost
$150-$200: Depending on wood species and quality, including paint and hardware.
Estimated Time Investment
Weekend Project (10-20 Hours)
Finish Used
Dutch Boy Dura Clean Semi Gloss: Glazed Teal
Recommended Skill Level
Intermediate

Shed Chicken Coop and Run

Submitted by mikesofka on Tue, 05/12/2020 - 09:27

I had such a fun time on this shed coop/run build! My wife and I have 5 children and it was fun involving them in building everything about this coop and run. They have a wonderful sense of accomplishment in looking at what they helped build.

A few notes, while this what a fairly straightforward build, there are a lot of little intricacies to be aware of. Such as:

• Make sure your chicken coop is about a foot off the ground. It's best to do that so critters such as rats and snakes don't make their home under the shed and potentially eat their way through the floor.

• It is highly advisable to dig a trench about a foot to a foot and a half deep around the coop and the run and attach chicken cage fencing from the bottom of the coop/run into the trench, and then taper the cage fencing outward. This will prohibit critters such as raccoons from trying to dig under the coop.

• When you attach the poultry netting to the outside of the chicken run, staple one side really well, then move to the other side and pull the netting fairly hard to make the netting as tight as possible. (Also, be careful when putting the netting across the top of the run to not fall off the ladder as I did and dangle there until one of your kids comes to help you! Ha! :D )

Thank you, Ana, for posting these plans! We are so excited to get our little chickies out into their new home as soon as their feathers come in!
Estimated Cost
$800
Estimated Time Investment
Week Long Project (20 Hours or More)
Recommended Skill Level
Intermediate