Community Brag Posts

Simple White Outdoor Chair

Submitted by klray on Wed, 05/21/2014 - 21:47

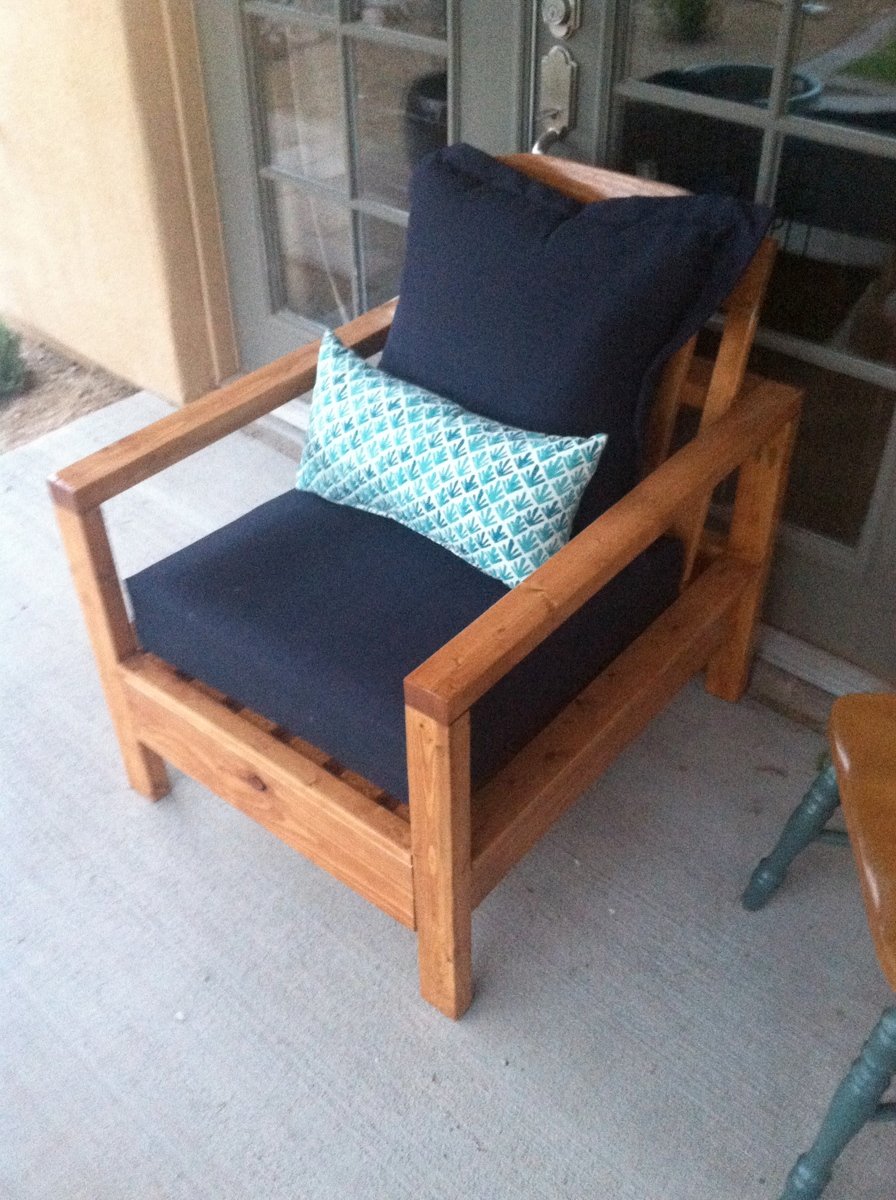
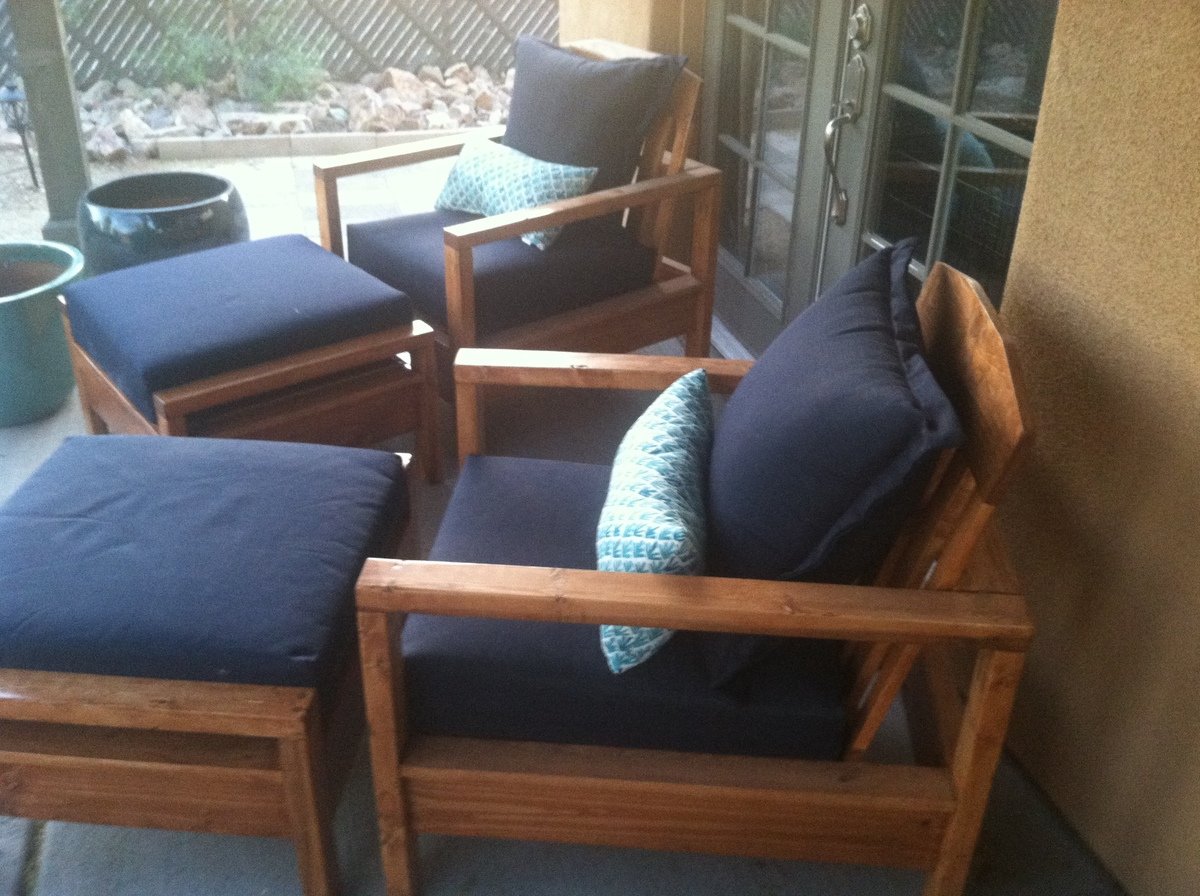
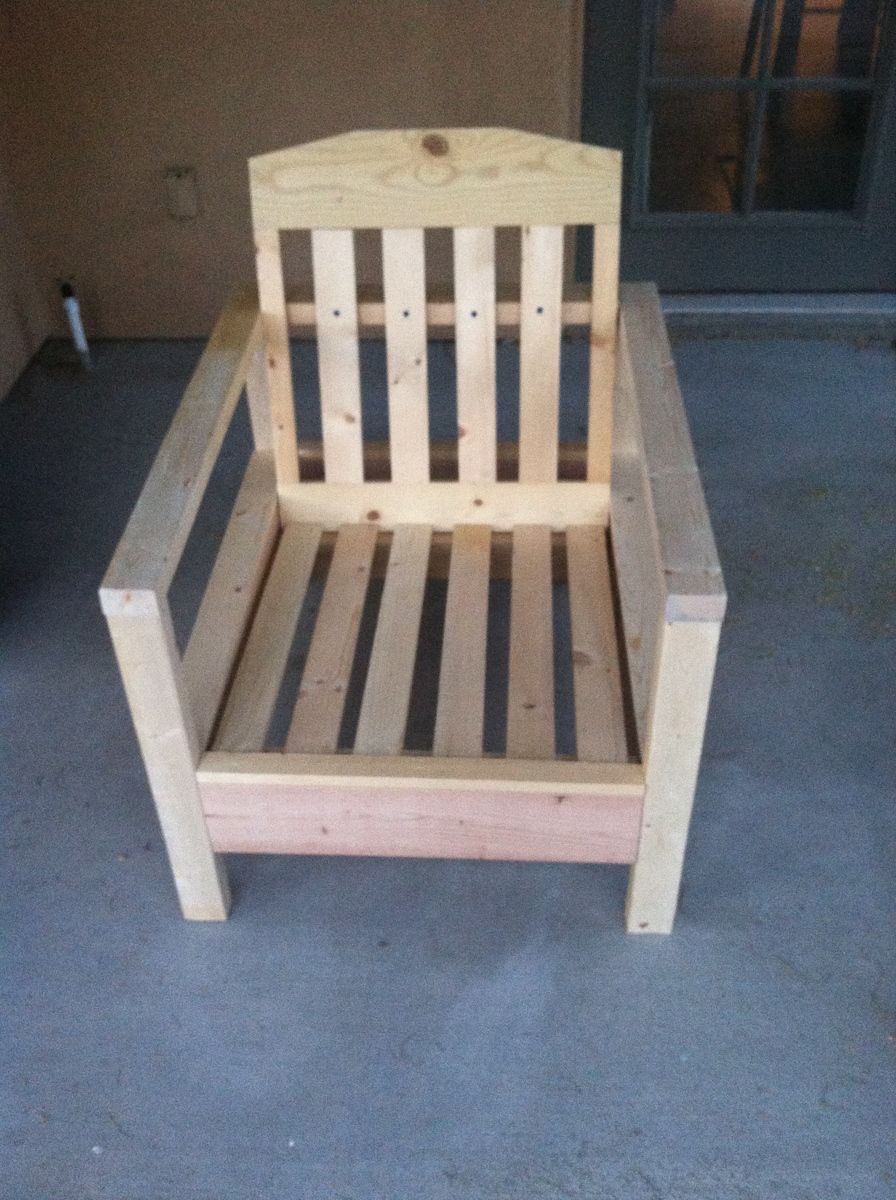
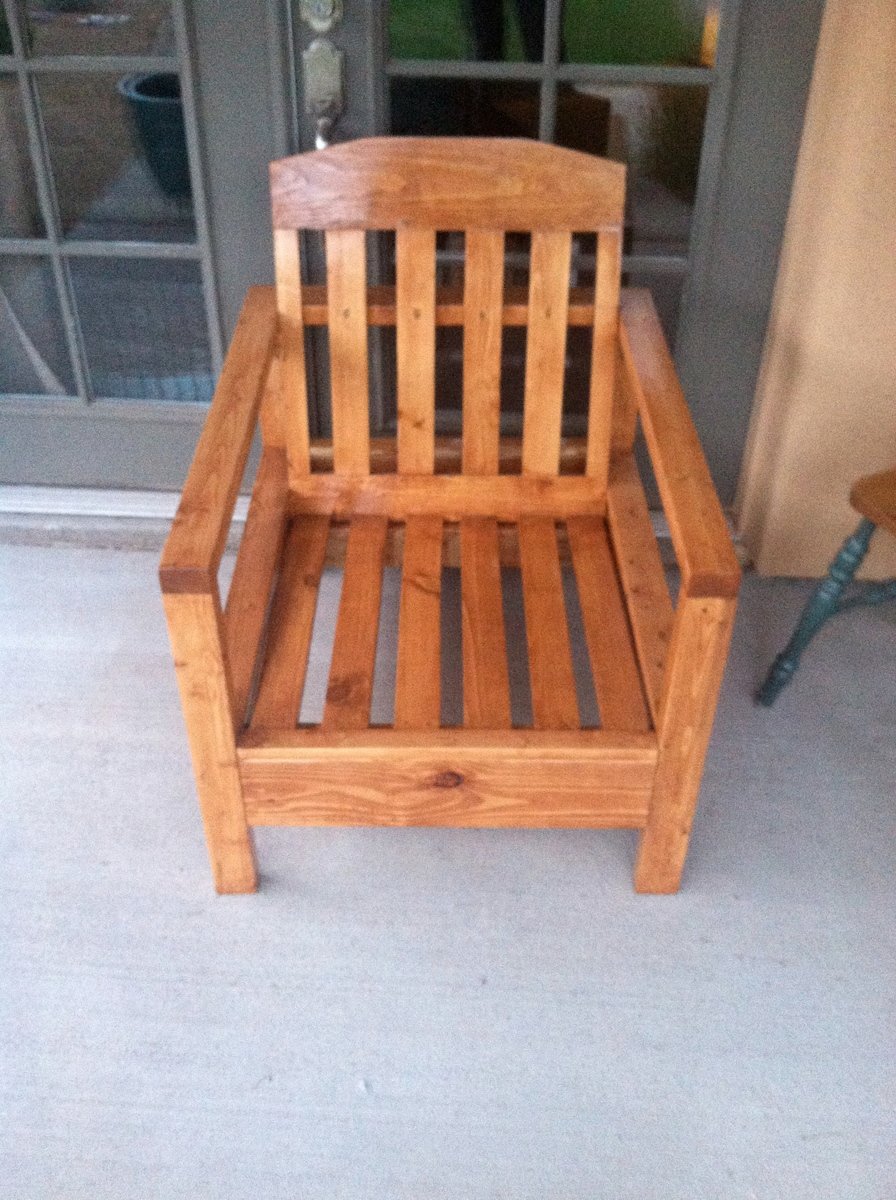
These chairs followed the simple white outdoor chair instructions. There were a few adaptations. I used 2x3s instead of 2x2s for the legs, like in the simple white outdoor loveseat instructions. I purchased my cushions from Target, and their dimensions are different than the cushions used in the instructions, so I changed some of the chair dimensions. I created the pattern for the ottomans, but it is very much based on the simple white outdoor chair instructions.

Fun project and happy with the results. Staining instead of painting probably made the project take twice as long.
Finish Used
Minwax Ipswich Pine - 2 coats,
Deft Exterior Polyurethane semi-gloss- 3 coats
Recommended Skill Level
Beginner

Comments

sojaco

Thu, 05/22/2014 - 13:37

Your chairs are gorgeous - I feel compelled to go copy your handiwork immediately. :)

Would you mind sharing a link to the Target cushions you used? They look great on your chairs.

klray

Sat, 05/24/2014 - 10:56

Thanks!

Threshold Outdoor Deep Seating Cushion:
http://www.target.com/p/threshold-outdoor-deep-seating-cushion/-/A-1508…

Threshold Outdoor Deep Seating Back Cushion:
http://www.target.com/p/threshold-outdoor-deep-seating-back-cushion/-/A…

Just a note on the cushions, they are beautiful and highly economical, but that also means they likely aren't as supportive as cushions 2 or 3 times their price and the covers do not have a zipper, so you can't wash them. That being said, I am happy with cushions.

CreativeChaos

Fri, 05/23/2014 - 07:44

I built these chairs and love seat last summer and have sat on them wishing I had ottomans! You inspired me to build the ottomans. I have the same Theshold cushions from Target and they are great! Good job!

klray

Sat, 05/24/2014 - 11:09

Thanks!

The only tricksy part about the ottomans for me was attaching the "armrests". There isn't enough room to use the pocket hole screws after attaching the side aprons. I tried screwing the "armrests" to the legs before the aprons, but that just caused problems. In the end I screwed the side aprons and legs together and then screwed the "armrests" down from the top. I used wood filler to fill in the holes above the screw heads. So it isn't quite as clean looking, but worked for me.

amorg11

Mon, 06/08/2020 - 10:36

These chairs came out amazing!!! The only struggle was to find inexpensive cushions but worth every penny. Have had so many complements. Love them! Your instructions are so detailed!

jkess44

Tue, 06/09/2020 - 13:33

These look great! we just put together a section and would like to move on to the chairs. I was hoping to find ottoman plans, do you have the plans you used? If so can you please share?

My Outdoor Sectional Couch

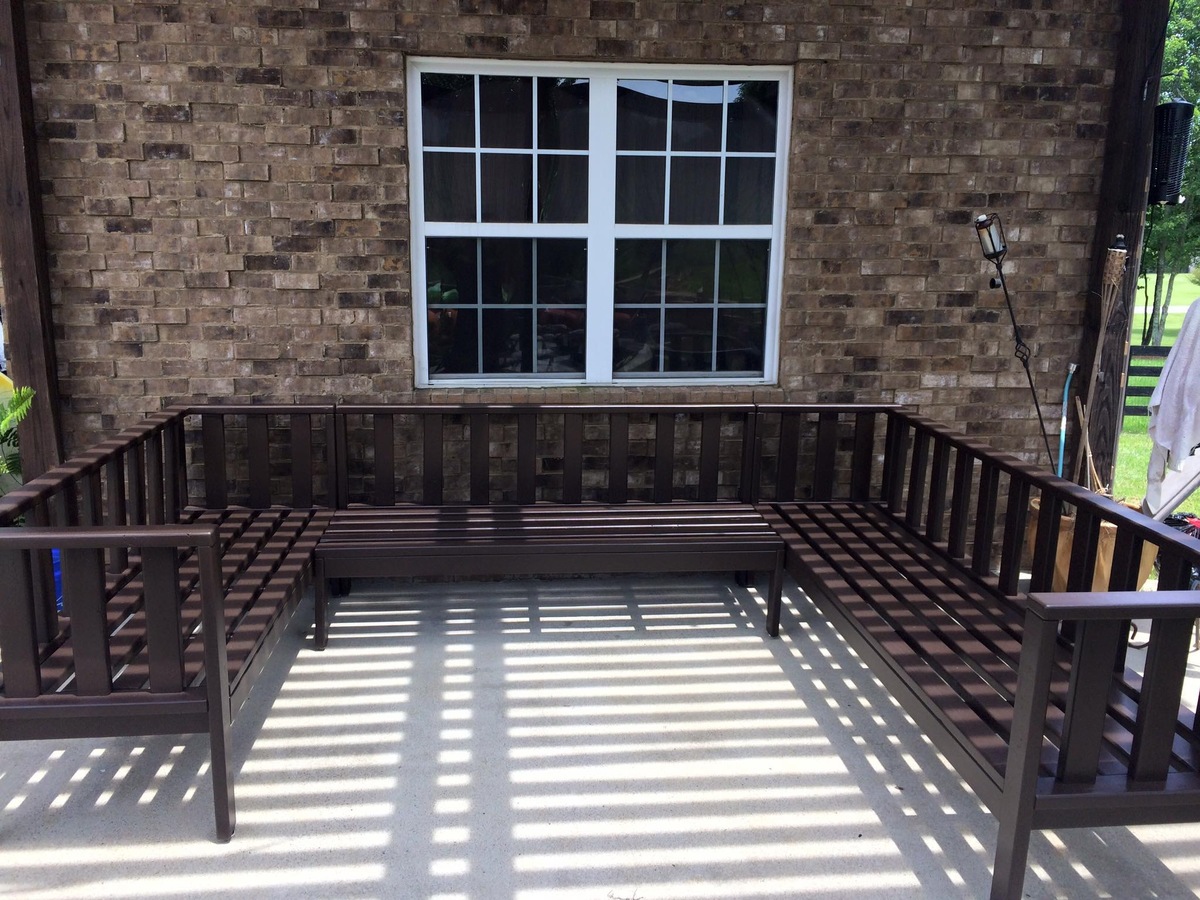
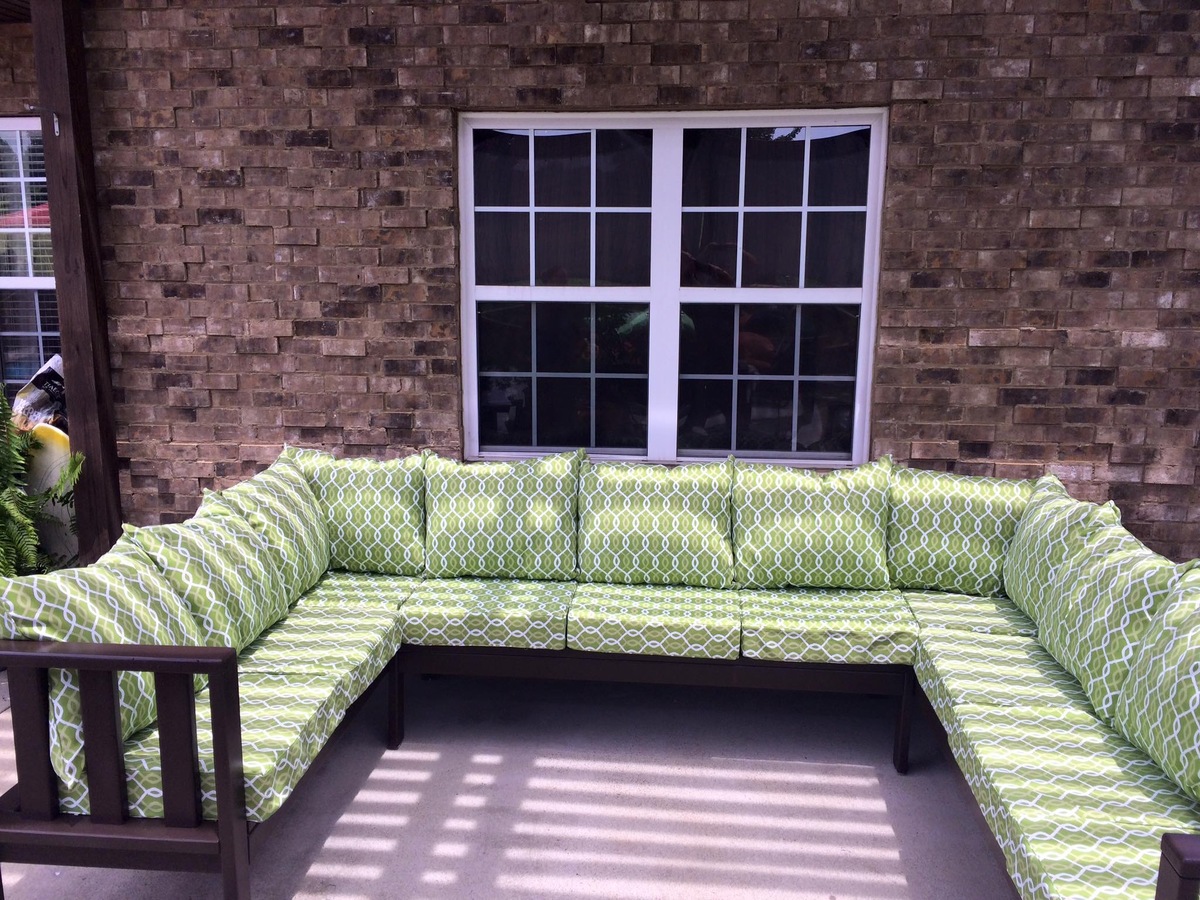
This was built off Ana's Outdoor Couch plans.  I just made some additional things to it and made it larger.

I added the vertical back supports so the cushions don't slip out the back.  I raised the seat height to 17". 

Estimated Cost
$600-$800 including the cushions.
Estimated Time Investment
Week Long Project (20 Hours or More)
Finish Used
Oil primer and Latex Paint.
Recommended Skill Level
Intermediate

Comments

Codding58

Mon, 08/22/2016 - 13:57

Great job!    I really like the way that your set came out!    This had been on my list to do, but a broken foot put a damper on it this summer!    Great Job!

Pergola and Outdoor Furniture

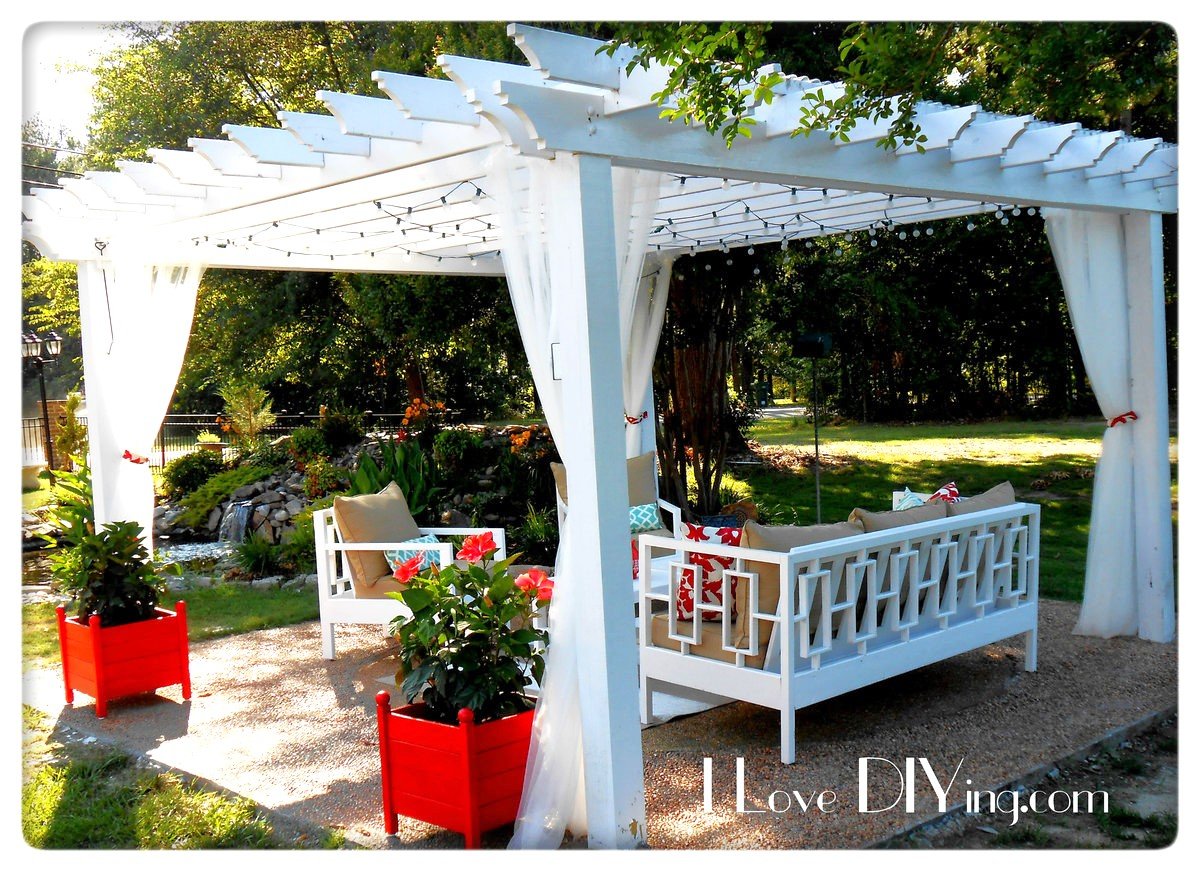
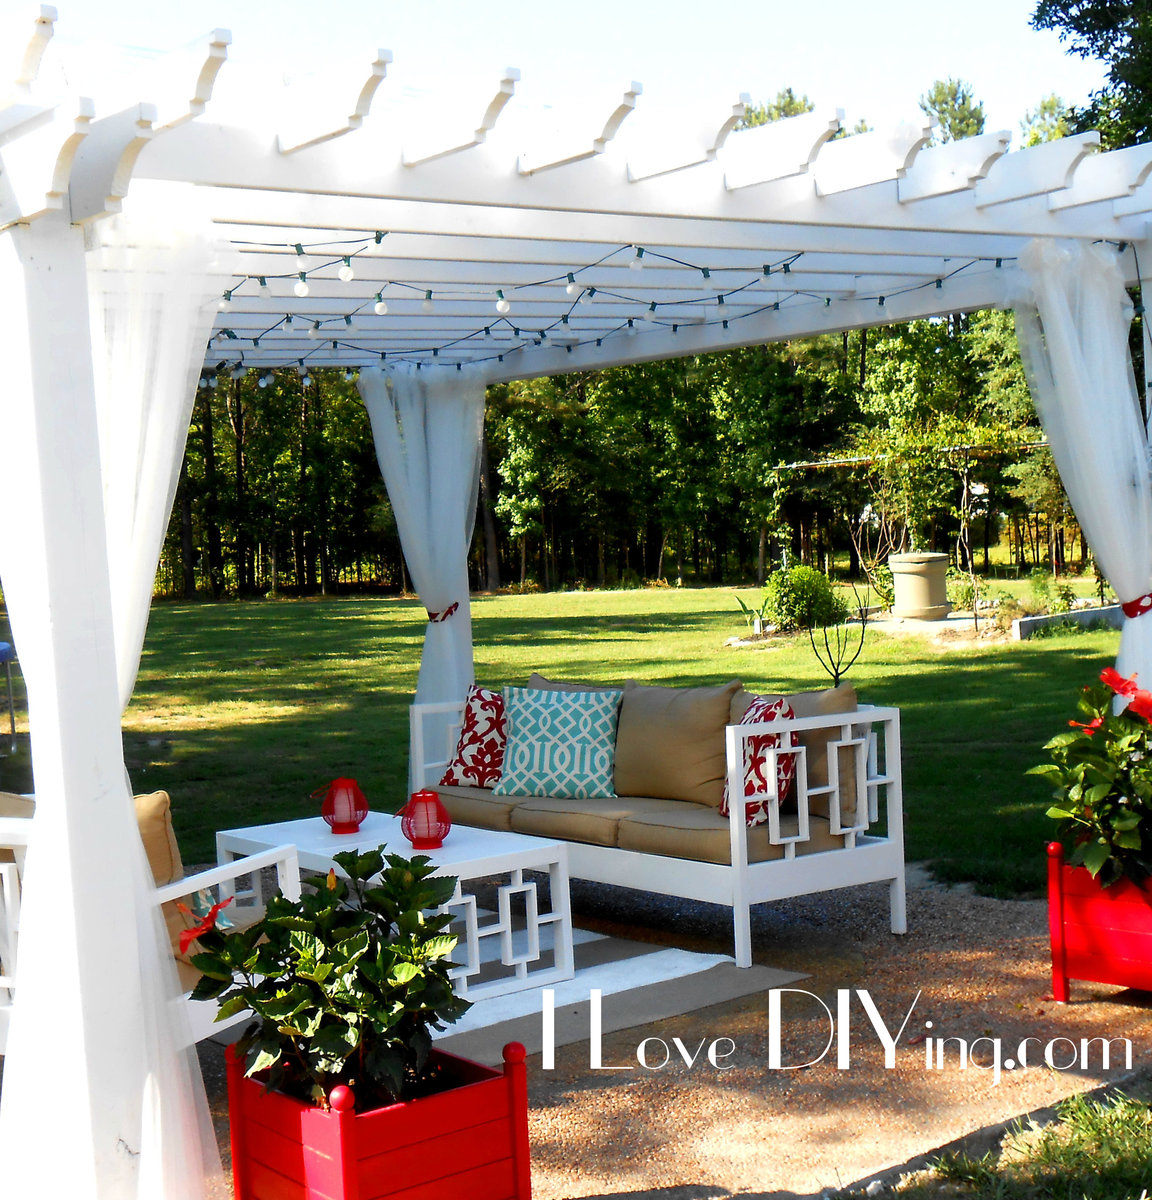
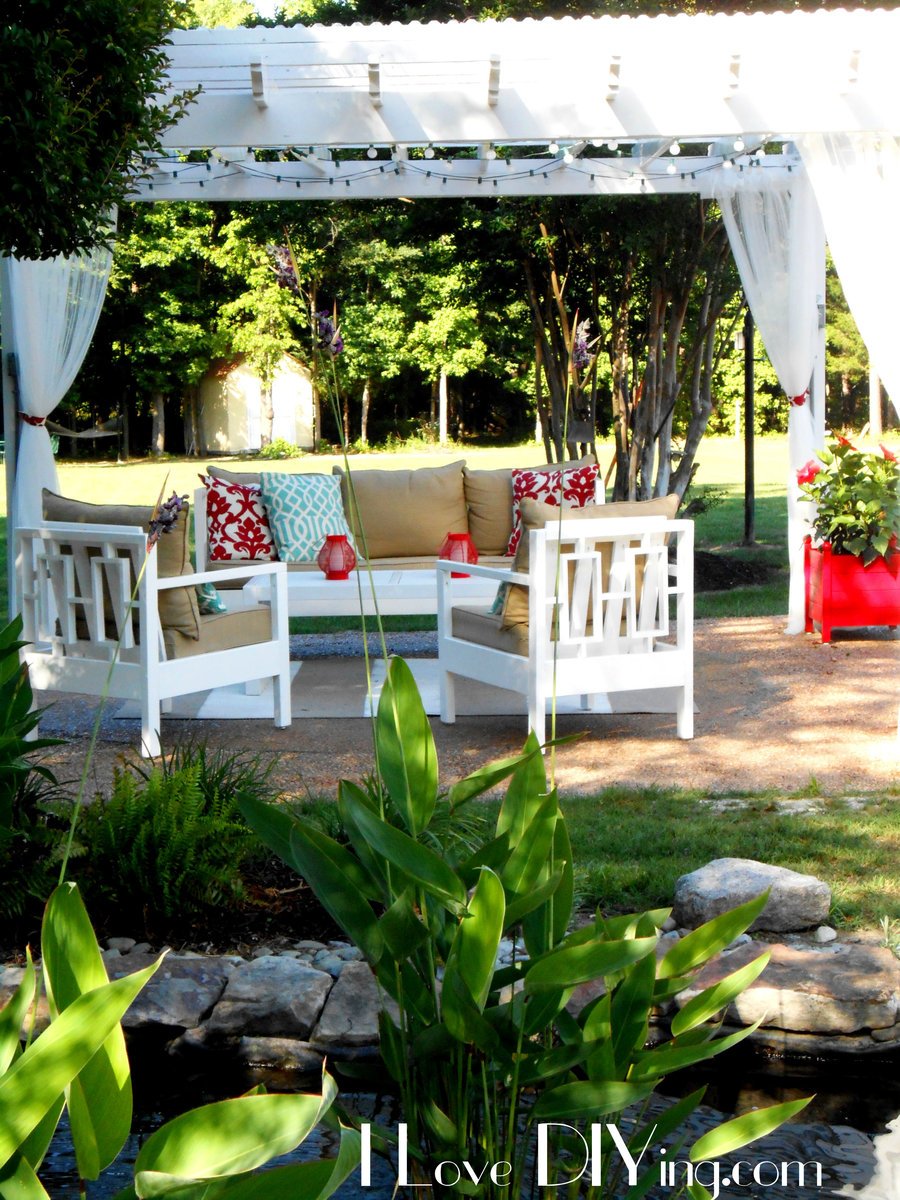
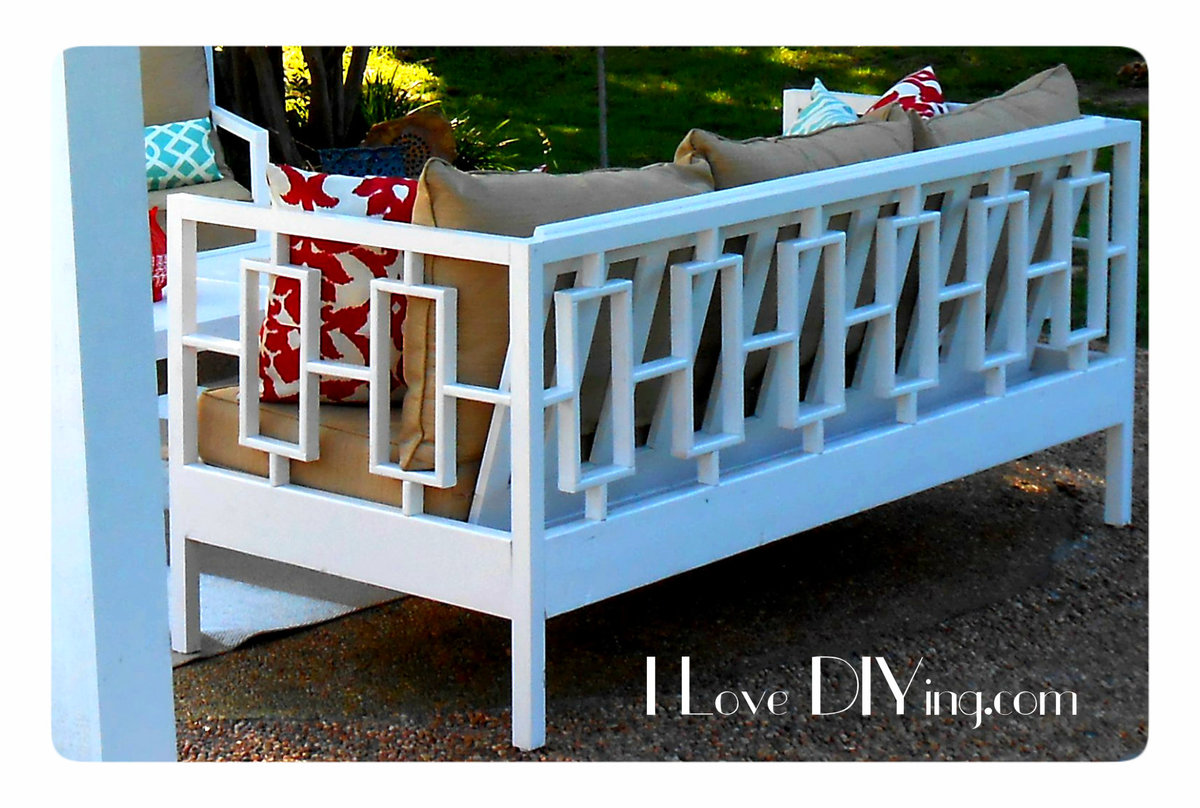
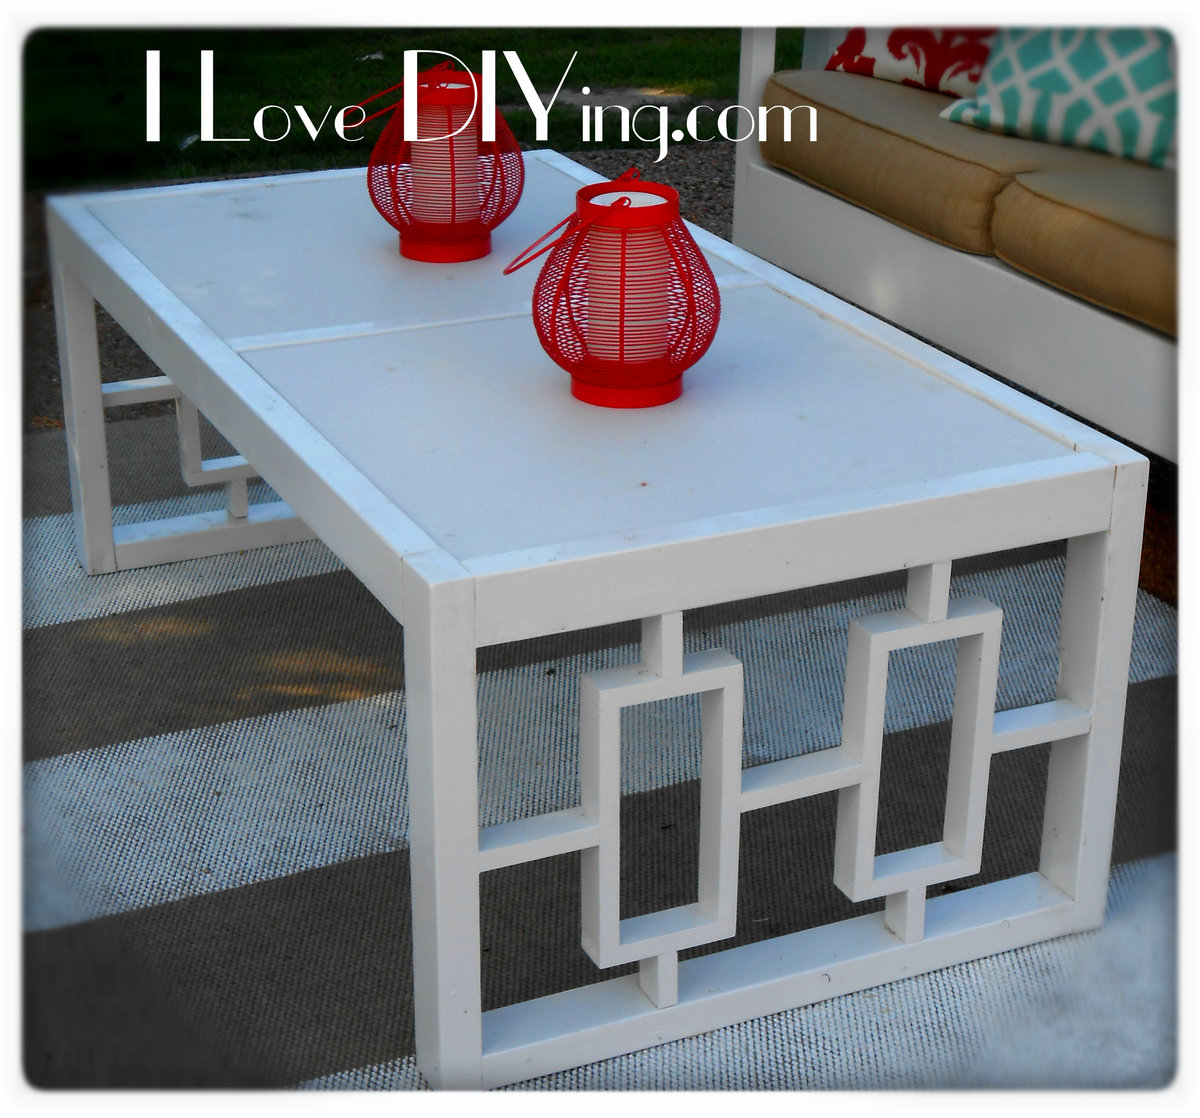
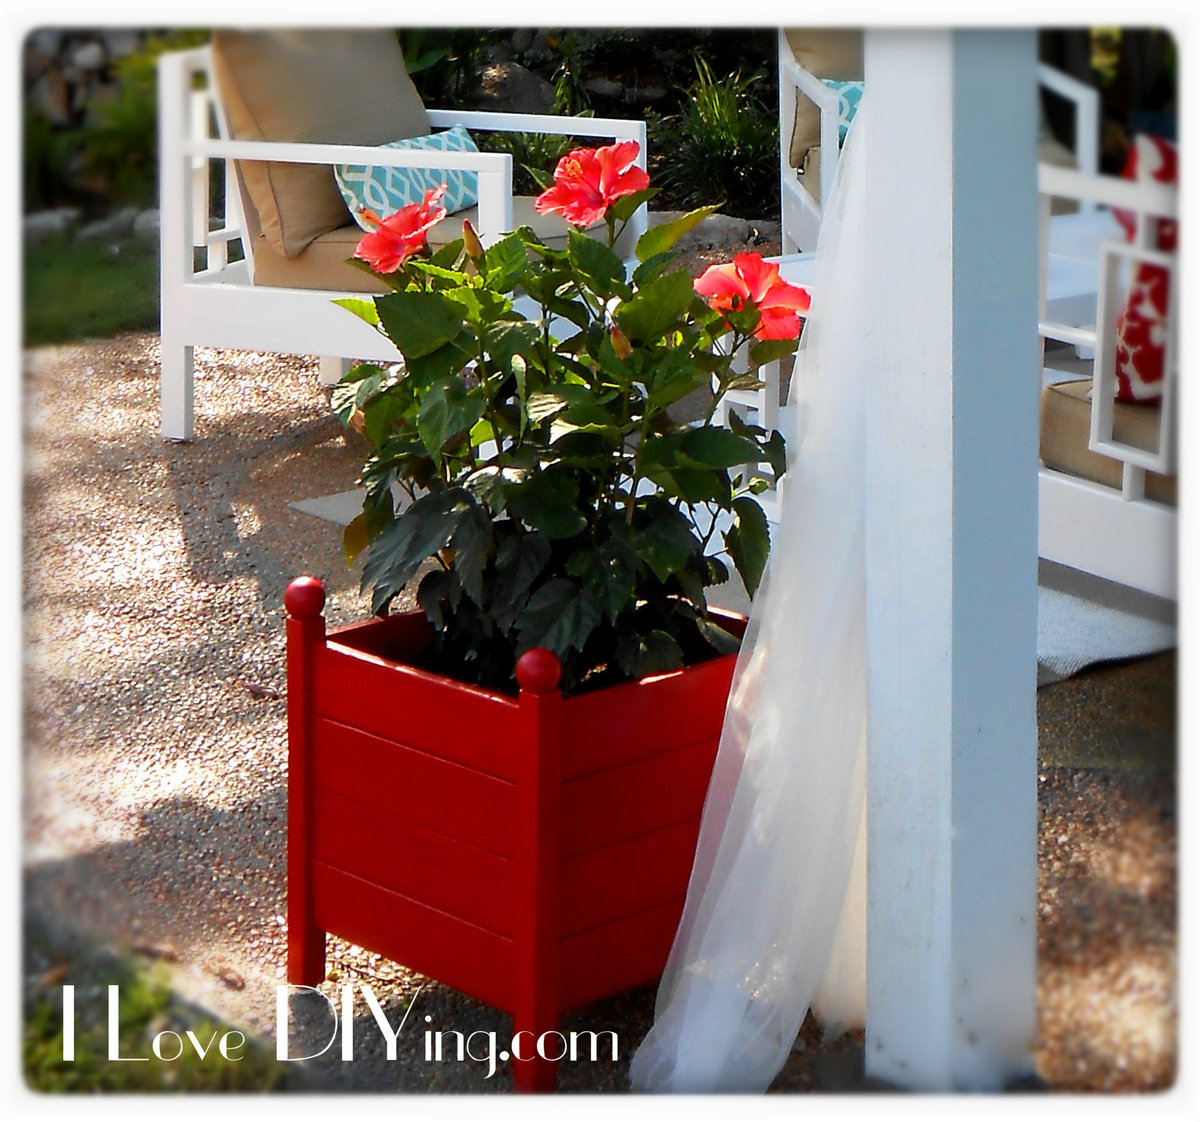
The pergola is finally complete! I'm sure I'll be adding some more things, but for now....I'm happy. I can not take credit for the Pergola, my husband built that, but there are lots of projects inside to tell you about. I built the sofa, coffee table, 2 chairs and 2 planters. It's a great spot for entertaining or just sitting with glass of wine. I really loved the Rectangles Daybed , but I really had no use for a Daybed, so with a few modifications, I came up with the sofa version. To make it more comfortable I used the slanted back idea from the simple outdoor sofa plan.I love how it turned out and it was fairly inexpensive too. Lumber cost was around $50. I used 2x 6′s, 2×2 furring strips, 1×2 furring strips and 1×4 furring strips. You really have to pick through the furring strips, with some patience I was able to find pieces that would work well for my project. Using the more expensive would would make things much easier, because there would be much less sanding and filling involved…but I love a bargain!! When I first built the sofa for this collection, it was for our covered porch. I was not intending to build any matching pieces. When we moved it to the pergola, I decided to build these 2 chairs. I used plan from the simple outdoor chair and modified the back to match the sofa. The lumber for the chairs cost about $25 per chair. I bought some 2X2 quartz tiles from the Habitat ReStore for $3 each! I thought they would work perfectly for the tabletop. I sketched up a quick design to match the other pieces and came up with this. I used 2×3′s and 1×2′s. The lumber cost was about $15. I also used the Square Planters with Finials plan. I love these planters do much and they were so simple! Thanks for all the fantastic plans and inspiration!!

Finish Used
white paint
Recommended Skill Level
Intermediate

Comments

teresad2297

Thu, 05/12/2016 - 21:30

What a lovely space! Including the water feature behind the pergola. I'd love to pull it straight from your photos and drop it into my yard! (I'd better get to work!!)  Thanks for sharing.


Seasonal And Holiday

Library Book Cart

Submitted by Terukosan on Wed, 09/12/2012 - 22:54

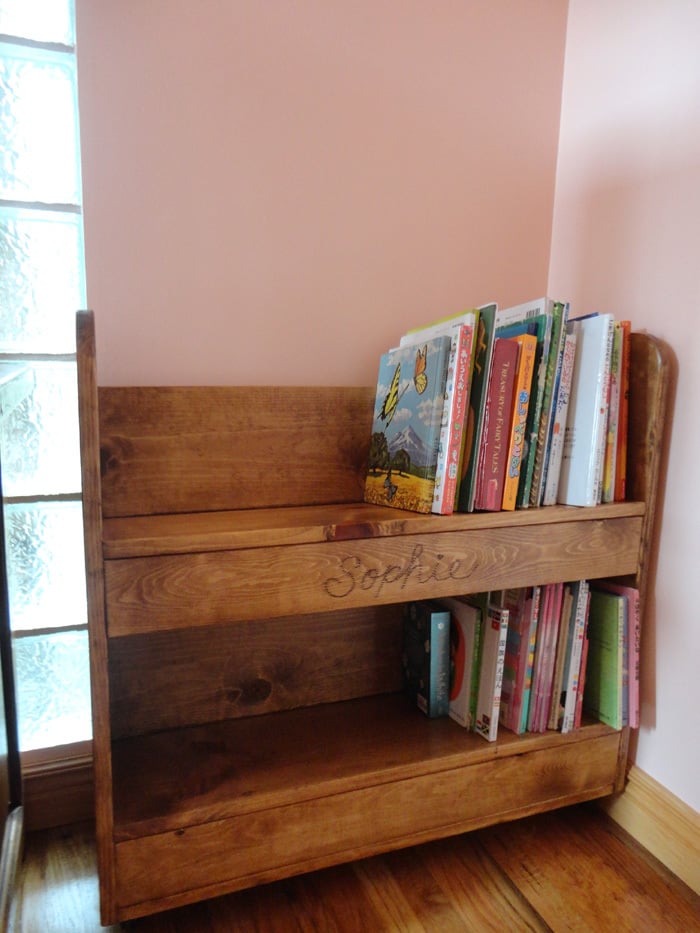
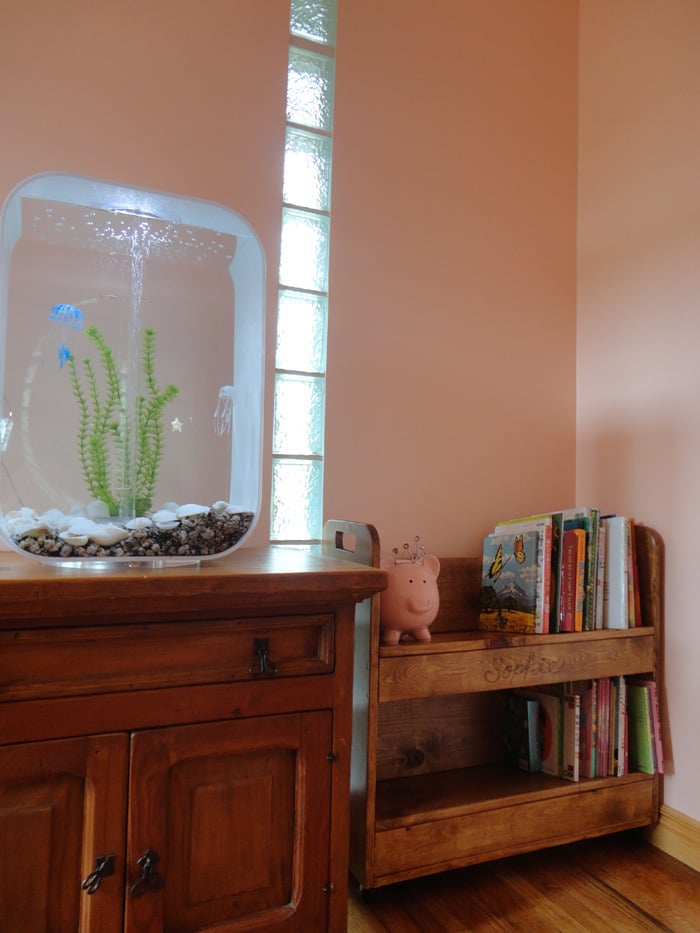
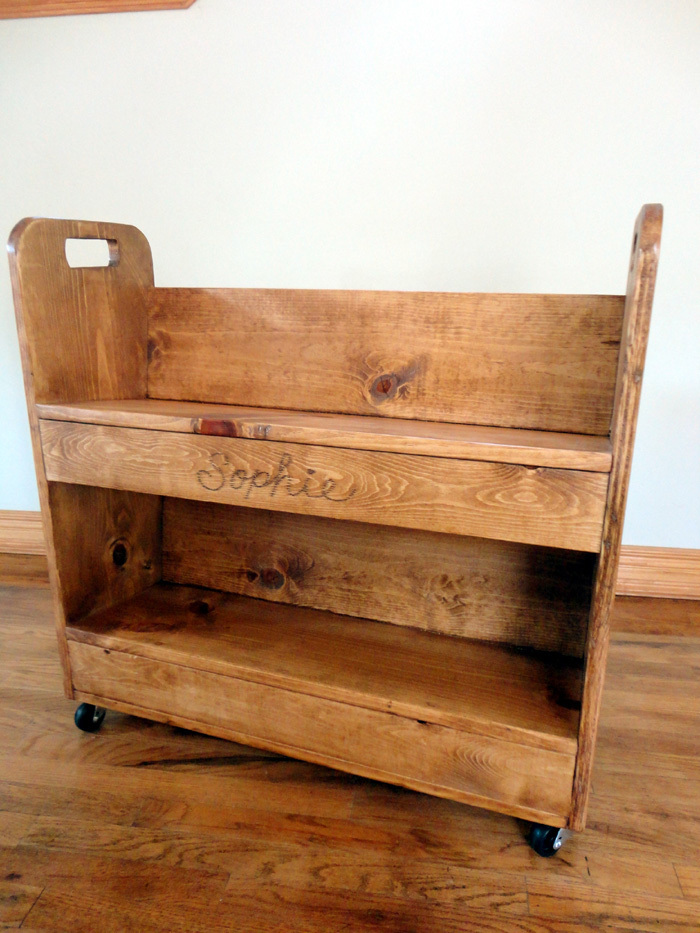
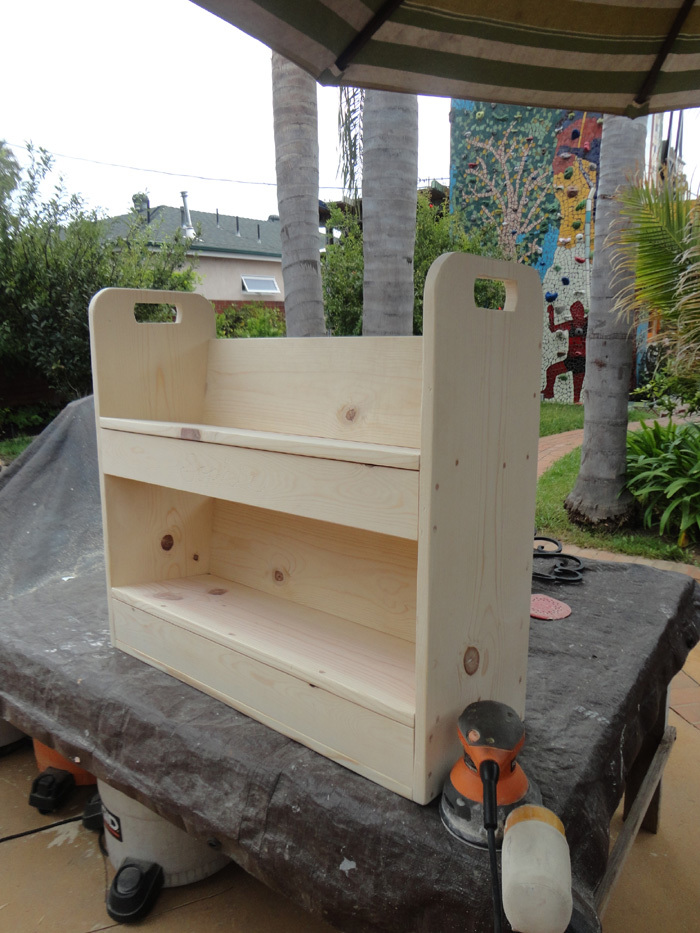
I built this book shelf for my daughter.

I made both the top and the bottom shelves an angled.
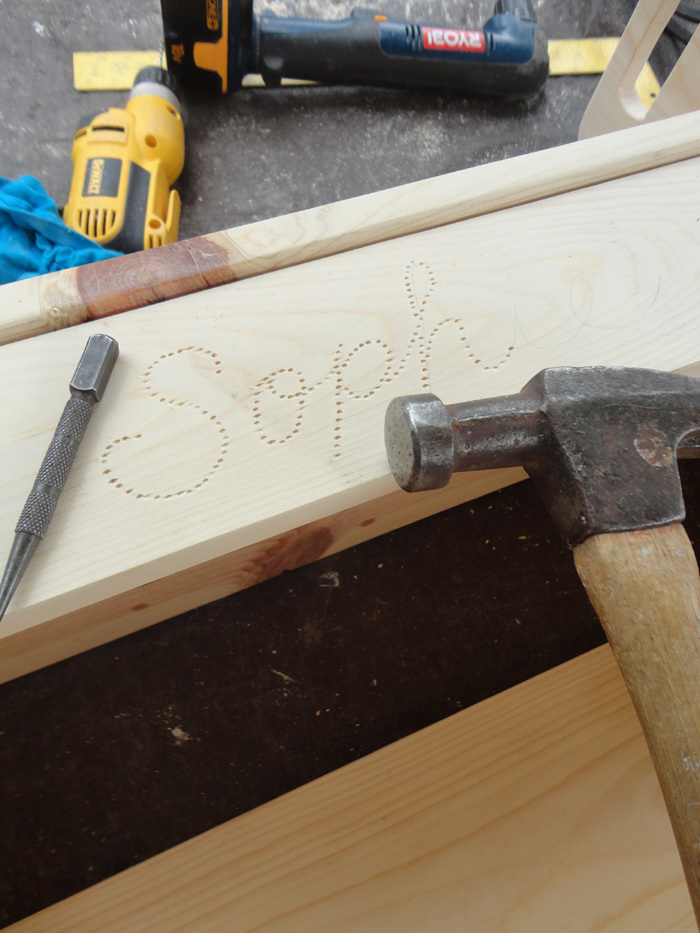
I used a finishing nail punch to emboss the name.

I mixed 3 different color stains to match the other furniture.

Used 2" caster wheels from Home Depot.

Built from Plan(s)
Estimated Cost
$55
Estimated Time Investment
Day Project (6-9 Hours)
Finish Used
Minwax wood finish (Golden Pecan, English Chestnut, Red Oak), Minwax Wipe-On Poly
Recommended Skill Level
Beginner

Comments

tommirhea

Fri, 09/14/2012 - 09:39

This is so pretty, I love the name in it! How wonderful. When you mix your stains, how do you know how much of each? Is is just a trial and error type of thing?

Terukosan

Fri, 09/14/2012 - 12:06

Hi tommirhea,

Thank you for your nice comment!

Mixing stains is just a trial and error. Pour into empty yogurt cup and mix with form brush. I like rustic looks, so, I don't care if color is not even ;-)

Have a nice weekend,

Sunny

tommirhea

Fri, 09/14/2012 - 12:14

Okay, thanks. I think I will try it on the desk I am going to make. I don't always love the color of stains, but never thought I could just dump different ones in to make my own :) I like rustic looks as well, makes it more unique.

Refinished Red Oak Fireplace Mantel

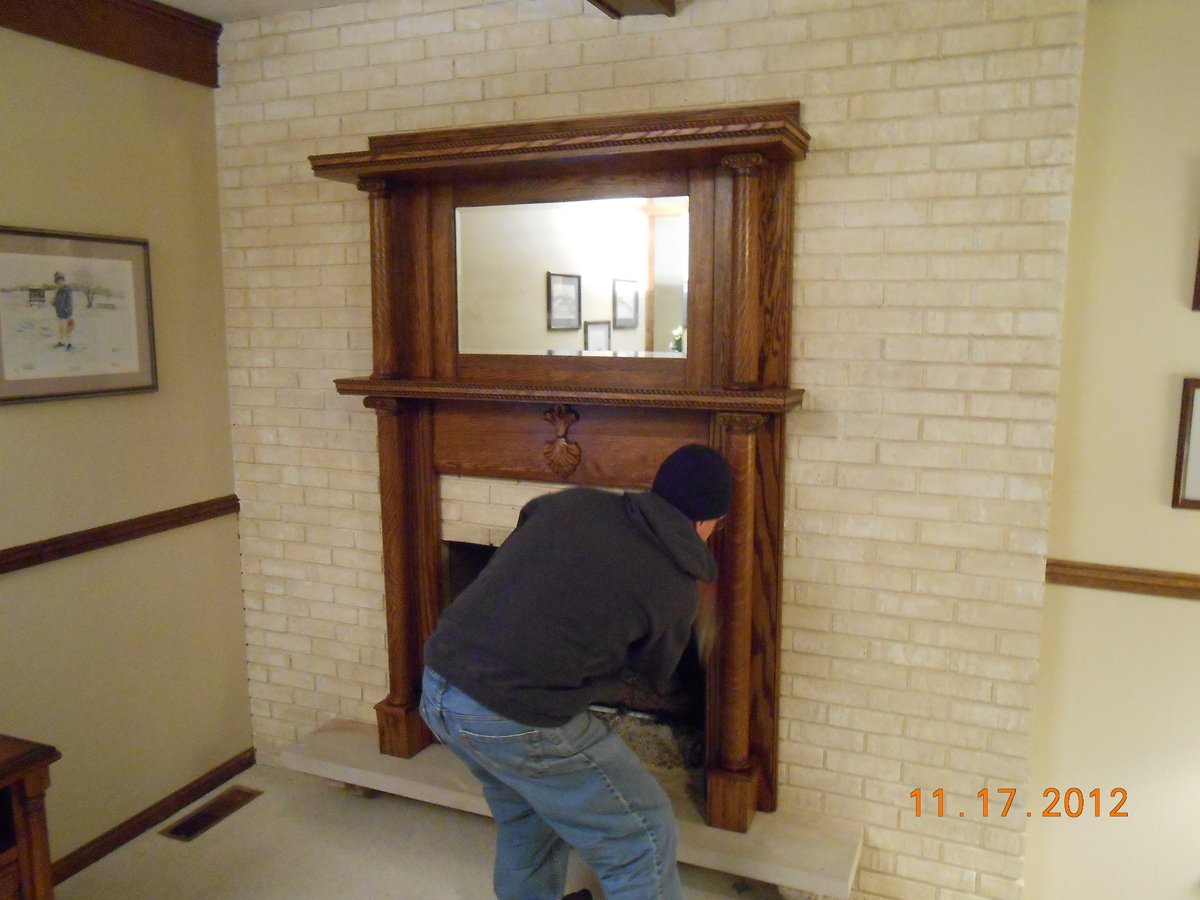
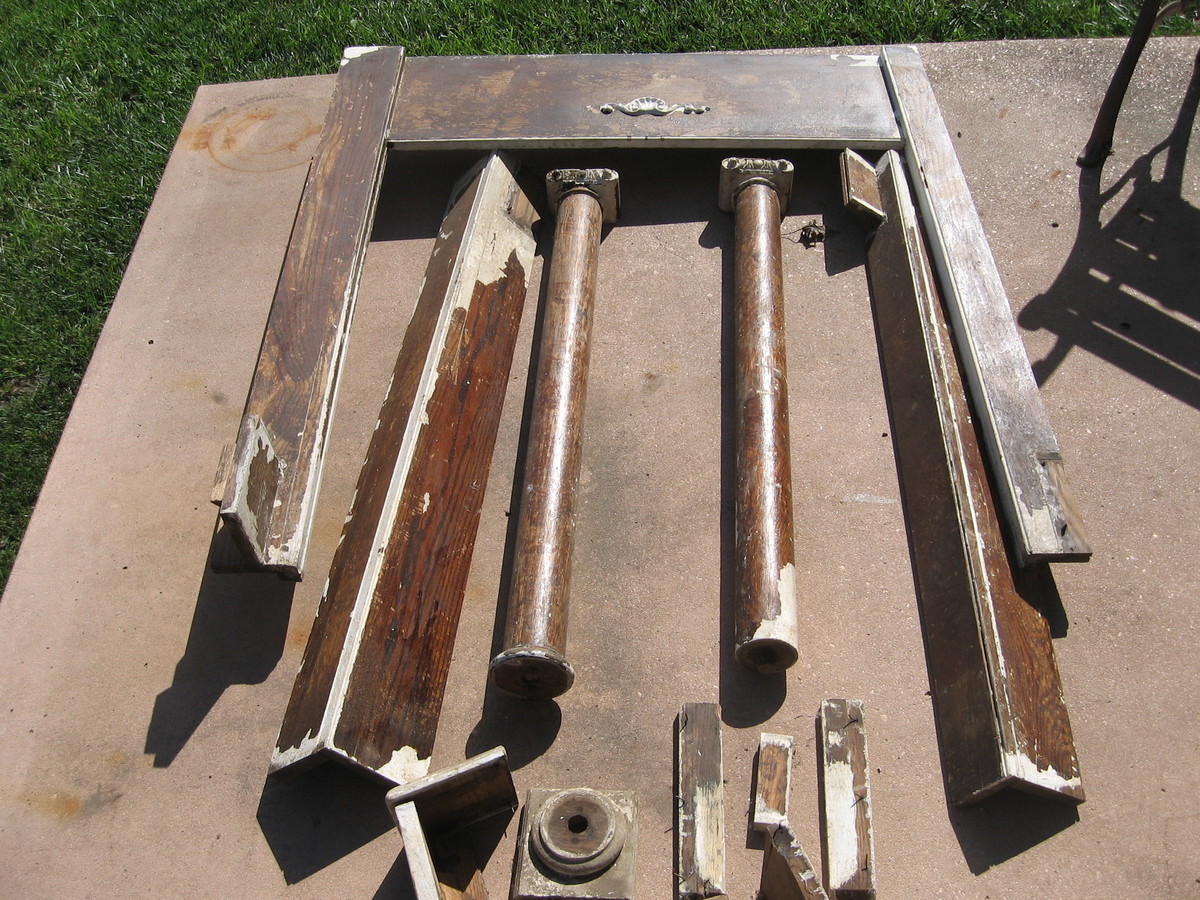
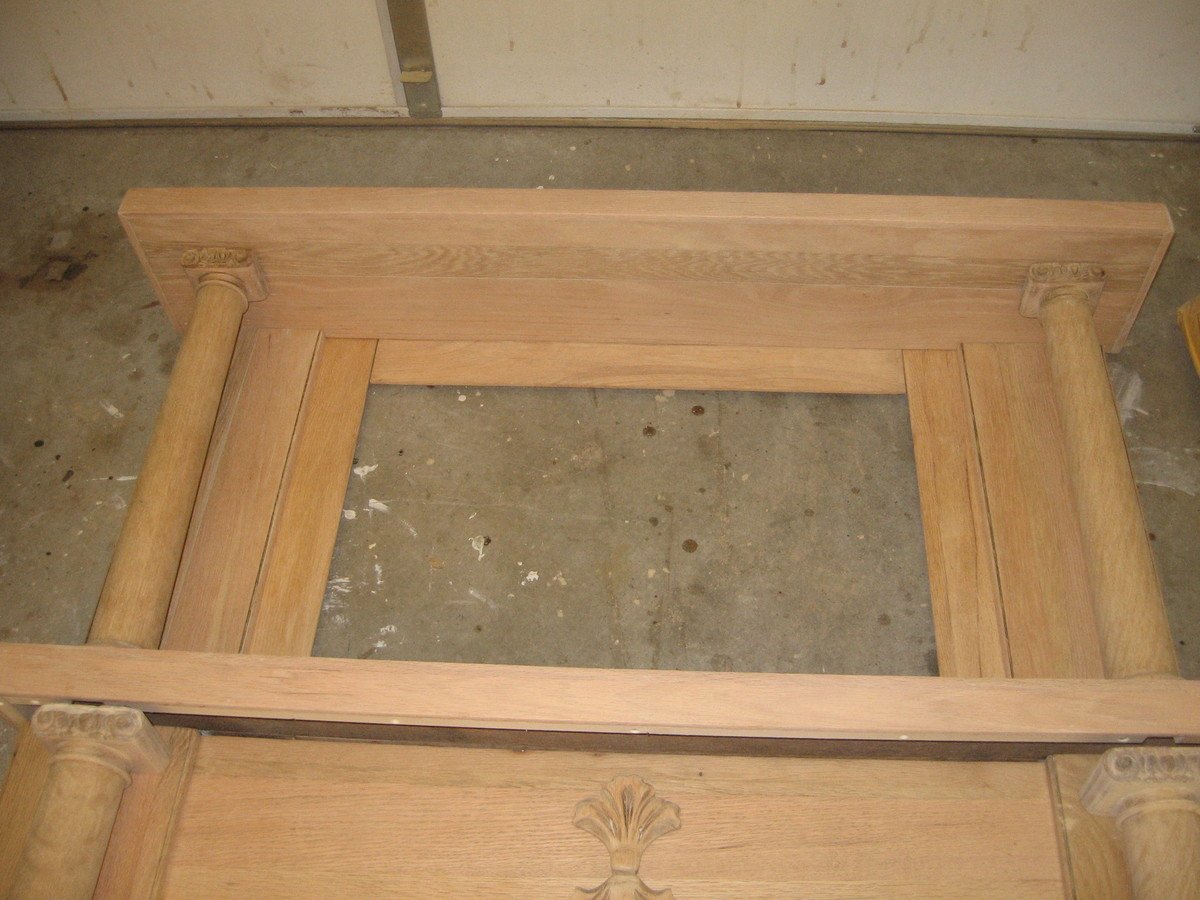
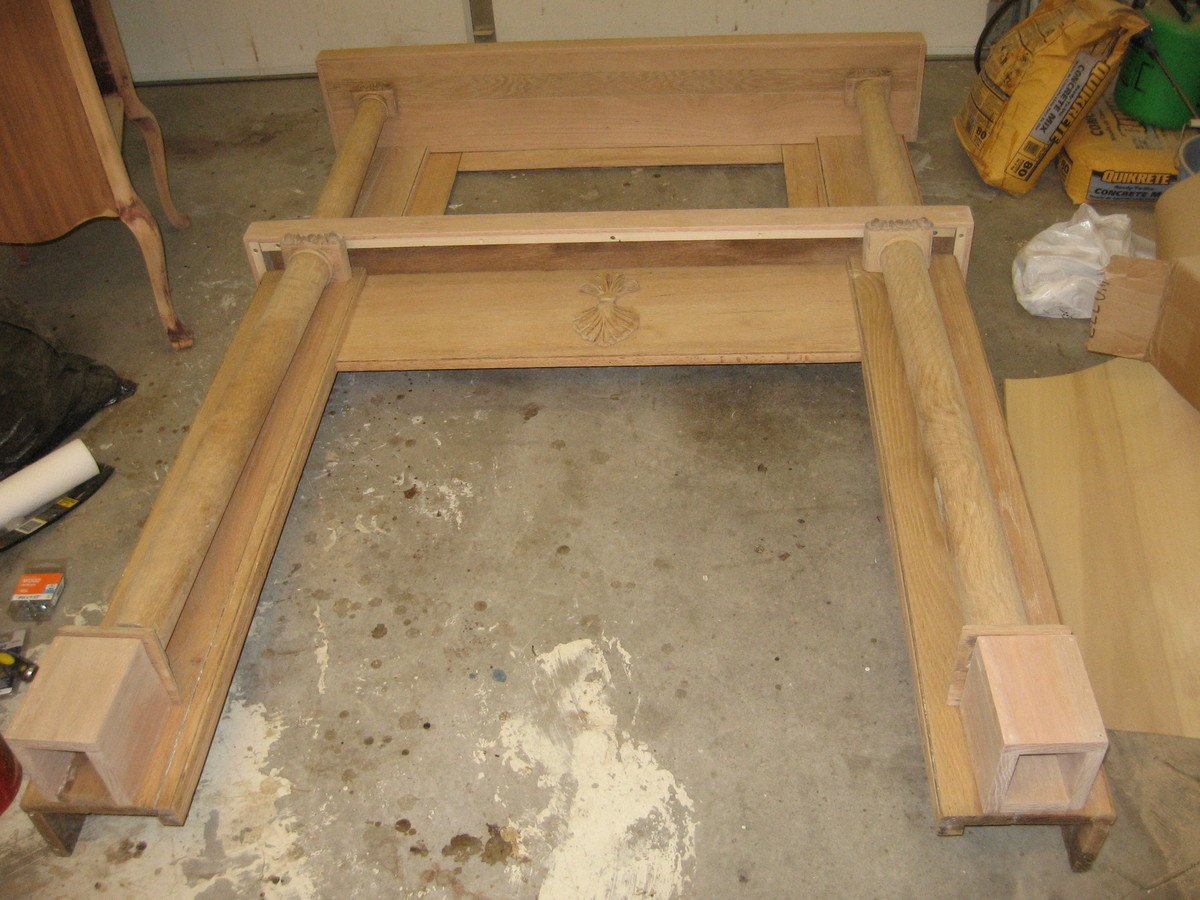
This is a century old red oak fireplace mantel I bought off of Craigslist. It came out of a home in Louisville, KY. It was in bad shape as you can see in the photos. I stripped it and replaced the veneer that needed it. I had to modify it a bit to install it to my mother-in-laws brick fireplace. The mirror is mercury glass and beveled. I did add some red oak rope trim which I beveled to give a more formal look. I countersunk some holes along the sides that I covered with some red oak trim. This allowed me to attach studs to the brick and then attach the mantel to the studs. The very top shelf was rotted so I found some beautiful spalted red oak and rebuilt this. The former onlay on the front was beyond repair and I found the current salvaged onlay on Ebay for around $10. I am really happy with how it turned out.

Estimated Cost
$200-$40 initial cost and about $160 in improvements
Estimated Time Investment
Week Long Project (20 Hours or More)
Finish Used
The stain is Minwax Early American. I gave the old growth wood 2 coats and the newer wood and trim 3 coats. I used Minwax fast drying satin polyurethane. I used three coats throughout the project. I applied 2 coats of poly and then sanded with 220 grain sandpaper before applying the third and final coat.
Recommended Skill Level
Intermediate

Comments

Electric Heaters (not verified)

Wed, 01/23/2013 - 04:05

Fireplaces can be a good option for heating the room as that consume low space area and provide heating in affordable prices. the most amazing thing about modern fireplaces is that they can be easily move anywhere in the house.

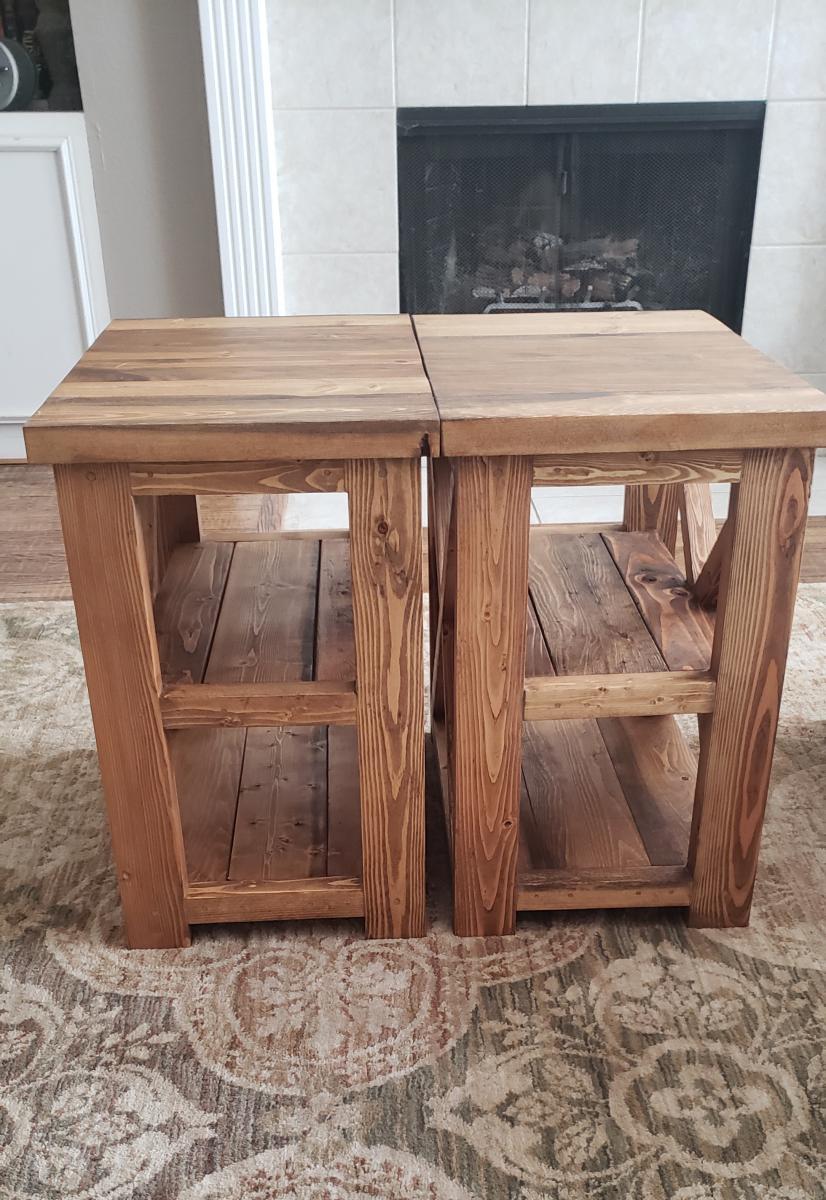
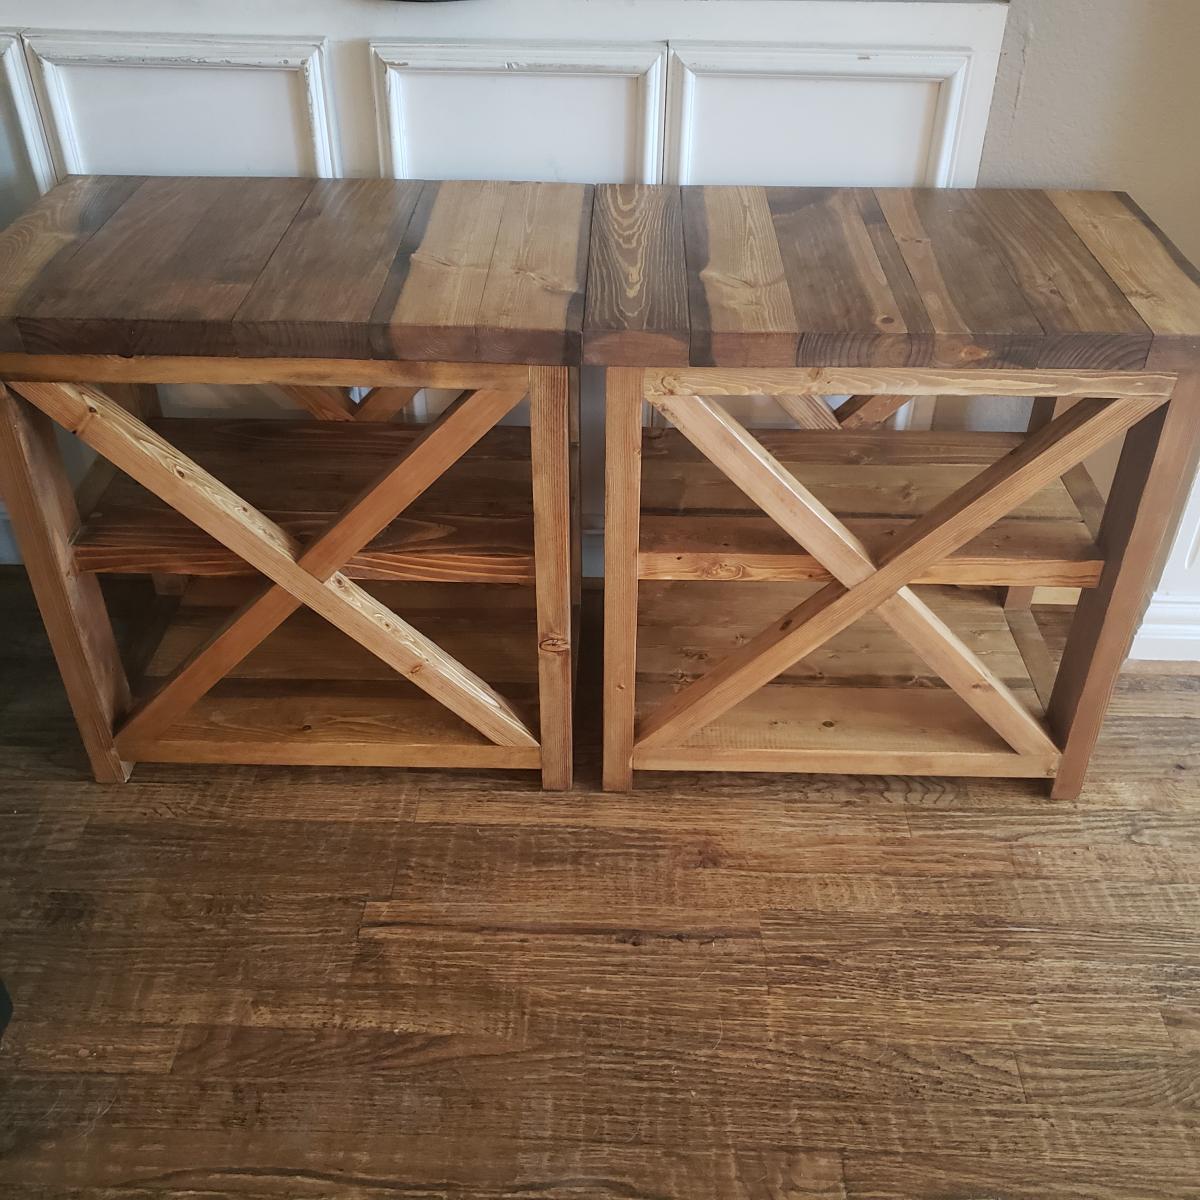
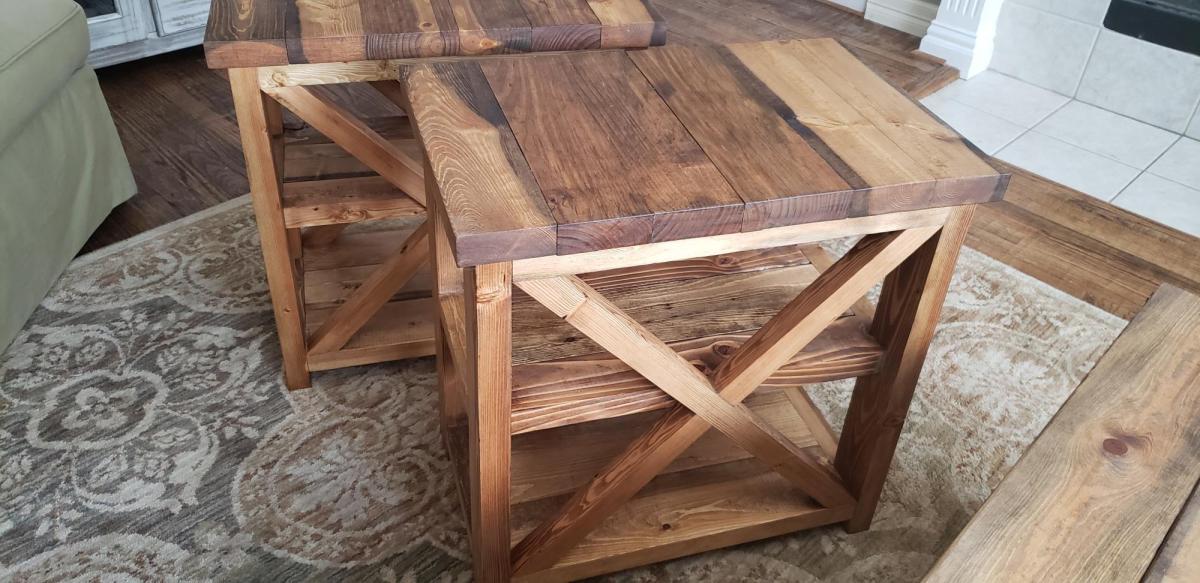
Rustic X Side Tables - Added Shelf

Submitted by Anonymous (not verified) on Thu, 09/24/2020 - 13:07

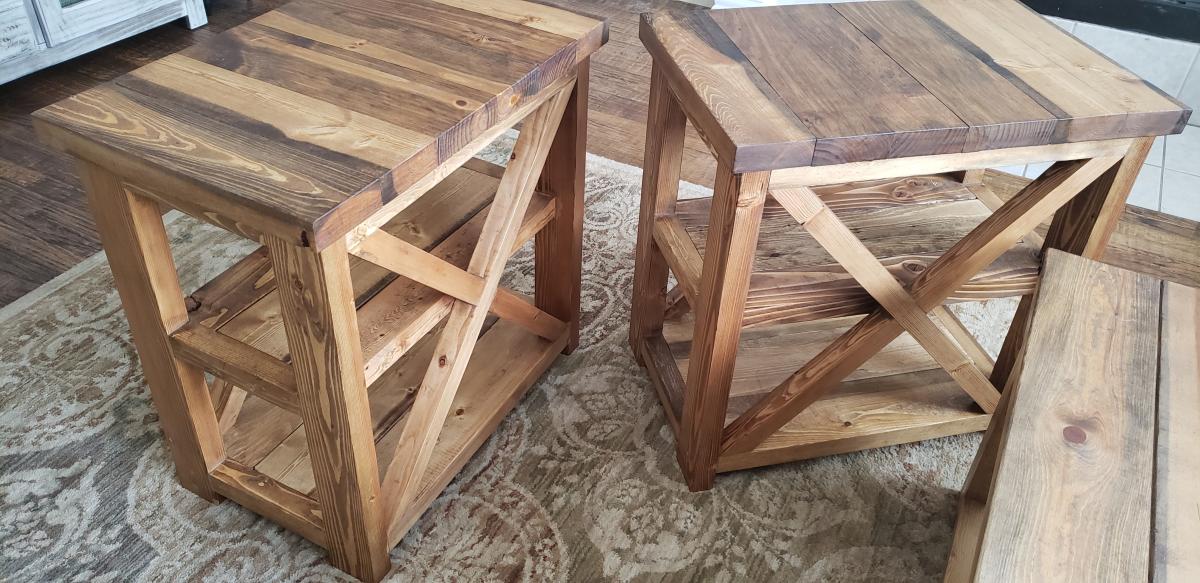
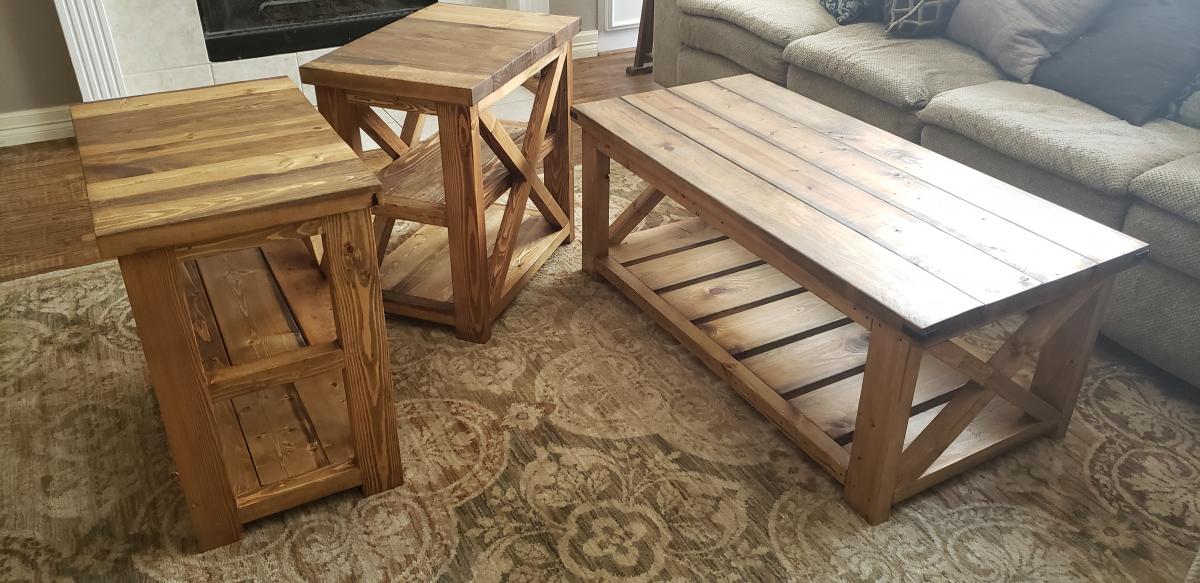
This was a fun project! We had already made the coffee table and someone wanted side tables. We assisted the plans for the side table to make these 16w x 25h x 25d and added a center shelf. After getting our cut list the build was easy and quick. It took about 6-9 hours to cut, build, sand, stain, apply finish, and finish sand.

Estimated Cost
$60
Estimated Time Investment
Day Project (6-9 Hours)
Finish Used
Dark Walnut Stain with rubbed matte finish
Recommended Skill Level
Beginner

Comments

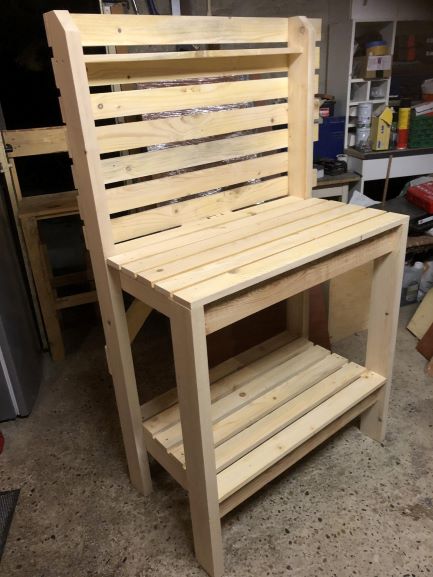
Potting Bench - RYOBI Nation Projects

Submitted by olivier on Sun, 10/25/2020 - 04:47

bonjour j'ai réaliser ce projet avec du bois de charpente (récupération) , projet très facile à réaliser avec peut de matériel, le plus compliquer à été de transposer les dimensions de pouces en cm. est-il possible de recevoir des plans en cm ????

Estimated Cost
0
Estimated Time Investment
Day Project (6-9 Hours)
Finish Used
aucune
Recommended Skill Level
Beginner

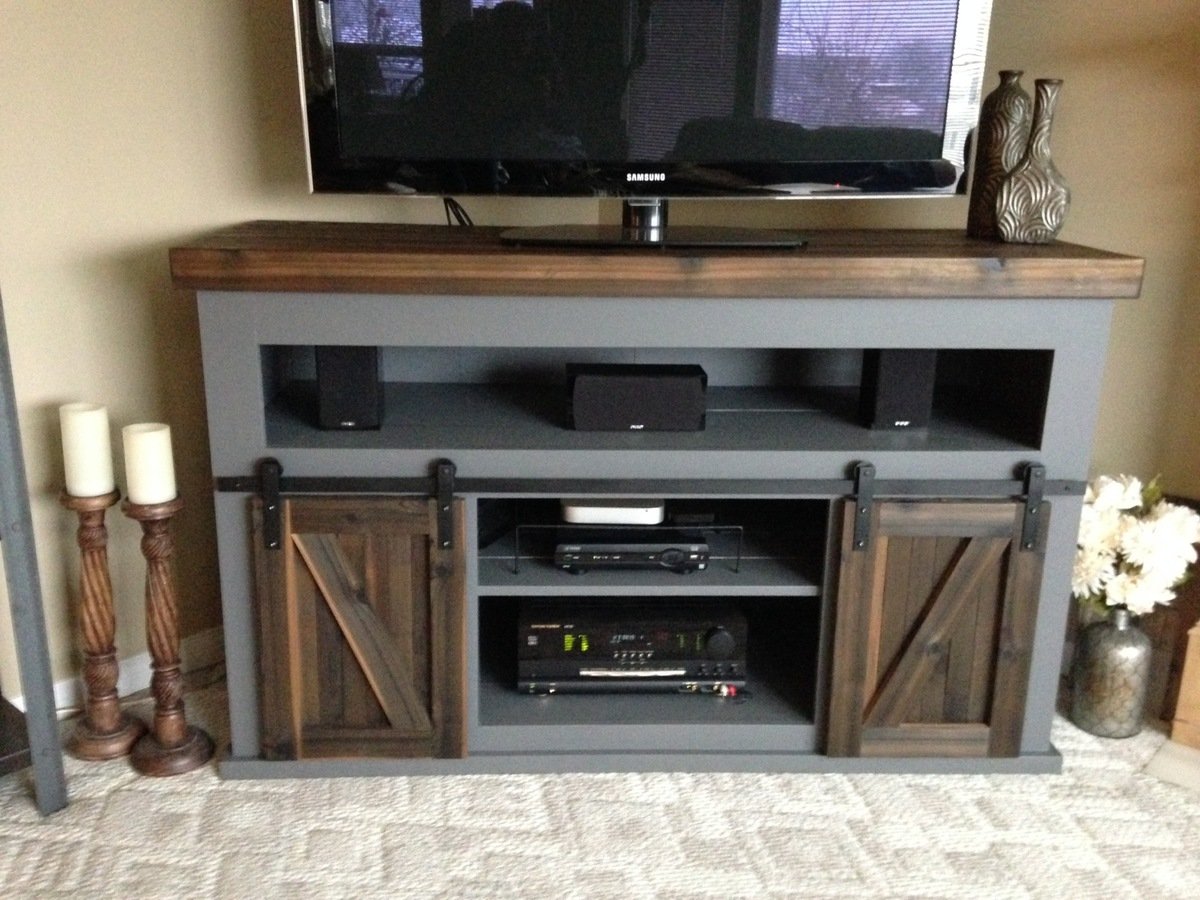
Grandy Sliding Door Console

Submitted by kjmorley on Sat, 02/04/2017 - 22:32

I made it a little deeper to accomodate my tuner (59" wide x 21" deep x 35" tall).

I liked the look of the long, top shelf that others makers had built, it's perfect for my 3 front speakers!

These sliding door rollers worked great for the door hardware:
https://www.amazon.com/gp/product/B00DPH8M9Q

I used  1" x 0.125" flat bar (hot rolled steel) for the rails and door mounting stips (6" x 4).  It's fairly soft, so is easy to drill the holes for the screws.

Total cost was about $250, but $80 of that was for the thick cedar top. I used cedar, as I like the colour it goes when ebonized with vinegar/steel wool solution. The door are also cedar. I finished the top and doors with wipe-on polyurethane. The paint was grey eggshell latex.
 

Built from Plan(s)
Estimated Cost
$250
Estimated Time Investment
Weekend Project (10-20 Hours)
Finish Used
Eggshell latex. Cedar top and doors ebonized with vinegar/steel wool solution, then clear coated with polyurethane.
Recommended Skill Level
Beginner

Comments

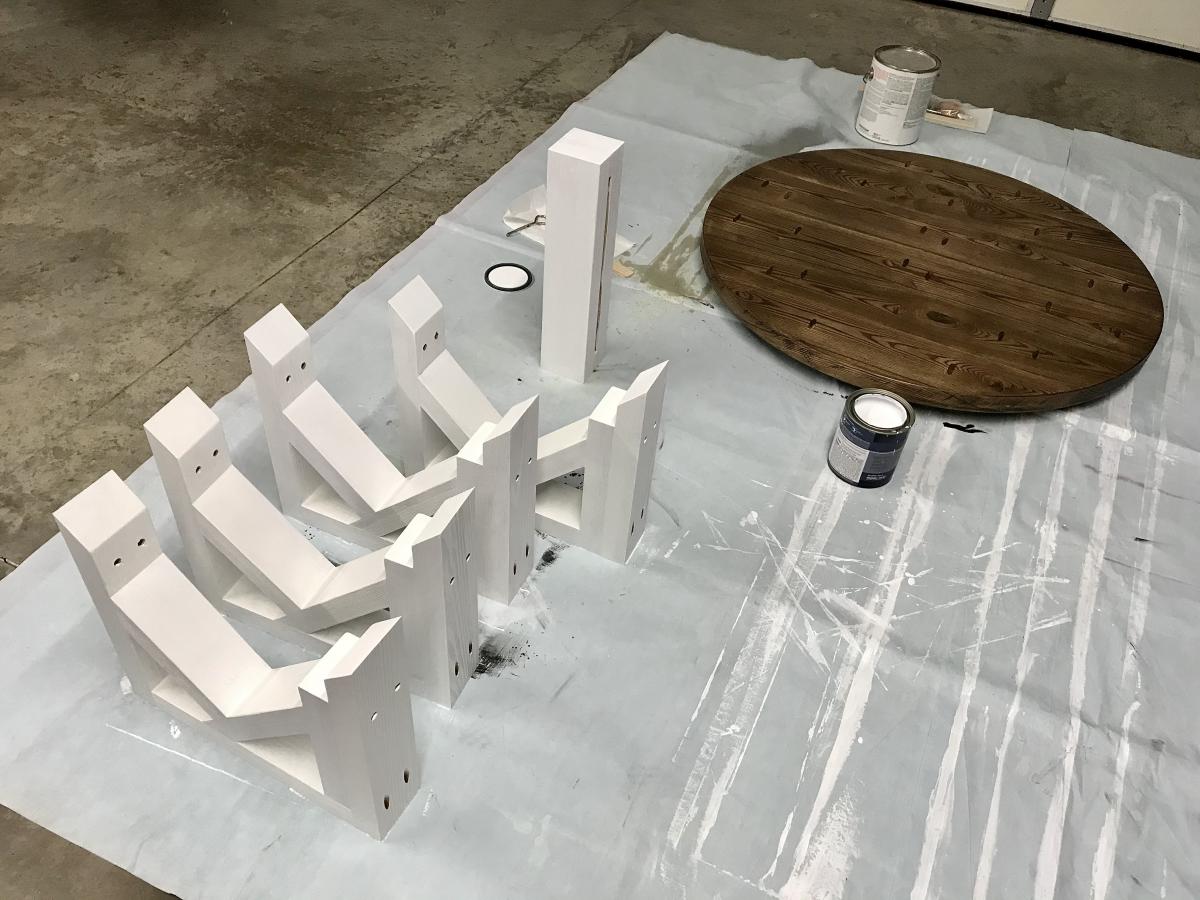
Round Farmhouse Coffee Table

Submitted by Anonymous (not verified) on Mon, 12/07/2020 - 17:22

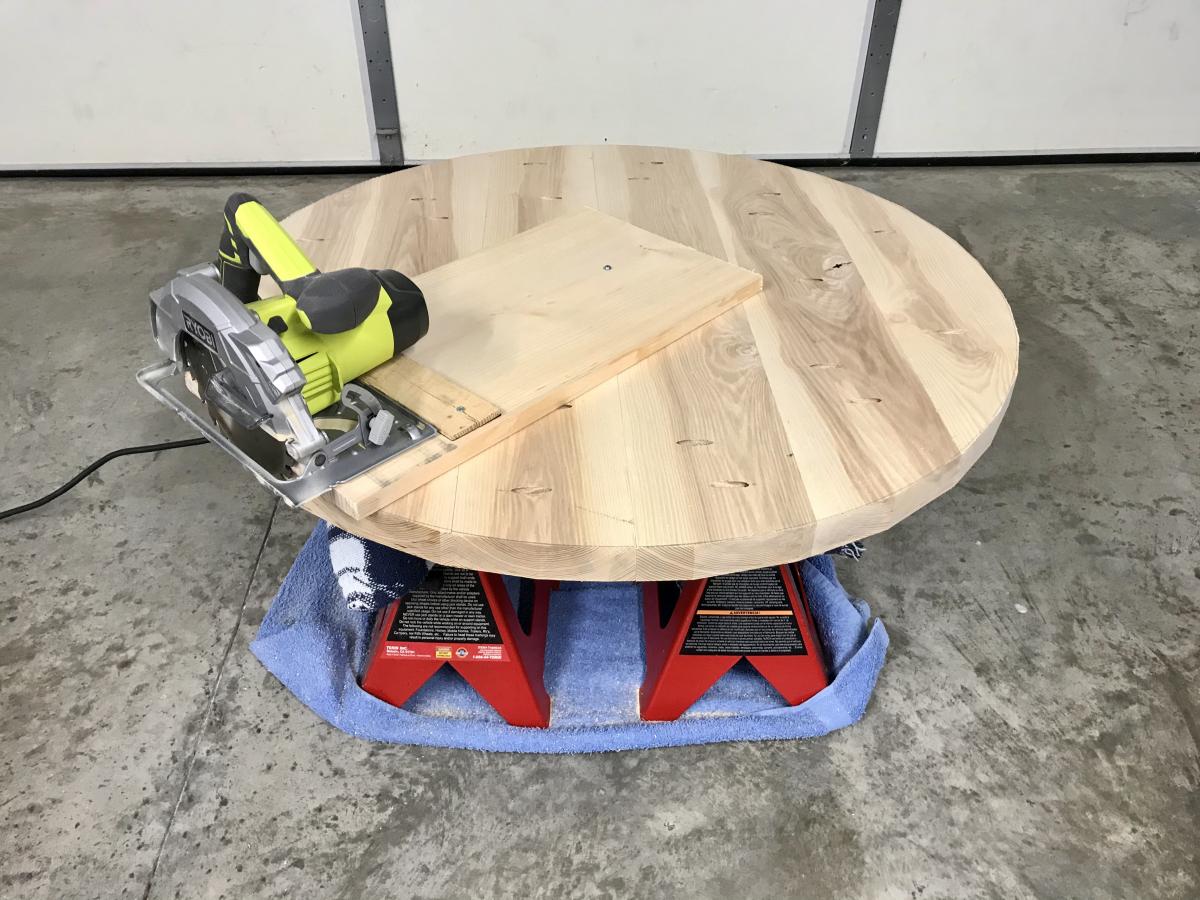
Here is Ana White’s round farmhouse table miniaturized into a coffee table measuring 18” in height and 36” in diameter using hardwood Ash.

The table top construction was slightly simplified by screwing six (1.5” x 6” x 36”) panels together. The circular saw jig setup worked out well.

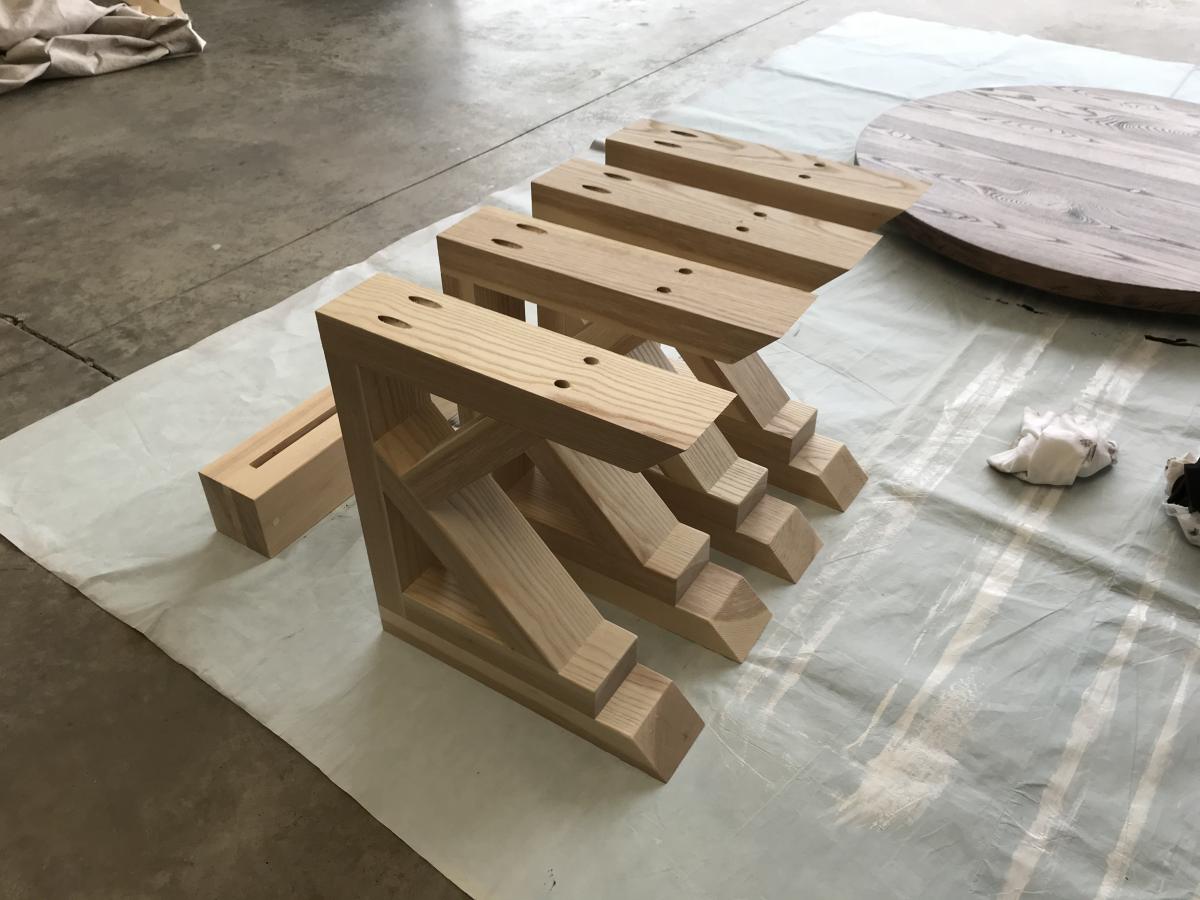
A Kreg jig and a variety of clamps were instrumental in securing clean, tight joints for the base.

Thanks for the inspiration and useful tips on your site!

Built from Plan(s)
Estimated Cost
$250
Estimated Time Investment
Weekend Project (10-20 Hours)
Finish Used
Top: Varathane Premium Wood Stain - Kona / Rust-oleum Polyurethane Satin Interior

Base/Legs: Behr Ultra Pure White (7750) Interior Satin Enamel
Recommended Skill Level
Intermediate

Comments

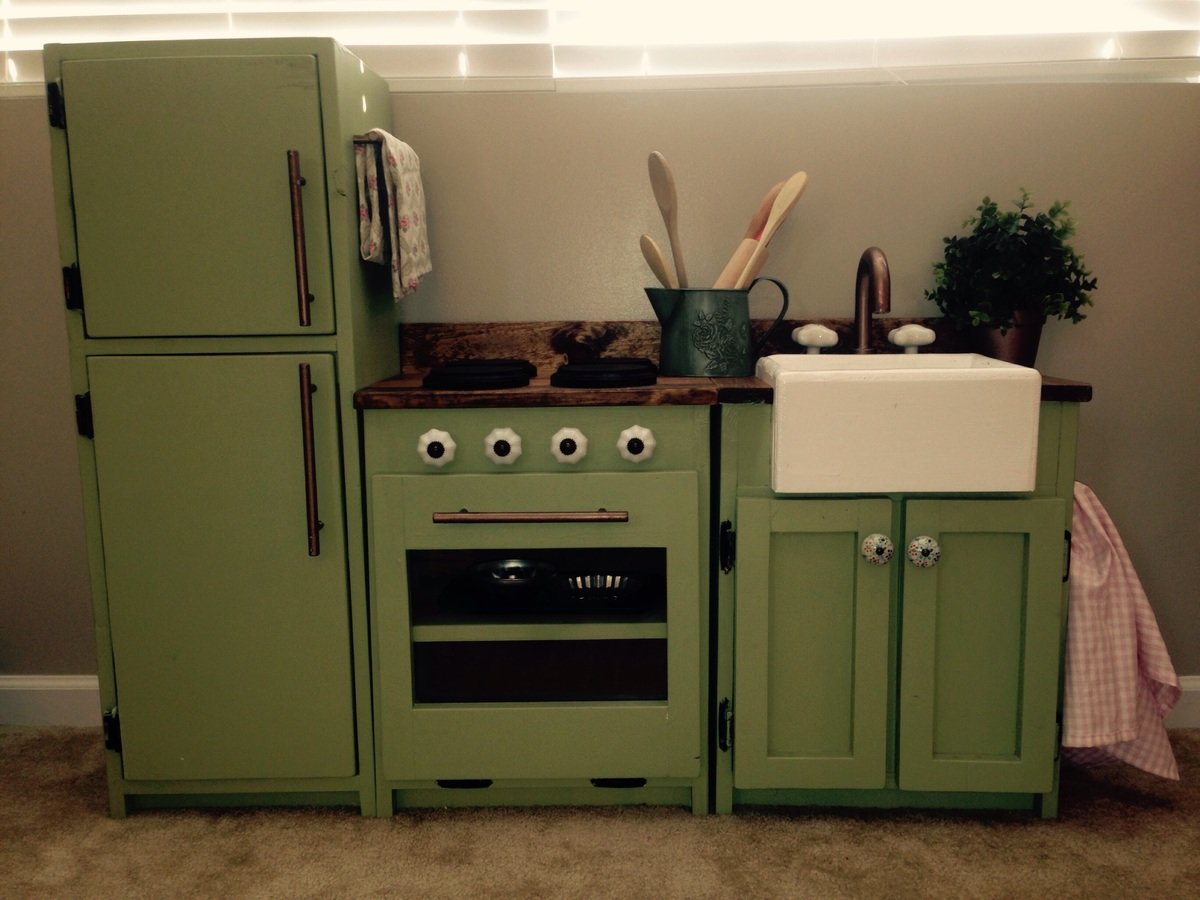
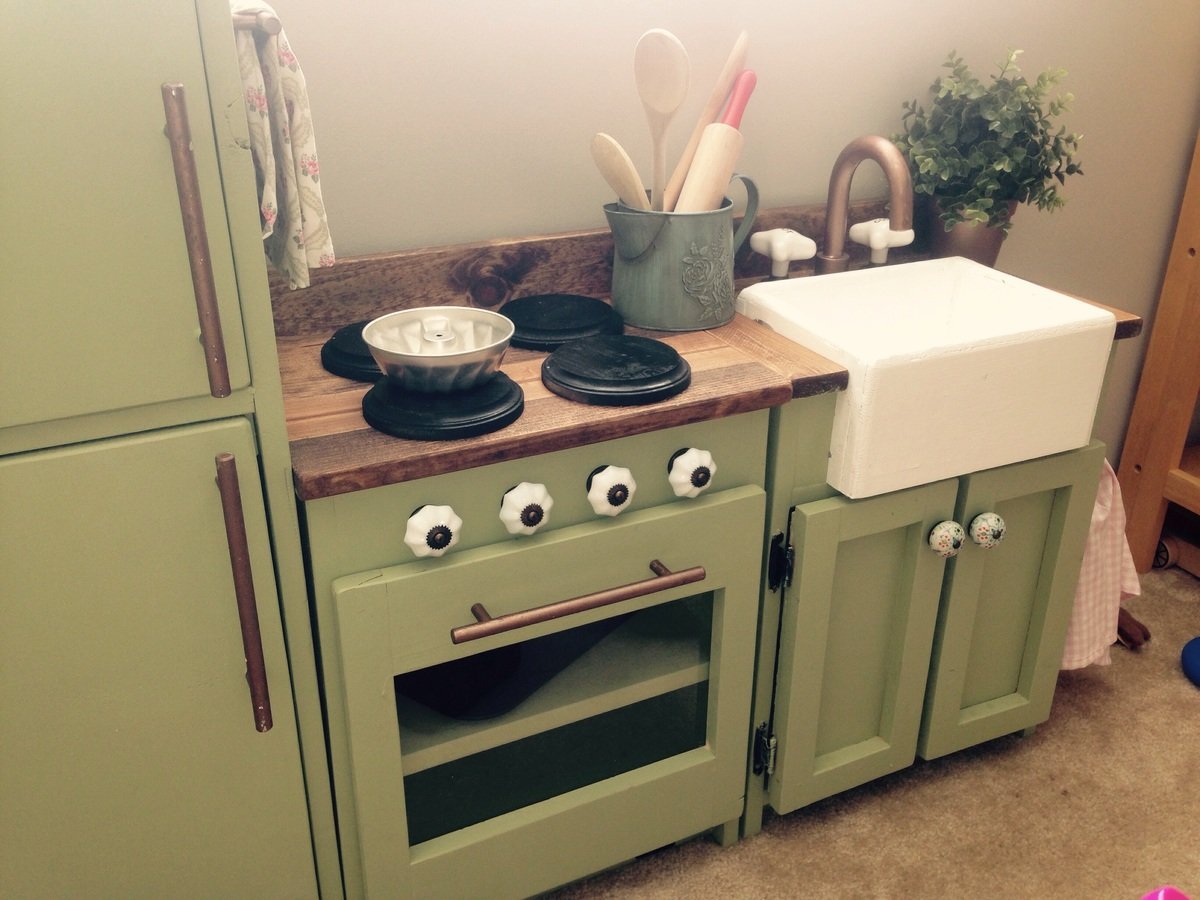
Ava's Play Kitchen

Submitted by tcalford on Wed, 12/31/2014 - 09:10

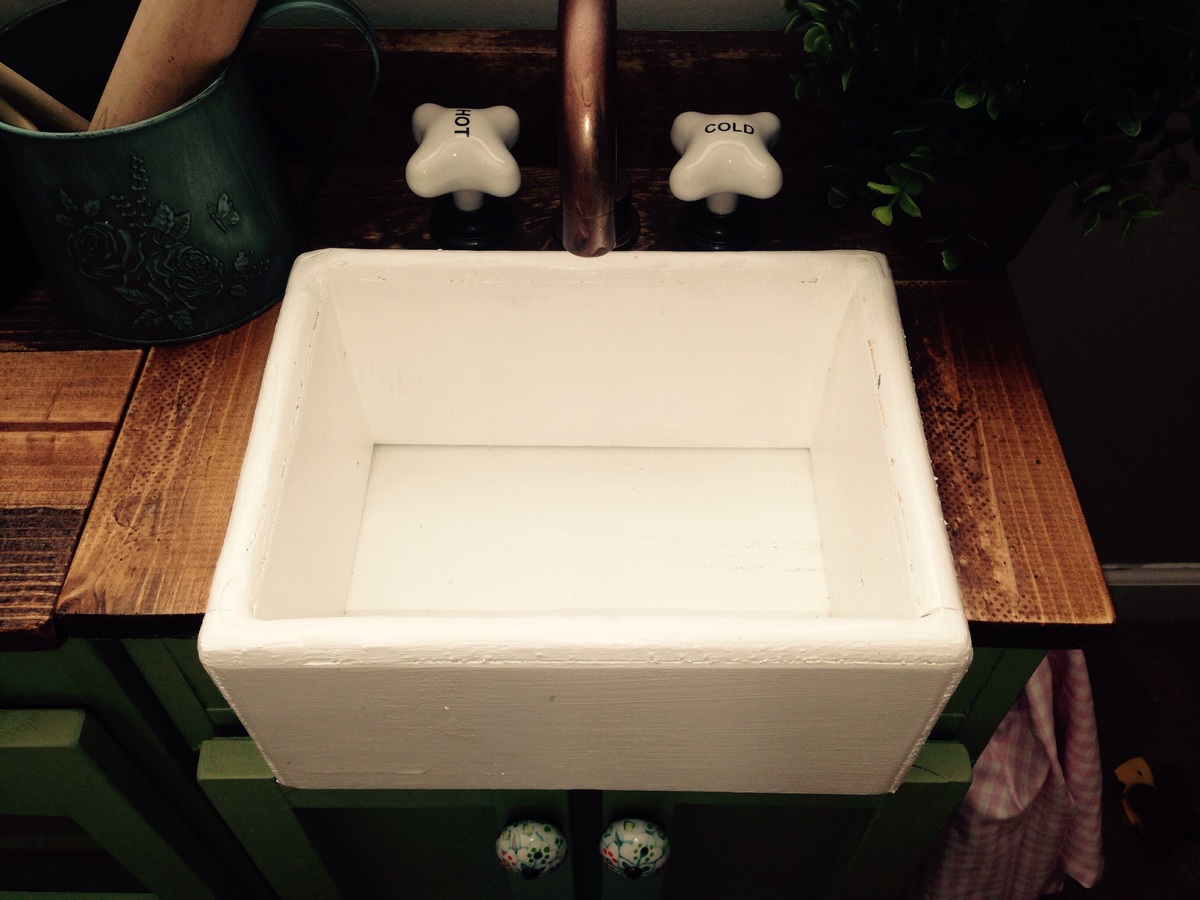
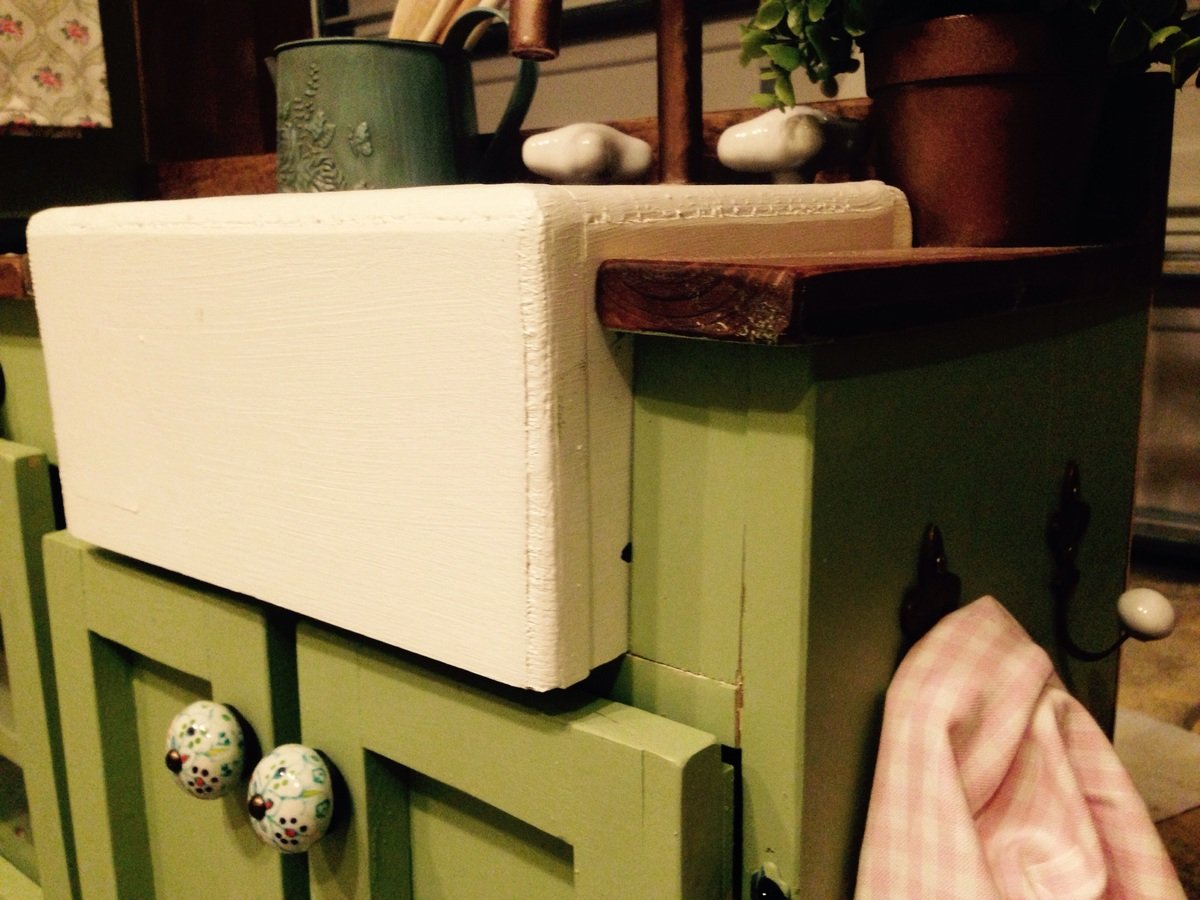
We really wanted to give our 2 year old a play kitchen for Christmas. We also didn't want to spend the money on the likes of the Pottery Barn set, and weweren't sold on the lesser-expensive options. Fortunately, a quick internet search led me to Ana White's website and plans for this play kitchen. As someone who has never built anything before, the plans seemed very doable. All of the brag posts were also inspirational and sold me on starting this project. I worked on this an hour or so after work for a couple of weeks, and then a few longer nights running up to Christmas Eve (always a bit of a procrastinator!). As neither my wife or I know how to sew, we decided to turn the space underneath the sink into a cabinet. The paint color was left over from painting our kitchen and family room, and we decided to stain the stove and counter tops. Overall, we are very pleased and proud with how this turned out, and our 2 year old loves playing with the set!

Estimated Time Investment
Weekend Project (10-20 Hours)
Recommended Skill Level
Beginner

Comments

JoanneS

Wed, 12/31/2014 - 13:15

This looks awesome! Love all the details and the green color with the stained counter. Great job!

Kitchen Island with Trash Bin

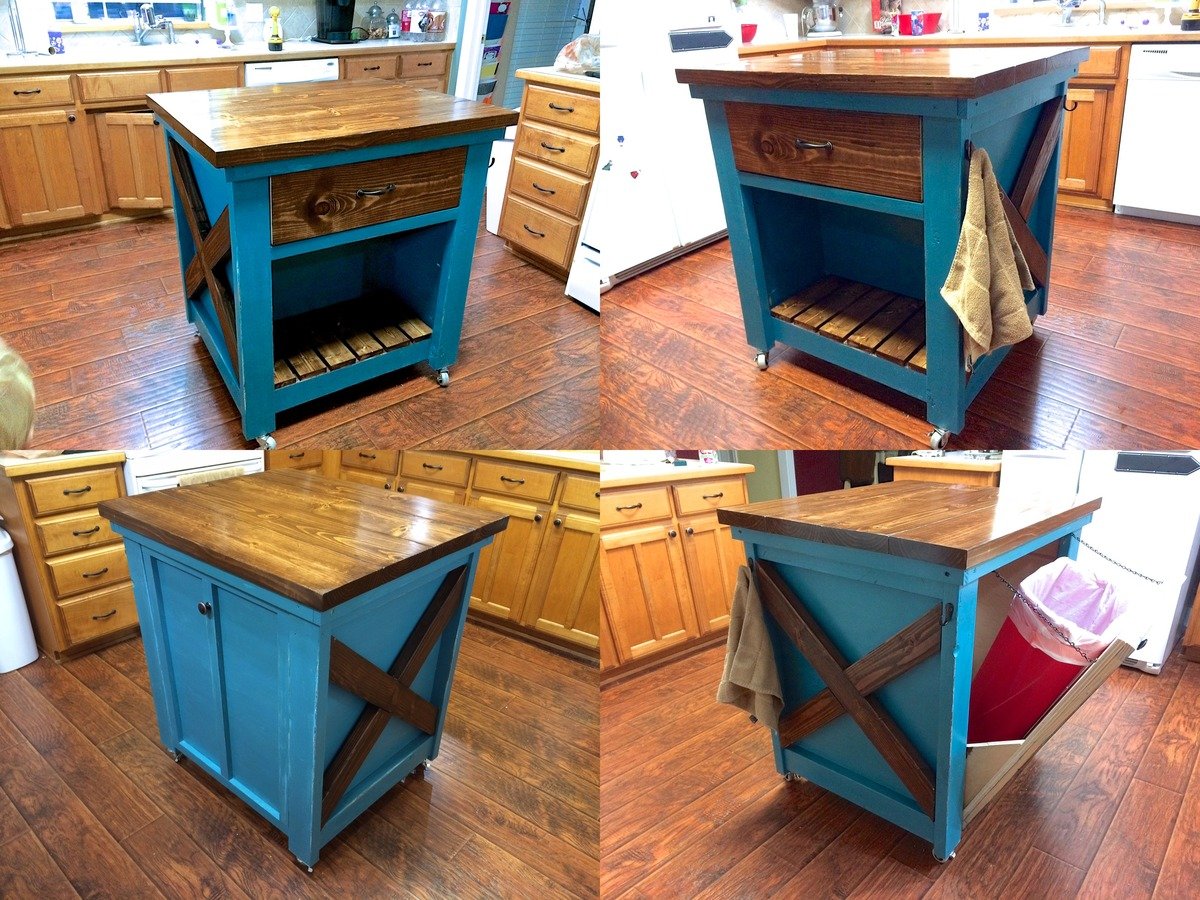
Well this was definitely the most challenging so far because we decided to modify the kitchen island plans to incoporate the tilt out trash bin. Very pleased with the results. Extended the back of the island to accomodate a 11" deep trash bin. Slim trash cans fit perfect. Found a gift wrapping bin for half price after Christmas and it is a perfect fit and 13 gallon bags fit great.

The x's were definitely a challenge because it changed the angles and it would have been best to just mark it with the board before finishing the whole box. 

Now we just need to paint the cabinets and change the countertops and paint the kitchen walls. Not happening anytime soon, but at least the island is done.

Estimated Cost
$120 approximately - This included some hardware.
Estimated Time Investment
Weekend Project (10-20 Hours)
Finish Used
Used dark walnut stain for top, drawers, and underneath slats.
Did a very minimum distressing to edges of the turquoise pieces.
Recommended Skill Level
Intermediate

Comments

ryobi workbench by ana white

Submitted by Anonymous (not verified) on Wed, 05/03/2017 - 00:41

I built this new workbench for my garage to accomodate my table and miter saw and to add some stowaway storage and I cant tell you how much I love it, especially with being able to pull the tables out to make an outfeed for the tablesaw. I altered theplans a bit to shorten the entire length by nearly 1.5 feet and instead of the board mounted tool space I added my bench vise to this gap and use shelved underneath for storage. The plan was simple to follow and allowed me to build a bench that all of my neighbors talk about now! Thanks so much Ana!

Estimated Cost
250.00
Estimated Time Investment
Weekend Project (10-20 Hours)
Finish Used
a couple coats of tung oil
Recommended Skill Level
Beginner

Tall TV Cabinet Built-in and Fireplace Board and Batten

Submitted by anb80 on Tue, 03/31/2015 - 12:00

See the before/after pic for the difference.    My daughter was pulling everything off our open TV stand so it had to go!  I designed this to give us the toy storage we need as well.  The niche was over two feet deep so I wanted something to utilize all the space.  I also wanted the fireplace to stand out so added the board and batten treatment.

Estimated Time Investment
Weekend Project (10-20 Hours)
Recommended Skill Level
Intermediate

Comments
Our Thanksgiving Family Project

Submitted by loniwolfe on Wed, 03/09/2011 - 16:50

My husband, step father and I built these Thanksgiving weekend (2010) and my mom got us a half bushel of oysters to snack on and made awesome steamed mussels with bread for dinner. This was a very fun family weekend.
I modifyed the plans a little to make the arms angle in a bit instead of being straight boards and also created the curved front. Then after building the first chair, Pat decided to make the second chair's back rest taller and cut angles to match the arms.

I picked intermediate because of needing a miter saw for all the different angles needed for getting the front right.
Also, It took one day for each chair

Built from Plan(s)
Estimated Time Investment
Weekend Project (10-20 Hours)
Finish Used
To my knowledge, Pat has not yet stained them, but once he does I will take more pics and find out what he used!
Recommended Skill Level
Intermediate

Custom Closet

Submitted by Anonymous (not verified) on Wed, 10/06/2021 - 06:59

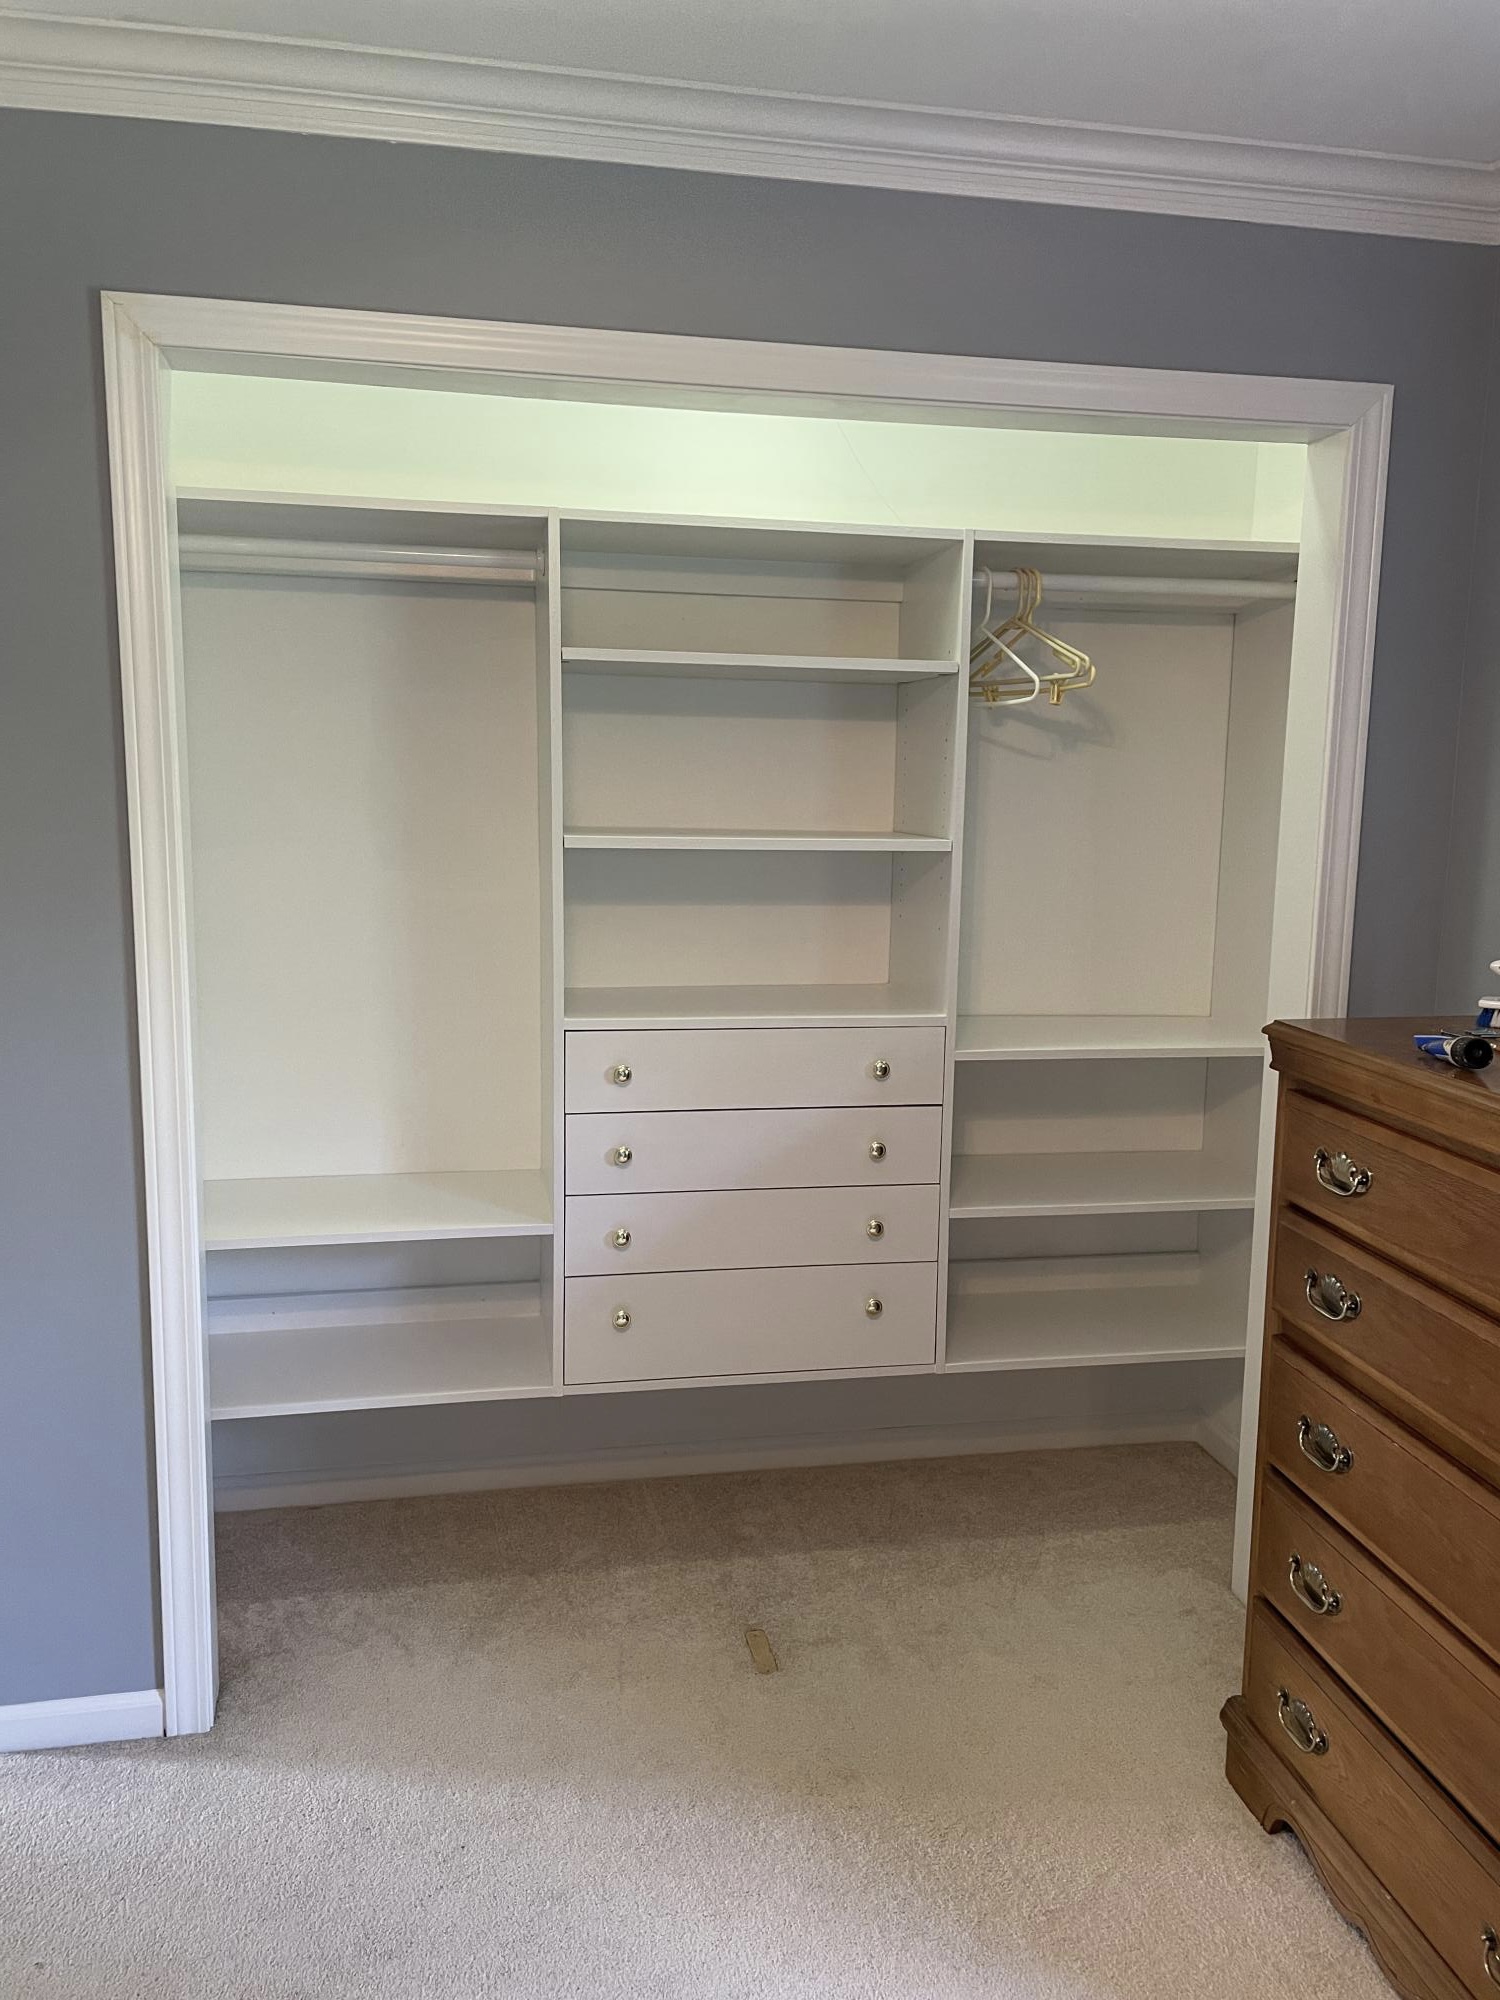
This is a guest bedroom. The closet had 6 panel, colonial bypass doors. The bypass doors leave the center unusable. To save room, I built a dresser in the center. The bypass doors are getting converted to swing doors. I used shelf help to design the project.

Built from Plan(s)

Comments

My corner desk

Submitted by chach2667 on Wed, 11/03/2021 - 04:02

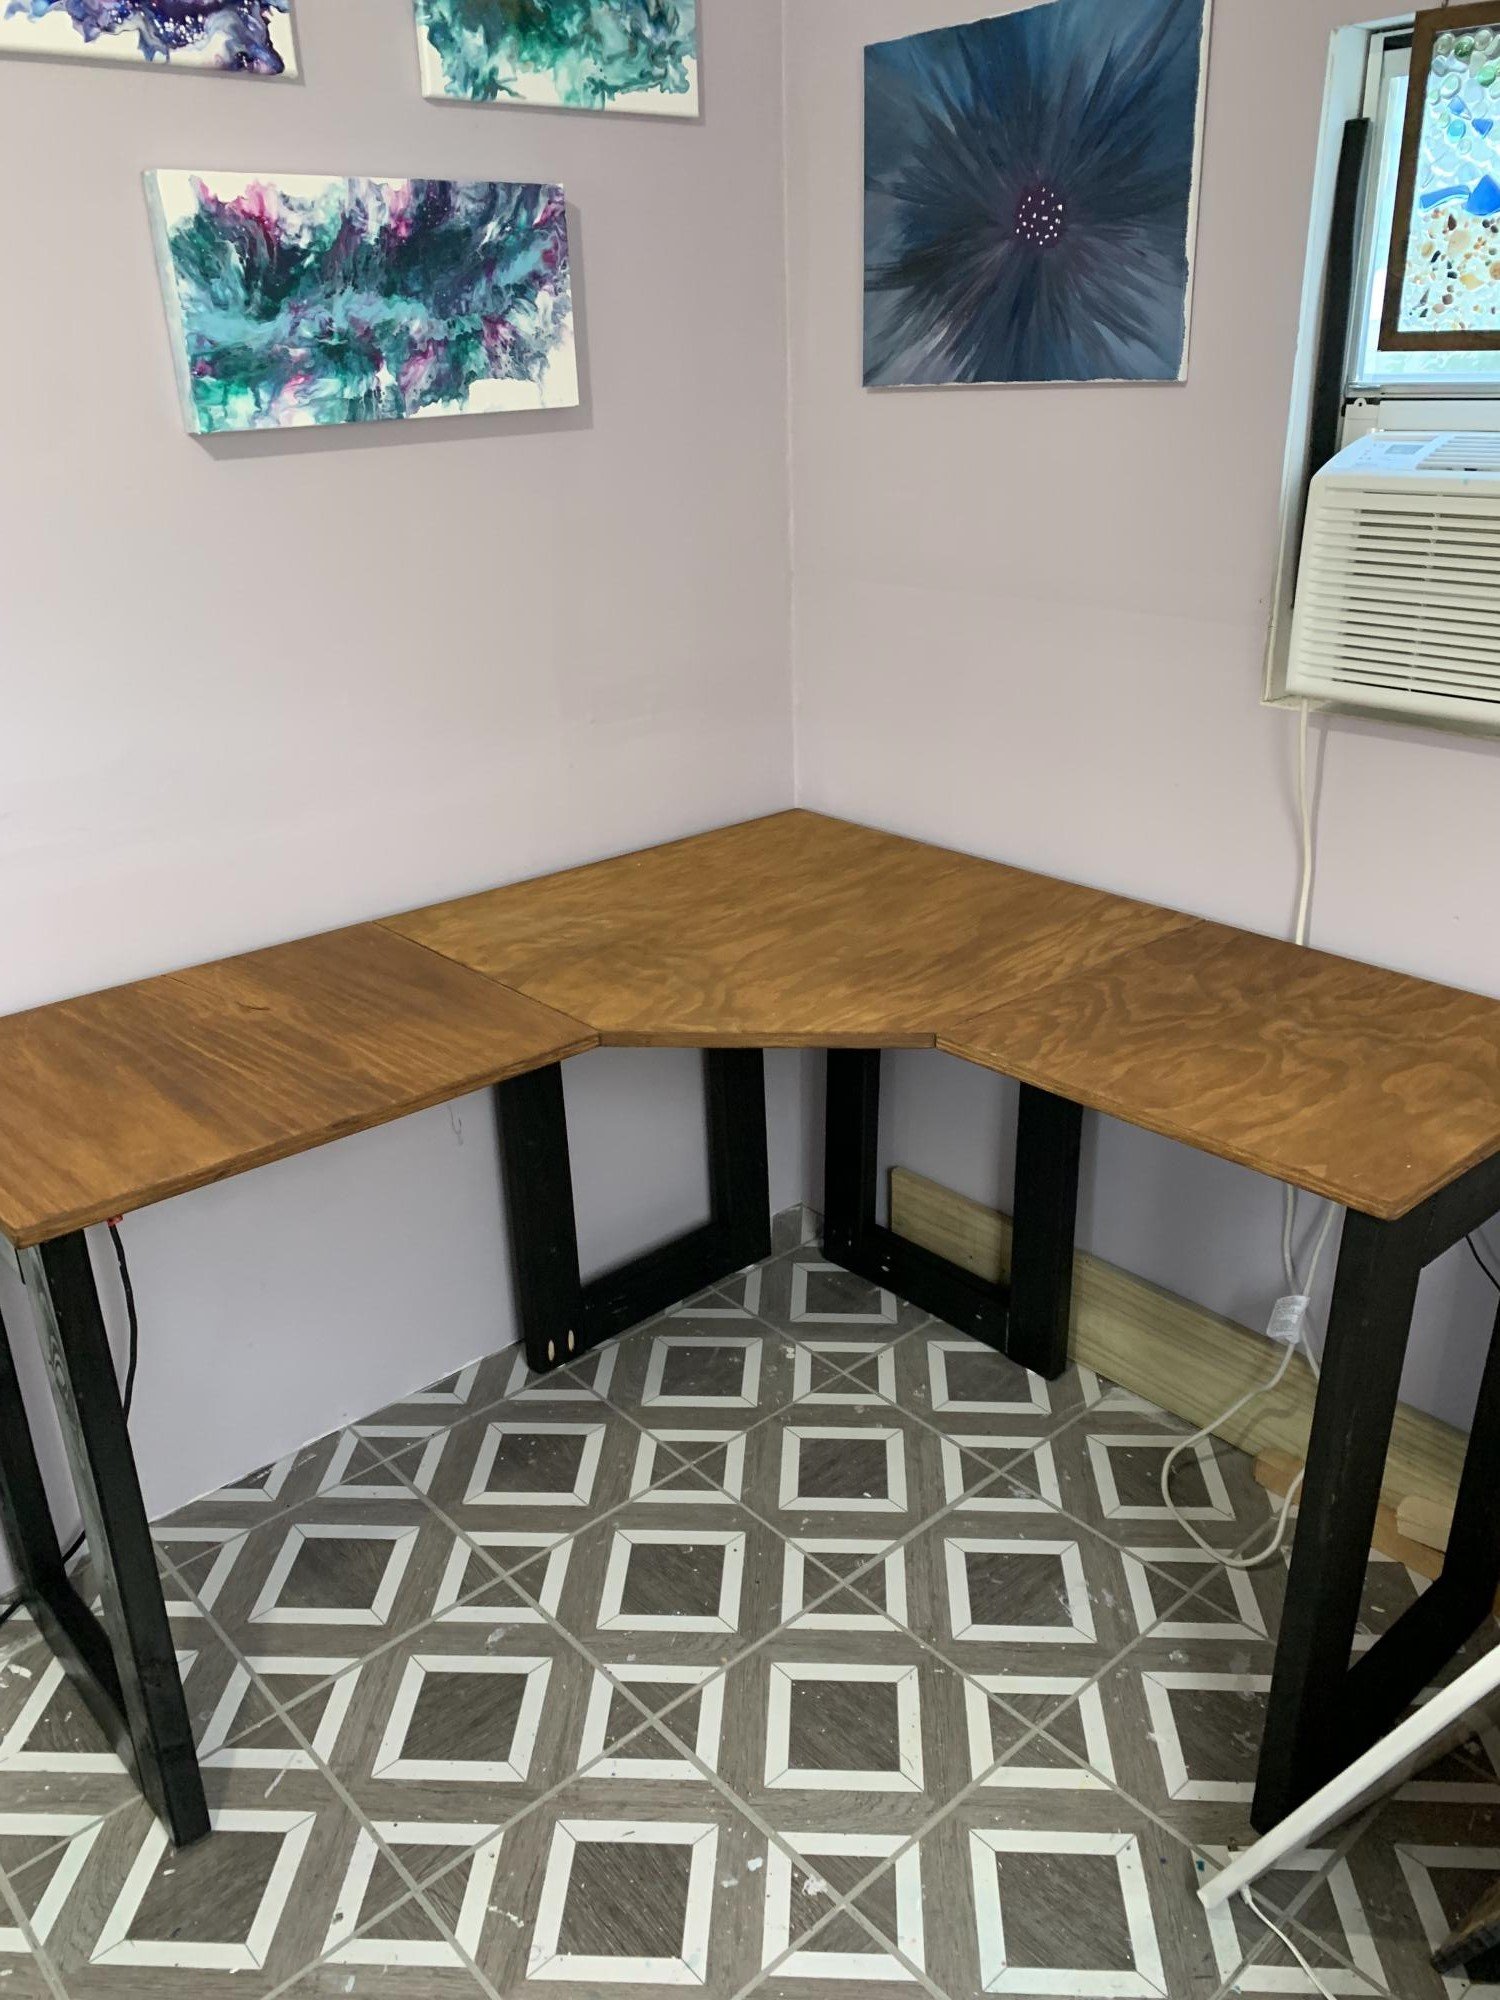
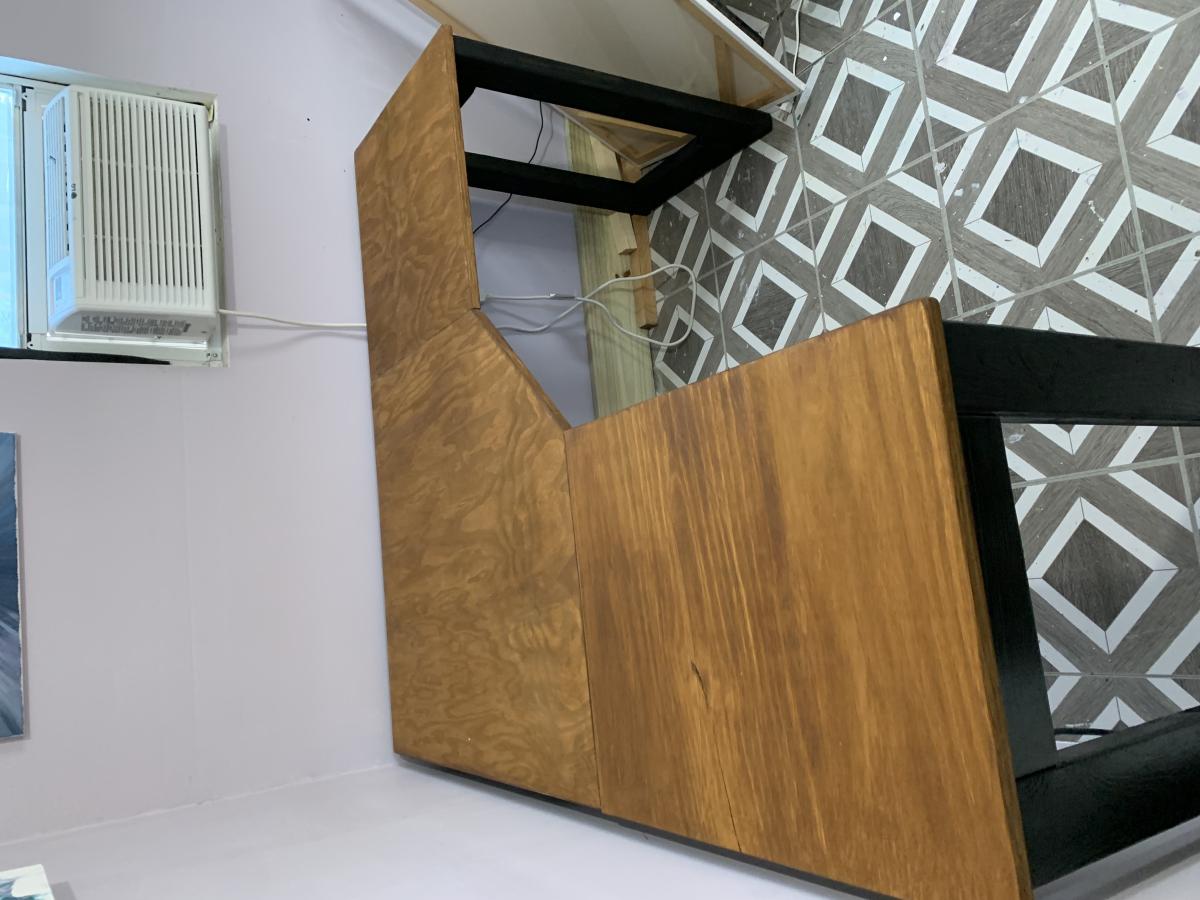
I wanted to convert my craft shed to my office after I accepted a new job and would be working from home full time. My shed is only 10x8, so I needed something smallish and functional. I modified the plans slightly and I did make a few mistakes. In the end, I think it turned out great for a 50 something grandma who likes to work with her hands!

Built from Plan(s)

Comments

Back