Finally!
After looking at this for way too long, I finally bit the bullet and built this table. It really wasn't difficult and it's so awesome having a side table on wheels! The stenciling made it a little extra work, but I love the added details.
Ive made a couple of these dress up stations now, for presents for my daughters friends. I plan to make her one next!
Plenty of room for storing all their fancy dress items :)
The house is 48" high and 36" wide and 28" deep. It has 3 floors with a total of 10 rooms. Floors were made to look like hardwood floors and stained. Was fun to build and my granddaughter cried when she saw it. Due to the size of it, I installed wheels on it also. I made it from a picture on Ana White of Kidkraft Chic Dollhouse 2011-12-06 Paint all your pieces before you assemble. It makes it a lot easier than trying to paint afterwards.
I rasied it up abit and put the head board slats on the front of the headbard frame. Great design
I loved this project the minute I saw it. I was using a cheap'o little computer desk that had metal legs and a prefab top for my craft table, I knew how much better my craft room would look with this as well as how much more functional it would be!
The desk went together rather quickly after all the wood was cut, Assembly time was maybe 1-2 hours.
I love it! Now how to finish it....
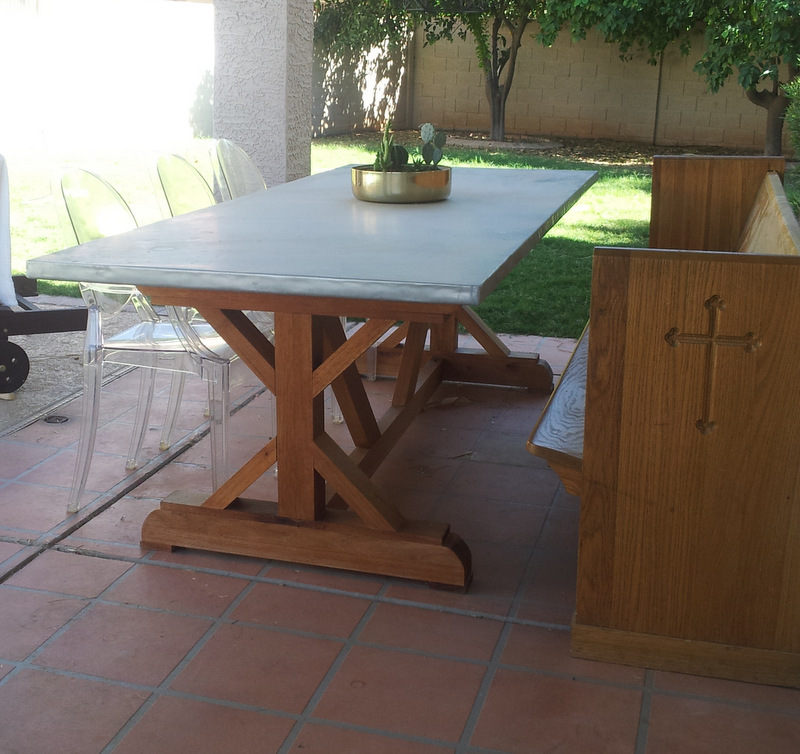
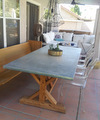
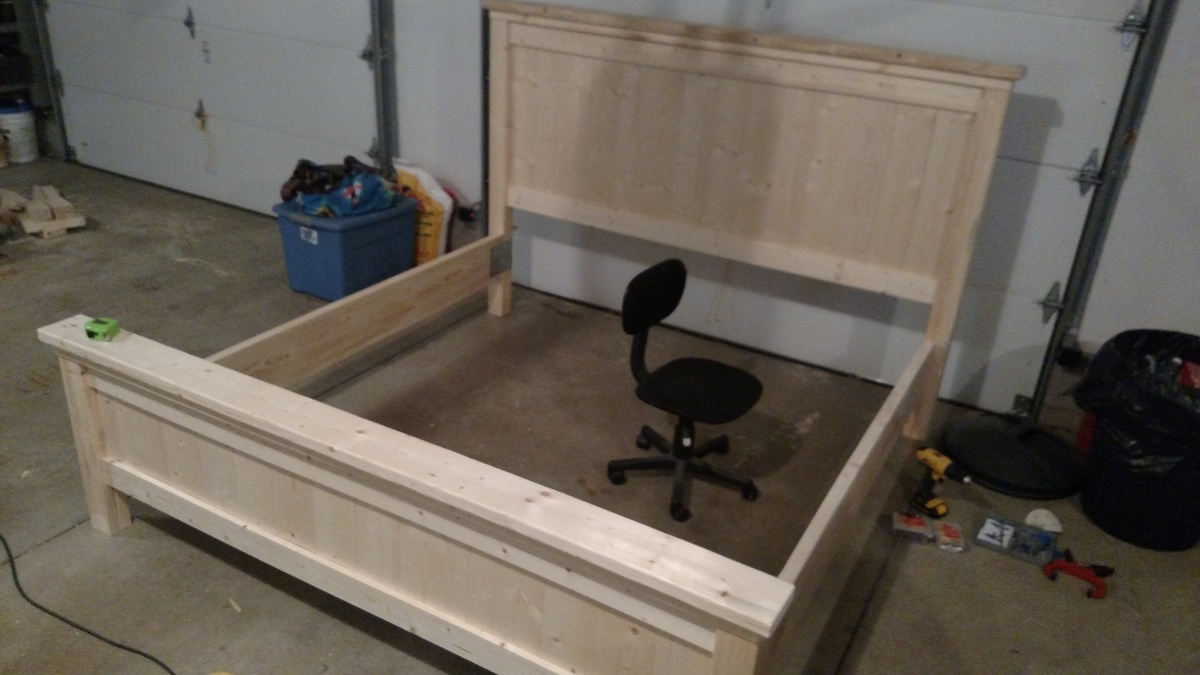
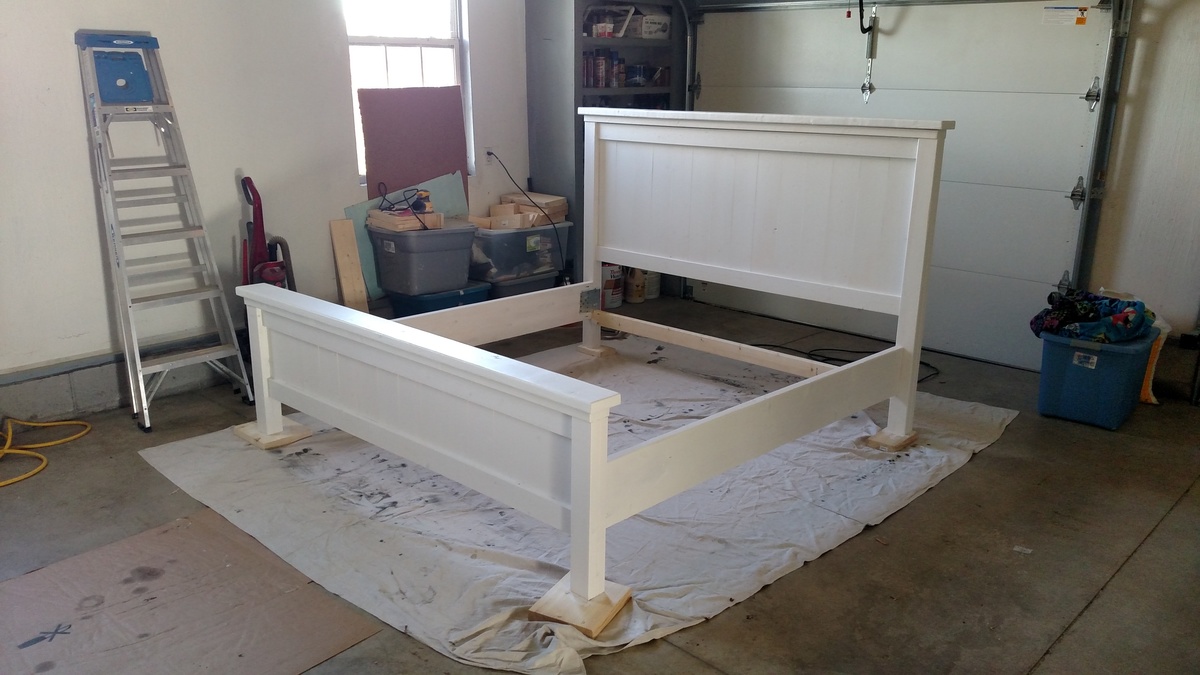
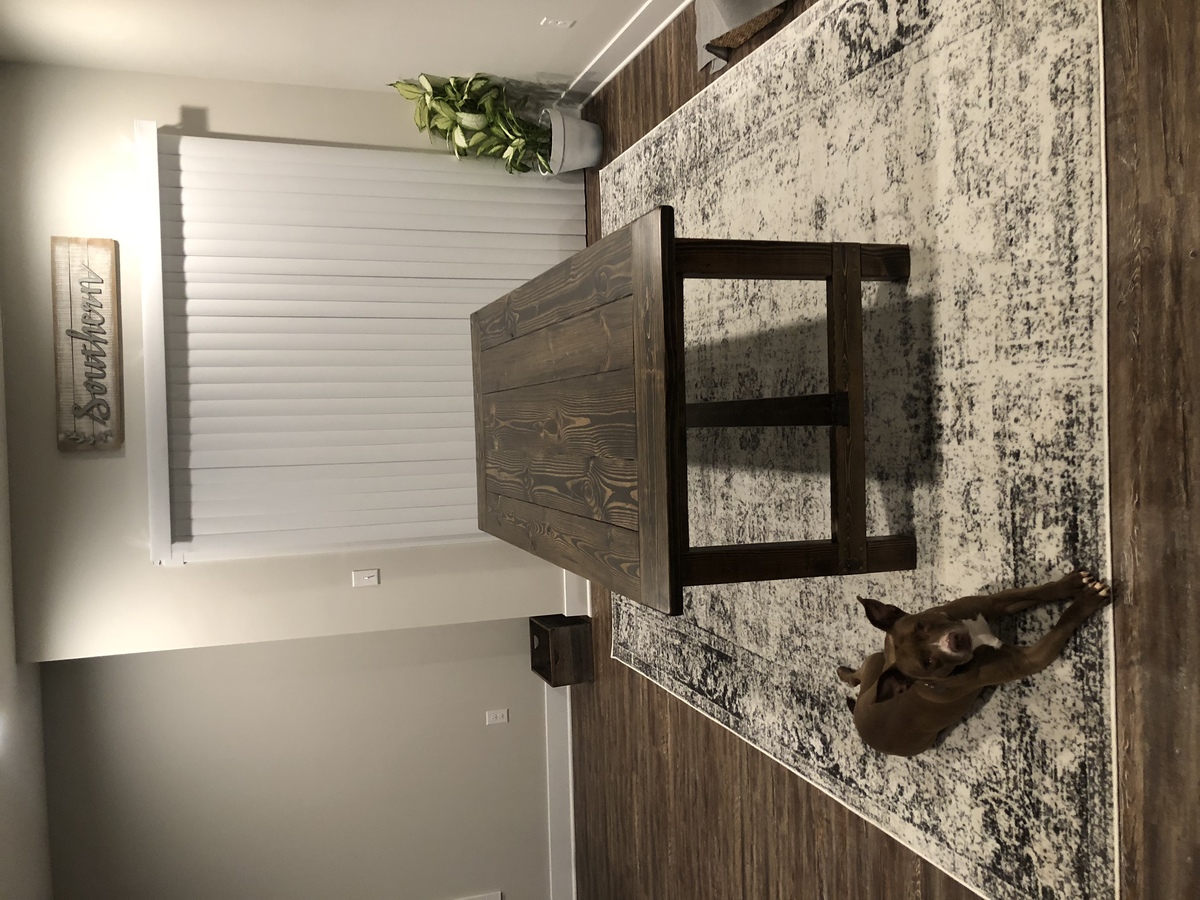
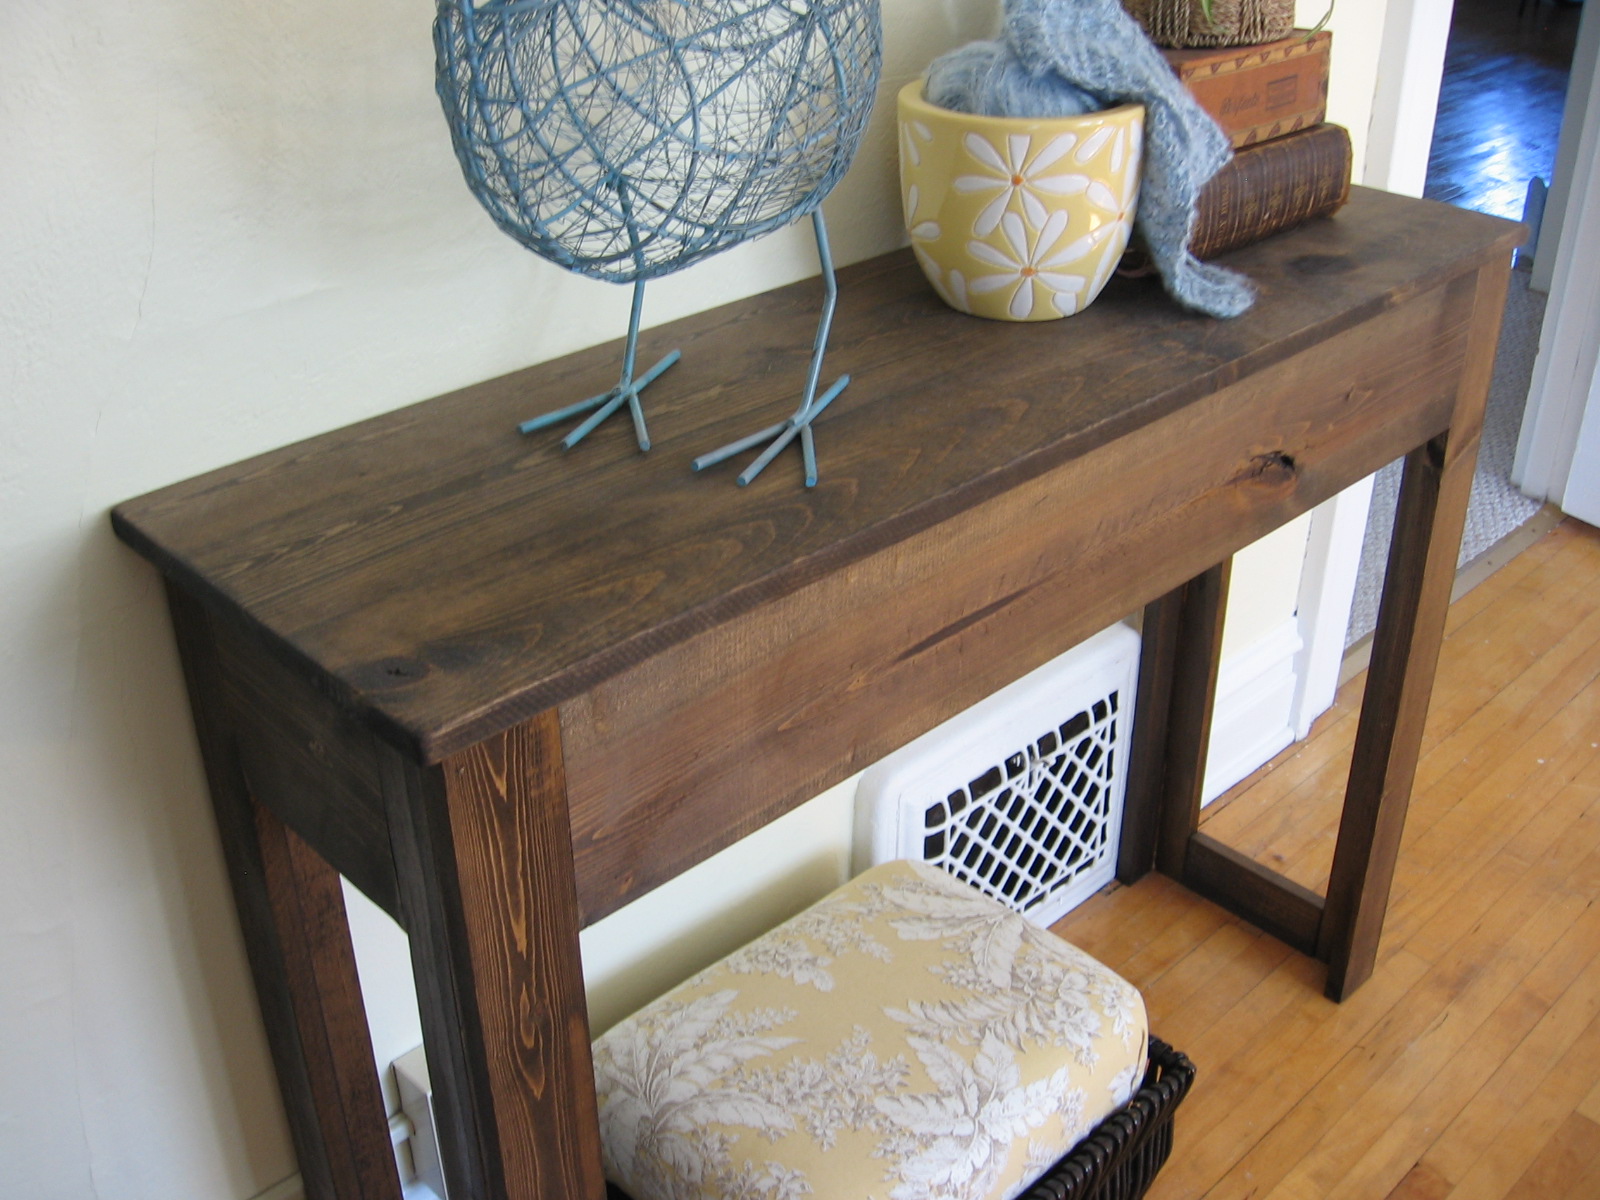
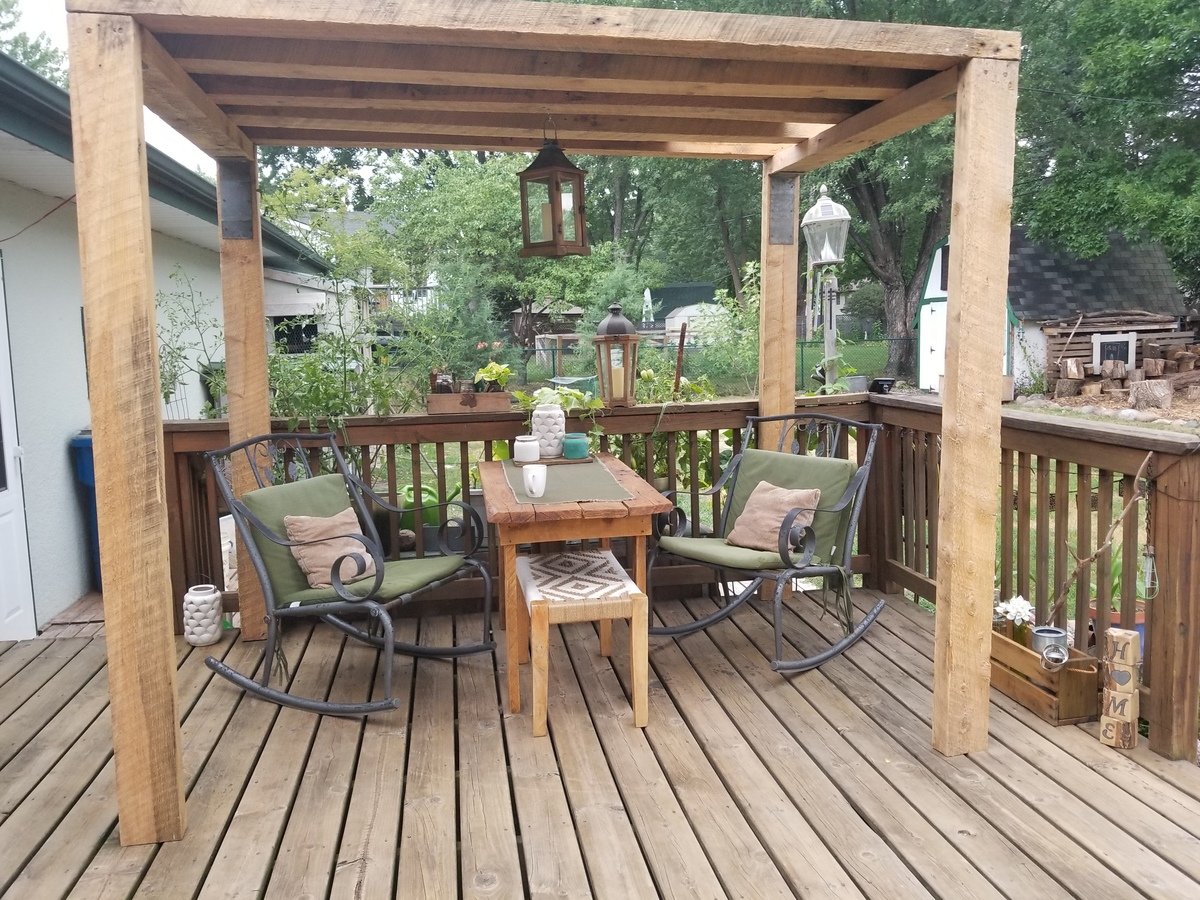
After craving a zinc-topped X base farmhouse table for our new house's large outdoor space for a while, but not wanting to spend upwards of $1k on one, I asked my husband (T) to build me one as my Christmas present last year. It took us a couple of months to get it done (very spread out over weekends) but I love the result.
I found the plans here for an X base table exactly like the one I had been lusting after, and googling around found several sets of instructions on how to fabricate metal countertops. We ordered the zinc from rotometals.com, and visited our local Woodworkers Source to find a suitable wood. I didn't want to use cheap lumber for a number of reasons.
1. I want the table to be around a very long time, and didn't want to have to stain it over and over
2. I was looking for a high end result that would only look better with wear and tear, which I knew couldn't be achieved with stained cheap framing wood
3. I had heard bad things about how wood wear outside in AZ, and though this is on a covered porch, we didn't want to spend hours making something only for it to fall apart.
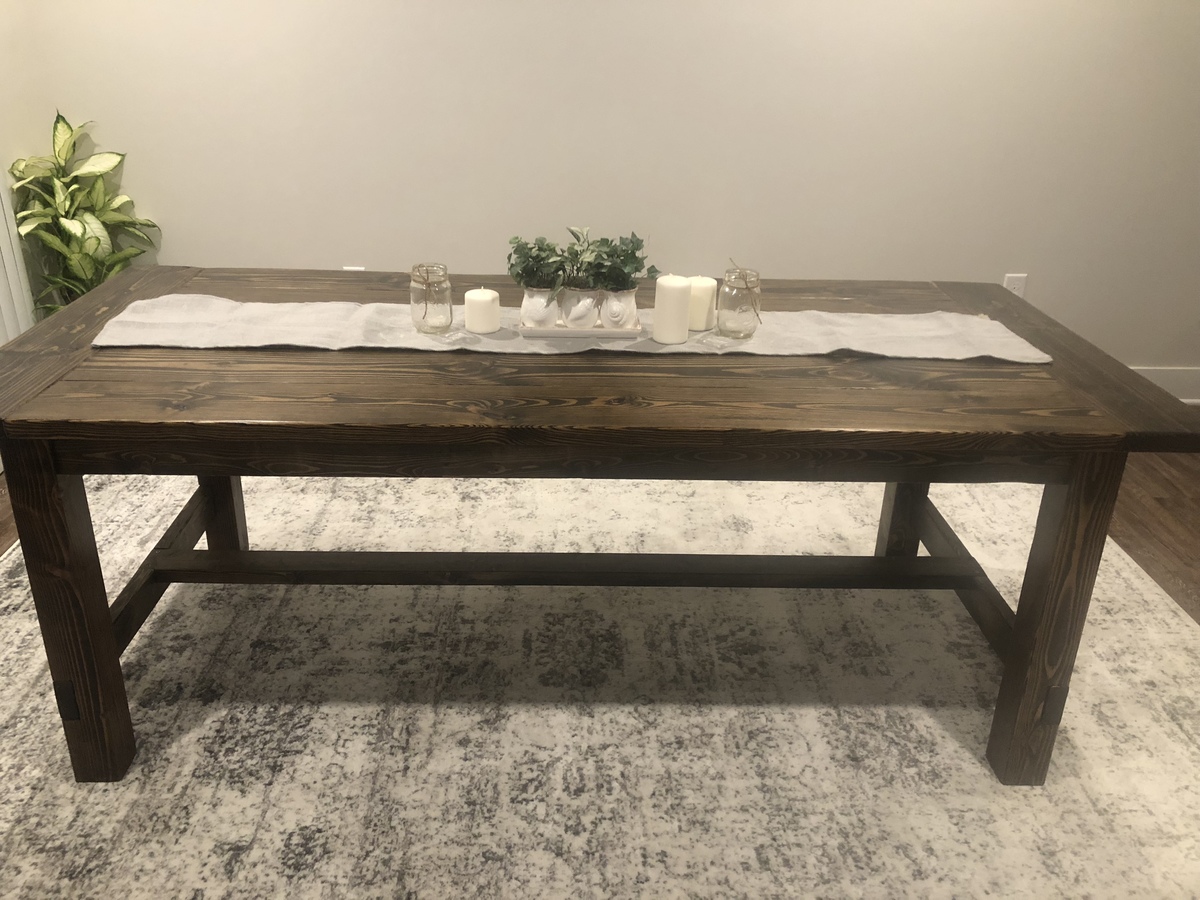
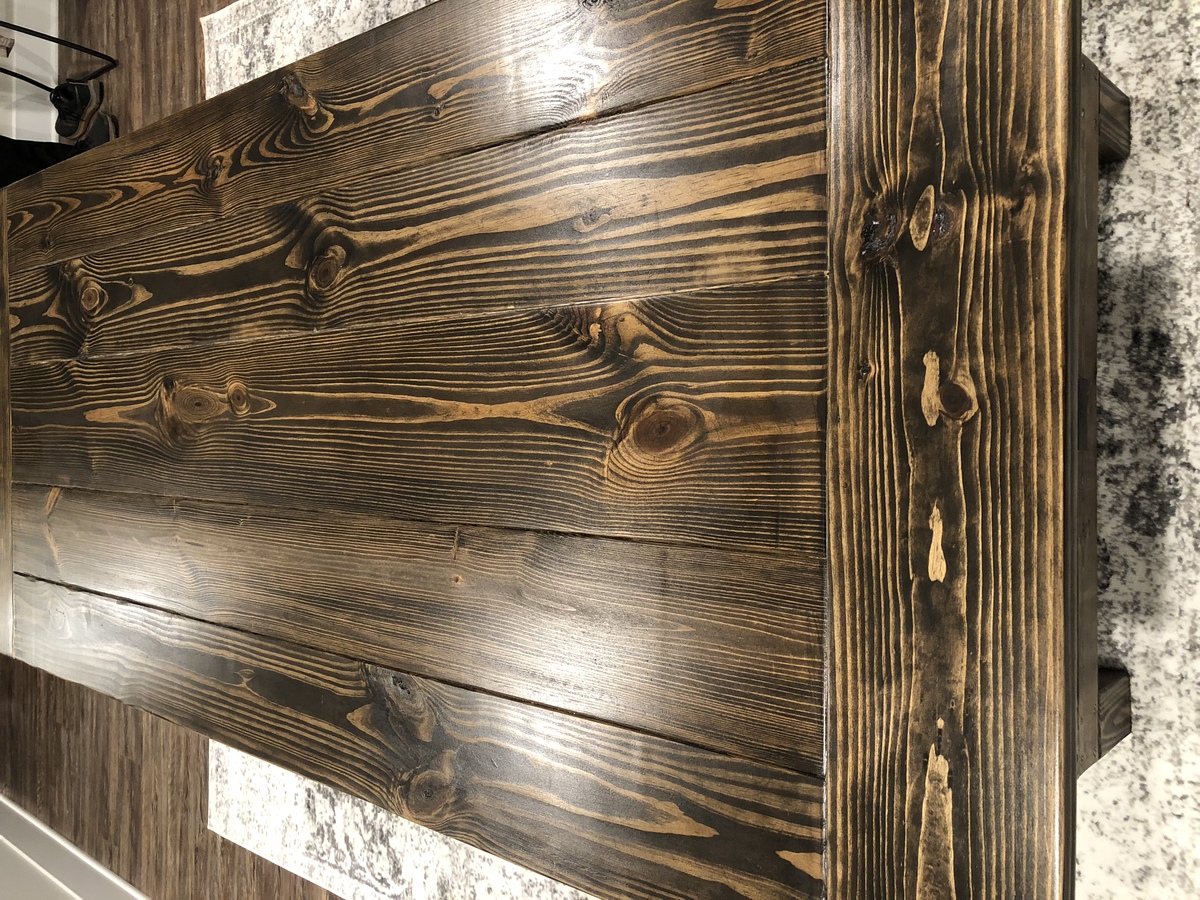
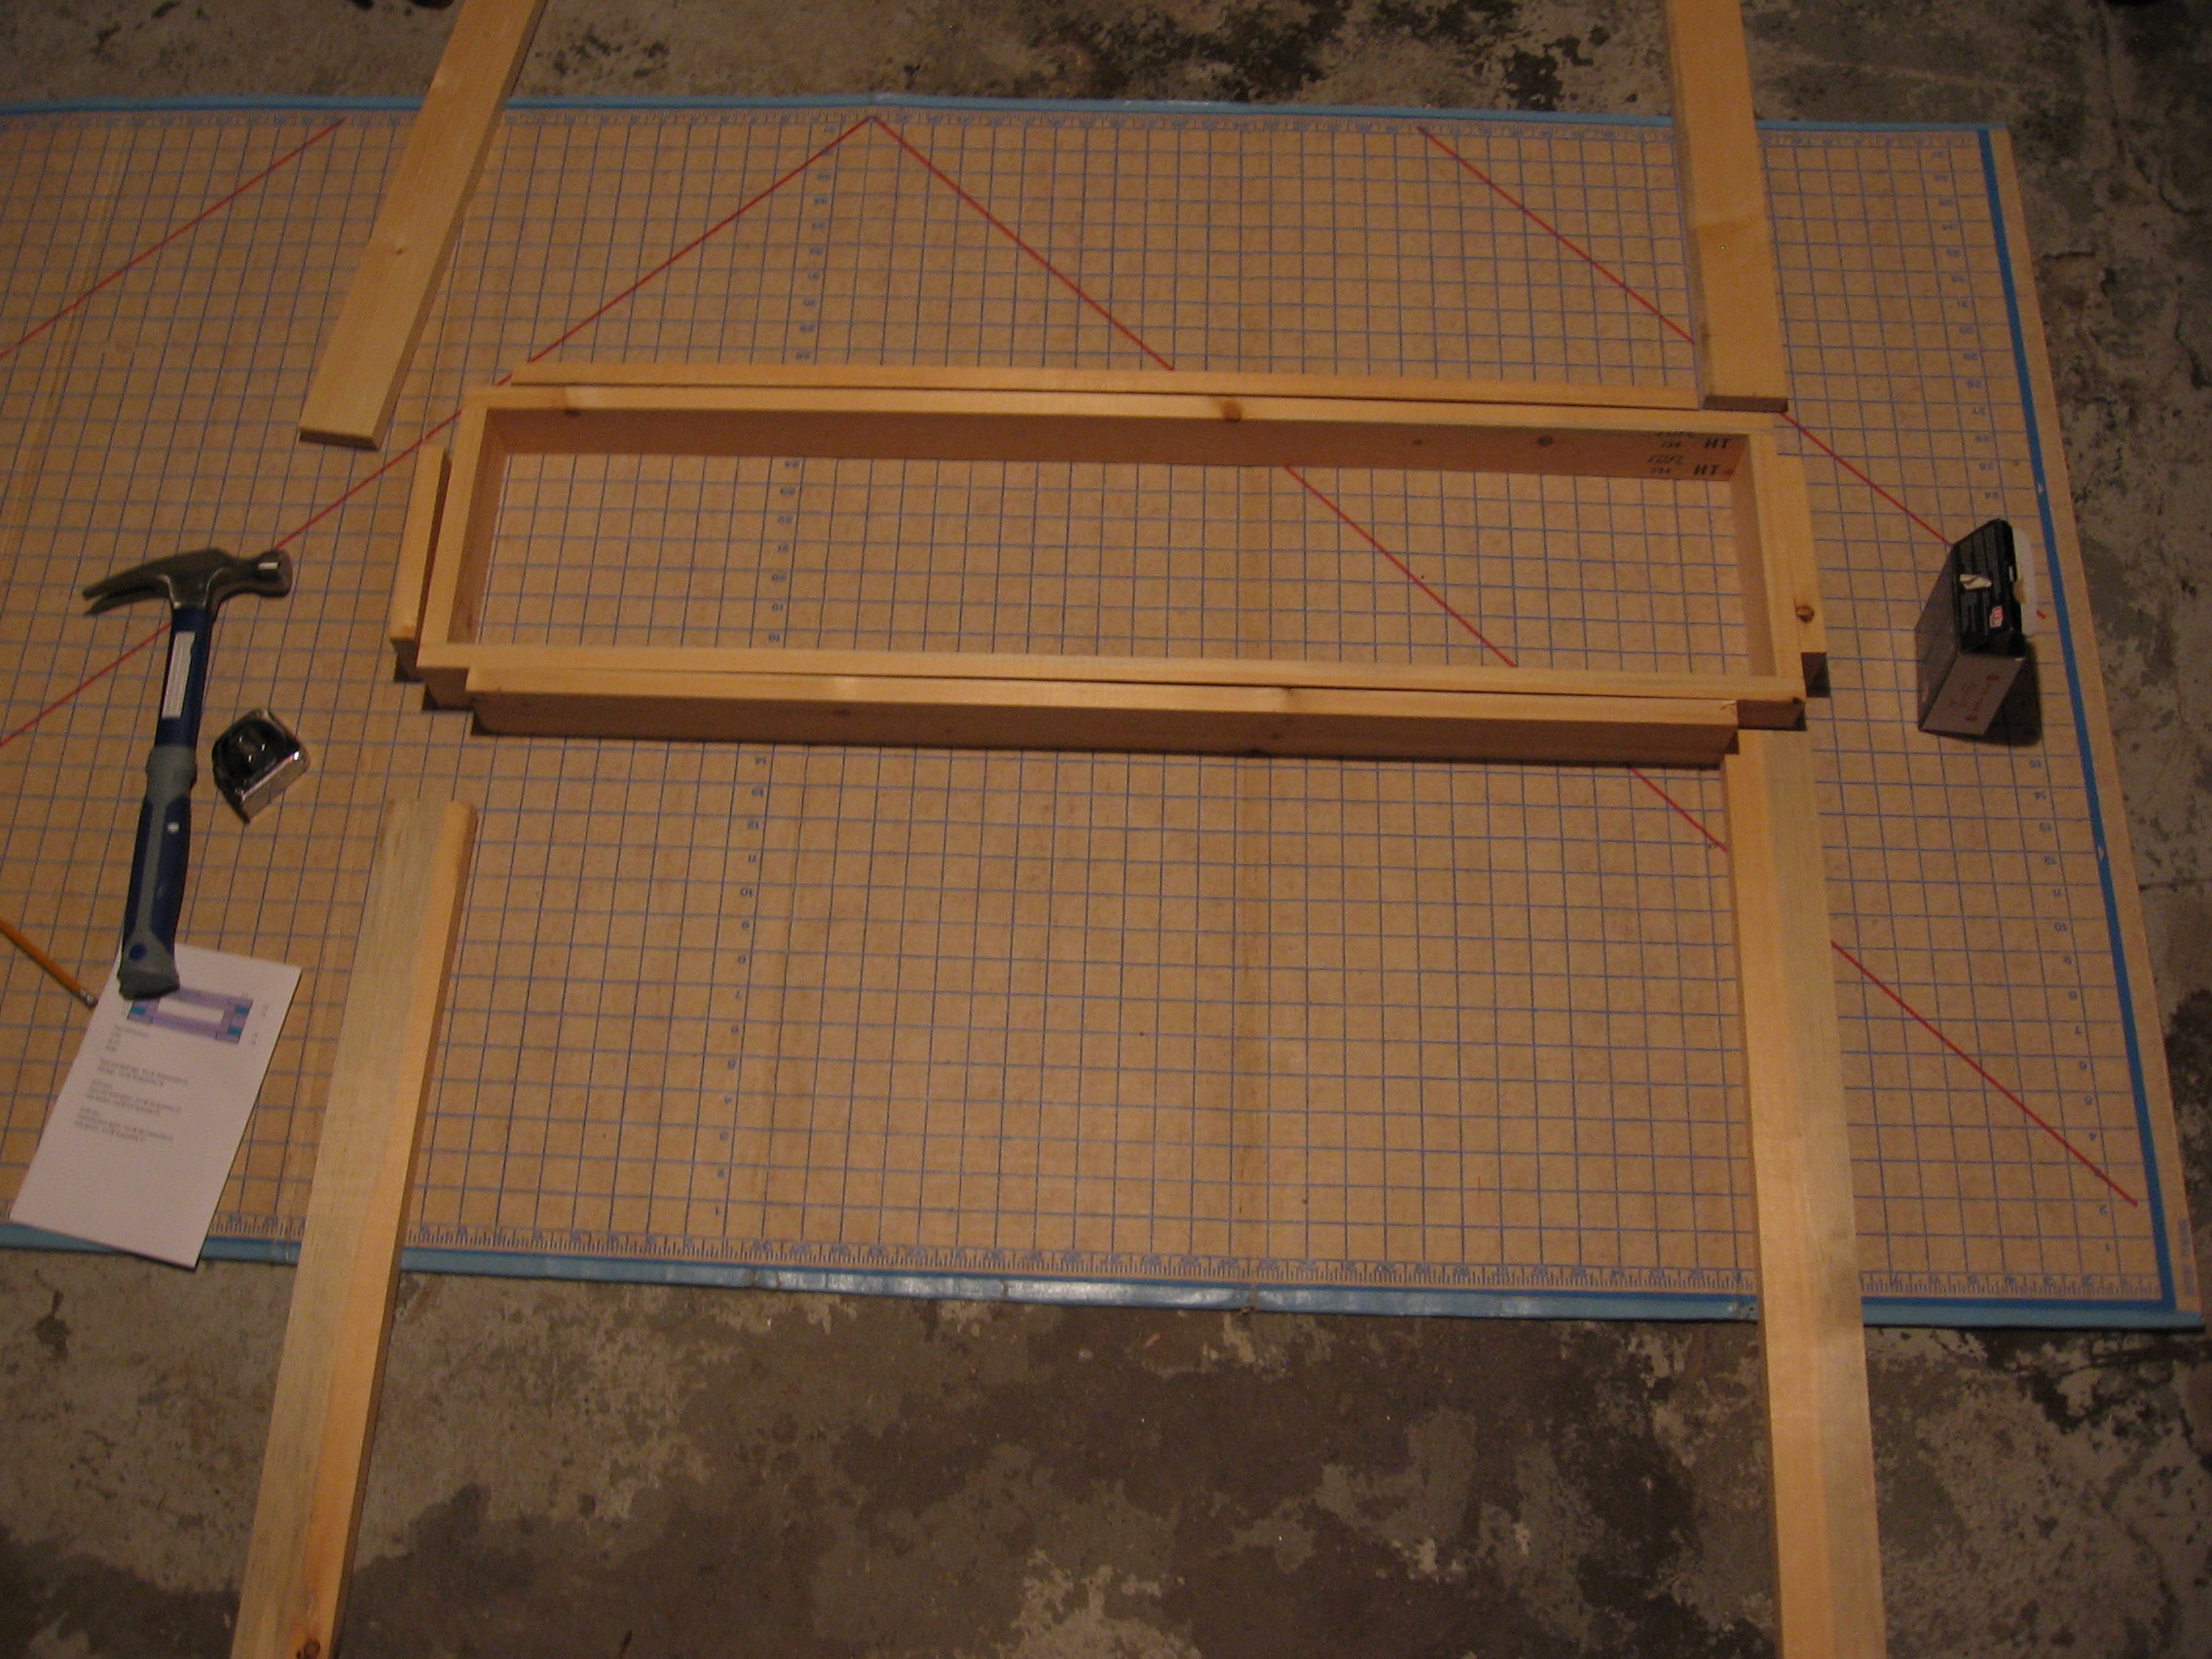
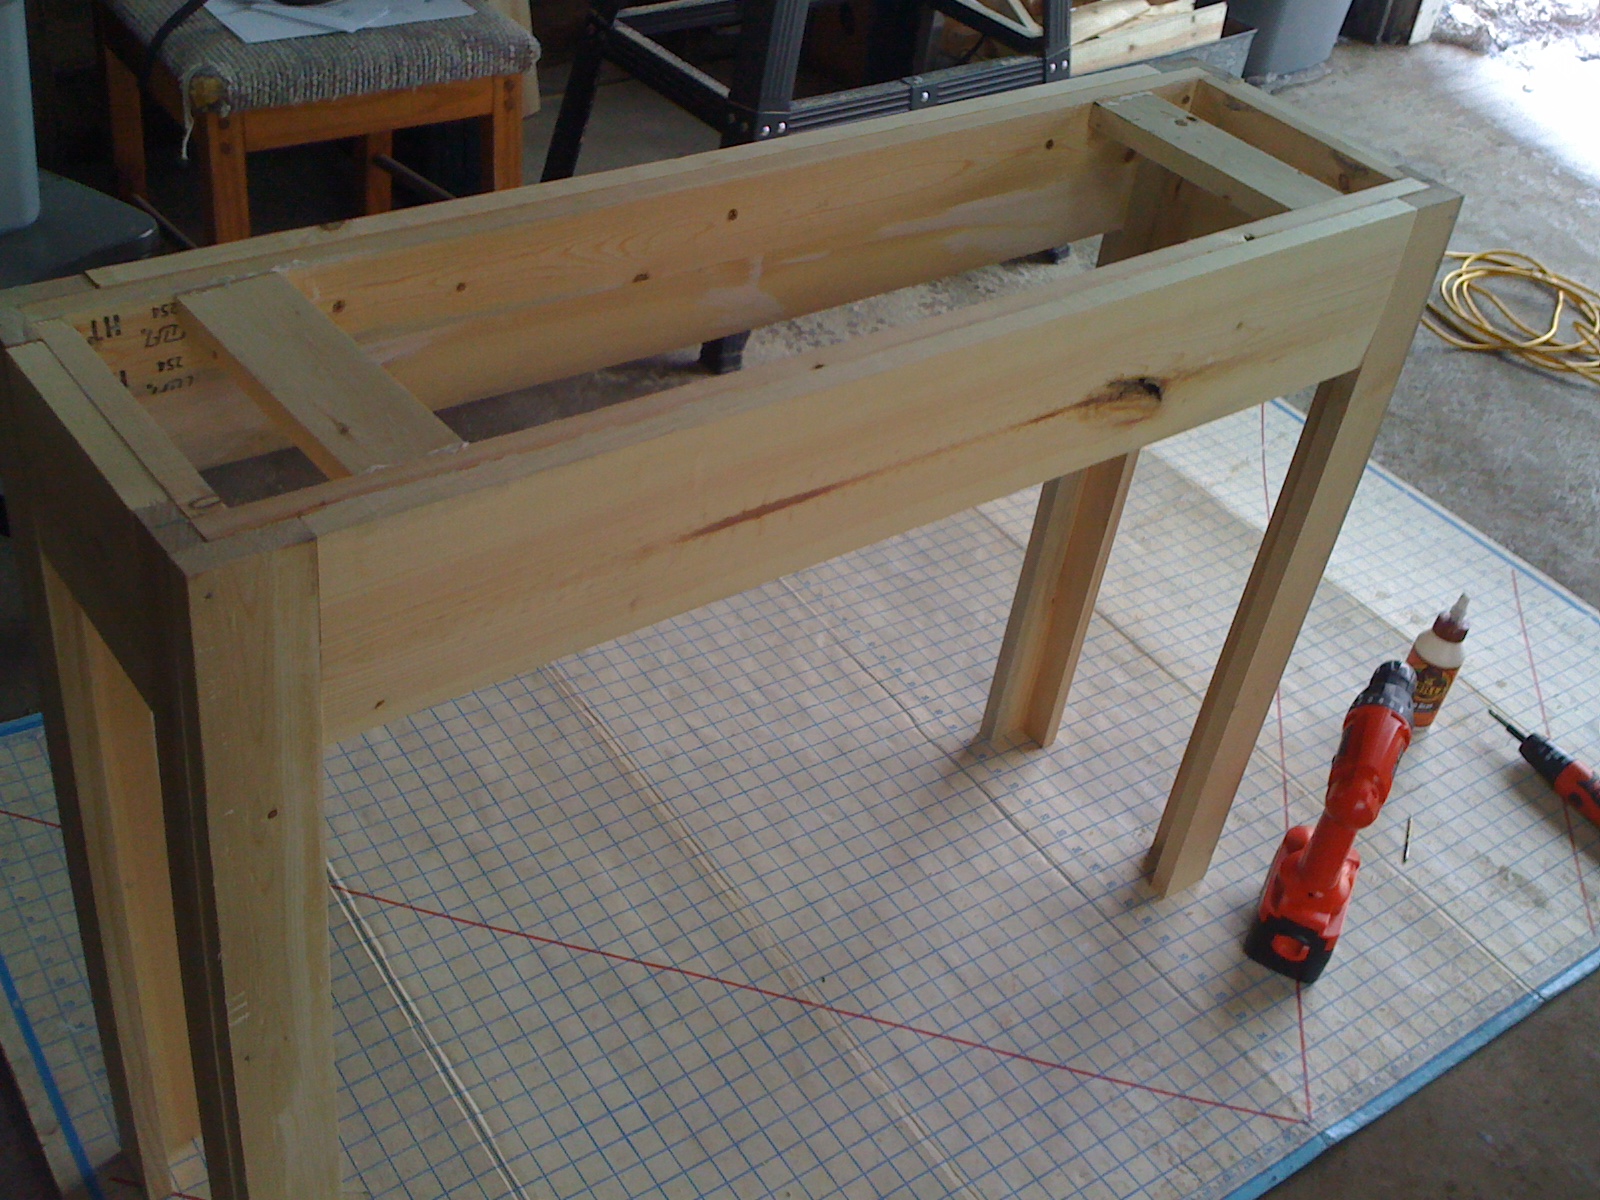
We chose a Spanish Cedar, which the helpful guy at WWS suggested as one of a couple of good options. They squared the wood for us and cut it to the exact widths we needed, so T only had to cut to the lengths needed.
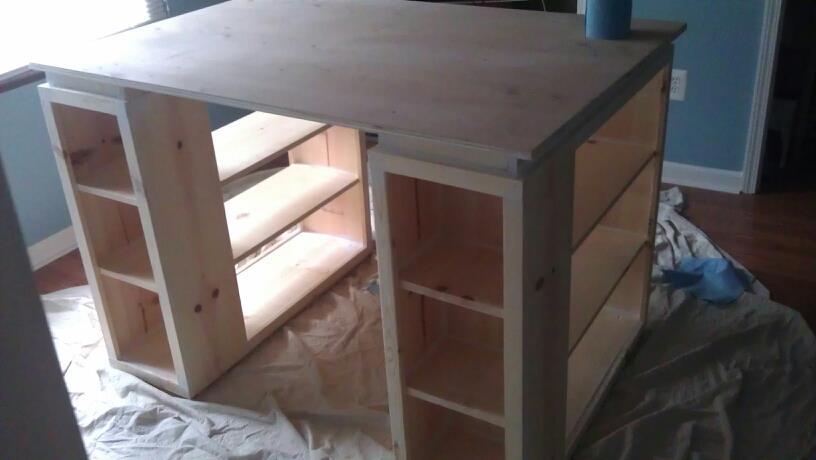
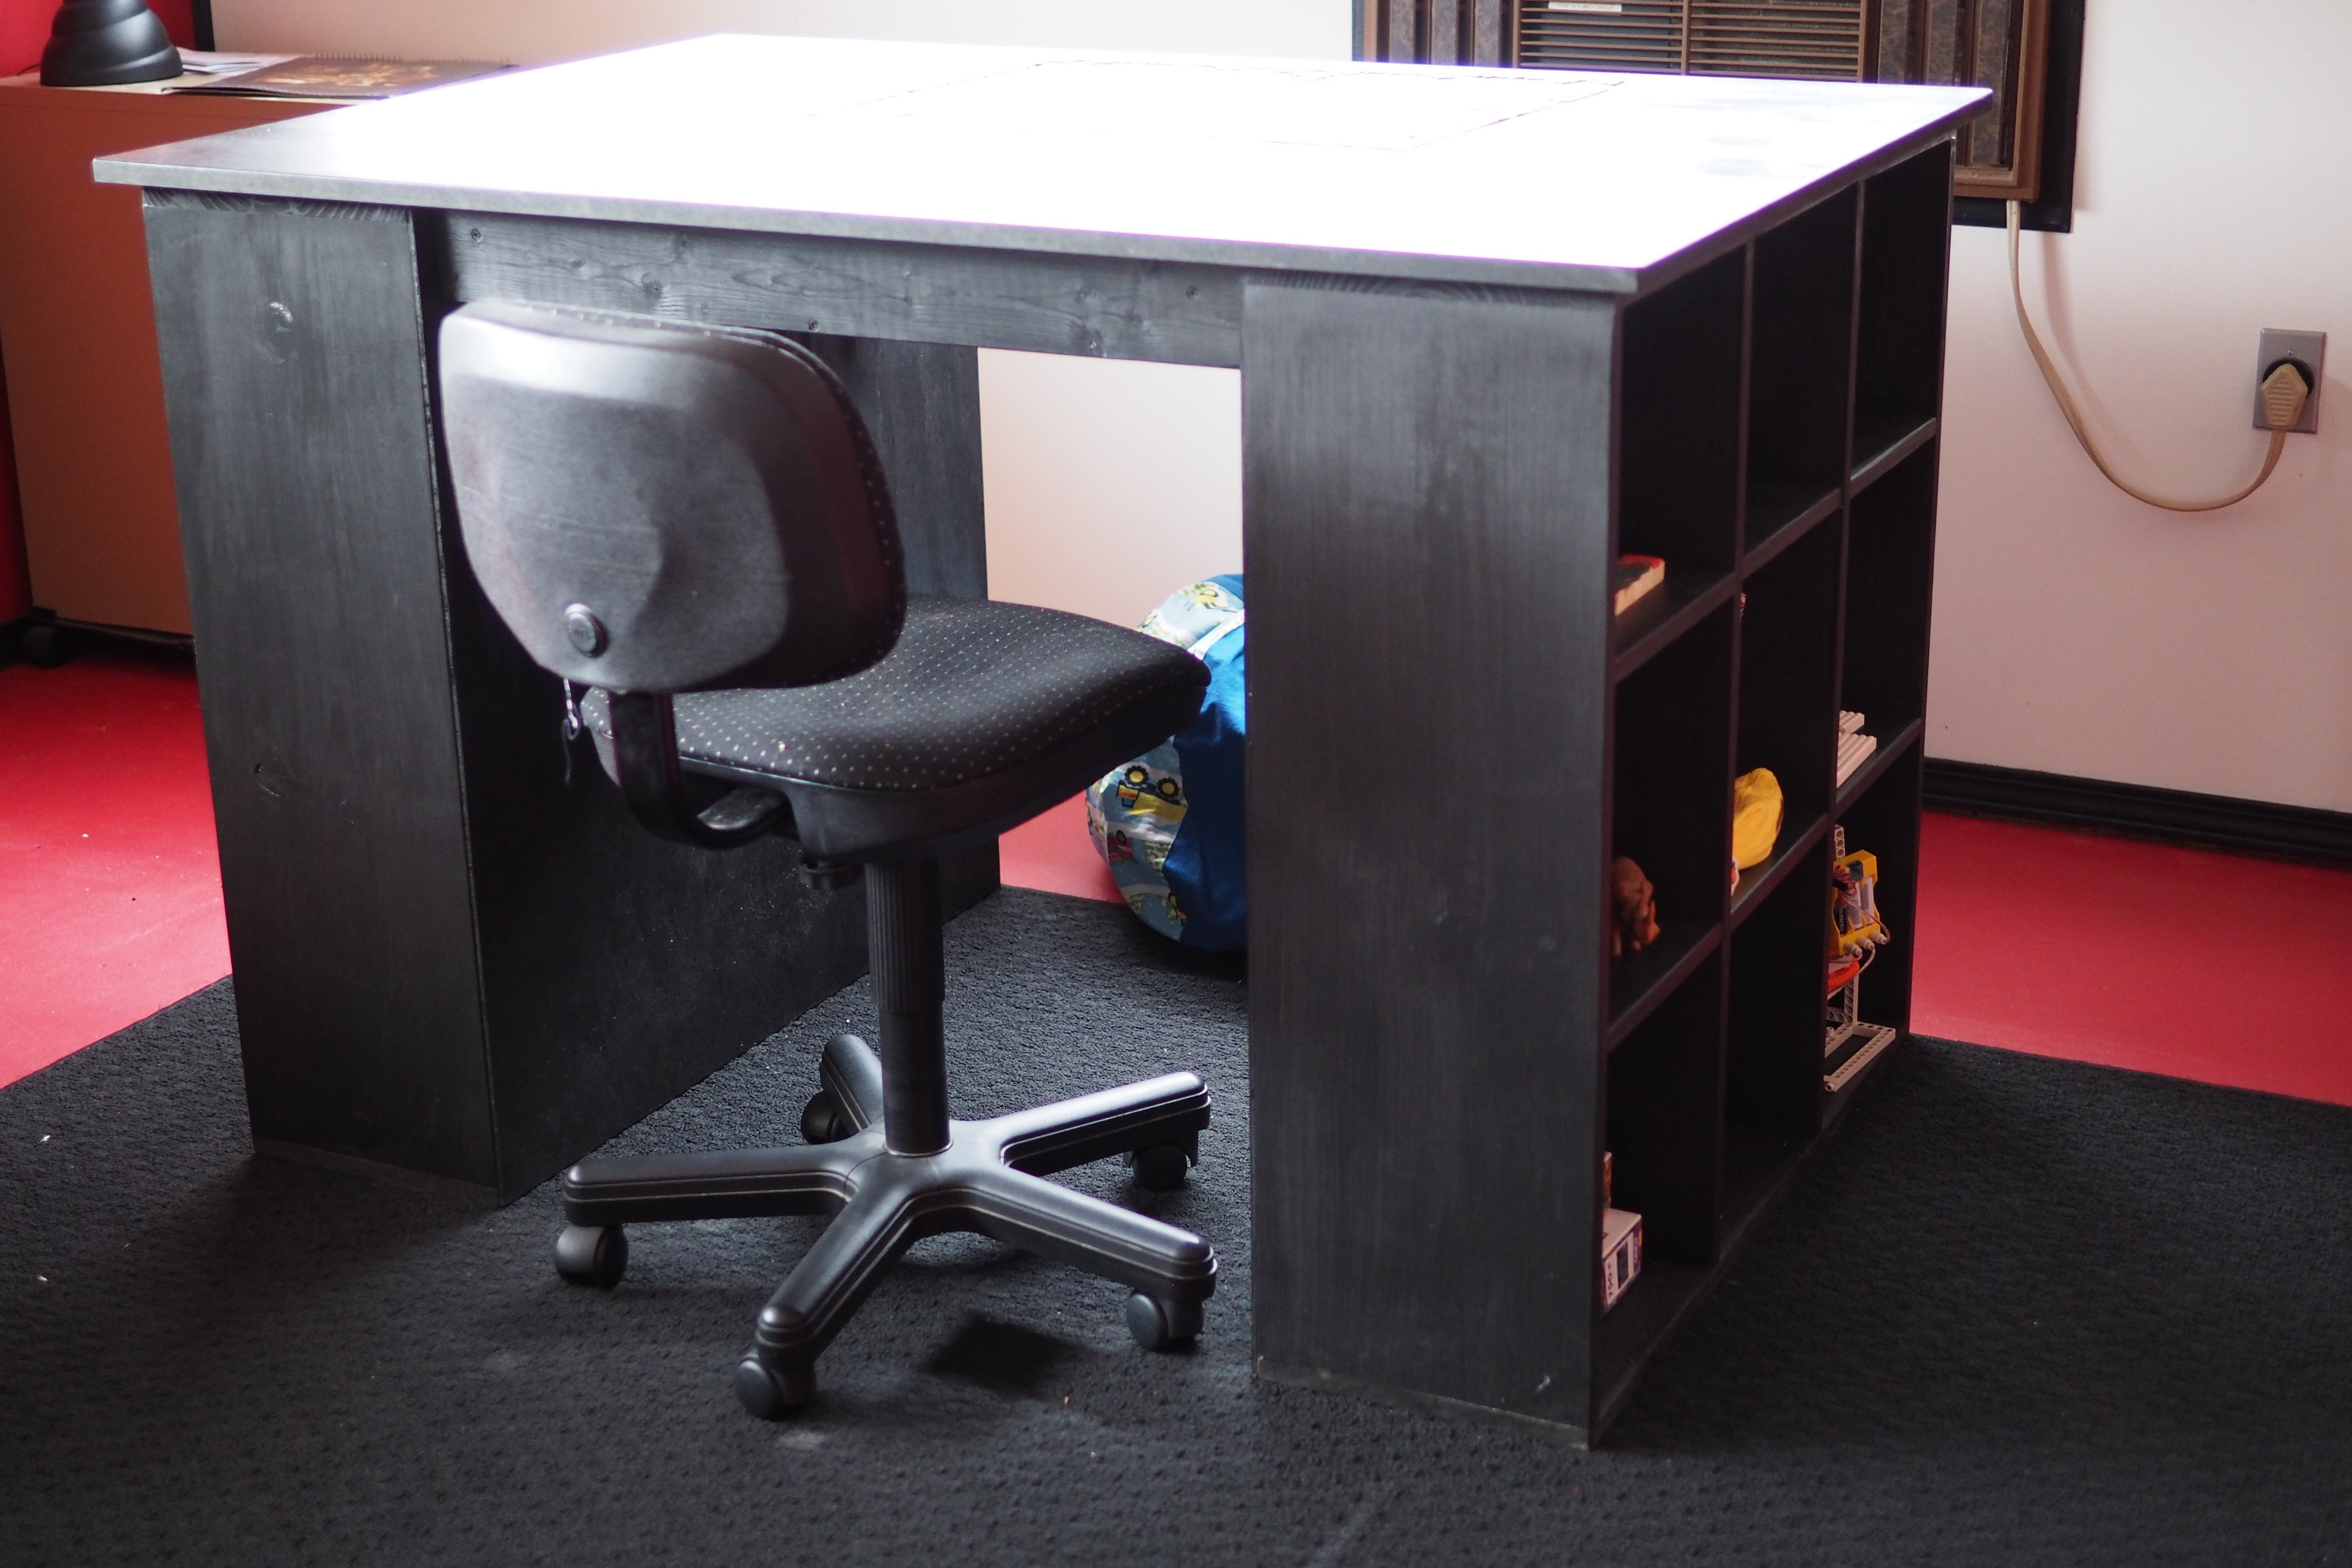
Once we were done with the frame, We used a sheet of MDF on a frame of pine to thicken the edges of the top, and wrapped the zinc around this.
We aren't DIY novices but this is the first piece of 'furniture' we have ever built.
We haven't sealed the zinc yet - I want it to patina more before I consider that. I have given the table one coat of oil (no colour) and it's performing wonderfully several months in.
Thanks Ana!
Tue, 10/15/2013 - 20:58
I love your table! I live in AZ as well and I would love to build an outdoor table, so thanks for the suggestion of Spanish cedar. I will keep that in mind when we finally are ready to build one.
My bed frame dimensions were 76 wide by 80 length. So that is the inside demension after assembly. My headboard posts were cut to 54" and footboard posts were cut to 24". Headboard panels are 31.5" (14- 6" boards) and footboard panels are 15.5" (14- 6" boards). My posts were made from combining two 2x4s together. I plan on mounting the metal bed frame to the inside of the bed rails. I enjoyed this project greatly.
Absolutely in love with this table. It turned out even better than we thought since this was my first diy project. We didn’t want to spend thousands of dollars buying a table similar to one we could make ourselves so we decided to give it a go. Our biggest issue with building it was the wood warping. We could only work on it every other weekend so the wood starting moving and it wasn’t on a flat surface. Definitely tie it down to a flat surface if you can’t build it all in a few days. We reinforced the breadboards with pocket holes on the inside and out because the first time we only did the inside, it snapped off. We used a lot of glue the second time around. Will definitely be making more tables in the future.
Needed a bed. After looking in town for premade beds, I wasn’t satisfied with the workmanship or price. I thought I could build one much nicer than what I was seeing. With these plans, I was able to make it happen. It turned out way better than expected. After a couple of strikes with paint, I watched a couple of YouTube videos on painting furniture black and that’s all it took to get exactly what I was looking for. Thanks so much for the plans. I also made the mini farmhouse bedside tables. I’ll put pics of it under the tables category
I had finally had it with the generic drawer organizer that we had. I decided that I would spend a few dollars and make it custom made! I took me aboout an hour and $5. It is amazing how little effort can make your kitchen look like it was a custom created space! I love it!
Tue, 10/04/2011 - 09:31
I was just thinking about doing this with my drawers! Thank you for sharing!
Built this in a weekend, took about 1.5 days. I ended us using 2x4's instead of 2x2's, I think it resulted in a much stronger frame. I also built a base for it to sit on. I got pre-stained cedar fence boards, and overlapped them 1" instead of a 1/2". Pretty easy project, I ended up siding the back on the ground, installing it, and then adding the side walls without the siding (just the framing), and then sided them in place. The doors work perfectly. I took my total inside dimension between walls, made sure the opening was square, and then divided that by two to get the width of each door. I then took another 1/4" off that, so each door had an additional 1/8" gap, it worked perfectly. When I set the doors, I put them on a piece of roofing closed as I screwed in the hinges, and then opened them and removed the roofing. I opted to run the door siding horizontal to use up a bunch of waste wood. I'm happy with the outcome. I also found some 6" self starting lag bolts and lagged through the back of the shed into studs (through the siding) into the garage behind it.
I built this for my daughter's Christmas present this year. It was a fun project that you can do in a weekend if you hustle. The size a girth of this dollhouse is surprising. Do yourself a favor and take measurements of doorways and hallways to make sure it will fit. It is nearly the size of a Lazyboy chair when finished. The best part of this project is the unlimited number of ways it can be customized. Scrapbookpaper for walls , painted walls, carpet for floors, tile flooring, stained flooring and so on. My daughter loves it and yours will too.
This bench wowed my parents when they saw me pull up on Christmas Day when I came to visit. Also, this was my first time using the kreg pocket jig. They love sitting outside with their cats and this couldn’t have been easier than I thought. I’m 5’2” and this is a big bench and look forward to building one for myself.
Please tell me I’m not alone…!! I must admit that I have found myself (on more than one occasion) just staring at a room for what seems like an eternity…trying to figure out why the space isn’t functional or just feels a bit “off”. It was during one of these “I dare you to blink before I do” staring sessions that I decided to build a table for my guest room.
Lucky for me, I can always count on Ana’s plans to rescue me from decorating madness! Well at least when it comes to the furniture part. (For everything else…I probably need lots of therapy!)
But seriously…anyone else get caught up in the time-warp-room-stare?! I can’t be the only one… :-)
My console table's complete story: http://gleeinspired.blogspot.com/2011/03/console-table.html
Sat, 10/15/2011 - 21:49
How did you go about finding the wood that you purchased? I'm a newbee and all i have are Lowes & HD around me, also since I'm just starting out I don't have a saw- any suggestions?
Sun, 10/16/2011 - 02:22
Lowes and Home Depot both sell wood. However, it's worth finding a local lumber yard to get a better quality of material. Trying to build a table with material from a big-box store will be an exercise in frustration, because it will warp on you, and your nice flat table will develop some interesting twists that will probably keep all four feet from touching the ground at once. I've been there plenty of times, and it's very frustrating to tear something apart to replace wood that warped after everything was assembled.
If you go to a lumber yard and ask for #2 pine, you should get something pretty stable.
You'll also definitely need to pick up some tools. Anyplace that sells lumber has a saw that they can cut material to length with, but none of them will make cuts accurate enough for building furniture. The only cuts you want made for you are those necessary to get material into your vehicle.
There are hand tools of acceptable quality sold at Lowes and Home Depot (well, mostly acceptable quality: nobody sells a decent chisel). They're cheaper and a lot less intimidating than the power tools, and with a little practice it's easier to do accurate work. The downside is that you'll have to hunt a little more for resources to learn how to use them.
Thu, 10/20/2011 - 15:03
I love the table - it looks great!
And the time-warp-room-stare??? Yep. That's why I'm on Ana's site! We just moved into a new house about 2 months ago and I need some furniture to help pull some rooms together!
I modified this a tad from the original plans to suit my needs. I will eventually be adding a platform with attached slide and swing set.
Plans were easy to follow. My store didn't have 1x8's so I stacked 1x4's and used my Kreg jig to join them together and then I added extra bracing.
I had seen this on Pinterest a couple years ago and thought it was the coolest thing! Io excited I was able to build it myself!
I built this for my son for Christmas. I followed the plans exactly.
we put a few bolts in the legs for a bit of added strength, and extra back supports.
Fri, 06/08/2012 - 09:49
Hi there! Love it! We built one of these too but cannot find cushions for the back, considering it's rather short. Any advice or did you make them?
Tue, 07/17/2012 - 23:24
Hi, only just checked messages. I got the cushions from and outdoor furniture supply store off ebay Australia. They are replacement ones for a manufactured style of setting they sold, but worked perfectly for the sectional.
My church was getting new pews and asked if anyone wanted the old ones so I decided to take one and see what I could do with it! The second picture is what it used to look like. I had to take it all apart and cut it to the shorter size that I wanted. I then recovered it with some fabric I found for about $10. I then made legs out of a 2x4 and supported the legs with some 2x2 across the front, back and sides. I painted them with some black primer/paint that I had. This was so fun to do because I had to figure it out as I went along. It was a bit of a challenge at times and I learned a lot from this project. I really love the finished product.
Good tips from everyone. We added a 2x4 (hidden under the top) to have added saftey feature to ensure my kids wouldnt pull out the drawer.
Comments
Guest (not verified)
Fri, 09/23/2011 - 19:48
Nice work!
The stencil looks great.
Pam the Goatherd
Sat, 09/24/2011 - 12:06
I love the paint job/stencil!
I love the paint job/stencil! I've admired this table for a long time, but have nowhere in my house to put one, so I haven't built it. Seeing your take on it makes me want one even more.