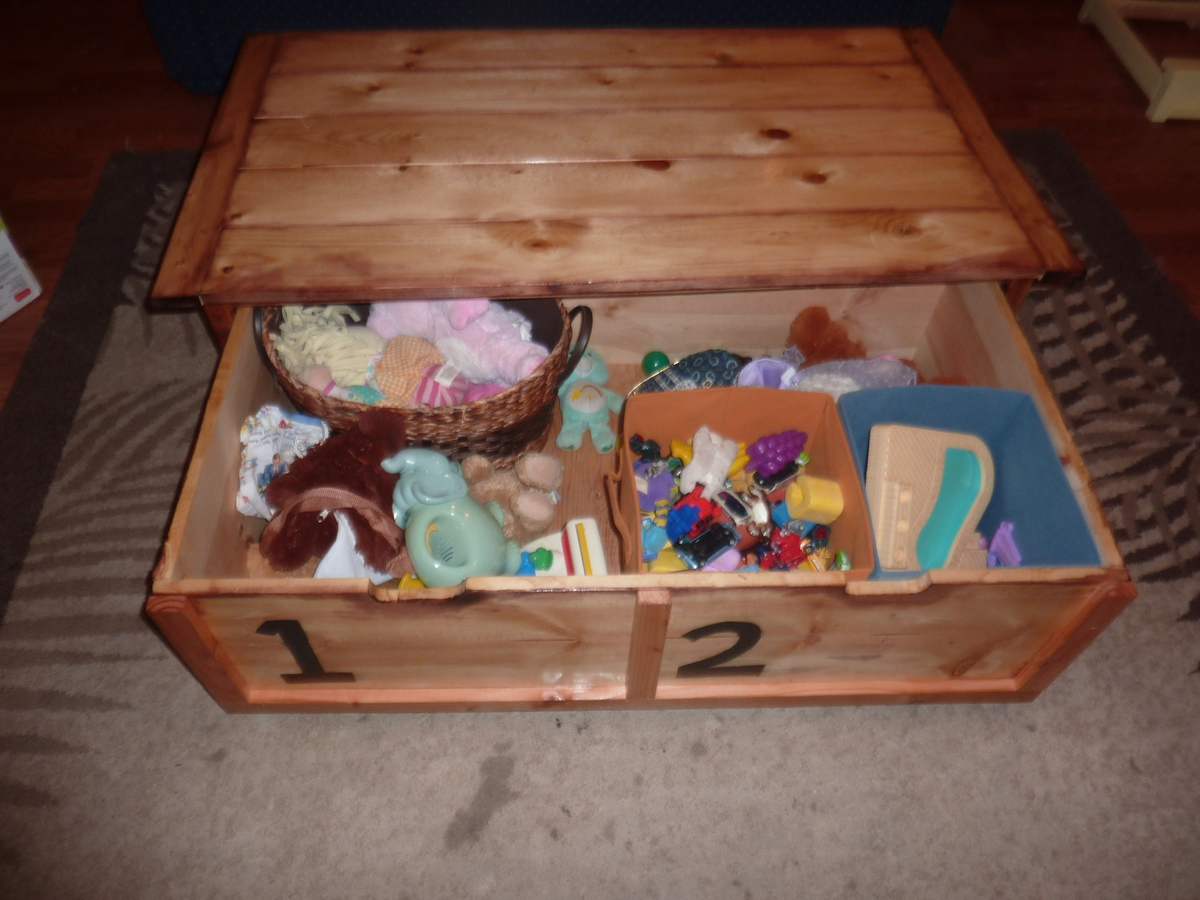
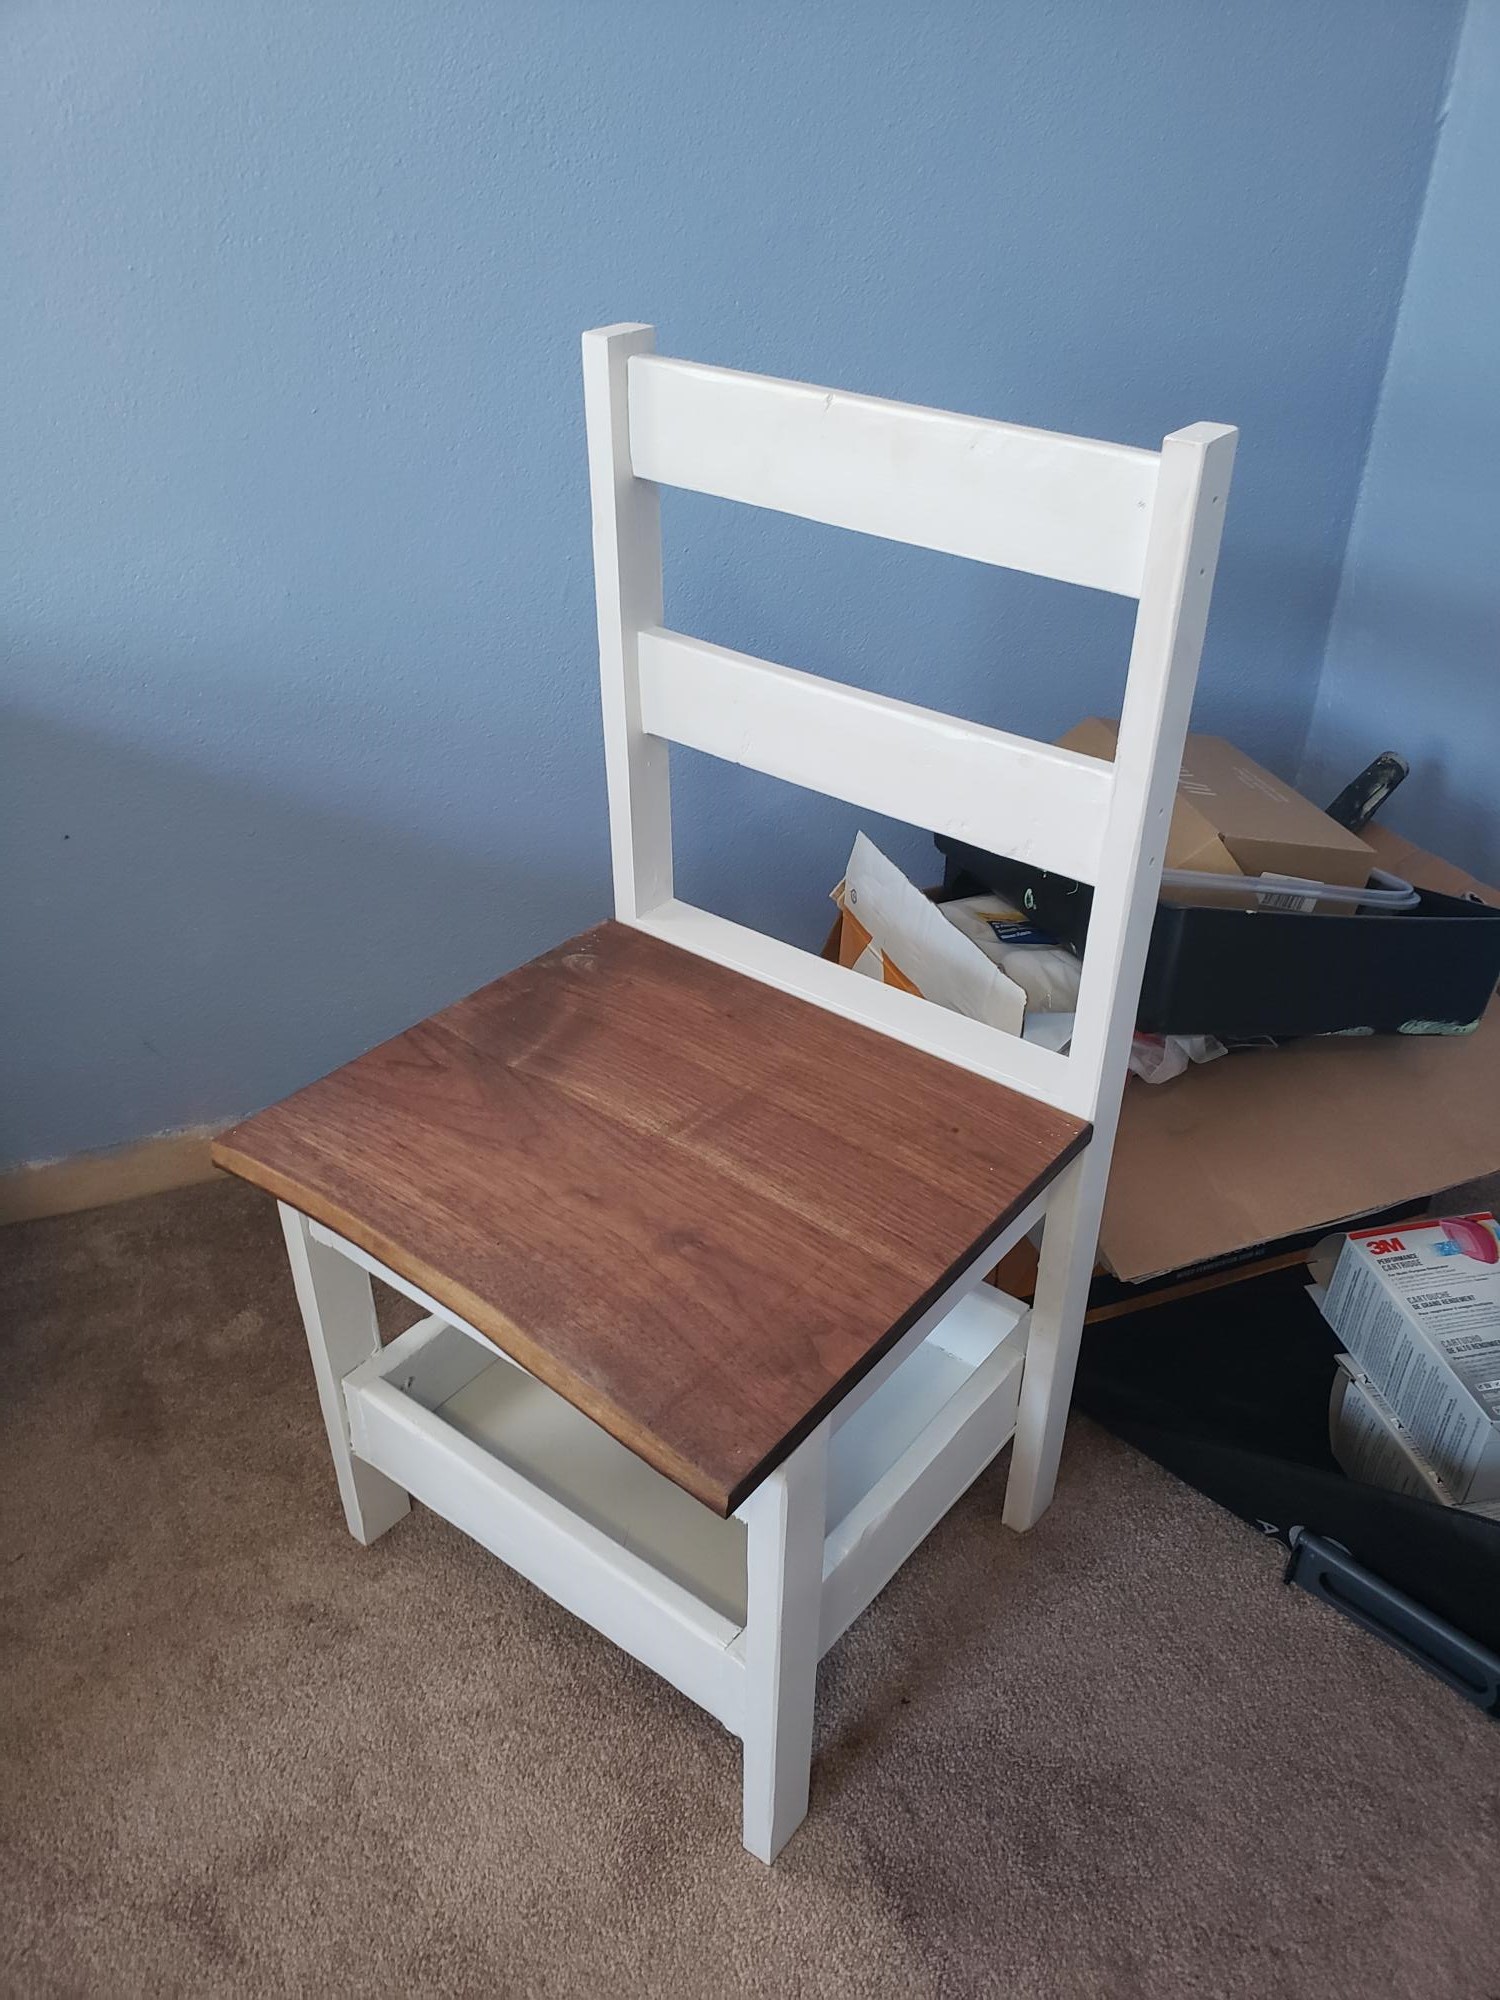
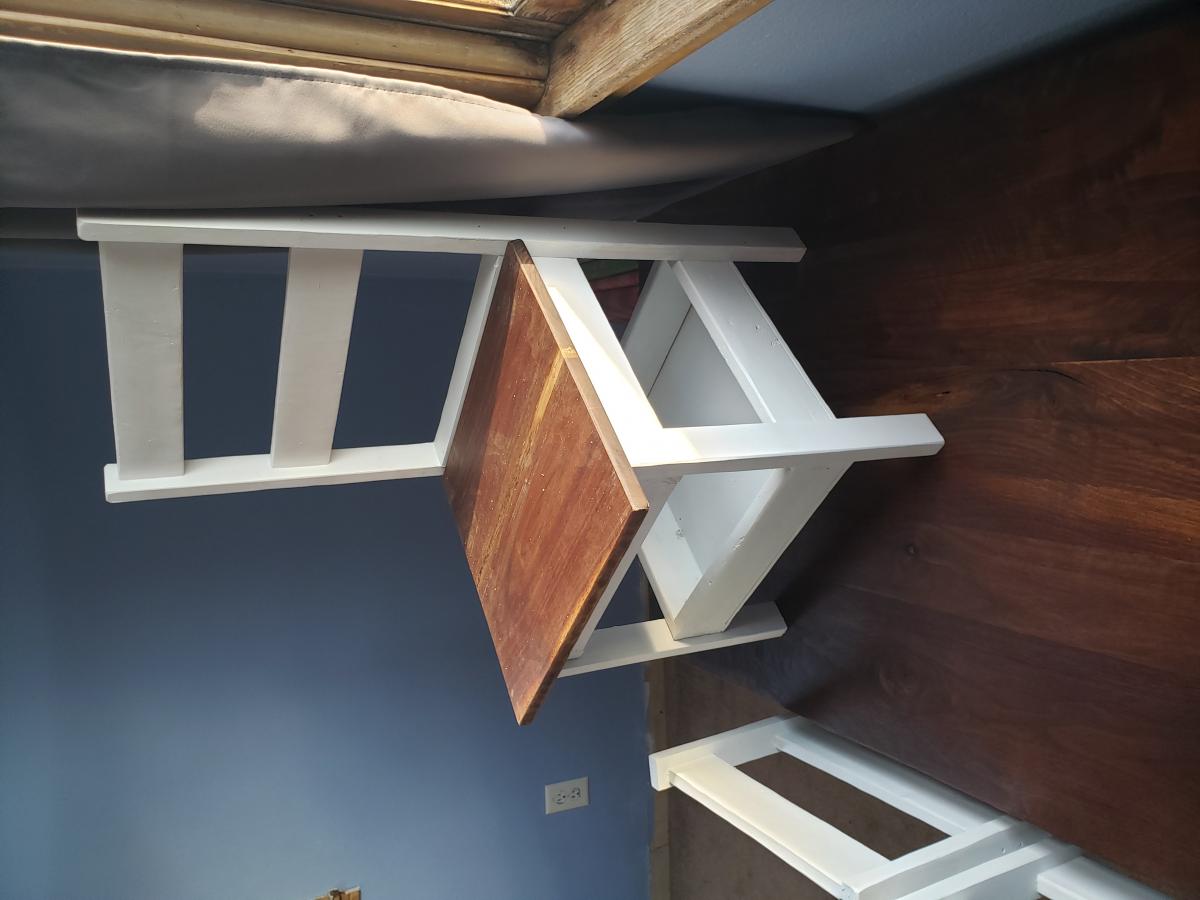
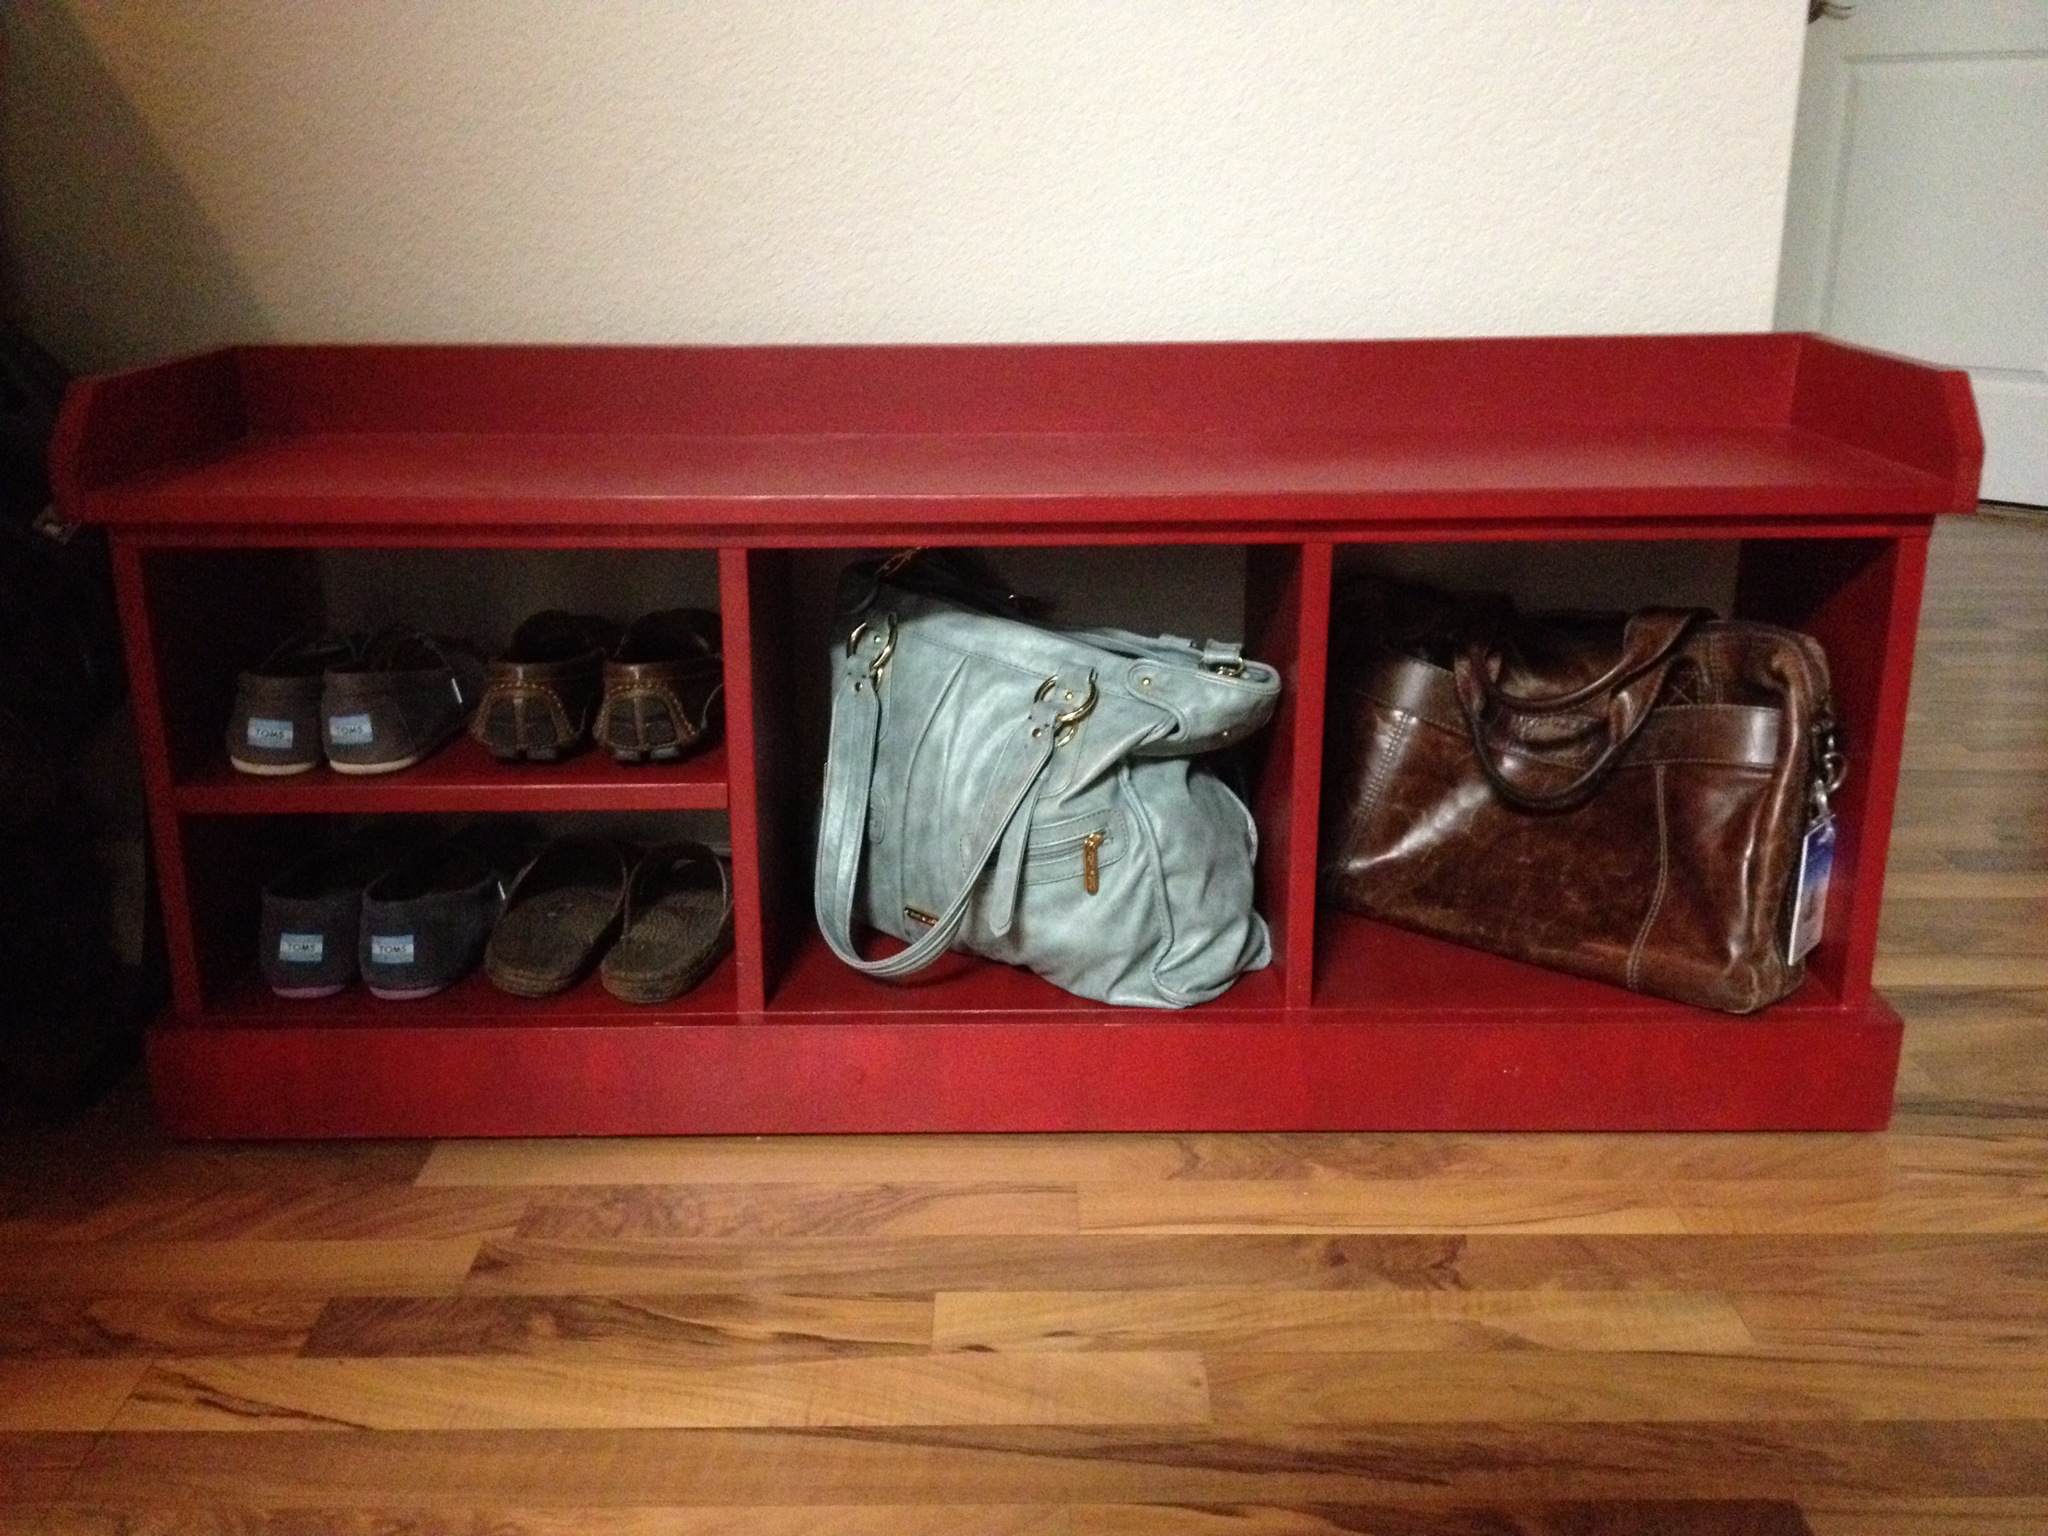
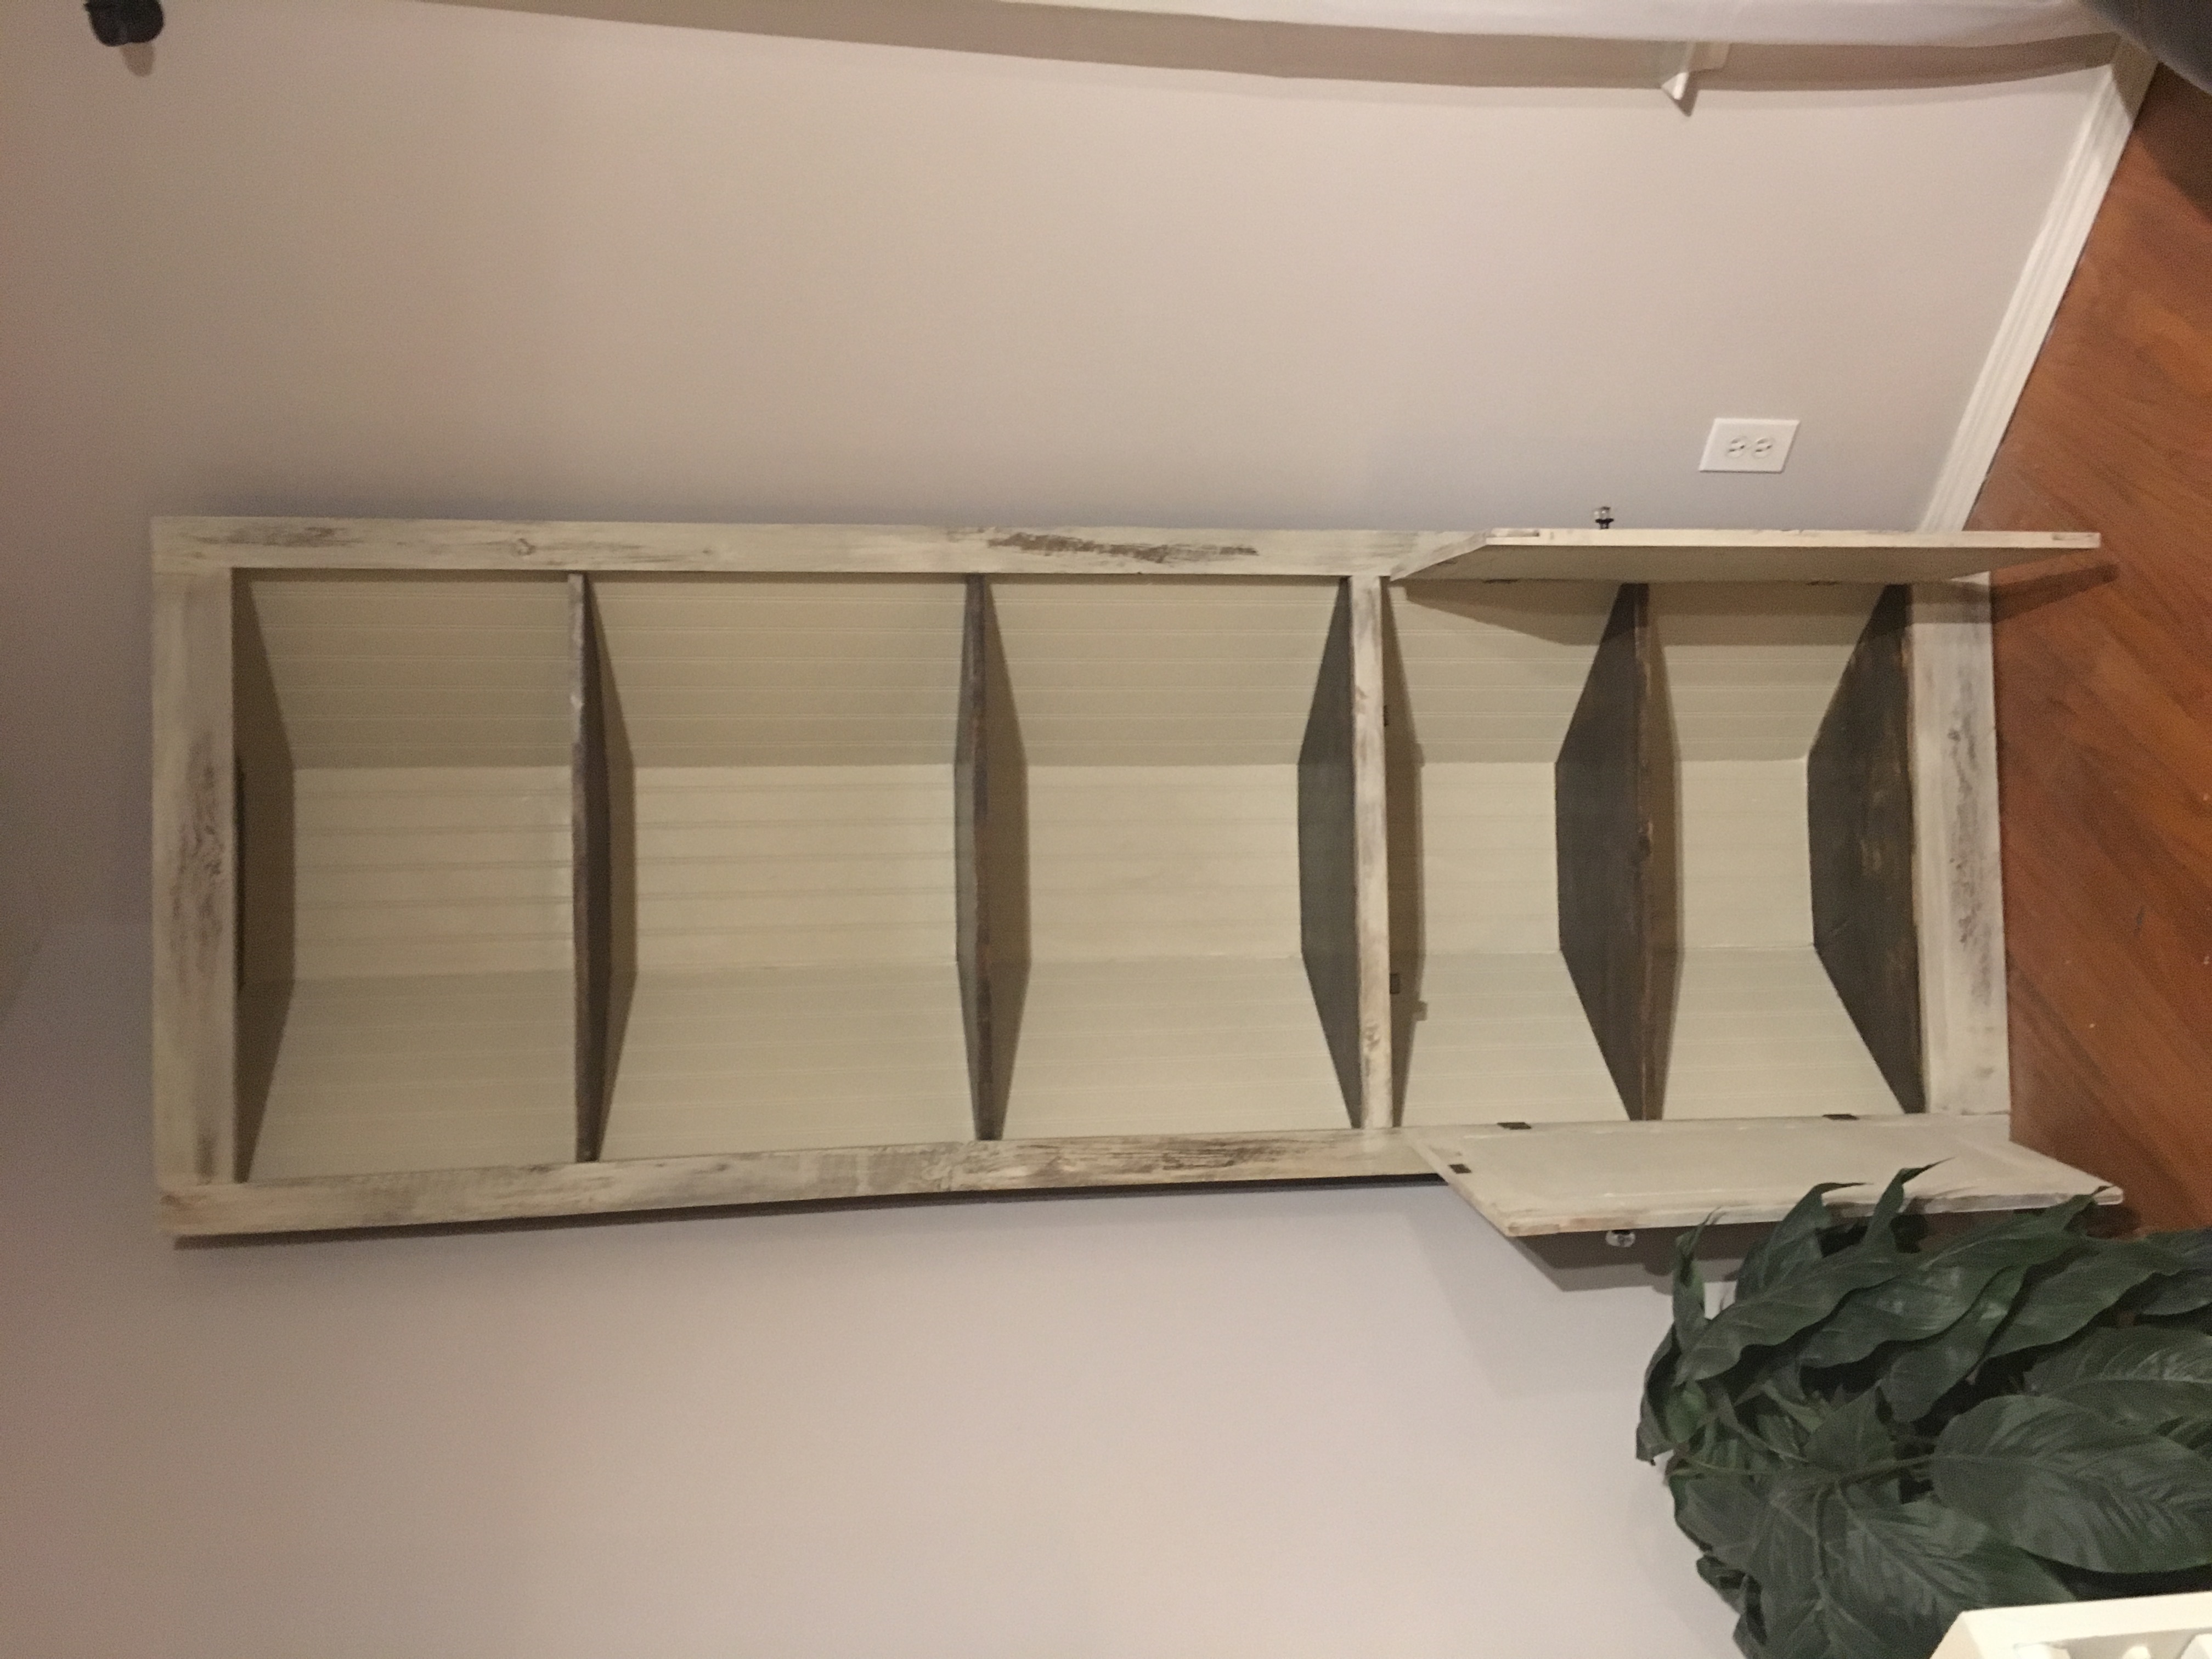
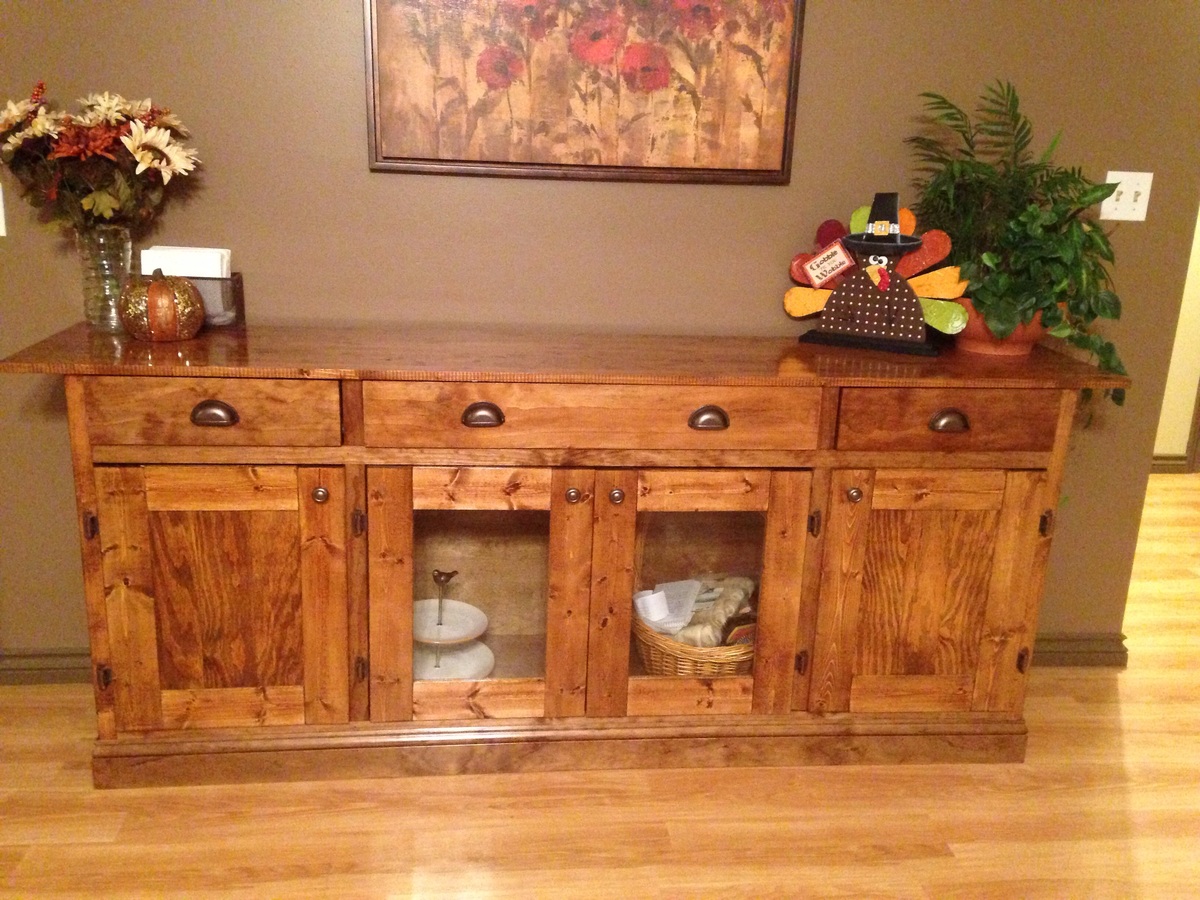
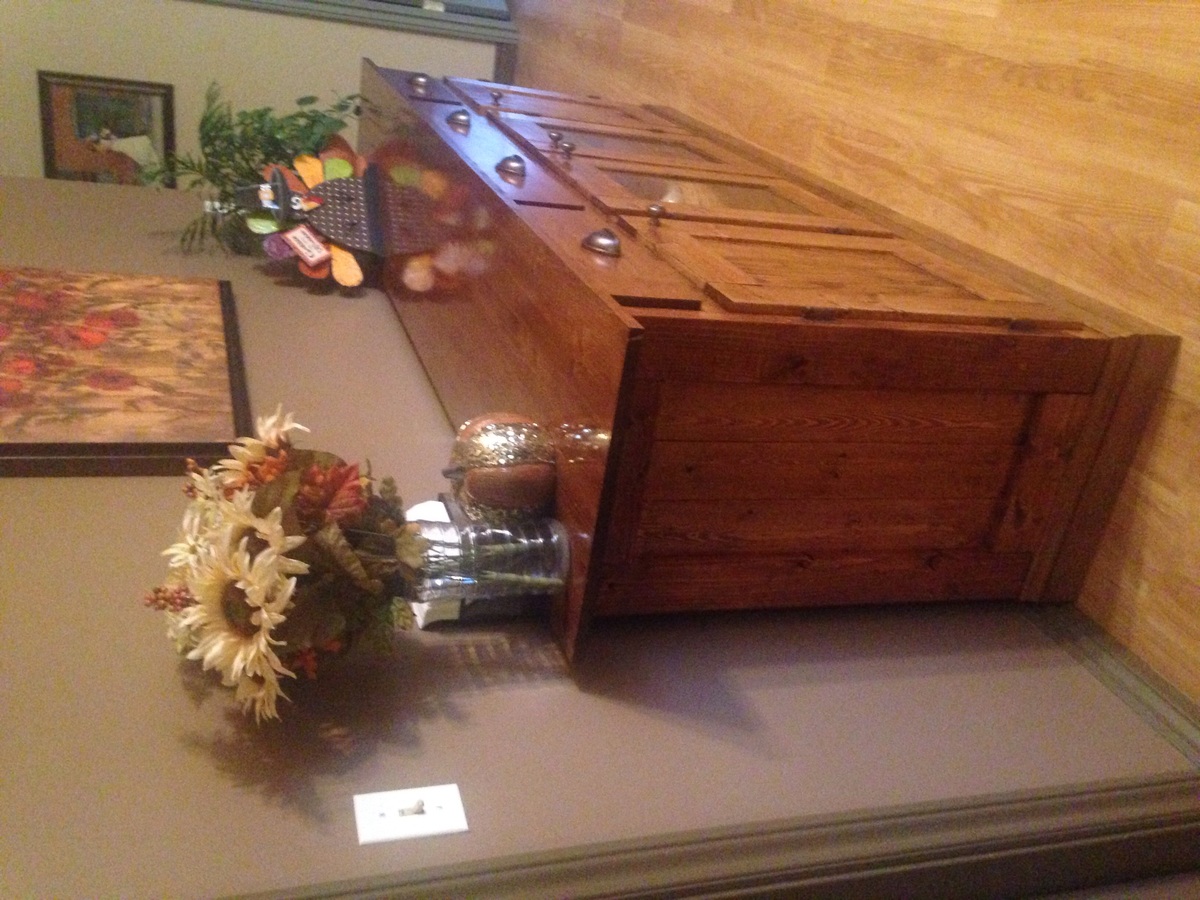
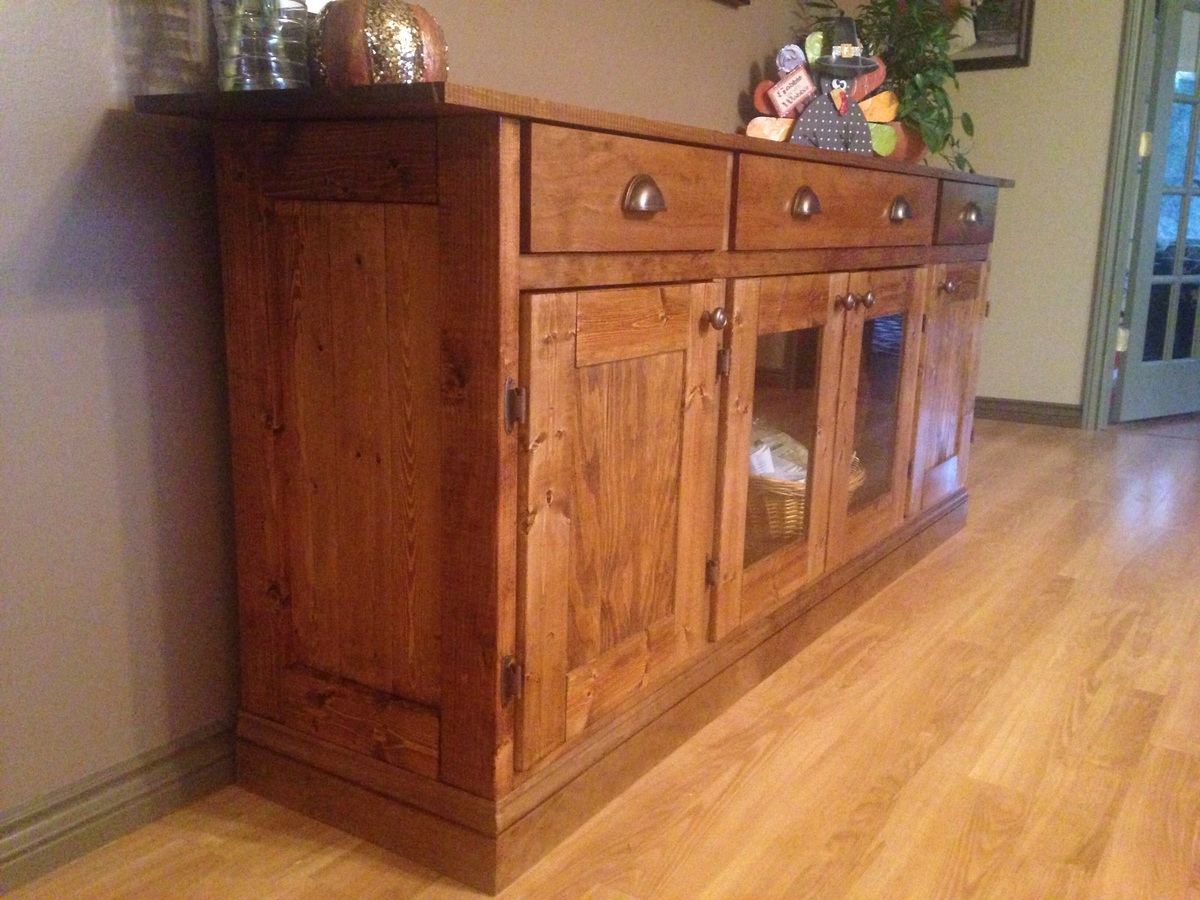
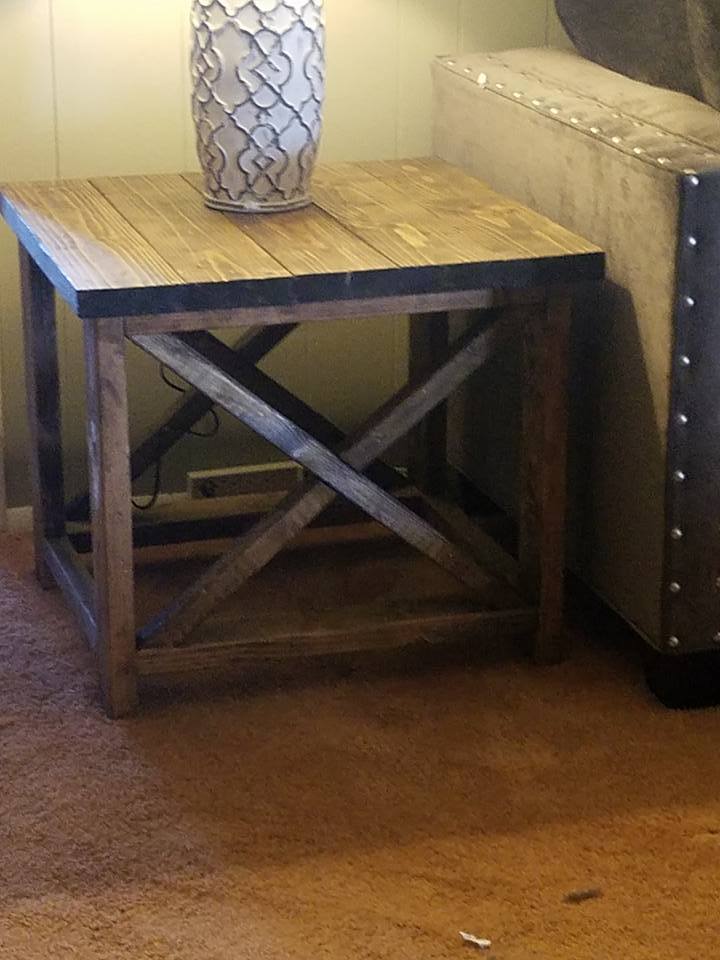
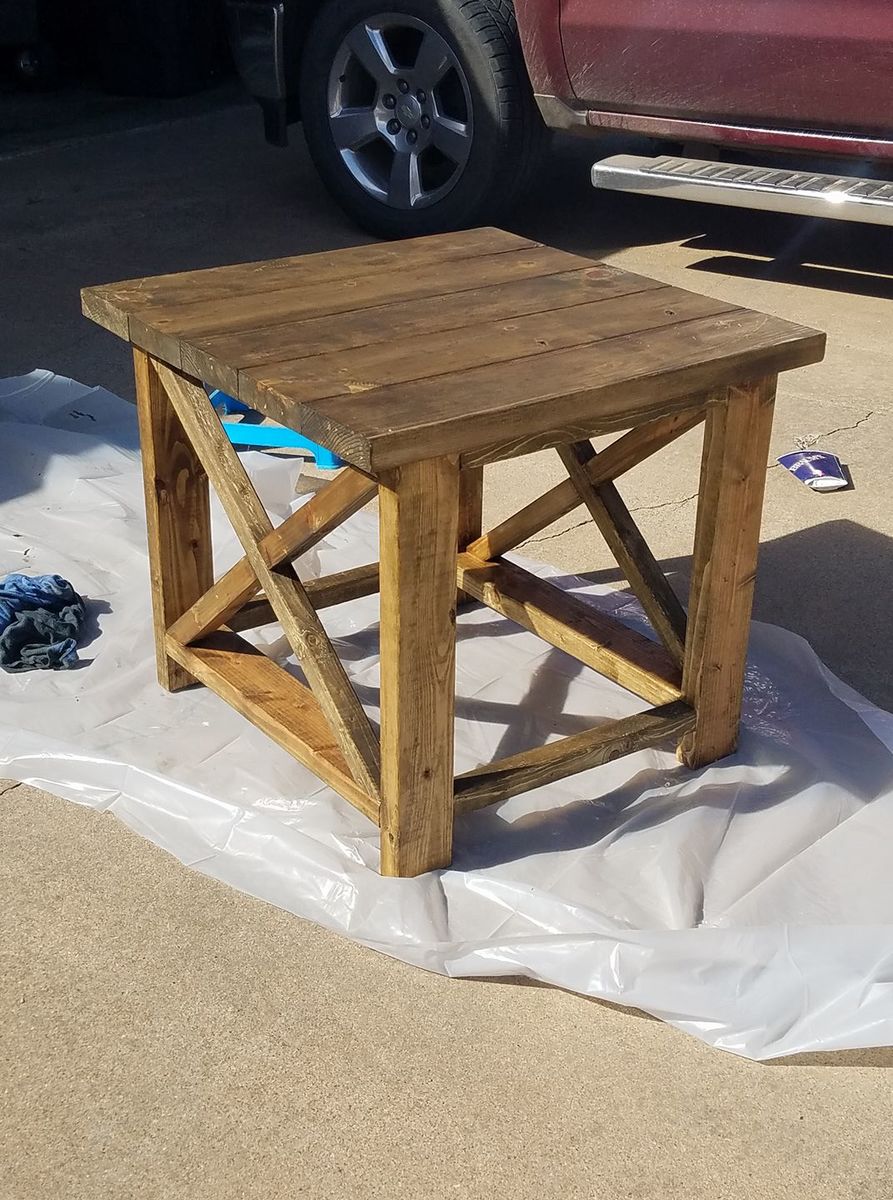
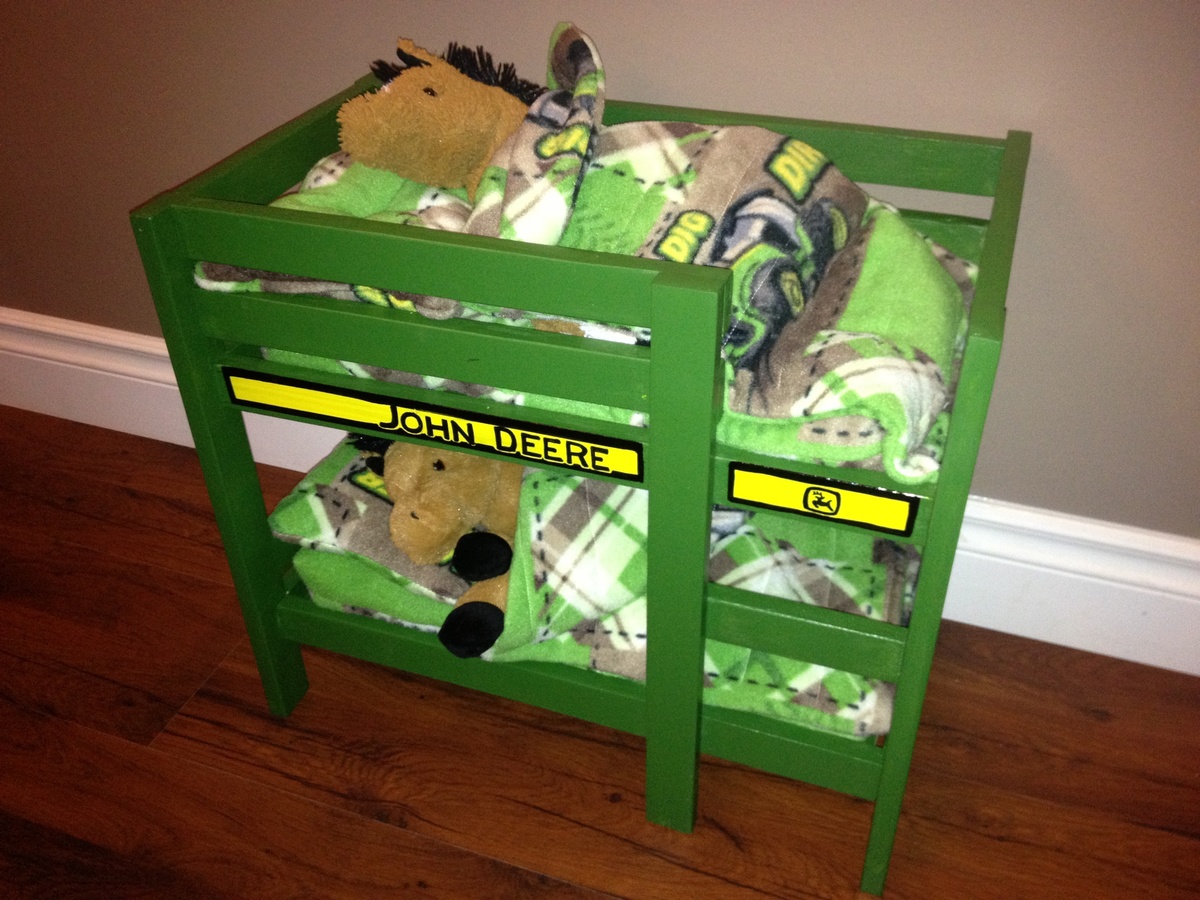
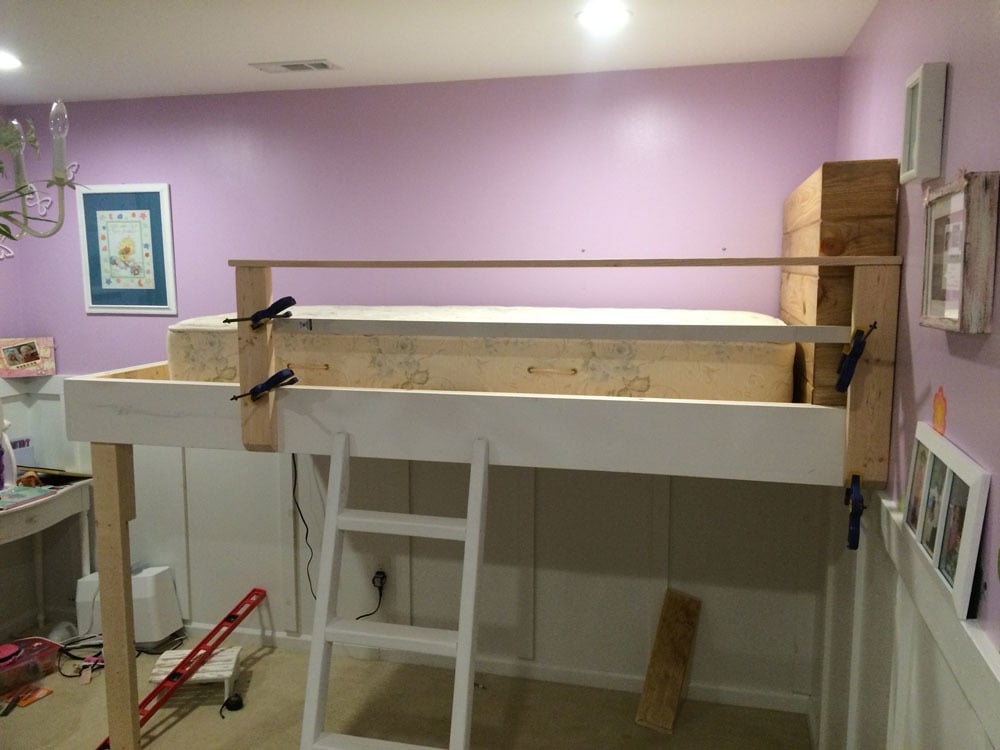
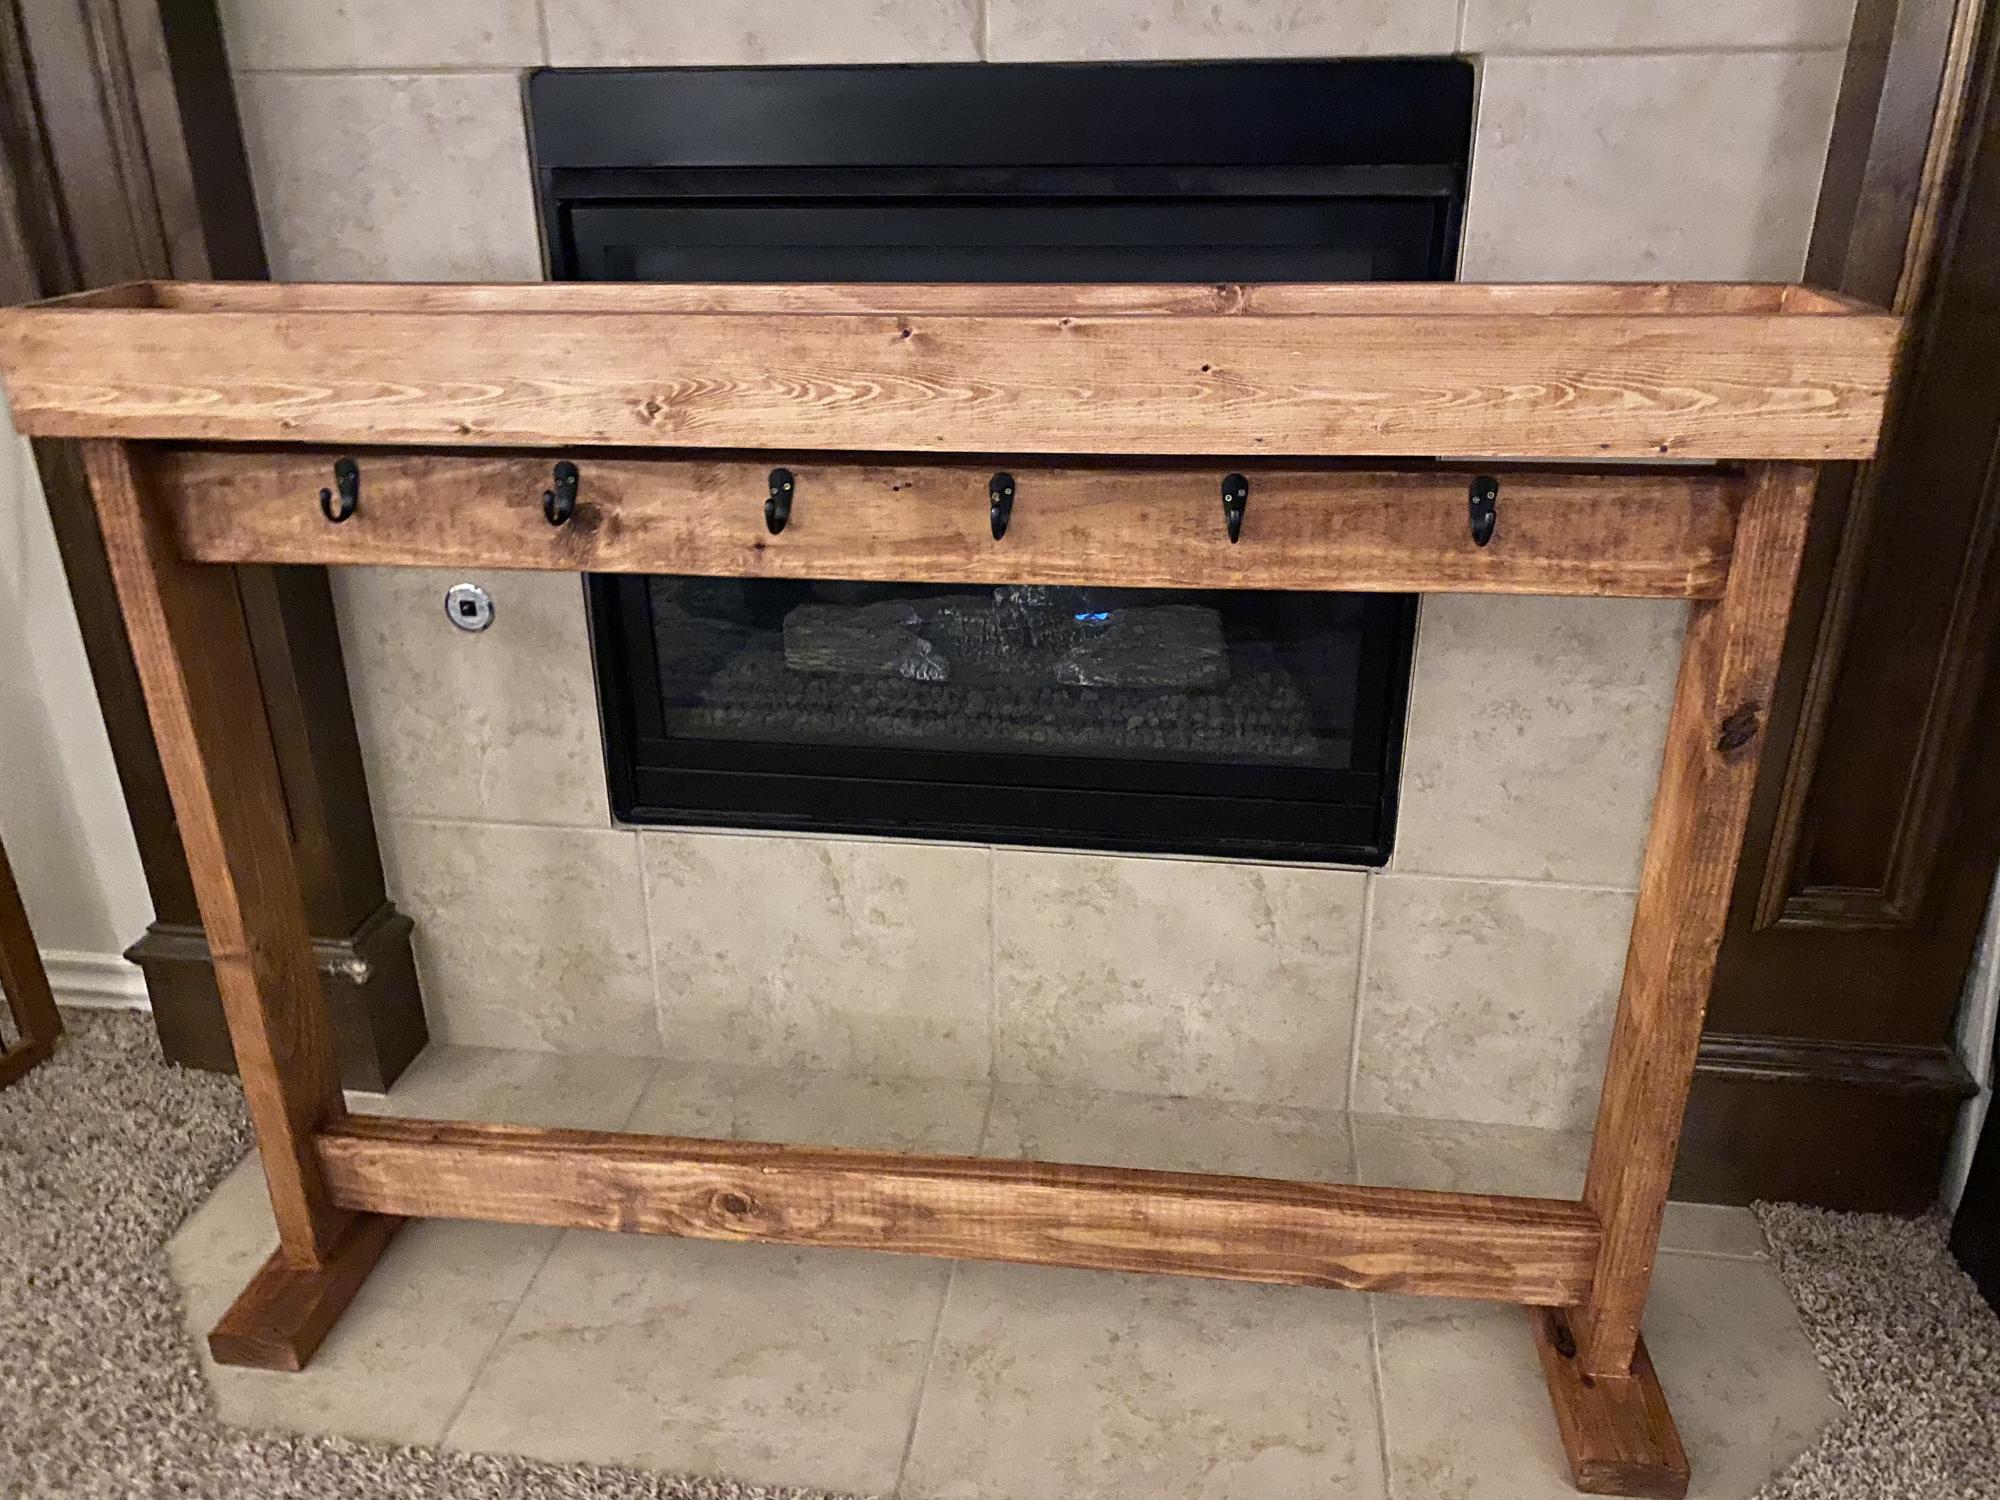
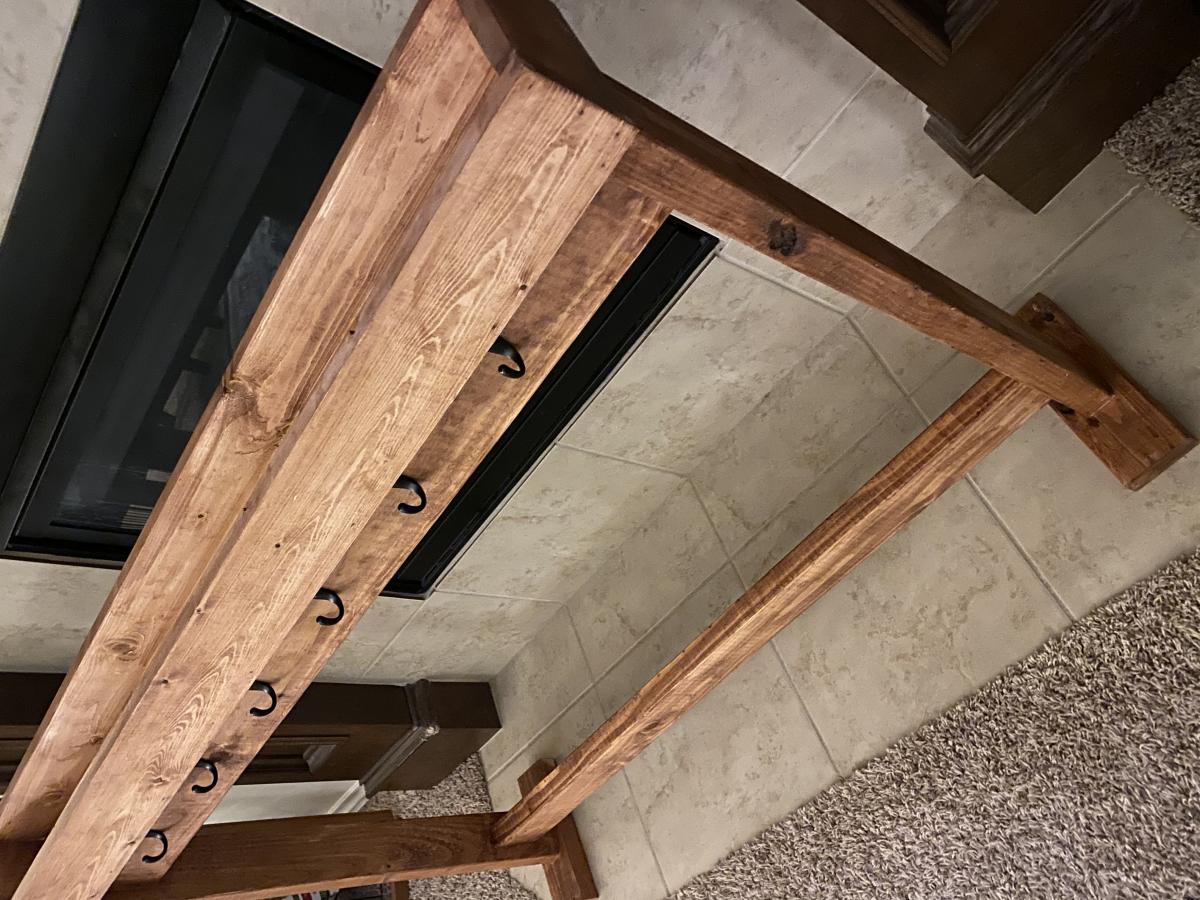
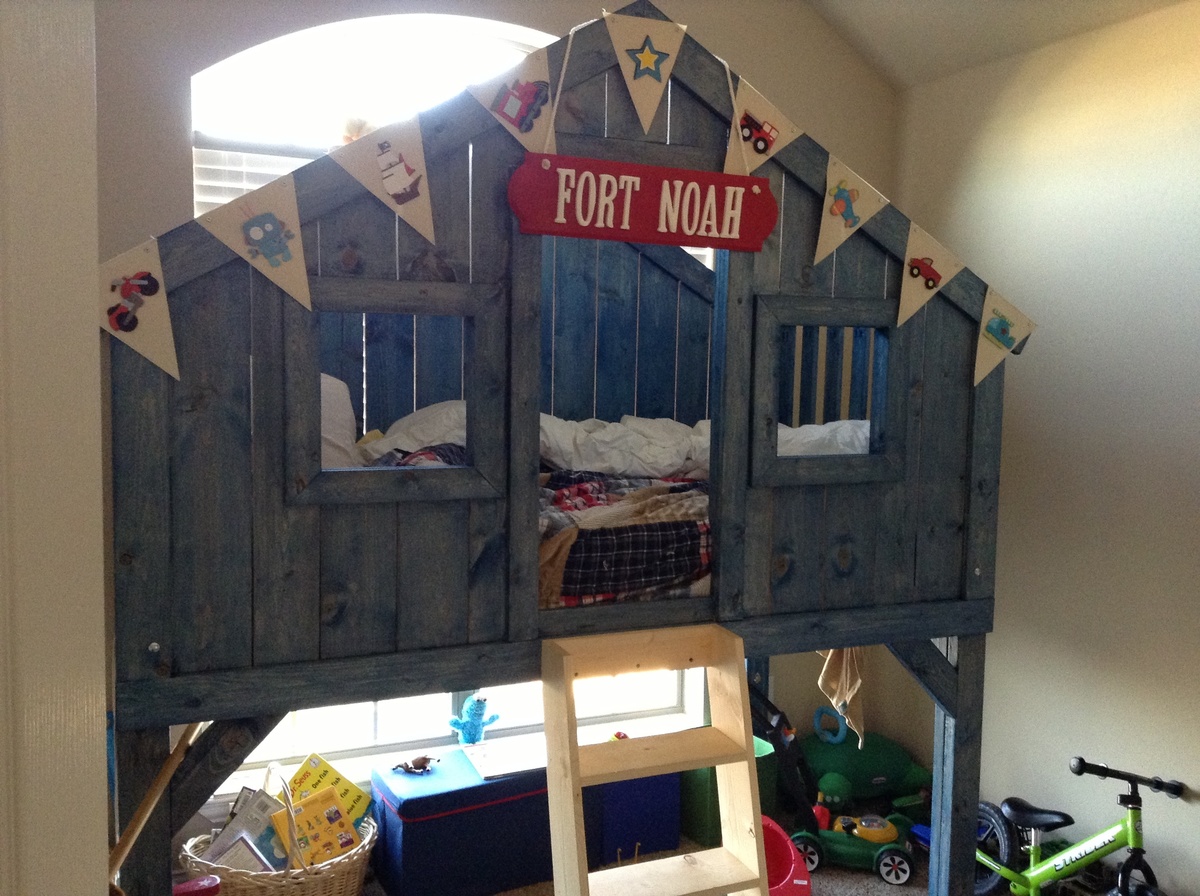
20 second tidy up coffee table
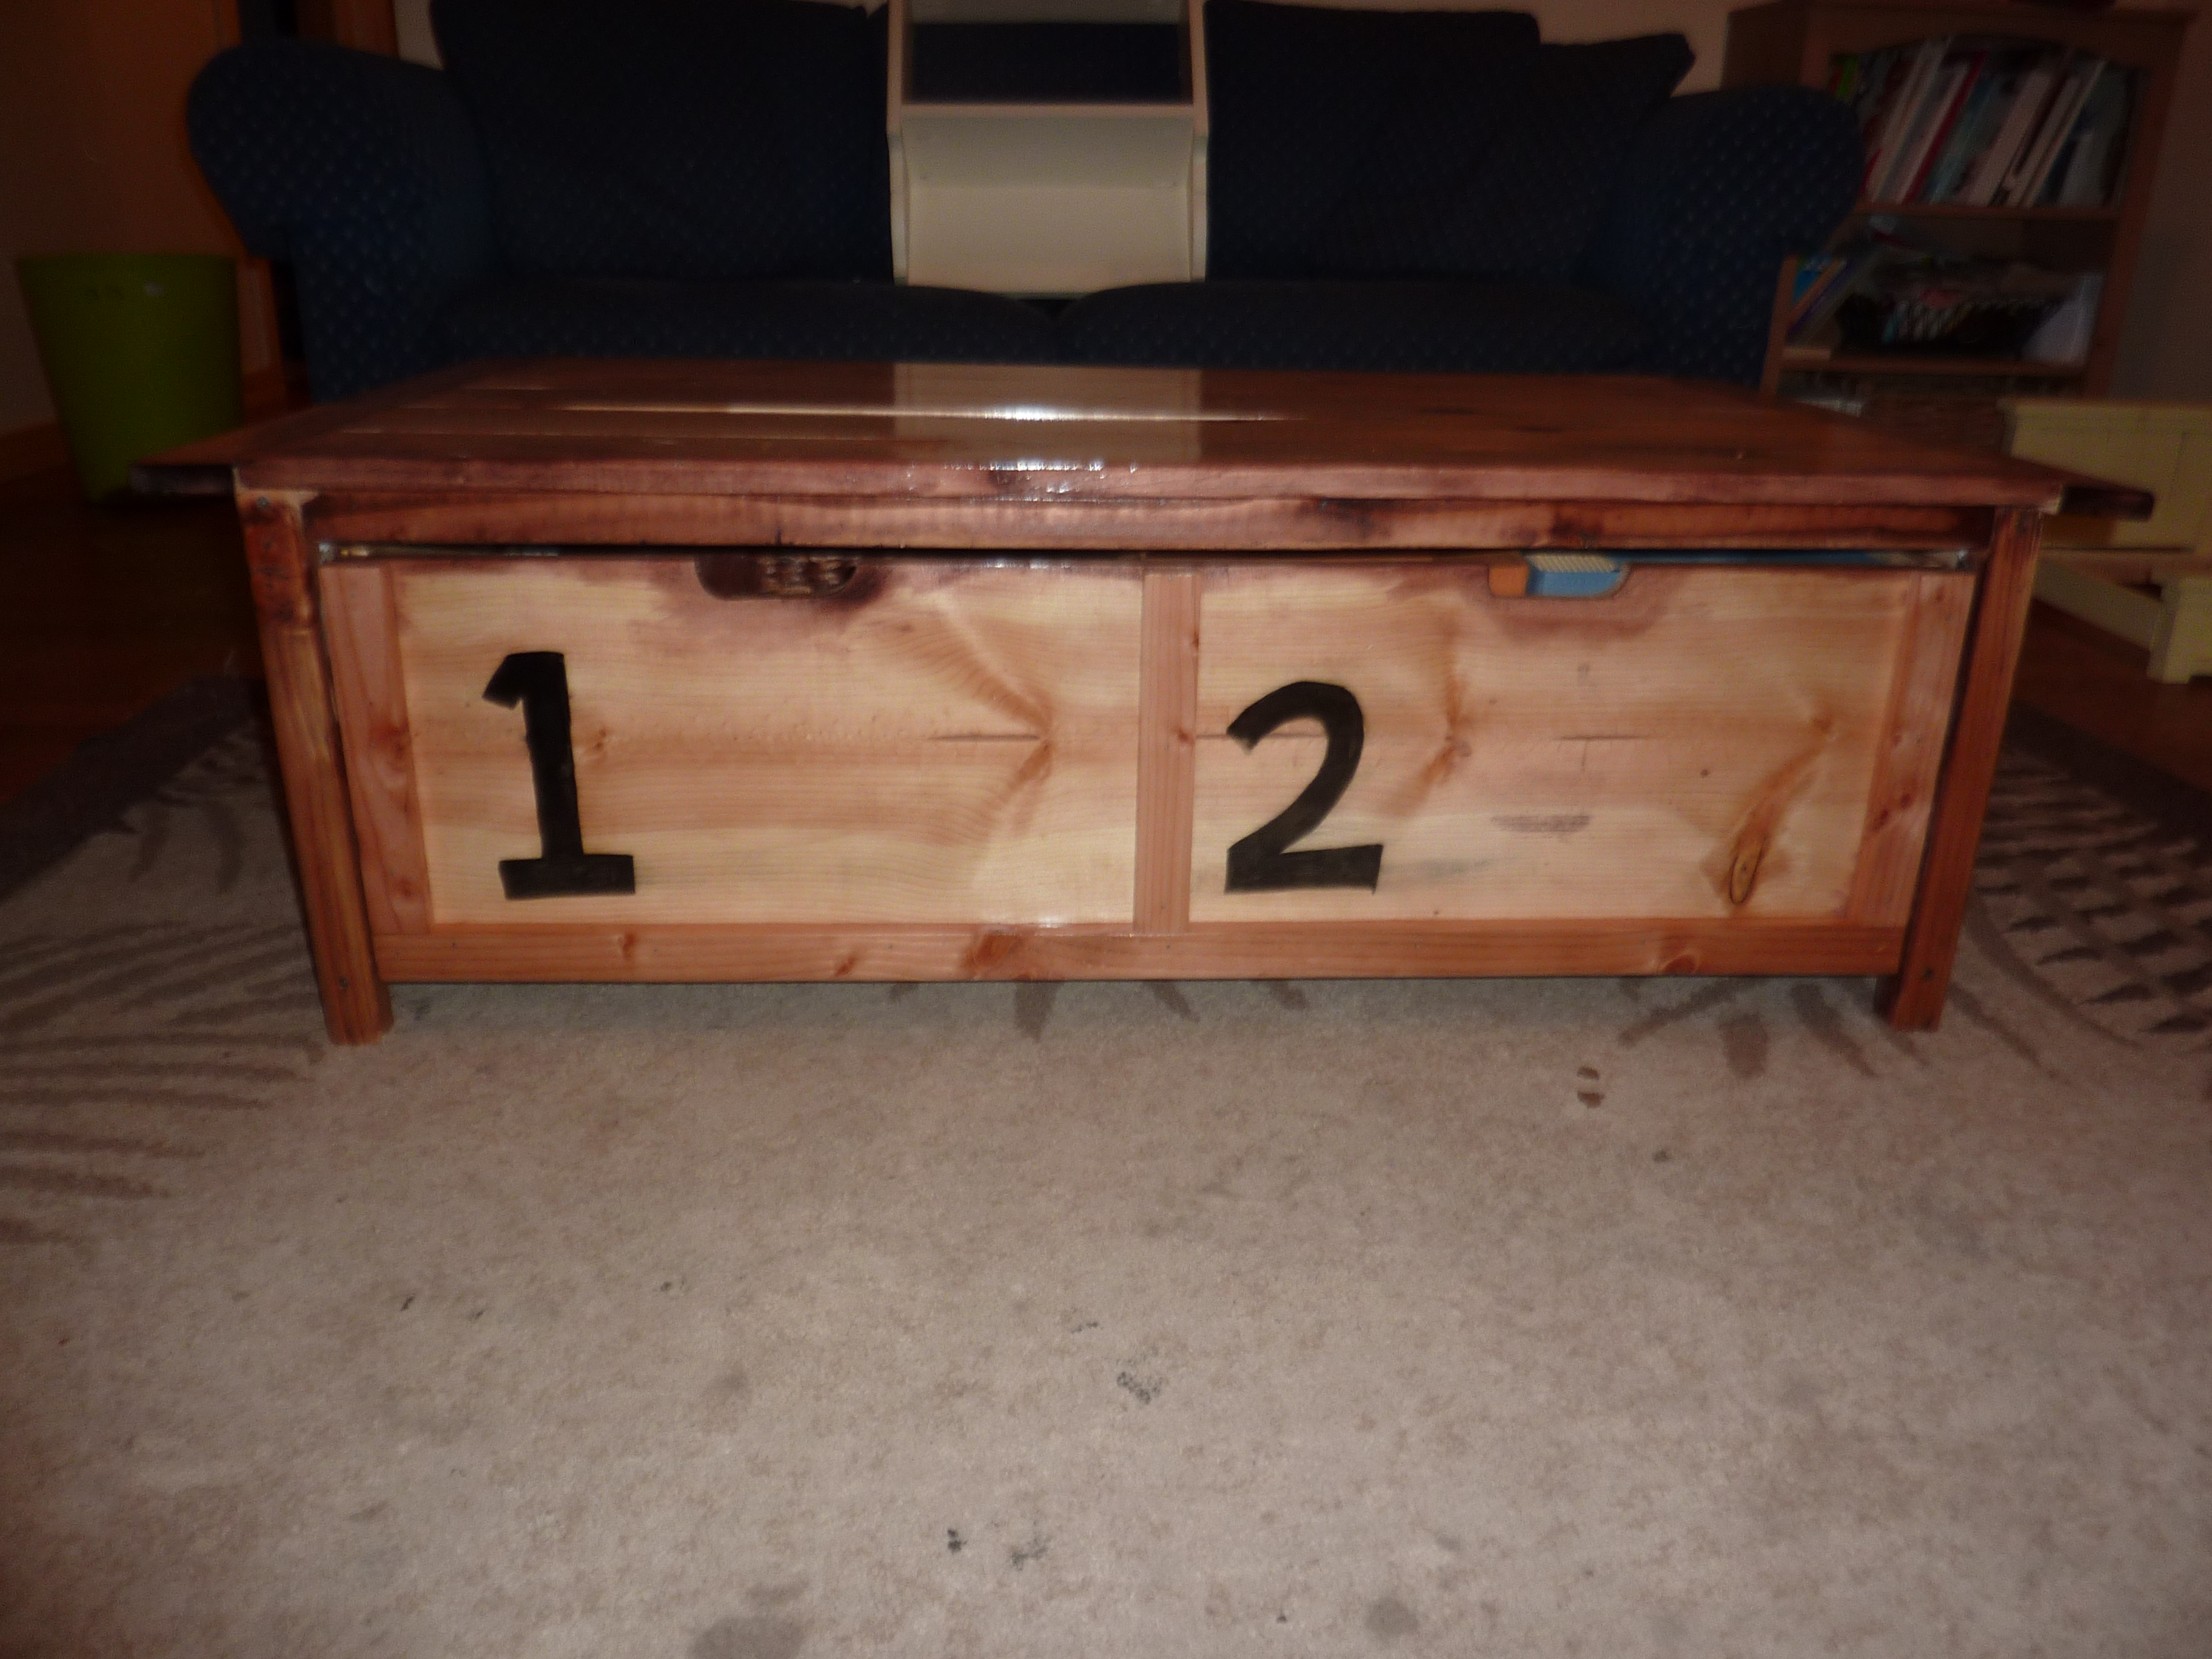
Loved making this coffee table and having somewhere to hide all the toys! Was my second project to tackle alone and I probably took longer than most. Only thing was it was a little wobbly for my husband and I so we took it apart and put in metal supports on legs. Sturdy enough that all 5 of my kids have been on there spinning around and it didn't budge. Much larger than you think!
Built from Plan(s)
Estimated Time Investment
Weekend Project (10-20 Hours)
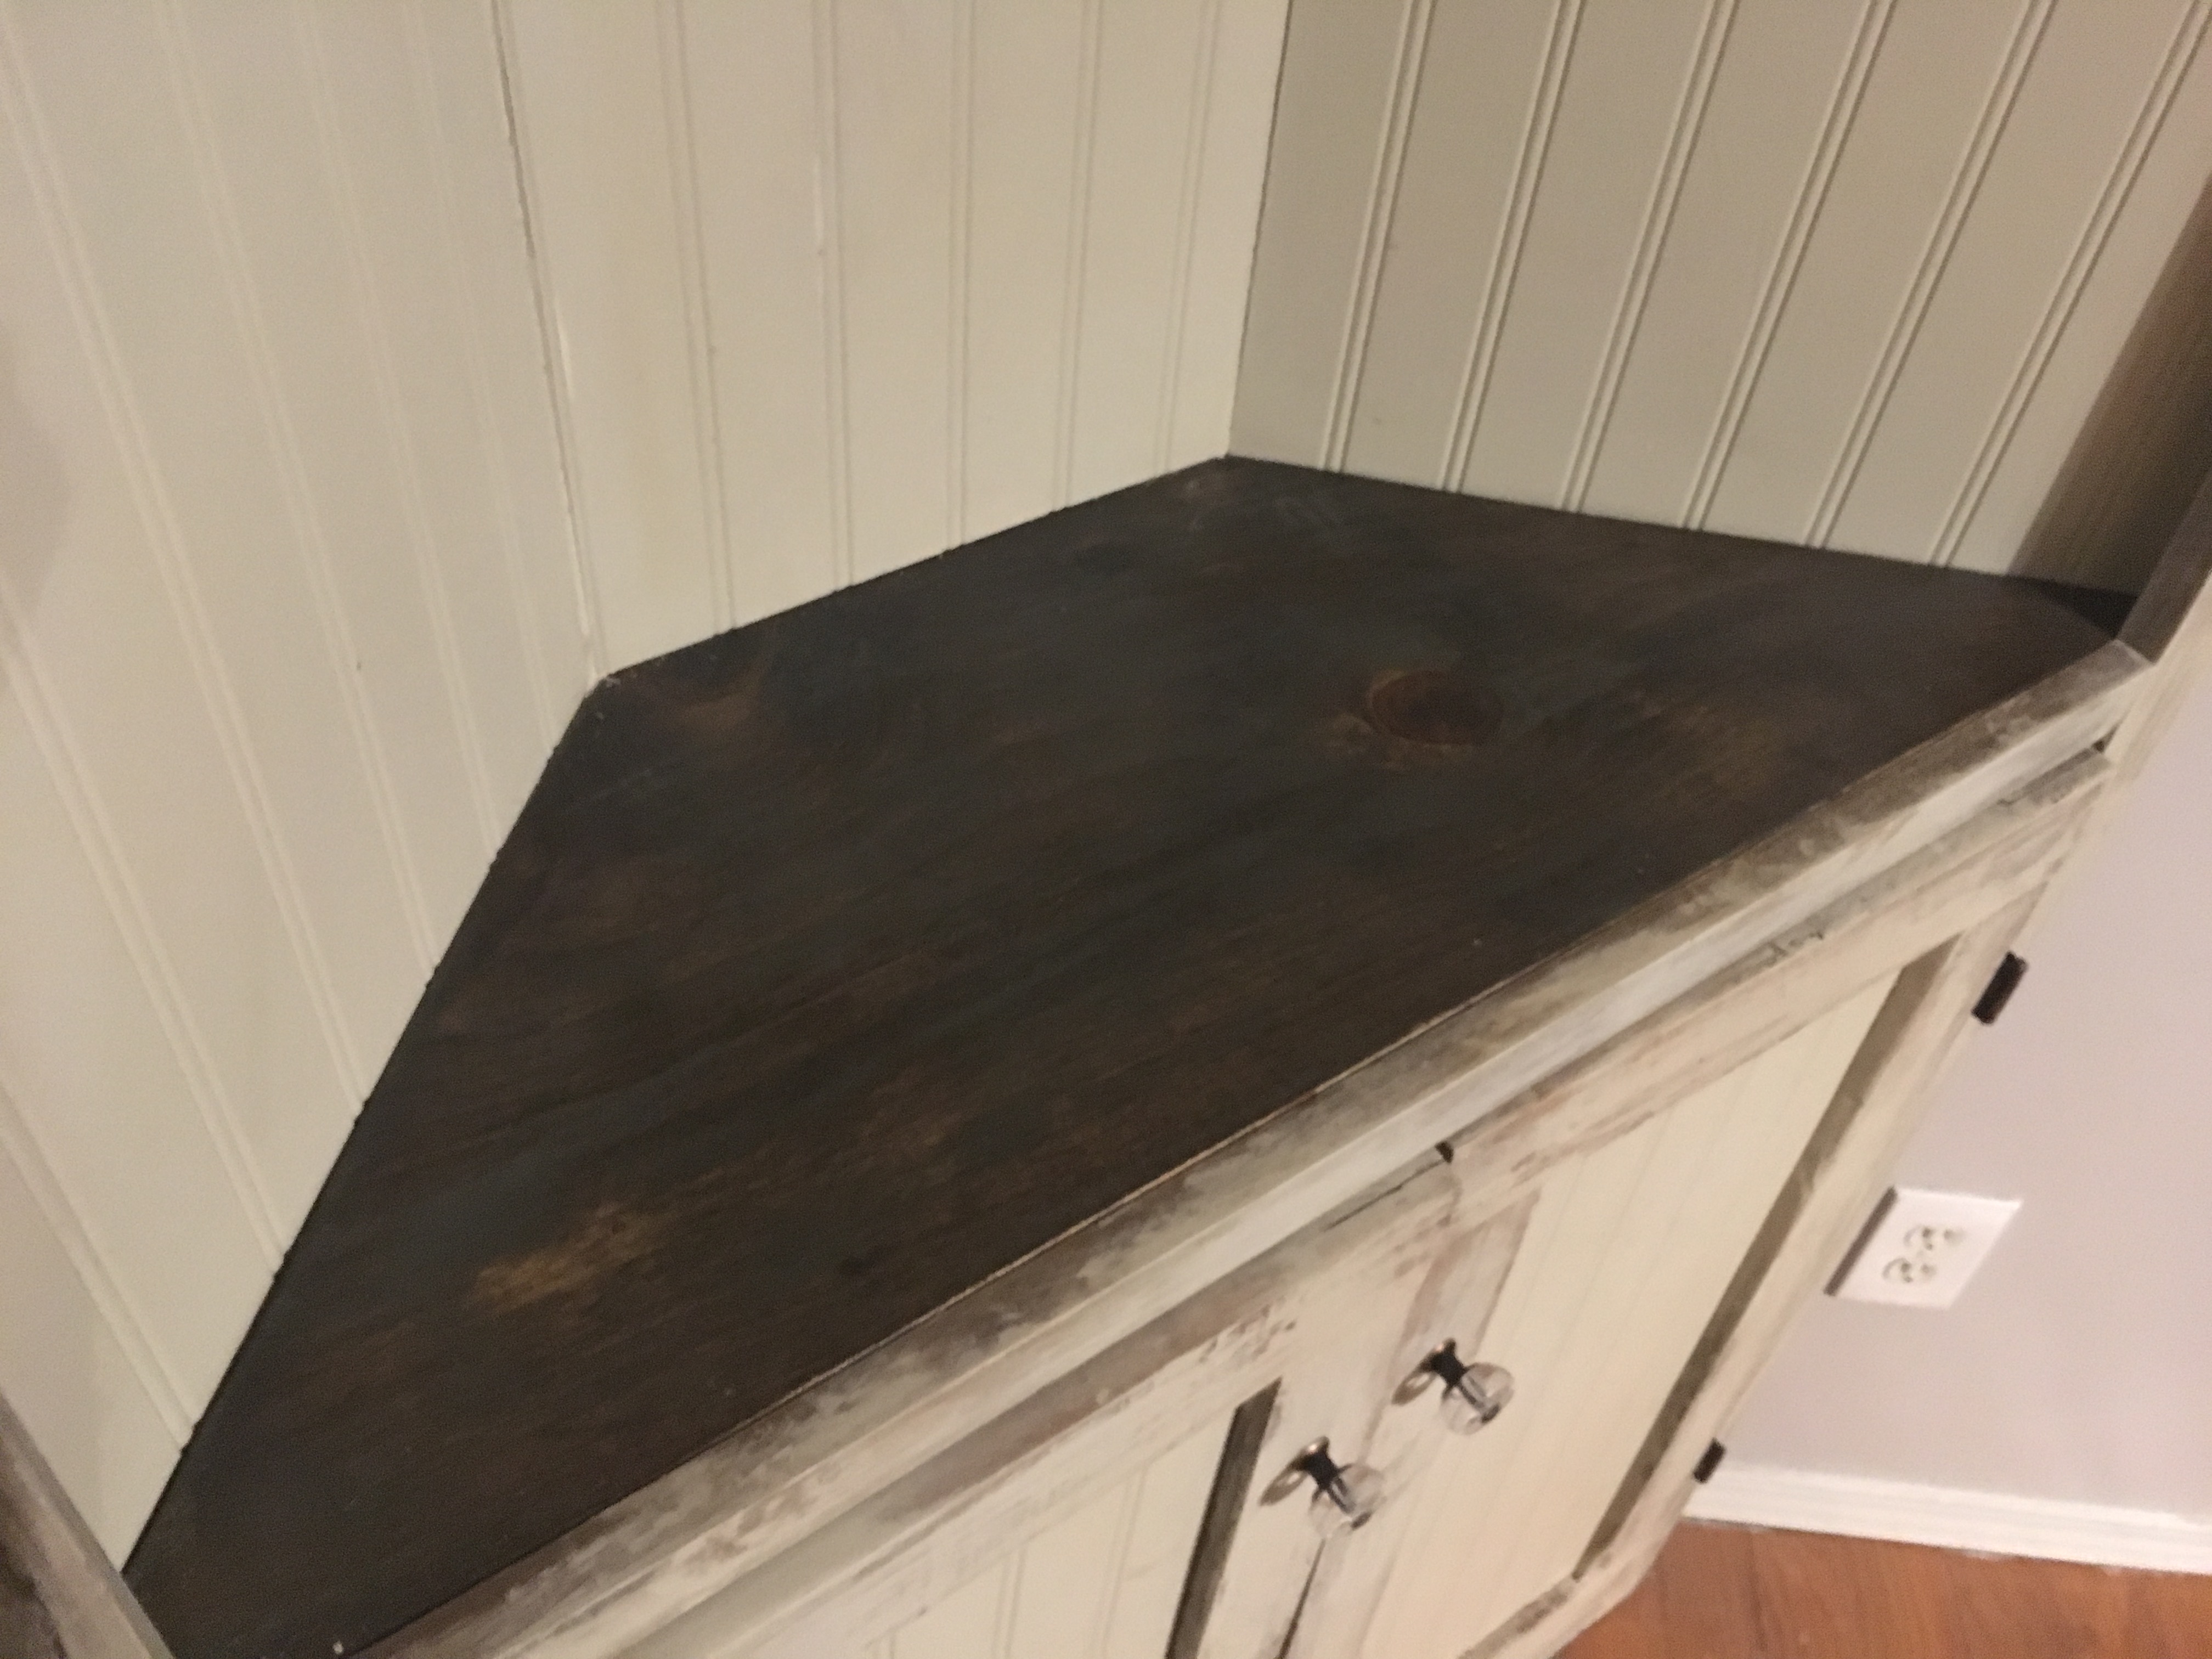
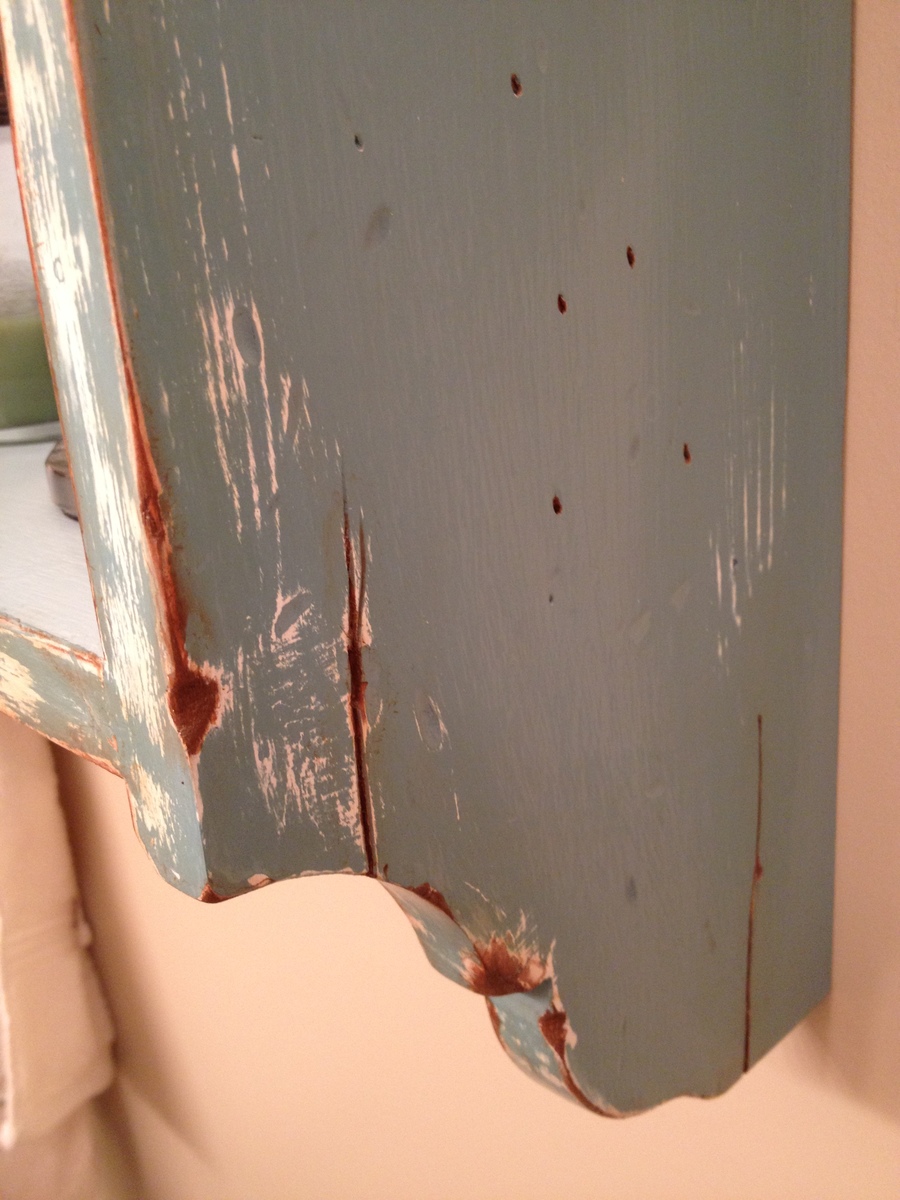
Finish Used
Minwax puritan pine and red mahogany. Permanent marker for numbers.
Recommended Skill Level
Beginner


Comments
Lady Goats
Wed, 01/23/2013 - 14:51
Amazing job!
Especially for a second-alone-project! I'm usually partial to darker stains, but I kinda dig the medium stain you used, too... Maybe I'll have to start lookin' into those!
jjsarkinen
Wed, 01/30/2013 - 09:36
Thank you
Thank you! I've seen some of your project and I am always blown away by what you build. :)