Sawhorse Desk
We were looking for a temporary desk to fit in a space next to our fireplace until we can build some built-ins. We modified the width and depth to fit. This was super easy. We love it.
![](/sites/default/files/3154820560_1358540092.jpg)
![](/sites/default/files/3154820559_1358540092.jpg)
We were looking for a temporary desk to fit in a space next to our fireplace until we can build some built-ins. We modified the width and depth to fit. This was super easy. We love it.
I built two of Ana's "Modern Outdoor Chairs" and adjusted the plans to accommodate 24" in cushions. We're pleased with how they turned out and have gotten great use out of them. Thanks for the plans, Ana!
This set of tables is exactly what my fiance and I were looking for. Its rustic knotty look pulls the room together and glows a warm colour when the fireplace is on. Thanks Ana!
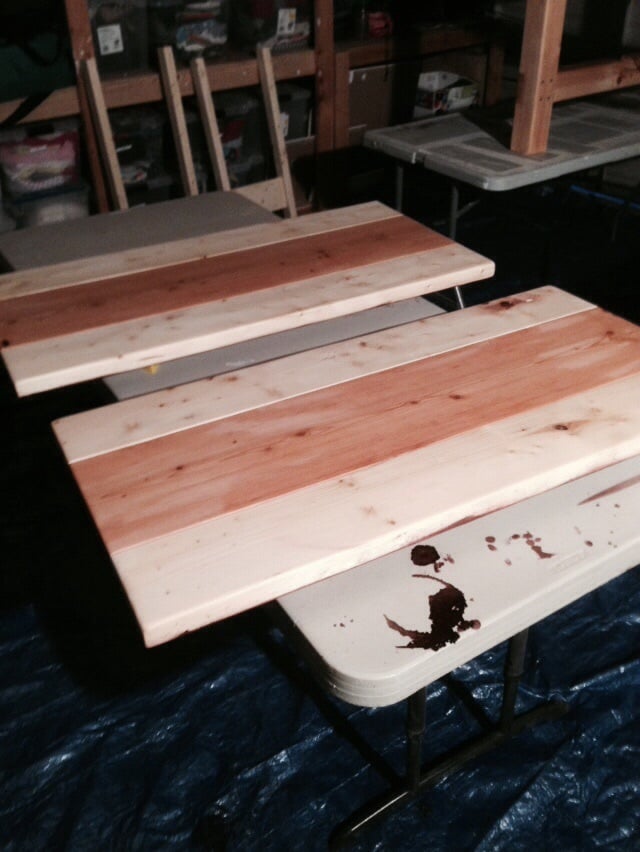
My wife and I just purchased a new home with our first dining room. While debating the expense of buying new dining room furniture we decided that we should try a do-it-yourself project and were lucky enough to stumble on Ana's website. While we had never done any real woodworking (we made a cat tree once), Ana's plans and the accompanying comments were easy to follow and proved that even beginners can make cool furniture!
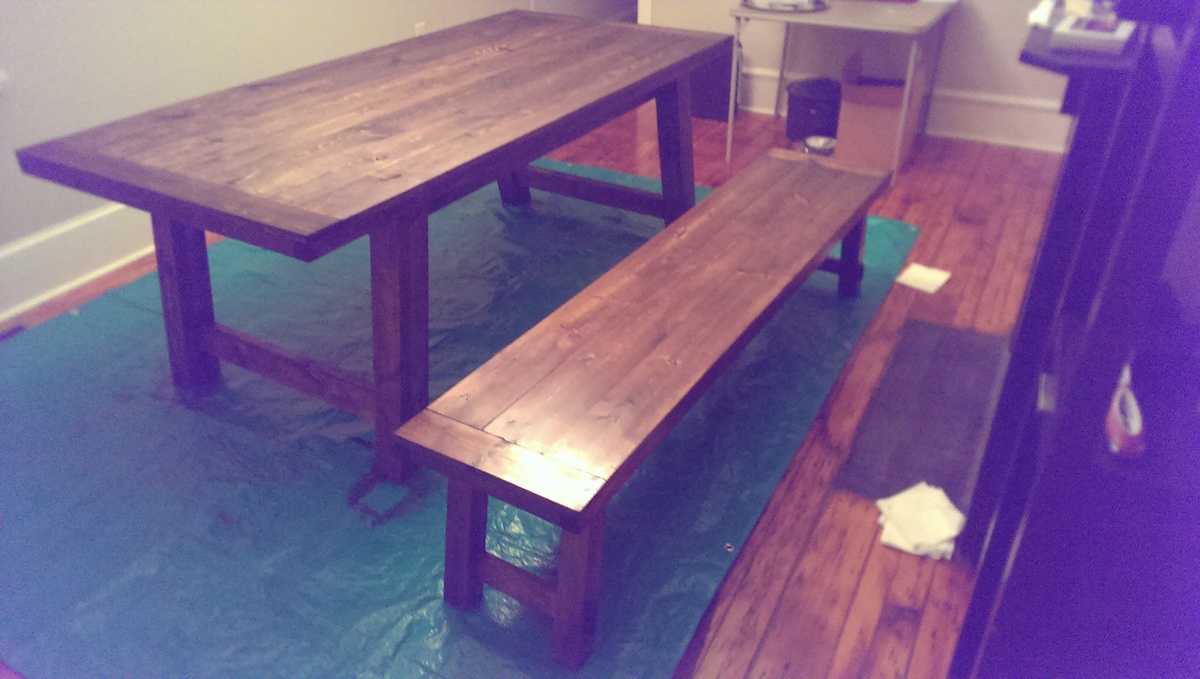
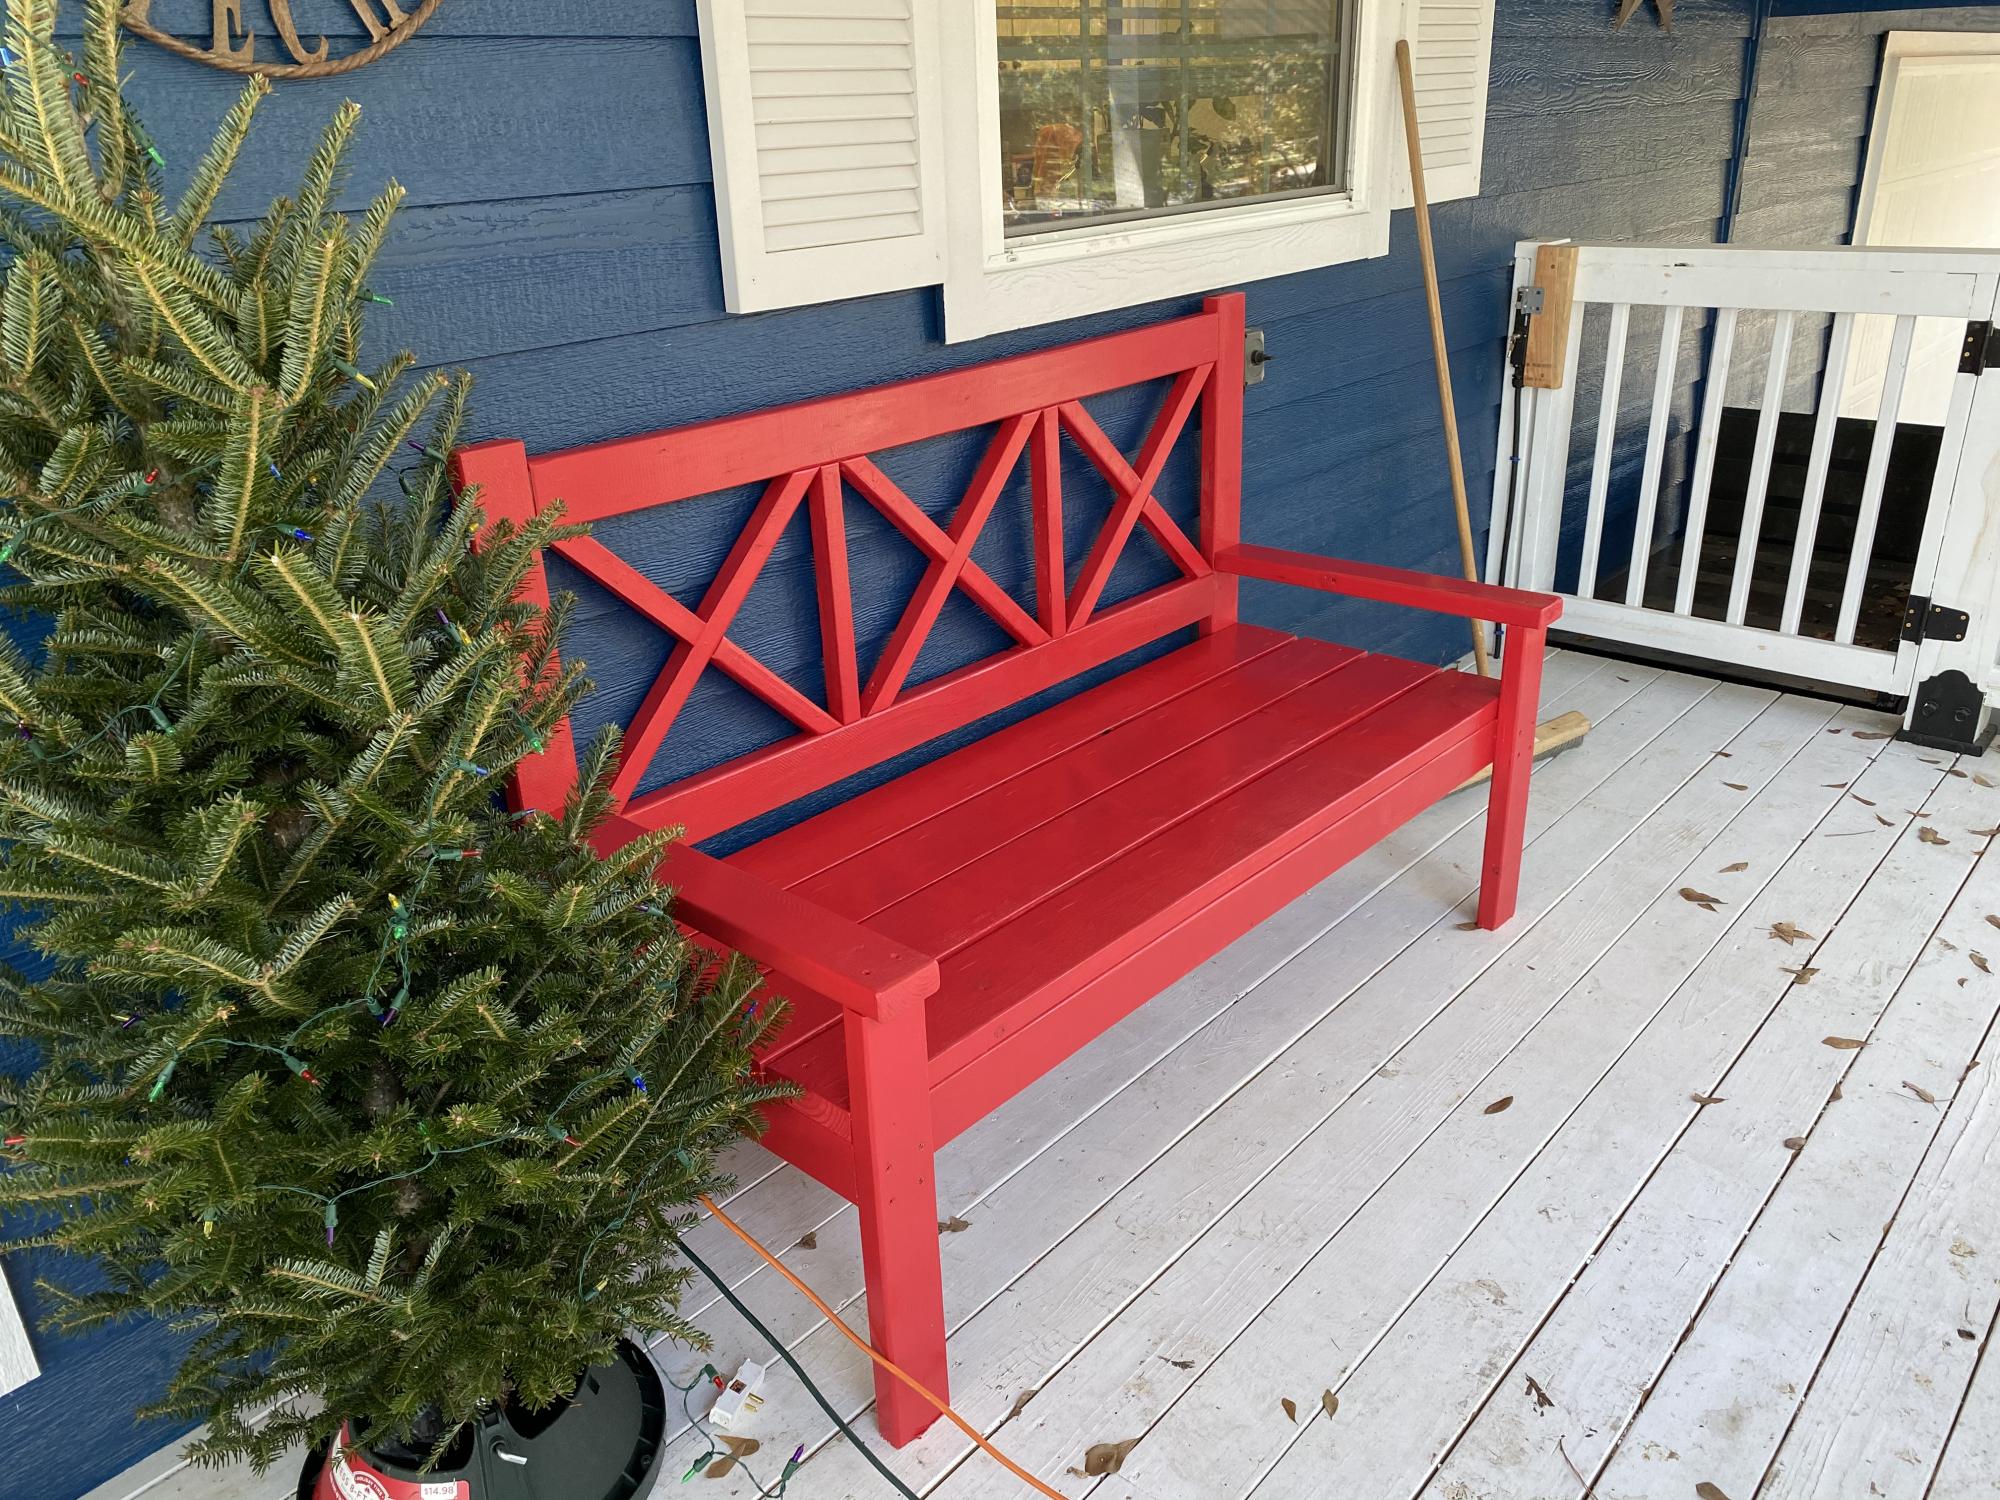
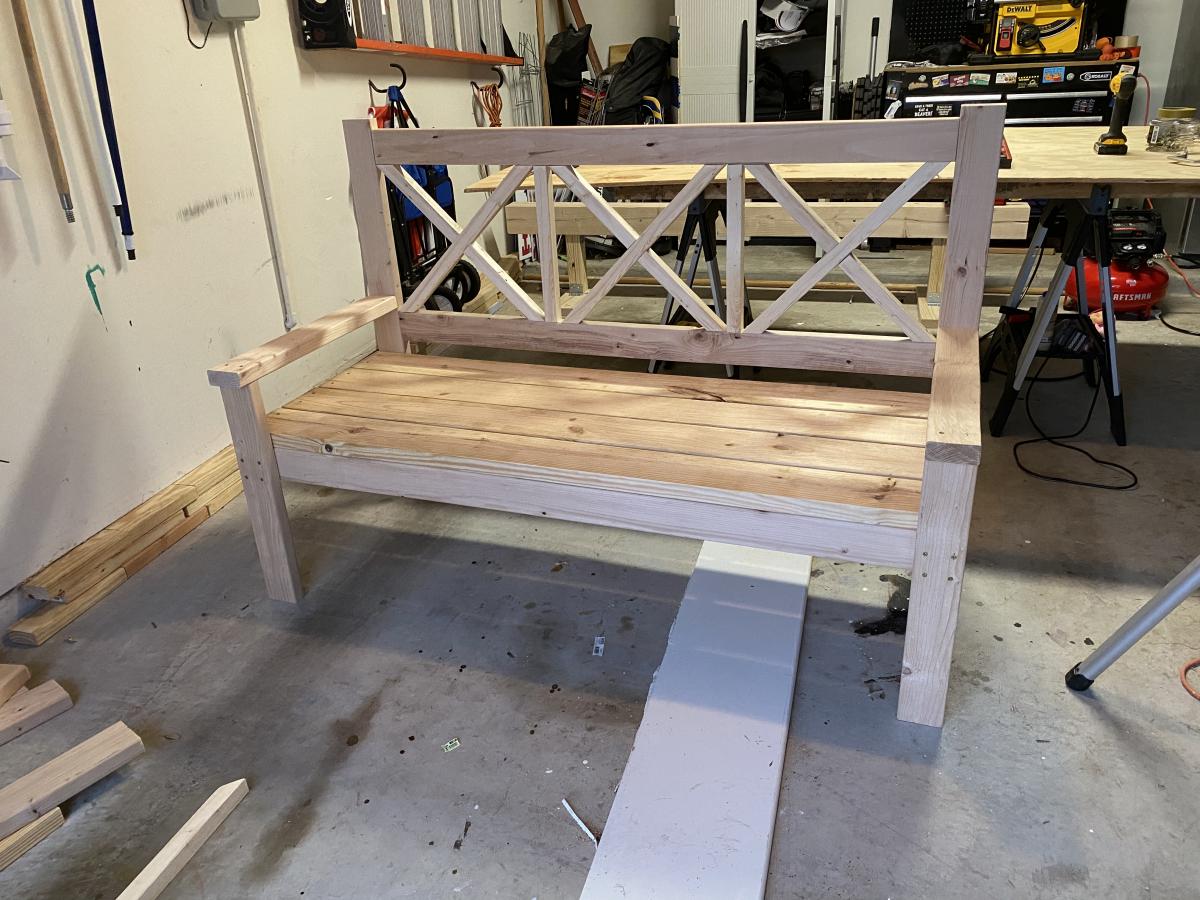
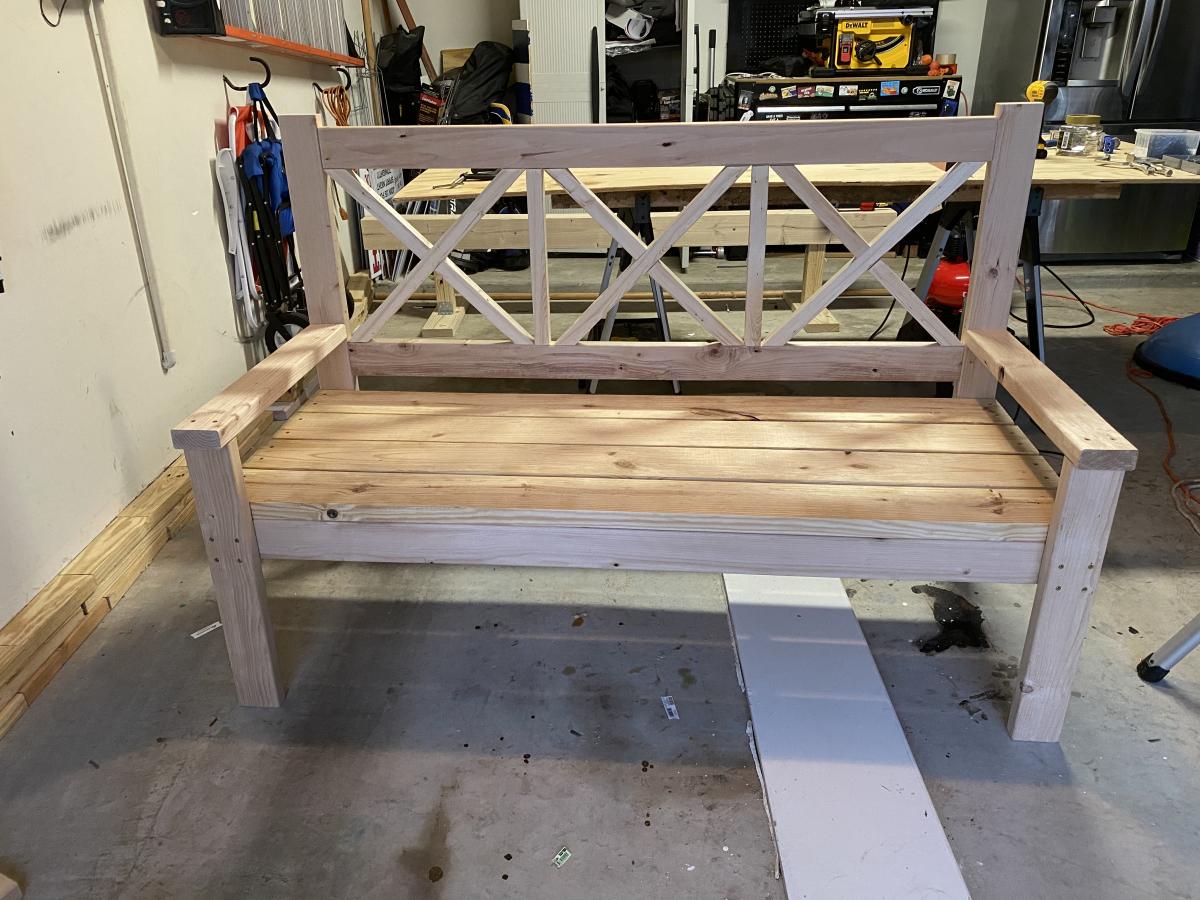
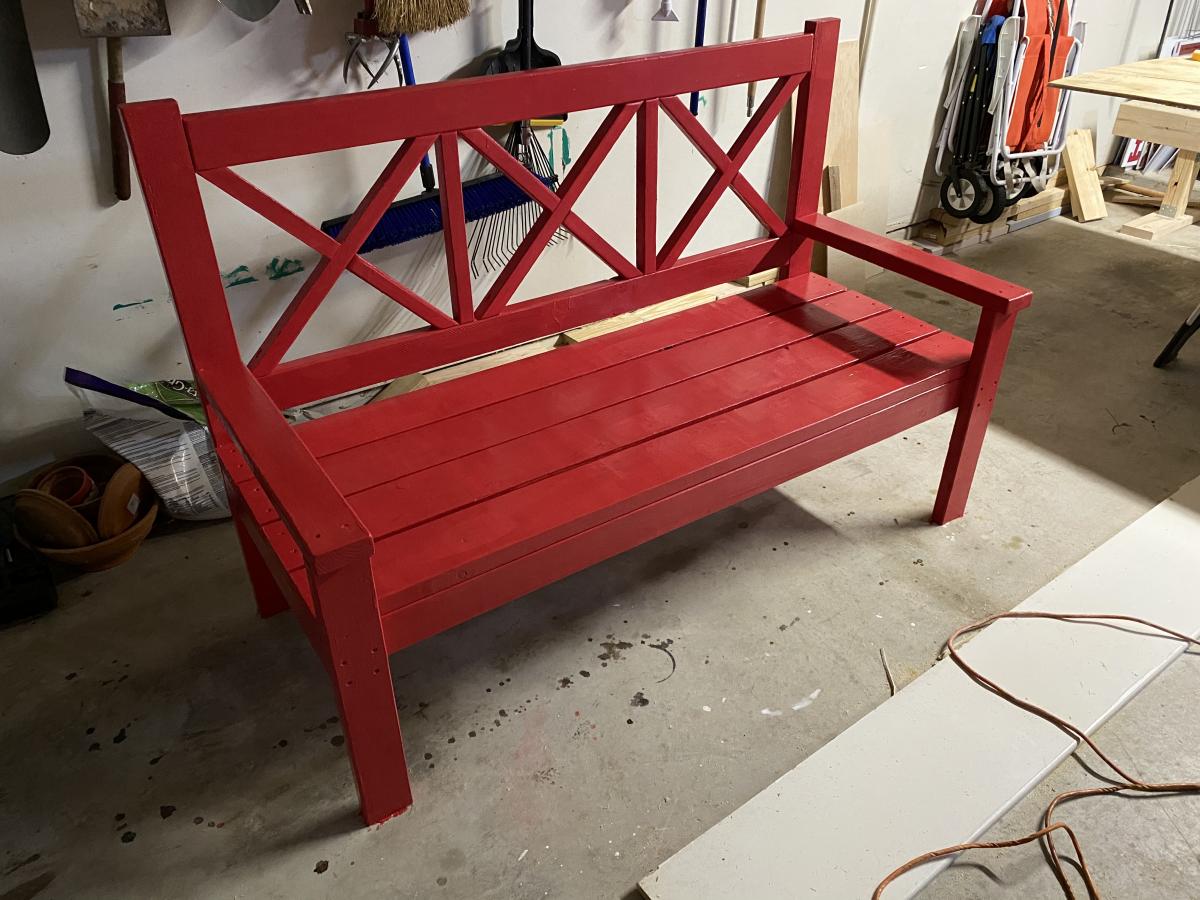
We built the bench first and managed to complete it in one weekend without much trouble. This helped us learn the basics of the tools we were using, especially the miter saw. The table followed.
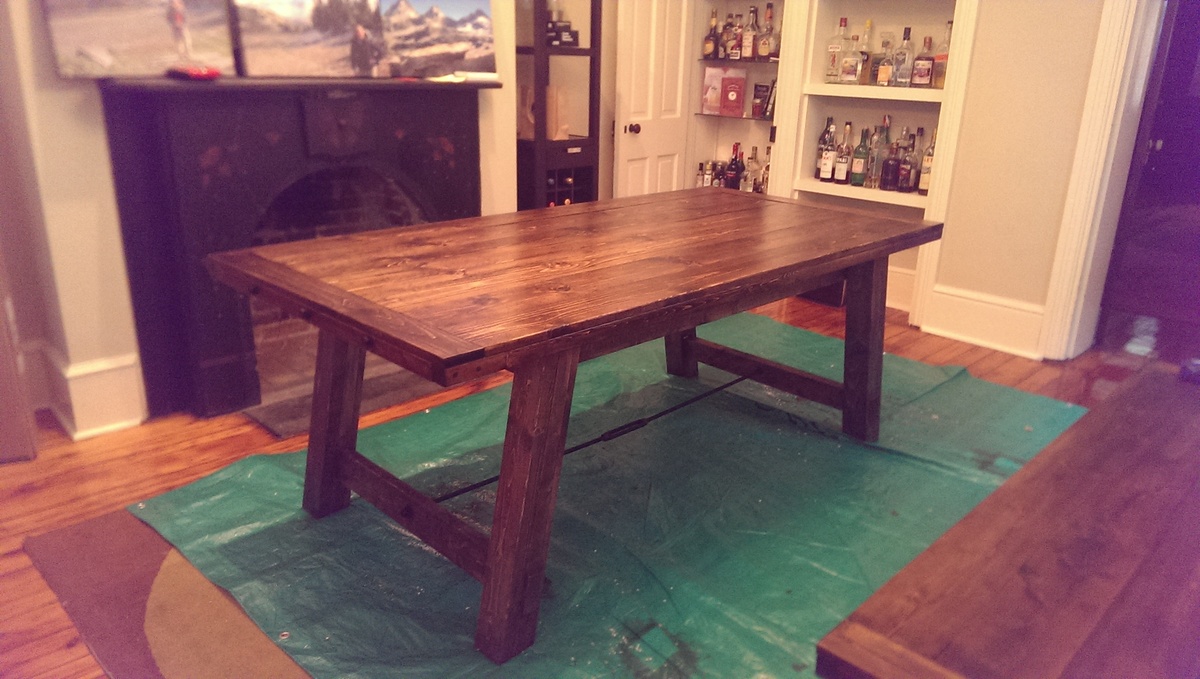
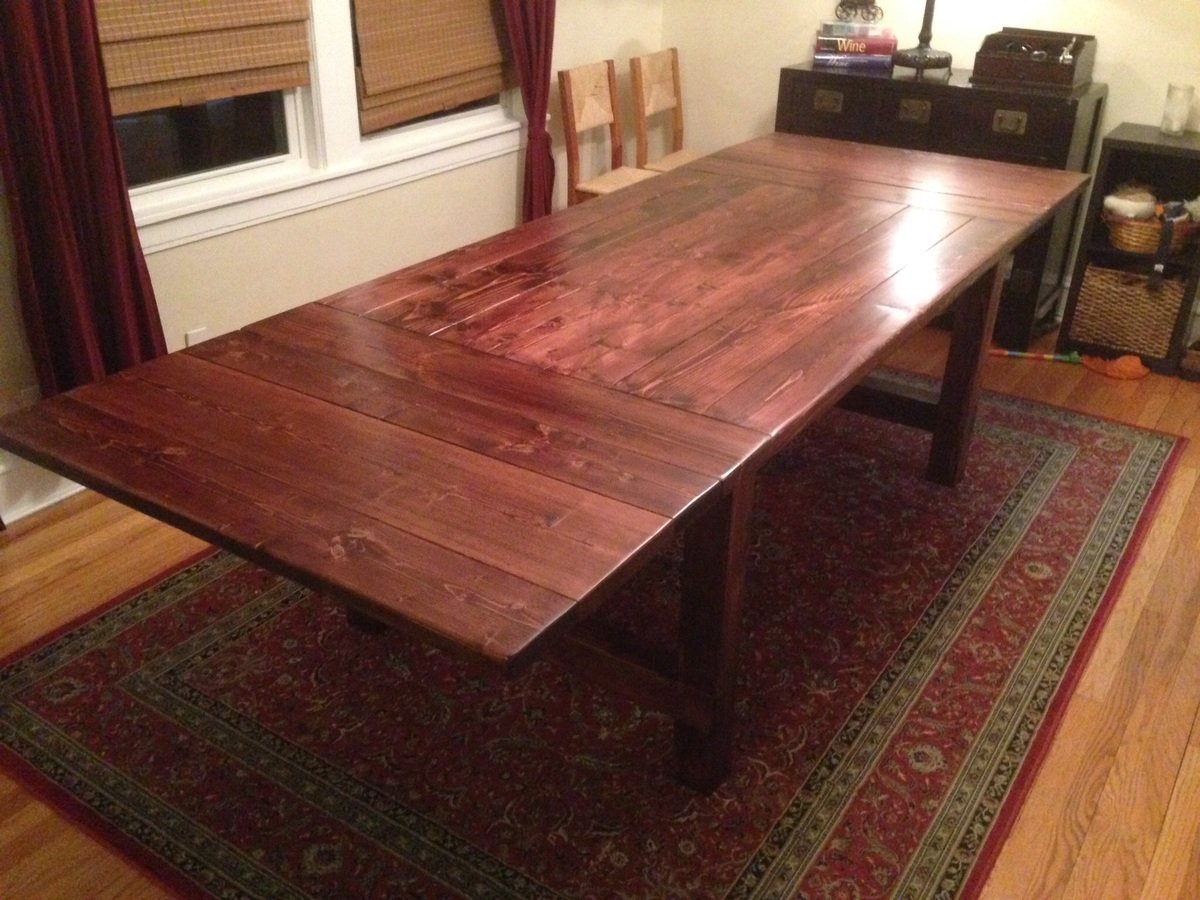
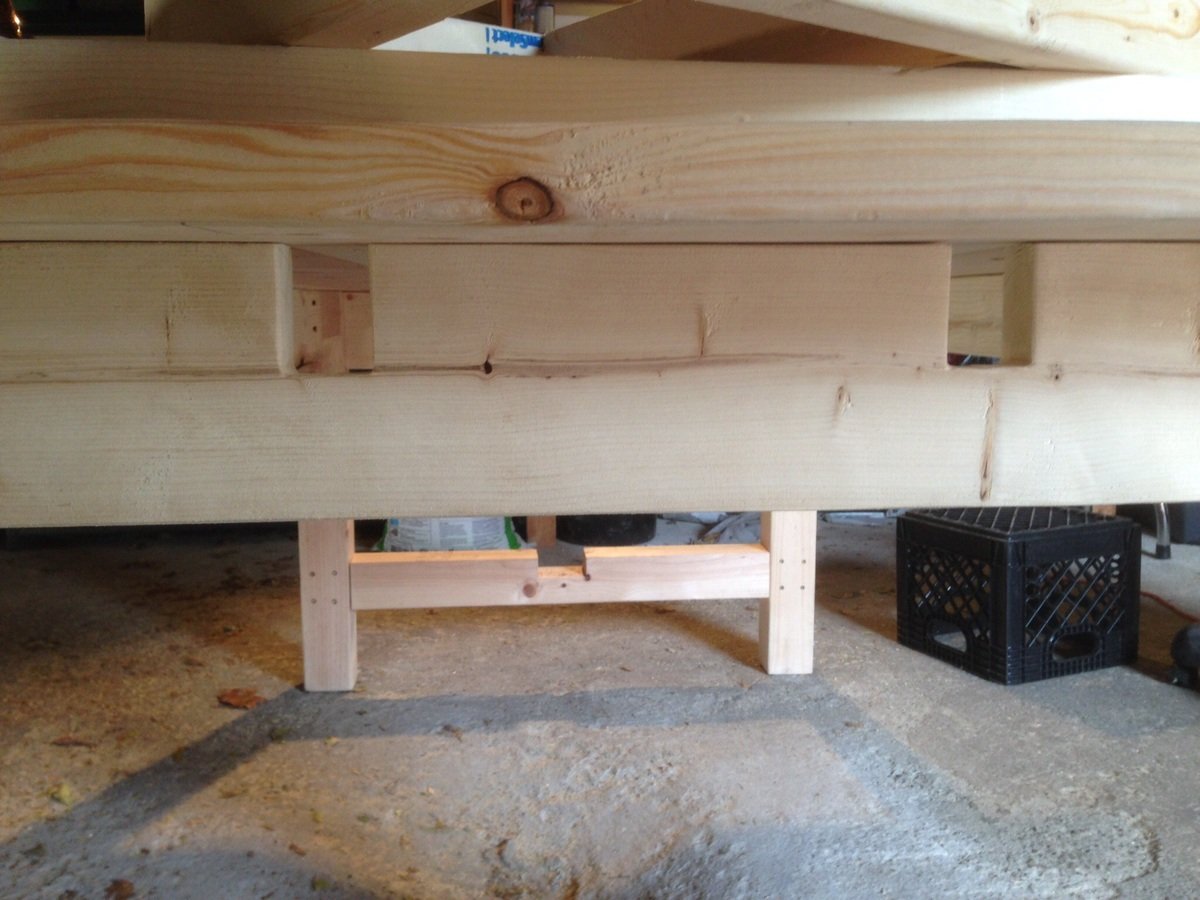
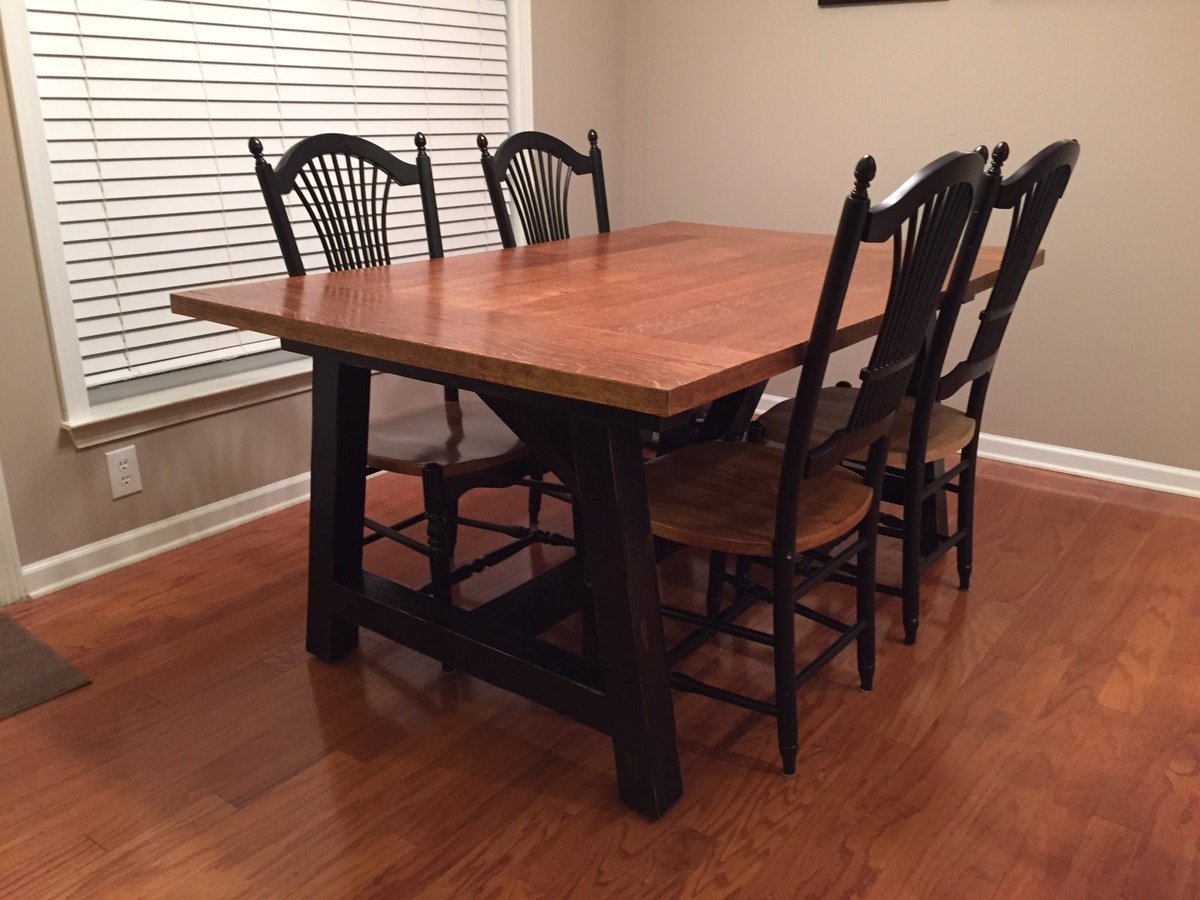
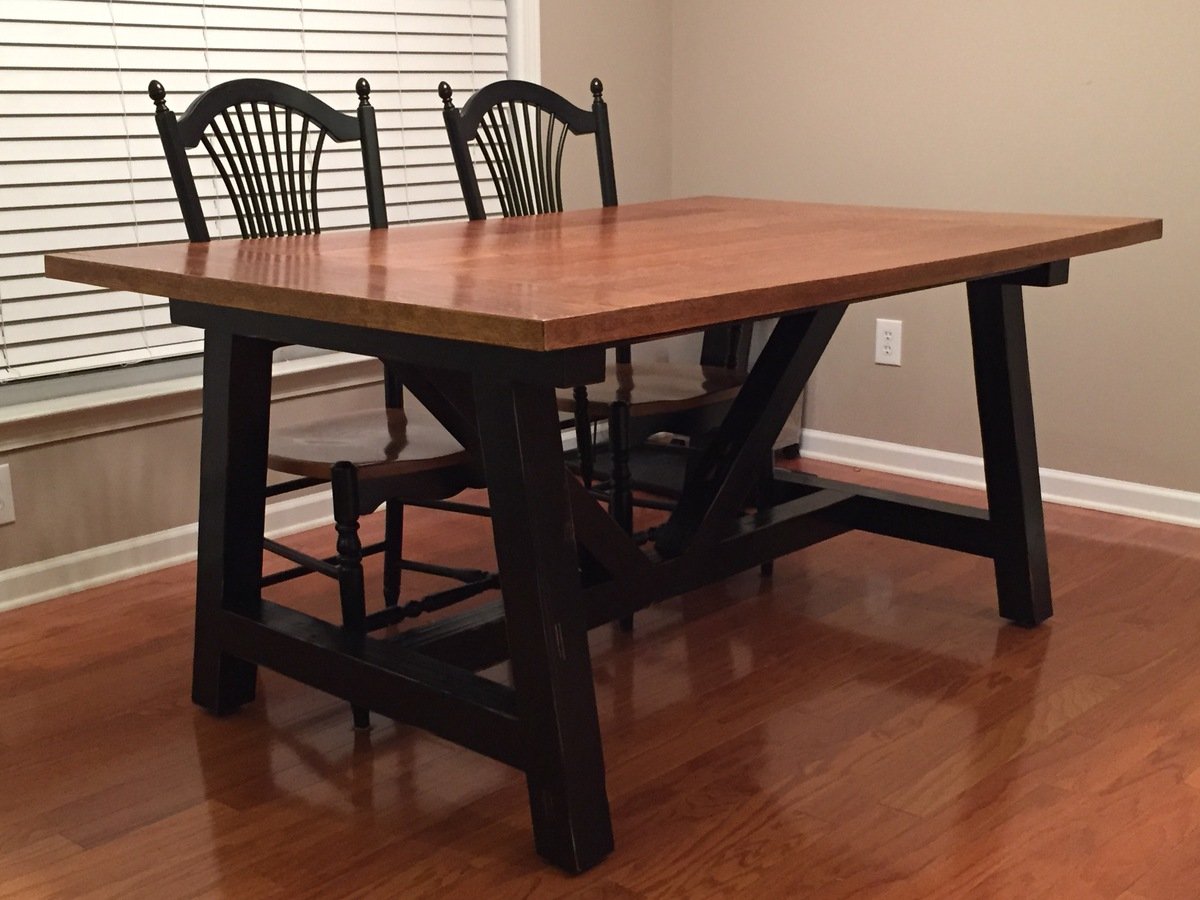
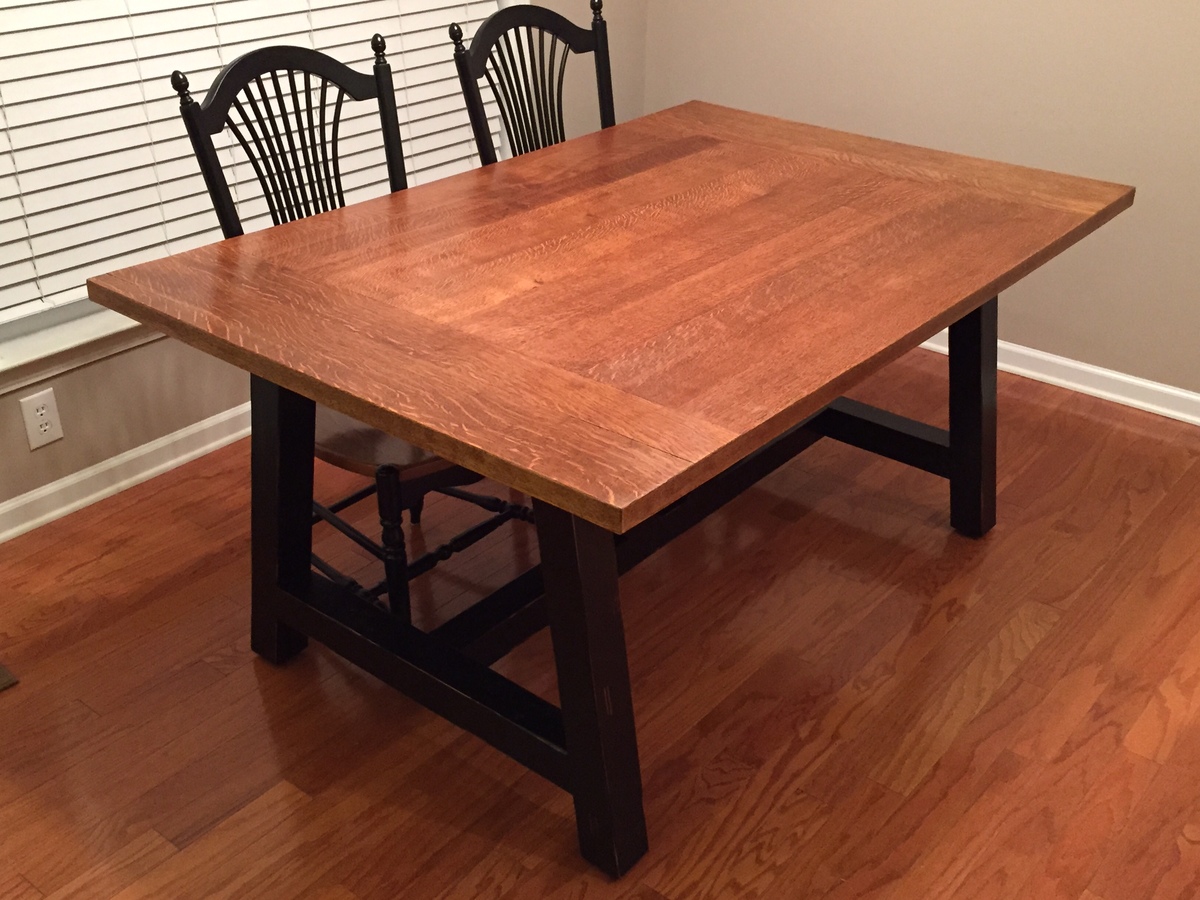
We wanted a slightly larger table and bench than those in the plans so that we could host more people and fill out the room. Our table is 78" x 38.5".
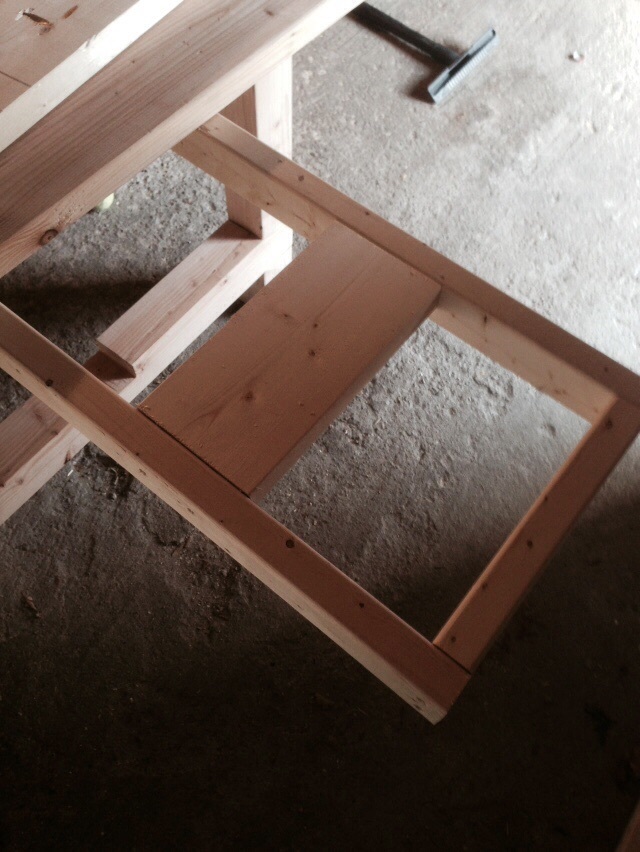
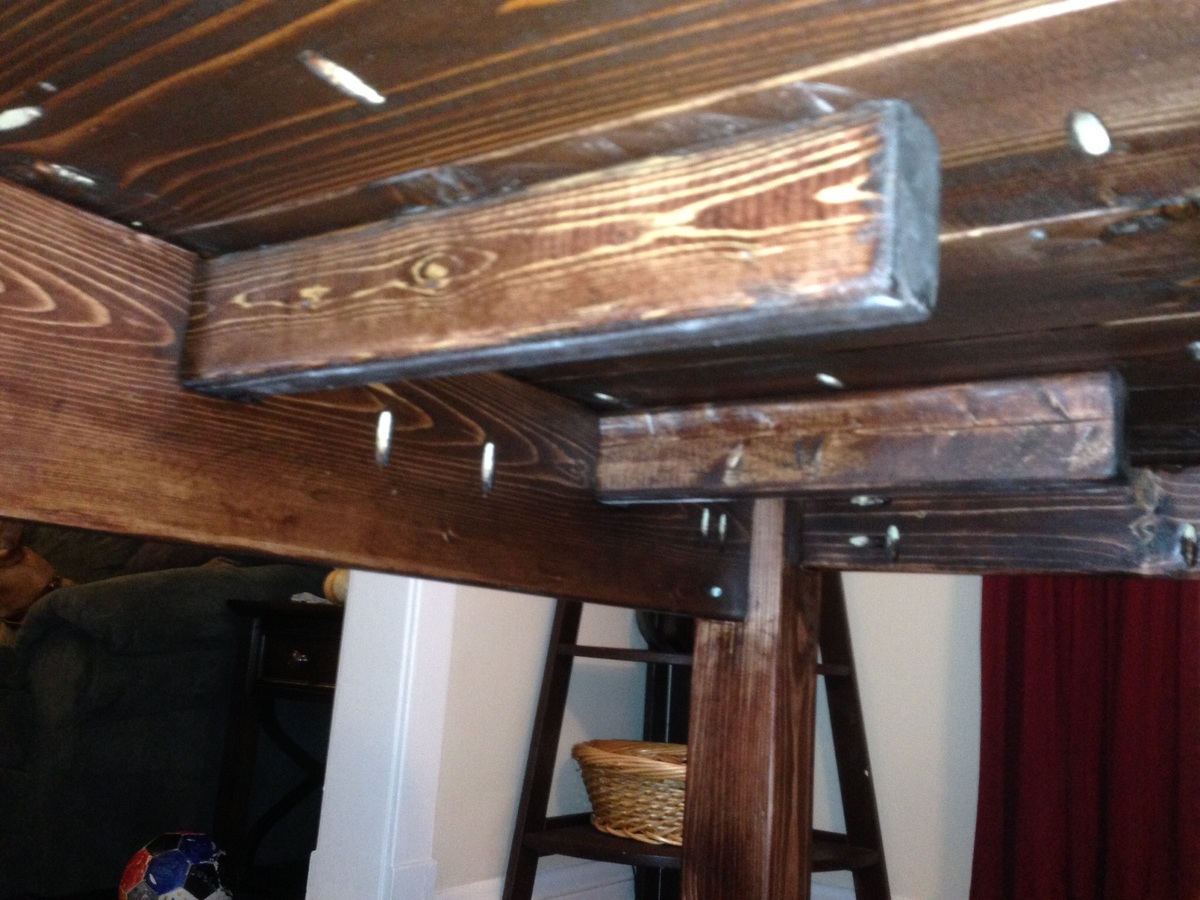
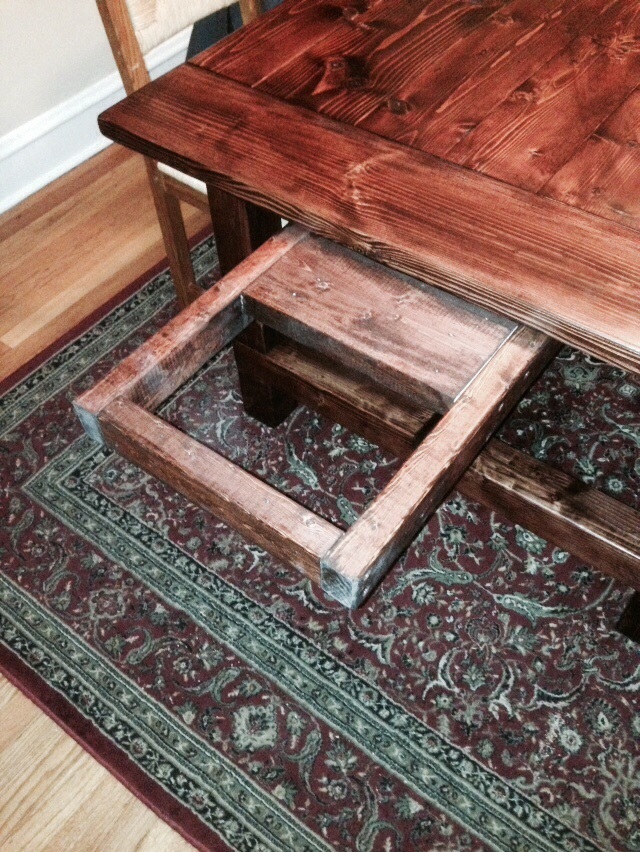
Increasing the width required adding an additional 1" x 6" on the table top. The only other change that we made was to extend the 2" x 2" on the side of the table the entire length of the table as is required in the bench instructions. We thought that this provided more stability for the bread boards. We used a threaded rods and turnbuckles on both the table and bench for the accent piece between the legs.
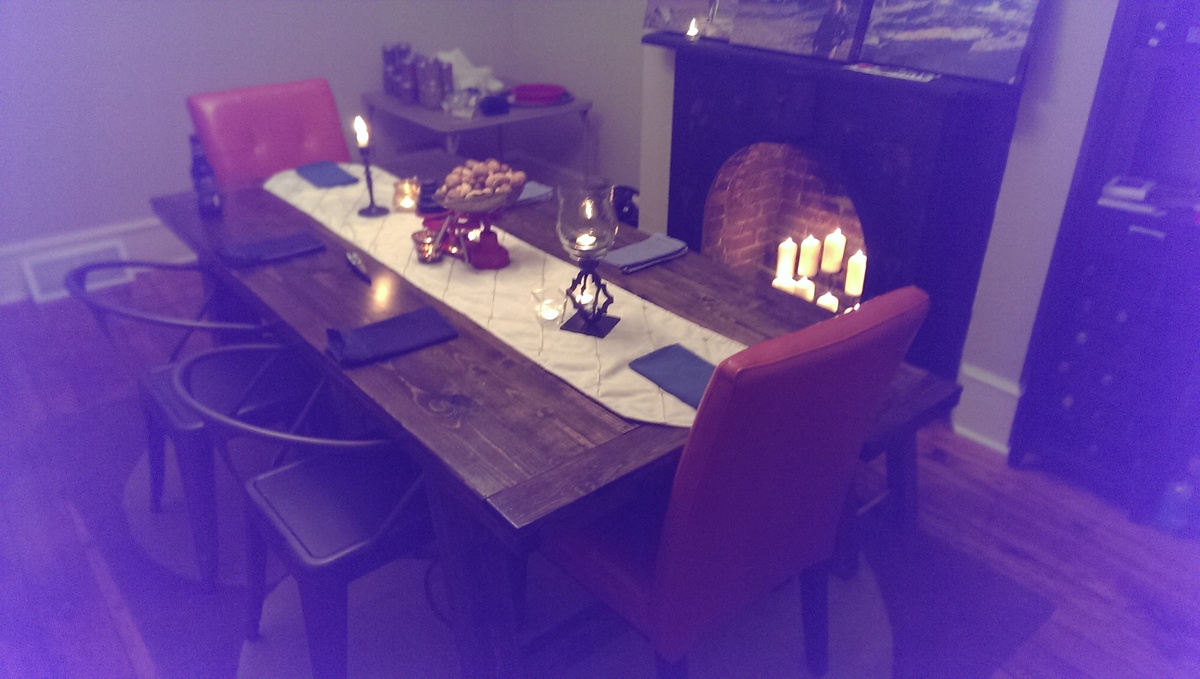
While we certainly had hiccups along the way, but we really enjoyed the process, and love the dining room set that we built. It was a really rewarding experience and now we're looking forward to building most of our furniture!
Special thanks the Ana for her plans and website. We couldn't have done it without her.
Mon, 11/17/2014 - 22:05
This looks great! You have a beautiful room too!
This took me about 1 1/2 week to complete. I'm active duty military so my hours are always crazy.... I didn't get this from any specific plans. If anyone needs guidance feel free to get in touch with me.. you can also follow my work here...
First time doing something with a face frame. Painted with chalk paint and finished with black wax
Modified the main table by knocking down the length one foot. Slightly reduced width based on lumber used by about 2 inches. Added two extensions. Used 2x4s for side aprons and 2x6s for end aprons. This allowed me to notch 2x3 (lumber size) holes in the ends to slide extension arms in. Arms held by friction and torque so if you do this make the holes tight. Don't over stain or poly. Slide wax candle on arms to help them slide in. If lose you can install a latch on arms under table. All items from Home Depot. Last photo shows dry fit of extension prior to screwing on top from the bottom. Gave me best alignment. If you haven't paid it forward for this great FREE site, do so by ordering Ana's book a Handmade Home. Making the coffee table I found in it this weekend. Good luck all and if you are wondering if you should? Yes, you should.
Tue, 11/18/2014 - 20:06
Ana's book is actually the Handbuilt Home!!
I used the plans provided. I made a small change to the windows and made the bigger.
Porch bench for my parents’ new house.
Super easy project with huge results!
Took us 2.5 hours to build and about 2 hours of finishing work. Be sure to use a square as you position each panel.
Thanks Ana!
Here is my latest project completed. I took the table that belonged to my wife's parents and re-purposed it. Took it apart, stripped it, rebuilt it into a farm style table, and refinished it. Put it on top of a base that I built, painted and distressed. Turned out solid as a tank. Broke bread on it for the first time tonight. It should last for a couple more generations!
Intermediate project. It is not specified how to attach the top but I would recommend using the Kreg Jigg on the outside ends. Beautiful and spacious amount of storage.
Started built from https://www.ana-white.com/woodworking-projects/stocking-stand plan.
My finished product is mostly the same, except I added a little to beef it up. I added decking board size wood for the feet to give it more stability. Santa leaves heavy things in sticking sometimes. I wanted to be prepared! 😁 I made the top 2x4 flush with the top of the sides and added a 1x6 across the top like a shelf. If I get to do it in time, I'm going to add a 1x8 (or 2x8) stained a dark wood color on top and may add a little trim between it and the 1x6 to beef it up. I love it! Might be able to repurpose someway during the rest of the year. Thanks Ana White for the plans!
Made from leftover 16x24 and 12x12 tiles from my daughters bath room remodel and leftover treated 2x4's and 1x6's. The legs and cross pieces were ripped from 2x4 and attached using my Kreg JIg. I glued the tile tops with silicone Calk and ripped 1x6 's for the shelf bottoms and nailed them to the lower cross pieces. Opposite side cross pieces were 3/4 in lower to accomodate the 1x6 shelf to make it even. The width and length of the tables are 1 inch less then the respective tiles to allow a 1/2 inch overhang each of the tile tops.
Click the blog link for a full description of this project. Thanks for looking! - Clint
This project took me a couple weekends and turned out great.
This is our first project. My wife was searching the Internet for a small desk to buy/build after we decided it was time for the little one to have a dedicated art station. She was previously using a small chair in her room. Followed the plans with the exception of making it 18" tall instead of the 16" the plan calls for.
Overall it was very easy. But definitely attach the hinges before finally assembly of the bottom frame. That took about an hour to put 4 screws in with fingers, screw bit, and a wrench.
I built and my wife painted.
Thank you Ana White and everyone for their follow up comments.
Nick
So easy to make!
My first project. I didnt check for squarness so my board cracked on the bottom but i still think its pretty:)
This was made for a bedroom at our cabin. Nice extra large drawer and storage baskets. My favorite finish colors so far!
Mon, 12/21/2020 - 11:41
I used a bar of soap to make the drawer slide nicely
Fantastic project! Our first ever woodworking adventure and it turned out beautifully!