Community Brag Posts

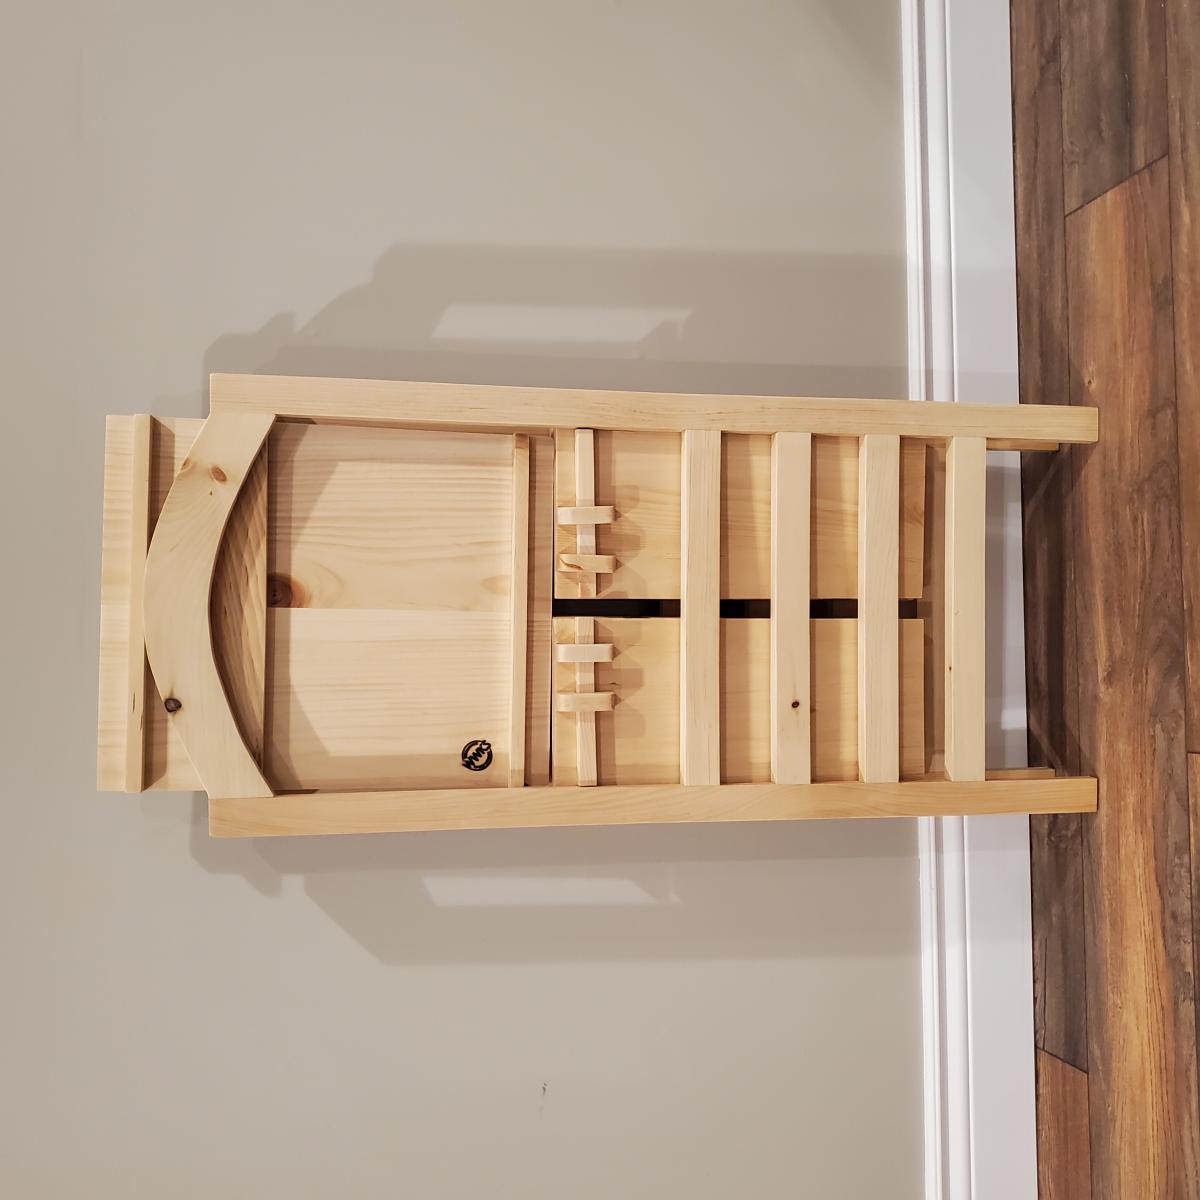
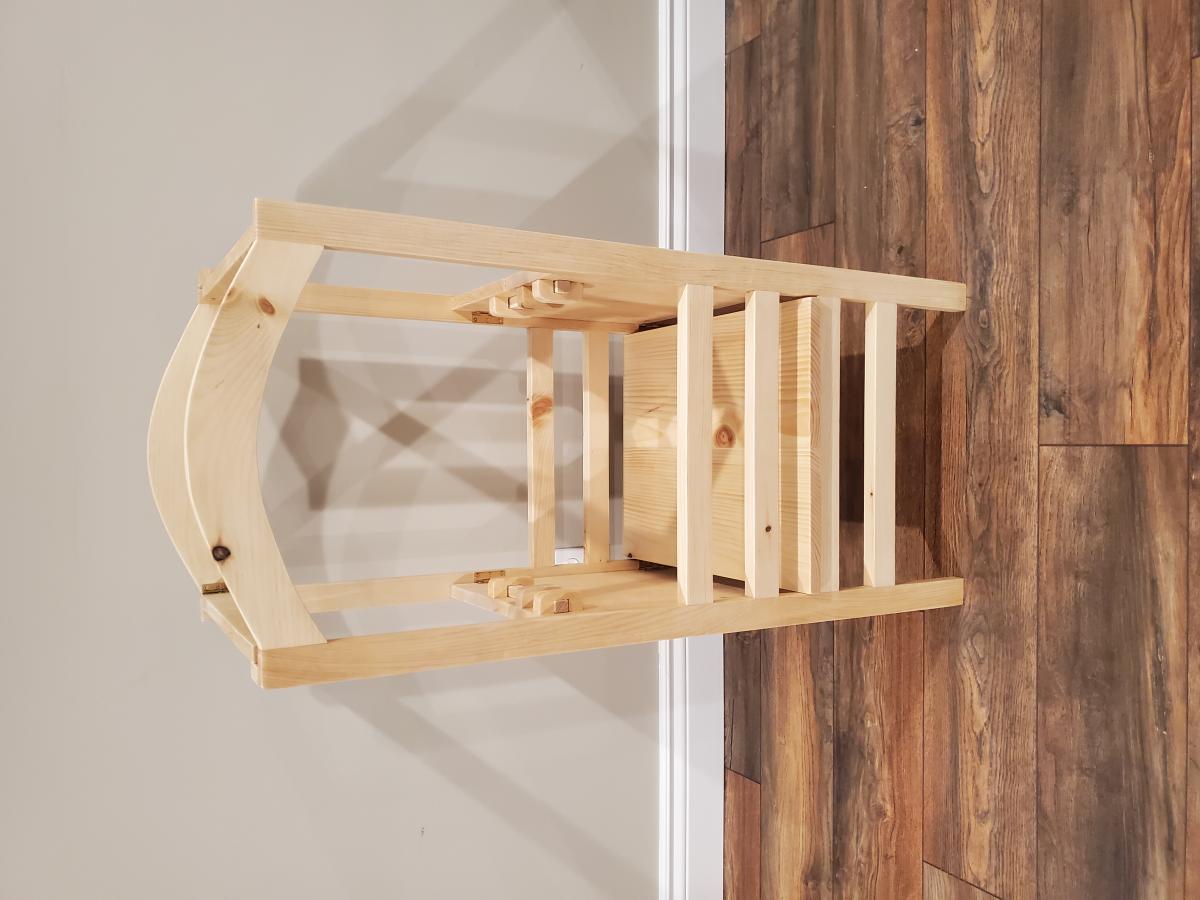
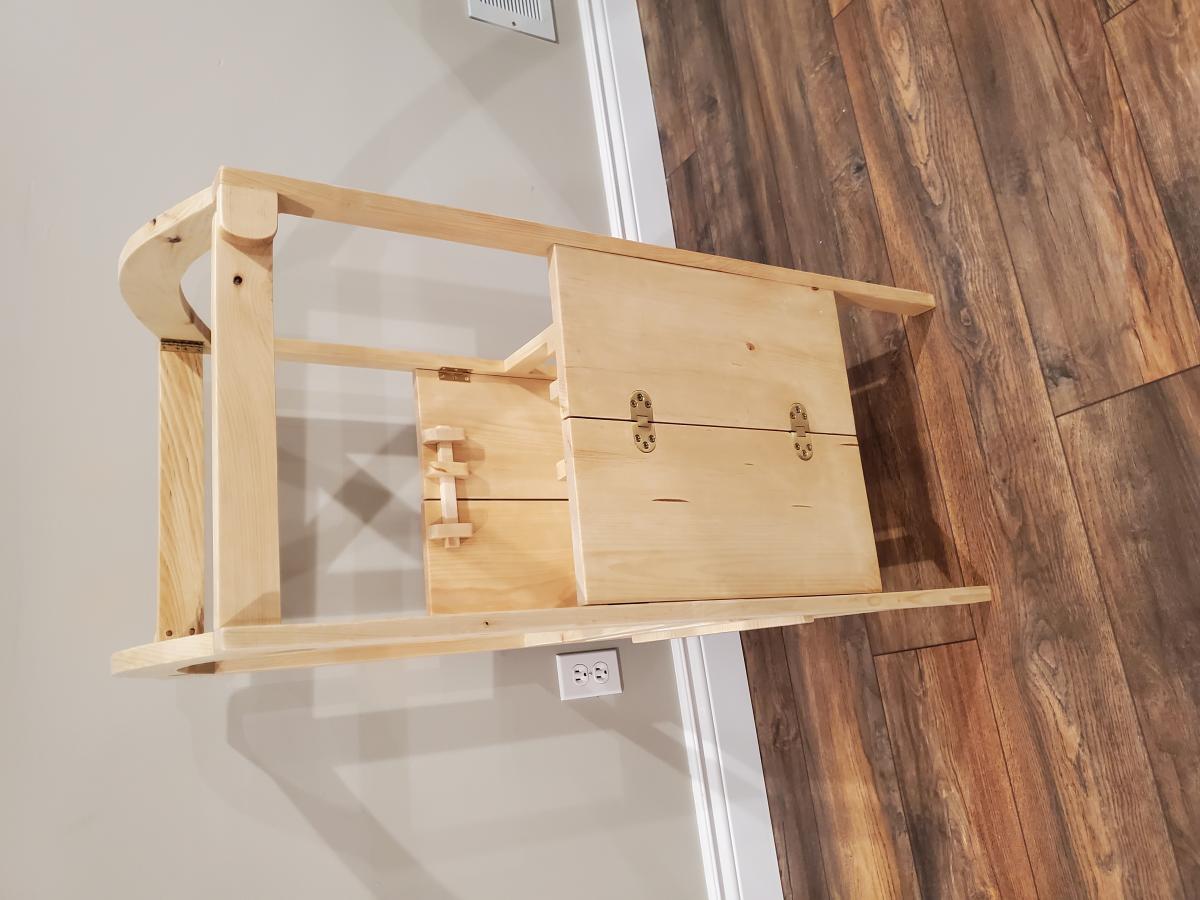
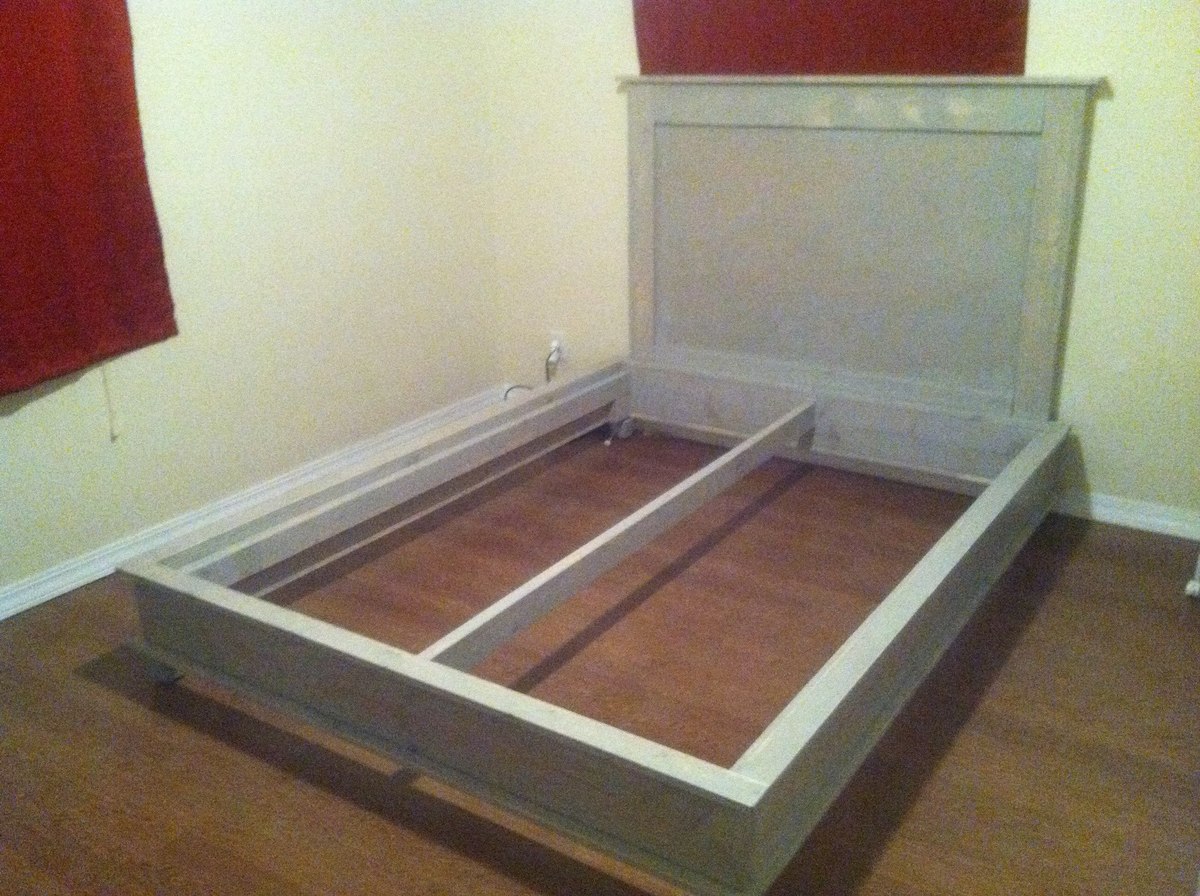
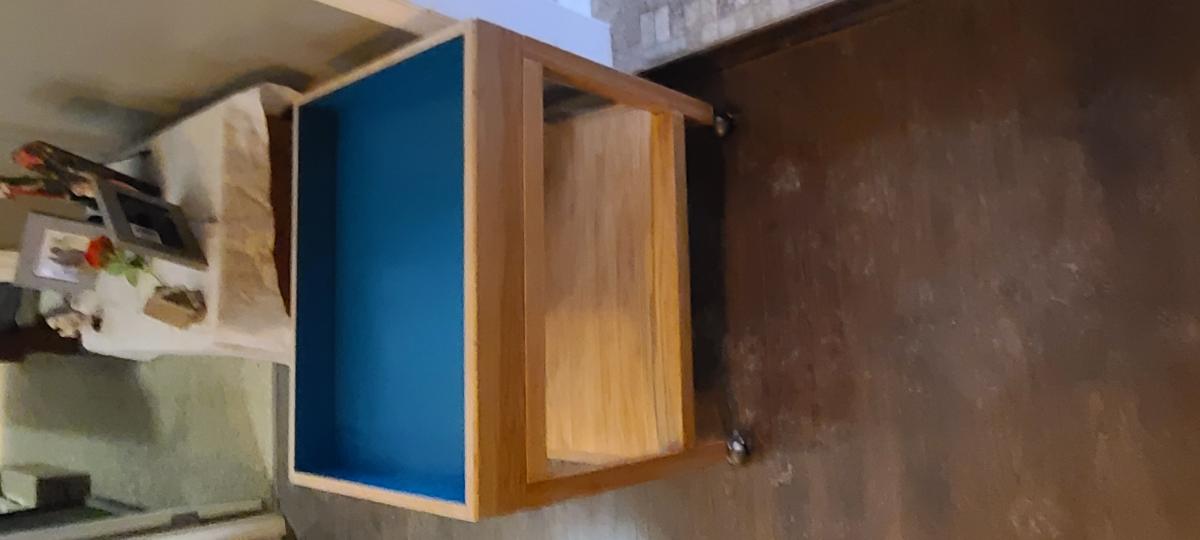
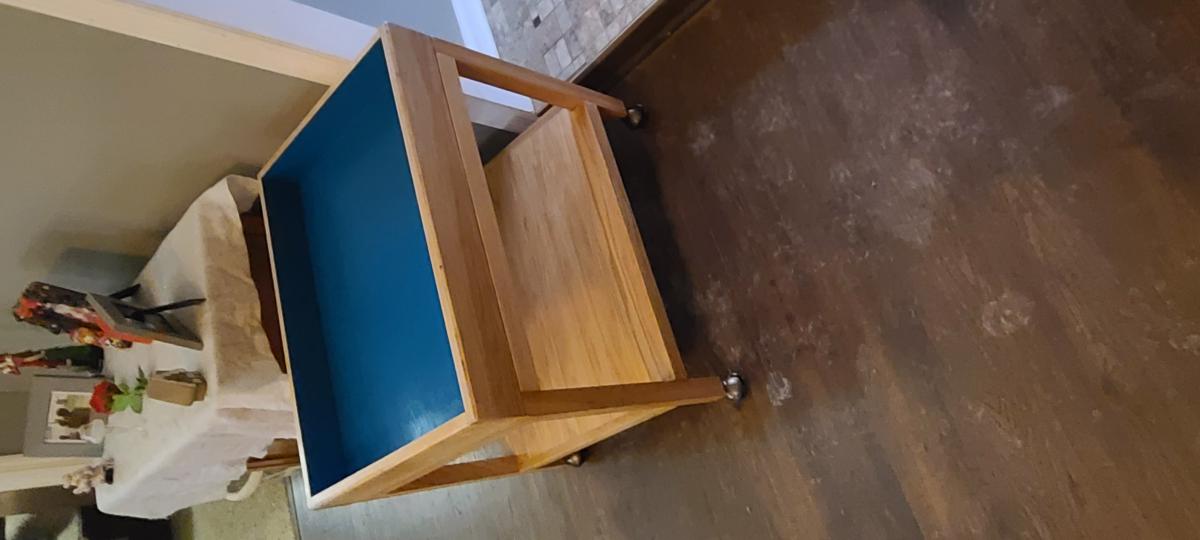
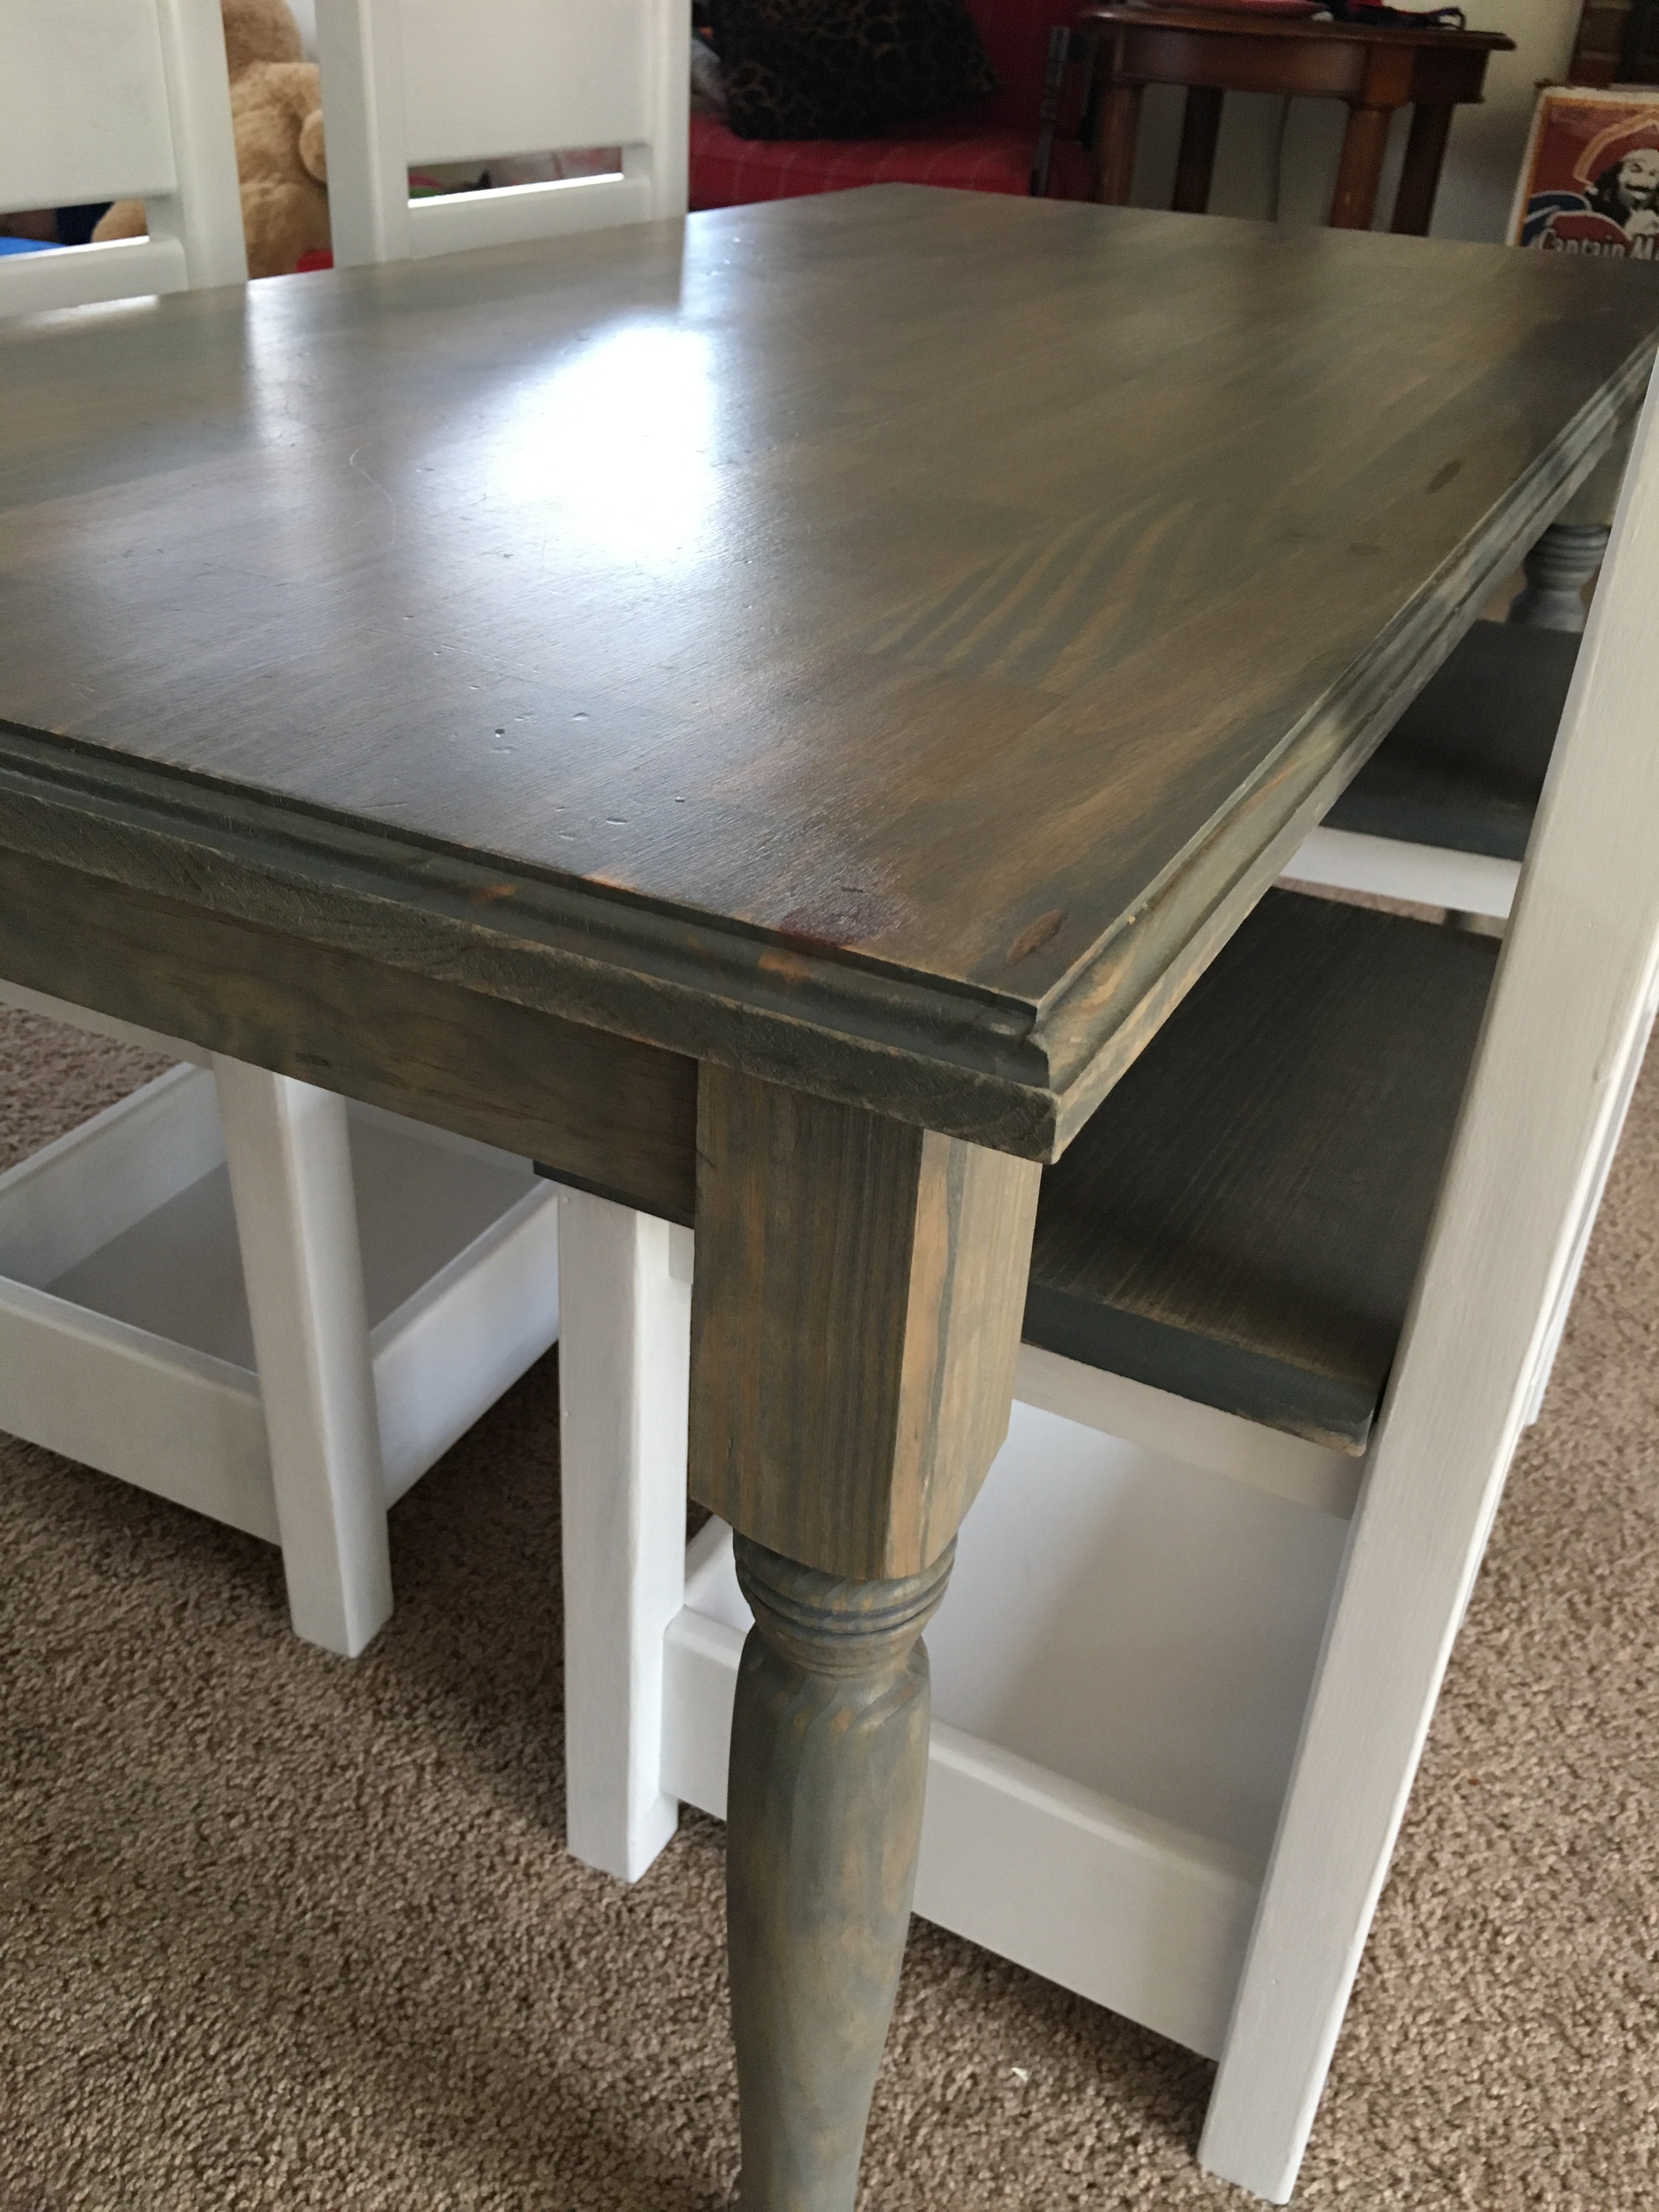
Children's Farmhouse Table and storage chairs

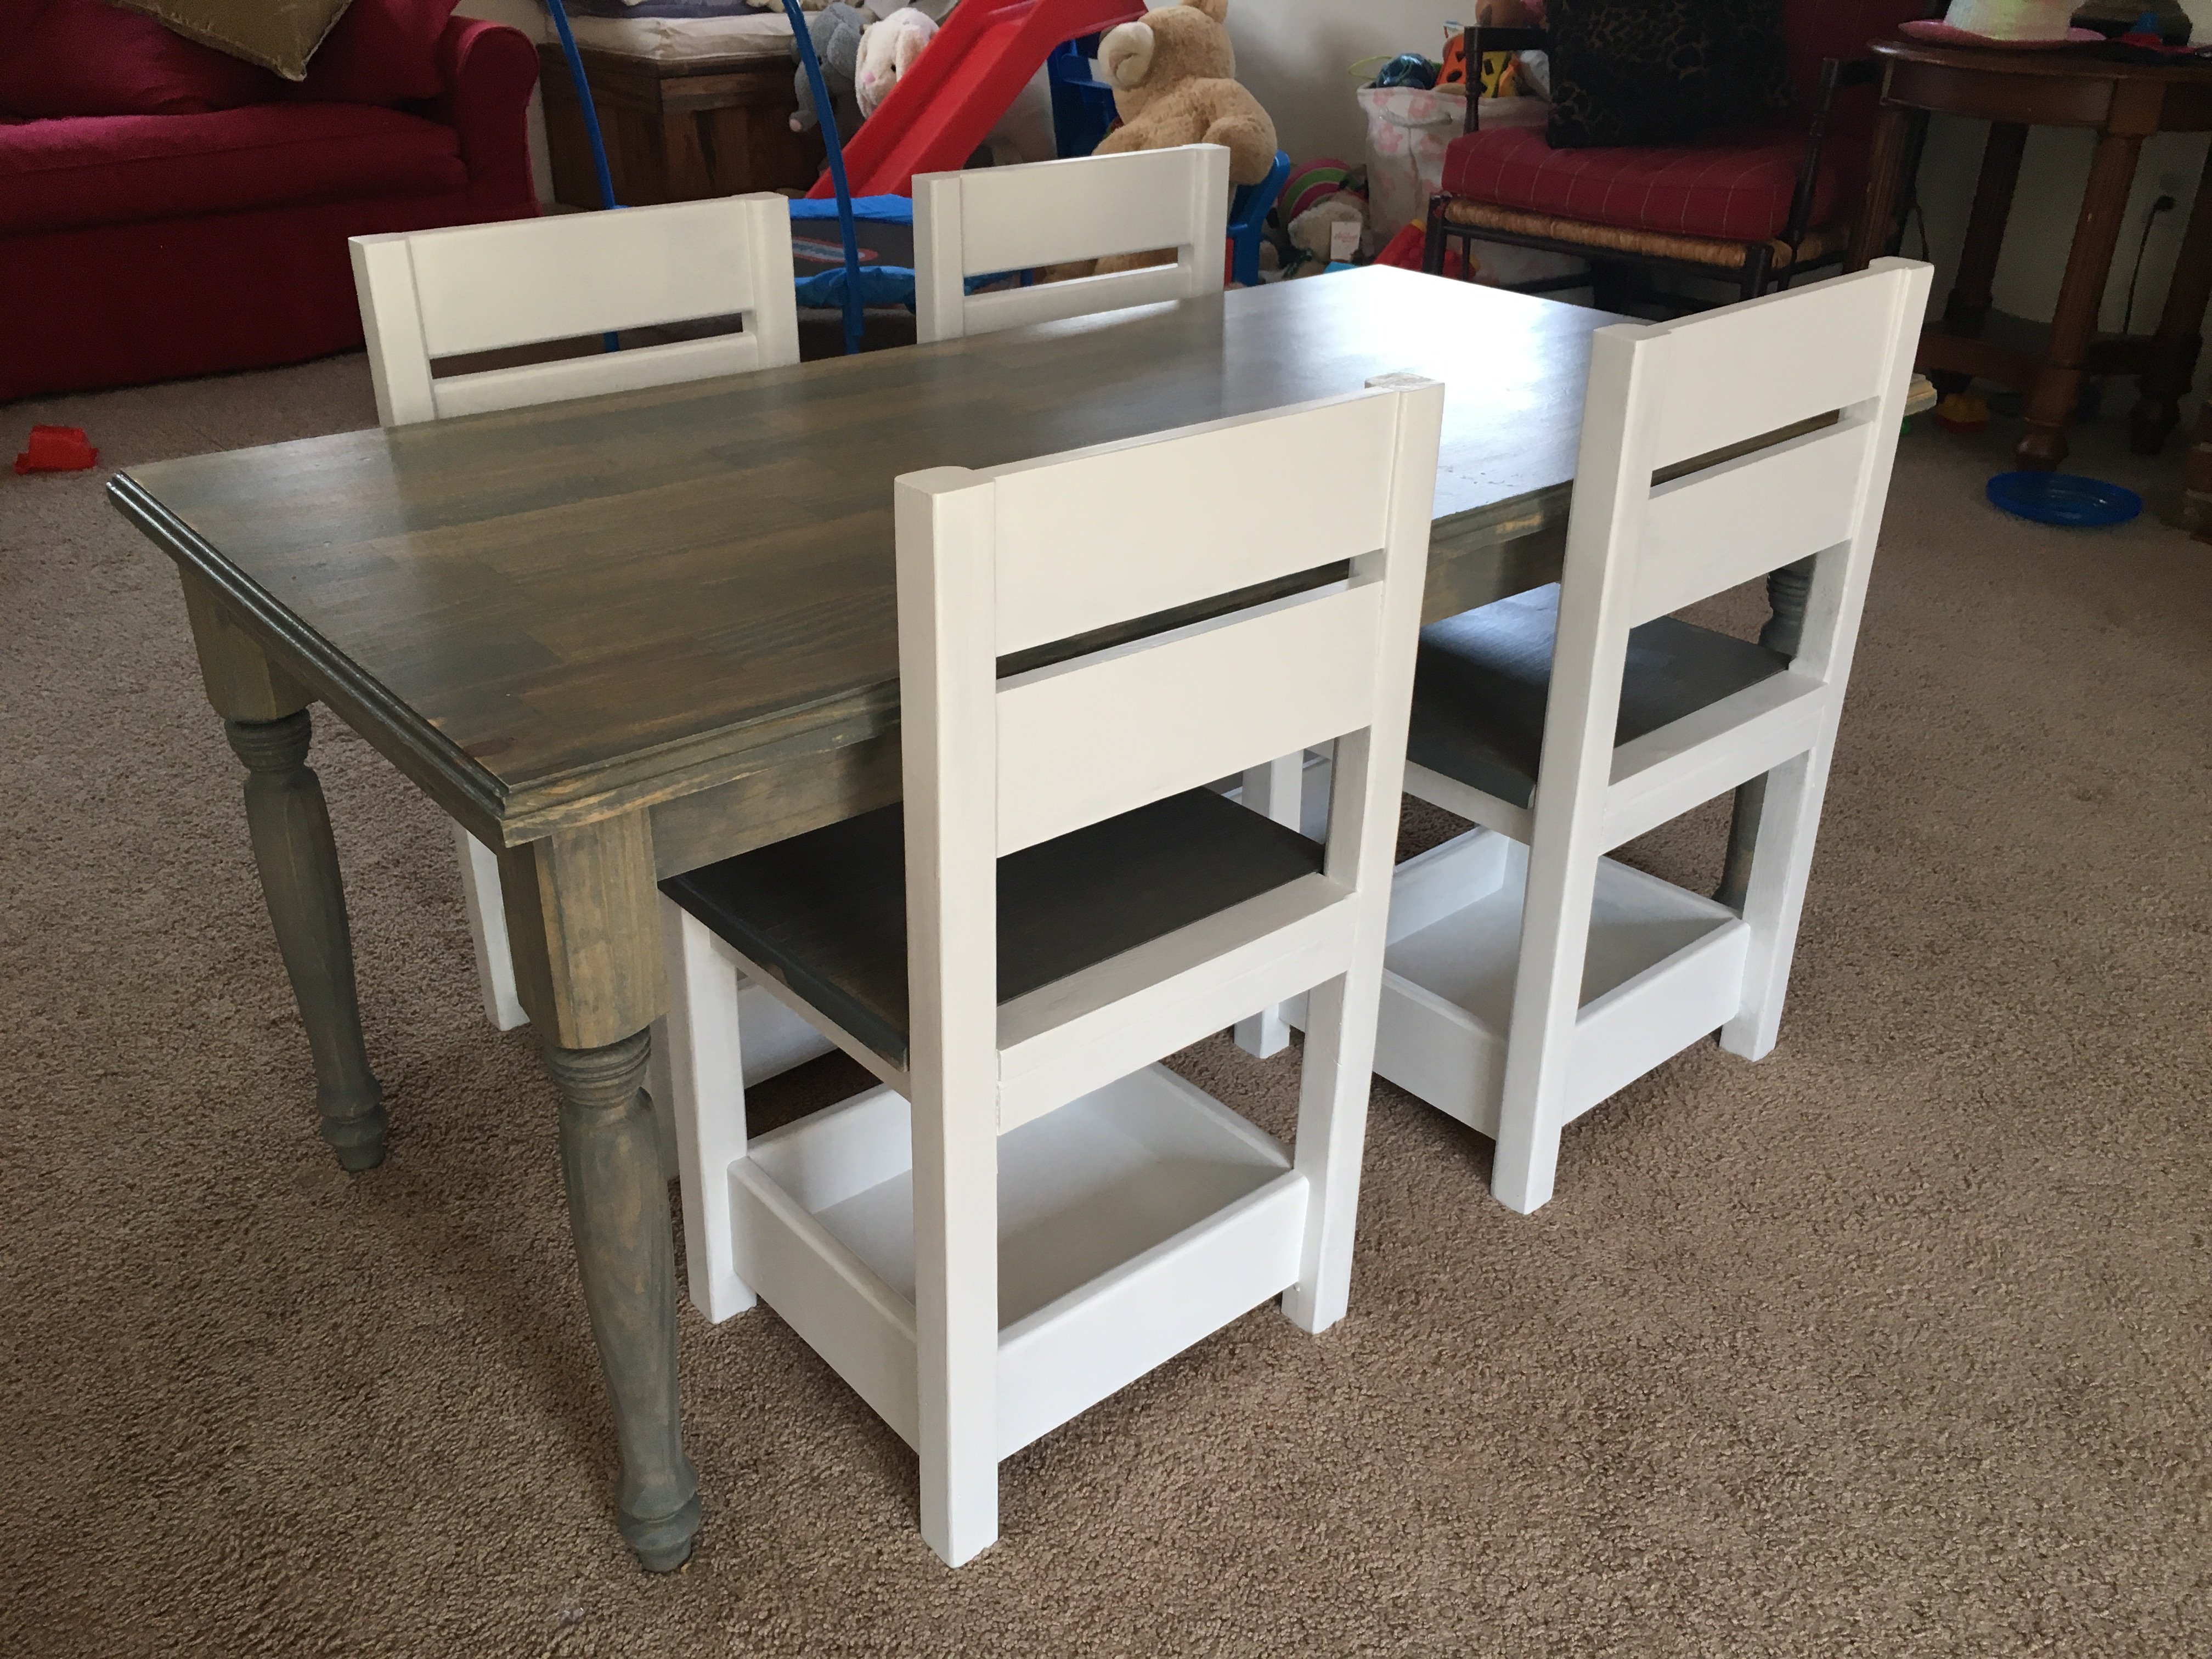
I built the children's farmhouse table and 4 storage chairs for my 2-year-old twins.  I followed the plans exactly, except the addition of some minor details using my router:  I gave the table top a nice edge using my Roman Ogee bit, rounded the front and side edges of the seats for comfort using a 1.5" roundover bit, and rounded the inner corners of the back on both sides and the top and bottom of the back rests with a 1/2" roundover bit.  I bought a roll of drawing paper from Ikea in the children's section, and it will be attached underneath using a removable dowel so we can pull a sheet of paper out from under the table for coloring or to use as an easy-cleanup paper cloth if they eat at this table with their cousins!

Finish Used
The table and seats were stained using Varathane "Weathered Grey", and the chairs painted using Rustoleum satin paint in "white". I also used 2x coats of Varathane Triple Thick polyurethane on the table top & seats
Recommended Skill Level
Beginner

Grandy barn door console

Submitted by oms321 on Sat, 01/23/2021 - 10:50

Slightly modified Grandy

Built from Plan(s)
Finish Used
Stain and chalk paint
Recommended Skill Level
Beginner

Comments

Entryway Bench

Submitted by ElyseKaire on Mon, 02/18/2013 - 13:17

My husband and I used your instructions and made this bench! We are further furnishing our home, and we love it! We went with a weathered gray stain to match some other furniture we have.

Estimated Time Investment
Weekend Project (10-20 Hours)
Recommended Skill Level
Starter Project

Comments

American Girl Dollhouse

Submitted by Ksnyder112 on Sat, 12/27/2014 - 07:54

I made a few changes from the plans but the size remained the same ( which is huge!!).I used birch plywood for the frame and MDF 1x2 for the faceframe and window and door trim. I would reccommend cutting the windows and doors 1/8"-1/4" smaller and using a router with a flush trim bit with a top of bottom bearing. Clamp a straight edge along the window and door openings to trace with the bearing of the router bit. For the roof I used tougue and groove 4" beadboard made of pine. I used 10' lengths because of the 49" width. They were actually a better price than the regular 1x4 pine. The beadboard adds a little detail the the ceiling of the 3rd floor. It also gives a shingle-like appearance on the flipside with the textured spraypaint. The pieces on the front are 2.5" wide. I also filled the ends with wood putty to hide the exposed groove. 

Estimated Cost
100-150
Estimated Time Investment
Weekend Project (10-20 Hours)
Finish Used
Sherwin Williams wood primer then satin paint. I would reccomend spraying the house with a hvlp spray gun to save time. The Roof I used the textured spray paint. For the flooring I used polyshades by minwax. It is a stain with polyurethane mixed together. It took 3 coats for the desired appearance.
Recommended Skill Level
Intermediate

Comments

Cabin Bed for Toddler

Submitted by Anonymous (not verified) on Sun, 03/26/2017 - 19:33

Loved the twin sized cabin bed but my grandson is a few years away from needing a big boy bed.  Husband scaled down the plans and this  is what we came up with. 

Estimated Cost
$150
Estimated Time Investment
Weekend Project (10-20 Hours)
Recommended Skill Level
Intermediate

New King Size Bed

Submitted by Wildwood on Thu, 01/28/2021 - 08:06

Hi Y'all
I start using the king size bed plan from Ana.
It turns out great. I change a couple things on the build.
1. Our mattress are 12" high. The mattress frame support from the plan are made for less thinner mattress.
2. I made a nicer insert frame for the Head- and footboard.
3. We stained in a two color tone.
4. Every comer is routed out. See the top board on the Head- and Footboard.
I had a grate time to build it.

Keep building
Volker

Estimated Cost
550
Estimated Time Investment
Week Long Project (20 Hours or More)
Finish Used
Minwax Stain color
Honey and Black
Minwax Polyurethane Semi
Recommended Skill Level
Intermediate

Comments

Corner Cabinet - Large

I built this larger than the specs given because I wanted it to hold more. 12in shelves with an 8in back just seemed way too small. That would hold a plant or a bowl (as seen in the other brags). This can hold a plant *and* a bowl. If your space can accomodate it, I suggest making this larger.

This has shelves 16in deep and the back is 10in wide. This resulted in a front profile of about 42in across and a side depth of about 30in. I also added two cross members (?) over the shelves to give it a more finished look

Attach the back to the shelves first and then measure the rest from there. The materials list is modified as follows: back = 1x10x6ft, shelves = 2 x 3/4in by 16in by 8ft (will be enough to make all 6 shelves).

Pine back and shelves but I went with fir for the front frame/doors because the fir was much straighter and less prone to warping. It was my first time using a pocket hole jig. You gotta love that thing. The only other tool we used was a jig saw and a nice long straight edge (and a chop saw - helps with accuracy when building the frames).

Total cost of project was around $300 but considering we couldn't find anything like this in any store, and it fit our needs perfectly, it was well worth the time, cost and effort. The pictures don't do it justice.

Thank you Ana! It was just what we were looking for.

Built from Plan(s)
Estimated Cost
$300
Estimated Time Investment
Week Long Project (20 Hours or More)
Finish Used
Minwax wood treatment, stain and gloss spar urethan on the shelves and frames. Minwax tonge finish on the beadboard.
Recommended Skill Level
Intermediate

Storage Bed Collection for son

Submitted by nmsigman on Mon, 12/29/2014 - 09:00

Built from the storage bed collection as one of my sons Christmas presents. He loved it so much he cried. This is the first project that I have built and I think that it went rather well. I can honestly say I am now hooked.
 

Estimated Cost
It cost around $600-$700
Estimated Time Investment
Week Long Project (20 Hours or More)
Finish Used
Wood Filler, Cognac wood stain.
Recommended Skill Level
Beginner

Cabin bed

Submitted by Anonymous (not verified) on Tue, 03/28/2017 - 13:11

Hello everyone

Just wanted to thank everyone for there great cabin beds and anna white for the amazing plans. My husband and I found them super easy to follow and create. I highly reccomend some stairs our little guy is still only 20 months hes a little short getting in and out... currently the step stools working great.

We had a blast making it ! 

Estimated Cost
400.00
Estimated Time Investment
Weekend Project (10-20 Hours)
Finish Used
I used weather grey stain and finished it with a non-toxic wax
Recommended Skill Level
Intermediate

The littlest tower helper

Submitted by Eric.WWKS on Thu, 02/04/2021 - 16:49

My variation of the "Littlest tower help" plans I found here on Ana white. I loved the design of the original but wanted it to be able to easily store away when not in use. Thanks for looking, Eric

Built from Plan(s)
Estimated Cost
90
Estimated Time Investment
Weekend Project (10-20 Hours)
Finish Used
Polyurethane
Recommended Skill Level
Intermediate

Queen size platform bed w headboard

Submitted by blighton on Sat, 02/23/2013 - 11:35

queen size platform bed w matching headboard.. Sunbleached stain sanded to look aged..

Estimated Time Investment
Afternoon Project (3-6 Hours)
Recommended Skill Level
Intermediate

Under stair storage seat

Submitted by AndyB on Thu, 01/01/2015 - 02:41


We are in the unique position of having stairs in our bedroom and they take up quite a lot of room. We considered putting a chair and set of drawers under the stairs but they would have looked cramped.

Having done some research we found some photos where people had built benches under the stairs.  It was around this time that we found Ana White's plan for framing up a mud room bench in a nook (which for some reason I can't add to the 'built from' section). We had to adapt it as the original plan was framed by 3 walls and due to the angle of the stairs we could only use 2 and added legs. We also had to add triangular panels to give it that built-in look.

We were able to complete the build for relatively cheap as we kept a ton of 2x2 from when we removed a 60s built in wardrobe and was able to rebuild it. If you look behind the drawers you can even see that the wood is notched from the wardrobe hinges but in a nice way it keeps the old owners work in the house.

Estimated Cost
£40
Estimated Time Investment
Weekend Project (10-20 Hours)
Finish Used
Primer and water based satinwood
Recommended Skill Level
Beginner

Xmas Tree Shelf

Submitted by Anonymous (not verified) on Wed, 03/29/2017 - 16:43

I have this wood I saved from a gate I took down for my parents. It had been up for 20 years, and the wood had taken a beating from the weather, but I couldn't throw it away. I made this Xmas tree shelf for my daughter for Christmas. I really liked the look of the raw, weathered wood. I didn't even take the lichen off. Luckily she loves the weathered look, too.

Built from Plan(s)
Estimated Cost
I made this from salvaged wood and a scrap piece of plywood. I had the nails and screws. So, total cost would be a couple of bucks for the nails and screws.
Estimated Time Investment
Afternoon Project (3-6 Hours)
Finish Used
None
Recommended Skill Level
Beginner

Outdoor sectional

Submitted by heidy1971 on Fri, 02/12/2021 - 14:23

Super fun project for a beginner. I almost want to do it over now that I have a pocket hole jig. Love Ana White plans, easy to follow.

Comments

http://ana-white.com/2010/10/my-new-desk.html

Super easy and fun to make. I opted for 1/2" plywood to keep cost and weight down. I just adjusted the jig for 1/2".

Estimated Time Investment
Afternoon Project (3-6 Hours)
Finish Used
Miniwax polyshades in Espresso.
Recommended Skill Level
Beginner

Cedar Box

Well now that I've been off for a couple weeks during the holidays and starting to build the kids all want something. So I made them some boxes. 

The 2-drawer was the most time consuming. Made from 1 Cedar picket fence. 

The others 2 where just from scraps left over from other projects. 

Estimated Cost
$3
Estimated Time Investment
Afternoon Project (3-6 Hours)
Finish Used
Dark Walnut on one box. Some leftover blue my daughter found for the box that she painted.
Recommended Skill Level
Beginner

Comments

JoanneS

Sat, 01/03/2015 - 17:10

Love all the boxes you built for your family, great job! Those octagon shaped pulls are awesome!

Full size Daybed (Hailey hybrid)

Submitted by Anonymous (not verified) on Sun, 04/02/2017 - 08:44

 This is a hybrid between the Hailey daybed and the Hailey platform bed. My son is in love with this bed! Used aluminum diamond plate for the headboard. 

Estimated Cost
$175
Estimated Time Investment
Week Long Project (20 Hours or More)
Finish Used
Rustoleum primer, black paint (3 coats) and clear finish. Aluminum diamond plate headboard. Lots of sanding. Used sponge roller for smooth finish. Cut diamond plate into three sections because I found a 2'x4' piece on Amazon for $22. One that spanned the length of the headboard (73") was $100!
Recommended Skill Level
Intermediate

Therapy sand box

I had a therapist that uses sand therapy asked to build this. It's all made of oak.

Estimated Cost
$150
Estimated Time Investment
Weekend Project (10-20 Hours)
Finish Used
Wood conditioner and then clear coated with polyurethane.
Recommended Skill Level
Intermediate

Office seating and lounging

Submitted by Dwilly0571 on Wed, 02/27/2013 - 17:59

This is my 3rd project from this site and I am very ecstatic with the result. Though I am from a family of carpenters ( father and brother are carpenters) I am an amateur at this. I followed the plan with a little modification for 24 X 72 foam padding. Additionally I added batting to the top and side of the foam pad to add extra cushion.

Built from Plan(s)
Recommended Skill Level
Beginner

First Build - Junior Camp Loft Bed

Submitted by stamhow on Mon, 01/05/2015 - 09:40

We had a blast building this bed for our daughter.  It was our first build and I think it turned out perfect!   Thank you Ana White for the inspiration and fantastic directions to get us through!  Now onto the next project!

Amy

Estimated Cost
We bought a combo miter saw too, so without that cost, paint and all, I would say around $200
Estimated Time Investment
Weekend Project (10-20 Hours)
Finish Used
paint
Recommended Skill Level
Beginner

Comments

Modified for double hanging

Submitted by Anonymous (not verified) on Tue, 04/04/2017 - 14:50

I used 8 ft precut boards for shelves and modified the design so there was enough room for two racks on each side. In addition I screwed 1x4 to the studs to secure the shelving to the wall.  I have a 5 year old climber so it was best to be proactive and secure it. It was easy project took about 4 hours to complete.  I plan to paint the vertical boards a medium gray and stain the shelves a dark coffee color. 

Built from Plan(s)
Estimated Cost
$350
Estimated Time Investment
Afternoon Project (3-6 Hours)
Recommended Skill Level
Beginner