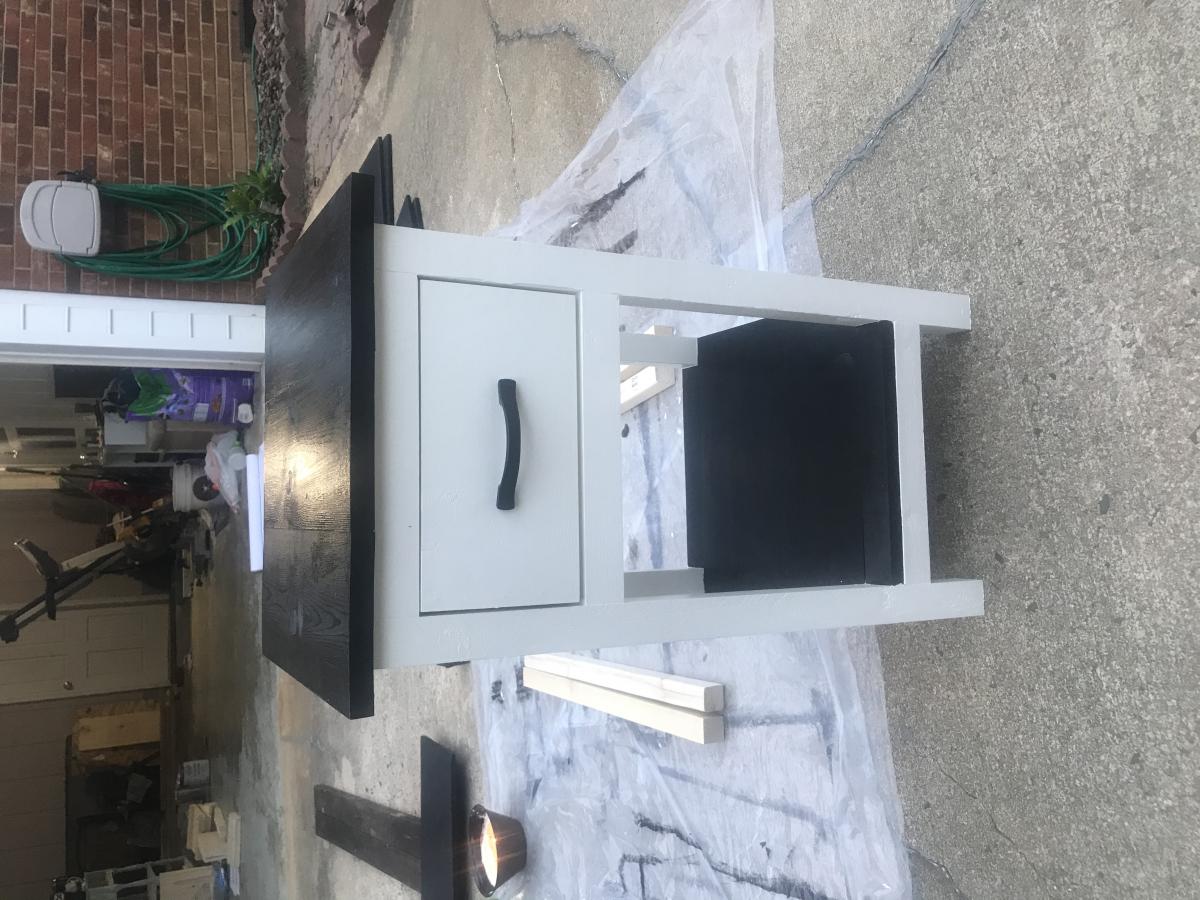
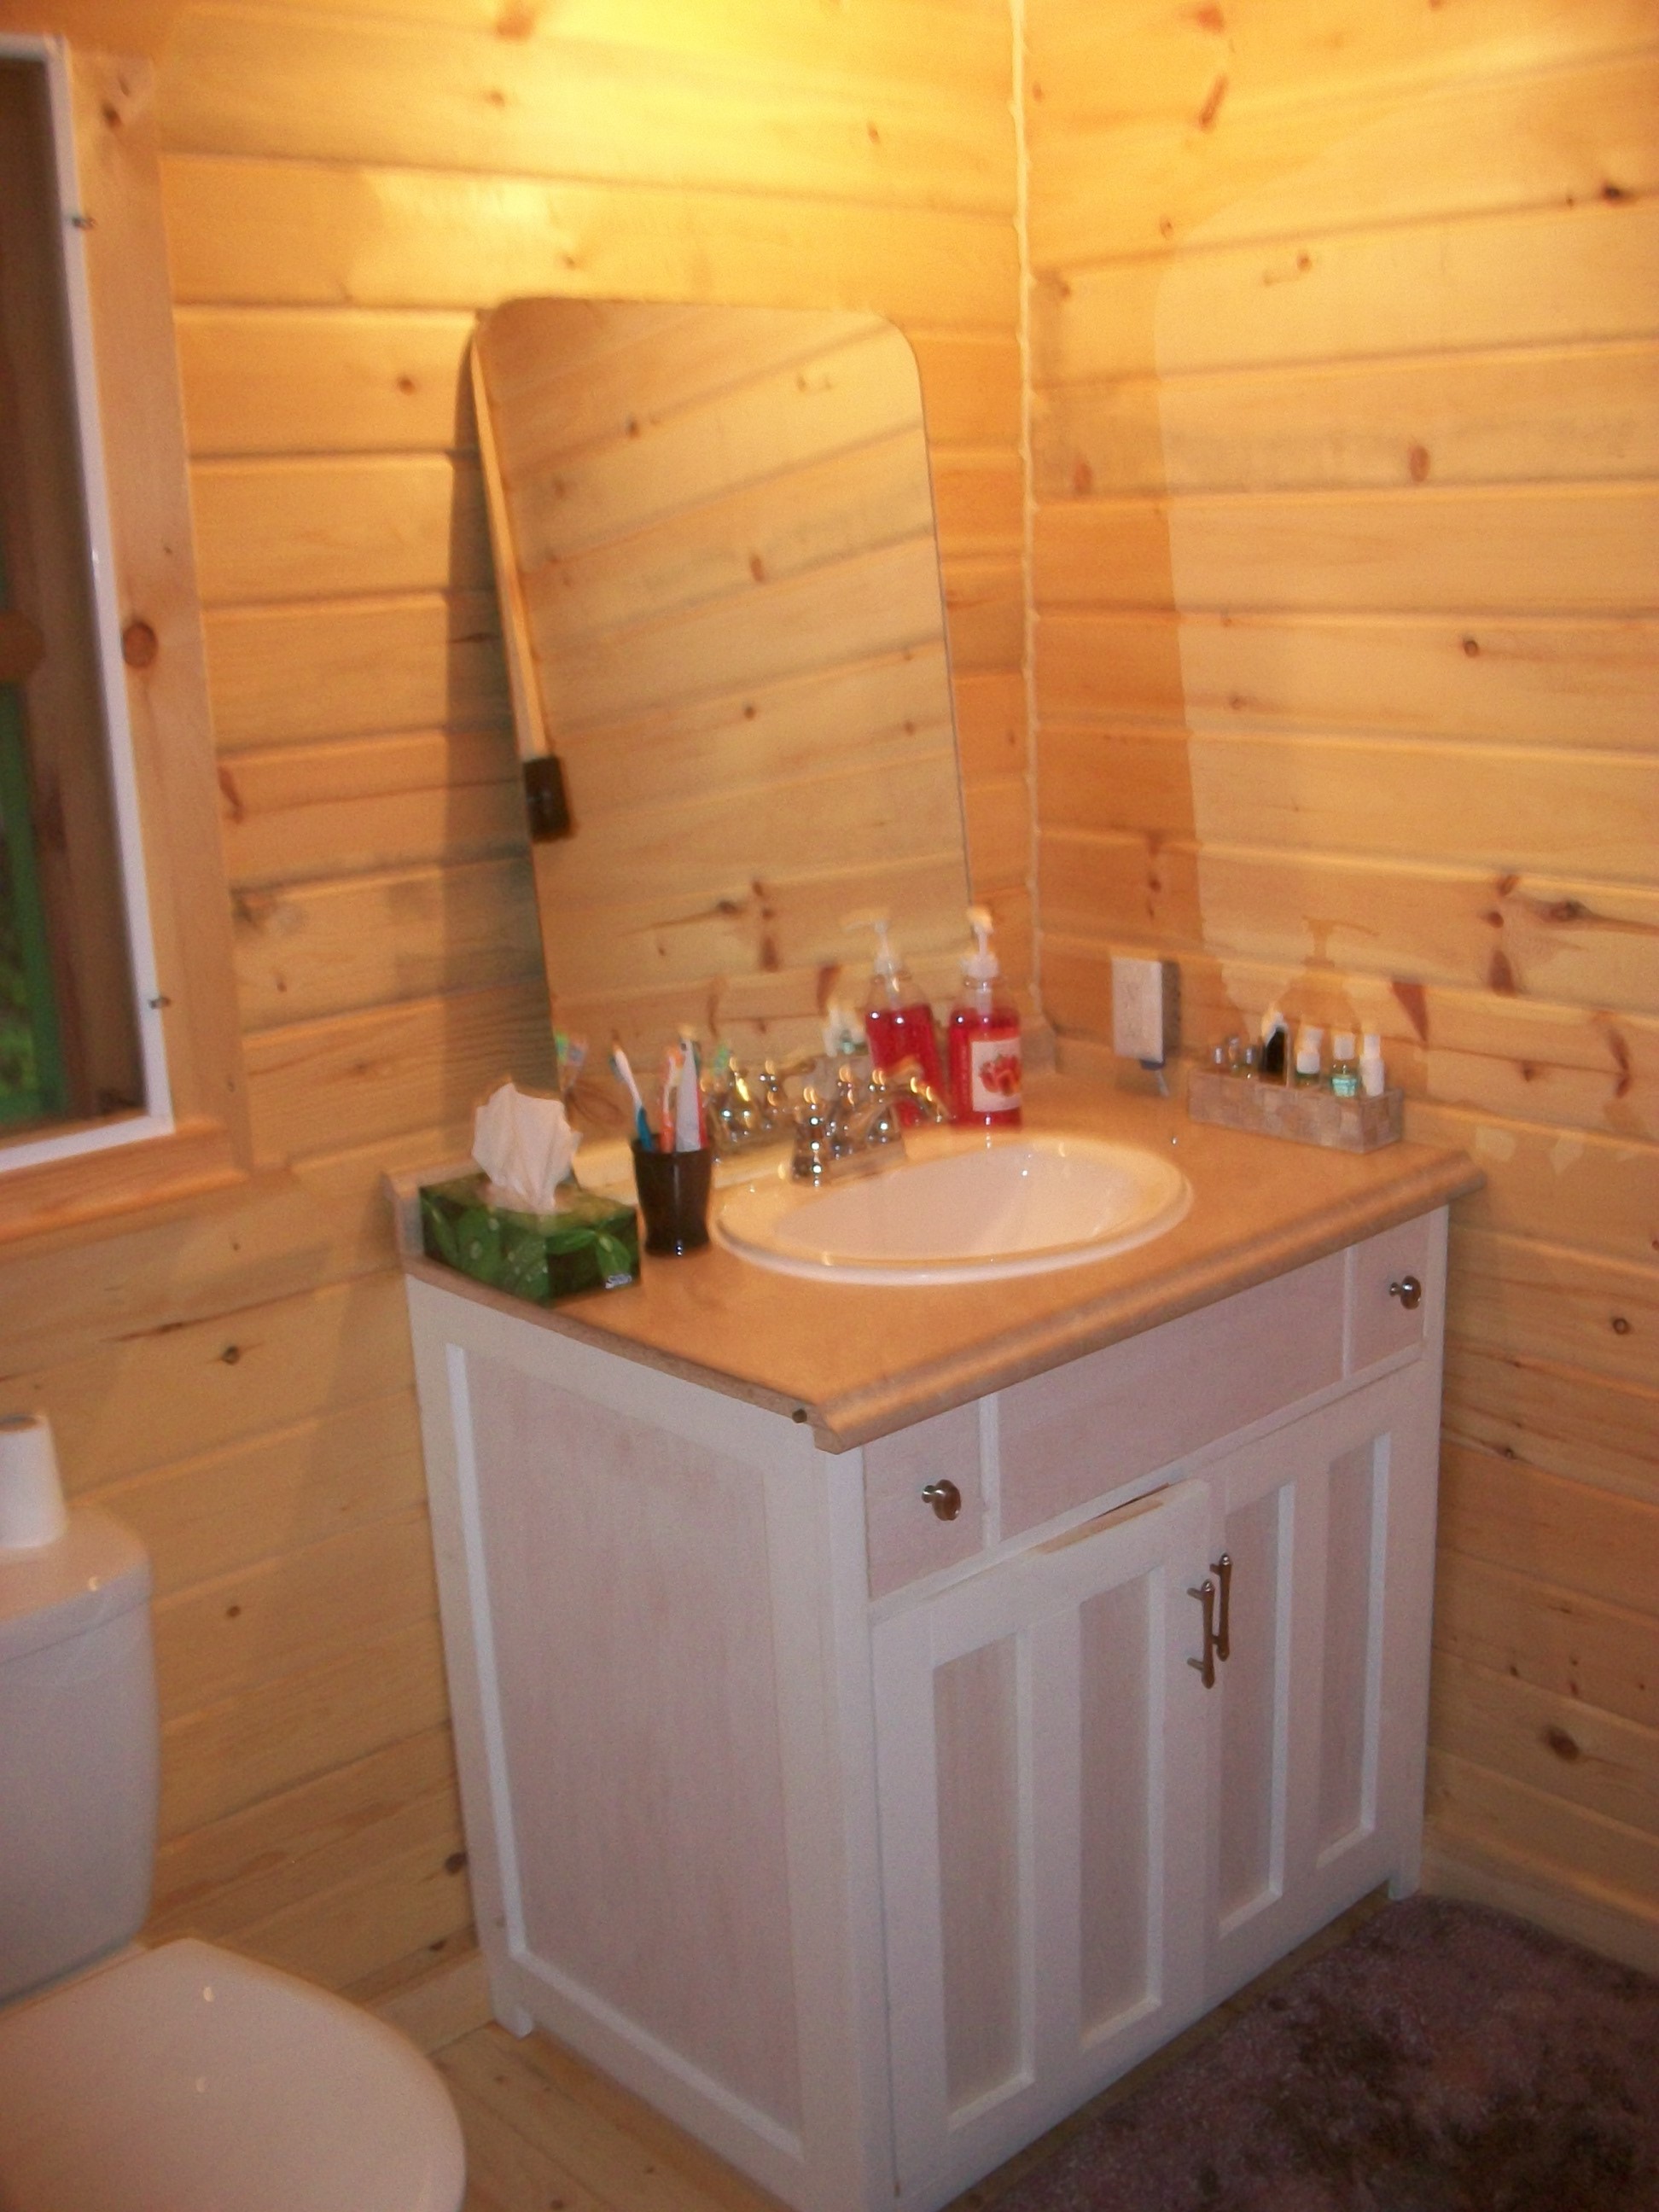
Mirror Project from the book!
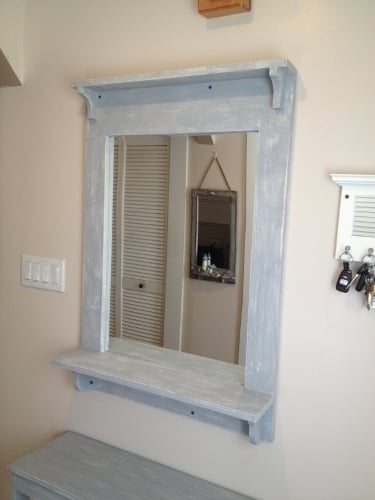
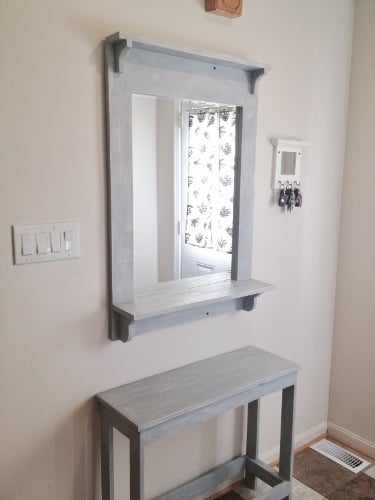
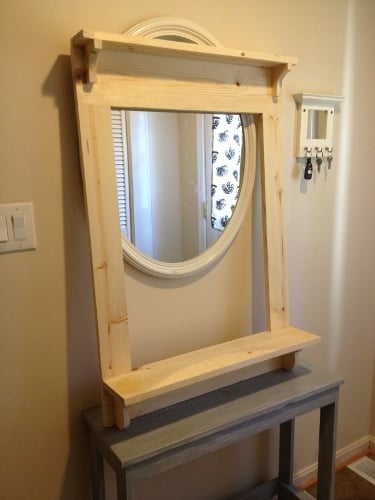
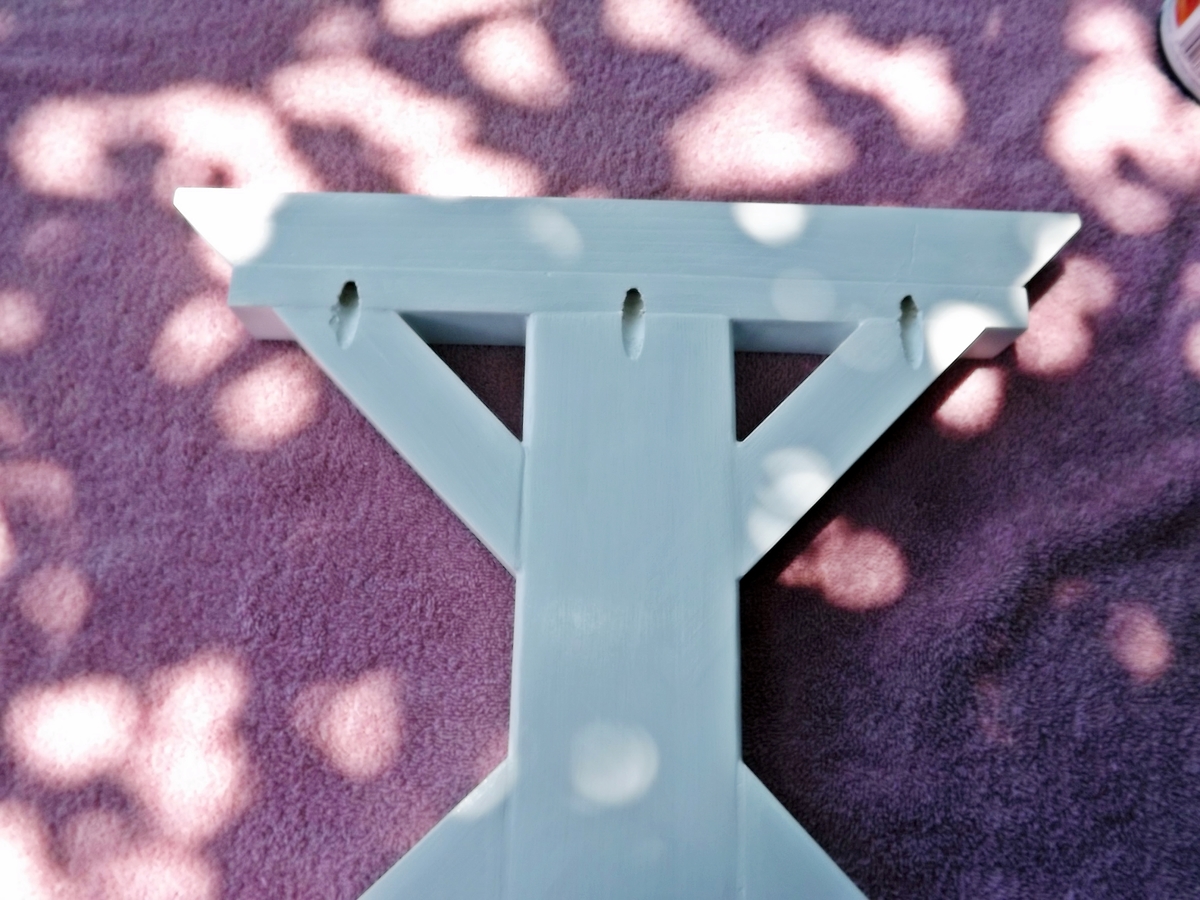
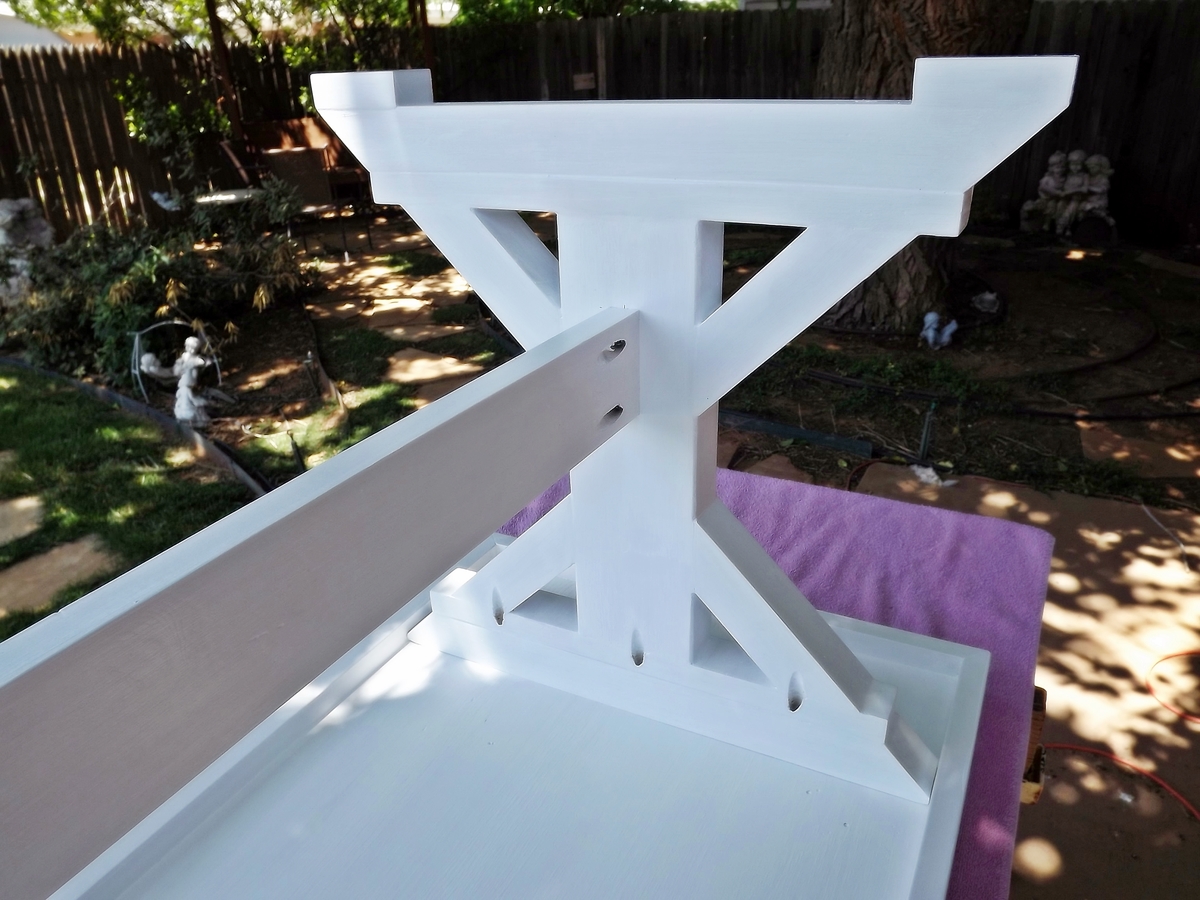
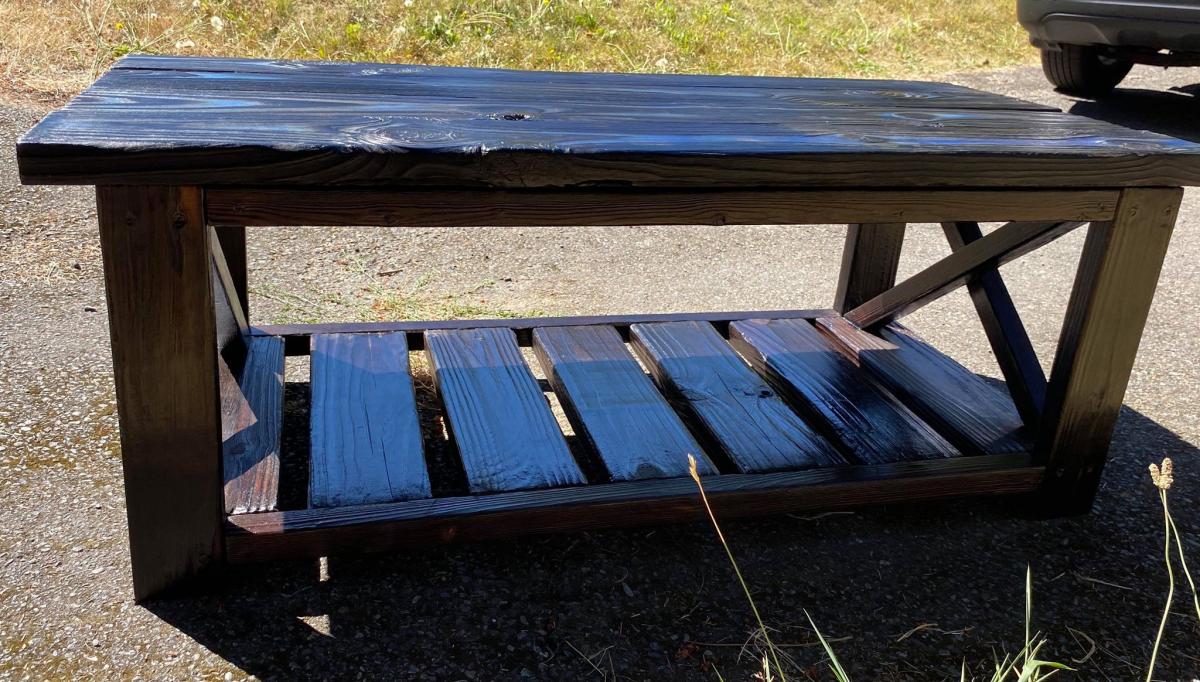
This project is the mirror from page 37 of The Handbuilt Home. I received my copy on Thursday night, built this and painted on Friday, then (impatiently) waited 24 hours for the paint to dry before distressing and hanging it up yesterday afternoon. The mirror was a plain one I found at Lowes for about $20 and attached with mirror clips. I attached to the wall with 2 1/2" screws through the frame into the wall studs. I was going to leave the screw heads exposed for decoration, but now I think I'll add a dab of gray on them to blend them in. This was a super fun project, easy to do. Love the book, and can't wait to build more projects from it! Ana, fab job on the book!!
Estimated Cost
$40
Estimated Time Investment
Afternoon Project (3-6 Hours)
Finish Used
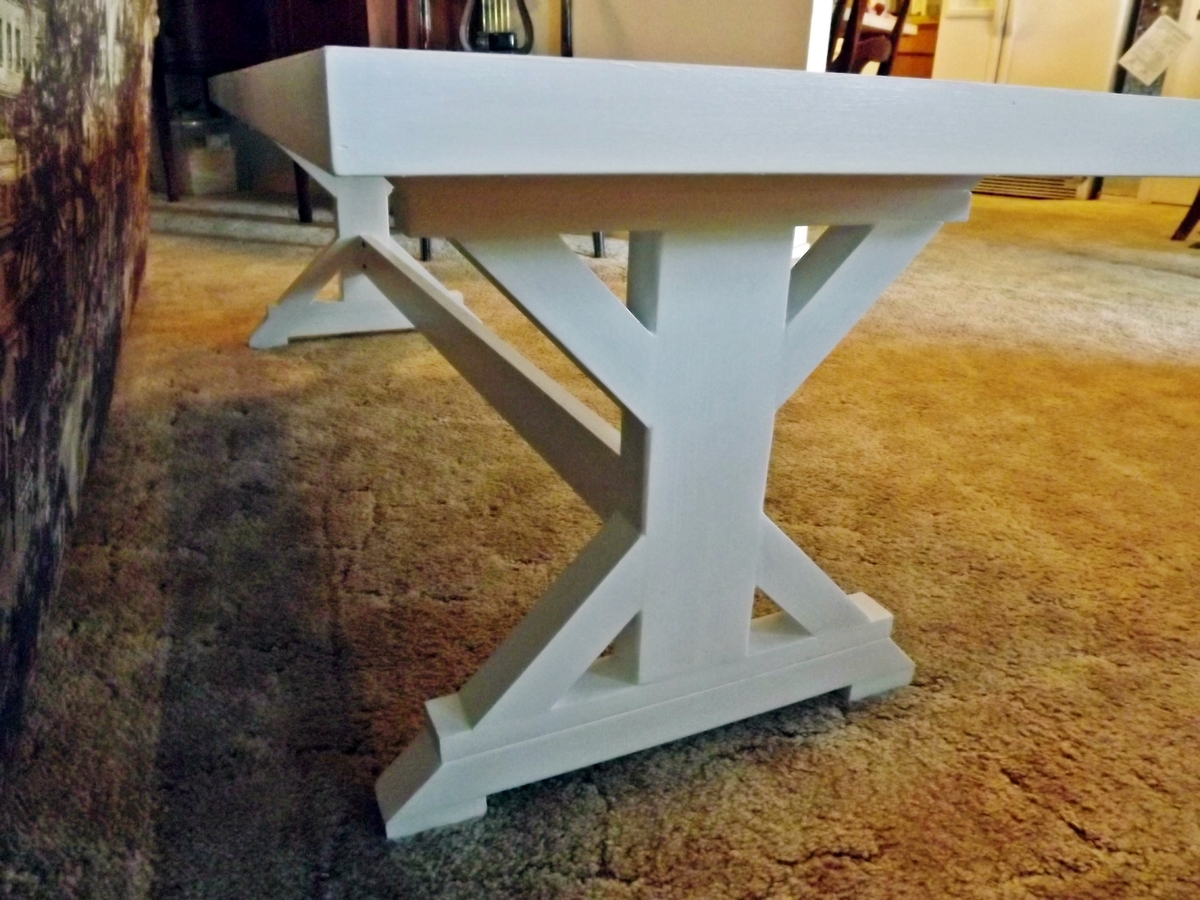
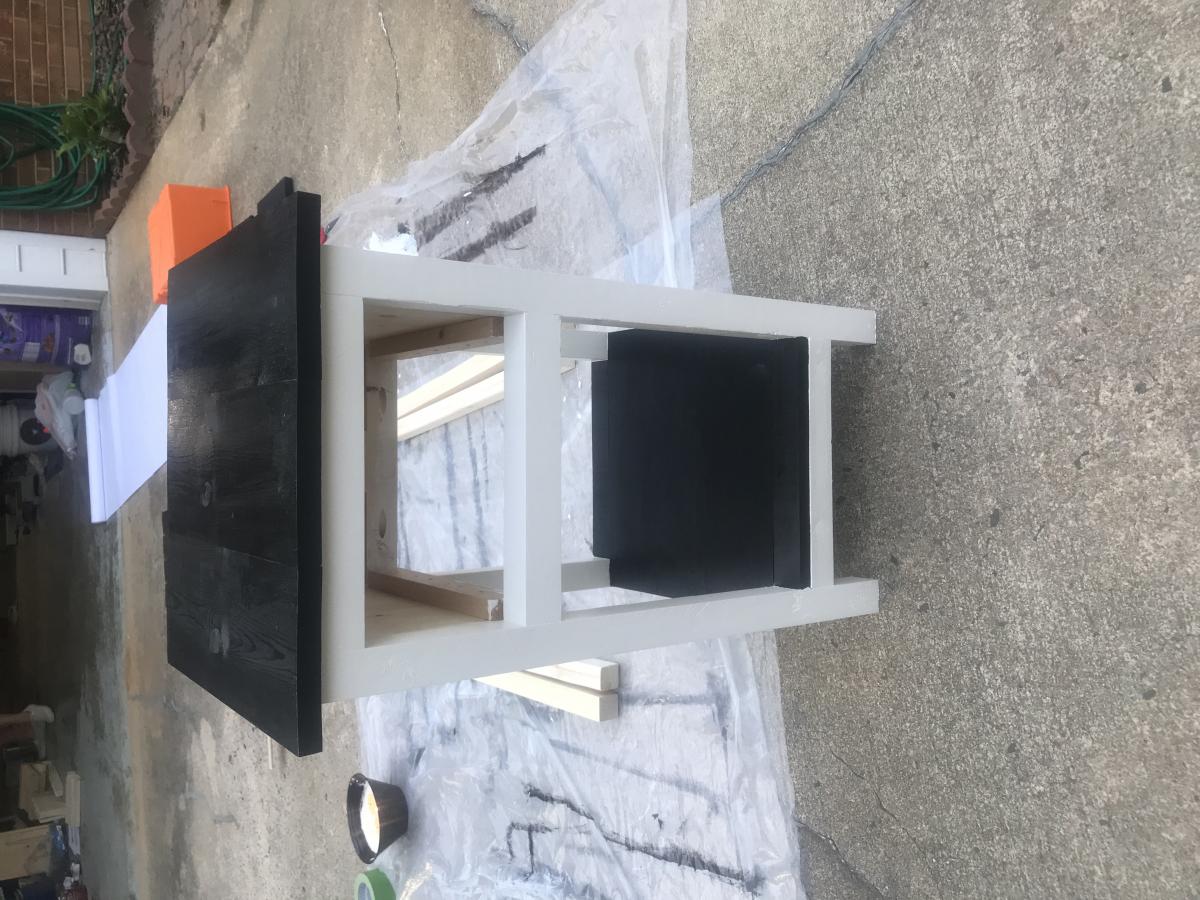
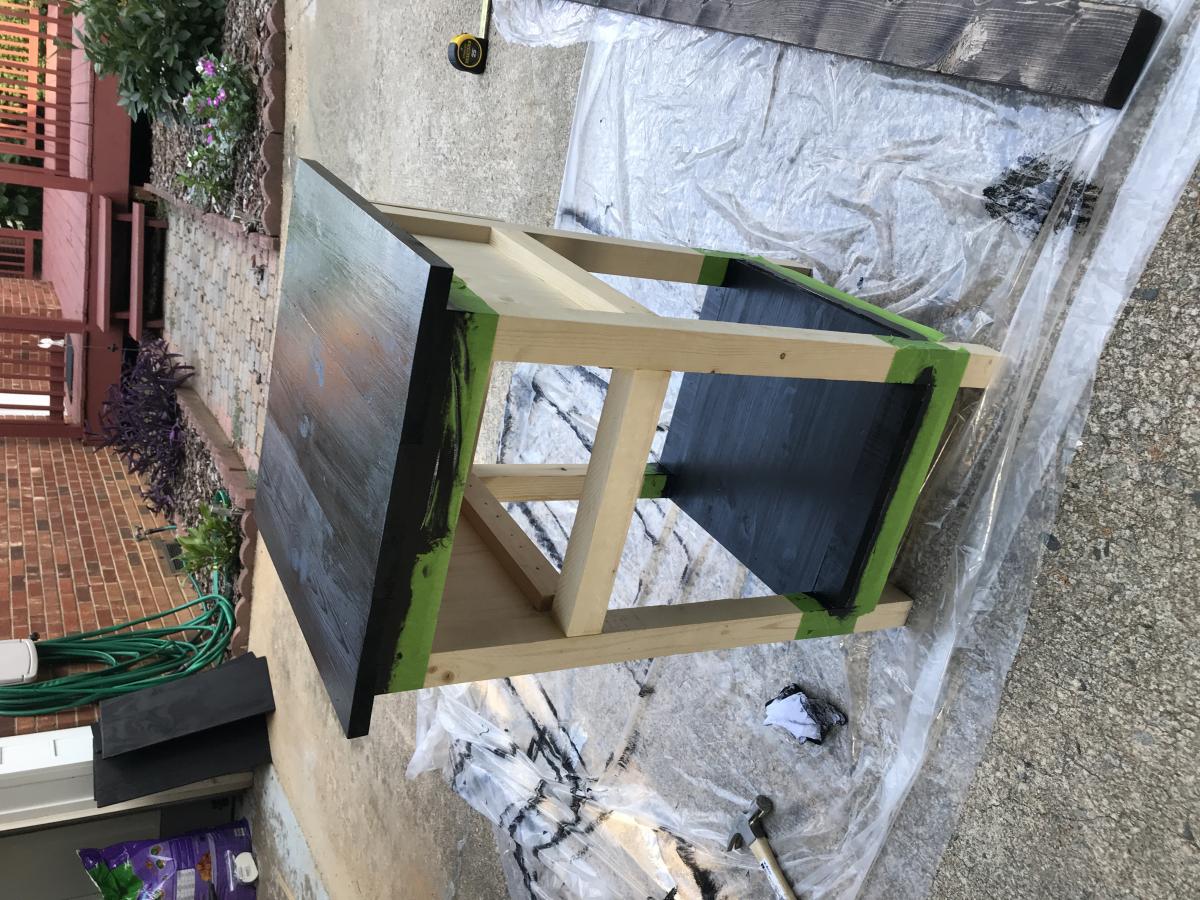
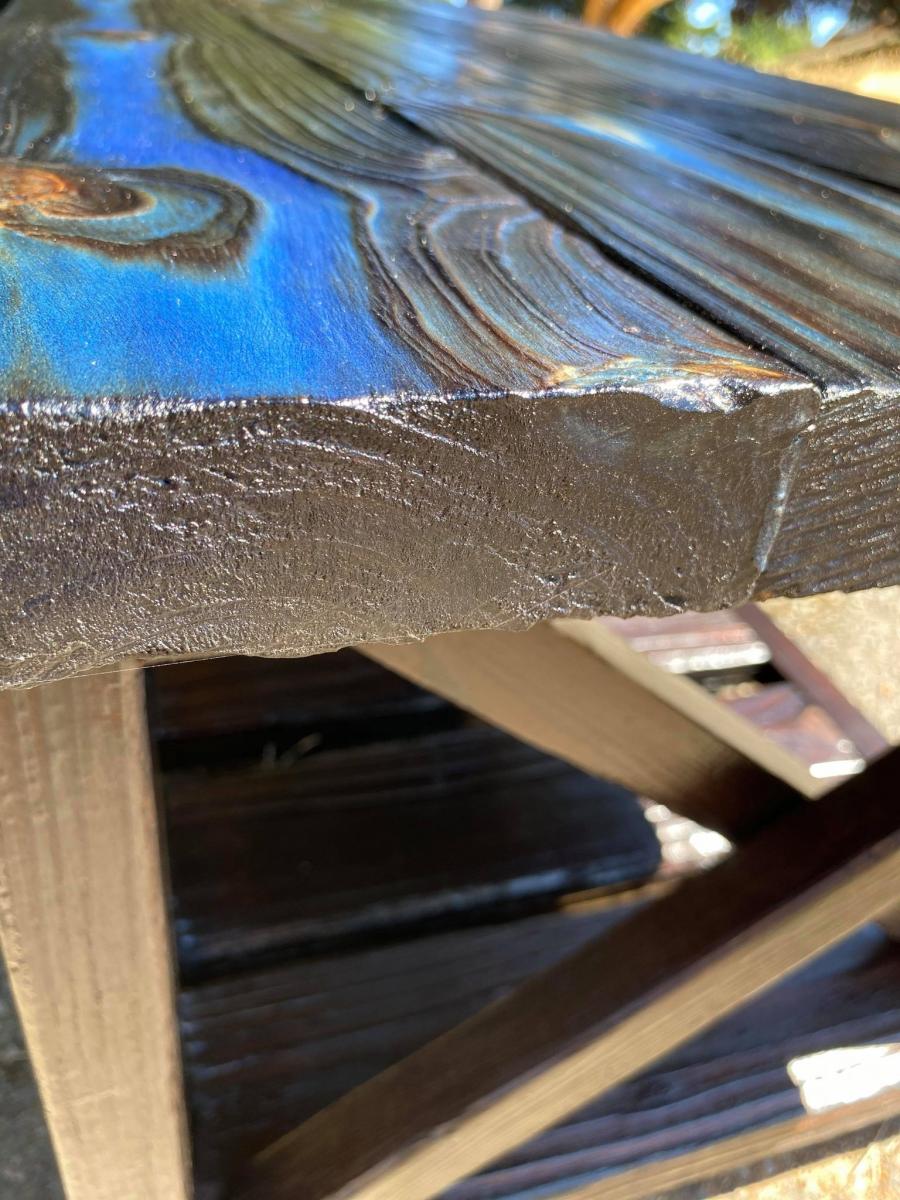
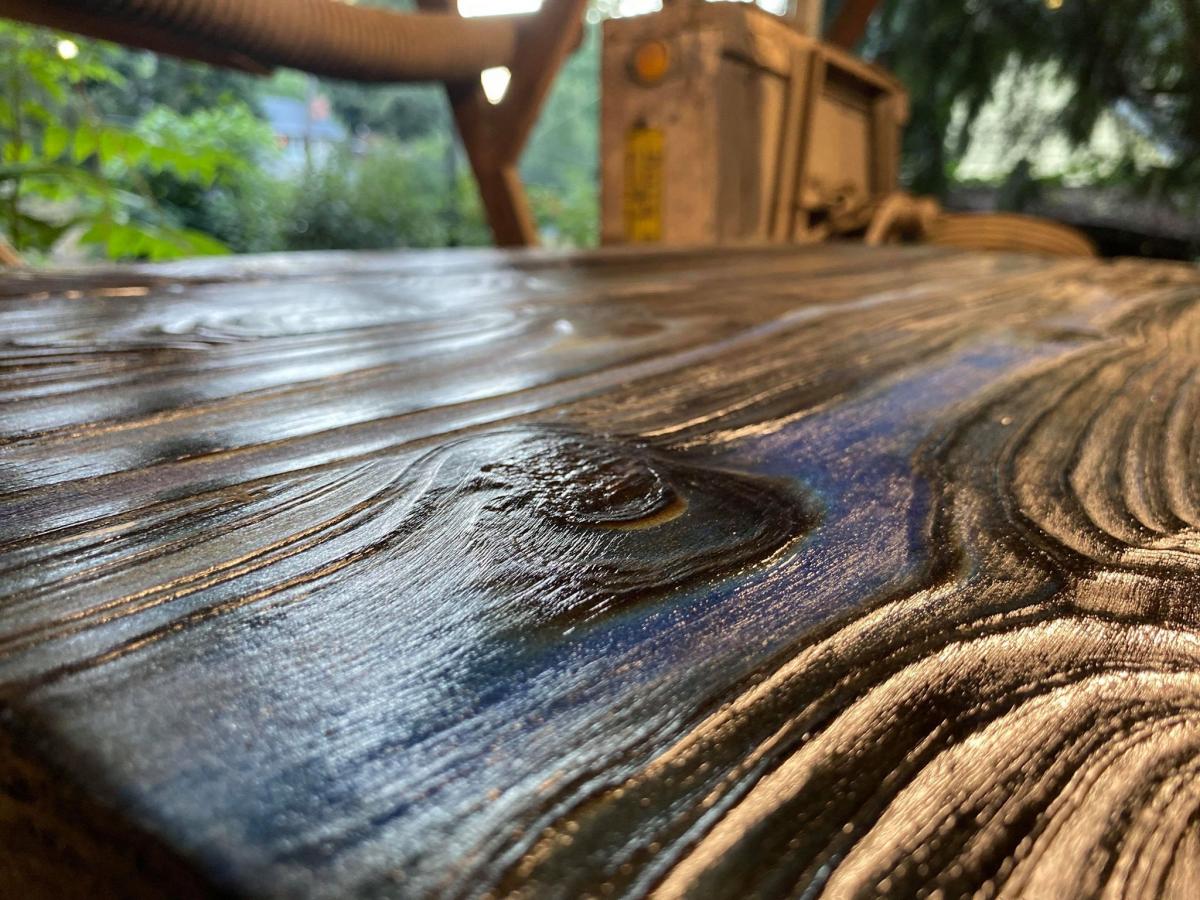
1 coat white paint, 1 coat gray paint (greek column by Ace), after 24 hours, sanded with 220 and some 100 grit sandpaper to distress, then added a coat of soft wax to protect the surface.
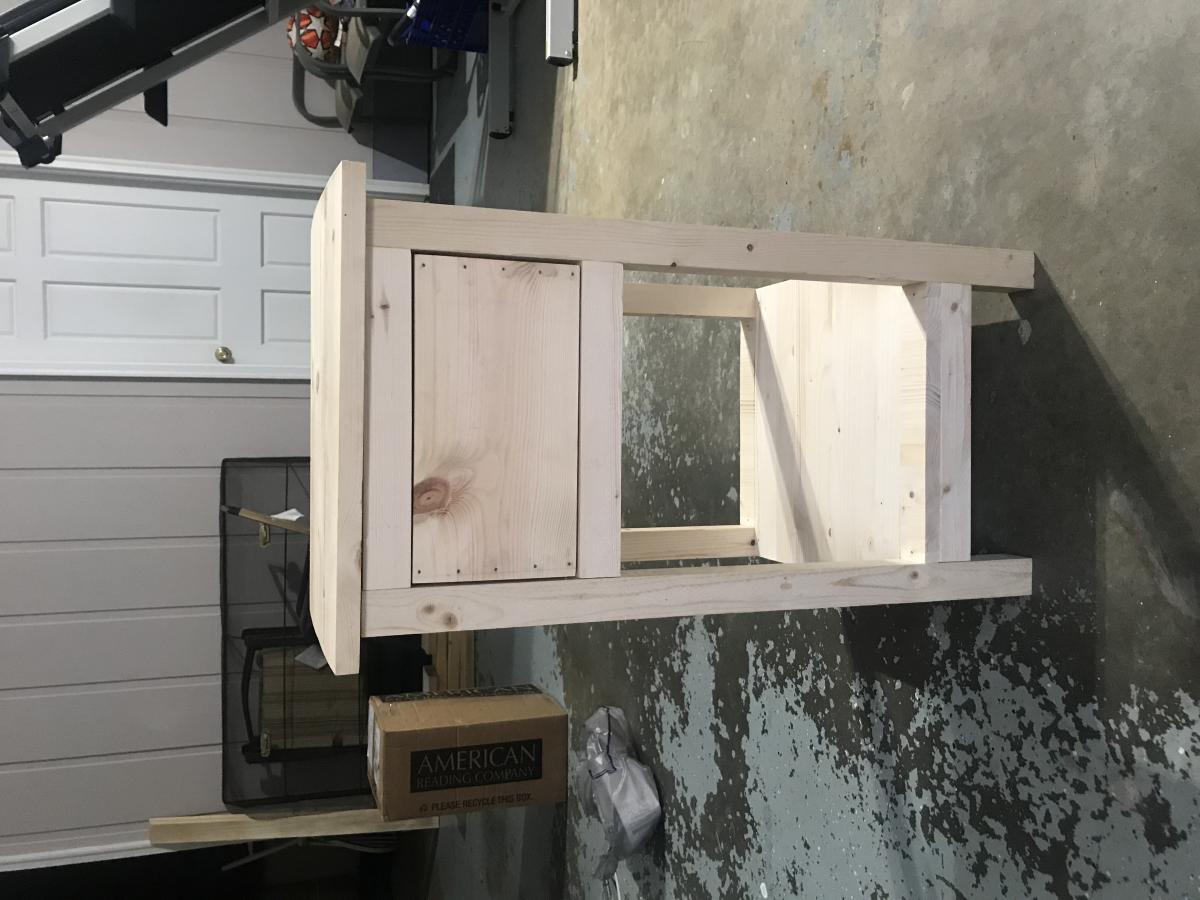
Recommended Skill Level
Beginner


Comments
itzann
Sun, 10/14/2012 - 10:19
Mirror
Very nice! I kind of like the black screw-heads showing!
-Ann
JoanneS
Sun, 10/14/2012 - 14:25
Thank you!
Thanks Ann! This was a fun project. I've been wanting a mirror to match that table since last year, and this one fits just right. My family said they liked the visible screws too, so I'm going to leave them as they are.
:)
Joanne
Ana White
Sun, 10/14/2012 - 15:26
Joanne, this is beautiful!!!!
Joanne, this is beautiful!!!! I am so glad you like the mirror. We adore ours! Thanks for getting the book! Ana
YankeeBelle
Sun, 10/14/2012 - 16:03
Hooray!! What fun to see brag posts from book projects!!
Great job on the mirror!! I hate waiting for paint to dry also....that's why Ive taken to painting everything with homemade chalk paint...dries in minutes and I can get right to sanding and glazing. Love the gray you used!!
JoanneS
Thu, 08/29/2013 - 13:57
Ana, Thank you
Ana, Thank you so much! I can't wait to get building on more projects from the book and from here too! You are awesome! :)
YankeeBelle, thank you! How do you make chalk paint? That sounds like a great time saver!
:)
Joanne