Community Brag Posts

Fireplace Mantle with Drawers and Hidden Storage

Modified plans to include game storage drawers, a flip open mantle for DVD player and hidden charging port, and hidden cupboards on both sides for DVD storage. I scoured the Internet for months before drawing this up to fit my space and tackling all on my own! I love it and all of my other Ana White inspired projects!

Casey O.

Seasonal And Holiday

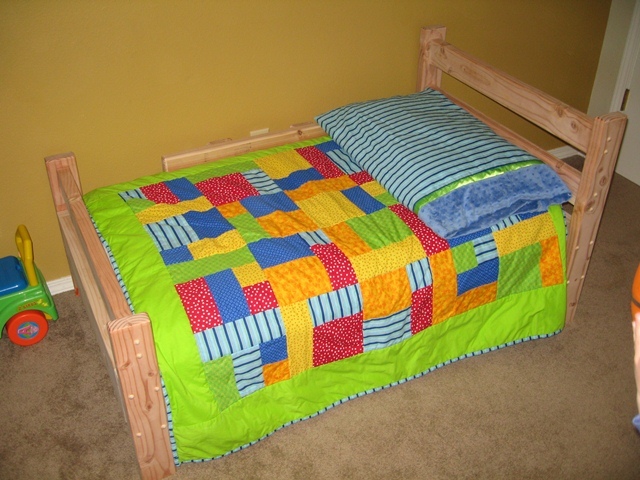
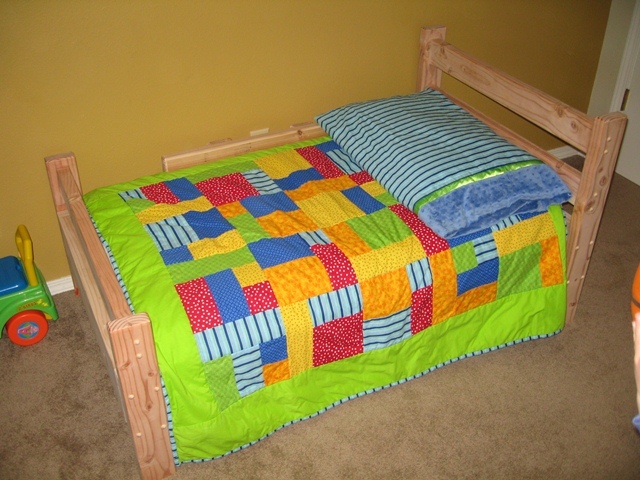
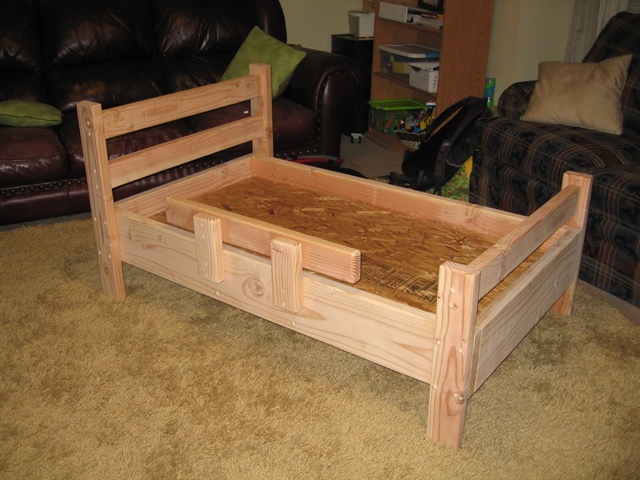
Toddler Bed & Quilt

My son has been falling/climbing out of his crib. My wife wanted a toddler bed as soon as possible, which meant yesterday. She has had this in mind for some time considering she made this marvelous quilt for our little dude. The bed is pretty crude from a joinery standpoint. It's just butt joints with glue and screws. The dimensional lumber gives a nice break on the pocket book, especially when it's free from helping someone move it into my truck. The joints get some spice by button plugs. It's not finished with anything special, just some 120 grit. I figure we will probably paint it to match his new room in the house we are moving into next week. I wish I could have made it out of pocket holes entirely but the box o' screws wasn't in the budget when the wood is free and the 2-1/2" screws are given to you. Bottom line is that my wife is happy with her hubby the the little stud muffin is happy with his "big boy" bed.

Estimated Cost
2 Gatorades worth of sweat
Estimated Time Investment
Day Project (6-9 Hours)
Finish Used
None
Recommended Skill Level
Beginner

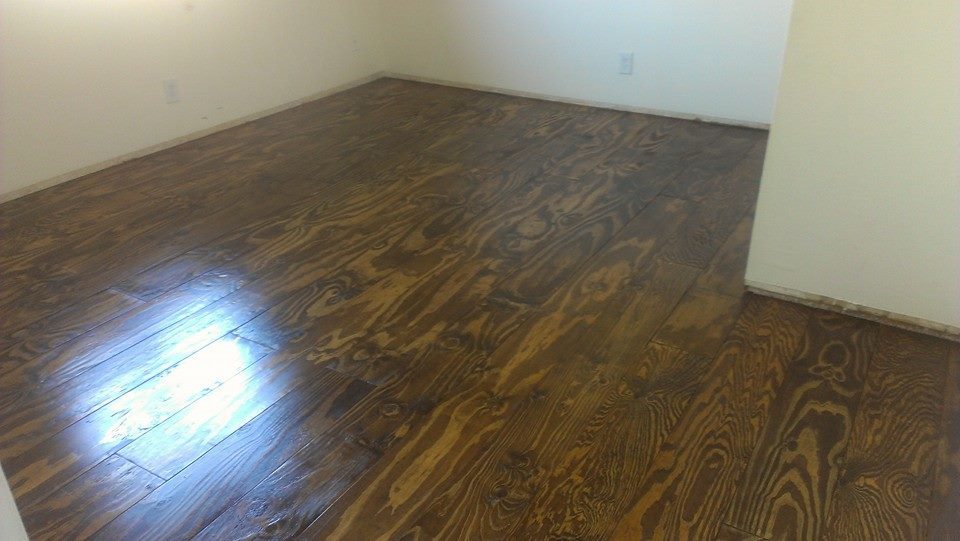
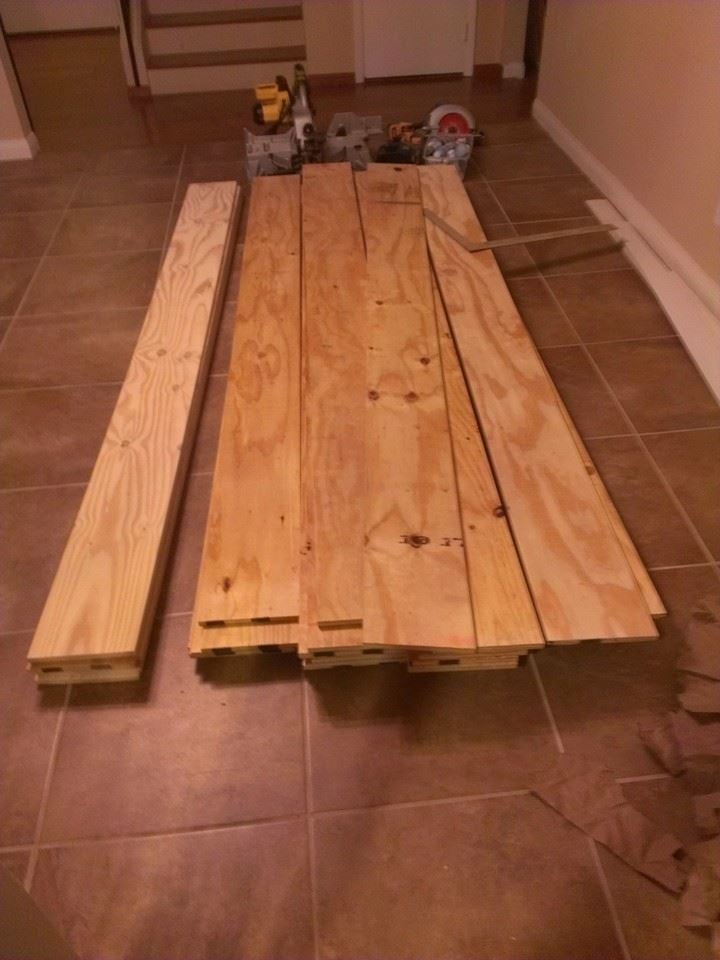
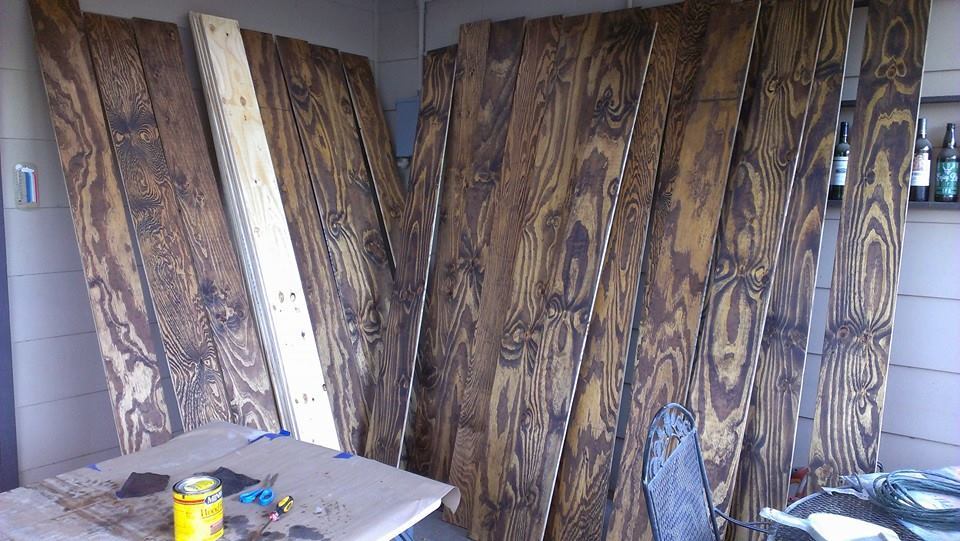
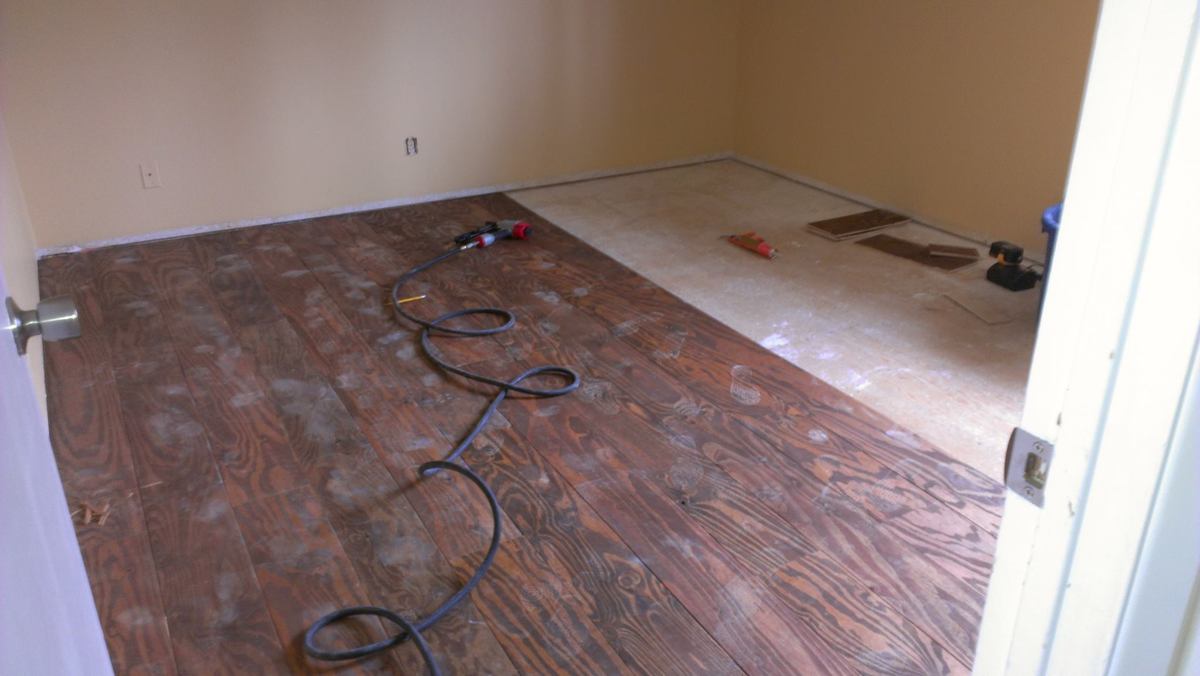
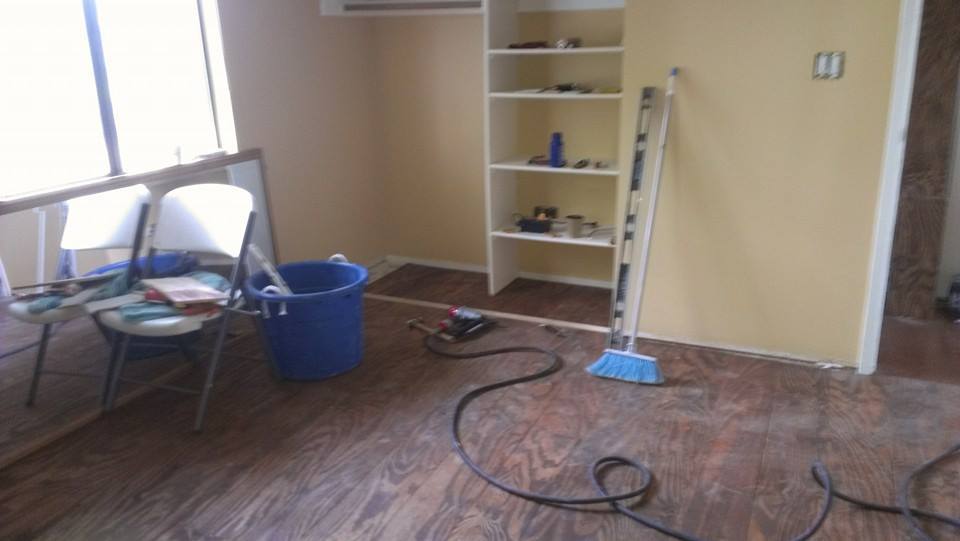
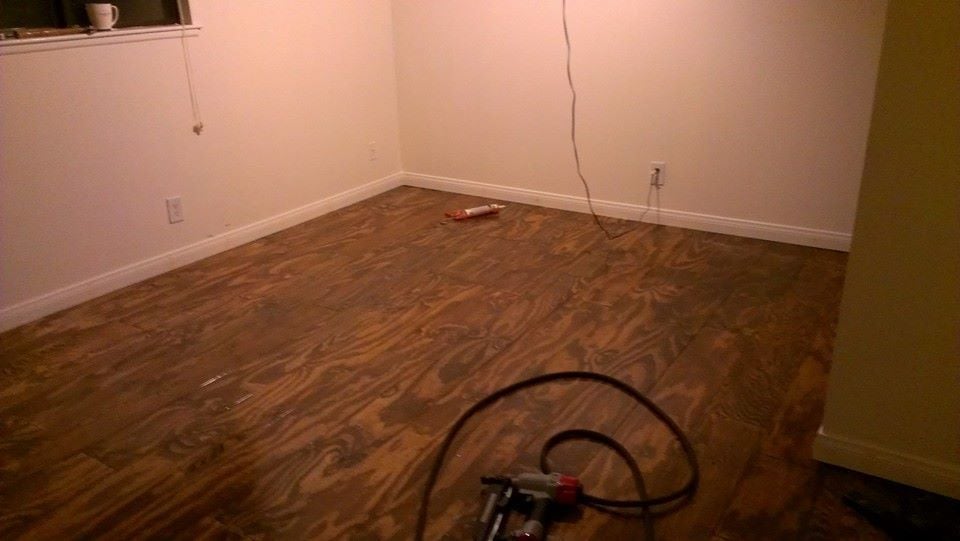
Plywood farm plank floor

Submitted by ooupla2 on Sun, 04/06/2014 - 10:20

I was inspired by Ana to DIY and save a lot of money. I bought $17 plywood which was the cheap stuff. Lots of knots and rough. I sanded the plywood and cut it into 8 inch planks. I rounded the edges and stained it one time. I nailed it directly to the subfloor and used liquid nails as a second bonding agent. After the floor was nailed in I re stained it and applied 9 coats of flooring poly. It turned out so good im doing the entire 1400 sq feet upstairs of my home! I plan on making many of Ana's furniture projects to fill the rooms once its all complete!

Estimated Cost
$1.25 sq foot
Estimated Time Investment
Weekend Project (10-20 Hours)
Finish Used
Varathane diamond floor finish. semi gloss applied with Varathane Water Borne Applicator, reapply after 2 hours
Recommended Skill Level
Beginner

Comments

Pallet Cabinet

Submitted by Anonymous (not verified) on Sun, 07/03/2016 - 08:55

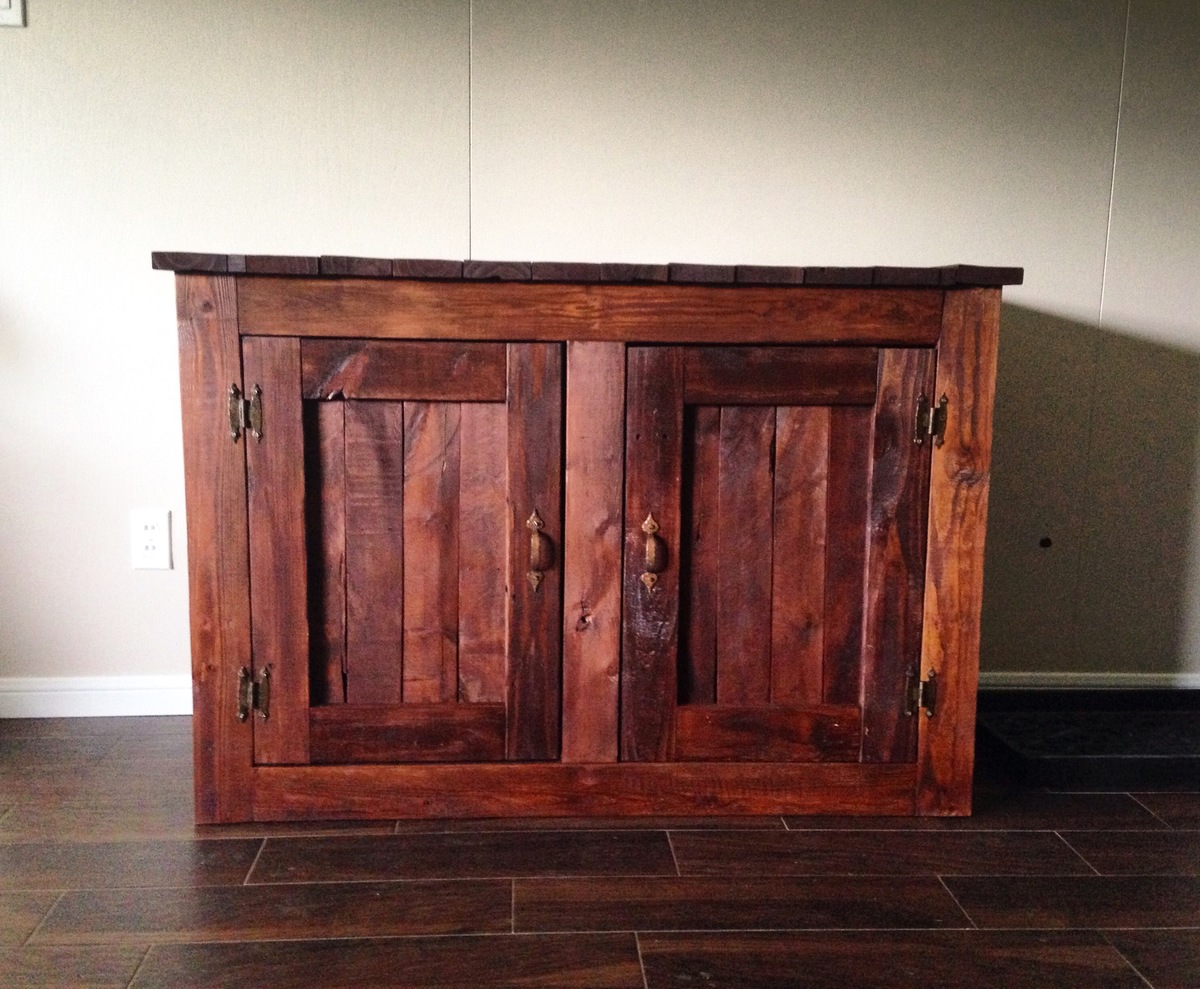
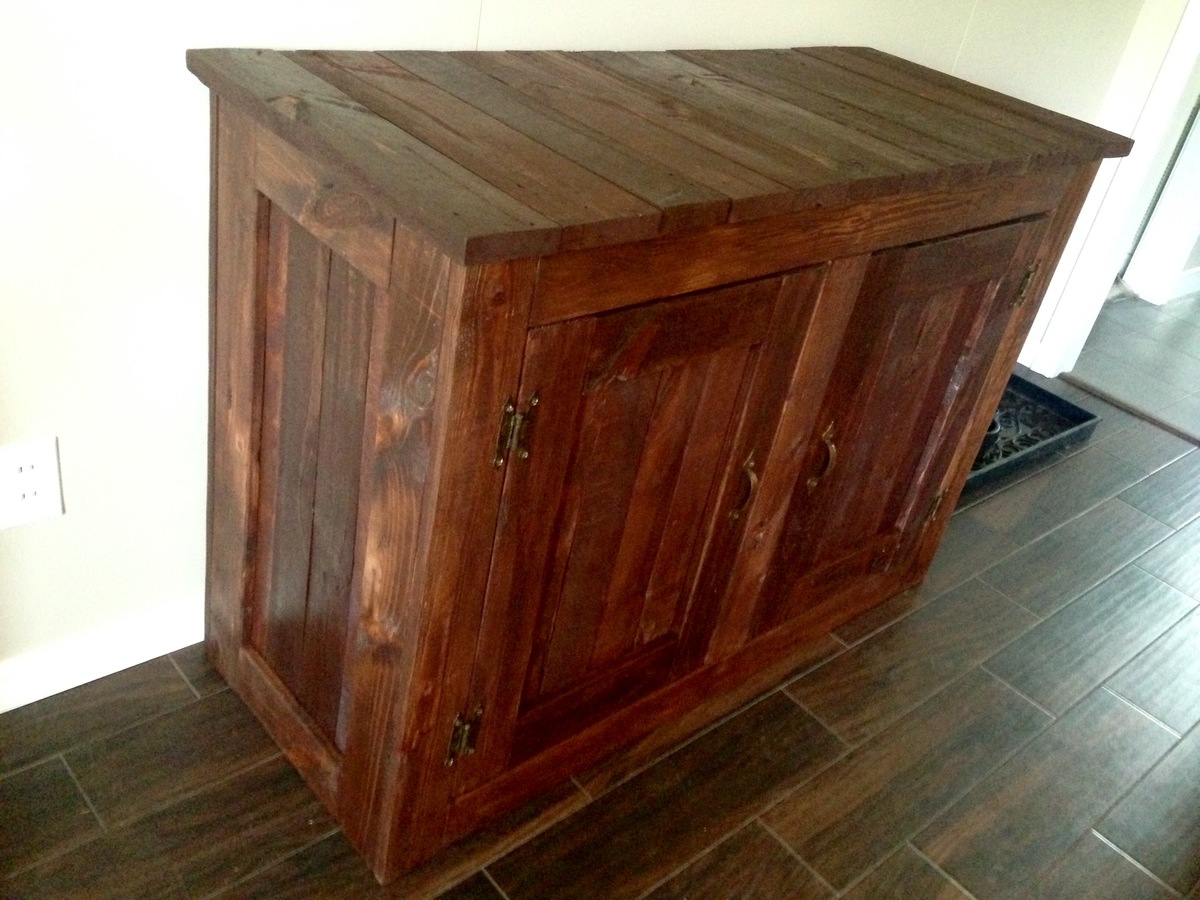
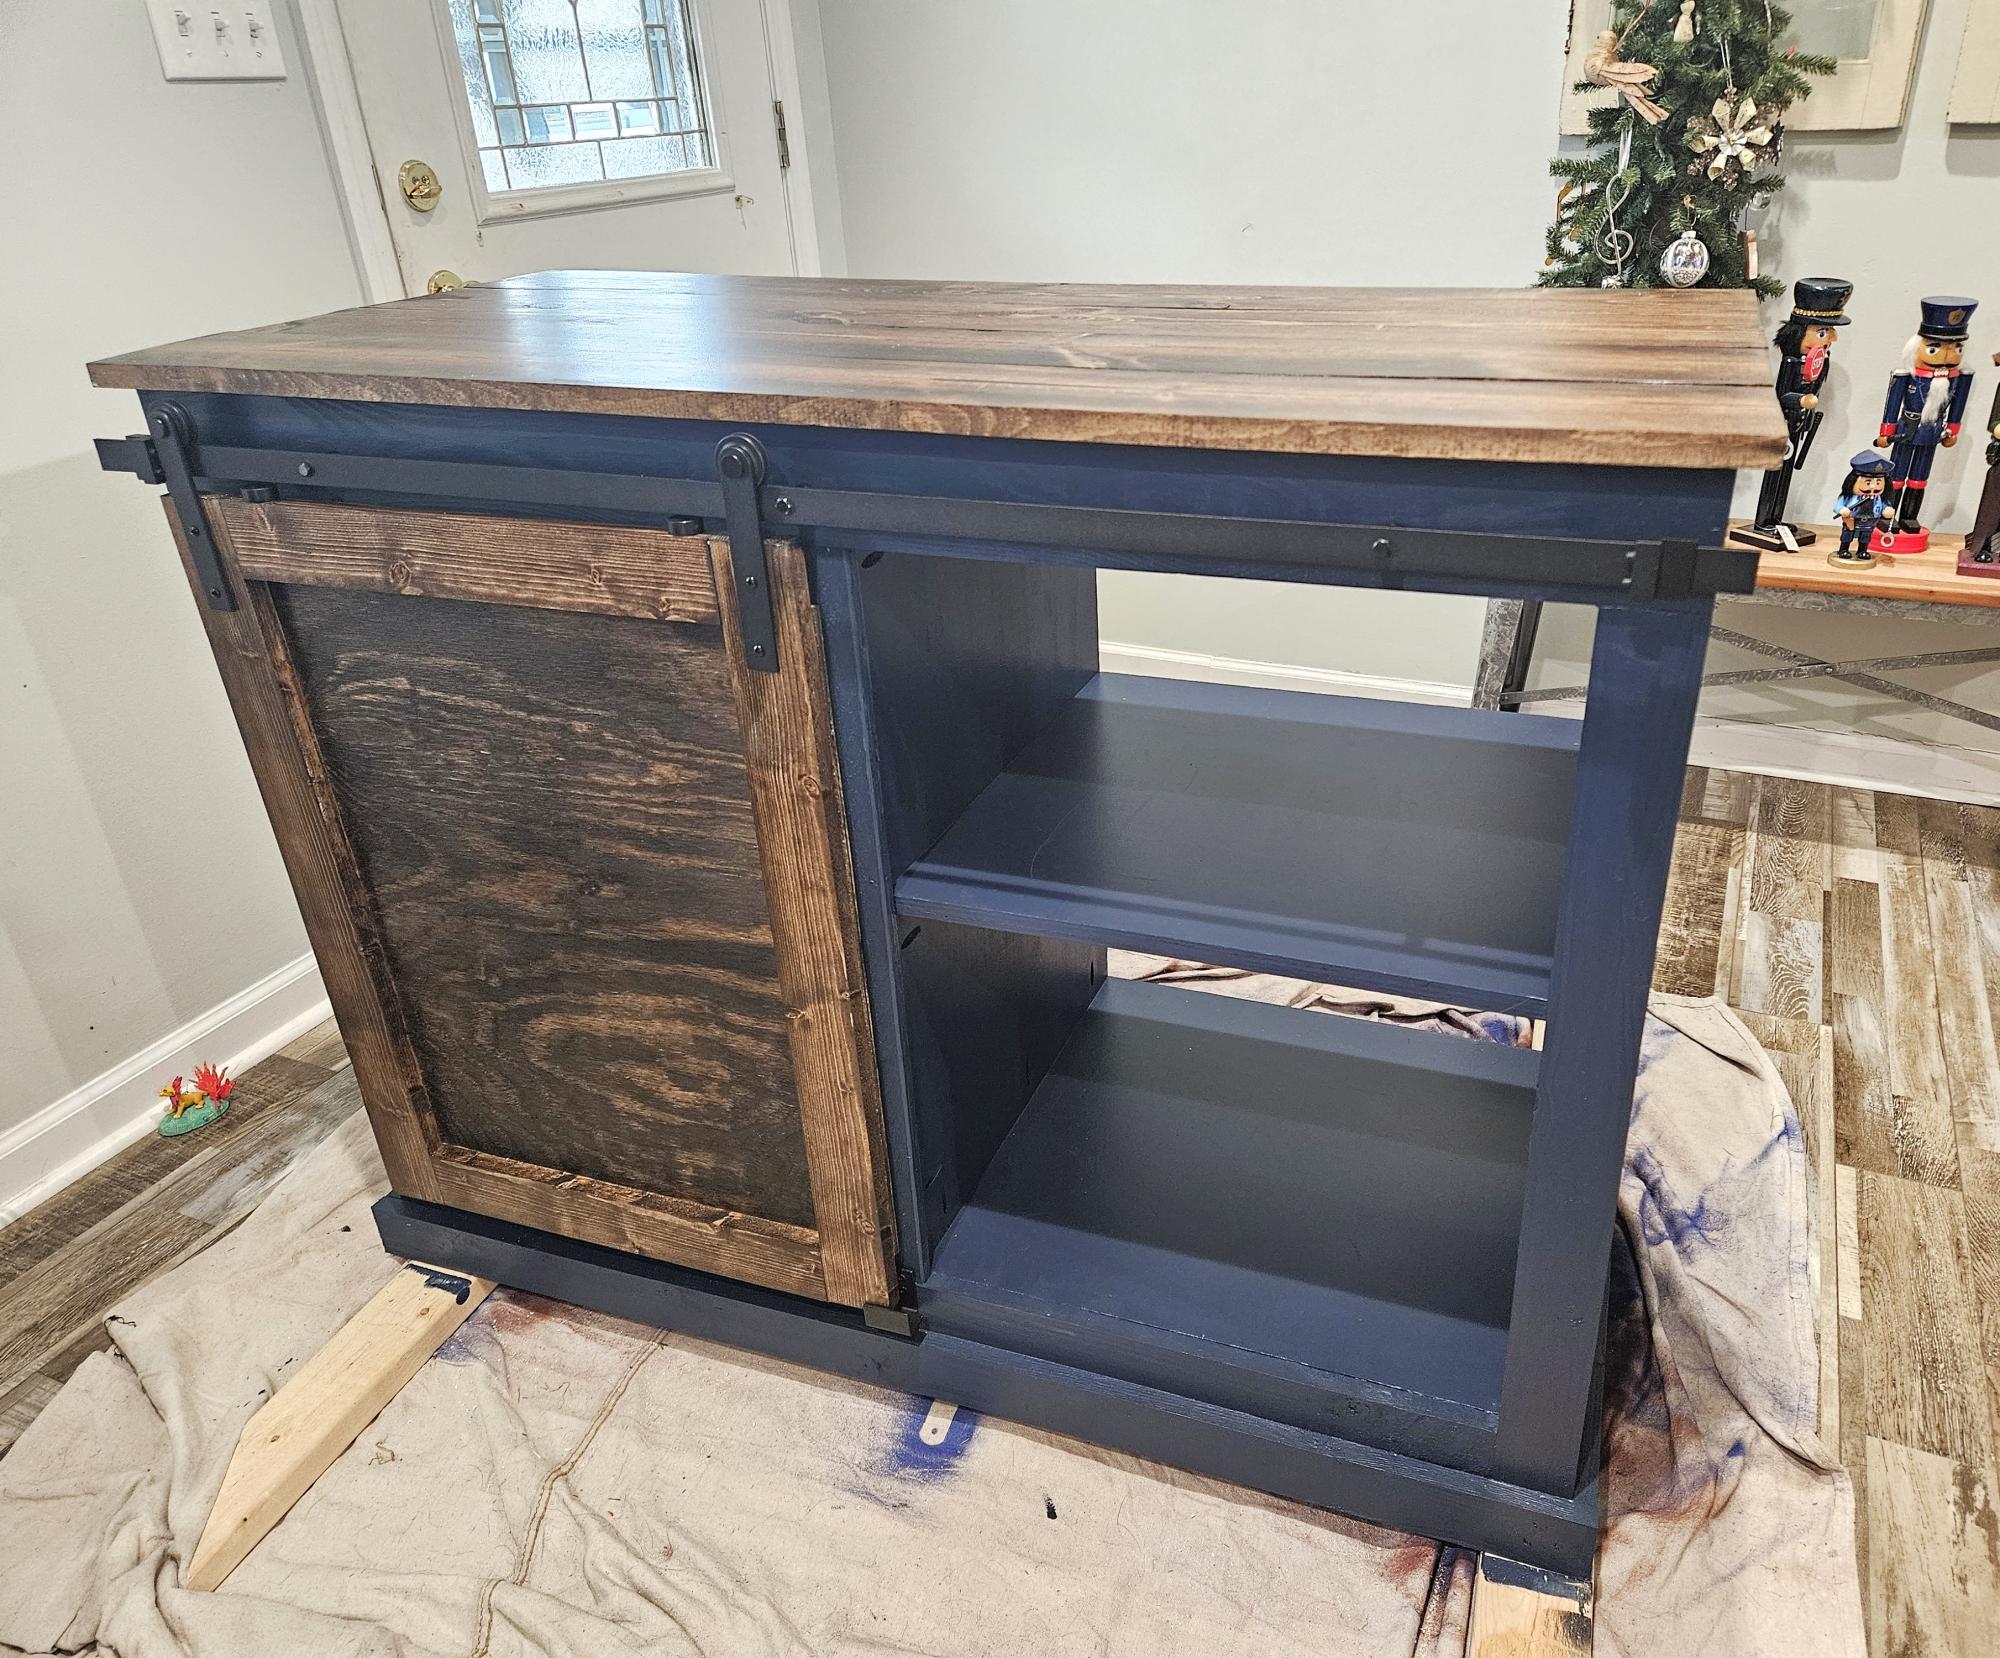
All of the wood is recycled from pallets. The hardware is also recycled from old kitchen cabinets. All sides of the cabinet are paneled with planks of pallet wood. The plans were awesome to follow! After a certain point though, I had to go rogue because I was using different wood. 

Built from Plan(s)
Estimated Cost
maybe $25 because I had to add to our supply of stain & shelac to finish
Estimated Time Investment
Week Long Project (20 Hours or More)
Finish Used
Zar oil-based Rosewood
Recommended Skill Level
Intermediate

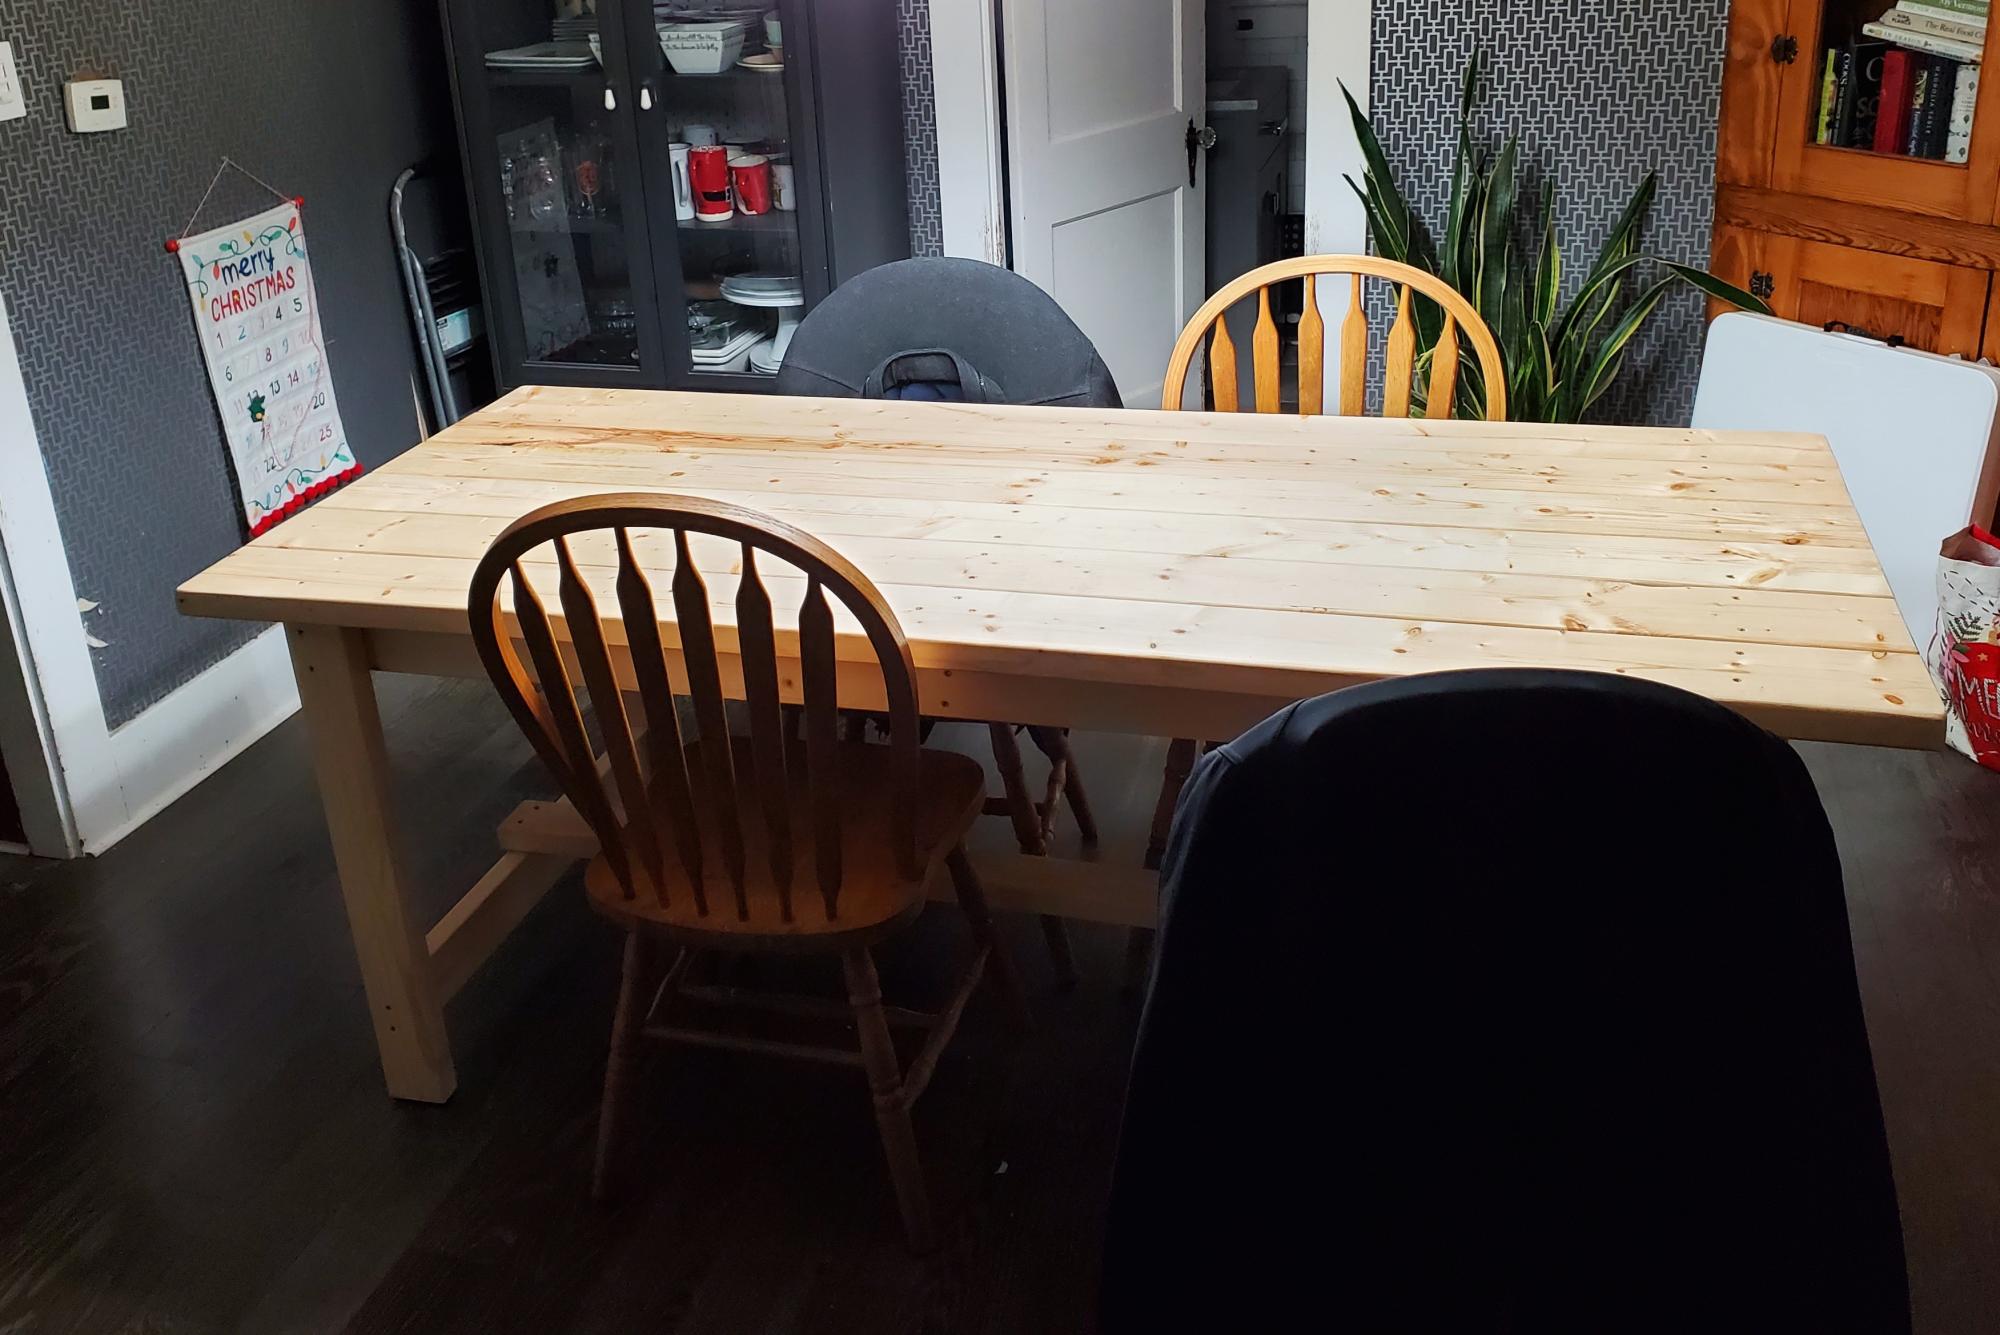
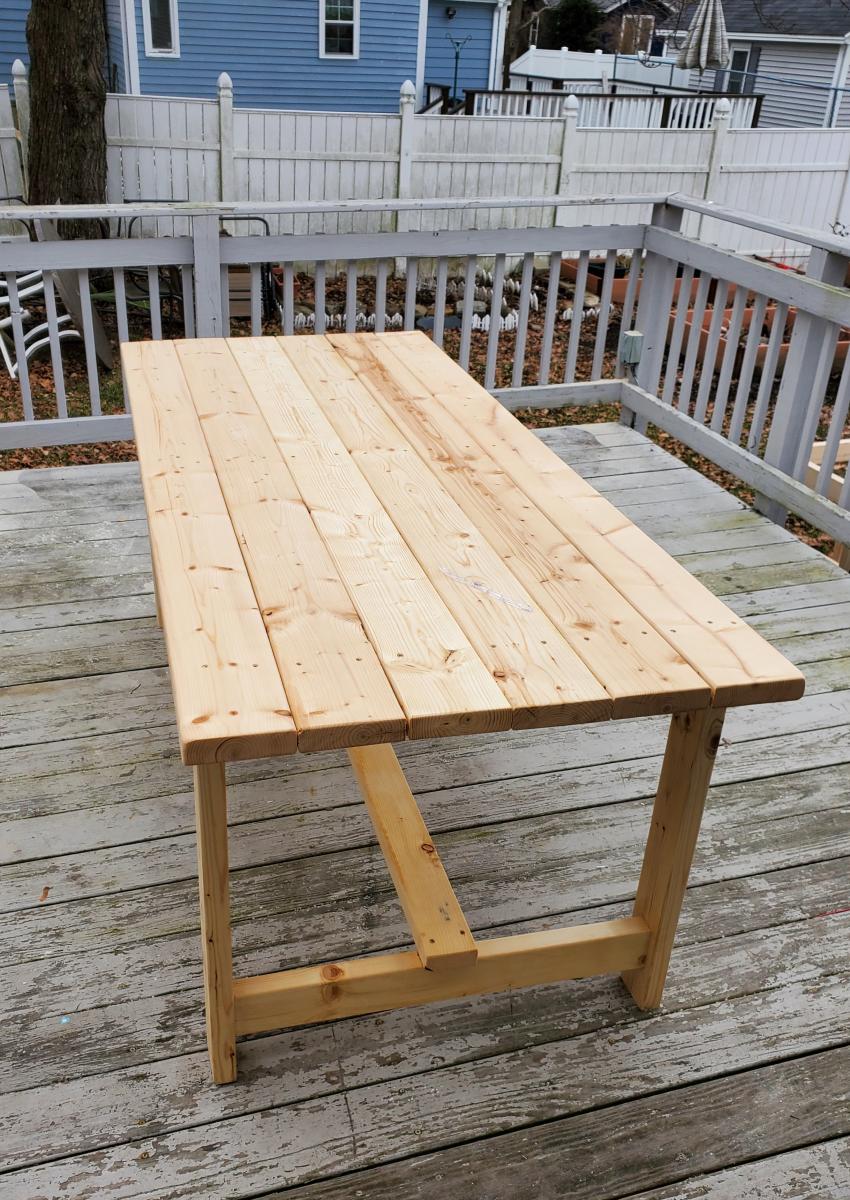
Beginner Wood Table

My wife and I had been talking about buying a new dining room table for some time and we are just so sick and tired of paying good money for cheap, particle board furniture from Wayfair or box stores. And solid wood furniture is expensive AF! So, I decided to build a table myself, even though I'd never built a single piece of furniture in my life. When I found the plans for this table I realized that I could do it myself. The plans were straight forward and easy to follow. I had to size the length down to fit in my smallish dining room (and it is still a little bit too big), but I am so proud of what I was able to build by myself in a weekend. Thank you Ana!

Shawn in New Hampshire

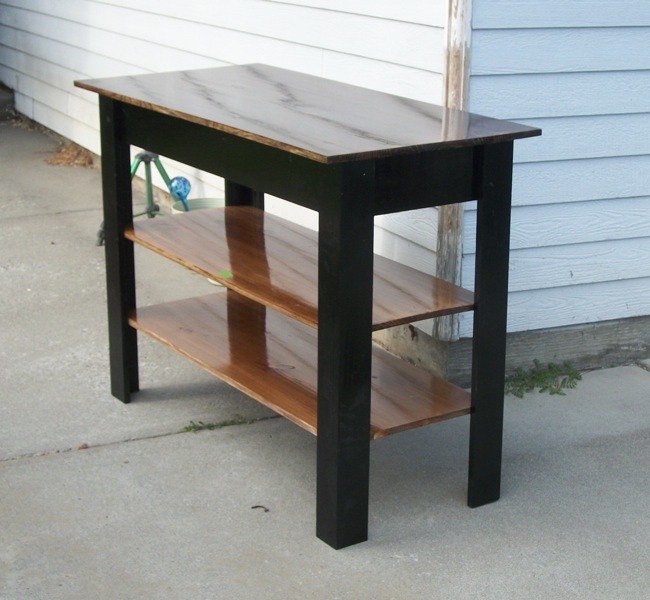
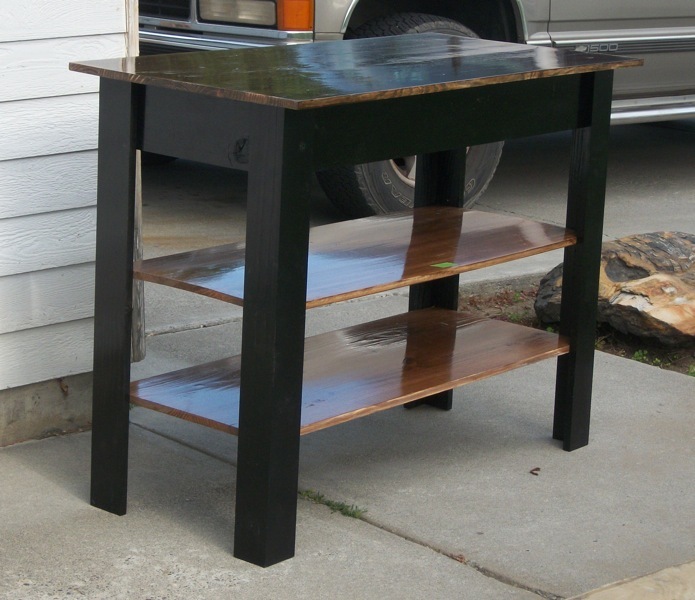
Farmhouse Kitchen Table

Submitted by tracysmith on Thu, 06/14/2012 - 19:07

This is a farmhouse style kitchen table that I built for Mom's little kitchen. She needed more counter space and more storage space and had the perfect corner for it to fit in. These are based off my own plans which I have not published on Ana-White yet.

Estimated Cost
$125
Estimated Time Investment
Day Project (6-9 Hours)
Finish Used
Rustoleum black gloss spray paint, Minwax PolyShades in Tudor and Royal Walnut - both Gloss. These were at the request of the client so that's what we used! ;-)
Recommended Skill Level
Beginner

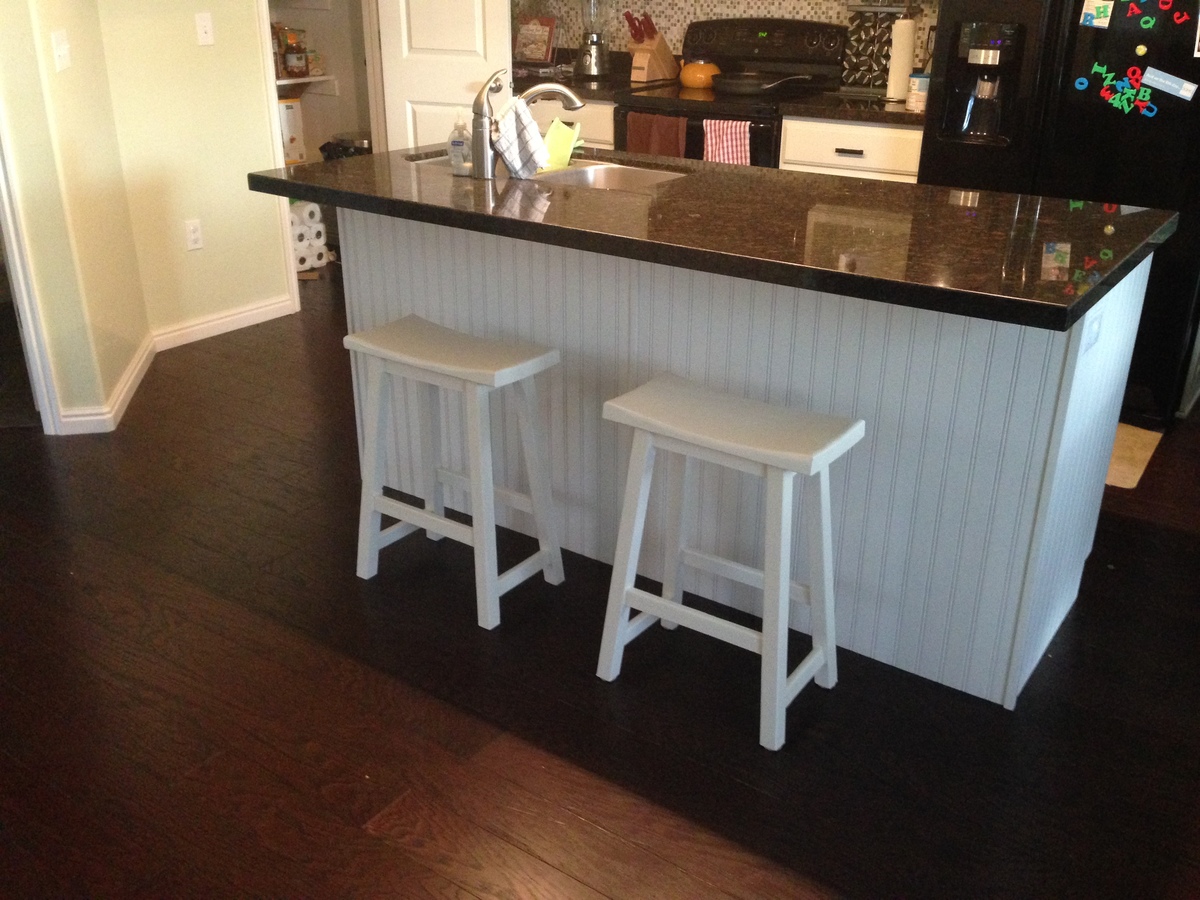
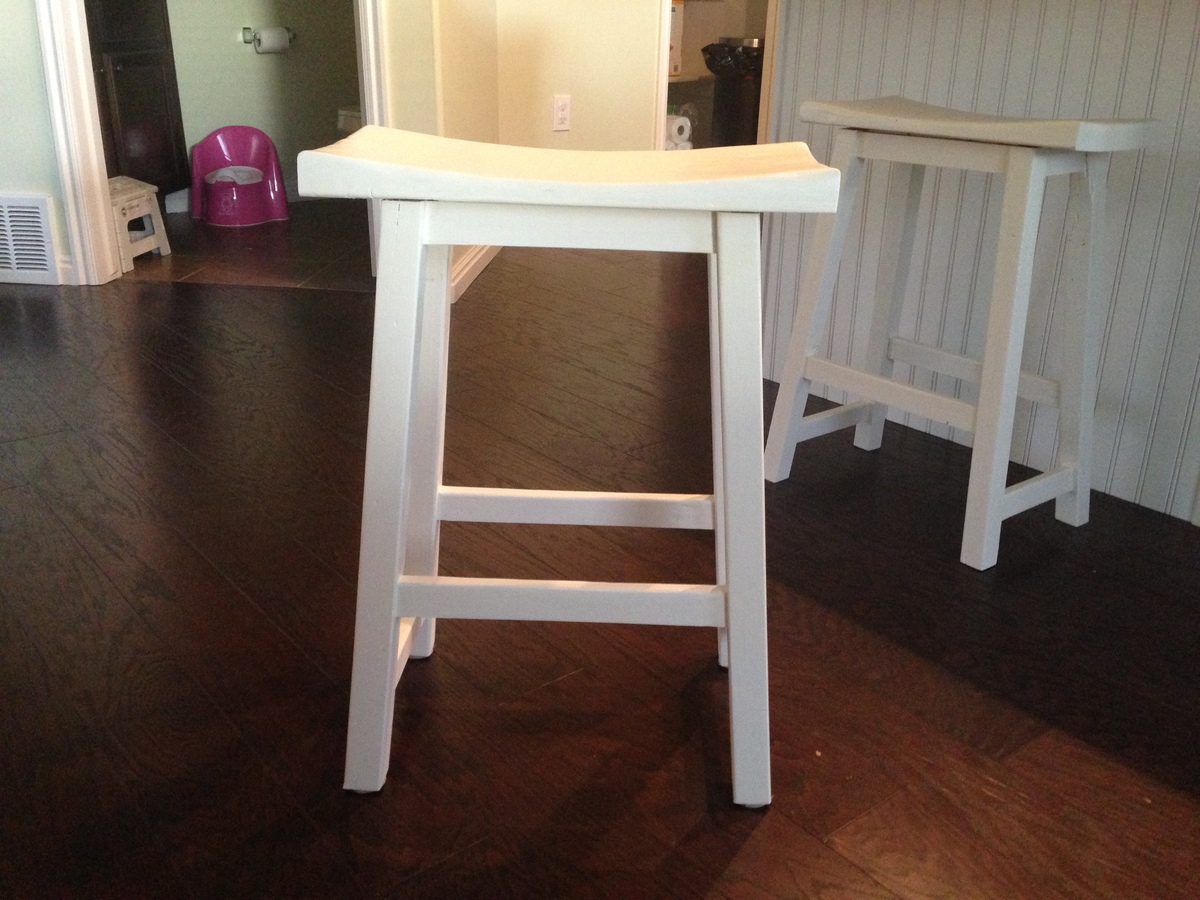
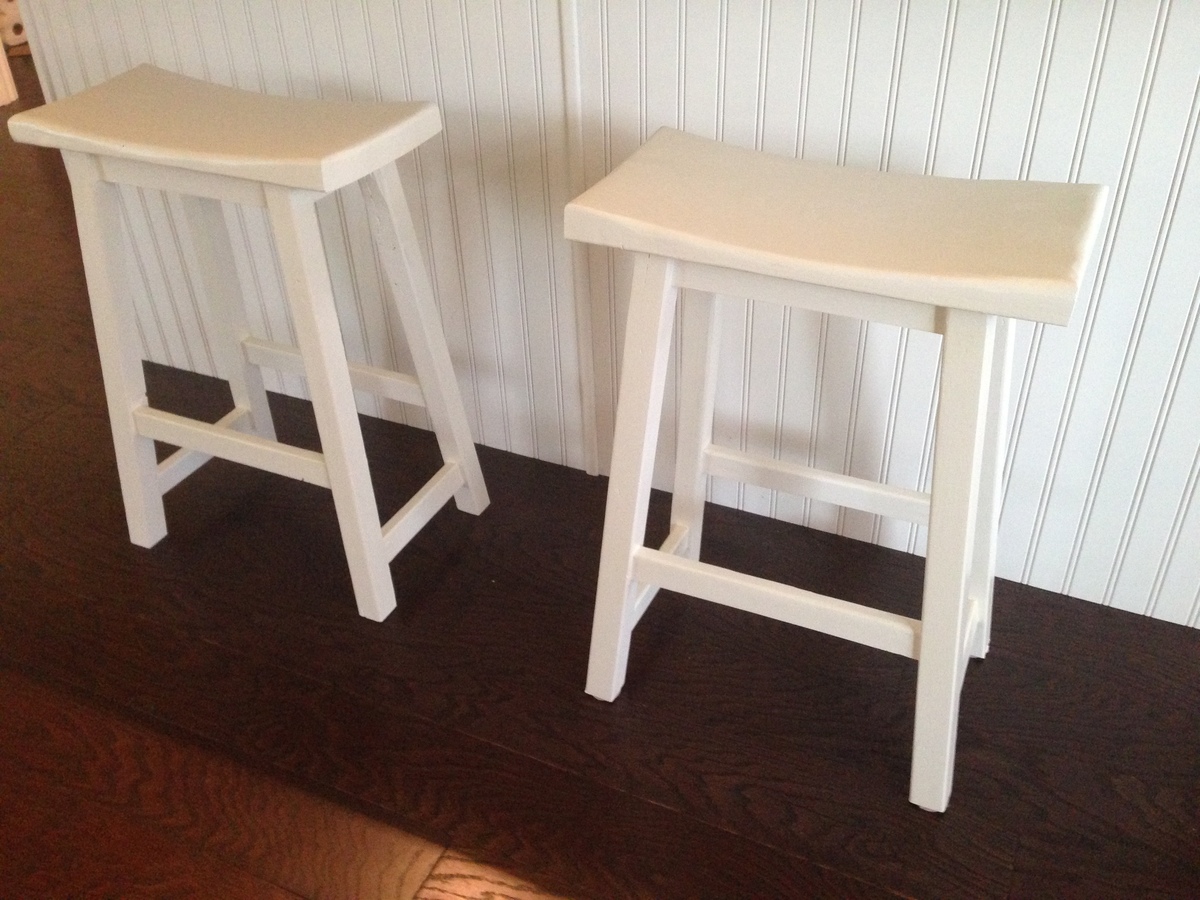
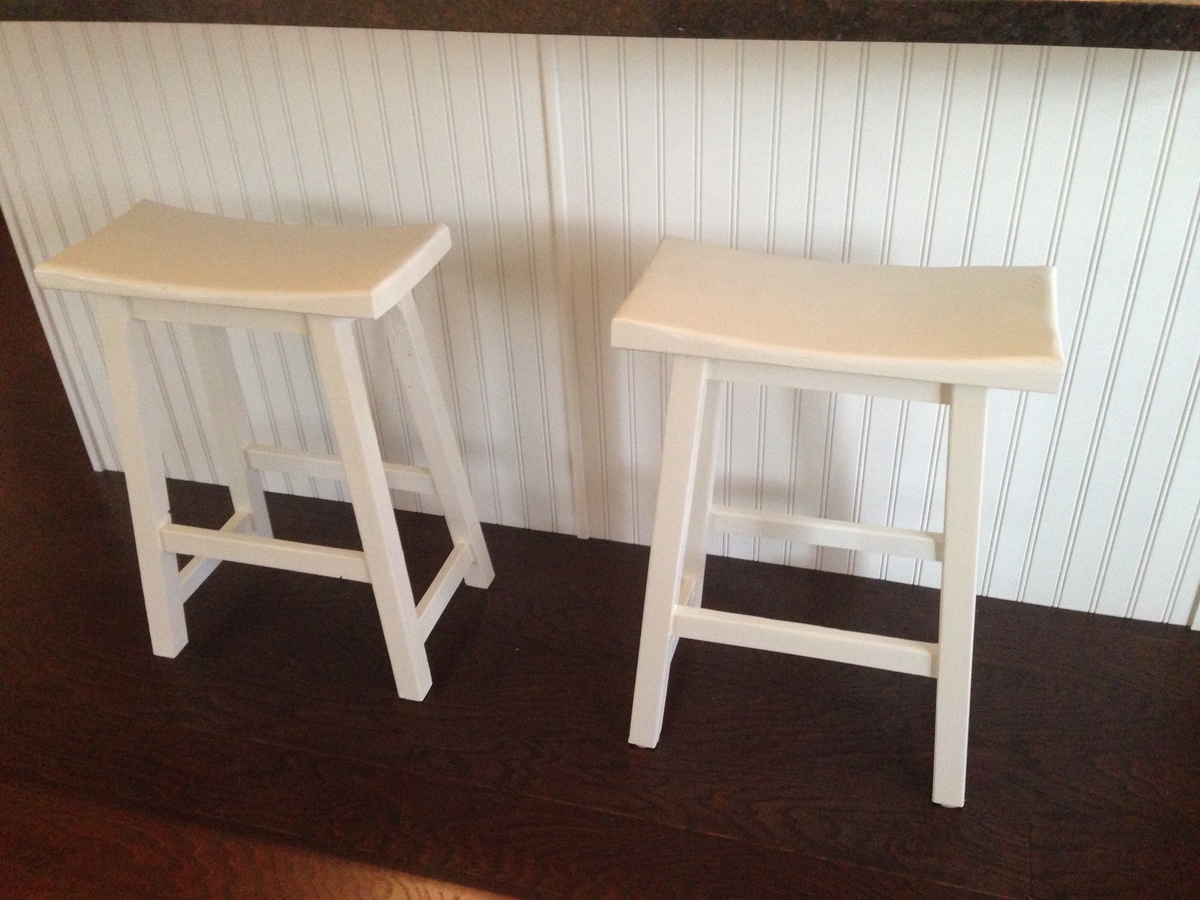
Counter Stools

Submitted by bencorless on Tue, 04/08/2014 - 15:08

I slightly modified the plans to give them more of a "Saddleback" style. I used a 2x10 for the seat, then belt sanded for an hour to give it the concave shape.

Built from Plan(s)
Estimated Cost
$10
Estimated Time Investment
Day Project (6-9 Hours)
Recommended Skill Level
Beginner

Toddler Captains Bed

Submitted by Anonymous (not verified) on Tue, 07/05/2016 - 19:36

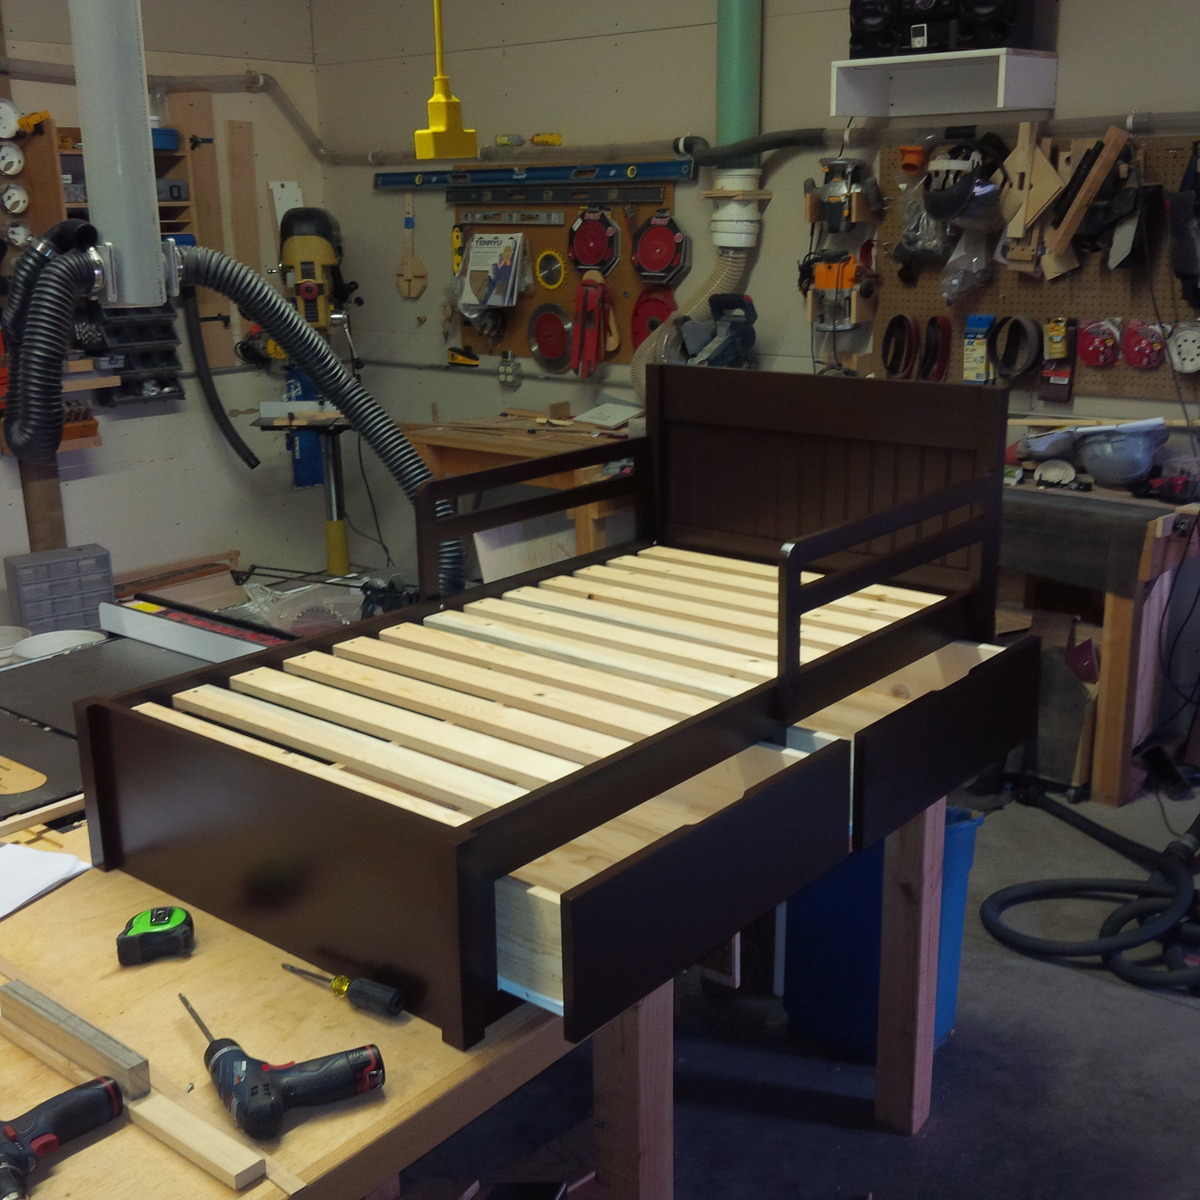
My wife wanted a dresser and a bed for our two year old foster daughter on her second birthday.  Since half the dresser drawers are not useful for a toddler I considered a Captain's Bed or Mate's bed but couldn't find one.  I modified the Traditional Wood Toddler Bed plan adding drawers underneath and painted it white.   My little girl loves it.   It turned out nice enough that my oldest daughter asked me to make another for my grandson since his convertible bed will be converted back to a crib with a new granddaughter on the way.  Her only request was to color it Espresso Brown.  I have included the picture.  Thank You for the ideas.   God Bless You and your faimily

Built from Plan(s)
Estimated Time Investment
Week Long Project (20 Hours or More)
Finish Used
Black Primer and Espresso Brown Paint
Recommended Skill Level
Beginner

Traditional Wood Toddler Bed with a Twist

Submitted by mikekmikek on Thu, 04/30/2020 - 10:34

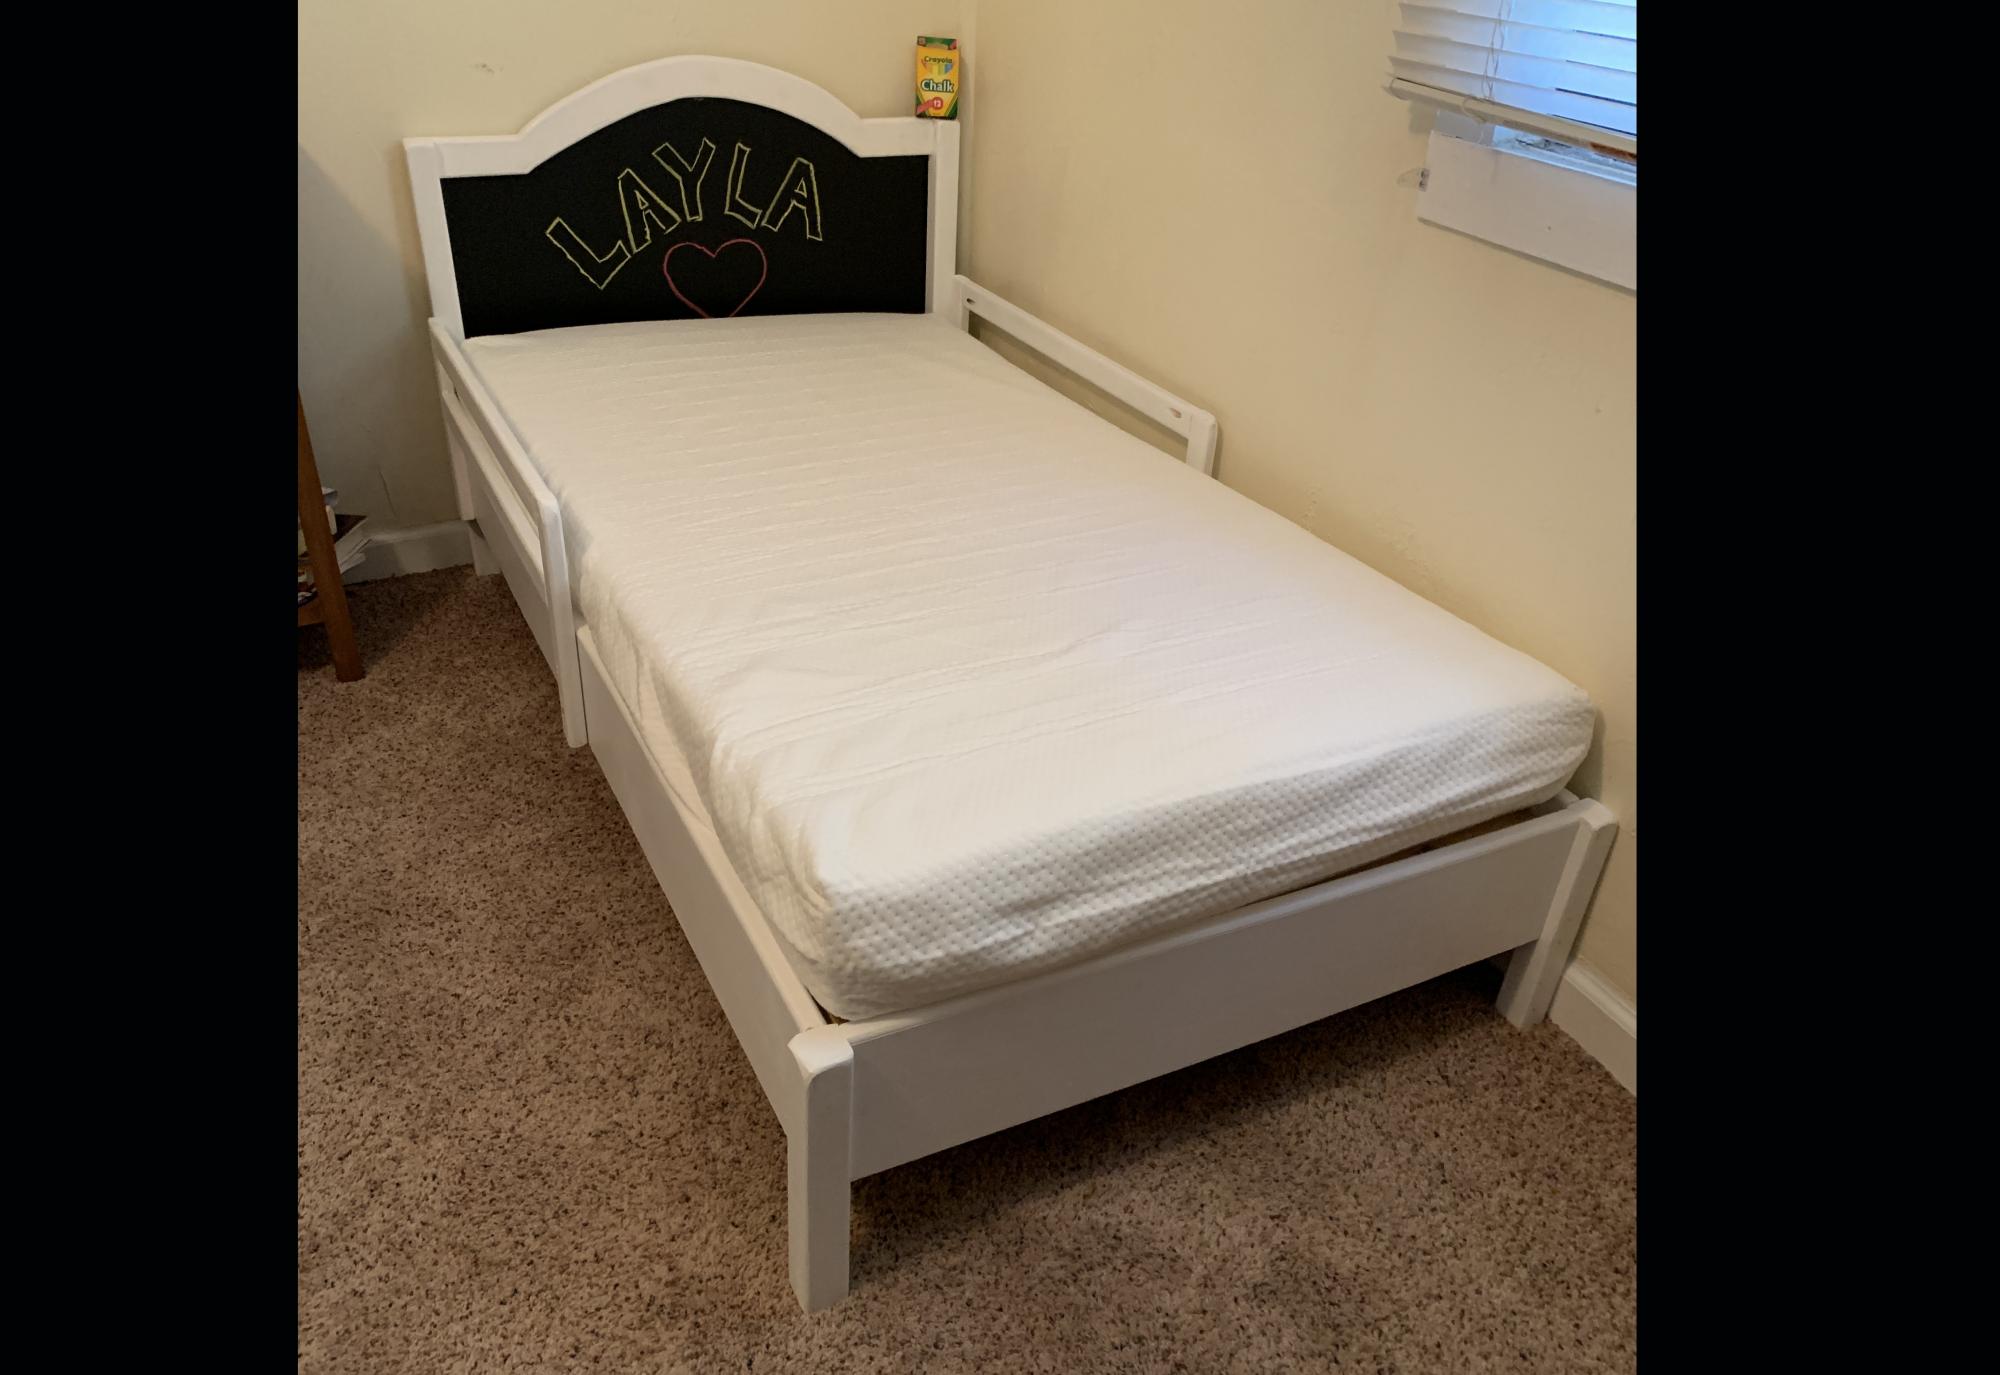
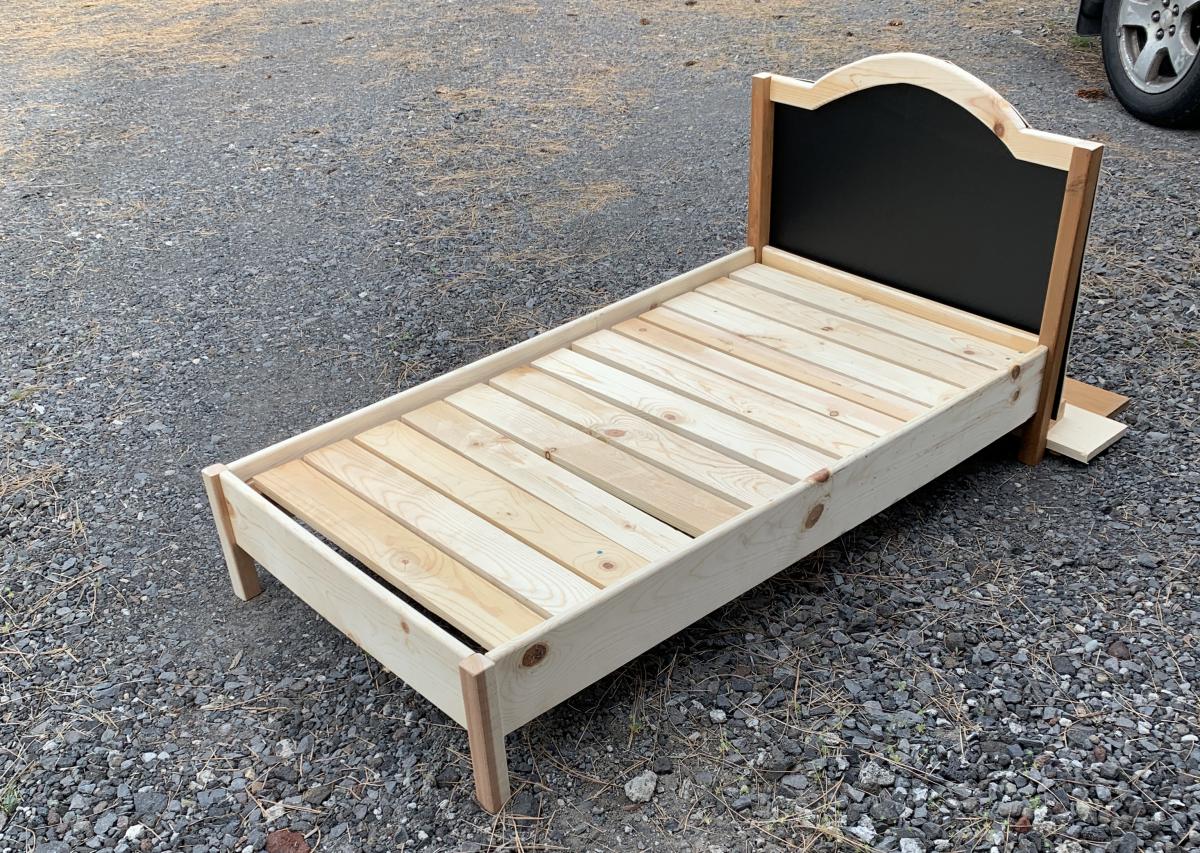
I made the Traditional Wood Toddler Bed in a weekend and it turned out great! I did add a twist though: A chalkboard replaces the wainscot!

Built from Plan(s)
Estimated Time Investment
Weekend Project (10-20 Hours)
Finish Used
Used a chalkboark panel from Home Depot instead of the wainscot.
Used a hand router to round all of the edges to give it a softer feel.
Had to extend the length of the bed by 1/2" to accomodate a Greco toddler mattress. (Check your mattress size before you build!)
Recommended Skill Level
Intermediate

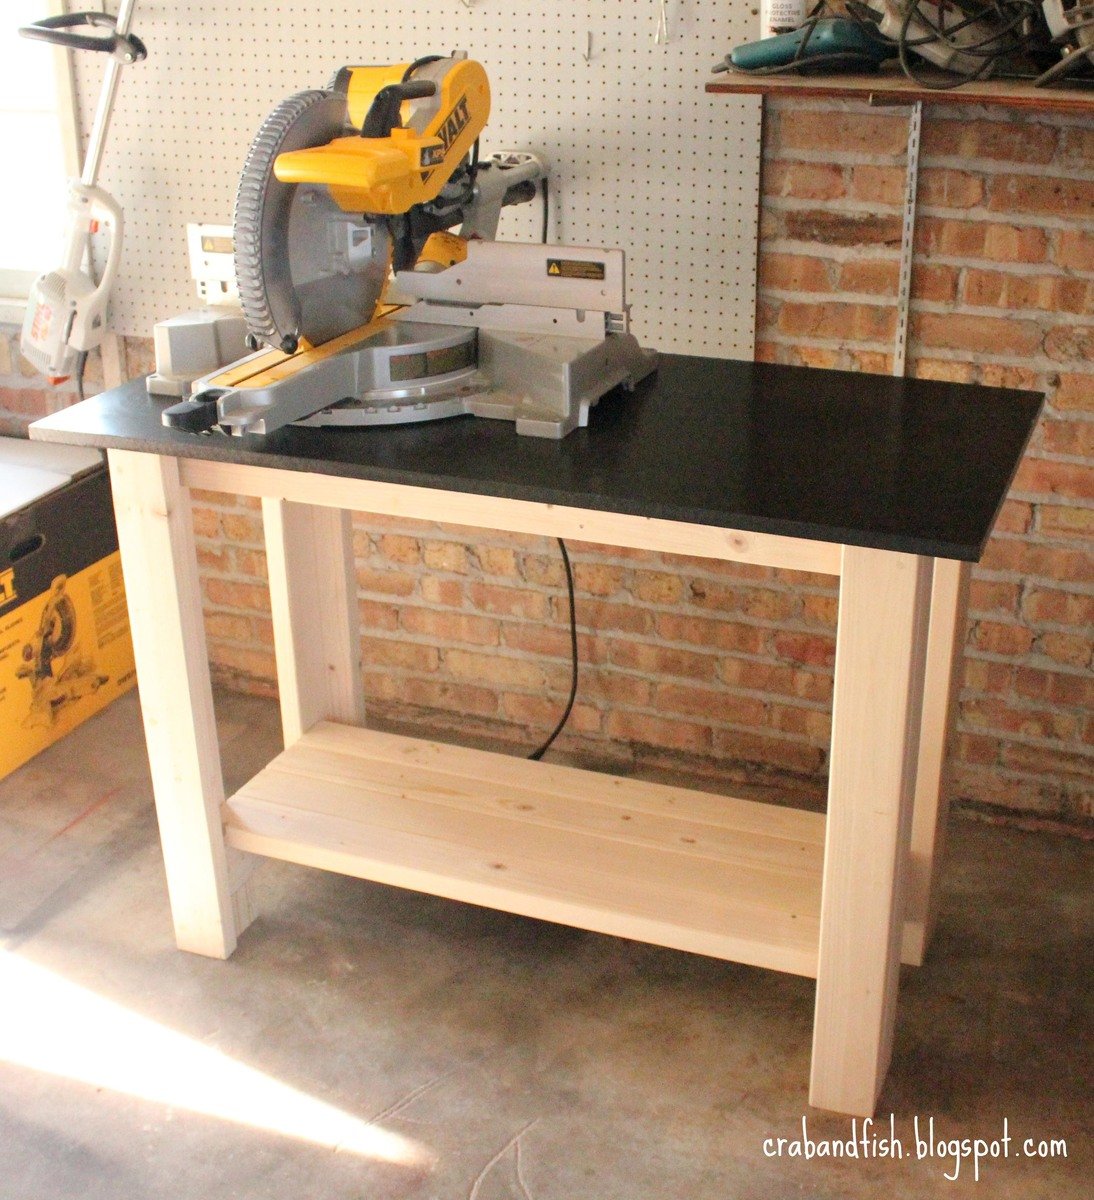
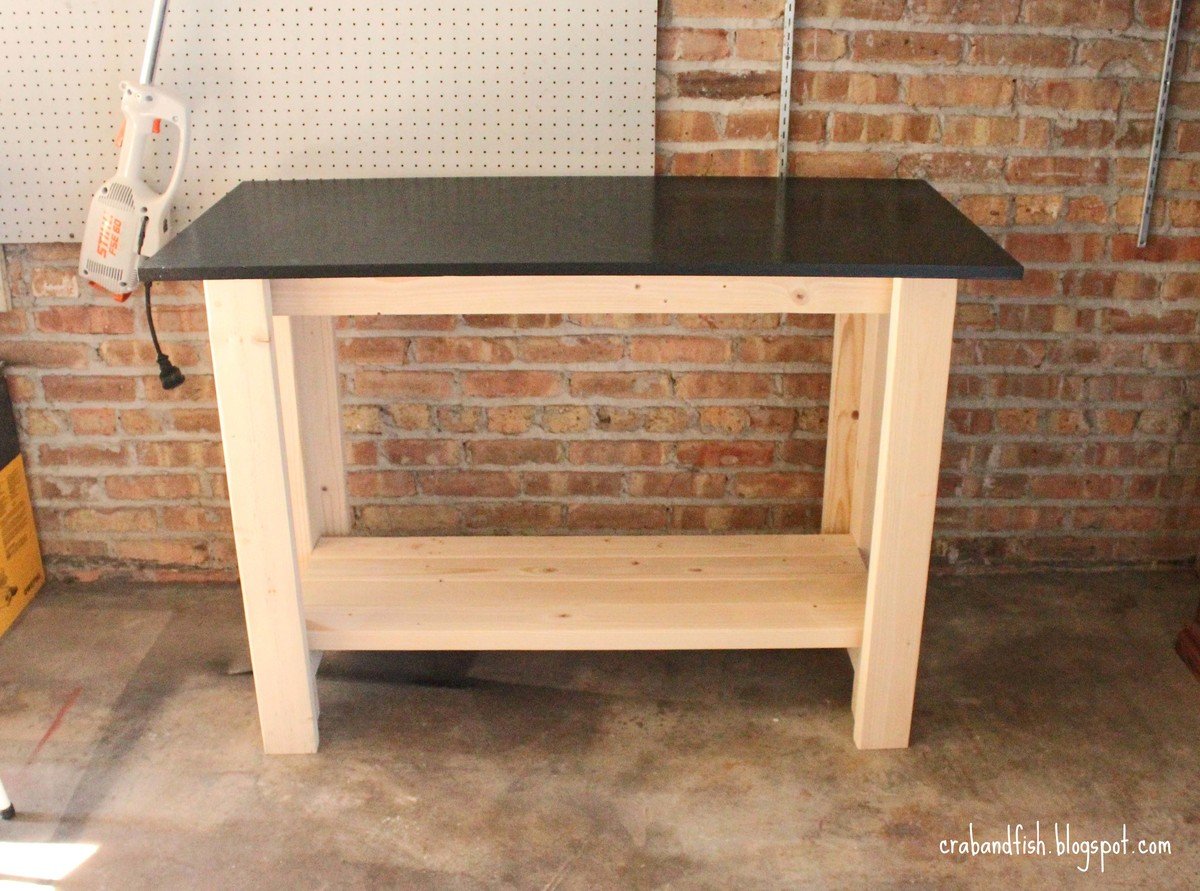
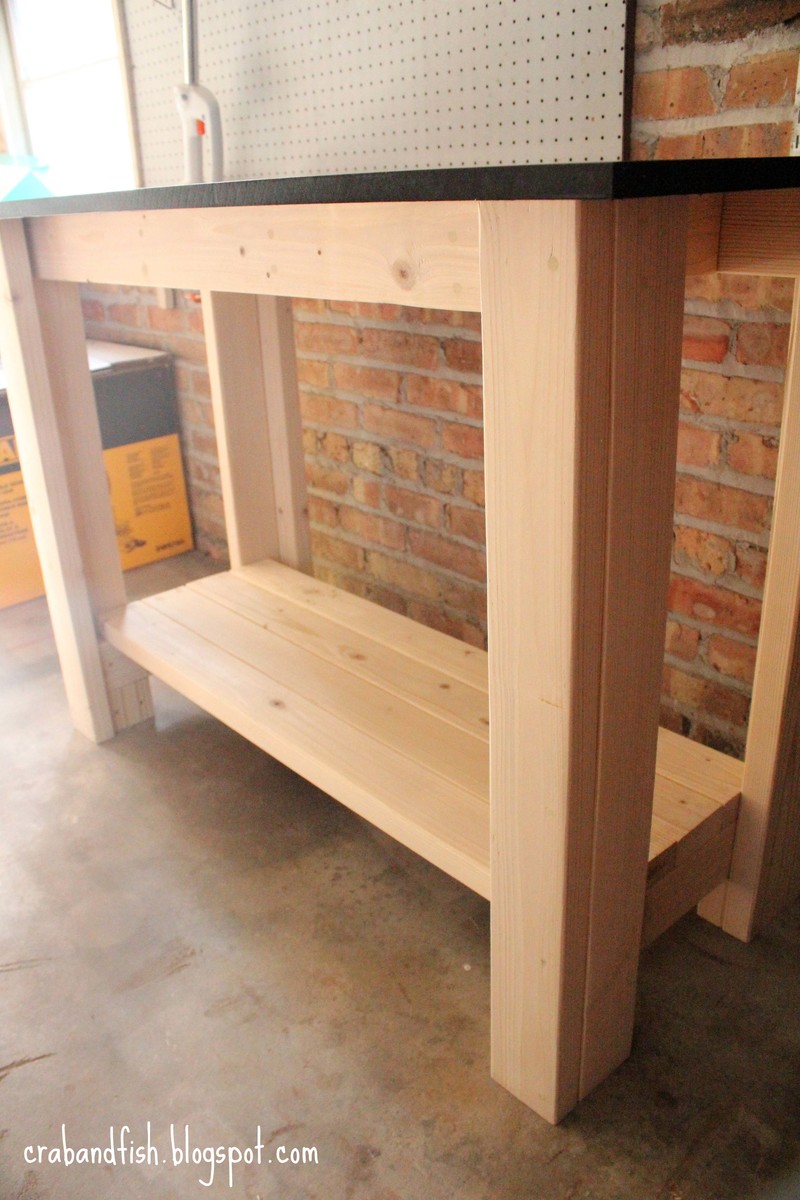
crab+fish make a work bench

see the full post at:
http://crabandfish.blogspot.com/2012/06/fish-made-work-bench.html

we bought our first home two months ago and have been doing a lot of small improvement projects. we decided to build your sturdy work bench in order to have a dedicated space for cobbling new projects together.

Built from Plan(s)
Estimated Cost
$45
Estimated Time Investment
Afternoon Project (3-6 Hours)
Finish Used
glossy black paint for counter, bare wood legs
Recommended Skill Level
Beginner

Comments

Tate Sawhorse Desk

My gorgeous desk.

Built from Plan(s)
Estimated Cost
$60
Estimated Time Investment
Weekend Project (10-20 Hours)
Finish Used
Rust-Oleum American Walnut
Recommended Skill Level
Beginner

Comments

mykahnicole

Sun, 04/27/2014 - 18:39

I recently began working from home, and was in need of a sturdy desk that would fit comfortably with our style. This is stunning. An easy weekend project for any beginner. My father in law was kind enough to make this for me.

Smaller modern farm table

Submitted by Anonymous (not verified) on Fri, 07/08/2016 - 19:36

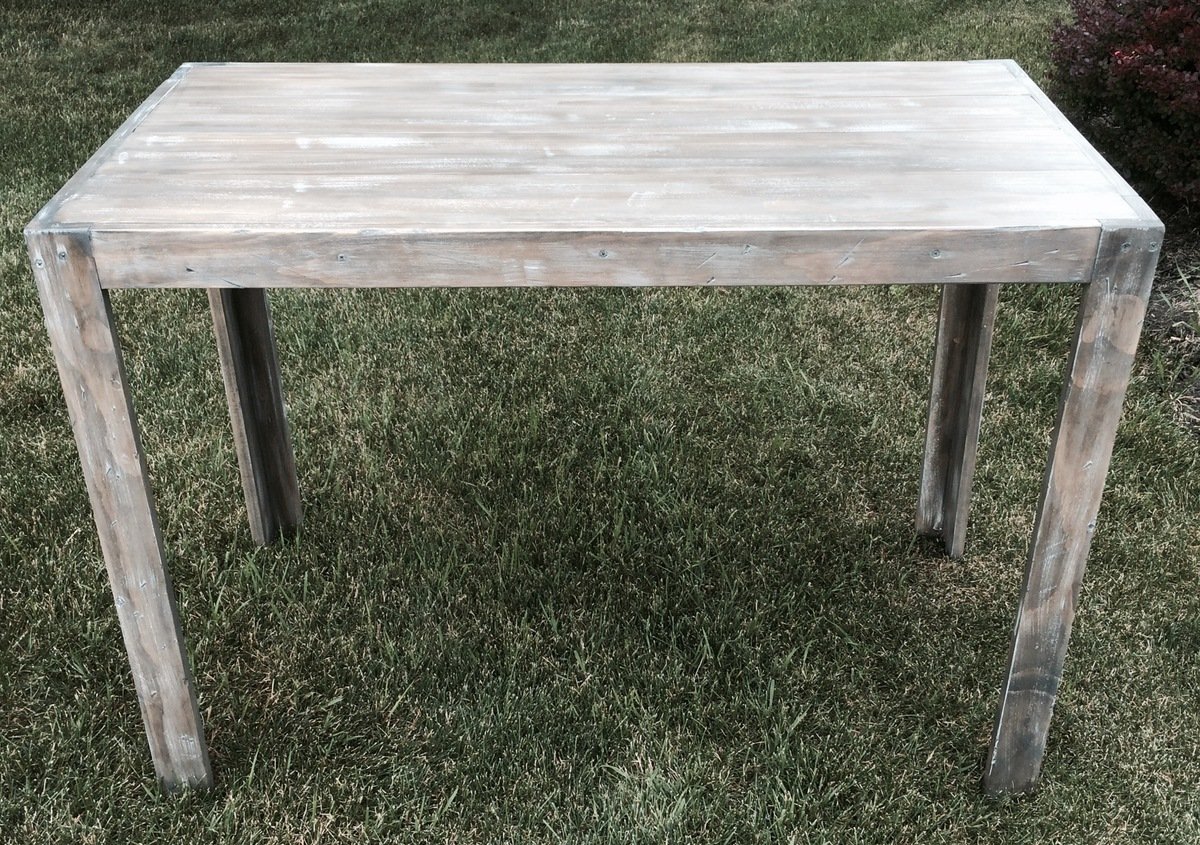
smaller version of modern farm table at counter height

Built from Plan(s)
Estimated Time Investment
Afternoon Project (3-6 Hours)
Finish Used
Minwax classic gray
Minwax Jacobean
White latex paint dry brush
Recommended Skill Level
Beginner

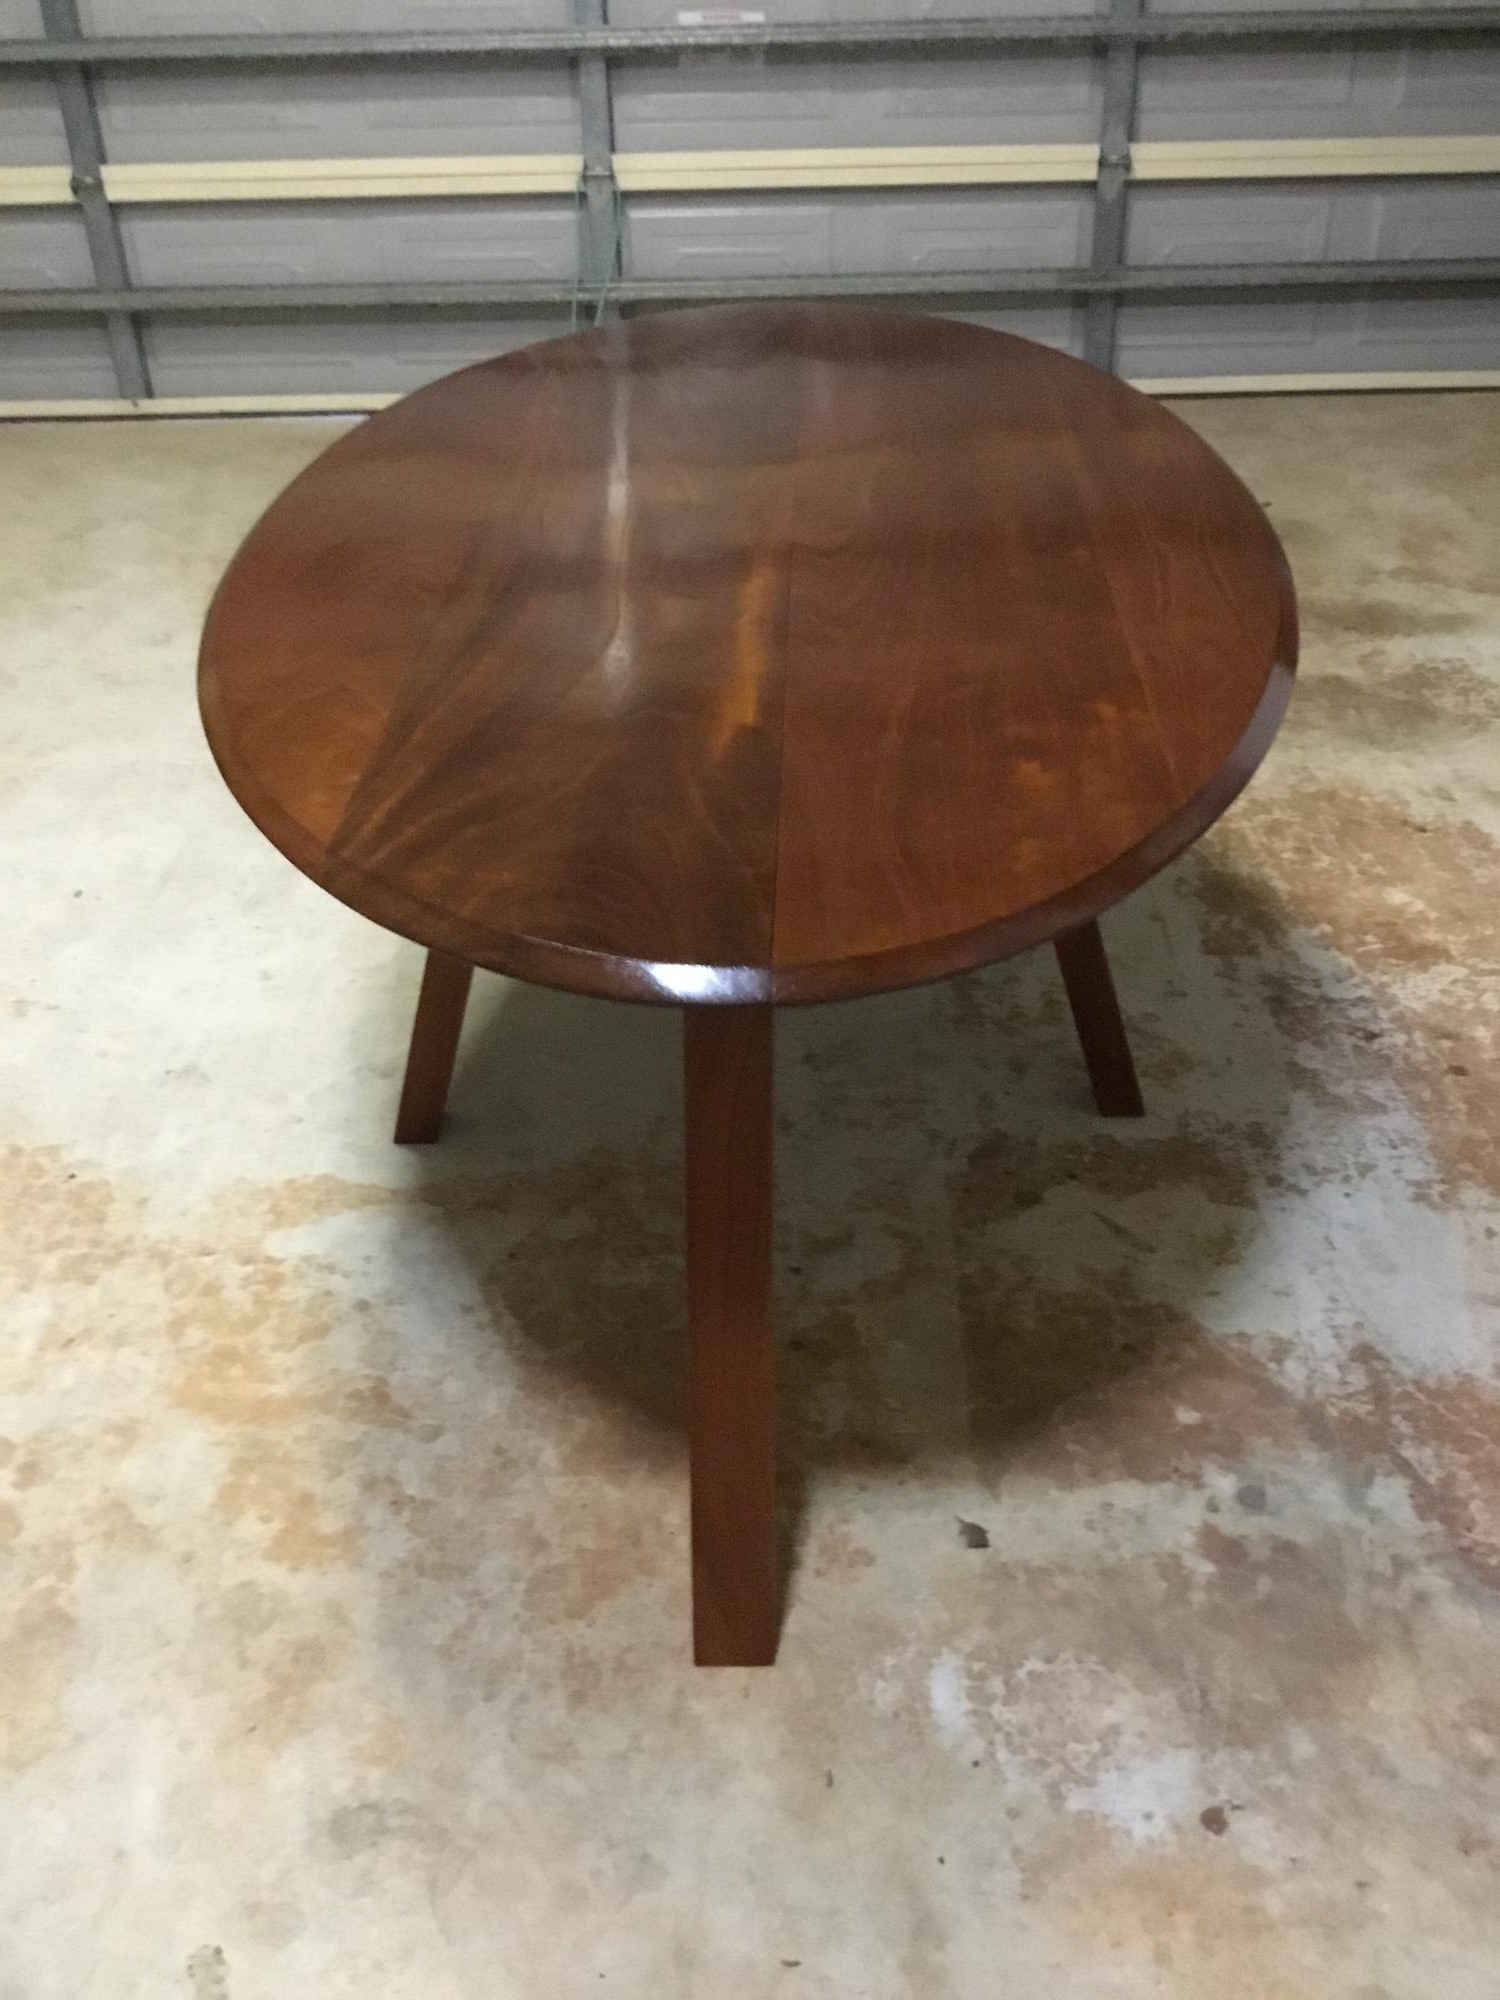
Dining table

Submitted by Anonymous (not verified) on Mon, 05/04/2020 - 15:10

Hi Ana, this is not your design but one I just made up. The timber is Queensland red cedar and about 30 years old, I was given a tree and had it cut up. Came out great
Regards
Karl Penna, Queensland, Australia

Estimated Cost
Zero, I was given the wood
Estimated Time Investment
Week Long Project (20 Hours or More)
Finish Used
Norglass polyeutherene satin finish, 4 coats, put on 4 days apart and sanded at 320 inbetween
Recommended Skill Level
Starter Project

California King Farmhouse Bed with Arch

Submitted by stephanie on Sun, 06/24/2012 - 16:31

I drove to my dads house to get the wood. He has had rough cut 1X12's sitting in the back yard for several years. They are warped, dirty, cracked..... I think my husband thought I was crazy for wanting to do this. 6 months after getting the wood I finally started. I first took the boards and sanded the caked on red dirt off. Then my 8 year old helped me rip them on the table saw into an 8 inch piece and a 4 inch piece. Then sanded again. The boards turned from red or grey to a yellow color. My husband told me to do it right I needed to use a jointer and he showed me how and I needed to use biscuts to join the planks together, we borrowed one and he showed me how to use the tool. It is so cool, I want to buy one. Then I called my neighbor over to help me, he brought a power planner over and showed me how to use it. It made all the boards the same heighth and REALLY sanded them good (remember these are rough cut boards). Then we used a belt sander to make them really smooth. Then we used a router with a Vgrove bit down the planks where the 1x8's meet. He had two fluted, tapered columns in his garage he has been trying to get rid of so we cut them down and used them as the posts for the headboard and footboard. I cut the arch with a jig saw. Looks pretty darn great! I surprised people with the wood I used! Thank goodness for biscuts, jointers, planners and belt sanders! Best part......cost me a whole $15 to get to this point. I had to buy wood glue, biscuts, and sand paper.

I want to use a laquer finish and try to use a glaze in the grooves. I will try to attach a finished picture when it is done.

Estimated Cost
$15
Estimated Time Investment
Week Long Project (20 Hours or More)
Recommended Skill Level
Intermediate

Comments

Barnwood Picture Frames

Submitted by Lady Goats on Mon, 04/14/2014 - 11:58

Built these as a birthday present for my friend, based on an image she'd pinned a year ago. Read more about it here.

Estimated Cost
$5-10, including stain/poly, burlap
Estimated Time Investment
Afternoon Project (3-6 Hours)
Finish Used
General Finishes Gel Stain in Brown Mahogany, followed by General Finishes Poly
Recommended Skill Level
Intermediate

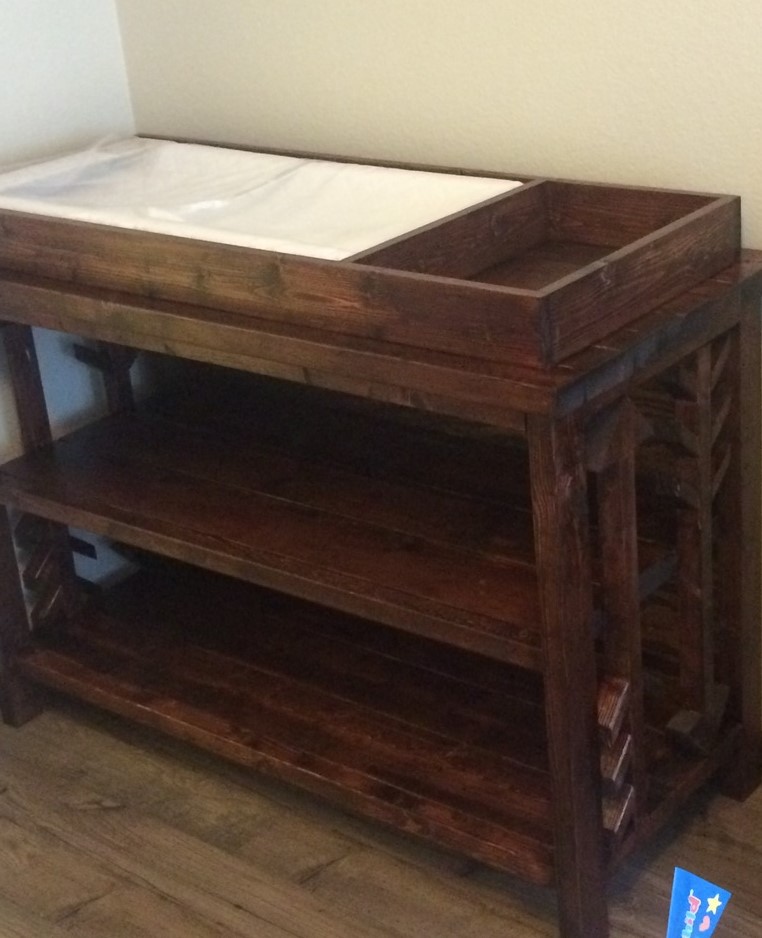
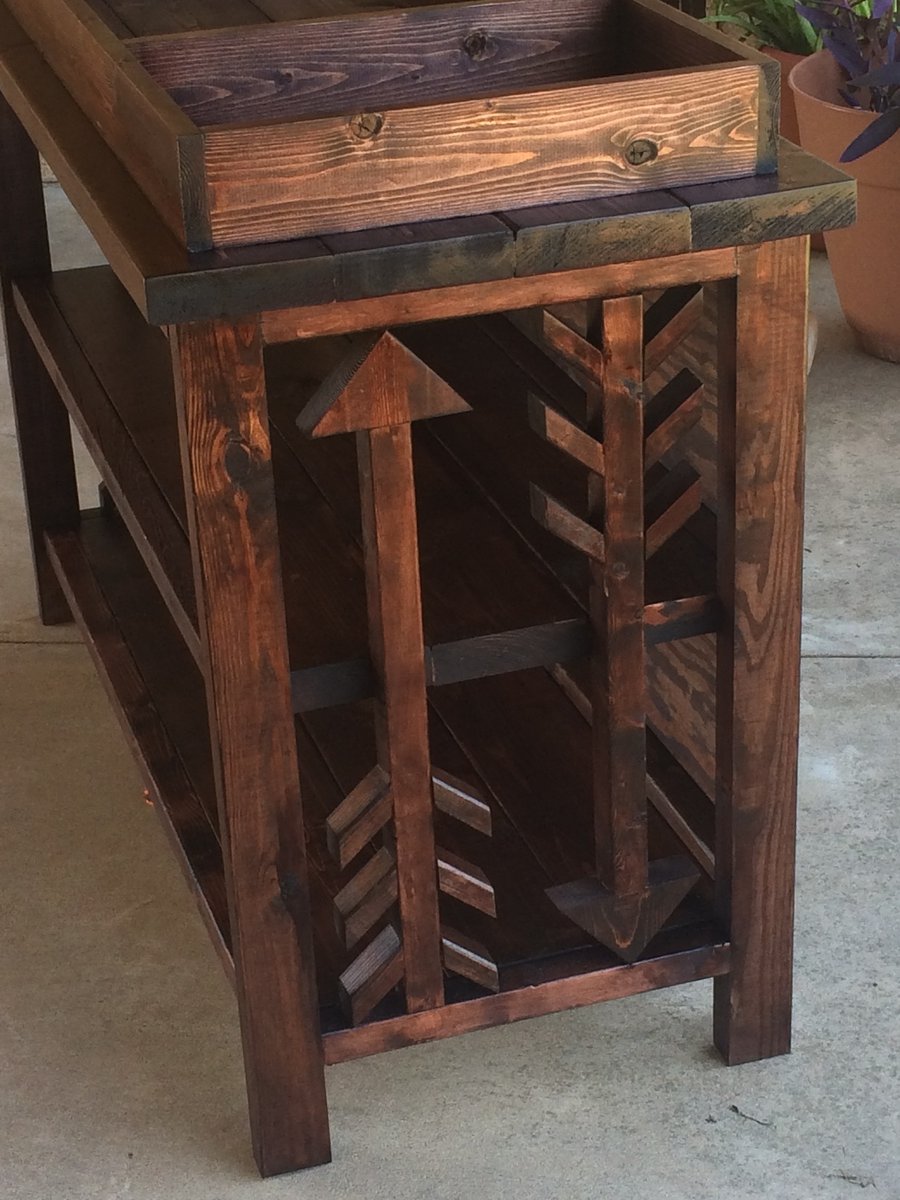
Changing table

Submitted by Anonymous (not verified) on Mon, 07/11/2016 - 20:25

Modified with arrows to go along with theme for baby room

Estimated Cost
50.00
Estimated Time Investment
Weekend Project (10-20 Hours)
Finish Used
Red mahogany with polyurethane semi gloss finish
Recommended Skill Level
Beginner

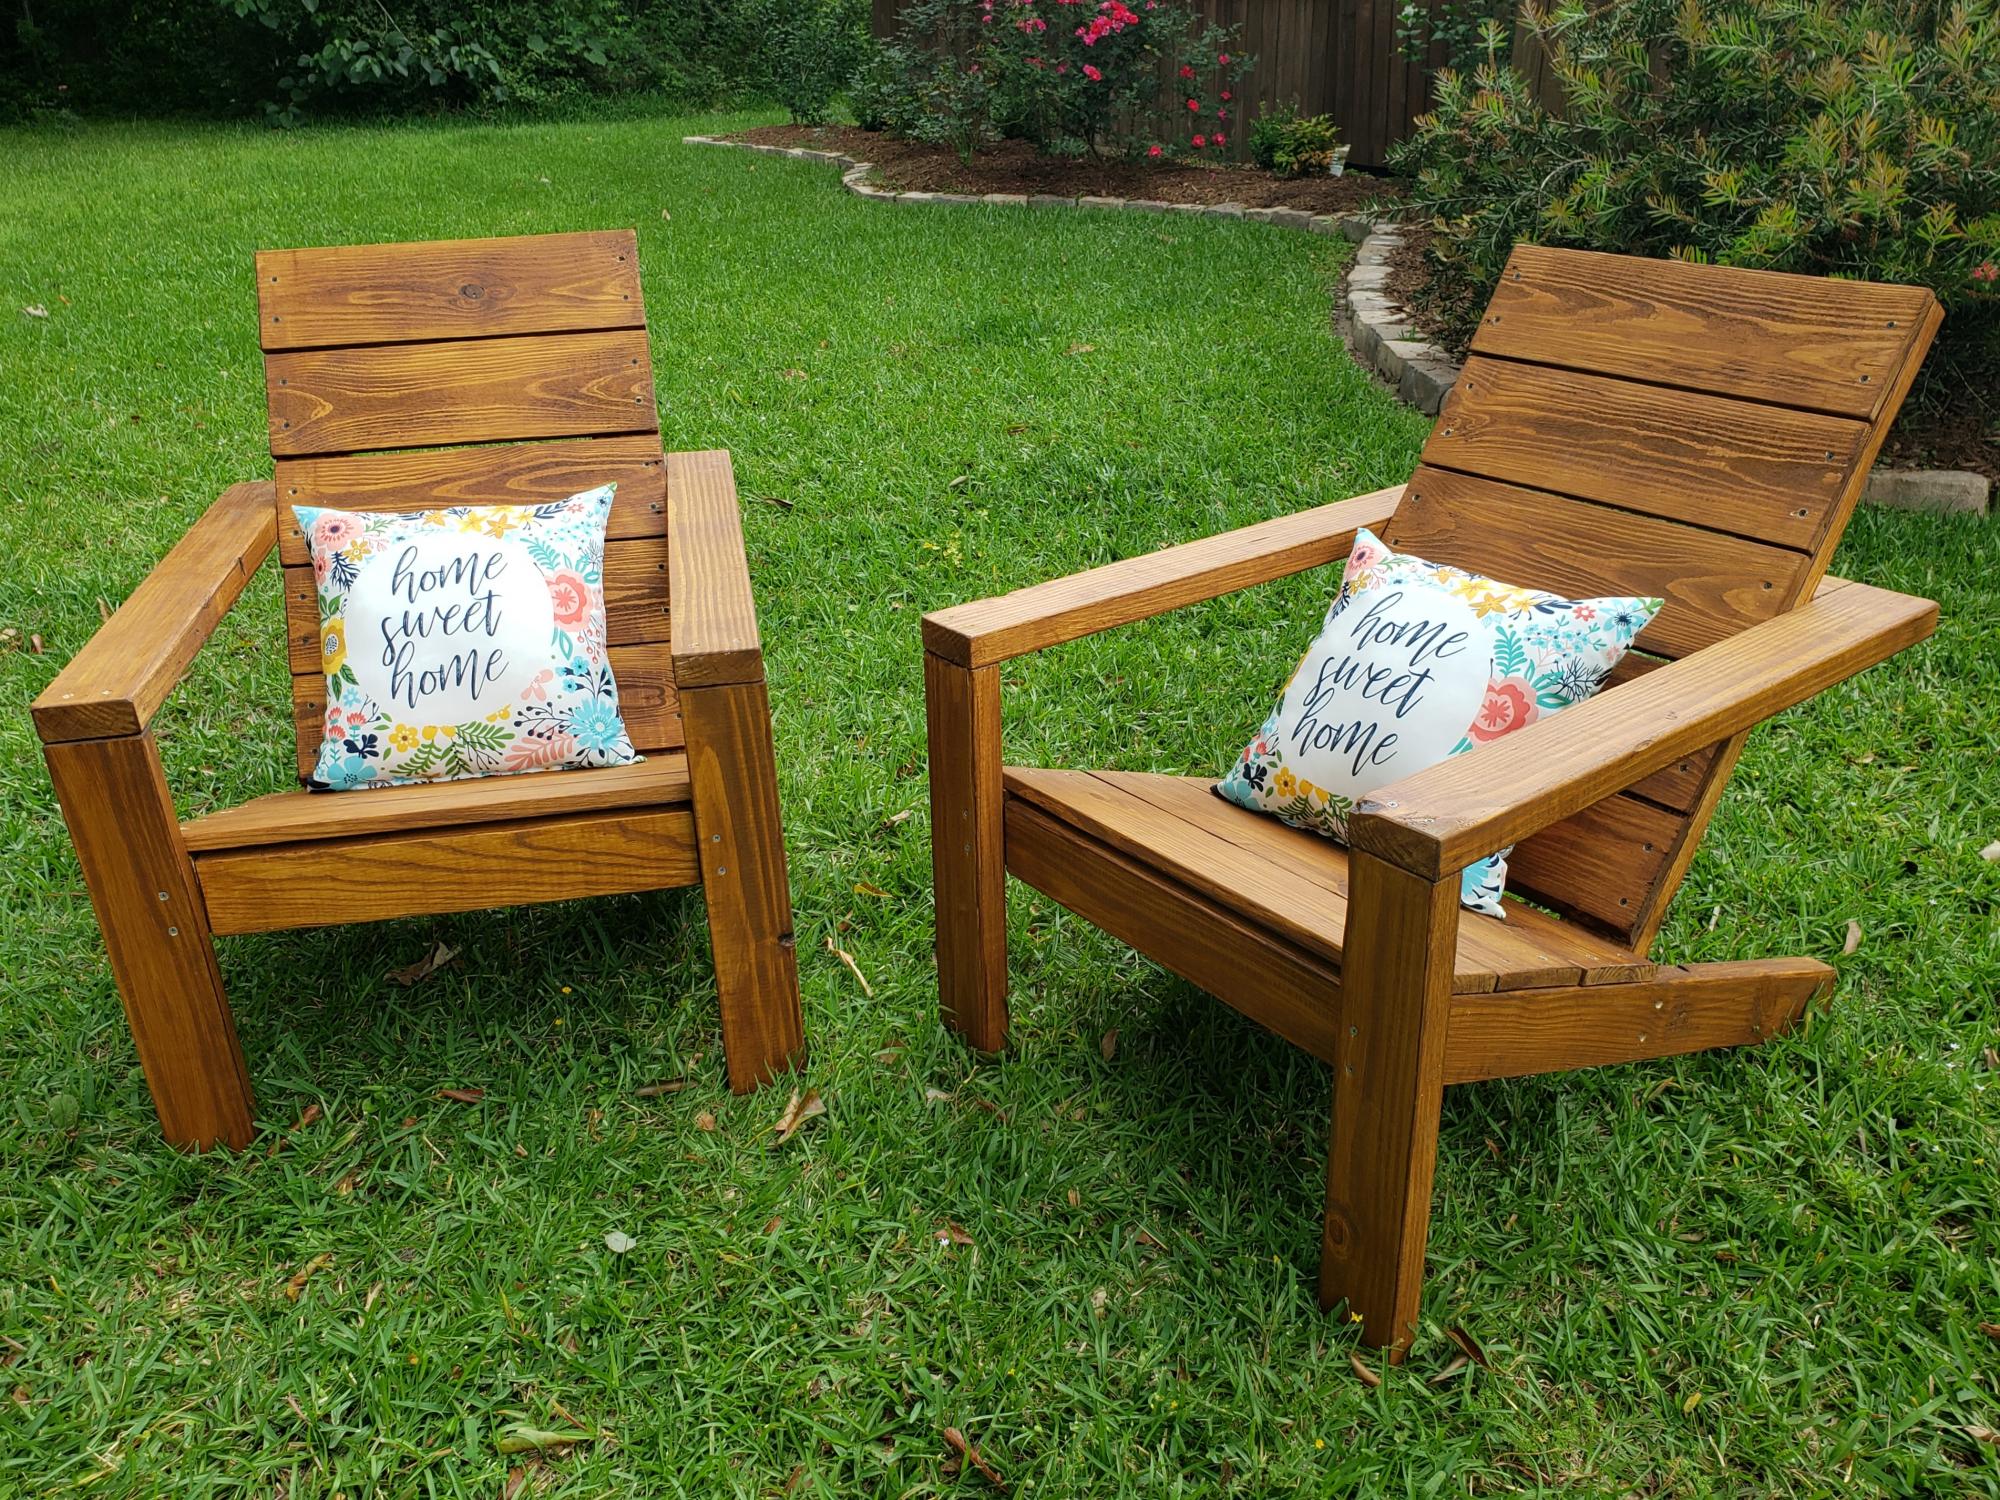
Modern Adirondack Chairs using reclaimed pallet wood

Submitted by Anonymous (not verified) on Wed, 05/06/2020 - 06:20

The plans were easy to follow and the finished result was perfect! We subbed 1x6s for the 1x10s, because we were using some reclaimed pallet wood. We cut, sanded, and stained/weatherproofed all pieces before assembly, which I would also recommend.

Estimated Cost
$20 per chair (we used some reclaimed pallet wood)
Estimated Time Investment
An Hour or Two (0-2 Hours)
Finish Used
Valspar Canyon Brown Transparent Exterior Stain
Recommended Skill Level
Intermediate

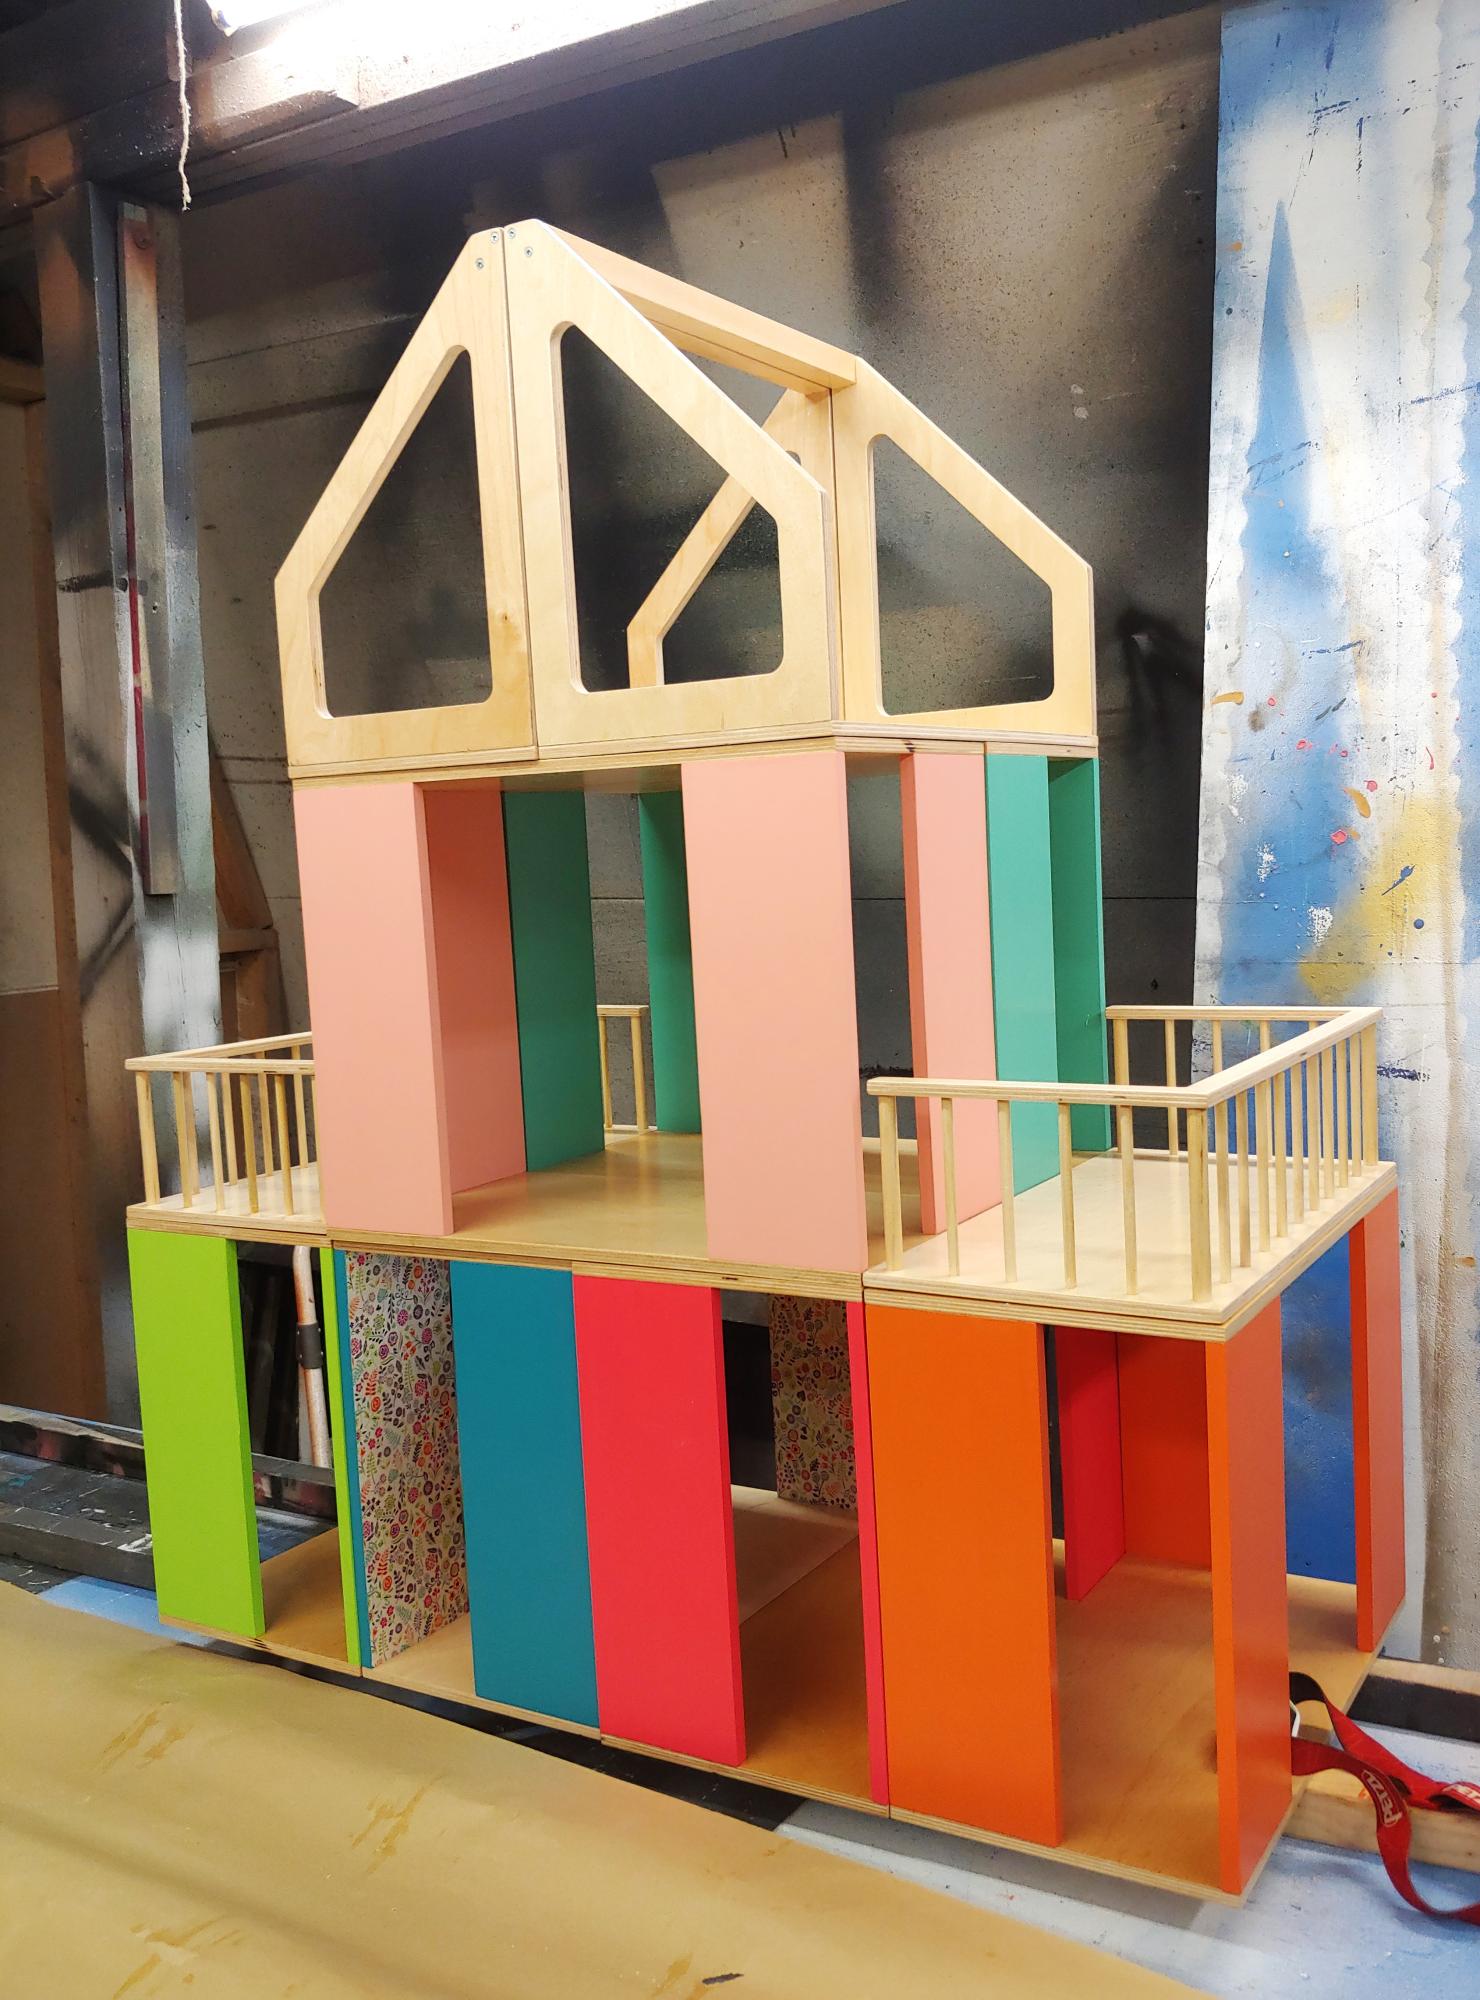
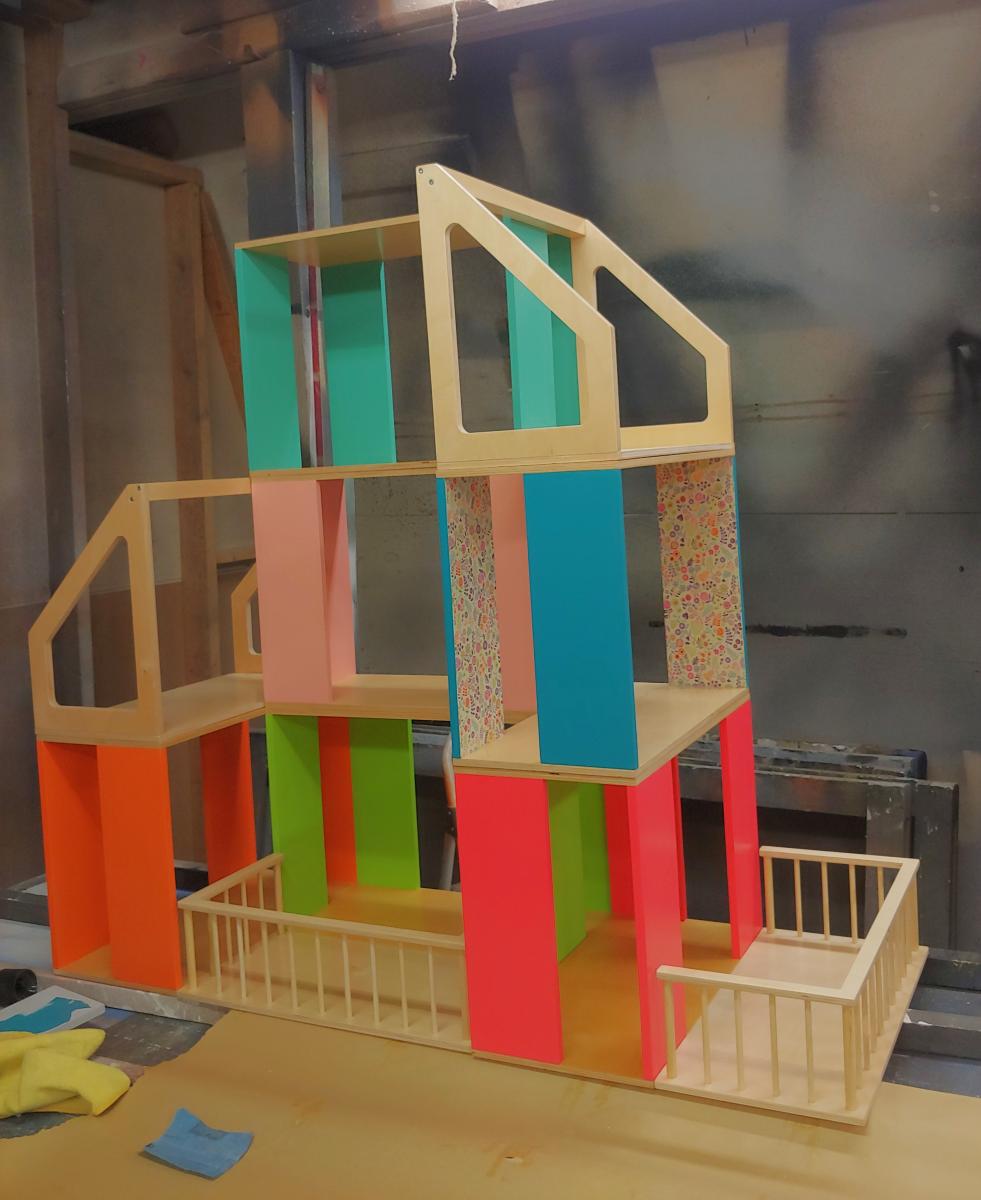
Modular Barbie Playhouse

Submitted by Anonymous (not verified) on Sun, 12/31/2023 - 13:27

We modified the Ana-White modular dollhouse meant for small dolls to build this Barbie size house! (Please ignore the workshop walls in the background of our pics! Lol!) Our daughter loves to set up all sorts of houses/school/hospital/stores, and commercial modern barbie houses are all covered in specific printed paper that restricts what a room can be used for. This way she can make buildings however she likes! It isn't much bigger than her old barbie house, and the pieces/room boxes are easy for her to move/stack. Each room box is 9" (w) by 18"(L) by 13"(h), with wall panels 4.5" wide. We also love that these room boxes can become bookshelves once she outgrows barbies! Thank you!

Siemens Family, Alberta CA

Back