Community Brag Posts

Handmade from this plan

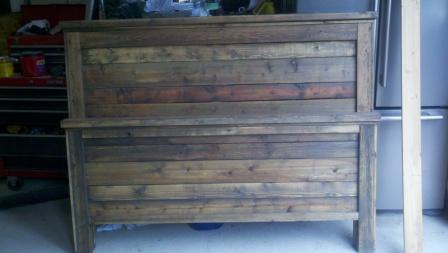
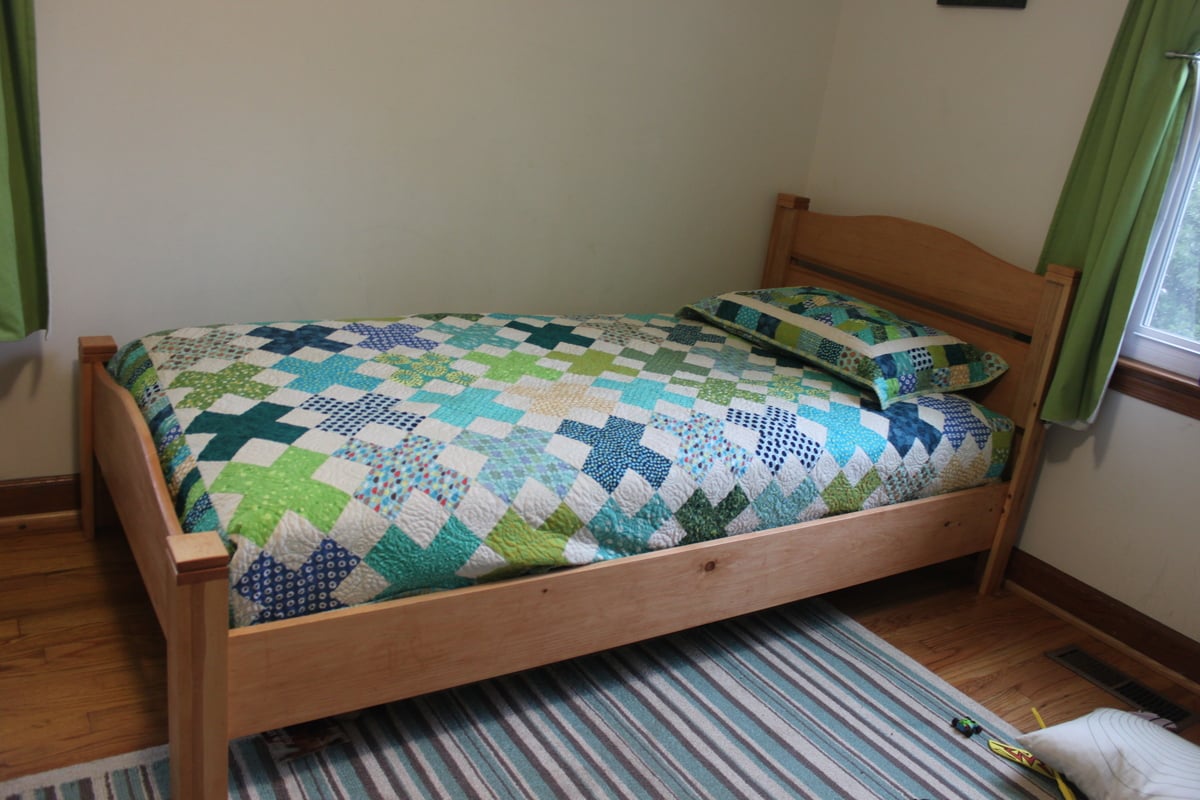
I decided to make the headboard from this pan for the bed in one of my two guest room. After making the first one out of knotty alder and to full specs, I was so happy with it, that I decided to make it again for my second guest room, this time out of reclaimed and weathered pine and fir, but I needed the full bed frame too. Also due to the height of the headboard and window placement in the room, I lowered the height of the headboard by about a foot and then fashioned a foot board from the original headboard design. Bed rails were made from 2X6 fir and attached with rail hangers which costs about $15.00 I used a driftwood stain and it really brought out the grain of the wood. Thanks for the plans guys this worked out awesome.
Estimated Cost
$30.00
Estimated Time Investment
Weekend Project (10-20 Hours)
Finish Used
Driftwood stain
Recommended Skill Level
Beginner
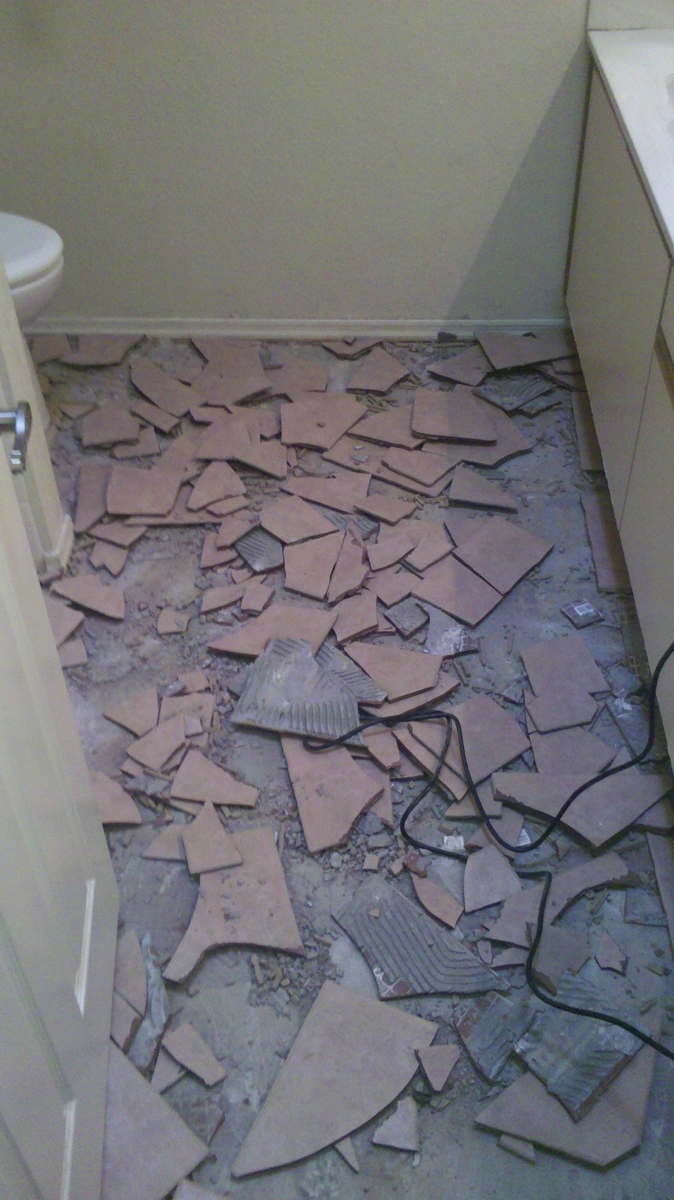
Farmhouse Rustic Style Vanity
This remodel project was a year in the making. We purchased this 1980's house (notice the before pic) 3-years ago and immediately started tearing into it... all of it. The bathrooms were the last on the list to be remodeled. An impending baby shower spurred the need to complete this project, and we're pleased with how it came out.
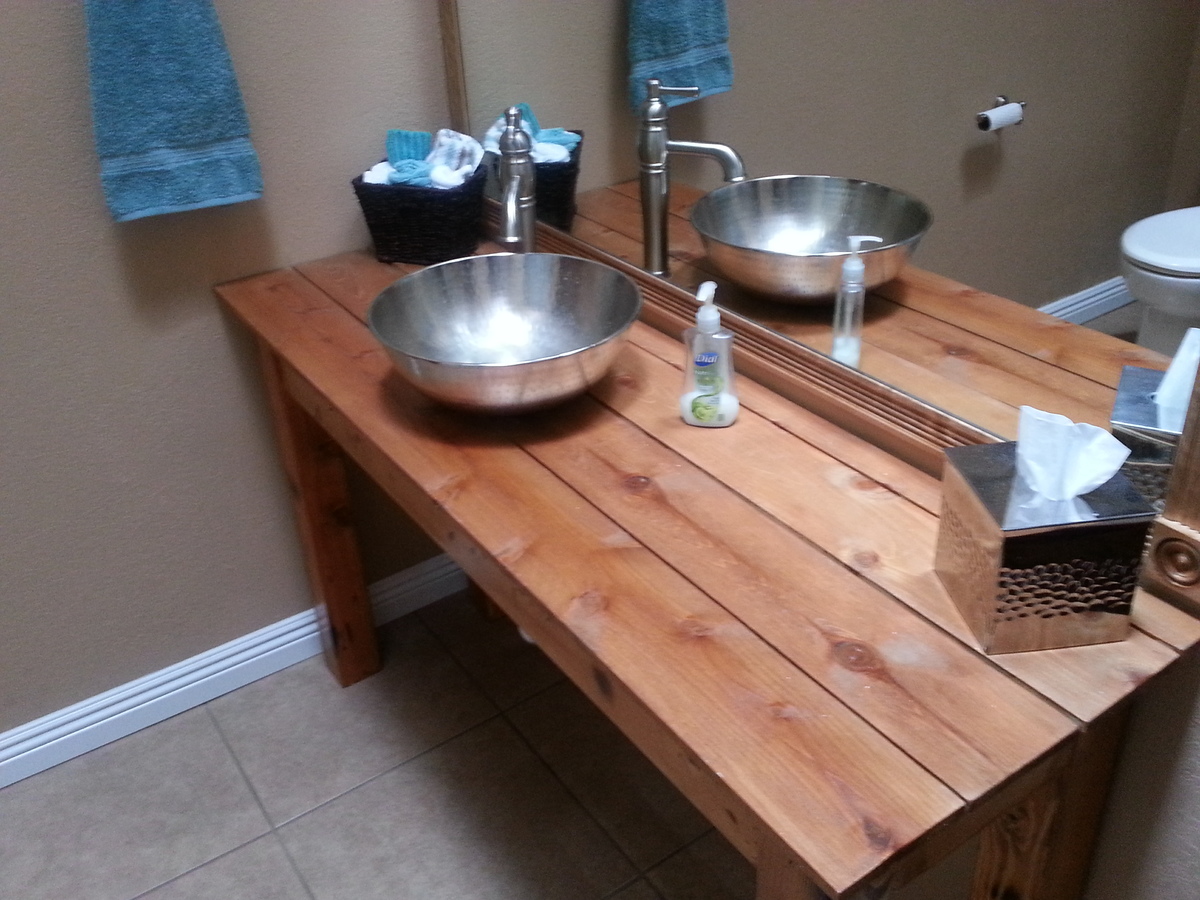
We searched high and low when trying to decide on the vanity, and came across the plans for the one pictured here when searching for "Rustic" or "Western". Coming from a family of carpenters, I felt comfortable enough in my ability to tackle this simple project. I'm a tall guy so I wanted something that was comfortable for me to use as well. I made this vanity higher and longer than the plans originally called for.
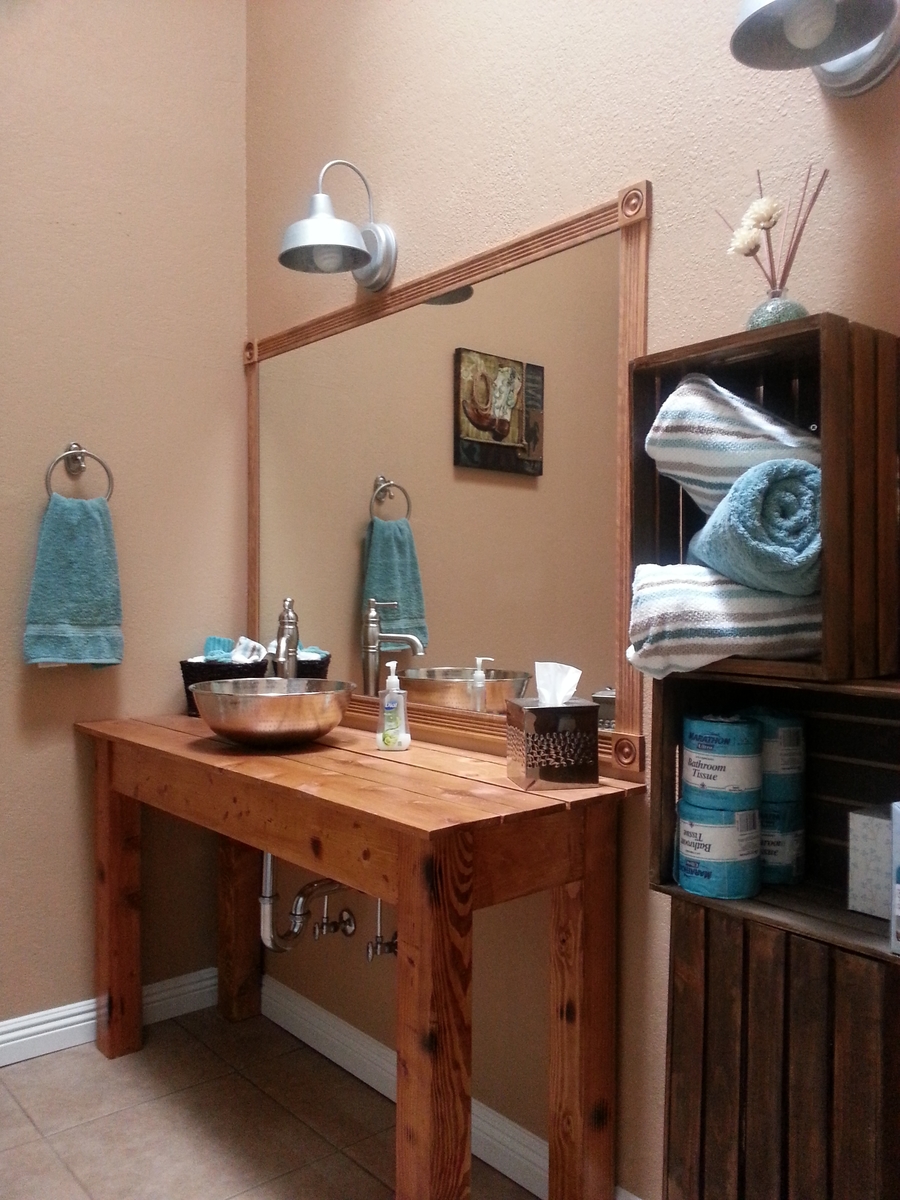
The space in the bathroom allows for a dual sink, but we're a small family and felt the 2nd sink wasn't necessary at this time. I don't like to remove features that are already present, so the bottom crate is actually covering the plumbing in case we or the next owner decide to add a second sink. The other crates obviously provide the storage that isn't currently present with this type of vanity. I may add a shelf on the bottom, but I like the open look and feel.
The counter top is simply cedar fencing that's been well sanded, stained and protected with 4 coats of Poly. I staggered the top to give it a different look as well.
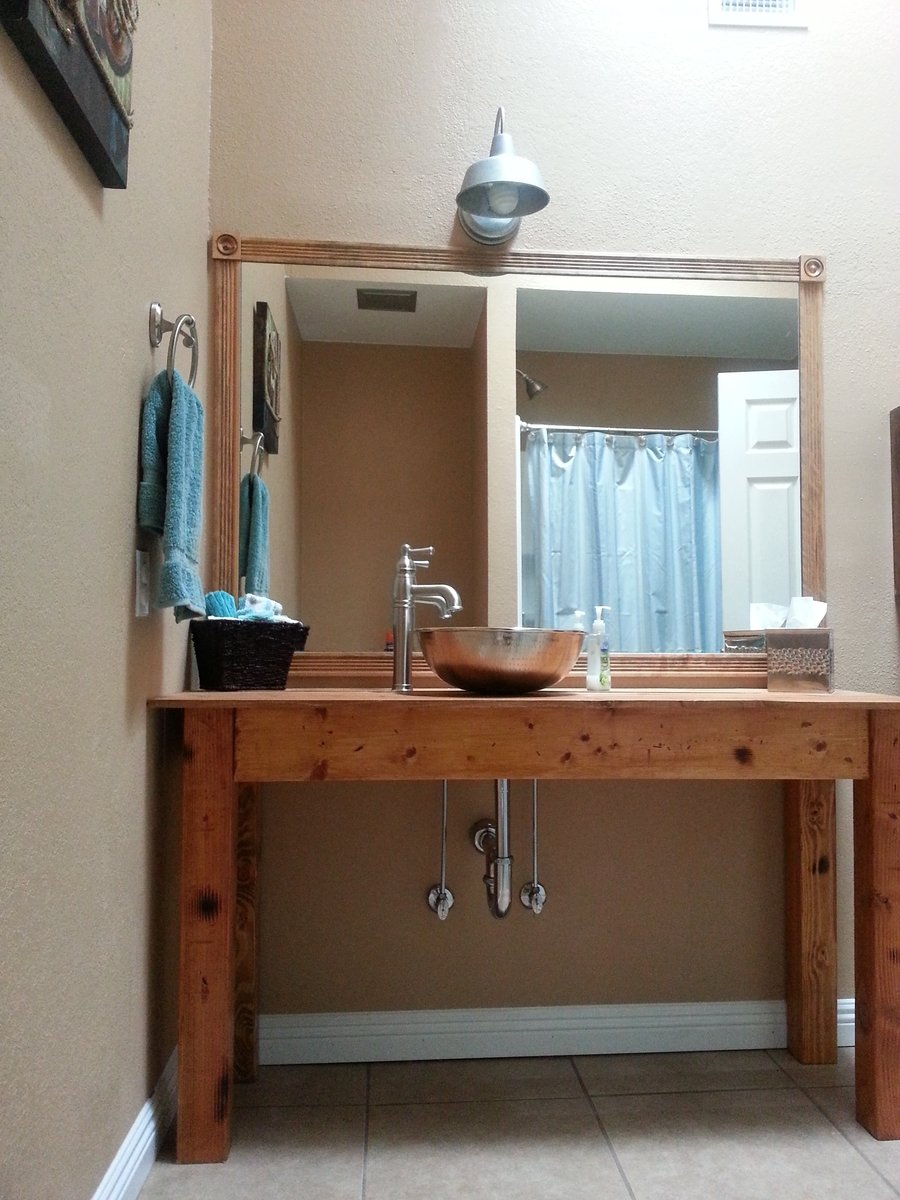
The mirror was the full length of the wall, but cut down to match the size of the new vanity and framed on the wall.
The lights ($29) are simple, outdoor galvanized coach lamps found at Lowes.
The vessel sink ($99) was found at homedepot.com (much better selection than at your local store), and the faucet ($149) came from Lowes.
Our guests loved the bathroom, as do my wife and I.
Built from Plan(s)
Estimated Time Investment
Weekend Project (10-20 Hours)
Finish Used
Dark Walnut Stain
Clear Poly
Clear Poly
Recommended Skill Level
Intermediate
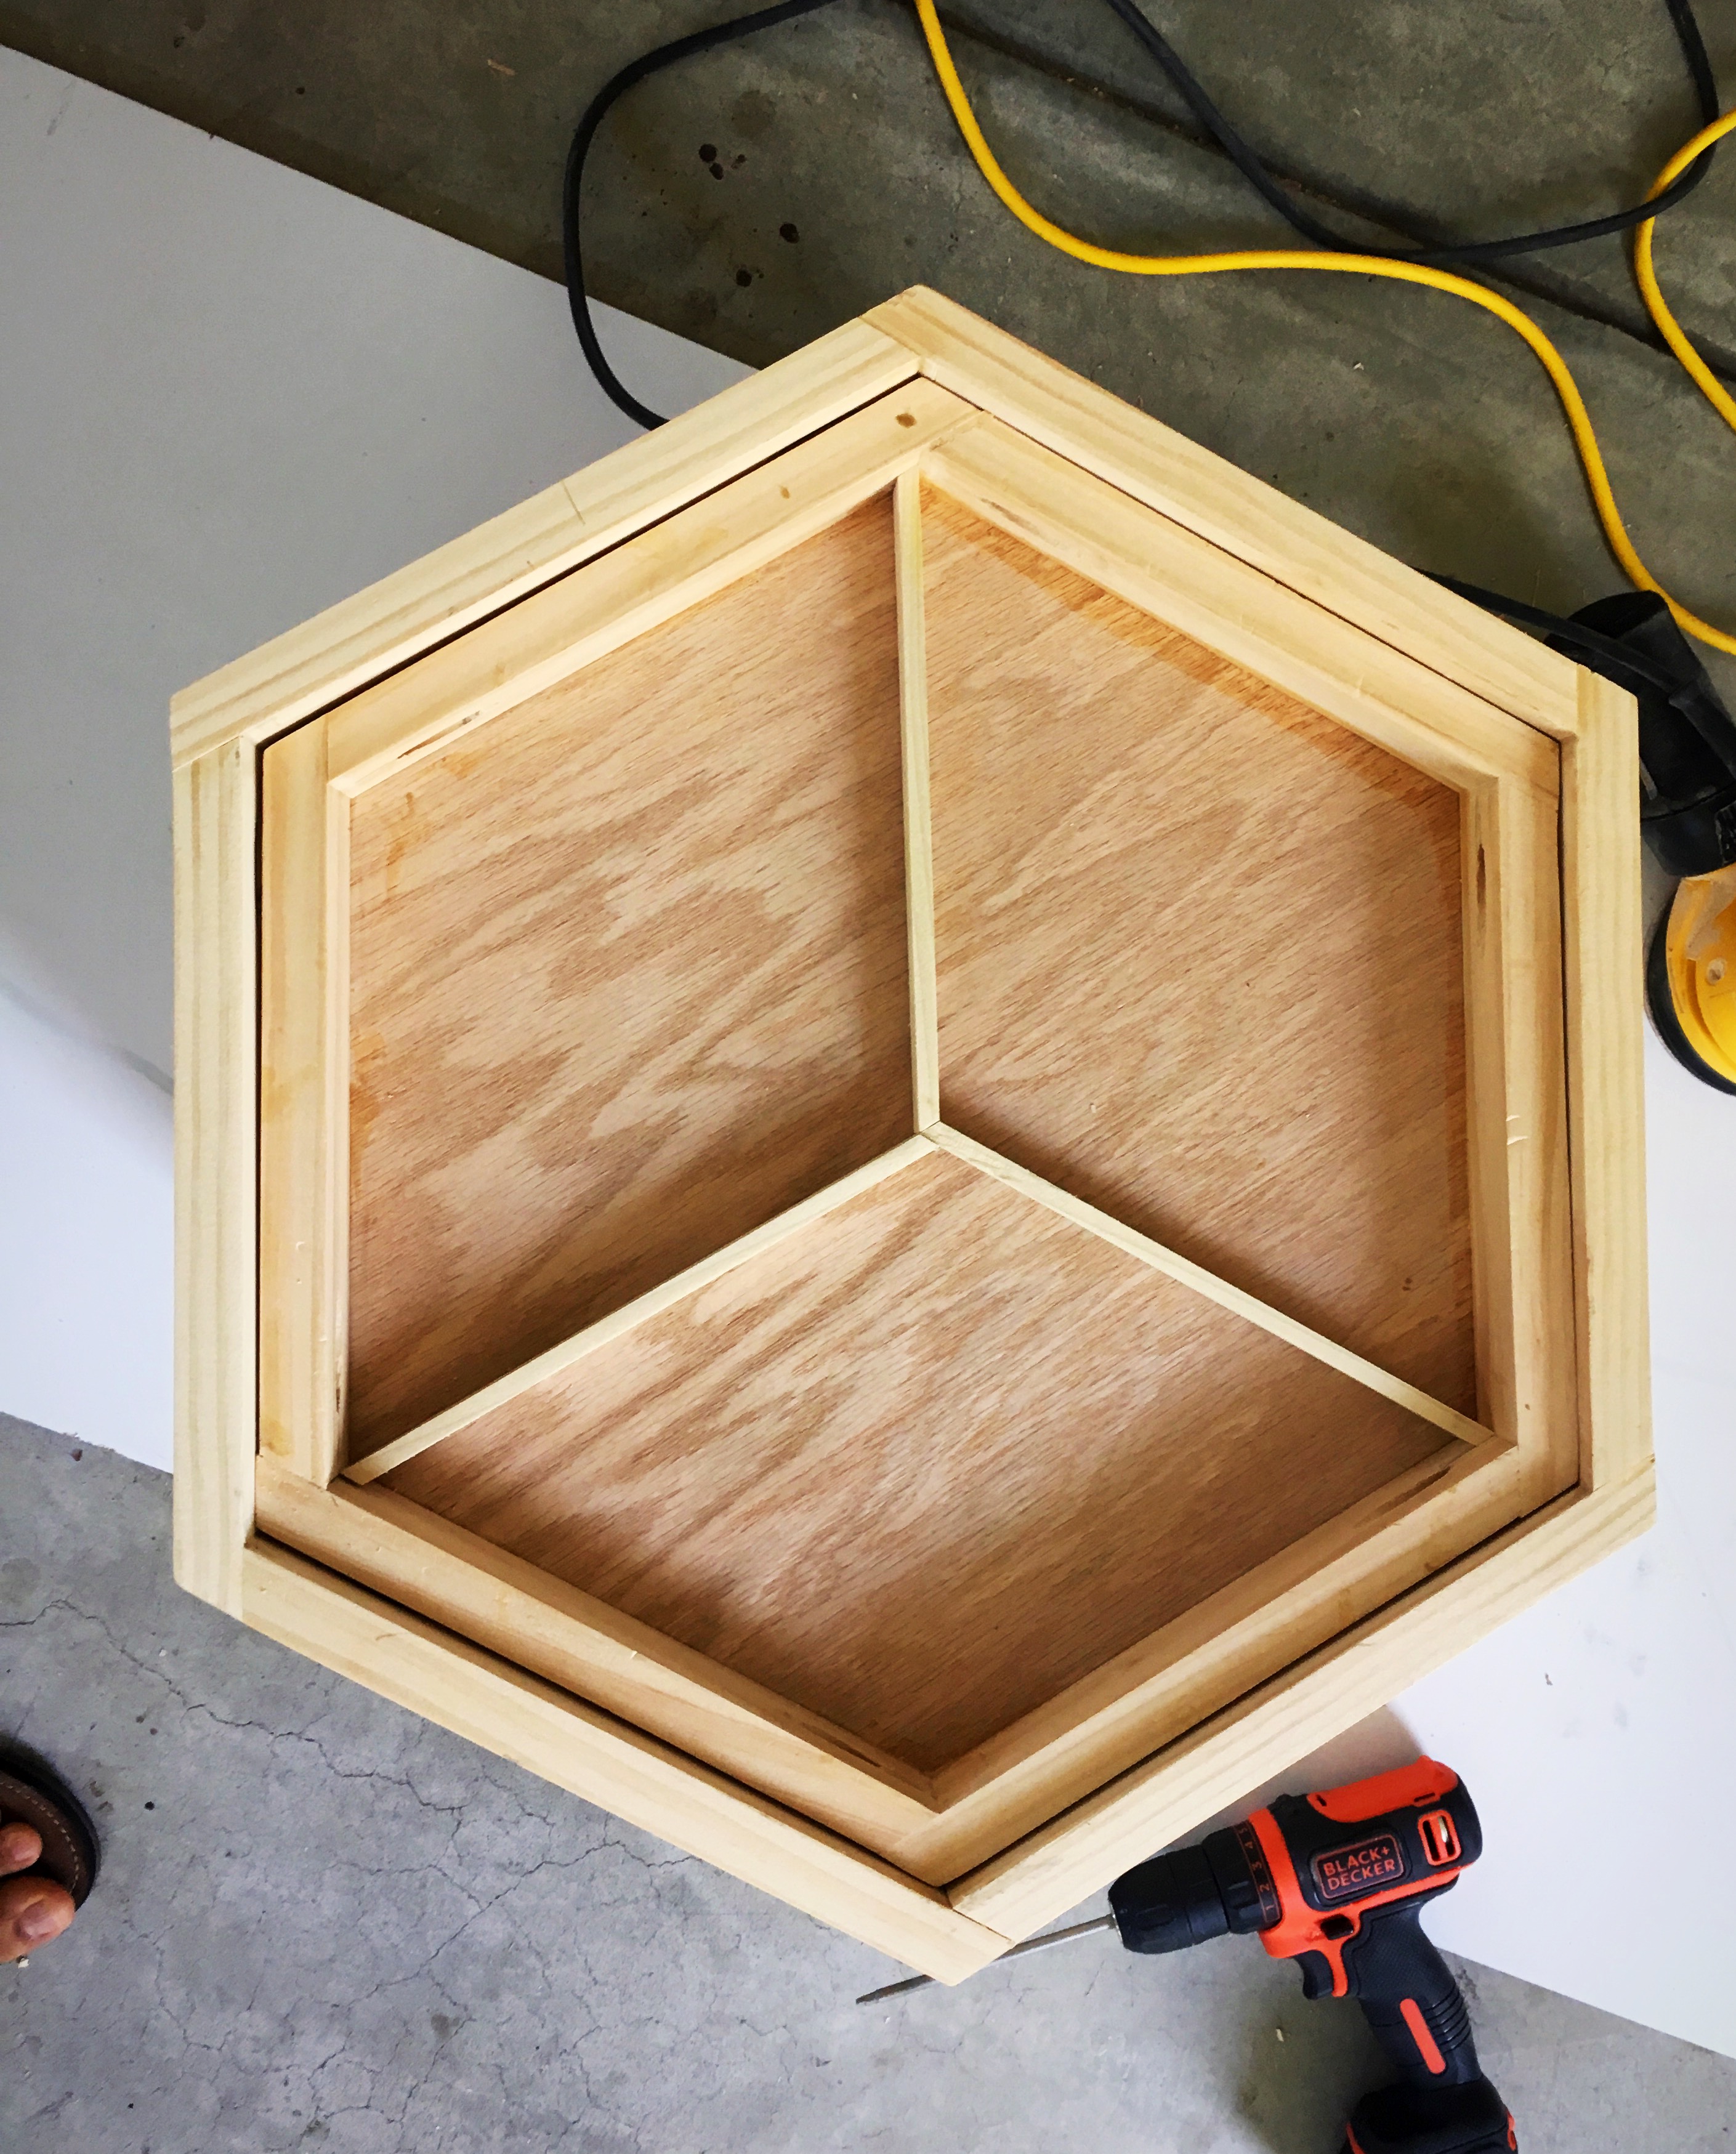
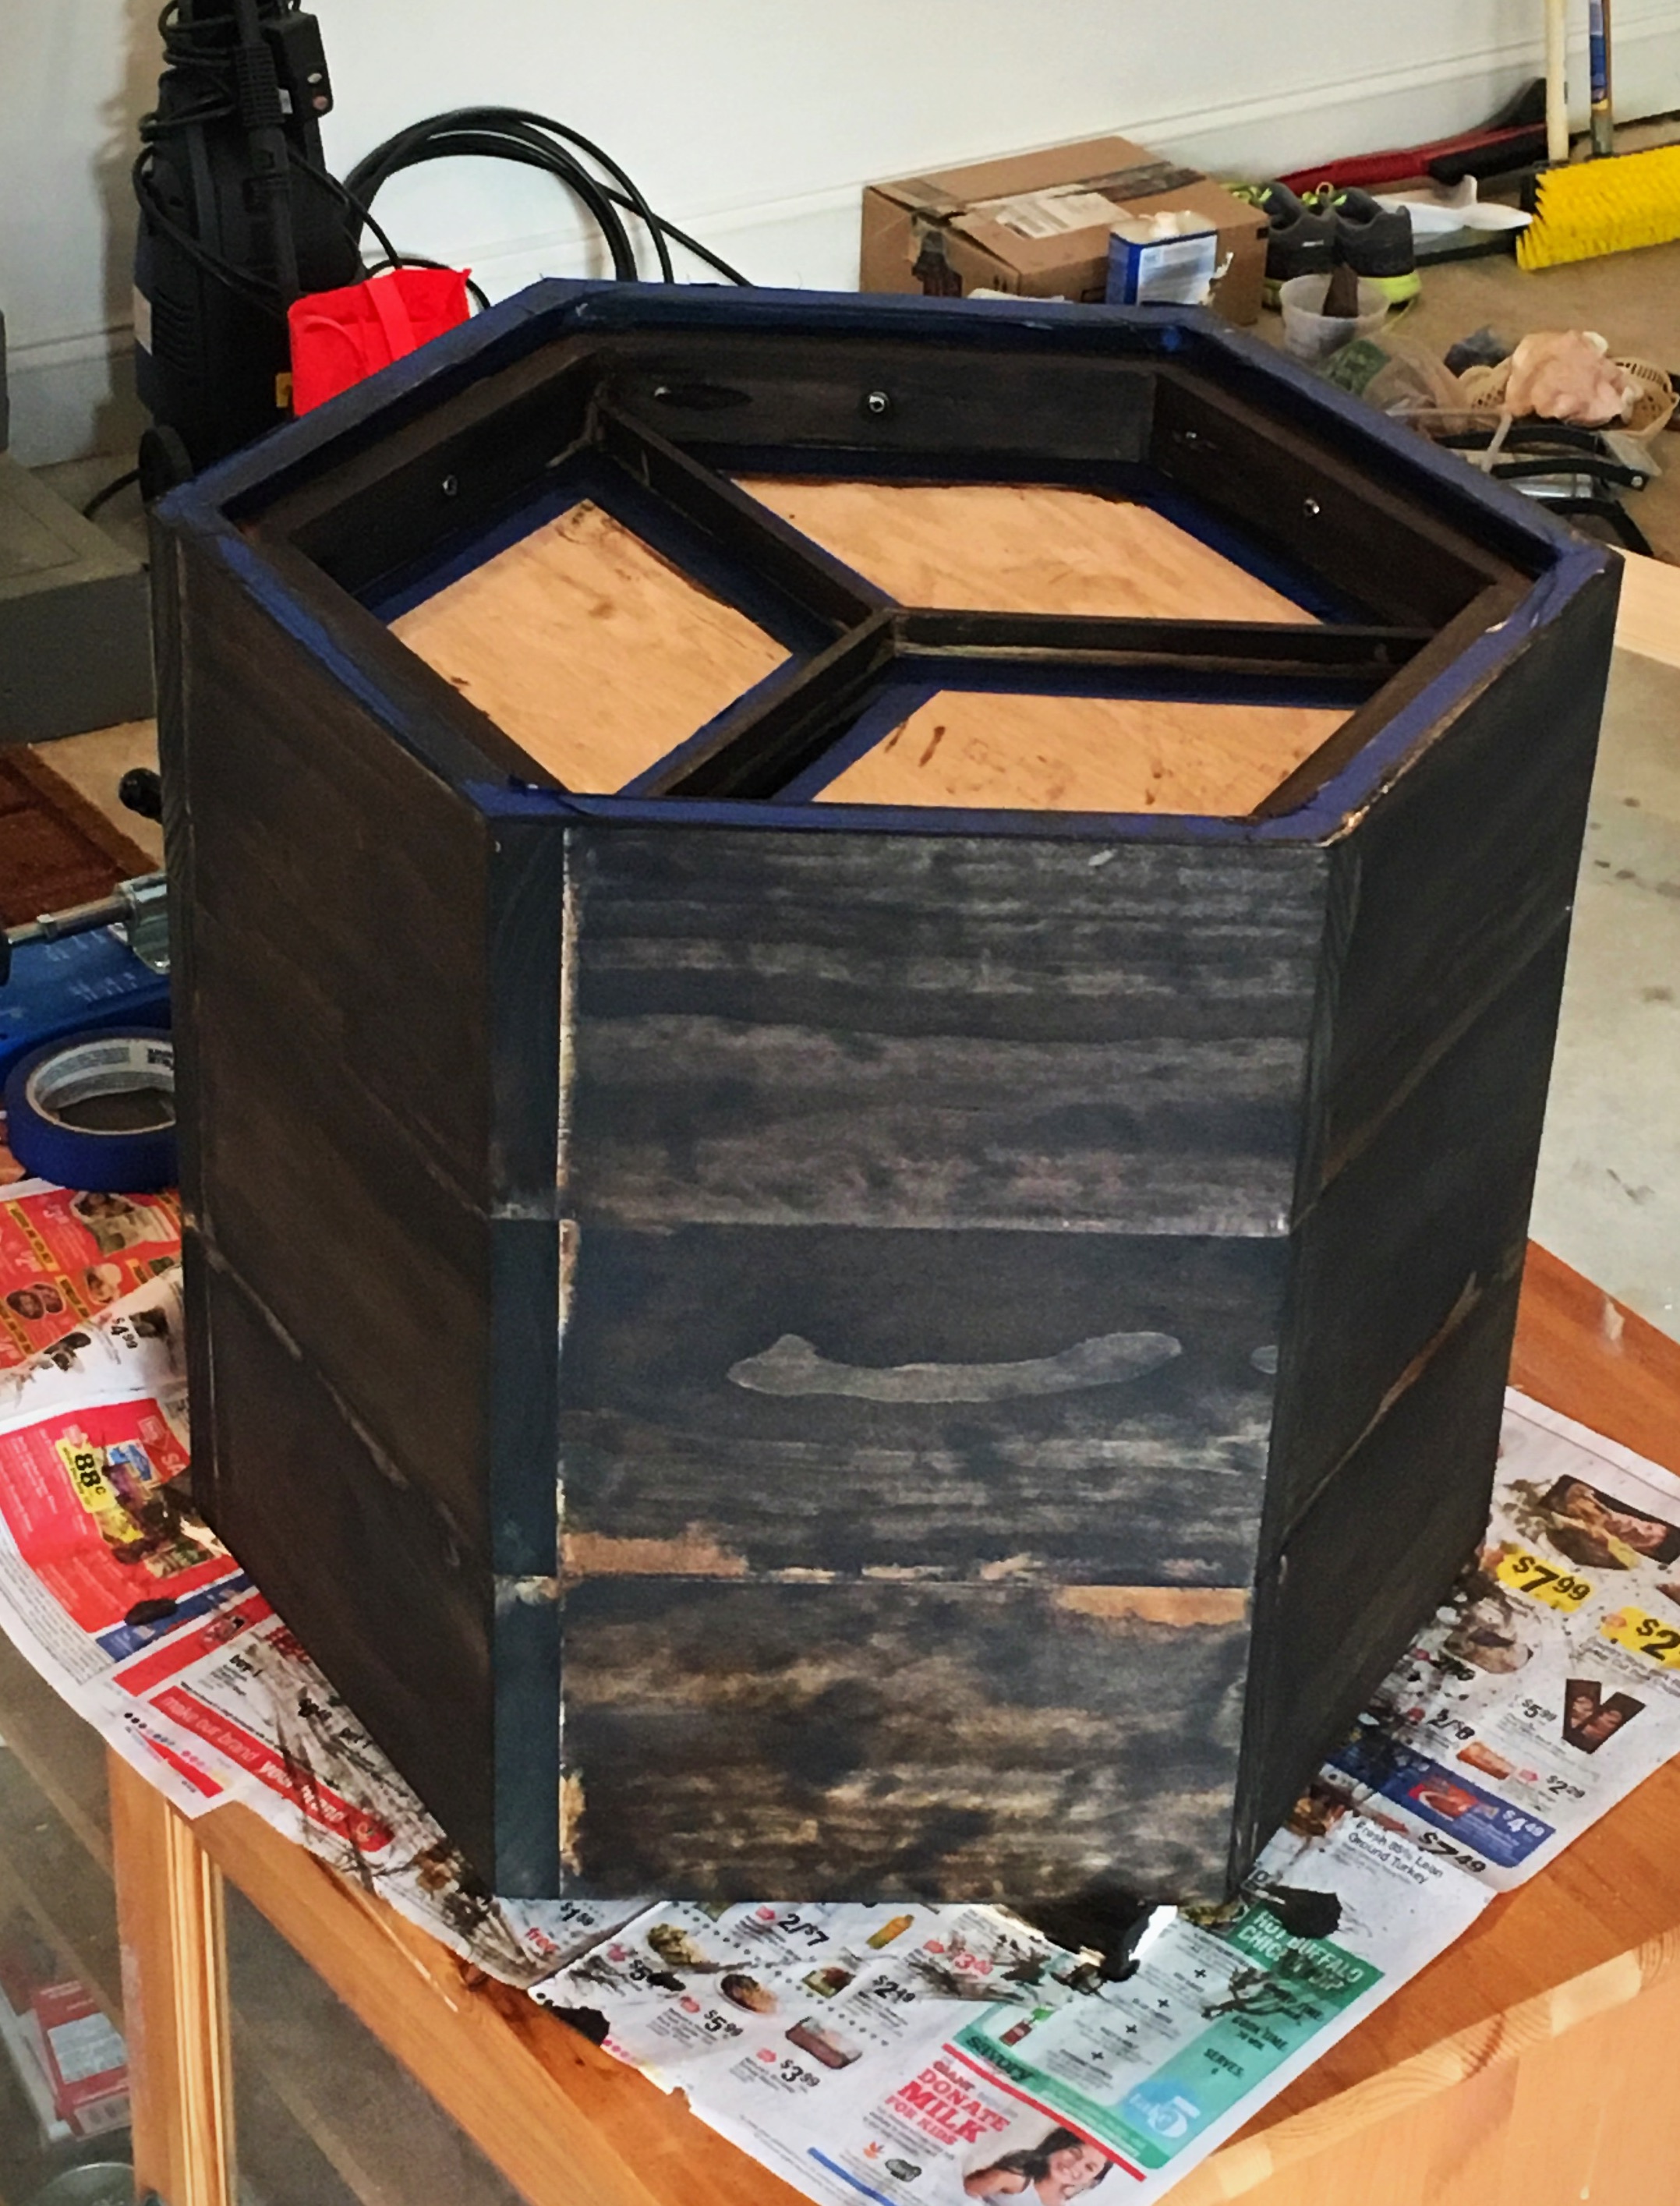
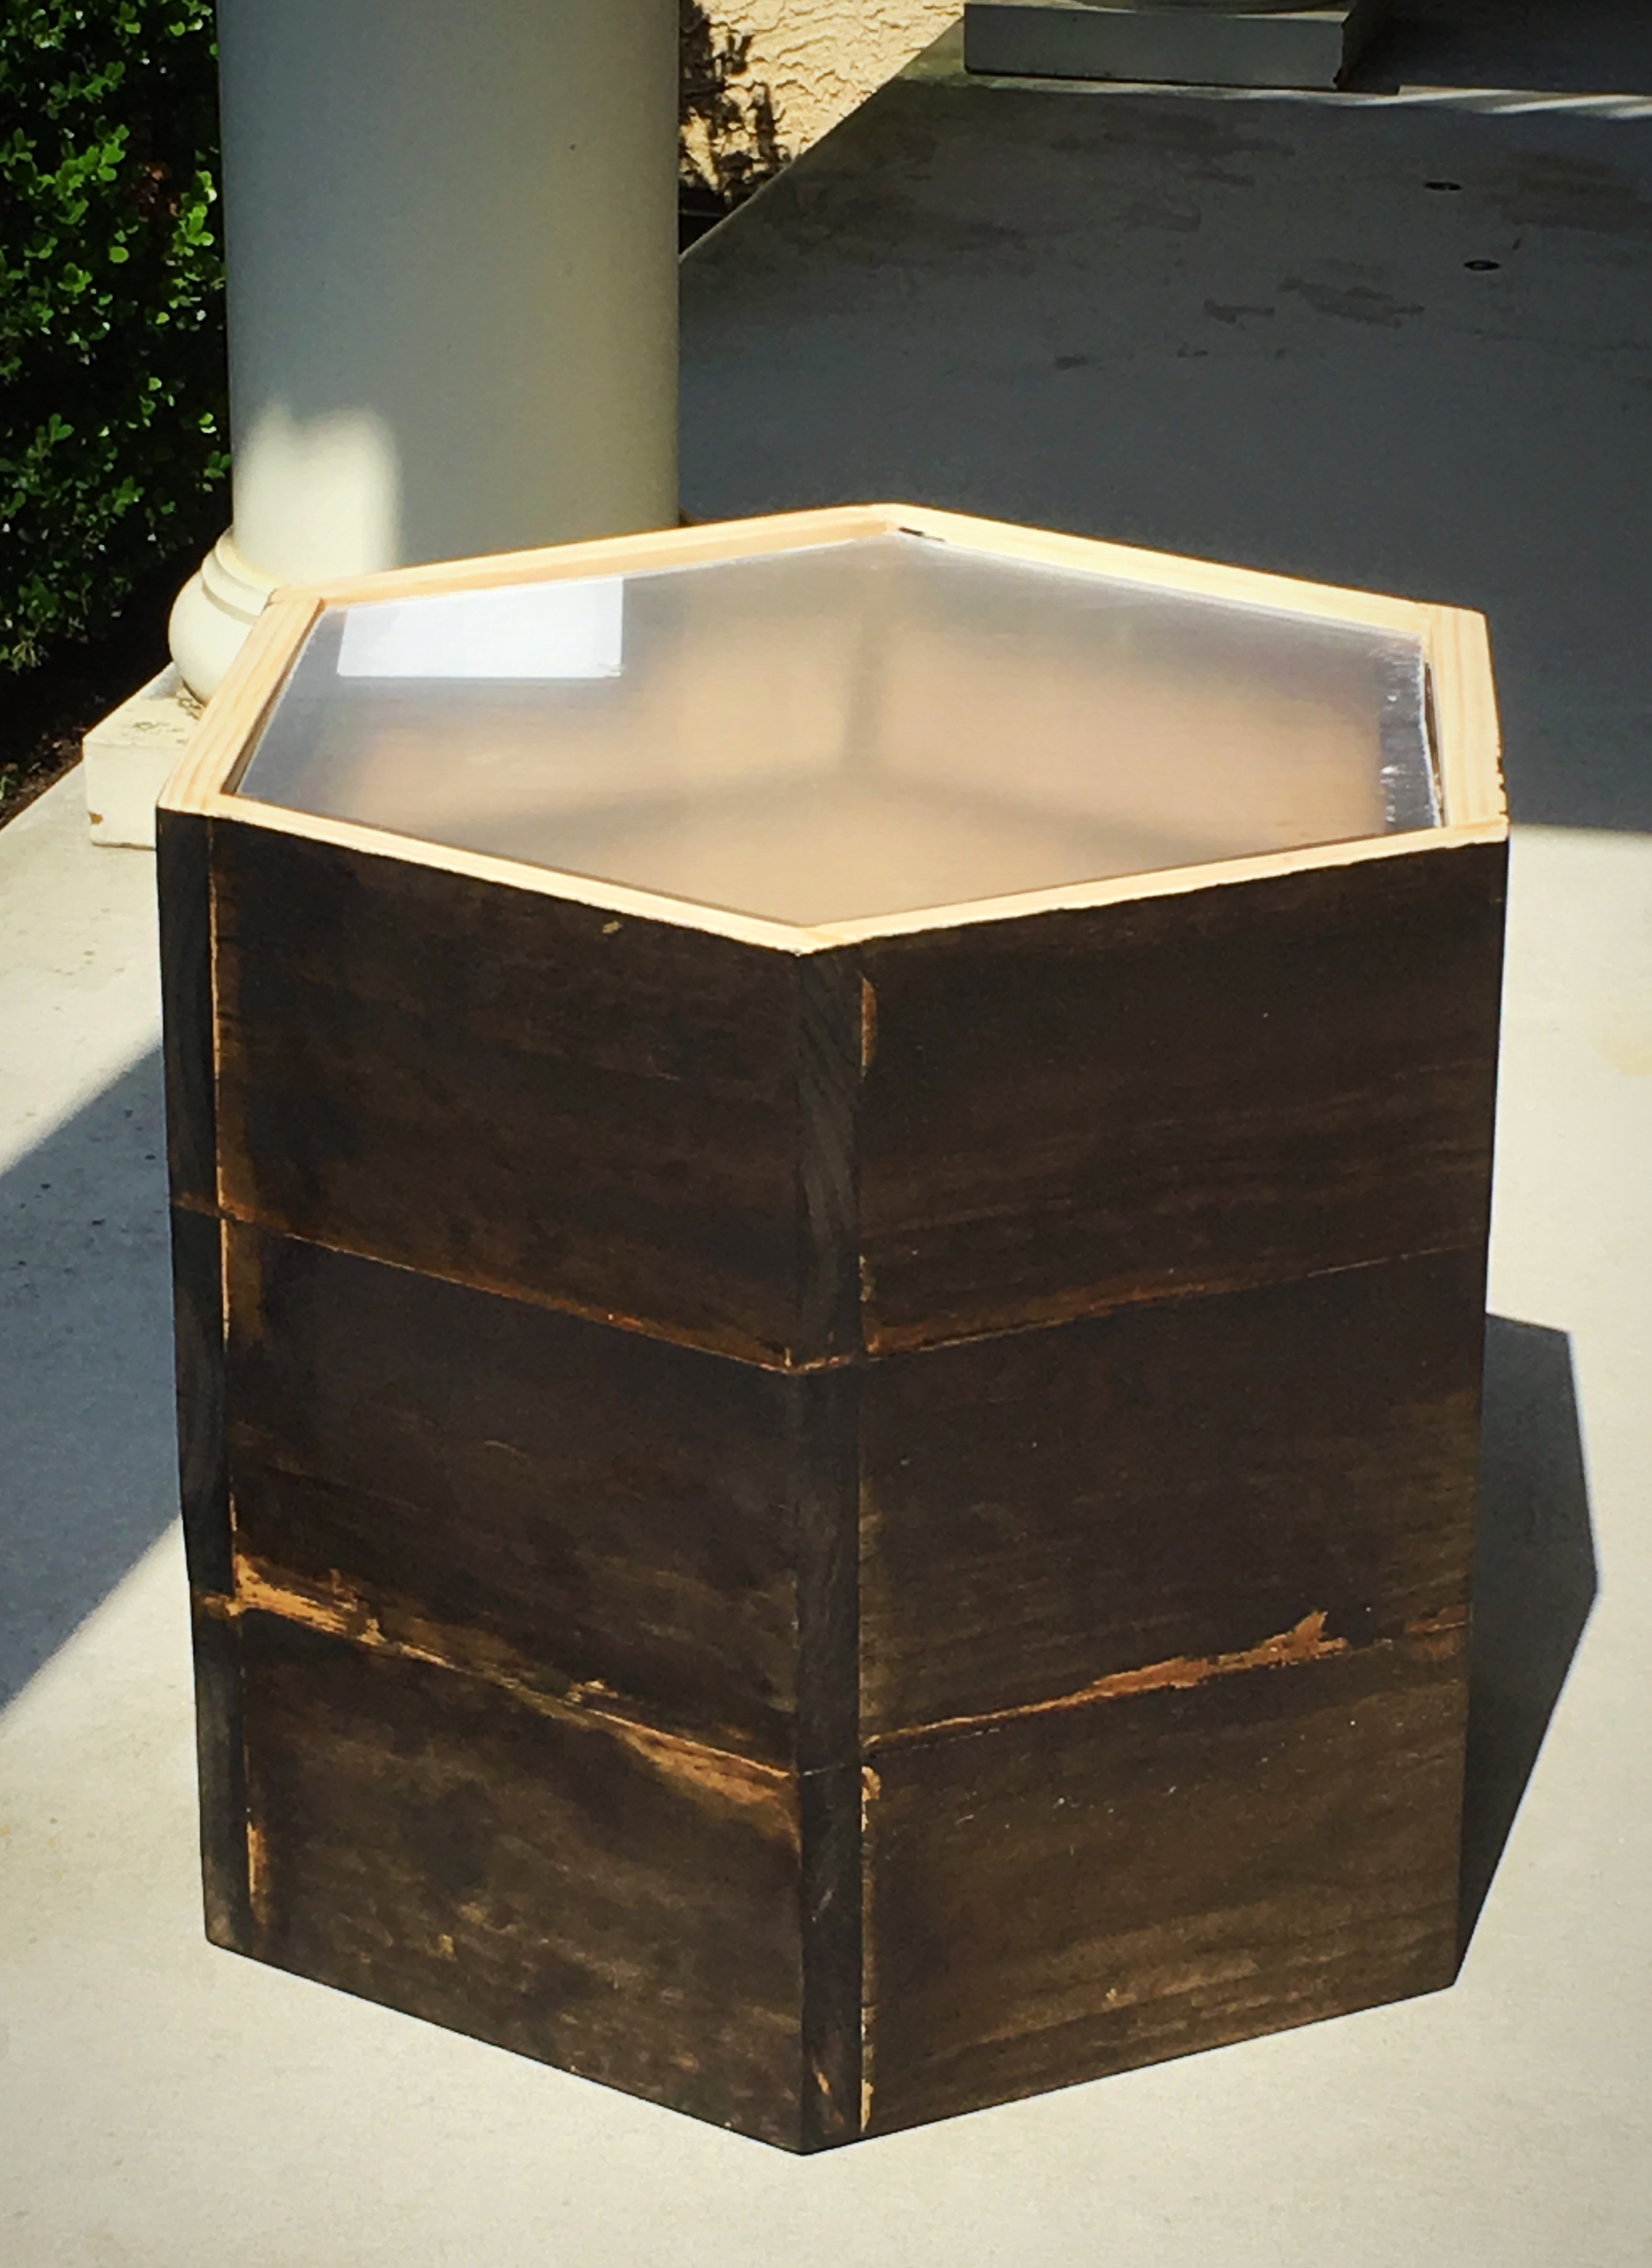
Hexagonal Side/Cofee Table
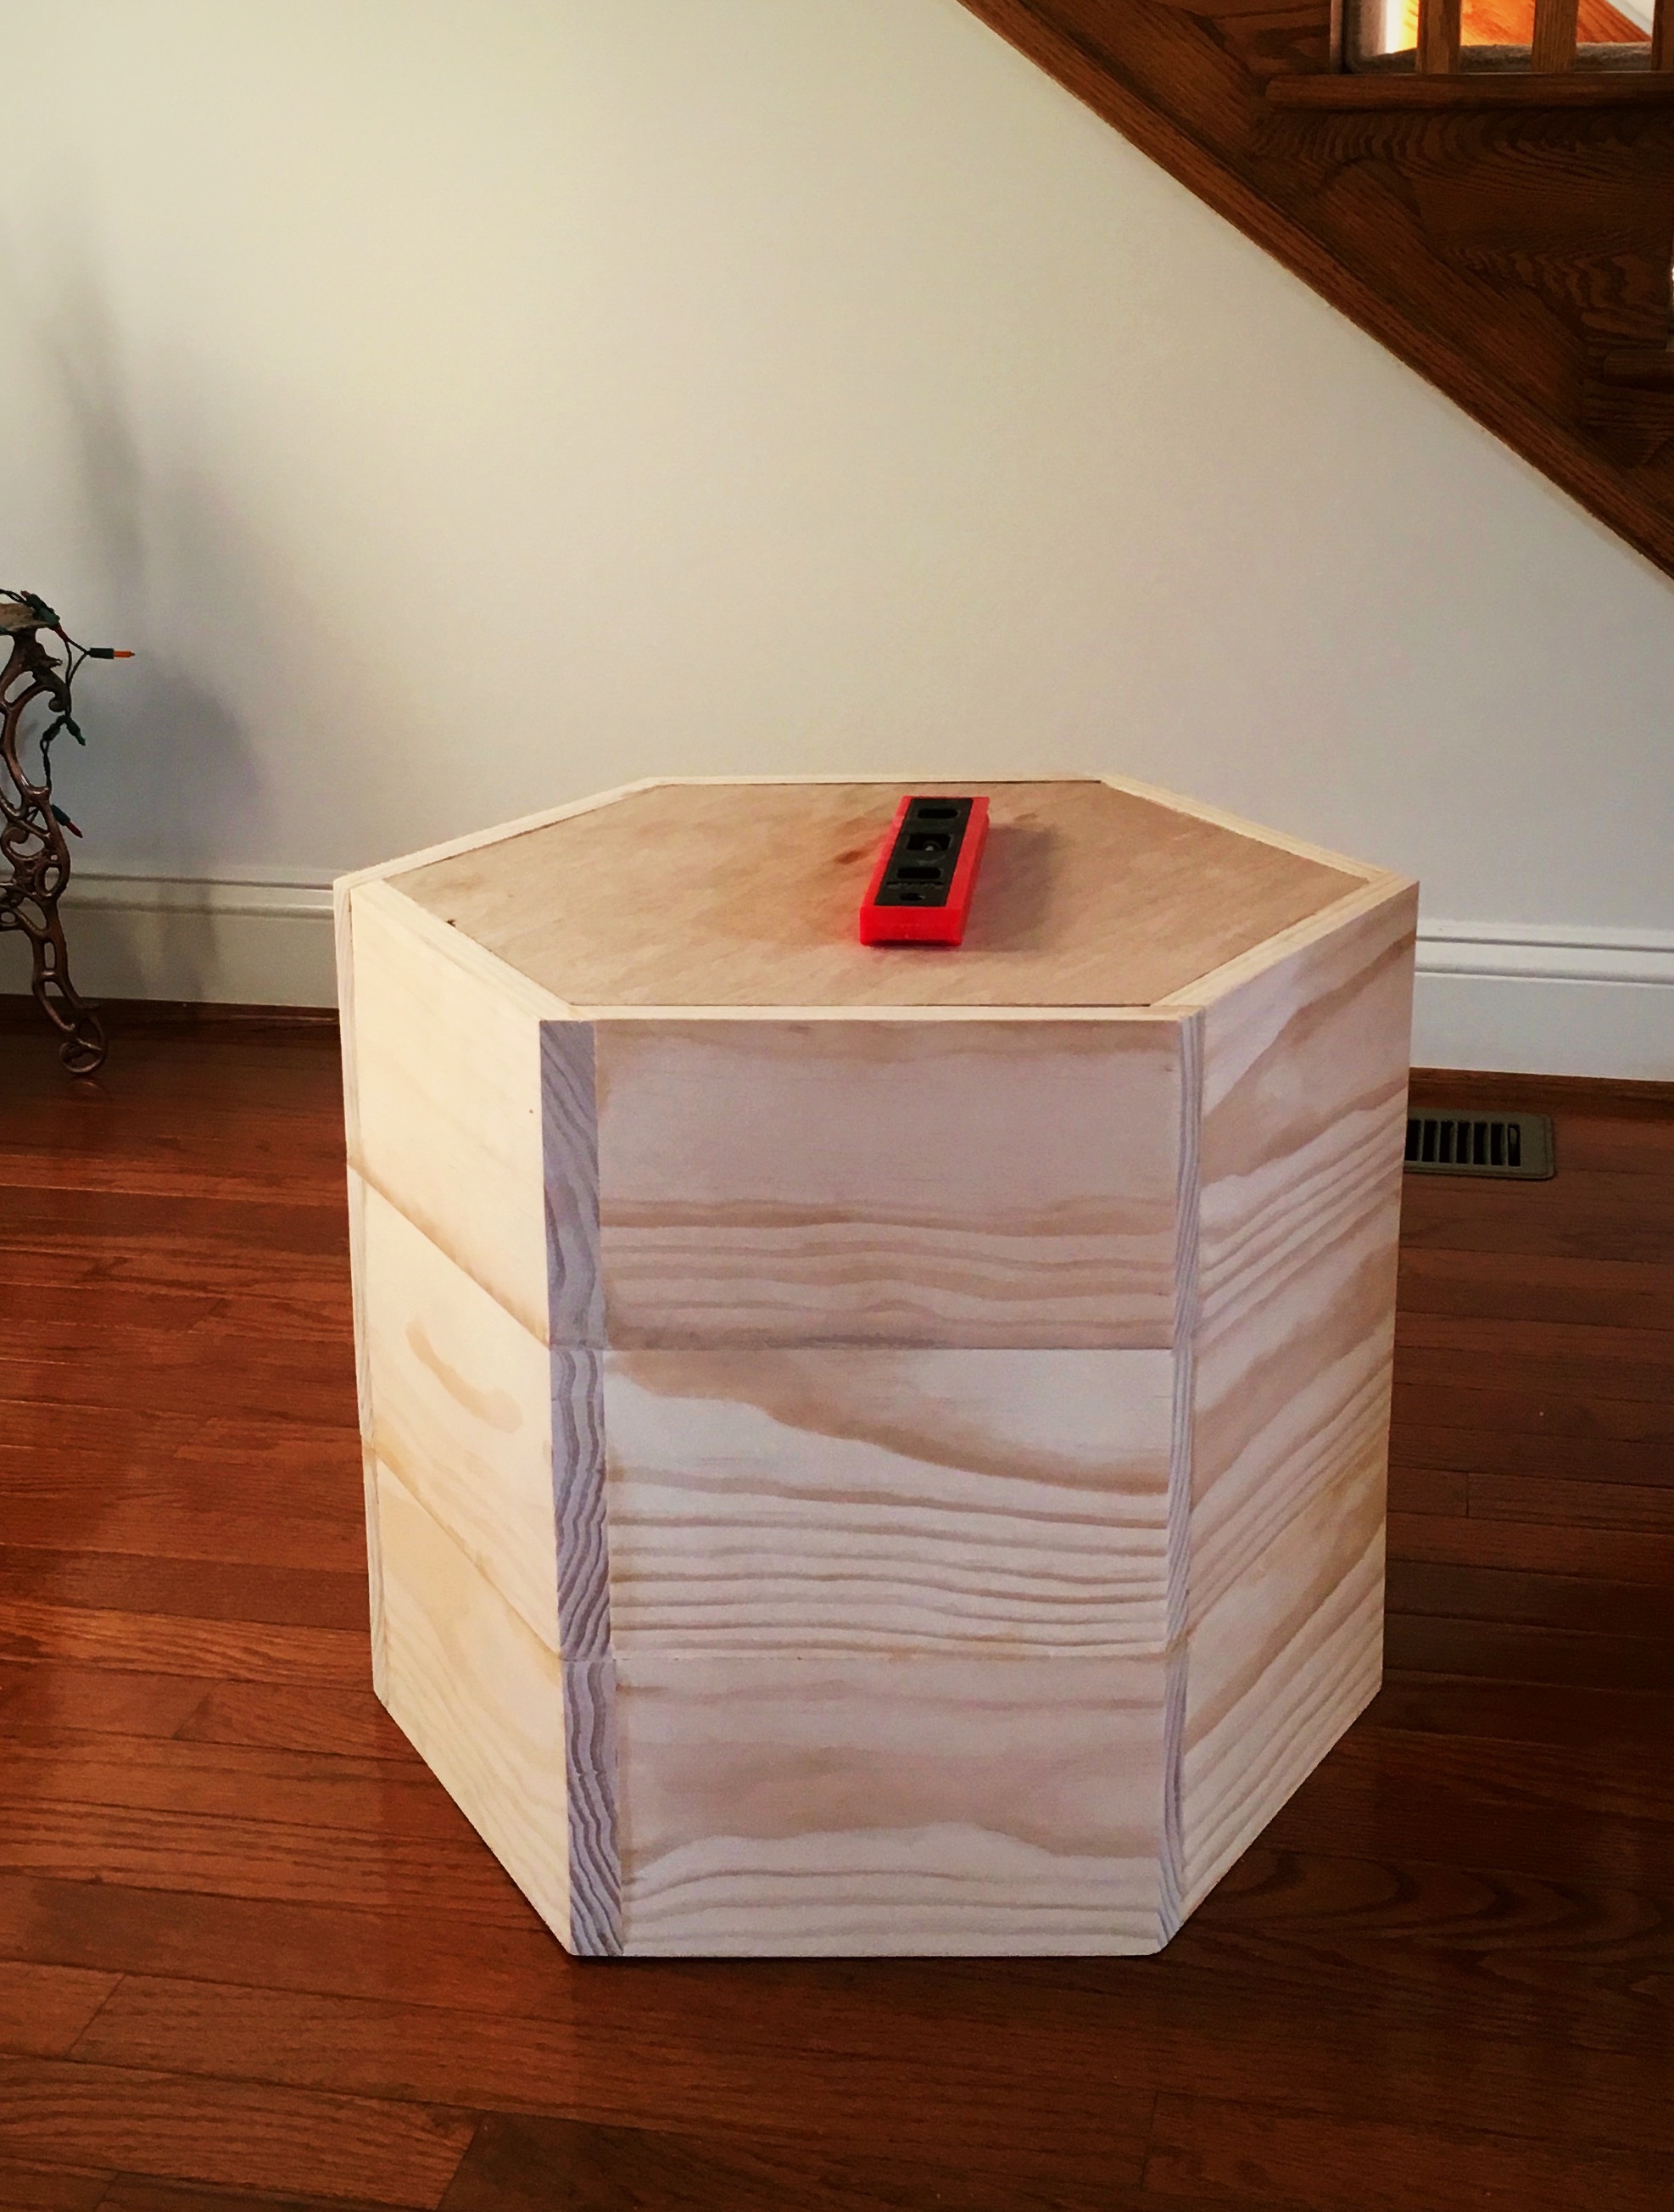
I tried this as my first ever project after going through different plans and technique. I did great (I think :-) ) until end and think i screwed up with staining. There is dried glue left on the surafce which i thought i sanded but appeared as soon as i stained.
Feed back / comments on the design and please suggest a way to fix the staining issue.
Estimated Cost
70 $
Estimated Time Investment
Weekend Project (10-20 Hours)
Finish Used
Stain
Recommended Skill Level
Beginner
Adapted Farmhouse Bed
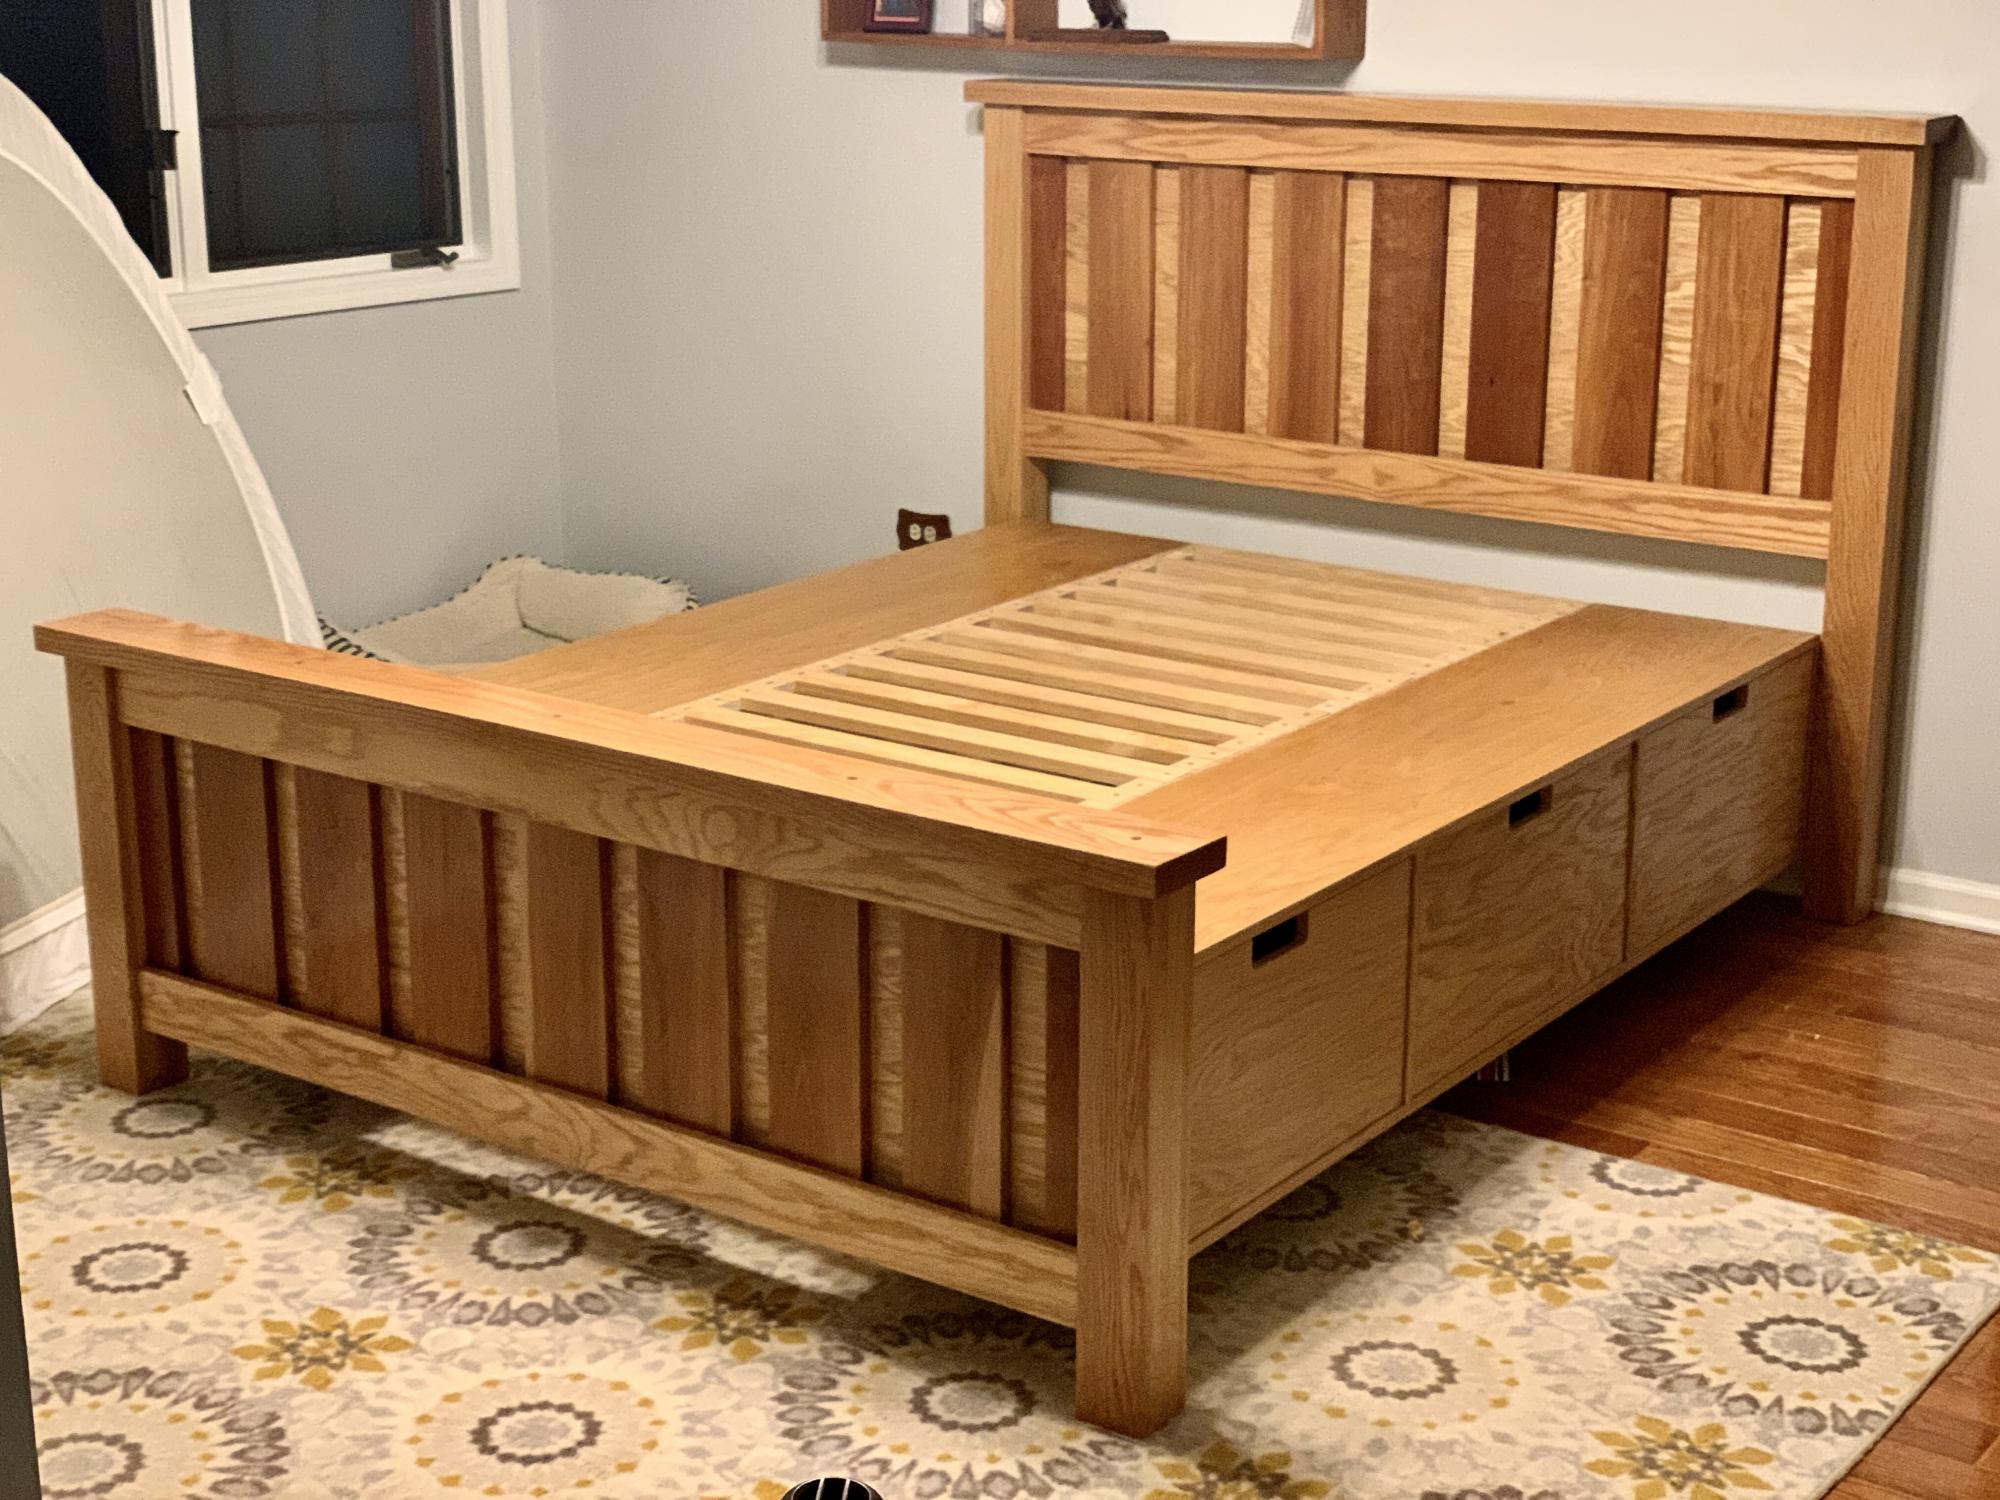
I made this with on the farmhouse bed plans using red oak and cherry. A new child, new house, and two dogs later, I finally managed to finish it after three years.
Built from Plan(s)
Estimated Cost
1,000
Finish Used
Super-blonde Shellac, paste wax
Recommended Skill Level
Advanced
Fireplace Mantle with Milled Wood

Your plans were so helpful. I used rough cut lumber from a white pine we harvested and milled ourselves, so had to do a bit of figuring, and also increased the height to 48”. I just love it and your plans made it so much easier.

Built from Plan(s)
Seasonal And Holiday
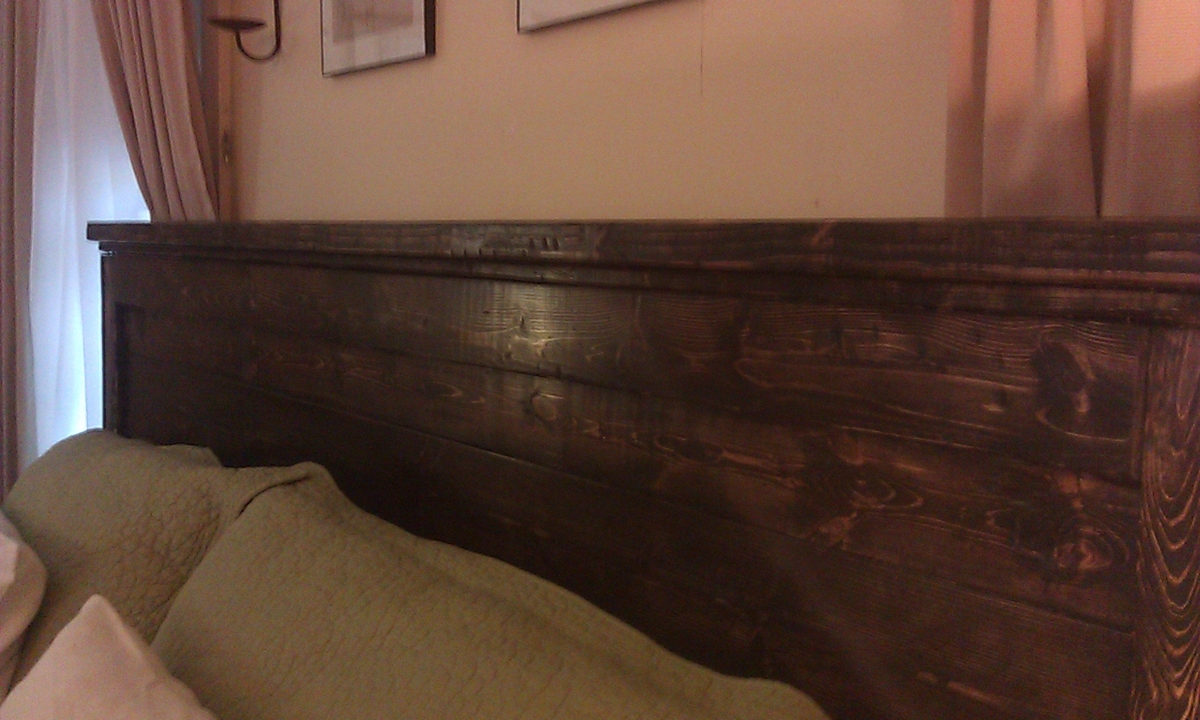
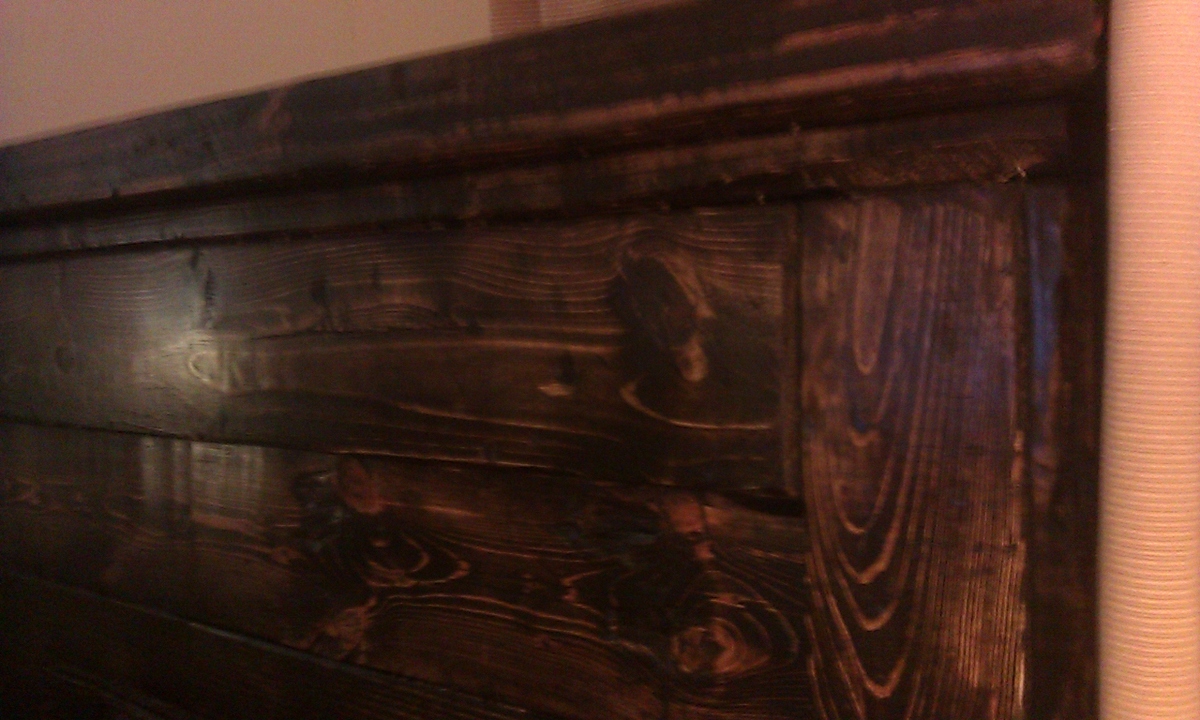
king-sized planked wood headboard
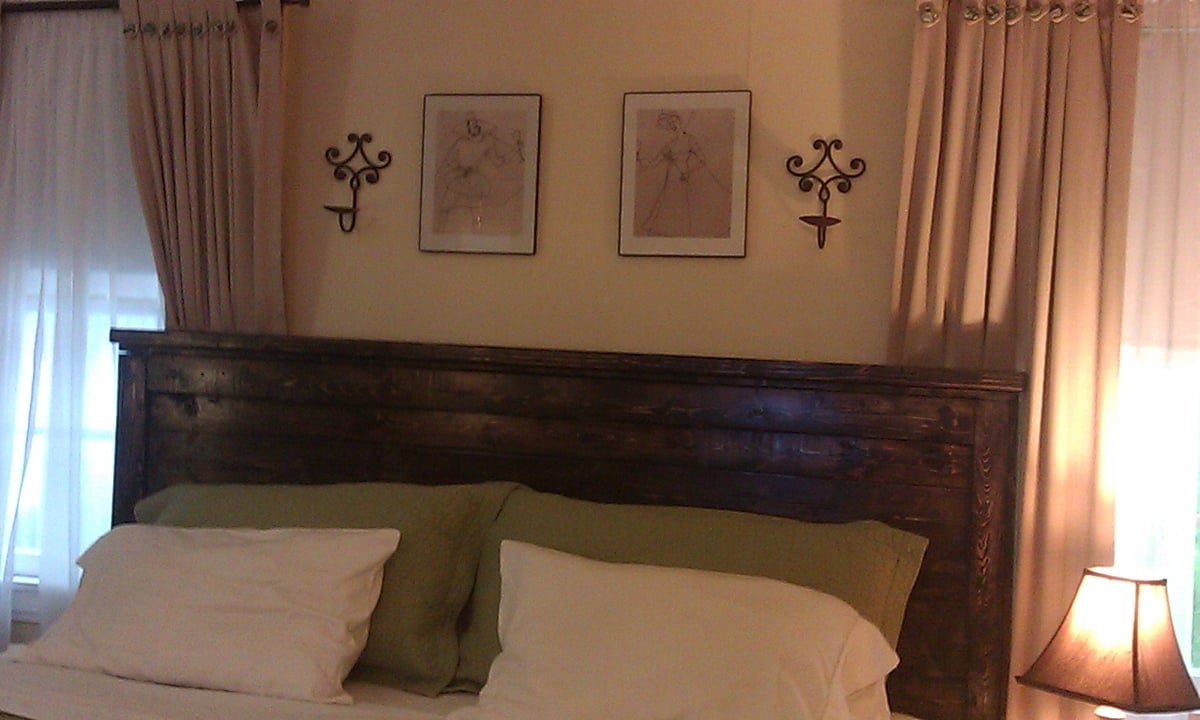
This was an incredibly easy project. The construction only took a couple of hours, but because of the horrific humidity it took me days to finish staining and waxing the headboad. The wood was the cheapest Home Depot had to offer. It was perfectly imperfect. For the finish, I used 3 coats of Minwax Stain in Jacobean, sanding with steel wool in between each coat. I finished the stain with 2 coats of Minwax Paste Wax.
Built from Plan(s)
Estimated Time Investment
Week Long Project (20 Hours or More)
Finish Used
Minwax Stain: Jacobean
Minwax Paste Wax
Minwax Paste Wax
Recommended Skill Level
Starter Project
Comments
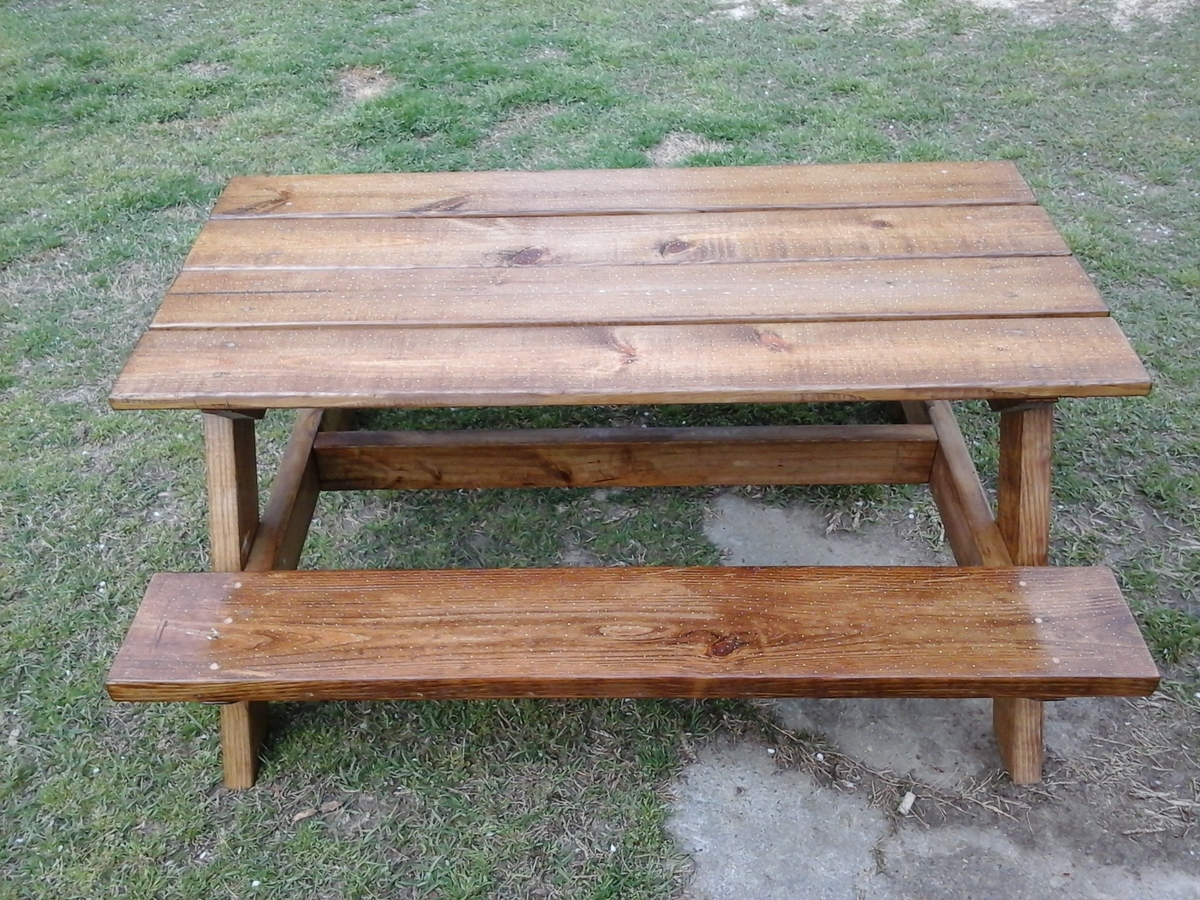
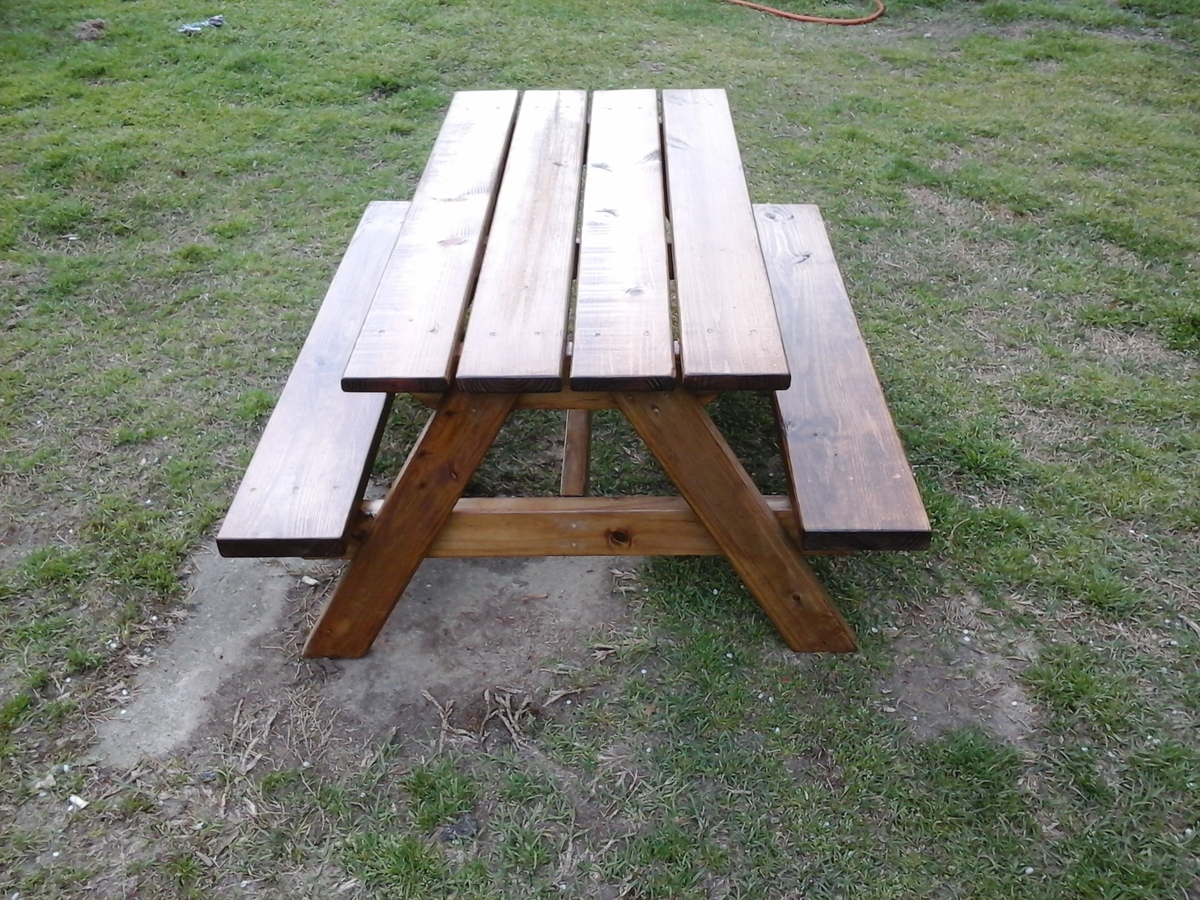
Big Kids picnic table
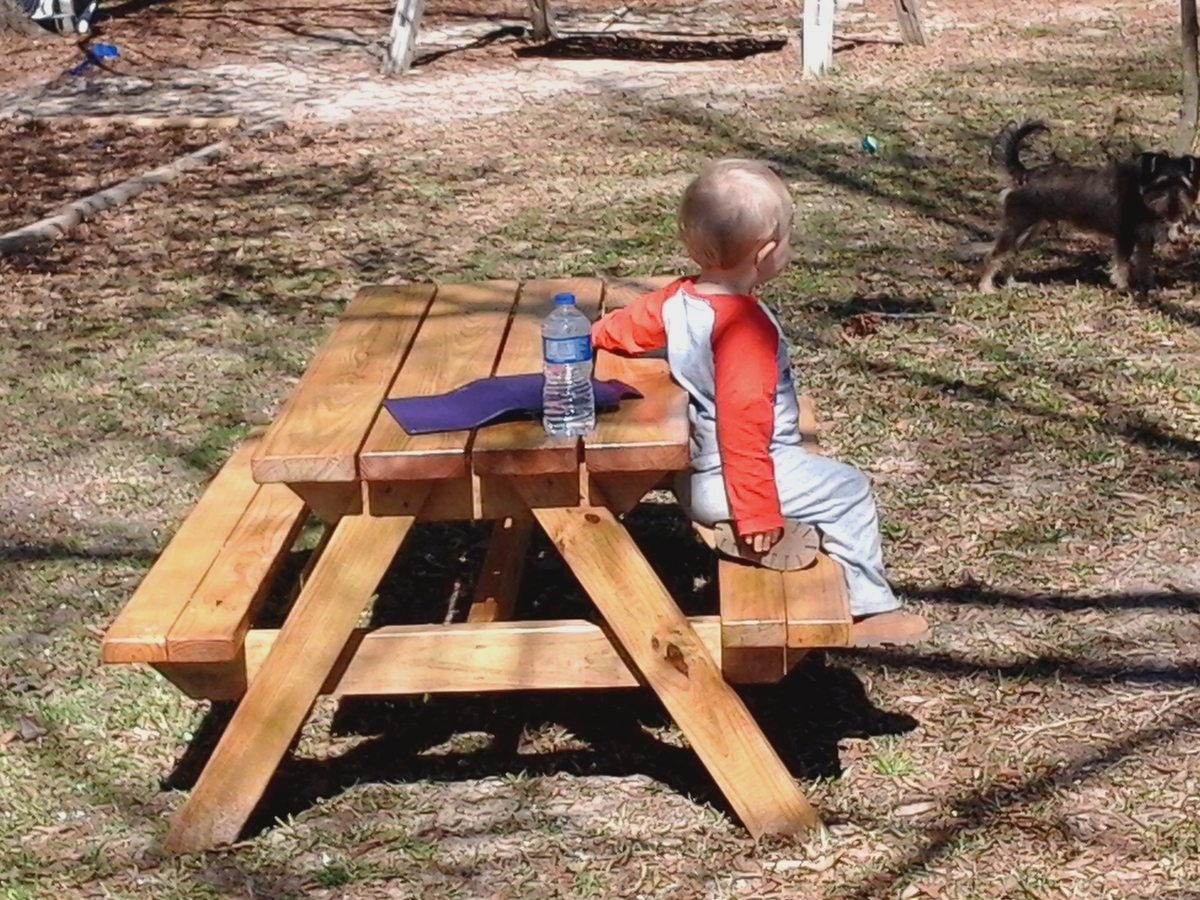
This is the first wood working project that I did, all by myself, Thank you so much Ana for sharing your plans. Sense then I have built another one but used a 2x8 for the seats instead of the 2x4's to make one solid seat and used decking boards for the top instead of the 2x4's. I have added the 2nd table to show what it looks like. Thank you so much Ana for sharing your plans. I have enjoyed it so much and i'm getting more confident building other things.
Built from Plan(s)
Estimated Time Investment
Afternoon Project (3-6 Hours)
Finish Used
I stained this table with pecan stain, and then poly coated. Didn't know that you don't have to use PT wood if your going to stain a project. Saves on the cost of the wood if you want to stain it. PT cost more then non-PT. I know now. :)
Recommended Skill Level
Starter Project
Rustic X Coffee Table
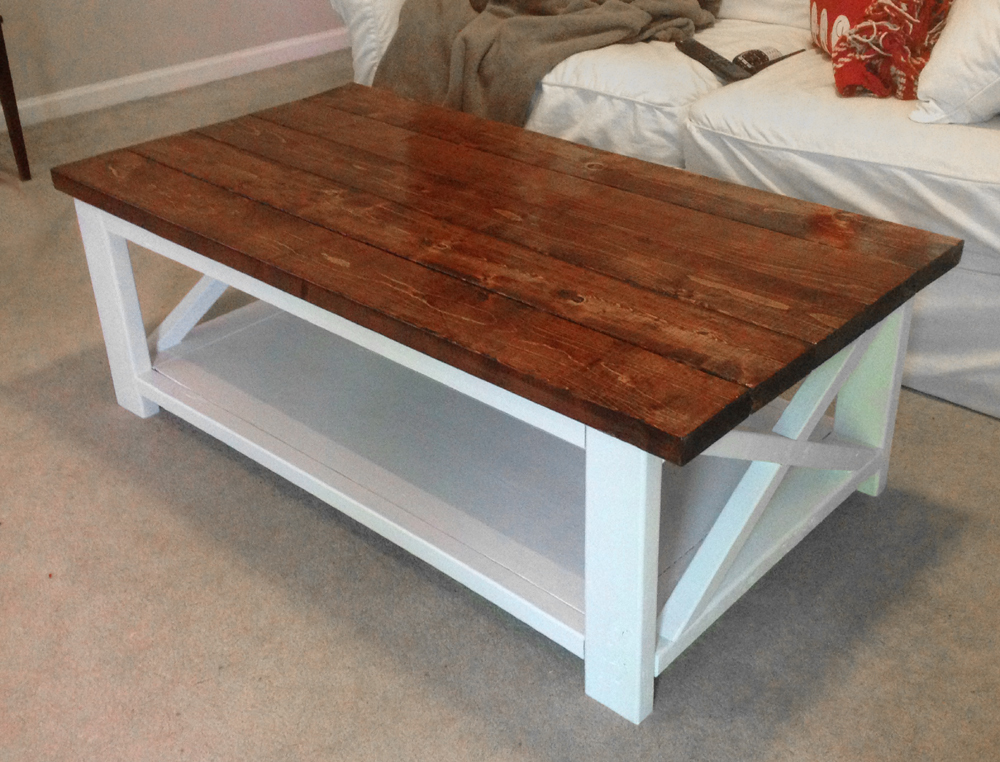
We moved into a new house with exposed dark beams and white railings. Plus, we were gifted a new white couch, so the wife wanted a new coffee table. I loved this project and decided to do it a little different and try the dual finish look to go with our furnishings and house. We love the finished product. Assembly was a snap. As always, the staining and clear coat step took the longest.
Built from Plan(s)
Estimated Time Investment
Weekend Project (10-20 Hours)
Finish Used
Red Oak Stain with clear gloss finish for the top. Plain white gloss paint for bottom frame.
Recommended Skill Level
Beginner
Blanket Ladder
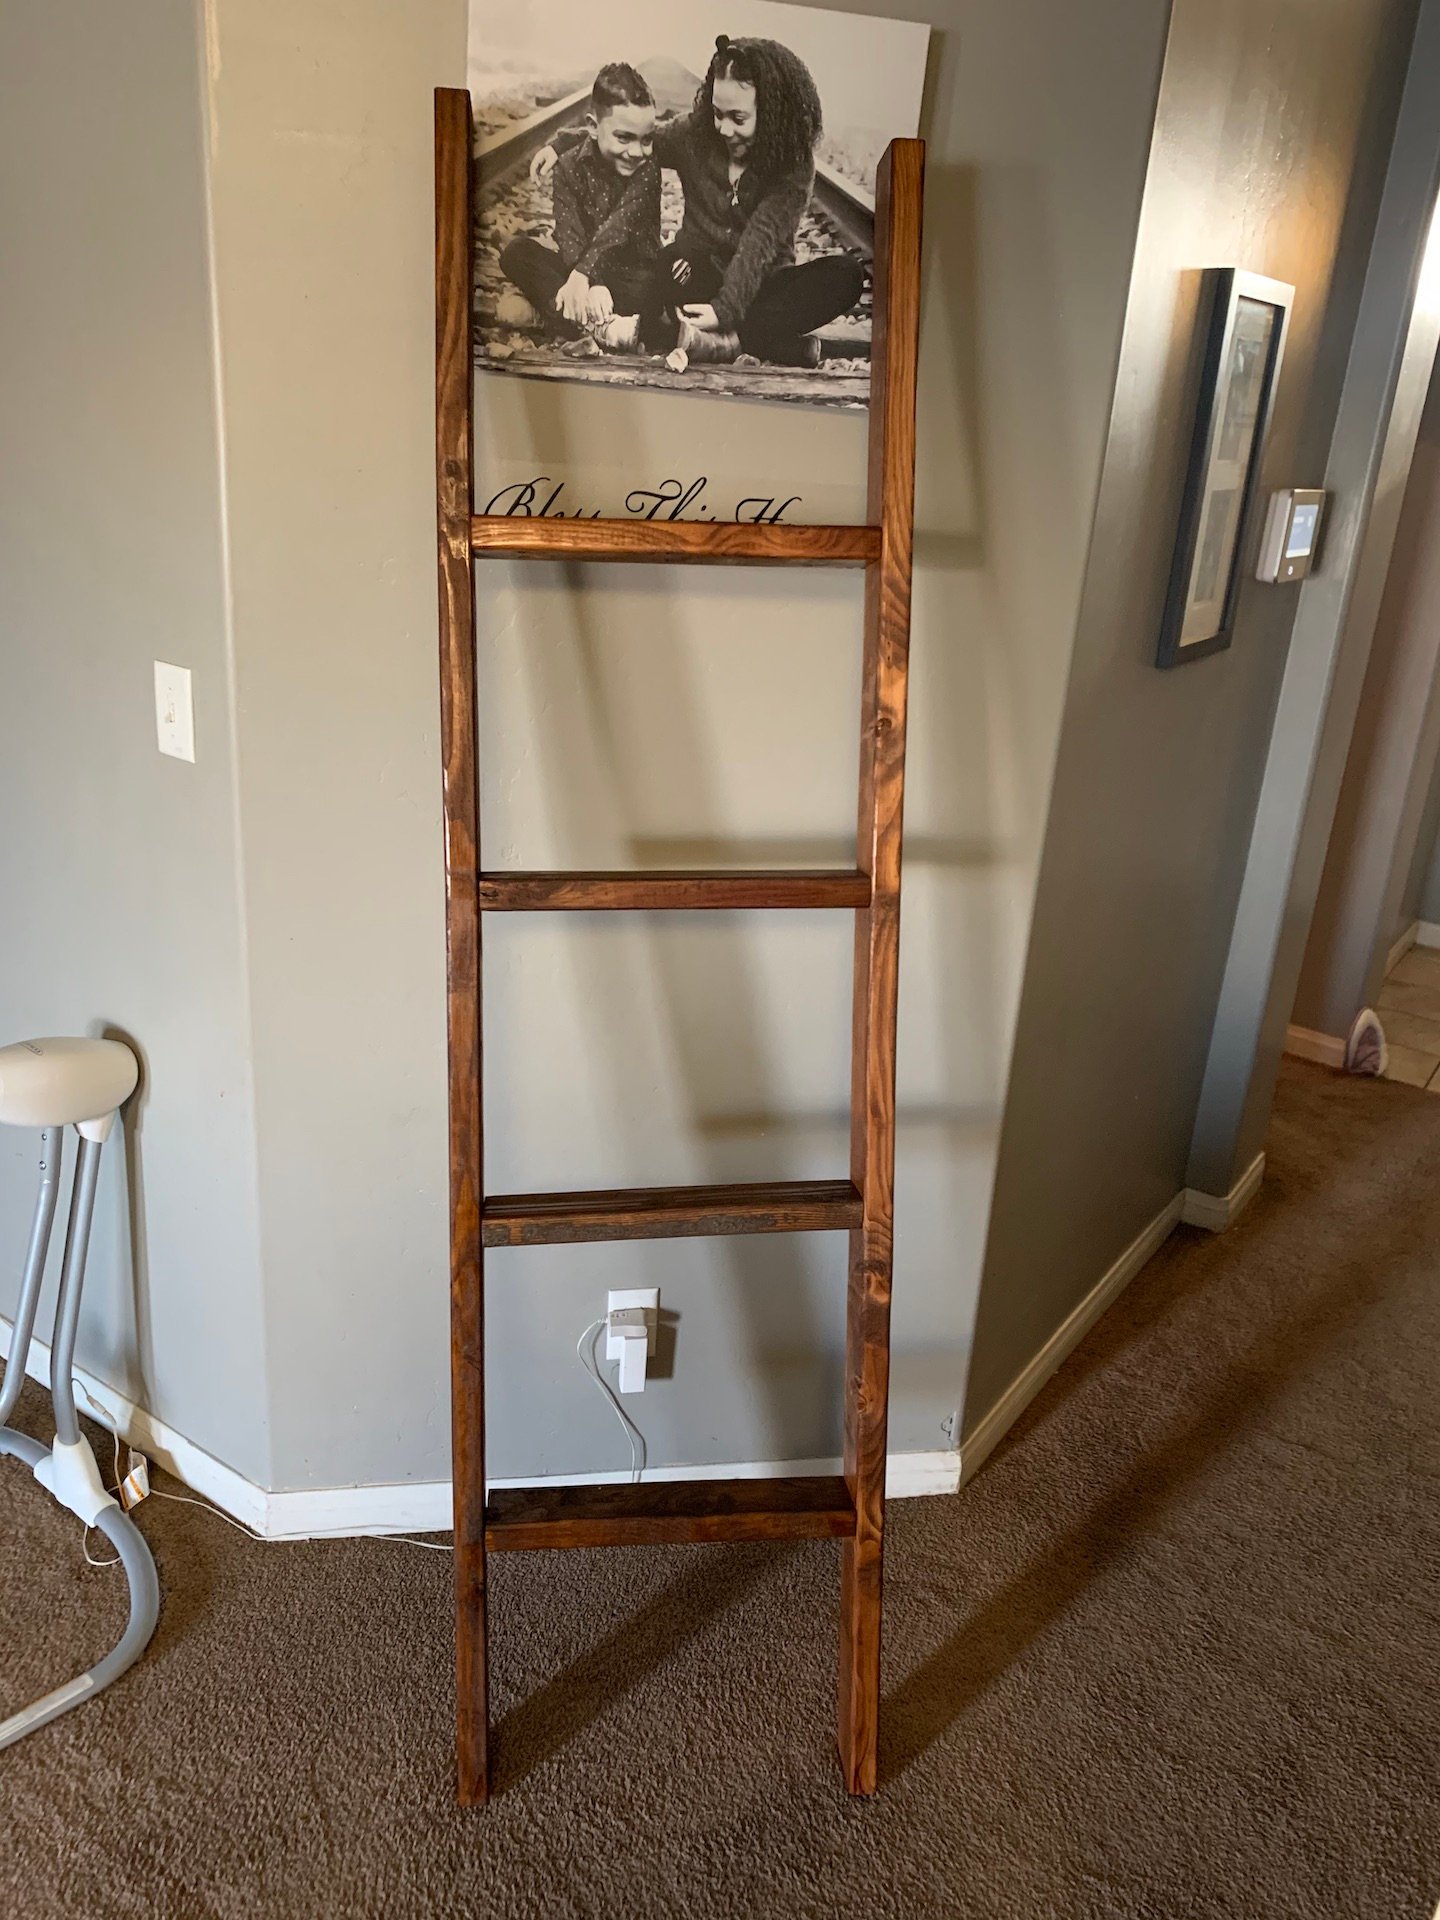
My wife asked if I can build her a blanket ladder as oppose to buying one in the store for $60+. I used scrap 2x4s I had around my workshop. I also used pocket holes. Very quick and easy project for anyone just getting started!
Built from Plan(s)
Estimated Cost
$10
Finish Used
I used 120 grit sand paper and stain it with Minwax Dark Walnut using a paint brush.
Recommended Skill Level
Starter Project
Tall Dresser
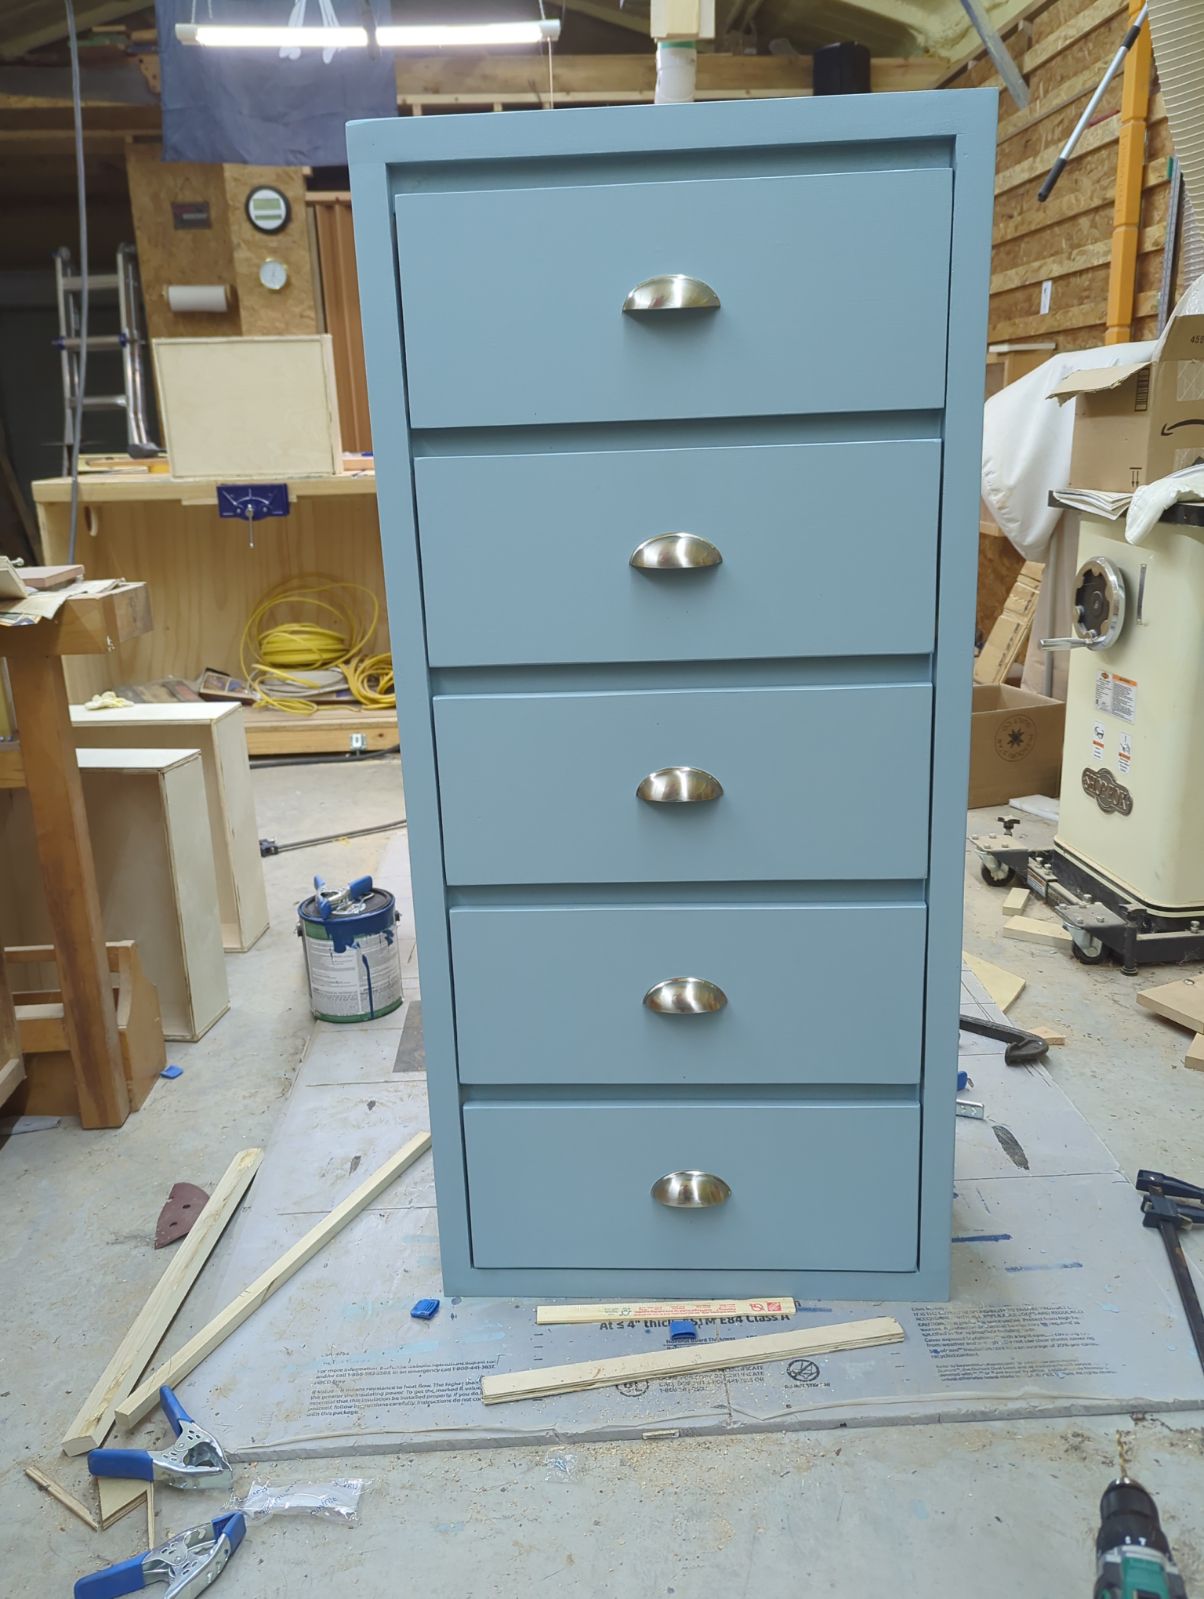
A Christmas gift for my G- kid!!!!
Built from Plan(s)
Comments
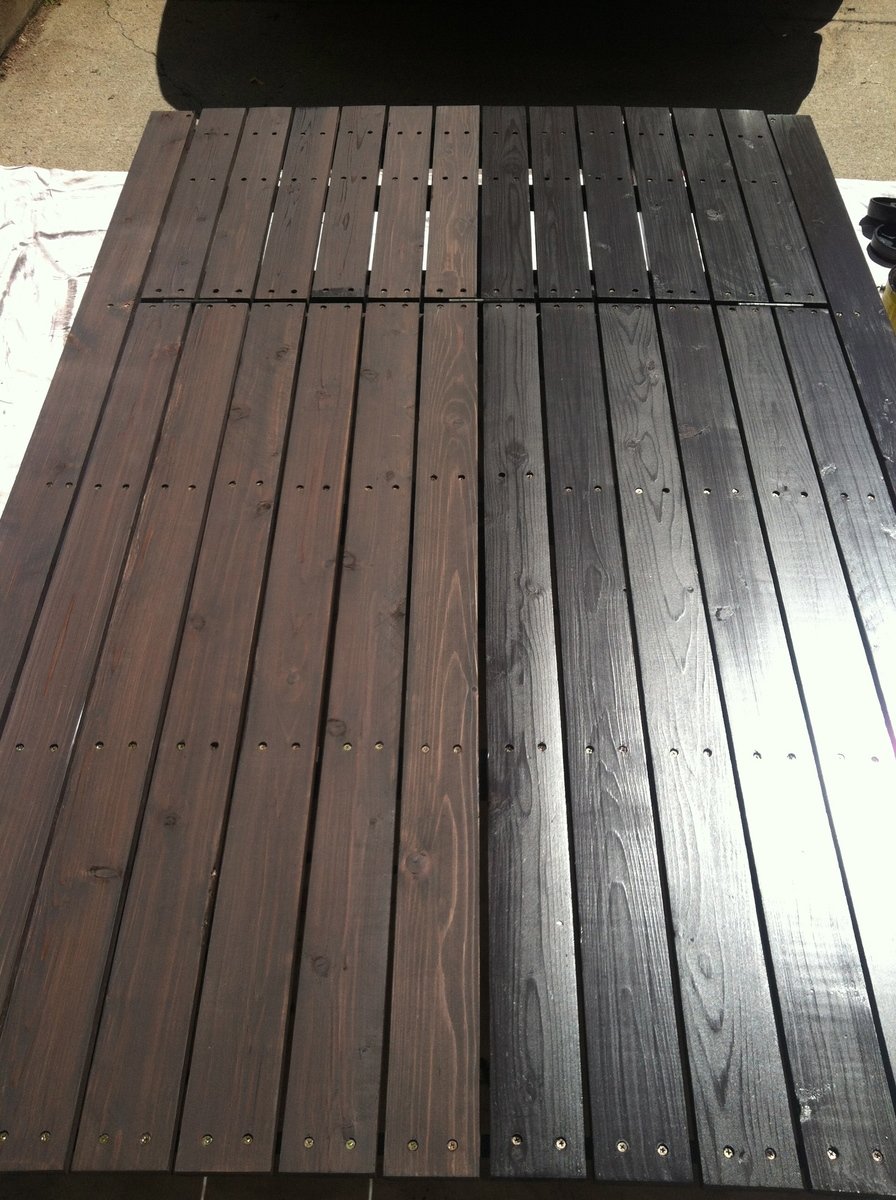
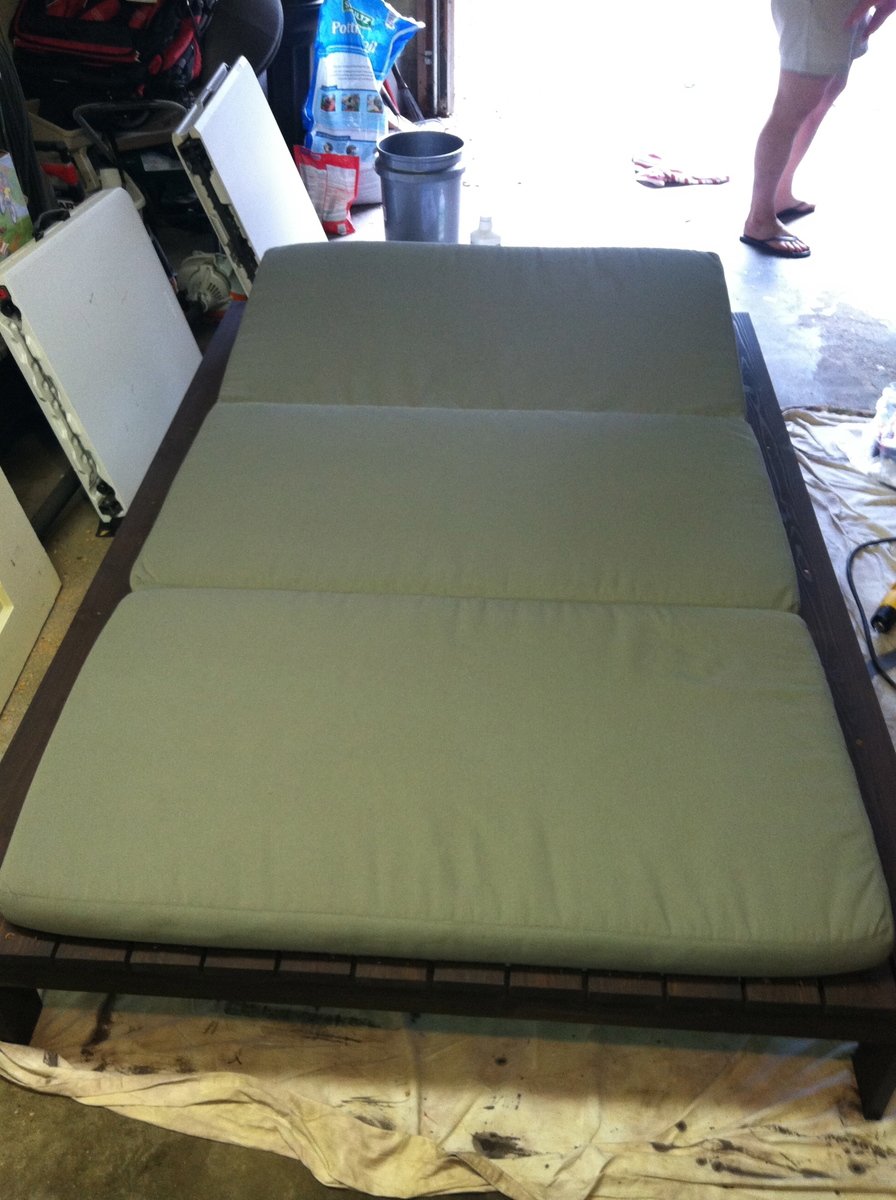
Simple Modern Outdoor Double Lounger.
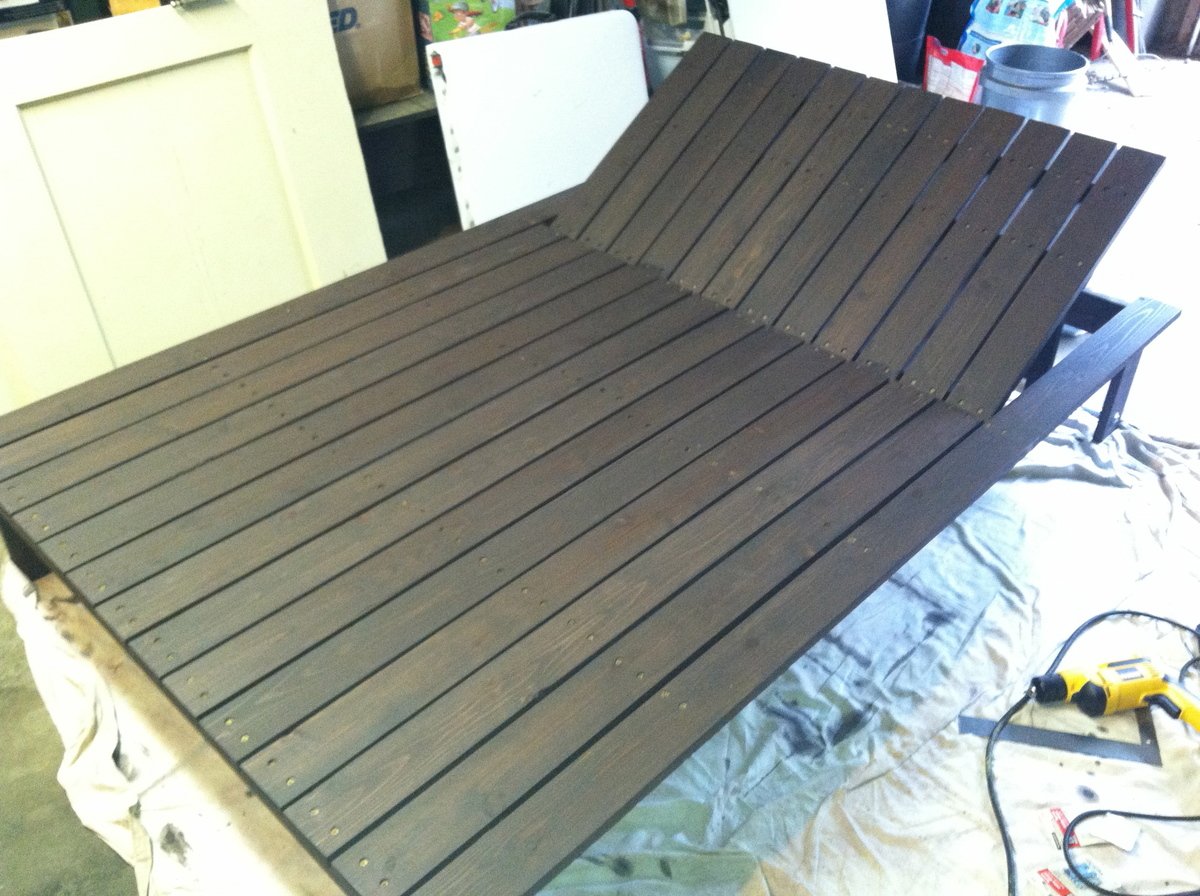
Finished it in about two weeks, but that was during my sons daily two hour nap window and two days of staining. Had to make a few adjustments so the pillow from West Elm would fit, because the plan calls for 11 slats on the deck when it should be 12. I added some wheels to the back and will add pull out drink tables soon. It was a fun project and my wife is thrilled.

Built from Plan(s)
Estimated Cost
$175
Estimated Time Investment
Day Project (6-9 Hours)
Finish Used
Cabot Semi-Solid Stain (Cordovan Brown).
Recommended Skill Level
Intermediate
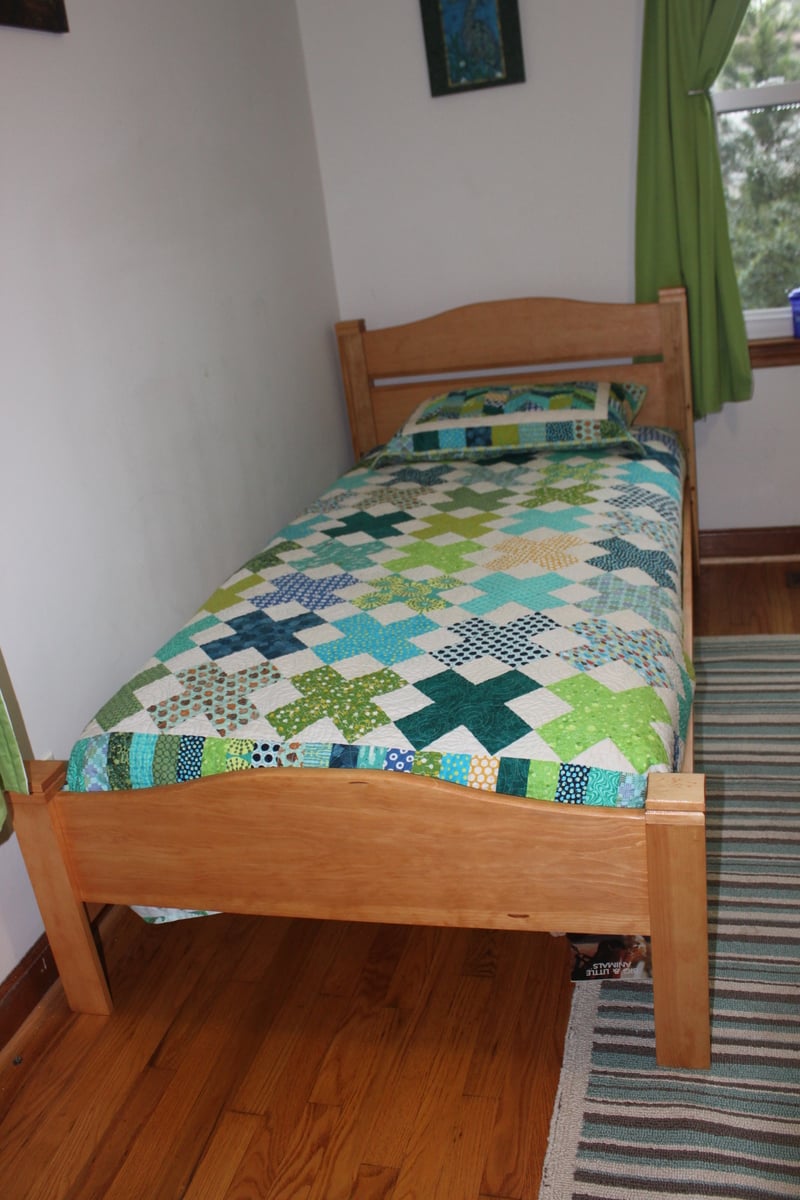
pioneer bed, twin
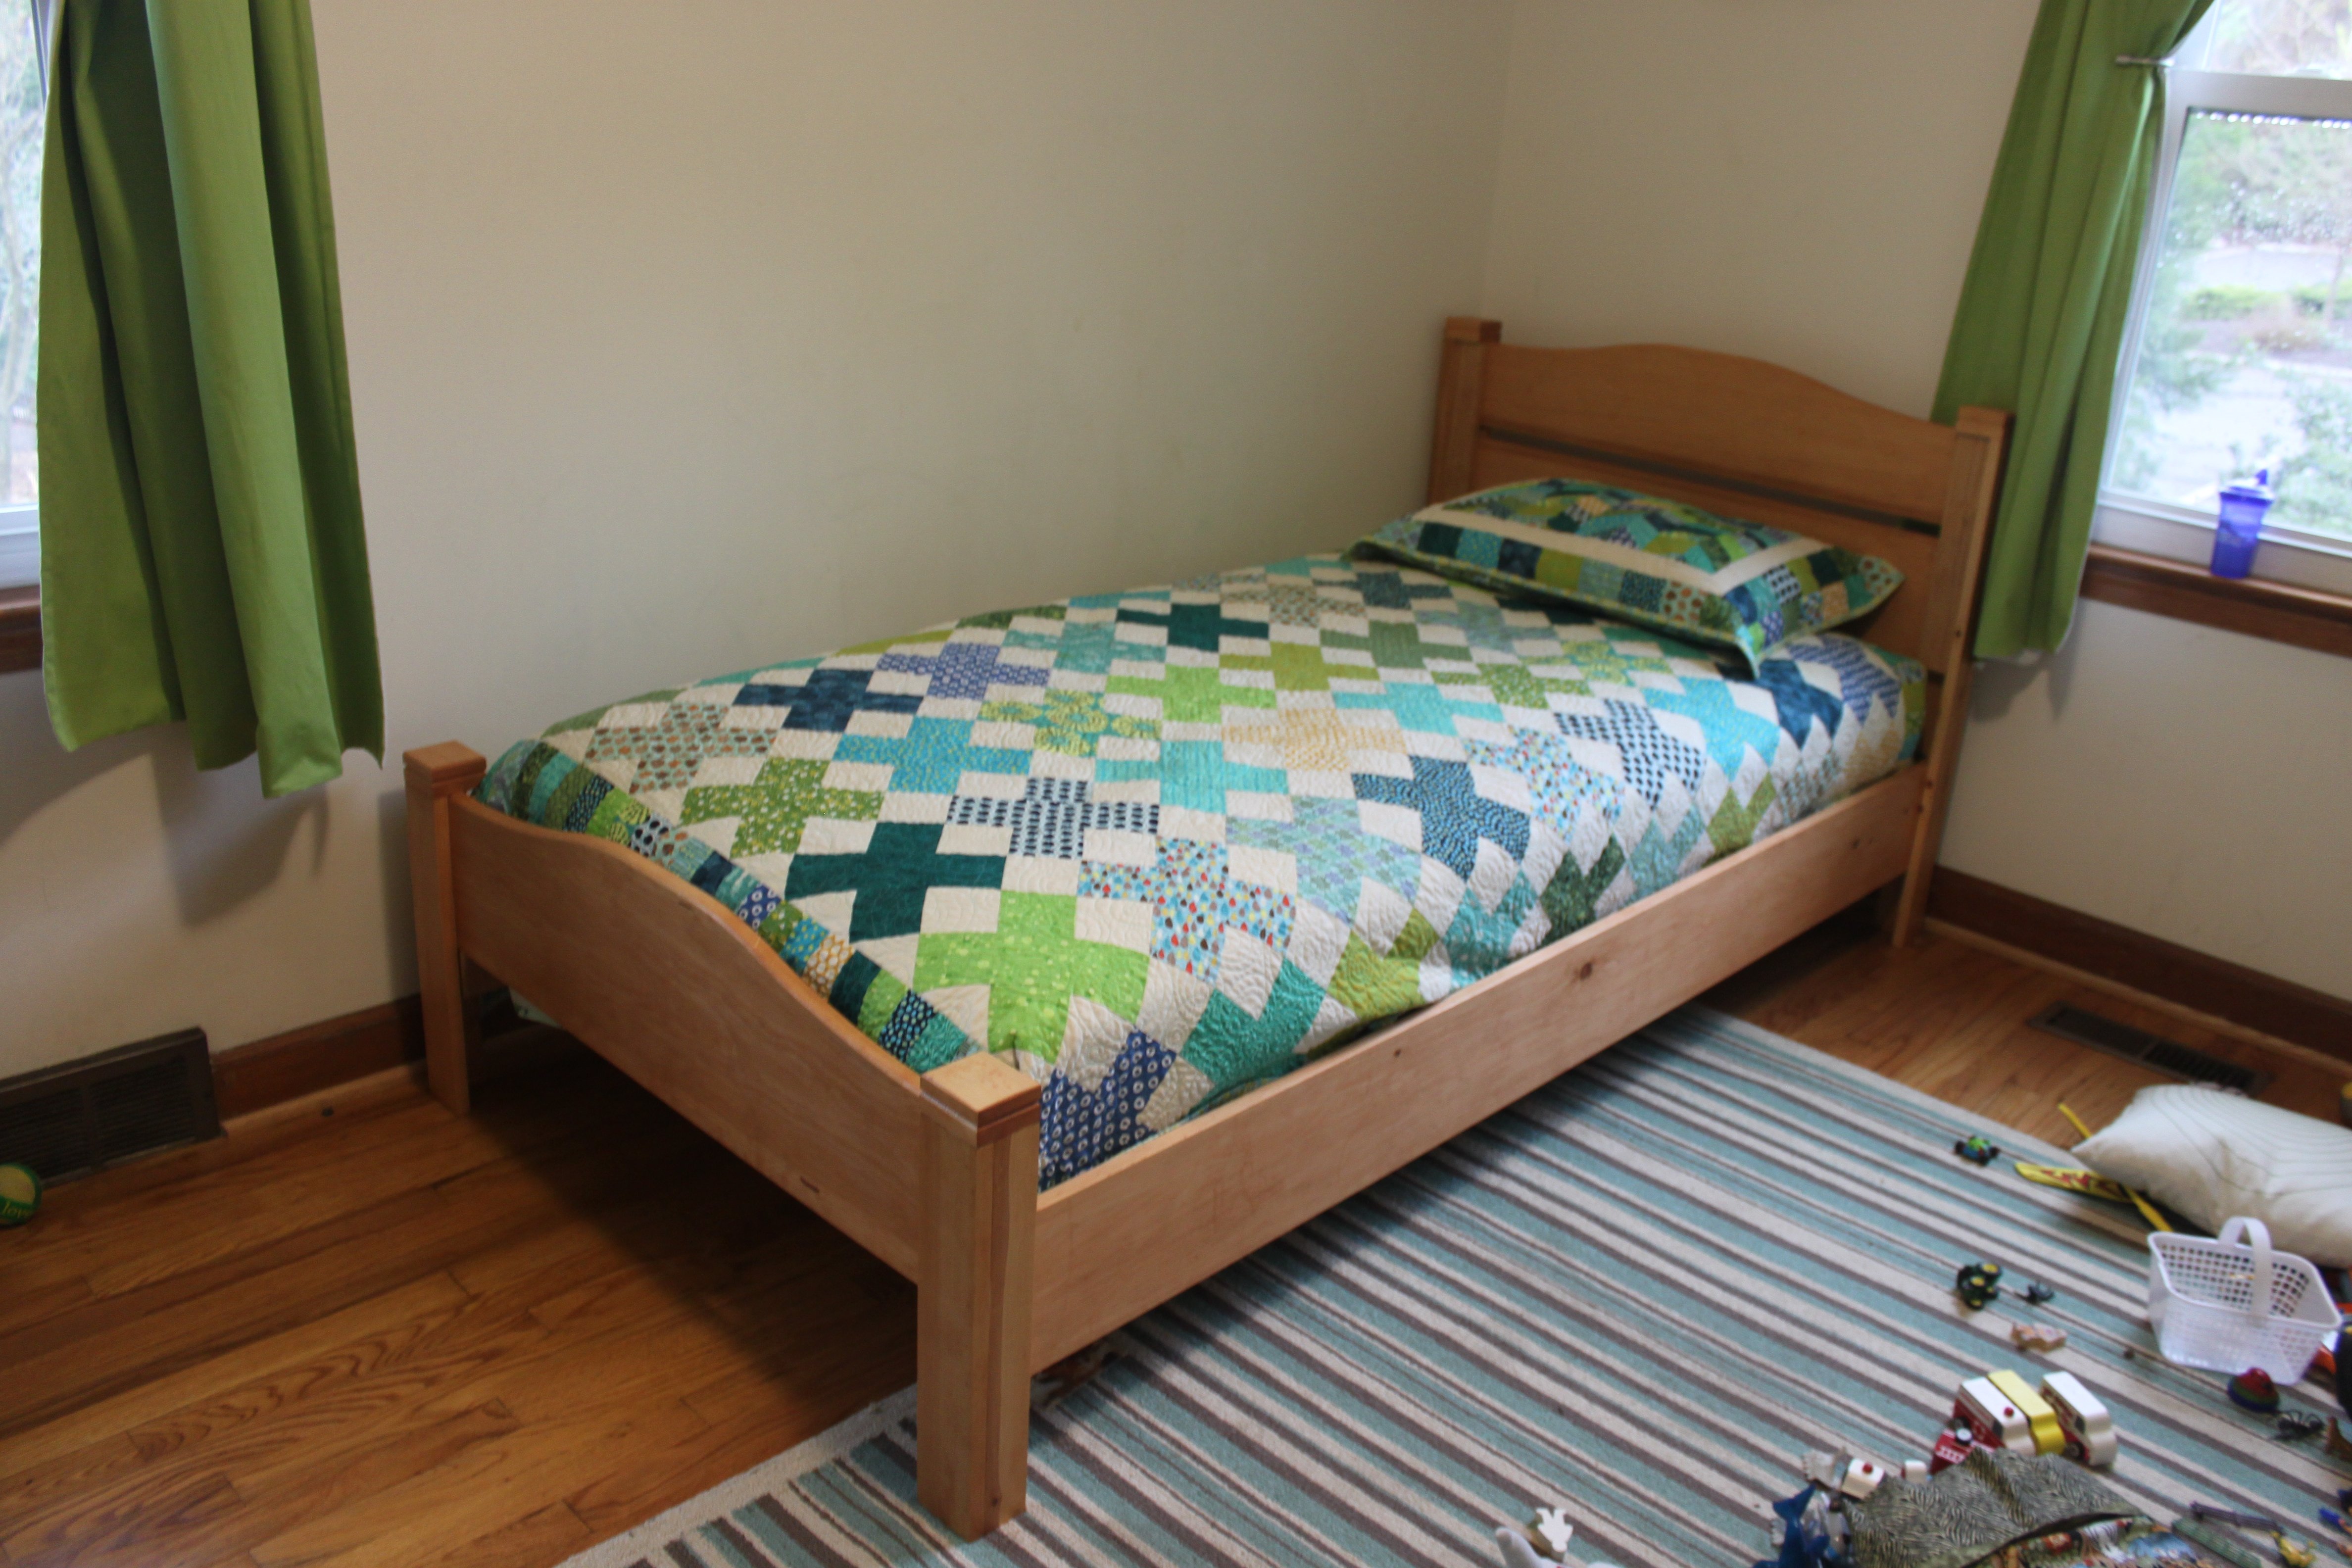
I followed the twin pioneer bed plans, made a few changes here and there. My 3-year old son loves it!
Built from Plan(s)
Estimated Time Investment
Weekend Project (10-20 Hours)
Finish Used
Light stain, matte varnish
Recommended Skill Level
Intermediate
Rolling saw horses
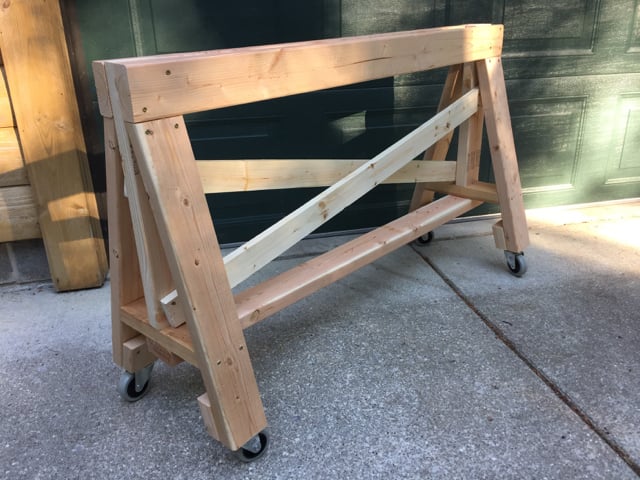
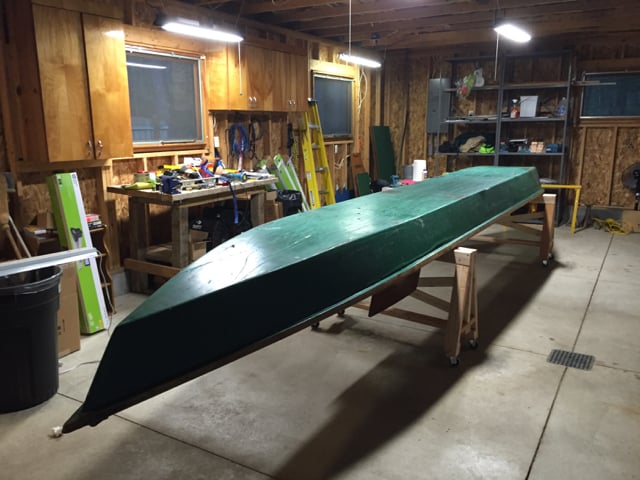
Your saw horse plan worked great for a wooden boat project I'm doing -- the 3" wheels (with one locking) enable me to move the boat around the workshop or even outdoors for heavy duty sanding.
I added blocks of 2x4 to the legs for more surface for the wheels and I extended the cross pieces to 4-feet long as the old AuSable River (MI) guide boat is about 40" wide.
Built from Plan(s)
Estimated Cost
$60.00 (a lot of the cost is in the 3" wheels..)
Estimated Time Investment
Afternoon Project (3-6 Hours)
Finish Used
None, though thinking about putting some finish on them as they'll be getting wet when I wash down the boat...
Recommended Skill Level
Starter Project
Comments
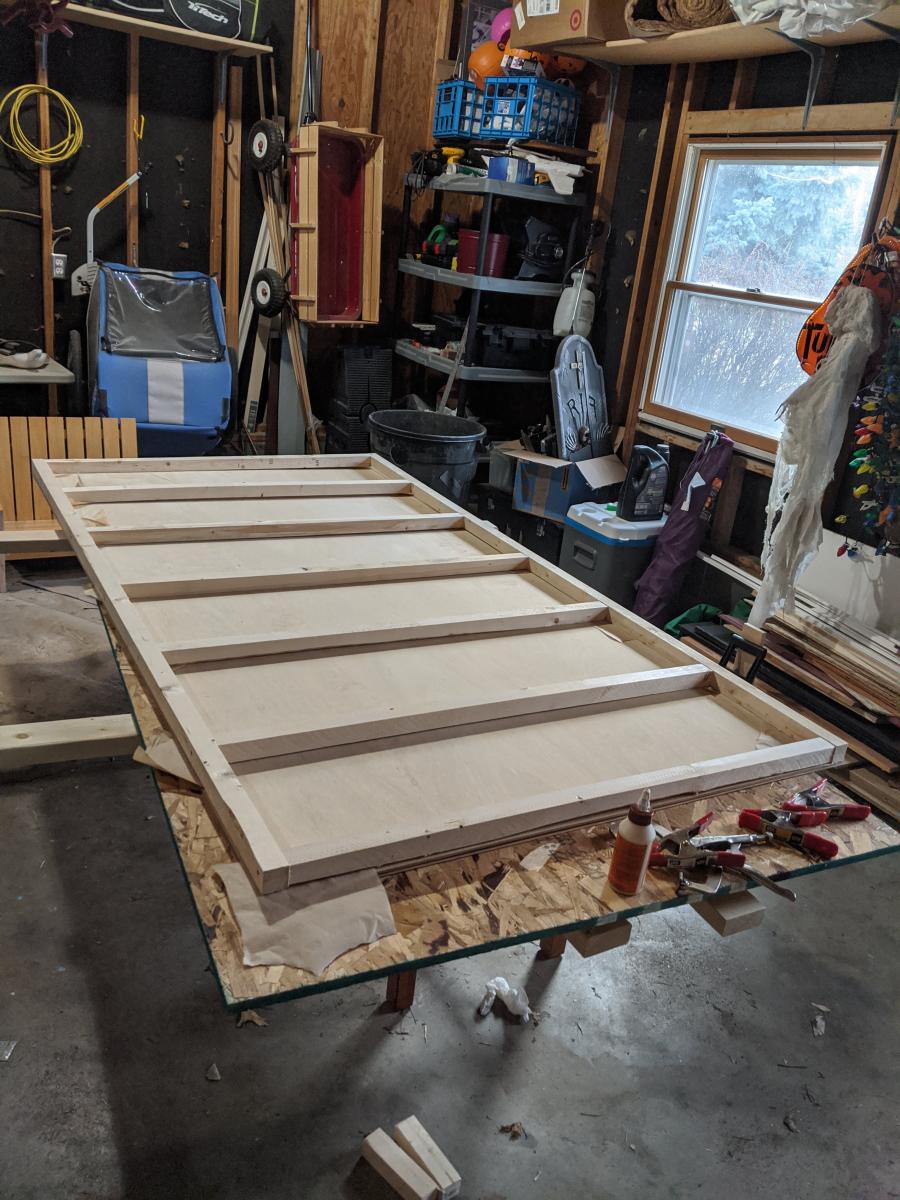
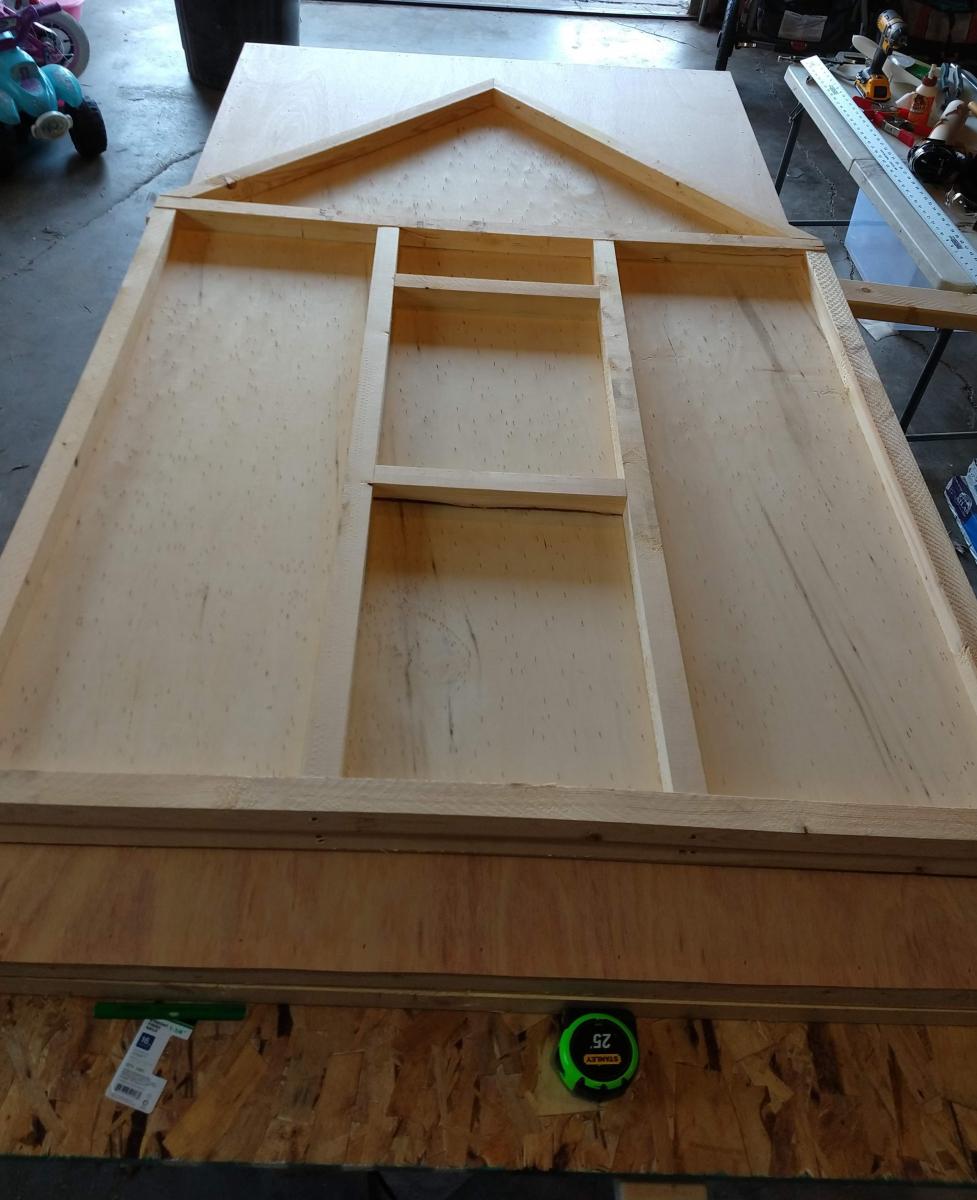
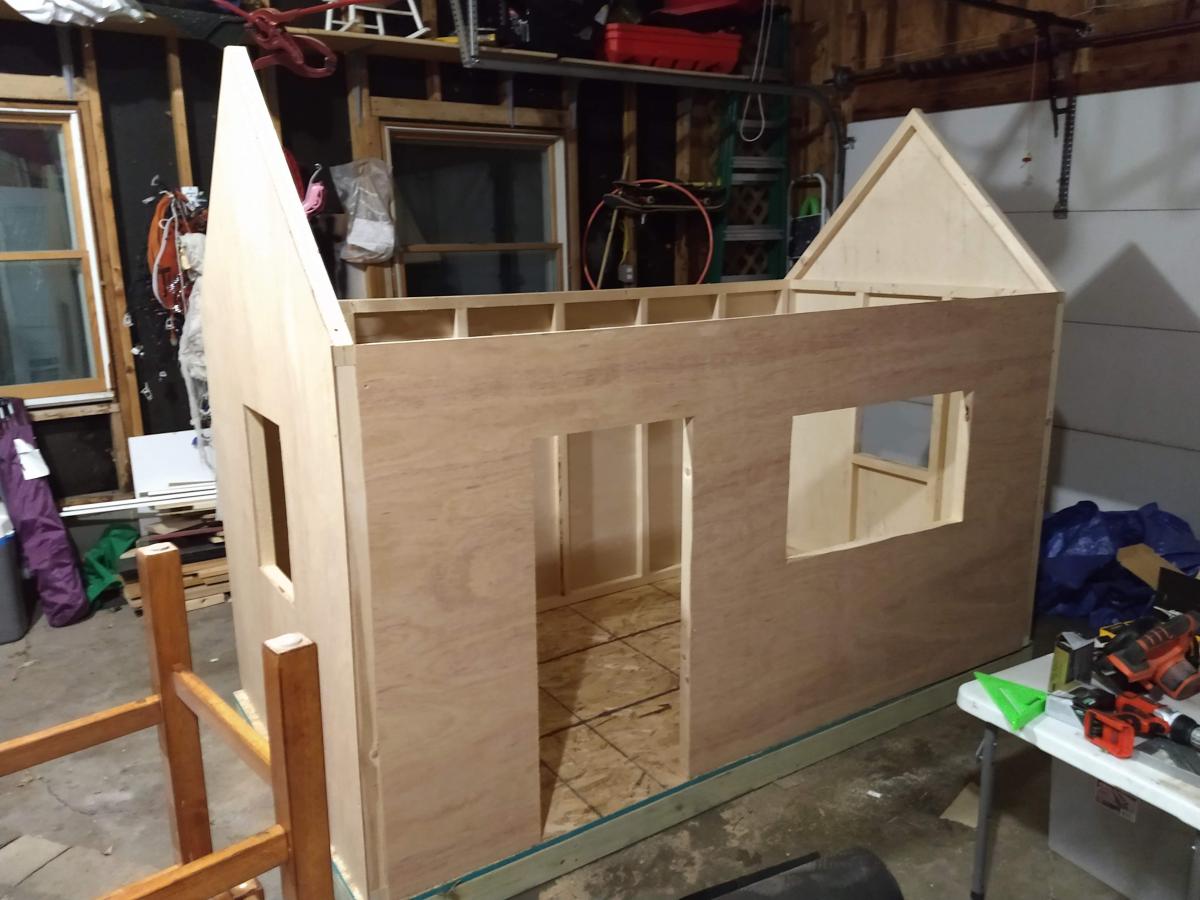
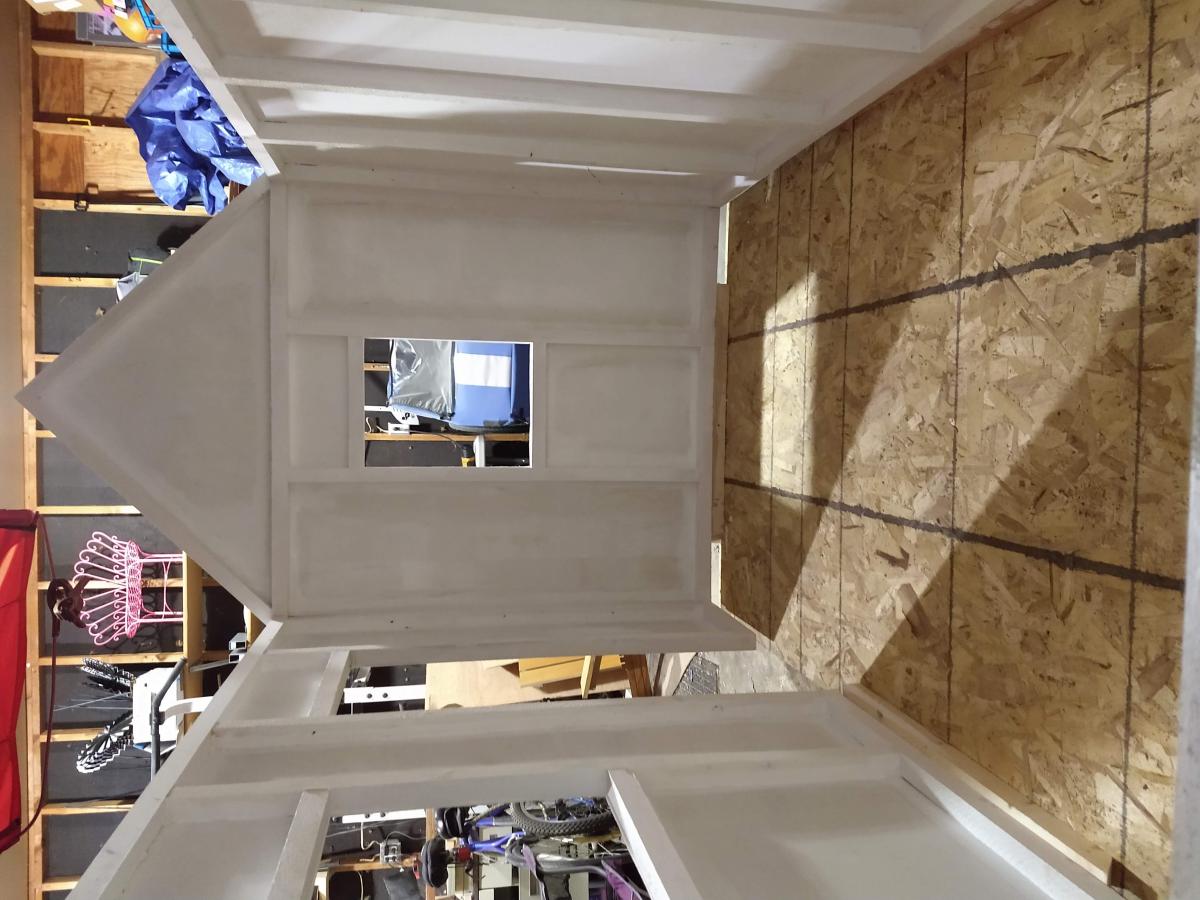
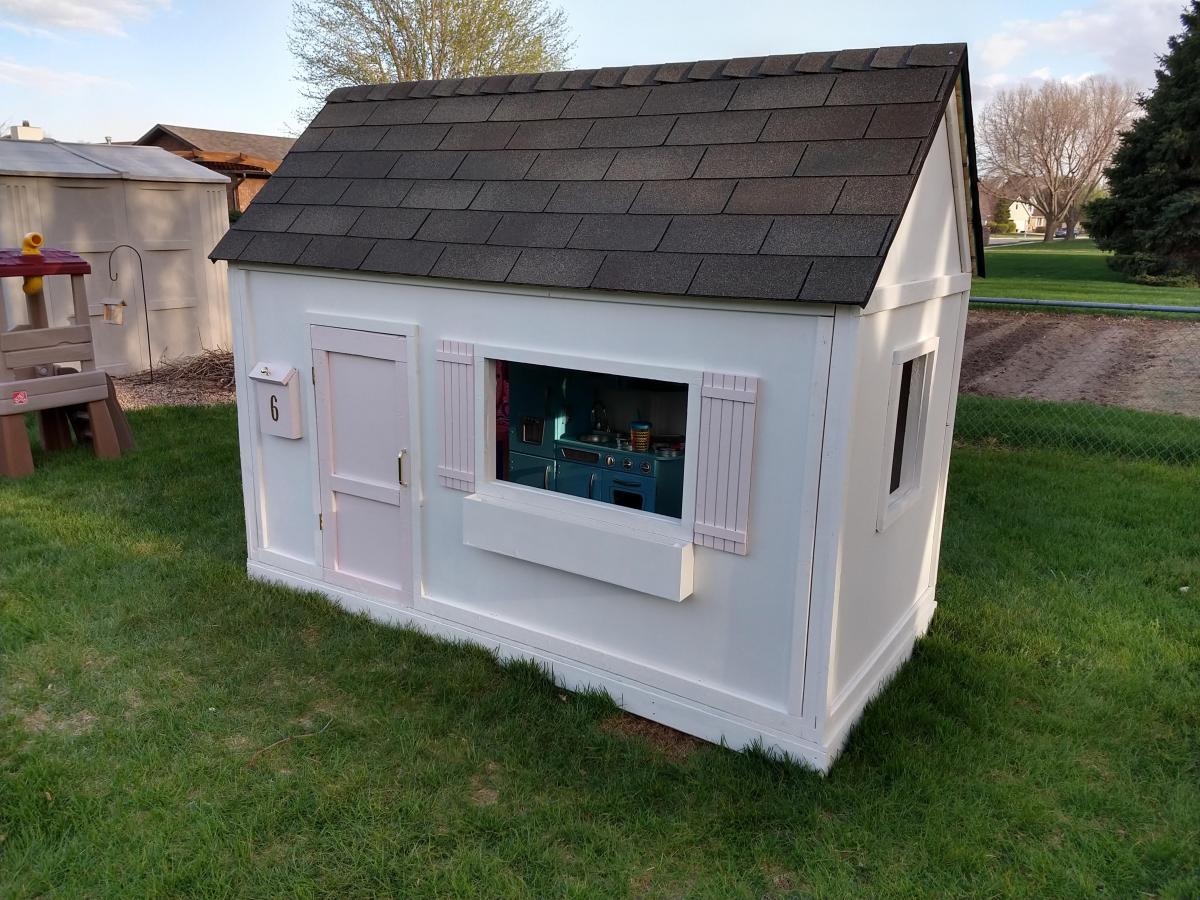
Playhouse
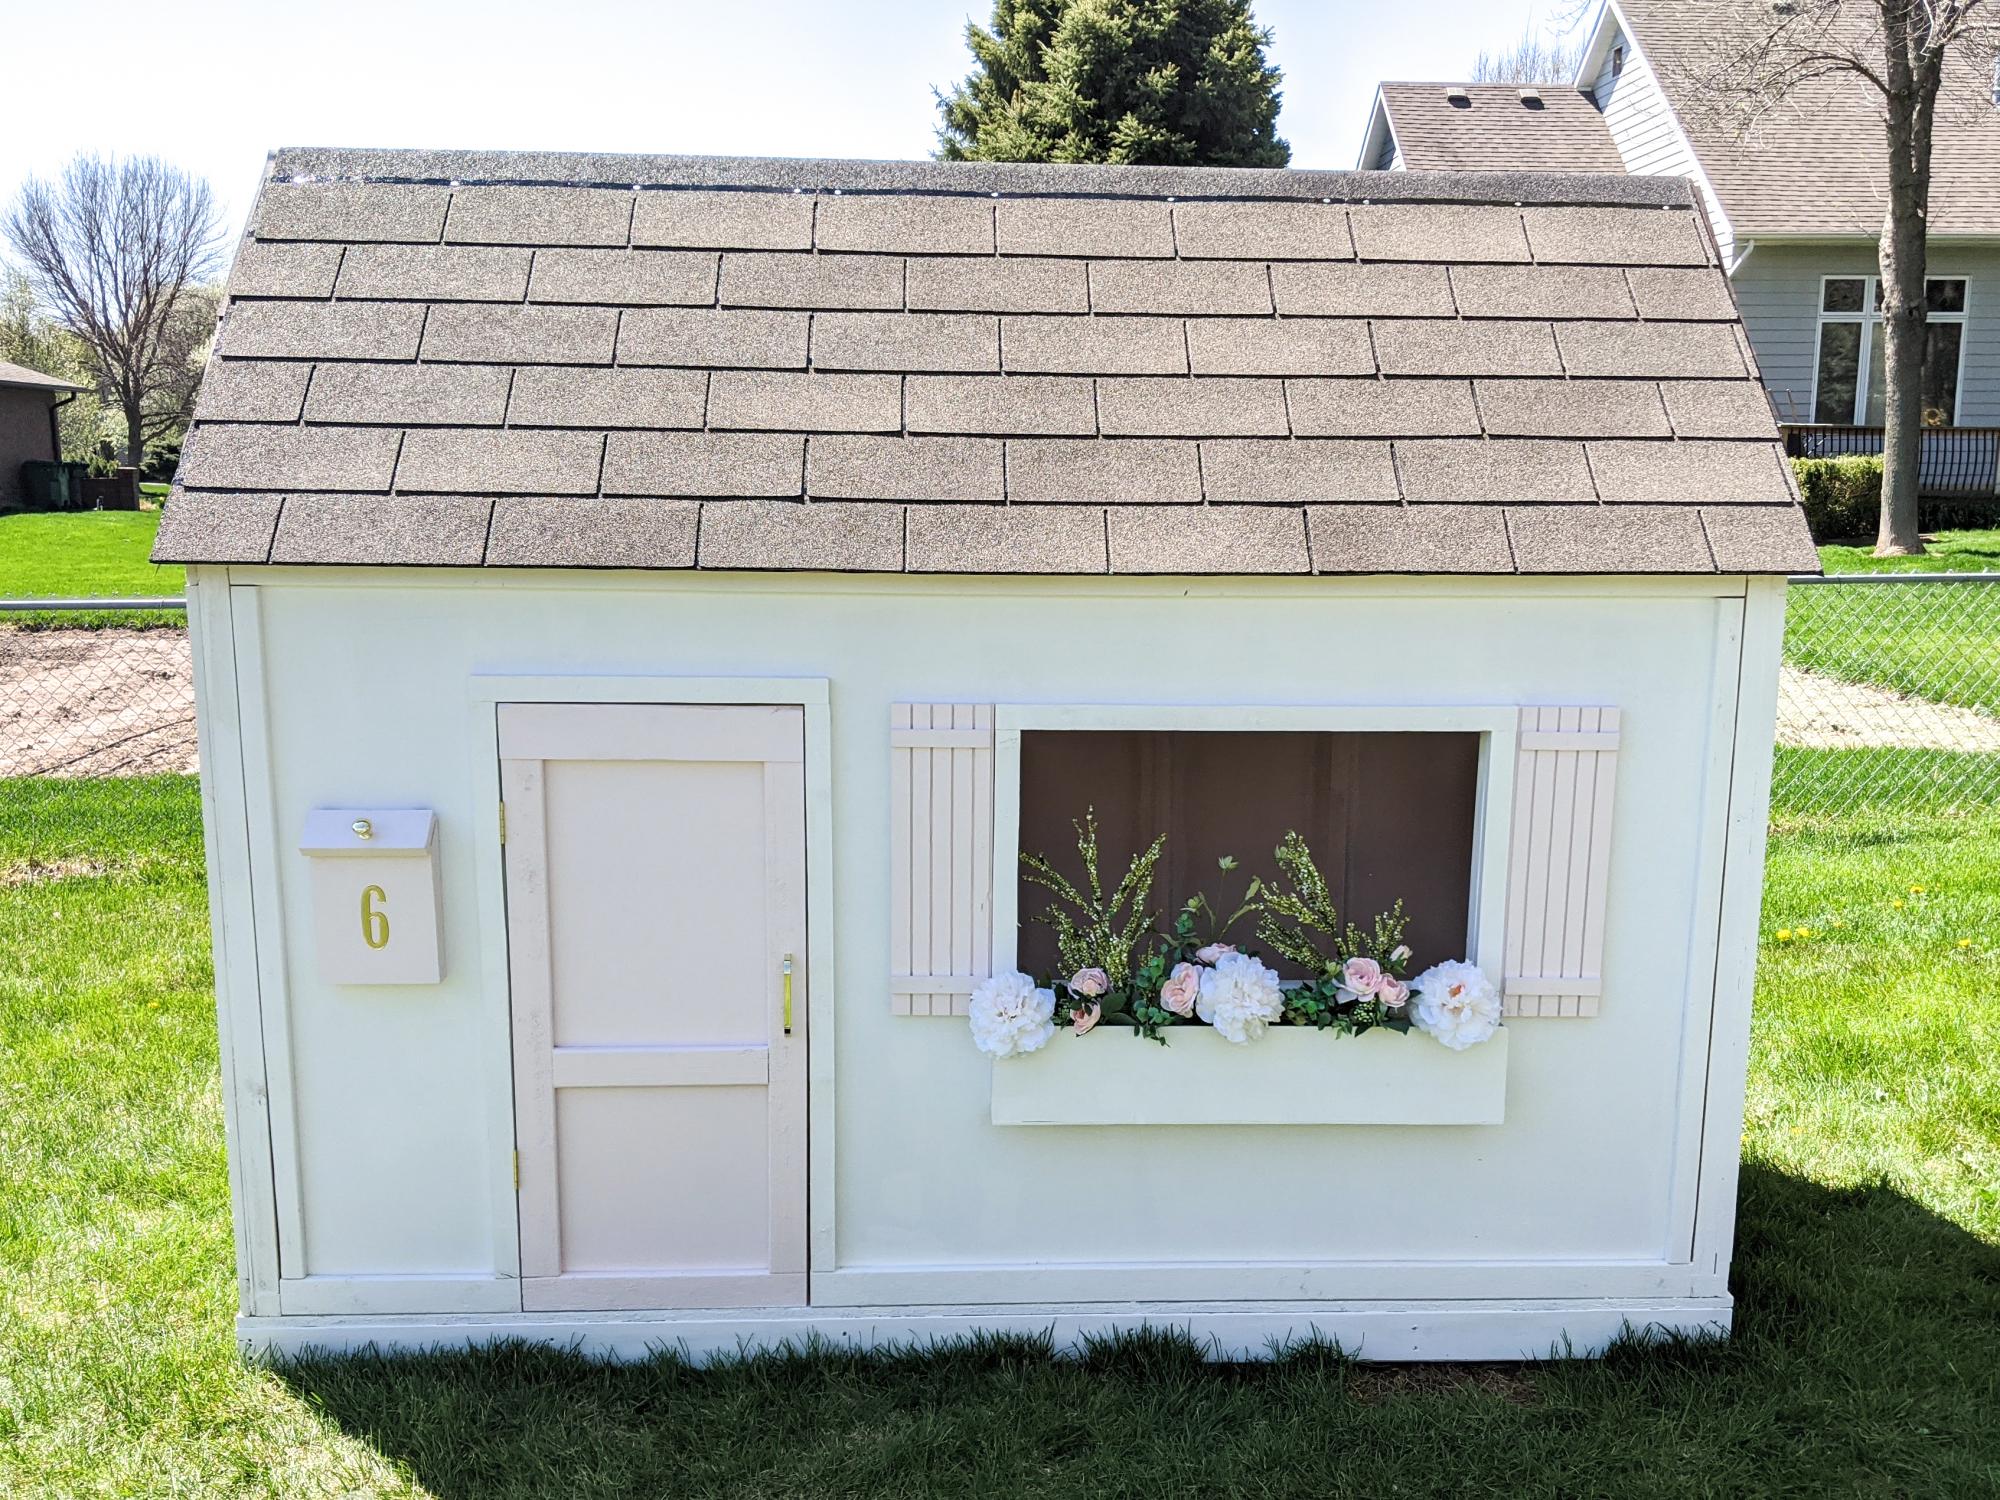
We built this playhouse for our daughter's 6th birthday. She absolutely loves it! We were looking at purchasing one, but they were way out of our budget. Ana saved the day with these plans :).
Built from Plan(s)
Estimated Cost
$320.00
Estimated Time Investment
Weekend Project (10-20 Hours)
Finish Used
We painted the house with white Pittsburg Ultra Exterior Latex paint. The mailbox, door and shutters were all painted with Pink Viburnum Sherwin Williams Satin Exterior paint.
Recommended Skill Level
Intermediate
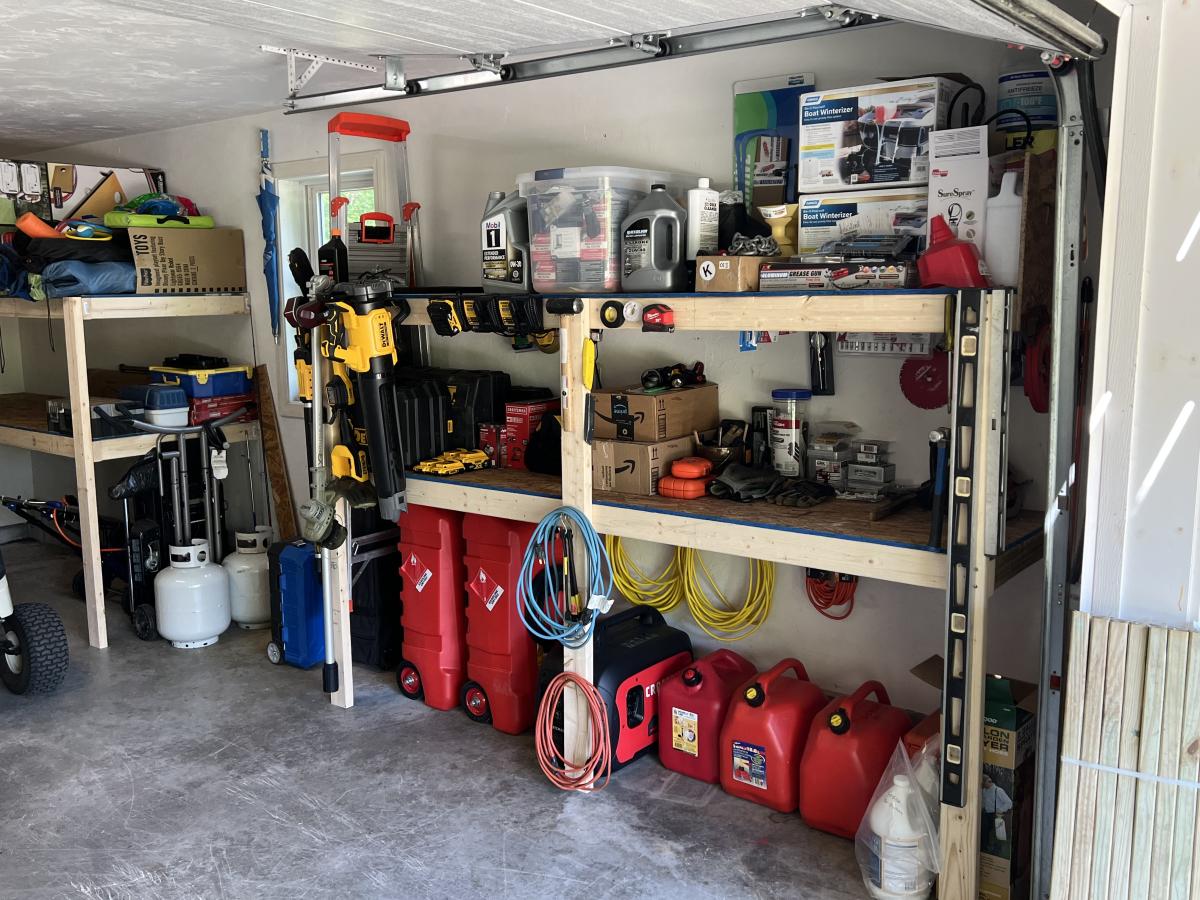
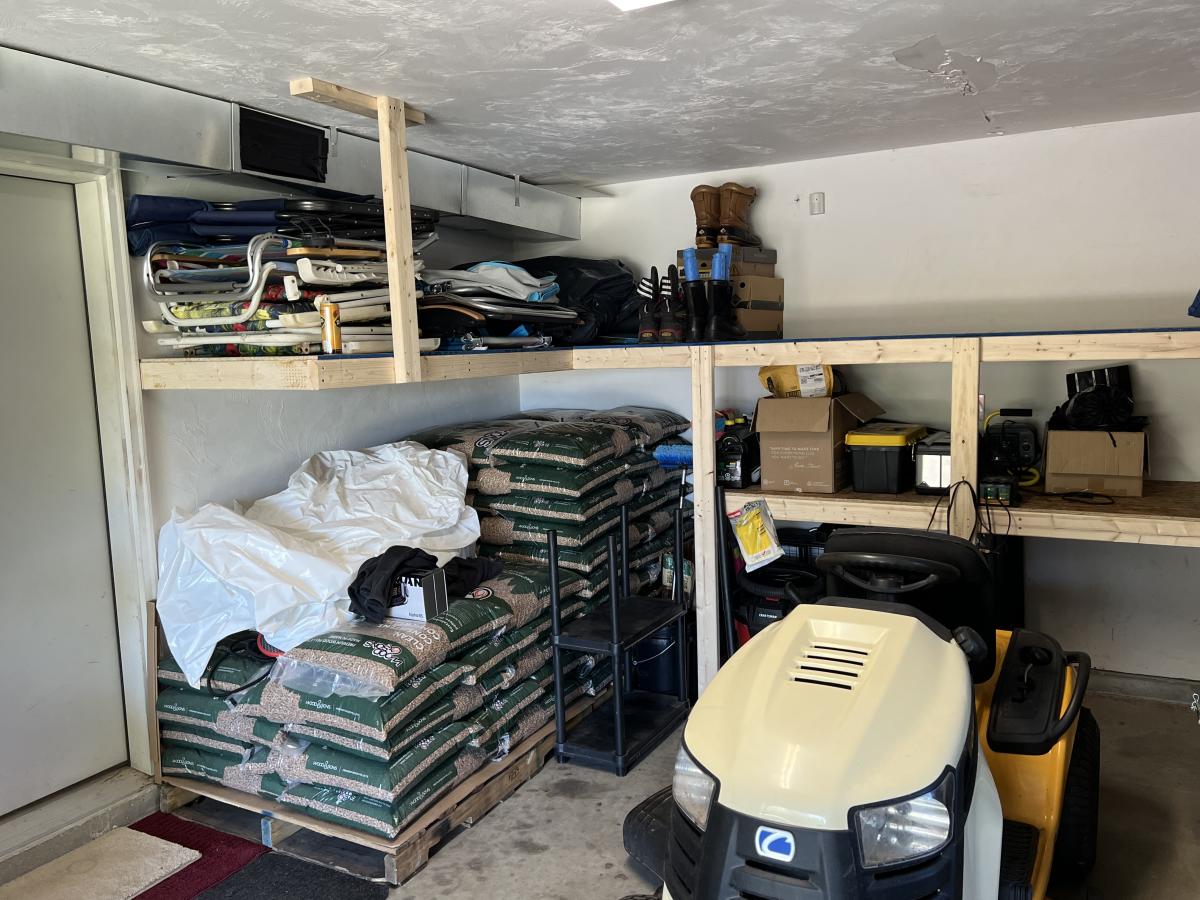
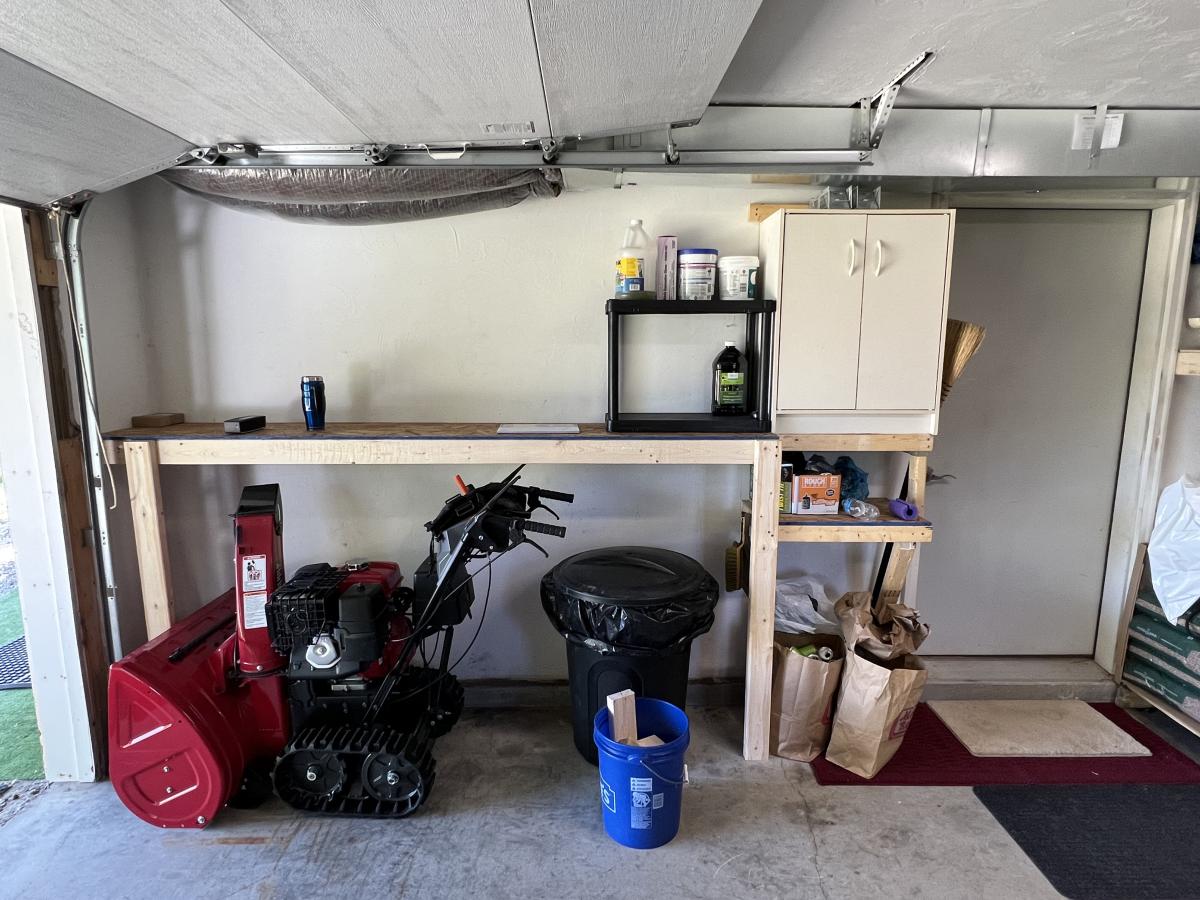
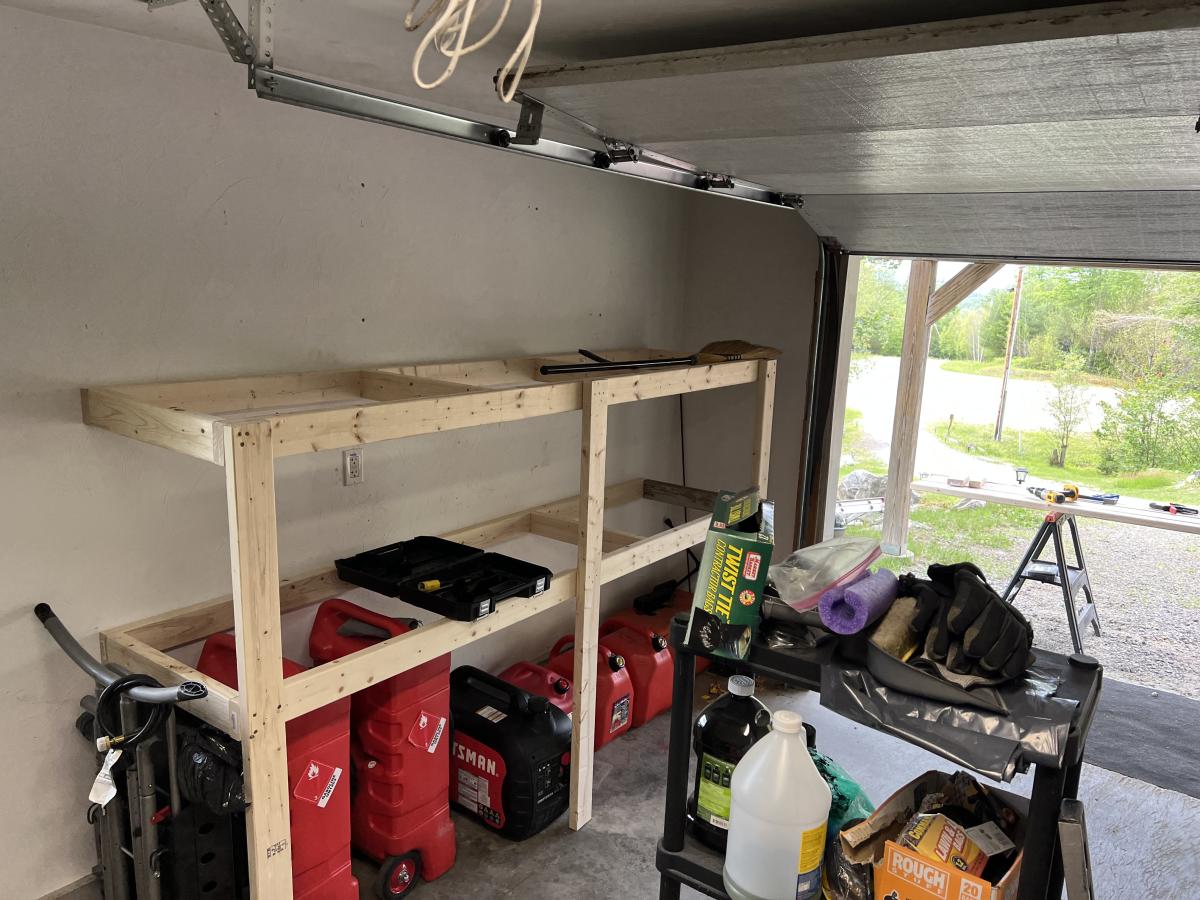
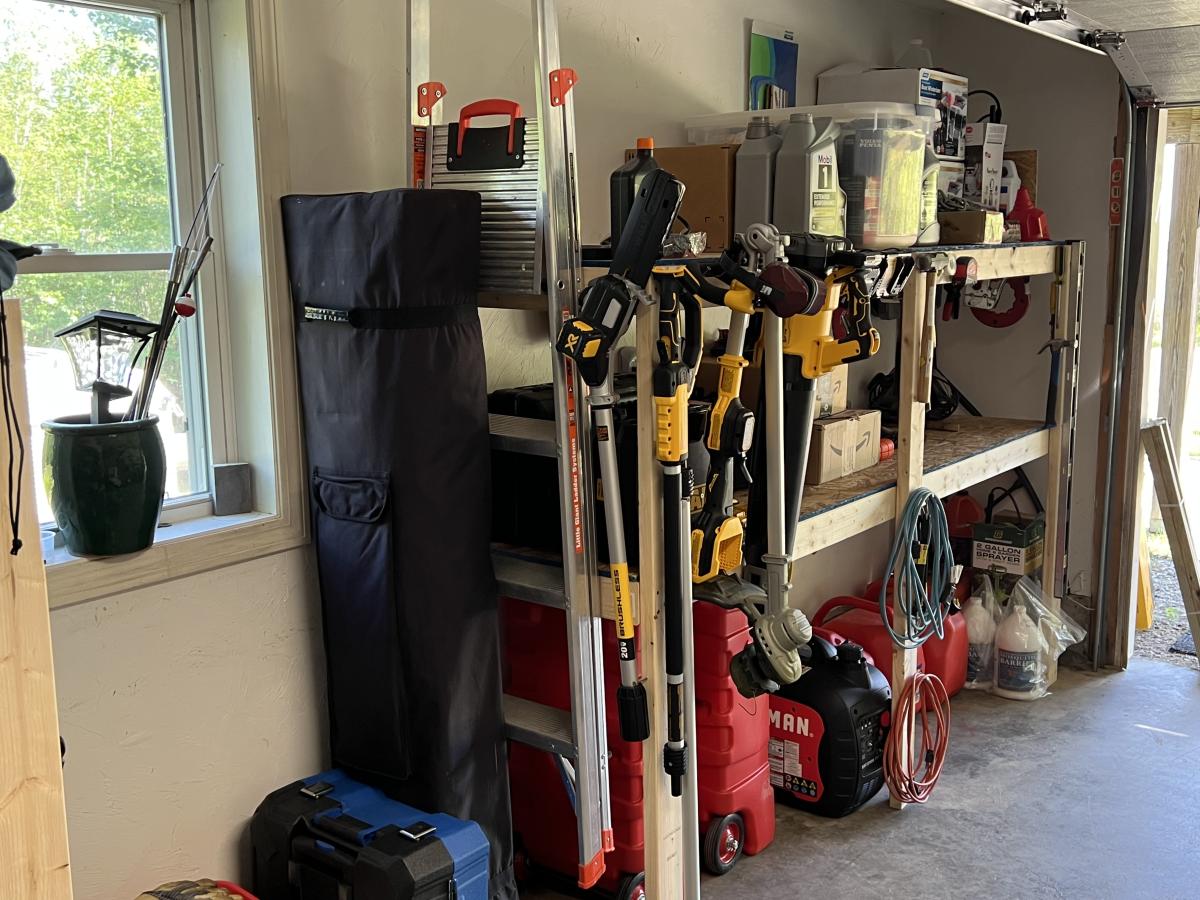
Custom Garage Shelving
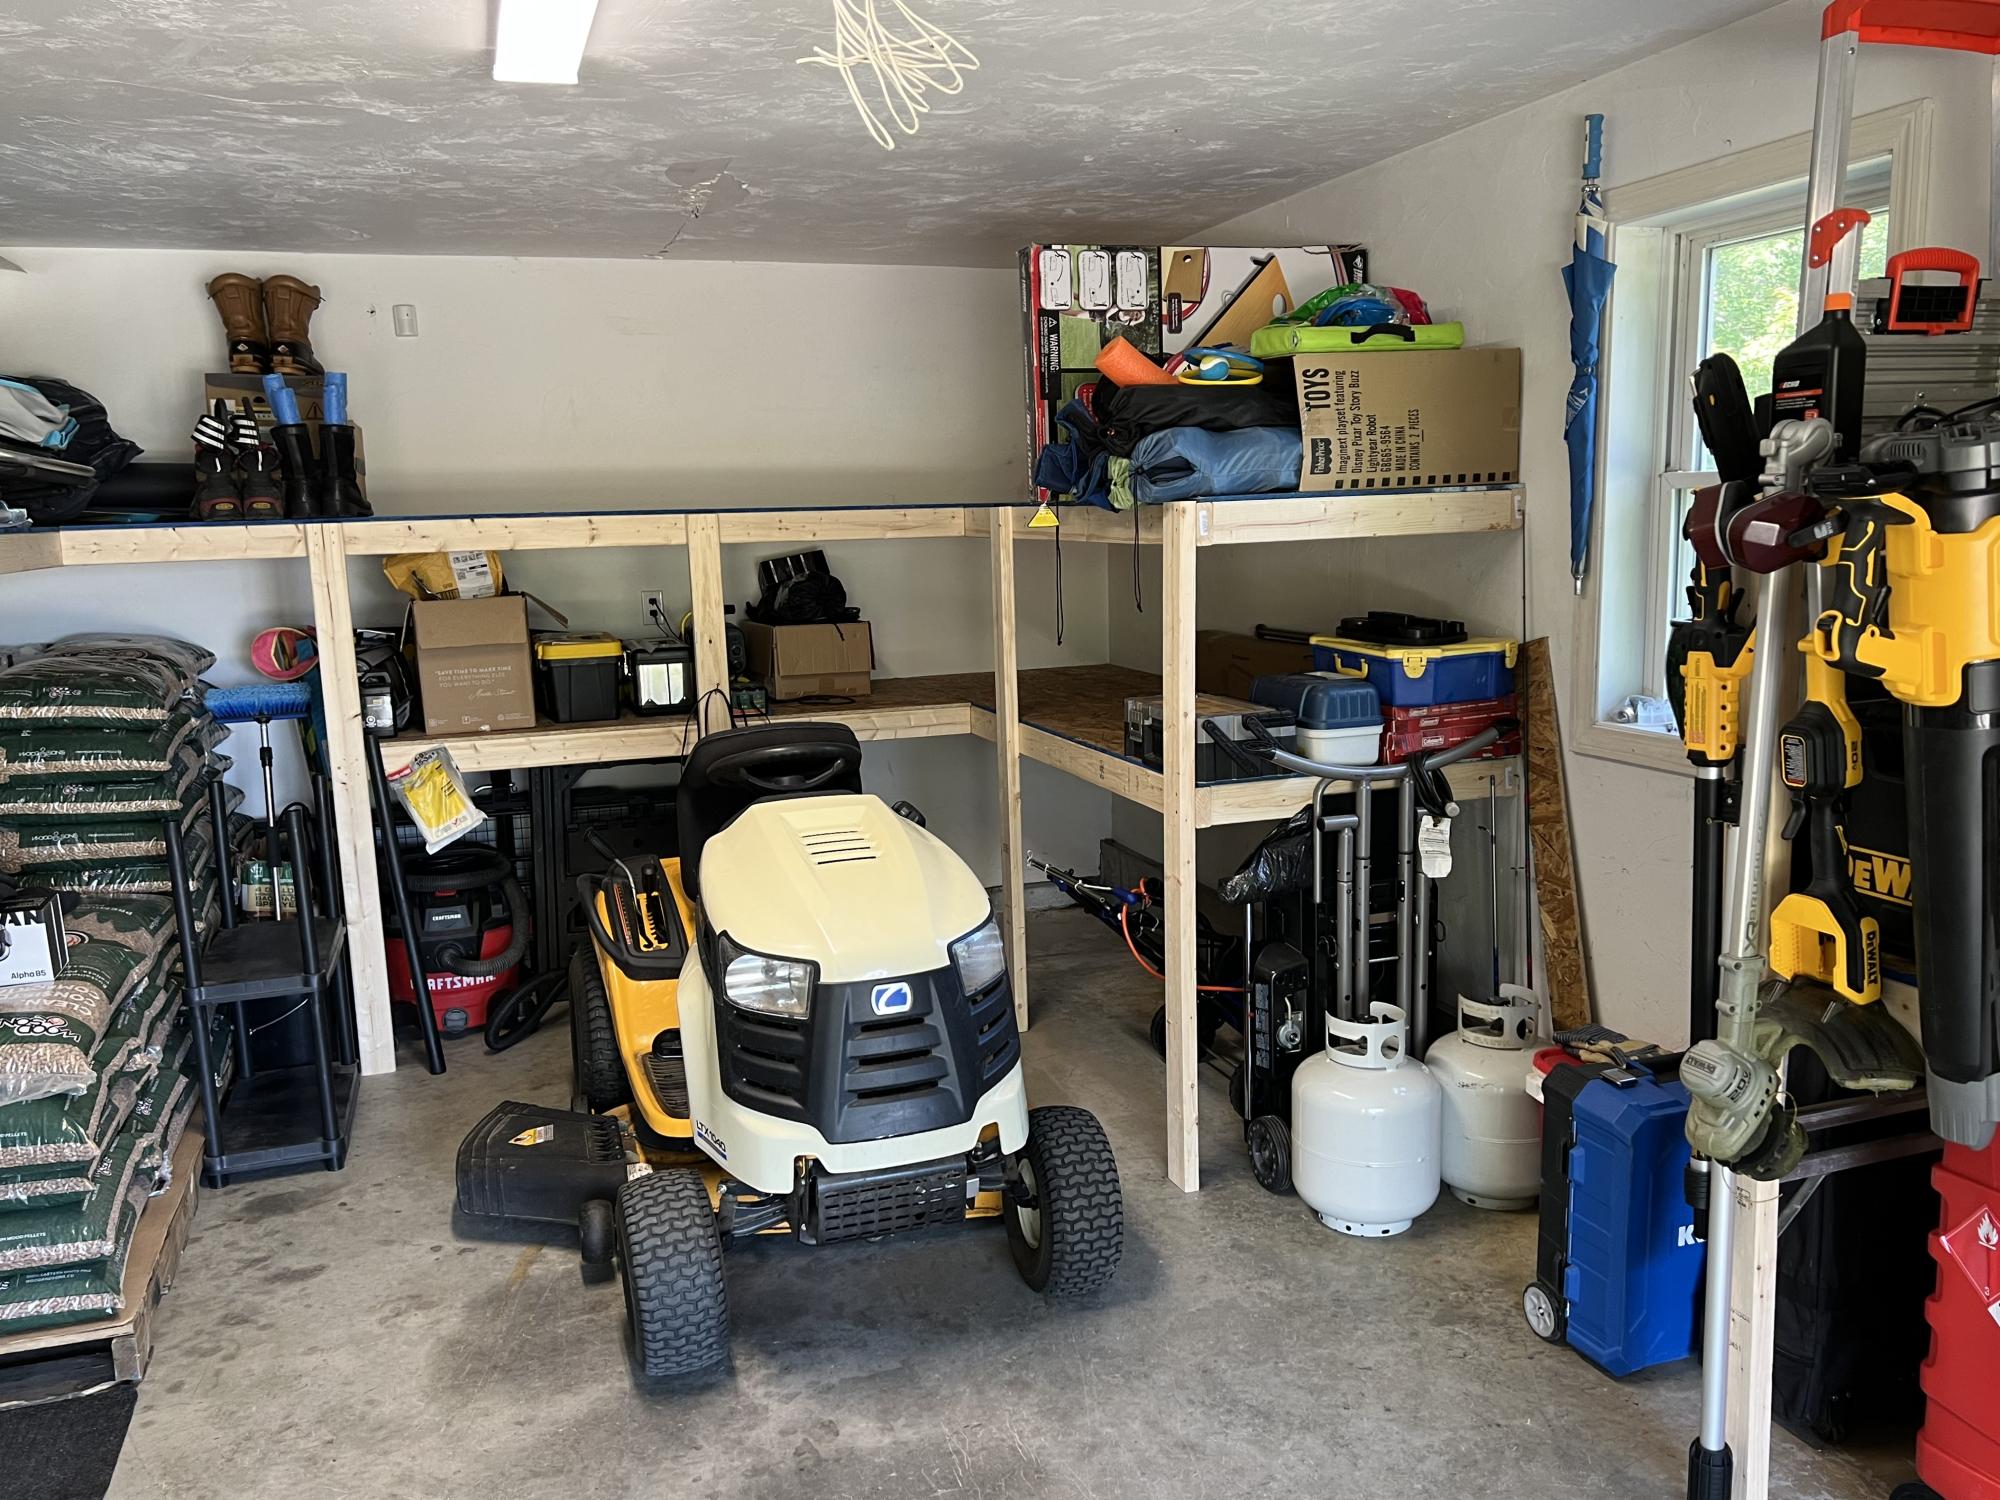
I have to say, this turned out phenomenally for me. I set up my whole garage with new shelving, planned it all out so I have very little plywood waste by altering the widths a little. This is by far the best carpentry project I’ve ever completed. Thank you for the great video, and I love the Kreg jig. That made a big different too. Over 2 years since I installed them, and they are all still solid, level, and plumb.
Chris from Maine
Built from Plan(s)
Shelf with Hooks

A shelf with space up top for decor or storage, and hooks for robes, towels, coats, etc. See more on my blog!
Estimated Cost
$20-$50 (depending on the supplies you have on hand)
Estimated Time Investment
Afternoon Project (3-6 Hours)
Finish Used
I started out staining this project and failed, so I ended up buying Rustoleum spray paint and primer in one in Espresso. I did several light coats so the grain would still show, and finished with a few coats of polycrylic.
Recommended Skill Level
Beginner
side table

This was my first real project, and I am quite happy with how it turned out. I wanted a side table that would look good with the sawhorse dining table and bench (which makes an appearance in the background) that I am building, so this is what I came up with.
The legs are, for each side, 2 X 2x4 X 22.5"(vertical), and 2 X 2x4 X 14.5" (horizontal)
The bottom shelf is 5 X 2x4 X 10.5"
The table top is 5 X 2x4 X 17.5"
The trim is 2 X 1x4 X 17.5", and 2 X 1x4 X 19"


Estimated Cost
$15 + stain and poly
Estimated Time Investment
Day Project (6-9 Hours)
Finish Used
varathane espresso oil based stain for the legs, varathane american walnut stain for the top and shelf, and 3 coats of varathane diamond coat gloss polyurethane over the whole thing.
Recommended Skill Level
Beginner
Log table

A table that I made out of a slab of rough wood, end cut from a mill. The rounded sides of the coffee table legs were made out of round fence posts cut down the centre & placed on the sides of cedar boards. I painted my wife & I on the legs "2 old crows". I had sufficient wood left over to build a side table.

Estimated Time Investment
Week Long Project (20 Hours or More)
Recommended Skill Level
Beginner
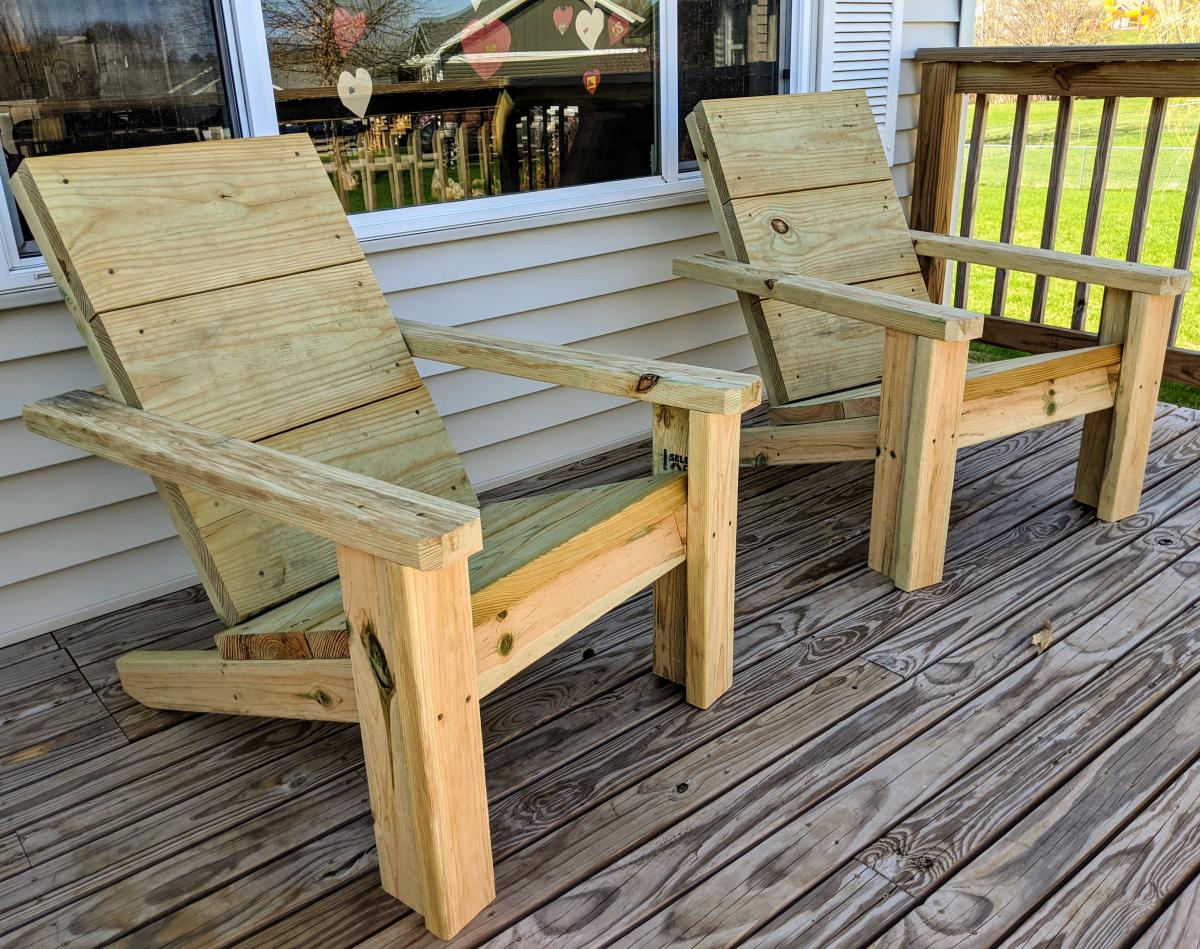
2x4 Adirondack Chairs (w/2x10s)

After seeing the post for these new plans, I knew it would be only a matter of days before I was building my own set. I've always wanted to do Adirondack Chairs but disliked the dated look and all the curved cuts of the typical styles. Great job Ana on such an amazing set of chair plans. One substitution I made, as I wanted to go treated but didn't have 1x10s locally, was to use 2x10s for the back and seat boards. I also lengthened the back supports 1/2" to accommodate for the thicker boards and extended the arm rests 1 1/2" so they went past the legs a bit. With those two changes, all of my long pieces use a 33 1/4" measurements for cuts. Will be making my second set as soon as I have time. These will be about 3 1/2" wider to give a bit more room to the chair. Another awesome plan from Ana White!
Built from Plan(s)
Estimated Cost
$60
Estimated Time Investment
Afternoon Project (3-6 Hours)
Recommended Skill Level
Beginner
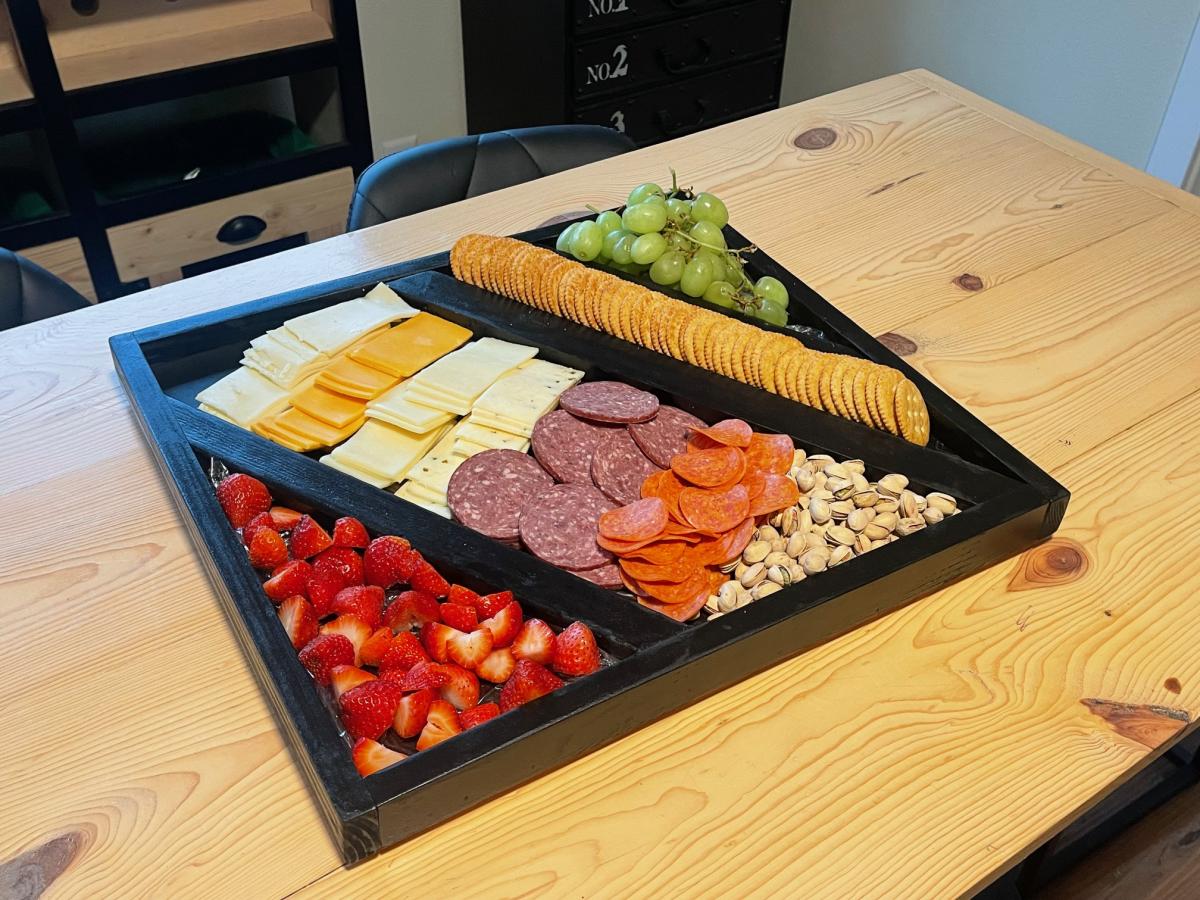
Lazy Susan Charcuterie Board

I built this using scrap lumber and Ana's charcuterie plans. I decided to make it a bit smaller and added this lazy susan hardware, love the outcome!

Built from Plan(s)
Seasonal And Holiday
Comments
Ana White Admin
Fri, 12/01/2023 - 07:36
Wonderful Bench!
This looks amazing, thank you for sharing this gift!