Community Brag Posts

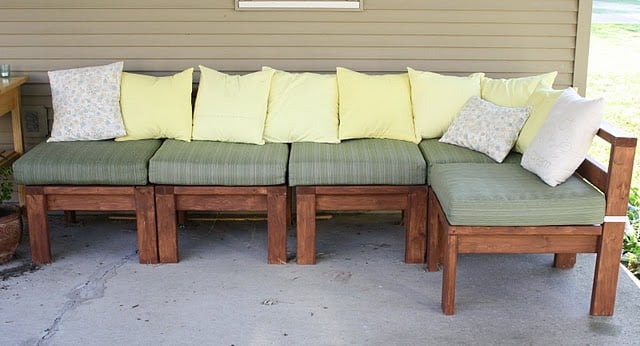
Outdoor Sectional with 2x4s

Submitted by Georgia M on Sat, 07/30/2011 - 19:04

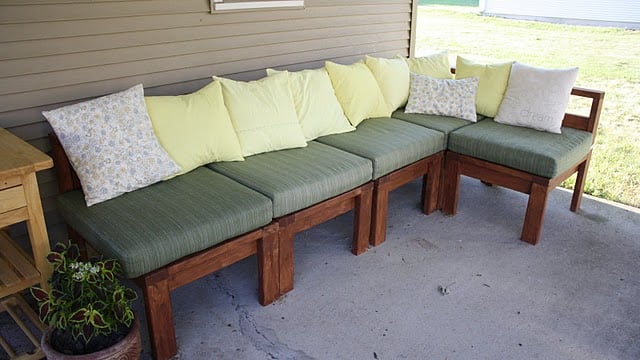
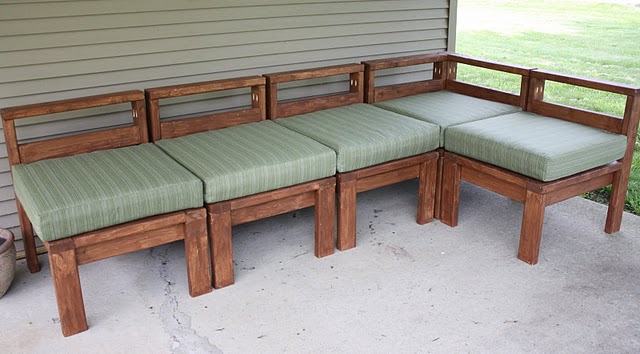
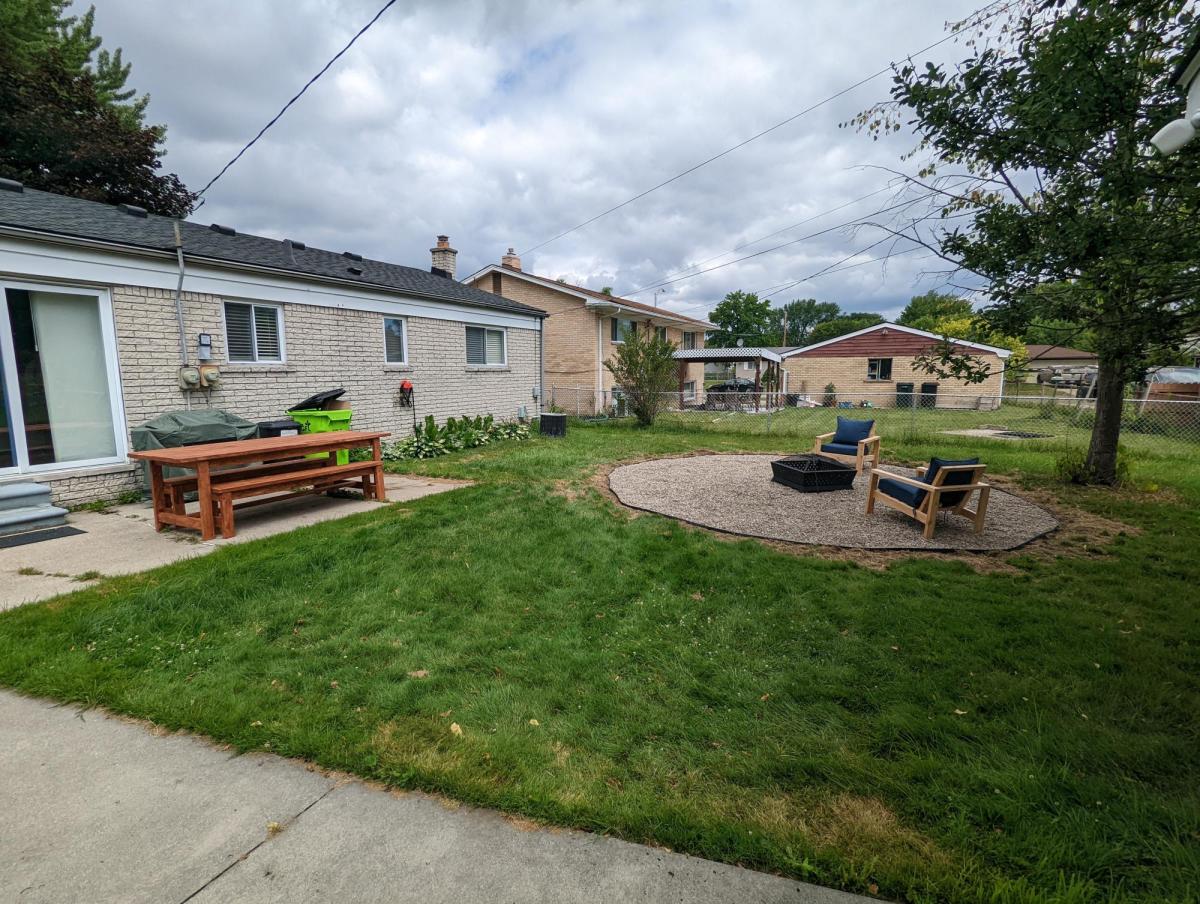
We LOVE Ana's plans for the outdoor sectional! We just bought a house with a first patio and we knew this is what we wanted out there! We used one corner unit and four armless units to fill our space. I'm also planning to add a couple ottomans as a coffee table. Let the cookouts begin!
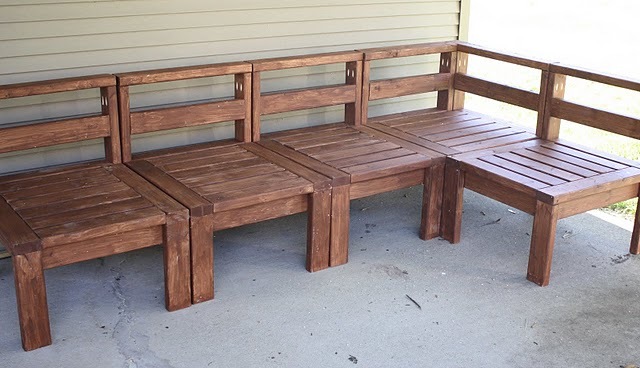
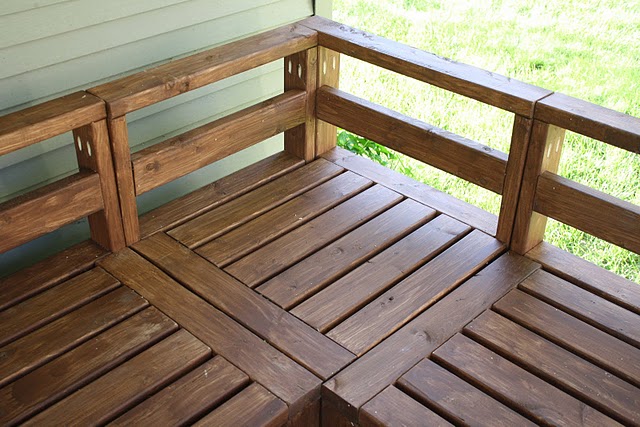
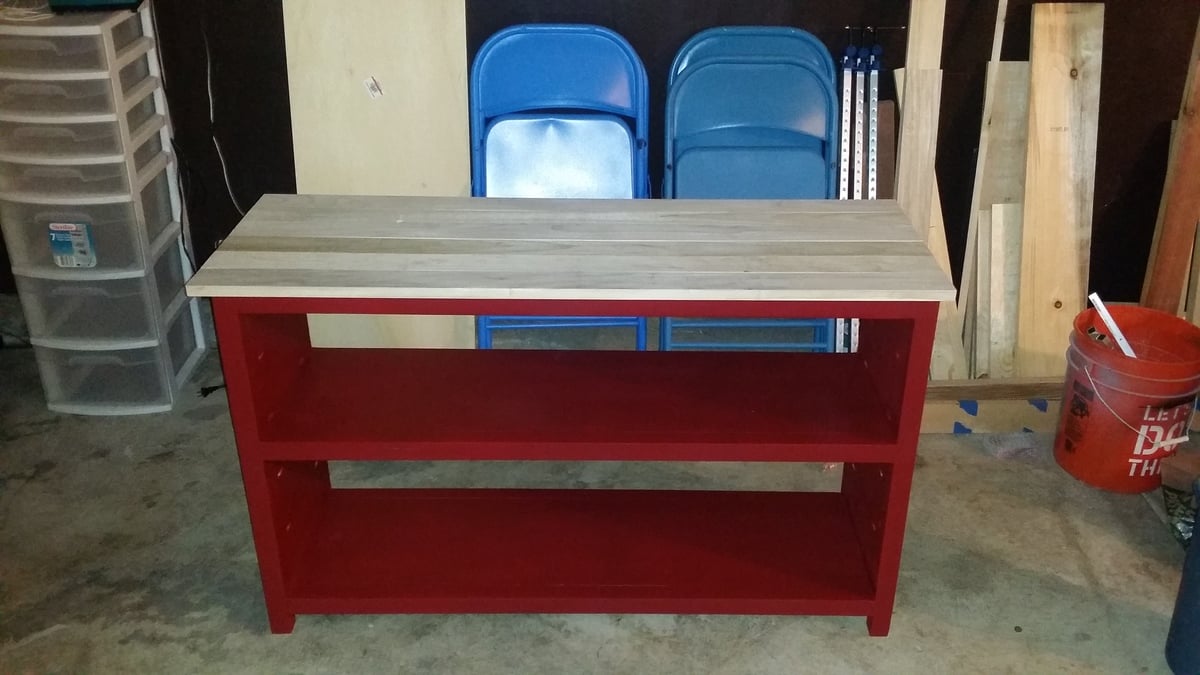
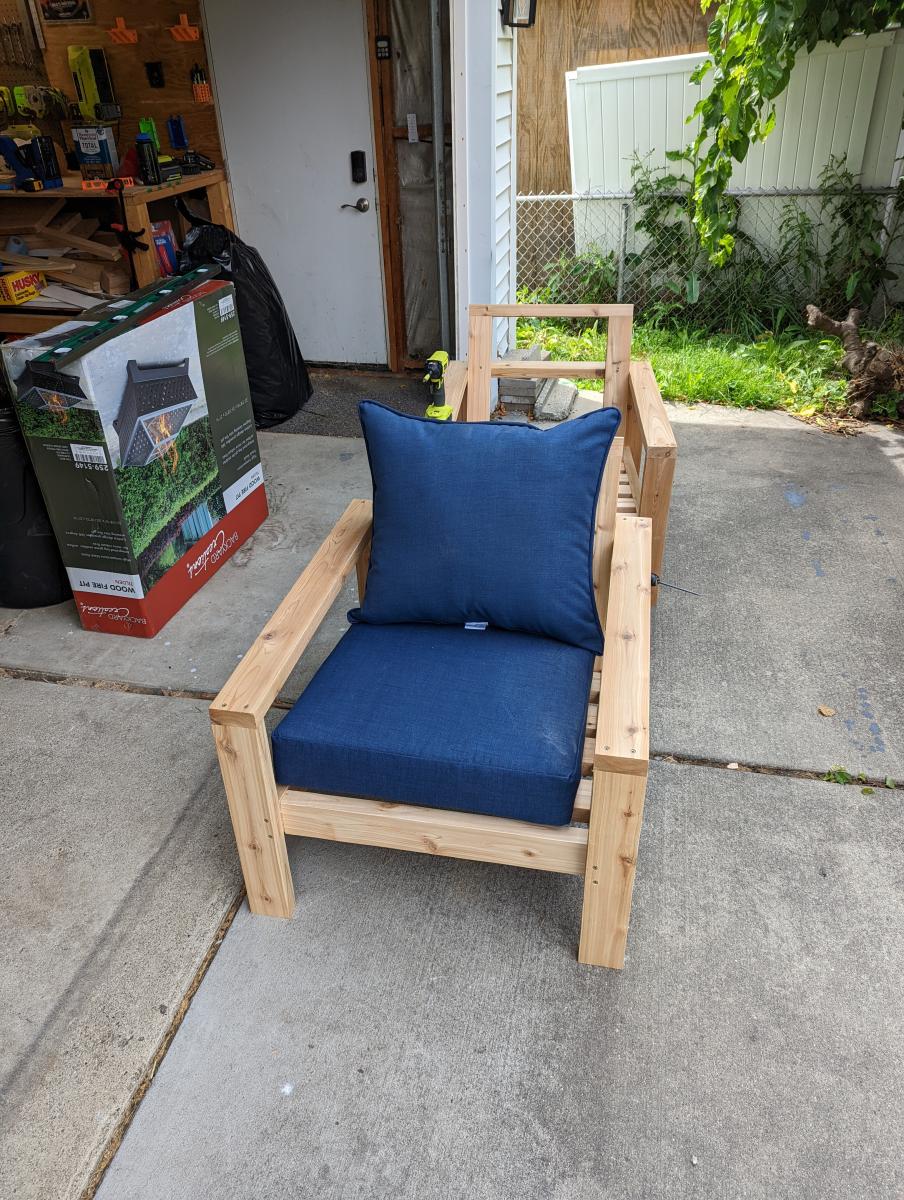
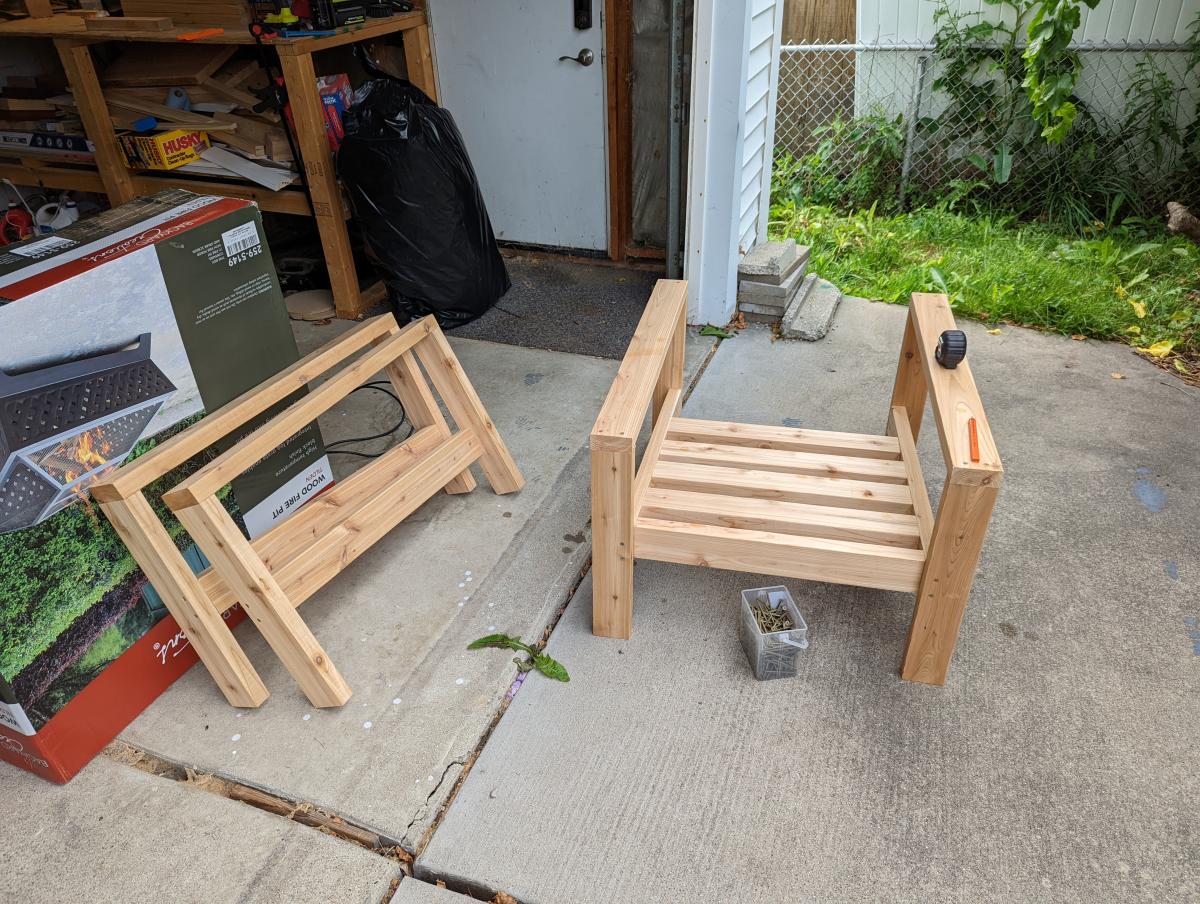
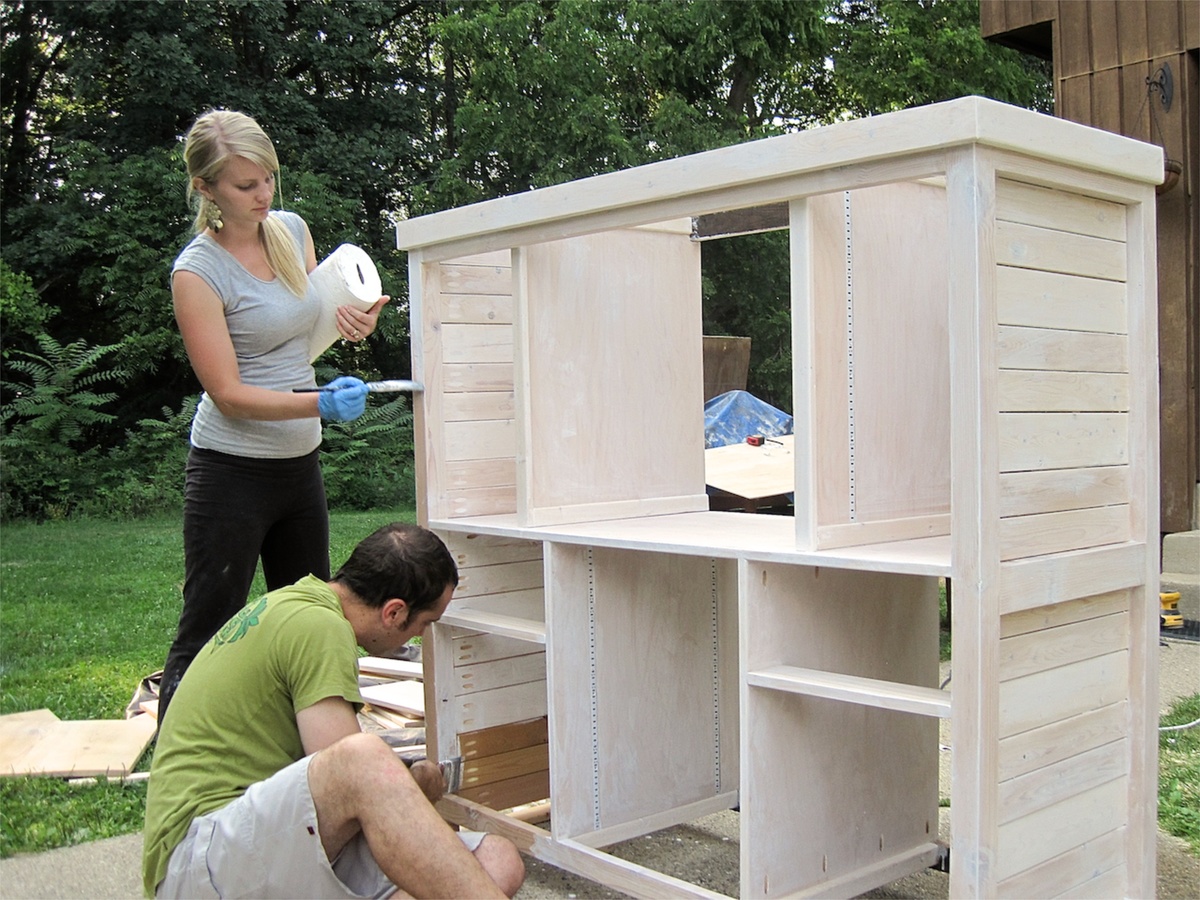
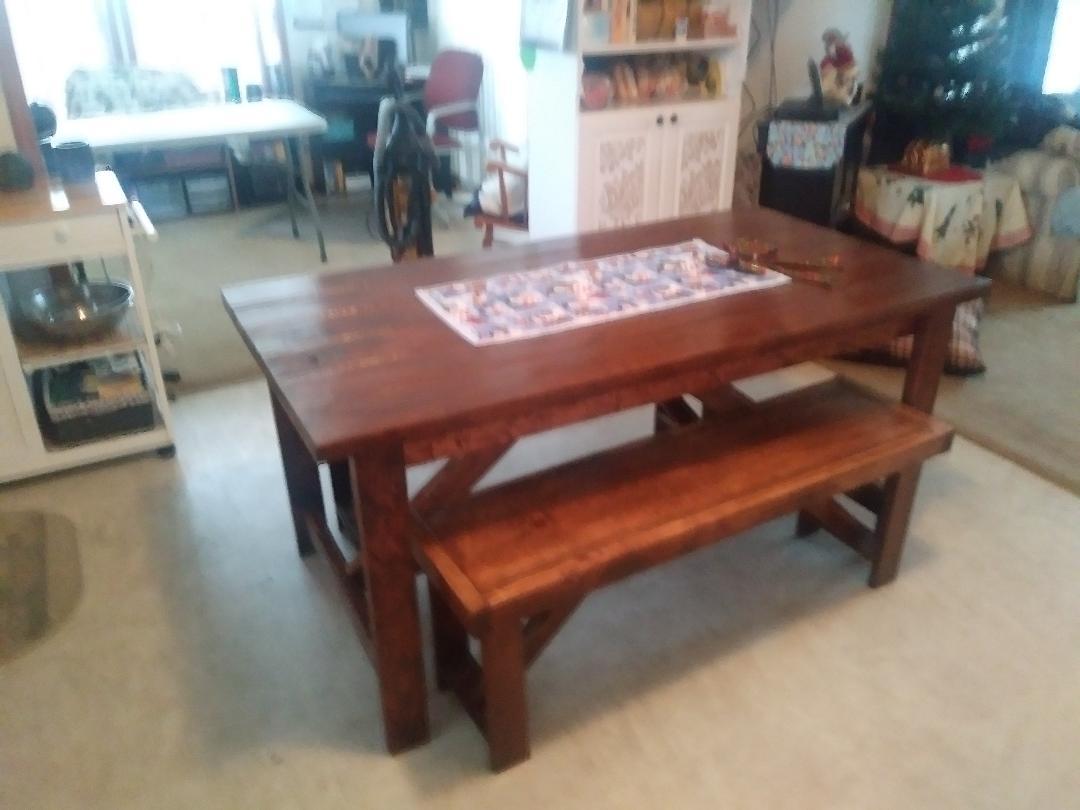
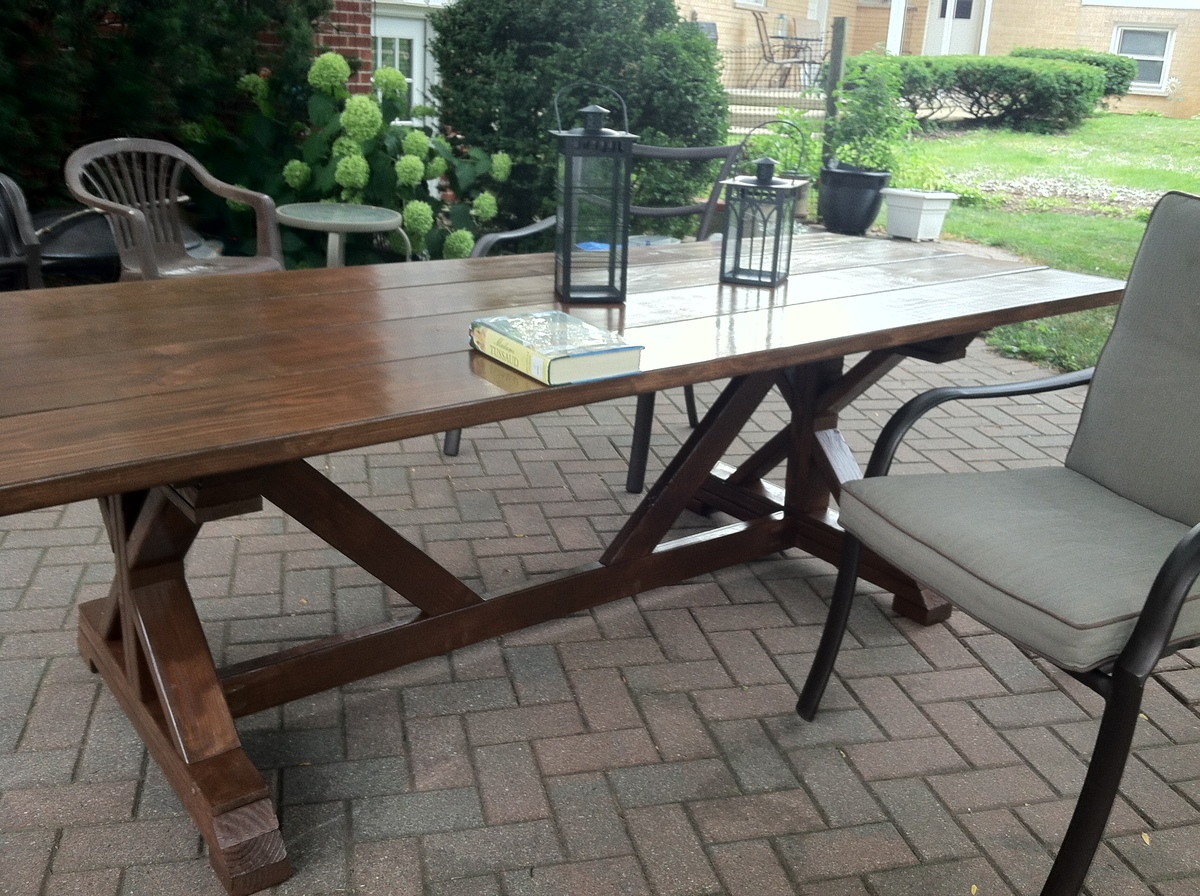
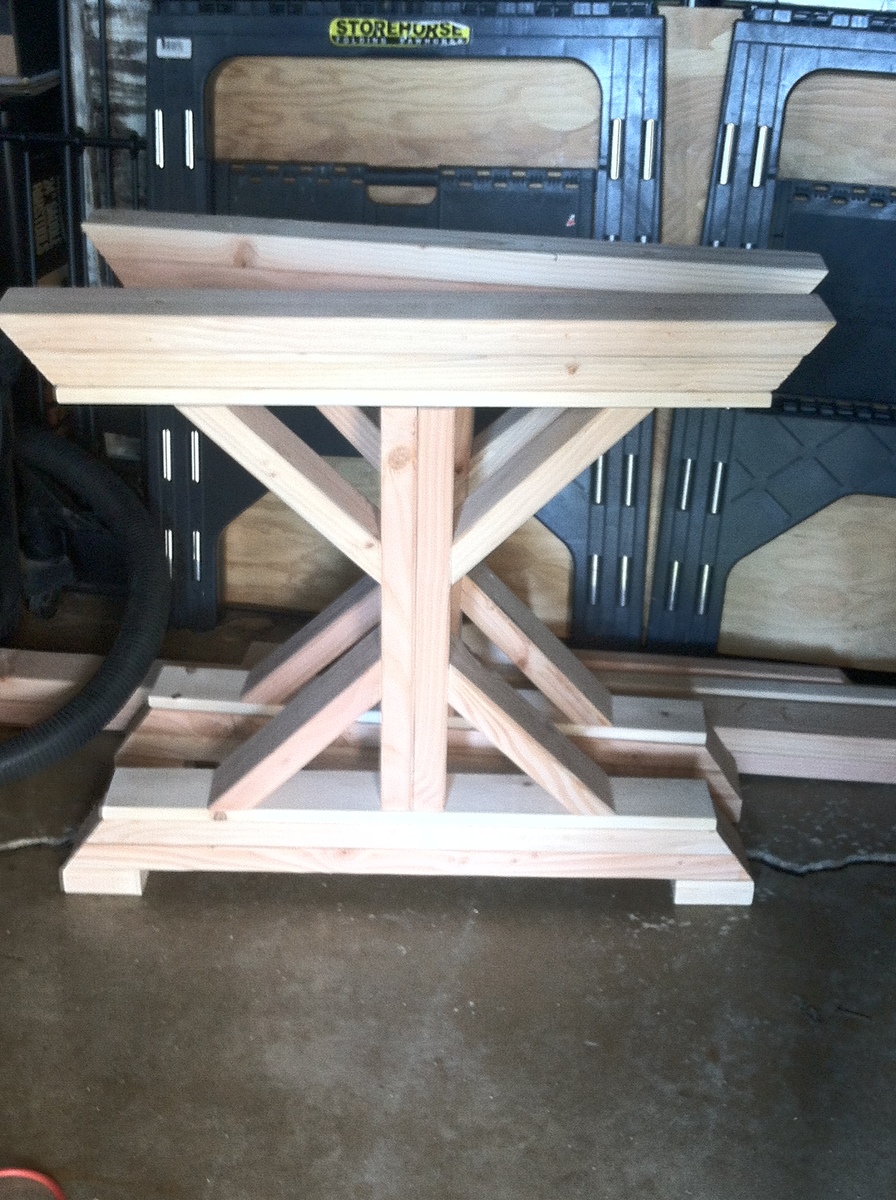
I don't know if it's true everywhere, but here 2x4s are about 1/2 the price of 1x4s so we made a couple modifications to the plans so we could use the much cheaper 2x4s instead. It saved us tons of money and gave the sectional a really chunky, sturdy look - a nice bonus!
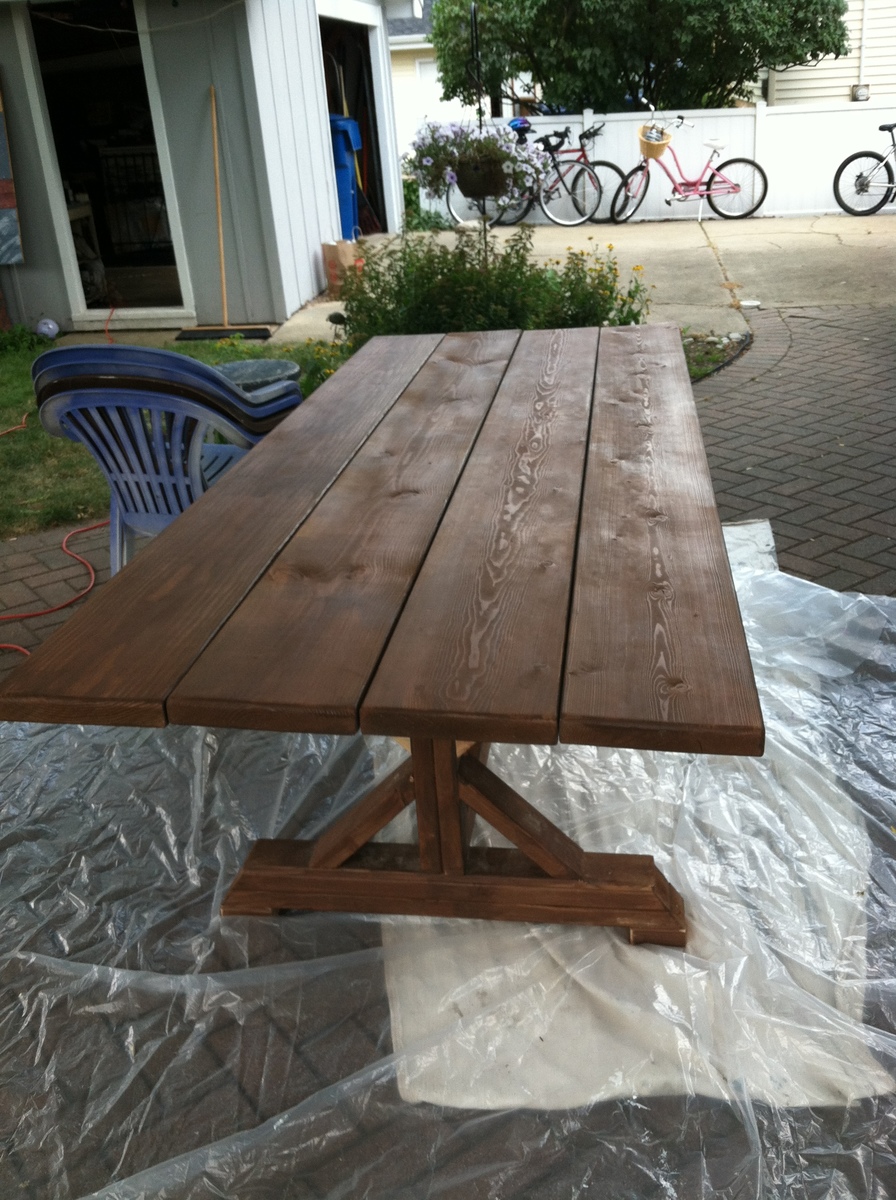
When we finished it, the blue store employees suggested we use a deck sealer to make the cheaper wood last a long time. We were able to use a waterproofing stain to color and seal the wood at the same time which made the finishing go a lot faster than other projects I've done with stain and polyurethane.
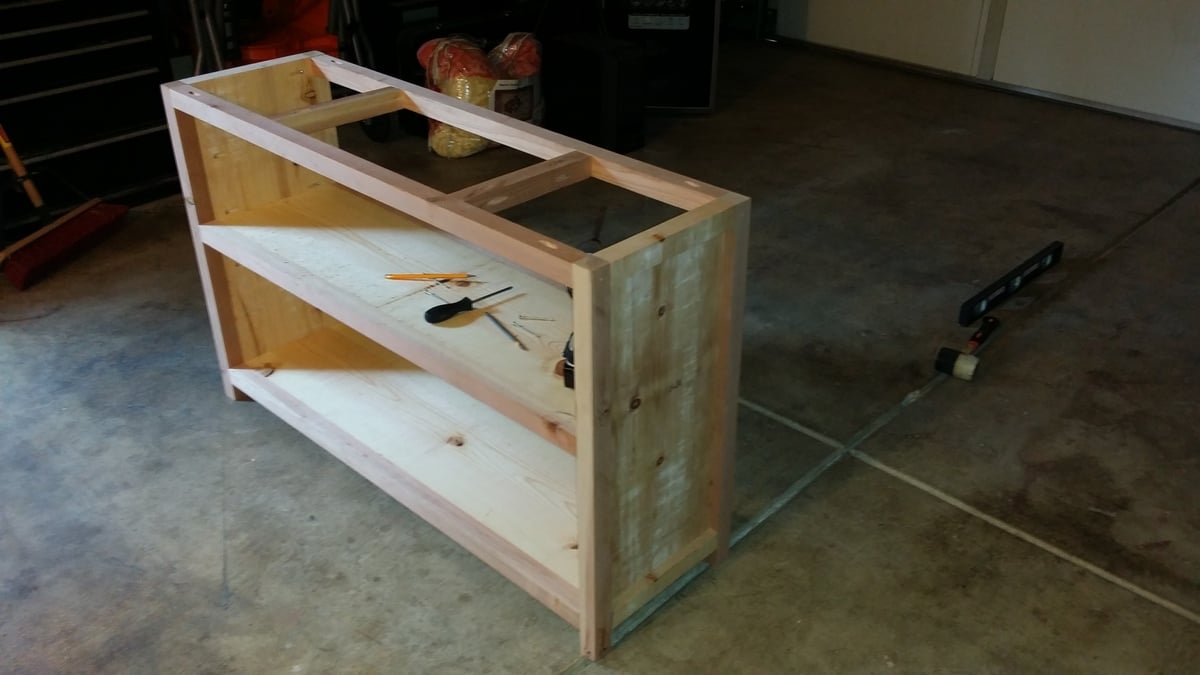
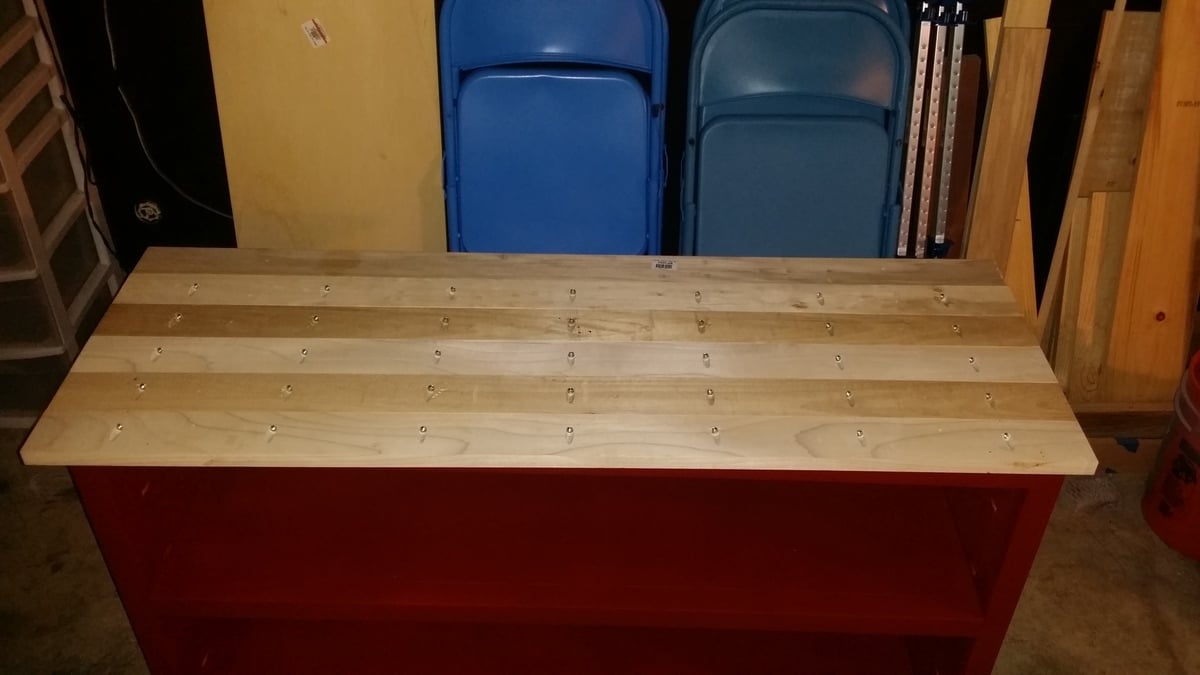
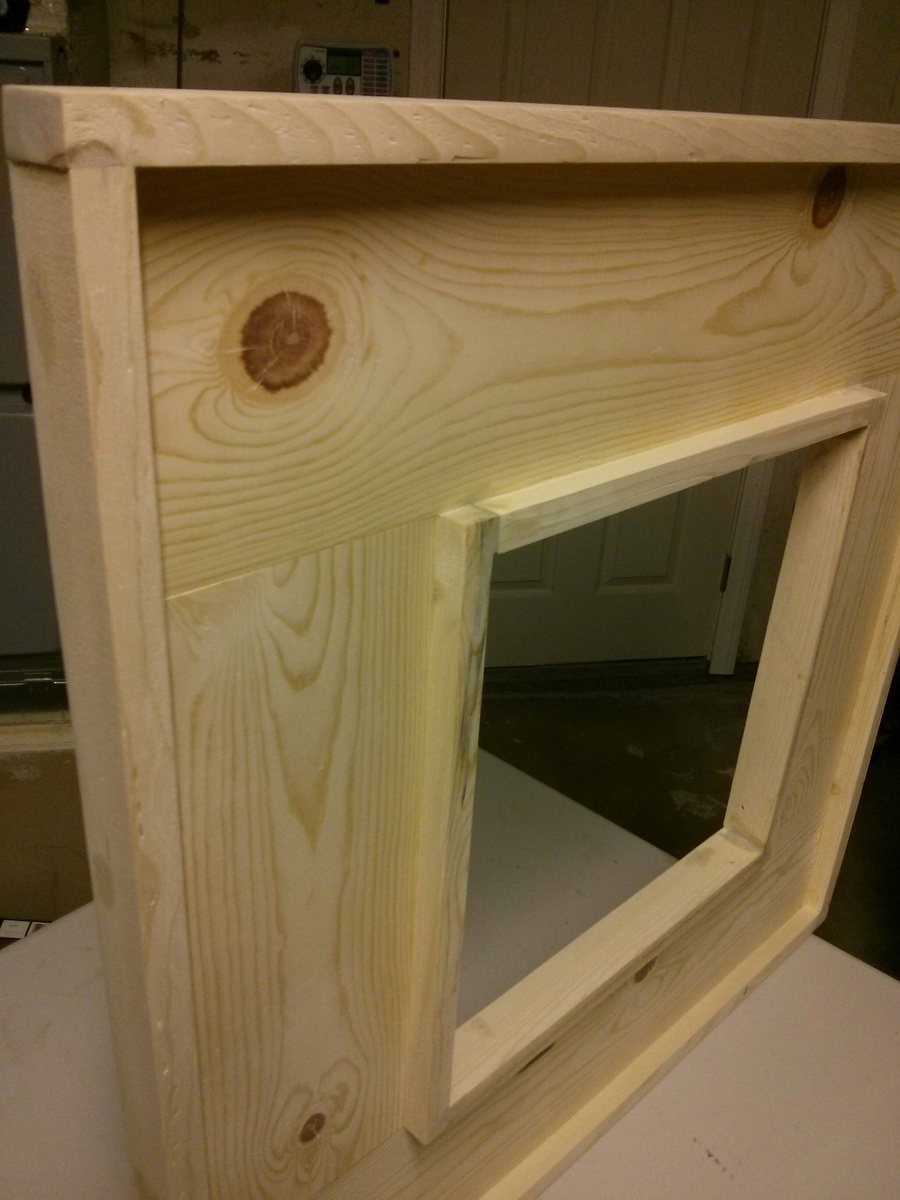
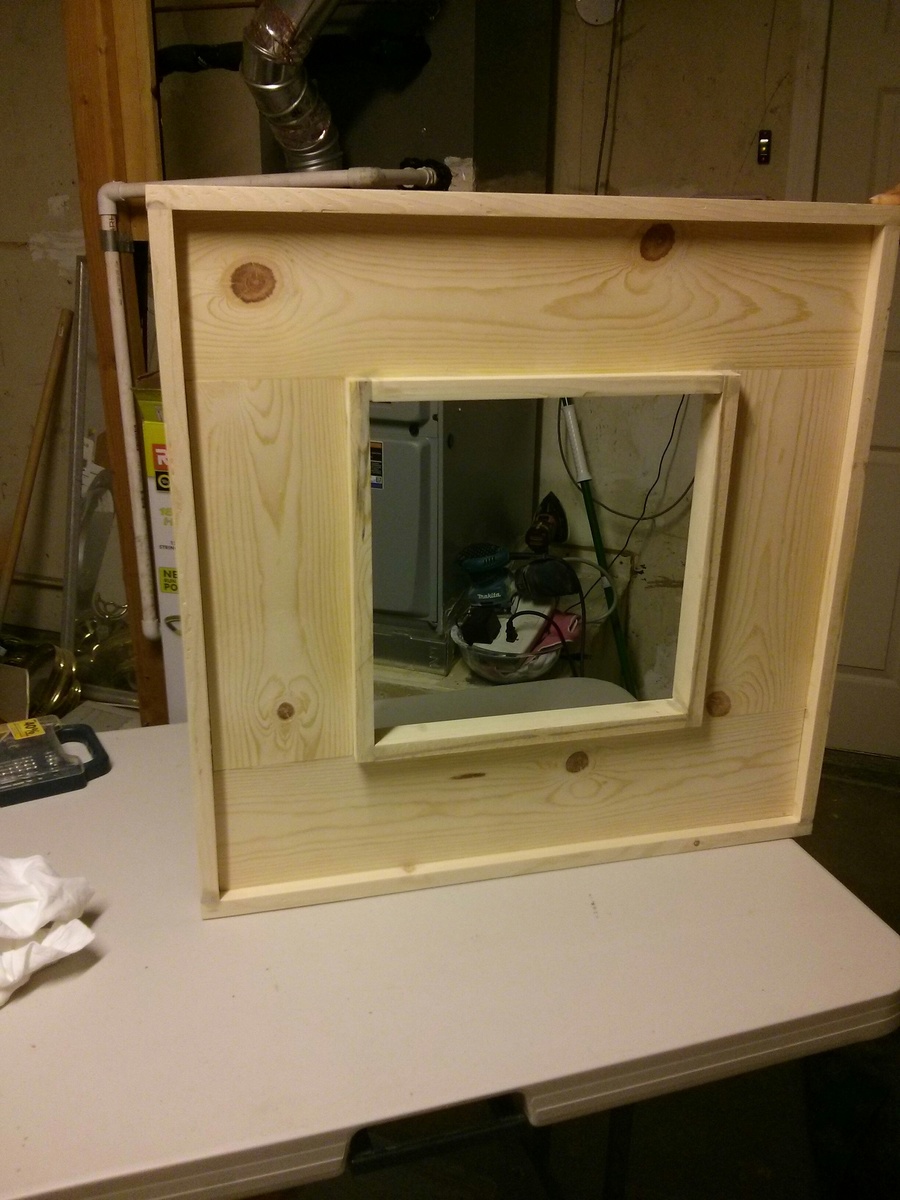
This is the first time I got to use my new Kreg Jig, which was super fun, and made the furniture nice and sturdy!

If anyone is interested in using 2x4s I have the modifications here: http://morelikehome.blogspot.com/2011/06/our-new-outdoor-sectional.html
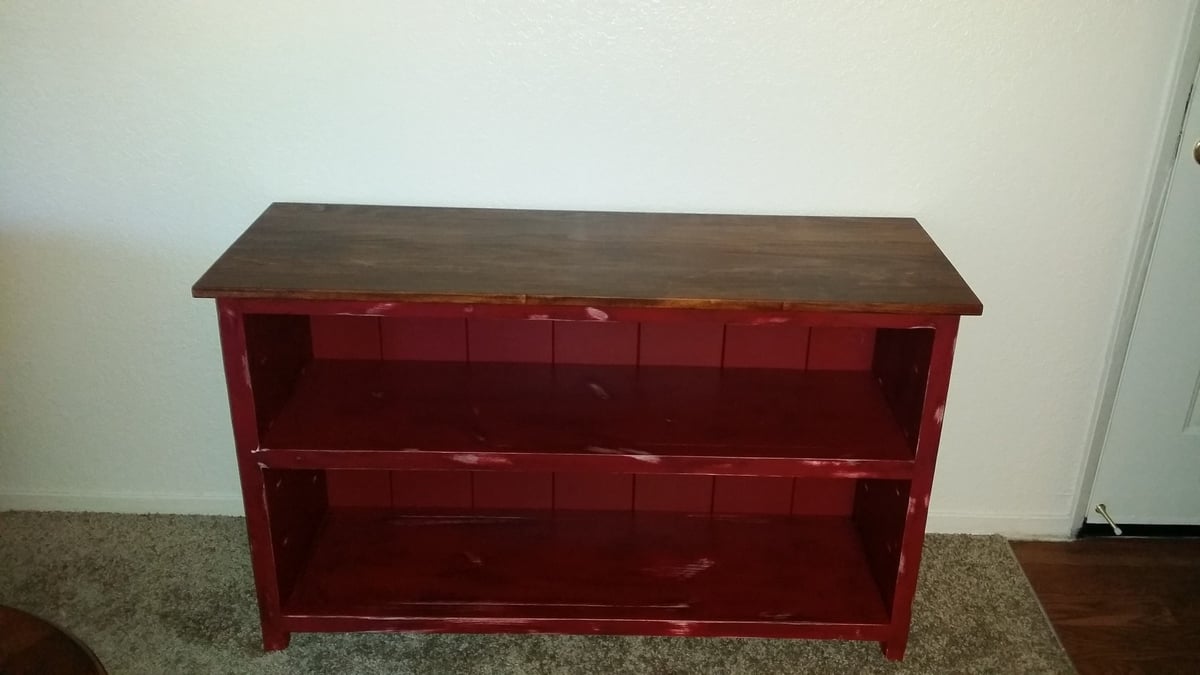
And info about my finished project here: http://morelikehome.blogspot.com/2011/07/patio-perfection.html

Estimated Cost
Building supplies - $130, Cushions - $140
Estimated Time Investment
Weekend Project (10-20 Hours)
Finish Used
We used Thompson's Deck & House Waterproofing Stain, applied before assembly
Recommended Skill Level
Beginner

Comments

spiceylg

Sun, 07/31/2011 - 04:33

Love the chunkier look as well. Beautiful job and thanx for posting the mods which I will be sure to use in the future when we build ours! If you don't mind me asking, where did you get the cushions and how much for each? Also, love, love, love your profile pic! Absolutely precious!

In reply to by spiceylg

Georgia M

Wed, 08/03/2011 - 20:06

I'm glad you like it! Thanks for the nice comments!
The seat cushions were from walmart for $25 each (marked down from $30). We spent almost as much on those as on the furniture! Crazy! The back pillows are just regular throw pillows to save some $$$. :)

Barn door closet doors

Submitted by JCJINAZ on Mon, 08/26/2013 - 12:29

Made these barn door style doors for our master bath remodel. Using some of the same techniques found here. The finish is a 5 step Minwax process: pre-soak, American oak stain, grey, whitewash and finally wax finish.

Estimated Cost
200
Estimated Time Investment
Weekend Project (10-20 Hours)
Recommended Skill Level
Intermediate

Comments

Kentwood Sofa Table - Rendition

Wanted to build a nice sofa table to go underneed the large canvas behind my couch.  I wanted something more simple and robust to suit my taste, but also wanted to be able to give it a nice rustic look to to suit what my wife wanted.  The kentwood bookshelf fit the bill perfectly.

Estimated Cost
General finishes Orange Dye Stain - $26 pint
General Finishes Brown Mahogany Dye Stain - $26 pint
General Finishes High performance Polyurethane Satin - $32 quart
General Finishes High performance Polyurethane Matte - $32 quart
Kilz Premium Primer - $21 gallon
Bher Premium Plus Ultra Flat Enamel Pain - $30 gallon
1x12x8 common board - $20
1x6 poplar - $2.55 per foot

I would say your total for this project would be around 300 bucks, but it can be done a lot cheaper. Using cheaper products like Minwax stains and Varathane Polyurethane. You can also use common board through out and just paint the whole thing. A lot of the items I used this project I already had laying around the house. All in all I maybe spent 60 bucks for the stuff I didnt already have.
Estimated Time Investment
Weekend Project (10-20 Hours)
Finish Used
General finishes Orange And Brown Mahogany Waterbased Dye Stain
General Finishes High Performance Polyurethane. Satin for top and Matte for the base
Kilz Premium Primer
Bher Premium Plus Ultra Flat Enamel paint
Recommended Skill Level
Beginner

Console Table

Submitted by SoCalMom on Sun, 10/28/2018 - 14:26

Wanted a side table to go in dining room for drinks and spare dishes to go on when we have get togethers. It was a pretty simple that was fun and got it done in a weekend during naptimes and the spare moment here and there thanks to my husband having time off. I didn’t want a second shelf because that’s just a ladder for my toddlers! I decided to go with a truss look since it fit my furtinure a bit more and I like it having a bit of a decorative look in the back.

Built from Plan(s)
Estimated Cost
50
Estimated Time Investment
Weekend Project (10-20 Hours)
Finish Used
Varathane briarsmoke
Recommended Skill Level
Beginner

Outdoor chairs

Submitted by Anonymous (not verified) on Sun, 07/17/2022 - 13:23

built straight from ana's plan. Used cedar 2x4s. super easy to make really happy how they came out. Cushions were like $52 per set at home depot.

Comments

Whitewashed Cubby Media Wall

My husband and I built this for our son's bedroom using all five of Ana’s series of plans for the cubby wall system. We did pretty well, especially considering that it was our very first building project. We made the media component of the wall unit the same width as the two sides since we didn’t need it to fit a wide screen TV. My hubby was thrilled that the drawers went together beautifully. The doors turned out a little “off” -- luckily the room has a beach theme so this piece fits right in with the beach shack look!

Estimated Cost
Approx. $475
Estimated Time Investment
Week Long Project (20 Hours or More)
Finish Used
1) Minwax Water-Based Pre-Stain Wood Conditioner
2) Mixwax Water-Based Wood Stain in White Wash Pickling
3) Minwax Water-Based Polycrylic in Clear Satin
Recommended Skill Level
Intermediate

Comments

Guest (not verified)

Thu, 08/04/2011 - 01:55

Congratulations! It's gorgeous and an awesome organizational tool for the room...

Nicole Seaman (not verified)

Tue, 01/15/2013 - 17:20

Love your version of this! Very nice, especially with the white wash!
We've got our wood cut... now between unpacking, and caring for a newborn and his three siblings, I've gotta find the time to assemble!

Drop Down Hutch Desk

Submitted by danicarby on Wed, 08/28/2013 - 12:05

I designed this desk and created a building plan using Google Sketchup. It has 2 file drawers, 2 smaller drawers, 2 large adjustable shelves and a pullout shelf in the bottom, 4 small adjustable shelves on the top and a large space for a computer monitor. The large door drops open for a large work space. When you're done, put the door up and you have a beautiful piece of furniture!

I consider myself an advanced-beginner when it comes to building. I have just enough knowledge to get me by. If you have time, patience and the right tools you can build this too! It took me 10 days to build, working as much as my kids would allow.

It took me countless hours to perfect the building plan - probably just as much work to design it as it was to build it :)

I really scrounged around to build this desk. I used a large beam my friend cut up into 2x2's for the main posts/legs, pine furring strips for the side boards and around the top for moulding (lots of scraps I already had), 3/4" plywood for the inside dividers/panels & desktop, 1/2" plywood for the drawer boxes, drop-down door & top, 1/4" plywood for drawer bottoms & backing-board. I used 3/4" pine boards for the drawer faces and small doors on the bottom. I used drawer slides from an old dresser I found by our dumpster and vintage knobs I bought online. The other black hardware (hinges, pull handle, and clasps for door) I bought from a big box store and is categorized as gate hardware.

Estimated Cost
$400
Estimated Time Investment
Week Long Project (20 Hours or More)
Finish Used
I did one coat of Mixwax Whitewash Pickling on the main desk frame and doors. Be careful because it dries fast and you need to do sections and wipe off every minute (especially on plywood). I did Minwax Jacobean Stain on the shelves, drawer boxes and inside parts of the top/back panels. I used Minwax Polycrylic* for all visible surfaces. I sanded with 220 in between all layers.

*After using the desk for a year I wish I would have used a more durable/lasting clearcoat. The Minwax Polycrylic stained very easily (my kids love drawing on things with Crayola markers & pens) and was hard to wipe off and make it look clean. Invest in a nice clearcoat.. you won't regret it (try Ceramithane)!
Recommended Skill Level
Intermediate

Comments

spiceylg

Wed, 08/28/2013 - 15:33

Beautiful and unique build. Just a shame you are in a sense advertising it to sell on a site that offers plans free.

Joni

Sat, 08/31/2013 - 08:22

Your attention to detail is amazing! I see that every little detail matters to you, right down to the stain selection for the interior. This is a beautiful design. I only wish I had a place to use it so I could make it!

Wooden Christmas Tree Shelf

I made this easy and cheap Christmas tree wall shelf to add character to my guest bathroom.  I went through all my wood stash and found enough wood to build this project with! 

Make sure to pay attention to the long and short point directions in Ana's plans.  Since I was hanging this above my toilet, I didn't need the hooks so I just omitted the bottom piece all together.

I ended up using wood glue and a nail gun to put everything together so it went really quickly. 

I painted the whole tree with green chalk paint and distressed the edges with sandpaper.  Hung it up with L brackets in a stud.

Fun and easy project!  Thank you Ana!!

Built from Plan(s)
Estimated Cost
$0 (I used scrap wood I had on hand)
Estimated Time Investment
An Hour or Two (0-2 Hours)
Finish Used
Dark Green Chalk Paint
Recommended Skill Level
Beginner

Comments

Seasonal And Holiday

Cottage End Table based on Ana's design

Submitted by bluejazz on Sat, 08/06/2011 - 10:06

The design is good, it all goes together nicely. Mid-stream, I decided to use some Mahogany I had sitting around to make the face frame.

This was my first experience with drawers and predictably I had all kinds of self-inflicted problems. Most notably placing the bracket backwards and then I foolishly convinced myself I could put the top on before I put the drawer face frame on. (I could have but I would have never aligned it correctly)

I finally came together; it fits well in the intended spot & my wife likes it.

Built from Plan(s)
Estimated Cost
60
Estimated Time Investment
Week Long Project (20 Hours or More)
Finish Used
Black Enamel (primer and paint in one) Face frame was done with General Finishes Gloss Arm-R-Seal wiping varnish.
Recommended Skill Level
Intermediate

Comments

Kitchen Island

Submitted by Kstudinski on Sat, 08/31/2013 - 10:52

I have a small kitchen with no room for a table and no storage space. When I saw the plan for this kitchen island i knew it would fit perfectly in our space and a project my husband and I could work on together. It took several days in total, but we had to work around the kids, so probably could be done faster if need be. It is made out of white pine, including the top and legs. We probably spent around $150, but we looked at several similar islands going for over $600 and not even made with wood. We are so pleased with the outcome. We cannot wait to get started on the bunk beds for our son.

Thanks Ana White!

Built from Plan(s)
Estimated Cost
$150
Estimated Time Investment
Weekend Project (10-20 Hours)
Finish Used
Pine
Recommended Skill Level
Beginner

Channing Desk/1st ever project

Submitted by jodie0100 on Wed, 10/21/2015 - 13:01

My husband and I have never built anything.  We decided to build our teenage boy a desk, as I could not find anything I liked online.  The project was pretty simple for amateurs to follow.  The cutting and assembly was done in a day.  We decided to add the drawer and pull out shelf for the printer.  Really, figuring what color to stain it and the staining process was the most tedious.  We routered the drawer sides and the top of the desk for a nicer look.  So proud of our work and the fact that this will last our son for years to come.  

Built from Plan(s)
Estimated Time Investment
Day Project (6-9 Hours)
Finish Used
Water based Charcoal w/ Black Glaze for the base and water based Vermont Maple with a top coat of water based toffee stain. For both the top and bottom pieces, I brushed on the stain, let it sit for 3 mins and then applied medium pressure to wipe. Let dry for 2 hours and completed process again. For the bottom piece, after the two coats of stain, I applied the black glaze using the same method. However, after wiping off, I then used a damp cloth to wipe down one time. I used a polyacrylic protective finish.
Recommended Skill Level
Beginner

Nightstand-charging table

Submitted by csnezz on Tue, 11/13/2018 - 12:58

This was built as a nightstand/charging cabinet.  I made it a little deeper for more stability. I also replace the 4-5 drilled holes with a corded electrical/usb outlet that allows you to both plug electri cords and usb cords for electronics (about $10 online). I added a center 1 X 2 and magnet closers on the doors. I used unfinished wainscot for the center of the doors.

Estimated Cost
$50
Estimated Time Investment
Weekend Project (10-20 Hours)
Finish Used
Varathane water based pre-stain, Varathane American Walnut quick dry stain, Varathane water based polyurethane.
Recommended Skill Level
Intermediate

Comments

Two Sizes from One Set of Plans

Submitted by Anonymous (not verified) on Wed, 08/10/2022 - 19:45

We followed Ana's plans for the large project bench. We altered the plans to make a bench for our compound miter saw with the saw platform level with the project bench.

Built from Plan(s)

Comments

Simple Outdoor Lounge Chair

Submitted by meikokoda on Tue, 08/09/2011 - 06:15

I made 4 Simple Lounge chairs and 3 Ottoman/Accent tables. They are made out of 1x3 and 1x2 furring strips. I was worried about how sturdy they were going to be but, in the end they turned out PERFECT!! We absolutely LOVE our new set!

Estimated Cost
$15 each including paint
Estimated Time Investment
Weekend Project (10-20 Hours)
Finish Used
Glidden Exterior in Vibrant Day Lily
Recommended Skill Level
Beginner

Comments

Something to hang you hat on

Submitted by sgilly on Mon, 09/02/2013 - 17:45

I built this for a friend of a friend. They had seen a similar hall tree on line that ran between $300-$500. It was made of a mix of materials, including mdf and veneer. It was for newlyweds so I did the finishing (something I really hate) and I made the cushion. I had the mirror cut at a local glass shop, and had it cut a bit shorter than how it appeared in the picture they gave me - I was afraid someone would toss somthing onto the cushion and it would end up hitting the mirror.
They seemed happy with it. I hope to get a picture of it in place so that I can add it to my album titled "Look what Gramma made when she could still do things".

Estimated Time Investment
Weekend Project (10-20 Hours)
Finish Used
I used 3 coats of Minwax Dark Walnut, 2 coats of rub on polyurethane, satin finish, and then applied a coat of wax and buffed that out.
Recommended Skill Level
Intermediate

Comments

CreativeChaos

Tue, 09/03/2013 - 16:45

I was considering making the hall tree for our bathroom and wondering how you stabilized the back without those curvy side supports? I like how yours turned out!

sgilly

Tue, 09/03/2013 - 20:31

It was an easy build and would be really easy to anchor to a wall. I suggested to my clients that they just add anchors to the top piece and screw to the wall there. This is 72" tall. Most people wouldn't even see the anchors. You could also screw through the back from inside the cubbies. It wouldn't budge!

Anniversary wall art

This is my first project! My friend and i were debating what to gift our friends for their anniversary. This was perfect. Good first time beginner project. 

Estimated Cost
$25
Estimated Time Investment
Afternoon Project (3-6 Hours)
Recommended Skill Level
Starter Project

Indoor Daybed without Canopy

Submitted by hfitz1 on Thu, 08/11/2011 - 10:34

We made this for my daughter's bedroom. There was not enough room for a canopy, so we adapted it a bit.

Estimated Time Investment
Afternoon Project (3-6 Hours)
Finish Used
Spray-on primer, then paint
Recommended Skill Level
Beginner

Comments

Fancy X Farmhouse Table

Submitted by buffy0506 on Wed, 09/04/2013 - 07:40

This table is SOOO great, and I get tons of compliments on it. It was easy to build as well.

I did have a problem, in that I made it to use outside and outdoor tables are shorter than indoor tables, depending on the chairs you use. I had to cut apart the legs after I had them built, which was a pain, but was completely my fault. 

For an outdoor table, make your leg uprights 18-1/2" - all other leg cuts are the same.
I made mine 17-1/2" and used 2x4 material for the feet (my 1x4's kept splitting). You will also need to adjust the length of the center angle pieces, which I laid out after the legs were assembled and the horizontal supports were attached.

You can see from the photos that the unfinished legs are according to the original plan. Once the center was cut down to the new length, the angled pieces make more of a true X.

I also flipped the base upside down to attach the top. I used 2 1x1 'stringers' cut at the same angle as the top of the legs, centered the base on the under side of the top, and screwed through the stringers to the top 2x10s. I used nickels to space the top planks for drainage. I then screwed the stringers to the side legs from the side. You won't even see them unless you're sitting on the patio - standing or sitting in a chair, you don't notice them. But then there are no screws showing, nothing to patch, and it's sturdy to pick up and move.

Built from Plan(s)
Estimated Cost
$100, including a new orbital sander
Estimated Time Investment
Weekend Project (10-20 Hours)
Finish Used
I used one coat of Ace WoodRoyal Deck & Siding Stain in Oxford Brown (almost an entire quart)
Finished with 3 coats of Helmsmann Spar Urathane in Semi-Gloss to make it more weatherproof (water just beads off of it now - nice!)
Recommended Skill Level
Beginner

Comments

Codding58

Thu, 05/12/2016 - 07:02

Beautiful table!    you did a great job!   Thanks for sharing your "lessons learned" on the legs.   Not sure exactally what you mean when you refer to stringers, but i definatly appreciate the detatils!    Cheers!

Farmhouse Table

Submitted by Sbarker645 on Wed, 10/28/2015 - 16:55

Built this for our dining room. Added two feet to the length. Neighbors started talking and now I've been commisioned to build a table and bench!

Estimated Time Investment
Week Long Project (20 Hours or More)
Recommended Skill Level
Intermediate