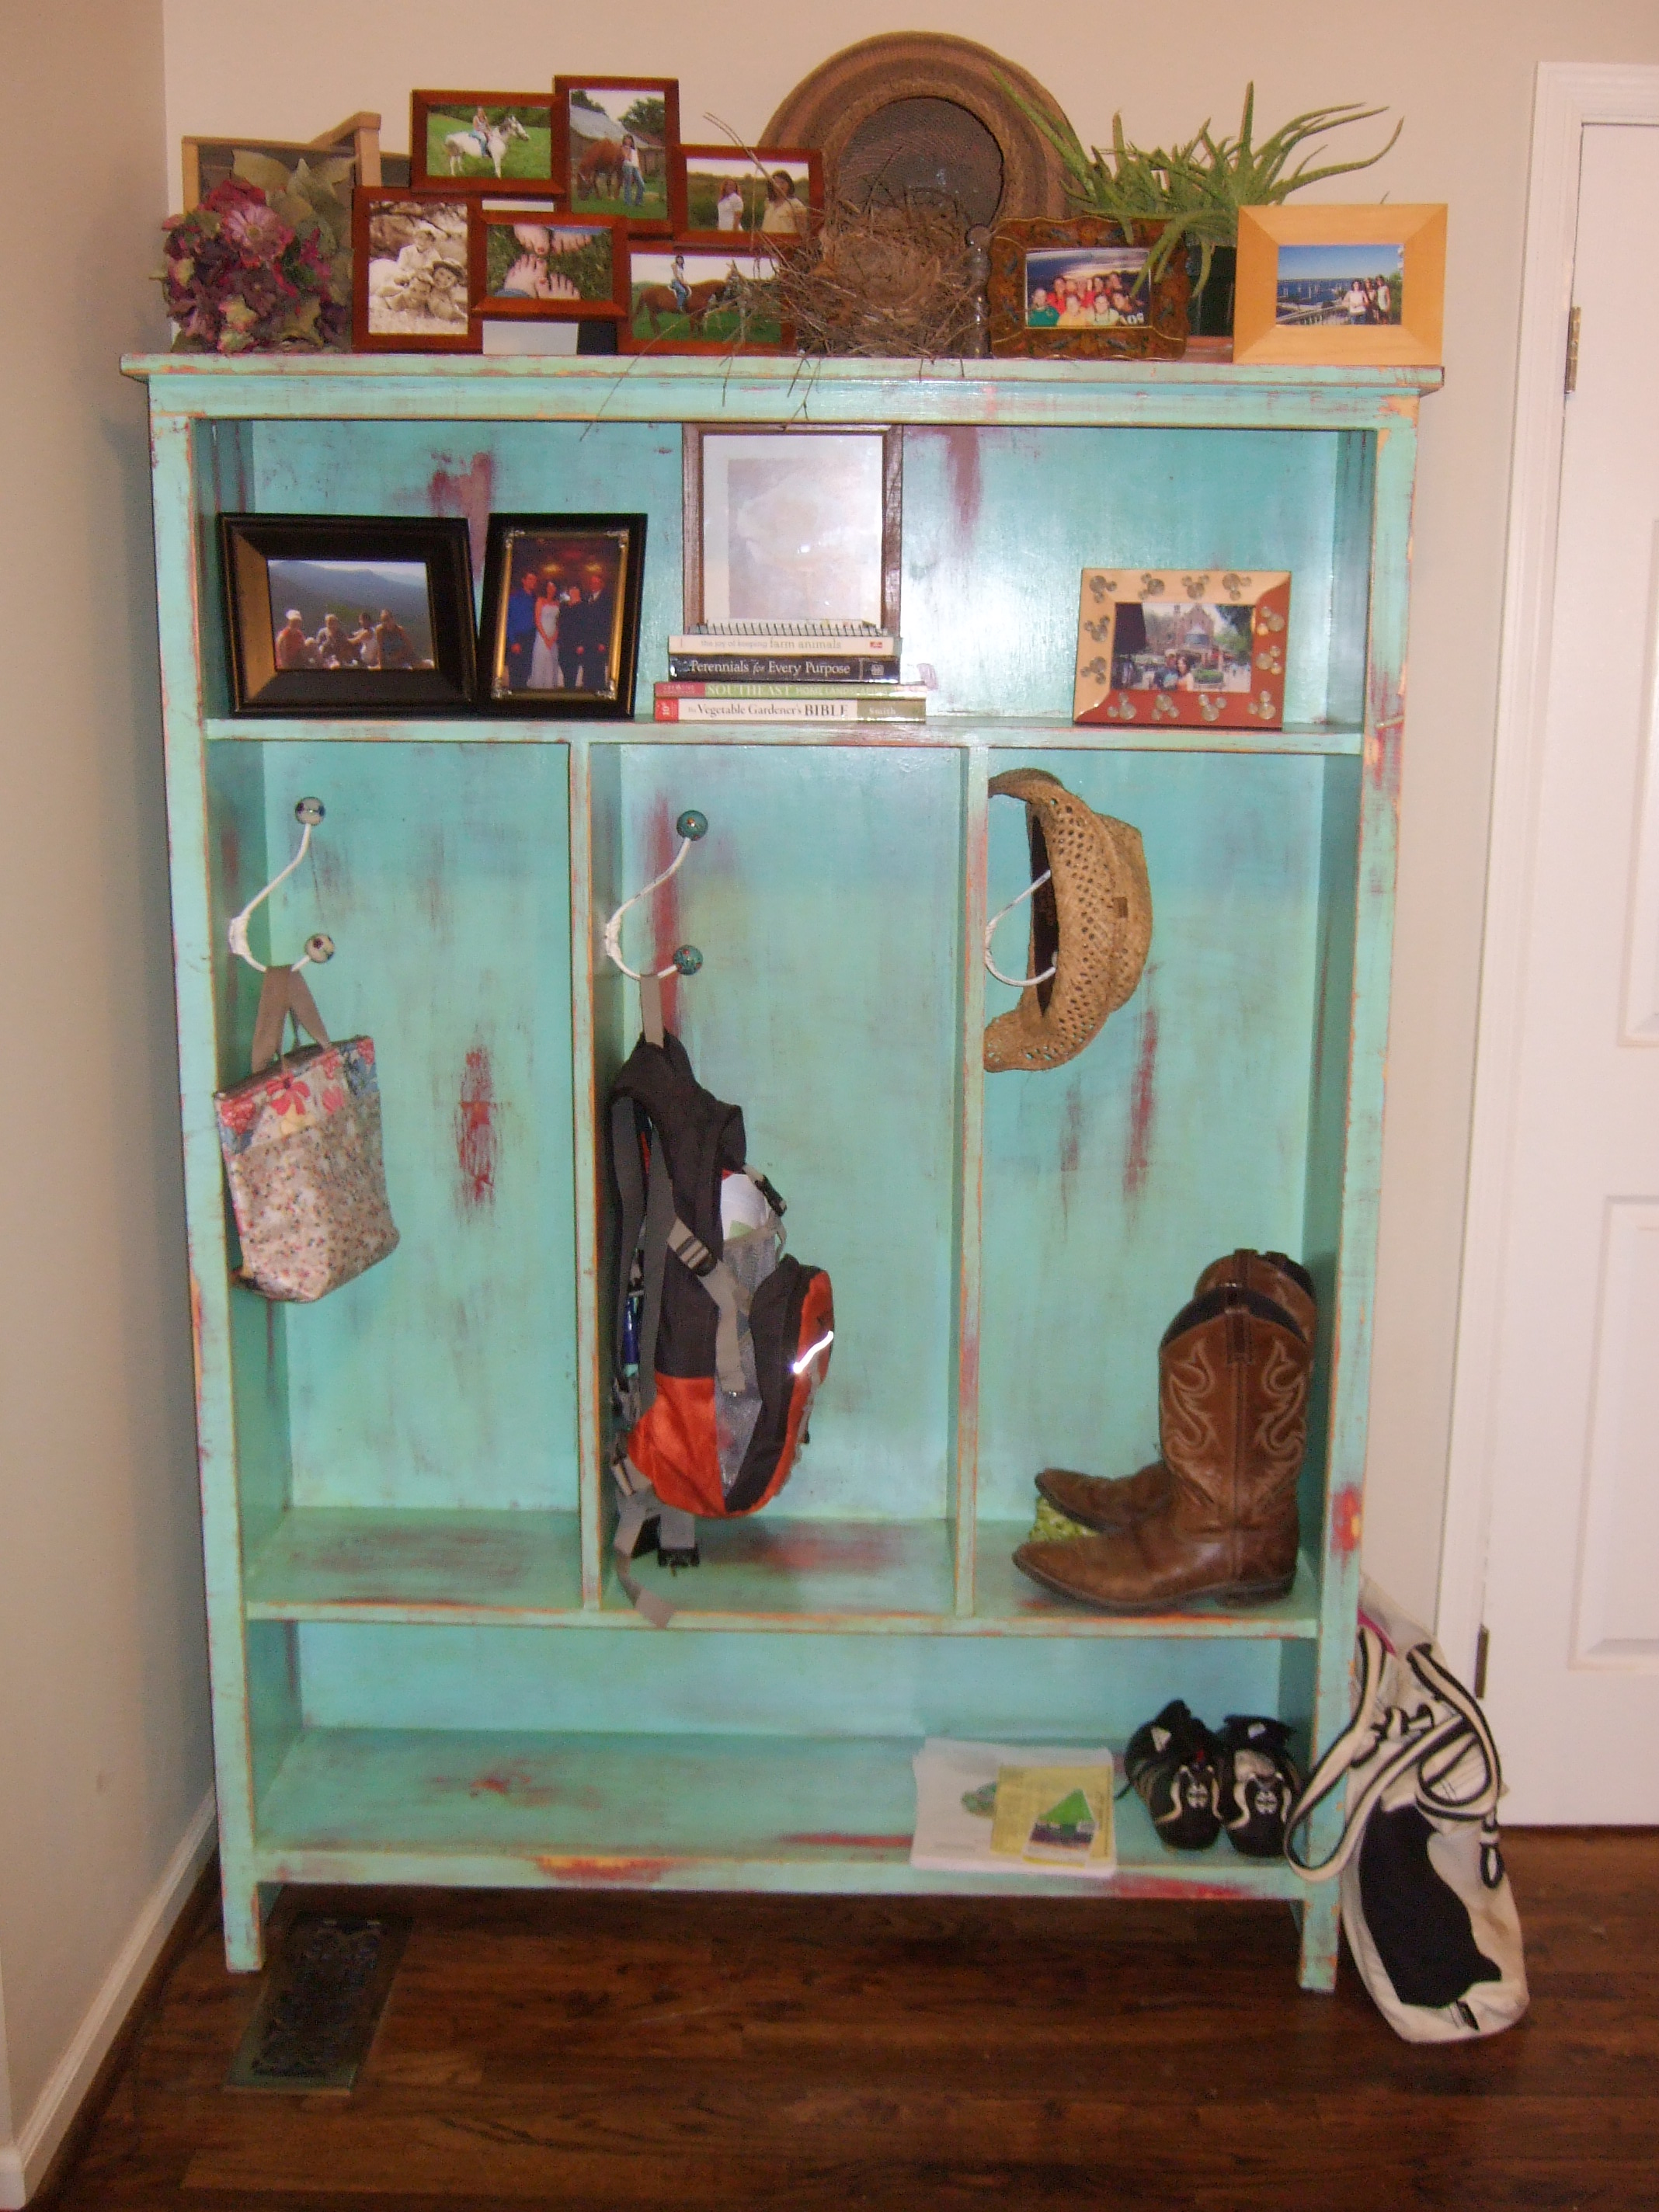
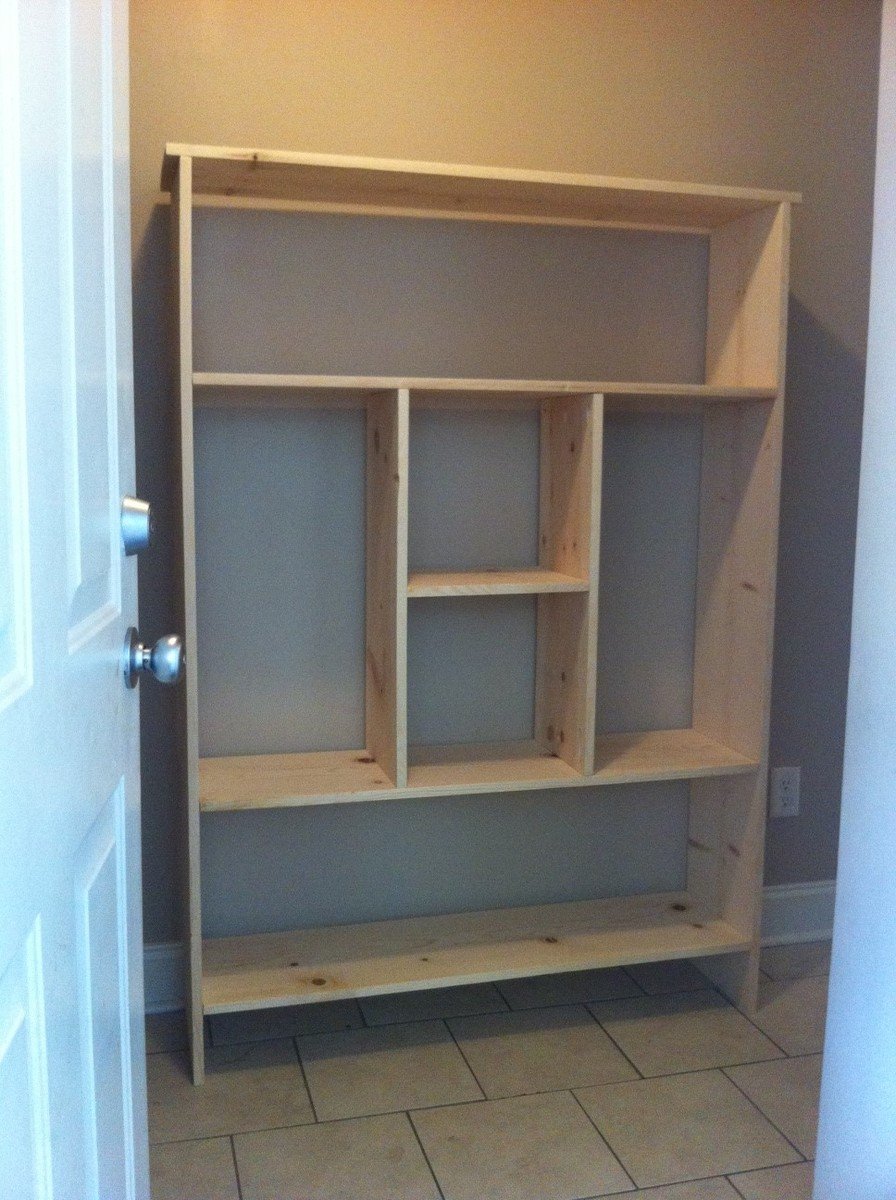
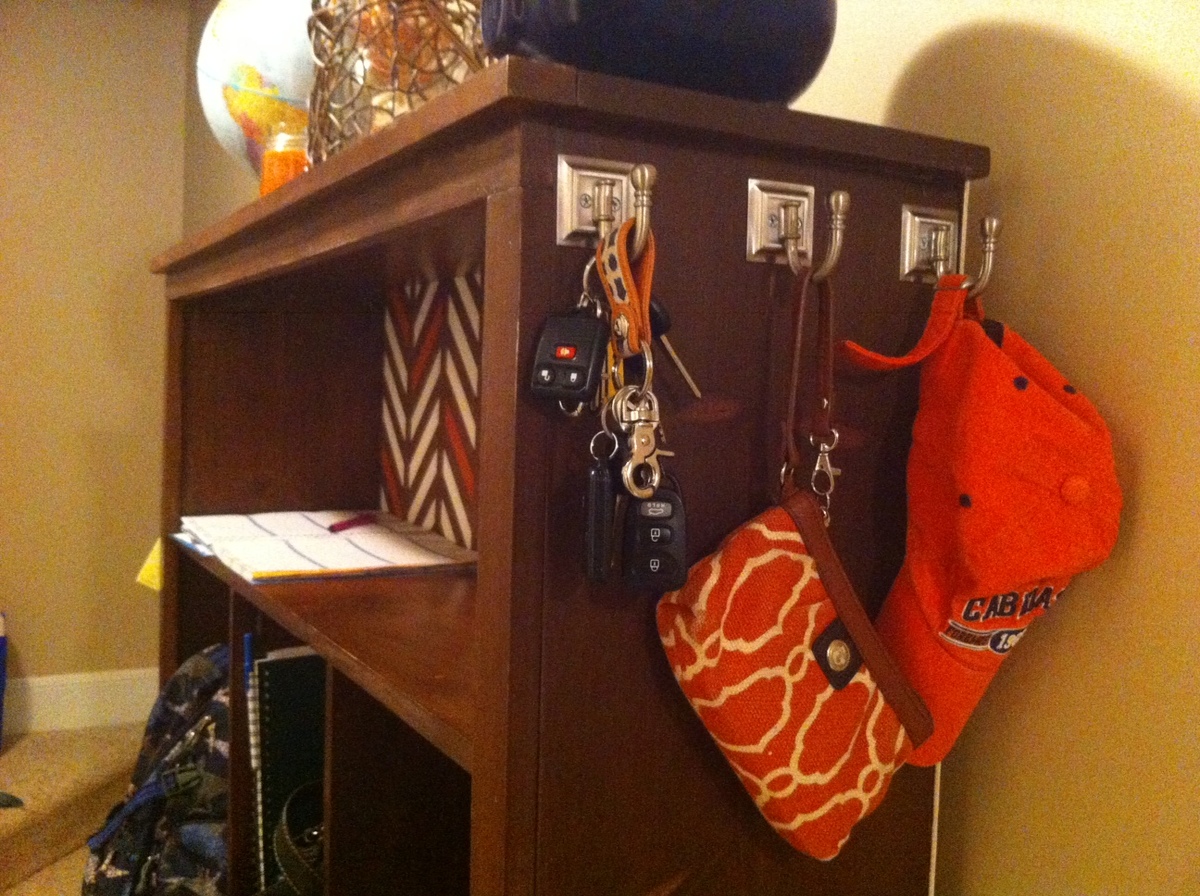
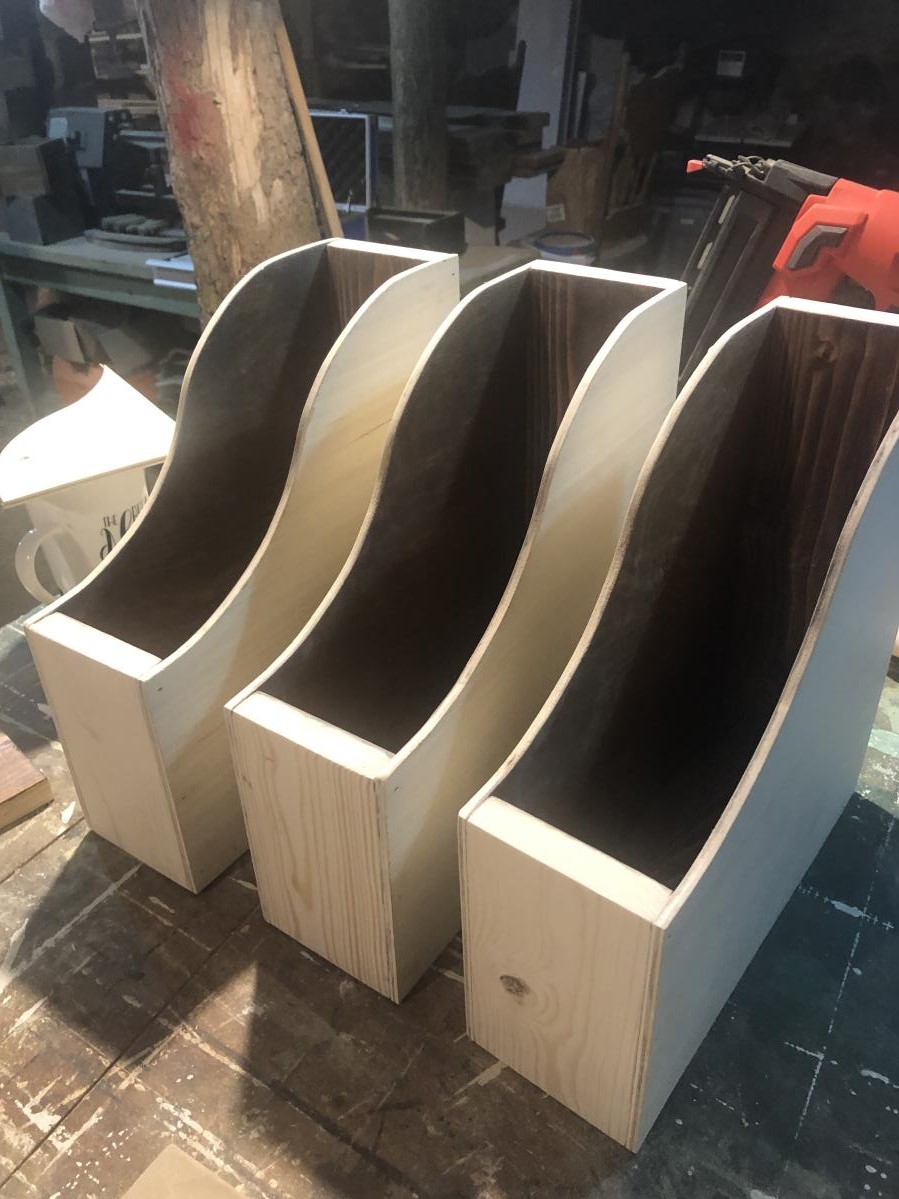
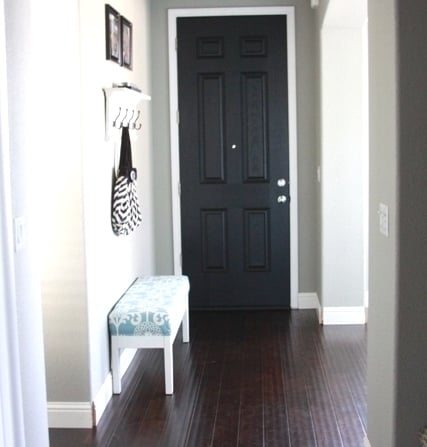
I have loads of space in the entry by the front door, but we never use that entrance. I needed a mini-mudroom to fit in the hallway by the garage door. I wanted a locker cabinet to hold everything we need to walk out the door on a school morning, and a home for all the clutter on my kitchen countertops, all without disrupting the flow of traffic in the hall.
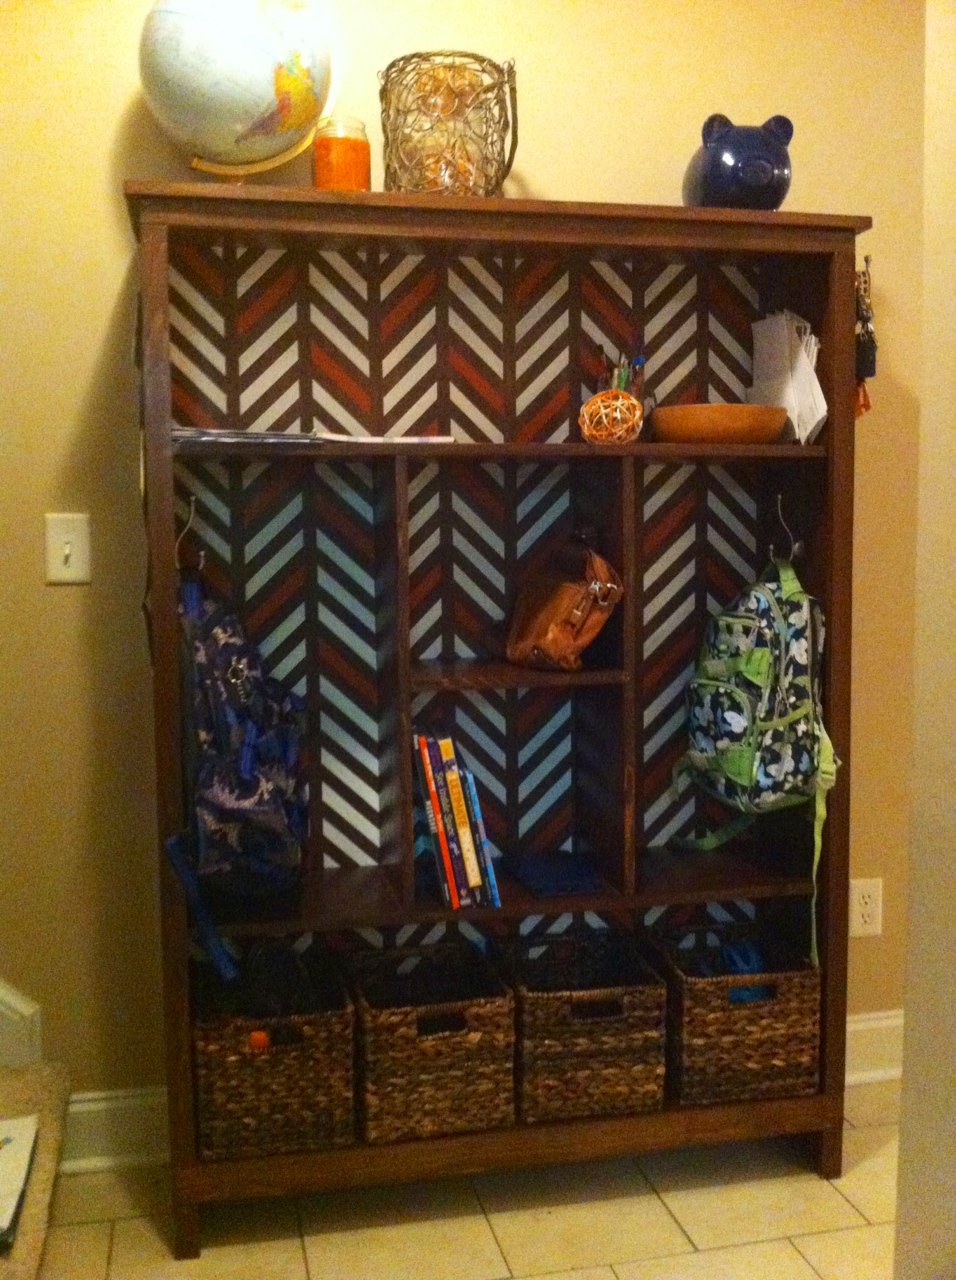
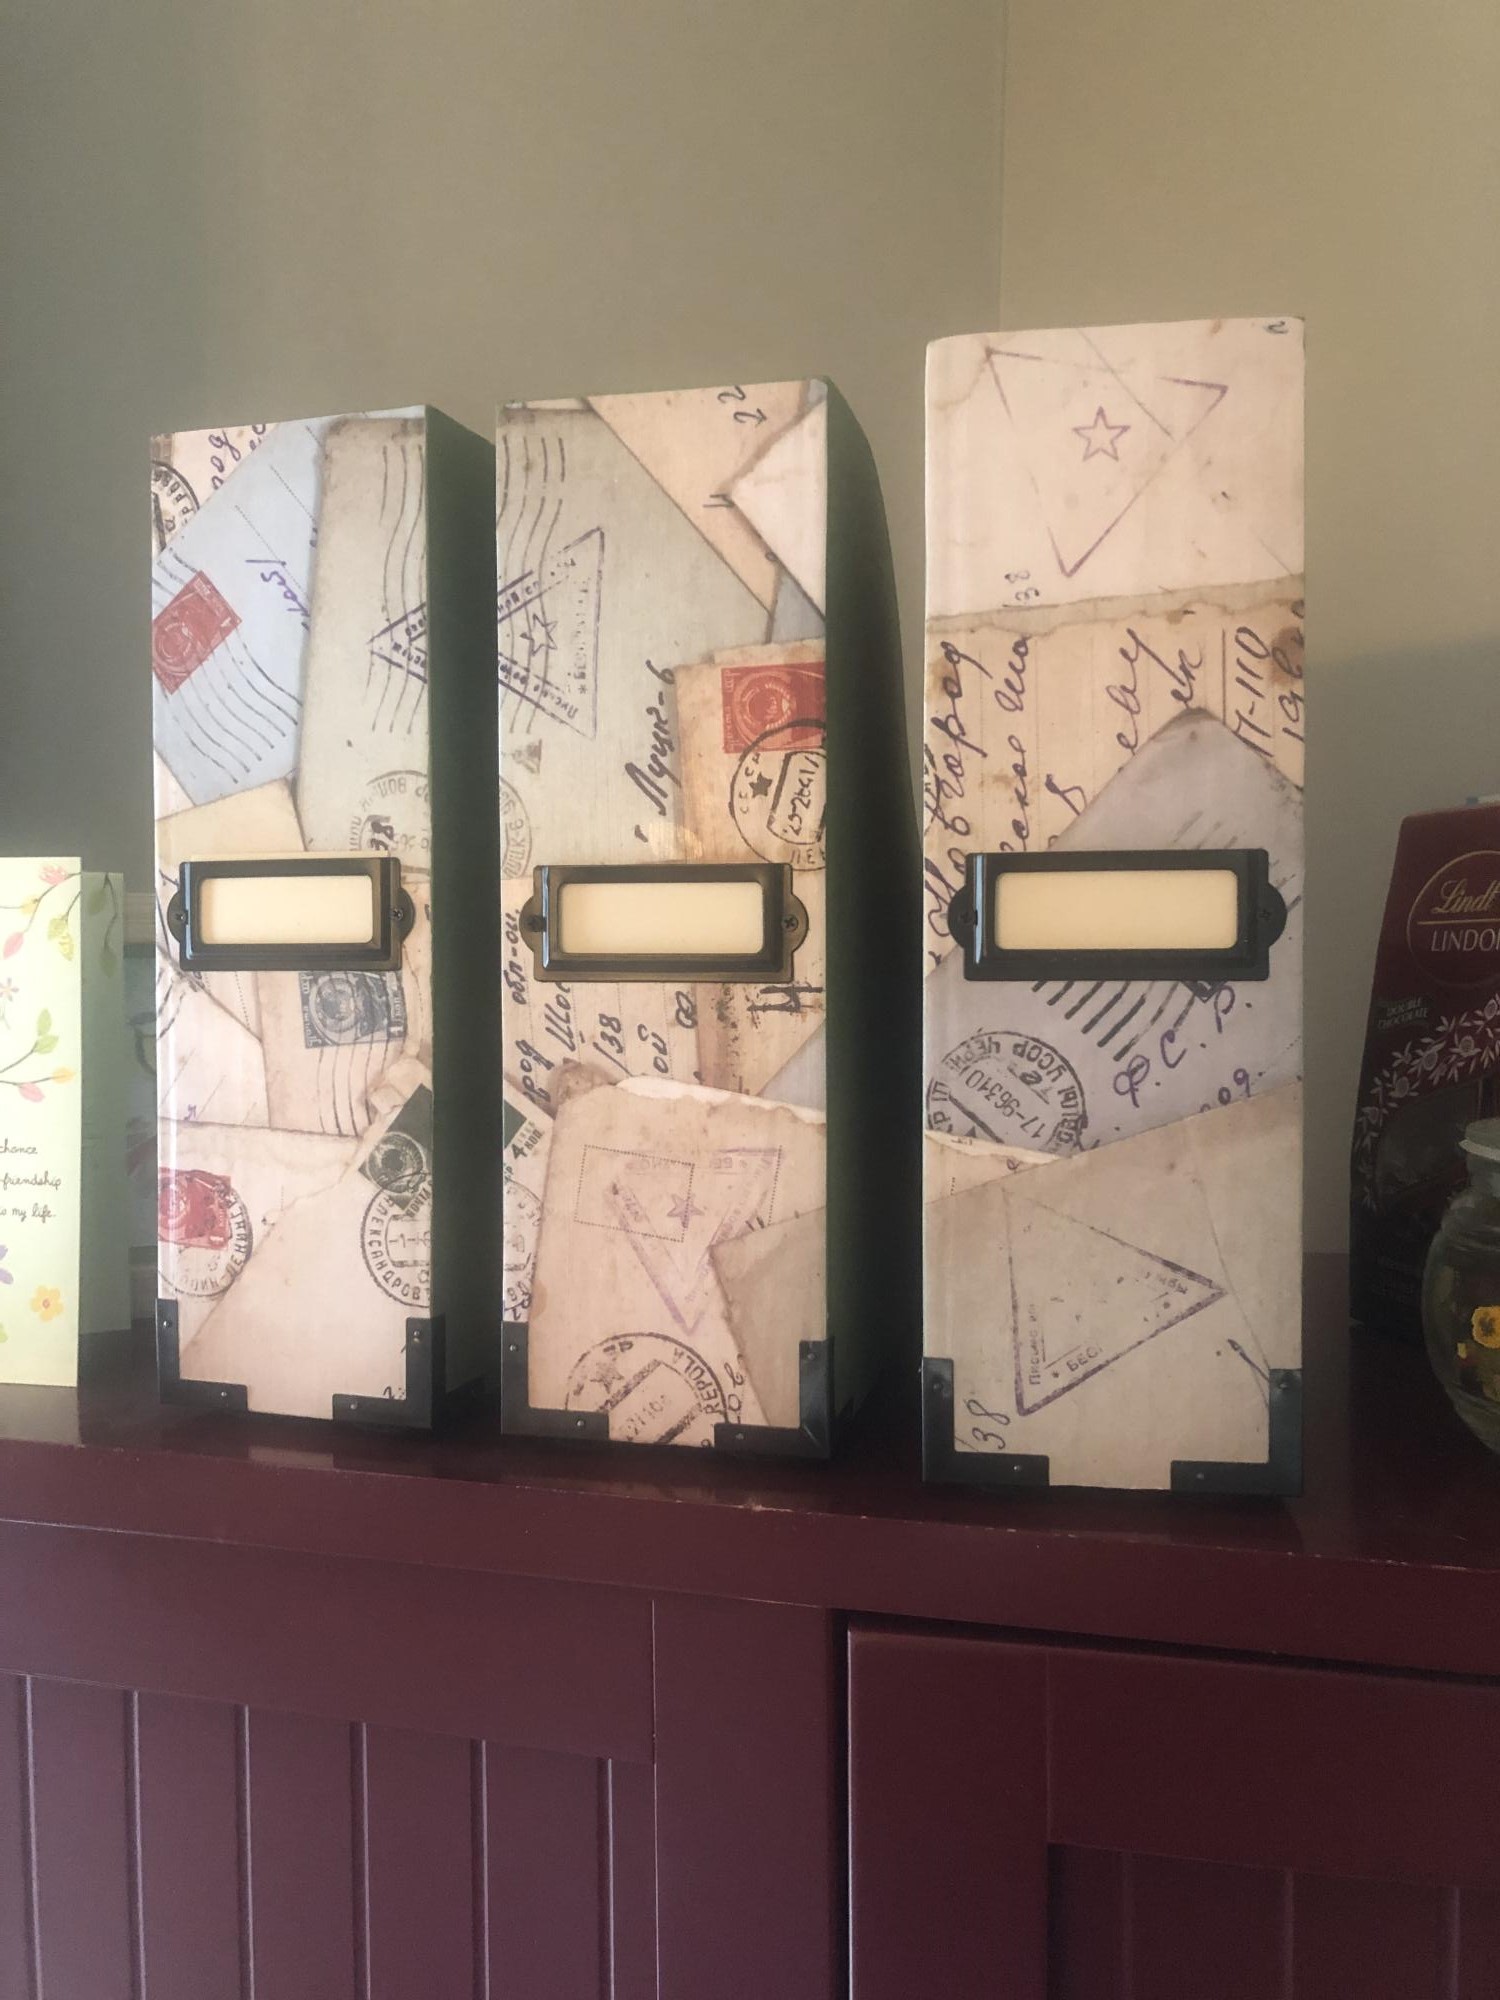
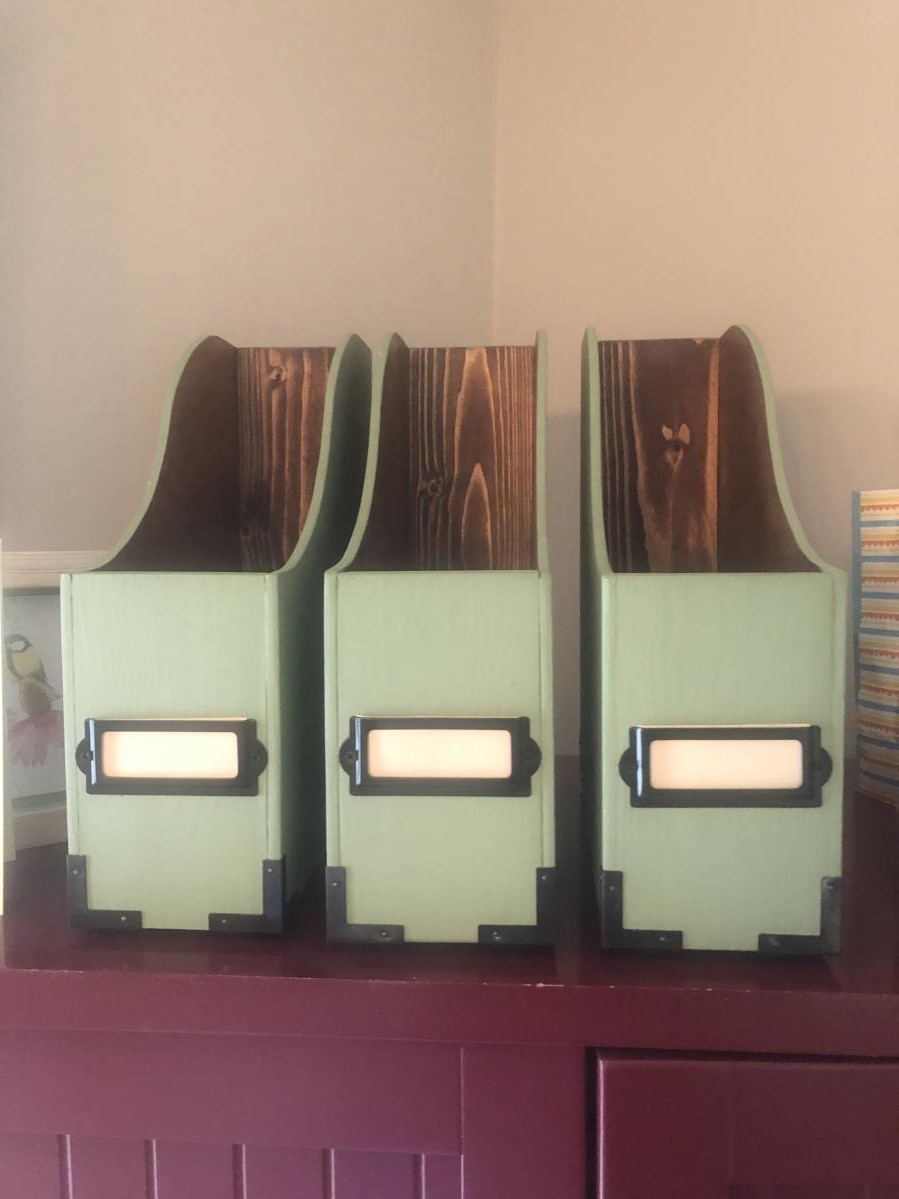
I followed the instructions in Ana's plans, but modified the dimensions. I made the top and bottom shelves 14" high, the tall lockers 28"x14", and the square shelves in the middle 14"x14". Drawing up the plans with new dimensions and making my own cut and buy lists took a lot more math than I expected!
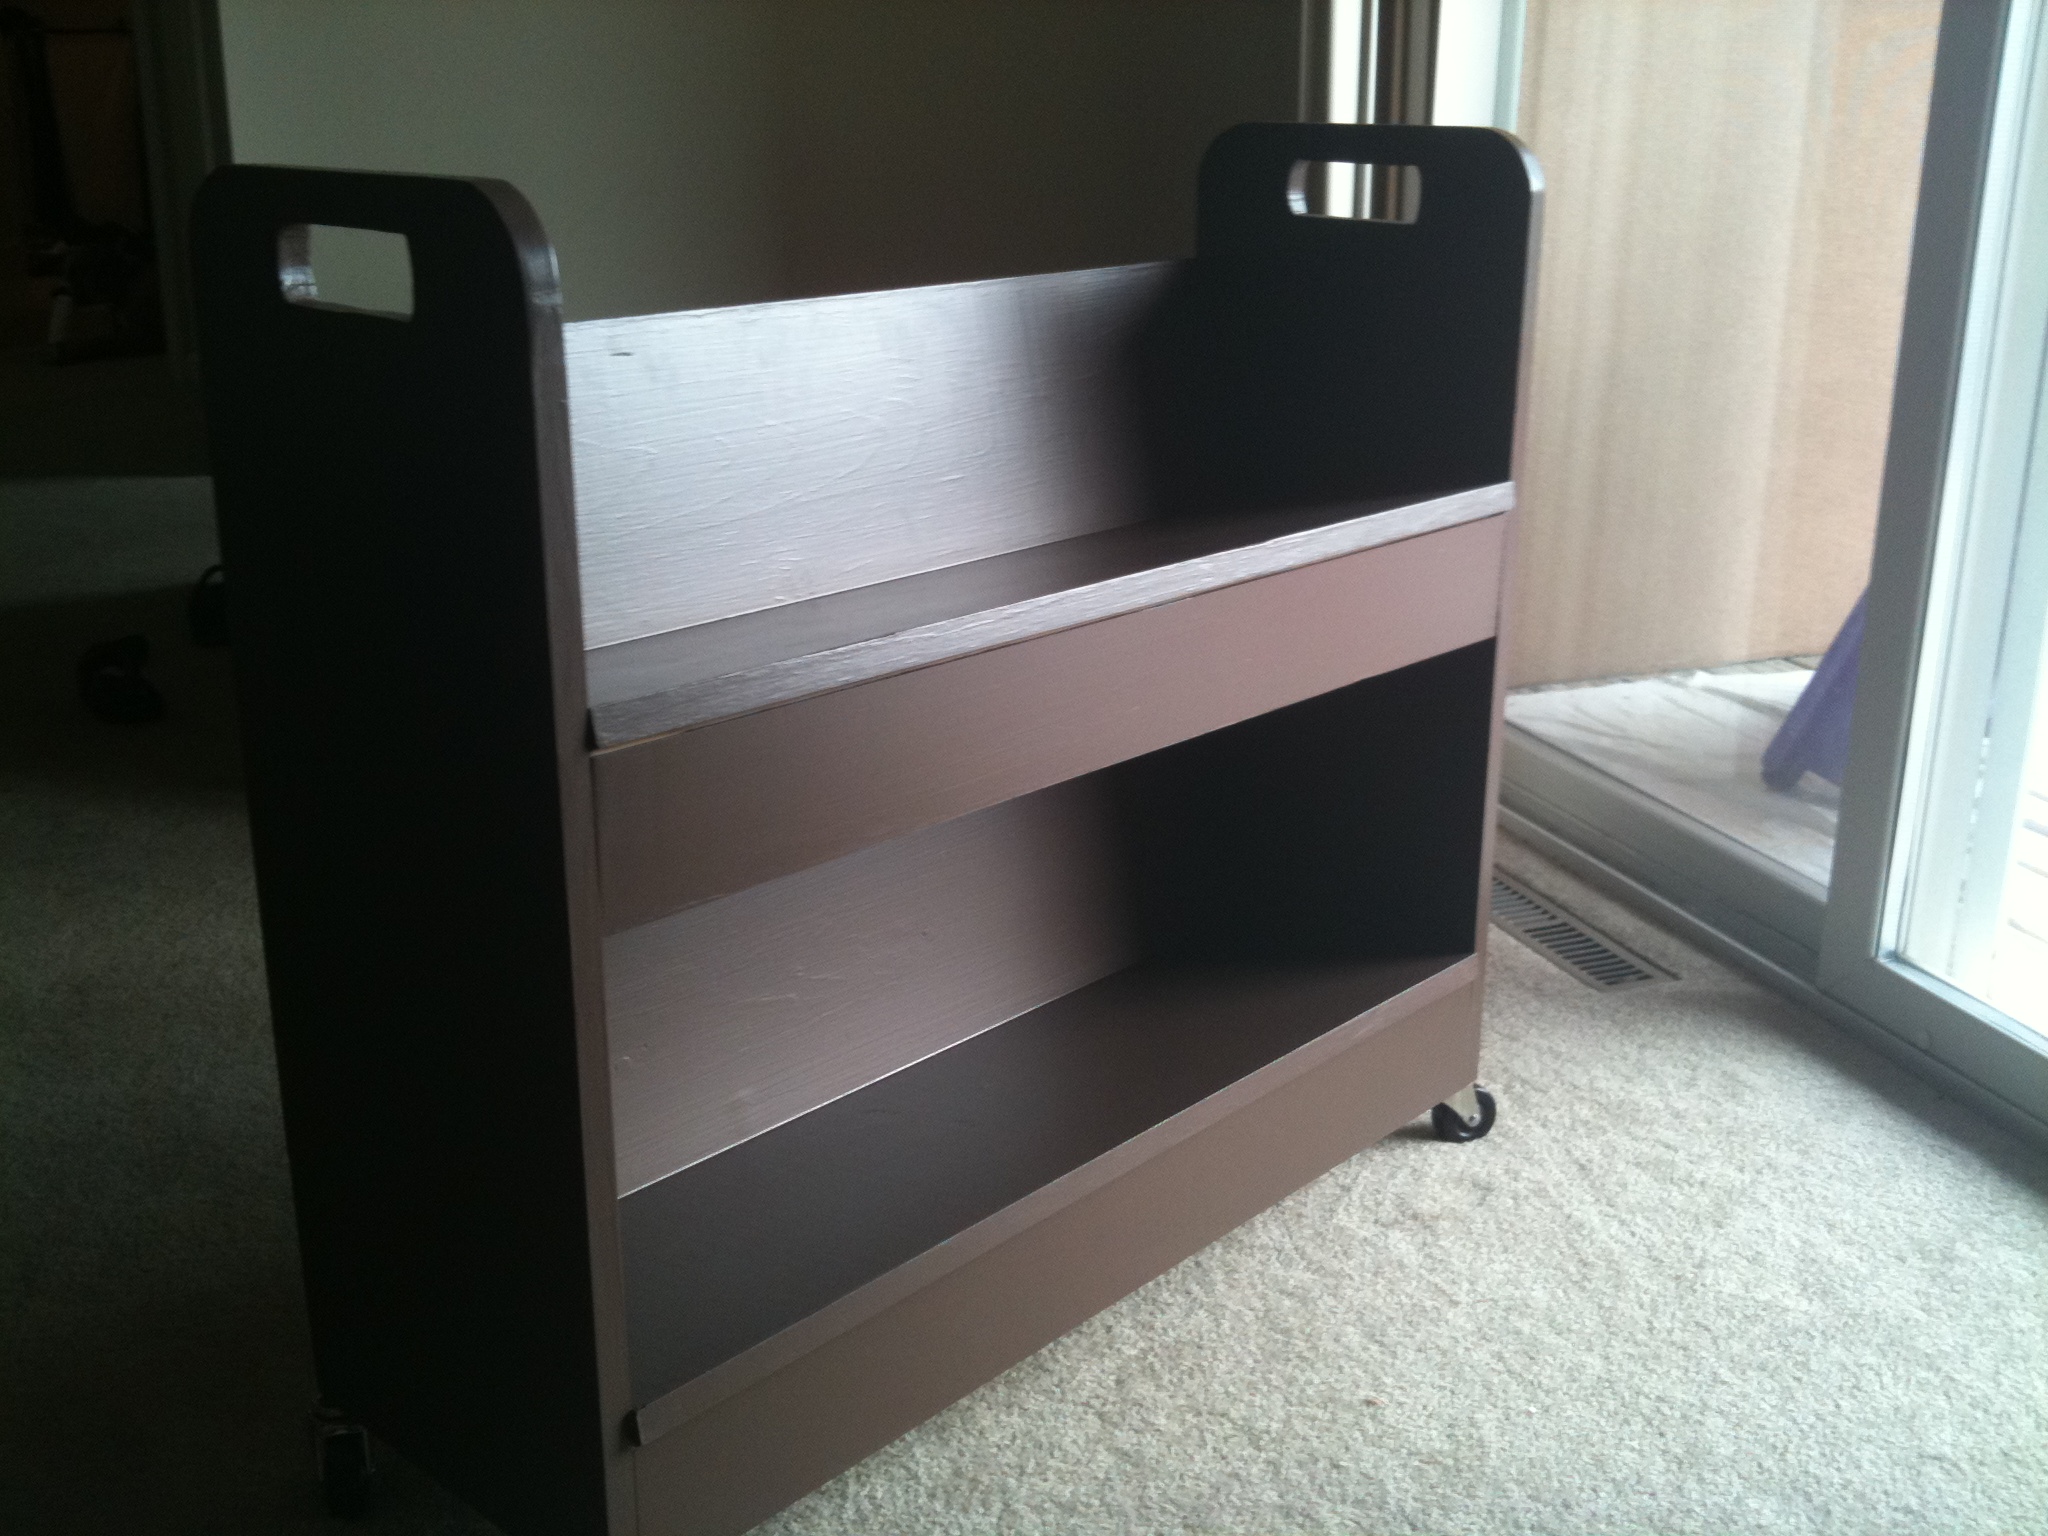
This was my third project, and it's gotten easier to be more precise. However I did put one board on with the pocket holes facing outward. I attached 3 hooks to cover the holes, and ended up loving this feature. The build came together fairly quickly, but the finishing process took a couple of weeks.
I love my new command center, my husband loves the clutter-free kitchen, and the kids actually use the thing!
Estimated Time Investment
Weekend Project (10-20 Hours)
Finish Used
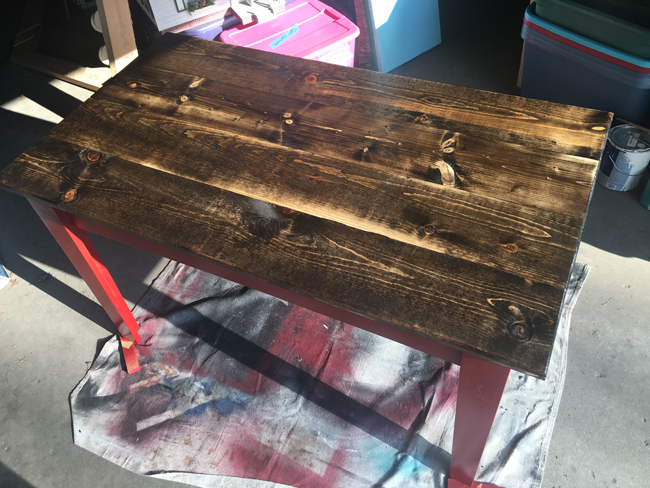
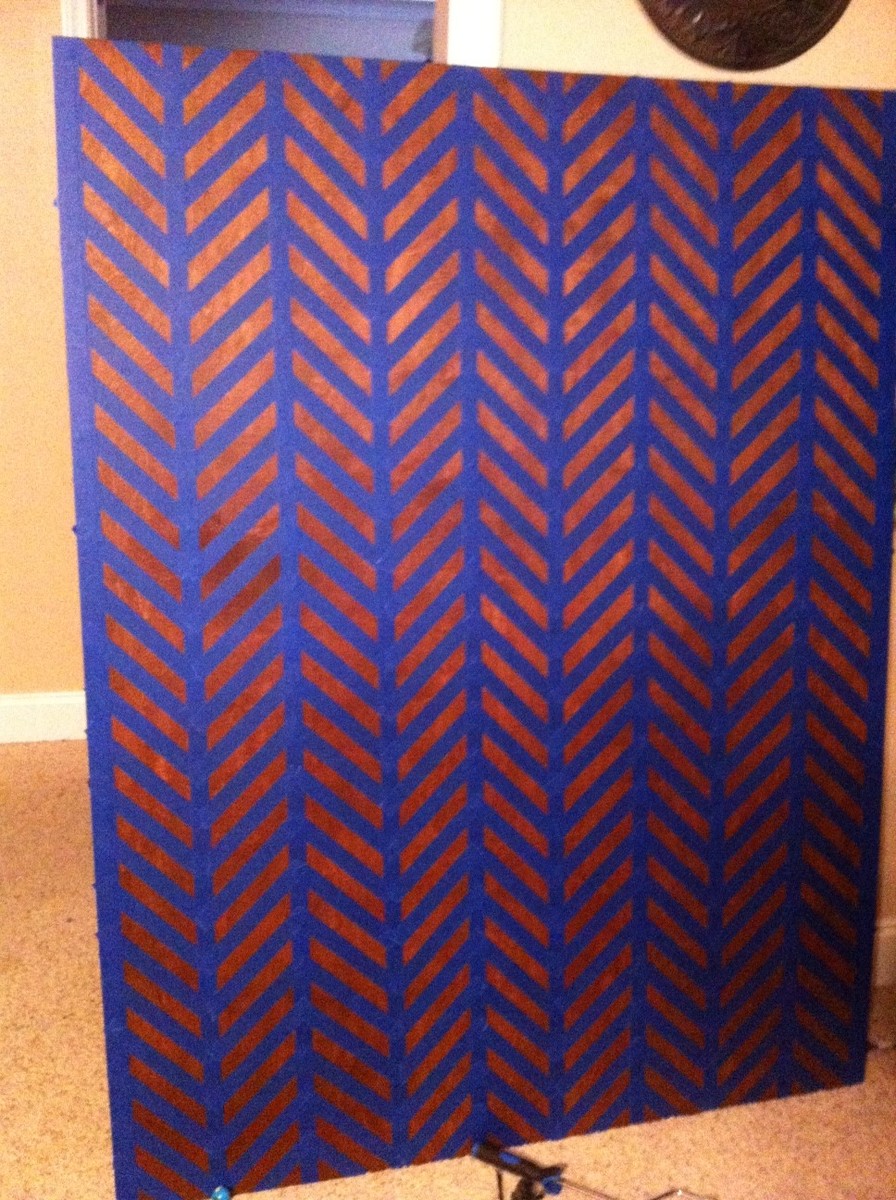
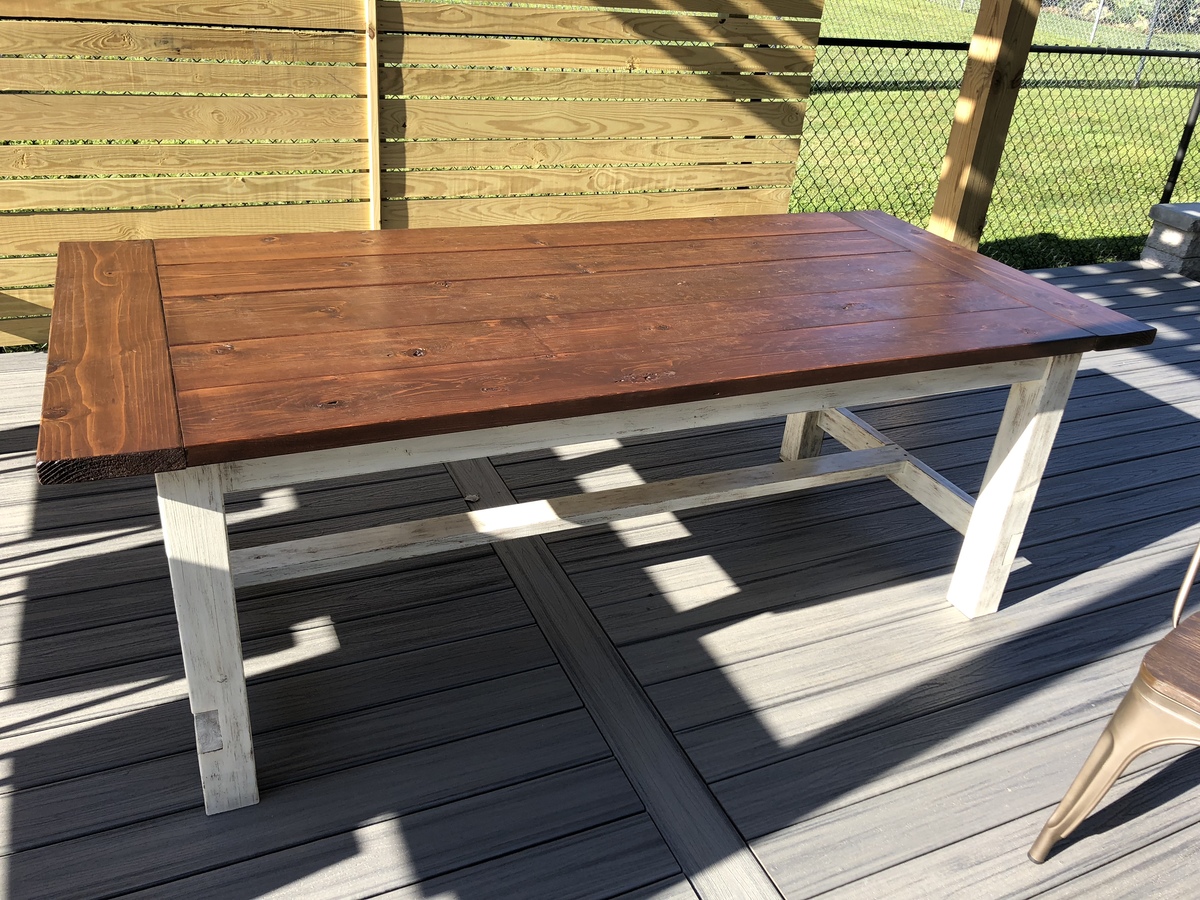
I saw some stained and stenciled tabletops on Pinterest, and used this idea for the backing of the shelf. I like the dark stained wood, but the herringbone pattern really brightens up the hallway.
First I applied Minwax Wood Conditioner. I mixed half a large can of leftover Minwax Provincial with a small can of Minwax Dark Walnut. I did 2 coats of stain on both the shelf and back panel.
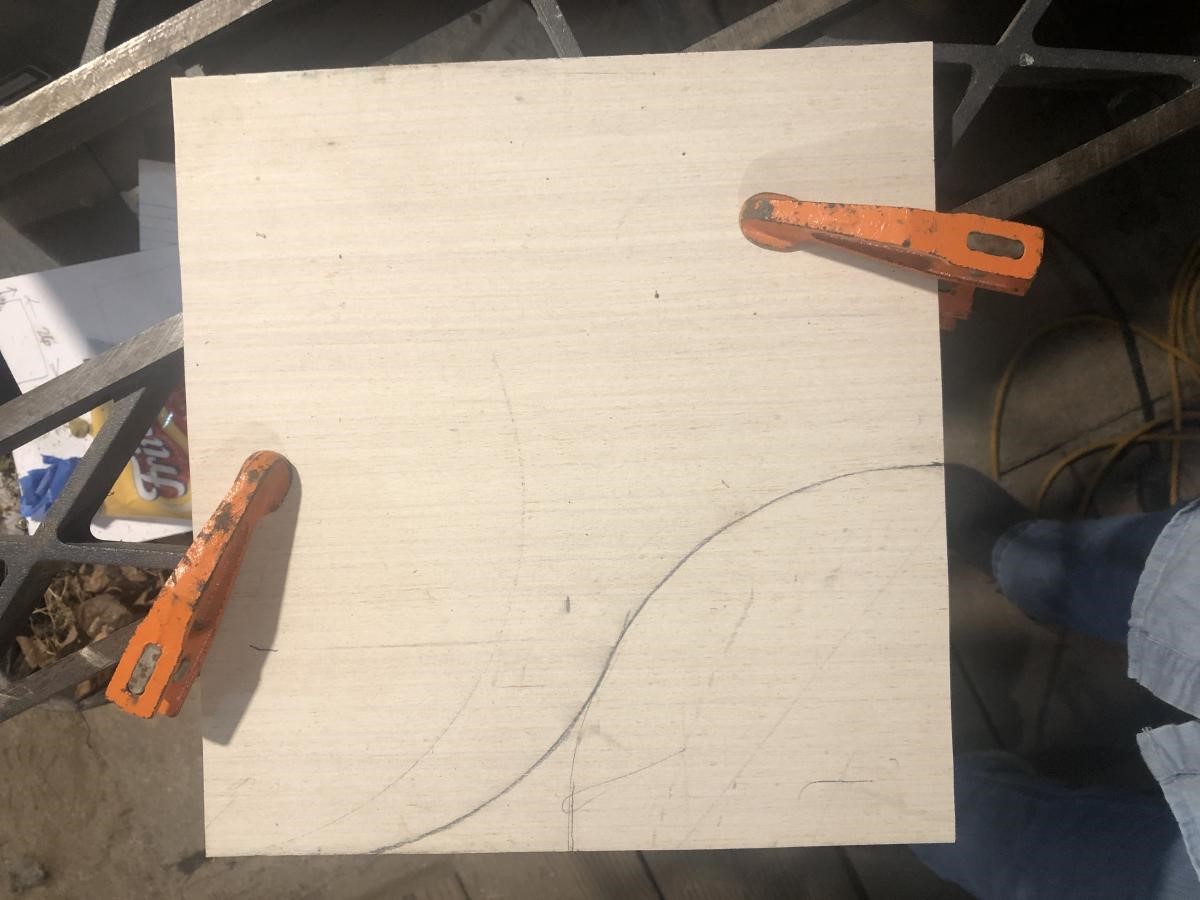
For the herringbone pattern, I first measured and taped the vertical strips that would be covered by the vertical shelf dividers (basically dividing it into thirds). Then I calculated some more, and divided each of those sections into thirds as well. Then, using a square and a metal yardstick, I marked all of the vertical tape lines every 1.25" (the width of the yardstick). I then placed the smaller strips of tape at a 45 degree angle, by using the marks on the tape as a guide (essentially connecting the dots).
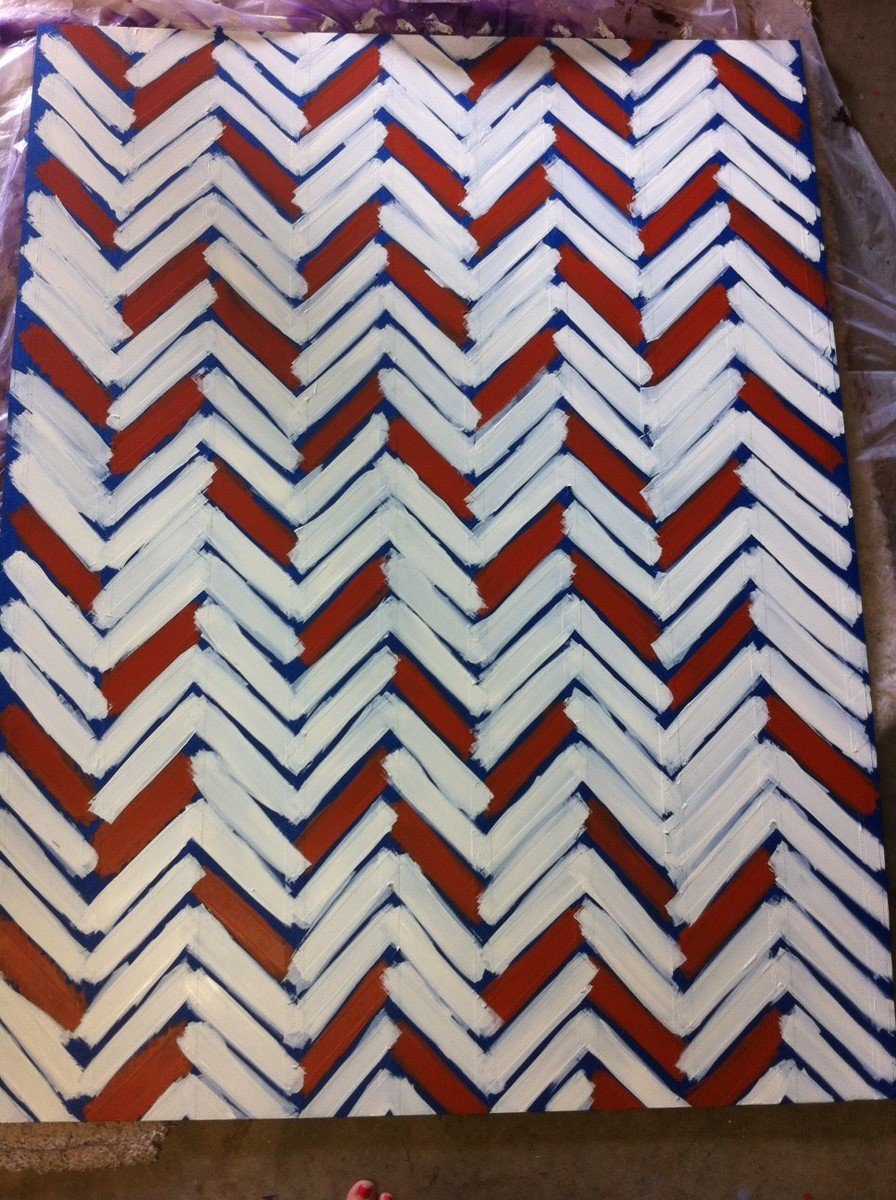
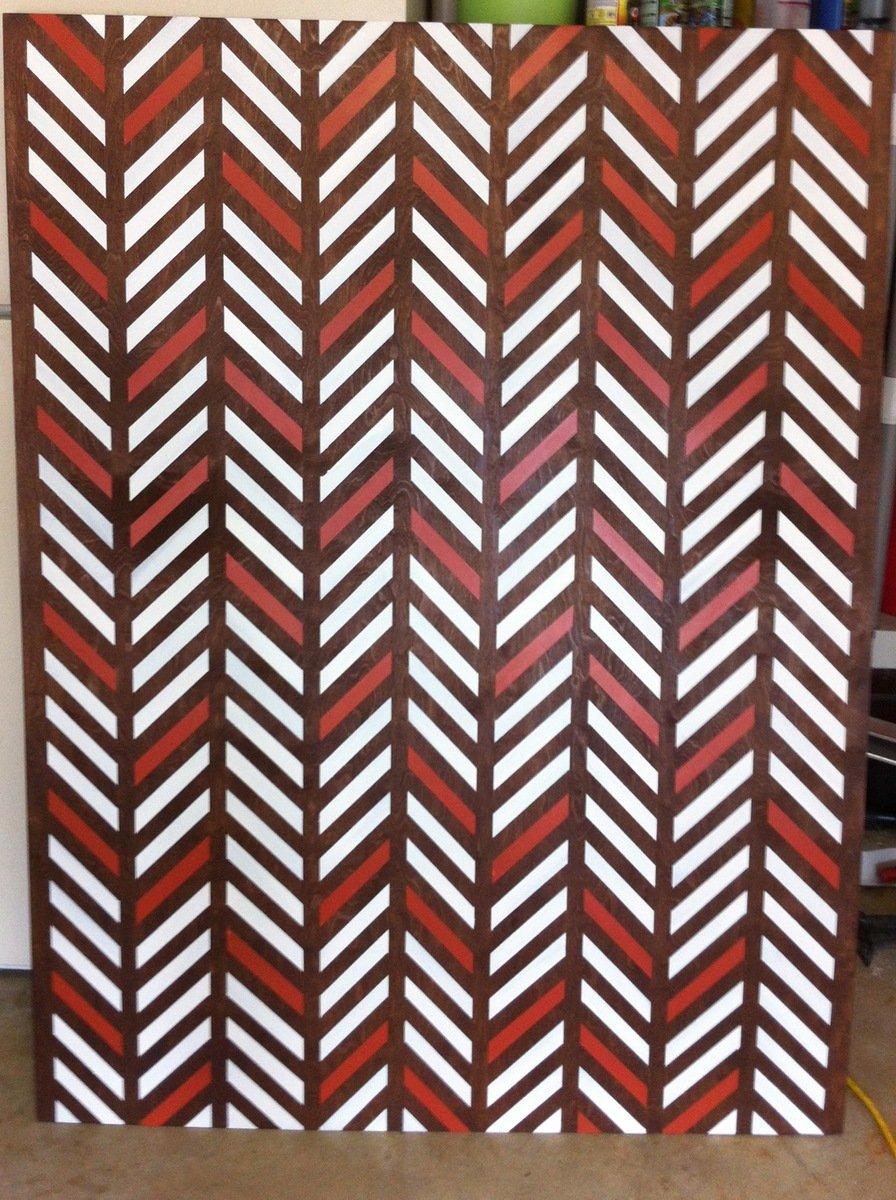
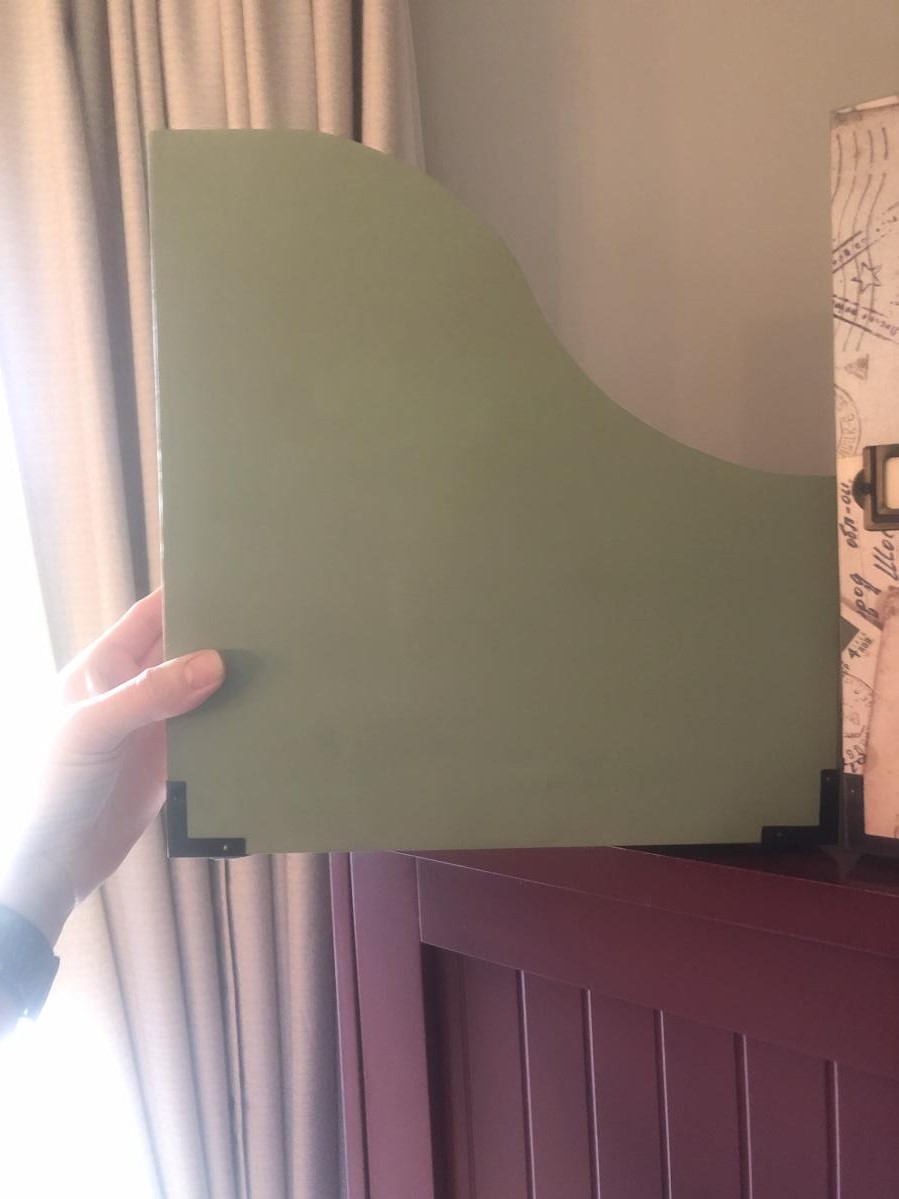
I used Valspar 8oz paint samples from Lowe's in Fireside and Birchwood White. I applied 2 coats of paint using a makeup sponge. I placed the orange strips randomly to keep the eye from getting too caught up in the pattern. The whole process was tedious, but when I pulled off the tape, it was so worth it!
Next I applied 3 coats of Minwax Polyacrylic, sanding before, between, and after coats.
Also, I completely finished the shelf and the backing before attaching them with glue and panel nails.
Recommended Skill Level
Beginner


Comments
Guest (not verified)
Wed, 01/11/2012 - 14:53
We are going to have to turn
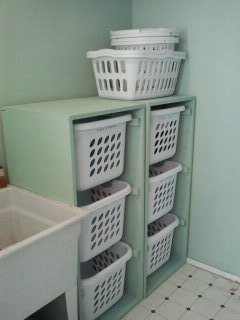
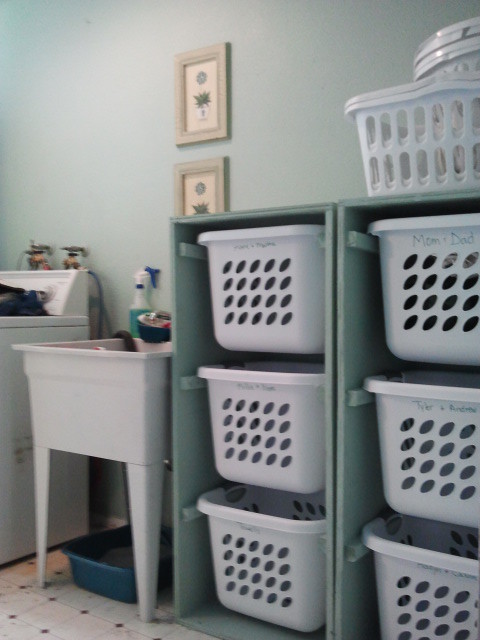
We are going to have to turn the baskets the same way due to the space in out laundry room. Do you happen to remember the dimensions of them? Thanks.
Guest (not verified)
Thu, 02/09/2012 - 07:08
Dimensions
Do you have the dimensions for the square baskets? These would work much better in my home.
Guest (not verified)
Tue, 02/14/2012 - 16:42
basket hold up?
We did something similar when our family was 8 (6 foster children). We bought 4 baskets (2 people per room) and then just had them on regular shelves. I LOVE the look of these! Unfortunately baskets give out over time and I can't ever seem to find baskets that once again are the same size as previous baskets. Did you order the baskets on-line someplace that you can consistenly get the same size for when the baskets wear out?
Guest (not verified)
Wed, 02/22/2012 - 12:35
basket hold up
I have all the same laundry baskets that I bought at wal mart for like 3 or 4 bucks a piece. I would think that just meausring out the size according to the laundry baskets would work out fine! they have never stopped selling the ones that I buy, i find them at every wal mart I go to
Lindy Holcomb (not verified)
Fri, 03/02/2012 - 06:05
Dimensions
I would love the Dimensions for this shelf.
Lindy Holcomb (not verified)
Fri, 03/02/2012 - 06:19
Dimensions
I would love the Dimensions on this shelf.
Guest (not verified)
Thu, 03/08/2012 - 05:13
Seriously? $50 for these
Seriously? $50 for these plans. Get real. Fine woodworking plans don't cost this much. Take some wood, make a box, and put slats in it to fit the baskets. The entire set wouldn't cost $50!
davidmac (not verified)
Thu, 03/08/2012 - 06:18
The plans are free. The
The plans are free. The build costs $50. See the plans on the link above the cost.
Guest (not verified)
Thu, 03/08/2012 - 07:50
Thanks David. Didn't read
Thanks David. Didn't read well as you can see. My mistake, and apologies.
christine (not verified)
Sat, 03/17/2012 - 20:54
measurements
once again can anyone please give the measurements for this square basket design and the basket model number as well. i am very challenged when it comes to building things, but with the idea of home depot doing the cutting i think i could manage if i had the measurements. i need the square size to work for my space though. thanks in advance.
Guest (not verified)
Sun, 04/01/2012 - 09:18
dimensions
I have tried clicking on the link above the cost to get the Plans...however it brings me back to the ORIGINAL Plan rather than YOUR plan (skinnier and taller)...Im sorry if I am being dense but I would really love to get the dimensions of YOUR plan but am having trouble accessing them?? Help please!!
Guest (not verified)
Fri, 04/13/2012 - 23:27
dimensions
Where it says PS there is a link to the other dimensions.
Cari Downing (not verified)
Fri, 04/20/2012 - 14:05
Laundry project
If you use the large wire baskets made by elfa they would not break like the plastic. The initial investment would be more but would save money over time.
Sonya Chapin
Tue, 07/24/2012 - 04:34
Easy & Beautiful
Easy and awesome! My teenage children and I made these over the week-end! Super easy and great looking! Our first project was the laundry pedestal and these are a great compliment. We let Home Depot cut the wood due to time restraints and assembly was a snap! Thanks for the great family projects. My husband passed away in April and these projects have really helped us in the healing process (excellent for constructive bonding time).! Thanks again