Community Brag Posts

Industr

Submitted by Anonymous (not verified) on Fri, 09/02/2016 - 18:29

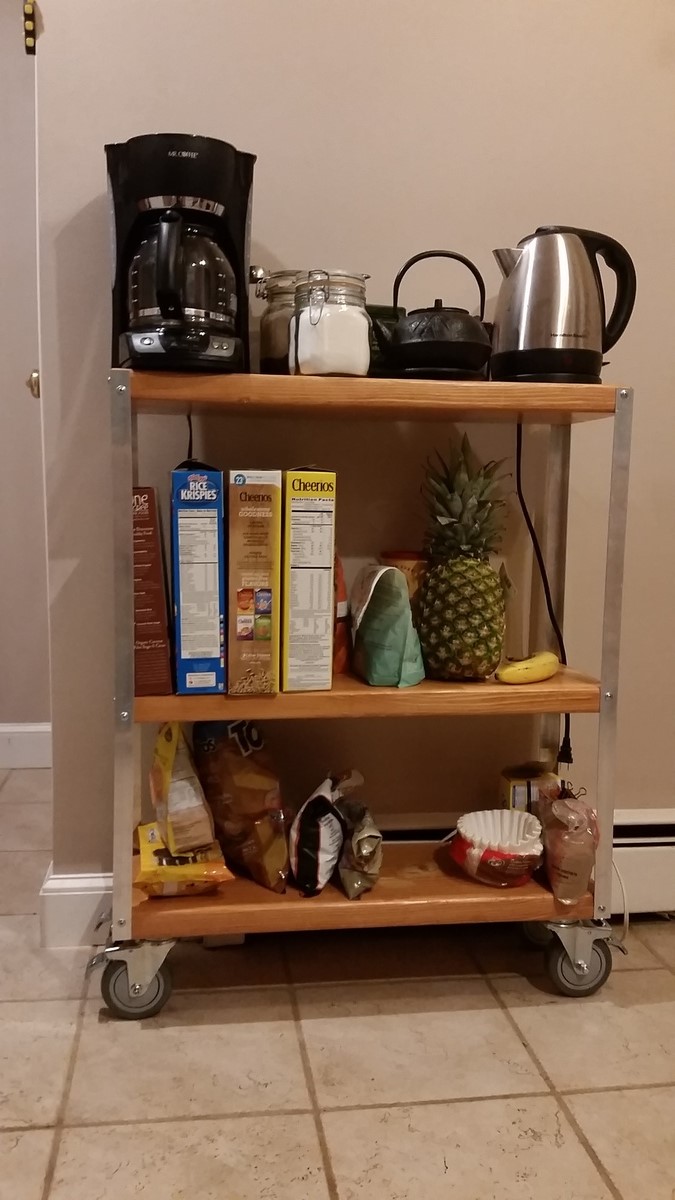
I followed the basic Industrial Cart plans, but made it 36" high instead of 24"ish. We wanted a countertop type of space for tea/coffee and a shelf big enough for cereal boxes.

Lessons learned: Treatign (sanding/staining/sealing) the wood takes the most time, and regular wood fill is ugly - next time I will try to find transparent fill or leave the suface uneven.

Built from Plan(s)
Estimated Cost
$110. More than half of it was nice casters, and I had to use 4 pieces of 48" aluminum to get the heigh twe wanted
Estimated Time Investment
Weekend Project (10-20 Hours)
Finish Used
Golden Oak + Spar Urethane
Recommended Skill Level
Starter Project

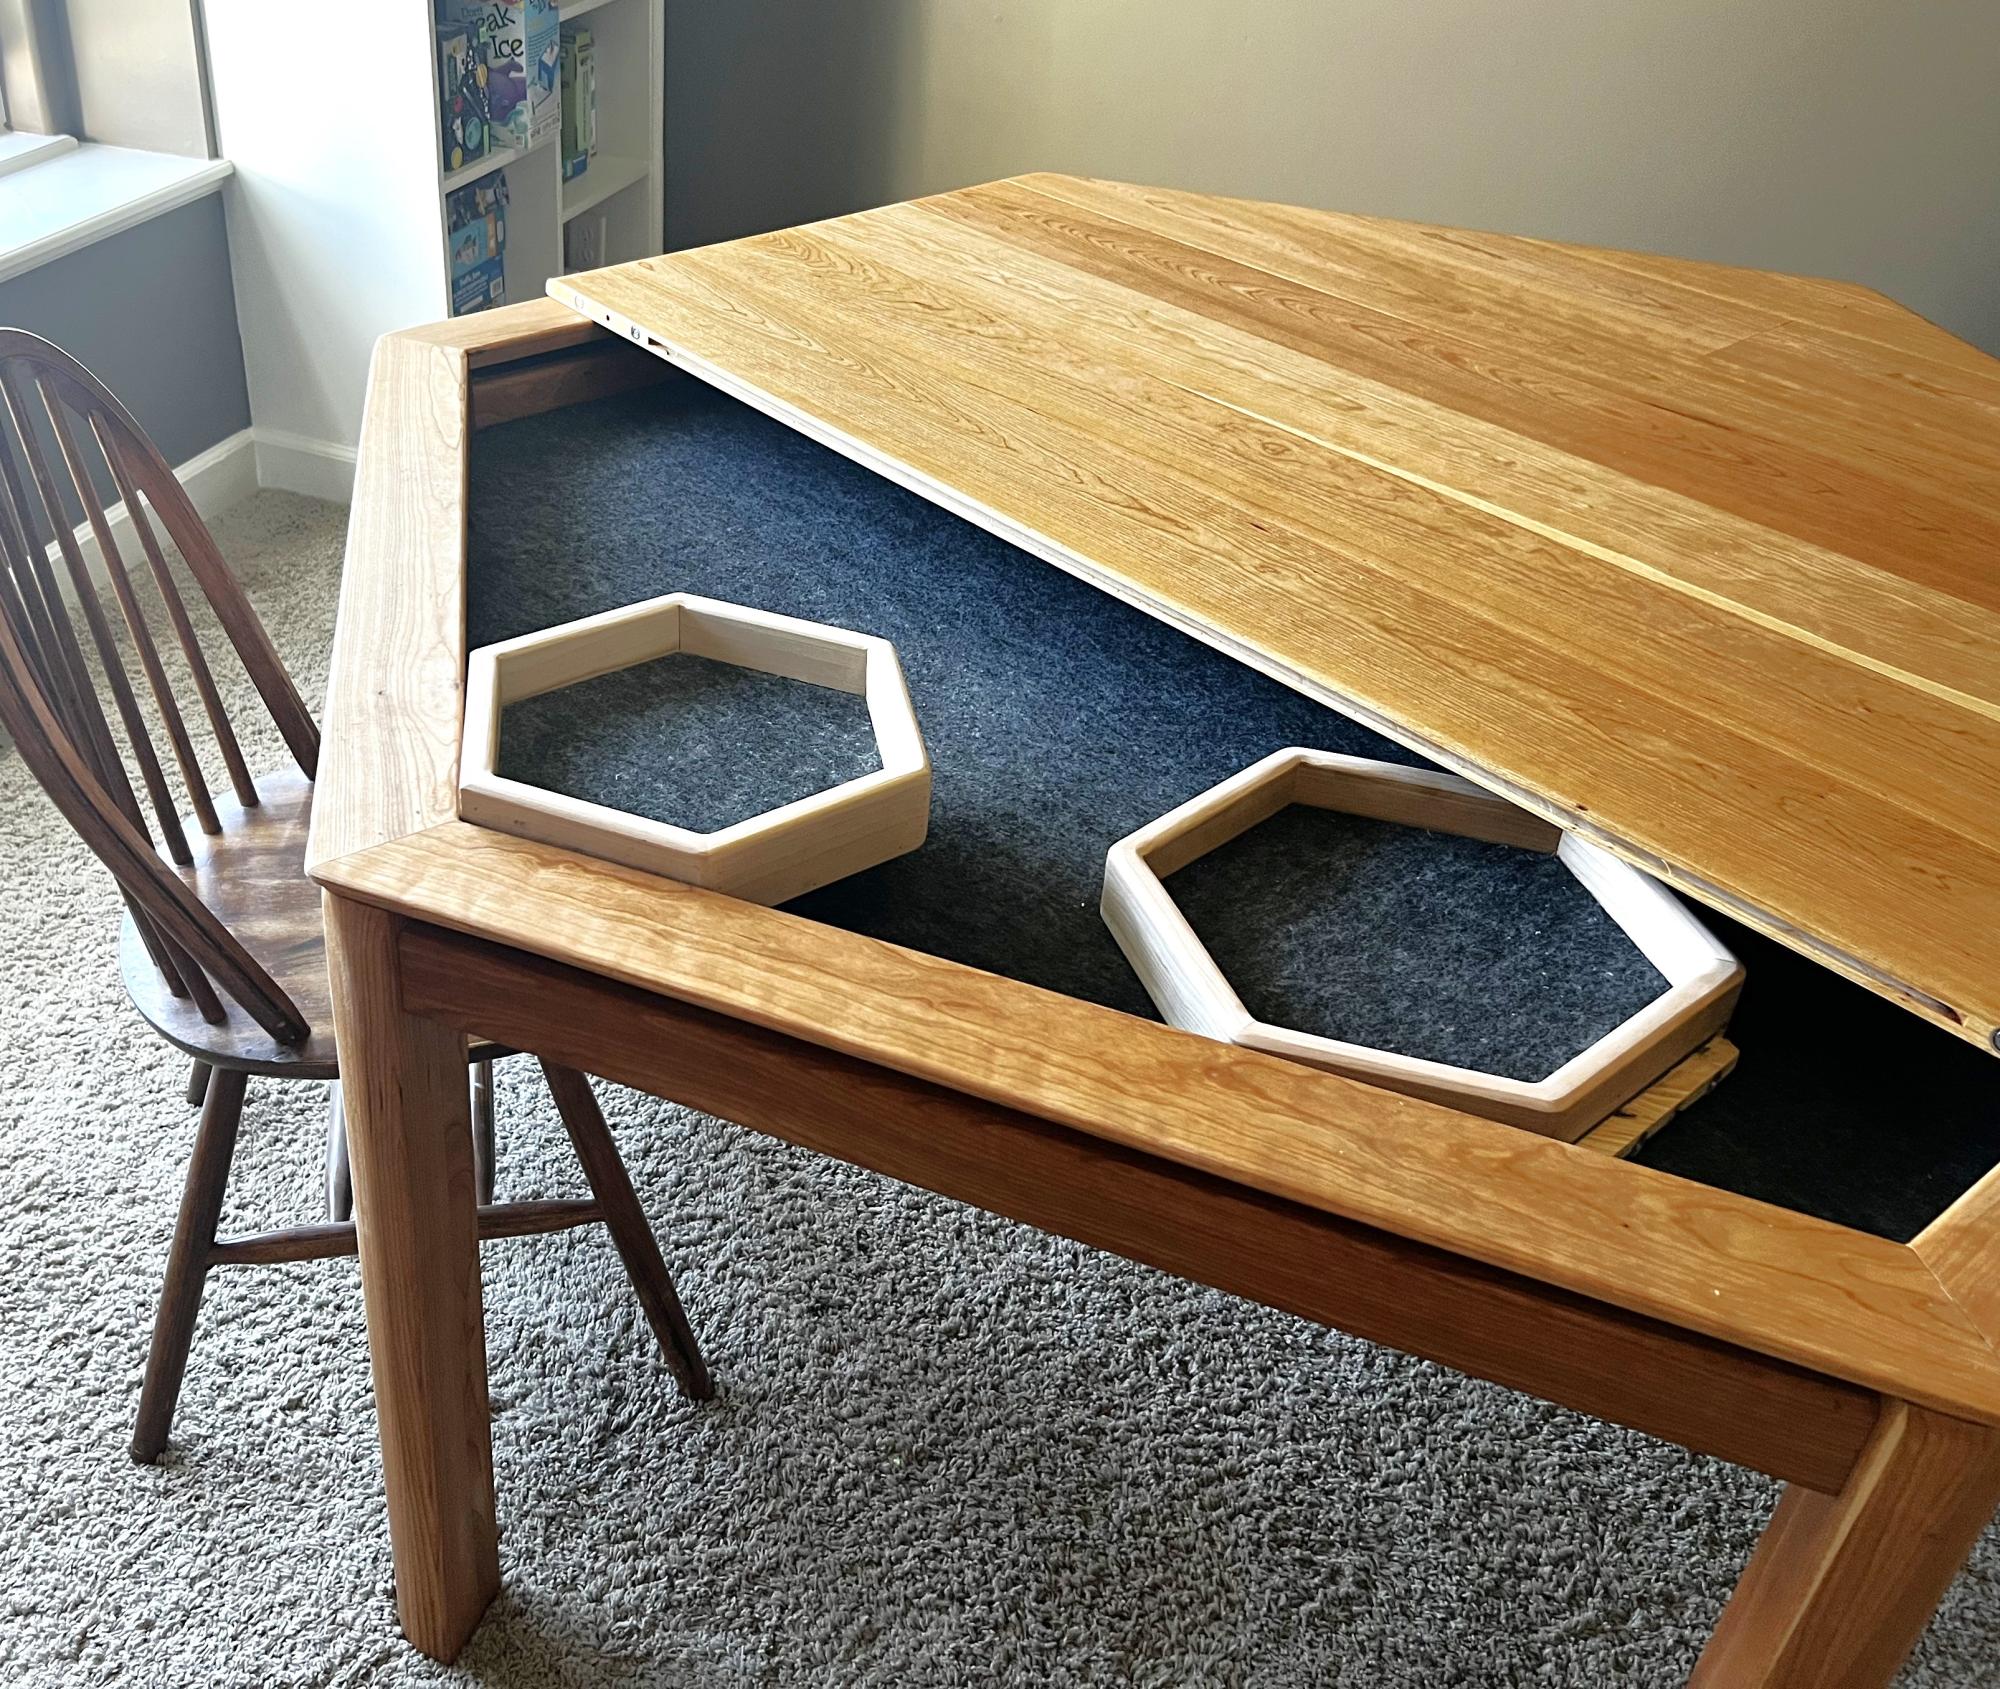
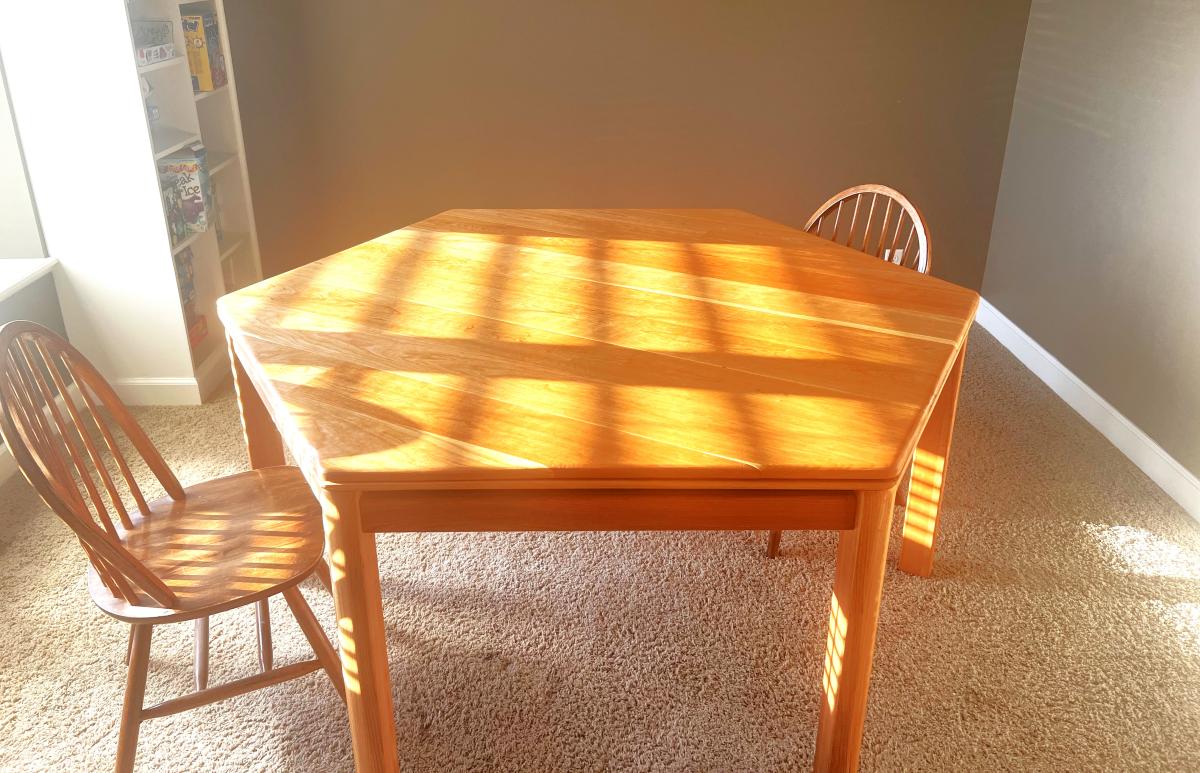
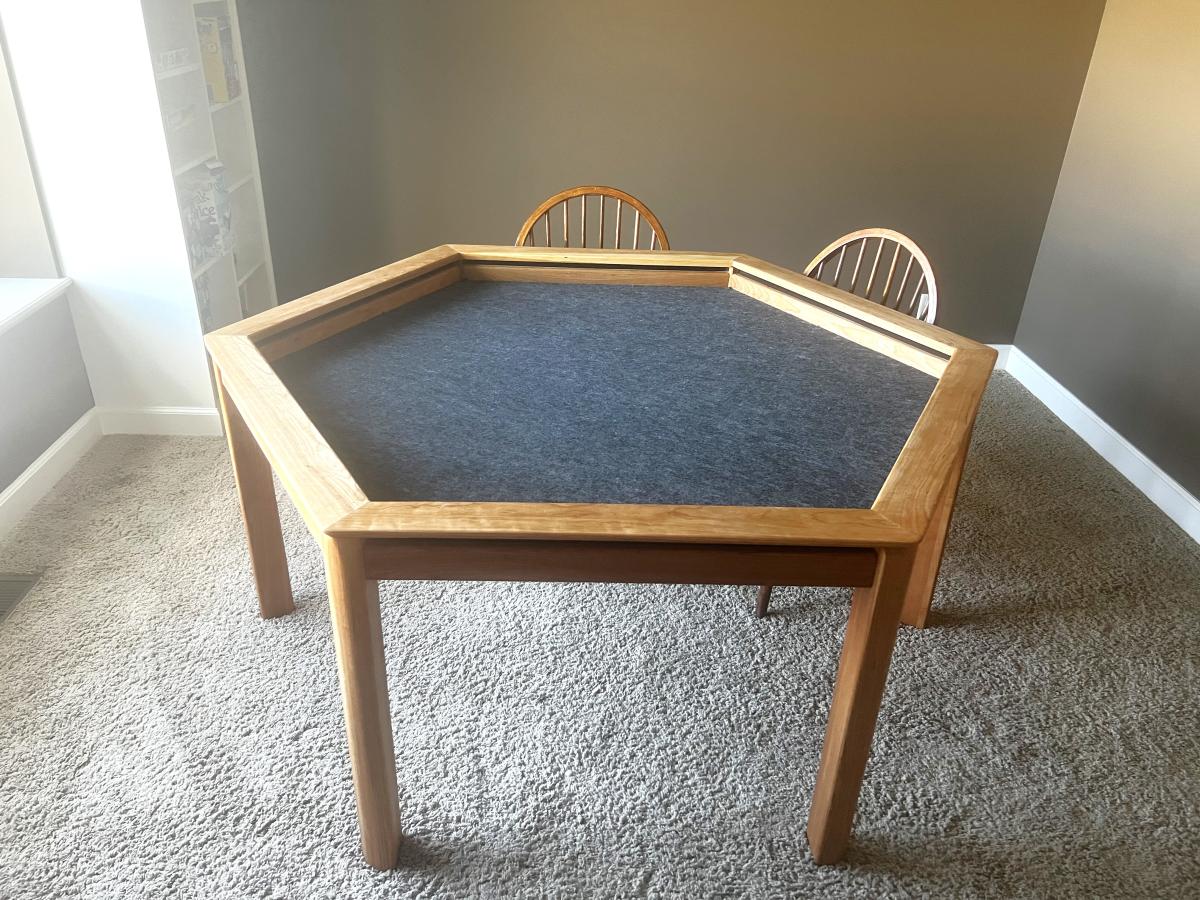
Custom Game Table

Submitted by Anonymous (not verified) on Mon, 03/18/2024 - 11:12

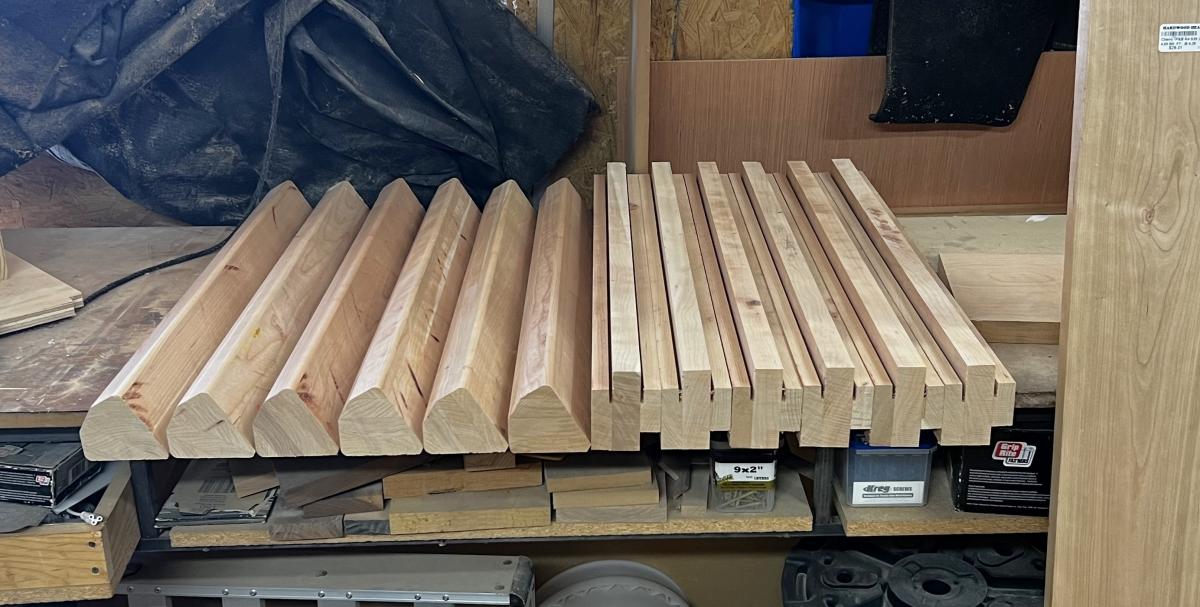
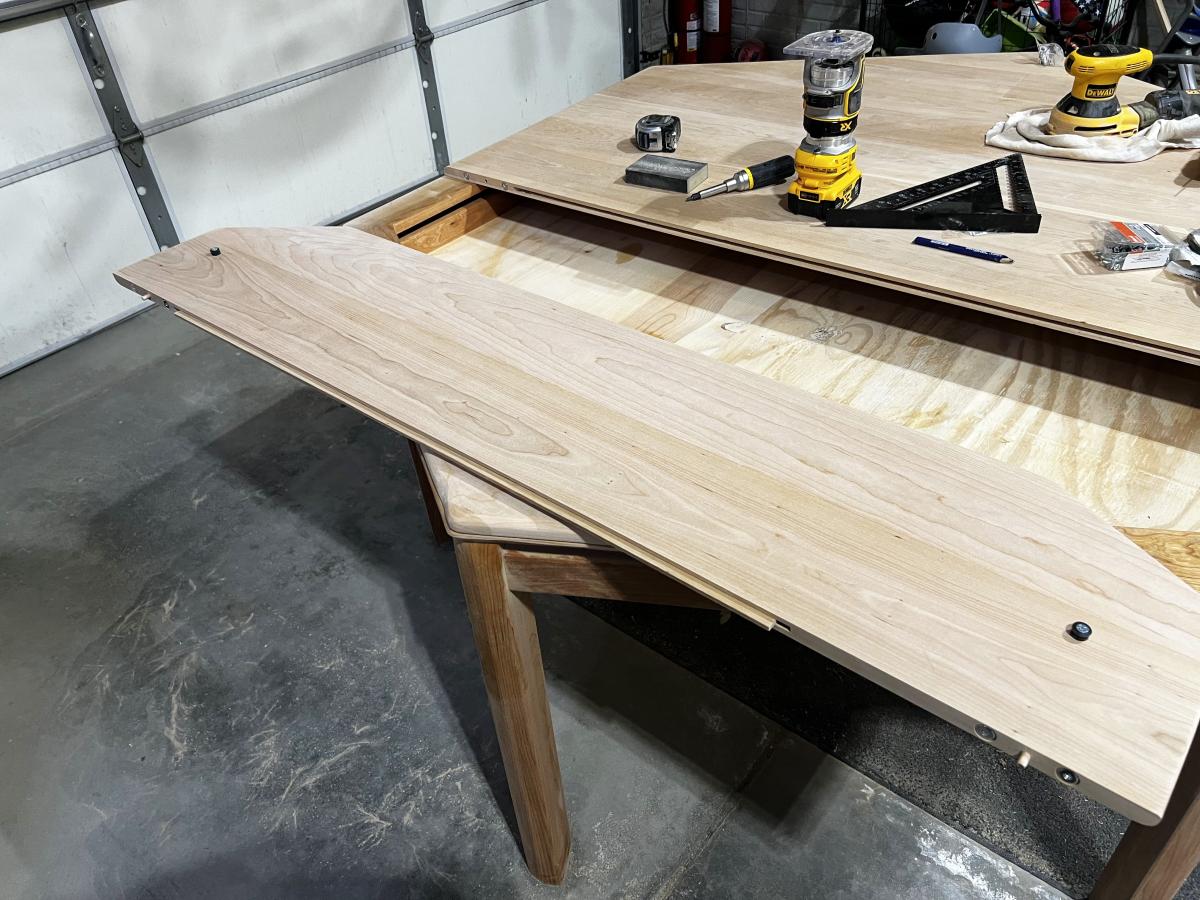
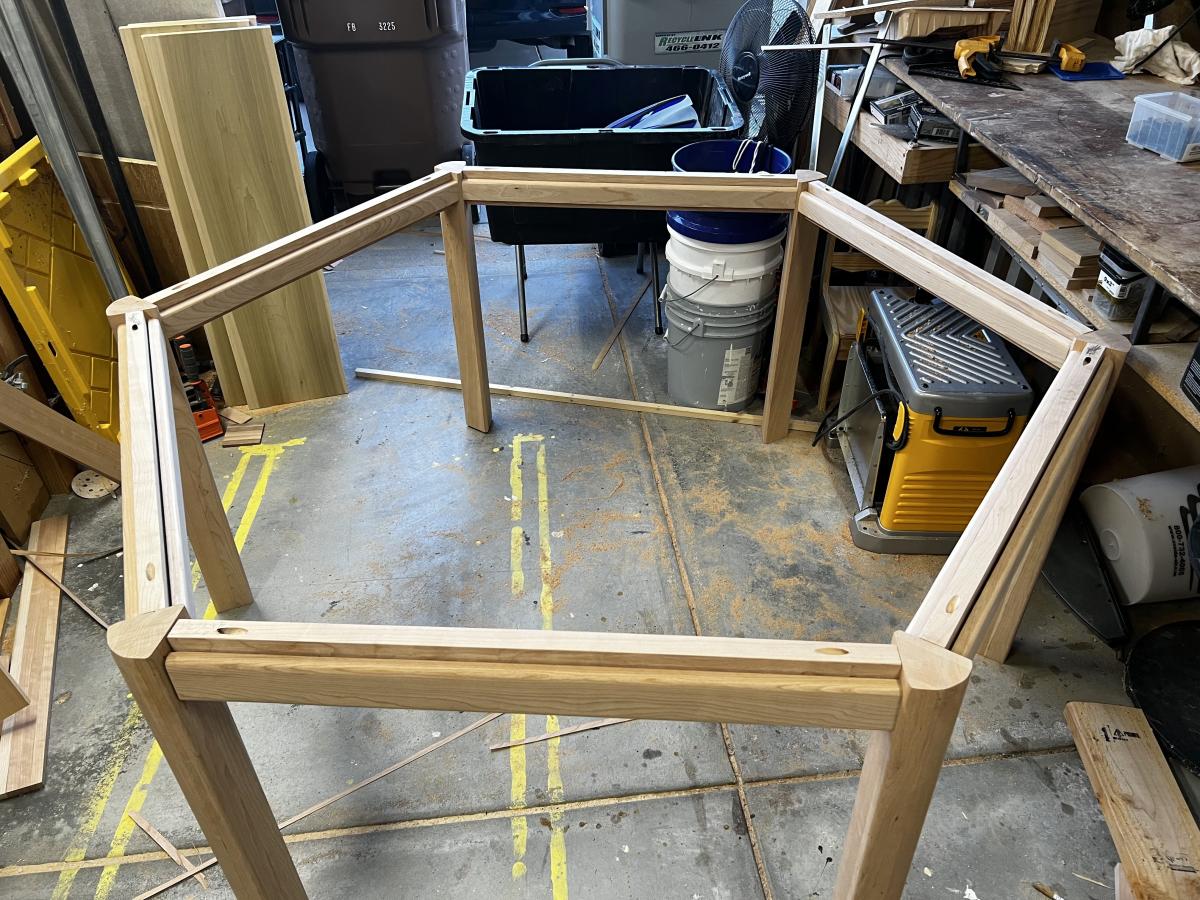
I saw this table on wyrmwoodgaming.com but I wanted to see if I could make it myself. I did it all in Cherry and used Tung oil to finish it. I have two coats of Tung oil on there for a finish. In all I paid about $800 for the cherry and flat steel I used for the magnetic rails on the sides.

Michael Frerichs

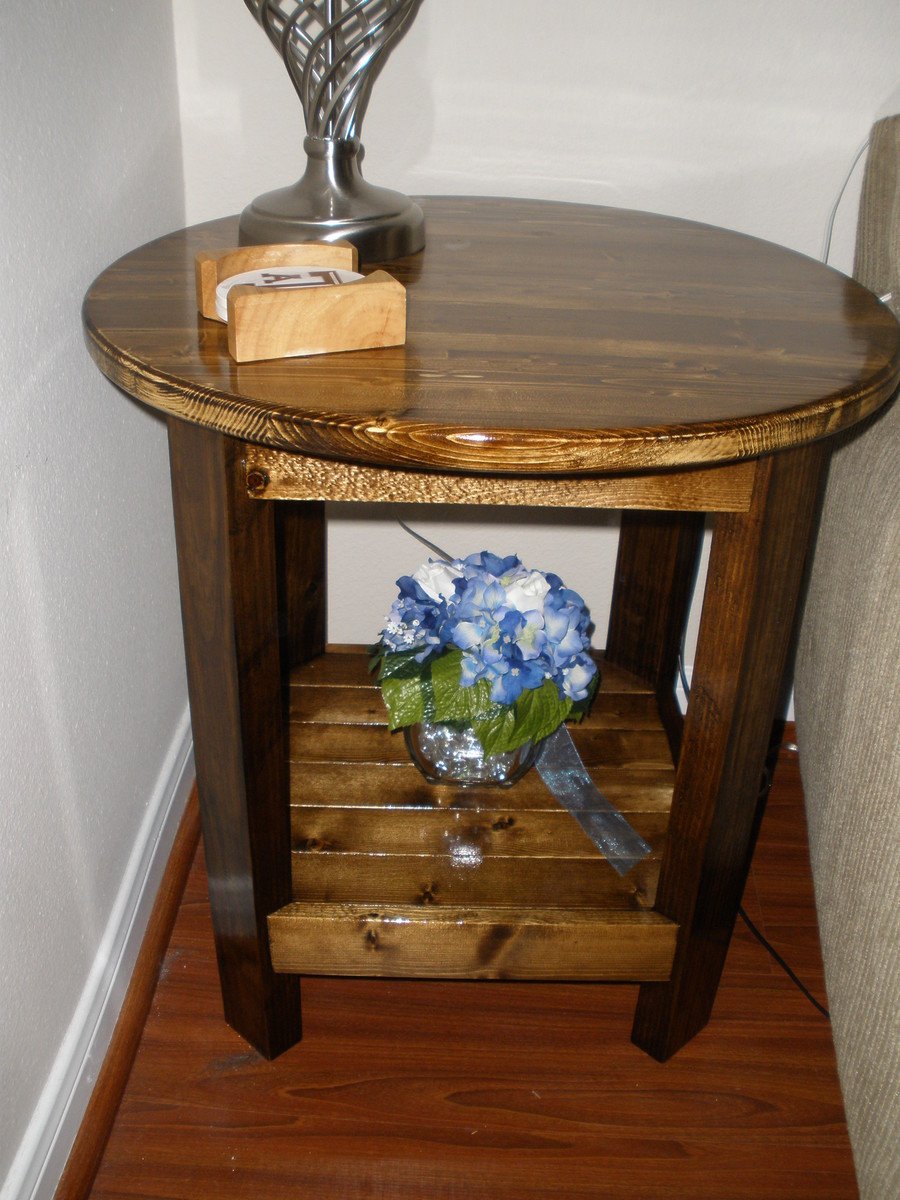
Benchright Round Side Table

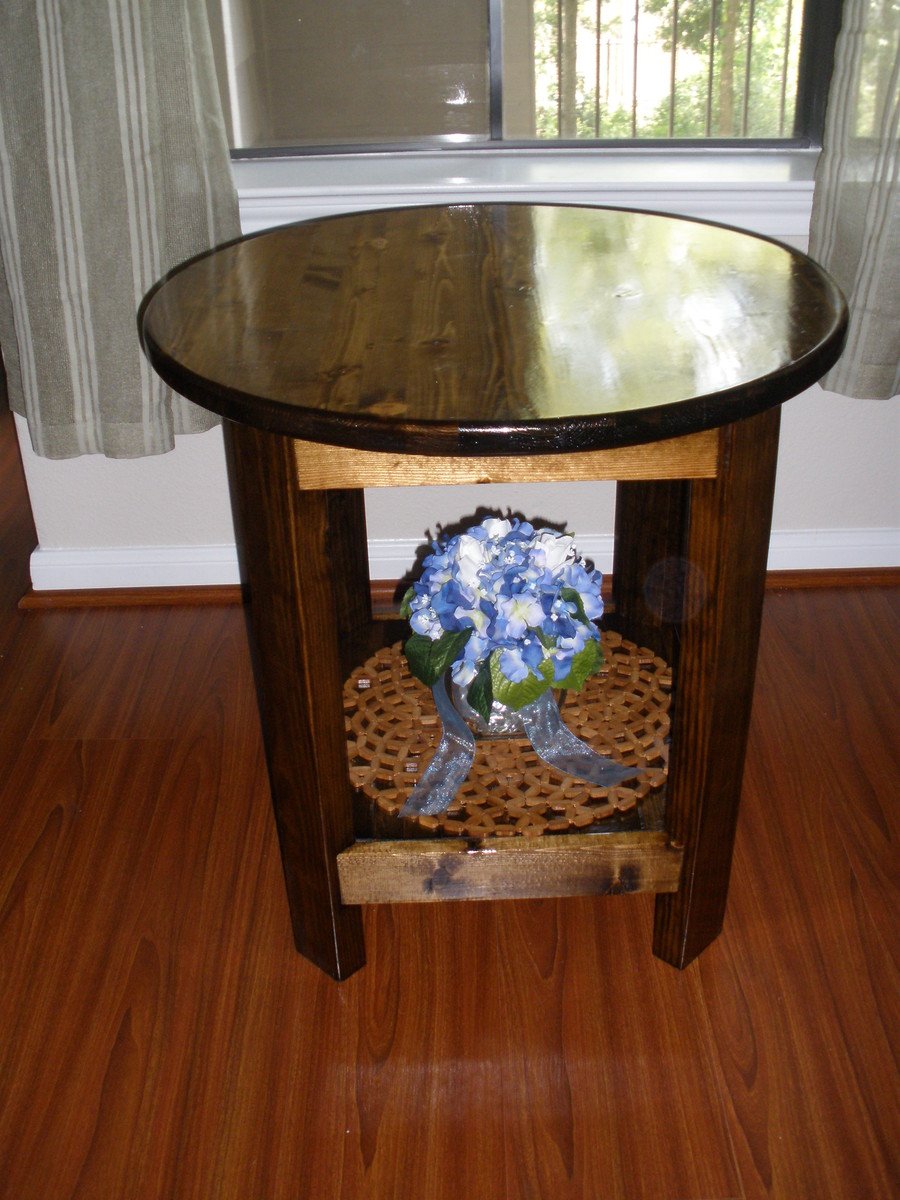
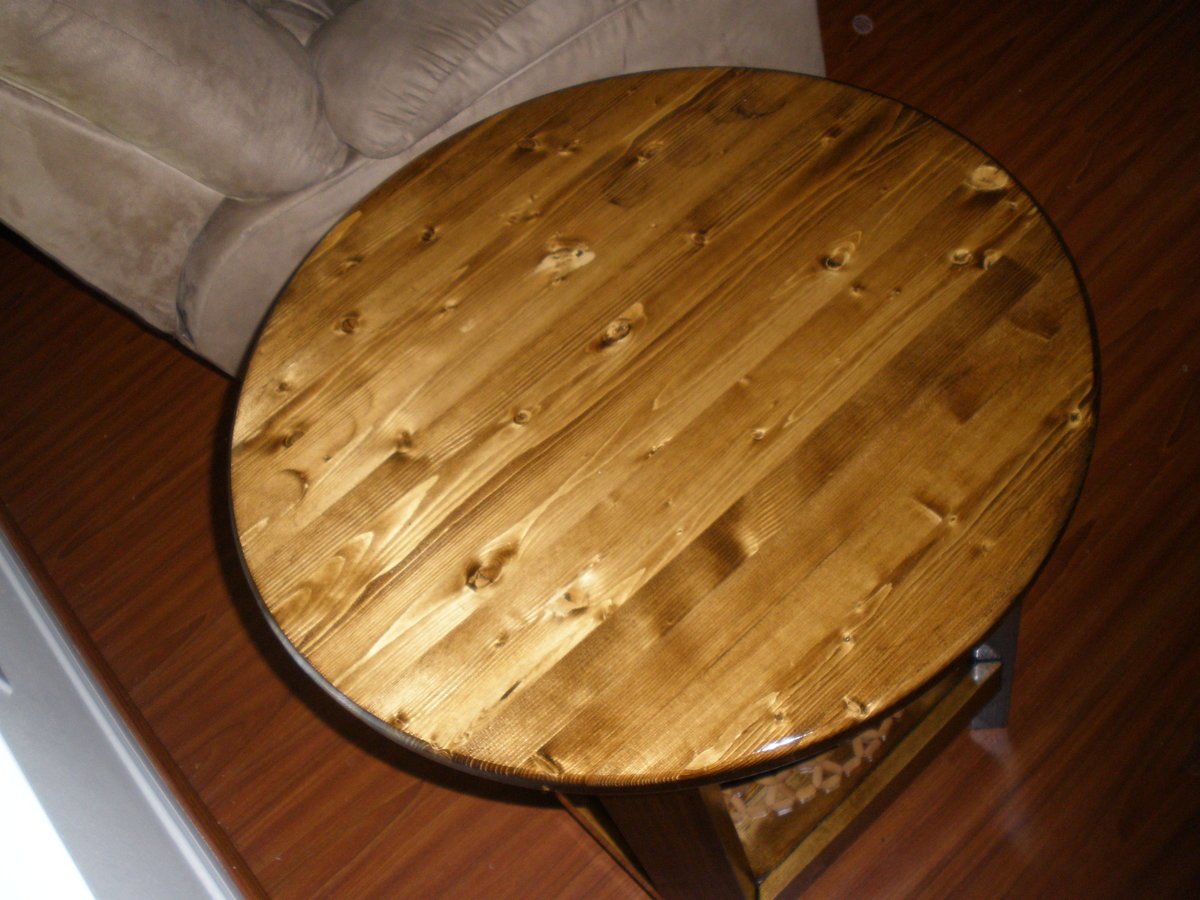
These tables are part of the Benchright collection. They are not terribly hard to make, especially if you buy the 24" diameter round table top from Lowes.

Built from Plan(s)
Estimated Time Investment
Weekend Project (10-20 Hours)
Finish Used
Minwax Dark Walnut and Semigloss poly.
Recommended Skill Level
Intermediate

Comments

jrankintamu

Sat, 08/11/2012 - 20:18

Good lord my camera was dirty. I promise it wasn't the floor. Doesn't help that I am NOT a photographer.

Pallet Book Shelves

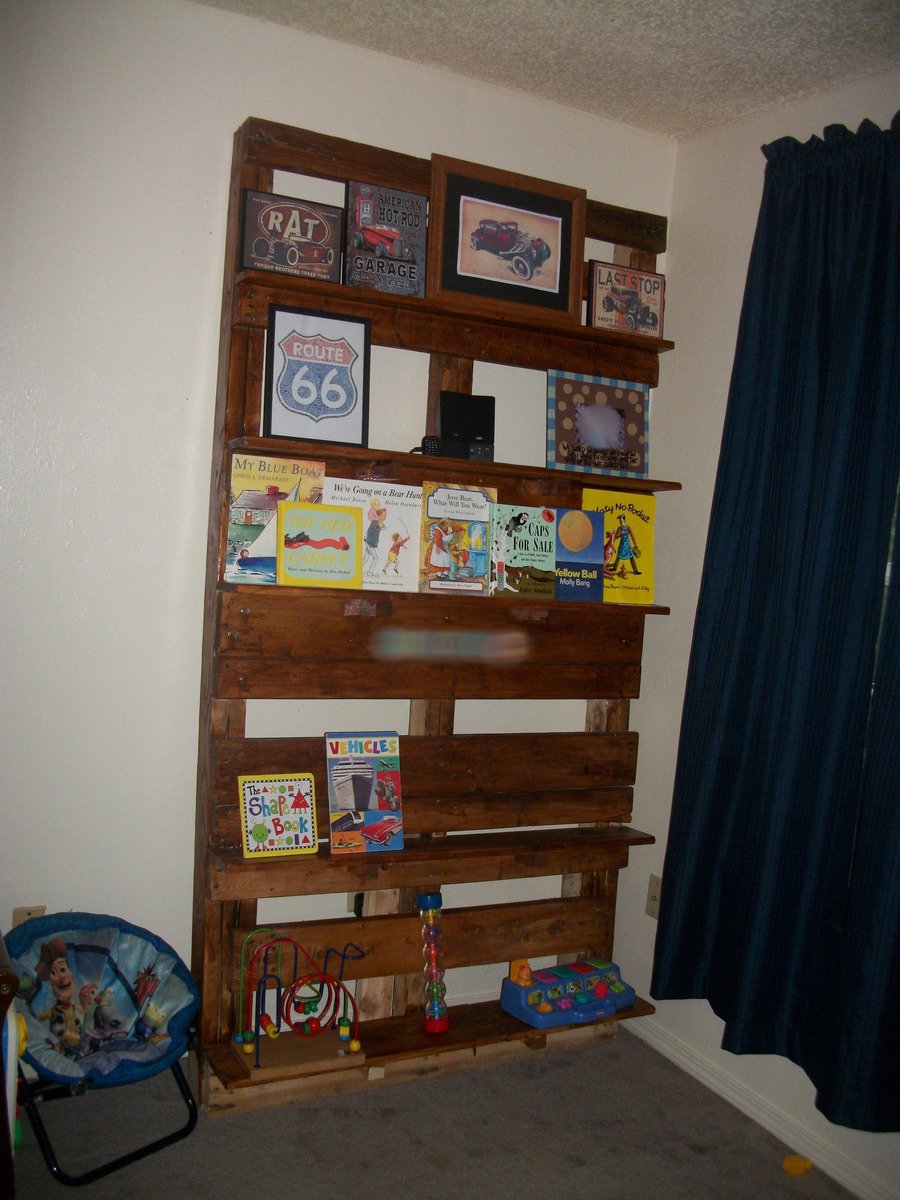
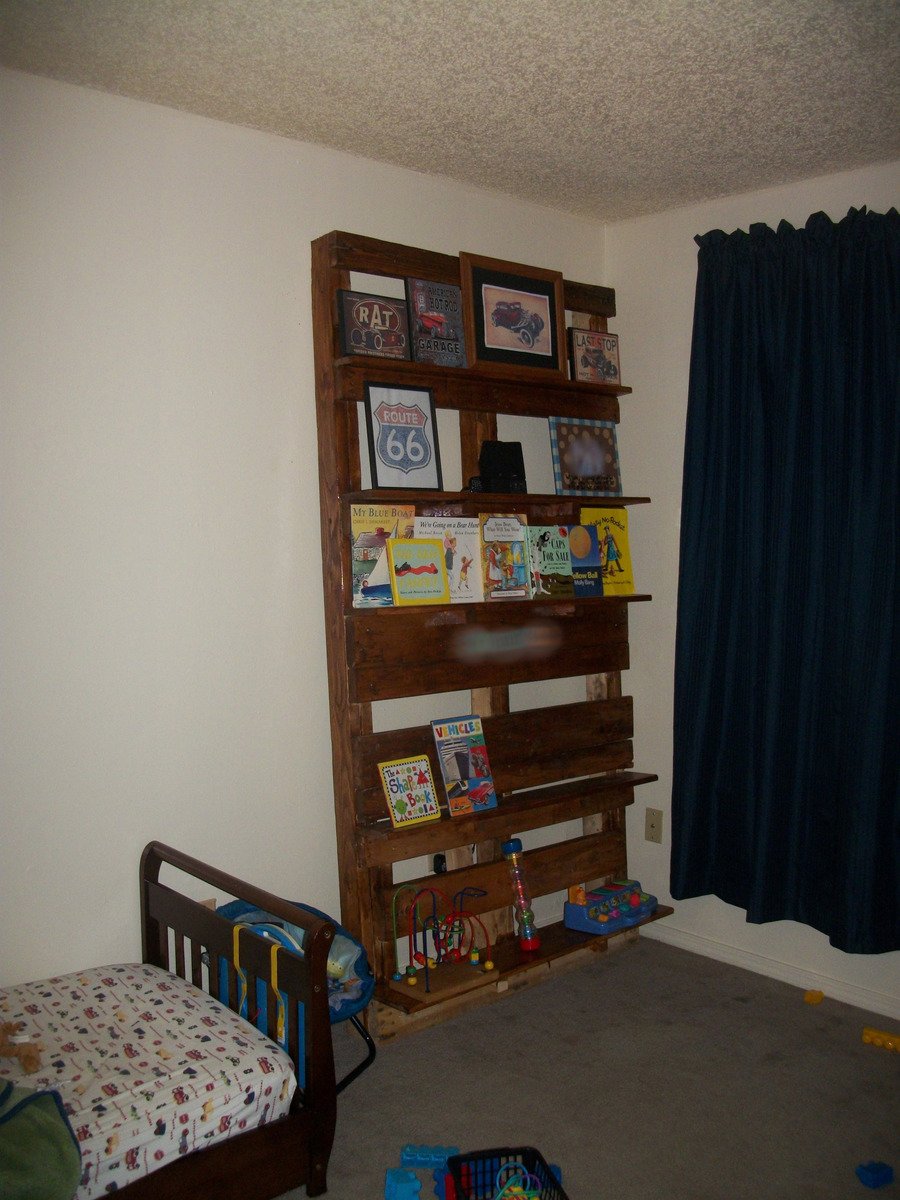
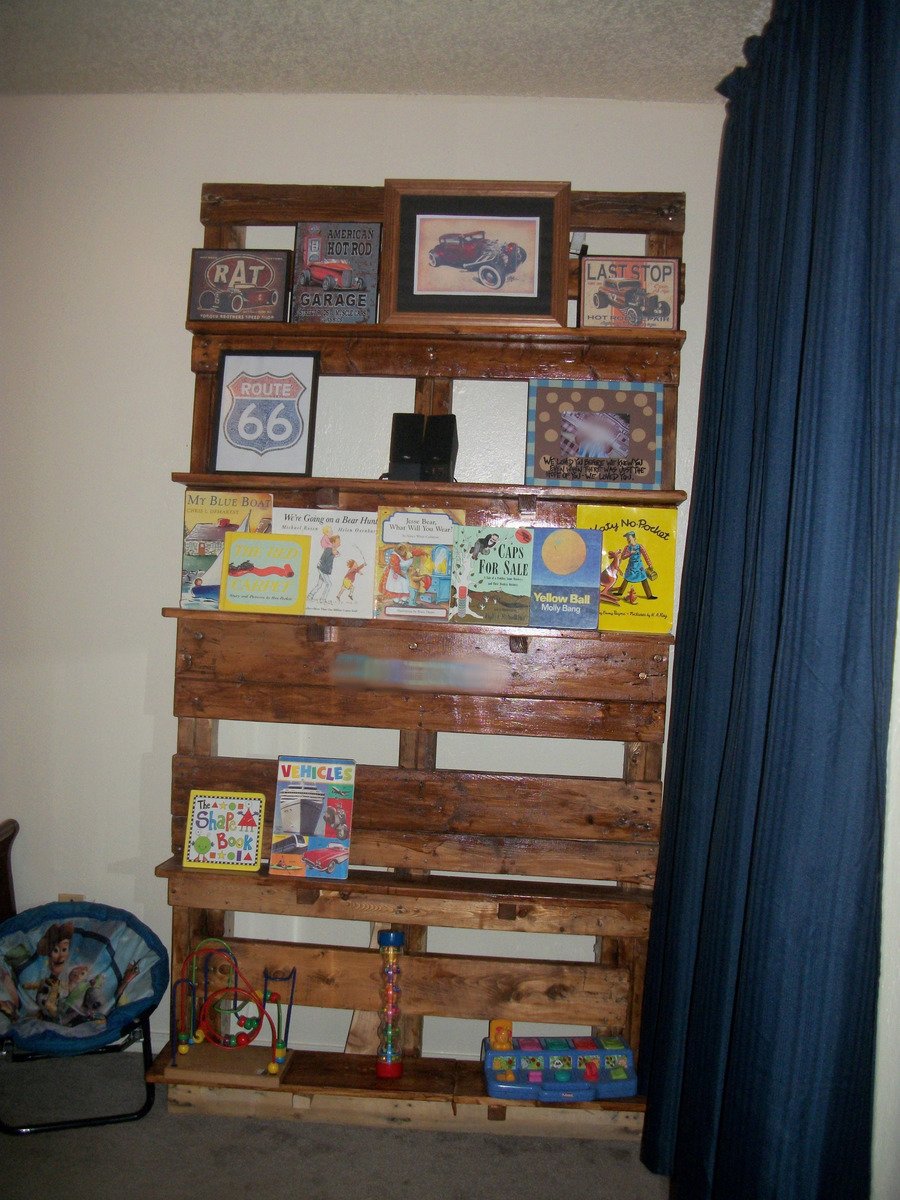
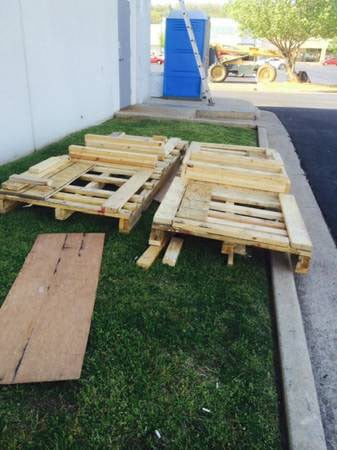
I found an ad in the Craig's List free section advertising two pallets on a first come, first serve basis behind the new pizza place near our apartment. I talked my dh into going a checking it out and there was one left when we got there. These pallets were HUGE! Nine feet long! It hung a good 3 feet over the end of the tailgate on my husband's truck! The manager of the pizza place wandered out while we were loading up and told us that their new pizza ovens had been delivered on the pallets. Cool story to tell our son about his bookshelves!

We got the pallet home after a quick stop at Lowe's for a crow bar. Dh taught me how to use a crow bar to remove the excess wood used to stablize the pizza oven on the pallet during shipment. I also learned that they use an insane amount of nails to put these things together! After pulling off about 40 pounds of useless scrap wood (literally, 40 pounds, these suckers were HEAVY!) I used some of our own scrap boards from other projects to make the shelves. We live in an apartment complex. People wandering by all day asked what I was doing. Even dh didn't understand exactly what I was trying to do but he went along with it and helped when I needed extra hands.

After getting it all put together, I used some left over poly-and-stain-in-one that we had left over. I got most of it stained with that but then I ran out. I haven't gotten around yet to getting some more. That will be the only cost associated with this project, the rest was free. Oh and the letters used for my son's name on the shelves. I blurred it out in the picture but I used dollar store vinyl letters to put his name on the shelf.

We anchored the shelf to the wall, it's stable and sturdy but I never doubt the ingenuity of a small child and even with the 40 pounds of wood we removed from this sucker, it is still H-E-A-V-Y!!!! Since it's going in a toddler's room I figured better safe than sorry. I went to Lowe's and asked for earthquake straps and I was told that we don't get earthquakes around here so they don't carry them.... I had to explain to her that earthquake straps also keep small children from toppling heavy furniture and she said they might have something in the childproofing area. They did have furniture straps as they called them in the childproofing area. Note to self: we no longer live in an earthquake prone area, people look at you like you've lost your mind if you want to strap your furniture down in case of earthquakes or curious small children.
Built from Plan(s)
Estimated Time Investment
Weekend Project (10-20 Hours)
Finish Used
MinWax PolyShades in Antique Walnut
Recommended Skill Level
Beginner

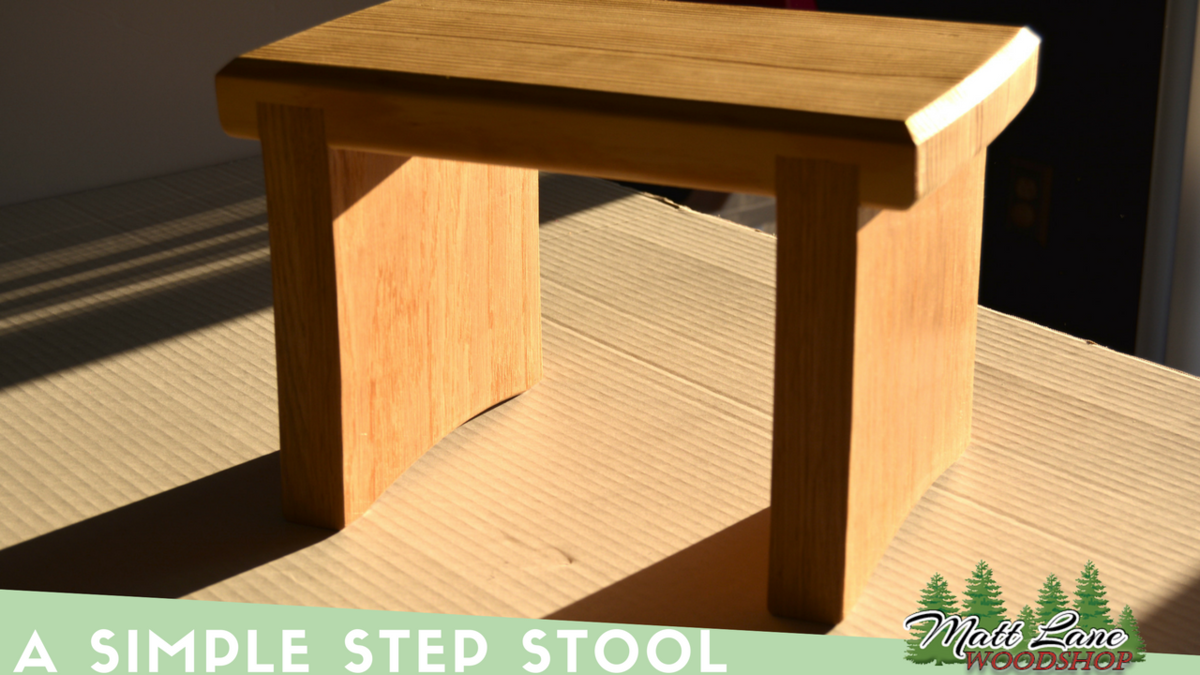
Simple Step Stool

This is a simple wooden step stool I built for my daughter using some wood I had around the house. I wanted to build a small stool that was easy for her to carry around and access items that she needed. 

Estimated Cost
$30
Estimated Time Investment
Weekend Project (10-20 Hours)
Recommended Skill Level
Intermediate

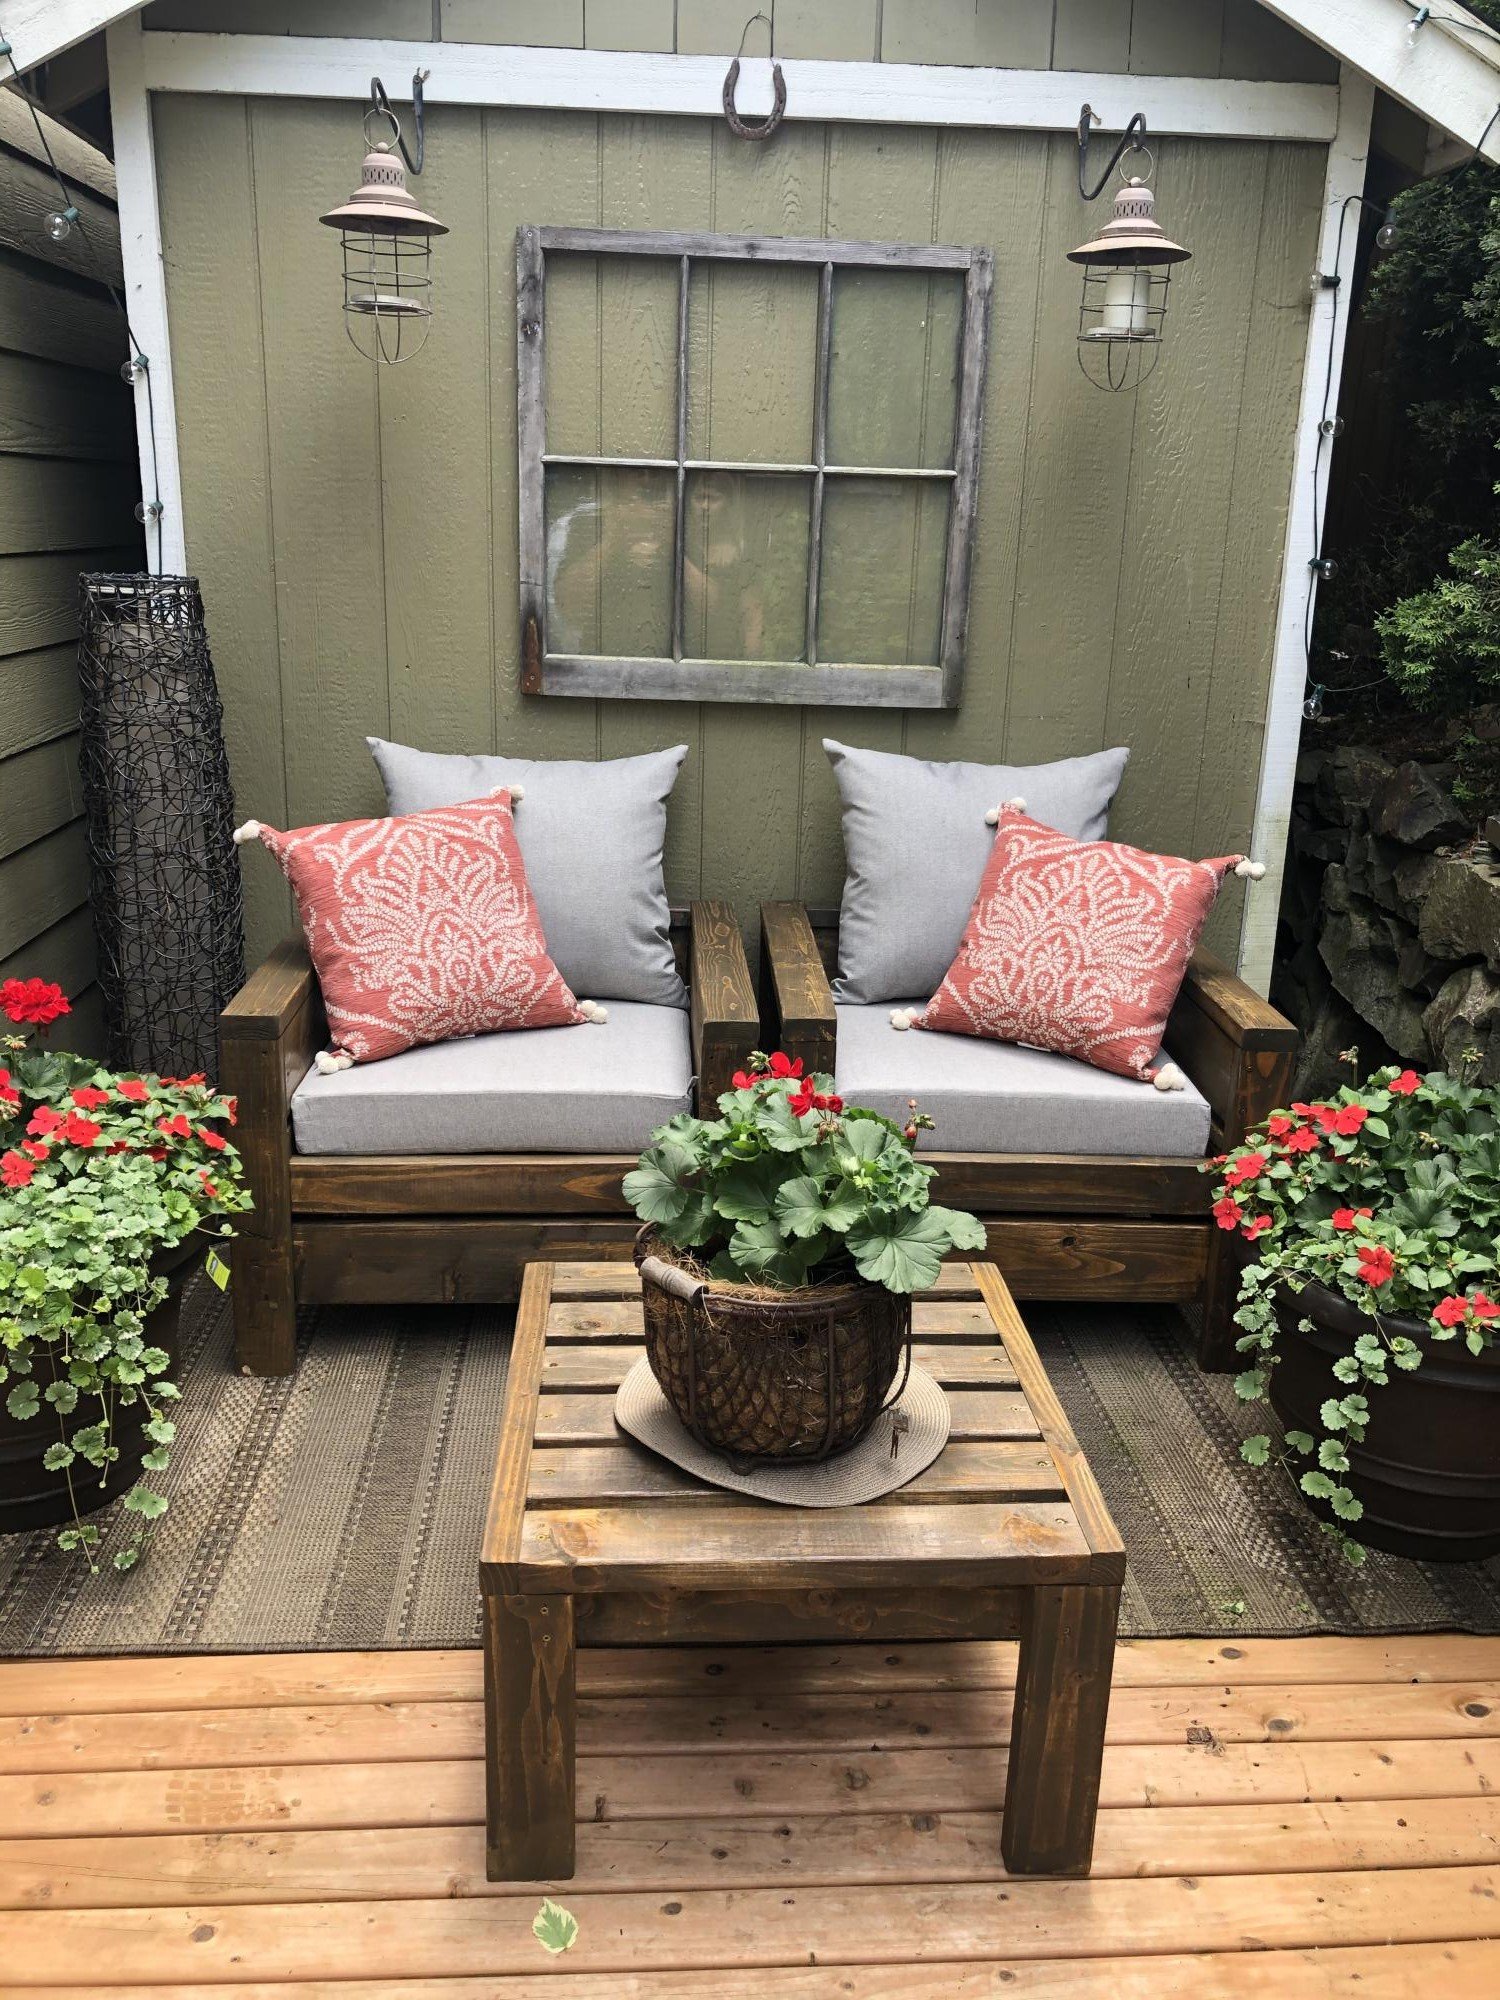
Modern Outdoor Chairs

Submitted by tiacobazzi on Wed, 06/17/2020 - 15:31

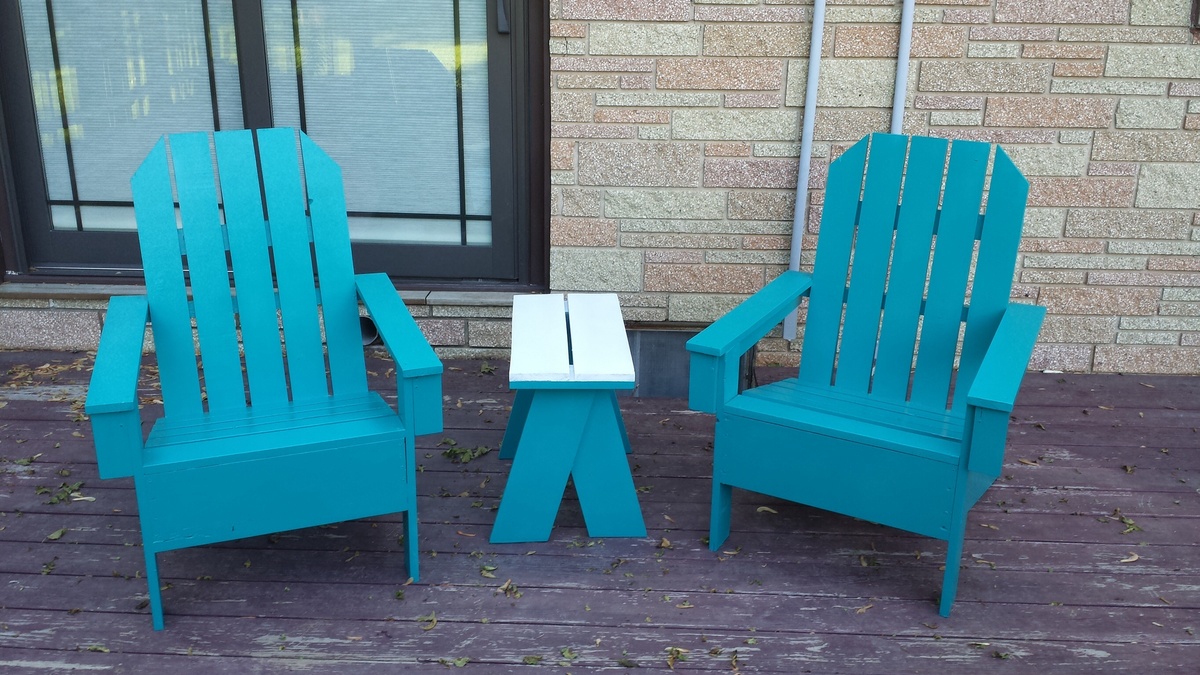
My husband built these for our little deck!!! They turned out AMAZING!! The plans were so easy to follow! I am so happy with how they turned out and can't wait to build our next Ana White design!! THANK YOU!!!

Built from Plan(s)
Estimated Cost
$60 for both chairs and table!
Estimated Time Investment
Afternoon Project (3-6 Hours)
Finish Used
Outdoor stain
Recommended Skill Level
Beginner

Comments

ladybug'13

Wed, 06/17/2020 - 20:38

He did a great job! They're beautiful! May I ask where you got the cushions? I'm thinking of making a few of these myself and would like recommendations :)

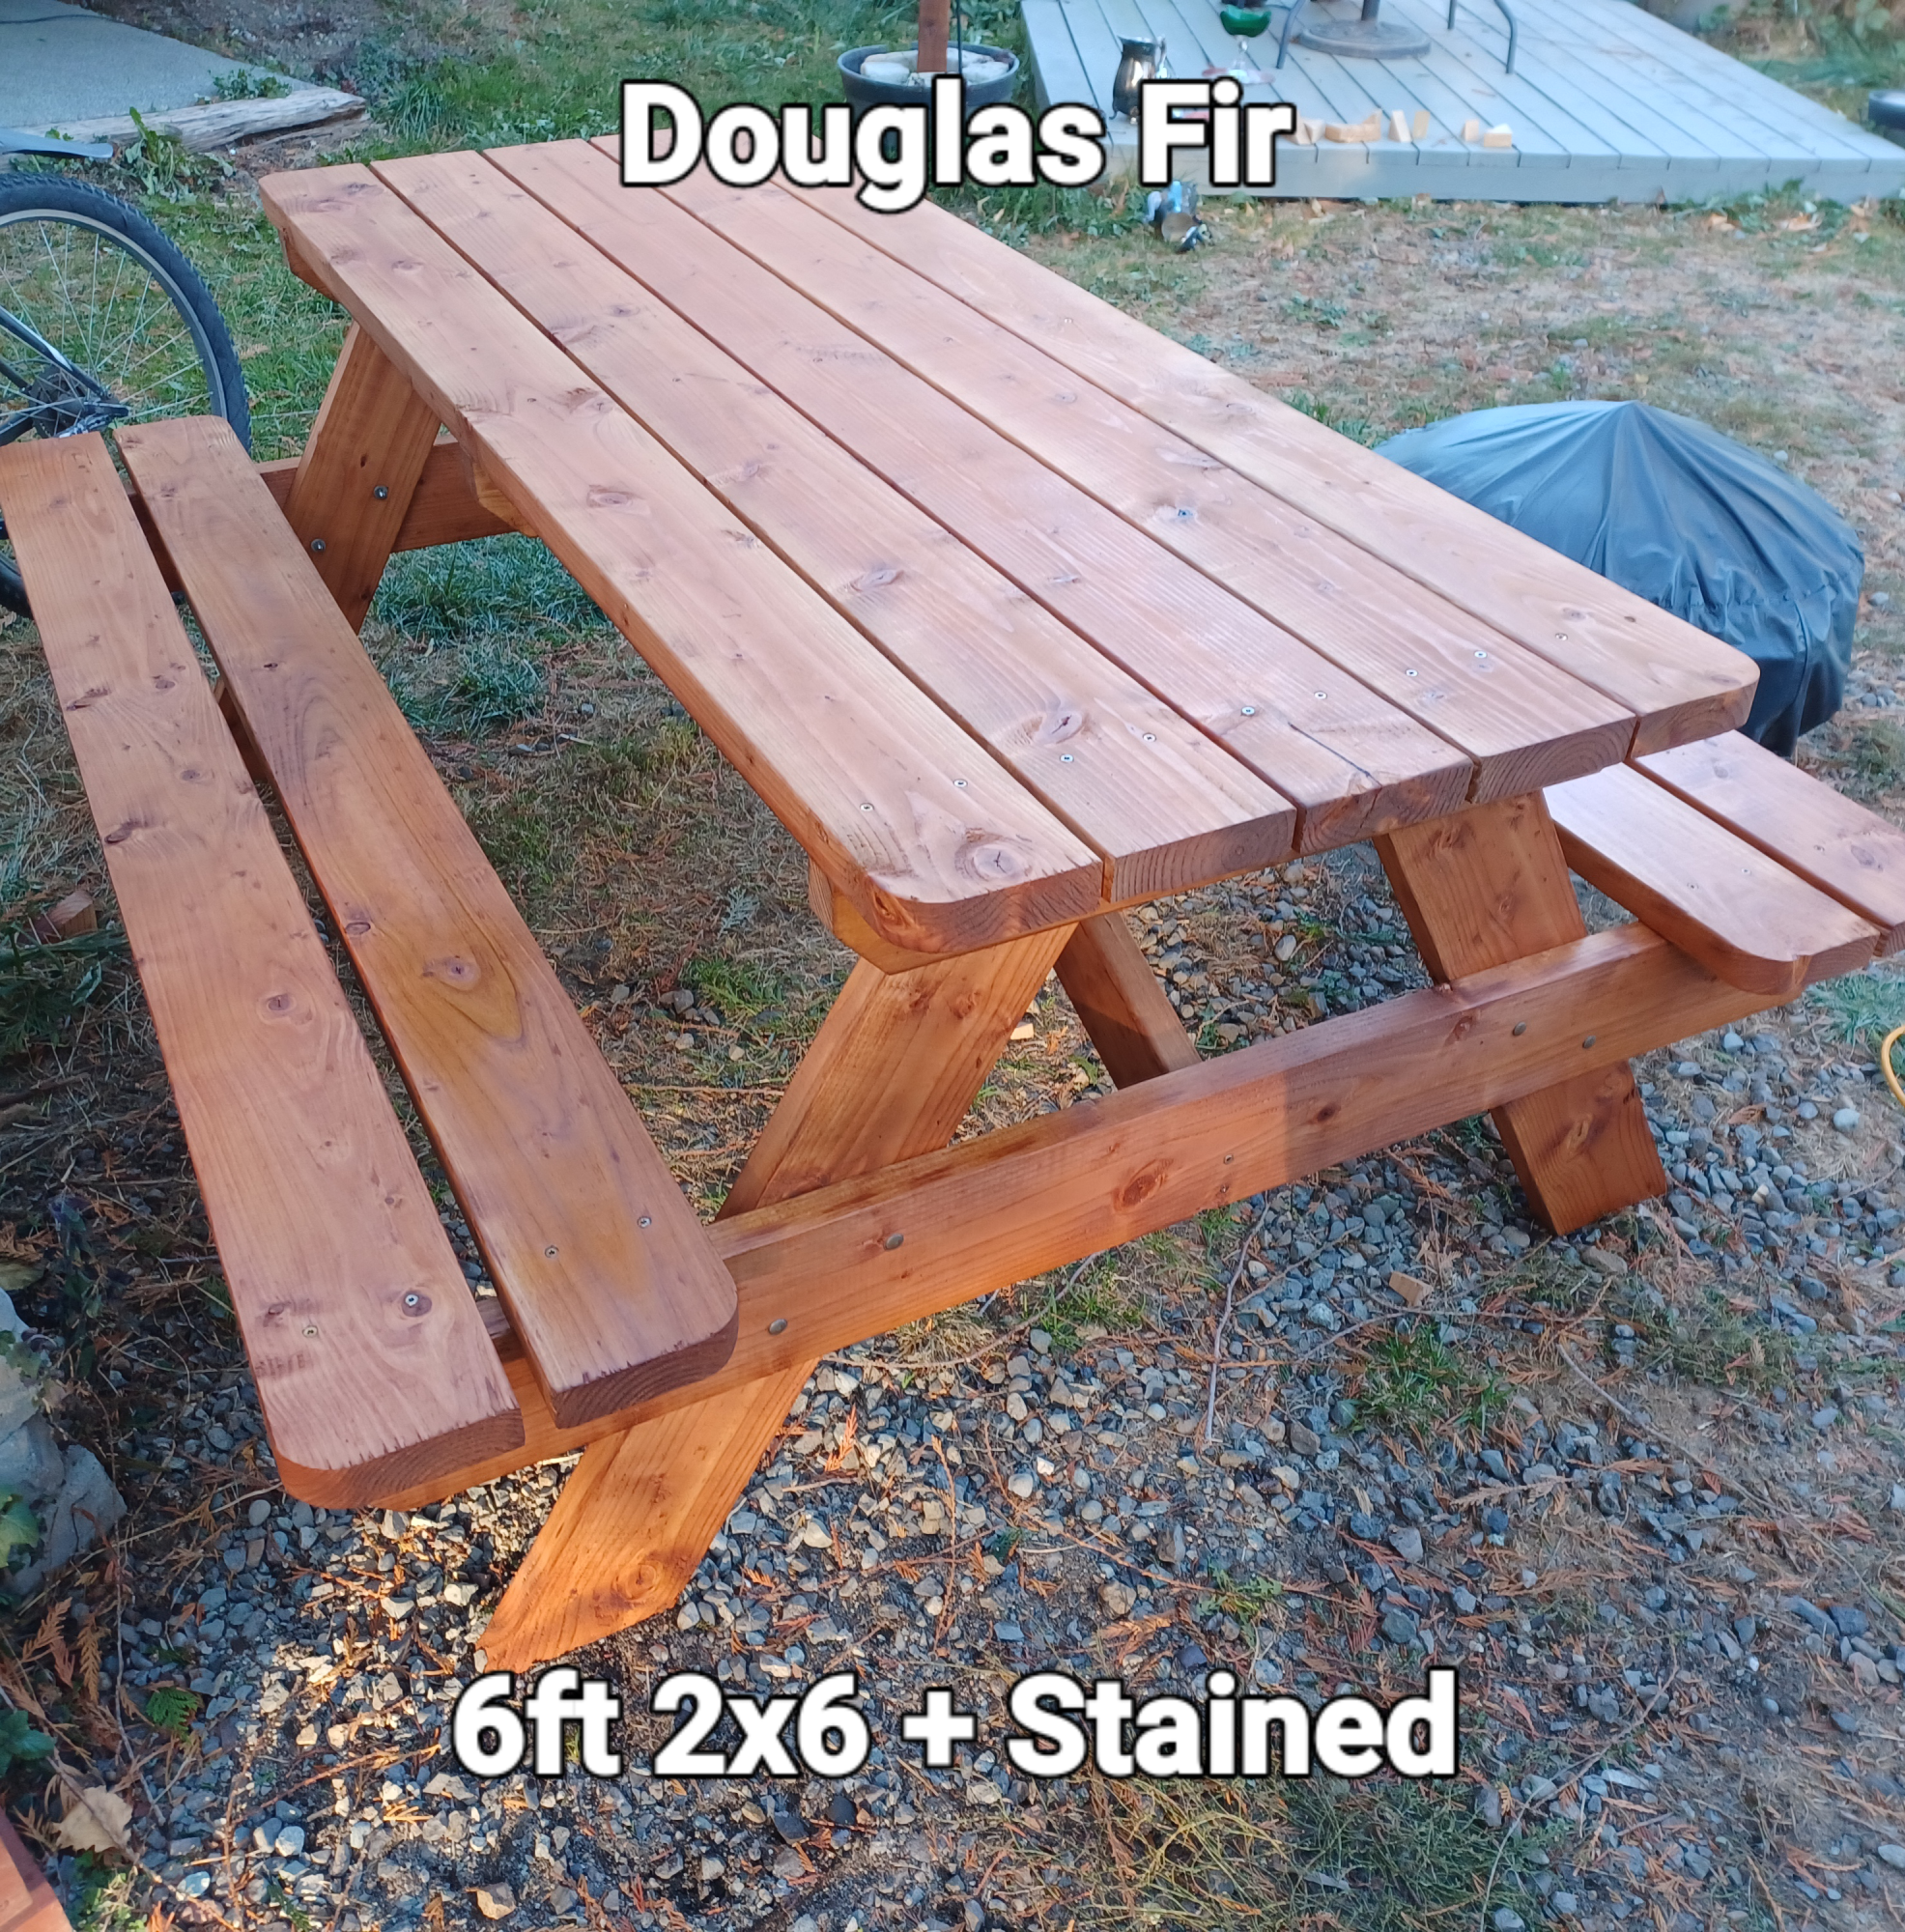
Picnic Tables

Submitted by Anonymous (not verified) on Fri, 03/22/2024 - 07:53

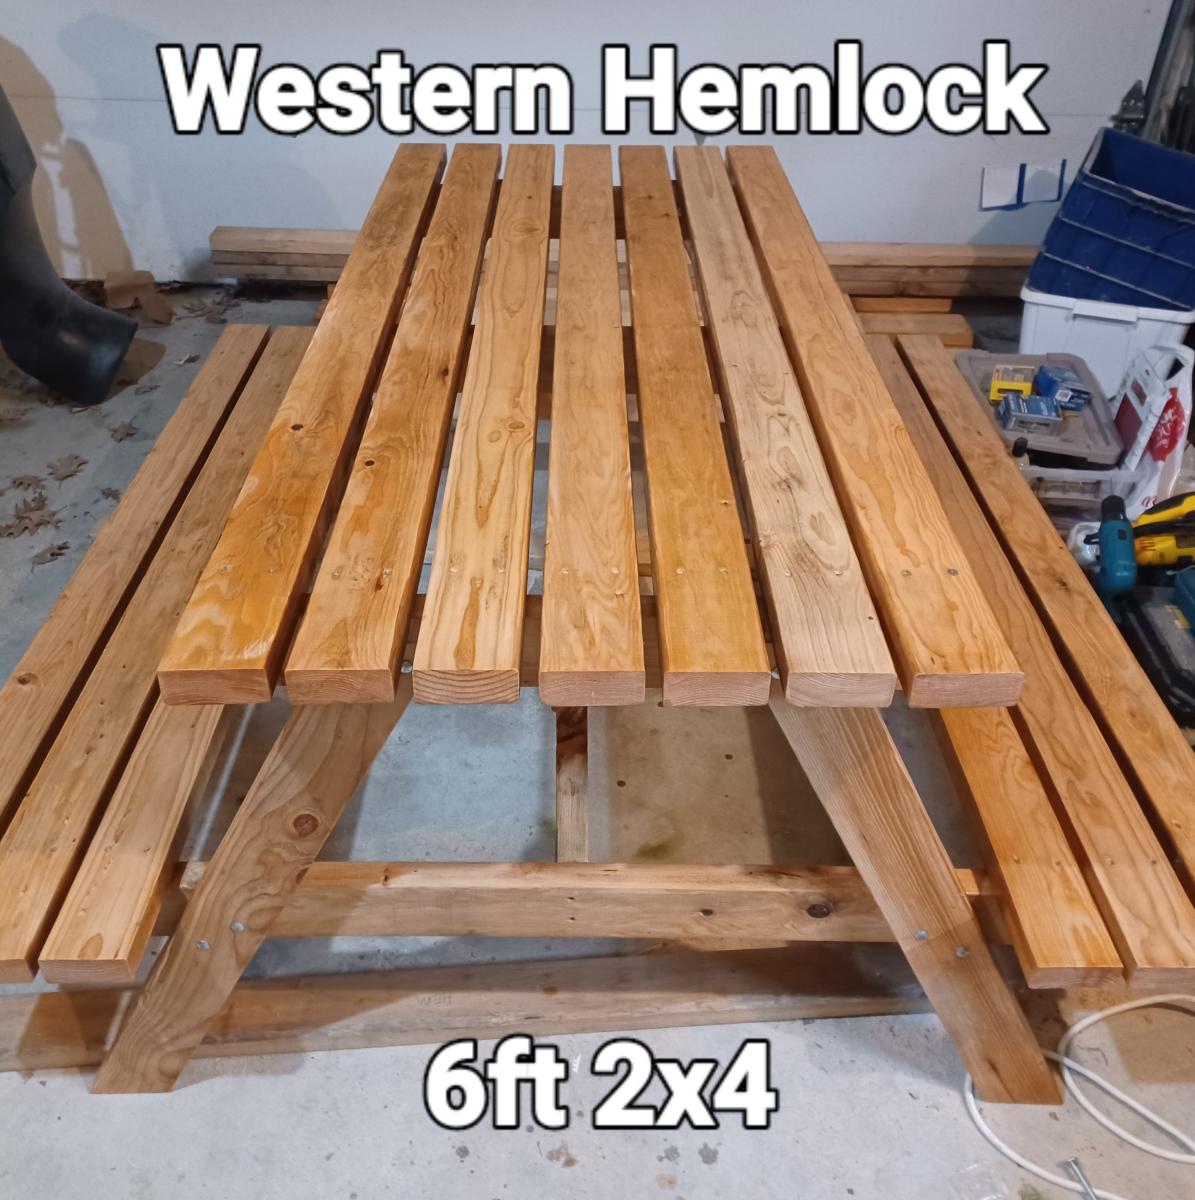
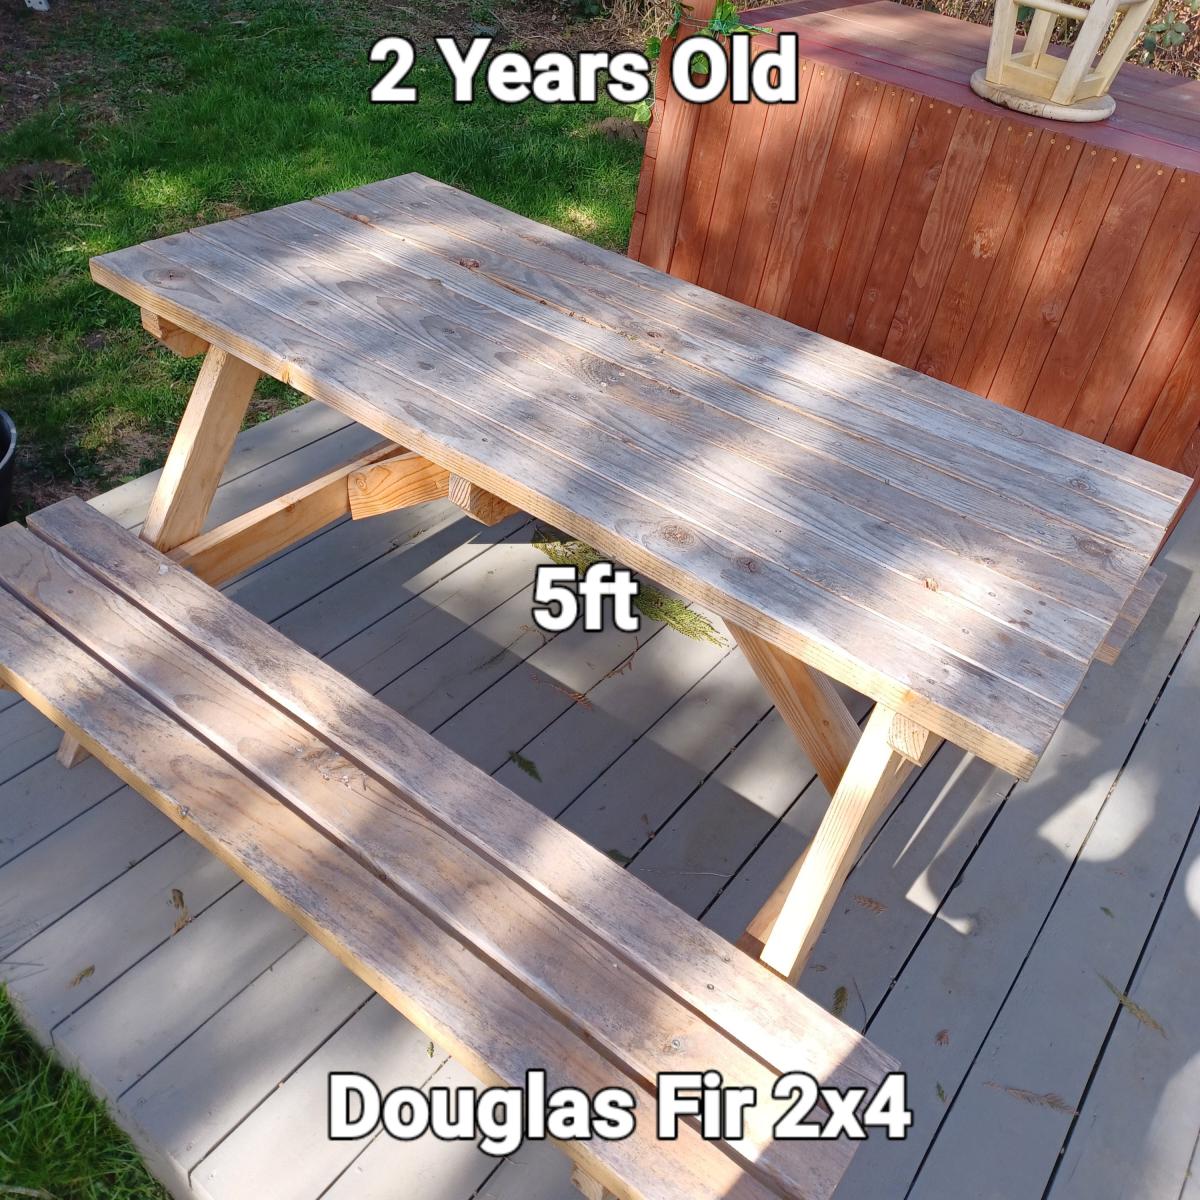
Using some of your different picnic table plans, I have been building, casually, picnic tables that are made using handpicked wood of similar grain orientation, same species, etc, creating a unique piece every time. I'm turning into a real wood nerd! They are all sanded and sealed for greater weather resistance and to accentuate the natural look of the wood.

Sam Warburton Productions

laundry sorter

Submitted by jsa271 on Sun, 08/12/2012 - 21:09

I used the instructions from ana-white's website. Instead of building 2 separate boxes for 6 baskets, I decided to make one big sorter that would hold 6 baskets. The sorter has been an amazing help. We have a family of 6. 3 baskets for dirty and 3 baskets for folded clean clothes. 3 Dirty baskets: whites, colors, and sheets/towels. As for the other 3 baskets: 2 people per basket. The top of the sorter provides counter space to fold.

Built from Plan(s)
Estimated Cost
$35
Estimated Time Investment
Afternoon Project (3-6 Hours)
Finish Used
White paint
Recommended Skill Level
Beginner

Comments

5 tator tots (not verified)

Tue, 08/14/2012 - 08:13

With a family of 7 (soon to be 8) we really need this. Thanks for sharing the uses of each basket. That is what I am trying to figure out. I also need the washer/dryer pedestals for dirty laundry so the dresser could just be for clean, but homeschooling and cooking for all these kids keeps me from jumping in to projects and the pedestals may be a long way off as my (very talented) husband's busy season is starting.

Treated Outdoor Beverage Table

Submitted by Niemann04 on Wed, 06/04/2014 - 12:03

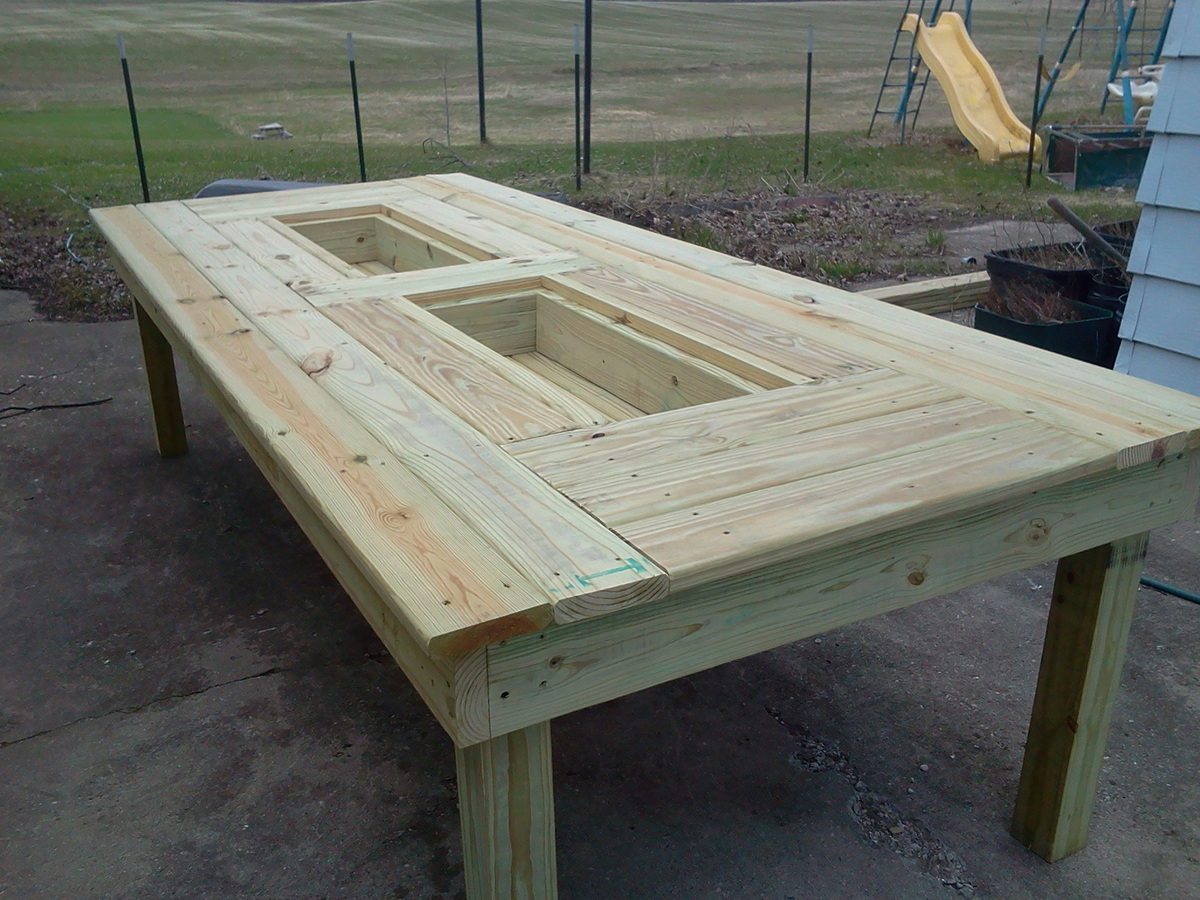
This project was inspired by the post I found on Ana-White.com however I changed some of the dimensions and cut list to make it my own. I built one of these for my Mother and her and her friends keep talking about it to this day.
Estimated Cost
$145.00
Estimated Time Investment
Afternoon Project (3-6 Hours)
Finish Used
Outdoor entertaining
Recommended Skill Level
Beginner

Comments

Sliding Door Console

Submitted by Anonymous (not verified) on Tue, 09/06/2016 - 10:42

Our own mix for the sliding door console.  Stained the entire unit with Jacobean stain, then light grey chalk paint.  Distressed with 150/220 grit and waxed.  Top and shelves are Jacobean with 4 coats of satin polyurethane.  Absolutely love how this came out.  Roughly $300 spend at home depot on all supplies.  Wife and I finished in about 17 hours this weekend.

Estimated Cost
300.00
Estimated Time Investment
Weekend Project (10-20 Hours)
Finish Used
Light Grey Chalk paint
Jacobean Stain
Satin Polyurethane
Recommended Skill Level
Intermediate

Stuffed Animal Holder - Barn Shaped

Submitted by Anonymous (not verified) on Sun, 03/29/2020 - 16:45

I am working on figuring out sketchup to write plans for this, but I came up with this idea for storing stuffed animals that were taking over my daughter's bedroom. It works great and she can get the animal at the bottom out without all the other animals falling out! It took a few 2x4s, screws, bungee cords, eye screws and paint! I'll post more whenever I figure out this program, or if anyone wants to create their own plans from it that other people can use, I'd be happy to share what I did!

Built from Plan(s)

5th Project - Tilt Out Trash Can

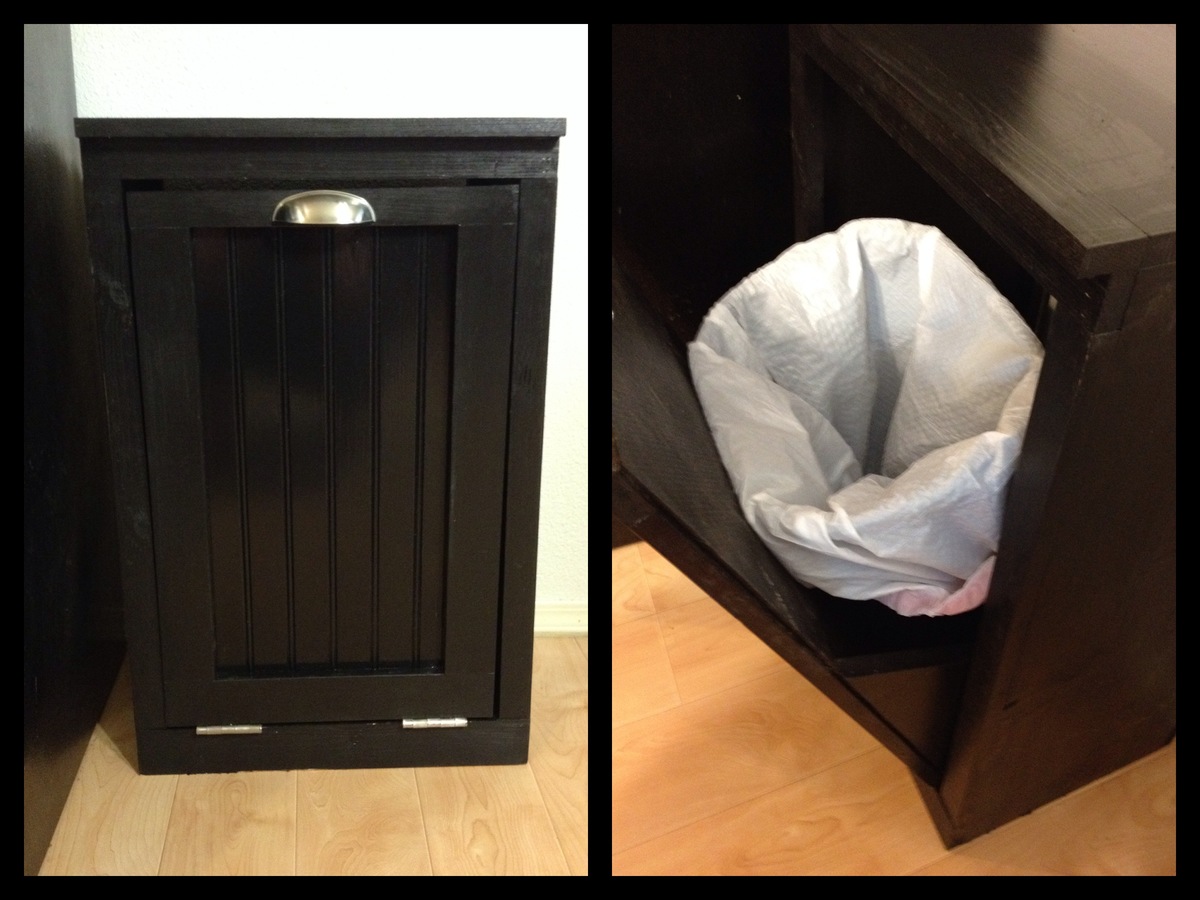
This was my fifth project and it went pretty well. I ended up having to trim a little off the top of the door after I had it assembled because I wasn't paying attention to detail and built it to fit the back opening. It was pretty simple to size it down, though. I finished it off with some leftover black paint that I used for the top of my workbench last summer. Super happy with the way it turned out!

Estimated Cost
$50
Estimated Time Investment
Day Project (6-9 Hours)
Finish Used
Behr black
Recommended Skill Level
Beginner

Farmhouse Potting Bench

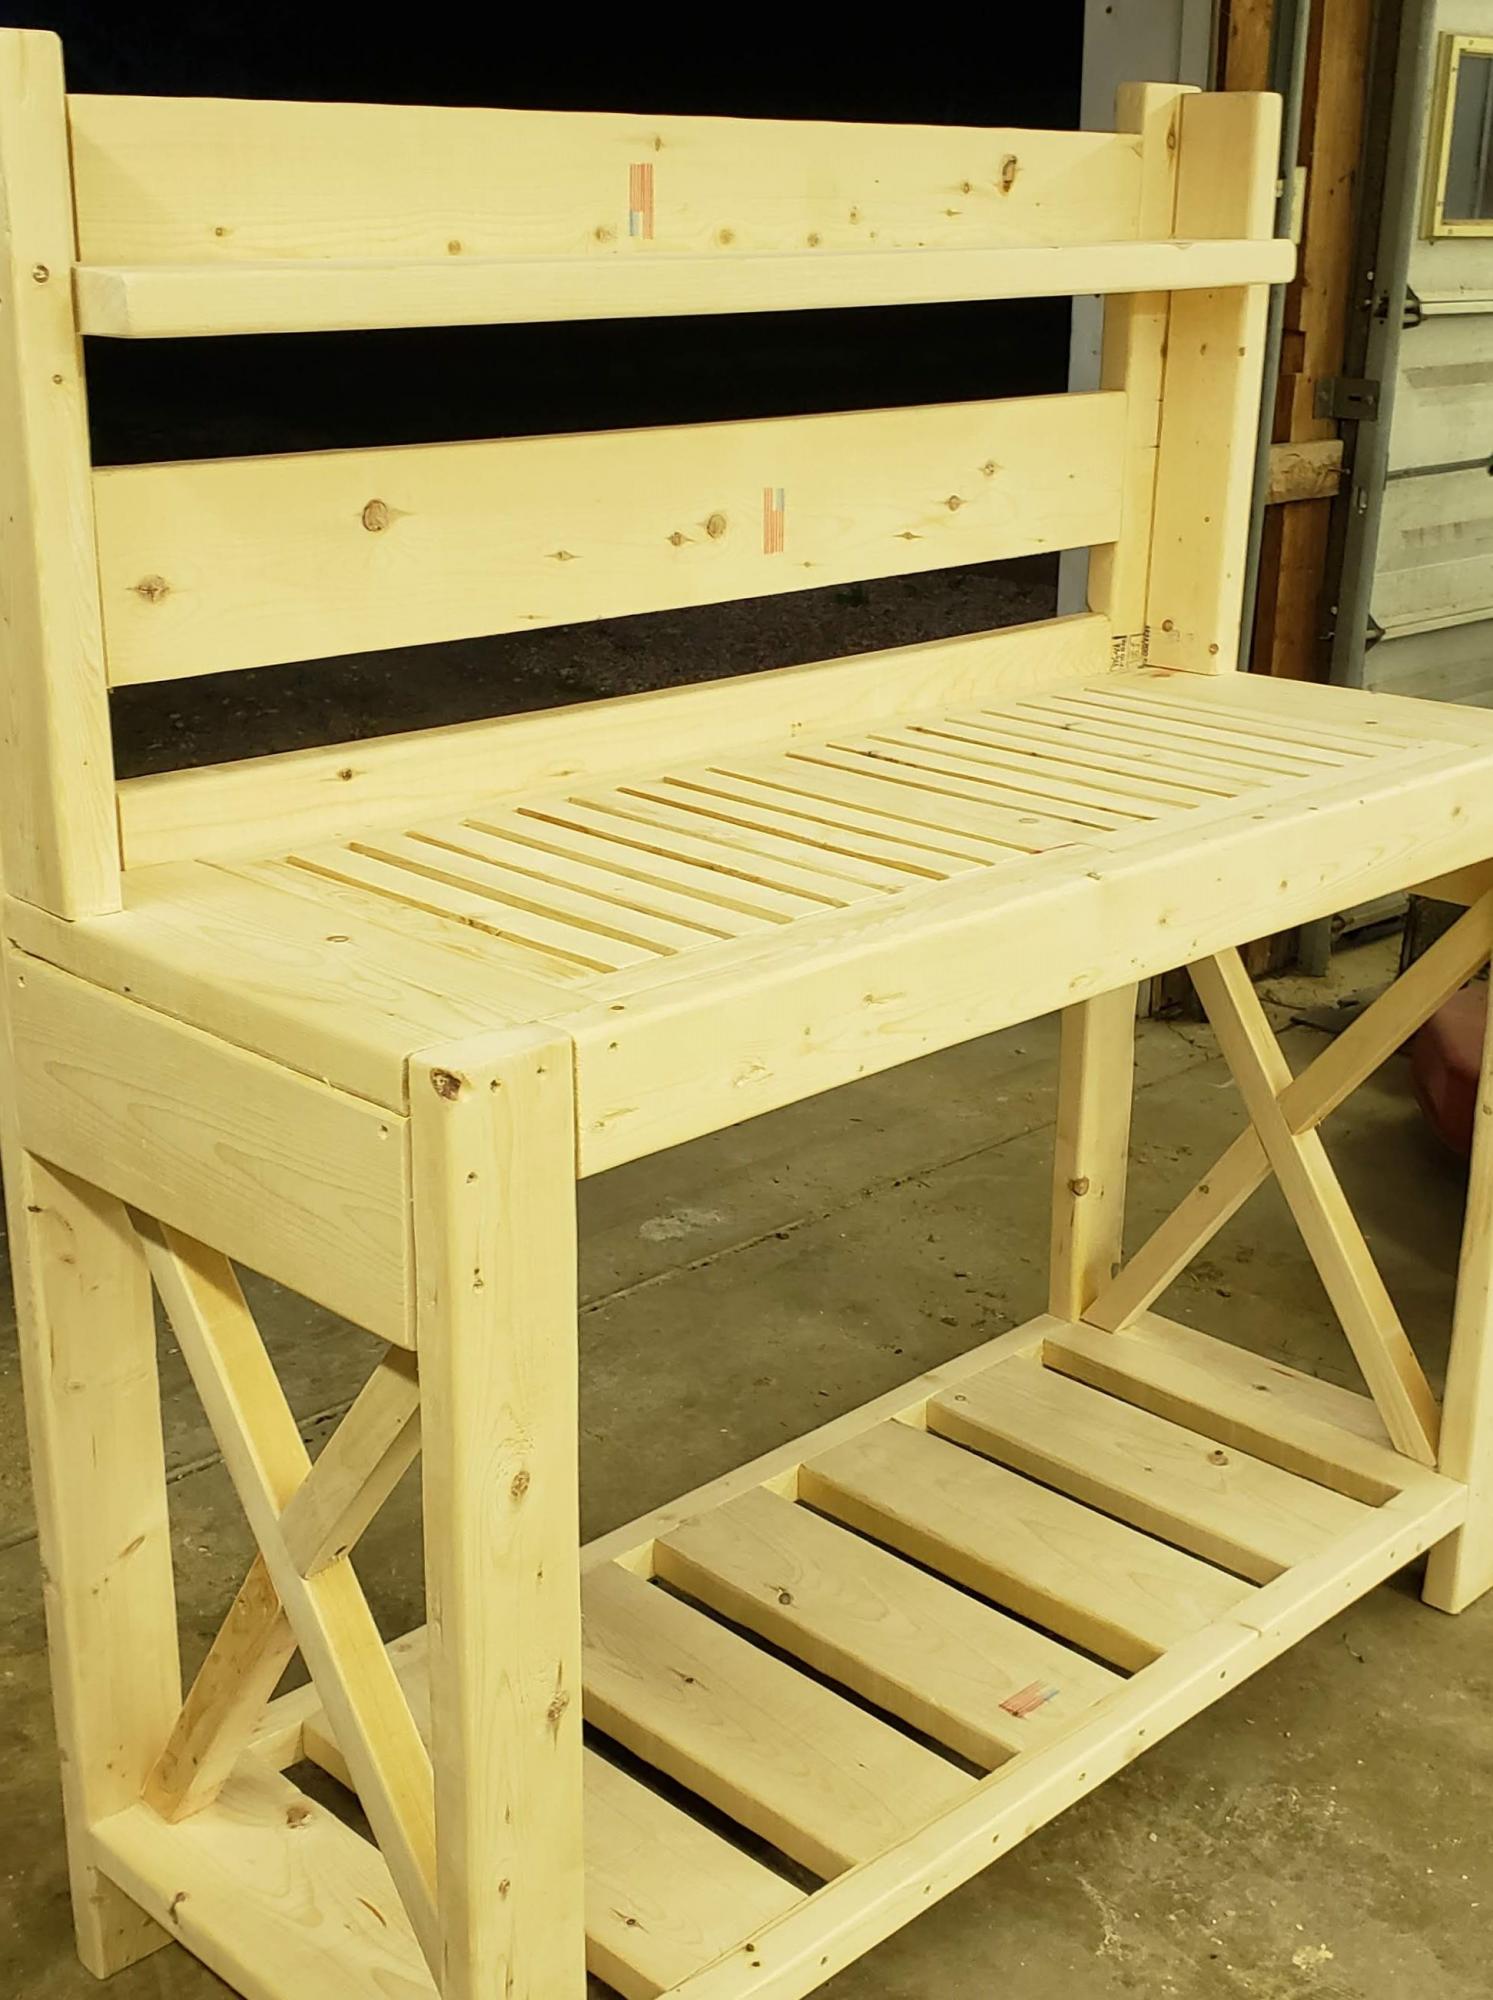
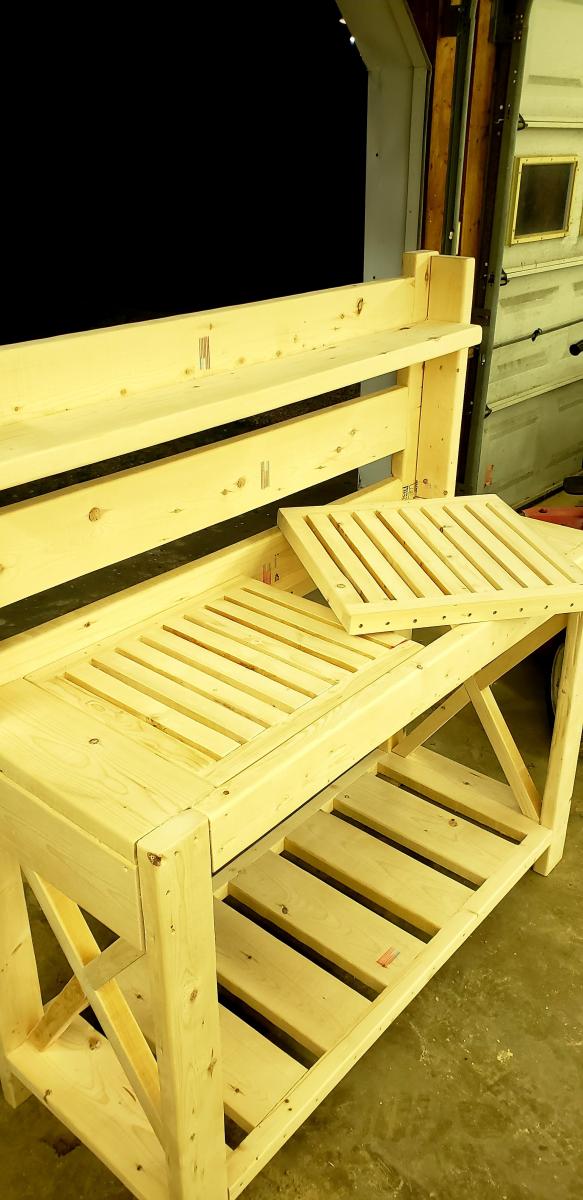
I haven't put the finish on it yet, gonna leave that up to the recipient. Added a couple of modifications, most noticeably the top shelf, grated workspace, and "side panels" for extra mounting /hanging space. Great design! She's sturdy.

Built from Plan(s)
Estimated Cost
$85
Estimated Time Investment
Day Project (6-9 Hours)
Finish Used
I think the plan is to put a nice stain on it and then I'd like to give it a few coats of spar varnish. I'll try to add a picture once it's complete.
Recommended Skill Level
Intermediate

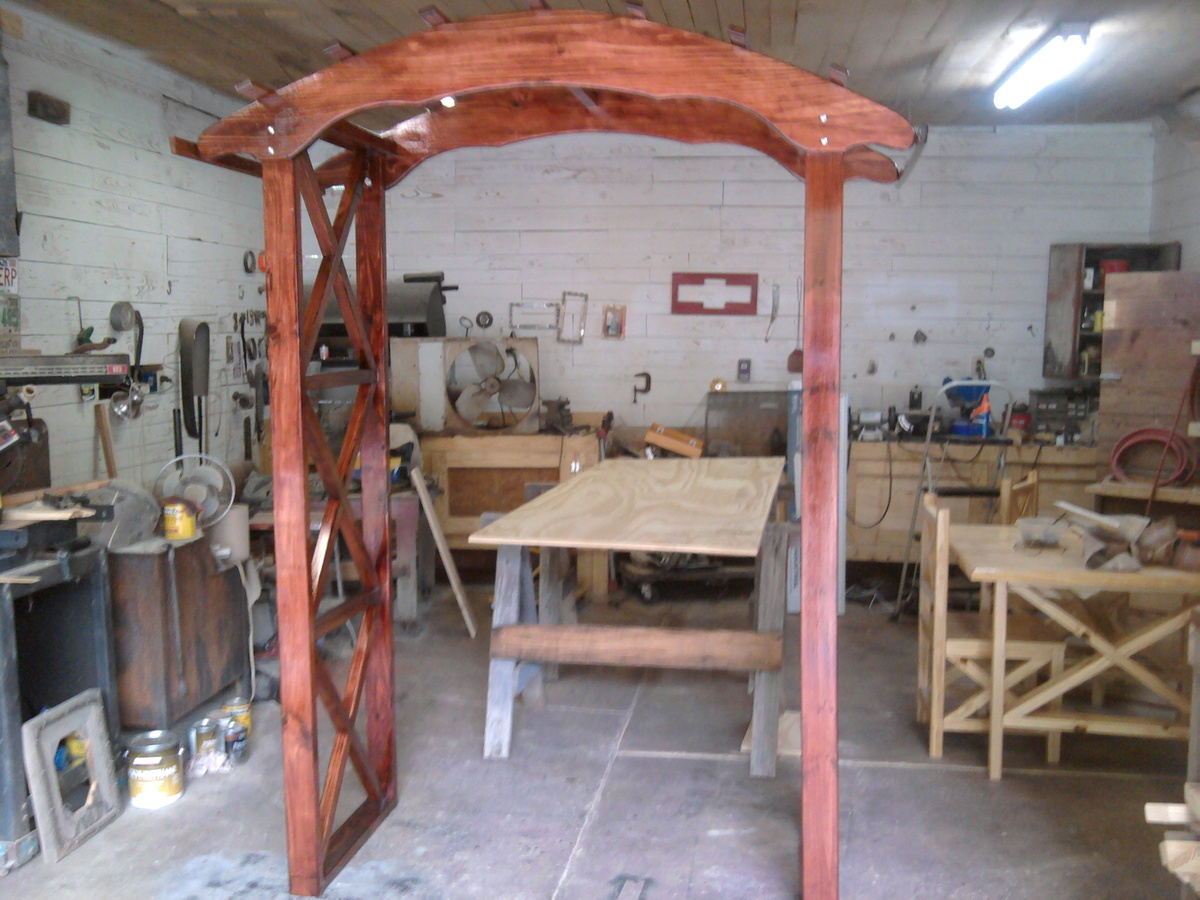
Rustic X wedding arch

Submitted by becca9872 on Sun, 08/19/2012 - 21:12

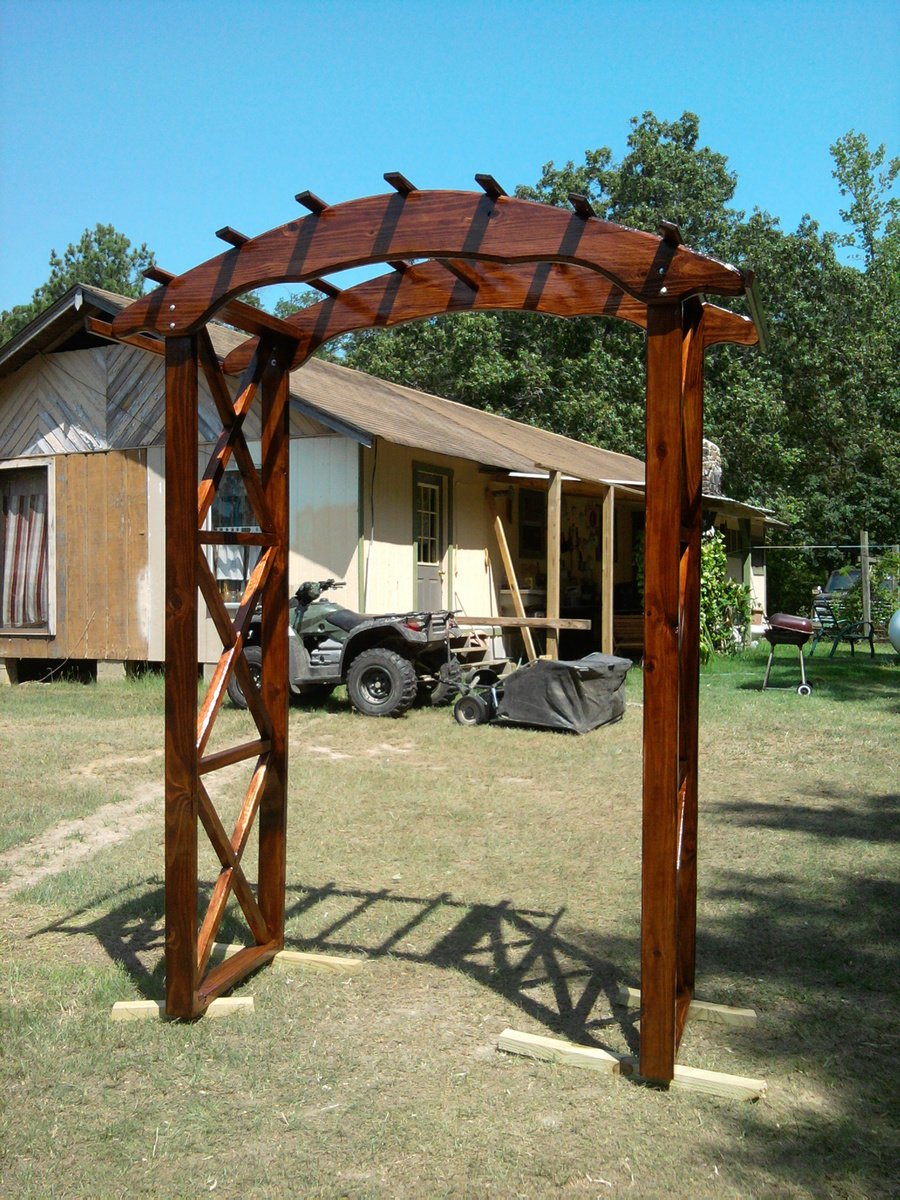
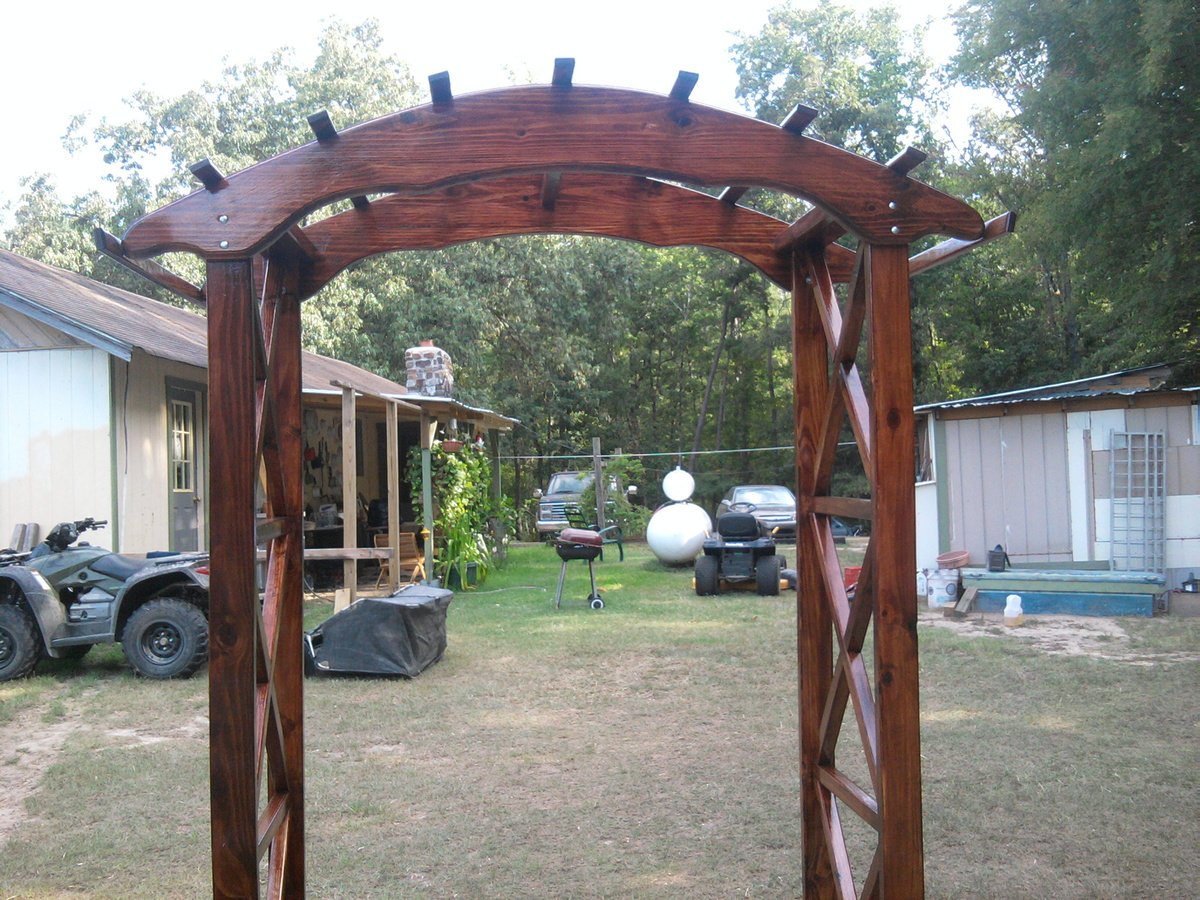
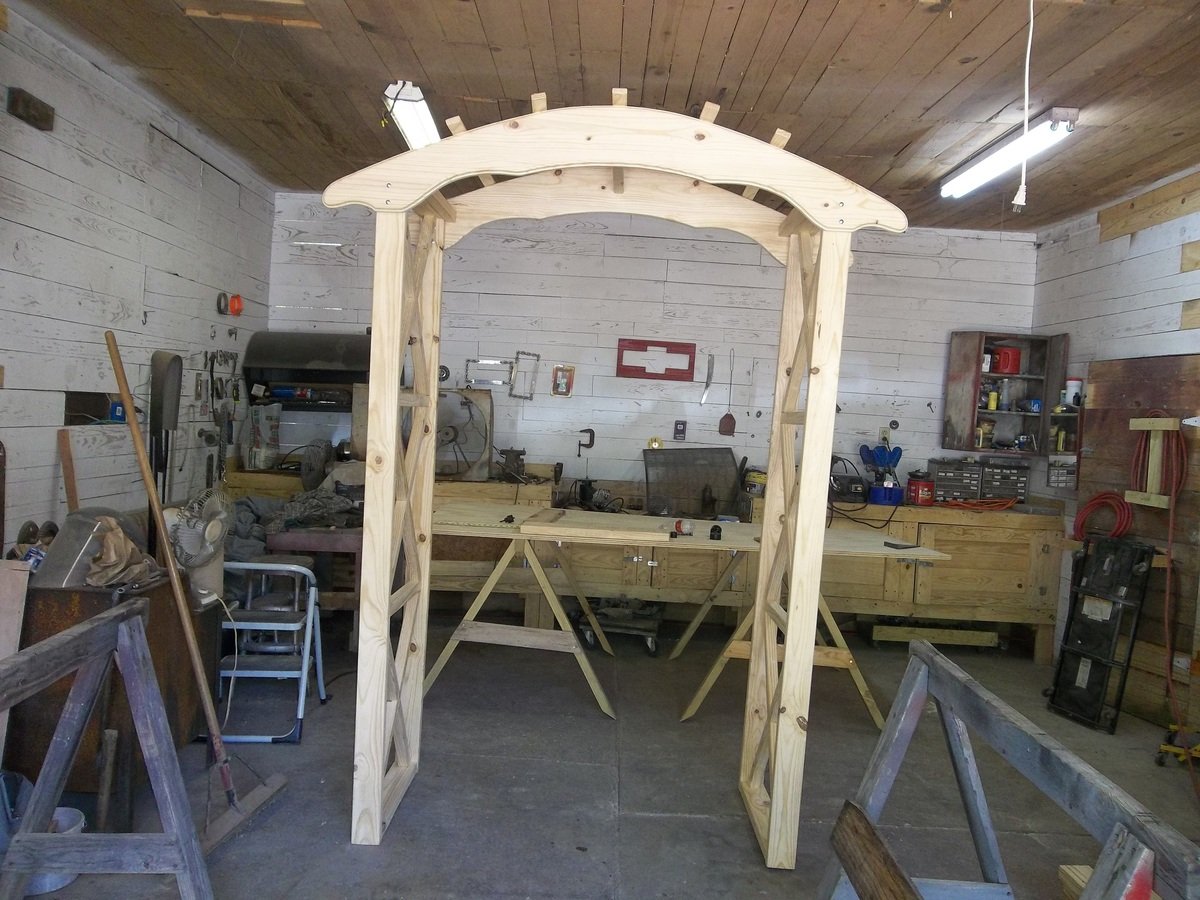
Lydia wanted a wooden arch for her wedding with the x legs. So we ordered a pattern for an arch from woodcraftplans.com and modified the legs to include the x design. We used pine lumber in 2x8, 2x4 and 1x2. The lumber was routed with the cove edge to smooth the corners. We cut the 2x8 with the jigsaw to make the two pieces for the arch then glued and screwed them together, then used filler to conceal the seams. Then we clamped the front and back together and sanded forever to get them to match. Then routed the edges again to make them pretty. The legs and x's are 2x4's cut to fit and they ended up being the easiest part to work with. The battens are 1x2's that we ripped from 1x4's and routed with the cove edge. I stained it with Minwax Red Oak 215 by brushing it on and wiping it off. The legs where together during staining but the top wasn't, I wanted to stain and polyurethane each batten and crosspiece before it was attached. We polyurethaned it 2 coats then put it together and put the last coat on. We used Ace Brand Gloss polyurethane. It shines like glass. It can be taken apart and transported in three pieces, the leg pieces and the top are bolted together with carriage bolts. This was a very heavy/ bulky project and you need a helper when building this. I think its intermediate because of the difficulty cutting the arch pieces out of the bigger boards with the jigsaw. My husband ,my sister, my brother-in-law and I worked on this for about a week and it turned out beautifully!

Estimated Cost
less than $75
Estimated Time Investment
Week Long Project (20 Hours or More)
Recommended Skill Level
Intermediate

Comments

spiceylg

Tue, 08/21/2012 - 11:06

I submitted a comment yesterday and it's not showing up here. You did a beautiful job. What a loving special touch for her special day. Not to mention it can be used for many years to come!

Julie76578 (not verified)

Tue, 01/22/2013 - 19:05

Hi, I'm interested in building this arch for my upcoming wedding. I can't find the plans on the woodcraftplans.com website. Have any advice on how I could locate that? Your help is appreciated.
-Julie

Lukabravo

Tue, 03/22/2016 - 21:07

Hey guys and gals, love this project idea. I too am getting married and would love to build this for my wedding, but I can't find the plans anywhere! I even went onto that woodcraft website and still nothing. Any help would be greatly appreciated!

Thanks,

Luke

Adirondack chairs

Submitted by Dreifk08 on Mon, 06/09/2014 - 13:14

This site as ever so helpful and vital to the completion of these chairs. Honestly,this project was the first time I had taken stock lumber and constructed something from it. I am handy by my own account,but never attempted anything like this before. Great site. If not for Ana white and this website,I'd have 2 less chairs. It is very rewarding building something from scratch. I'm sure this was the 1st of many projects and ideas I will get from this site. A+++. Thank you very much.

Built from Plan(s)
Estimated Cost
$60.00
Estimated Time Investment
Weekend Project (10-20 Hours)
Finish Used
Primer and outdoor spray paint.
Recommended Skill Level
Beginner

Children's chair

Submitted by Anonymous (not verified) on Sat, 09/10/2016 - 09:44

Our son is learning cello and we were told he needed a 14" chair for practice, so this plan looked perfect. 

Other than tweaking some of the dimensions as the plan didn't seem to quite work, the only other change I made was to use wooden dowels instead of screws to give it a cleaner finish. 

Seems stable enough for me to sit on.

Estimated Cost
£10
Estimated Time Investment
Afternoon Project (3-6 Hours)
Finish Used
None yet, but son wants it painted red
Recommended Skill Level
Beginner

My First Builds!

Submitted by DiyIsFun on Tue, 06/23/2020 - 09:33

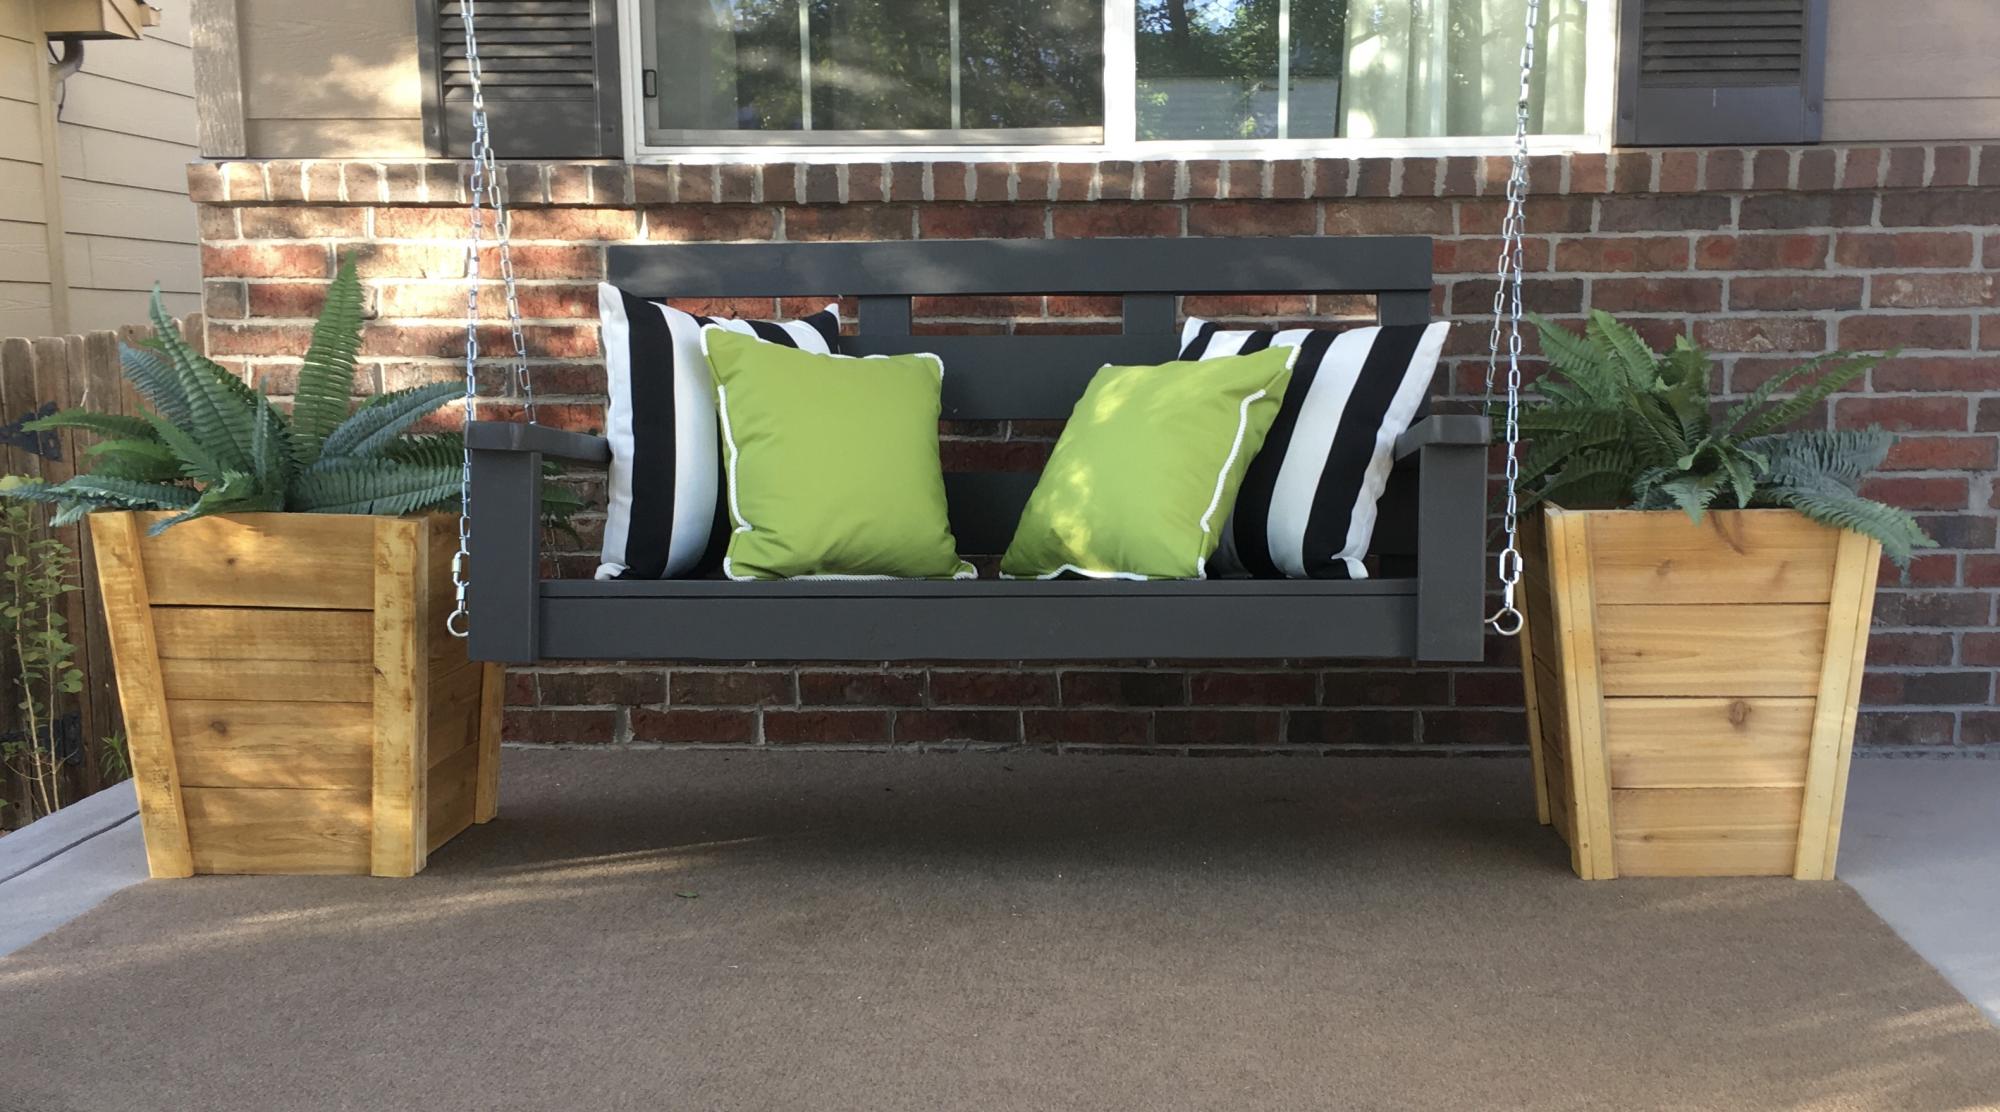
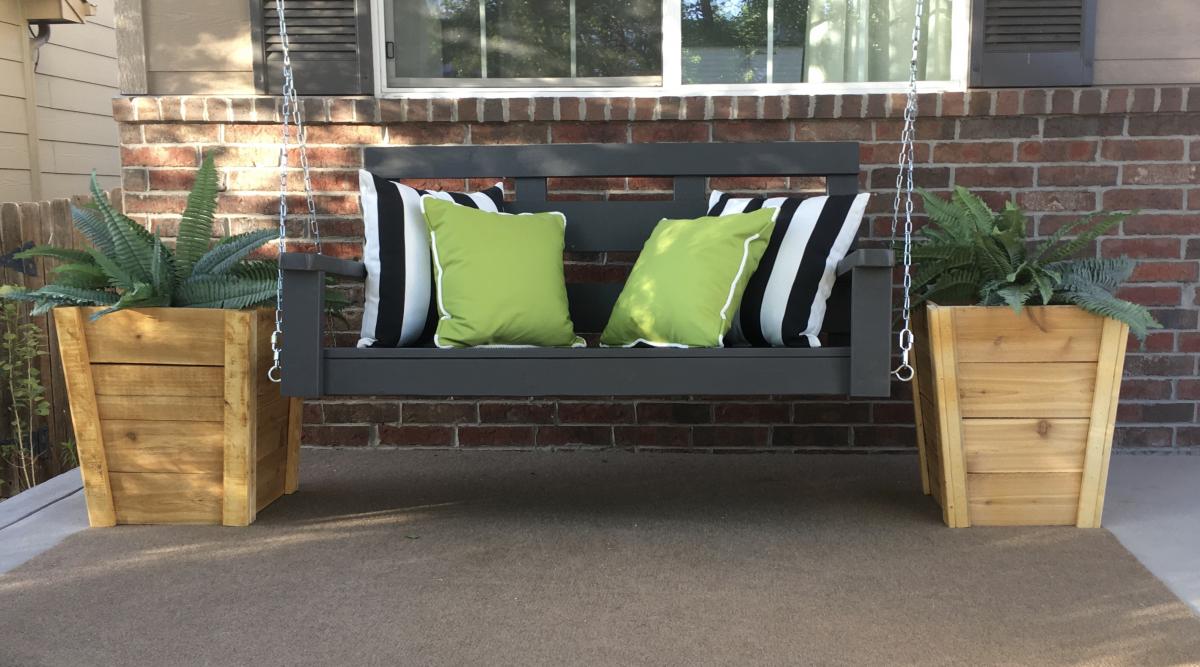
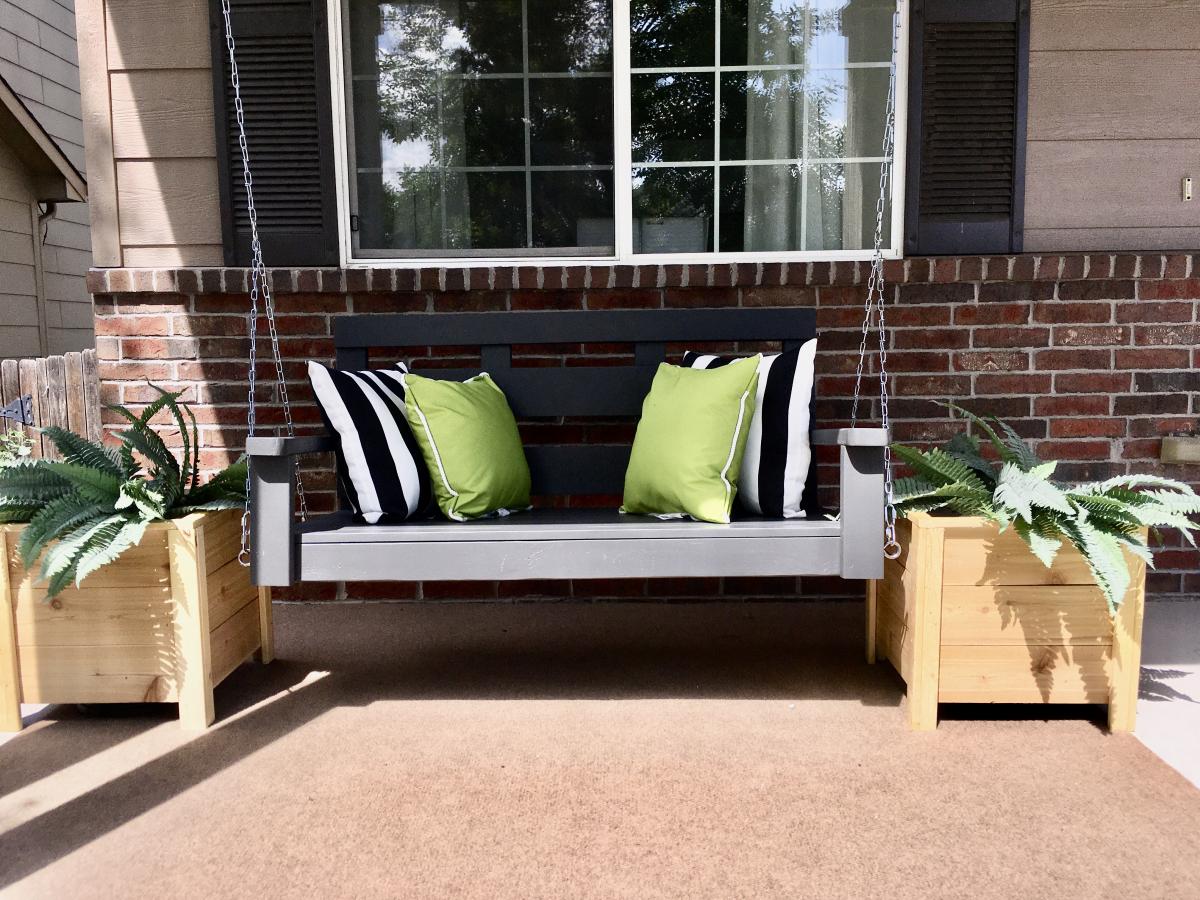
Made the swing and two sets of planters since we were on stay Home orders. I’d never done anything like this...ever! My husband helped me hang the swing. We love, love the results. (Now to make a seat cushion😆) I couldn’t tag the plans for the modern square planter boxes. They are huge and I can hardly wait until Christmas to put trees in all four!

Comments

Seasonal And Holiday
Back