Holiday Wood Table Runner
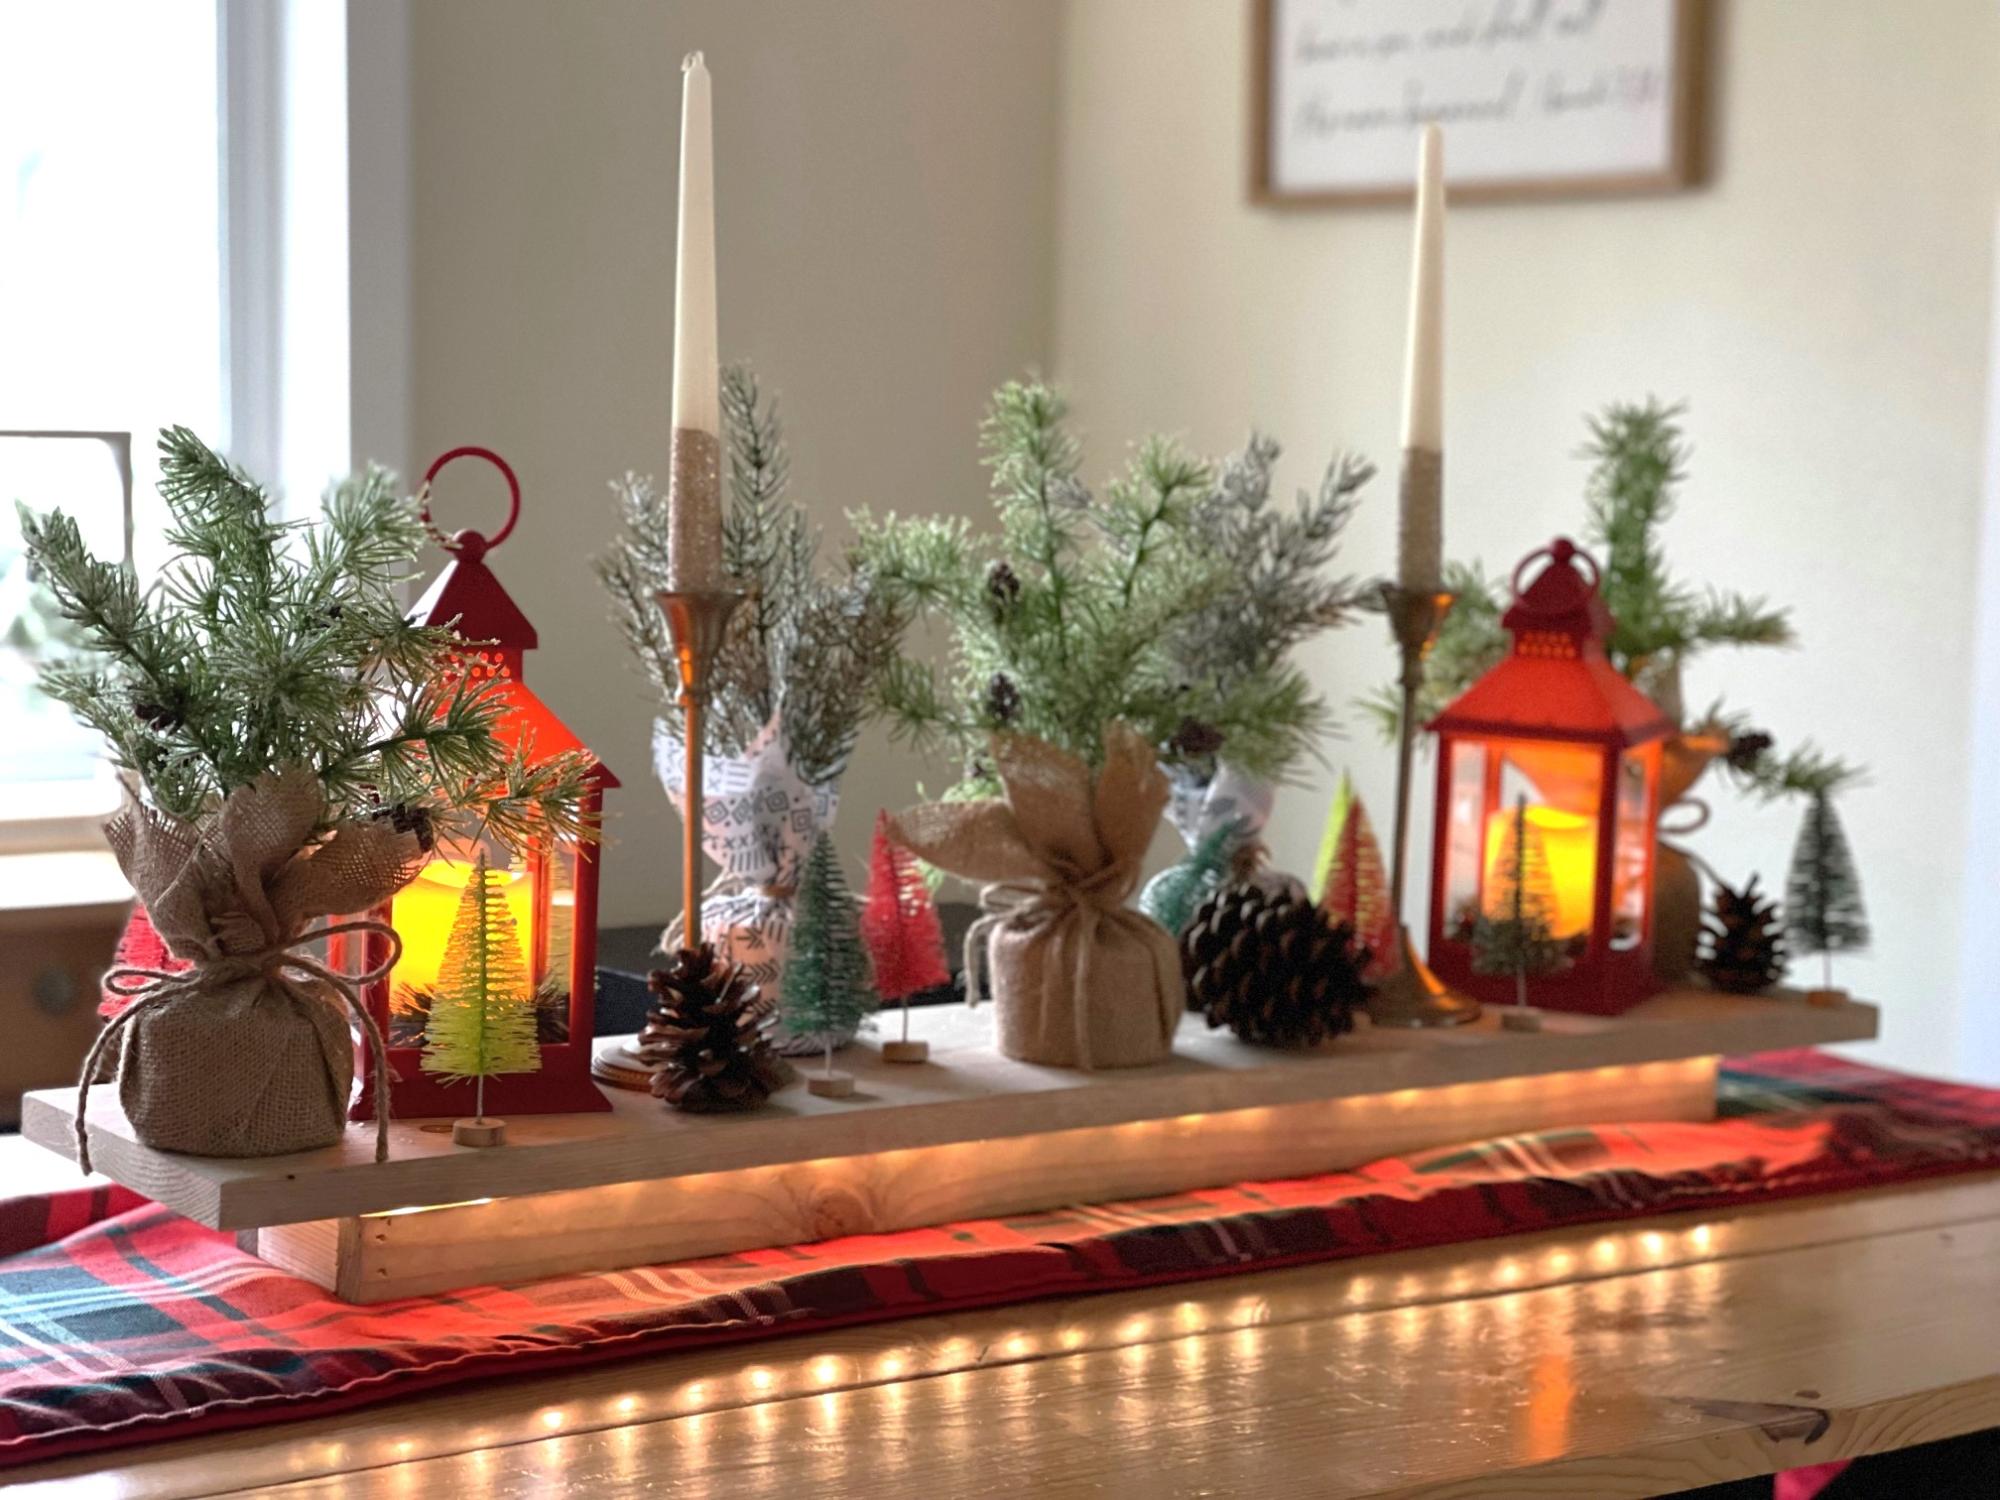
I switched out my fall pumpkin decor for Christmas decor!

I switched out my fall pumpkin decor for Christmas decor!
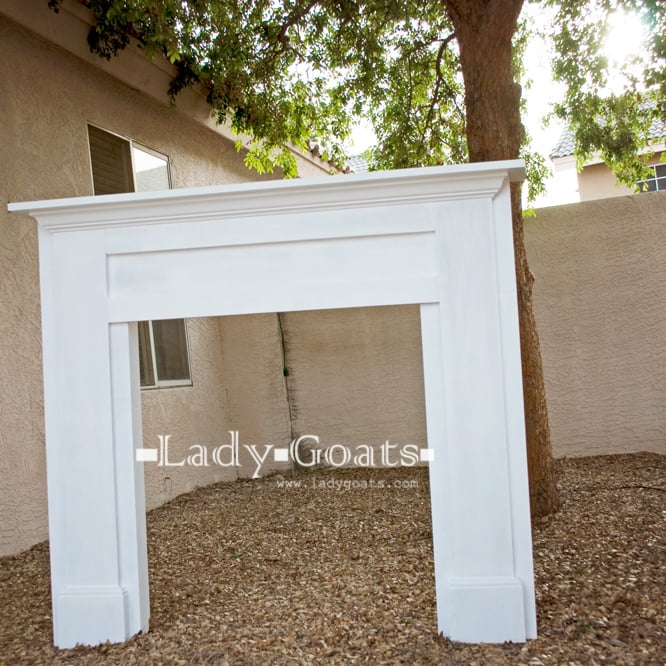
Built a fireplace using Mimi's Faux Mantle plans - I think it turned out great!
Built from Purebond plywood because I can't find straight boards in bigger sizes in my area (EVER!) and used fir 1x's for everything else.
Finished with three coats of Behr paint/primer in ultra white. I will not buy Behr again. Personal preference.
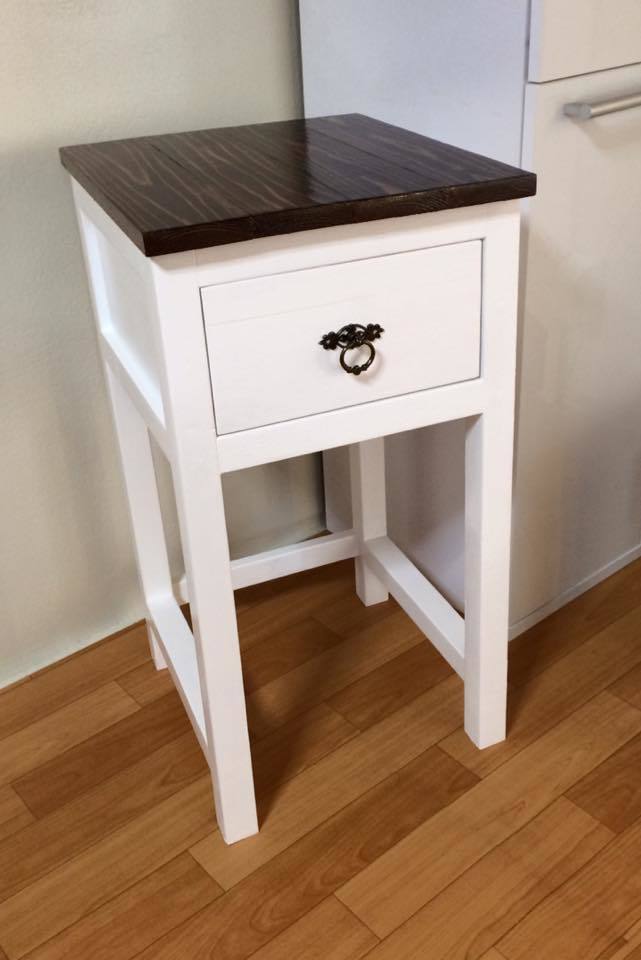
I ended up using Japanese cedar for the top. I was happy with the way this came out.
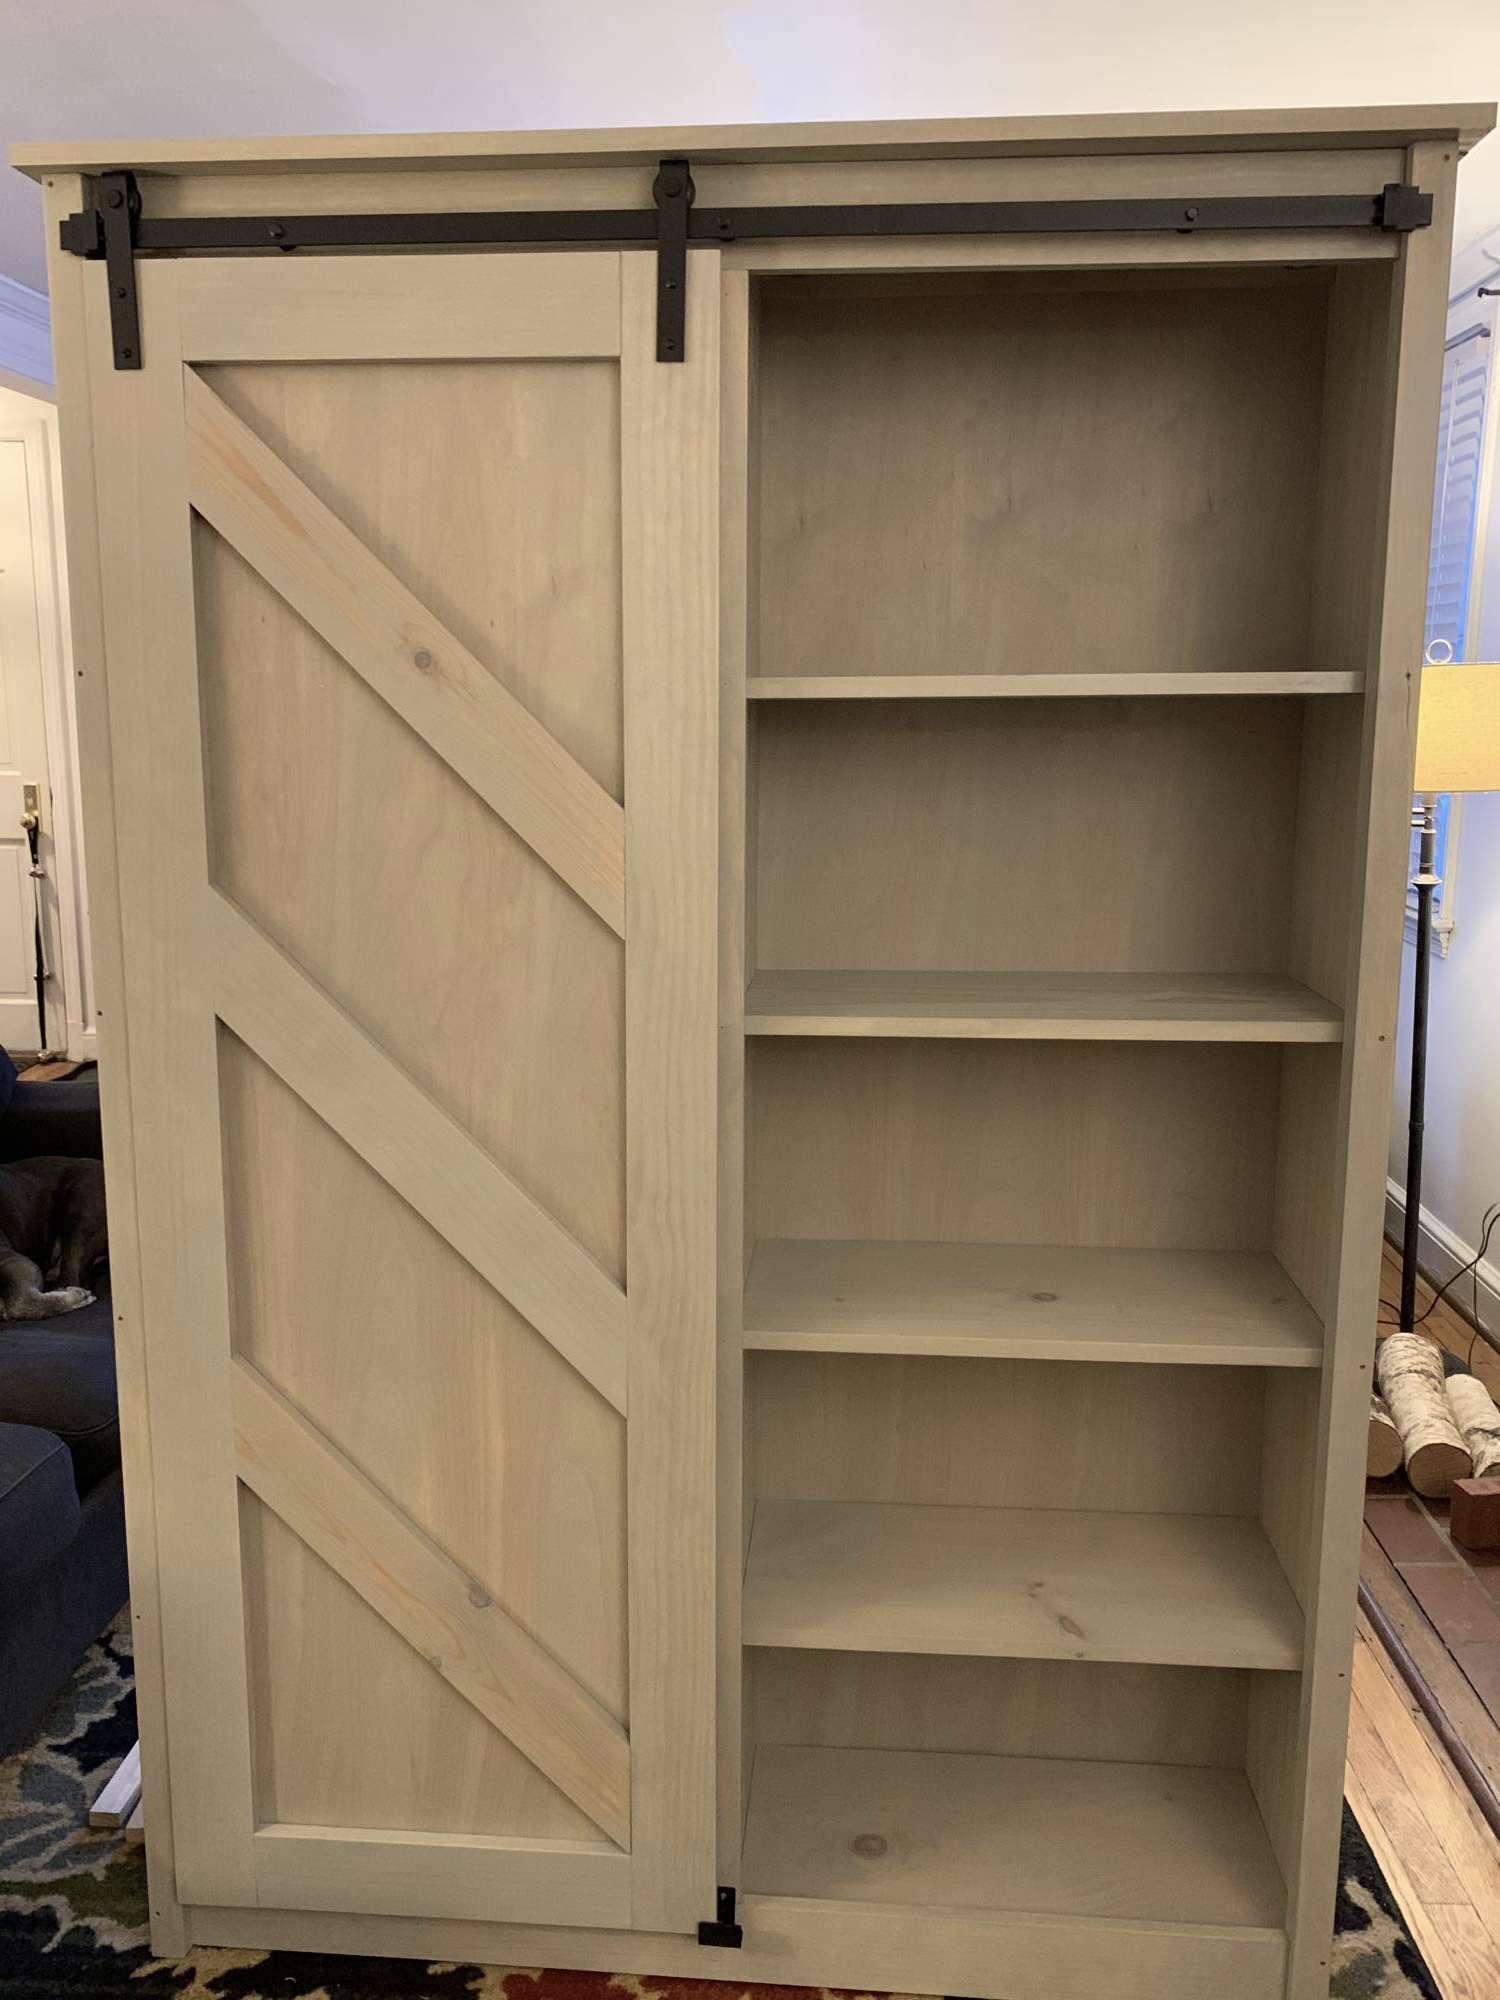
This took a lot of time and money but I like the way it looks. We have 4 kitchen cabinets and one drawer and no room for more so storage is tight.
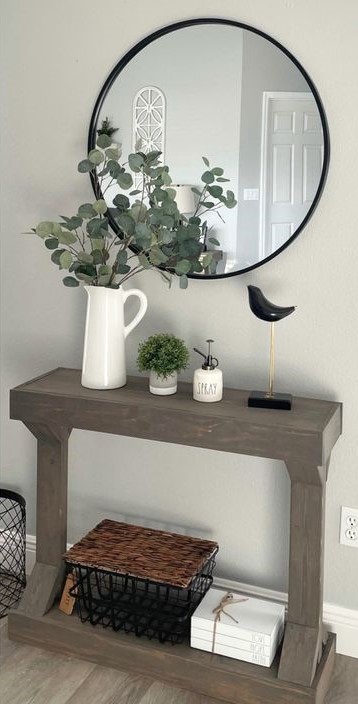
Modern Farmhouse Console Table by Home with Jules
A lady I work with at Driscoll Children's Hospital is giving birth this week to a boy. Instead of the traditional gifts I thought he should have an airplane and the Plane Old Shelf caught my fancy.
I made a couple of minor additions to the design with the addition of the traditional red and green navigation or running lights on the wing tips and a bright yellow axle. The wheels, cowling, and buttons are from Hobby Lobby. I took a small piece of bass wood, soaked and bent it and then let it dry overnight to form the propeller.
In South Texas the color scheme means something. The wing tips,tail, and cowling of the single engine trainers the want-a-be Navy pilots fly carry this color. They are everywhere.

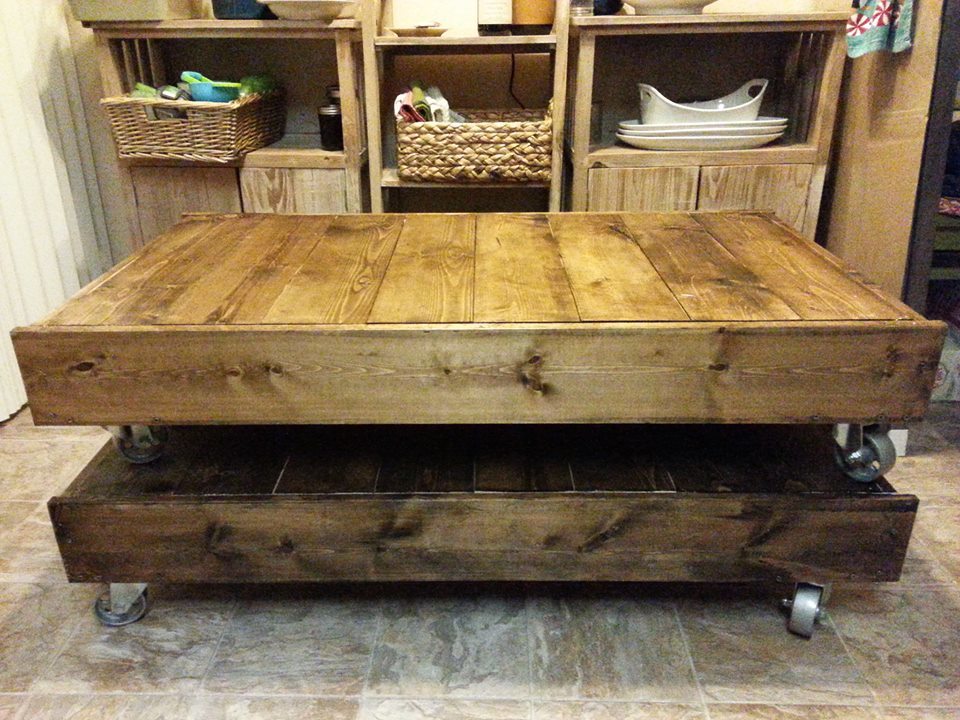
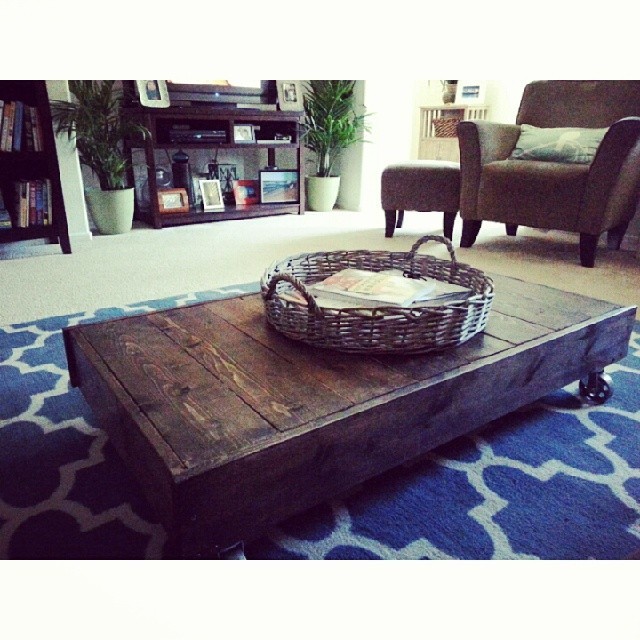
Made two tables with my sister in less than six hours! During this time we also went to the store, took many breaks and even ate lunch! A fun project that develops tons of confidence :) Made out of pine, used 3" steel casters, stained in espresso, and didn't use wood glue. Ate sushi on them tonight! Also.....a perfect table for sitting on the floor and coloring, using a lap-top, or toss some pillows on it for a sleepy pup. Super neat!

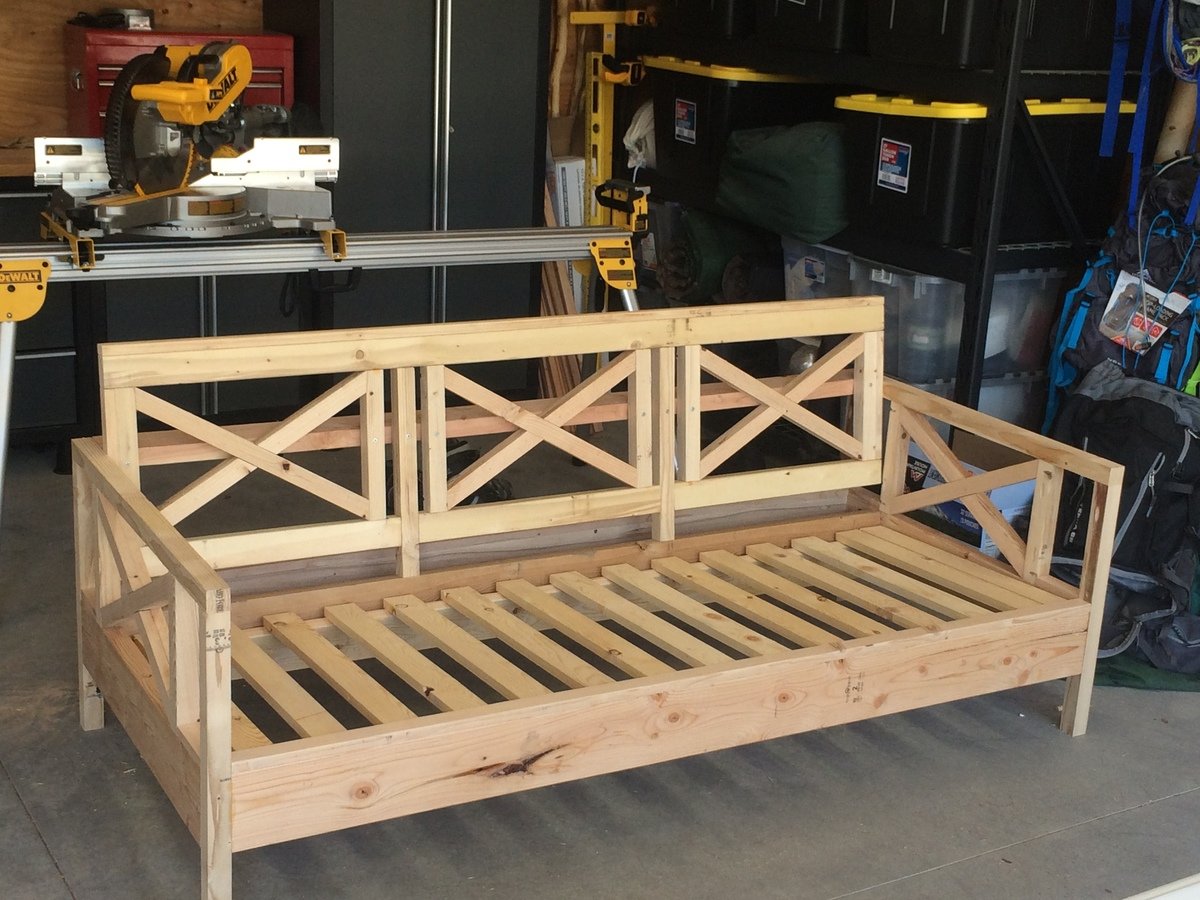
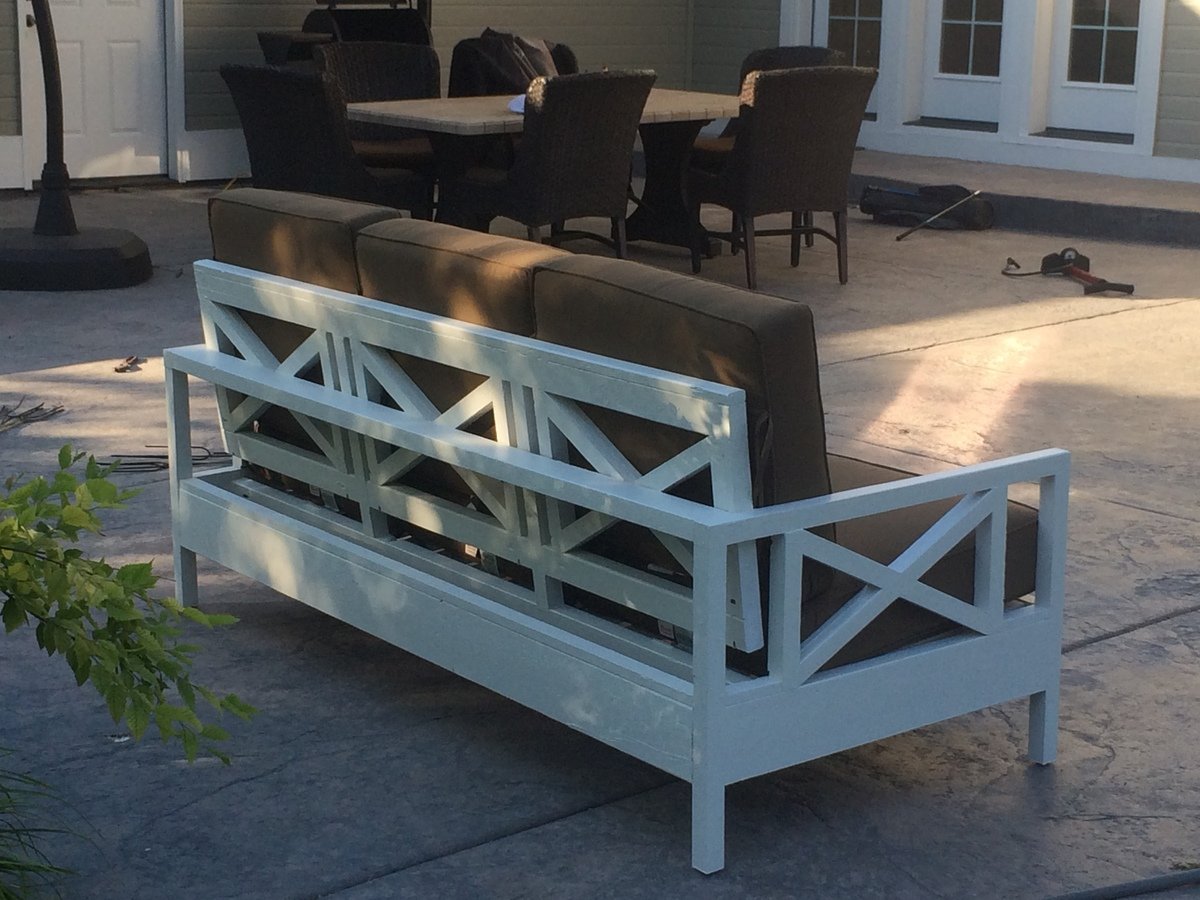
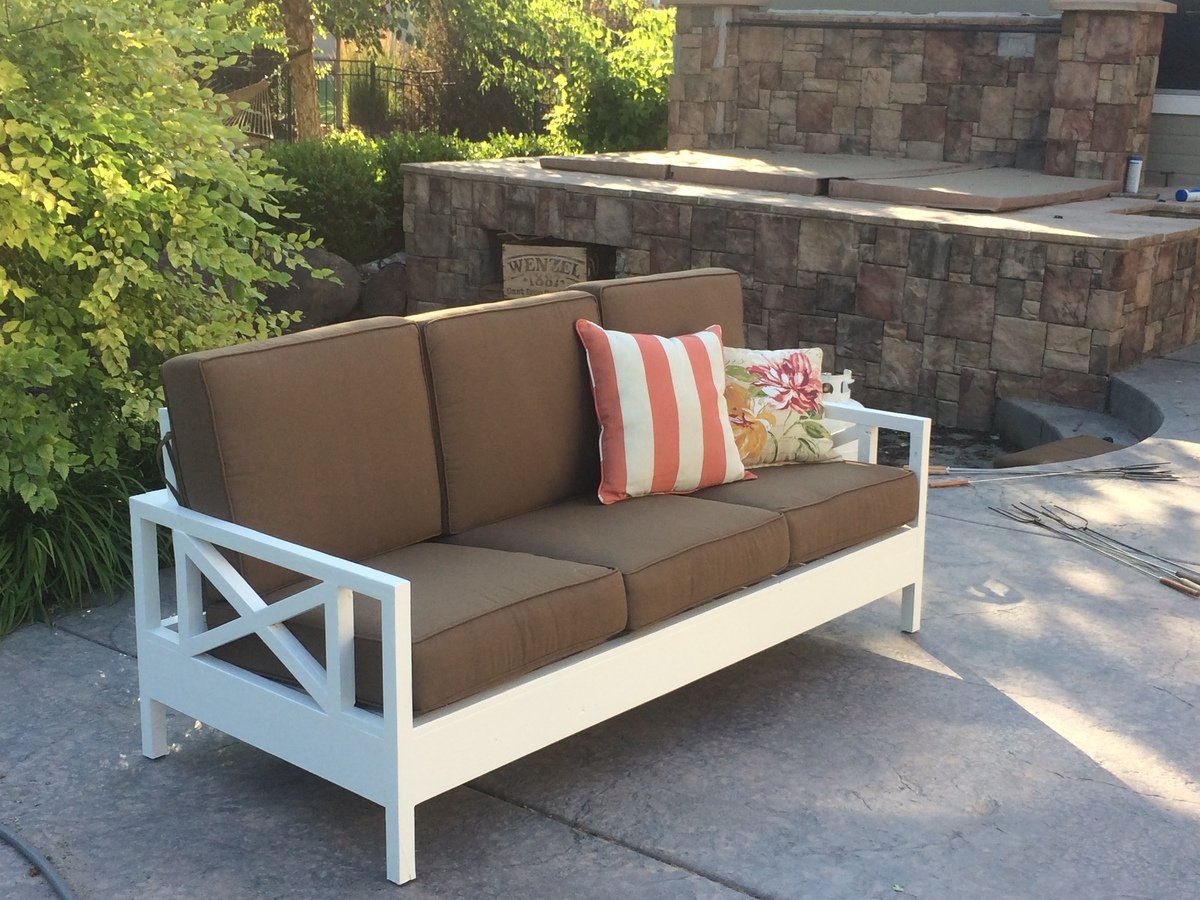
My wife loves the X pattern of the Weatherly Sofa, but wanted the tilted back from the Simple White Outdoor Sofa. This was our best of both worlds effort!
Tue, 06/11/2019 - 05:25
Can you share where you got your cushions please?
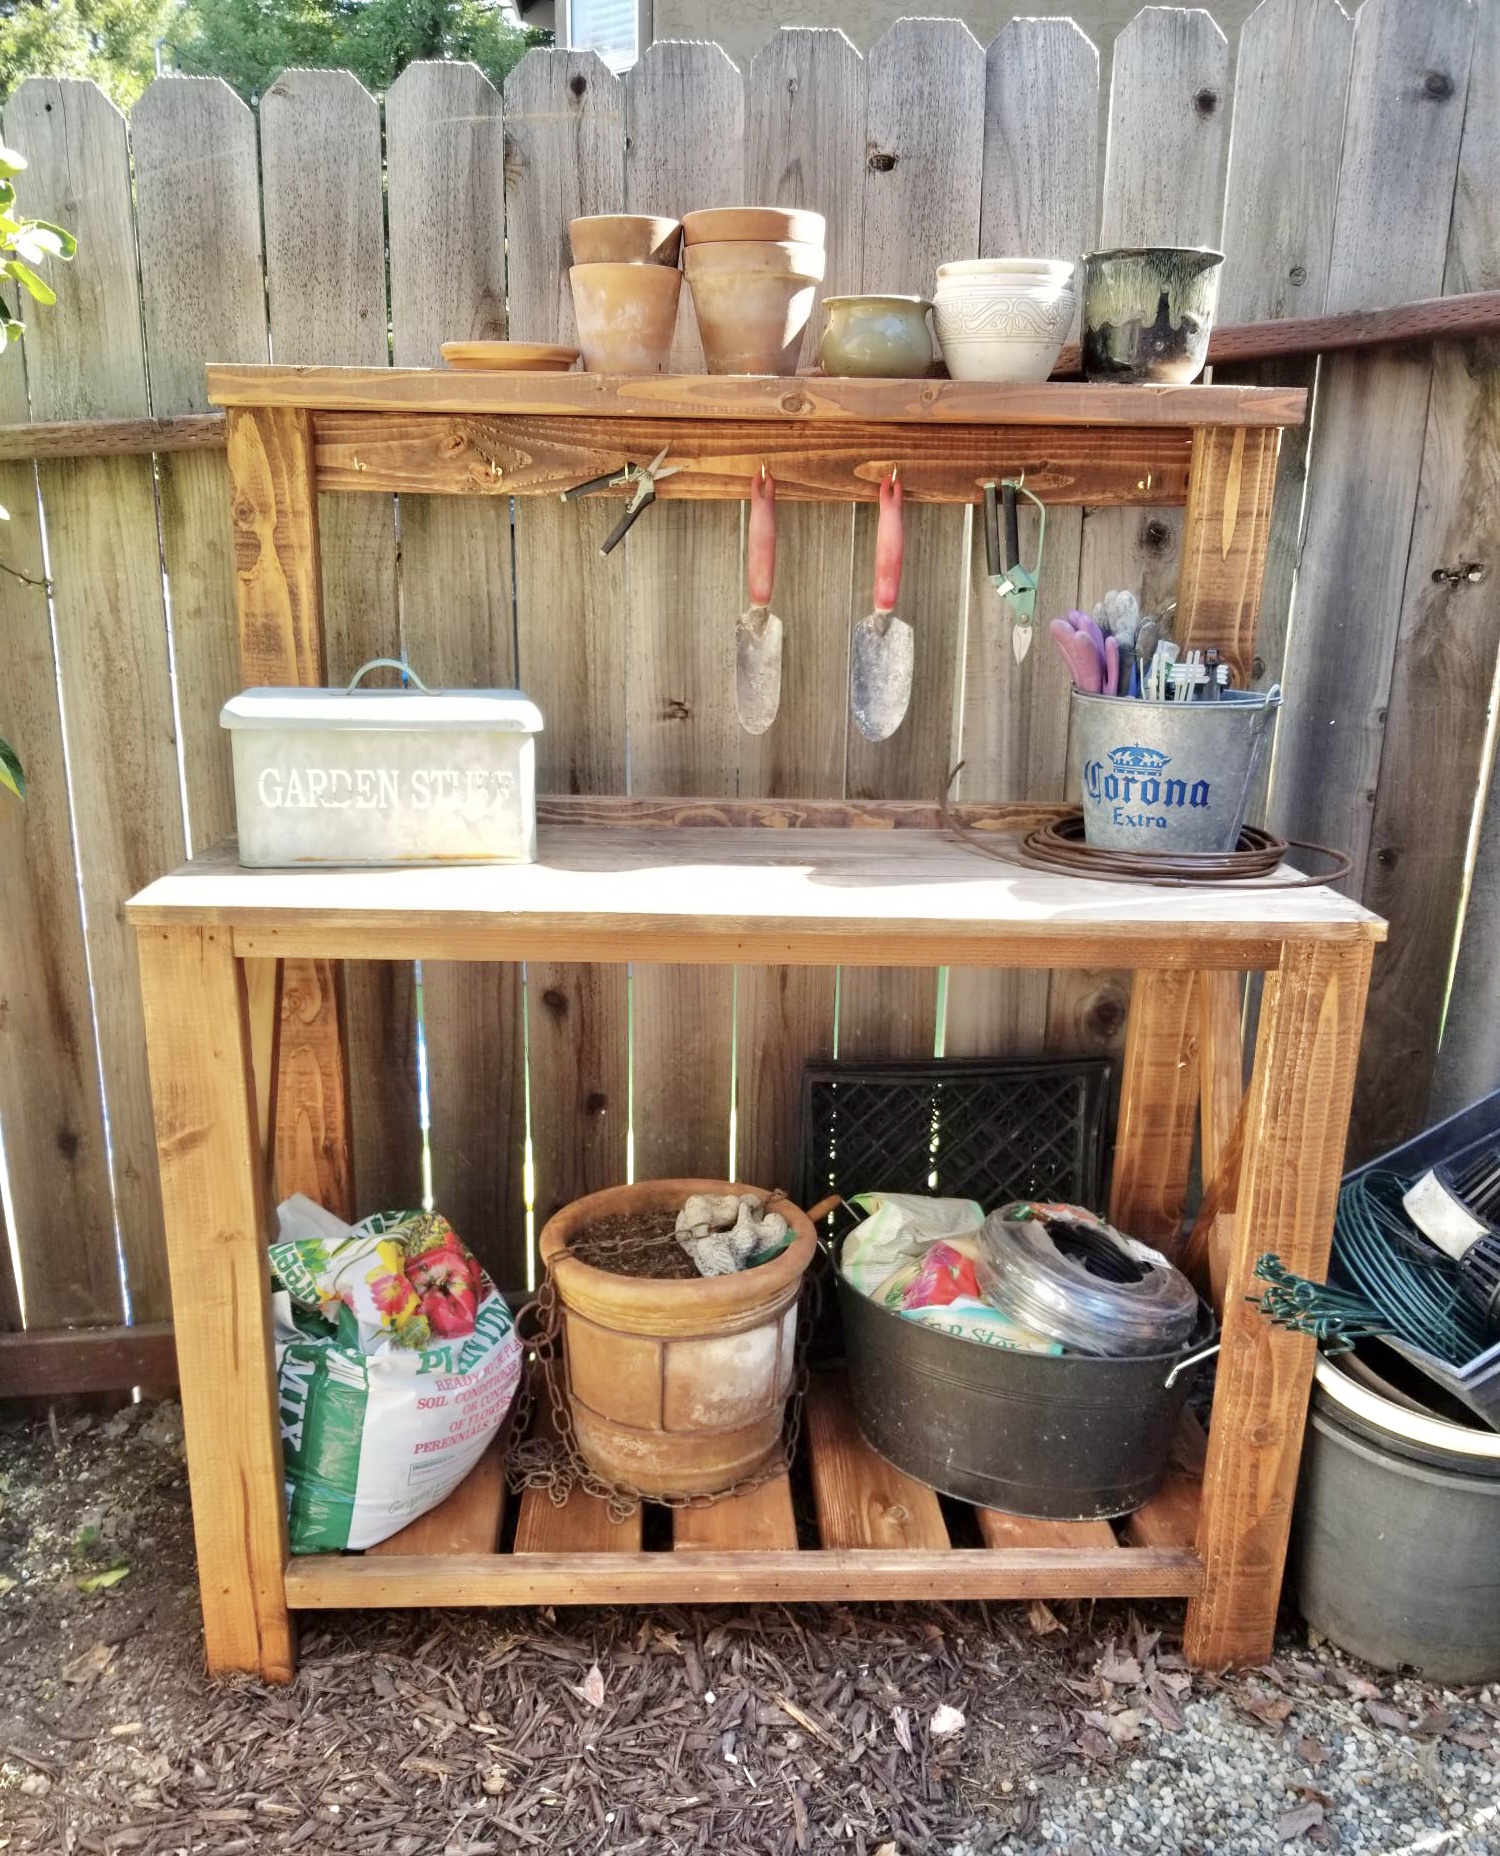
My honey built this farmhouse potting bench in a few hours. I needed it to store all the junk that was laying on the ground. It's so cute!
I built a regular table, then added half inch plywood to the top. Once the plywood was screwed and secured, I began tiling. I glued the tile down, waited 24 to cure then grouted!! I added aluminum trim to finish the top. I used Ceadar to make the legs only and used pressure treated for the rest.

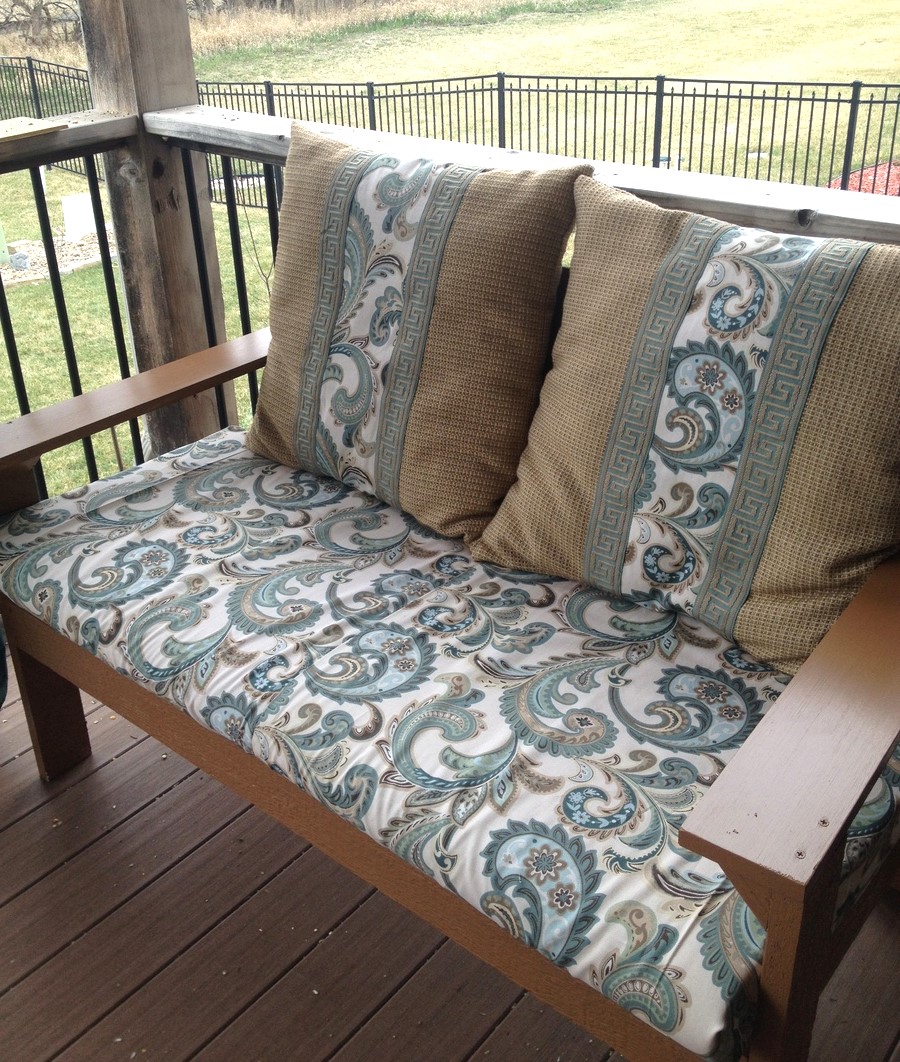
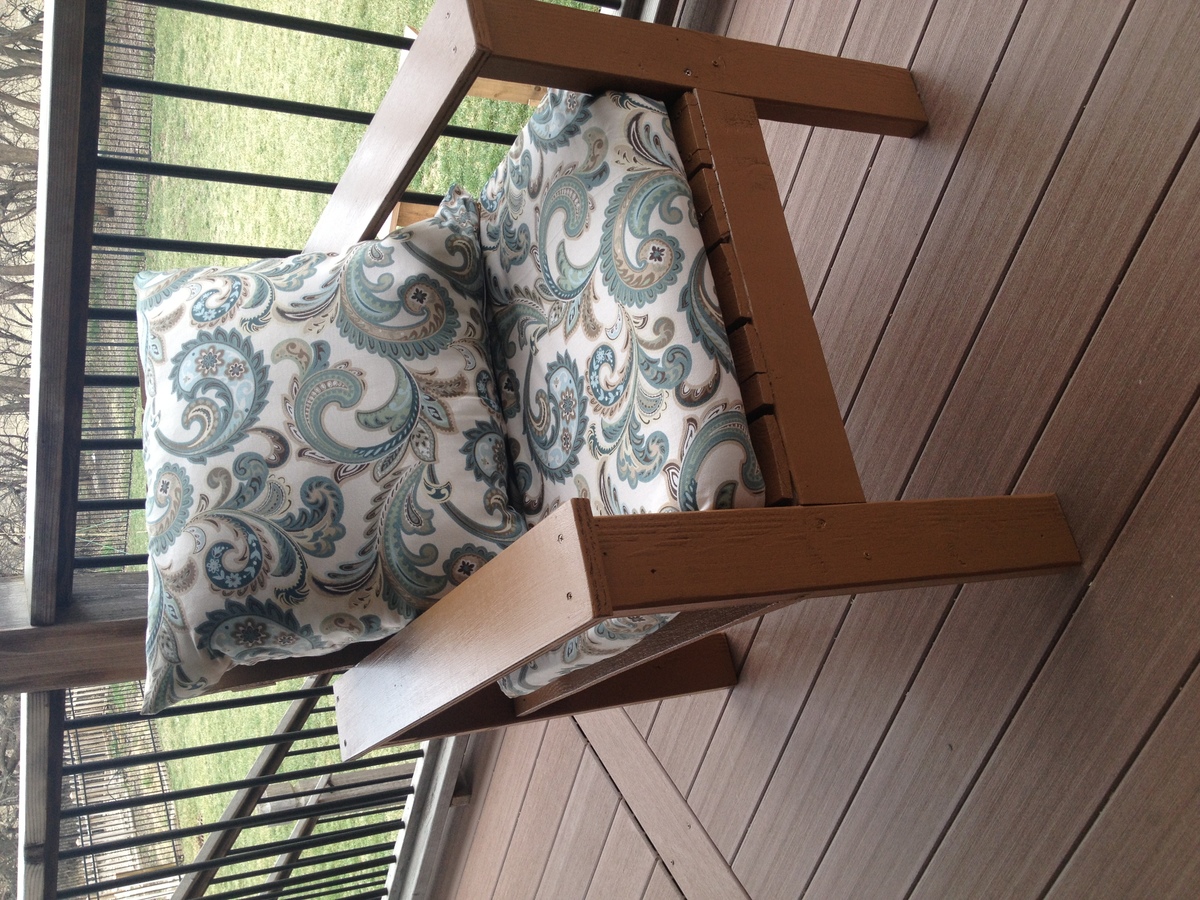
We used Ana's "Simple Lounge Chair" plan, used a few pallet boards with some scrap lumber we had laying around in the garage, and made an awesome patio set for less than $75! The only cost we had was in fabric for the cushions, which was an added embellishment we chose to do We purchased pillows from a local thrift store, and even a couple at a local garage sale for $2 each... added our own special flare to make it match the fabric, and wahlah!
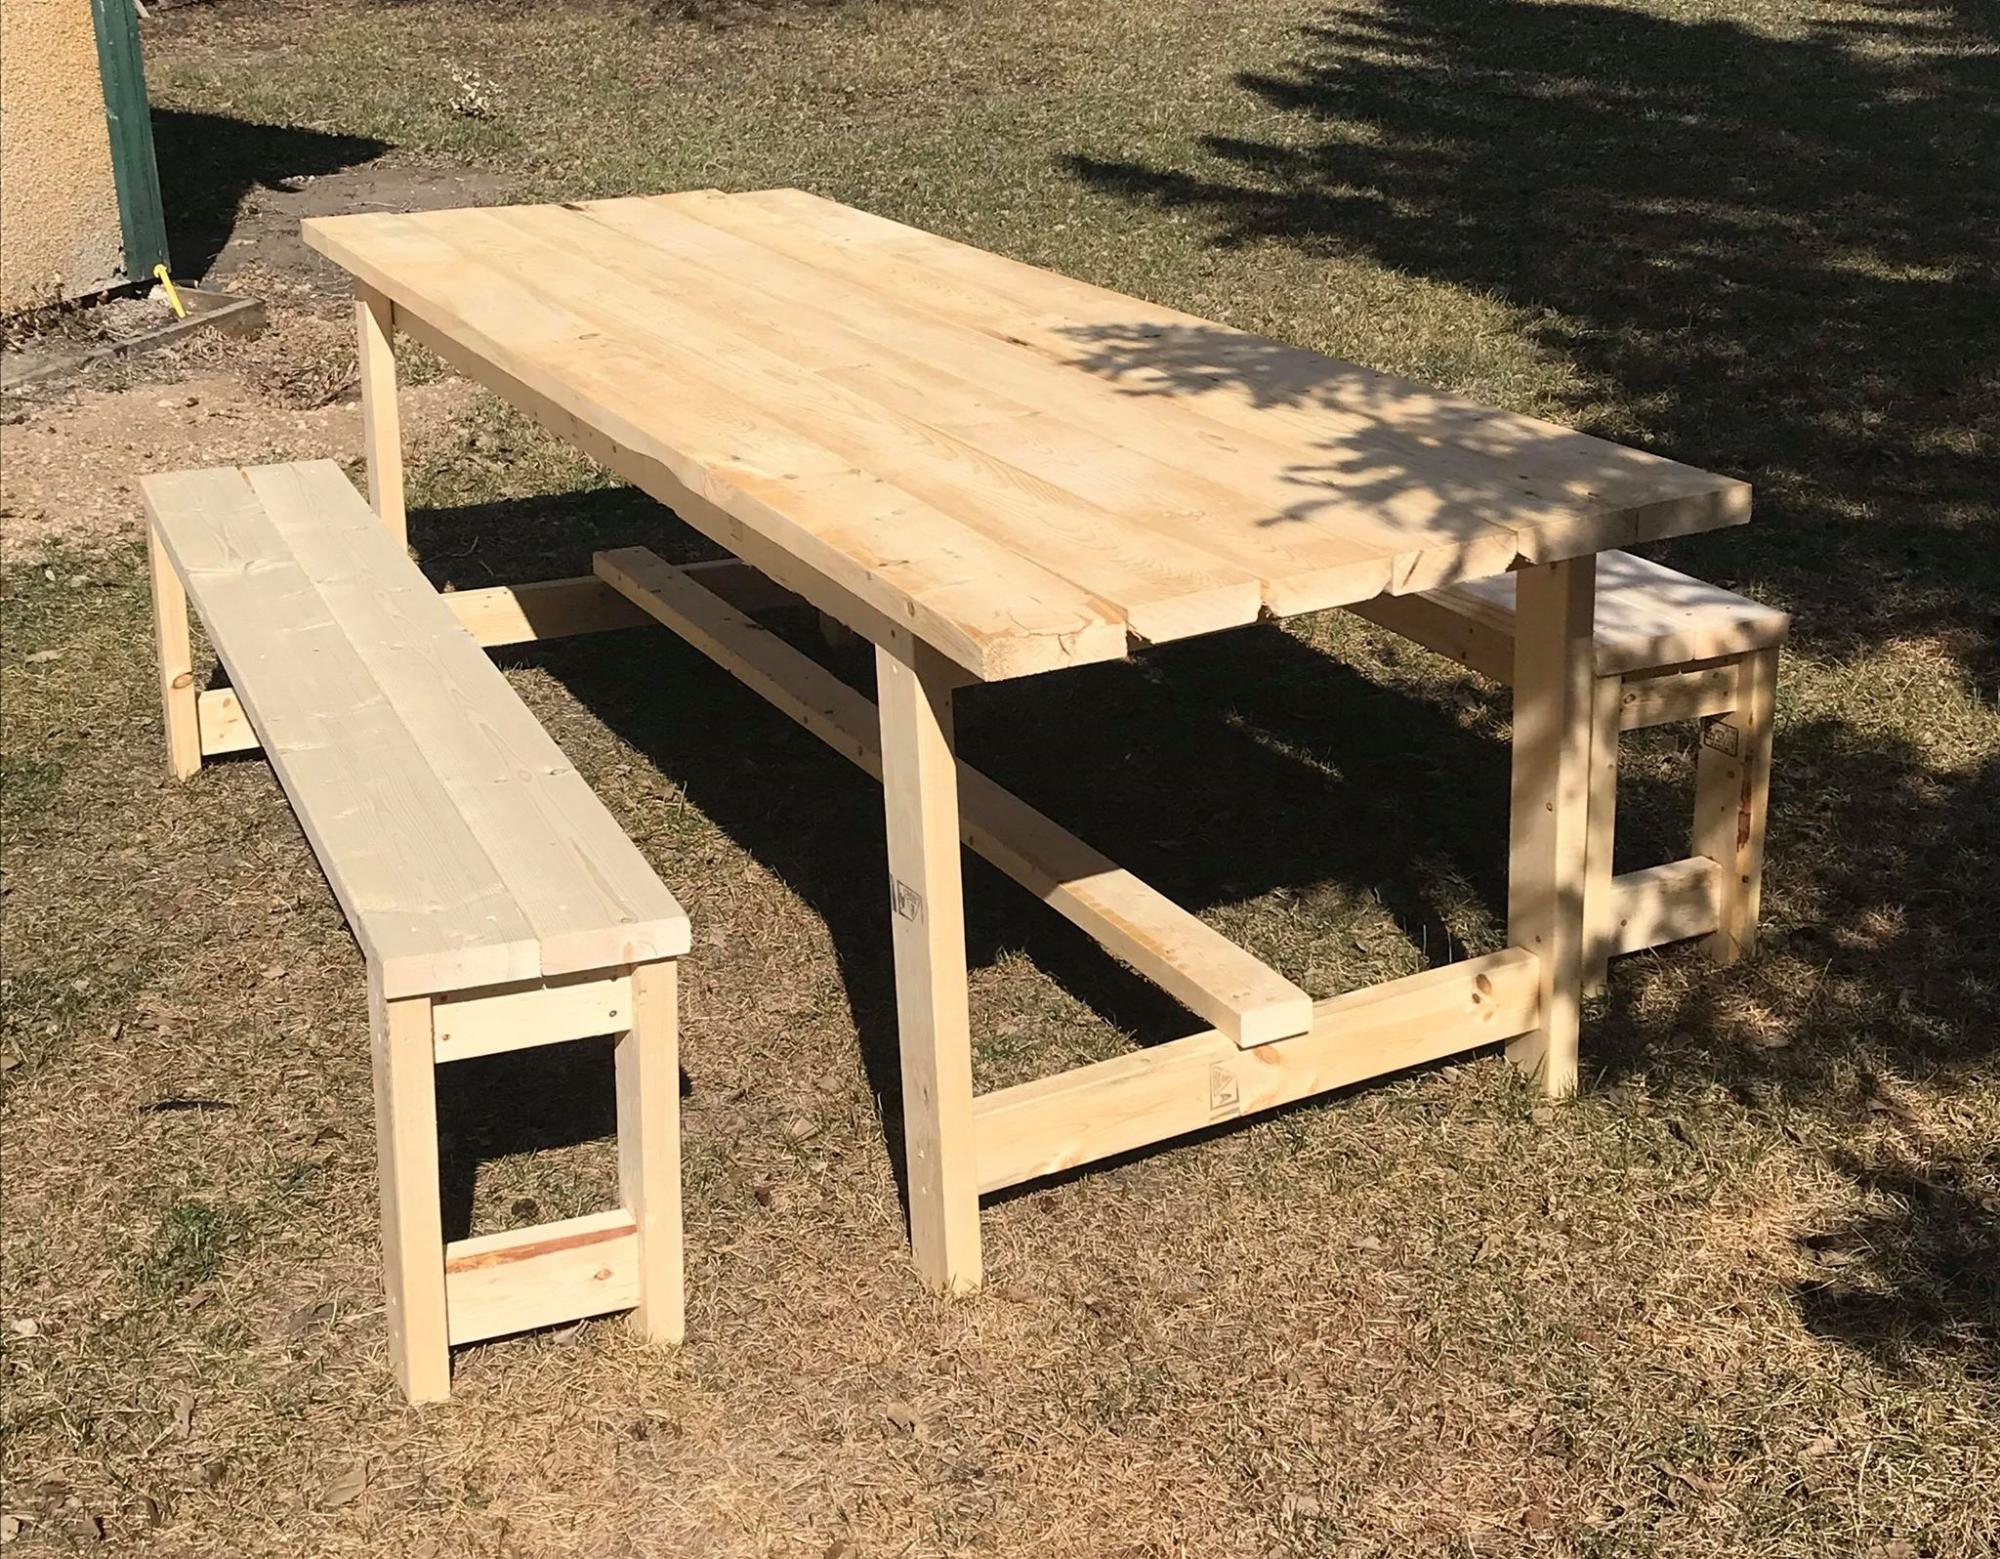
This was my first time building anything! The plans were so easy to follow along! Once I master some things like this, I can work on fine tuning things a bit more so I can build some more intricate plans. Thanks so much for your website! My kids are loving the BBQ's outside at the table!
Tue, 06/02/2020 - 15:09
re the farm table. your cut list calls for 8 2 x 4 at 28 1/2 inches but the plan actually only needs 4 of them. The pics do not show you doubling the 2 x 4s for legs. Am I missing something.

Last year, I found these plans and with the help of my brother we modified them so they could be used with or with out cushions and to add storage underneath the day bed. I found the cushions on clearance from Crate and Barrell and managed to get them all for around $250. I finally finished staining the furniture this past weekend and thought I would share the finished result. The shade is a $8 curtain that we stretched across the top. We have had a lot of good times using this furniture!!


Sun, 06/17/2012 - 10:17
This is gorgeous! What an awesome place to kick back on a summer night
Sun, 06/17/2012 - 10:17
This is gorgeous! What an awesome place to kick back on a summer night
Fri, 03/20/2015 - 23:41
I am interested in the plans for this piece and love the added storage.
Excellent plans and a great build! We had a blast and LOVE our new table that will go in our new house once built.
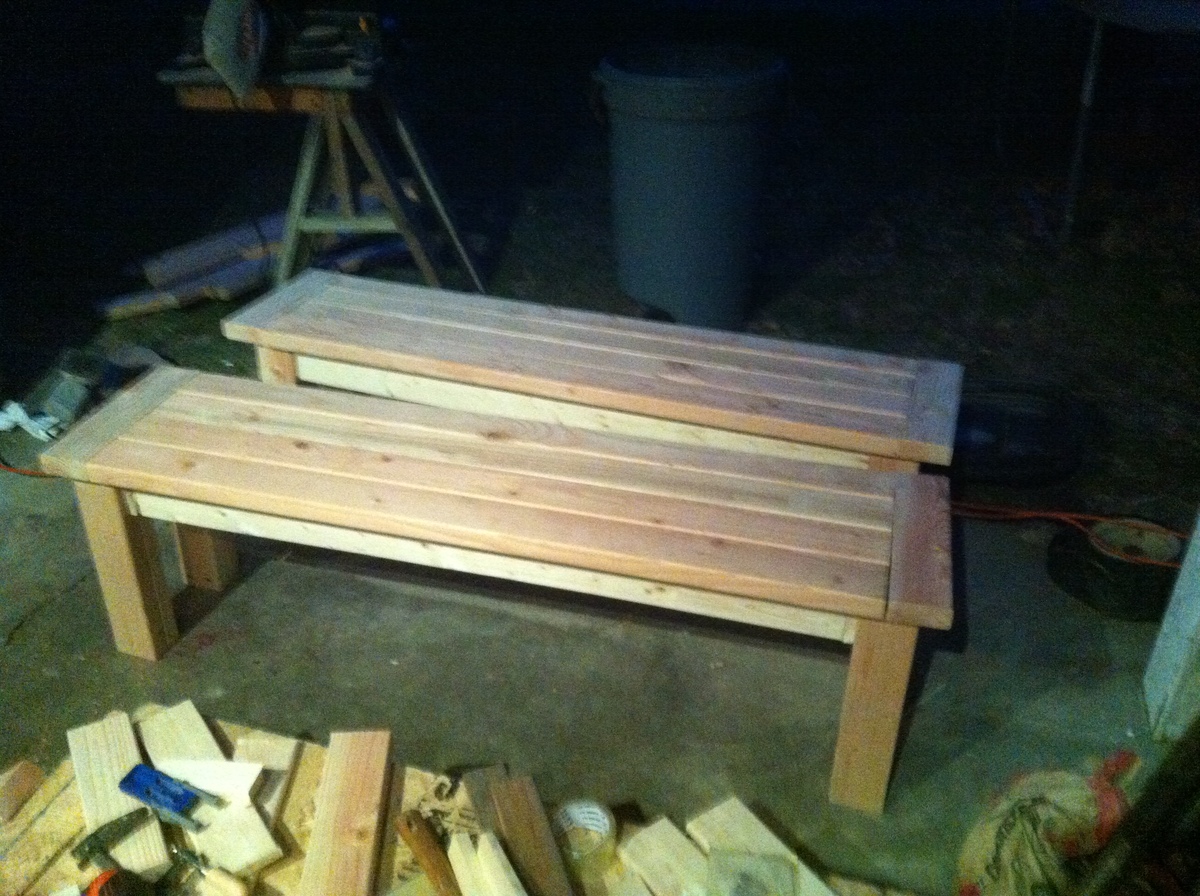
We have now stained the benches but have not taken any photos. We also added the brackets shown in the photos.
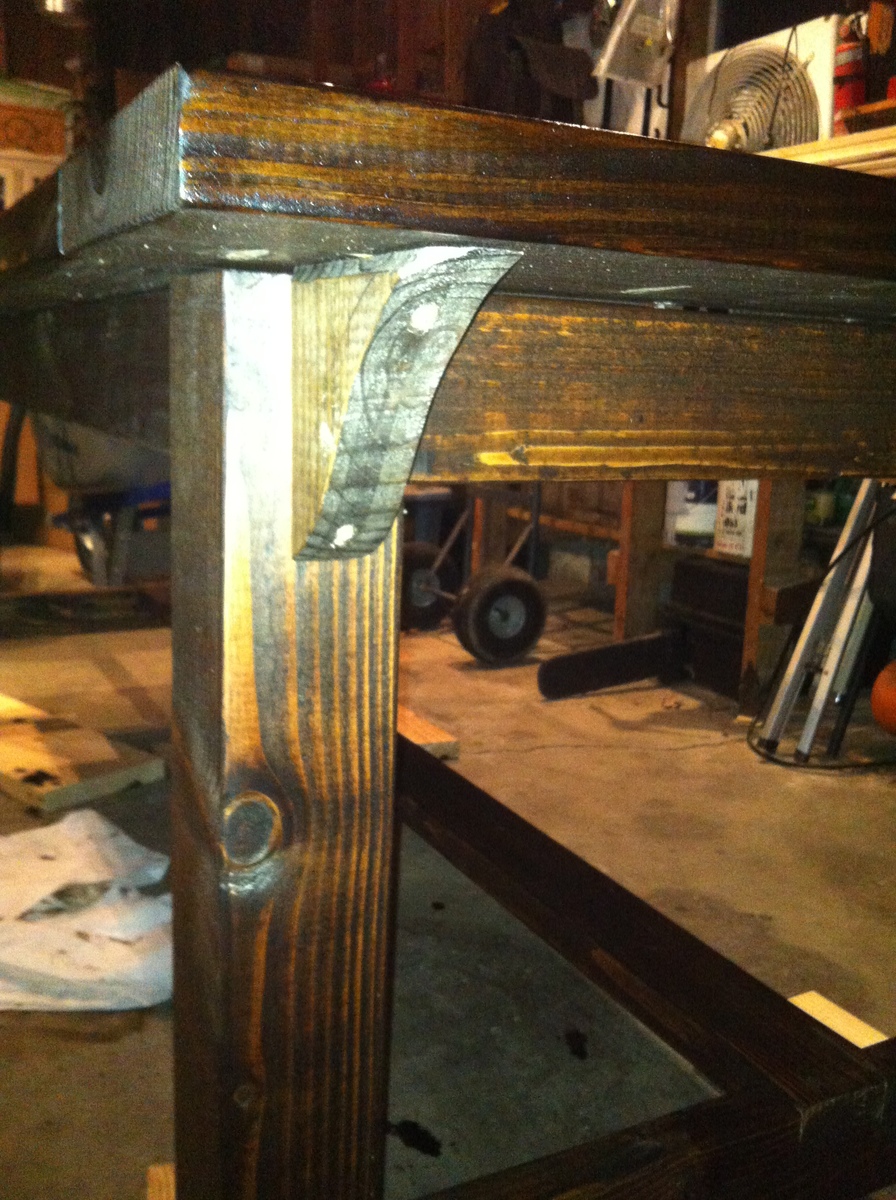
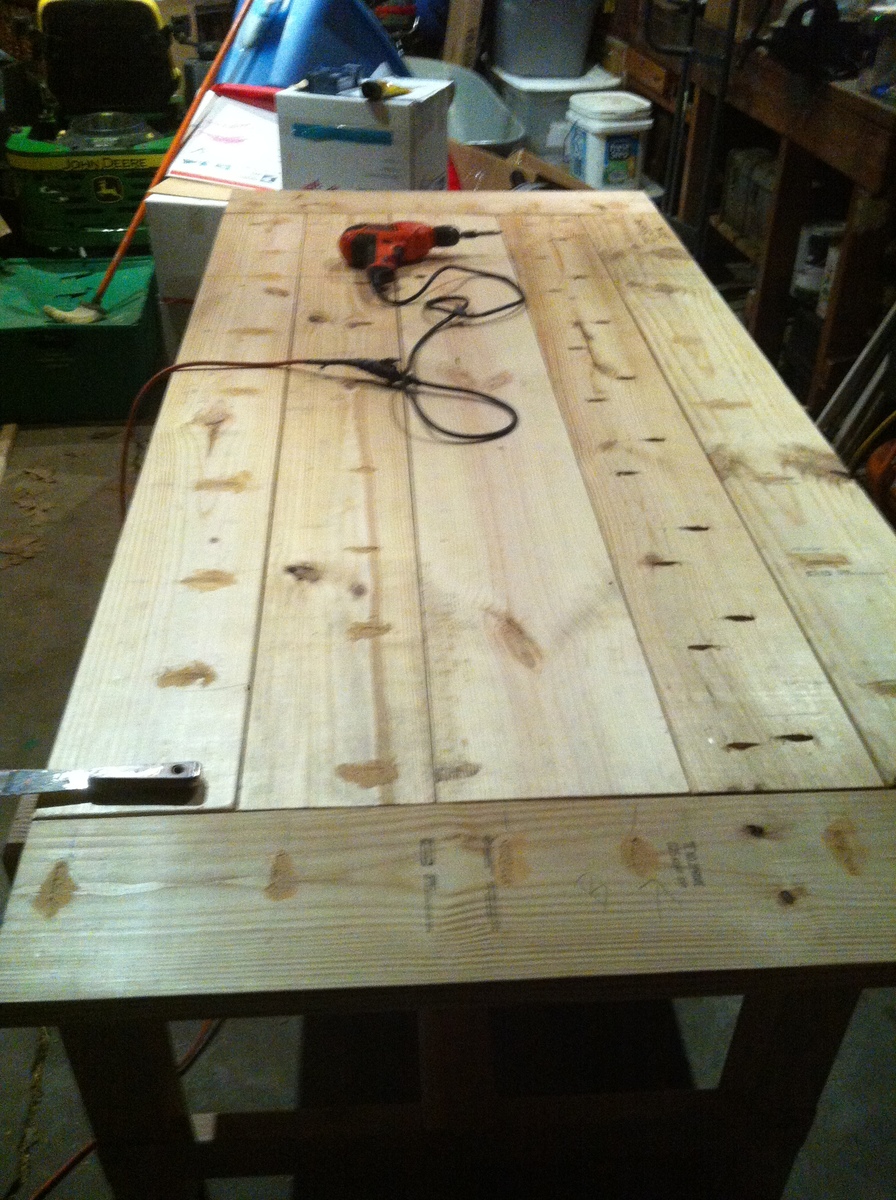
With the arrival of our first baby in 10 days, the wife wanted a changing table. My only vision of a changing table was the ones in public restrooms. With the help of Google, I came across all the great diy ideas on this site. I combined 3 plans into 1 and came up with this. The project took 2 days to build. Next step is to prime and paint.
Tue, 12/24/2019 - 11:37
I live this changing table. I made the "Simple Changing Table" but would like to make this one. Are there plans for this one? Thanks!
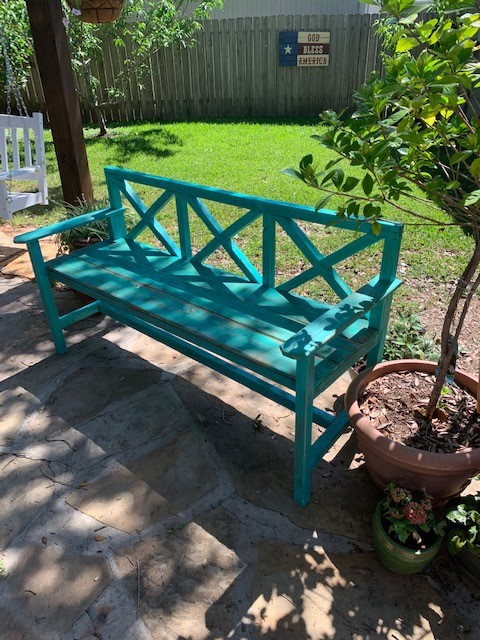
I used the Ana White plans from the Large Porch X Back Bench. However, I downsized it to 2X2 instead of 2x4's for a lighter project. I used the wood I salvaged when I replaced my fence. It was about 15 yrs old. I cut off the rotten parts and used the good parts. It was pressure treated and still in very good condition. I cut down the 4x4's to 2x2"s via my table saw as well as the framing of the 2x4's. I used leftover treated 2x2's from a pergola I recently completed for the X back. I used leftover fence planks for the seat. The only cost I incurred was 3" screws and wood glue. I had a gallon of the paint in my garage that I had purchased at Walmart a few months back for another project for $7.
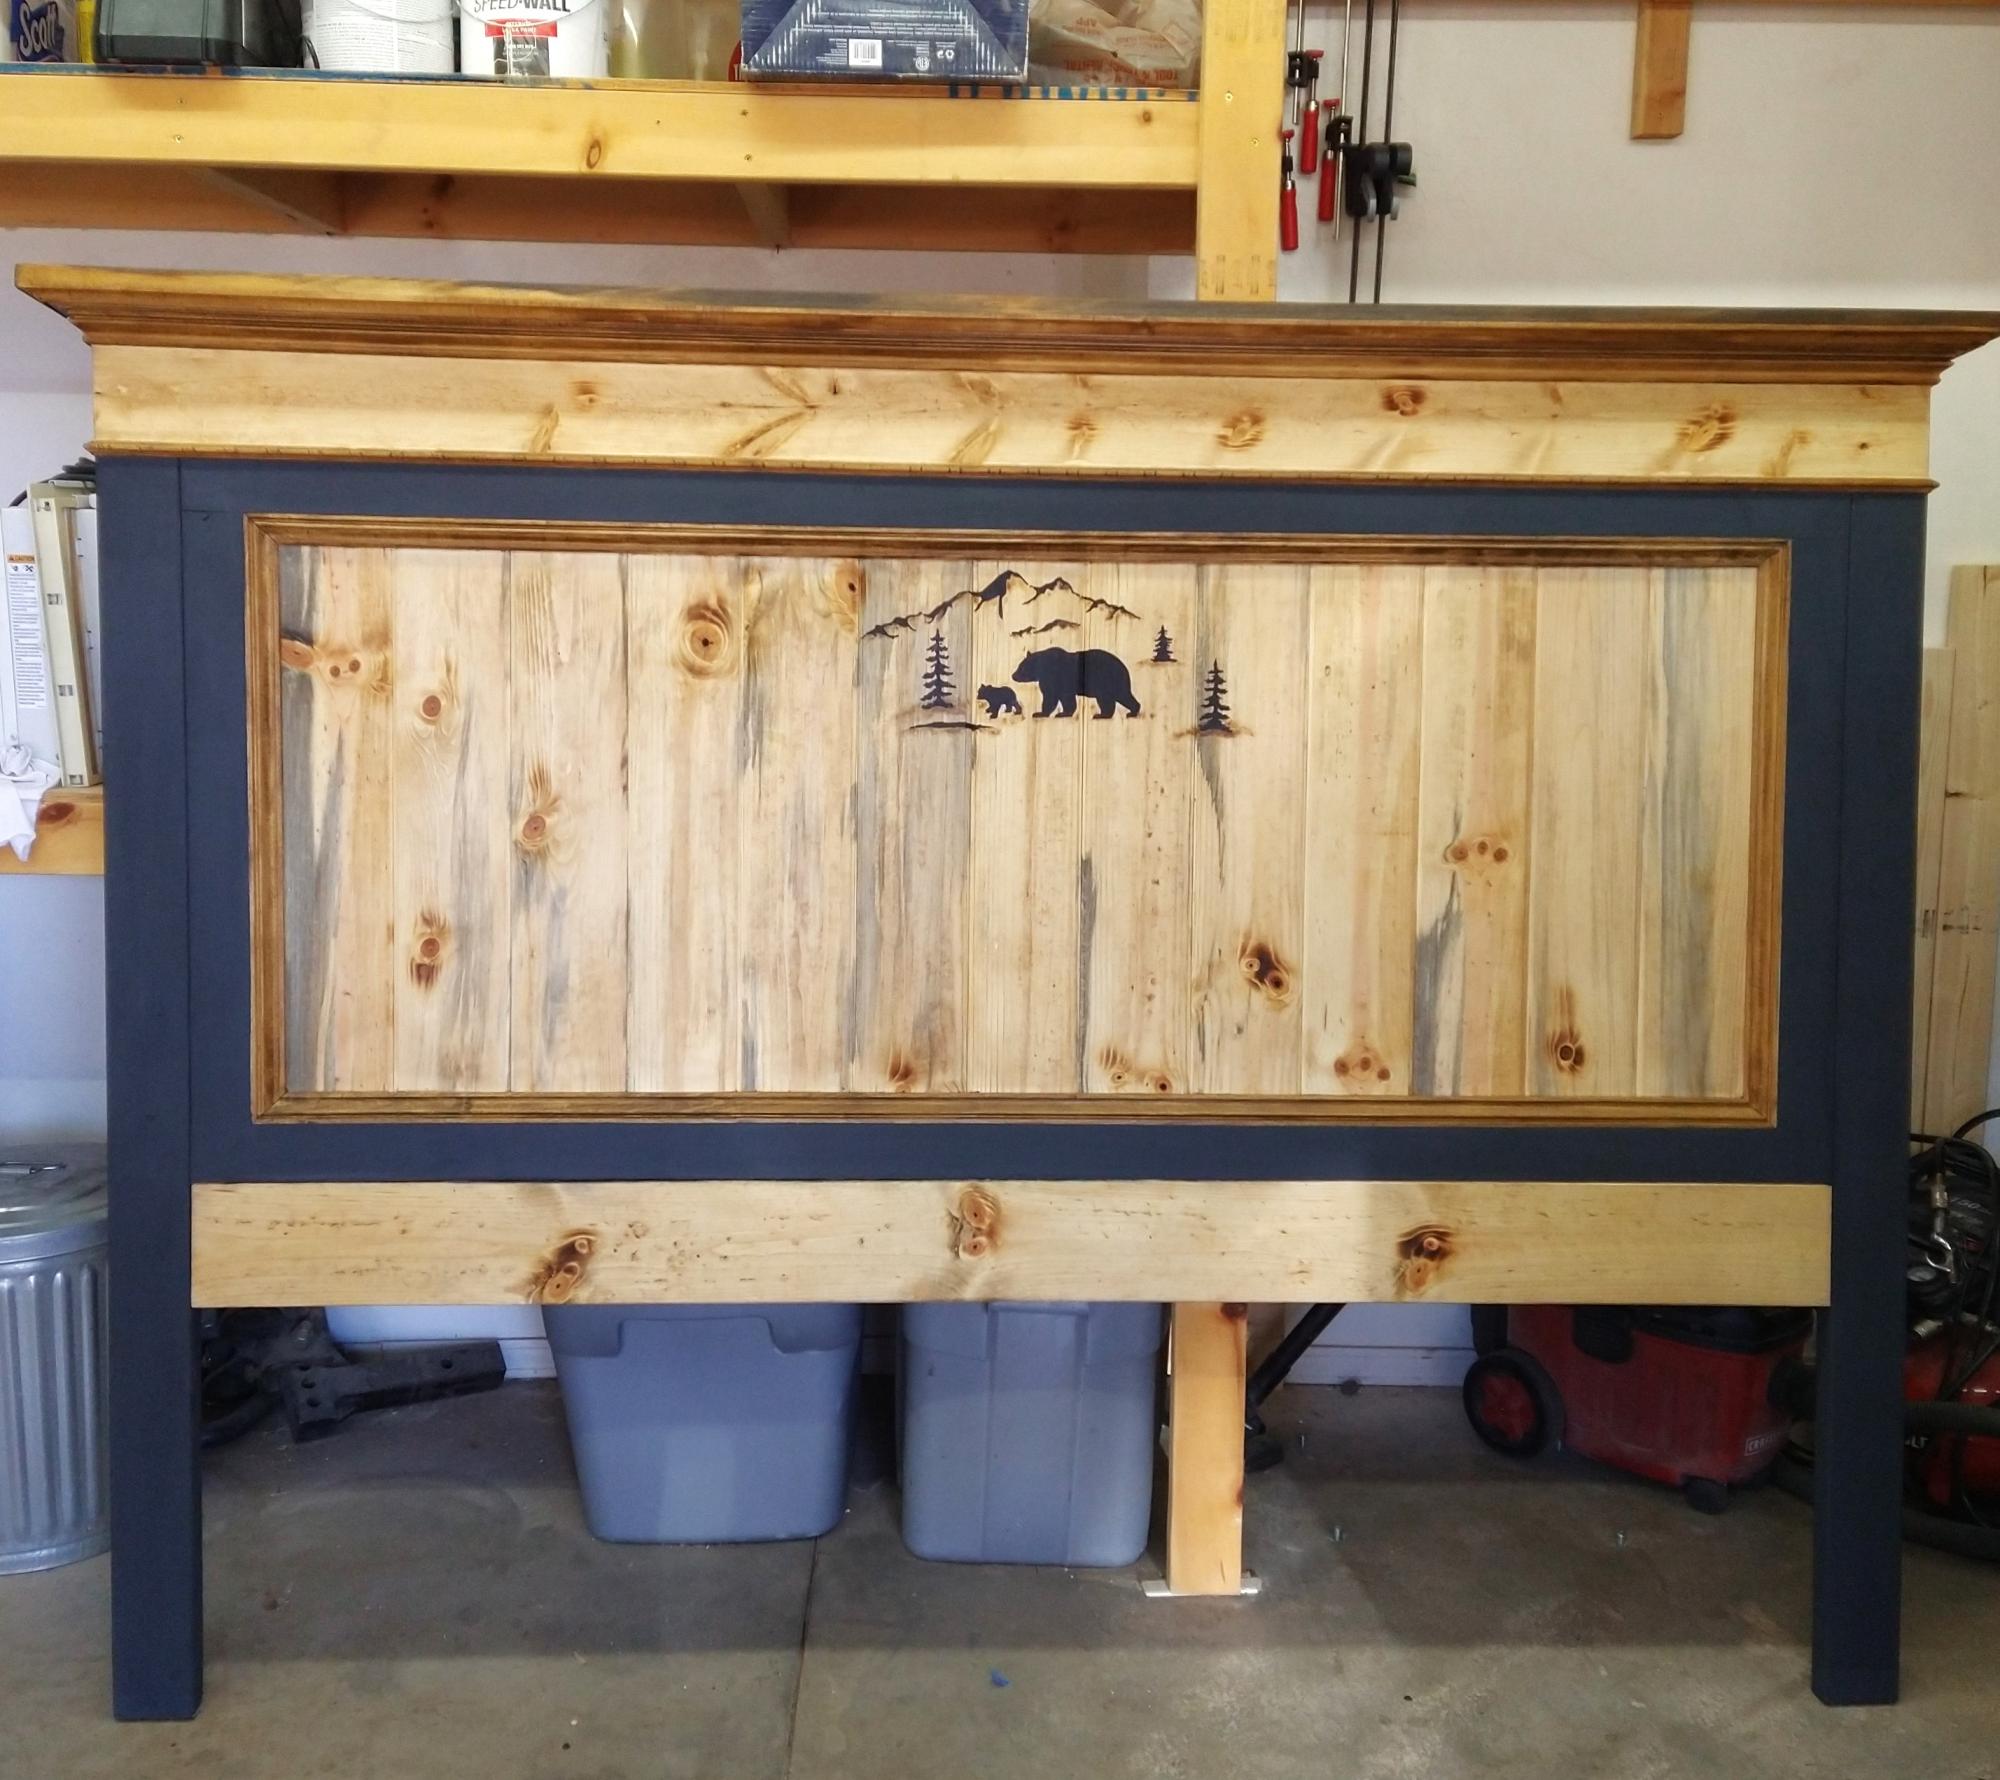
We built the Fancy Farmhouse King Bed (headboard only) modifying it by making it a bit taller and adding a little shelf on top with custom trim. Thanks Ana for such a great website and free plans!
Kelly Babb
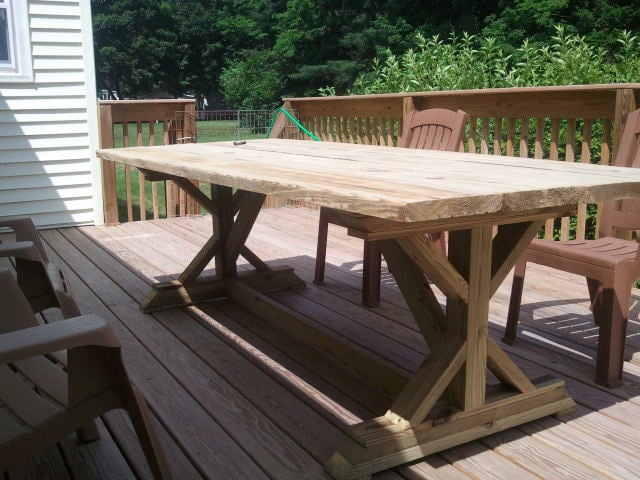
Needed a table for our deck, but didn't want to spend the $400-500 on sets at the store. Followed the plan for the most part and it was fairly easy to build. The only thing I did differently was in building the ends was put the "X" supports in after making the "I" shape in case I was off with my cuts.
Spent an hour cutting all the pieces on a Friday night and about 3 hours assembling Saturday morning. Table was ready to eat lunch on!
Wed, 06/20/2012 - 12:12
This is amazing! I really want to build this, but the plans seemed really confusing to me. Did you use a kreg jig for this?
In reply to This is amazing! I really by benfoldsfivealive
Thu, 07/05/2012 - 12:05
I did not use a Kreg jig because i dont havd one and I didn't try to hide my screws. I did pre-drill all my holes so that I didn't split any boards... and my dad is a carpenter so he helped me attach the 2 cross pieces (which is the only part I had trouble with) to the ends, which we did by just angling the screws in. I will try to take a few more detailed pics in the next few days so you can get a better idea of how I did it.
In reply to This is amazing! I really by benfoldsfivealive
Wed, 06/20/2012 - 19:15
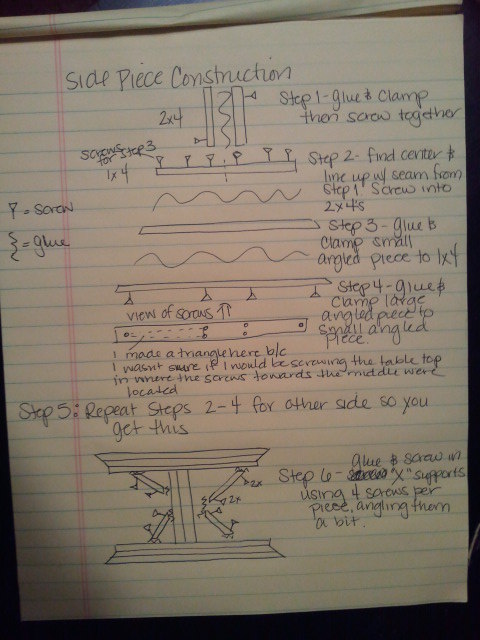
Posted an explanation of how I made the side pieces. Hope it helps!
Mon, 07/02/2012 - 03:37
Hi, great build !
Could you please explain how and from where did you screw the curved pieces at the bases ?
same question for the table top boards ?
Thank you!
In reply to Quick question by I Rub (not verified)
Thu, 07/05/2012 - 12:03
If you look at the first drawing I have attached it will show you where to screw the curved pieces in. I screwed through the 1 x 4 to attach the smaller curved piece. Then I would screw through the larger curved piece into the smaller curved piece to attach it.
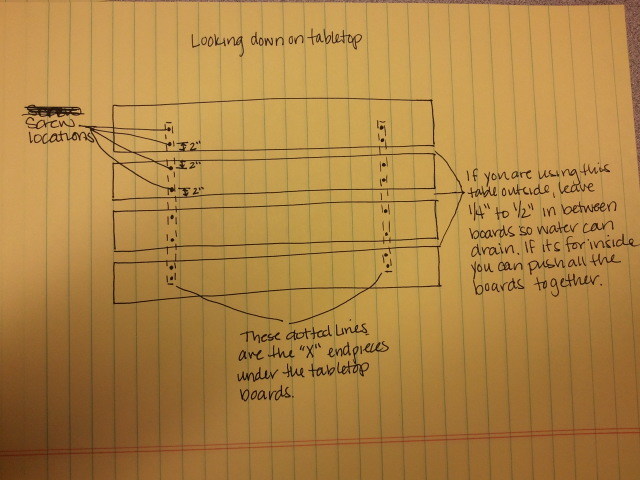
The table top pieces I screwed in from the top into the side pieces that you build first. I used 2 screws per board per side. The 2 boards in the middle should have screws at least 2 inches in from each side. The 2 boards on the end will have one set of screws 2 inches from the side that is next to the boards in the middle. The second set of screws will end up in about the middle of the outside boards. I'm going to attach another drawing to explain. Let me know if this helps.
Mon, 07/09/2012 - 11:22
I plan on building the table this week, will use your advice. Much appreciated.
Sun, 07/15/2012 - 16:20
Thank you for posting this. I started the project yesterday and I started with putting the cross braces on first and it did not turn out leveled. I thought that I would try to put it together first and then add the cross braces but was scared if it would hold. Thanks to your post I feel more confidant about it. I am going to make a run to the big box store and start over. Its okay because this is my very first build and I am just happy with my first 45 degree cut with my new circular saw ;) I guess its a learning process.
Thanks again for your post,
Gus
In reply to Thank you for posting this. I by Gus (not verified)
Thu, 07/19/2012 - 07:58
Glad I could help! Good luck with your build!!!
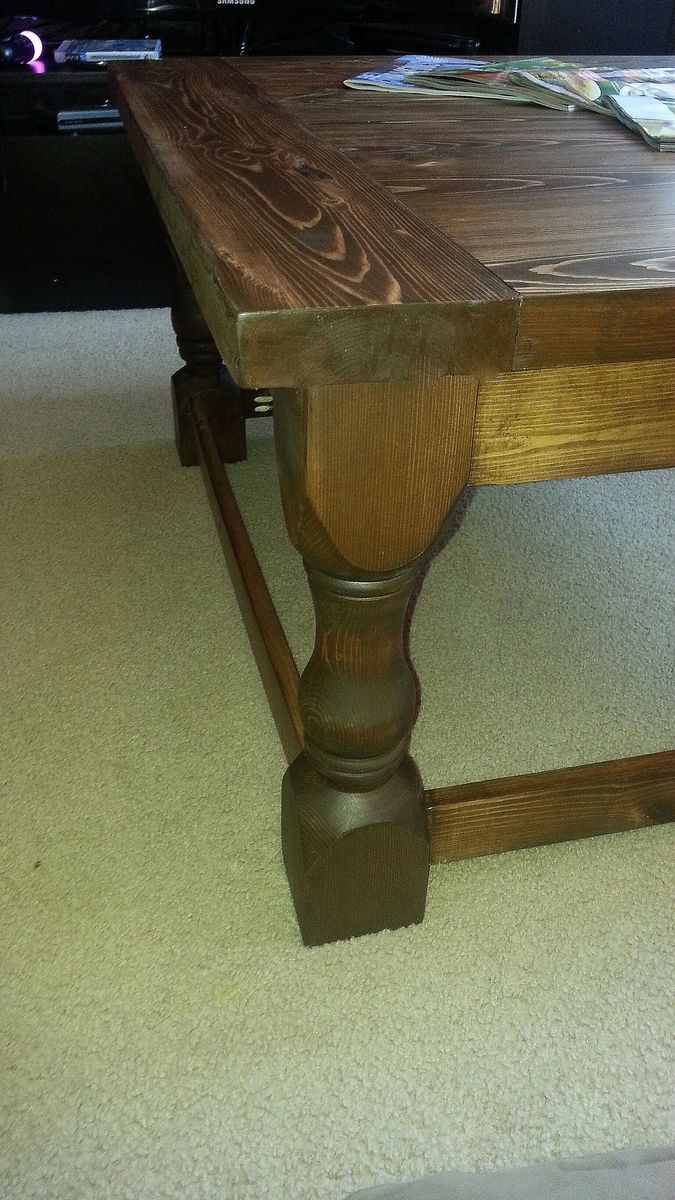
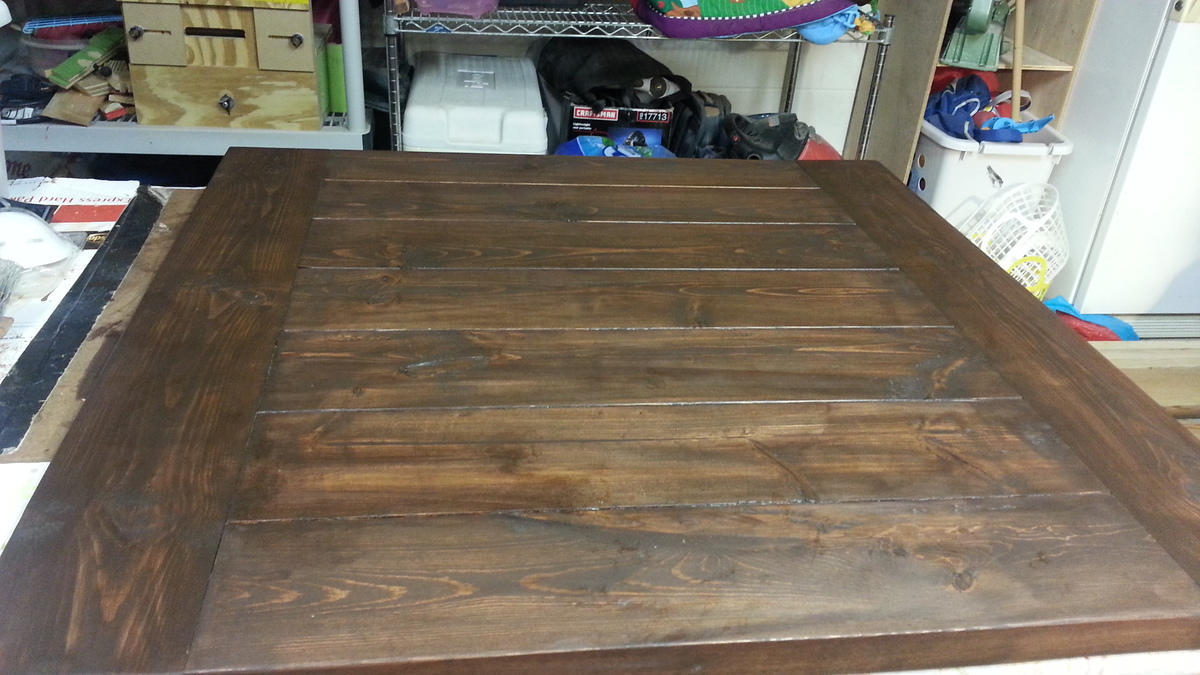
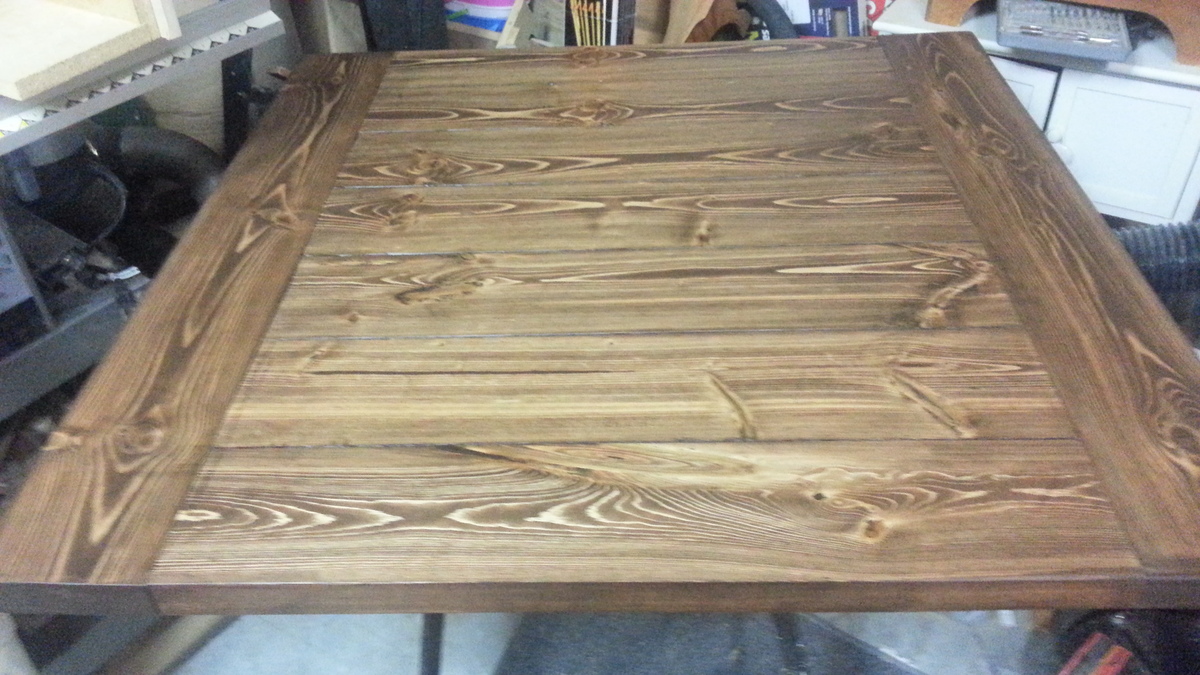
-This is a gorgeous table and I am very happy with how it turned out. I could not possibly pay for the turned legs at $40 each! Even if I did, it would be worth it, as this is a piece of furniture that will last several lifetimes.
-I used very rough 2x6s for the project, so I had to do a lot of work to get them square and smooth
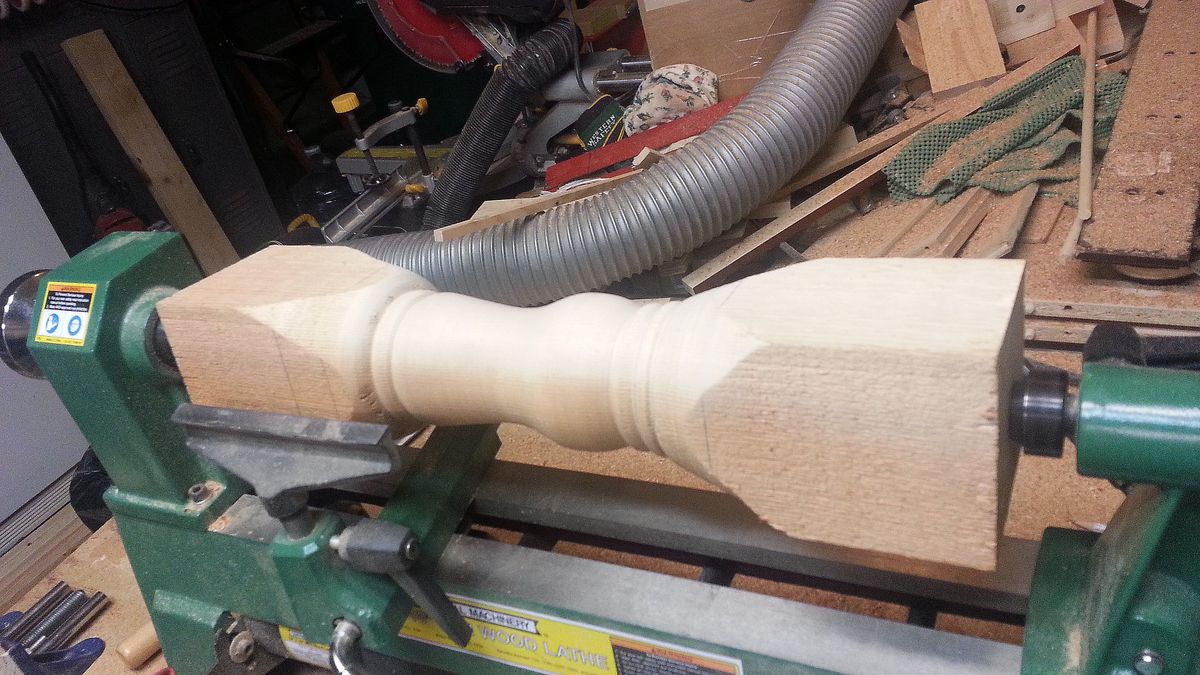
-I did not purchase the legs, I purchased a 8 ft piece of the best cedar Home Depot had, which actual dimensions are only 3.5x3.5, so the legs are not quite as chunky as I would have liked.
-I turned the 18" legs on a brand new mini-lathe I purchased from Harbor Freight, $150 after coupon. For the price of the legs, I chose to buy the machine and make them myself!
-I also used 1x4s for the lower shelf rather than a sheet of plywood, I felt the smooth bottom did not match the planked top. (The bottom is not done yet)
-The assembly was very straight forward and easy
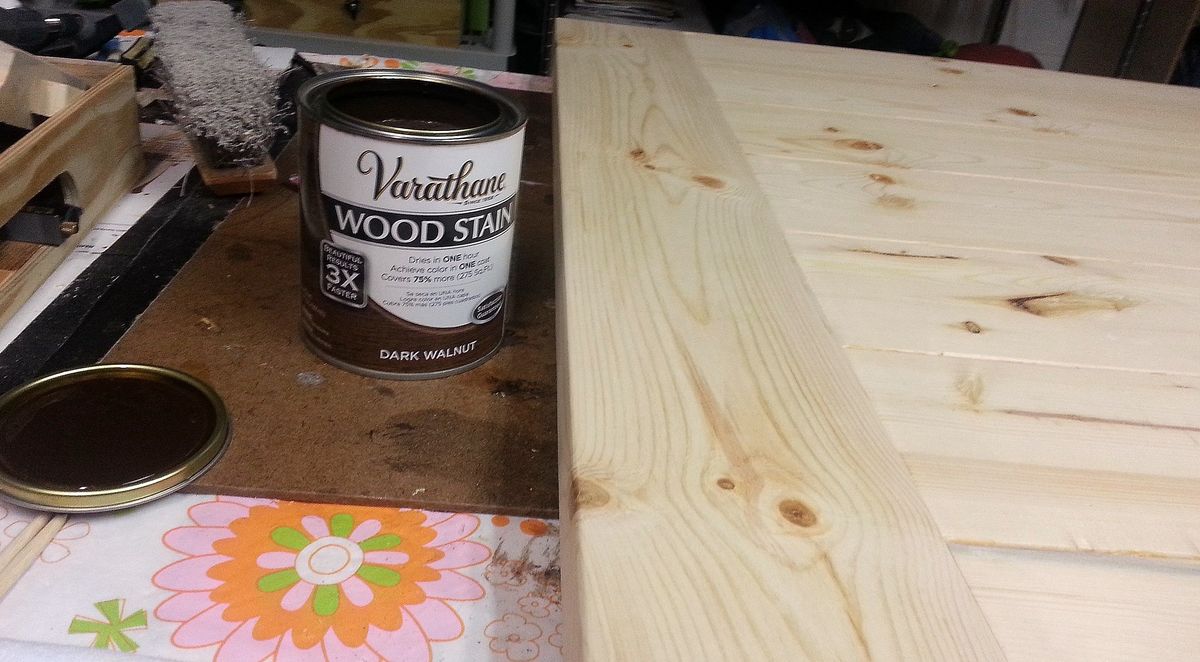
-This is the first project I made it a point to stain completely PRIOR to assembly! It turned out so much better, I also glued and screwed all joints with my Kreg Jig.
It's quite a massive heavy table that will last generations, my children dance, climb, sit etc all over it and its been in use about a month now. Two coats of the poly have held up very nicely so far, and the matte finish does NOT show dirt or fingerprints, where a glossy finish would!
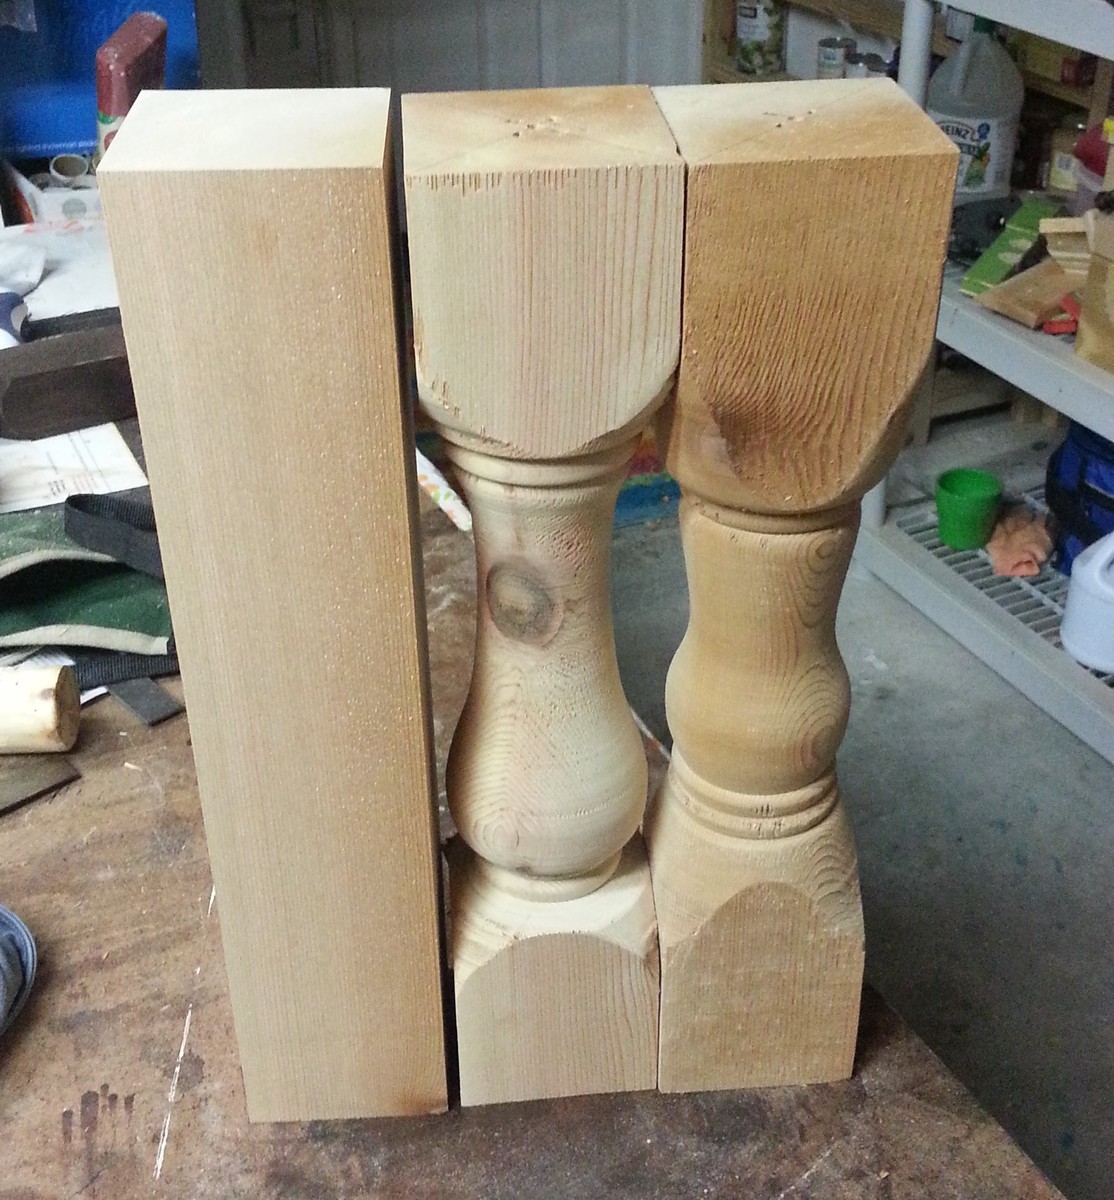
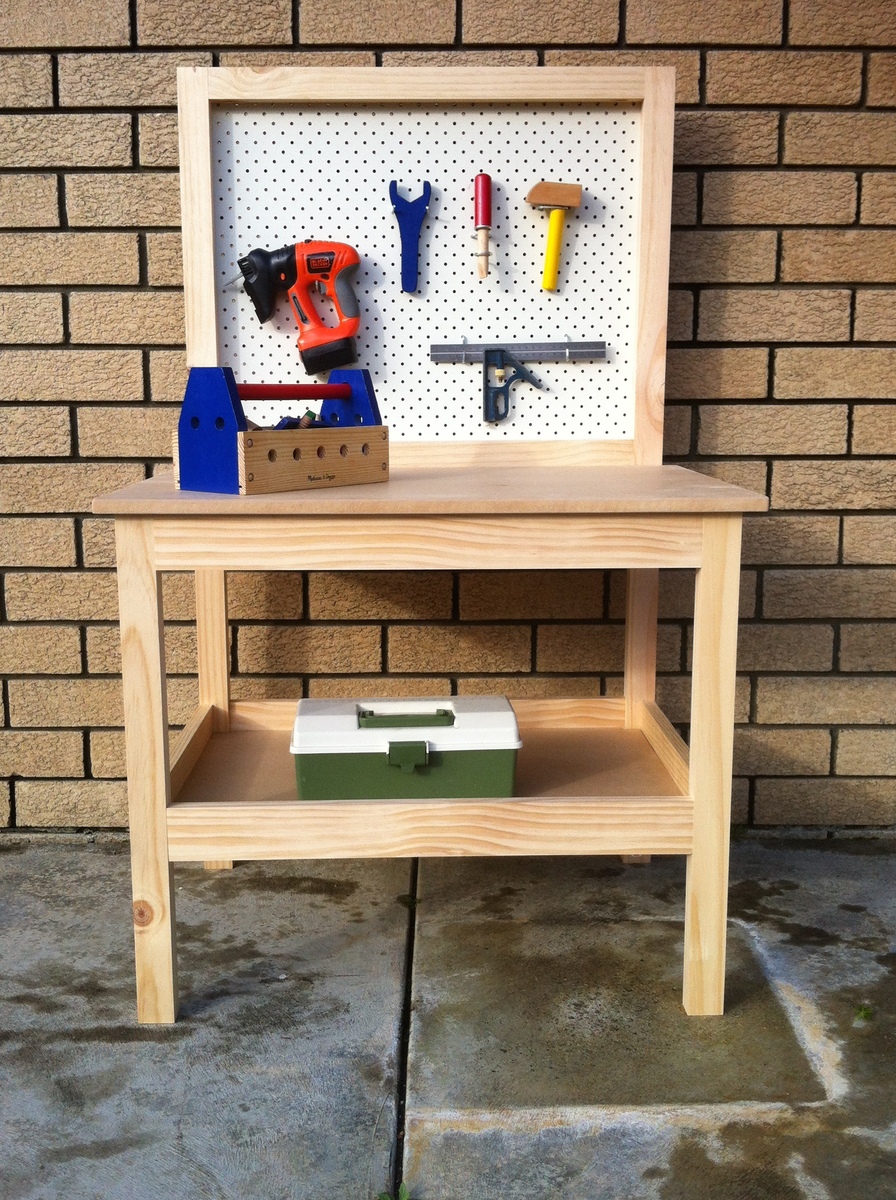
Was a quick and simple project, i mainly worked off the pictures rather then the instructions. The best part was that the project required me to go out and buy a Kreg Jig to get the nice pocket hole finish, which i now wish I had done years ago.