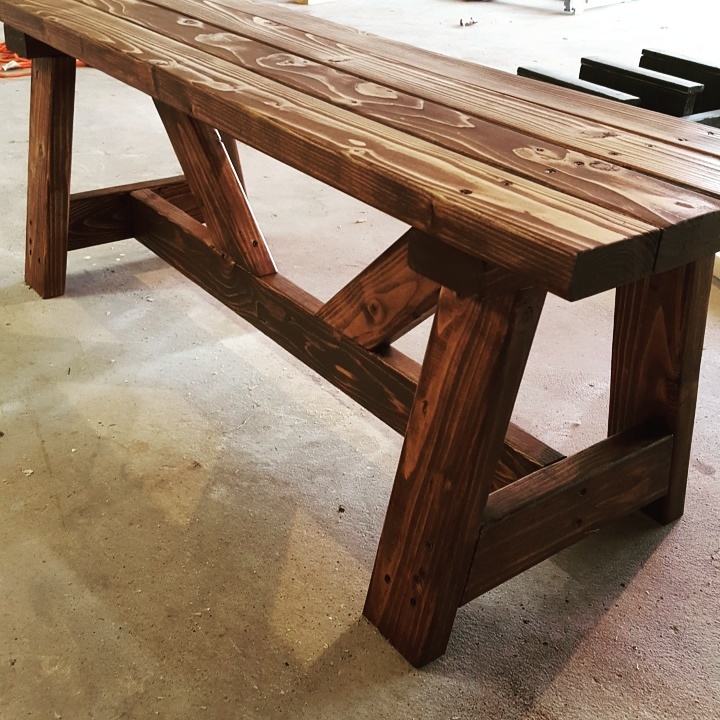
Wood Potting Bench
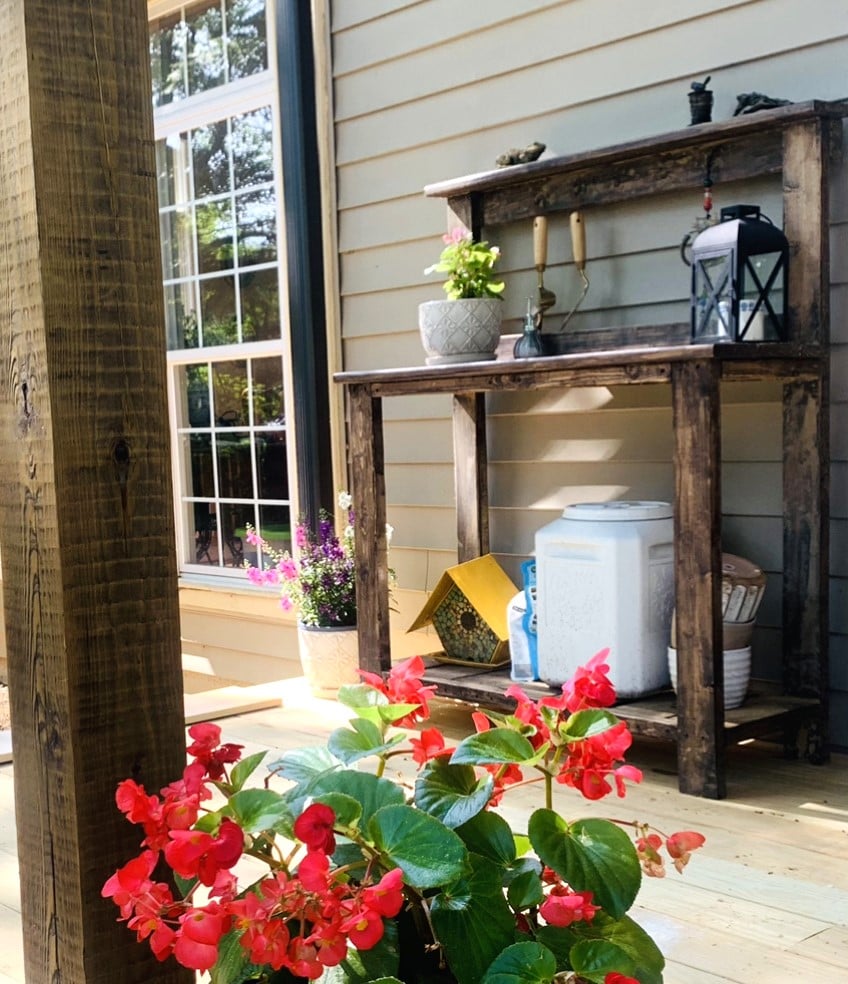
Flower potting bench for the front porch.
Mar
Built from Plan(s)
Flower potting bench for the front porch.
Mar
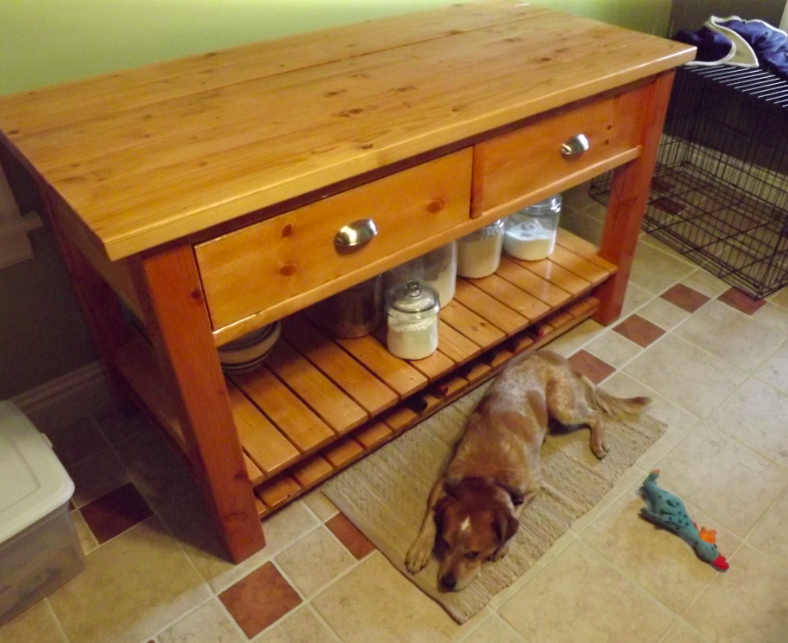
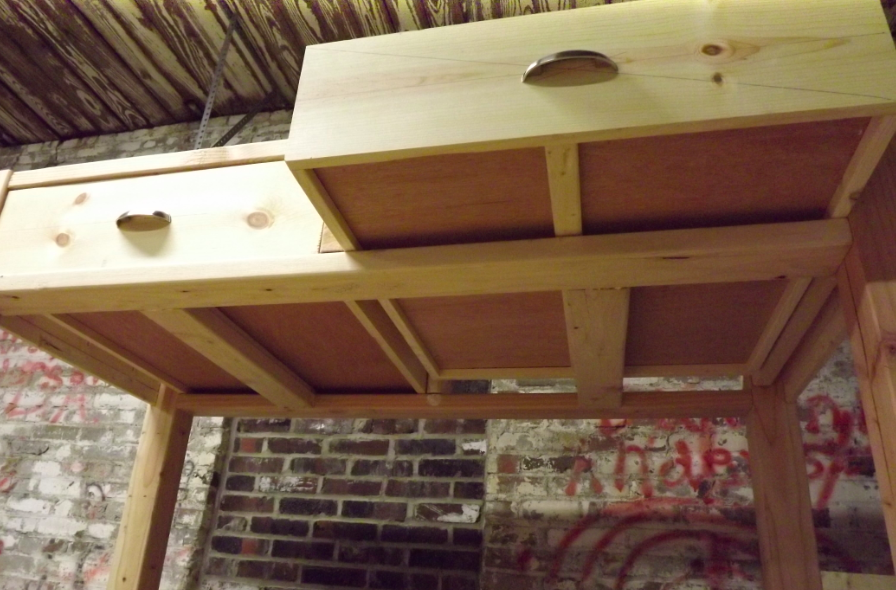
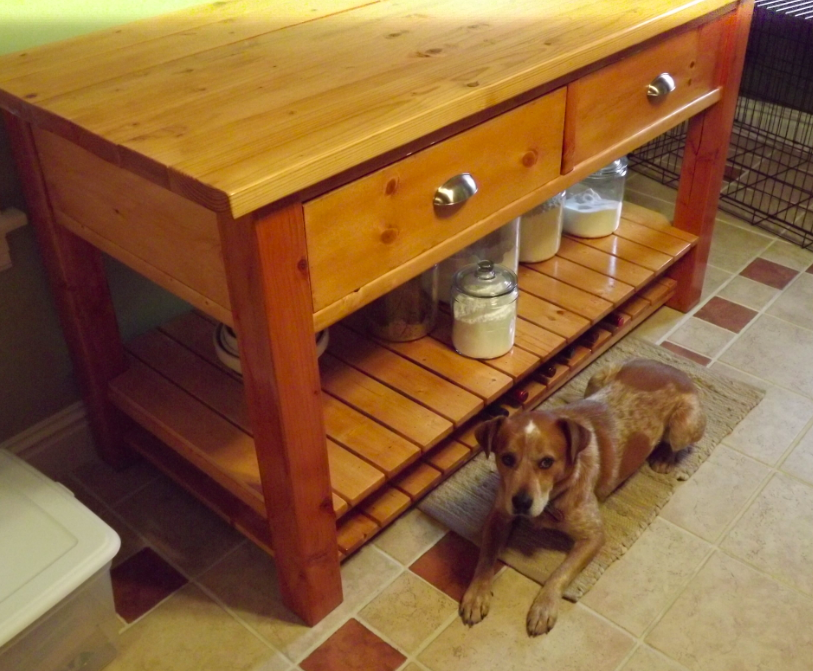
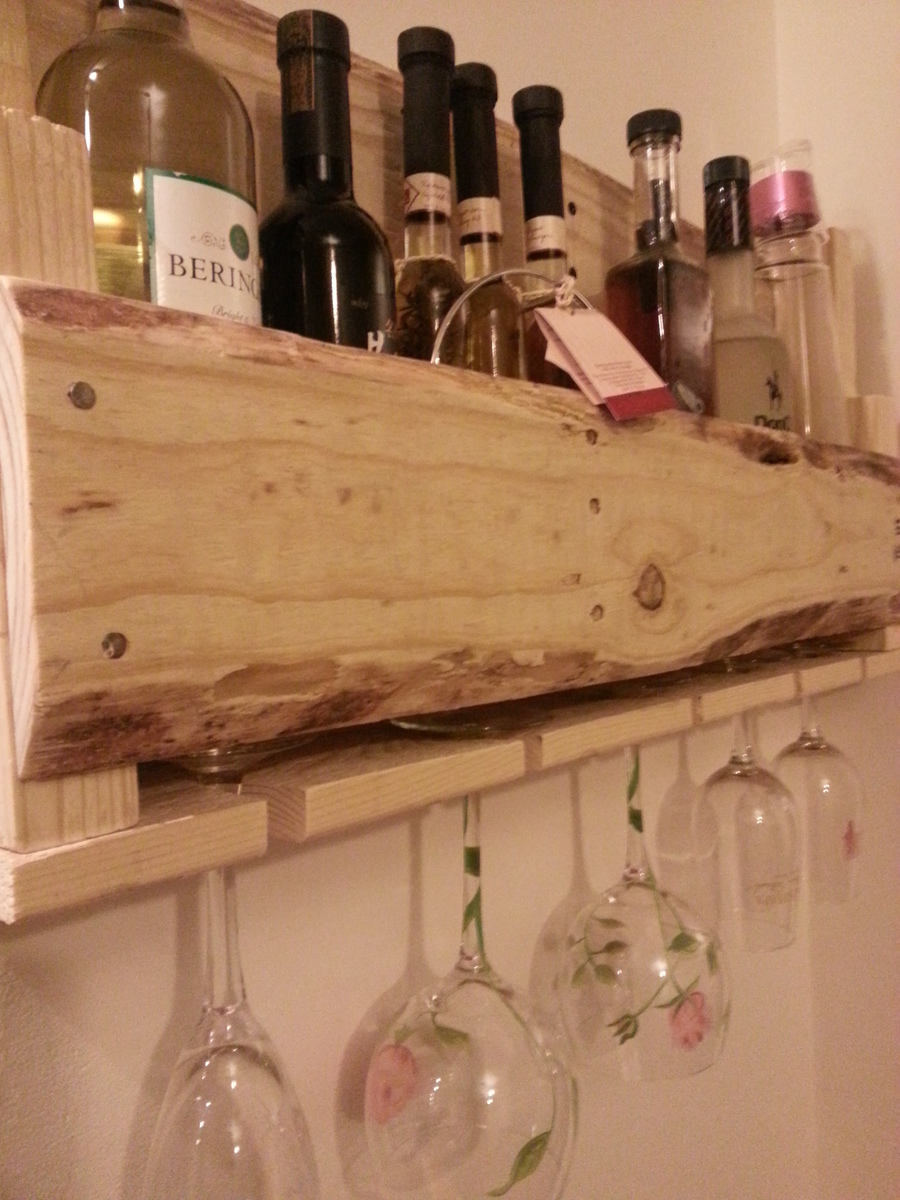
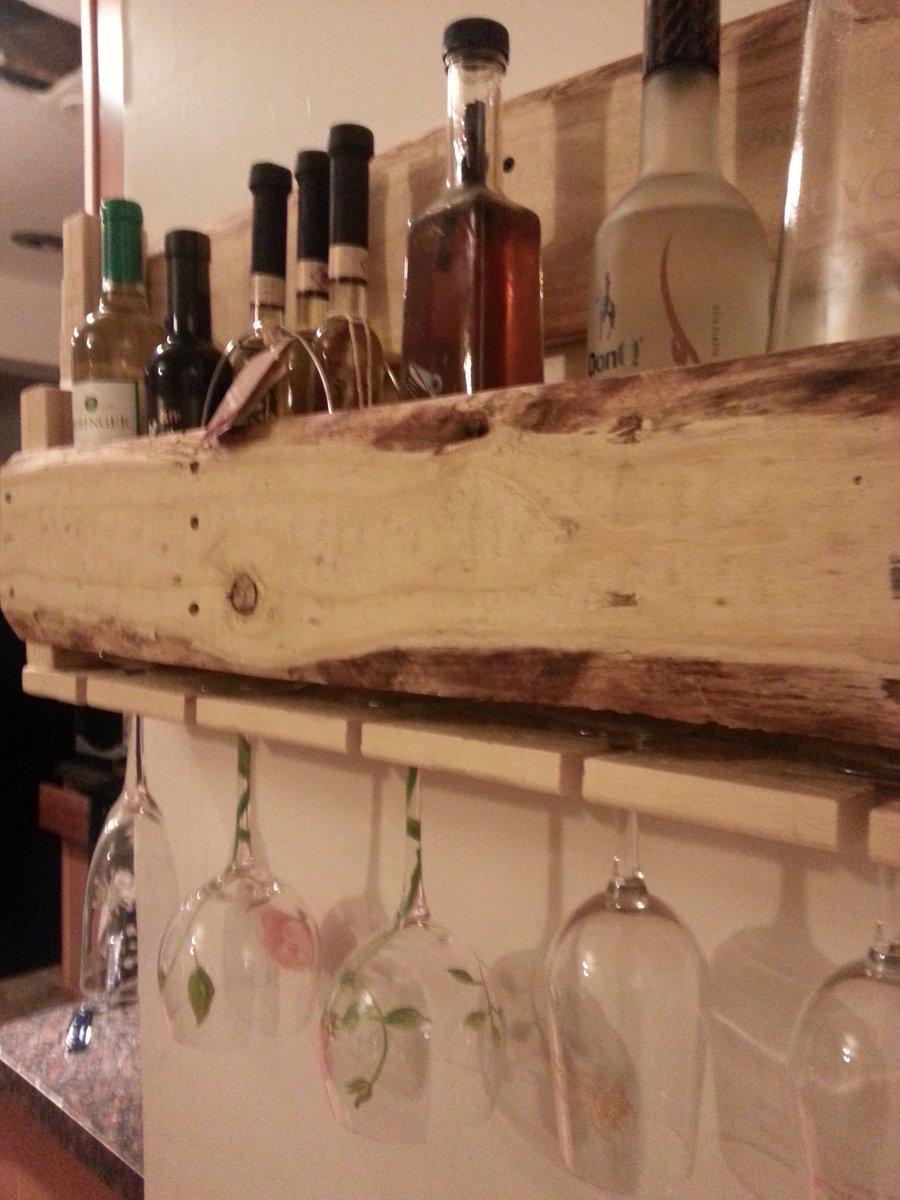
I needed something to fill an empty wall in my kitchen. I wanted something for both baking and wine storage so I modified a couple of things I saw on this website. Wine storage on the very bottom (the slats are wide enough apart that the wine bottles sit in the cracks and stay snug) with baking stuff above that. I think I'll build a matching shelf or two for the wall above it
Fri, 07/06/2012 - 15:17
I want to build a kitchen island and yours is very nice. Great Job!
Mon, 02/25/2013 - 11:22
What kind of material did you use for the table legs? Looks like 4x4?
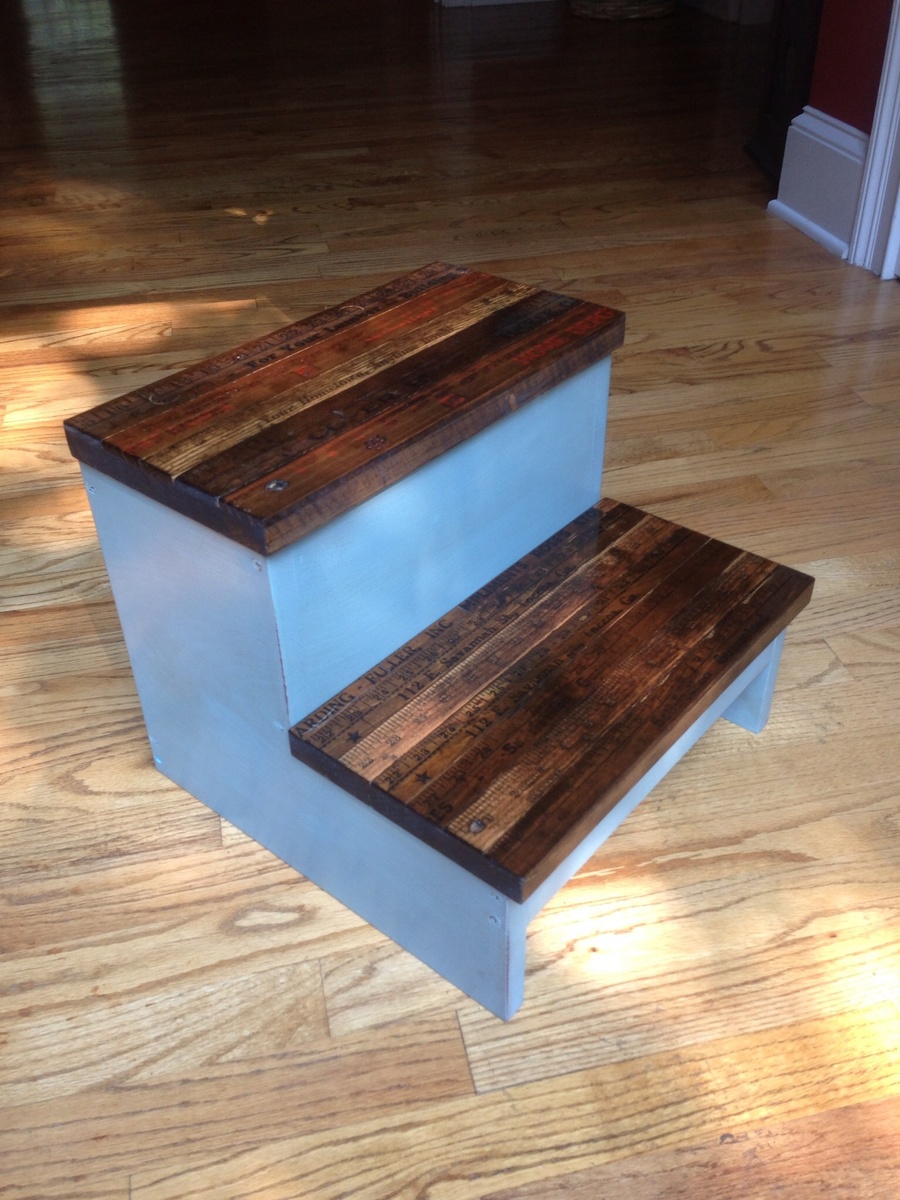
I built this stool for my 2 yr old grandson. Added yardsticks to the top of the steps for a different look, and painted the stool, then sanded randomly, added stain and wiped off for an aged look.
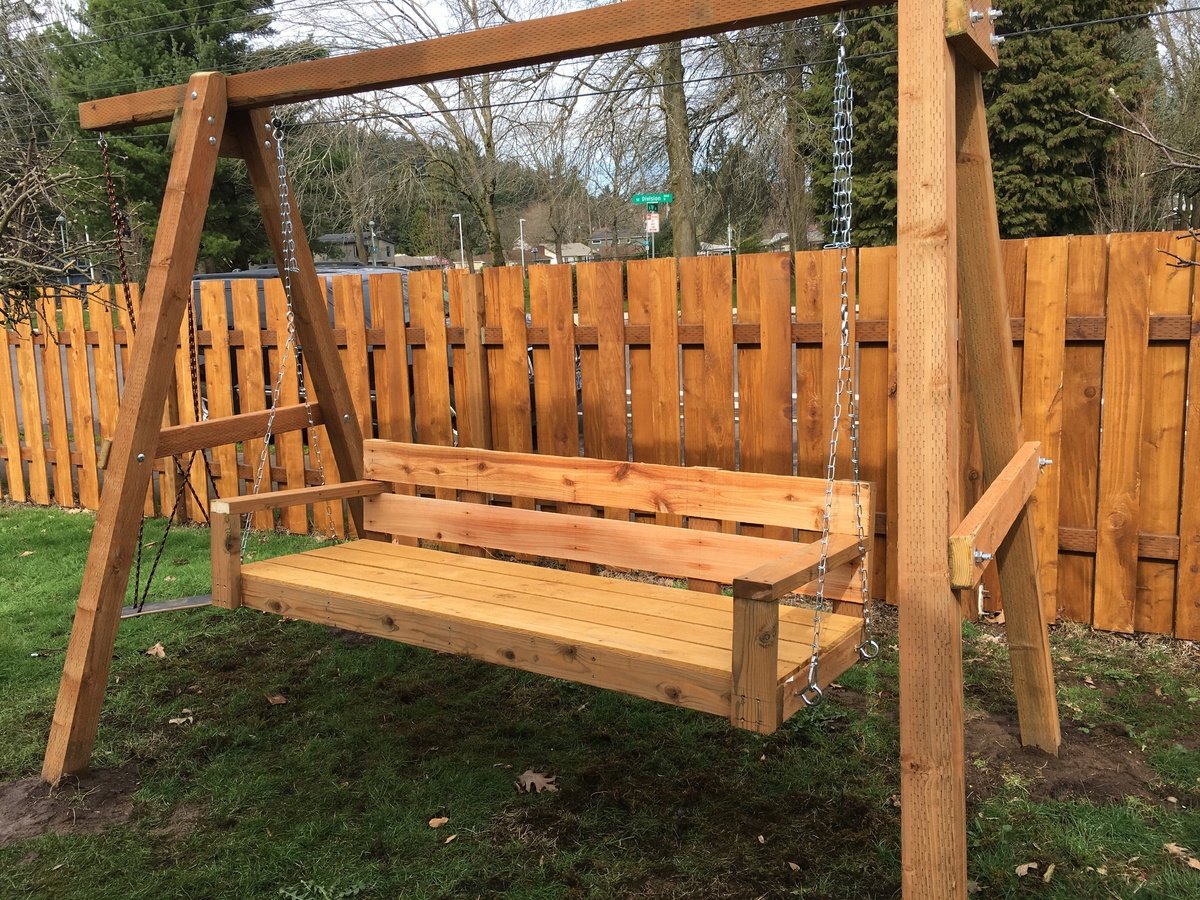
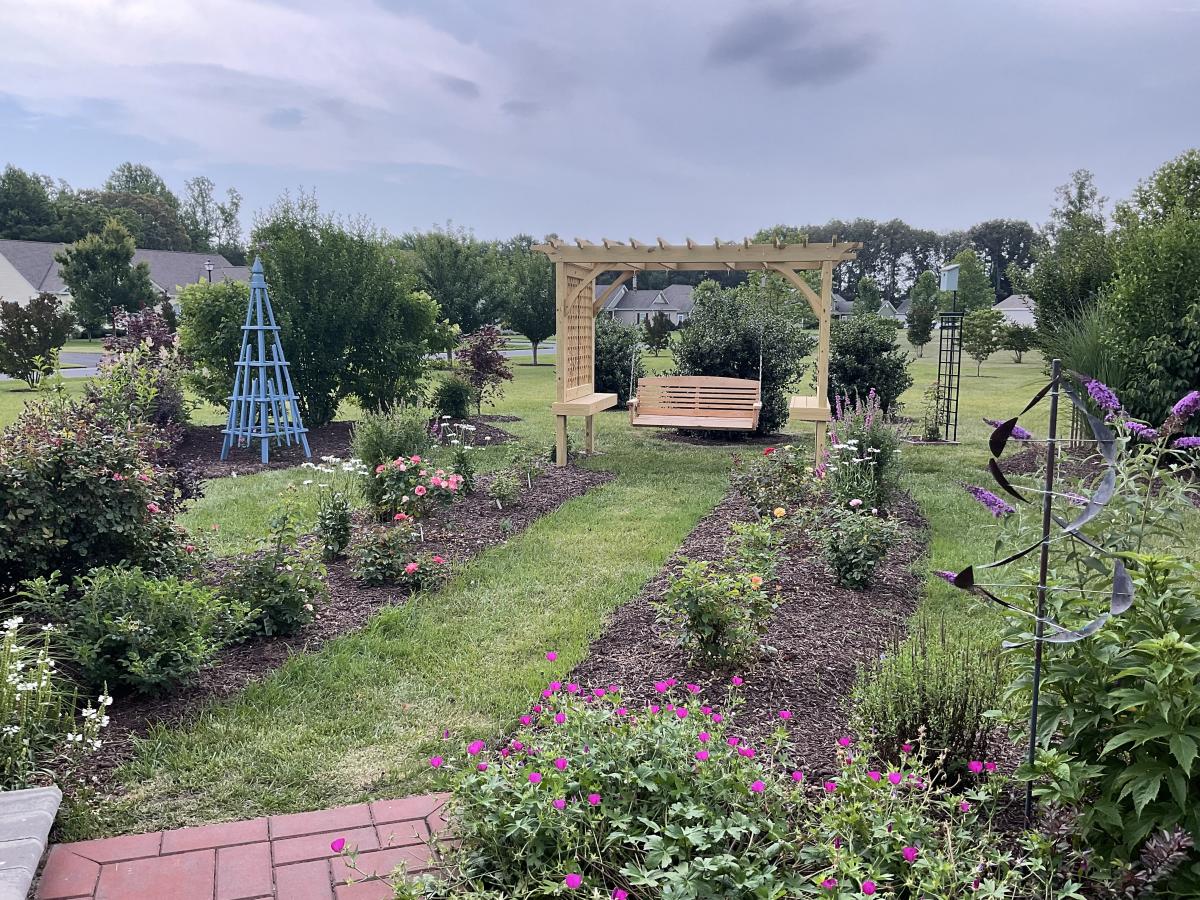
Quick build for the garden swing.
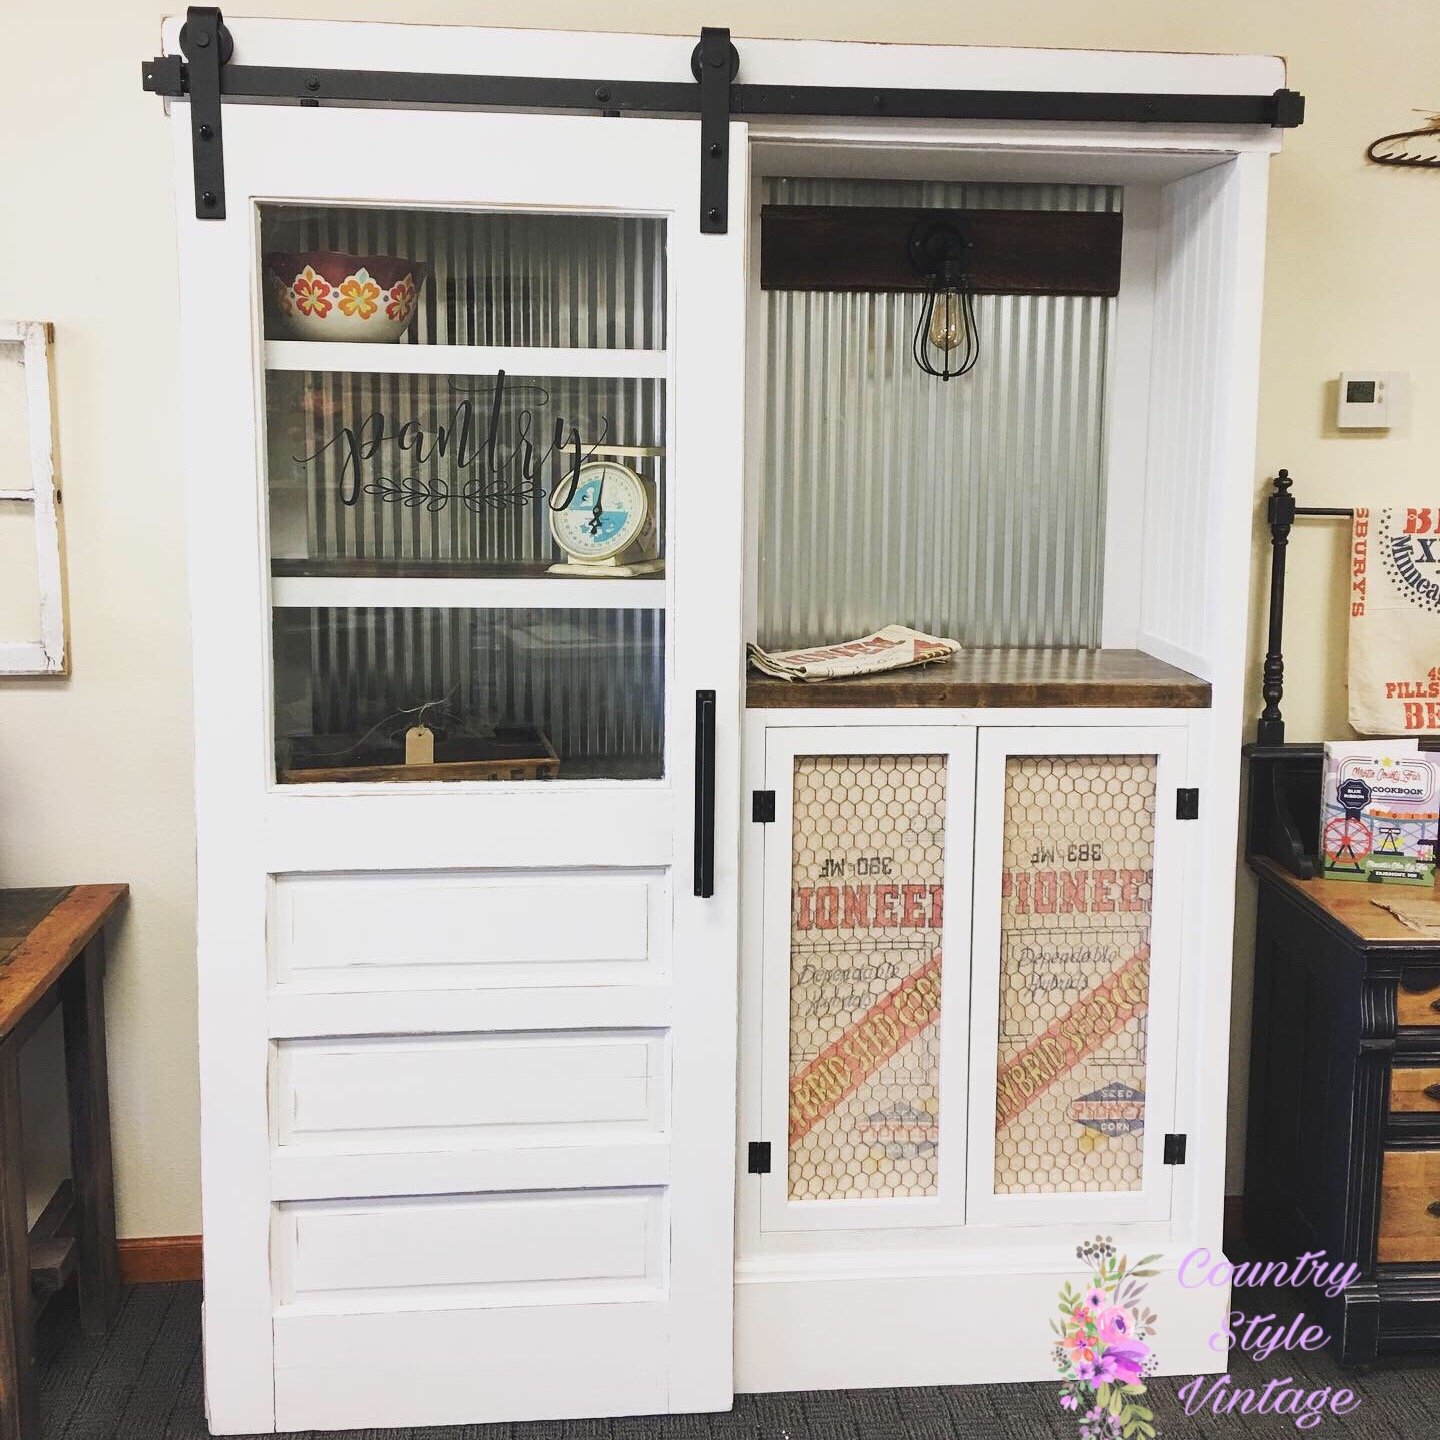
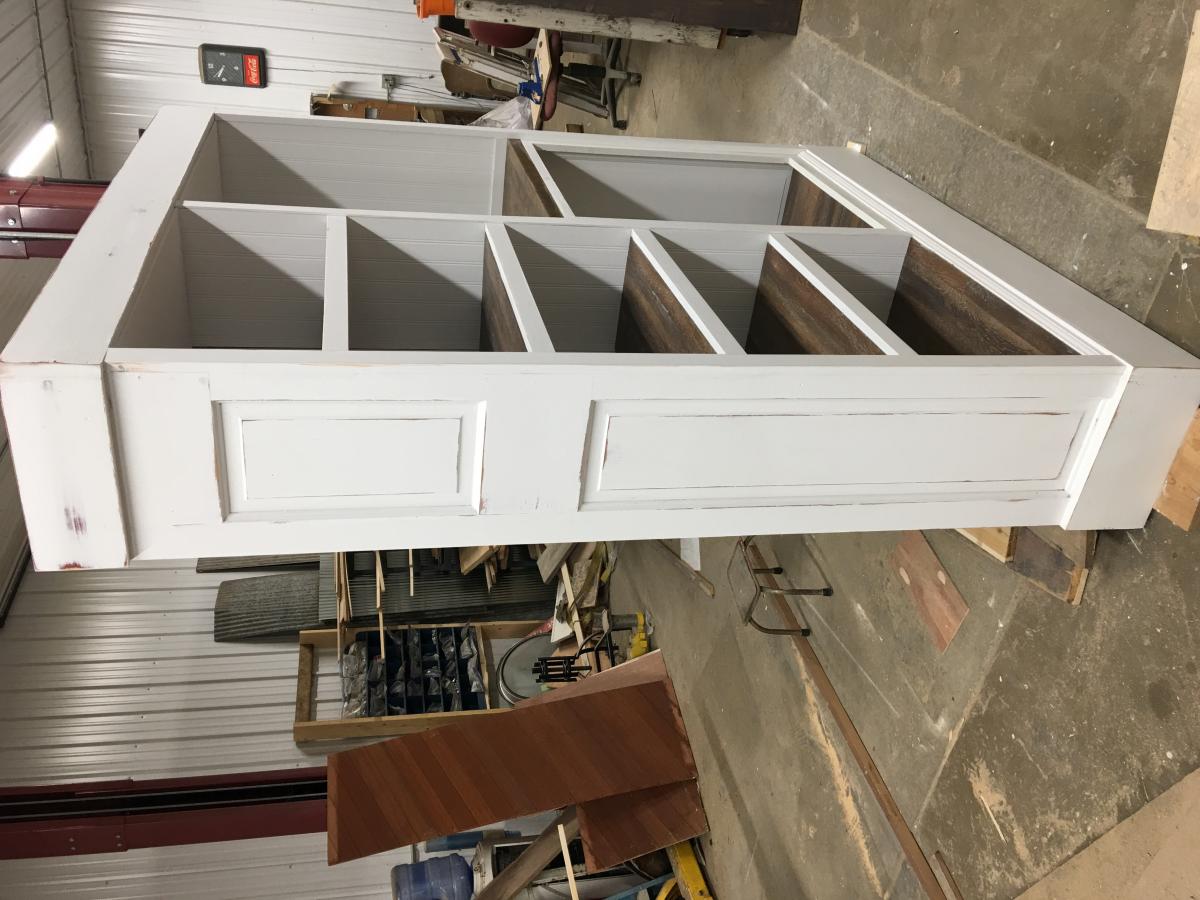
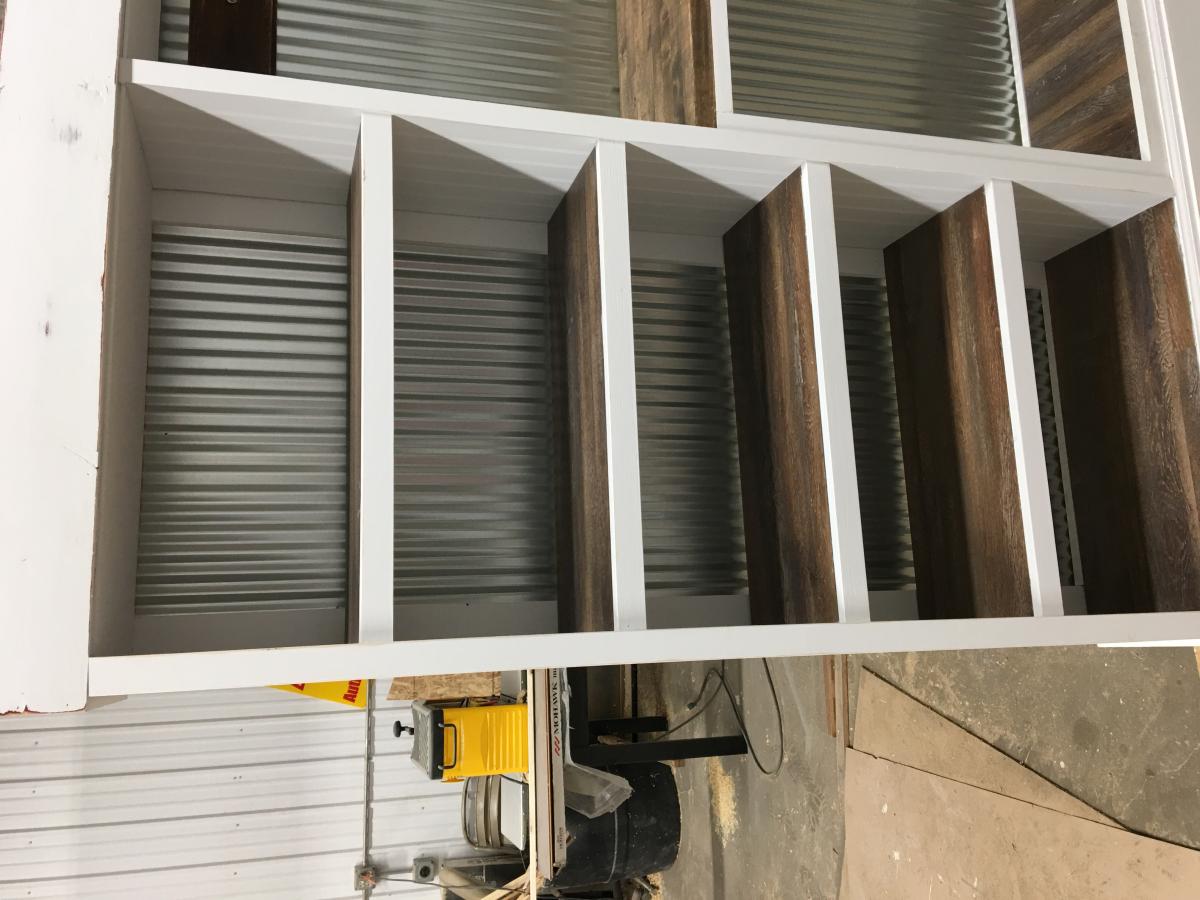
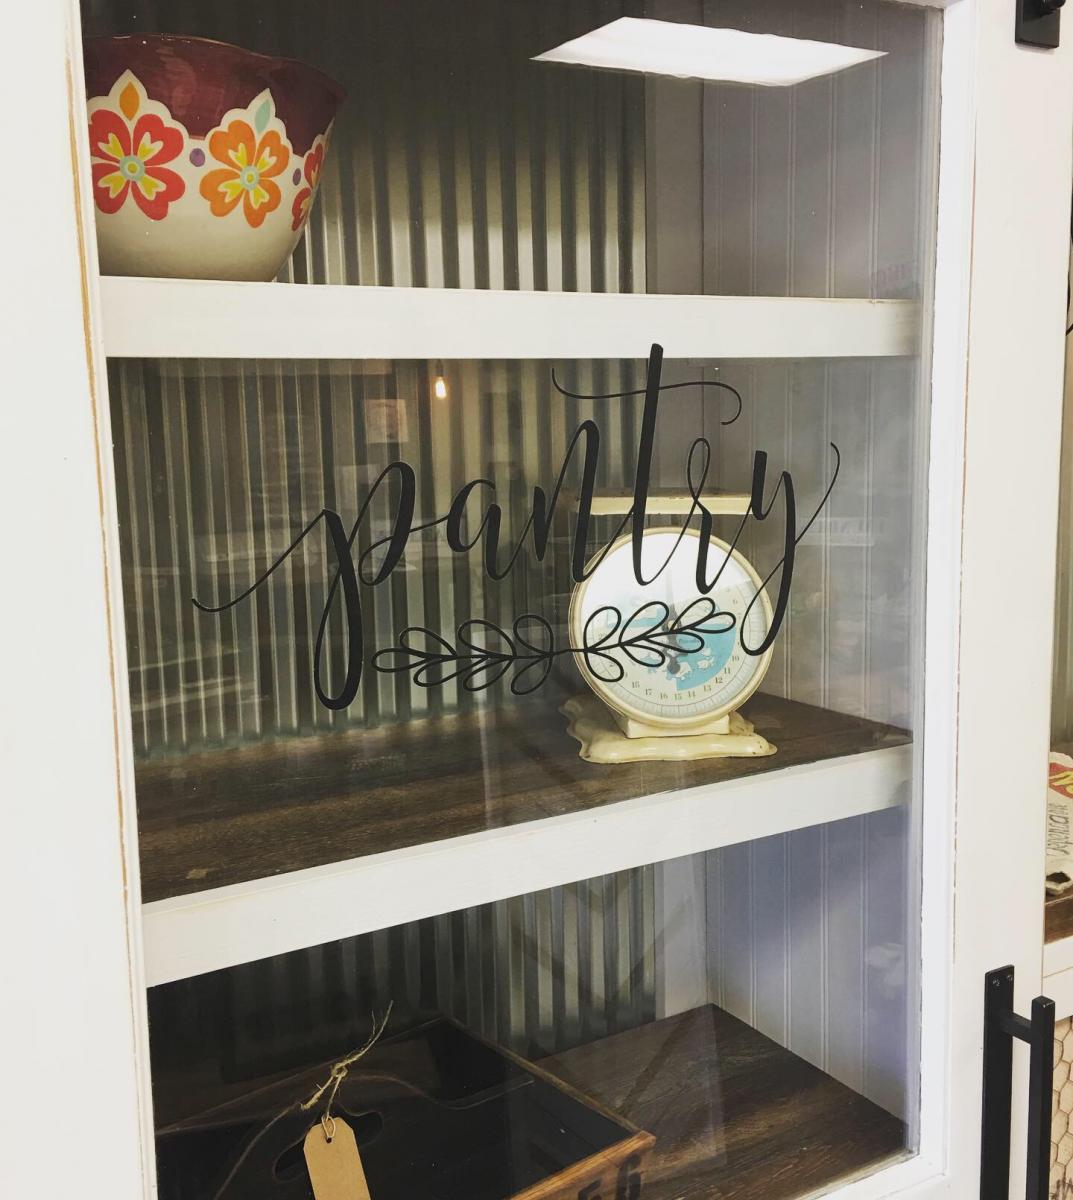
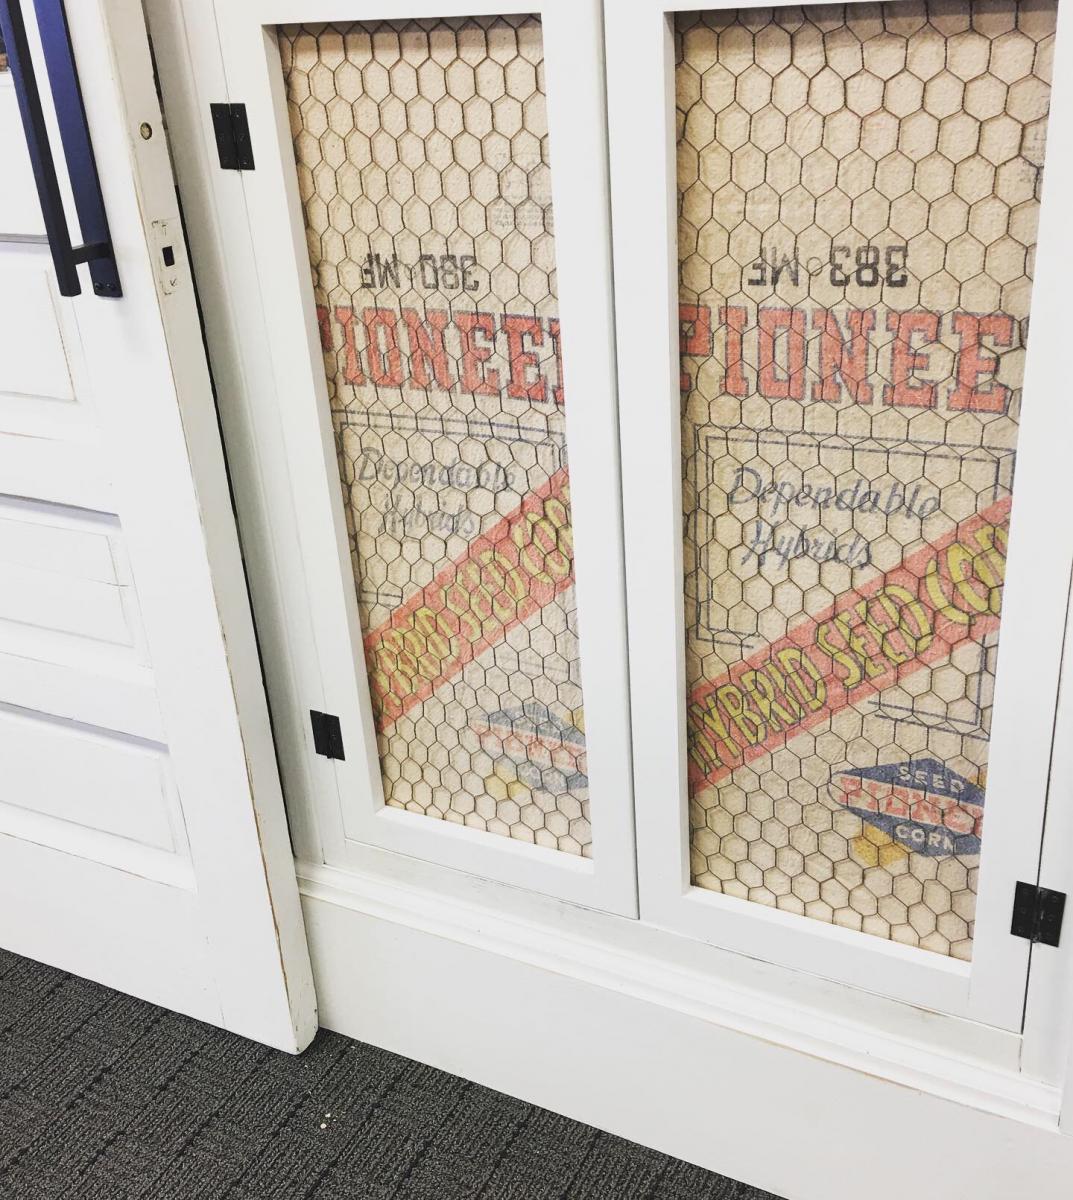
The Barn door cabinet / pantry is one of my favorite Ana White plans. This is the second one I’ve made and this time I challenged myself to use almost all repurposed materials. I wanted to use old doors so I adjusted the plans around them. He sides are an old door I cut in half and the main sliding door is also an old find I cleaned up. The shelves are actually old flat cabinet doors that I covered in laminate flooring (remnant box for $5). I like using laminate flooring to add character and protect high traffic areas from wear and tear. On the right side I added a display counter for your coffee center, tv, or microwave. I added a sconce because everything is cooler with a sconce! I used 2 sheets of galvanized tin on the back. My favorite feature though is the recycling center I added at the bottom. I just made some simple door frames with 1x4s stripped in half and then covered them in chicken wire and old Pioneer seed sacks.
I love Ana Whites Pantry design because it adds soo much storage and is completely customizable!
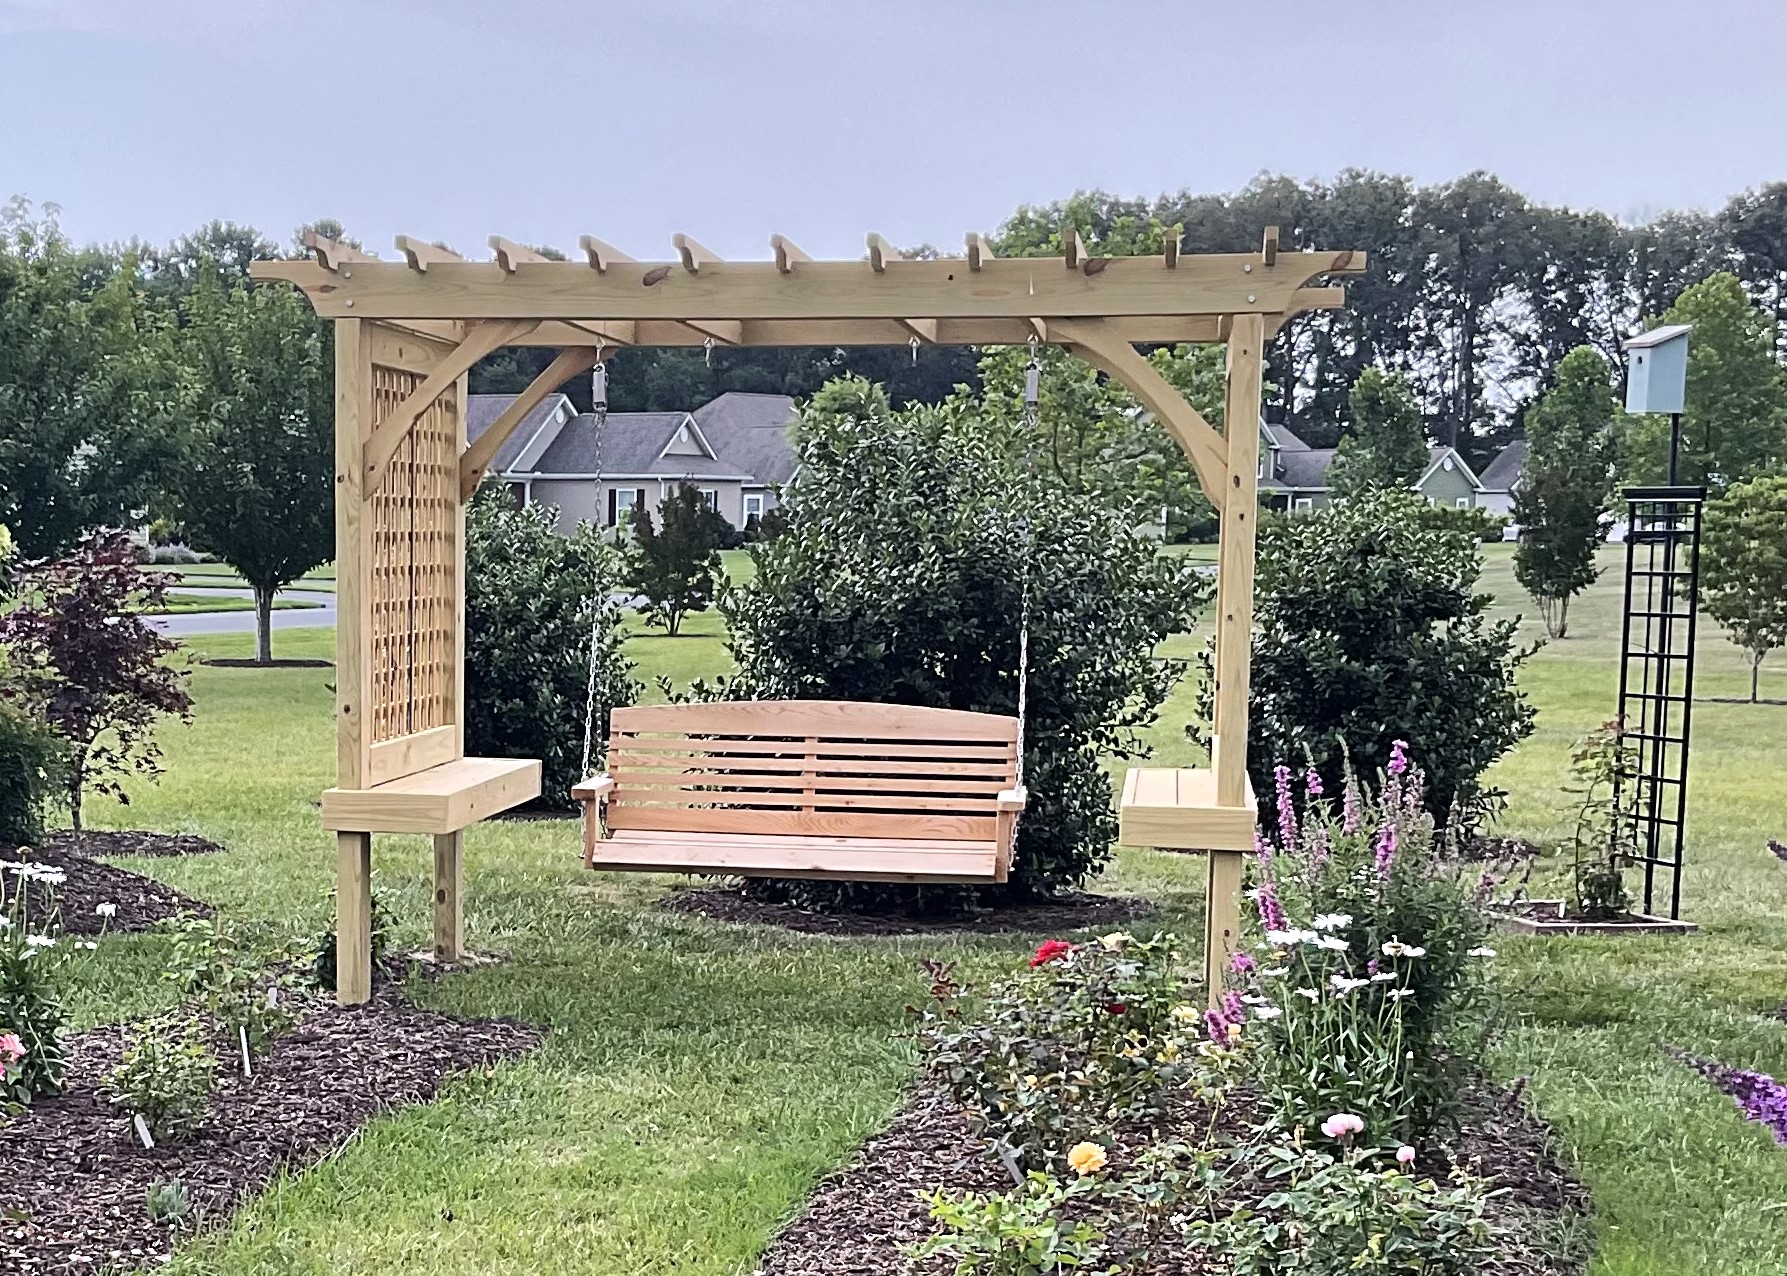
Just saw on instagram that no one bragged about this plan yet. We did order the swing online, but built the outdoor room from your plan. We did put our support posts in concrete, very windy here. Just waiting for the roses to grow up the sides. Thank you for making it easy with your plan.
Bill and Maryann Tate
Wed, 08/02/2023 - 16:18
Thanks so much for sharing and adding this project to our brag board, it looks so great!

I really don't know where I got the inspiration for this shelf. We went to a primitive collections store a couple of weeks ago and I found this cool window off of a 1920's house. A couple of issues you run into with this is: 1. Windows from this time used leaded paint to paint there windows, so make sure when you sand you are in a well ventilated area. 2. Finding a window with no broken glass. Once you get all this the it's pretty easy to build. This is pretty much a backwards version of the media shelf with the door up top and the shelf on the bottom


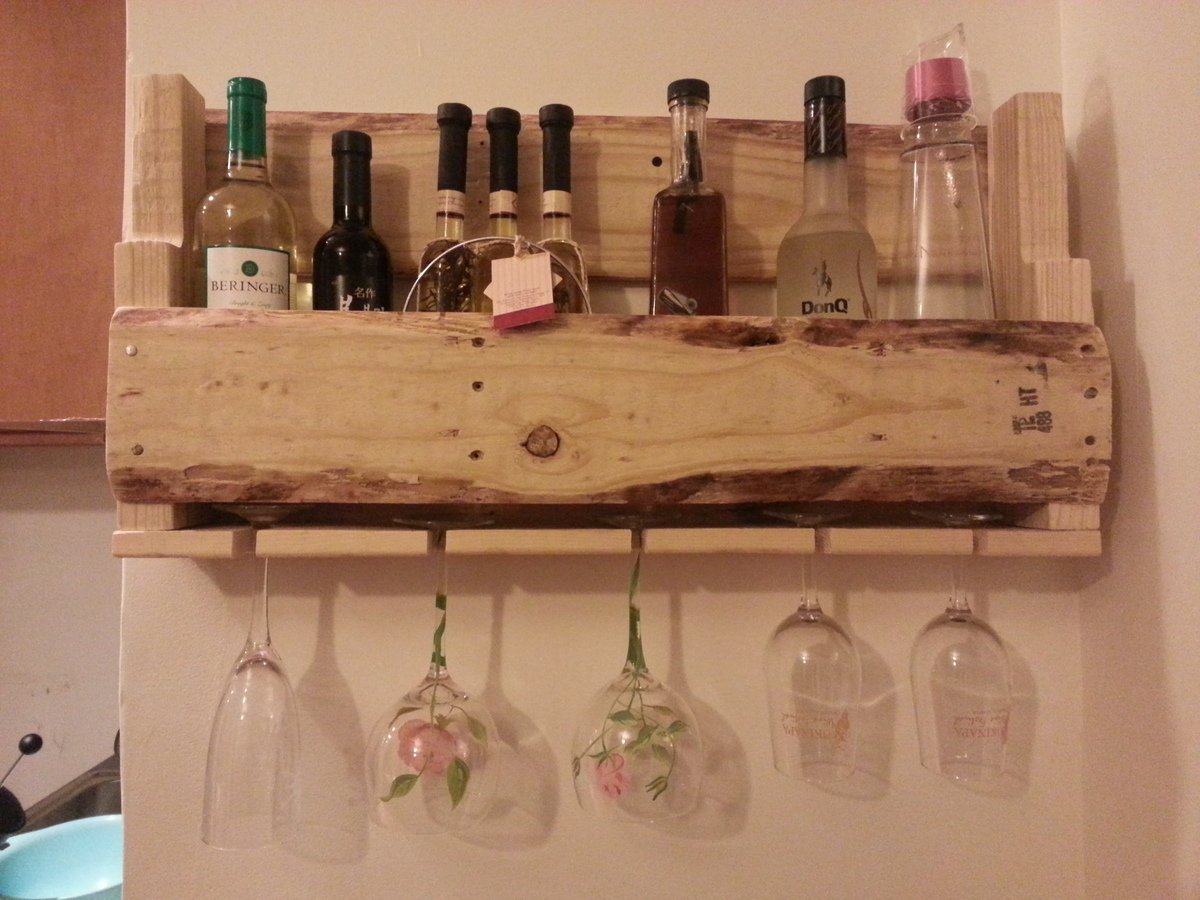
My first project! Dragged home some pallets and out came this. Theoretically, you could really do this in less time than I did but I had to customize it to fit it in the space that I wanted. I also took a lot of time sanding, as I was deathly afraid of getting splinters!

Mon, 01/13/2014 - 23:43
this is exactly what I want to build! thank you for idea!
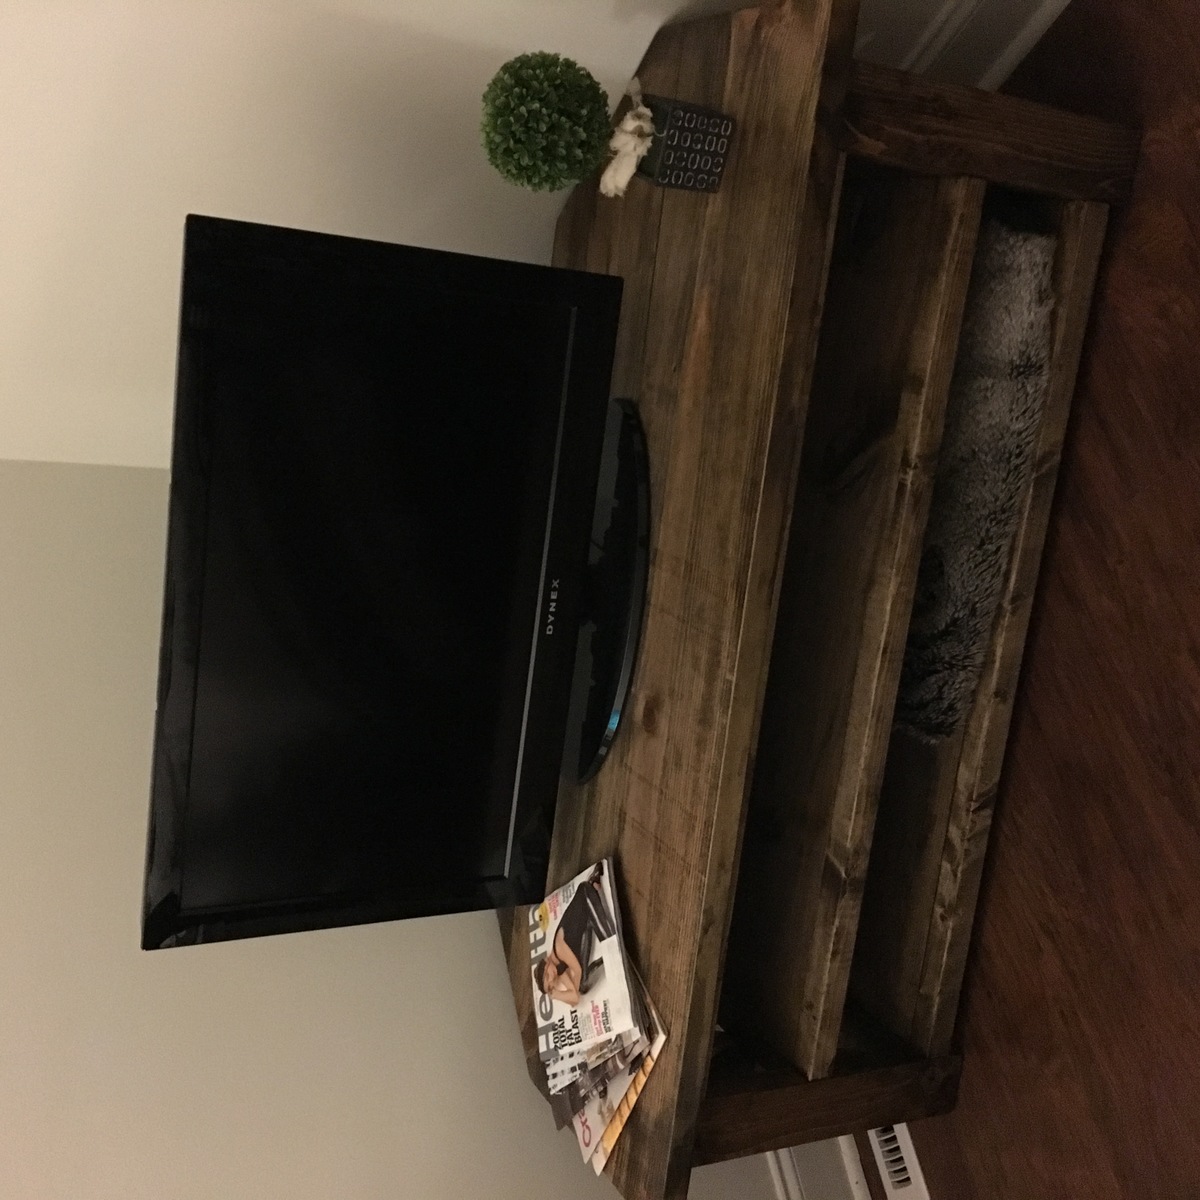
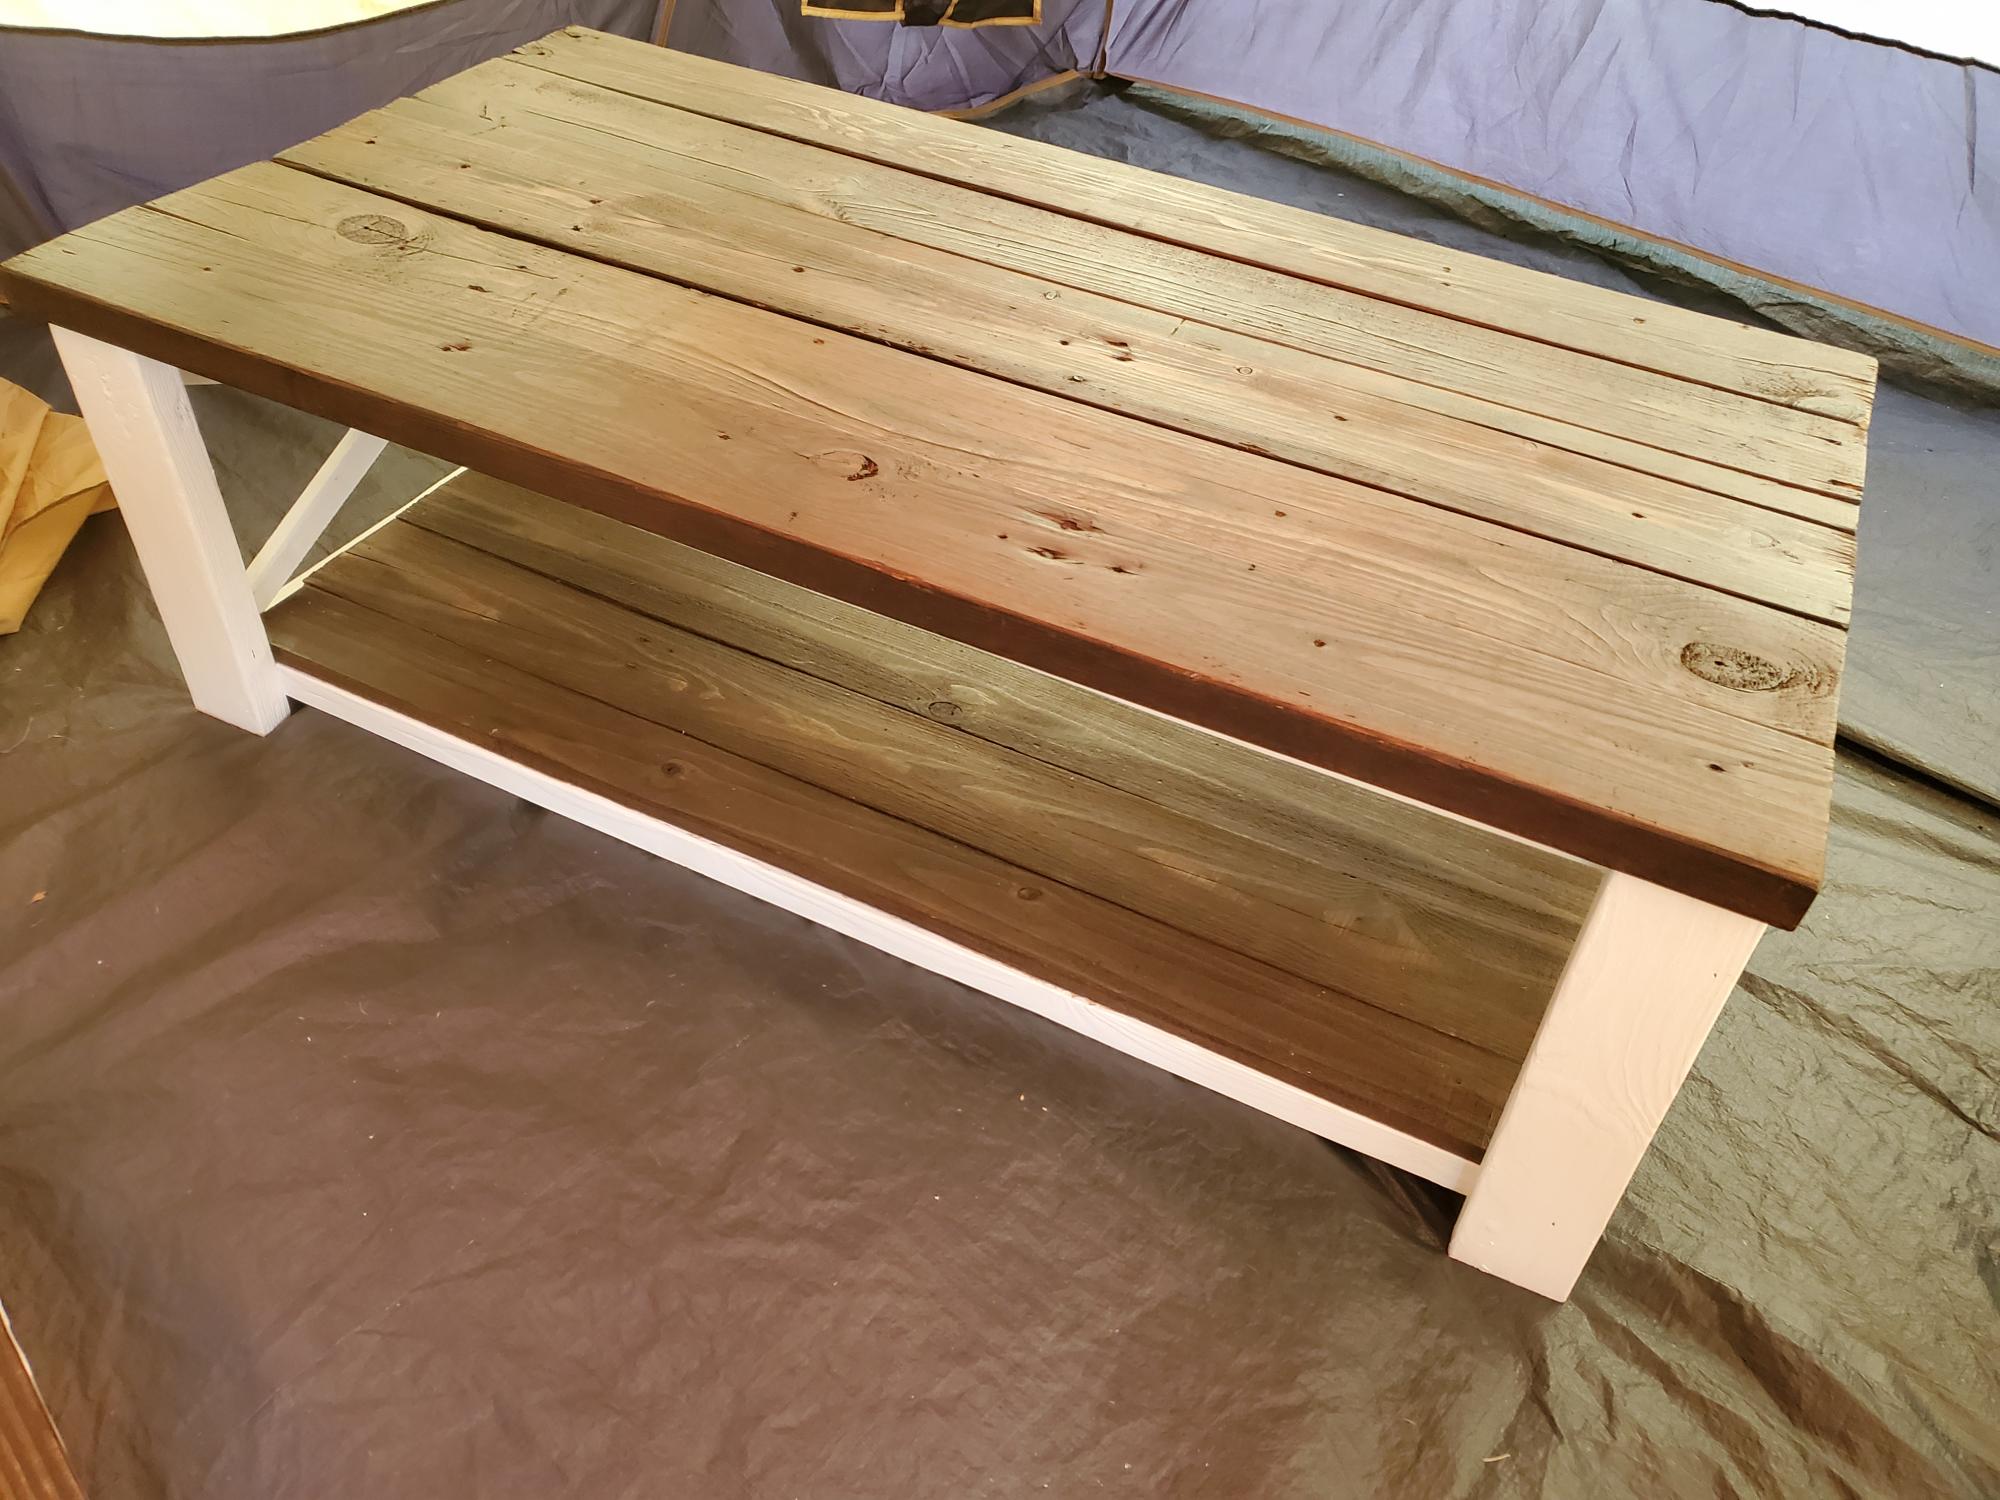
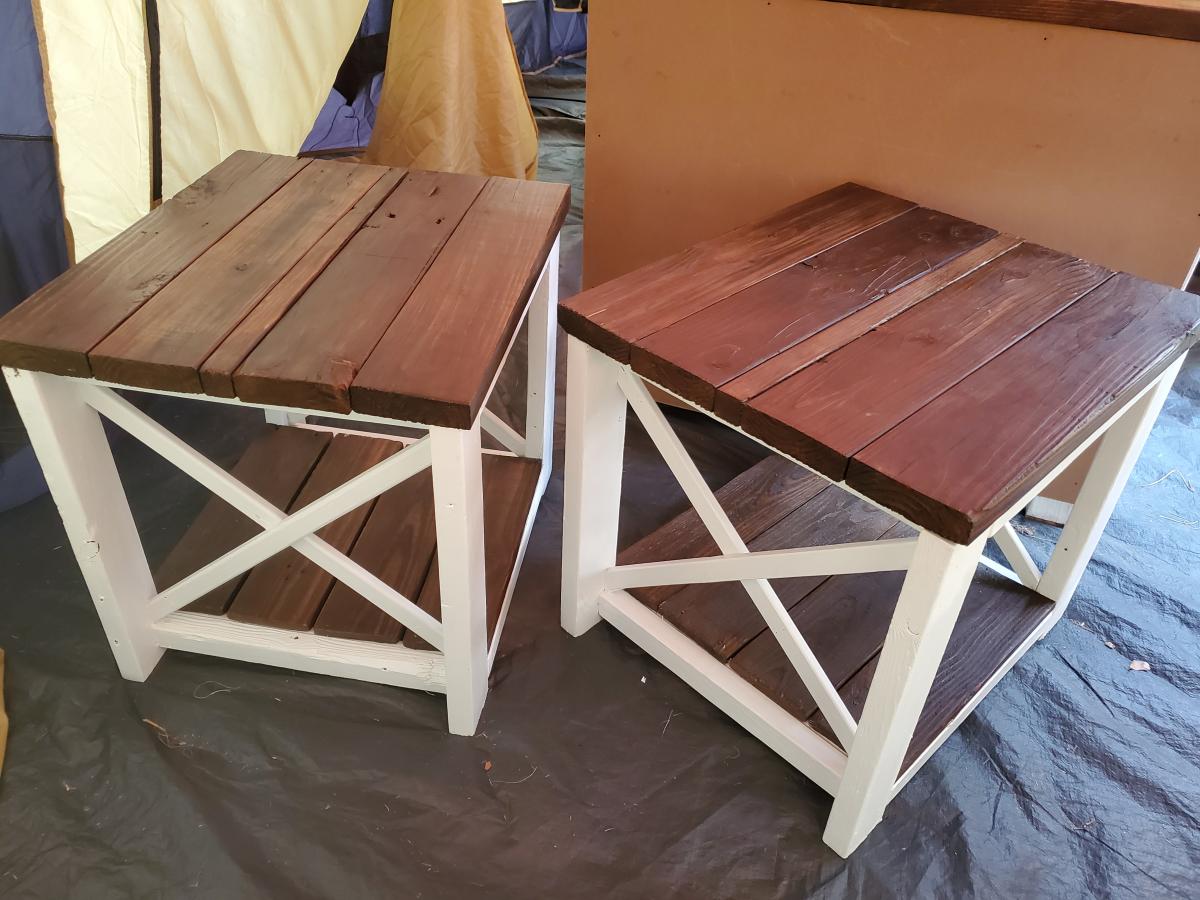
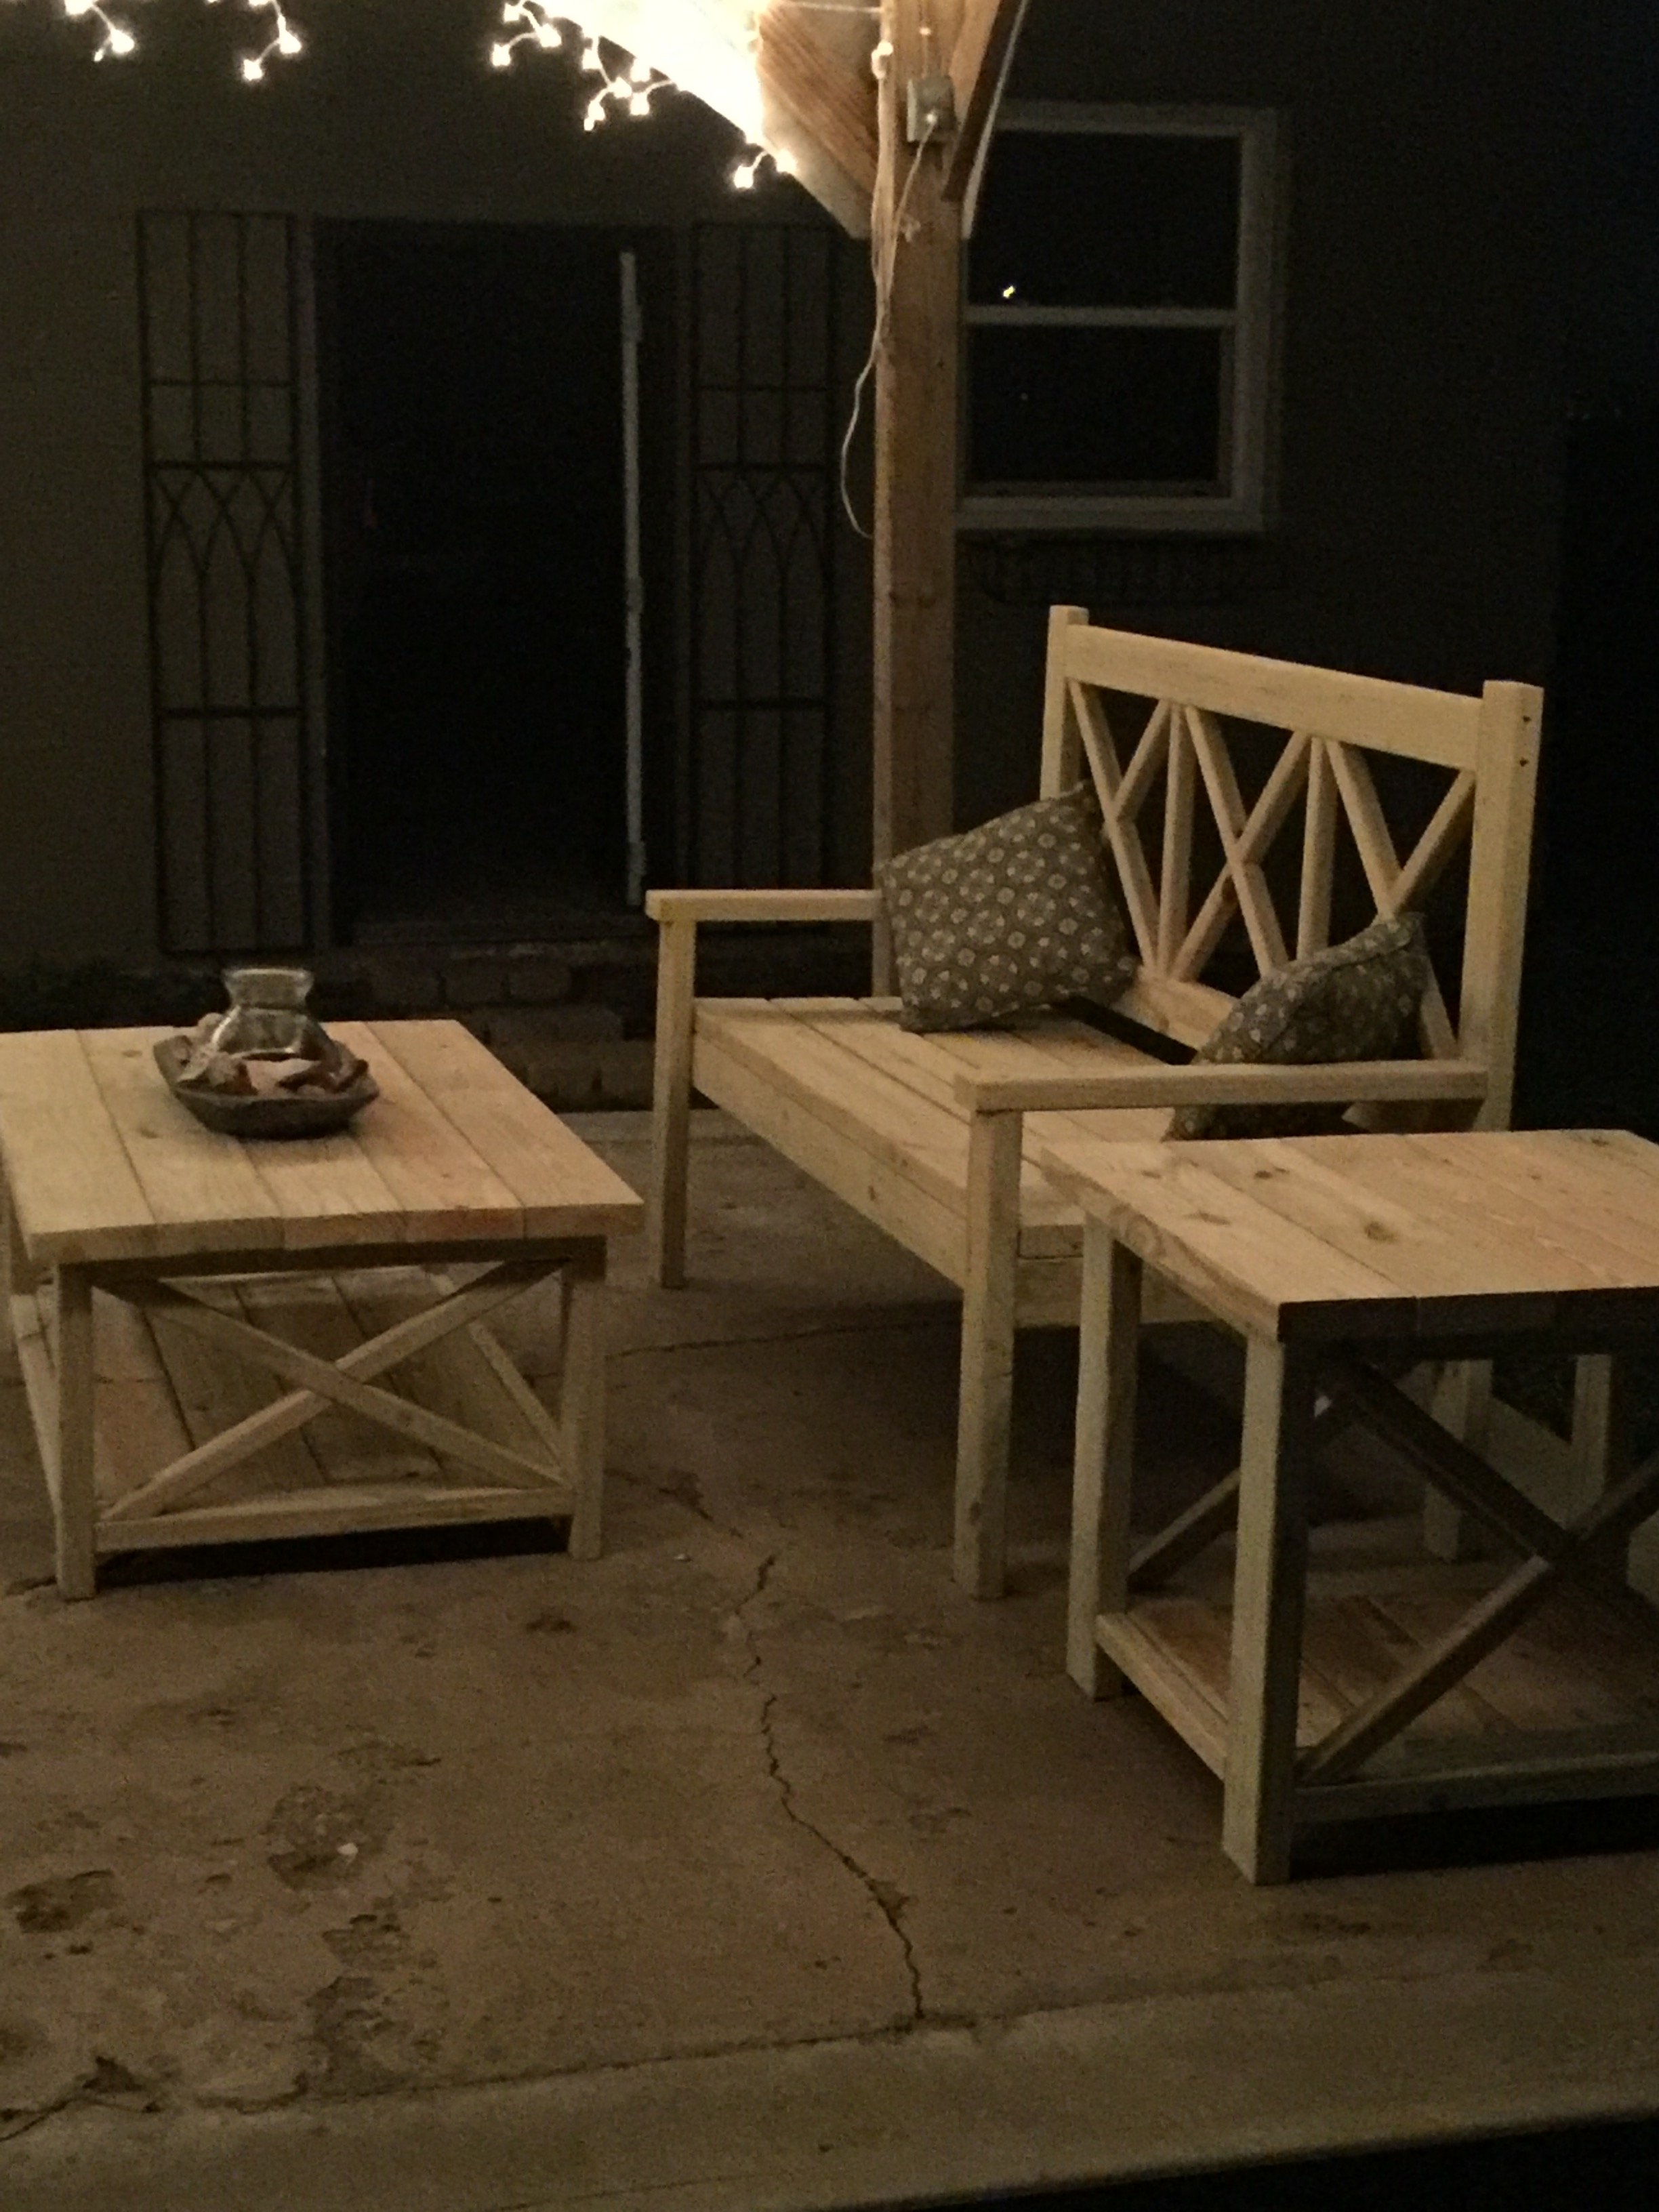
We love Ana White plans. One of our customers wanted the end tables and coffee table and a similar tv stand but to fit in a corner. I took the Rustic X concept and started creating! My Friend RogueEngineer liked it so much that he reverse designed it and made plans. Such talent out there in the DIY world!
On this project which I use from Ana White designs, I learned how to cut at an angle and I learned what wood too use to get the look you want. I also just wanted to say thank you for showing us diyer how to feel confident about building and using our hands. It is a good therapy, woodworking and creating.
The wood is all made from reclaimed Hurricane Micheal timbers that I cleaned, sanded, detailed, sanded again, painted, stained, and clear coat.
Even though the wood was used and free, it still has a process upon completion
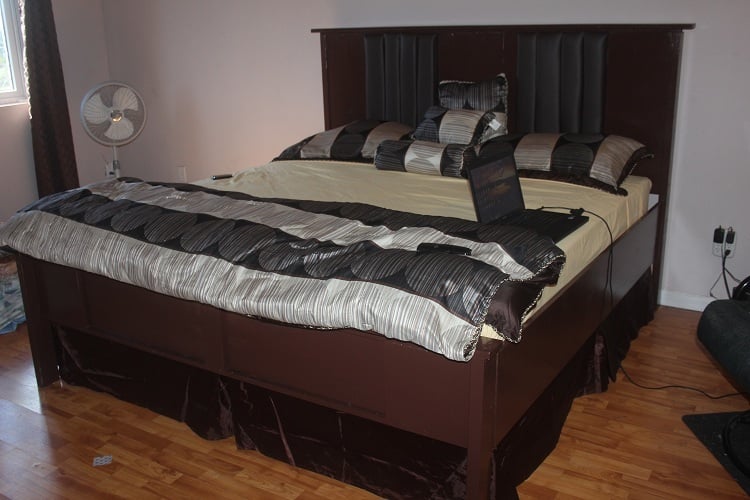
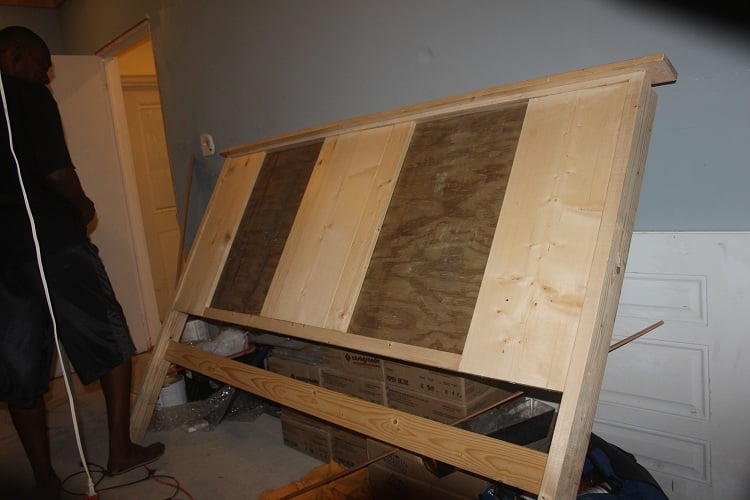
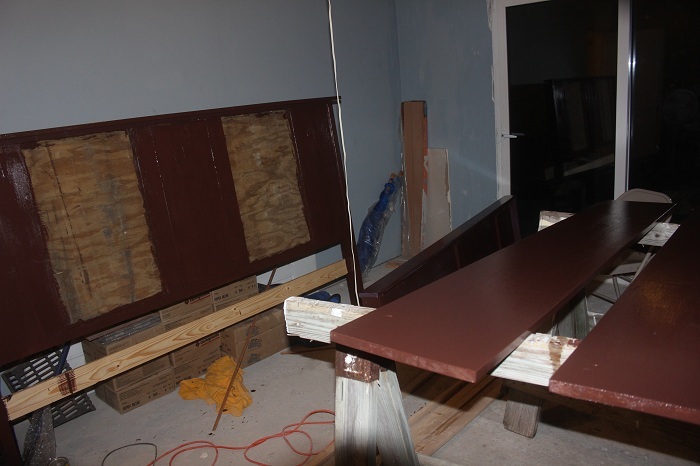
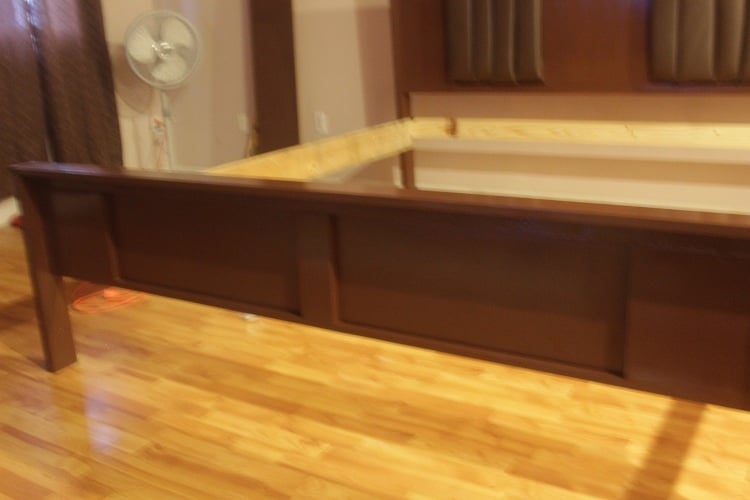
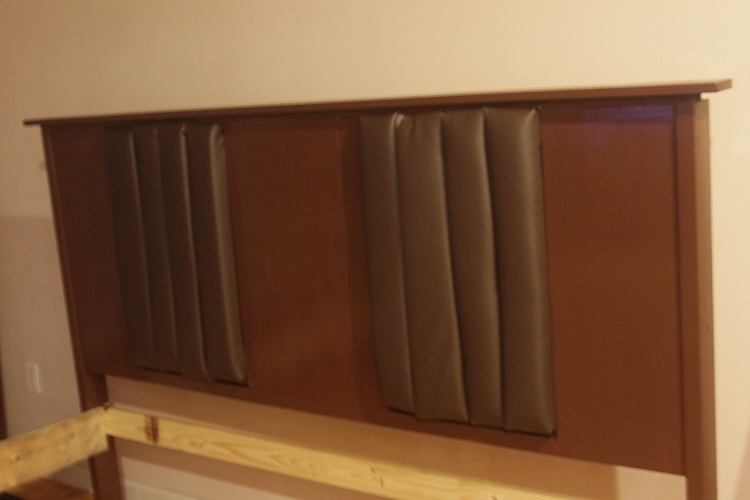
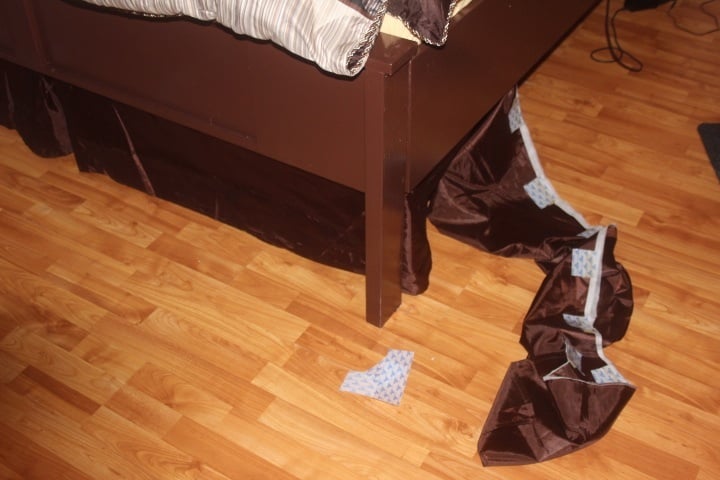
We modified the plans because I had a specific idea of what I wanted and we needed a king size bed. We are so proud. We used left over foam from a previous project and covered it with the faux leather for the back rests. Because I love the look of dust ruffles but couldnt use it because of the slats to support the bed I cut out the material from which the dust ruffle is sewn and attached velcro to it and then to the bed and I got the look I wanted. Ana is awesome!
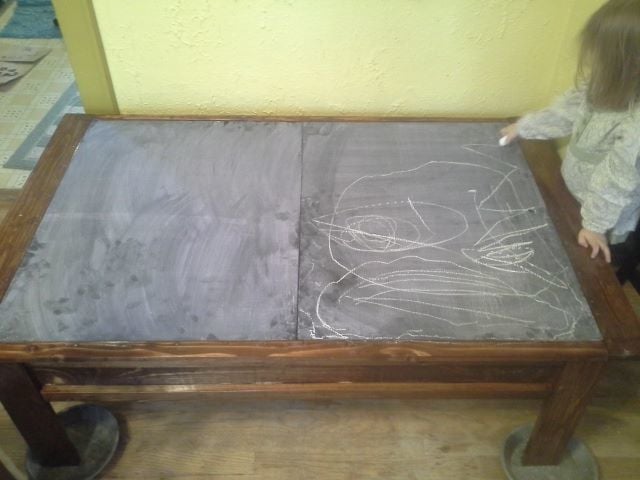
My daughter is OBSESSED with trains and I've been yearning to make a project from ana's page for YEARS. This was a perfect opportunity to start my first project and I'm pretty proud of myself with the results!
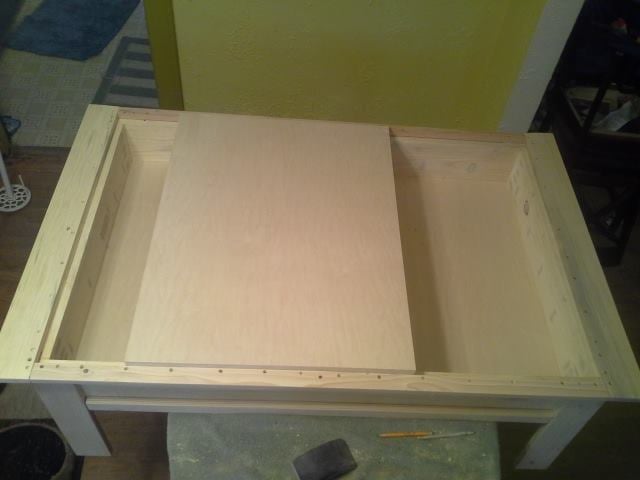
I scouted out wood for a few weeks and bought all my 1x6's and 1x3's at a discount wood place and the 1x2's were on sale at Home Depot for .80 cents a pop. All cuts were free cuts with the 'big machines' at the lumber shops.
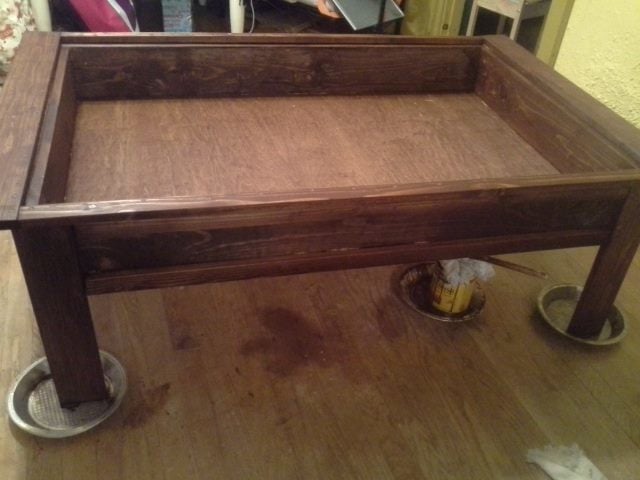
I used pocket holes to attach the frame and the frame to the bottom plywood and plugged the holes.
I hand sanded all the wood before building and then at a finer grade after and finer still between finish coats.
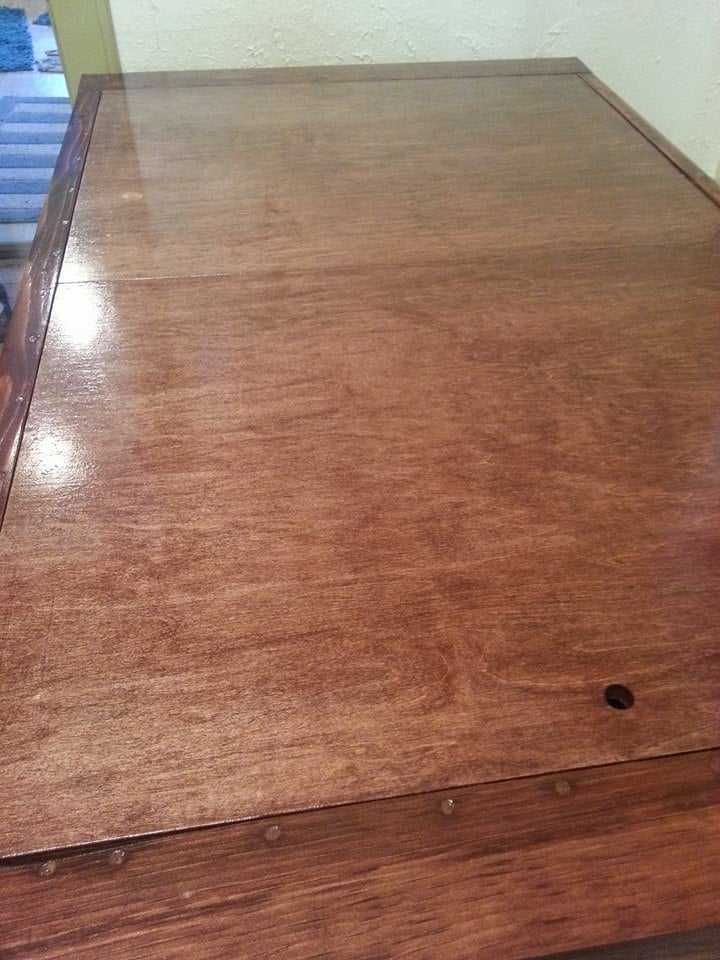
Wood conditioned and stained in English Chestnut (2 coats) and 3 coats of high gloss clear finish over a period of 3 days. All Minwax.
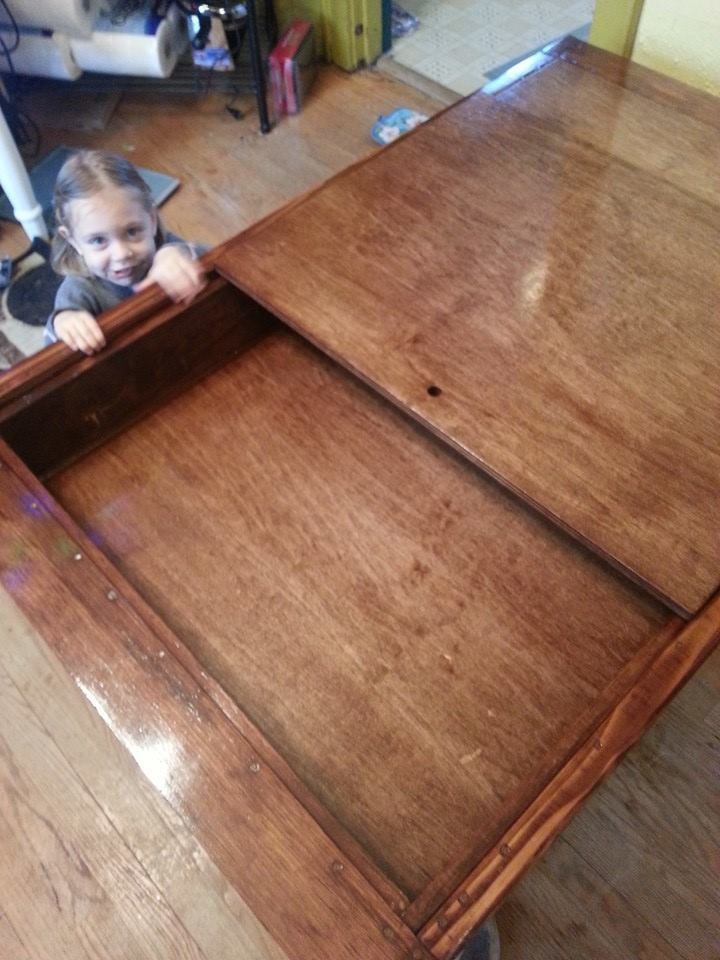
Aside from a few wonky pocket hole screws going through the other side (my first time using a kreg is this project) and having to fix 'em, this was a pretty easy/fun project to do. My 2 year old helped plug holes and sand a little.
The flip-side of the shiny stained table top is a chalkboard which has been a HUGE hit because it is almost tripple the size kiddo has been drawing with and it's pretty nice. The chalkboard paint was the latex stuff found in home-depot...some can be coloured but i went with standard black.
Such a great and easy build, from start to finish. Thanks for another great plan!
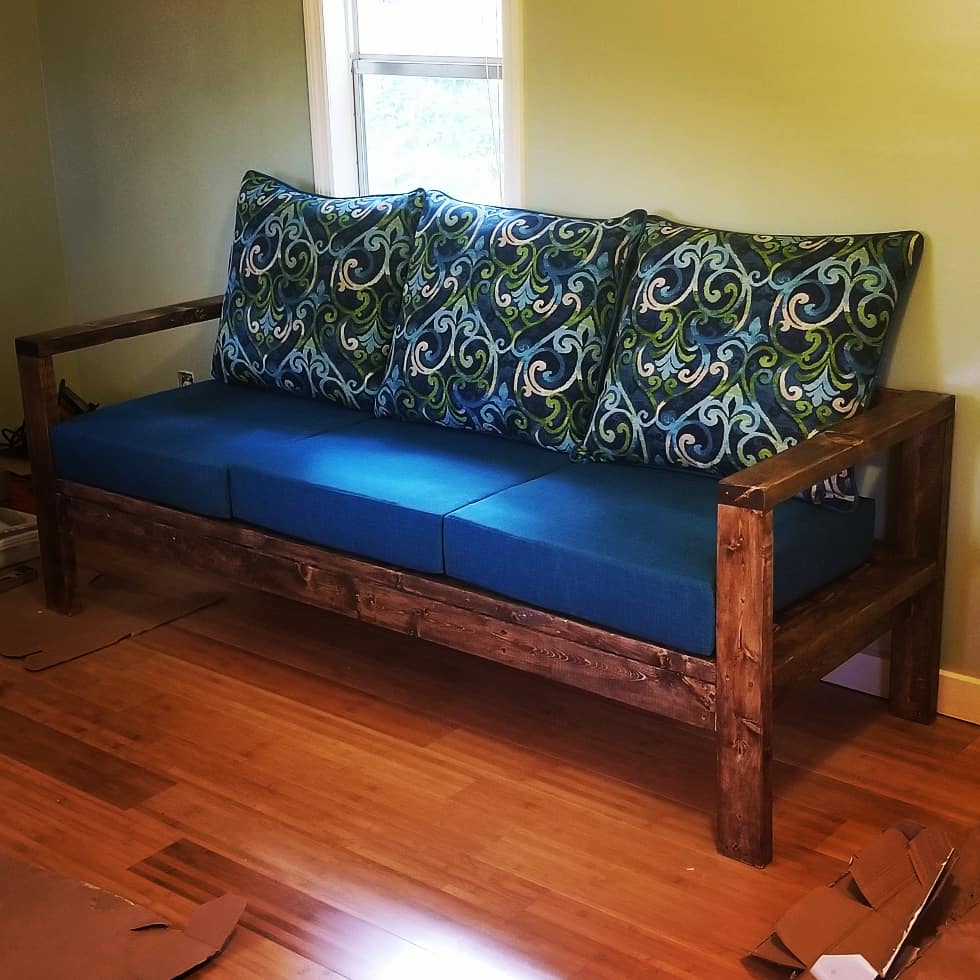
Although this sofa is designed for the outdoors I built 2 of them to use in an office space. The plans were spot on and made it so easy to build even as a beginner.

I built a farm house dining room table last week and wanted to add more seating to it. I found this bench on here and decided to add my own touch to it. Was going to be a cheap project but 2 inch foam is a lot more then I thought.


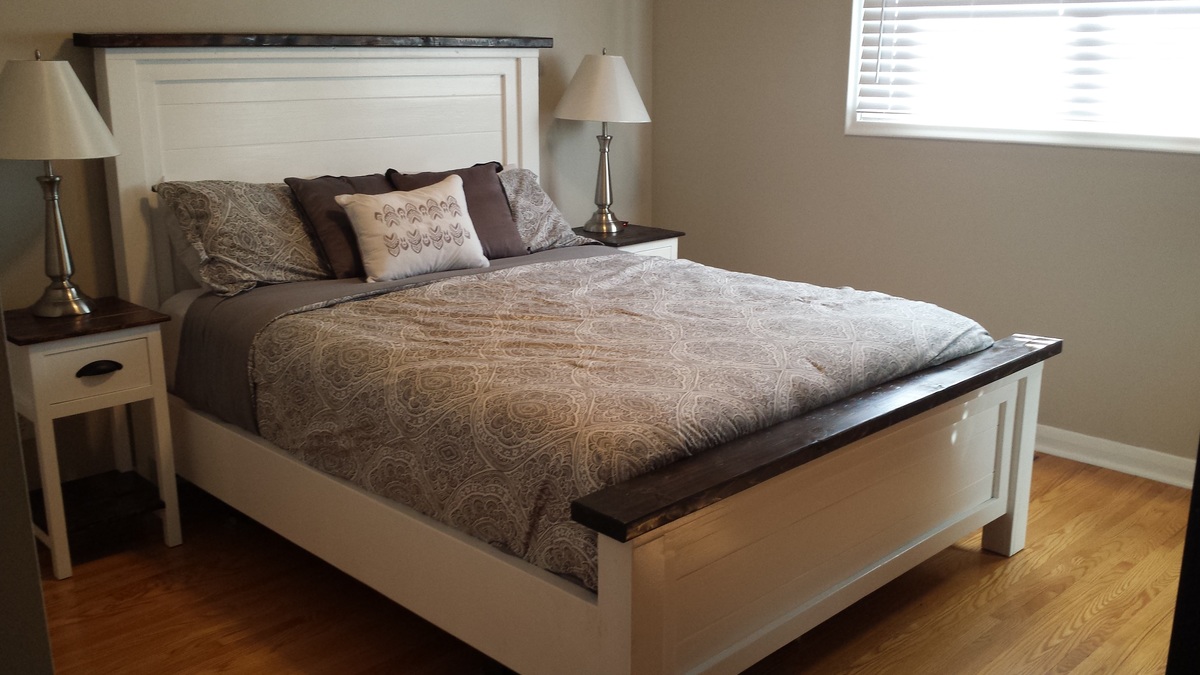
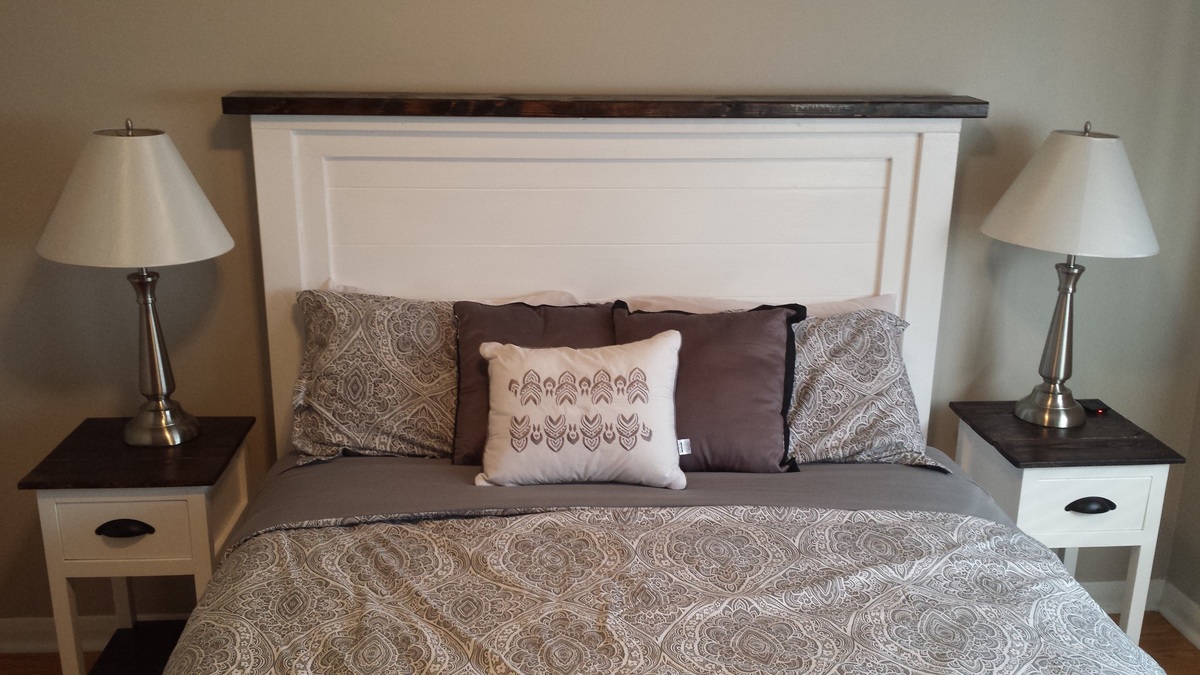
I just finished setting up my bedroom, not a lot of cash for the furniture and look I wanted so I decided to tackle your farmhouse designs and do it myself. I found these scrolled wood panels at homegoods (homesense here in Canada). I used two panels, each had 5 sectioned scrolled squares so I cut one section off of each panel to use on each of the side tables. I still have to finish the bed's footboard and side rails with the last 4 sectioned panel piece that I have left.
I was surprised how these turned out. I got the old world look at a very good price...for a total cost under $300. I think I got a pretty nice deal.
I think I might try and do some more projects maybe the buffet next.


Tue, 01/07/2014 - 16:53
What a great look! Wonder if our HomeGoods has anything like that...
I have Starting loveing these little projects! however i am slowing finding out i need more tools! Anyway This bed is a slight variation from the plans mentioned. Instead of Verticle Slats for the head board and foot board i chose to do them horizontally. For 1 Reason only, to save some money. IT did not same much maybe $30 but for someone who is ona really tight budget it worked out great. I also added in a full frame around the middle slats. I started with the side tables and that turned into makin a matching bed Frame. The side table were striaght forward and i had left over pull handles from buliting my Printers Console Cabinet. Over all the project was straight forawrd simple and fun! I amlost could wait to get it in the house! it was like watchin paint dry hahaha. Anyway i had fun with this one and i think it turned out great!
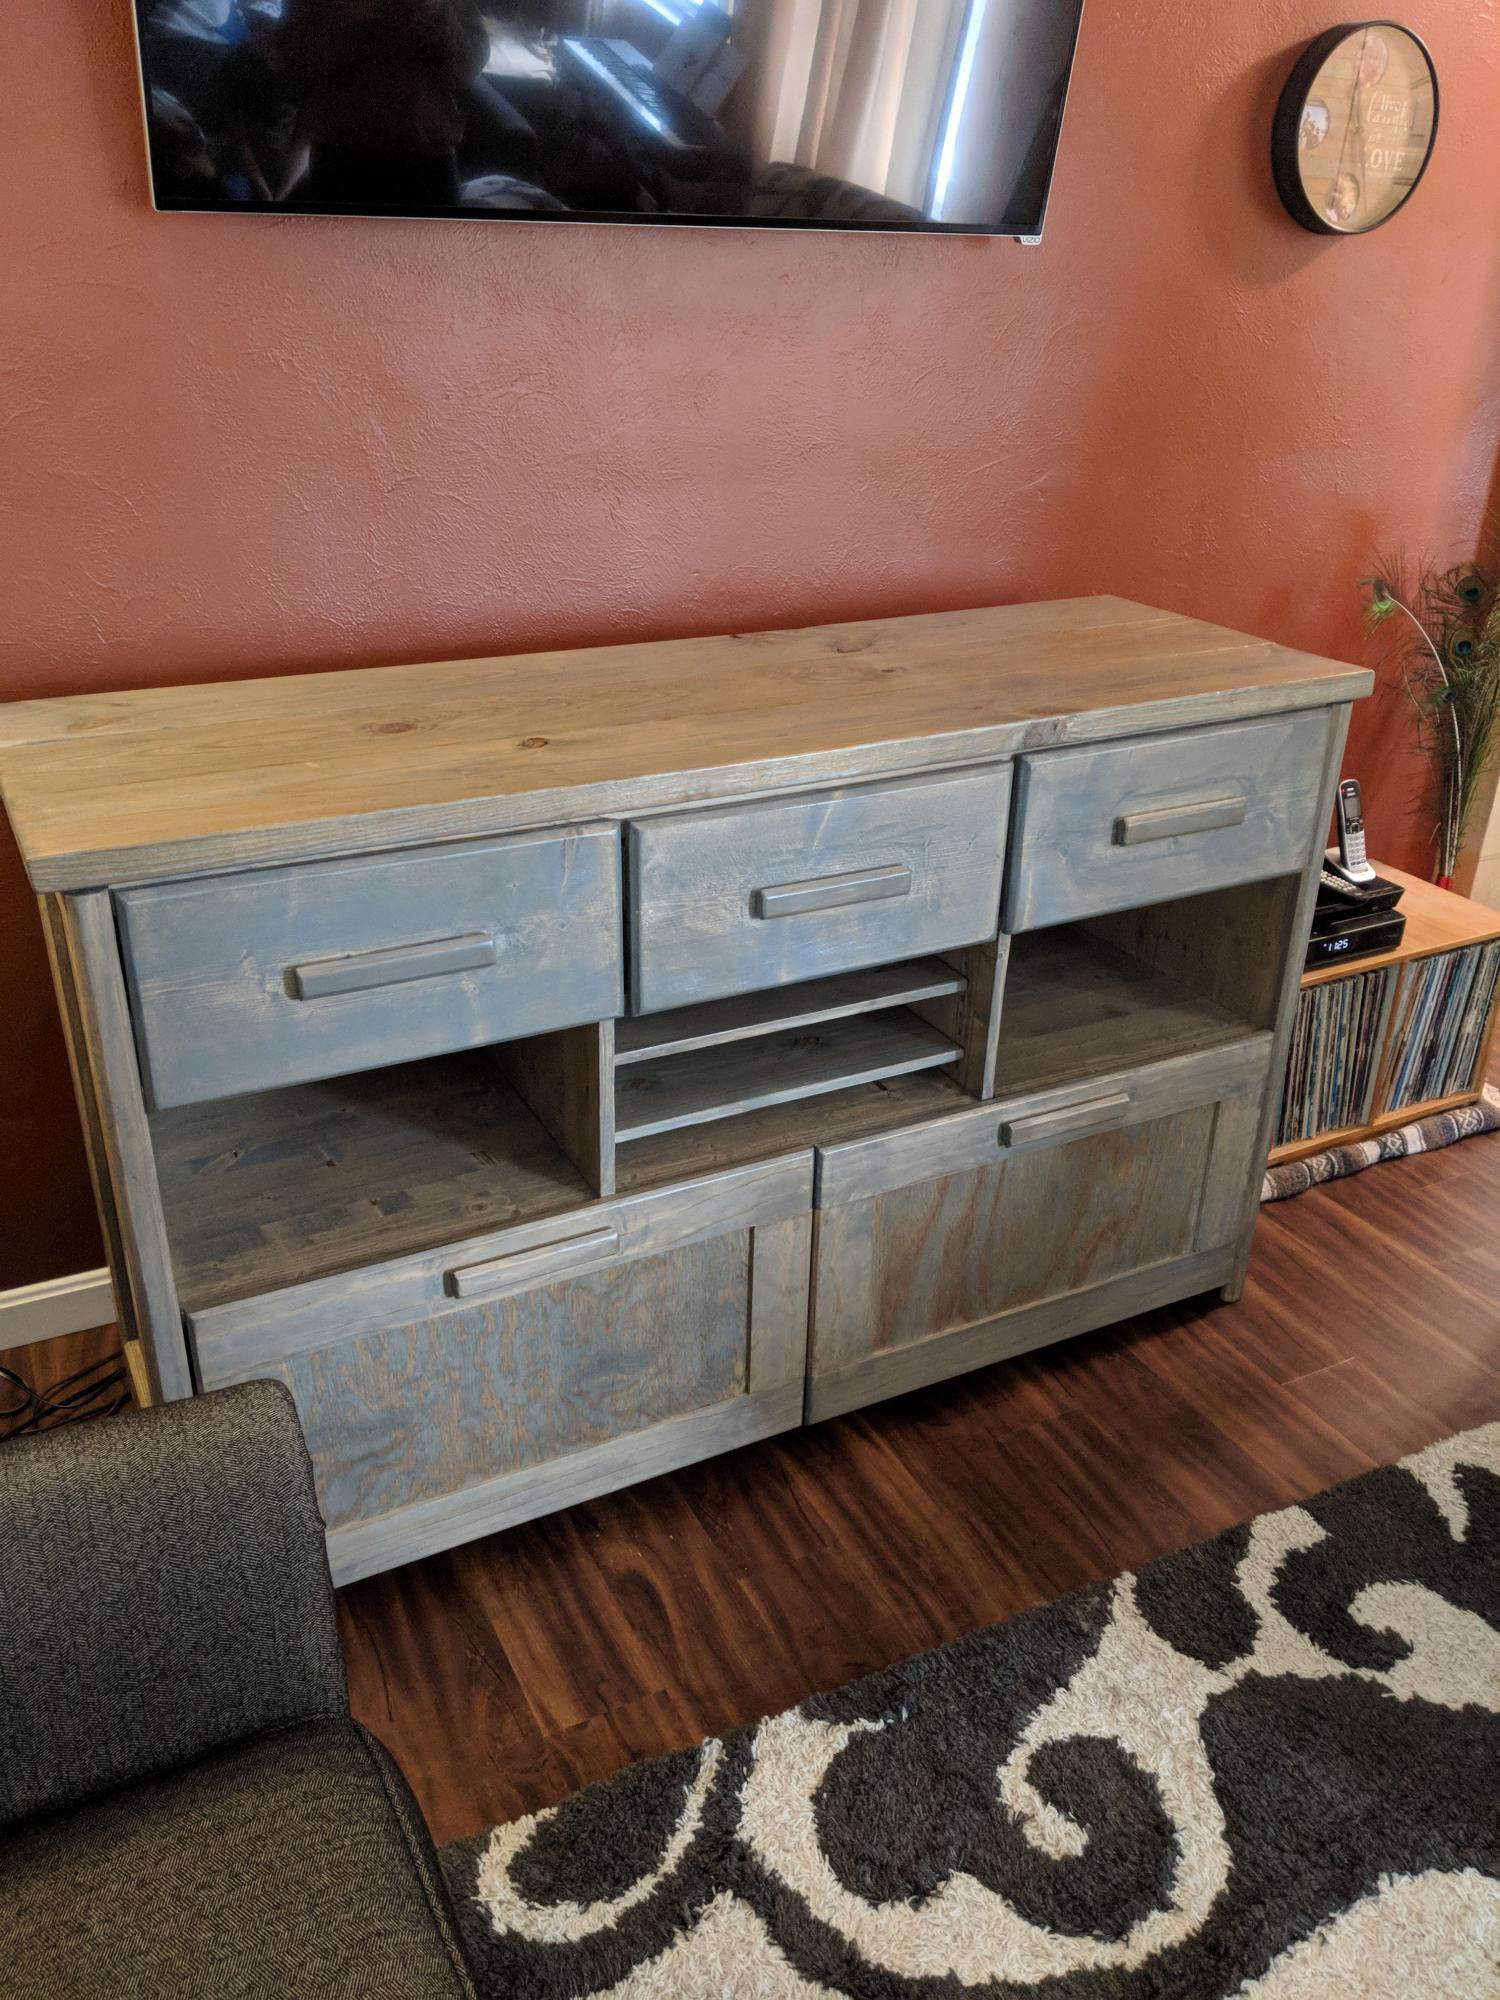
I but this for an old high school friend. She needed somewhere to put her cd collection (yea I know, CDs?) And her record player and records. The drawers hold 400 compact discs. I used pine lumber, pocket holes, weathered oak stain and a lot of swear words.

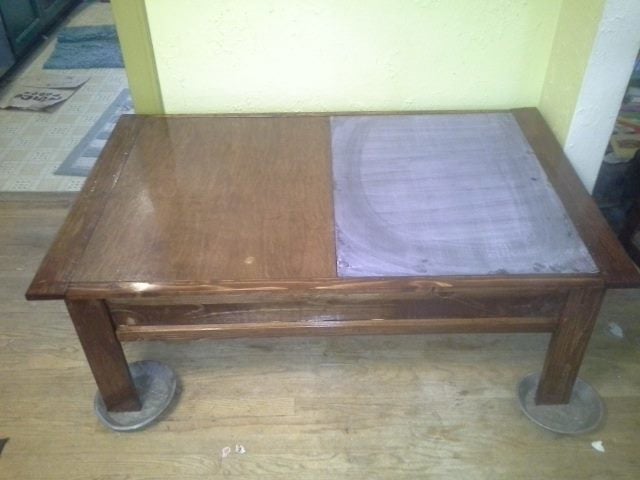
While both massively pregnant, my friend enlisted me to help her baby-proof the house by replacing her metal/glass coffee table with the flip-top wooden version. She was 7 months and I was 8, and we got quite a few sideways looks at Lowe's! Needless to say we had a lot of help loading up the truck ;) It only took an afternoon to build, sand and stain. Now her little boy is appreciating the much more baby-friendly table!

Fri, 04/27/2012 - 15:41
If you built and stained this project in one afternoon you must live in Northern Norway during the winter when the sun never sets. You did a great job. I am building the same but I figure it will take me at least two days. Painting and sanding do add a lot of time, but also my stupid mistakes added time. It is really great. Once I can figure out how to add a Brag I will show you my bench.

Fri, 04/27/2012 - 15:58
But it was Texas in the summer so the sun doesn't set until 9 ;) Plus there were two of us, so staining took half the time! We used a gel stain that you just wipe on.
Tue, 01/07/2014 - 09:51
I'm also interested in finding out what hinges you used. Was it something like this:
http://selbyhardware.thomasnet.com/item/no-bore-concealed-hinges/90-ope…?
I'm concerned about keeping the top flush, but allowing a 90 degree opening.
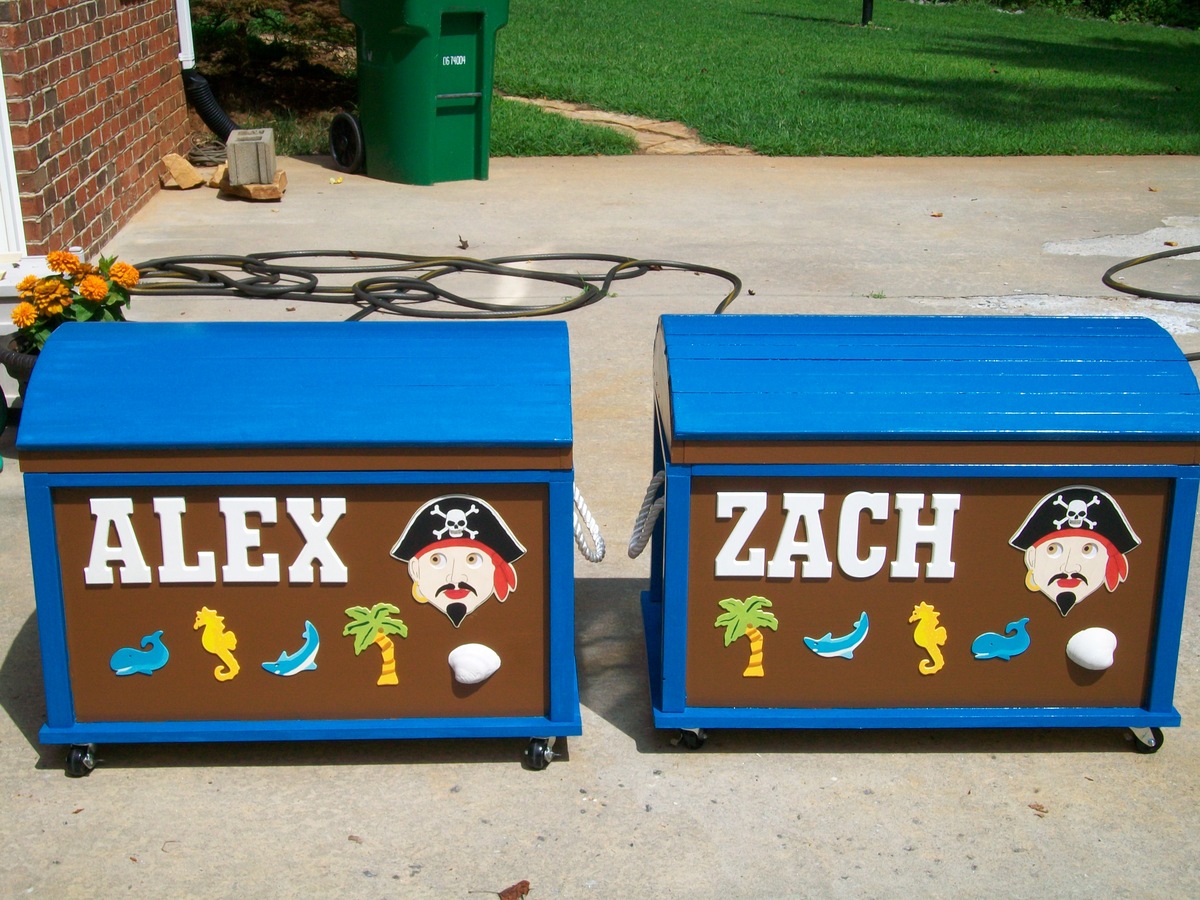
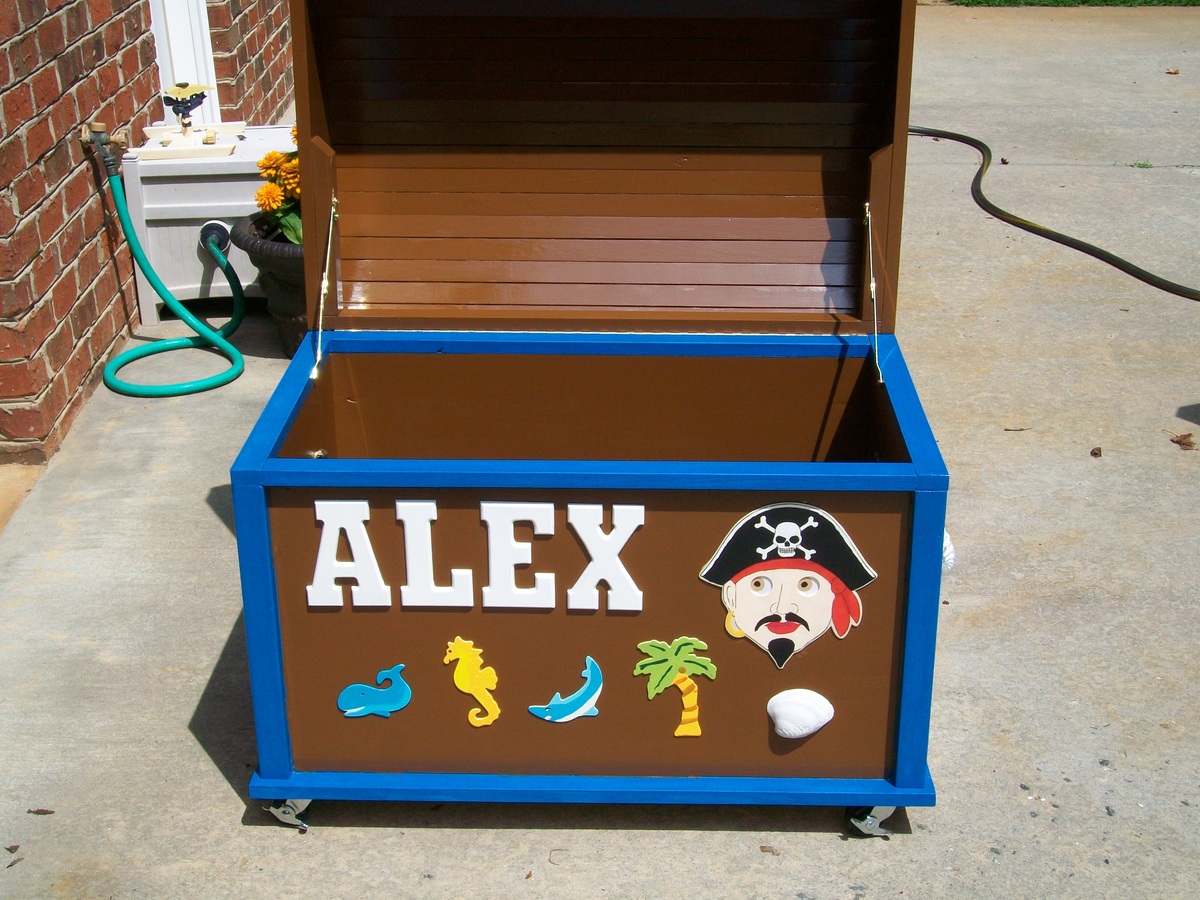
After my Daughter had twin boys in December 2012, I decided I would expand on my woodworking experience by making them this Pirate Chest toy box. Since there were two of them, my 'work' was doubled.
I DID learn some new things with this project. I had never used Pocket Hole joinery before and I was a little timid about doing it. I found that it's really pretty easy.
I also learned that when cutting on the table saw, I could NOT cut on the line drawn on the wood. As a result, some of the cuts were a bit short (but wood filler helped there).
My biggest problem was cutting the radius on the box tops since I don't have a band saw. It was difficult cutting the curve with a Jig Saw, so the Rasp, Plane and sandpaper came in handy.
The other problem I had was getting the slats on the top to meet up tightly. I found I had to cut a slight bevel on each edge so that the top of the slat would meet the next one.
I presented the boxes to the Boys at their First Birthday party just after Christmas and received a number of compliments. There was one woman that may want me to make one for her son. Needless to say I was a bit proud of myself.

Thu, 11/05/2015 - 10:14
I believe these are the plans: http://ana-white.com/2012/04/plans/pirate-toy-chest
Looks like this build just added casters.
Made these from Ana's plans to match other similar pieces. Trying my hand at an Etsy shop. https://www.etsy.com/listing/286553075/end-table?ref=listing-shop-heade…
