Henry Desk
Hey guys,
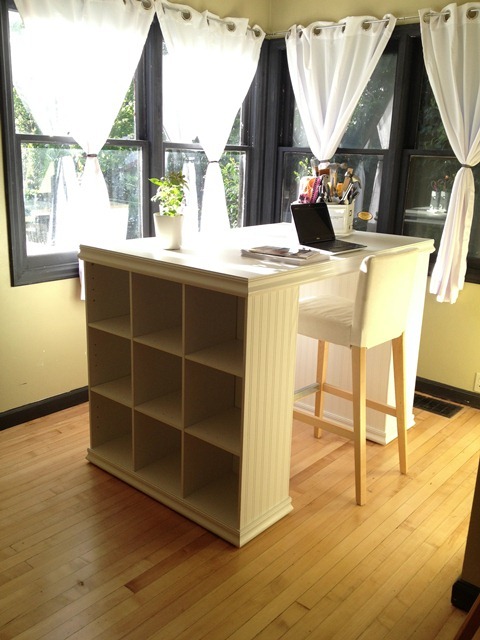
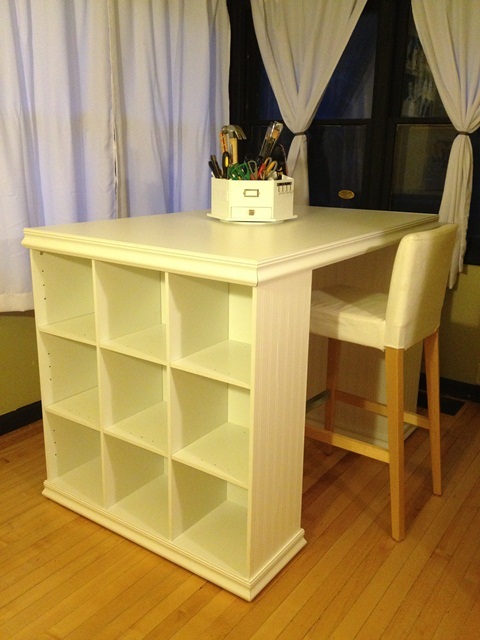
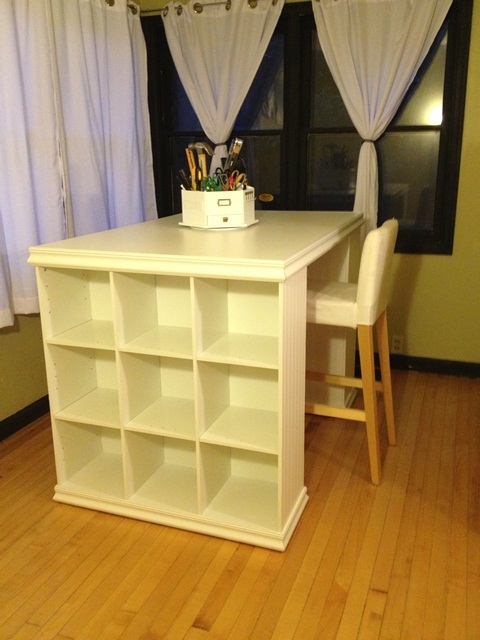
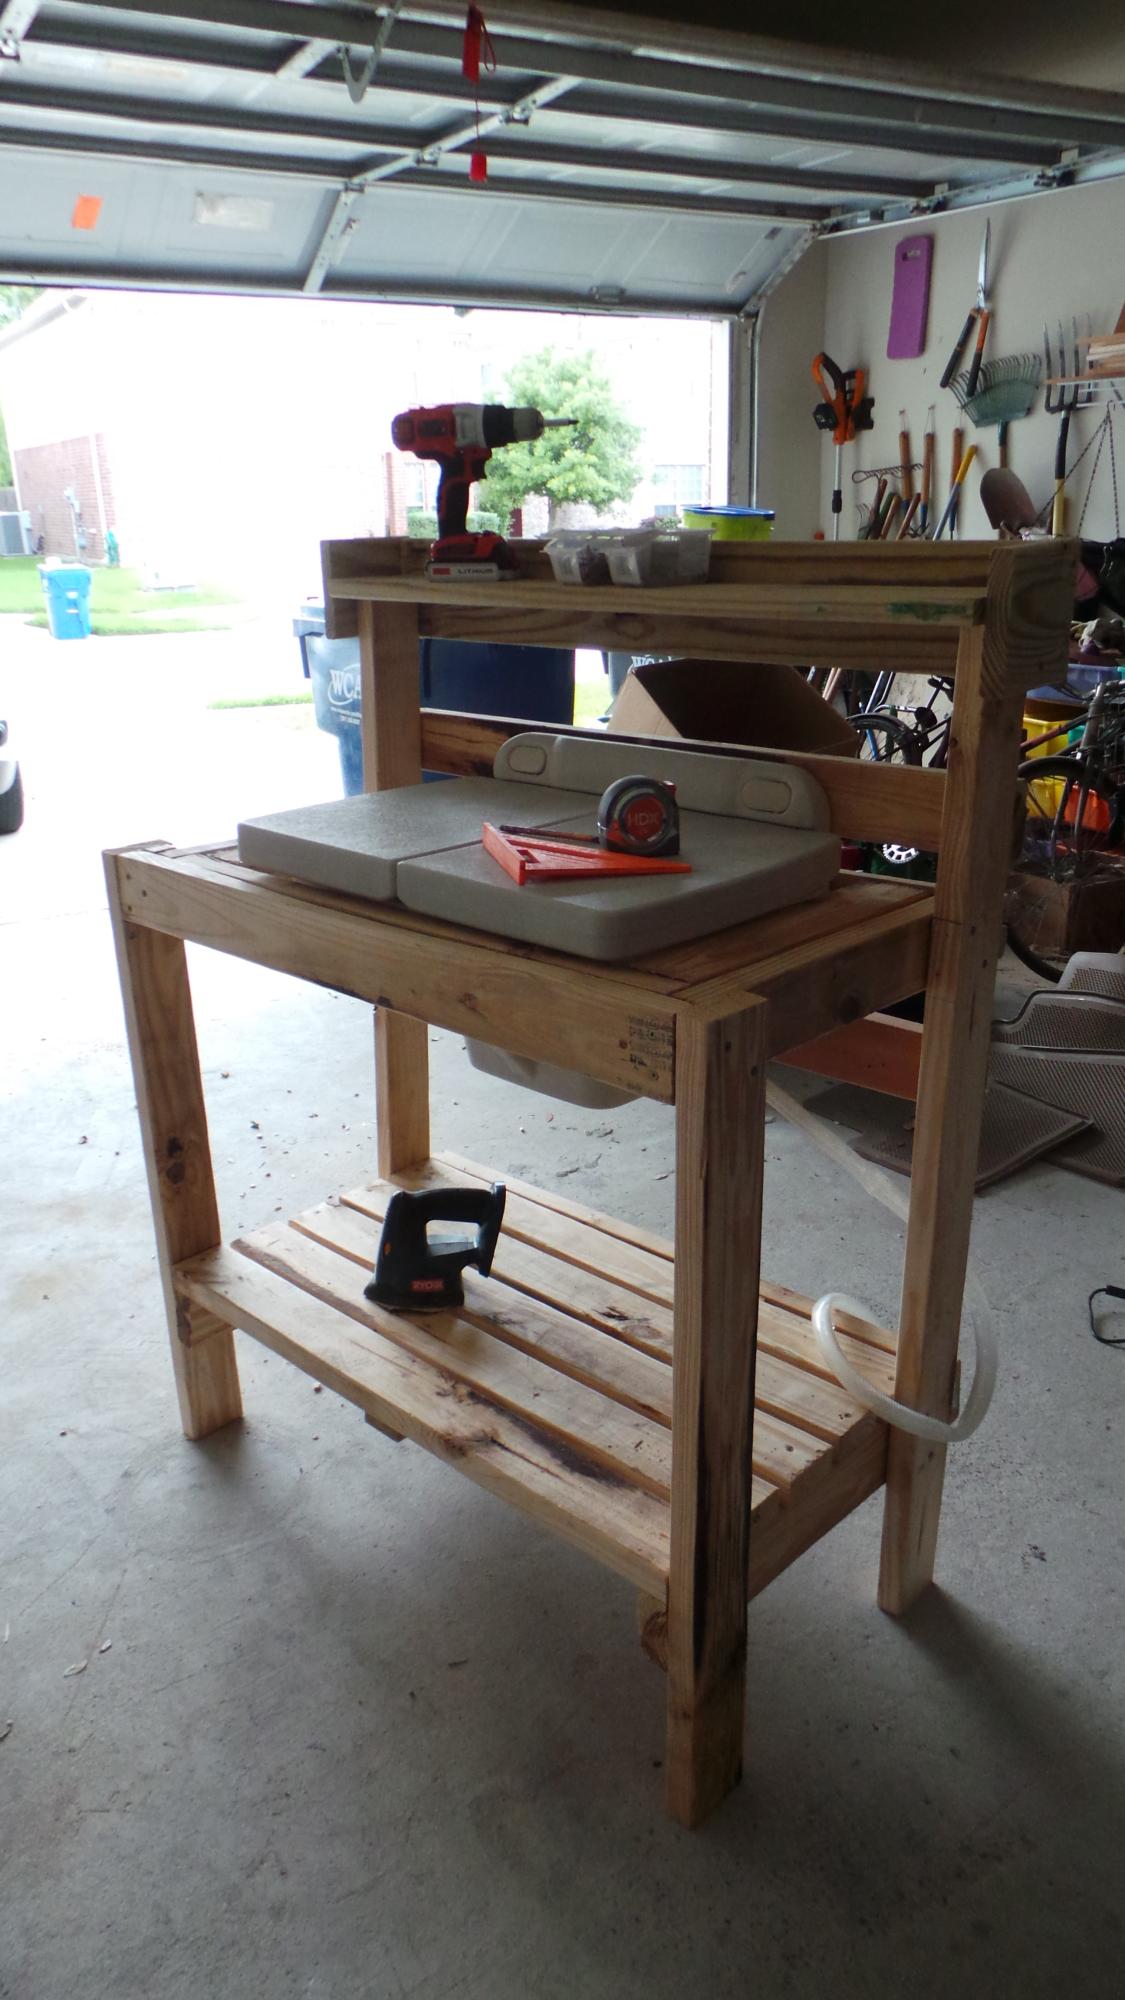
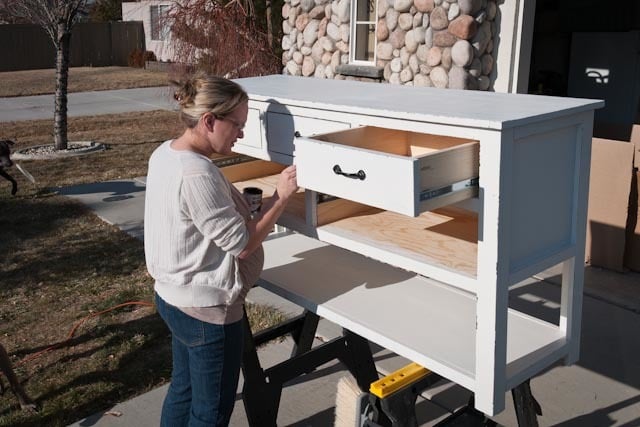
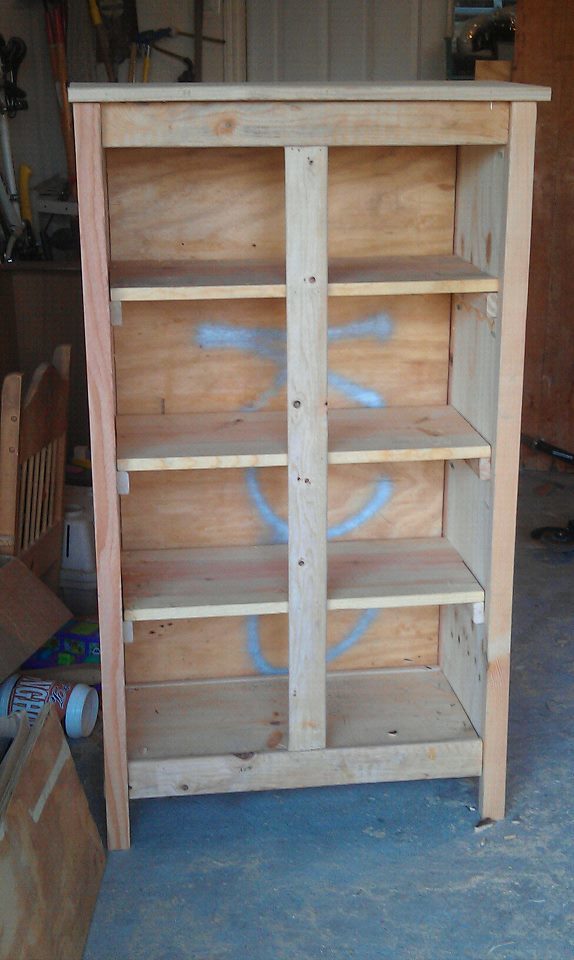
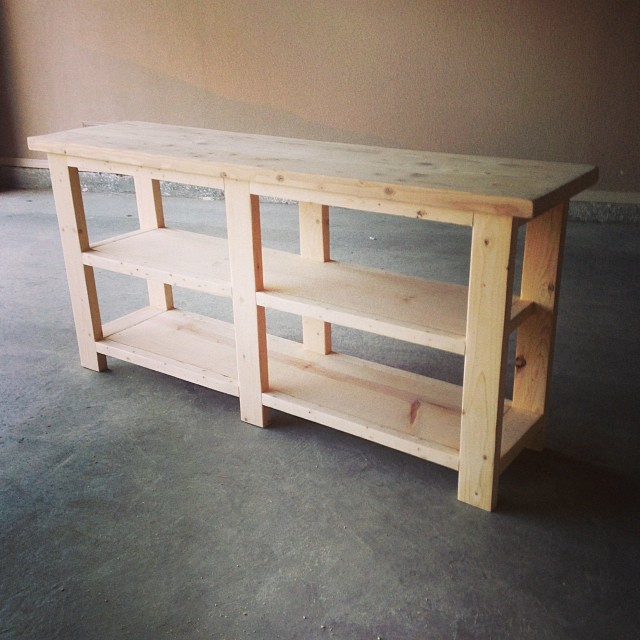
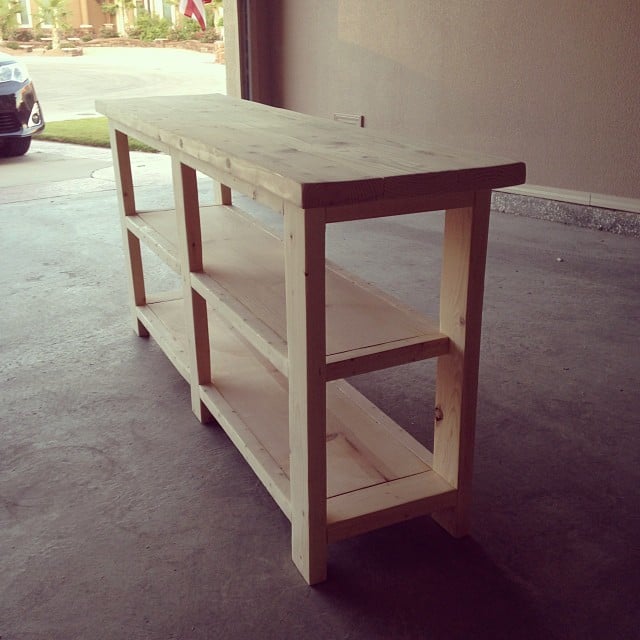
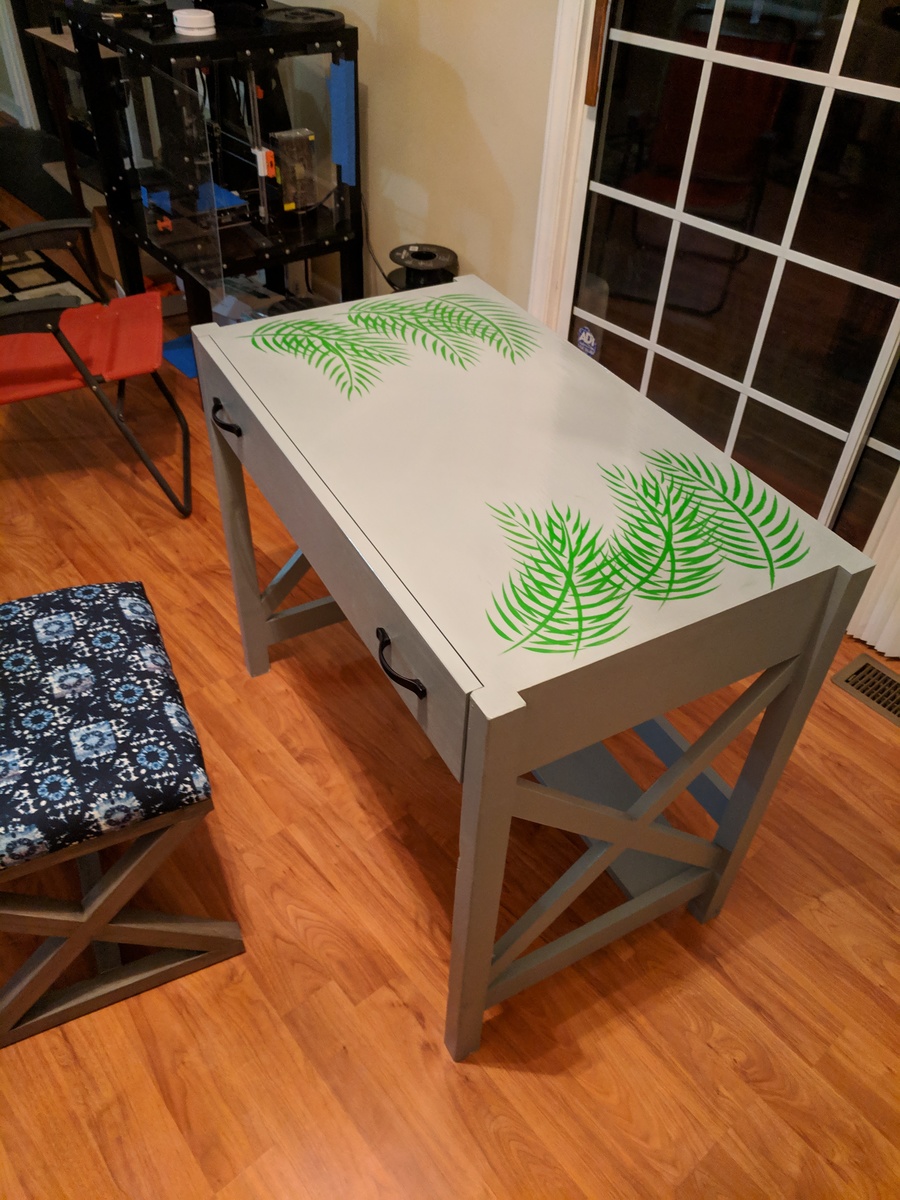
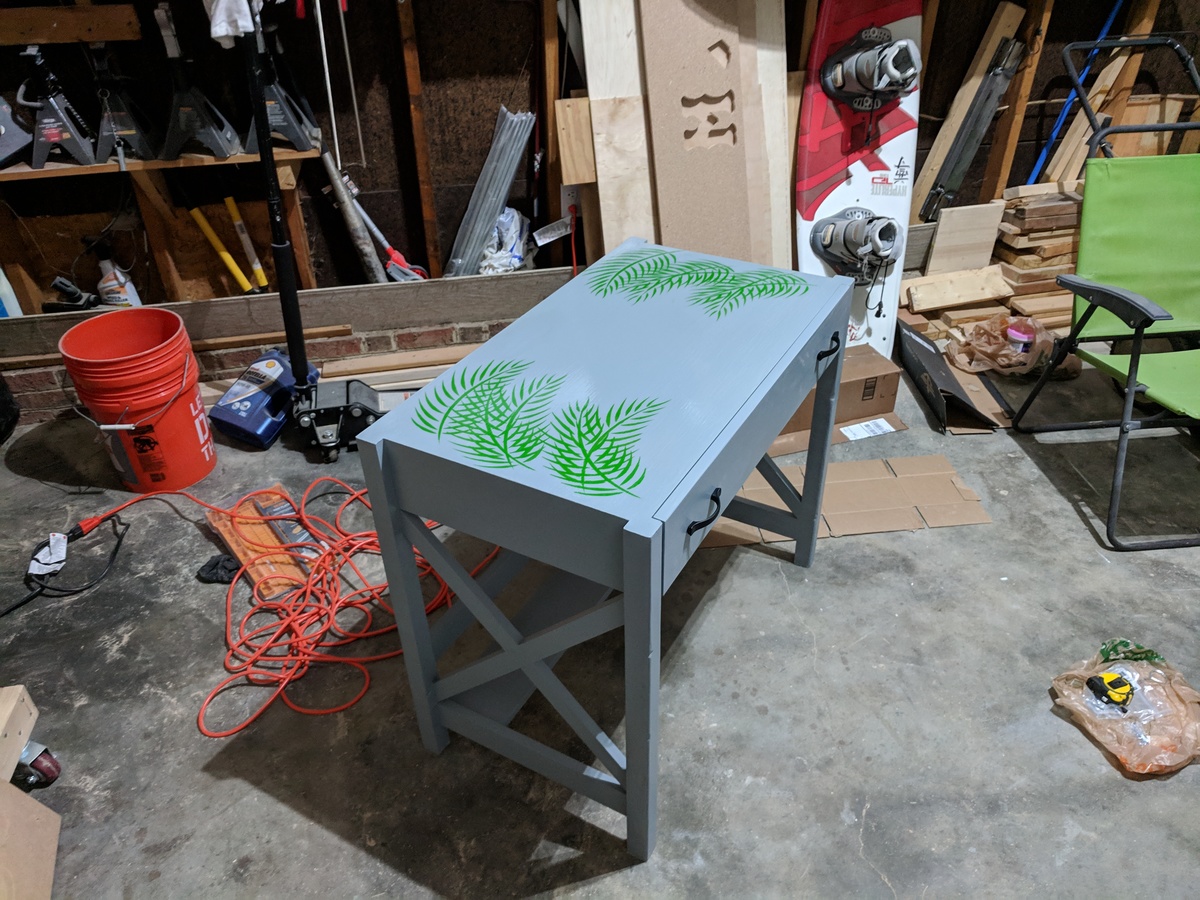
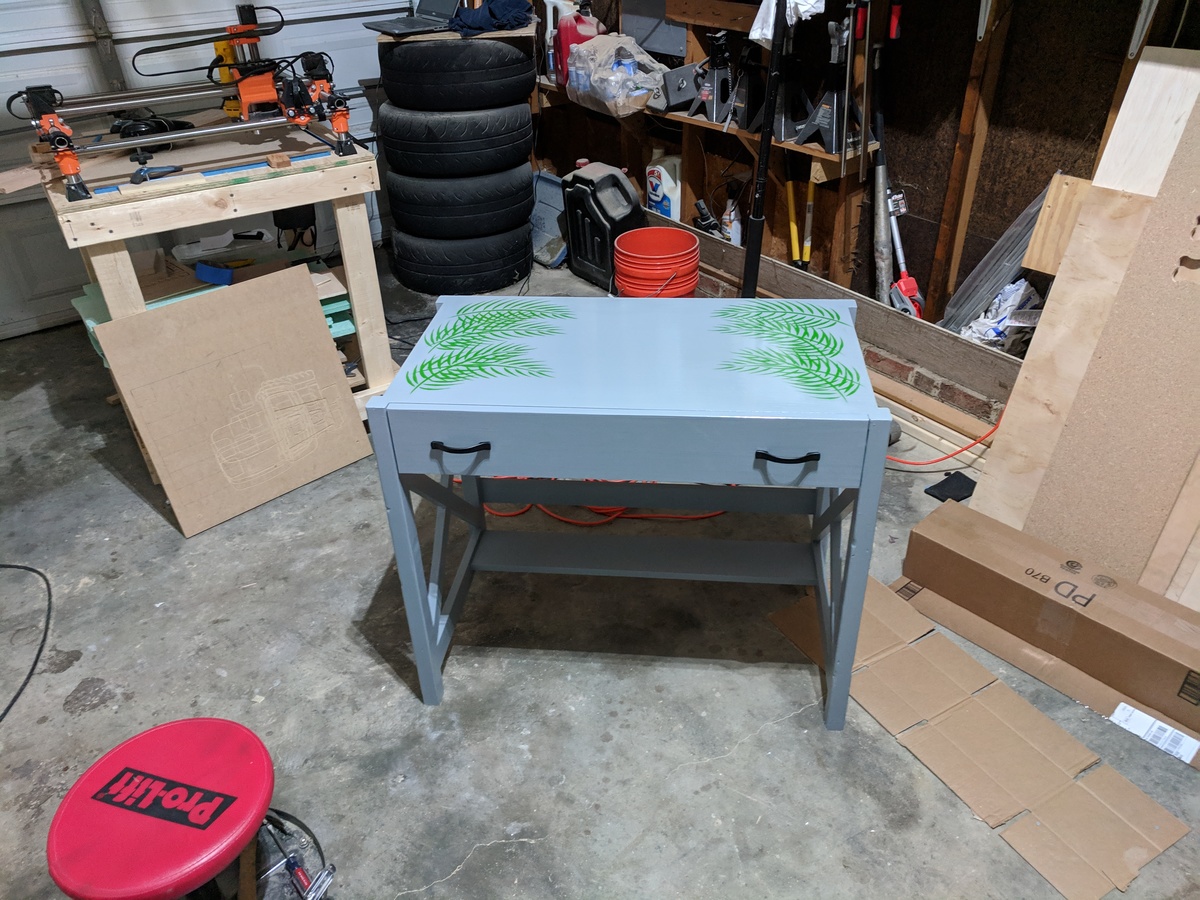
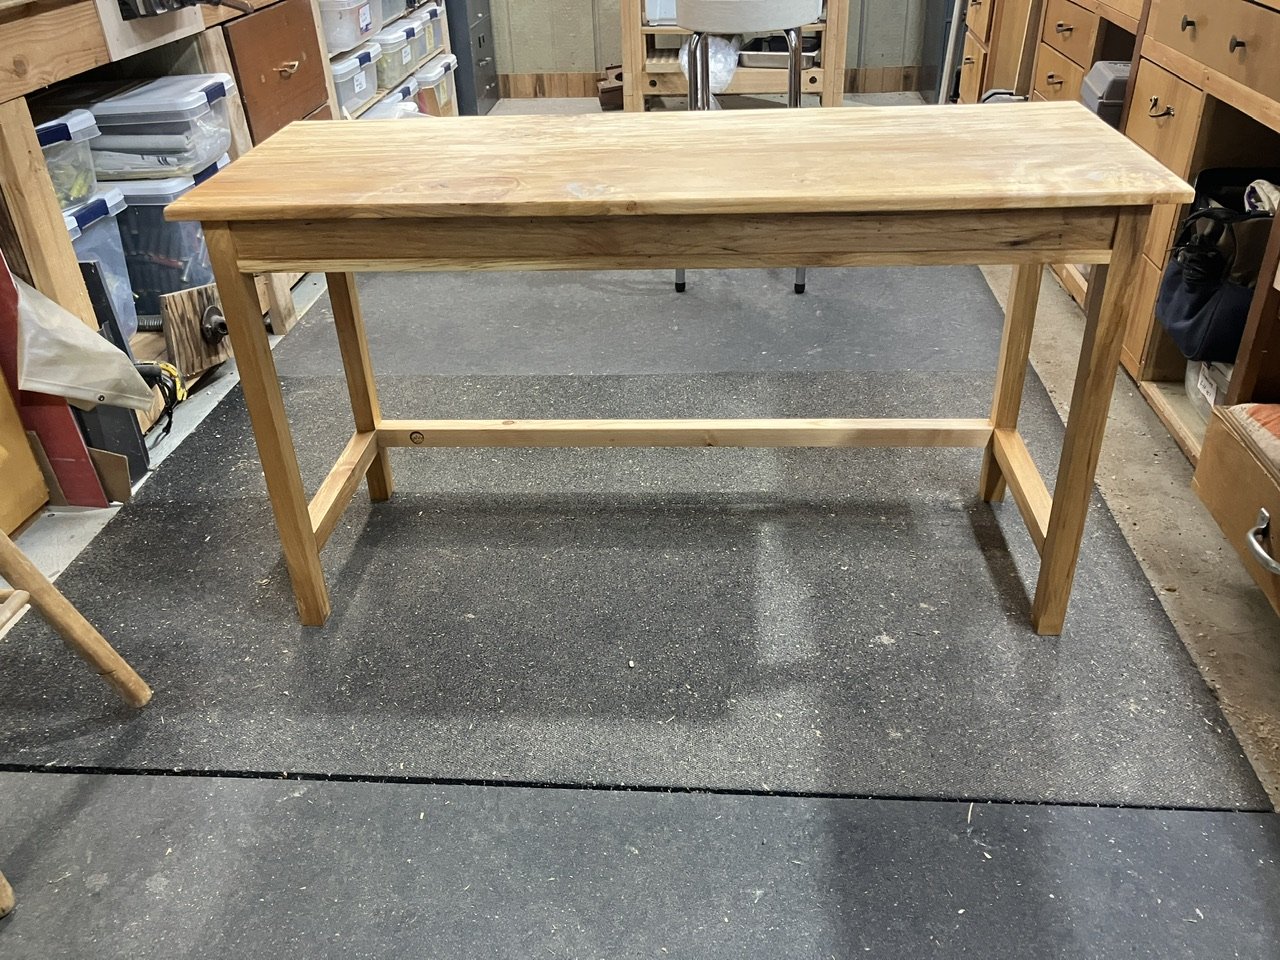
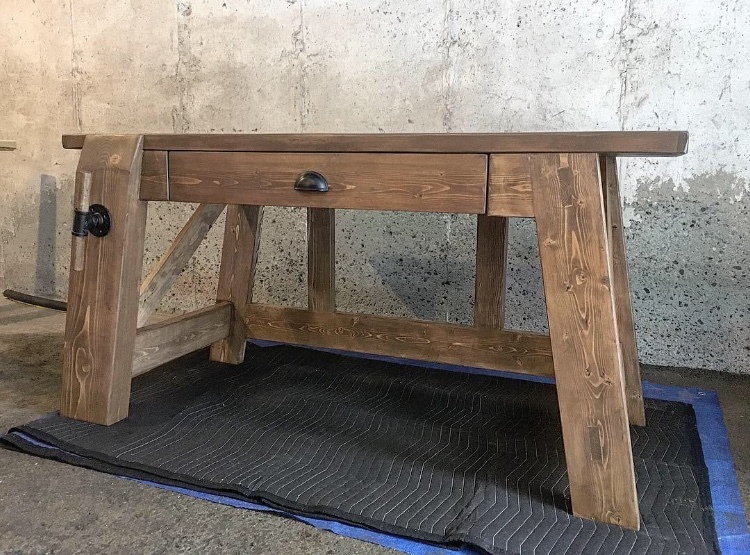
Here's my version of the Henry Desk following Ana's plans. There are a few minor differences that were requested by my client:
- A thicker top. I used 8/4 dressed pine (basically 2x6 knotty pine) and I laminated them together.
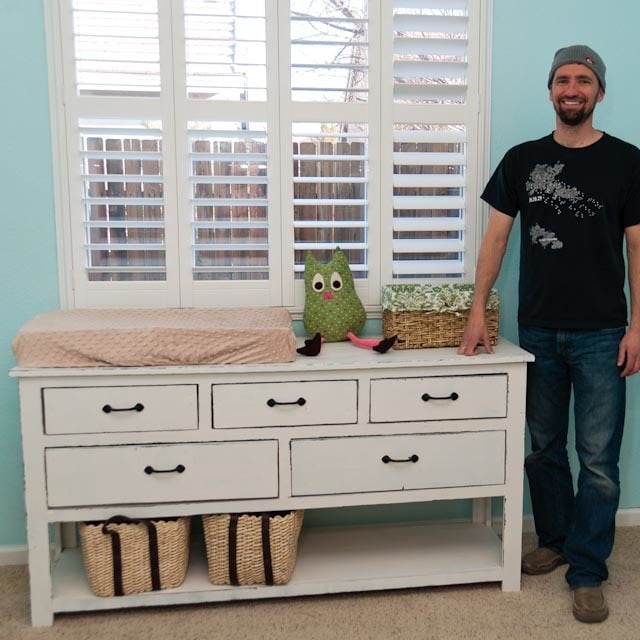
-Smaller desk - Top 60 inches long.
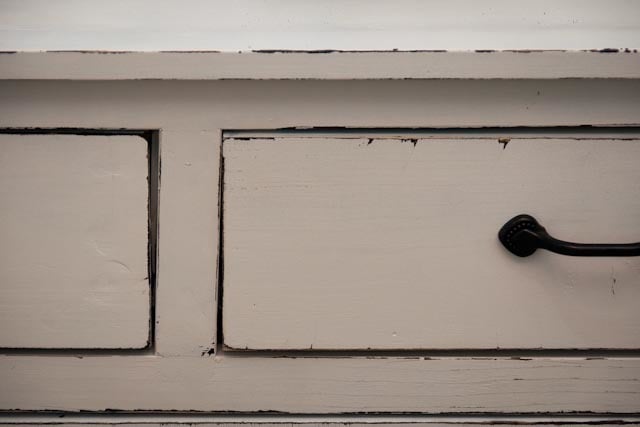
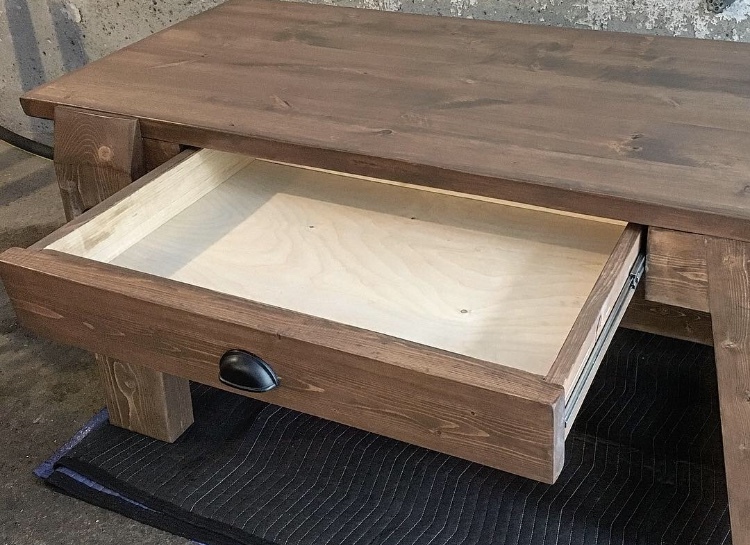
-A large drawer.
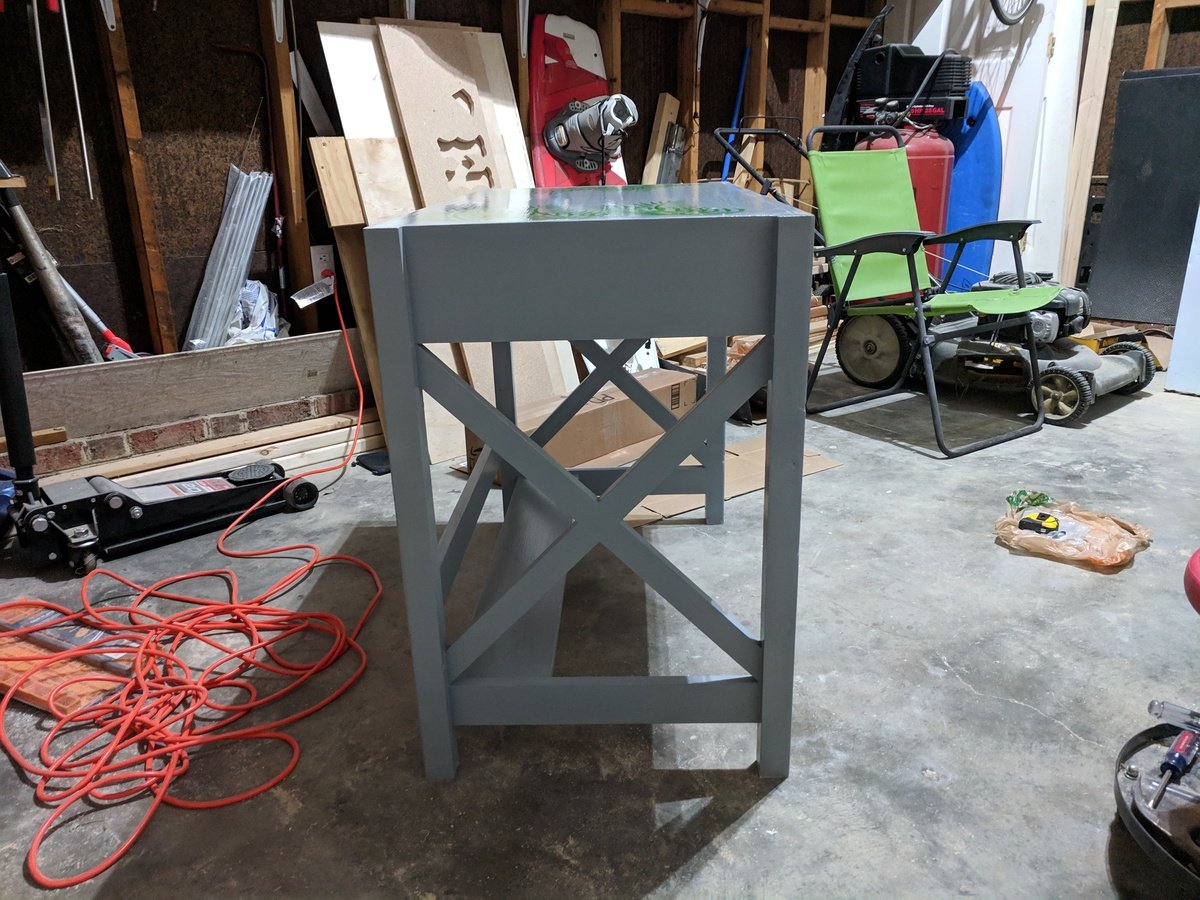
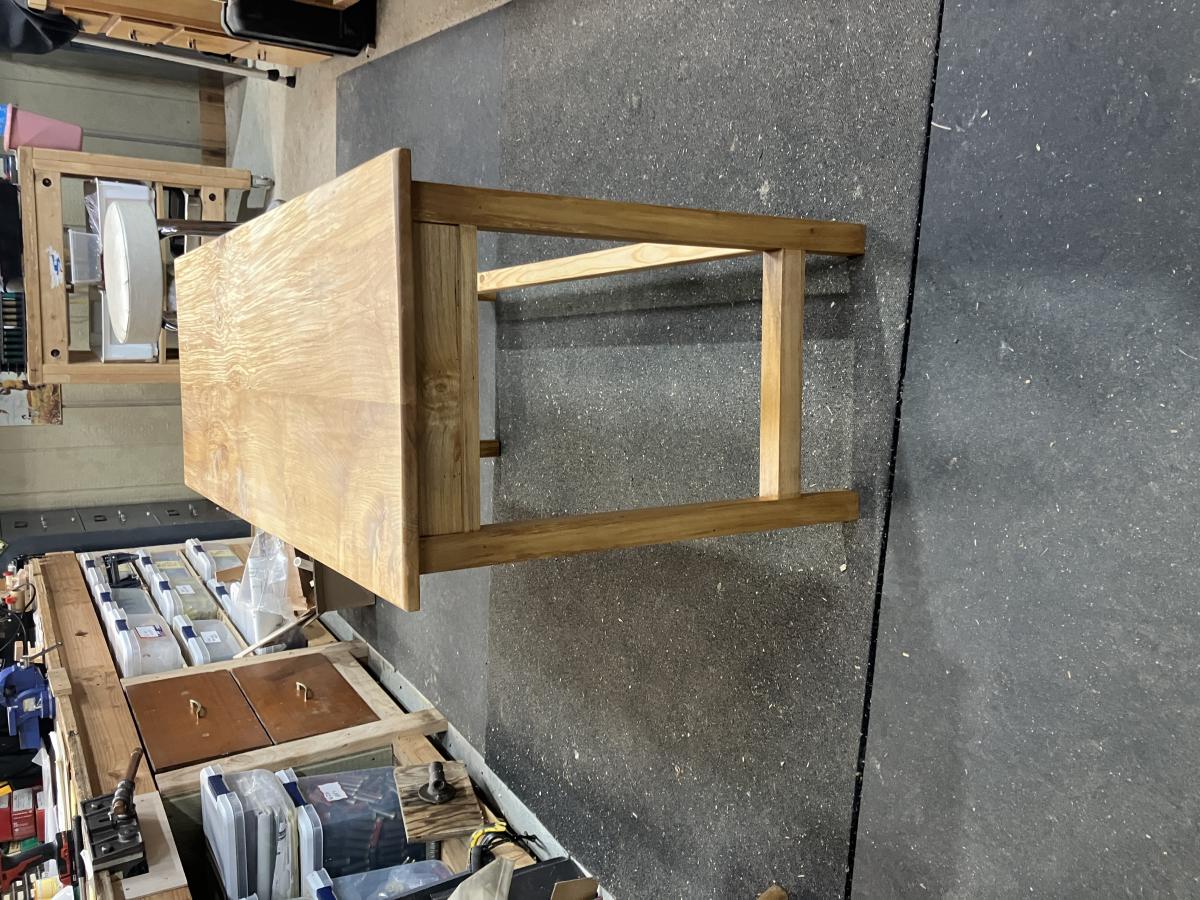
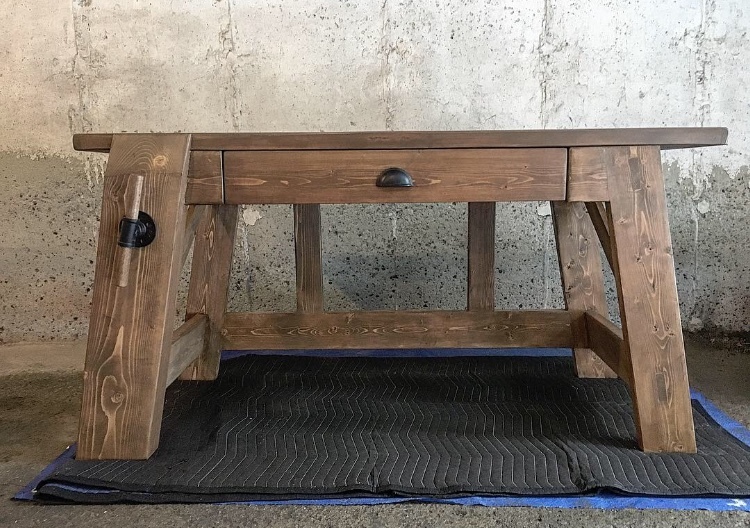
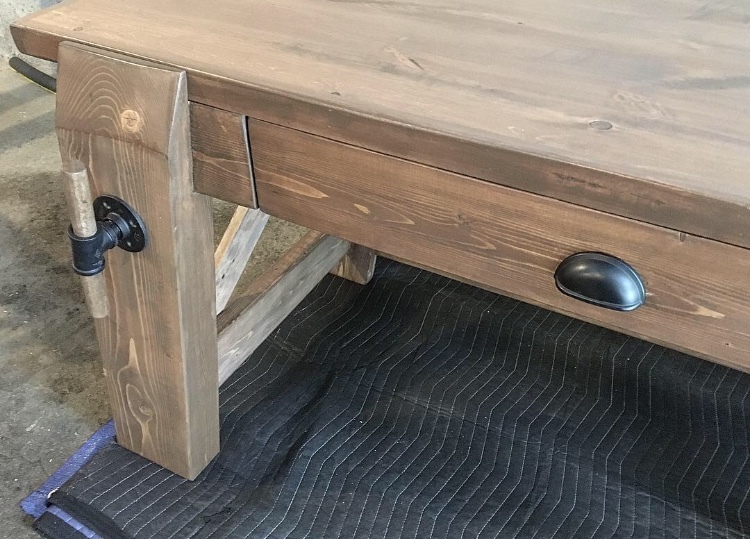
-Through tenons on the right leg that I made by using a drill press, chisels and lots of elbow grease.
I used mainly glue and dowels to assemble the pieces together, but also some pocket holes here and there.
Very helpful plan Ana. Thank you!
Erika
Rustic Charm Woodshop
Built from Plan(s)
Estimated Cost
$200 CAD
Estimated Time Investment
Week Long Project (20 Hours or More)
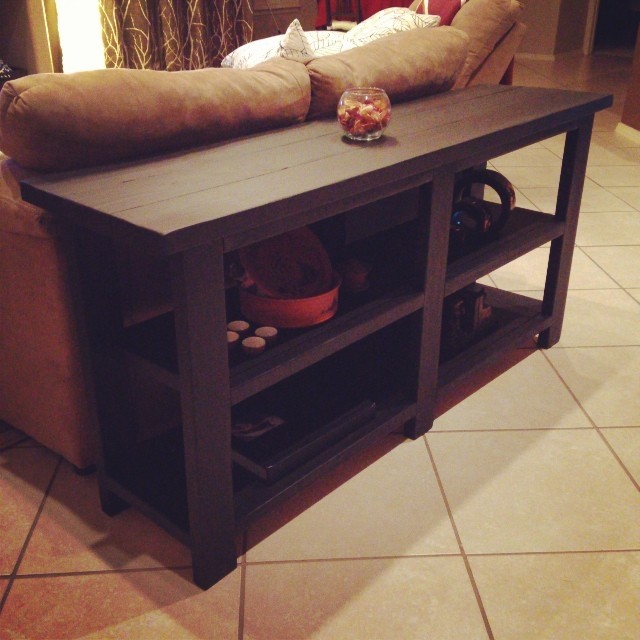
Finish Used
Stain: Minwax water-based stain - 1 part Colonial Pine to 1 part Coffee.
Clear Coat: Varathane Diamond Satin finish
Clear Coat: Varathane Diamond Satin finish
Recommended Skill Level
Intermediate