Outdoor sectional and table
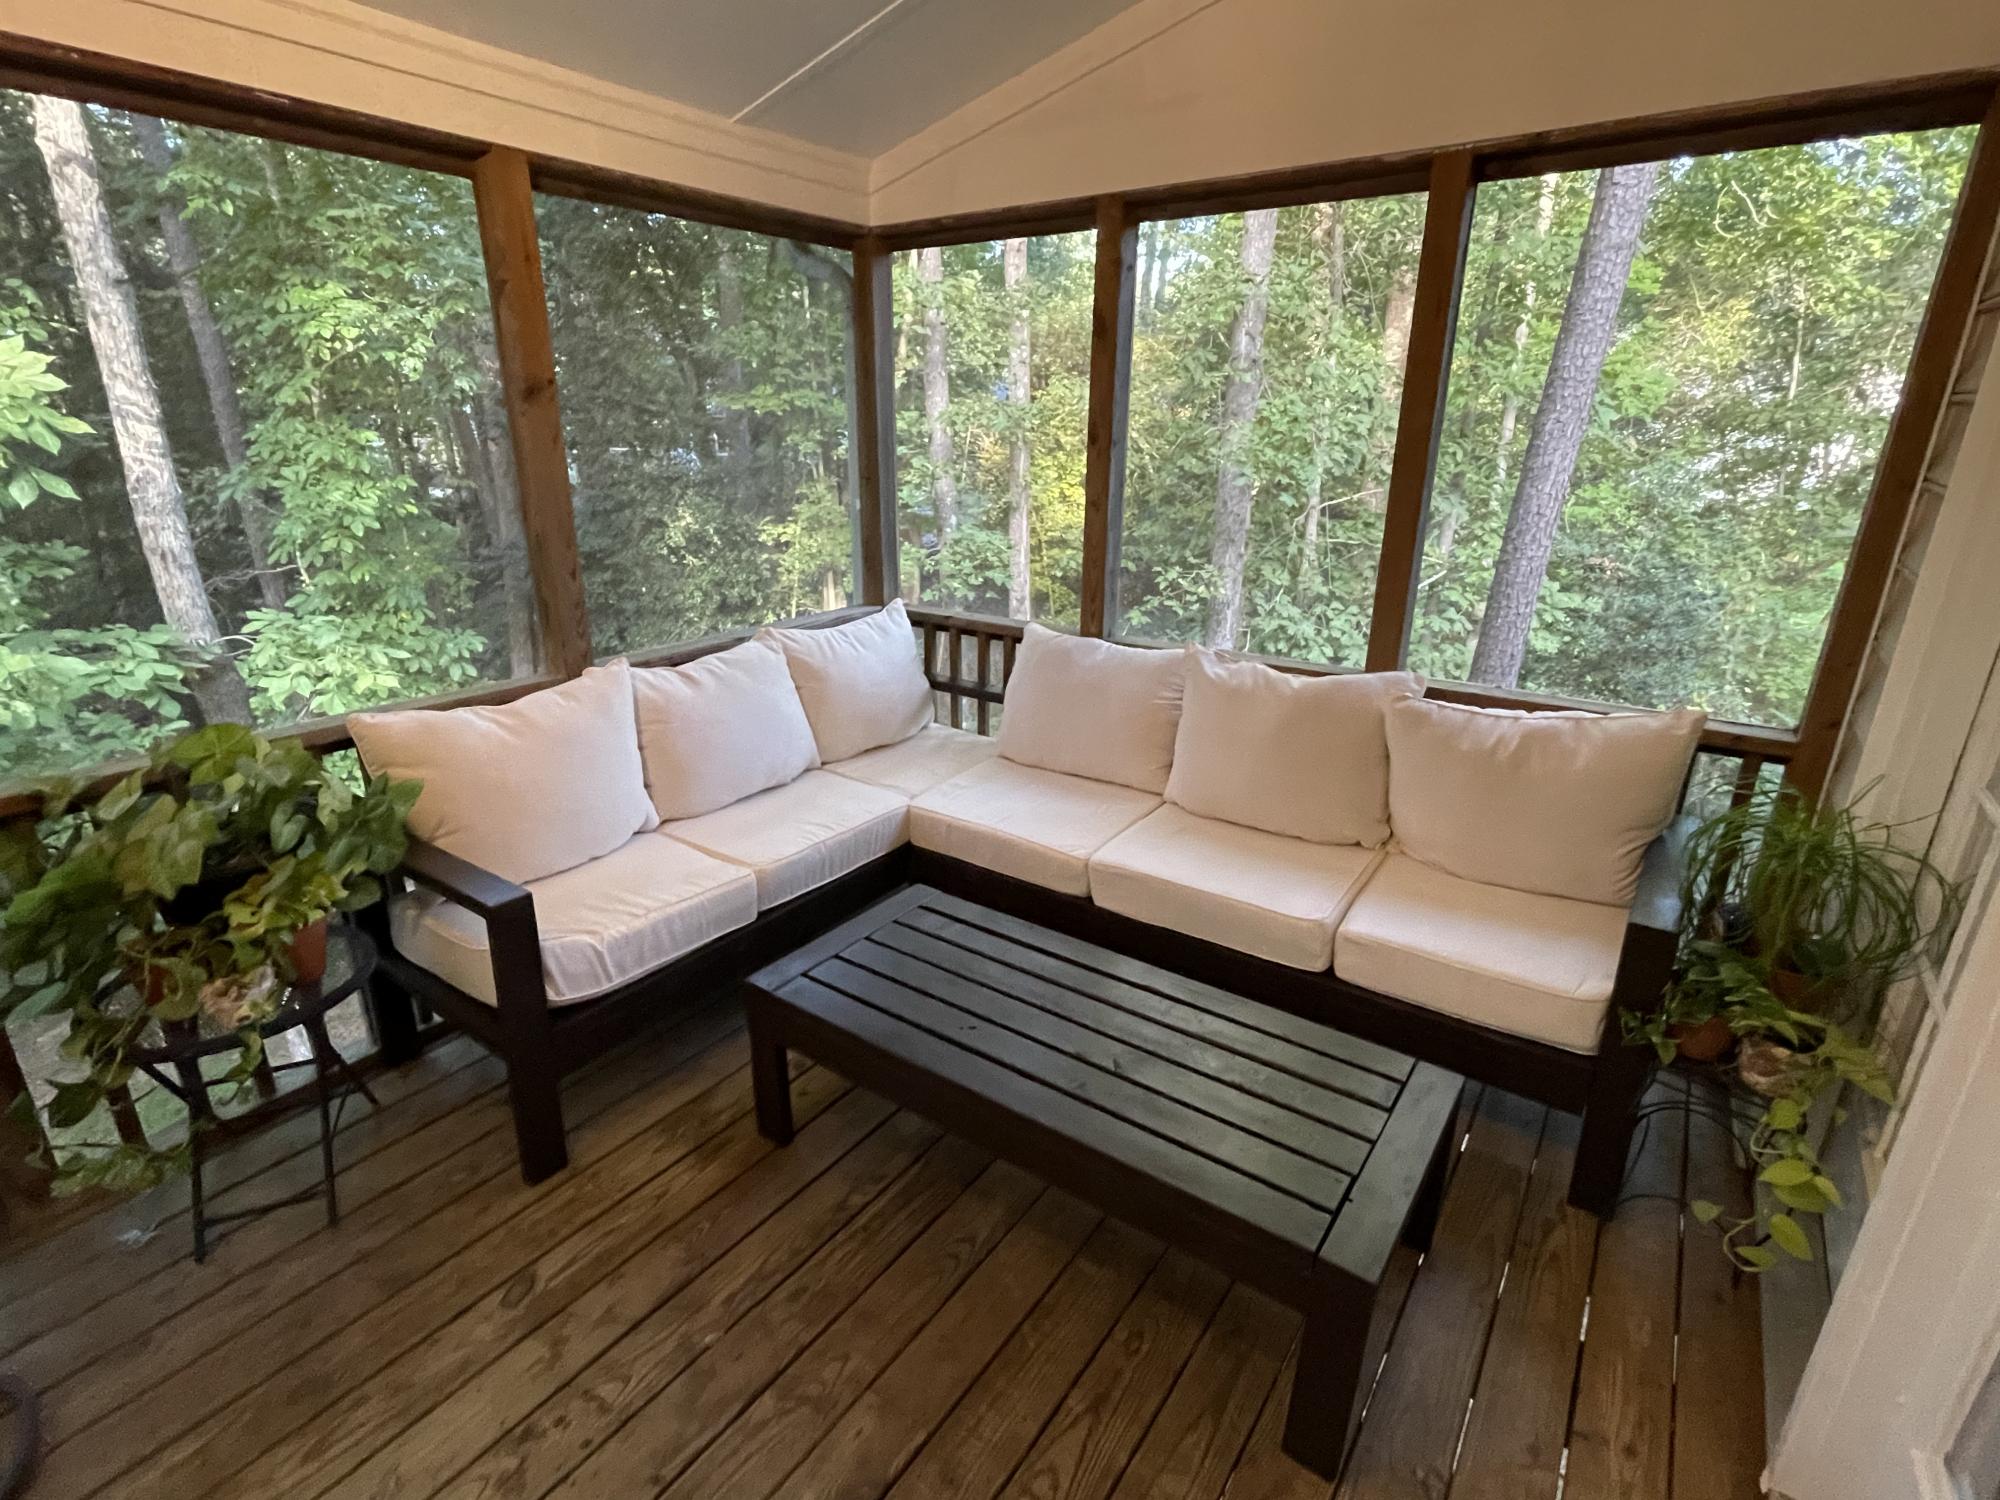
First time building anything. I think it came out pretty good! Thanks Ana white for the plans!!
Built from Plan(s)
First time building anything. I think it came out pretty good! Thanks Ana white for the plans!!
This is our first piece of
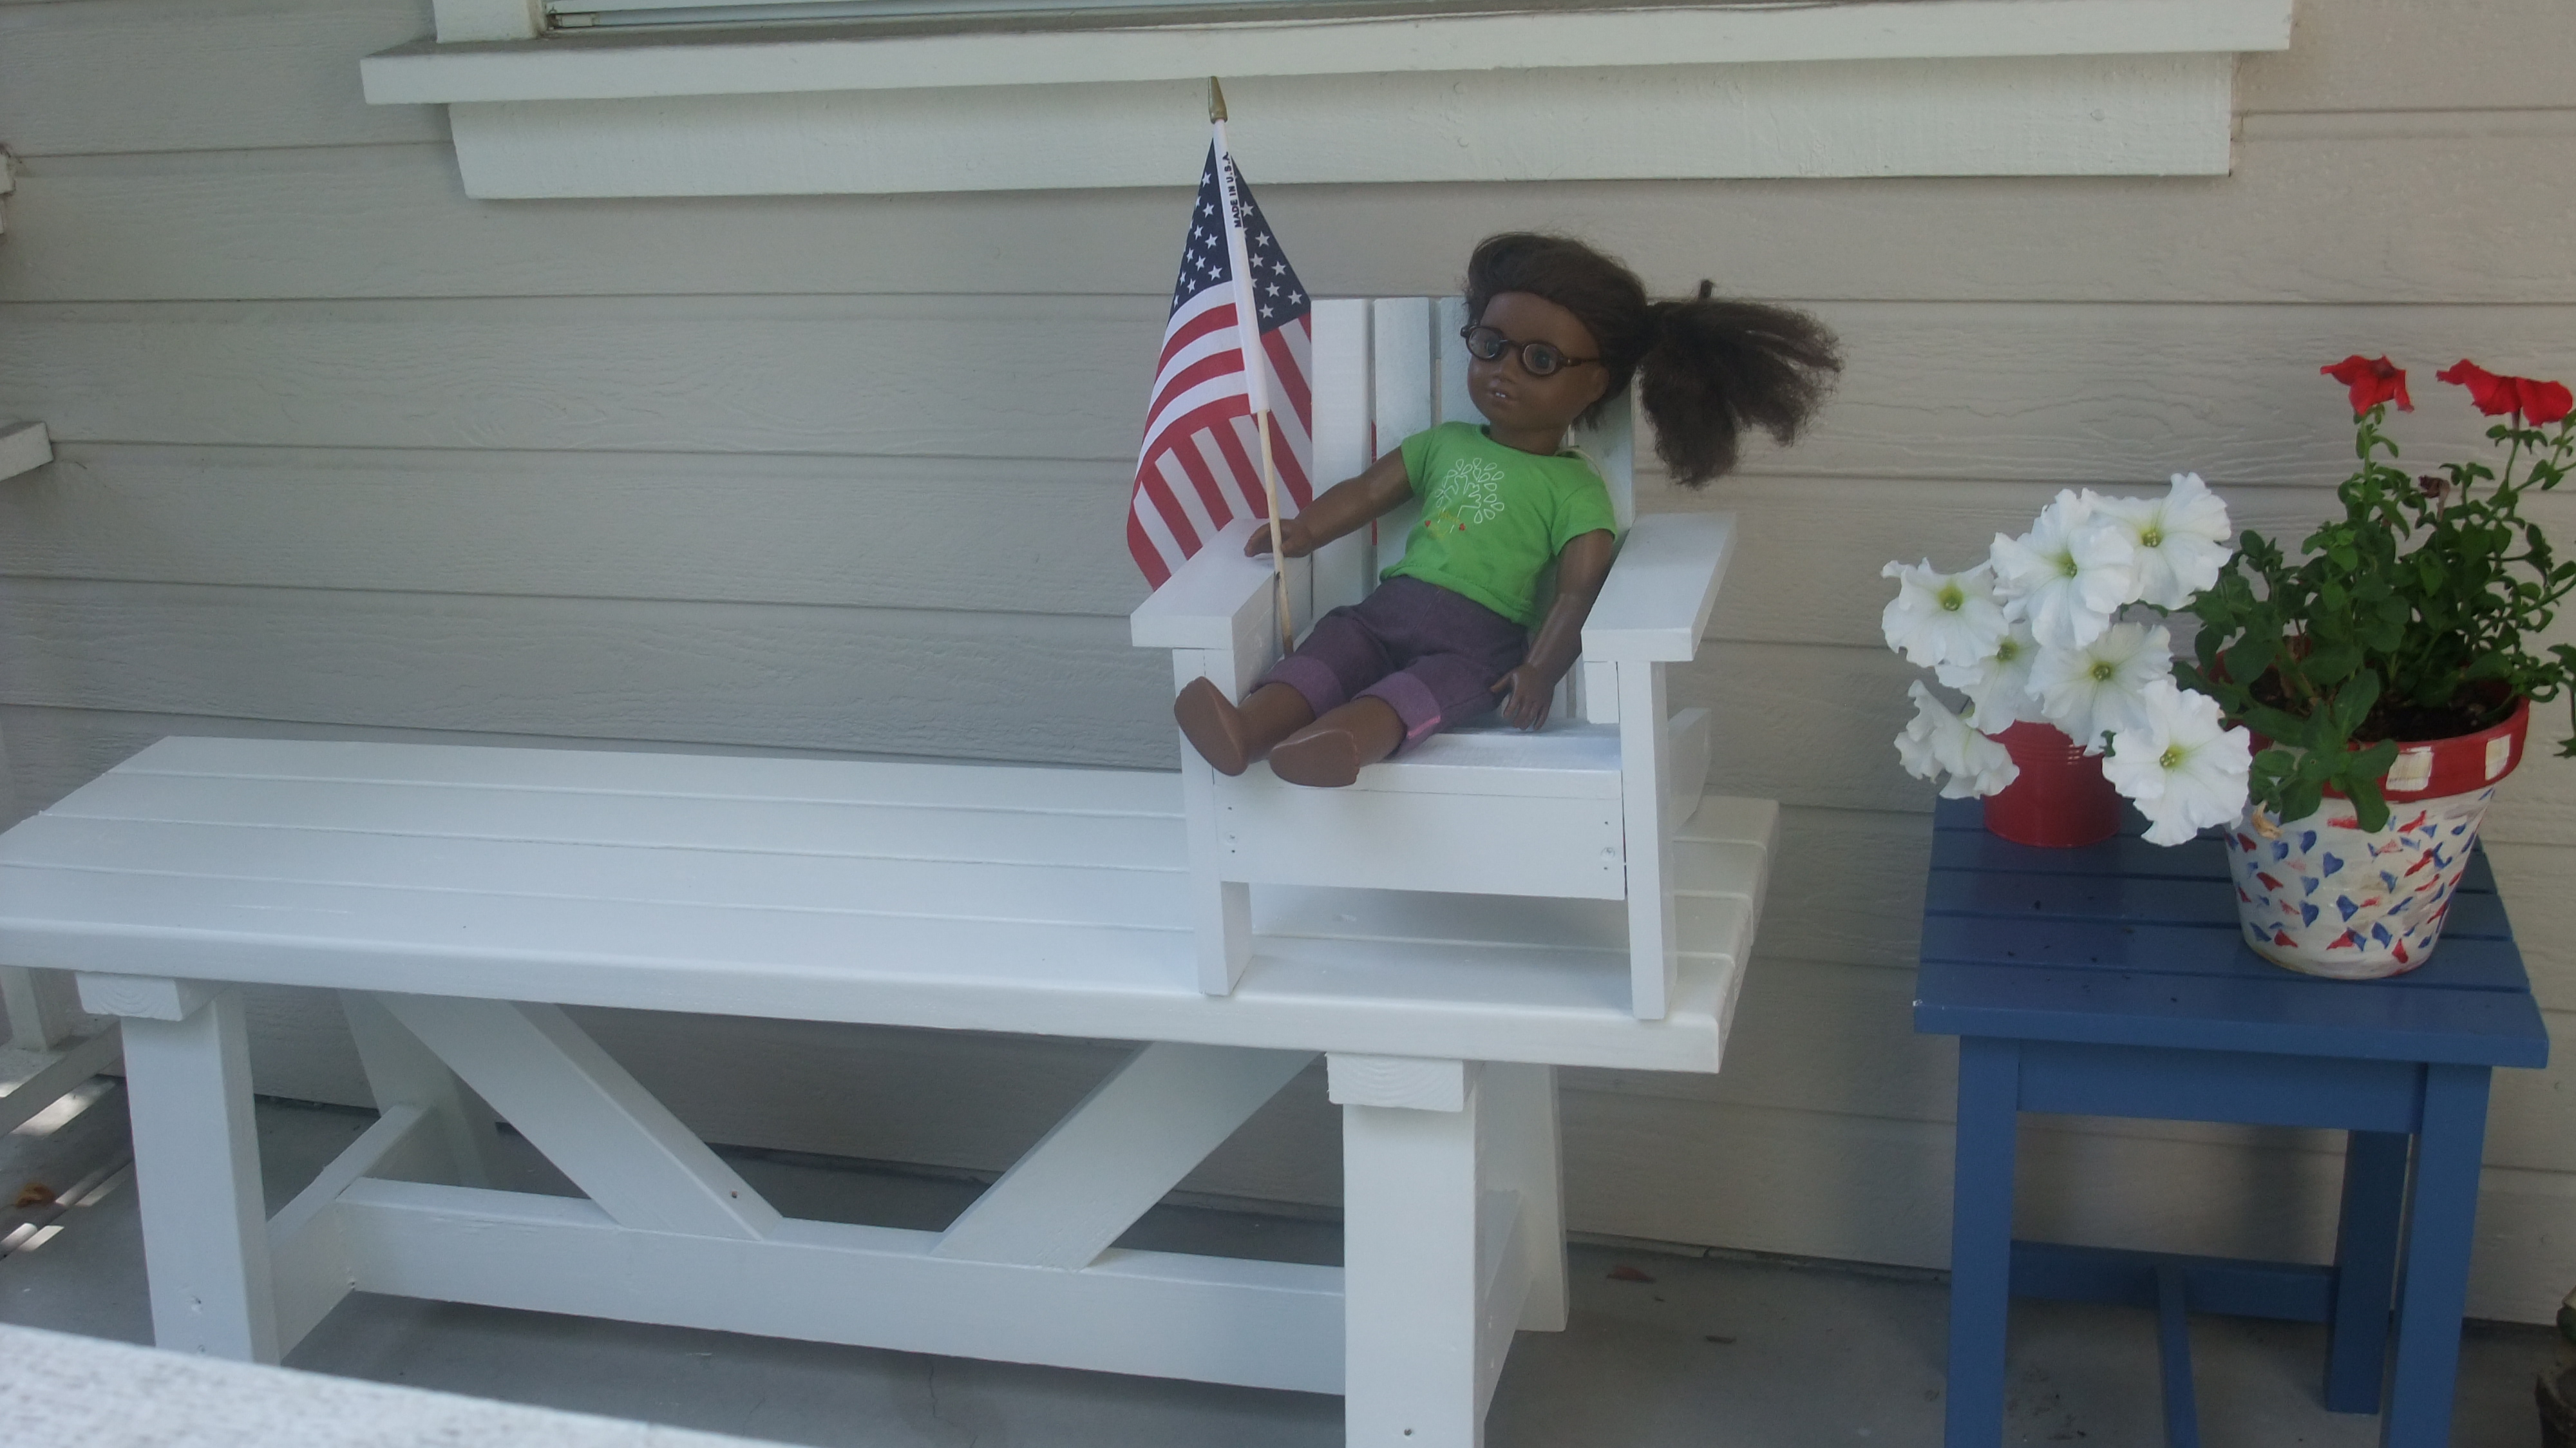
Very excited to have our bench, table & doll chair out on our porch. Thank you so much for your great web-site and all of the wonderful plans. I have already put together a very long "weekend projects" list for my husband to work on.
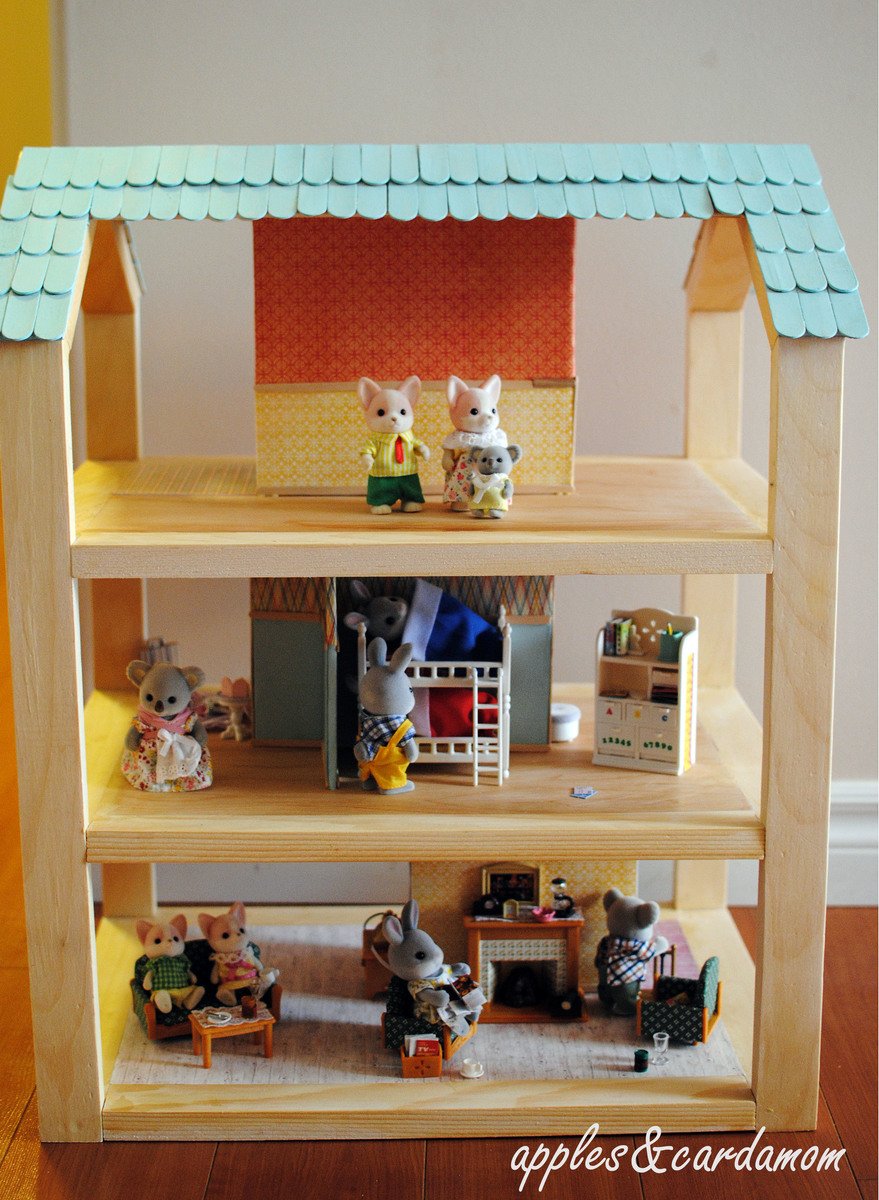
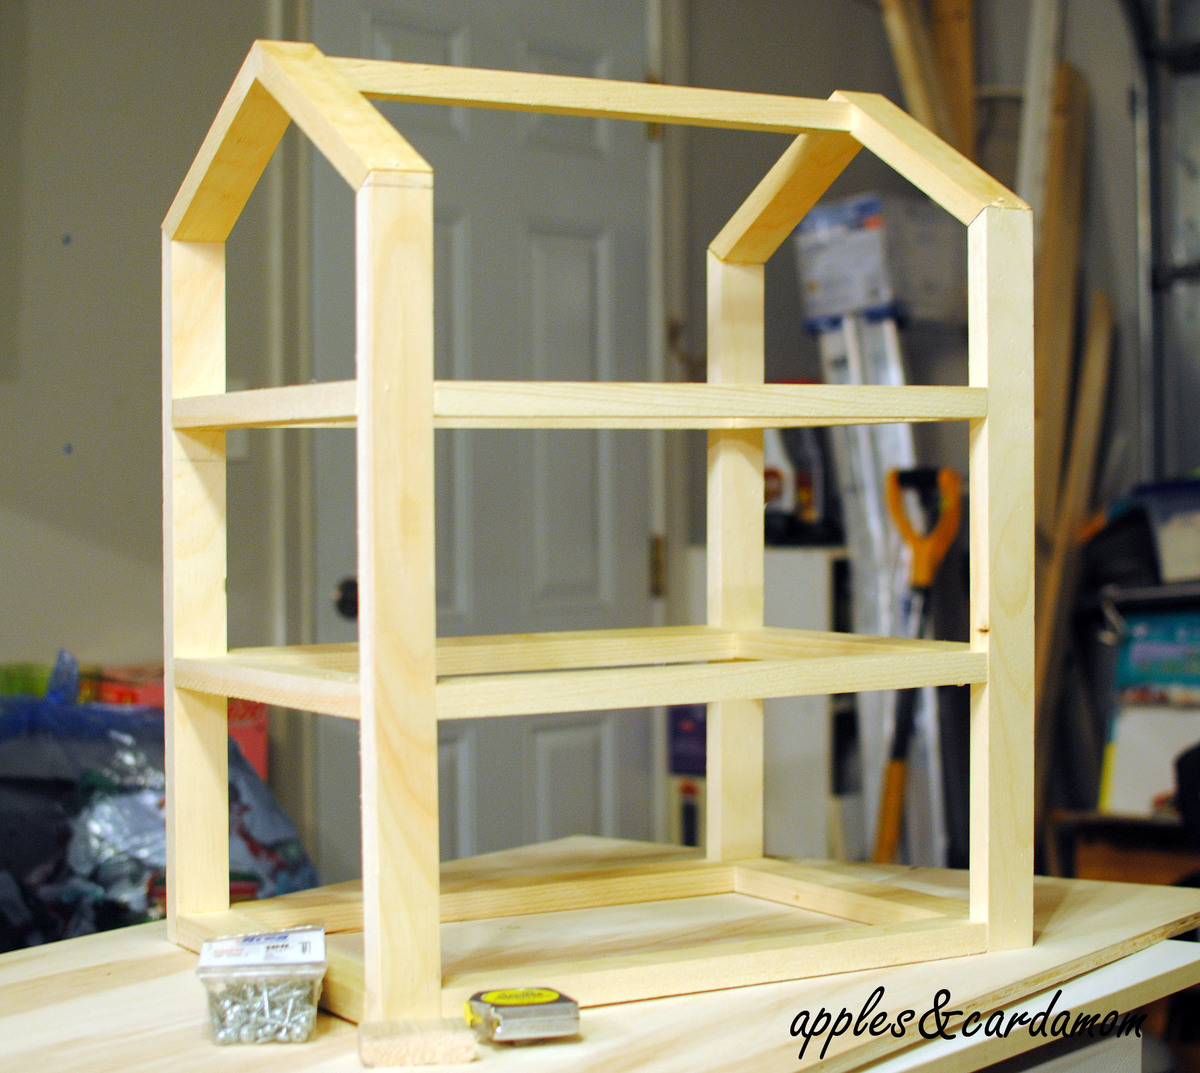
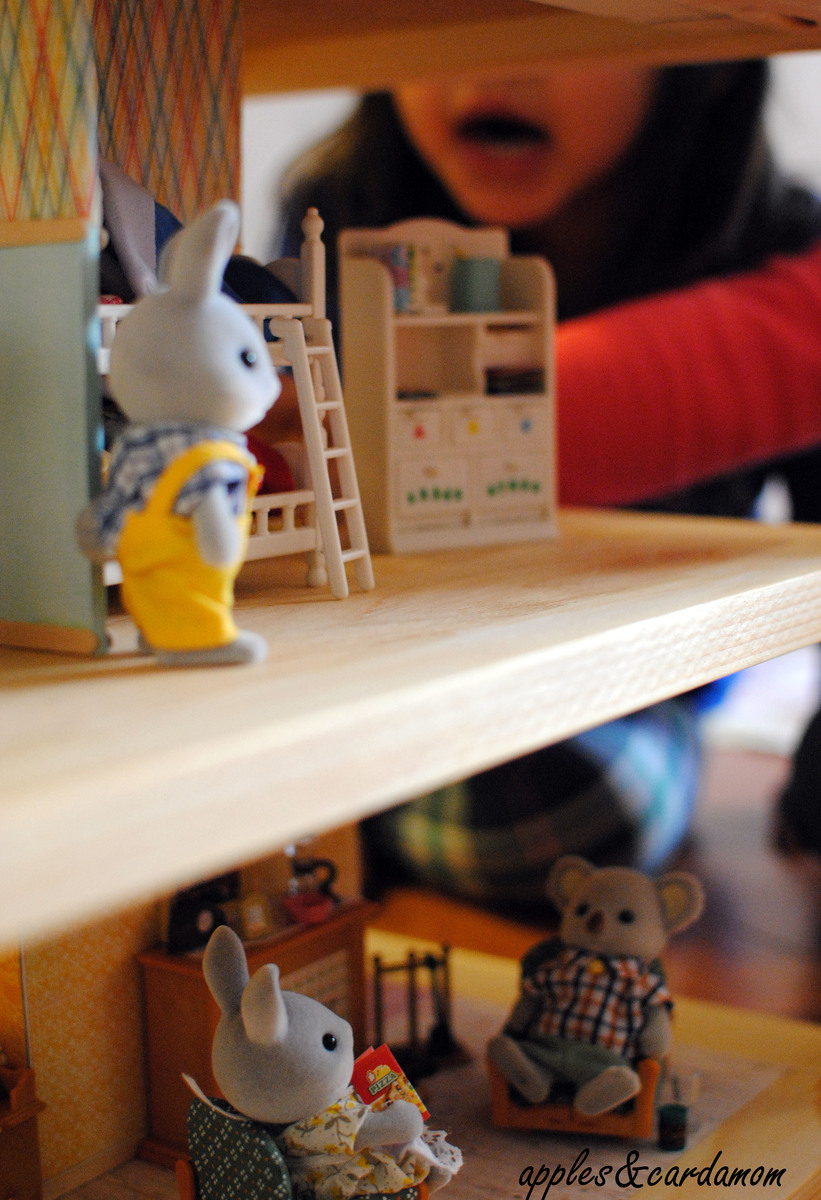
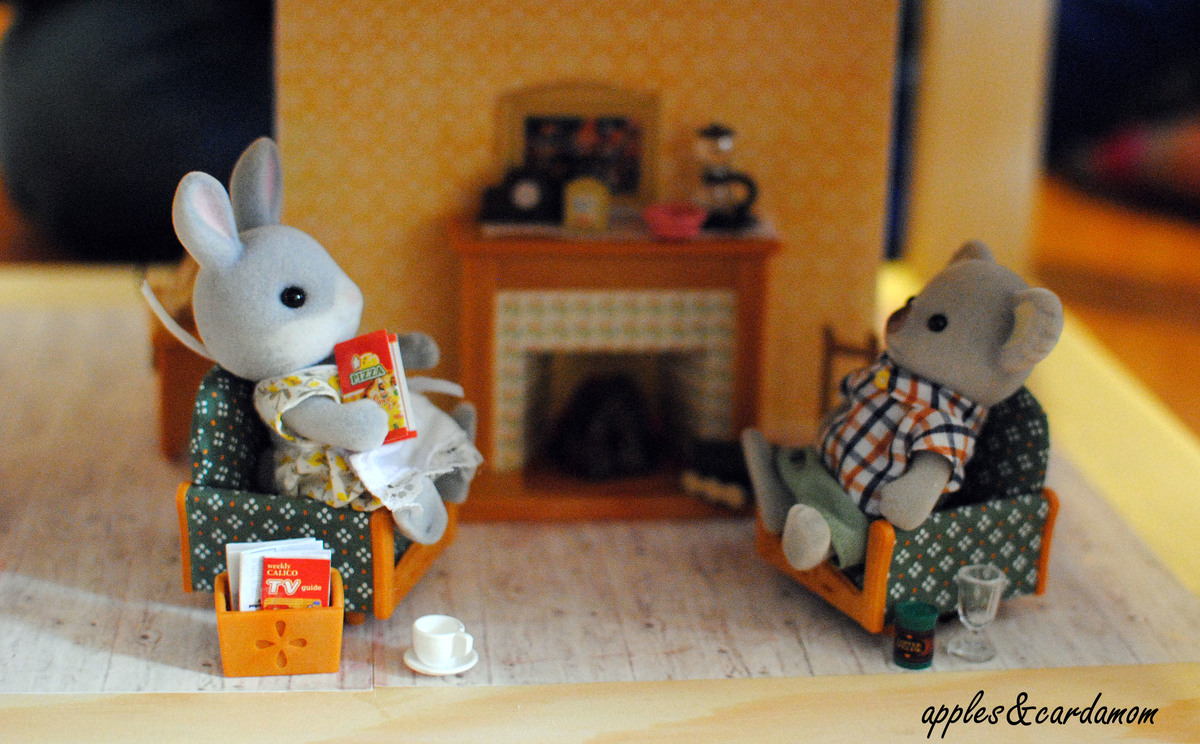
My husband and I made this for our daughters' calico critters, which they received for Christmas. We wanted a house with few walls, so that all 3 girls could play simultaneously. We used Ana's dream dollhouse plan, but scaled it down to half the size. We also modified it slightly to fit what we needed.
This is just the perfect size for smaller toys like Littlest Pet Shop or other 3 to 4" tall toys.
This was our first build together and so it took us a while to do. For someone with a bit more experience, who also has all their materials and tools ready, this could be finished in 1 day or a weekend.
Sun, 05/10/2015 - 13:06
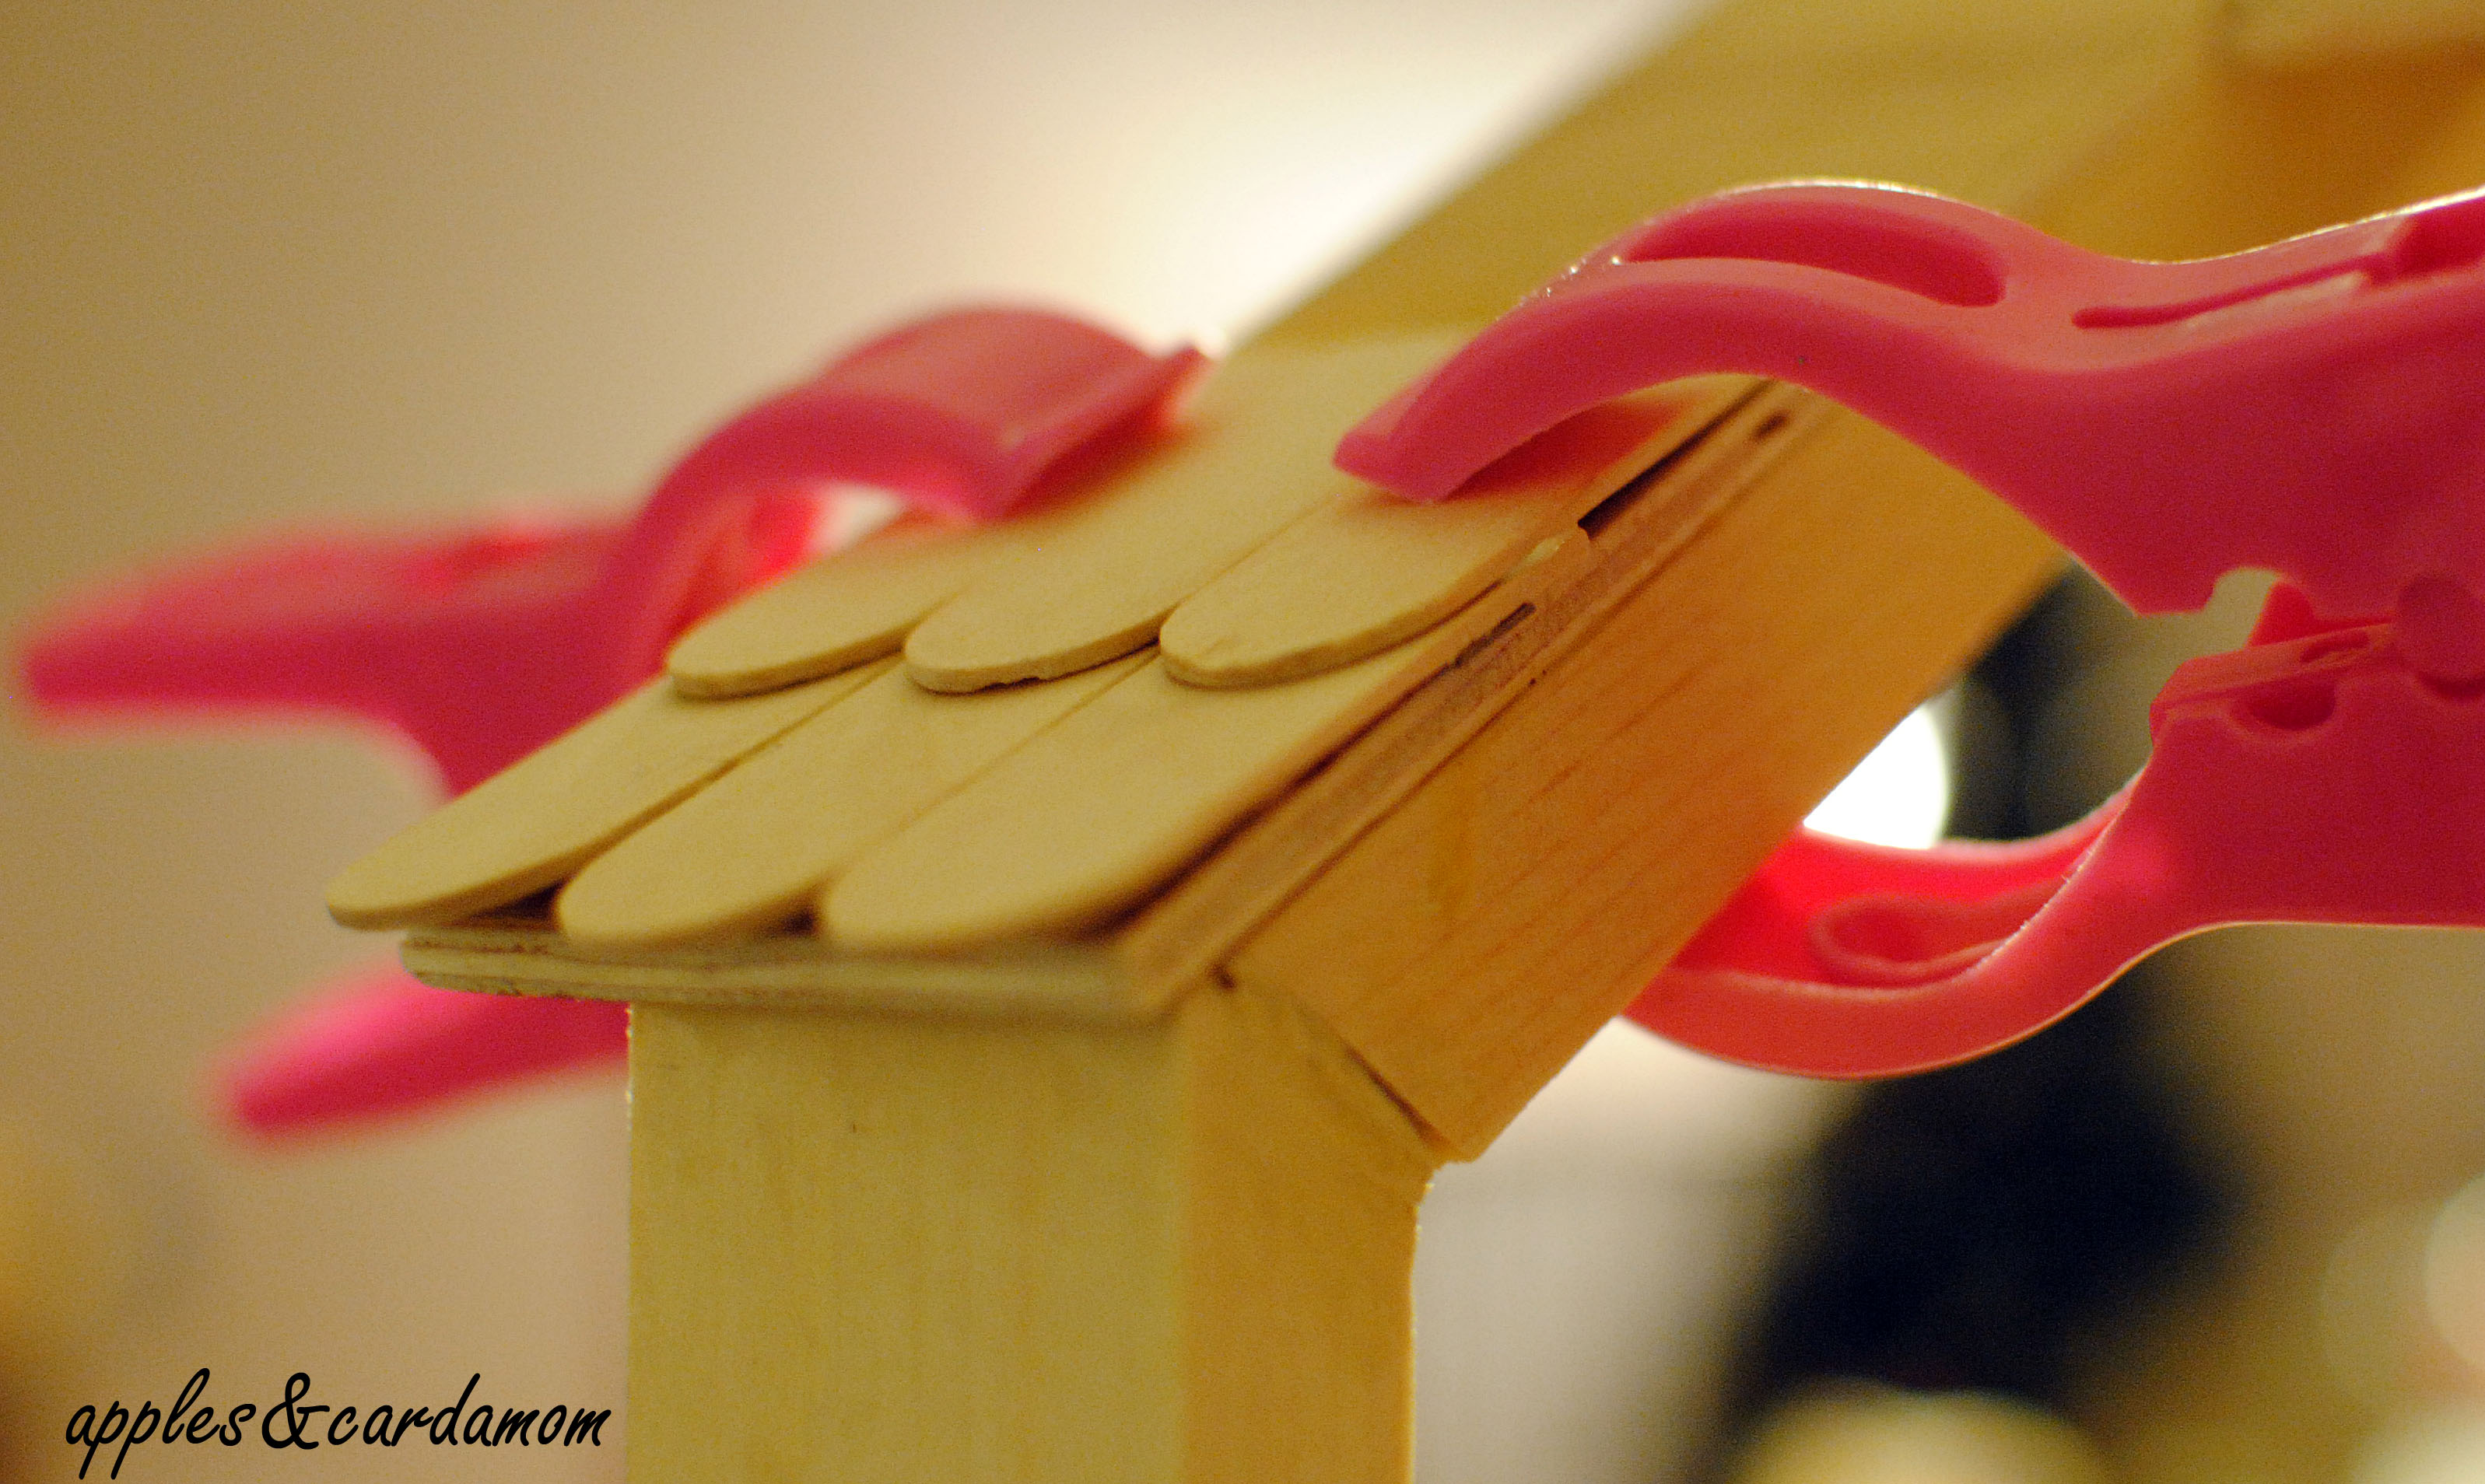
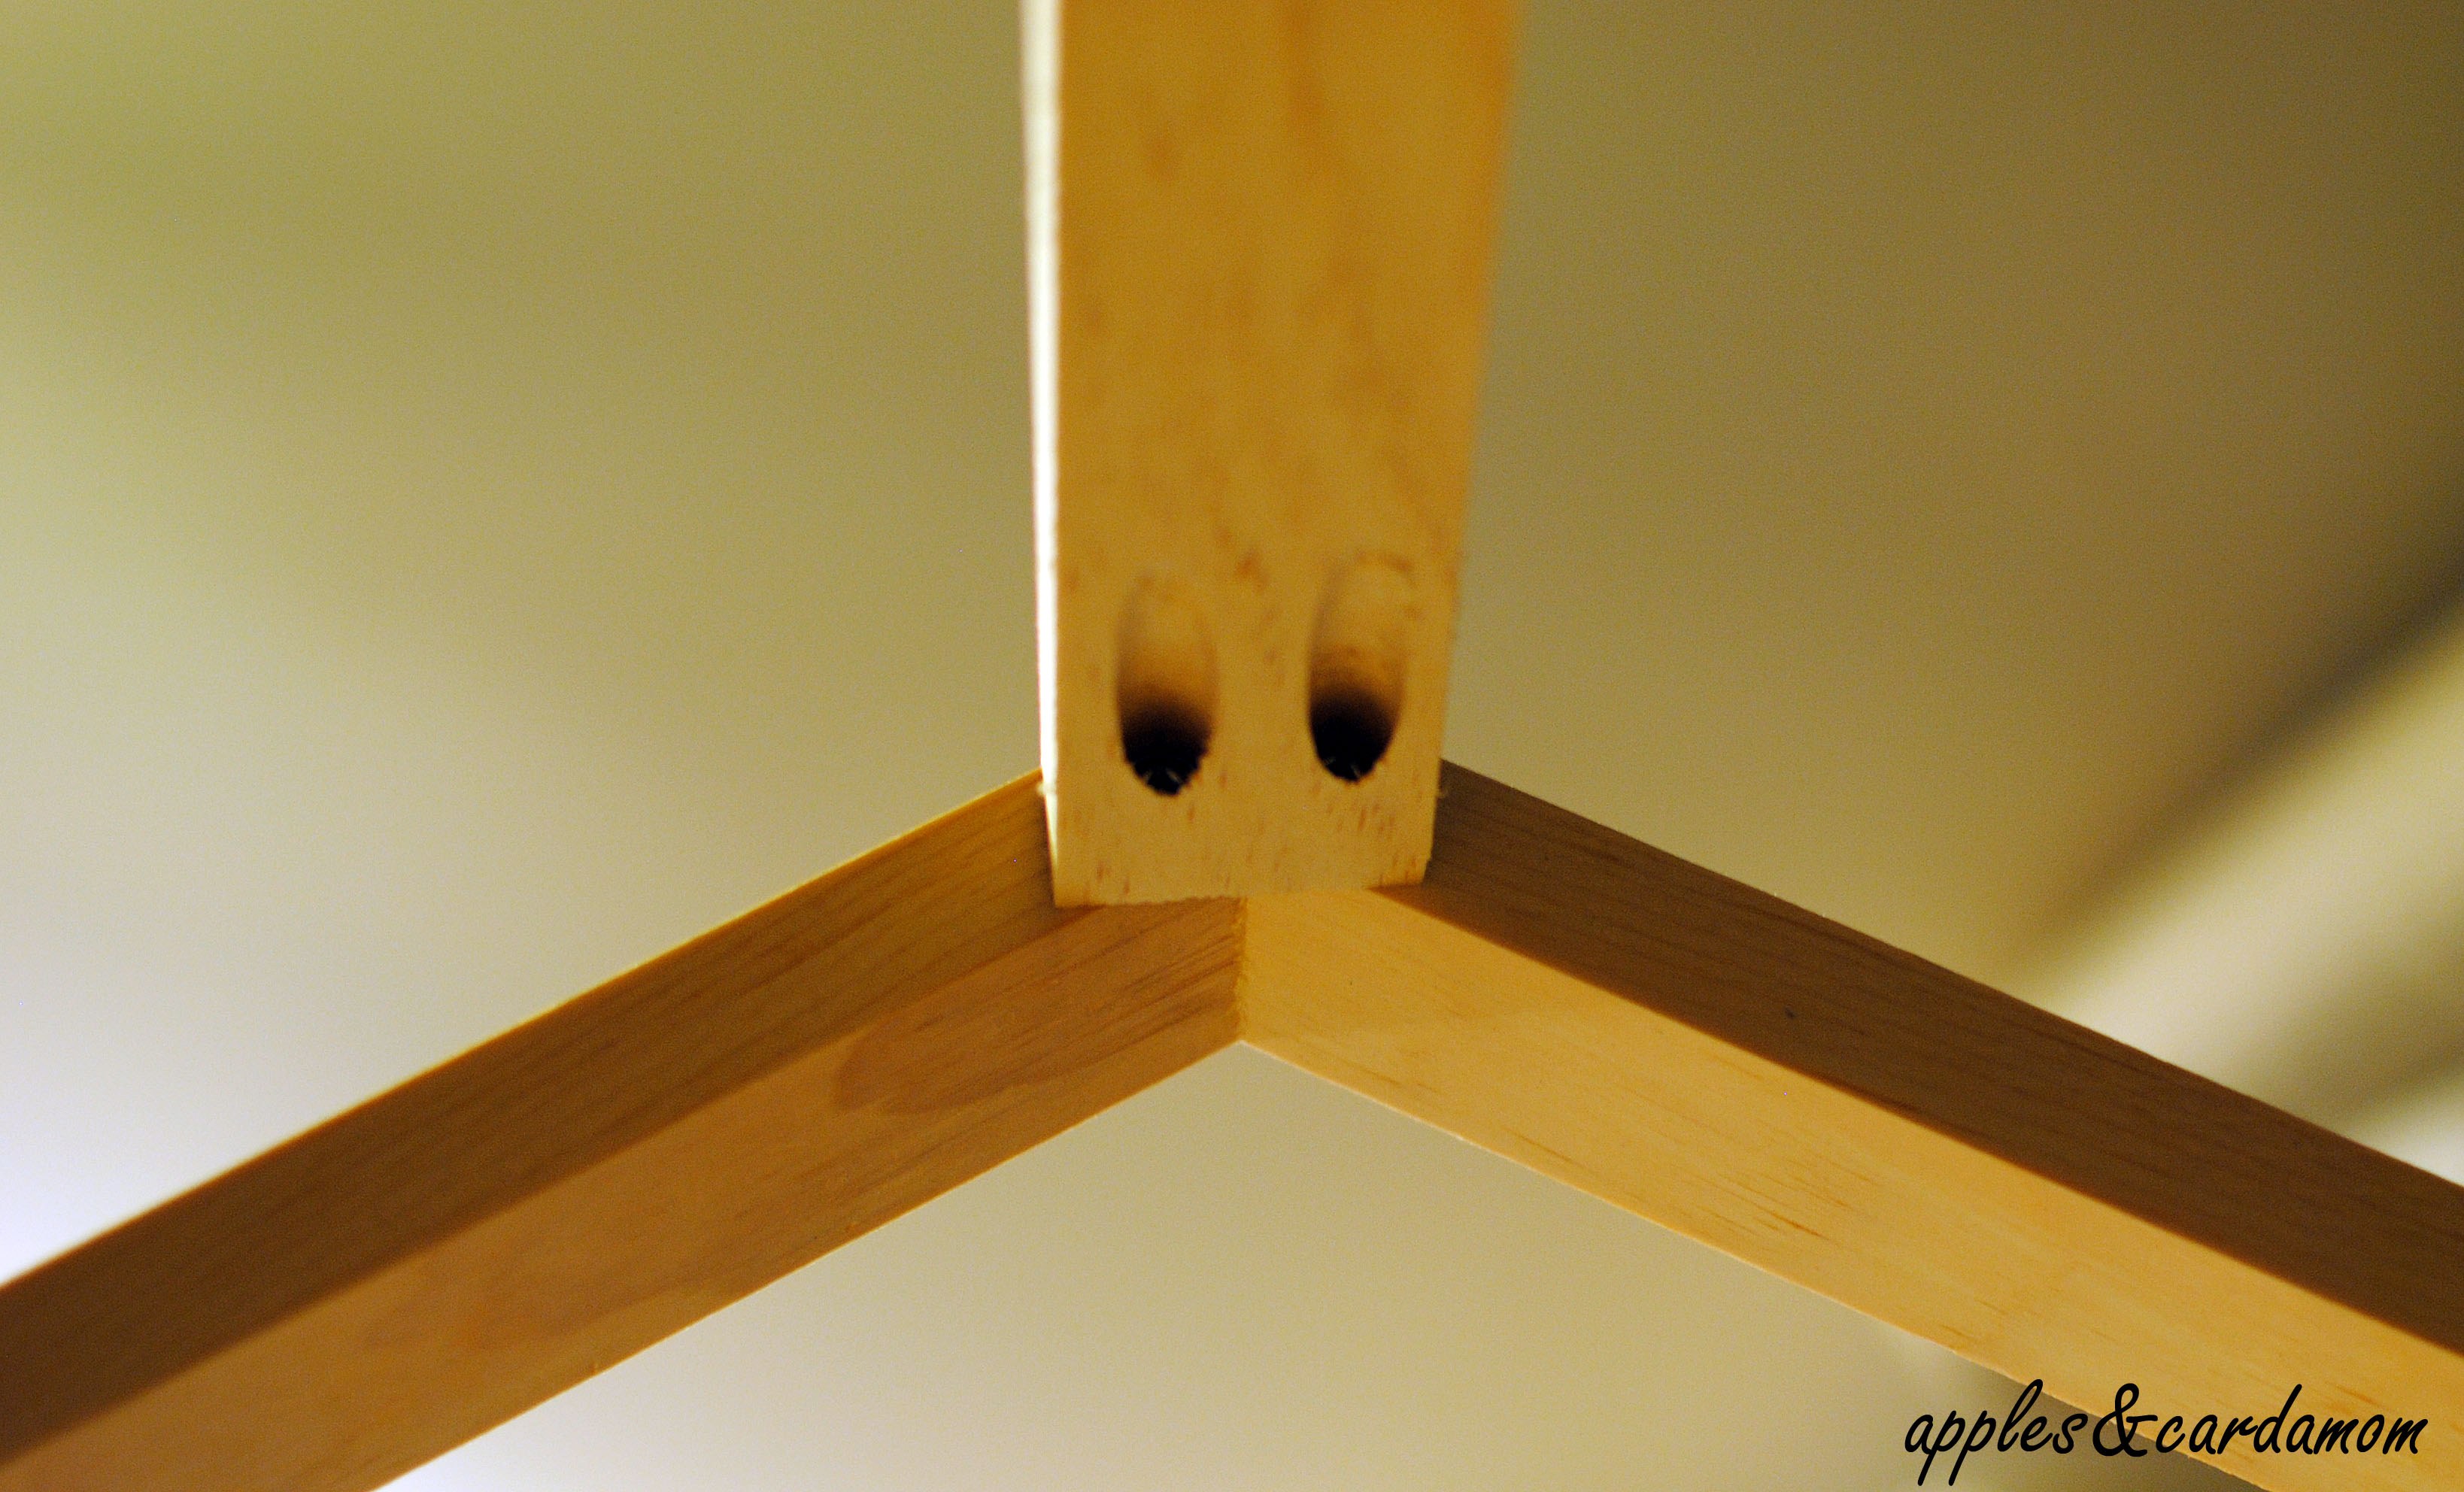
Ana's roof shingles, which are cut scalloped strips, are a better way of doing the roof. I didn't realize how difficult it would be to fix each craft stick 'shingle' to the roof, and manage to keep each line straight. For a beginner, it's not easy. My advice is try Ana's method or you could also just make the roof from 2 solid pieces.
Wed, 10/07/2015 - 14:07
This was the plan I was going to use for the Critter's line at Target. I didn't want to buy the plastic houses that they sale so decided to try and build one. How did you scale the dimension? Just by half all the way around? I am a confident beginner so I am not sure how to scale down dimensions.

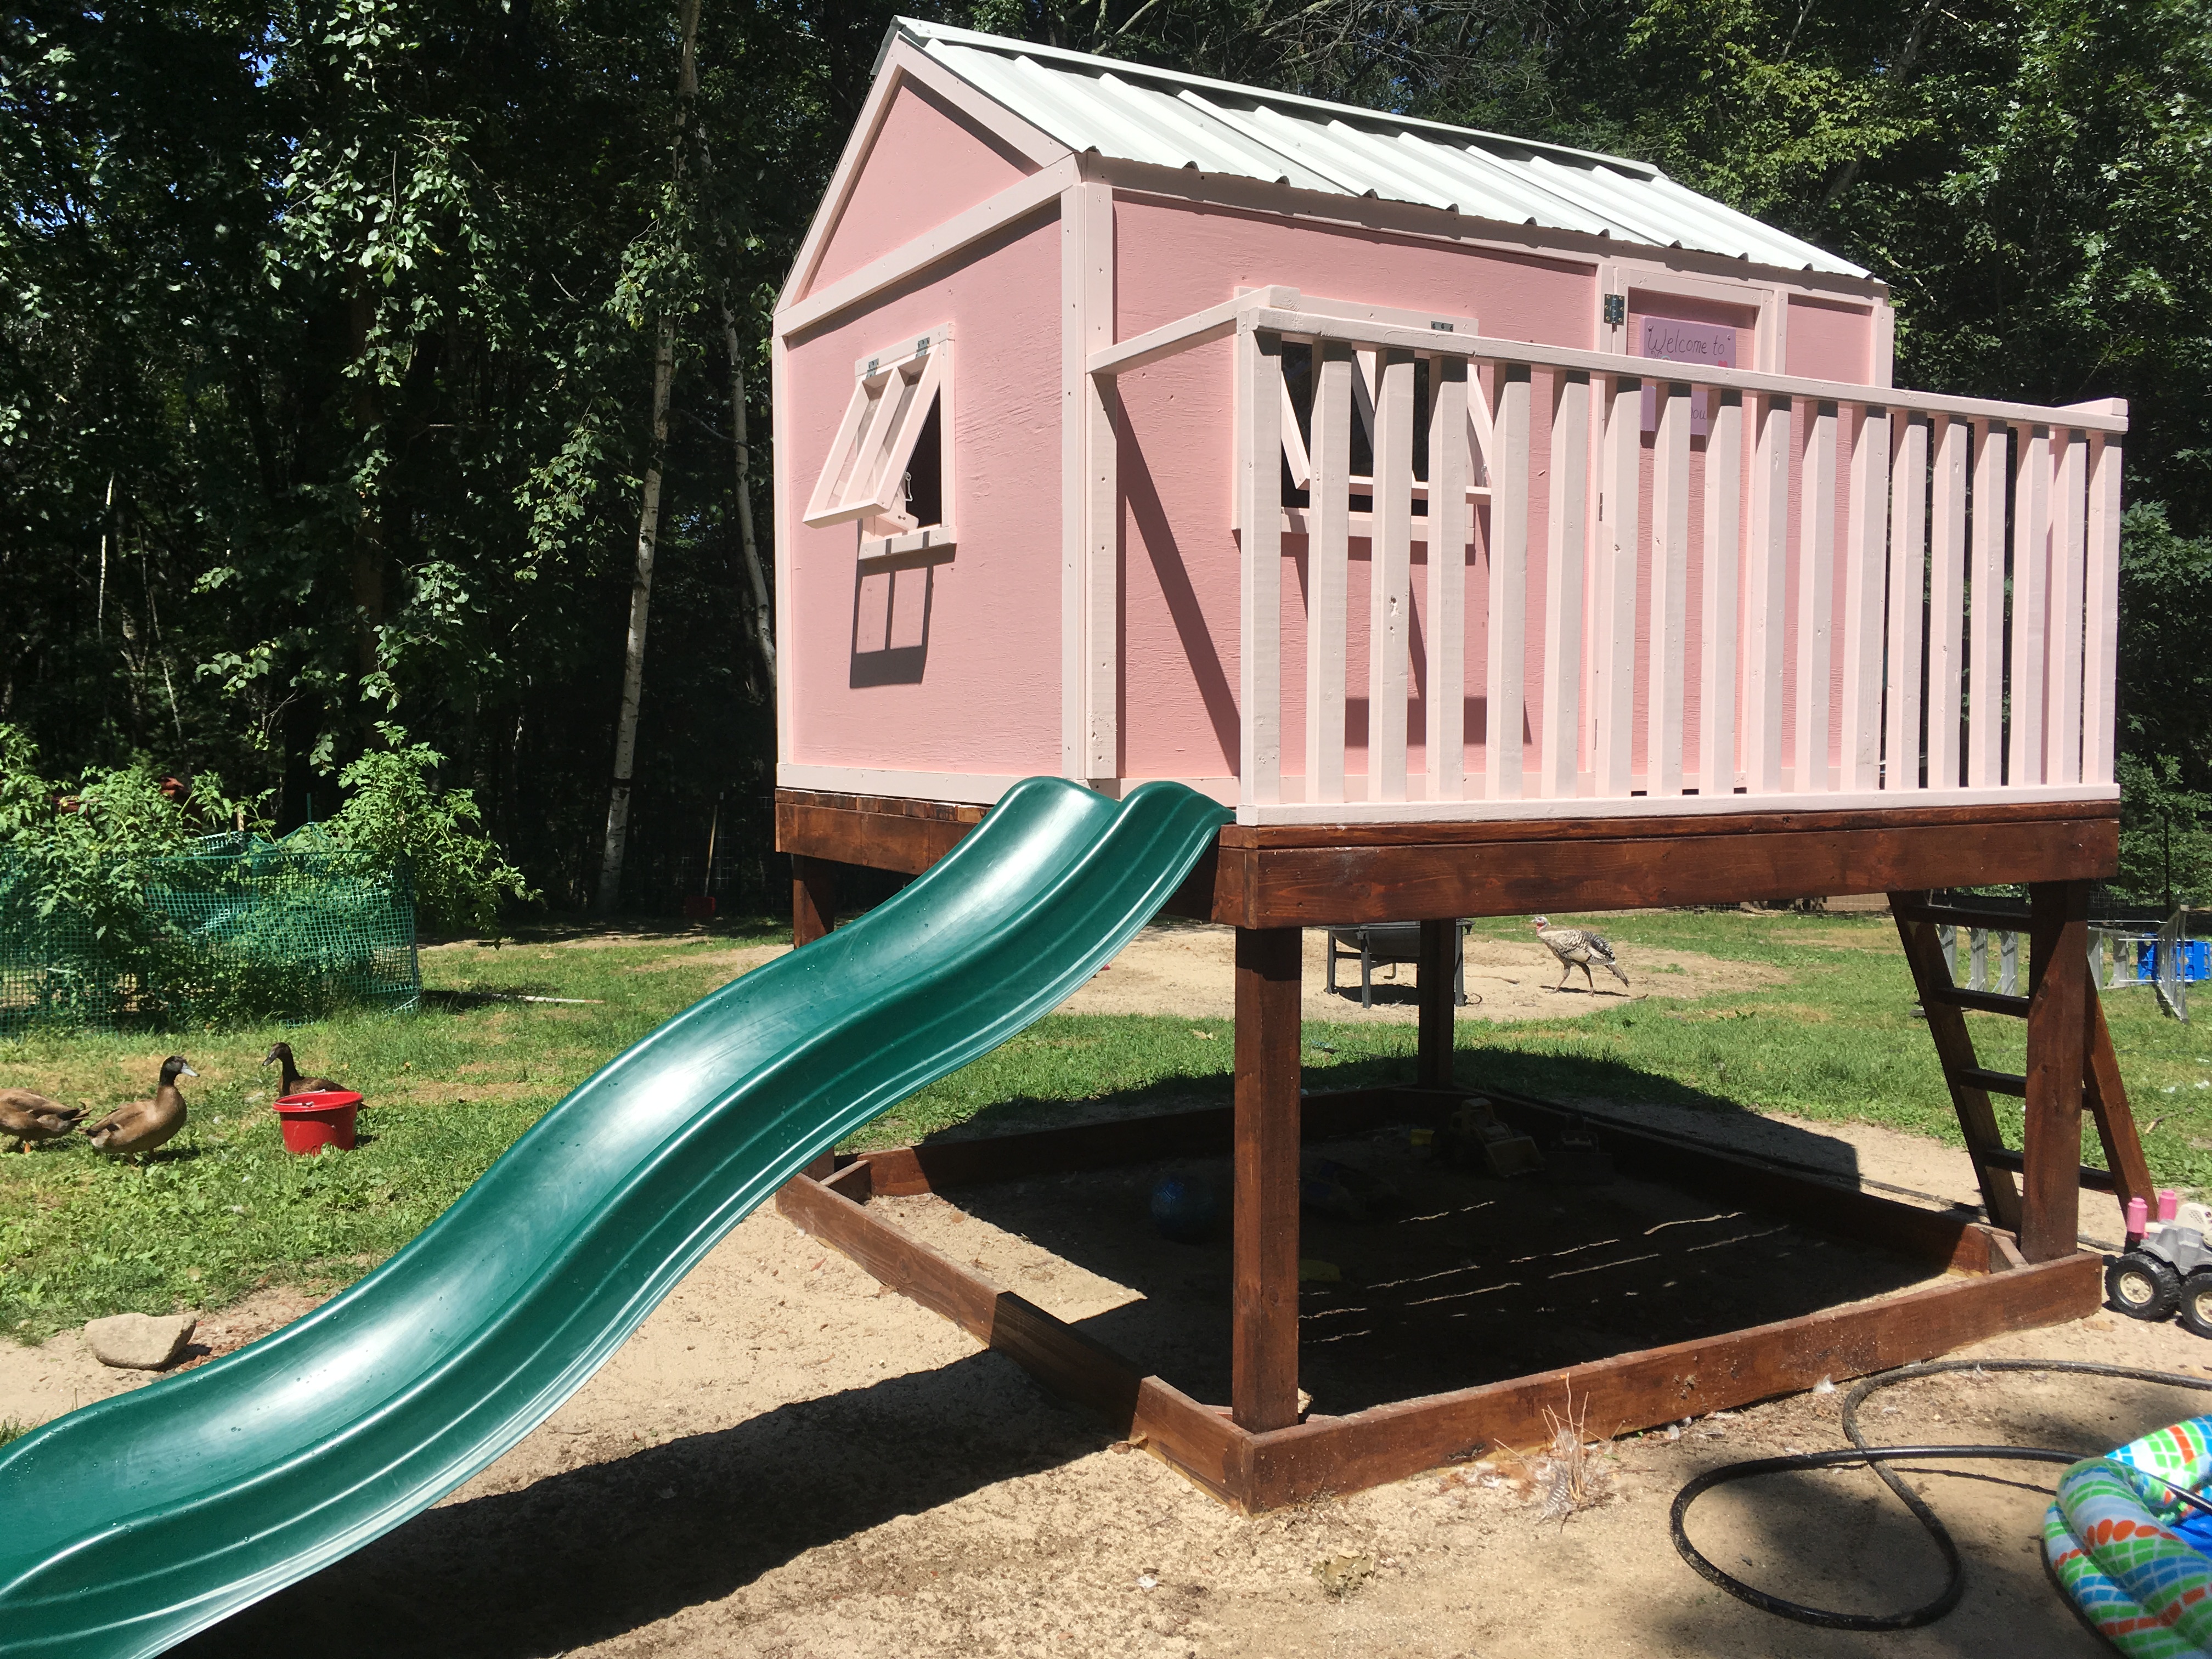
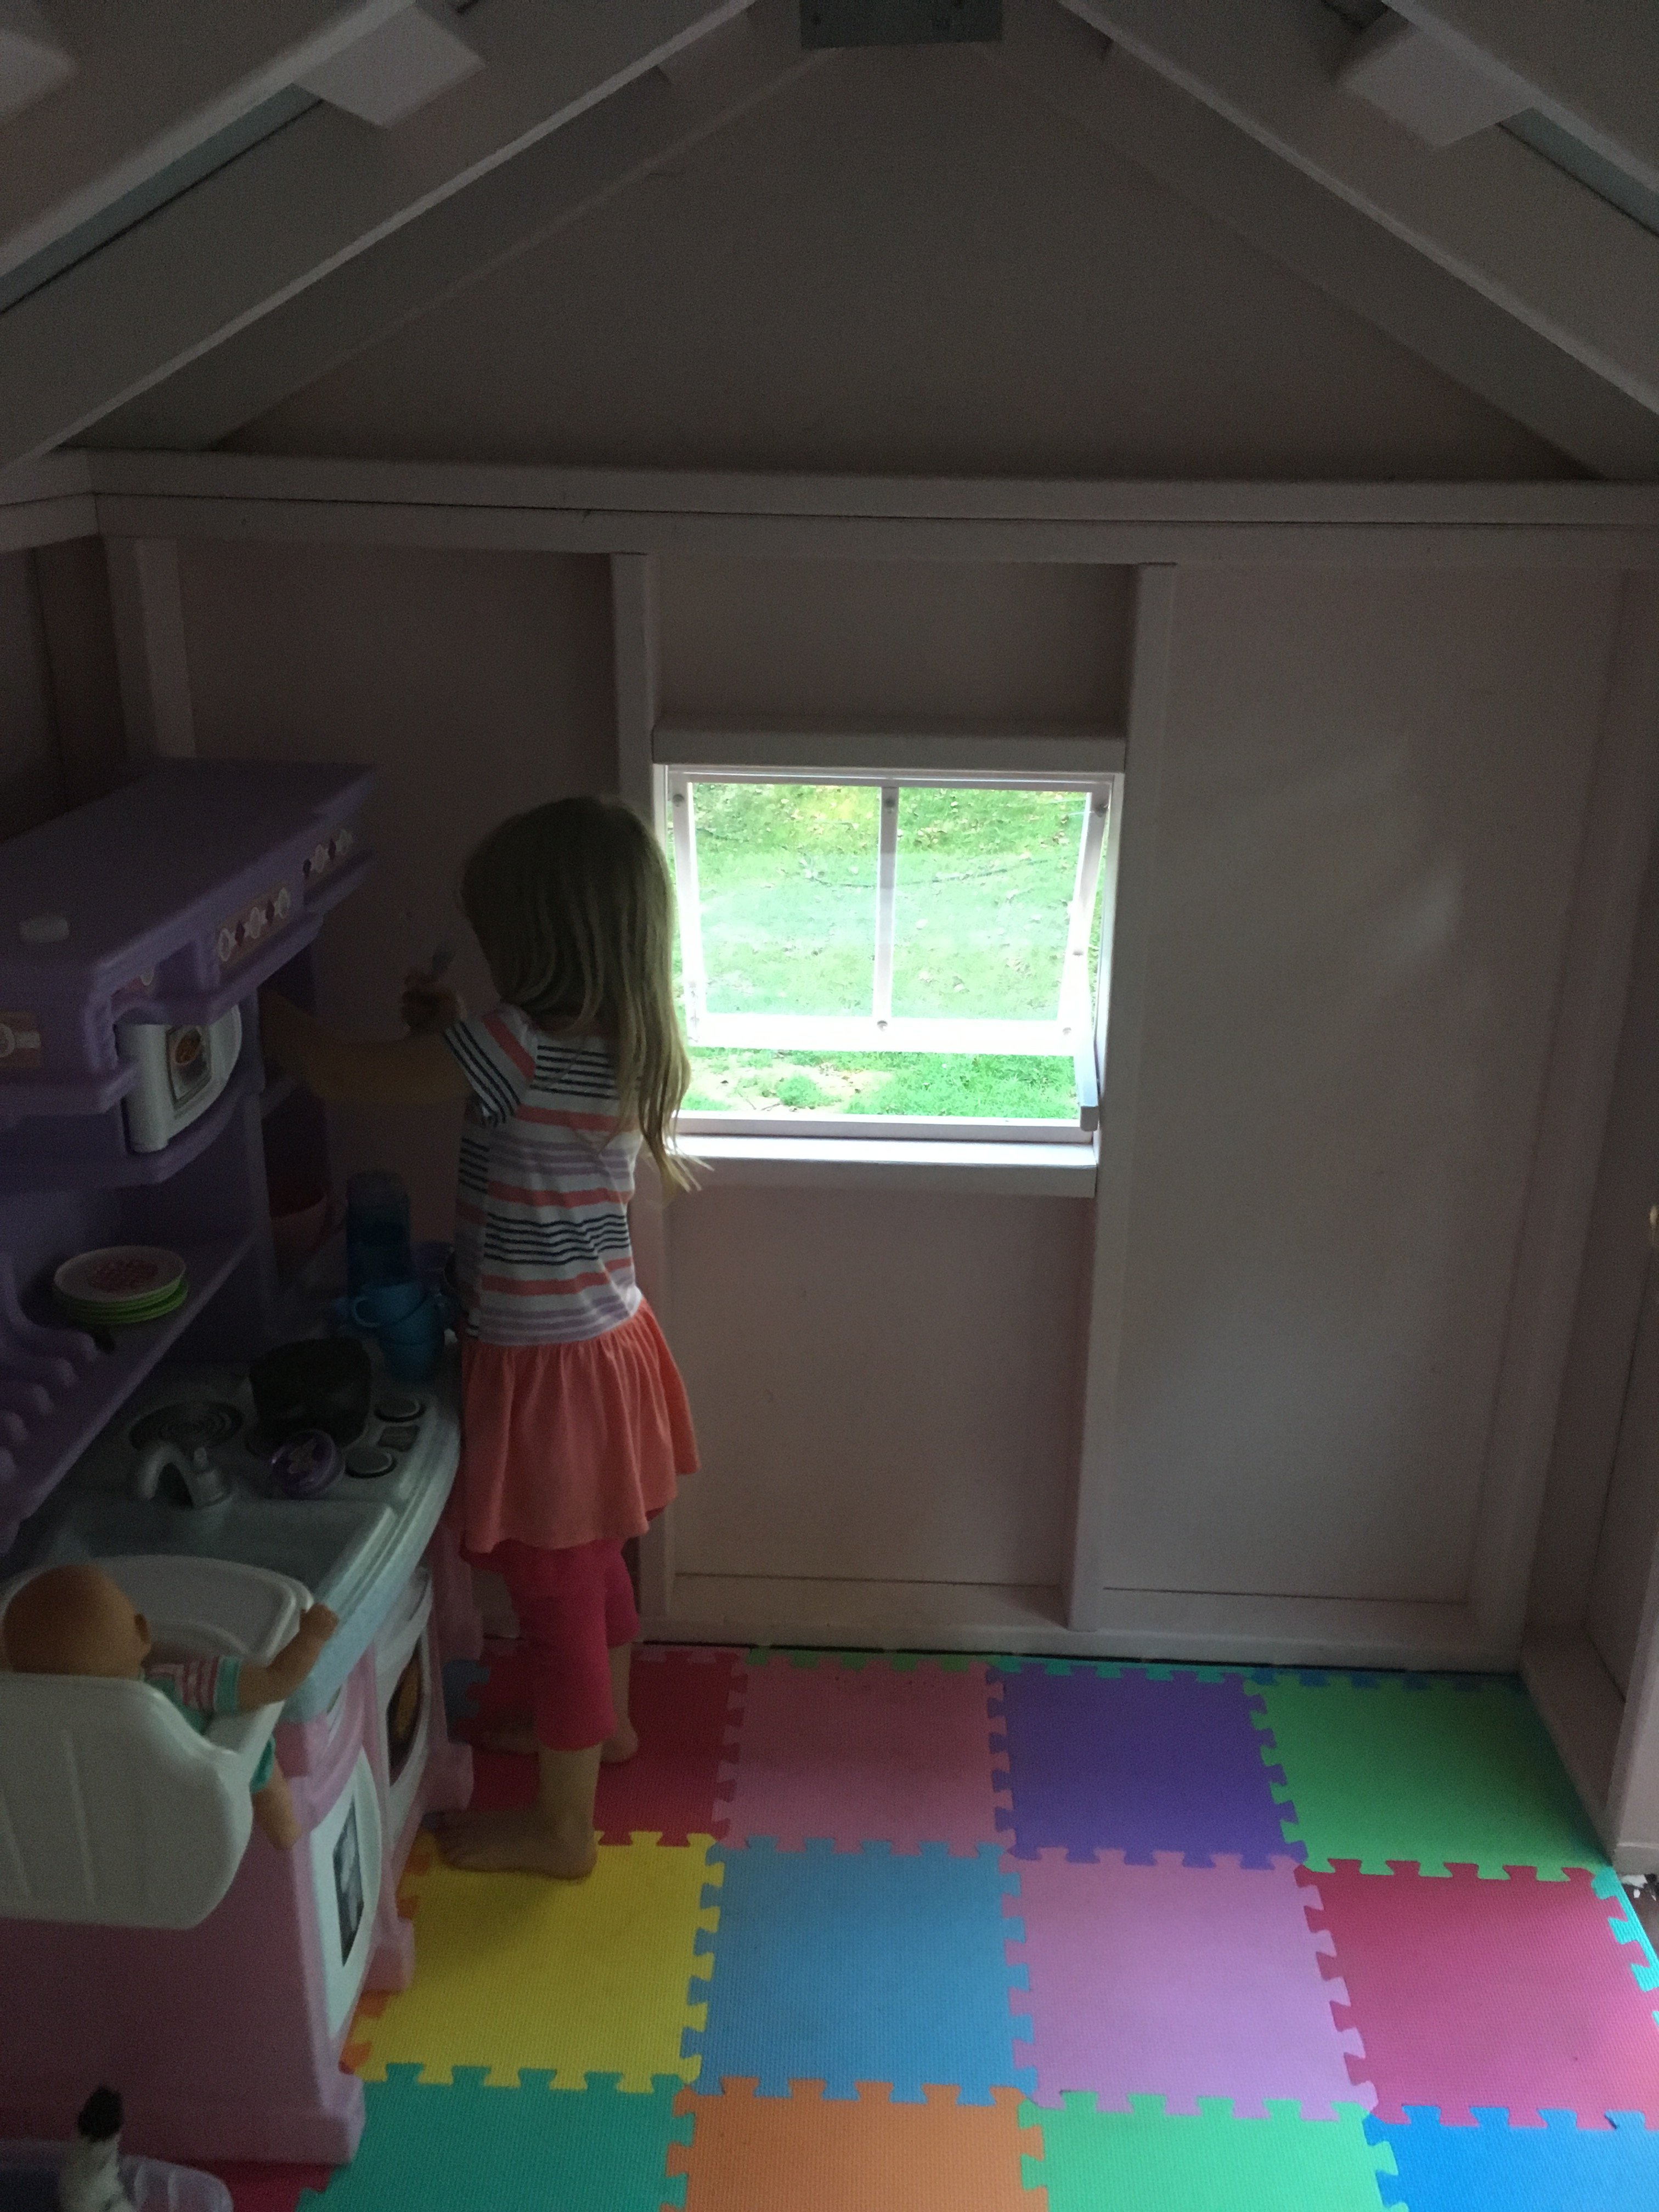
This is a great playhouse for kids and sturdy enough for adults too. The plans are so well written and easy to follow. The deck was made exactly to her plan, but I made the playhouse a bit wider. I also framed it with 2x4's and roofed it with metal. Metal roofing is light and relatively easy to install. It took me about 1-1/2 months to finish the playhouse. The windows are hinged and can be propped open. I used 2x3's for the railing and attached it to the playhouse for stability. On the inside, I put down colorful foam mats to make it comfortable. My daughter really loves having her own playhouse! Thank you for the great plans!

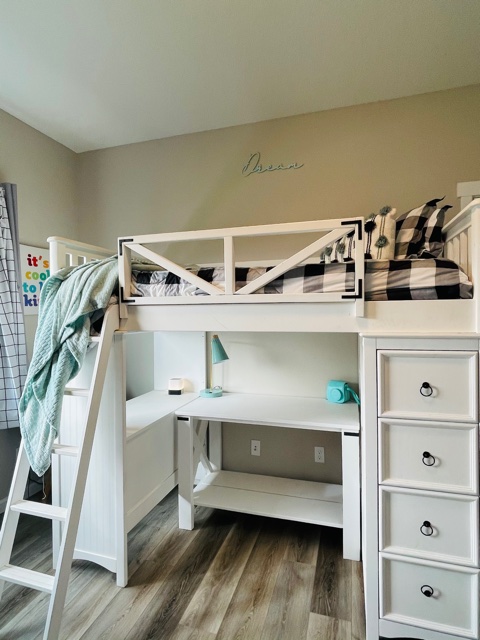
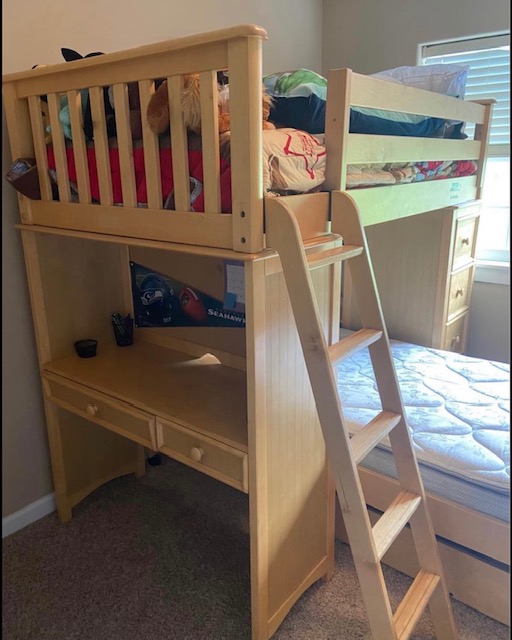
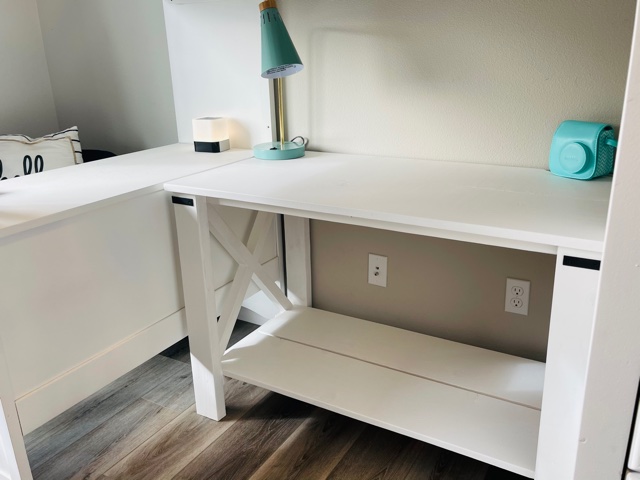
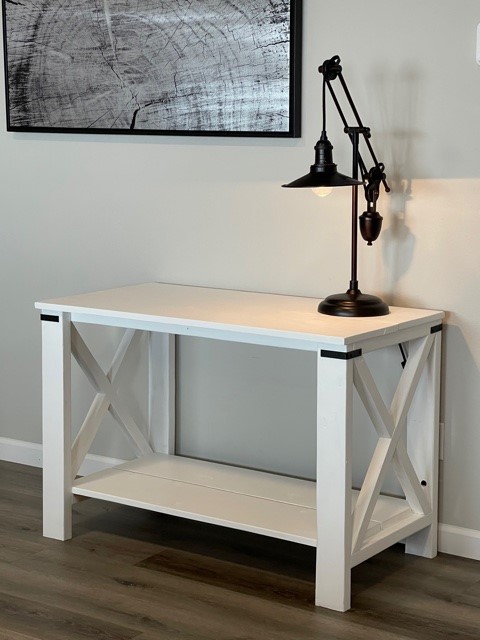
I found a loft bed on the marketplace and had fun revamping it! I wanted to add a desk underneath that matched the existing desk surface, so needed to slightly modify the plan to make it the same height and width of the opening. This was a simple build, built in about 2 hours and the finish took about the same. I modified the bottom to be a full shelf, love the way it came out!
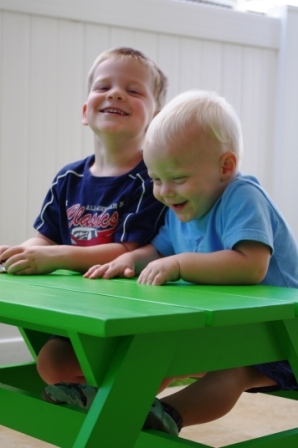
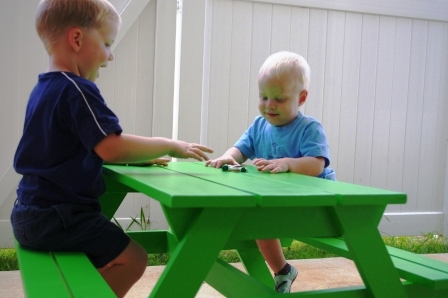
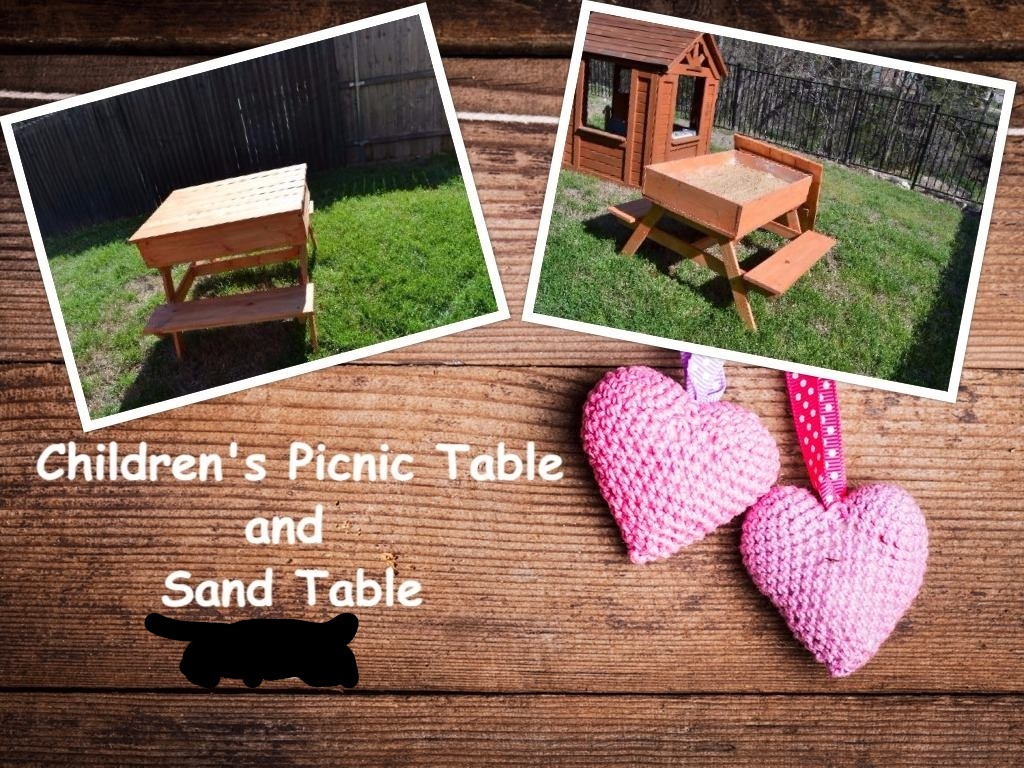
I was dying to try this little picnic table out for my boys. It was such a quick and easy build, though without clamps, I had to enlist my husband's help to hold things for me while I drilled!
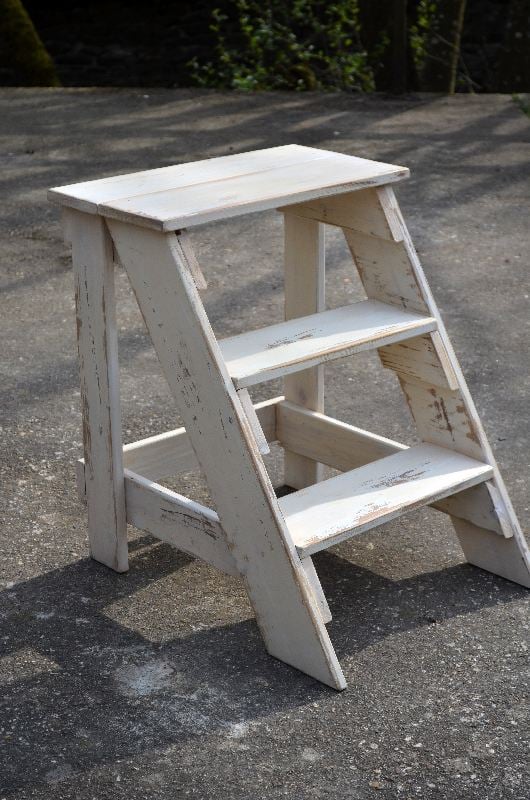
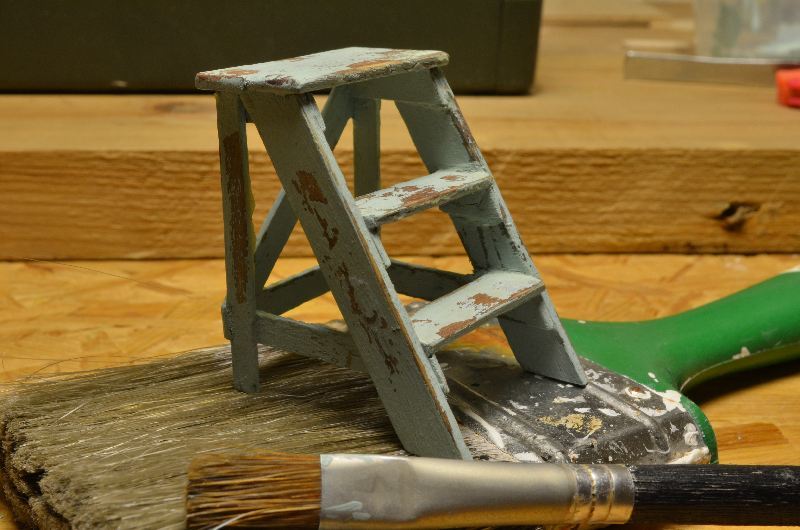
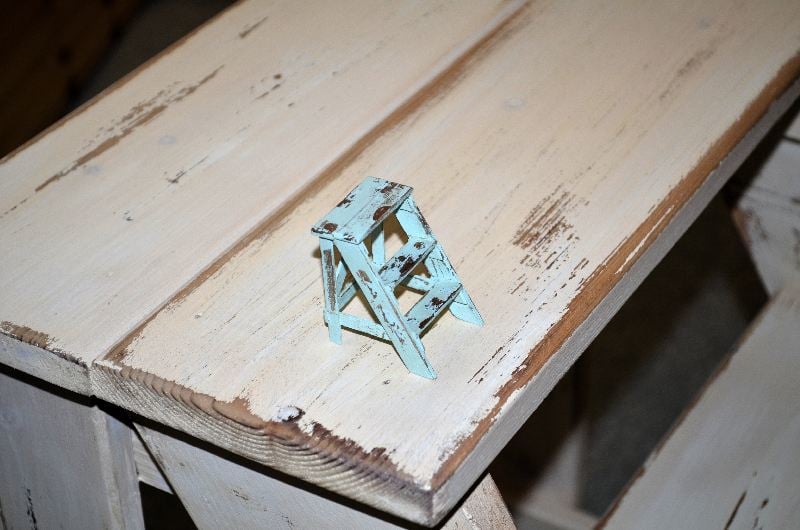
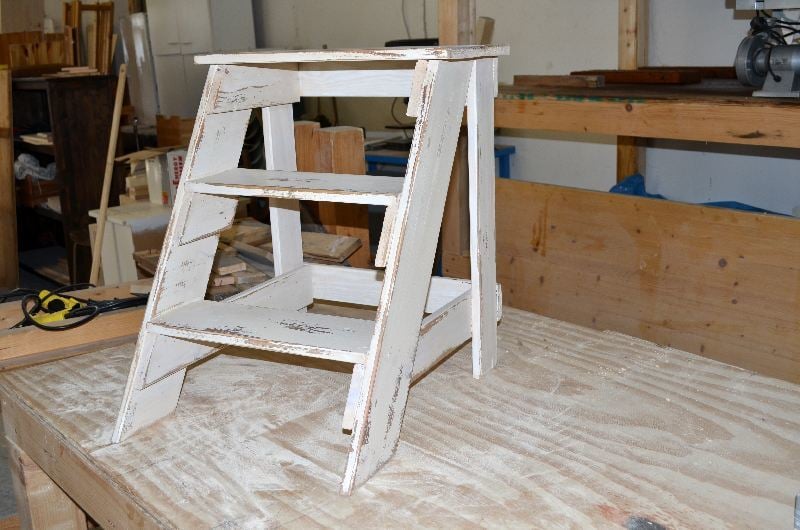
I built this step stool for friend, and a tiny version for my own dolls house. I had expected difficulties with the angled parts, but it went together very easily. I stained both of them with a vinegar/steel wool mix, painted with homemade chalkpaint. At last I sanded them for a distressed look and coated them with brown finishing wax.
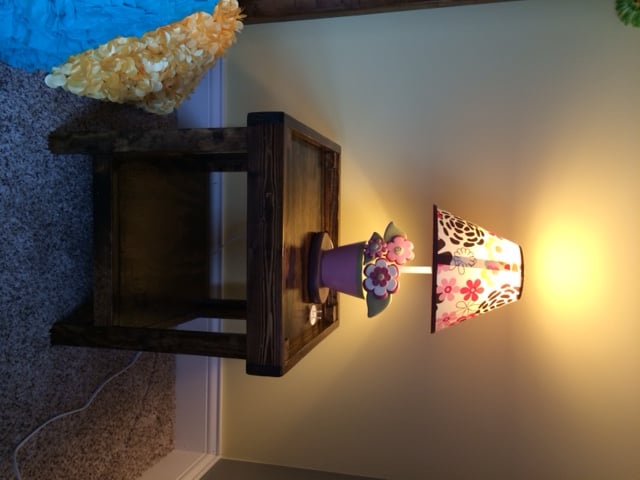
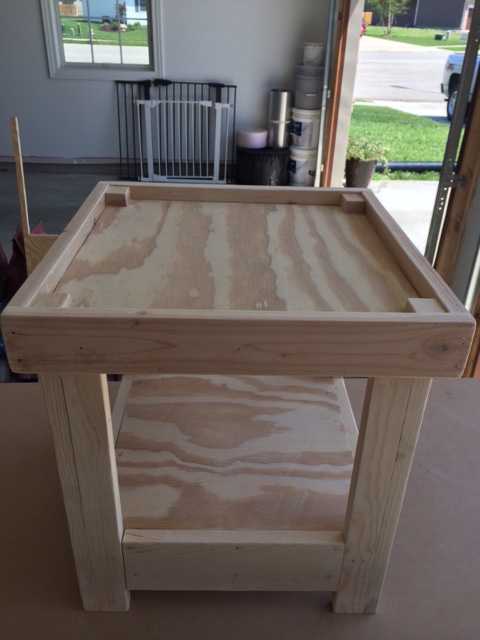
I came up with a simple design to build a nightstand for my daughter's room to go with the platform bed that I had just built. The only problem was that my daughter is 3 and she isn't very tall. So I figured a 2ft tall nightstand will do!

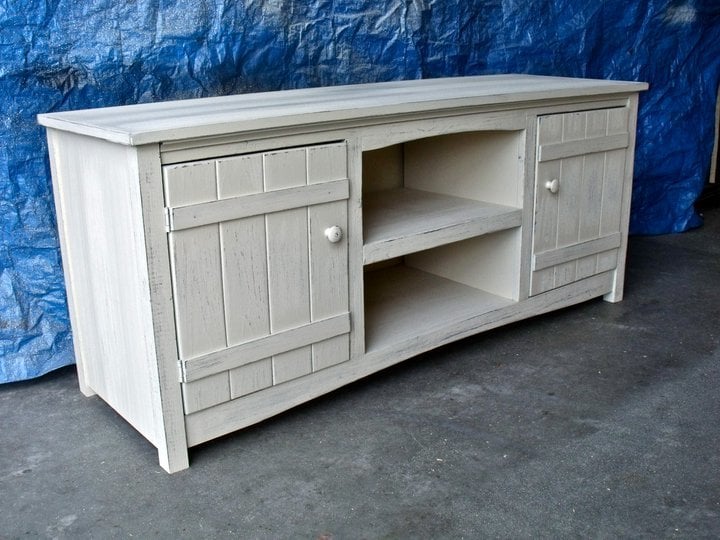
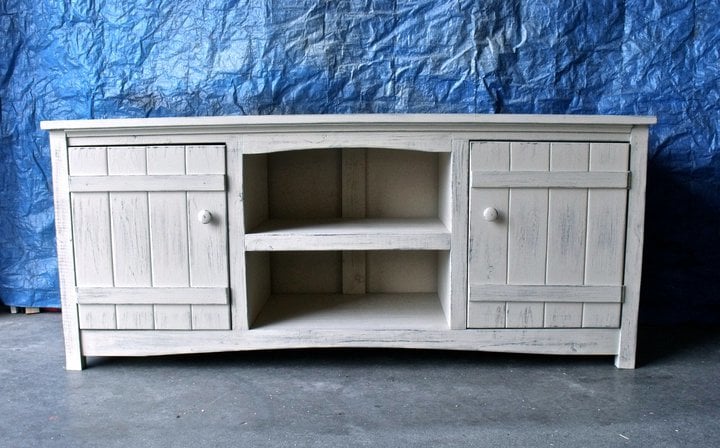
Built by What Once Was Old Furniture Design submitted by Kari Baker
We get lots of inspiration from you Ana! We started building the sliding barn door cabinets from your plans and since have built several of them. We have also altered them to fit our customers needs. They are very popular here in Texas. The sliding door cabinet in this picture was used as a credenza in a home office. We also added a sliding keyboard tray under the computer screen. The printer is on a sliding tray as well, so it can be pulled out when in use. Base of the cabinet and desk is new pine and we used a lot of pallet wood for doors and shelves. It would be a treat to be added to your brag board, you can see lots of our work, lots of which you should recognize at What Once Was Old Furniture Design . Thank you!!
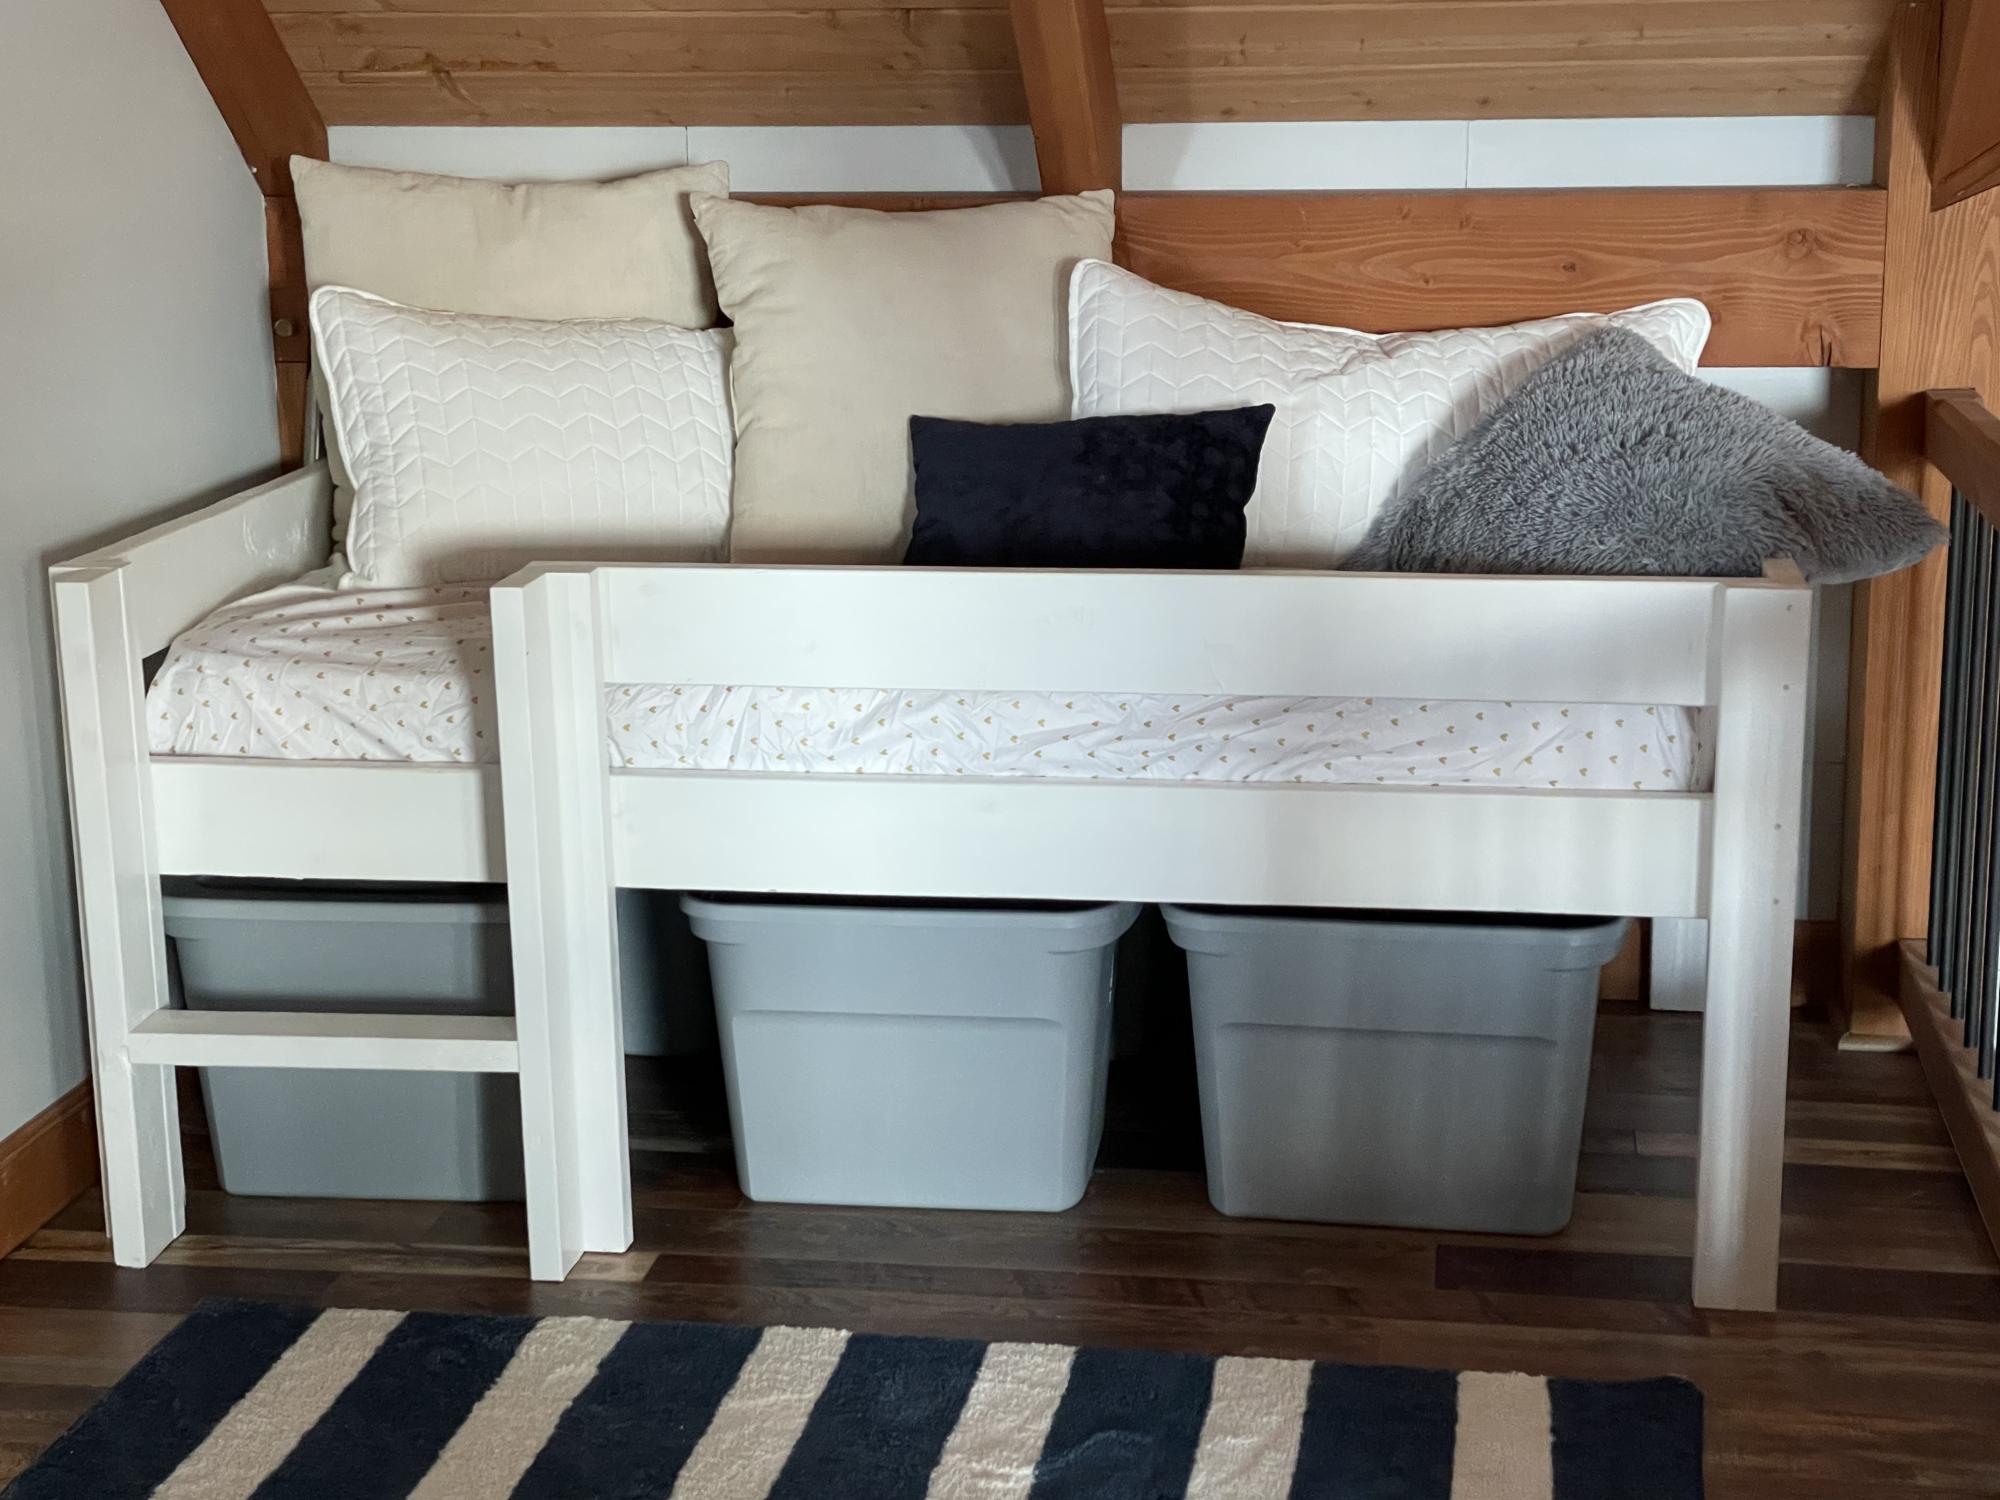
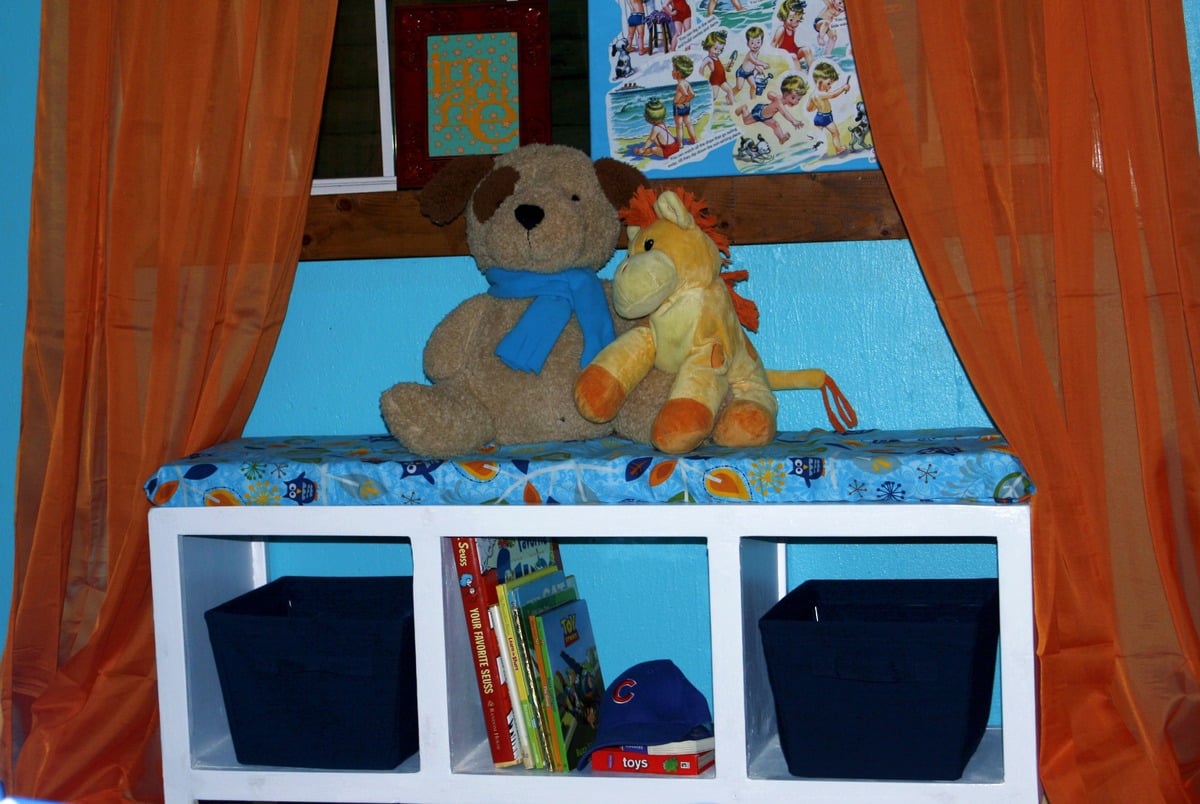
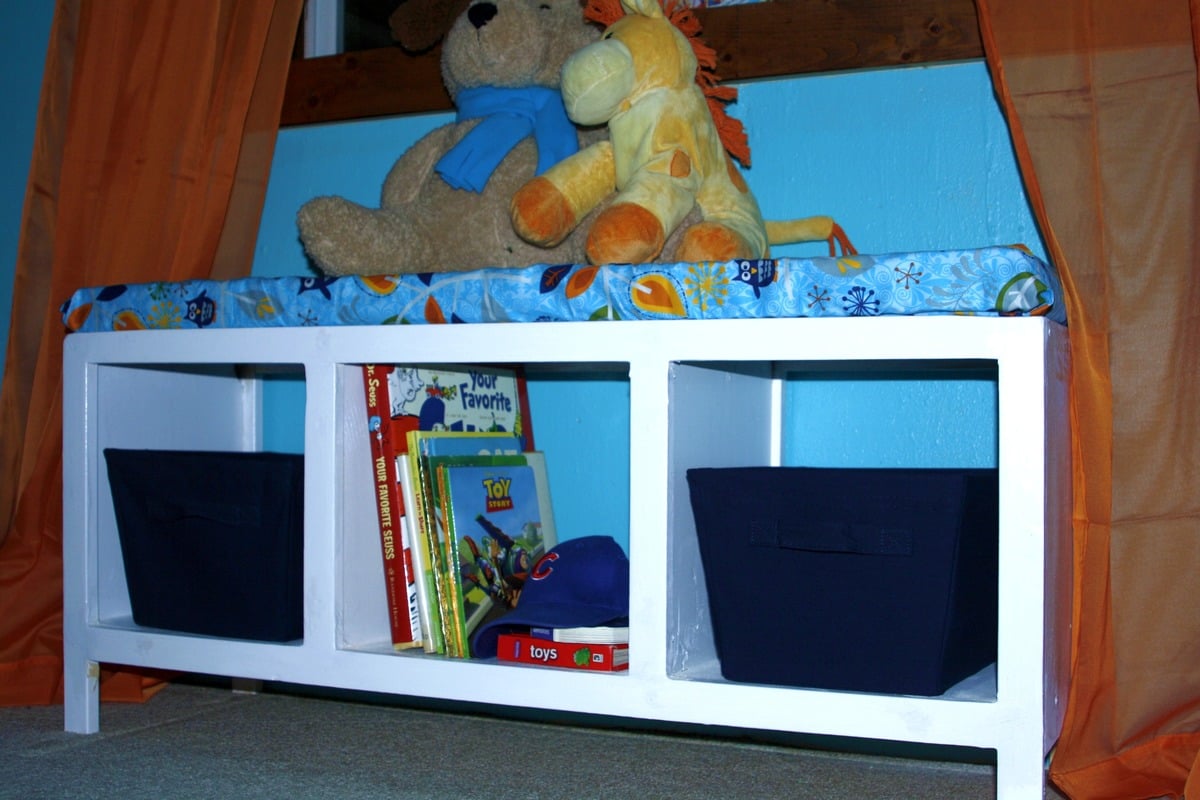
Shortened the essential loft bed up so legs are 32” long. This is the perfect height for putting totes underneath. I fit six totes easily.
The back row of totes is out of season/size/etc stuff. The front totes don’t have lids on them and the kids use them for toy boxes.
The bed itself is at a nice height. It’s easy to put kids in bed and make the bed. The guardrail is great for keeping pillows blankets and kids on the bed. Kids also love the ladder and bunk feel!
This is a great bed that I couldn’t recommend enough. It could easily last from toddler to teen. Very sturdy and comfortable.
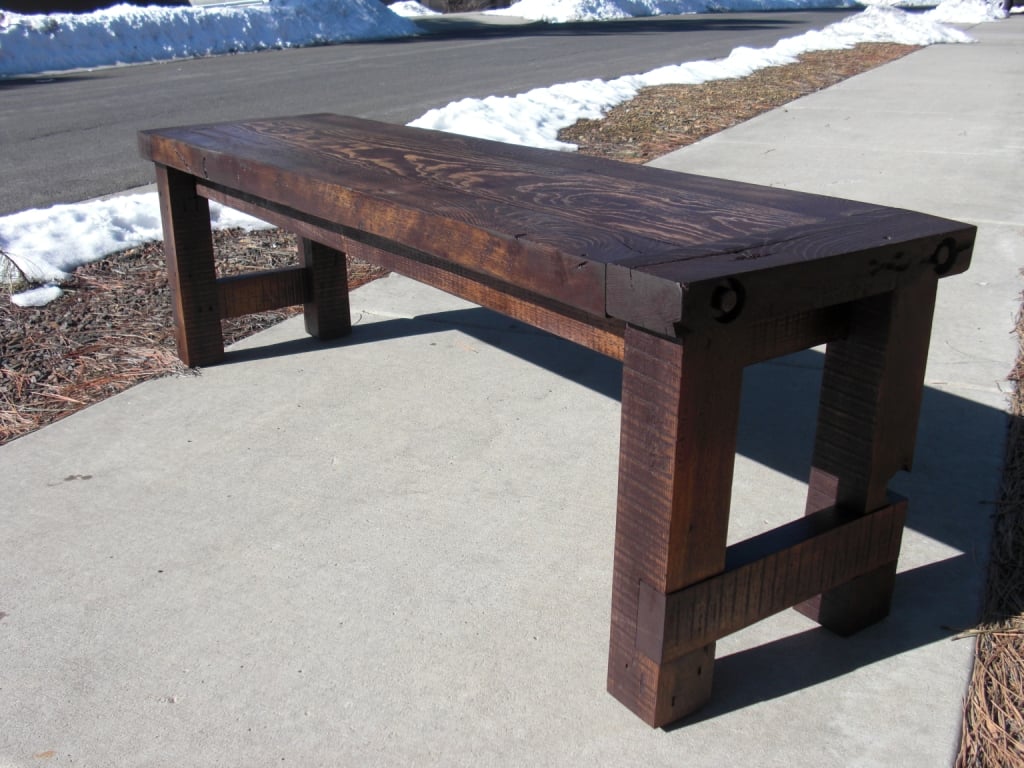
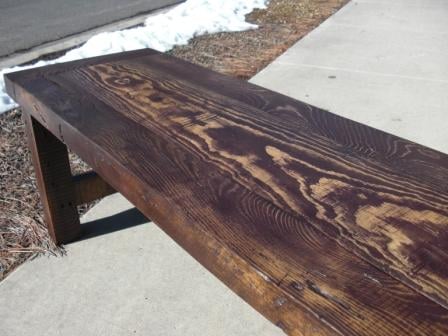
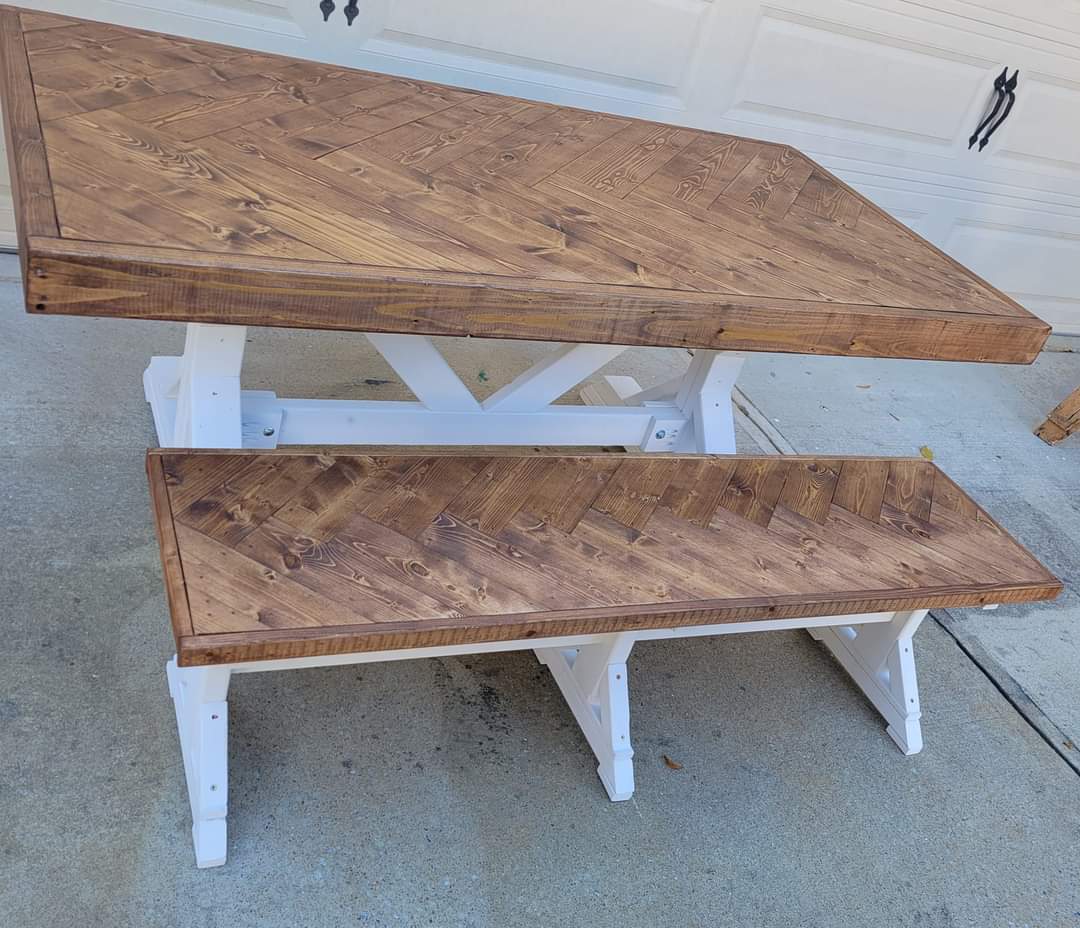
First bench to match the Farm House table I have built. Istill need to finish my table now to match the bench.
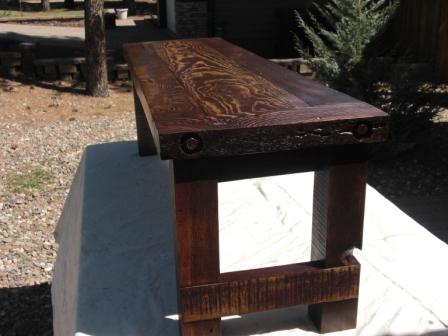
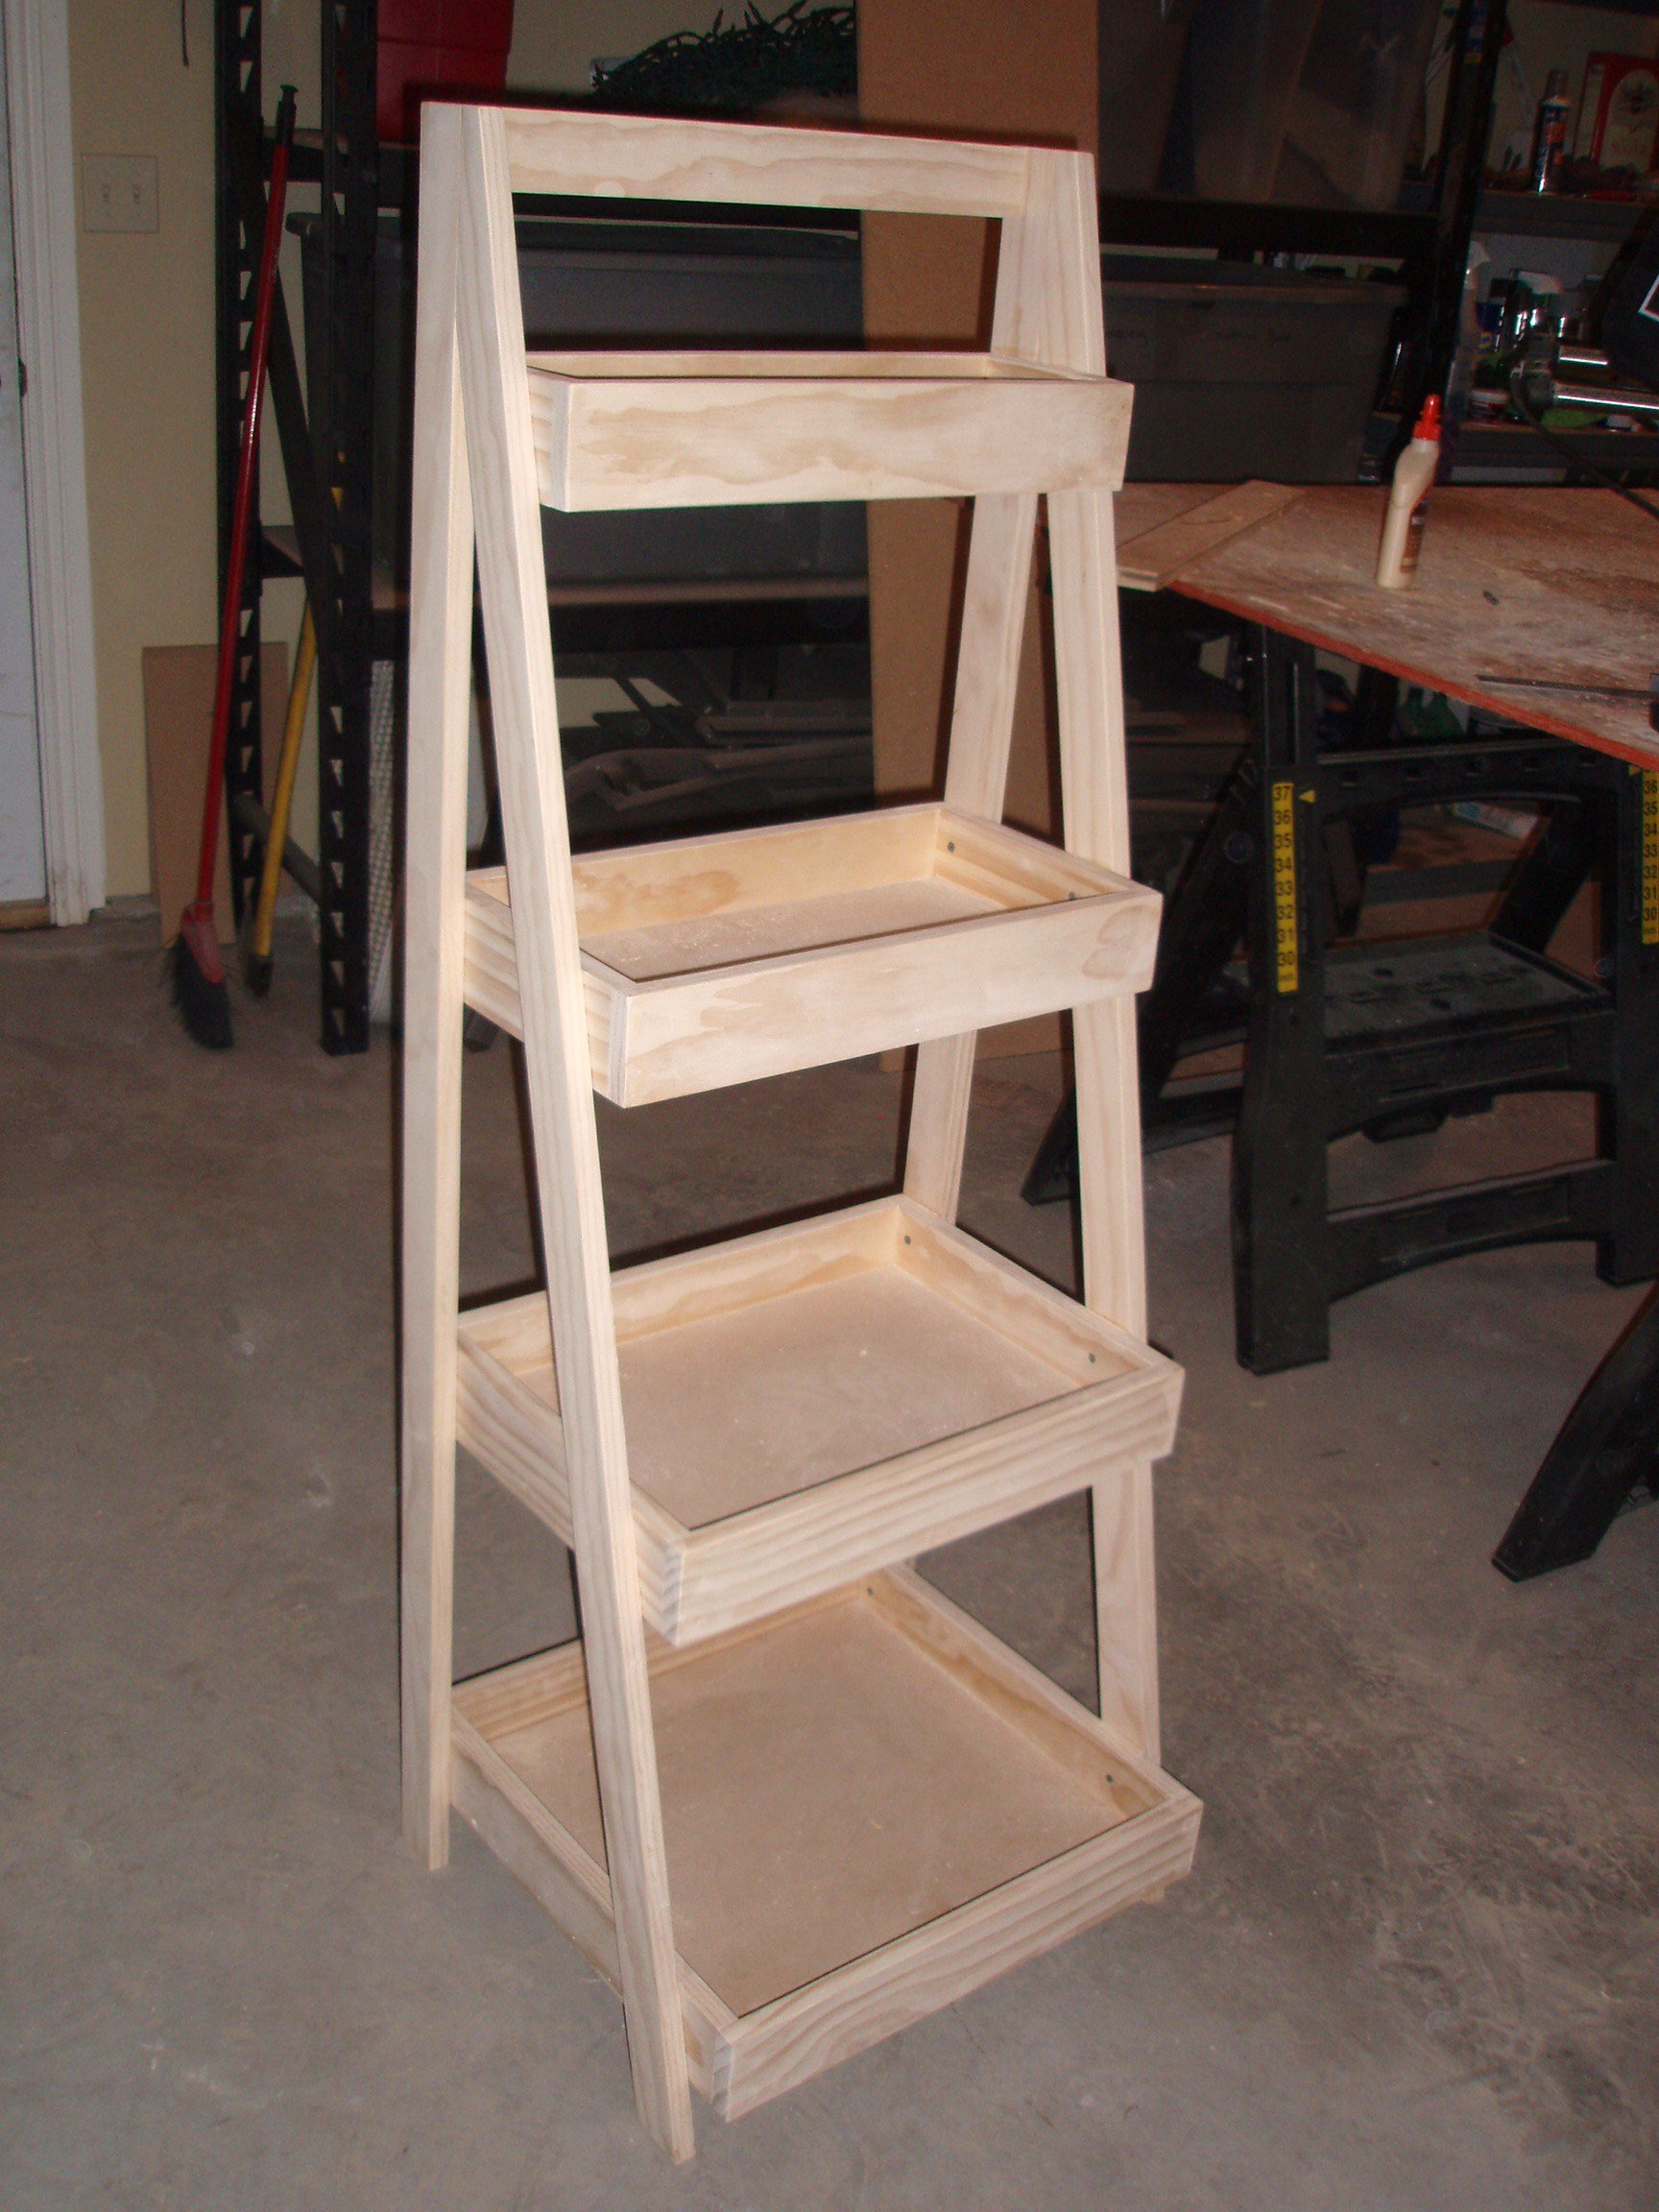
My first project built on the garage floor. Before I had work benches :)
I used a borrowed mitre saw, borrowed jig saw and a $20 drill.

I made the table and then added a box with a top to it for a sandbox sand table.
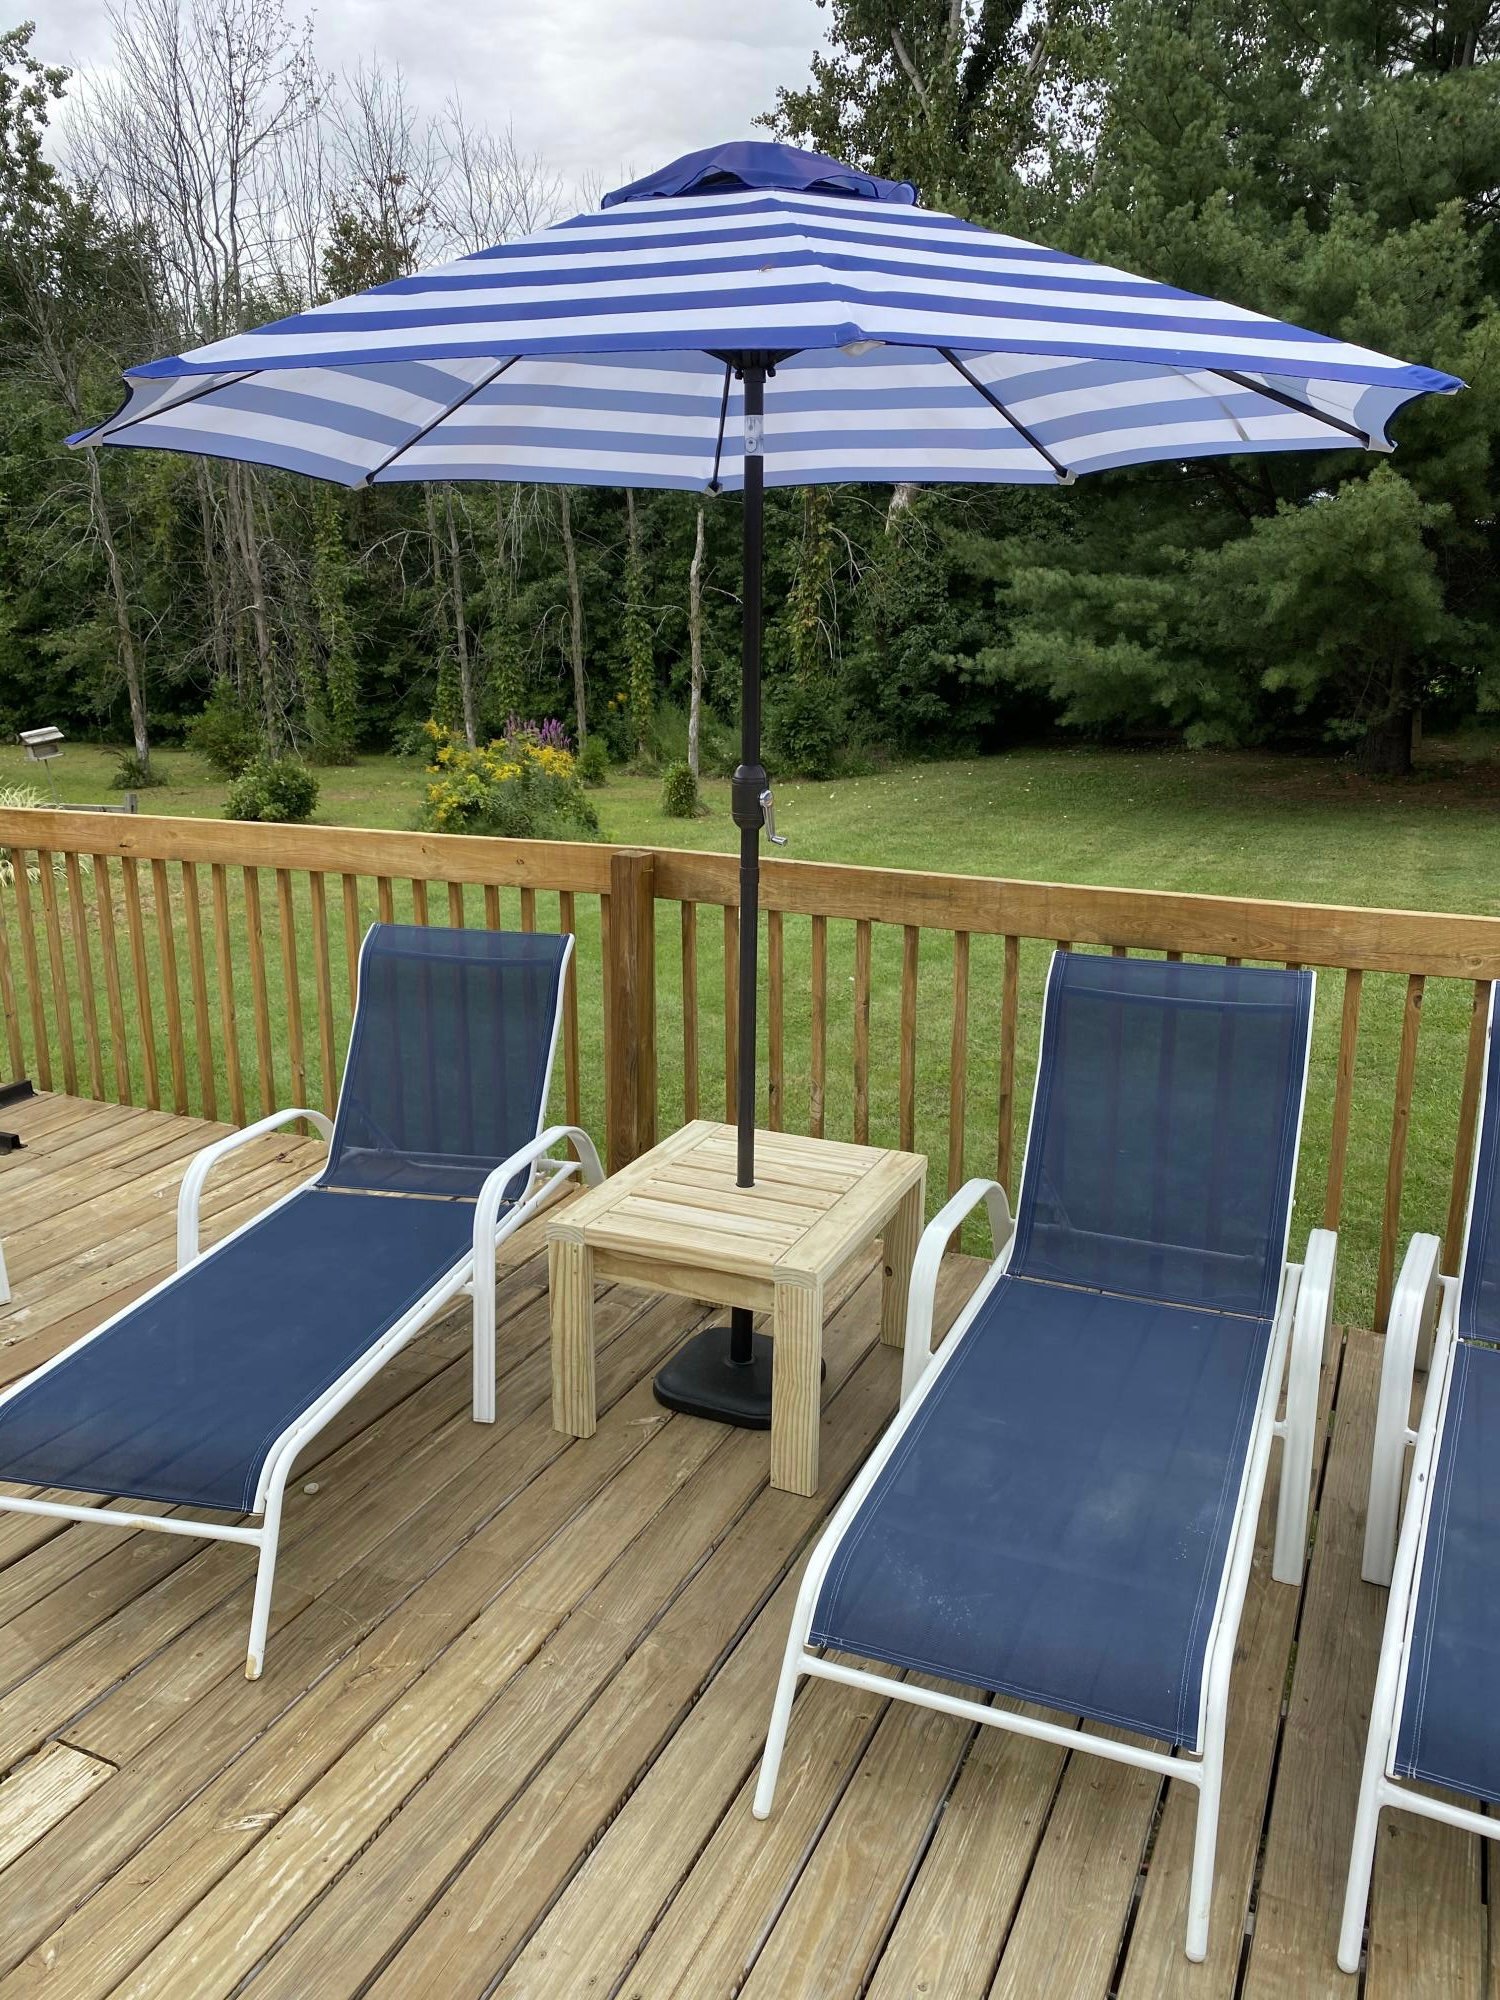
I made the end table a little taller than the instructions and the top boards further apart for rain to fall thru, then drilled a hole so it can be used as an umbrella stand too!
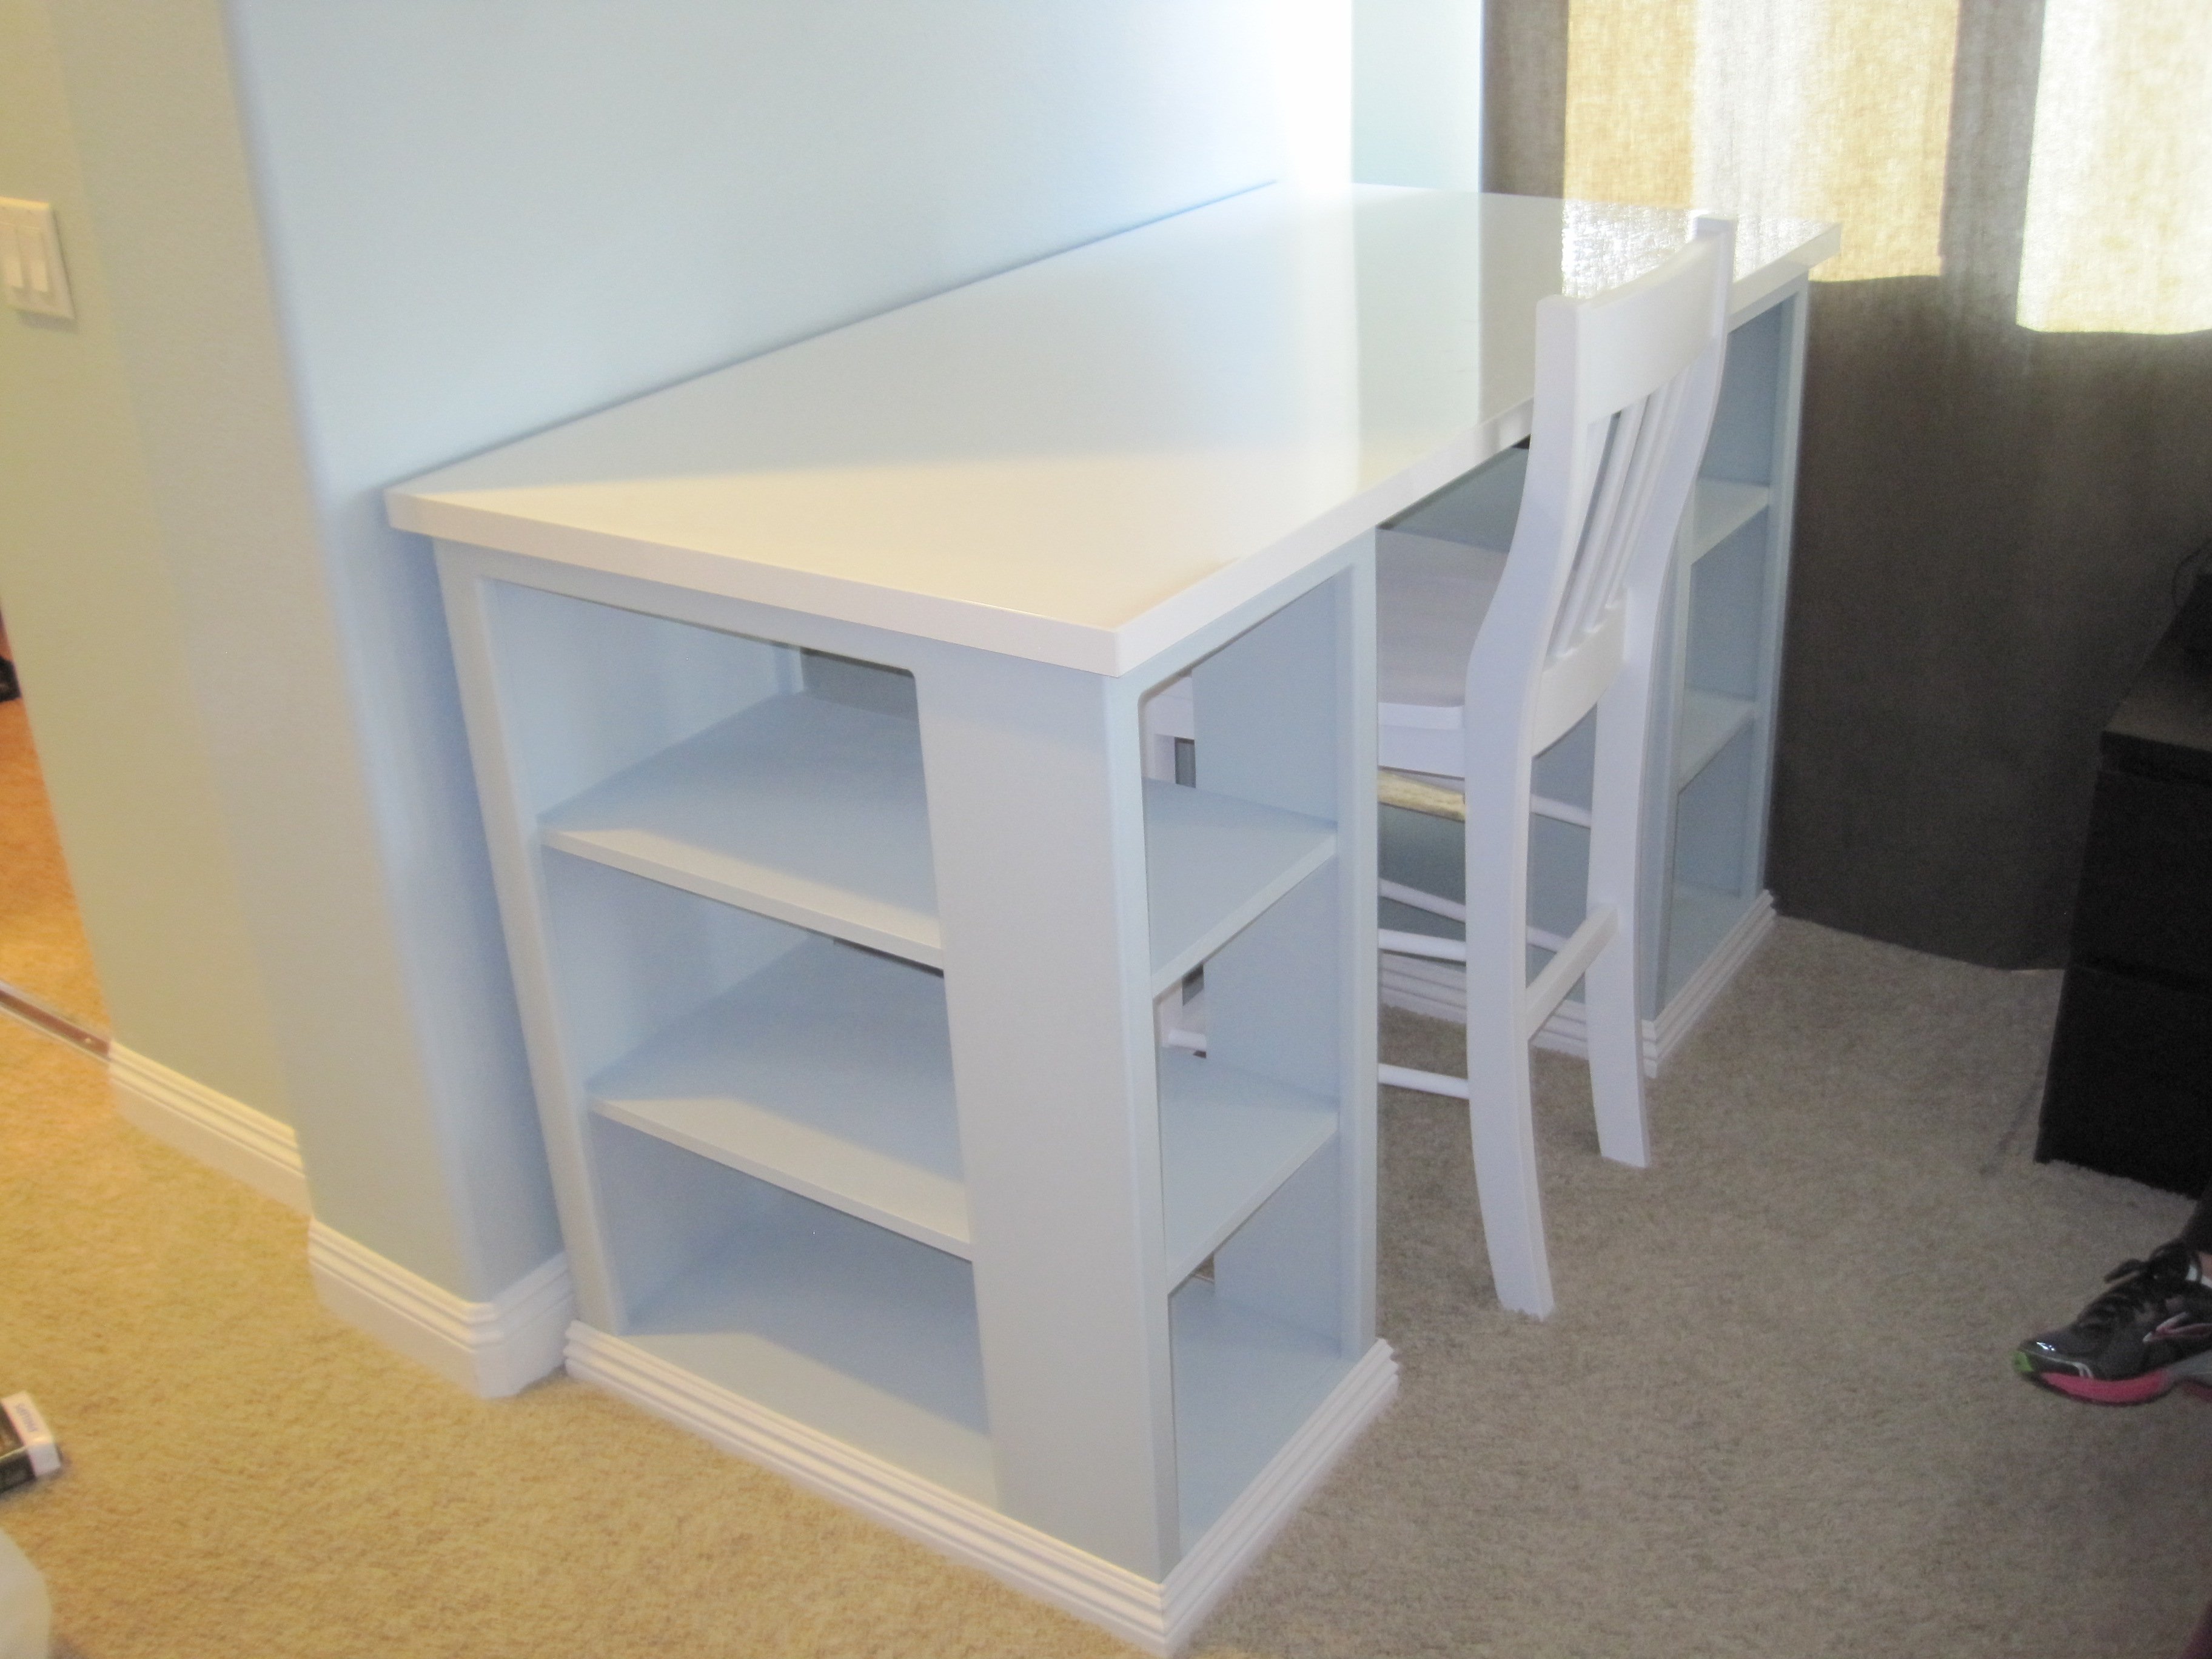
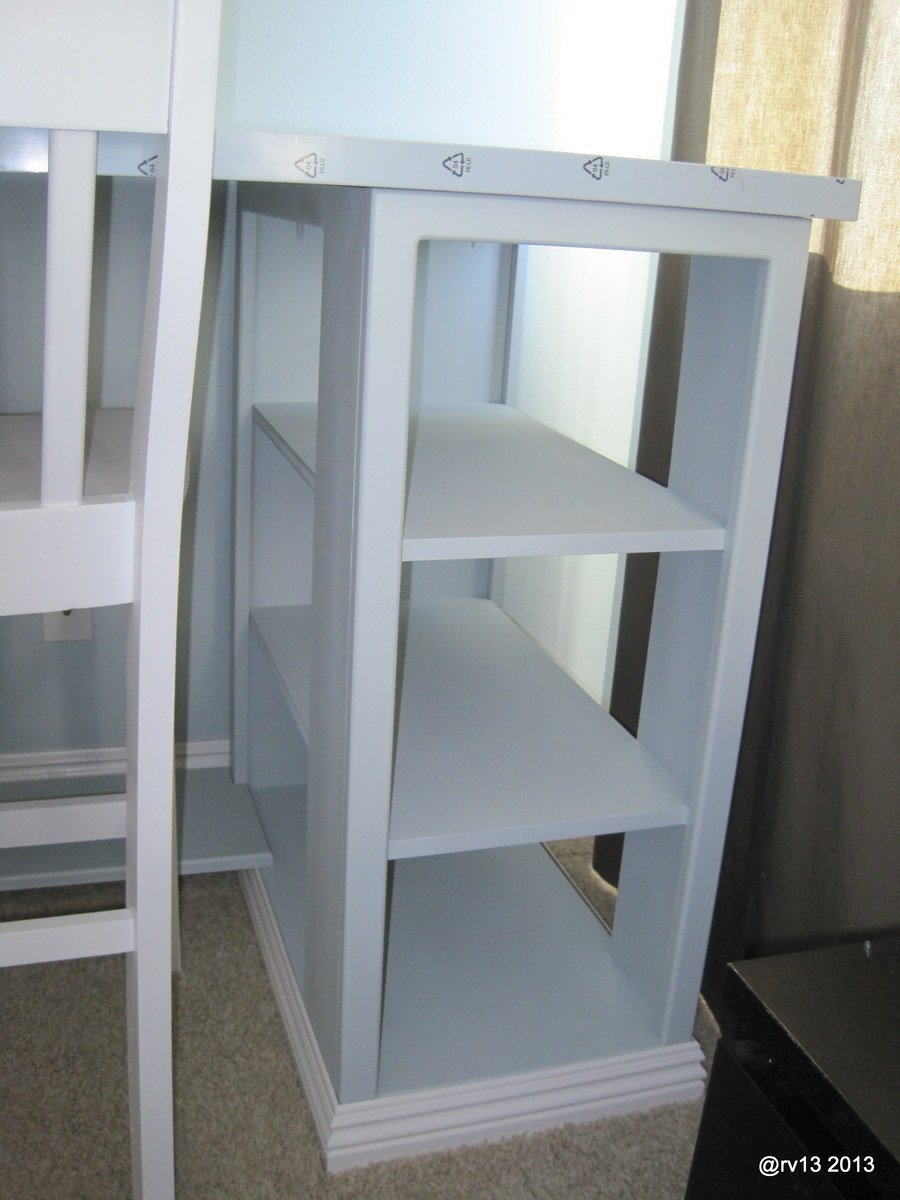
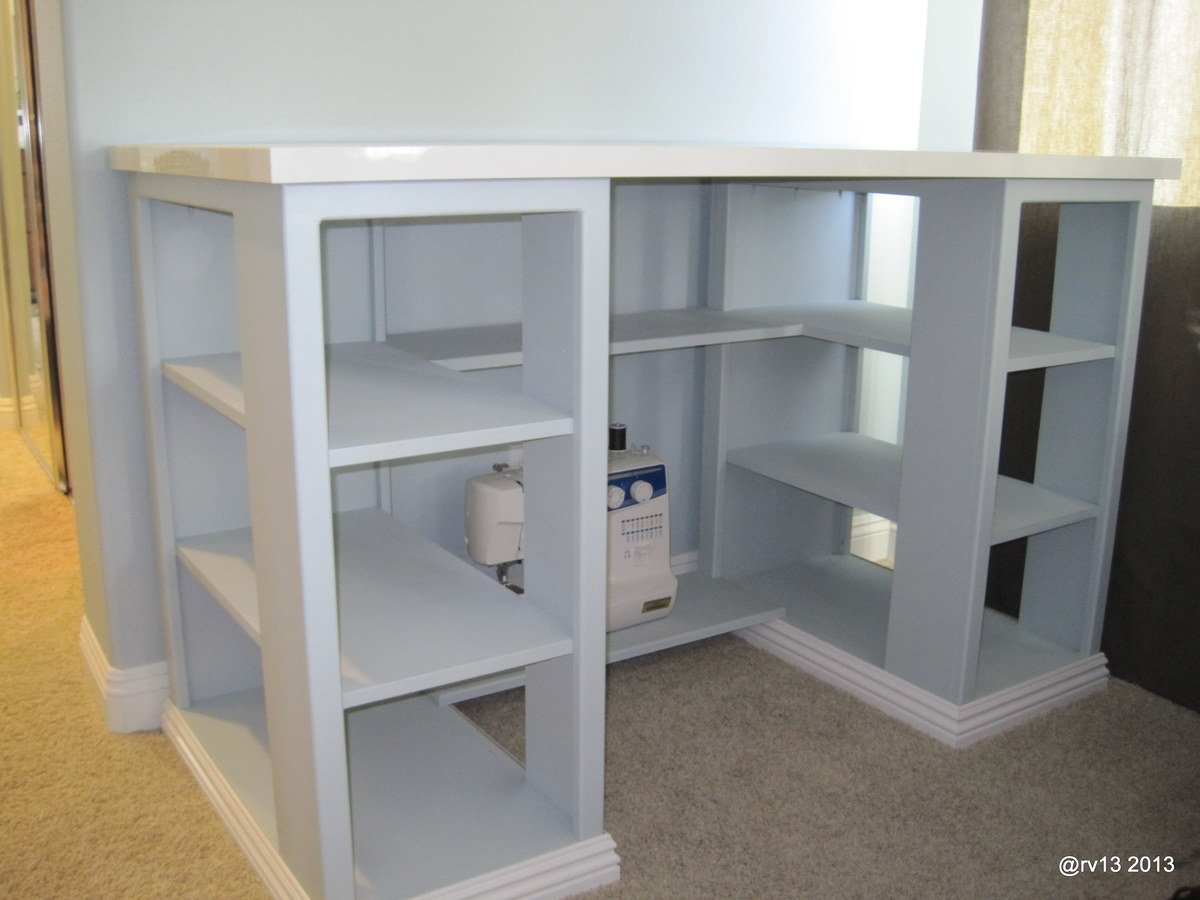
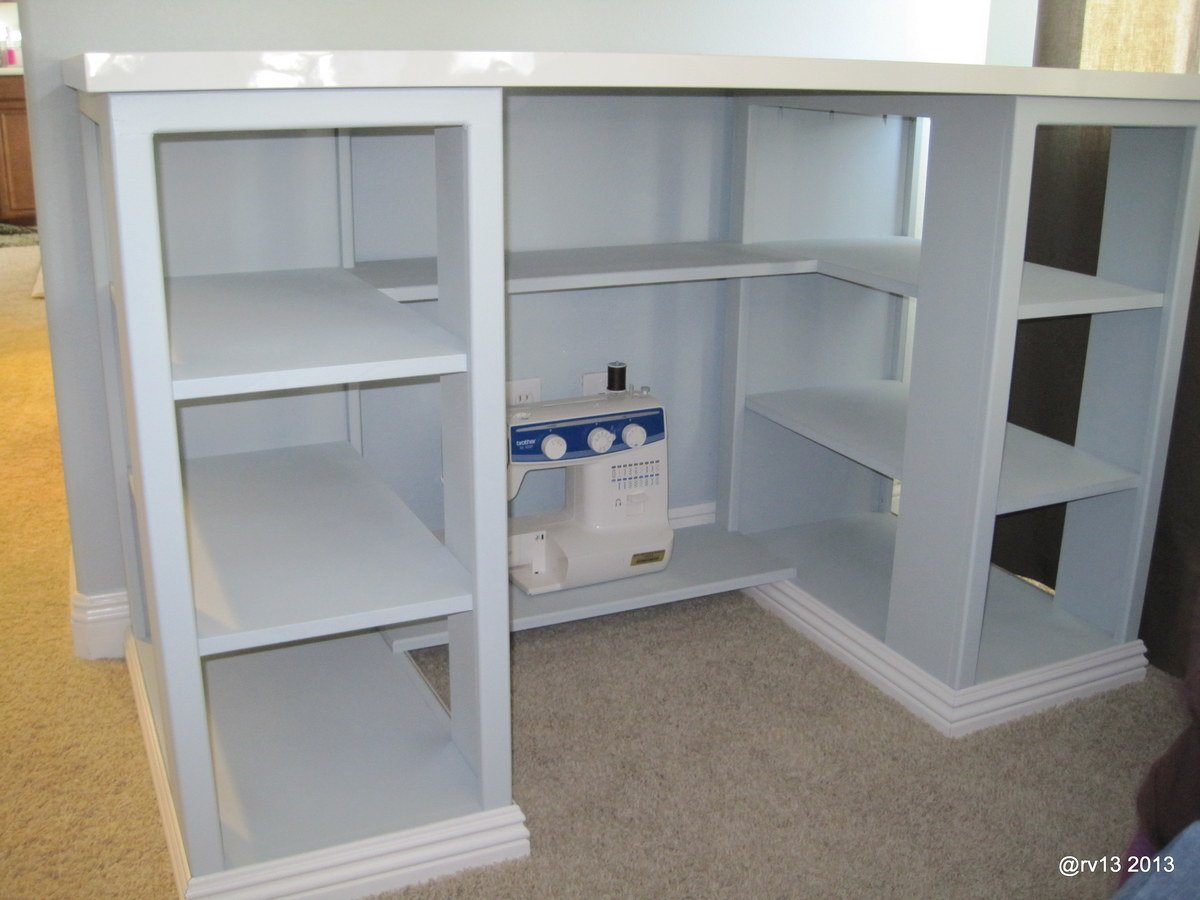
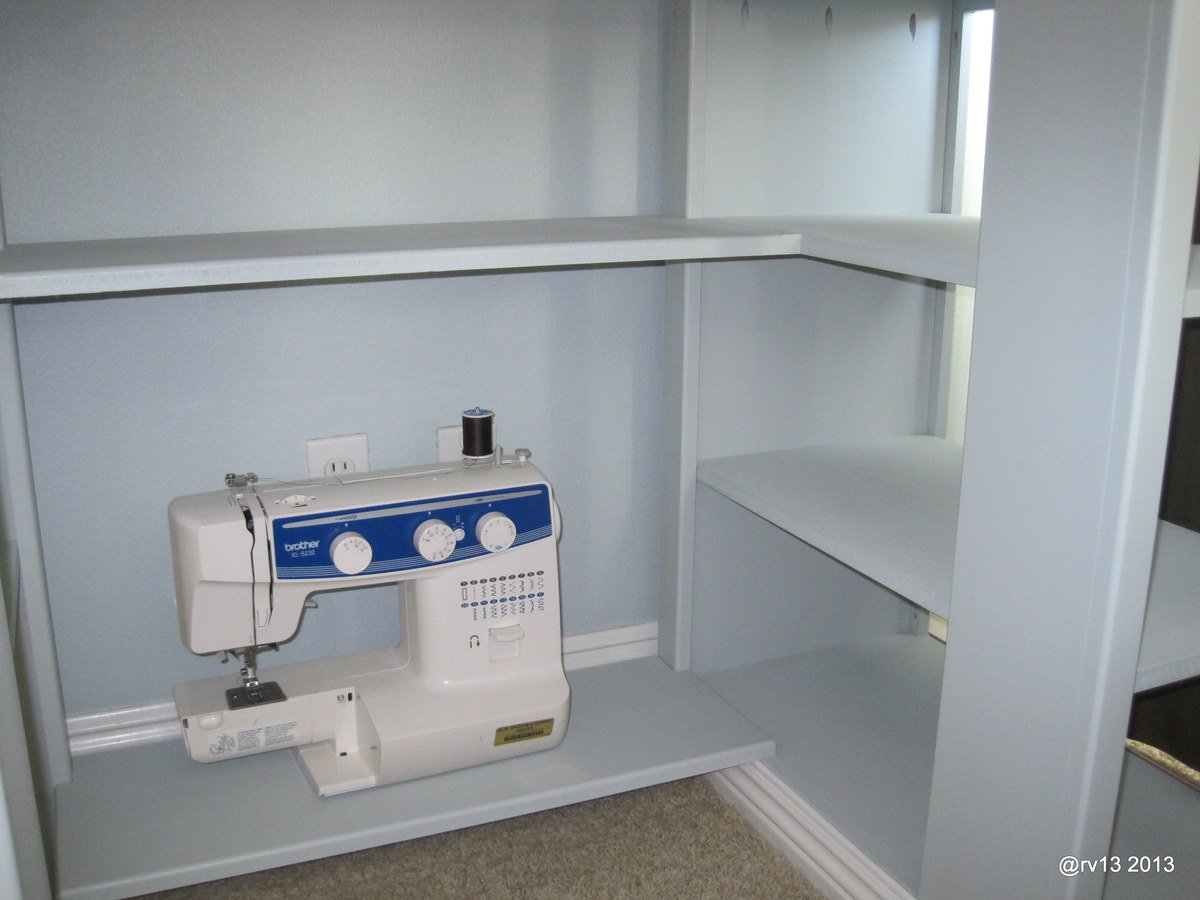
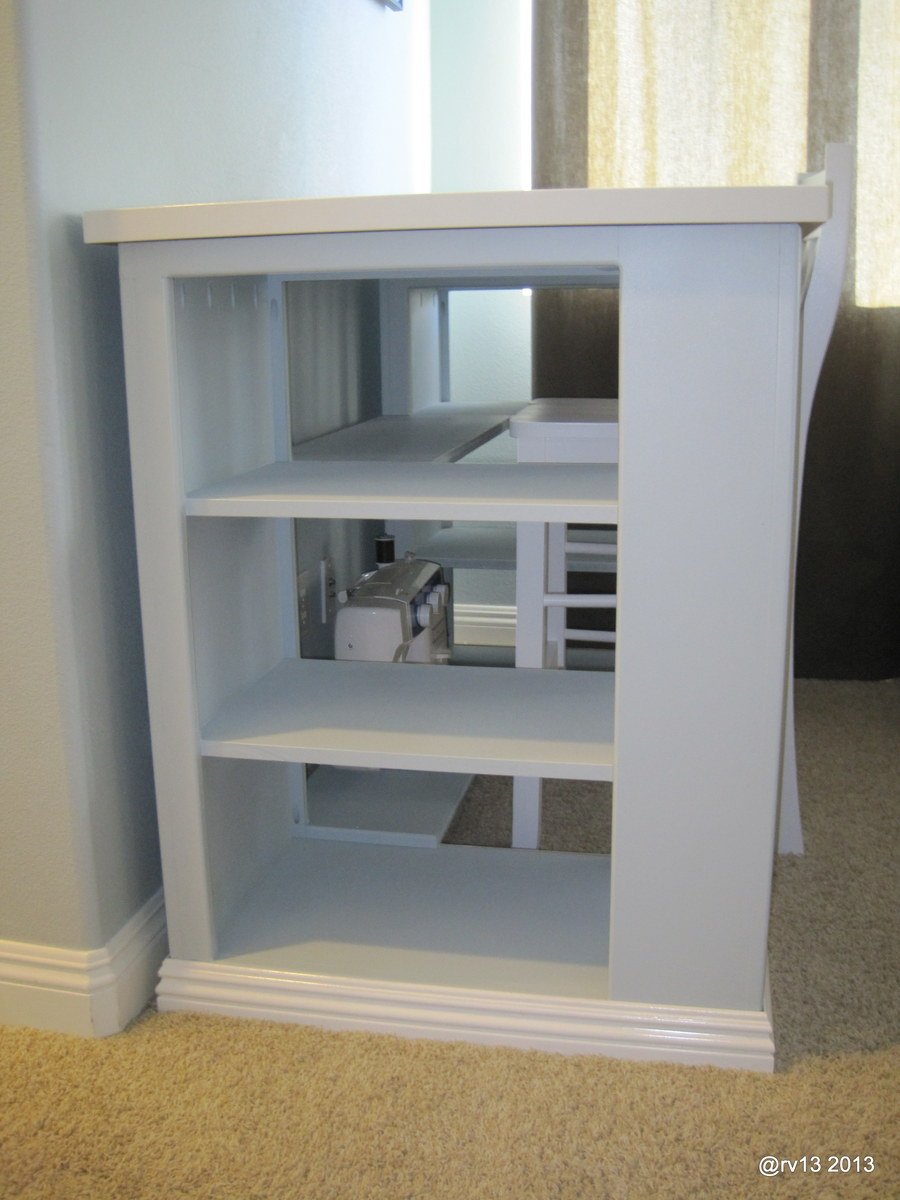
Here is our take on the Ana White "Modern Craft Table". My wife wanted to use this as a sewing table. I used my Kreg Pocket Jig for most all connections, minus the moulding. The unit was built out of 3/4 MDF. The table top is from IKEA.
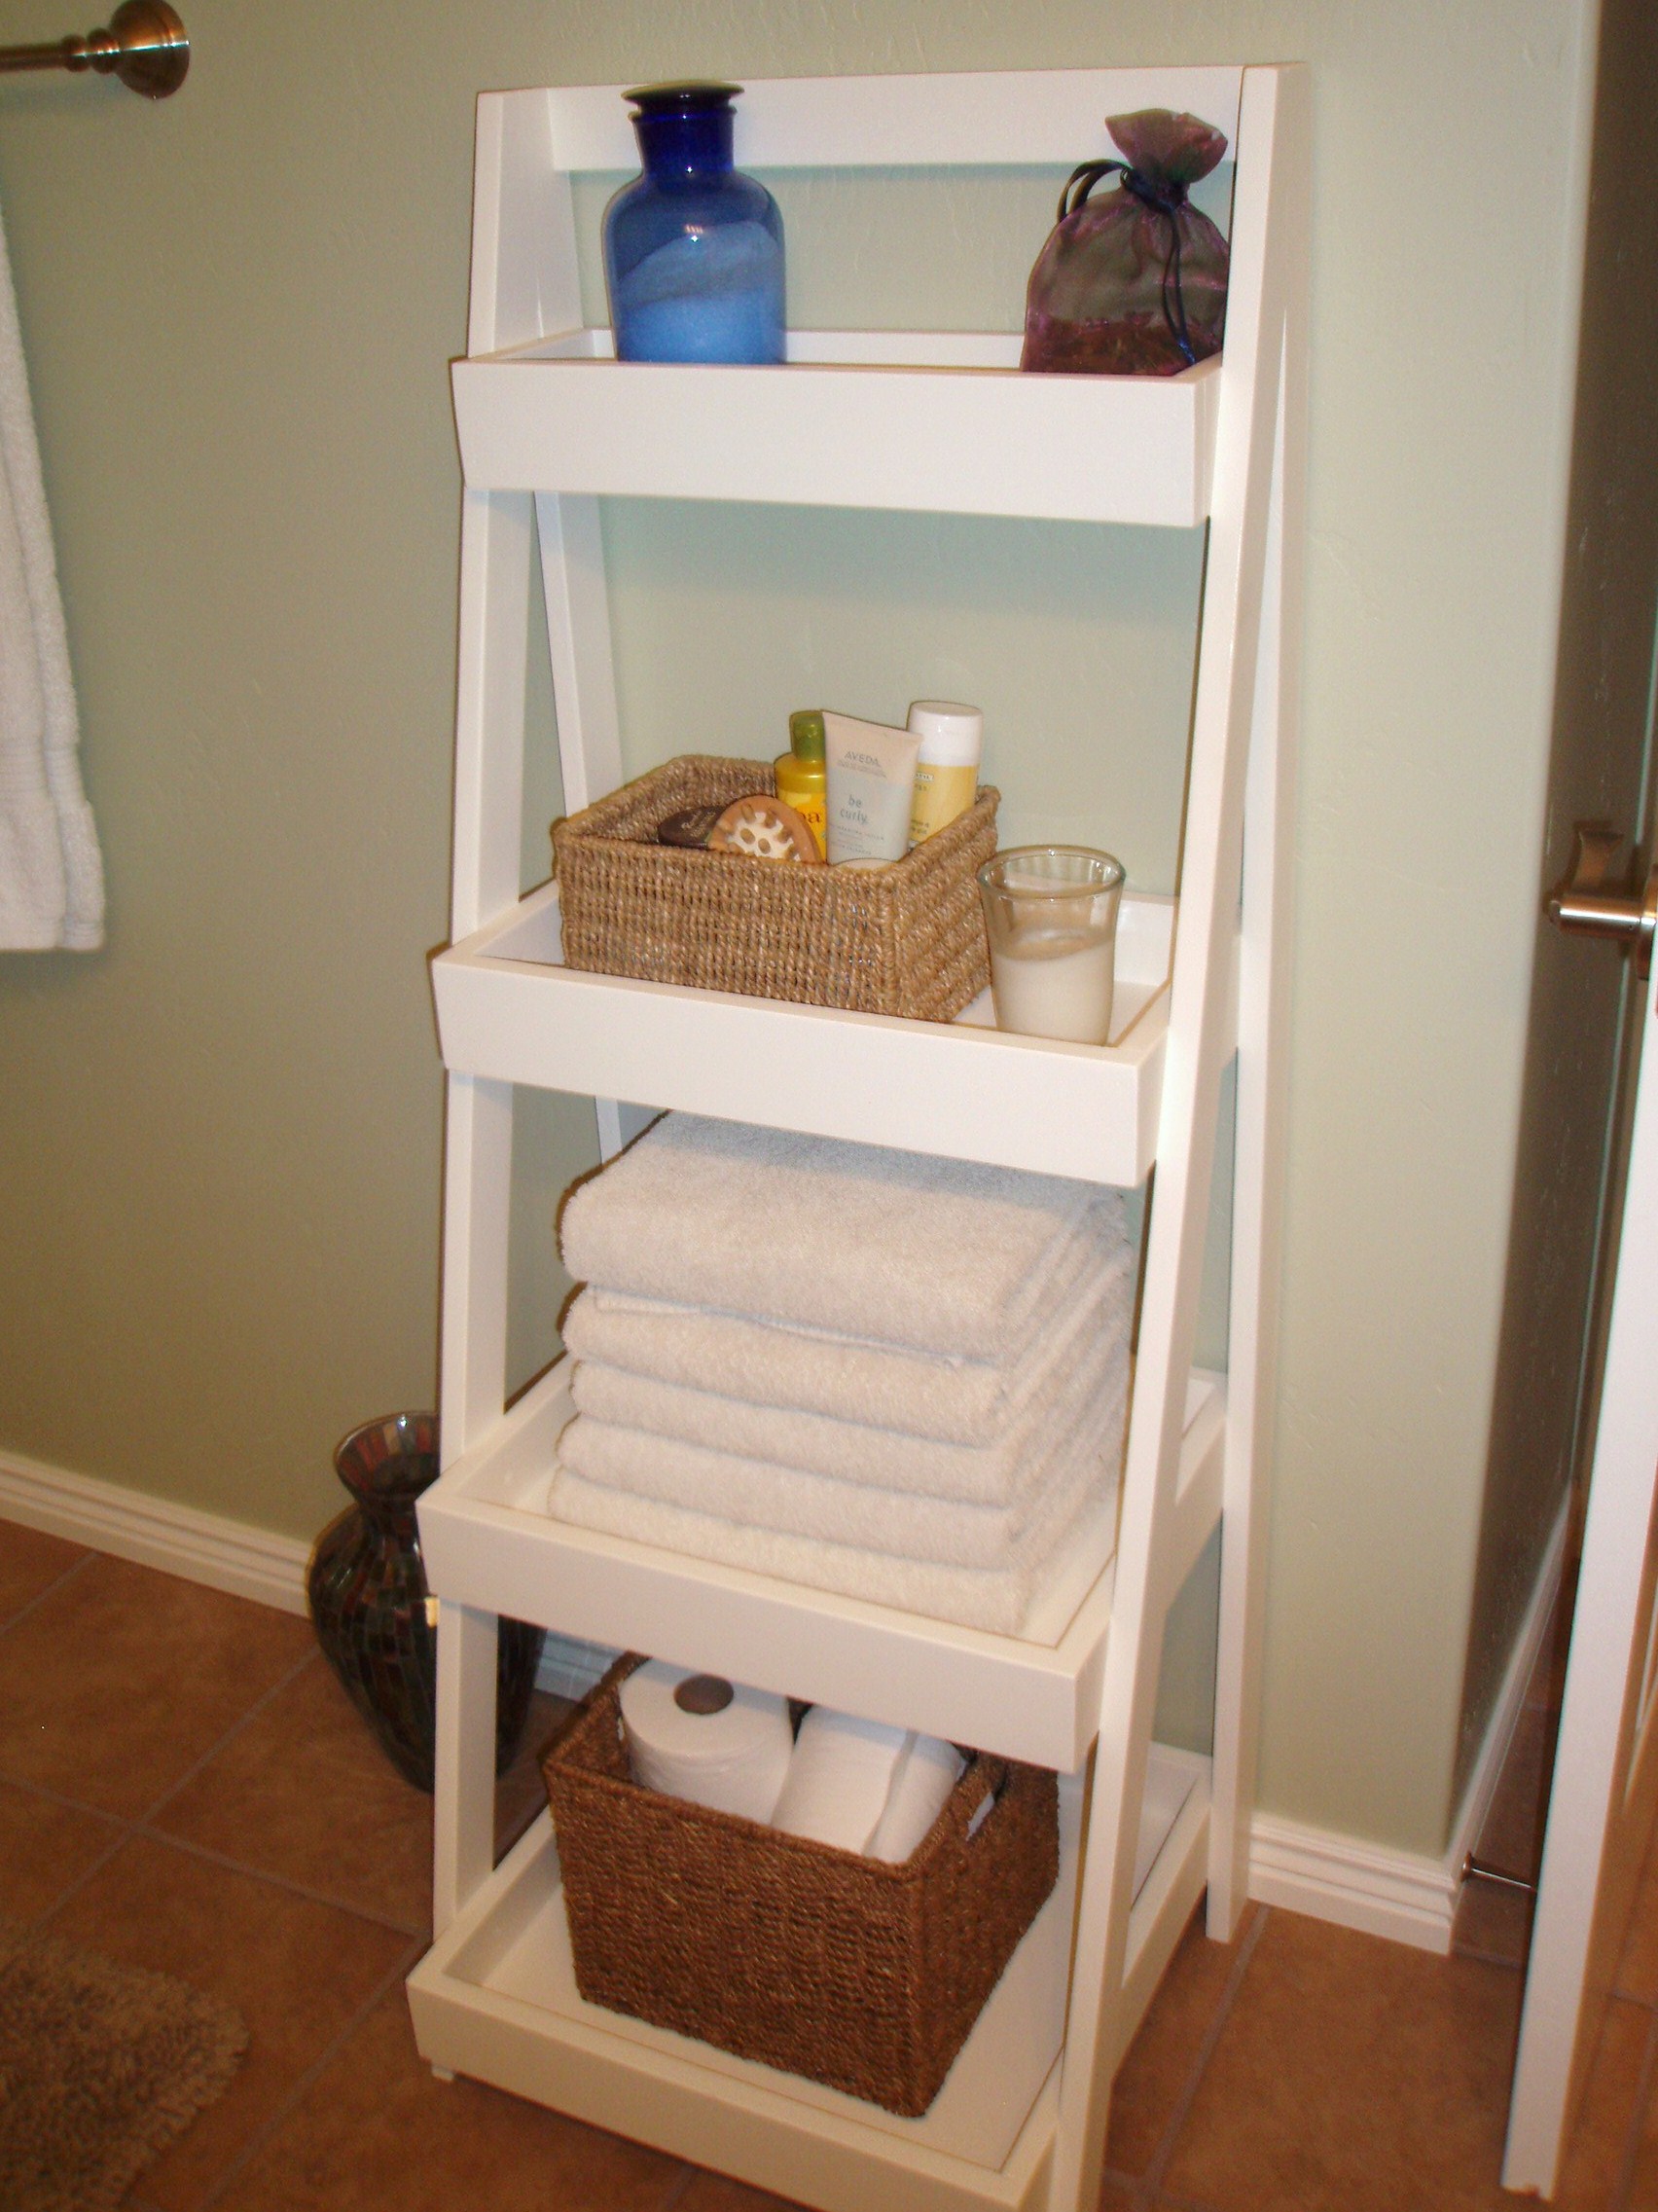
Mine is built a little different in that the shelves are continuous, not compartments. I also added in shelving on the back for more storage.
I also ran the router along all the edges.
Mon, 08/05/2013 - 06:45
Very nice for sewing - and love how you added shelves to the back.
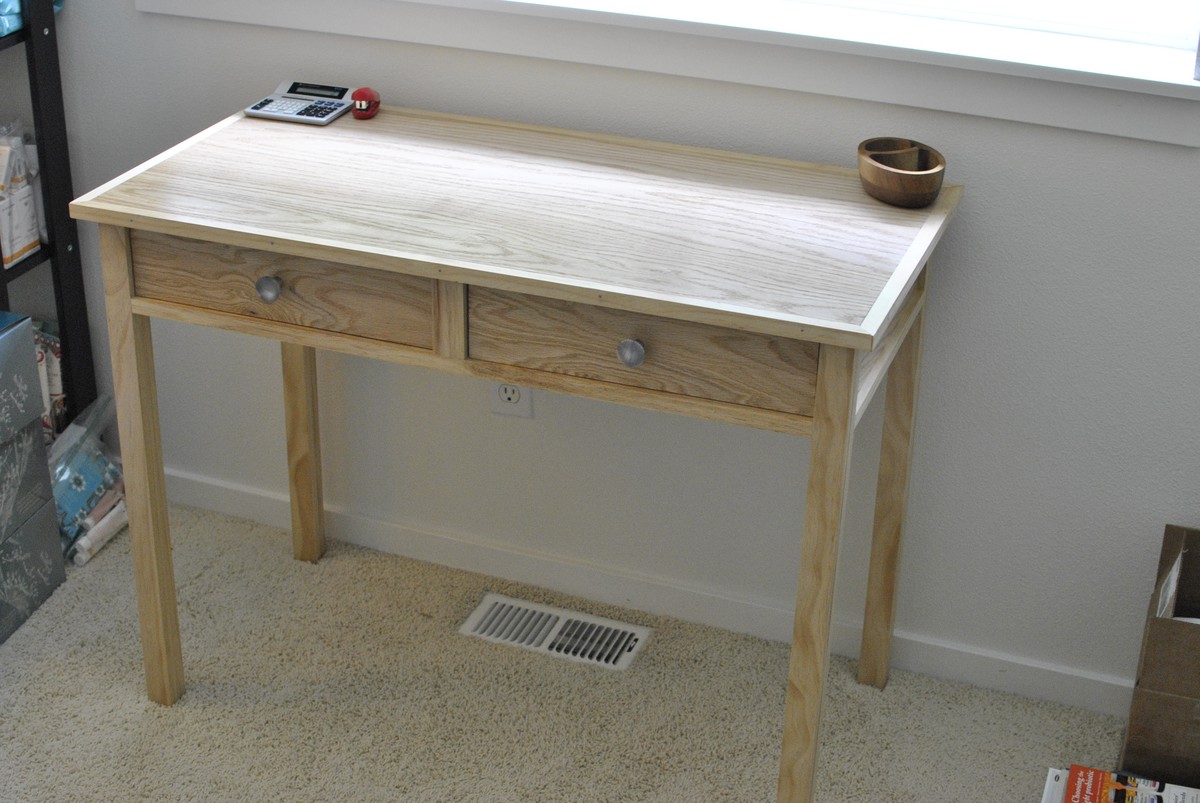
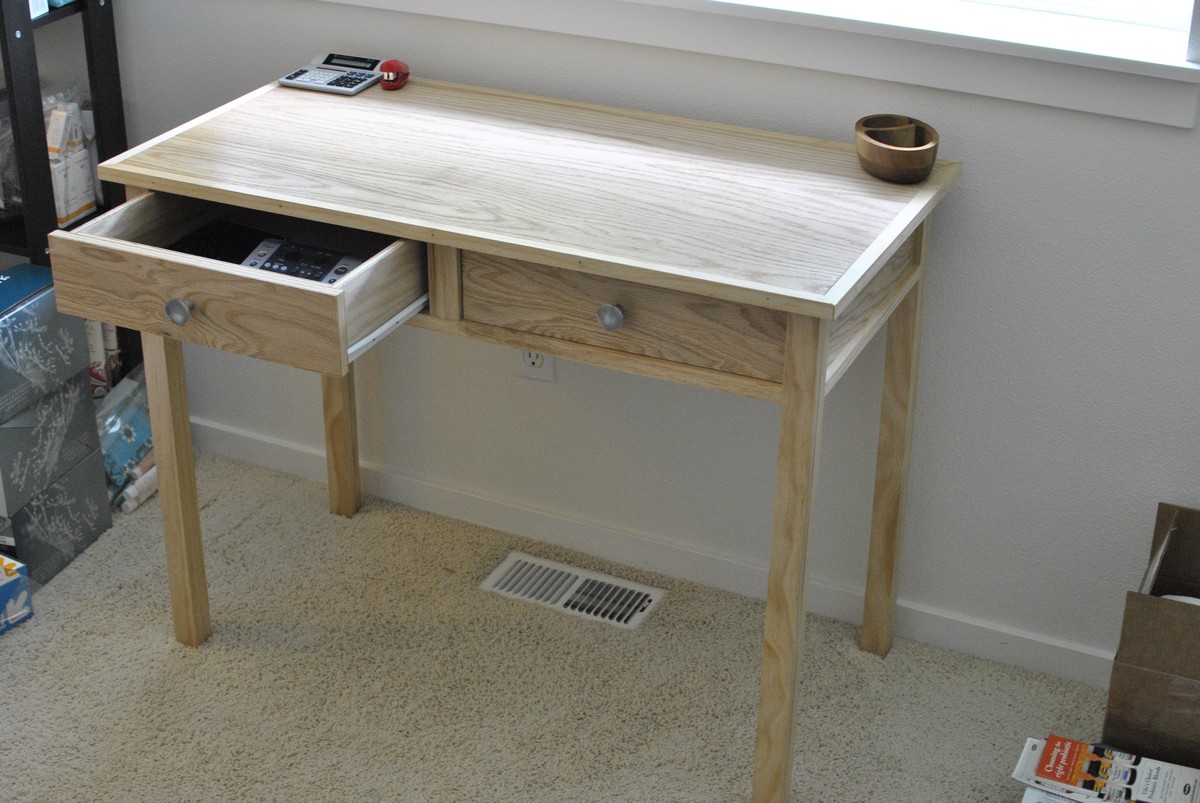
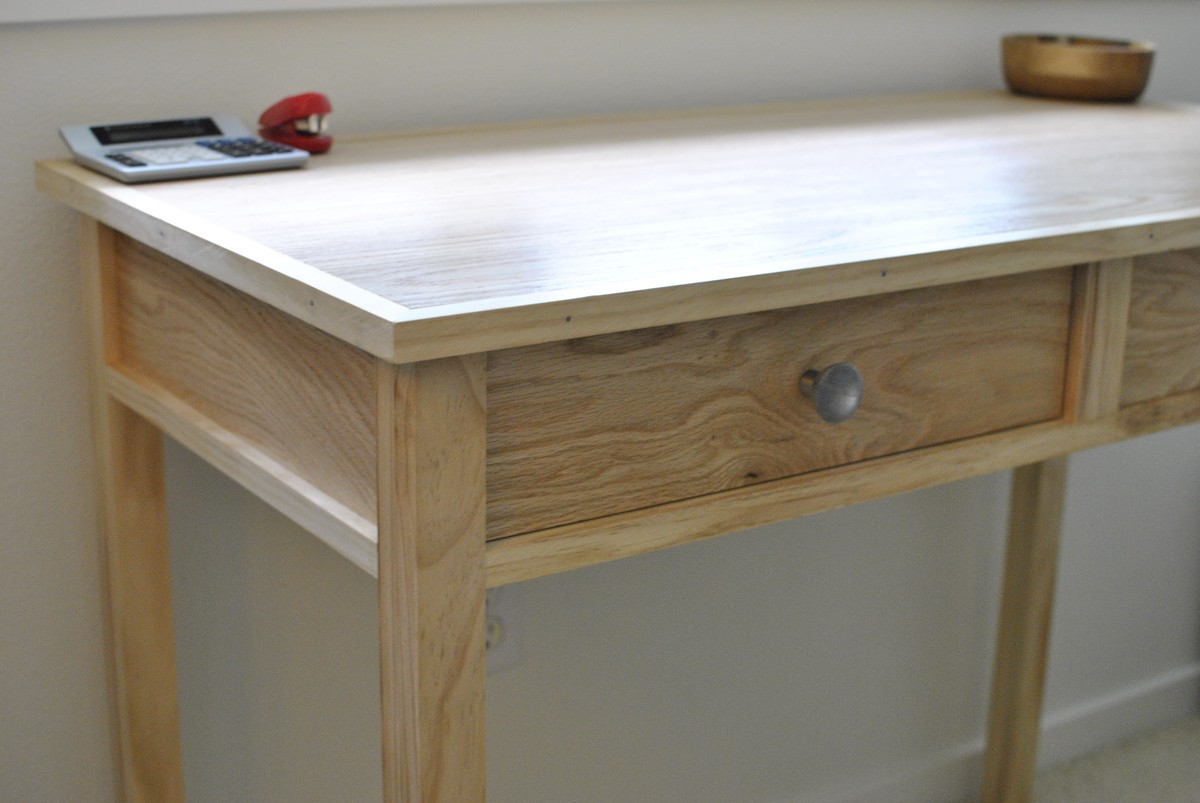
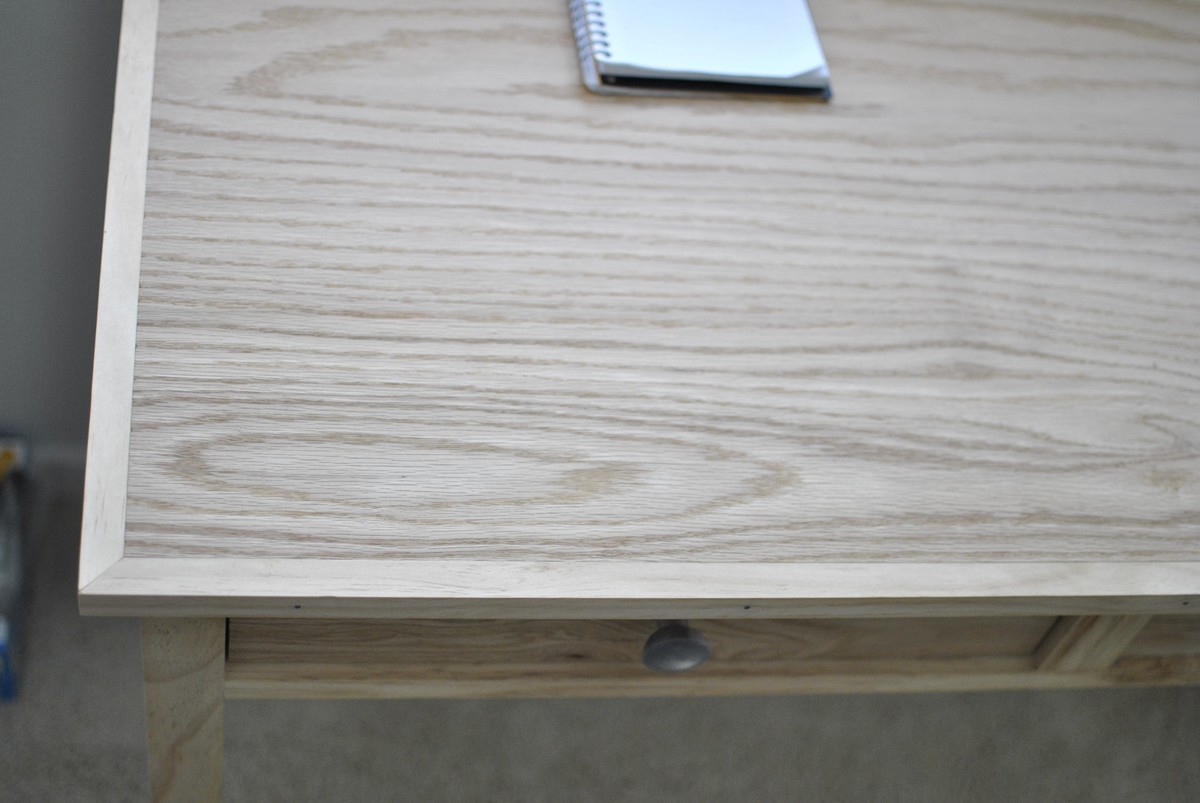
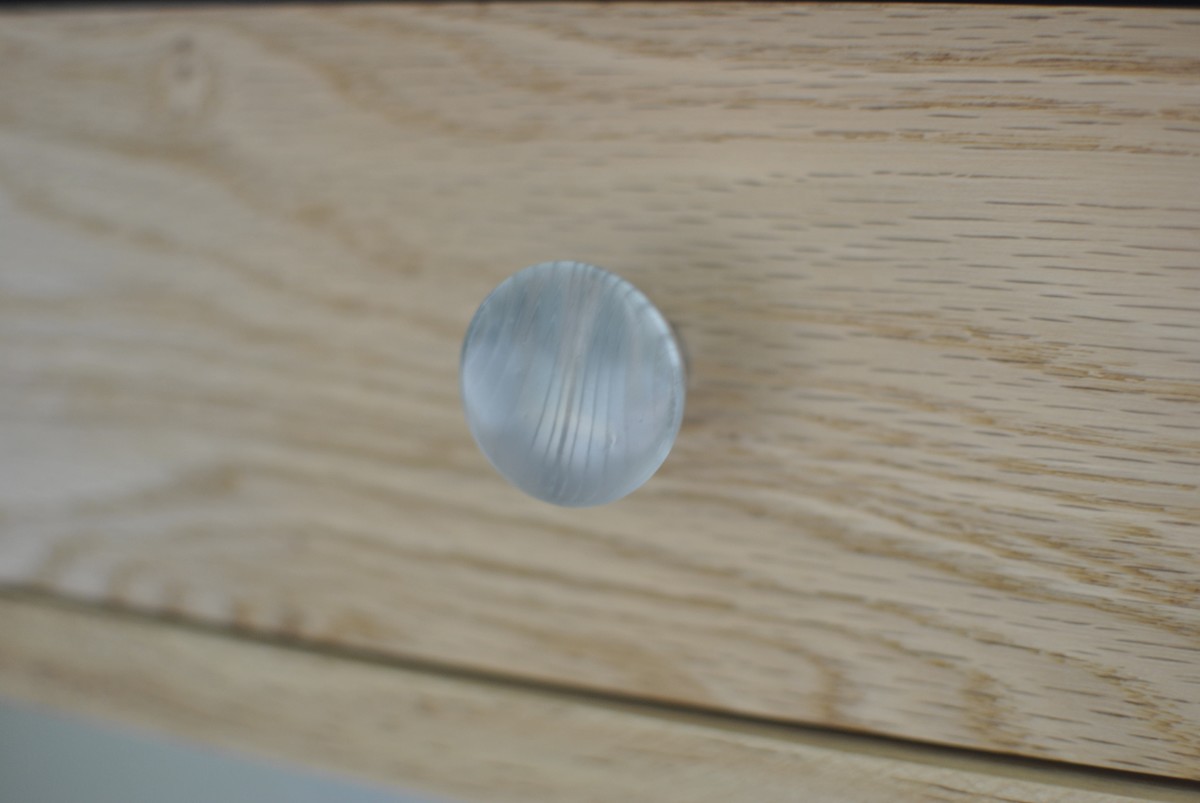
My wife needed a writing desk. I had previously built a coffee table with cheap lumber and wanted to see if I could build something with nicer wood. My concern was that all I had was a small portable table saw. This is the result. Oak plywood for the top and side panels, pine for the frame and edges. No stain; I really wanted to let the difference in colors from the two different woods to speak for itself. Just a good sanding and 5 layers of water based polyurethane.

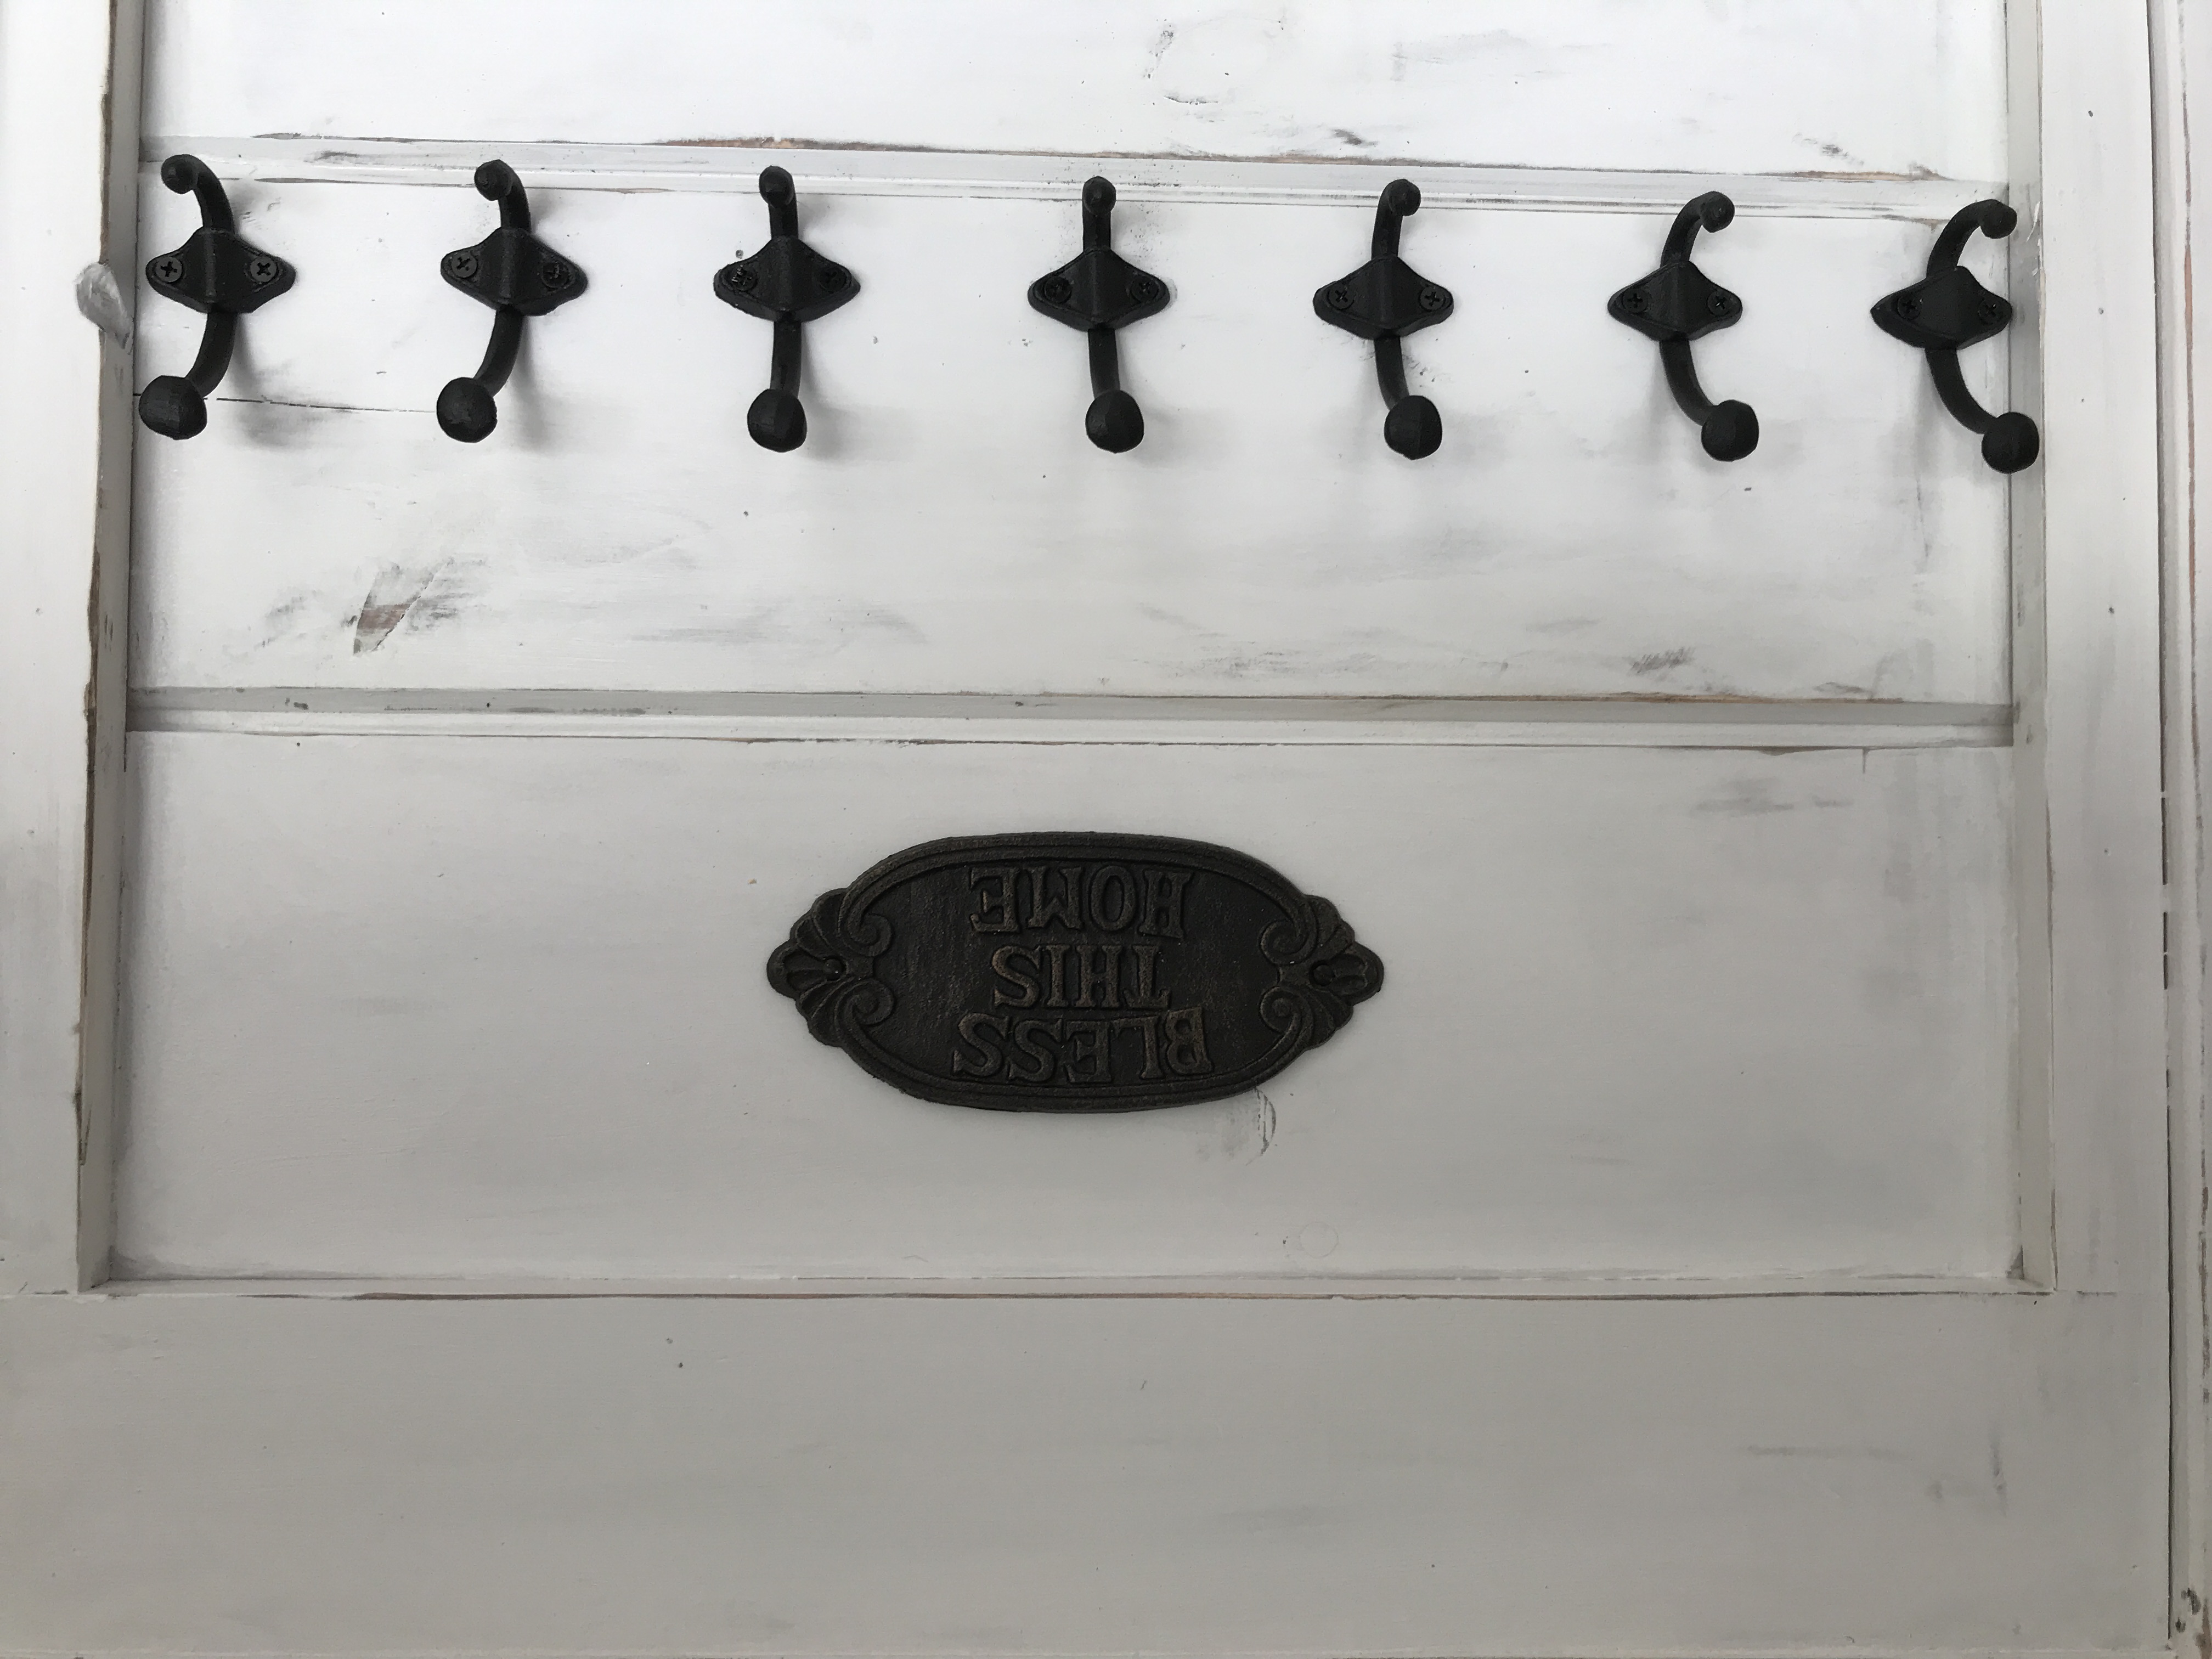
Hi Ana! This project was pretty much inspired by ALL the great things you build on this site, as well as from watching a 'Fixer Upper' marathon (hence, the white color and shiplap). Last Christmas, I promised my sister that I'd build her a hall tree since she's now up to 10 grandkids and needed more hooks for all those coats and hats. Unfortunately, I also came down with a WICKED case of vertigo, so no power tools for yours truly. : (
Well... The vertigo finally cleared up, so it was time to get out my trusty ol' Kreg Jig and fire up the tools.
This project started with 2 4x4s. I cut 17 1/2" off each, then used the long pieces as the back and the sort pieces as the front legs. Then I built a rectangle (shored up by some cross supports) out of 2x3s and used those to attach the back legs together with pocket holes. I did the same thing with the 2 front legs, then attached the 2 sets of legs together with shorter pieces of 2x3s that framed up the side.
Next, I added a front to back support to the underside, and then attached the bottom of the seat on top of that. I built the front, back, and side pieces of the bench section by cutting a couple of 8' x 8" x .5" planks to size, and attached 2 pieces to each side by gluing and nailing them to the frame. Then, I rans some shiplap up the back (glued and nailed to the back frame) and topped it all off with a mantle.
For the seat, I used a 12" project board ($11 at Lowes for a 6 foot section) because I love all the knotty details and nail marks. I framed it out with 1x1 and attached with pocket screws on the underside. I finished that piece by staining it in Rustoleum Dark Walnut.
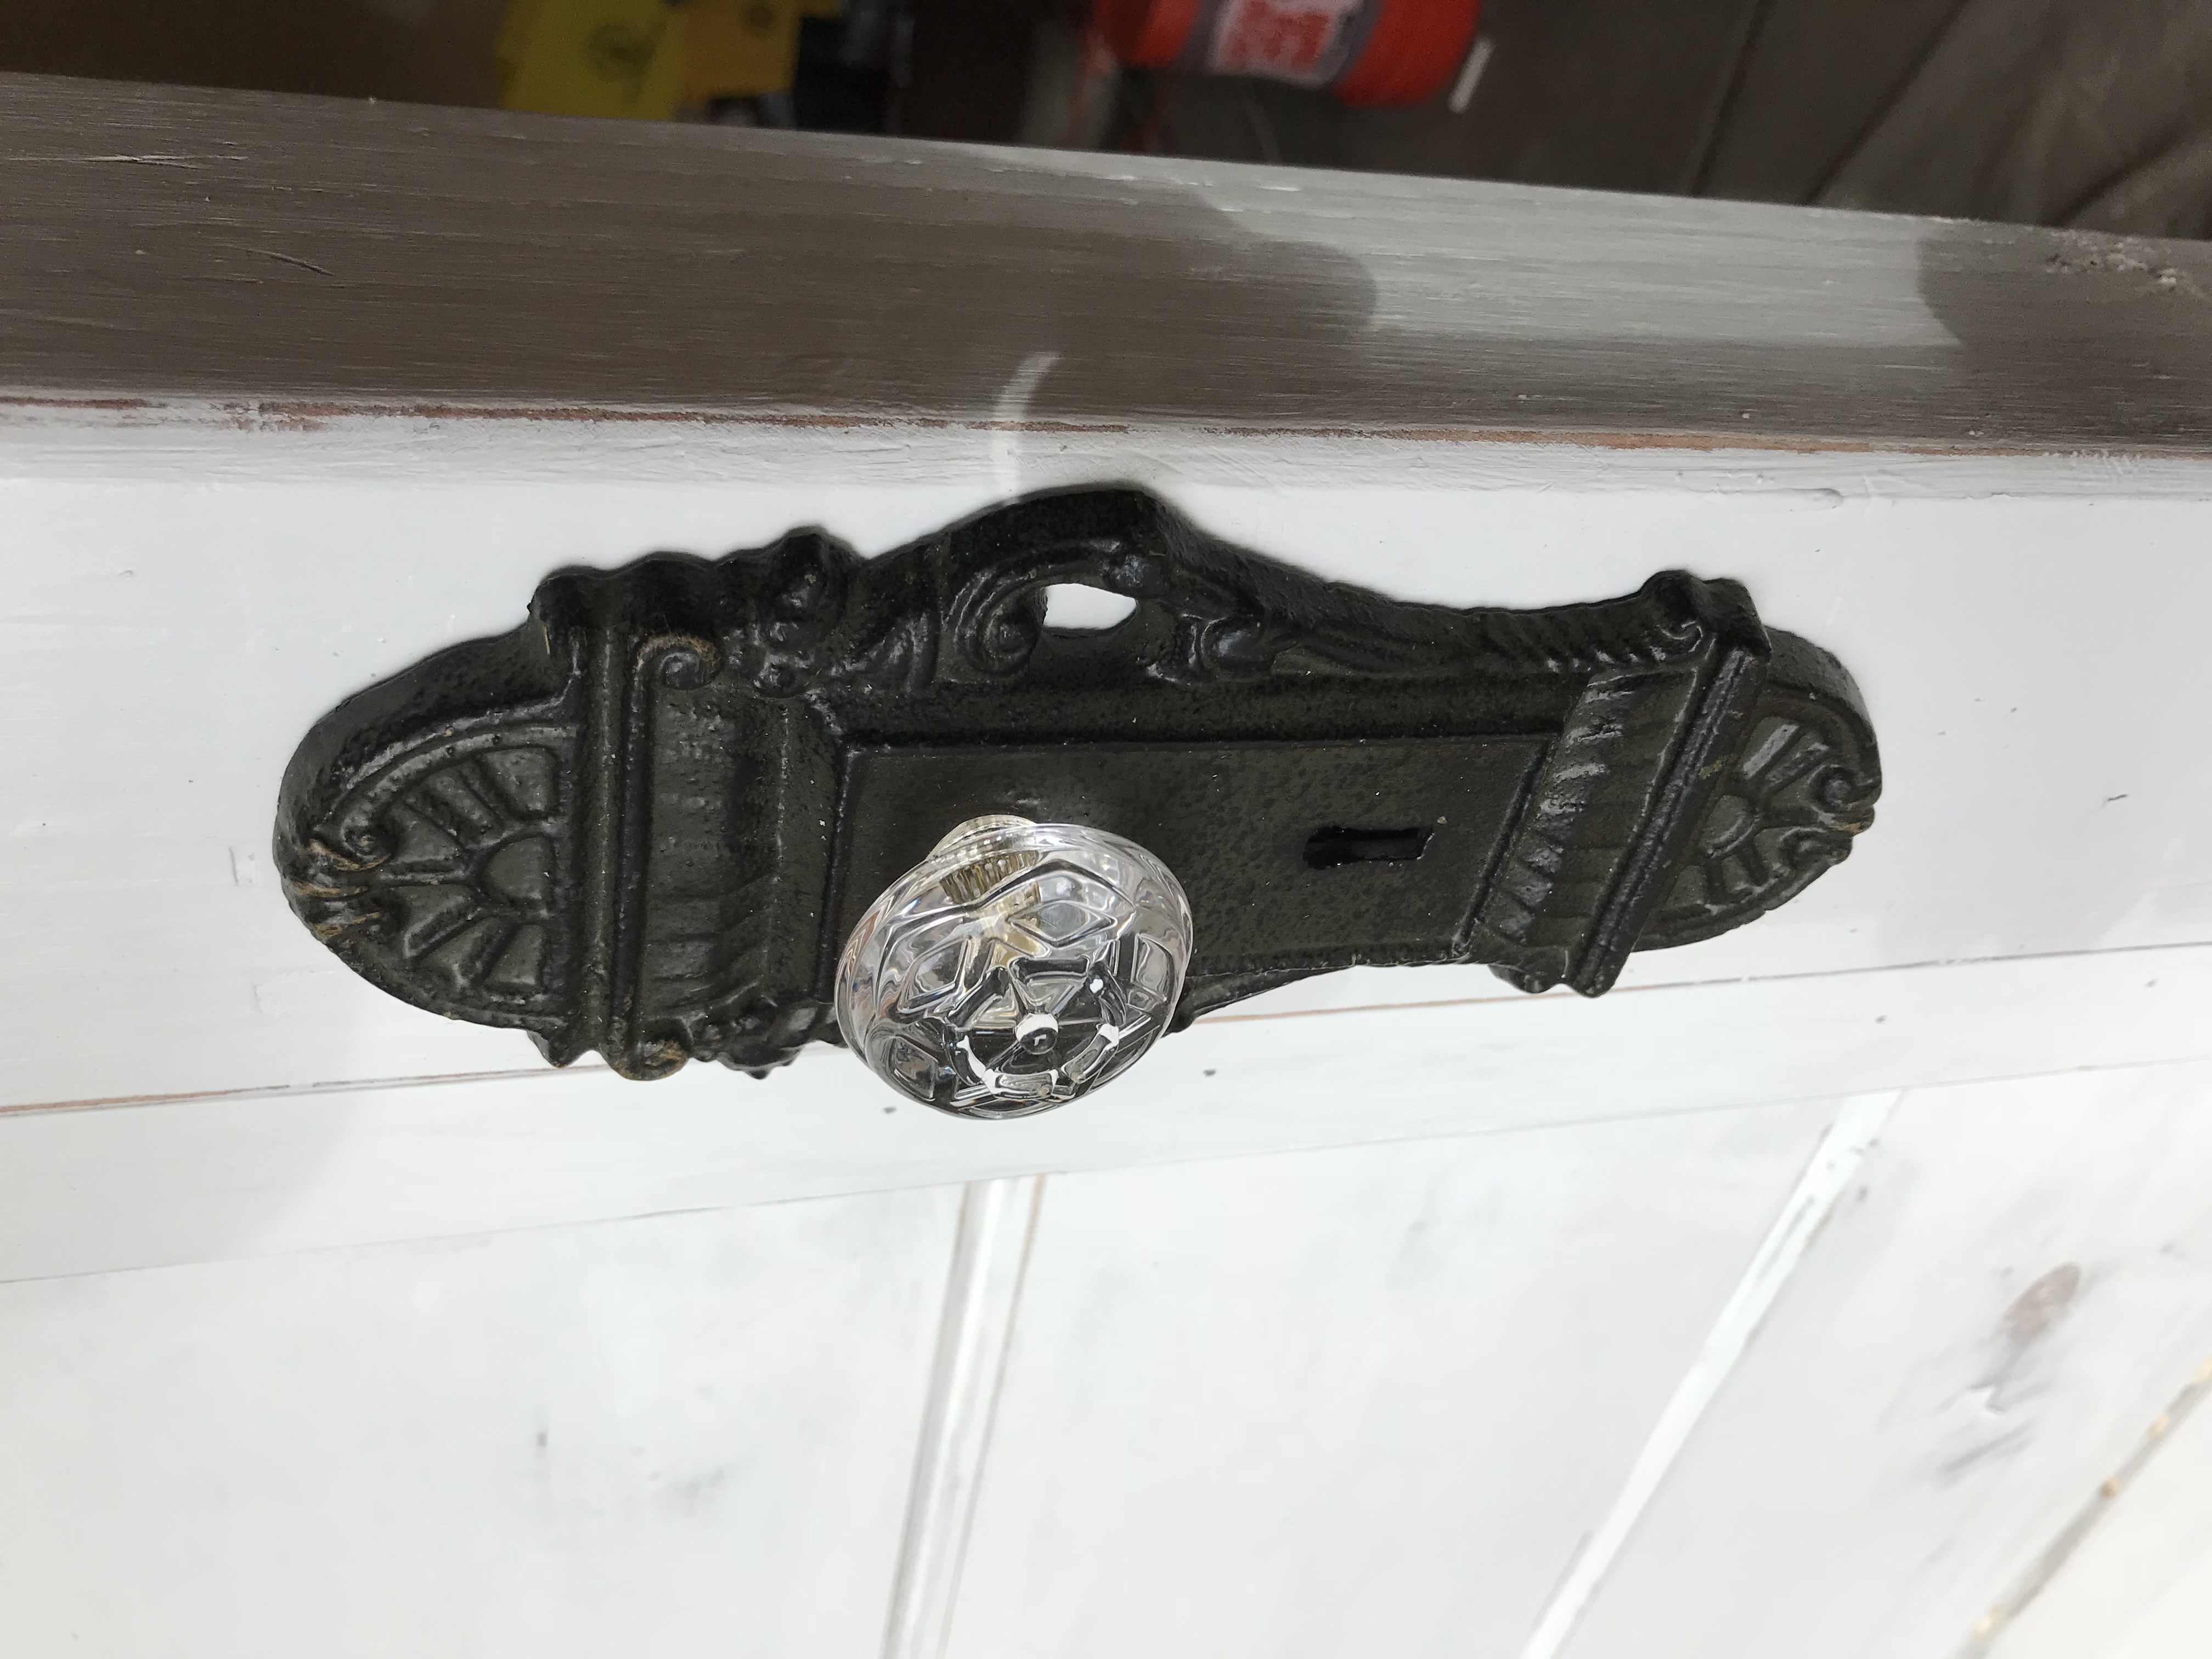
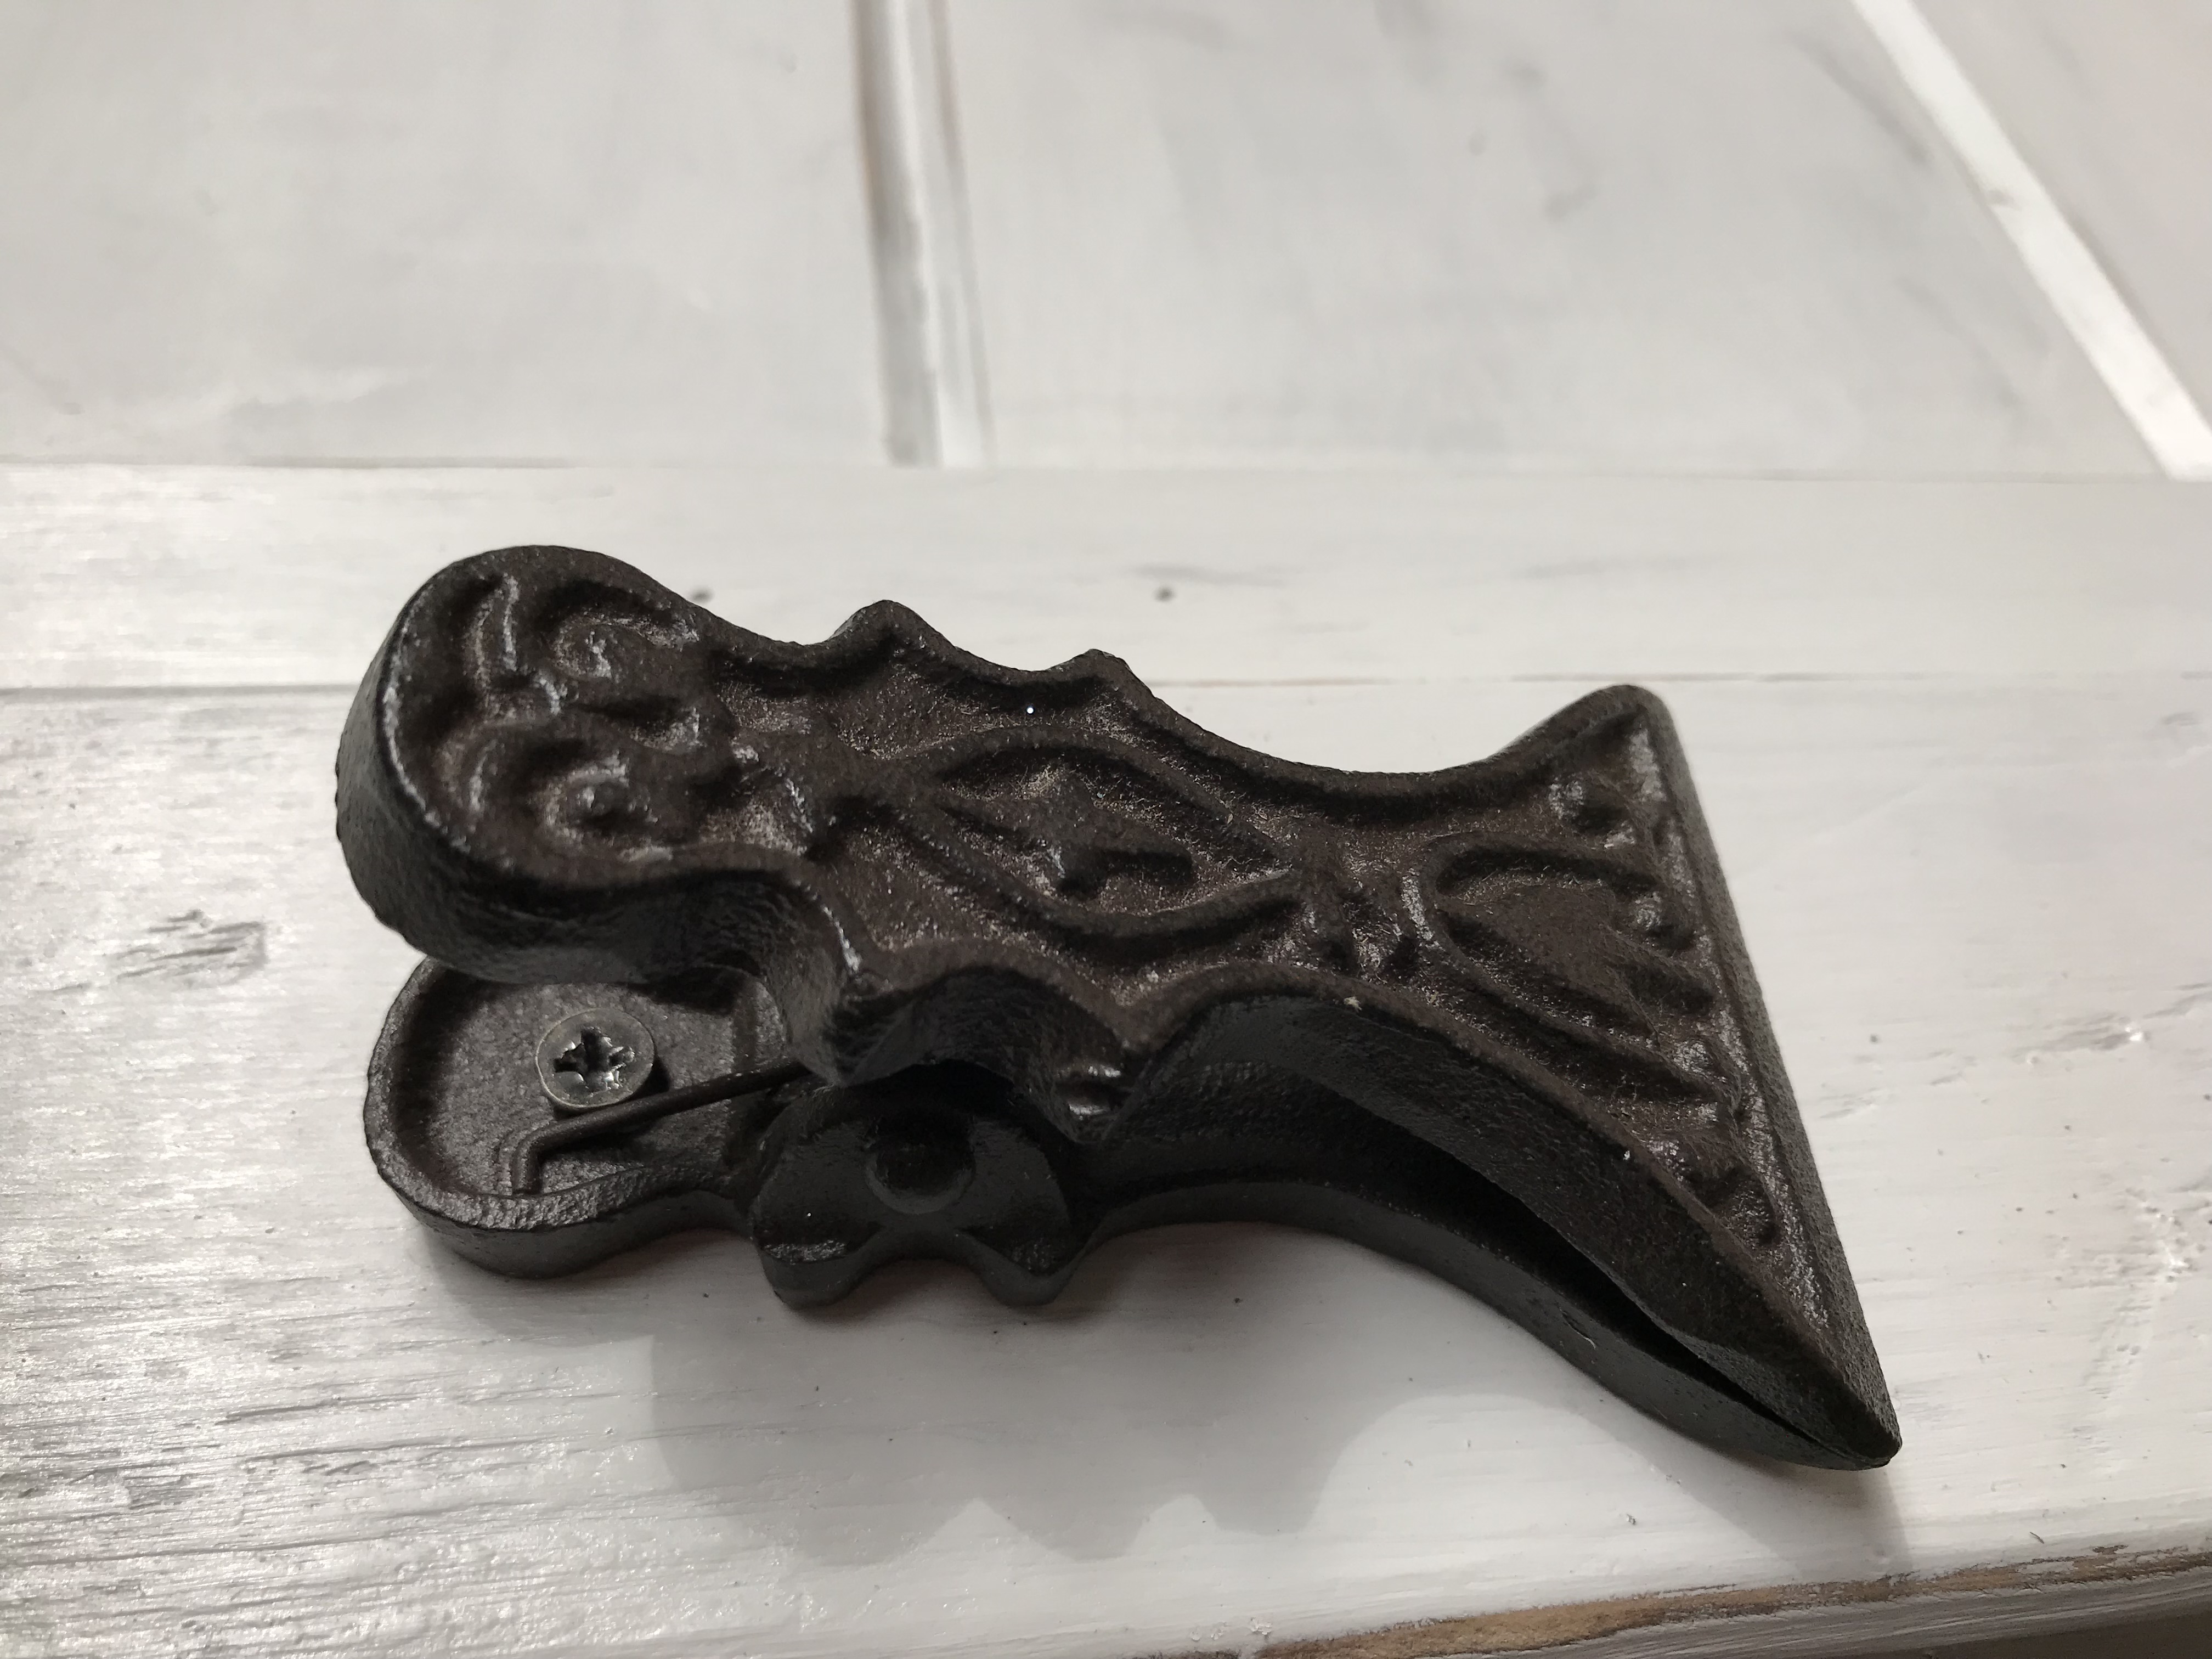
As for the rest, I just framed the shiplap section with leftover 1x1s, then sanded and stained the whole piece with the same Dark Walnut stain (so that something would show through after distressing). Finally, I applied 2 coats of Rustoleum Linen White Chalk Paint (LOVE that stuff!), distressed it, and topped with one coat of Minwax 1 Coat Poly (ALSO love that stuff), and added some hardware and country do dads from Hobby Lobby (Rustic Hooks, 'Bless This Home' Sign, Decorative Doorknob, and "Mitten Clip" for wet mittens and gloves coming off little hands) . What do you think? ヅ

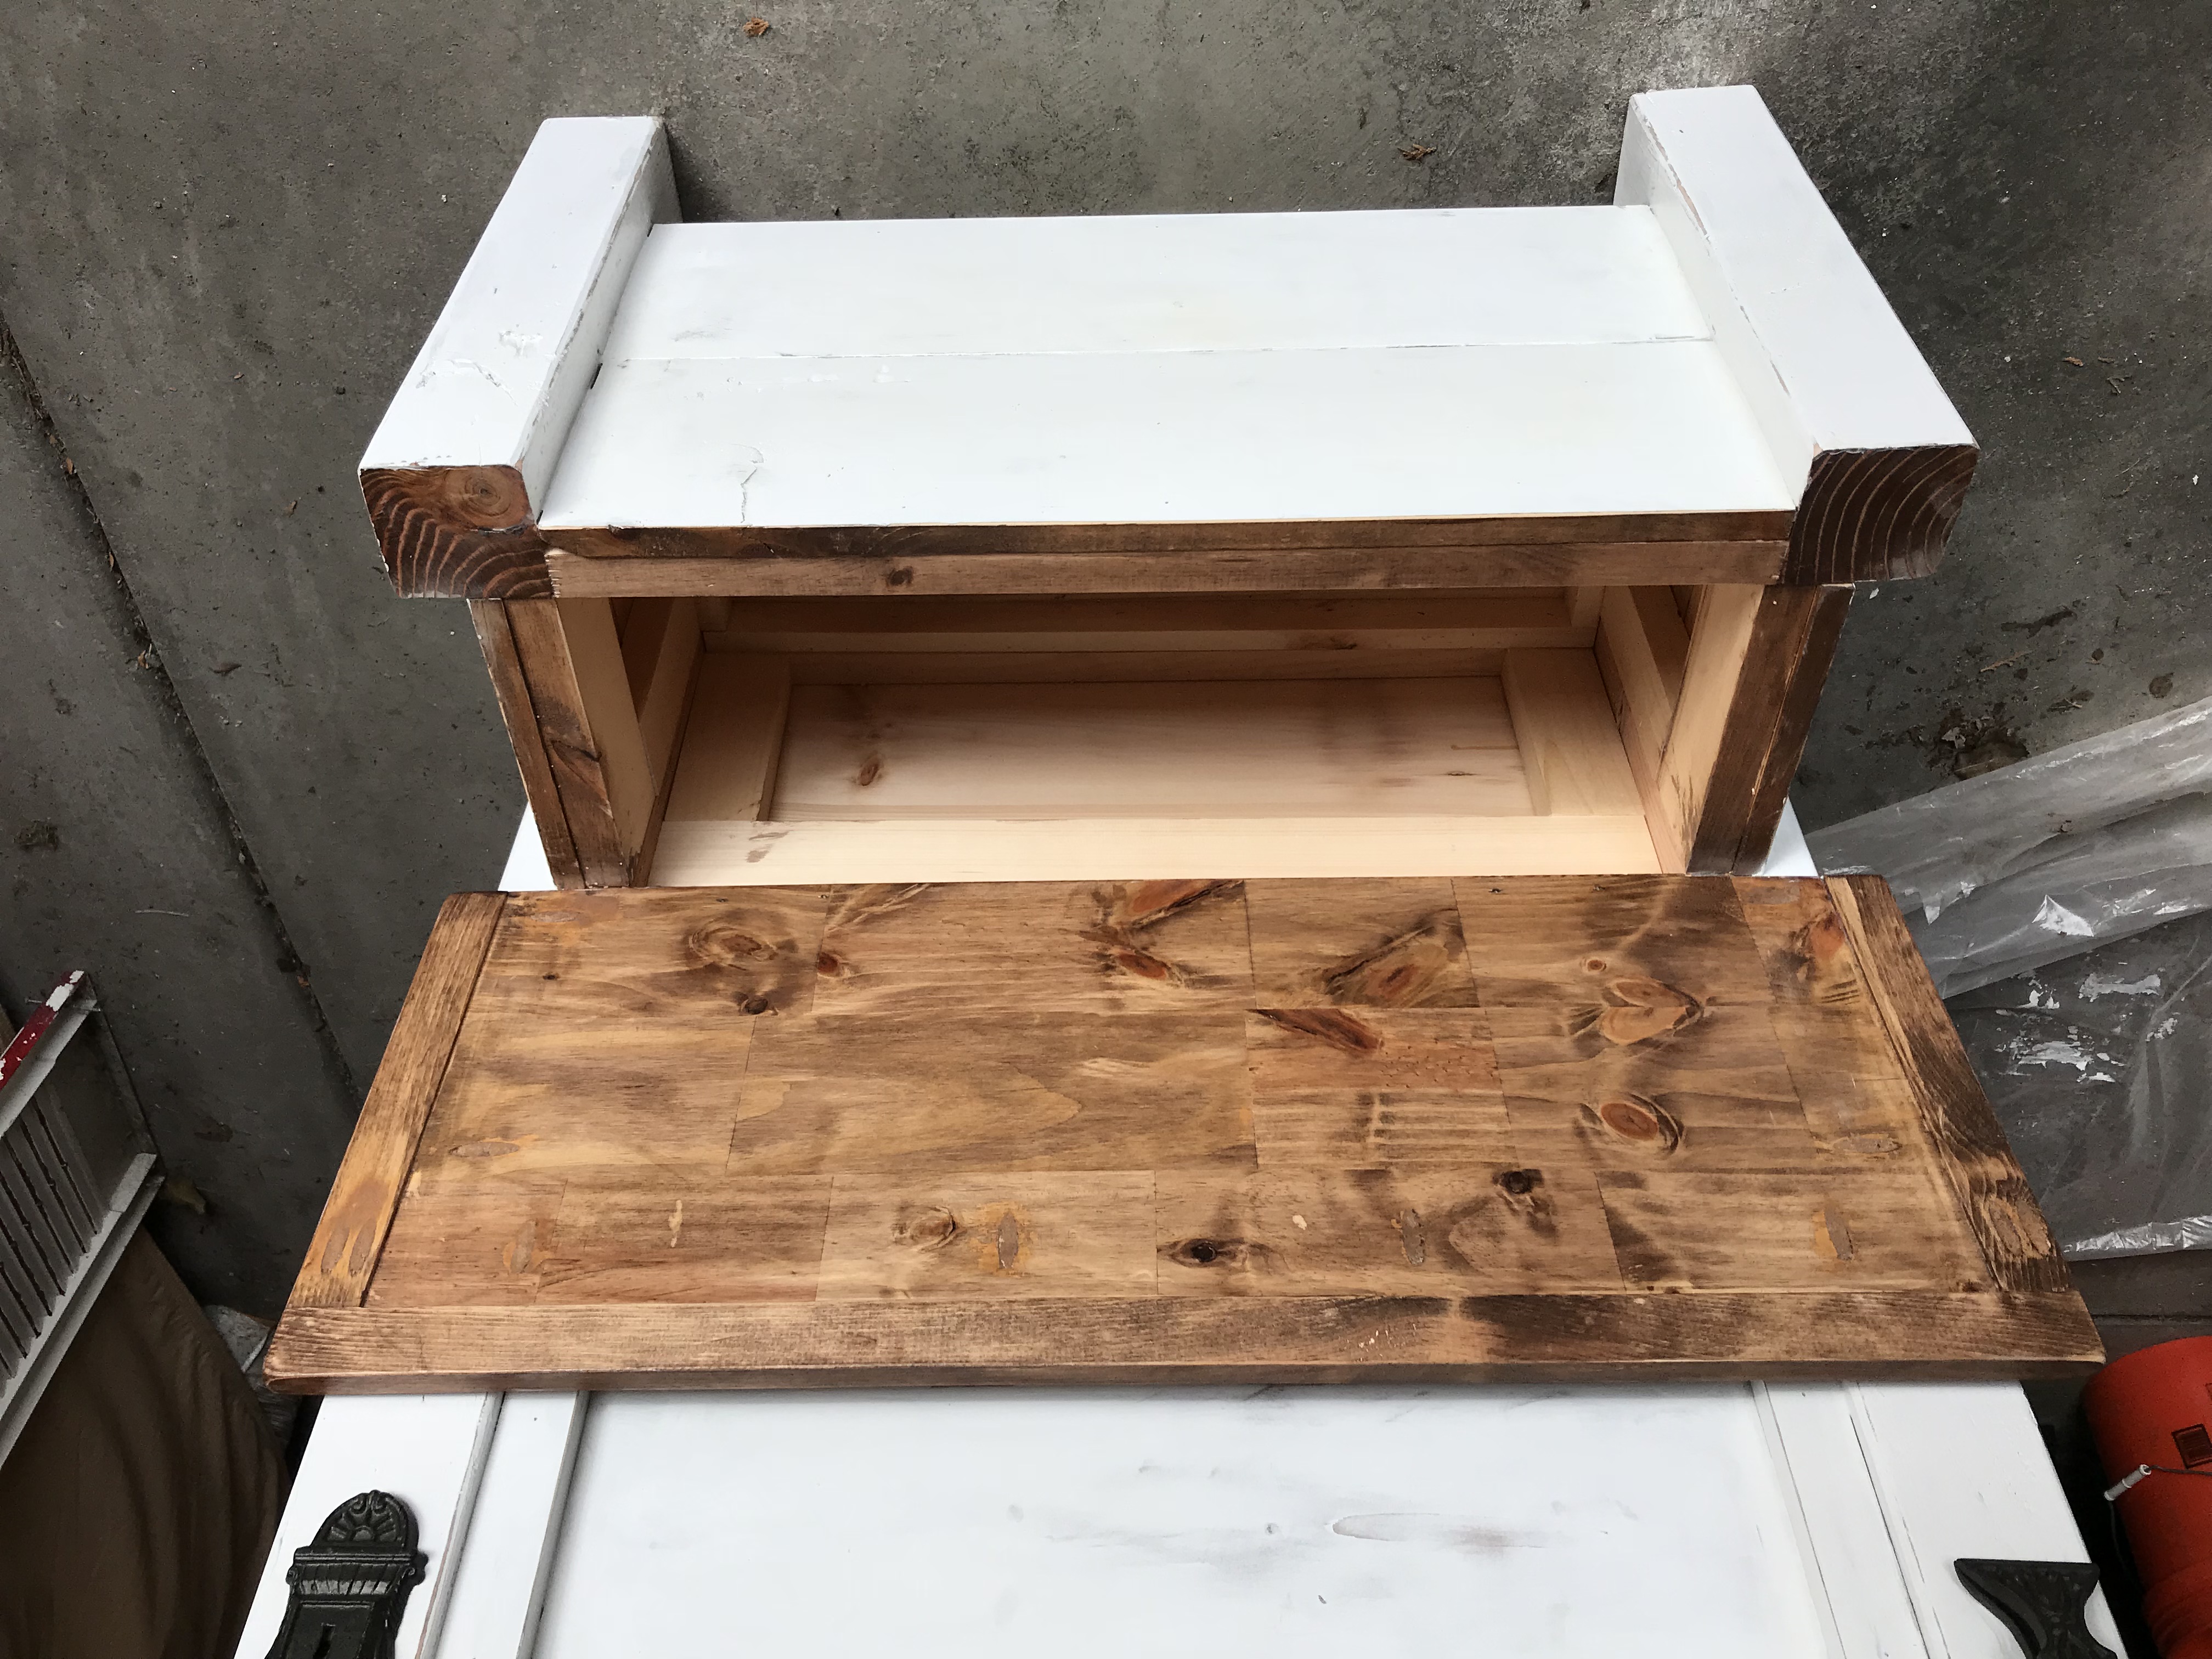
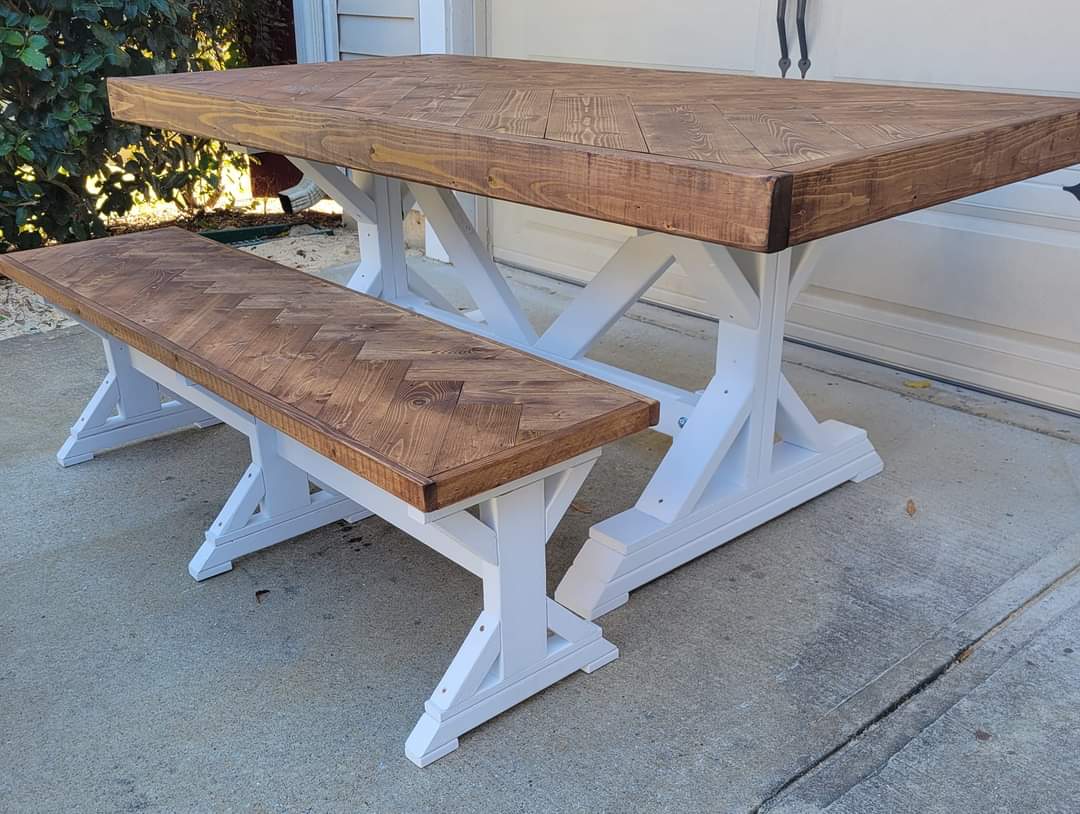
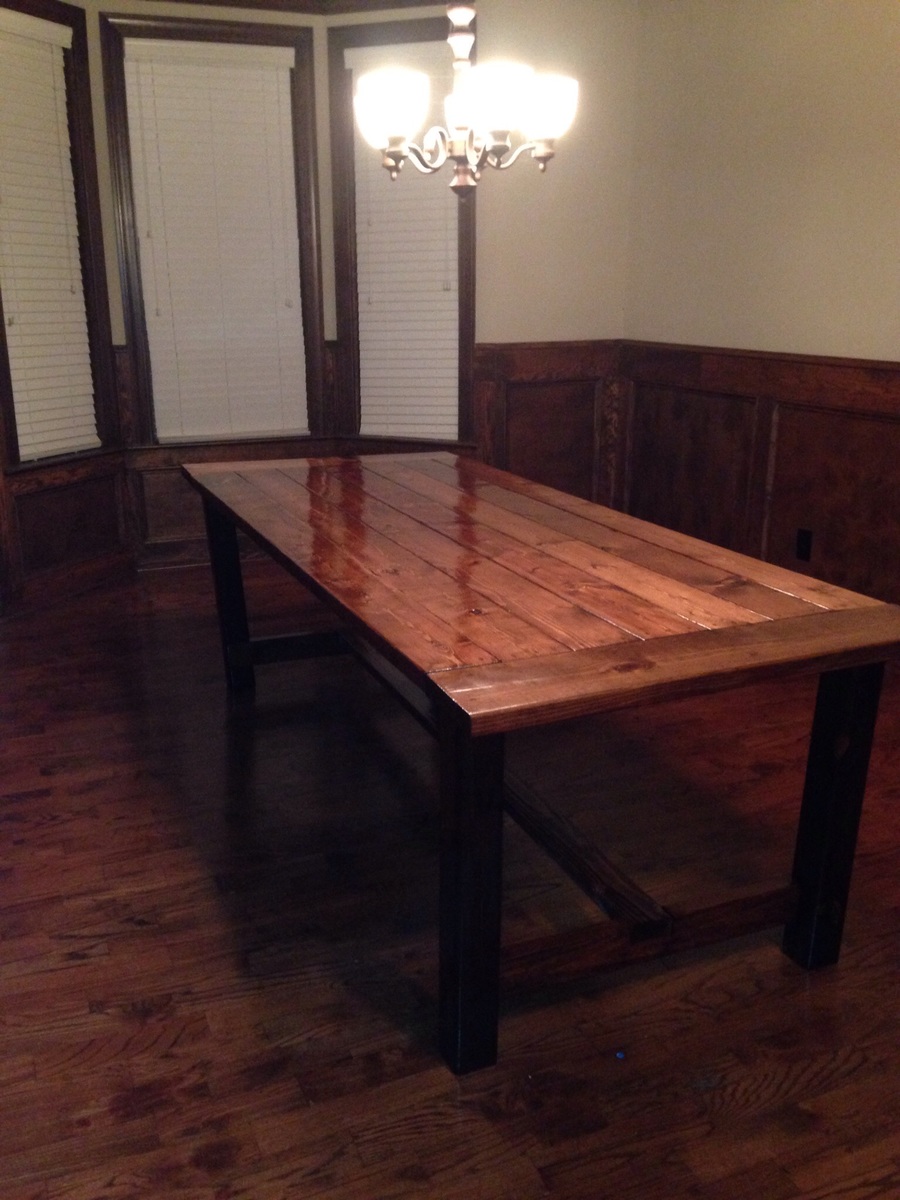
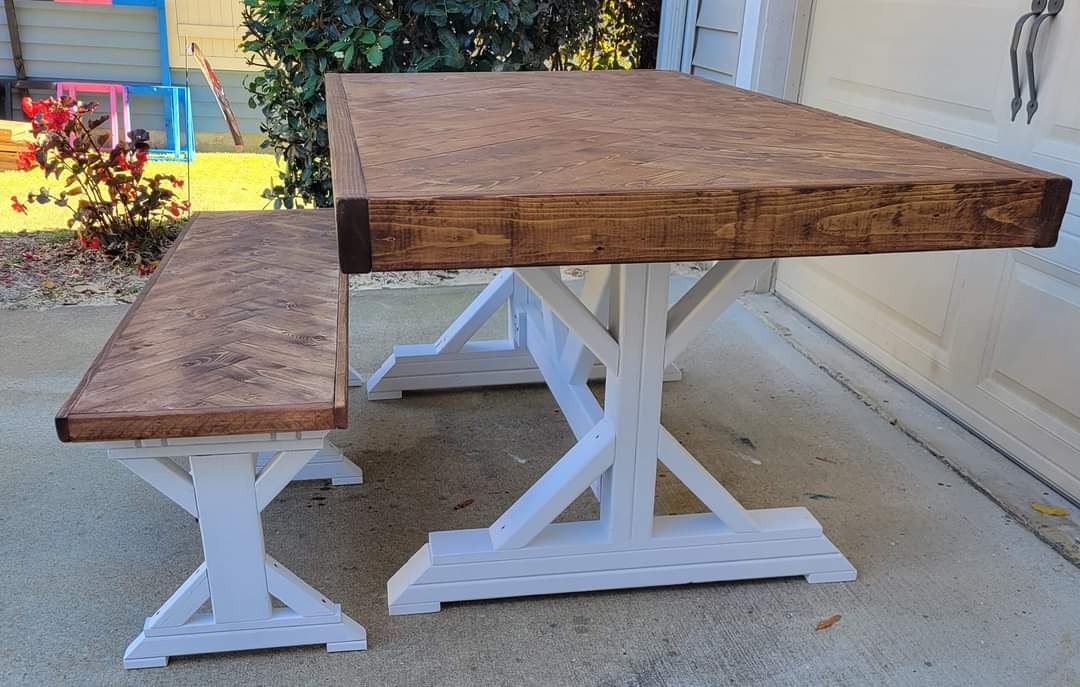
Put a fancy twist in this tabletop and bench top. We like the 45 degree angles that the top and legs both have to compliment each other. The top is stained with minwax special walnut.
Tue, 11/16/2021 - 19:18
You've been busy, this is gorgeous all the way around!

My 2nd project!


Comments
Ana White Admin
Fri, 10/15/2021 - 15:31
Amazing job!
Thank you for sharing, can't wait to see your next project! It looks so beautiful in your space!