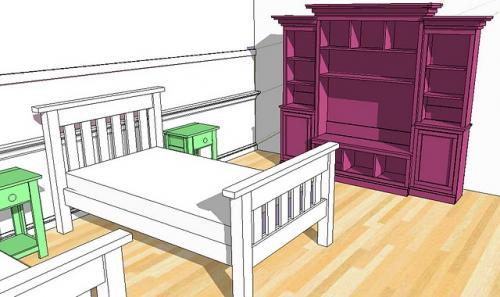
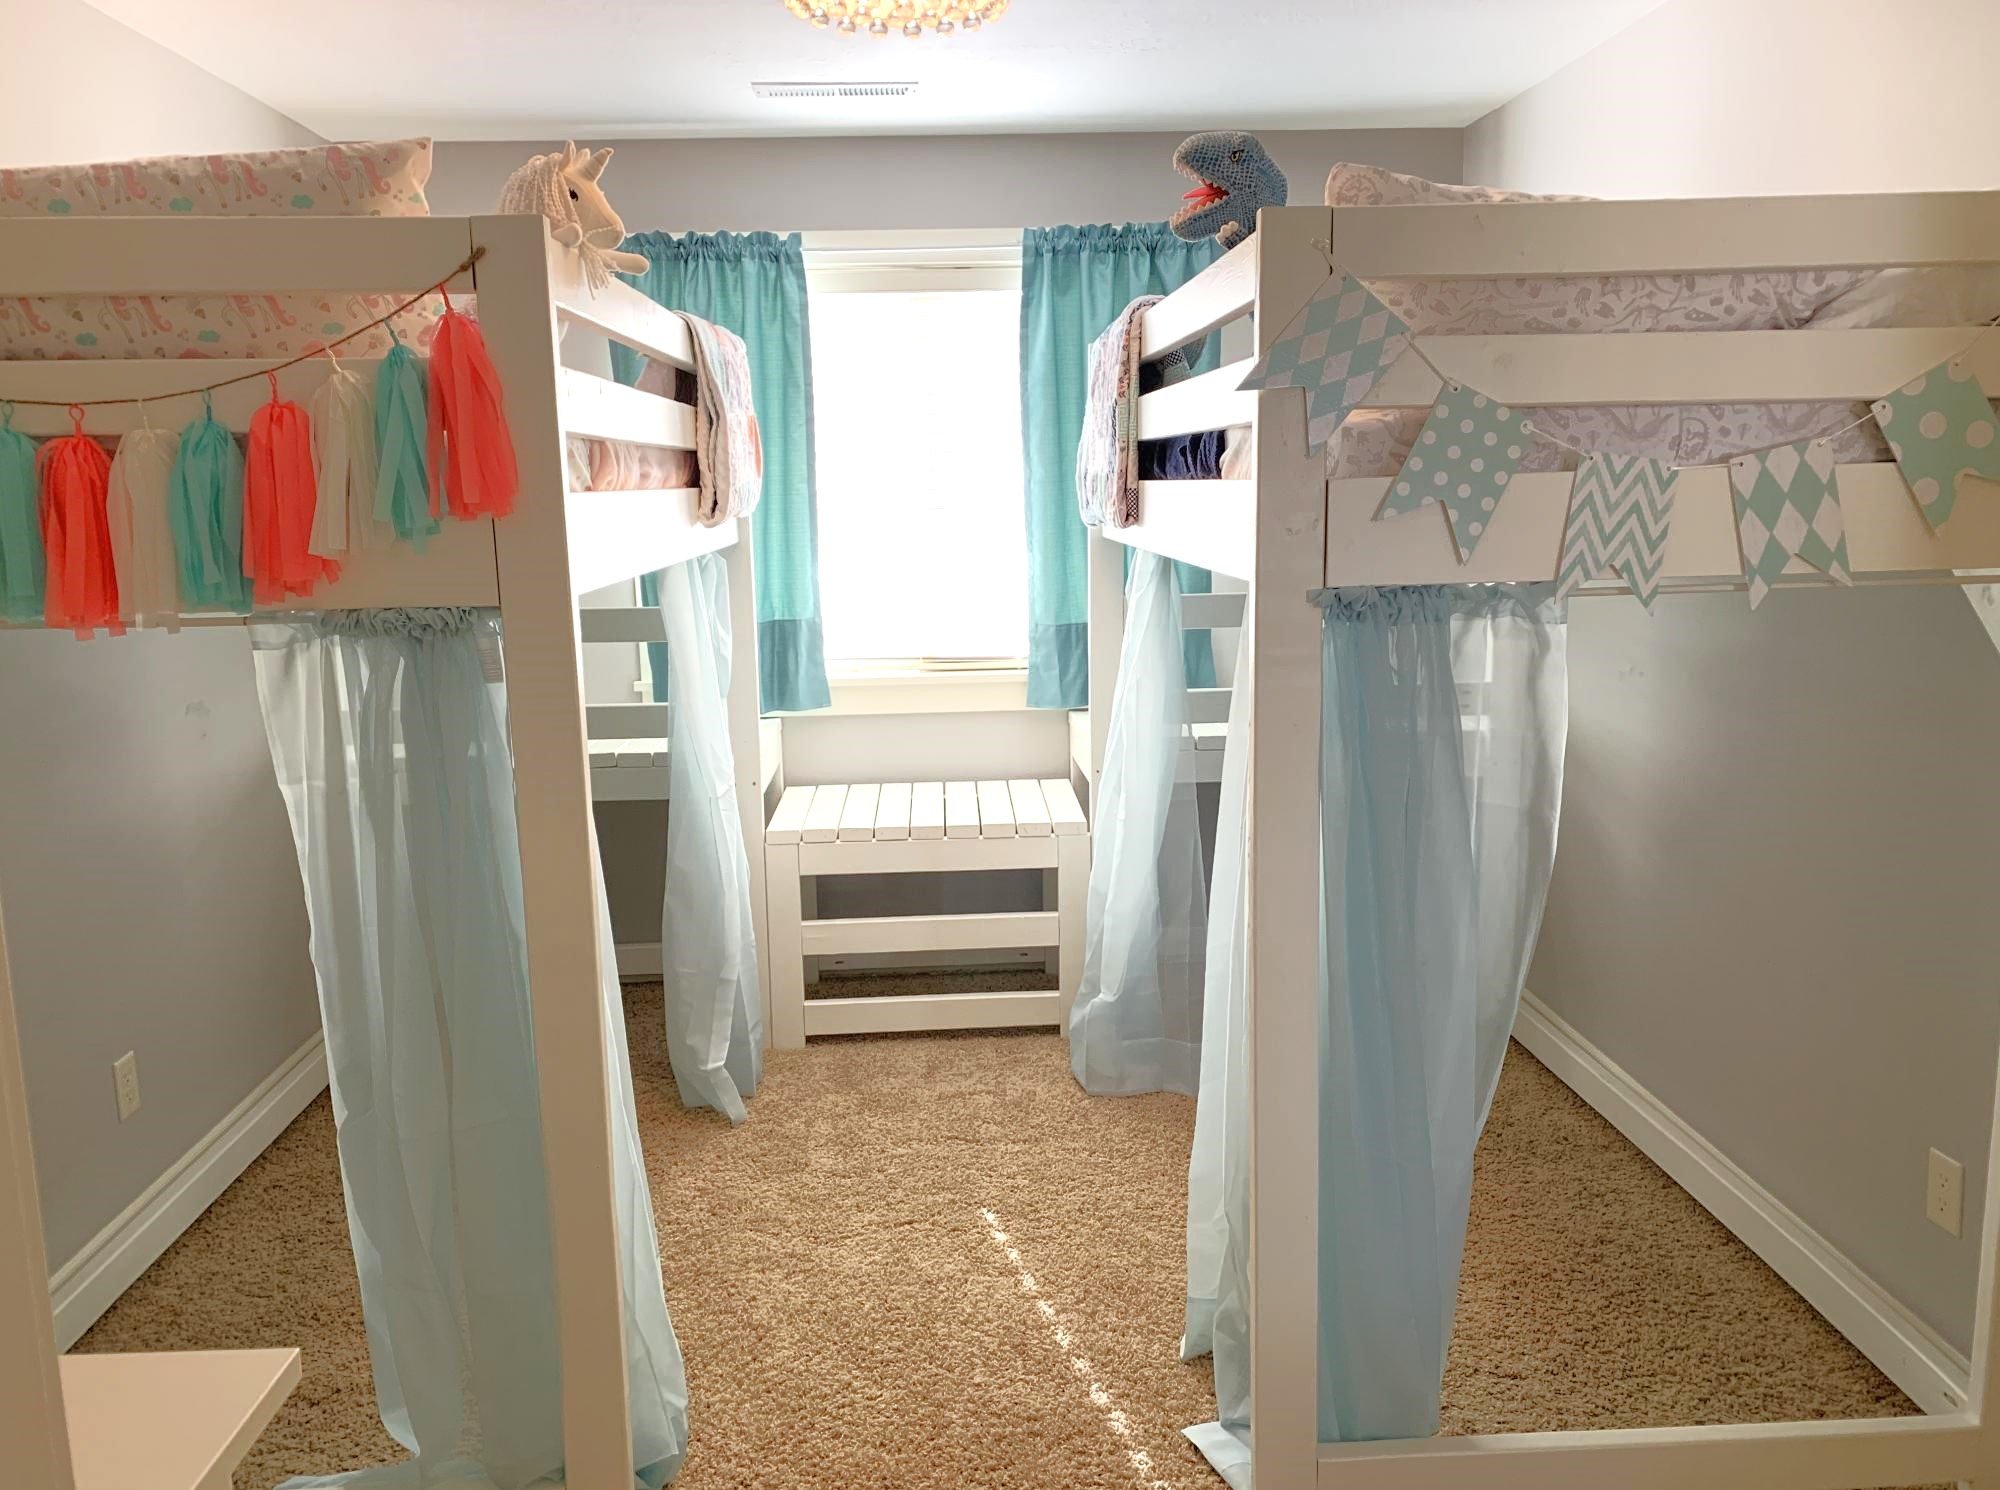
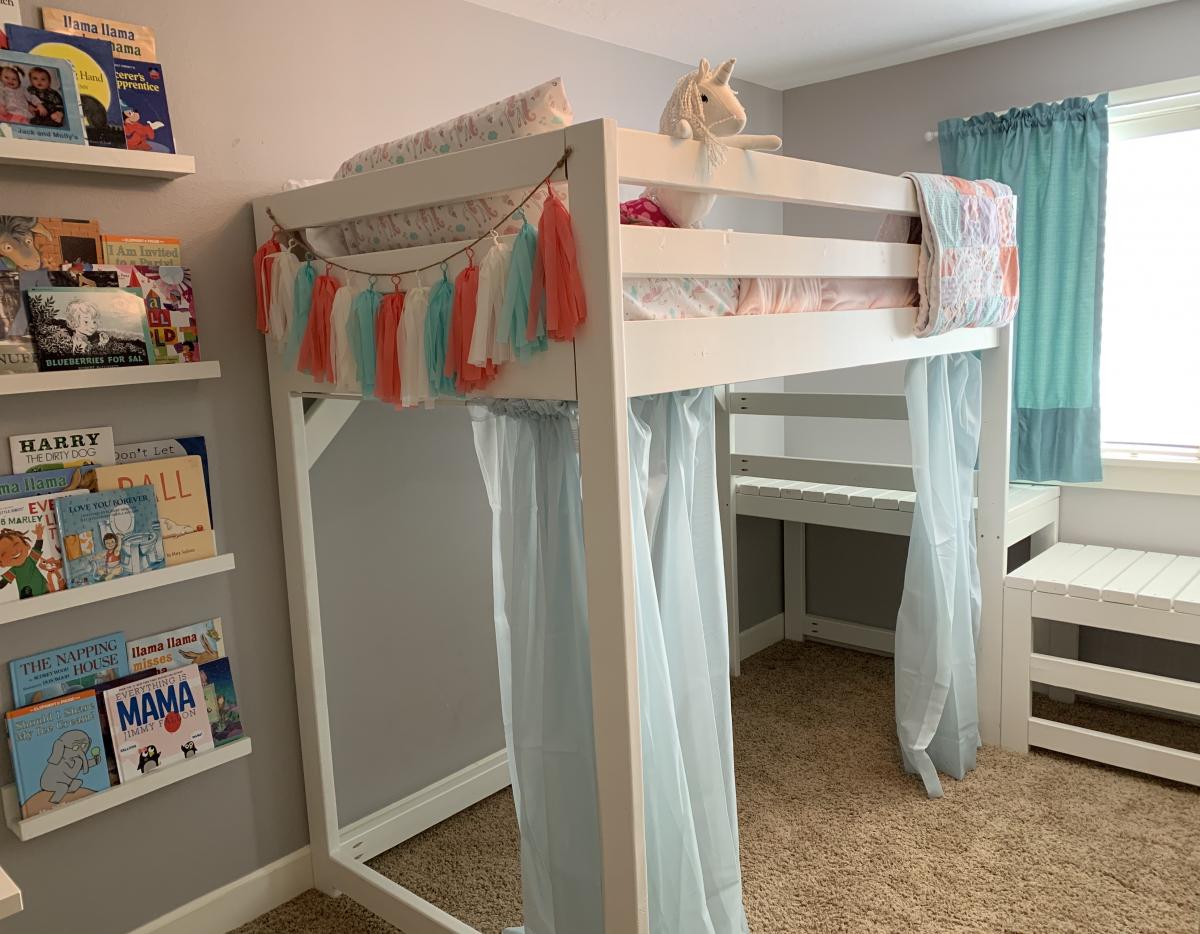
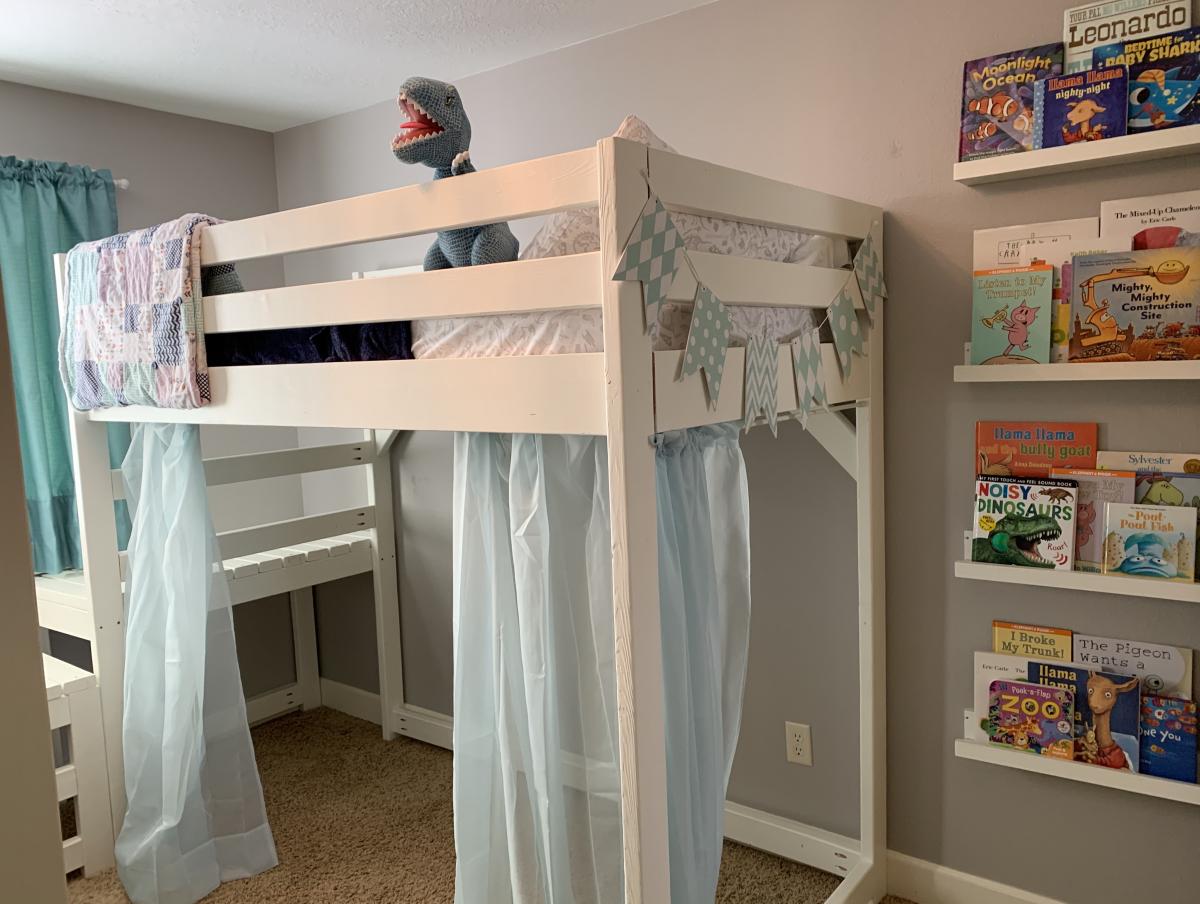
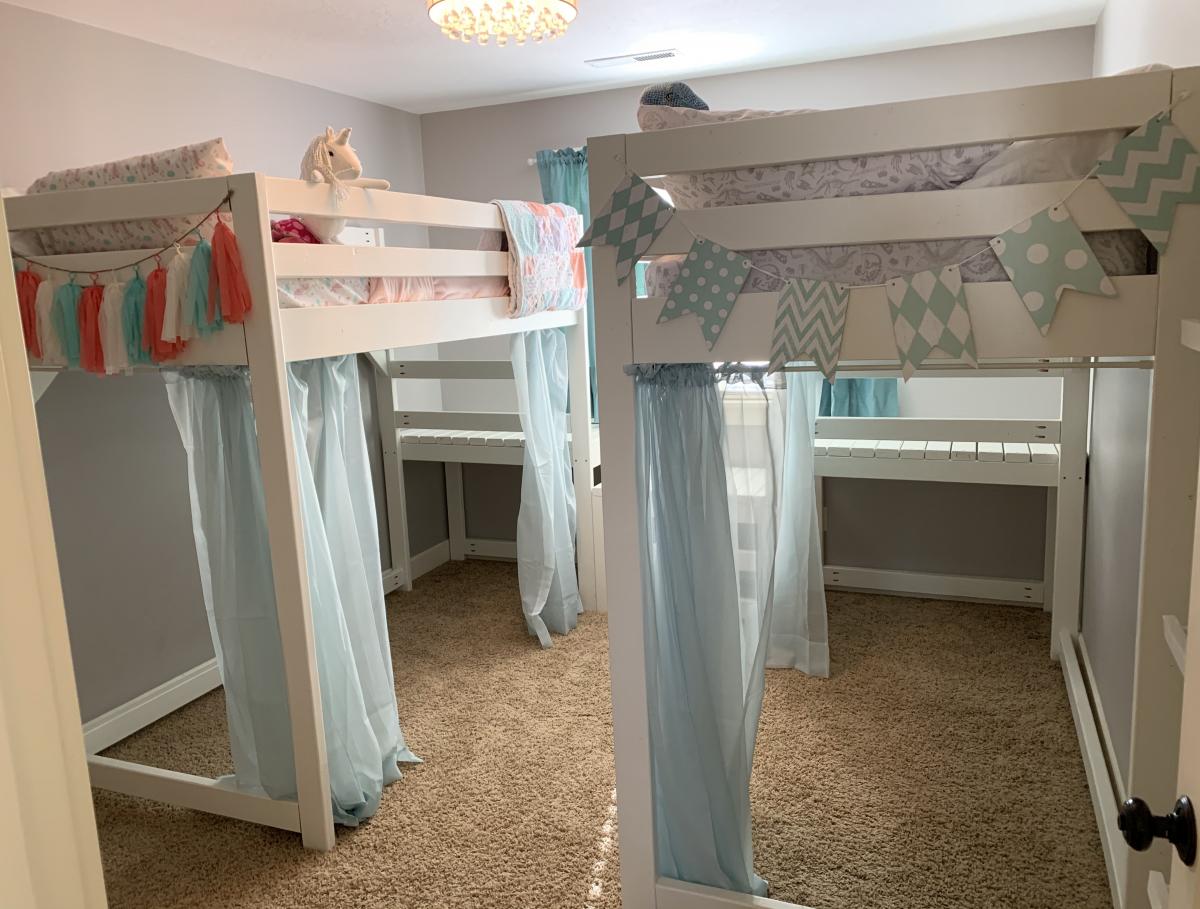
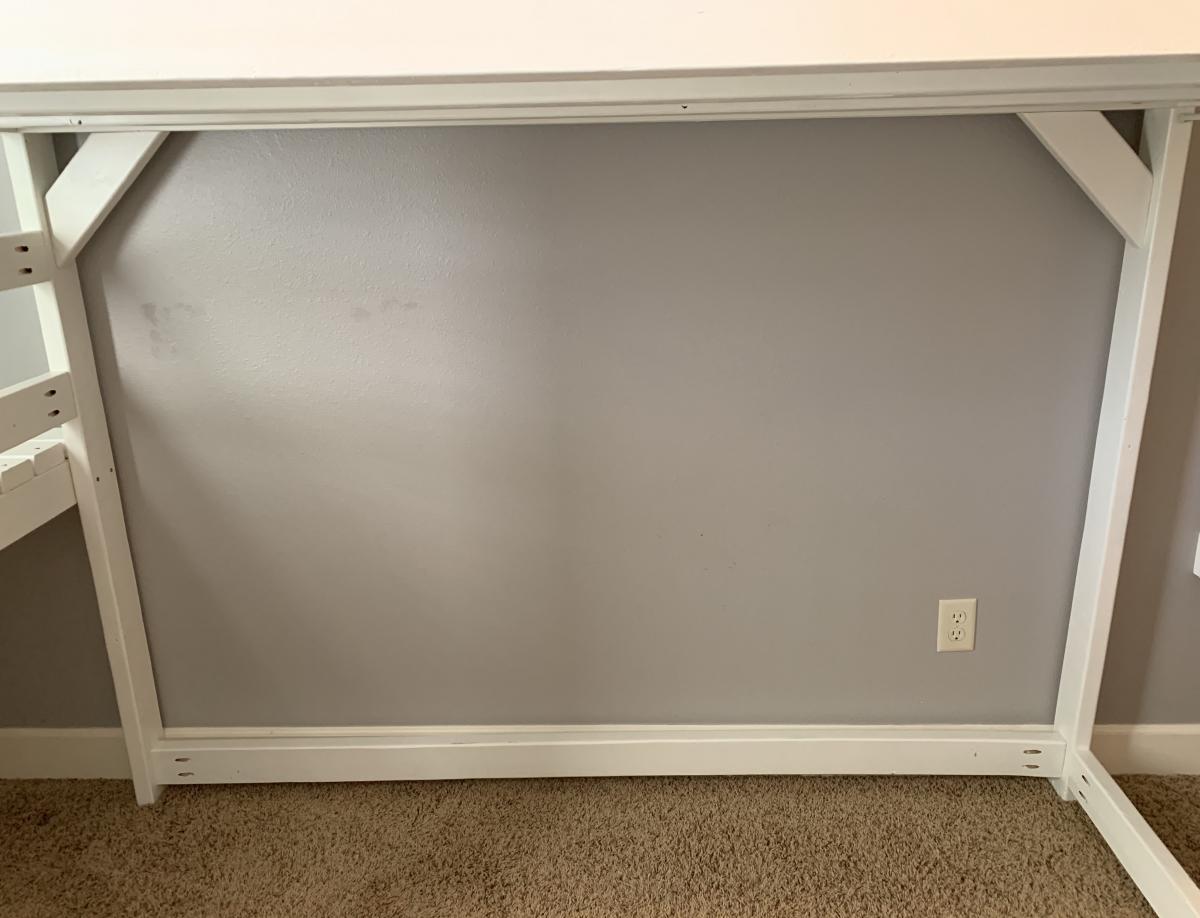
My twins just turned four and were still sleeping in their toddler beds, so it was time for an upgrade. They still want to share a room so we knew we needed to maximize space and open up some room for them to play. We chose the Camp Loft Bed but raised the height to 72" (with 53" of headspace) so we might be able to add a desk underneath when they get older.
Essentially, we made two loft beds with the platforms but omitted the stairs. Then we built a slightly lower platform to put between the two beds, which acts as a step down. Then instead of making stairs that jut out into the room, we added two 2x4s as ladder rungs to the lower platform. This also acts as a tunnel for the twins to crawl under to go between each other's play spaces. This also makes it so the beds can be easily separated if we ever need to put them in separate rooms.
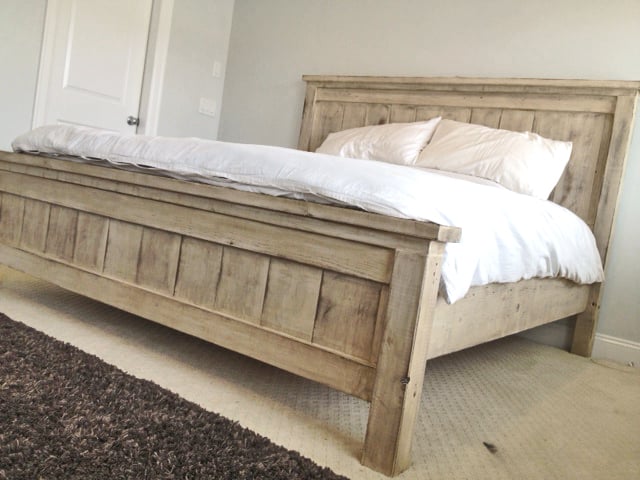
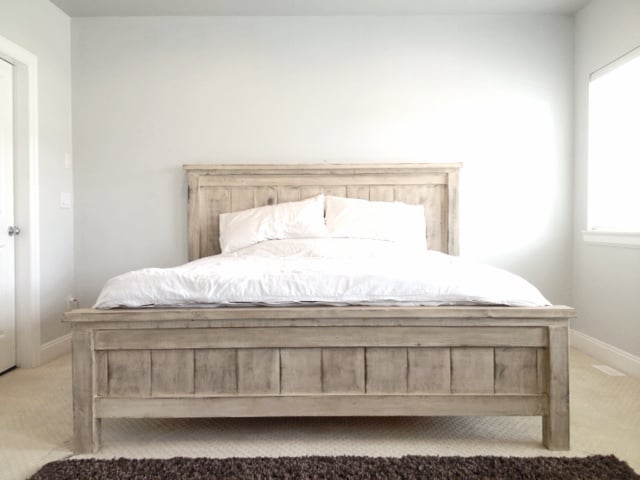
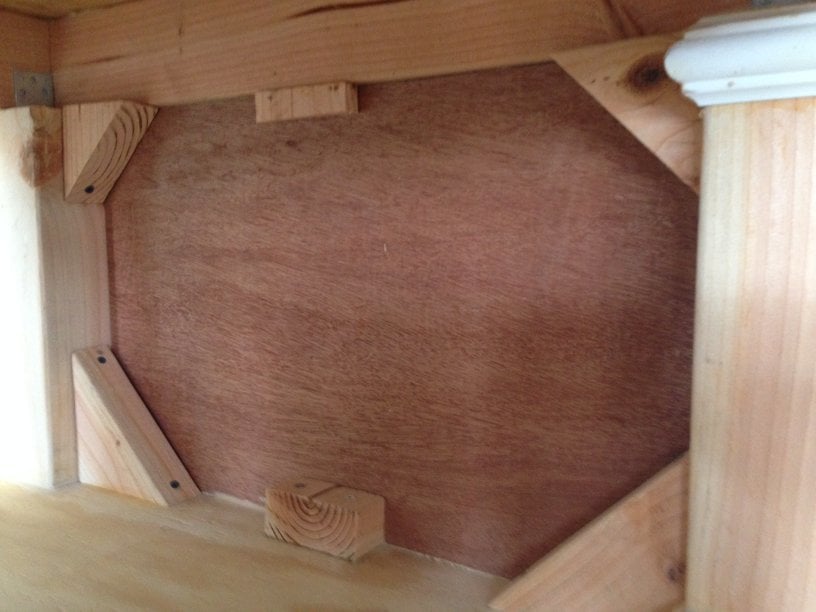
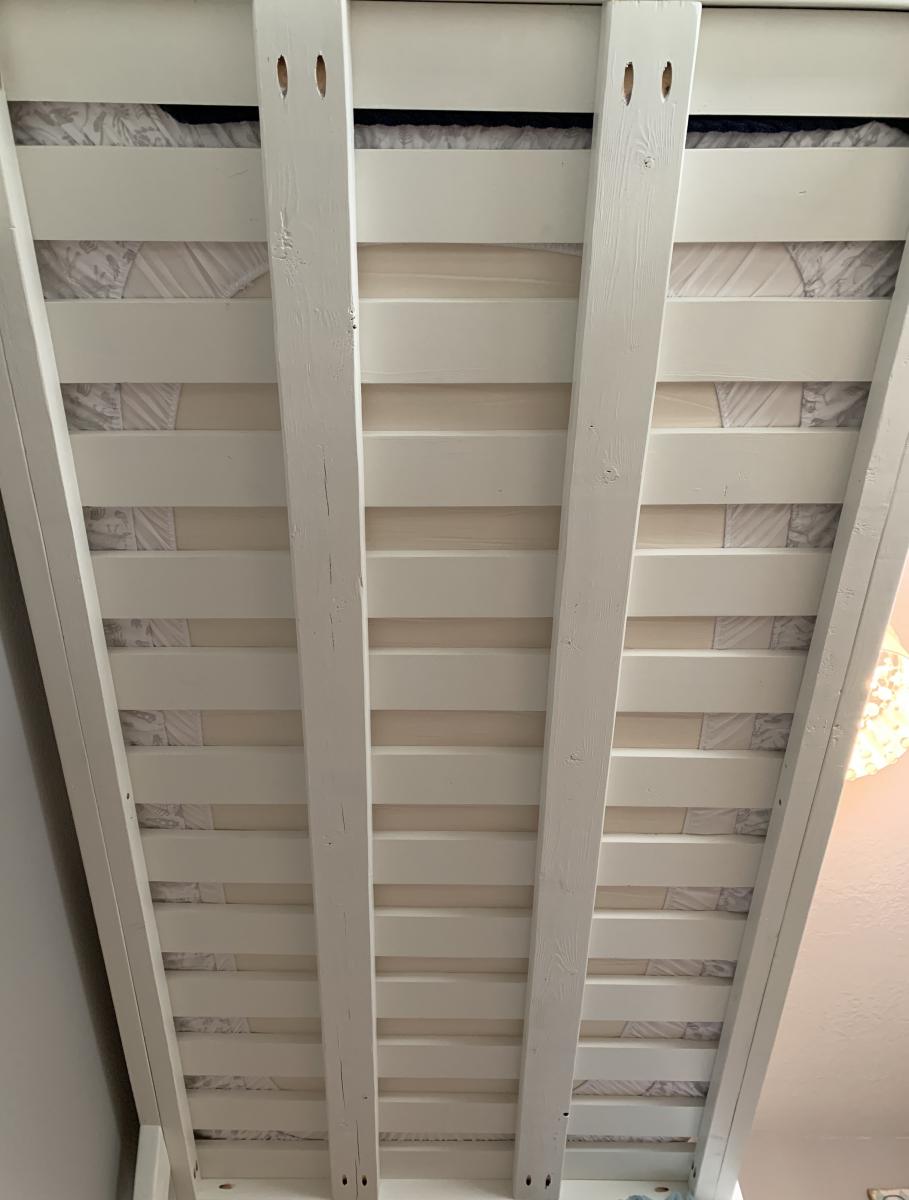
When it was complete we noticed one of the beds was a little wobbly, so we added diagonal braces in the corners and another 2x4 across the length of the bottom to help stabilize it. We also chose to use 1x4 pieces of pine as the slats for the mattress to lay across, but they didn't feel like they would support our weight if we wanted to read to them in bed. So we added two more 2x4s underneath the slats the entire length of the bed, which has added a ton of support.
We stopped keeping track of exactly how much it cost, but it was close to $400 for both beds combined. And it took most of my husband's free time for two weeks, but most of that was painting two coats of paint on every piece before assembling. First he cut all the pieces to size, drilled the holes with a Kreg Jig, and then painted. To make the painting more efficient, he put a bunch of screws into boards so he could paint all the exposed sides of the lumber, flip, and leave them to dry. Then we assembled the beds in their room.
The twins love their new beds, and we love how much more space they have to play in their room! We were worried the room would feel too crowded but with the openness of the plan and the space that was opened up underneath, we think it turned out great! Now we can move in a bunch of their toys and reclaim some of our house! Thanks for the great plans!


Comments
jhavinga
Thu, 05/22/2014 - 16:34
Thank You Ana.
Thank you for sharing all of these awesome projects. I was always hesitant when it came to wood, but now I cant seem to stop!
JGoates
Tue, 06/10/2014 - 08:13
More about your finish
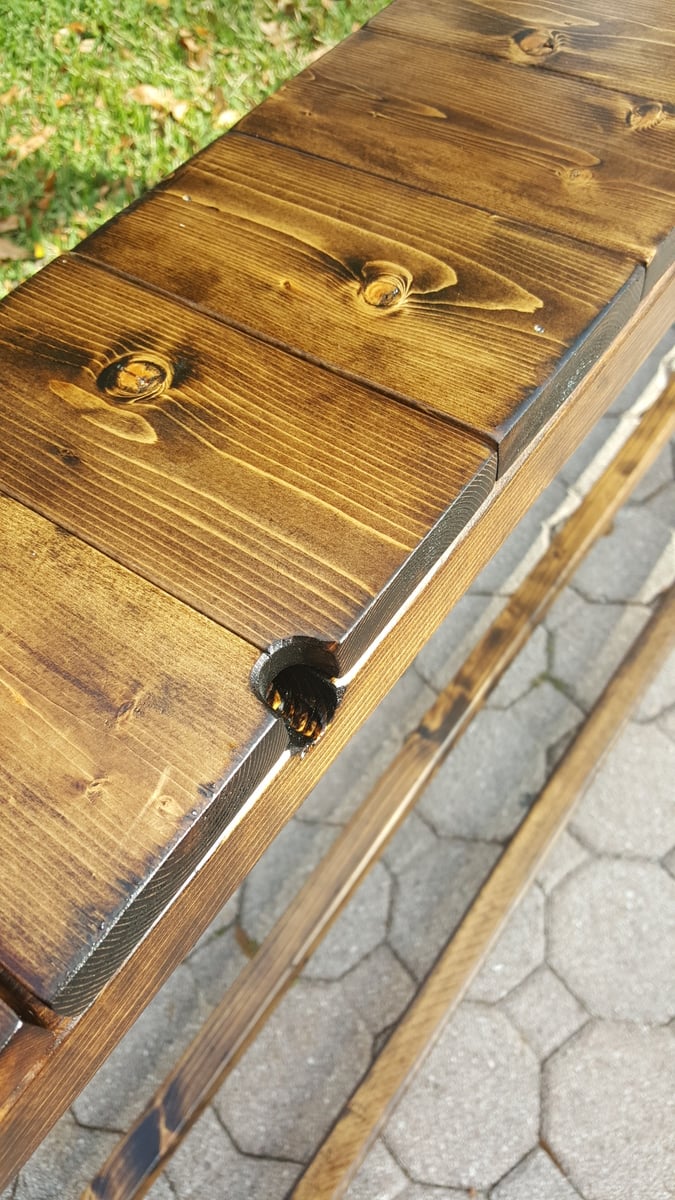
How exactly did you achieve this finish? sand first, paint second, sand again and then stain?
In reply to More about your finish by JGoates
jhavinga
Wed, 06/11/2014 - 13:43
How I got the finish!
(You can do all this before or after your project is put together or not.)
Be sure to do a test piece before hand so you can see exactly what your getting :)
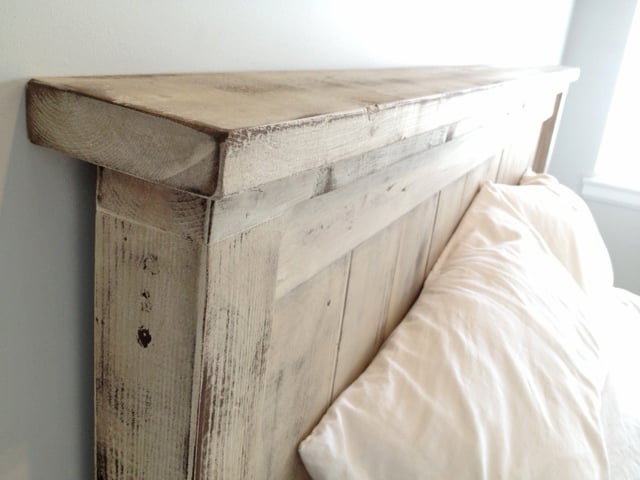
The first step I did once the head board and foot board were put together, was to sand any sharp edges or corners. I liked mine rounded and worn looking. I did not sand anything else.
Second step is to paint 1 even coat of a basic white latex paint.
Third step is to sand away some white paint. because we didnt sand it before hand the grains in the wood will be very bumpy. so the paint on the grains will sand off while the paint lower than the grain will remain. makes sense? hopefully i explained that right!
Fourth step is to now wipe on the stain of your choice. I went with Dark walnut. It stains the paint a bit bringing the white to a gray/brown tone. and stains the wood dark walnut so the grain patterns show up dark.
Let me know if you have any other questions and good luck!
jbogan15
Thu, 01/29/2015 - 07:49
sanding
What grit of sand paper did you use to sand off the white paint? and did you sand it by hand? Also, for the dark walnut stain, did you wipe off immediately or leave it on for a bit before wiping? Beautiful bed, I want to achieve this look!
In reply to sanding by jbogan15
jhavinga
Fri, 02/06/2015 - 09:15
Hi jbogan15, thank you!
Hi jbogan15, thank you!
For sanding I used a palm sander with 120 grit to get the job done a bit quicker, than went over lightly with 220. When staining I actually just dipped a rag in the stain and would wipe the stain on. =)
Good luck!
Justin
kosborn
Fri, 01/27/2017 - 11:05
SIde rails
Love this look! Exactly what I am trying to achieve...A few questions about the side rails. How high did you connect them to the 4x4 posts and exactly how did you connect them? Did you use brackets or screw right into the posts? Thank You!
barkleyl
Thu, 09/05/2019 - 15:07
Mattress height
I have seen several beds from Anna White. I was wondering if the frame require a box spring mattress or not. If not, are the beds lower than what a traditional mattress and box springs are. Thanks !