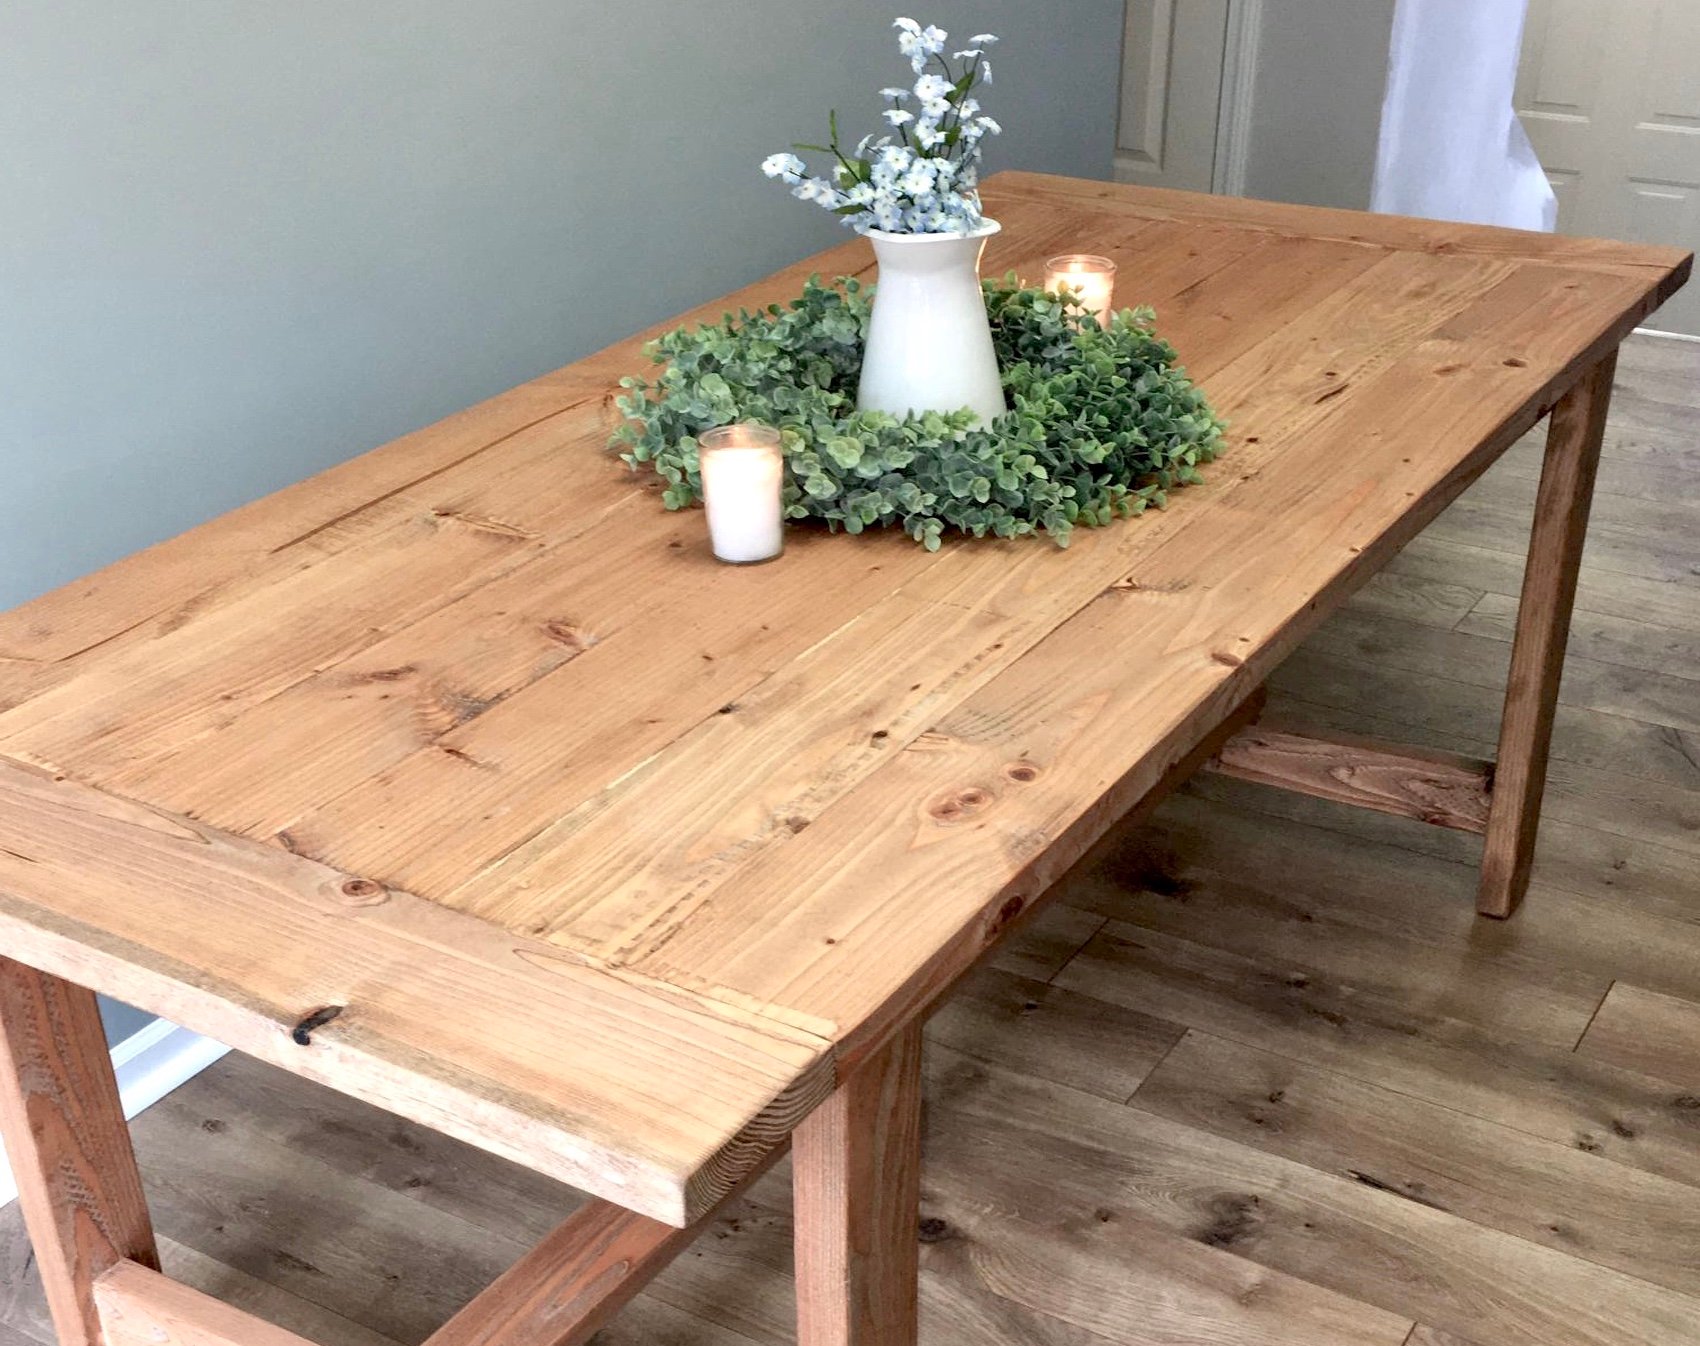
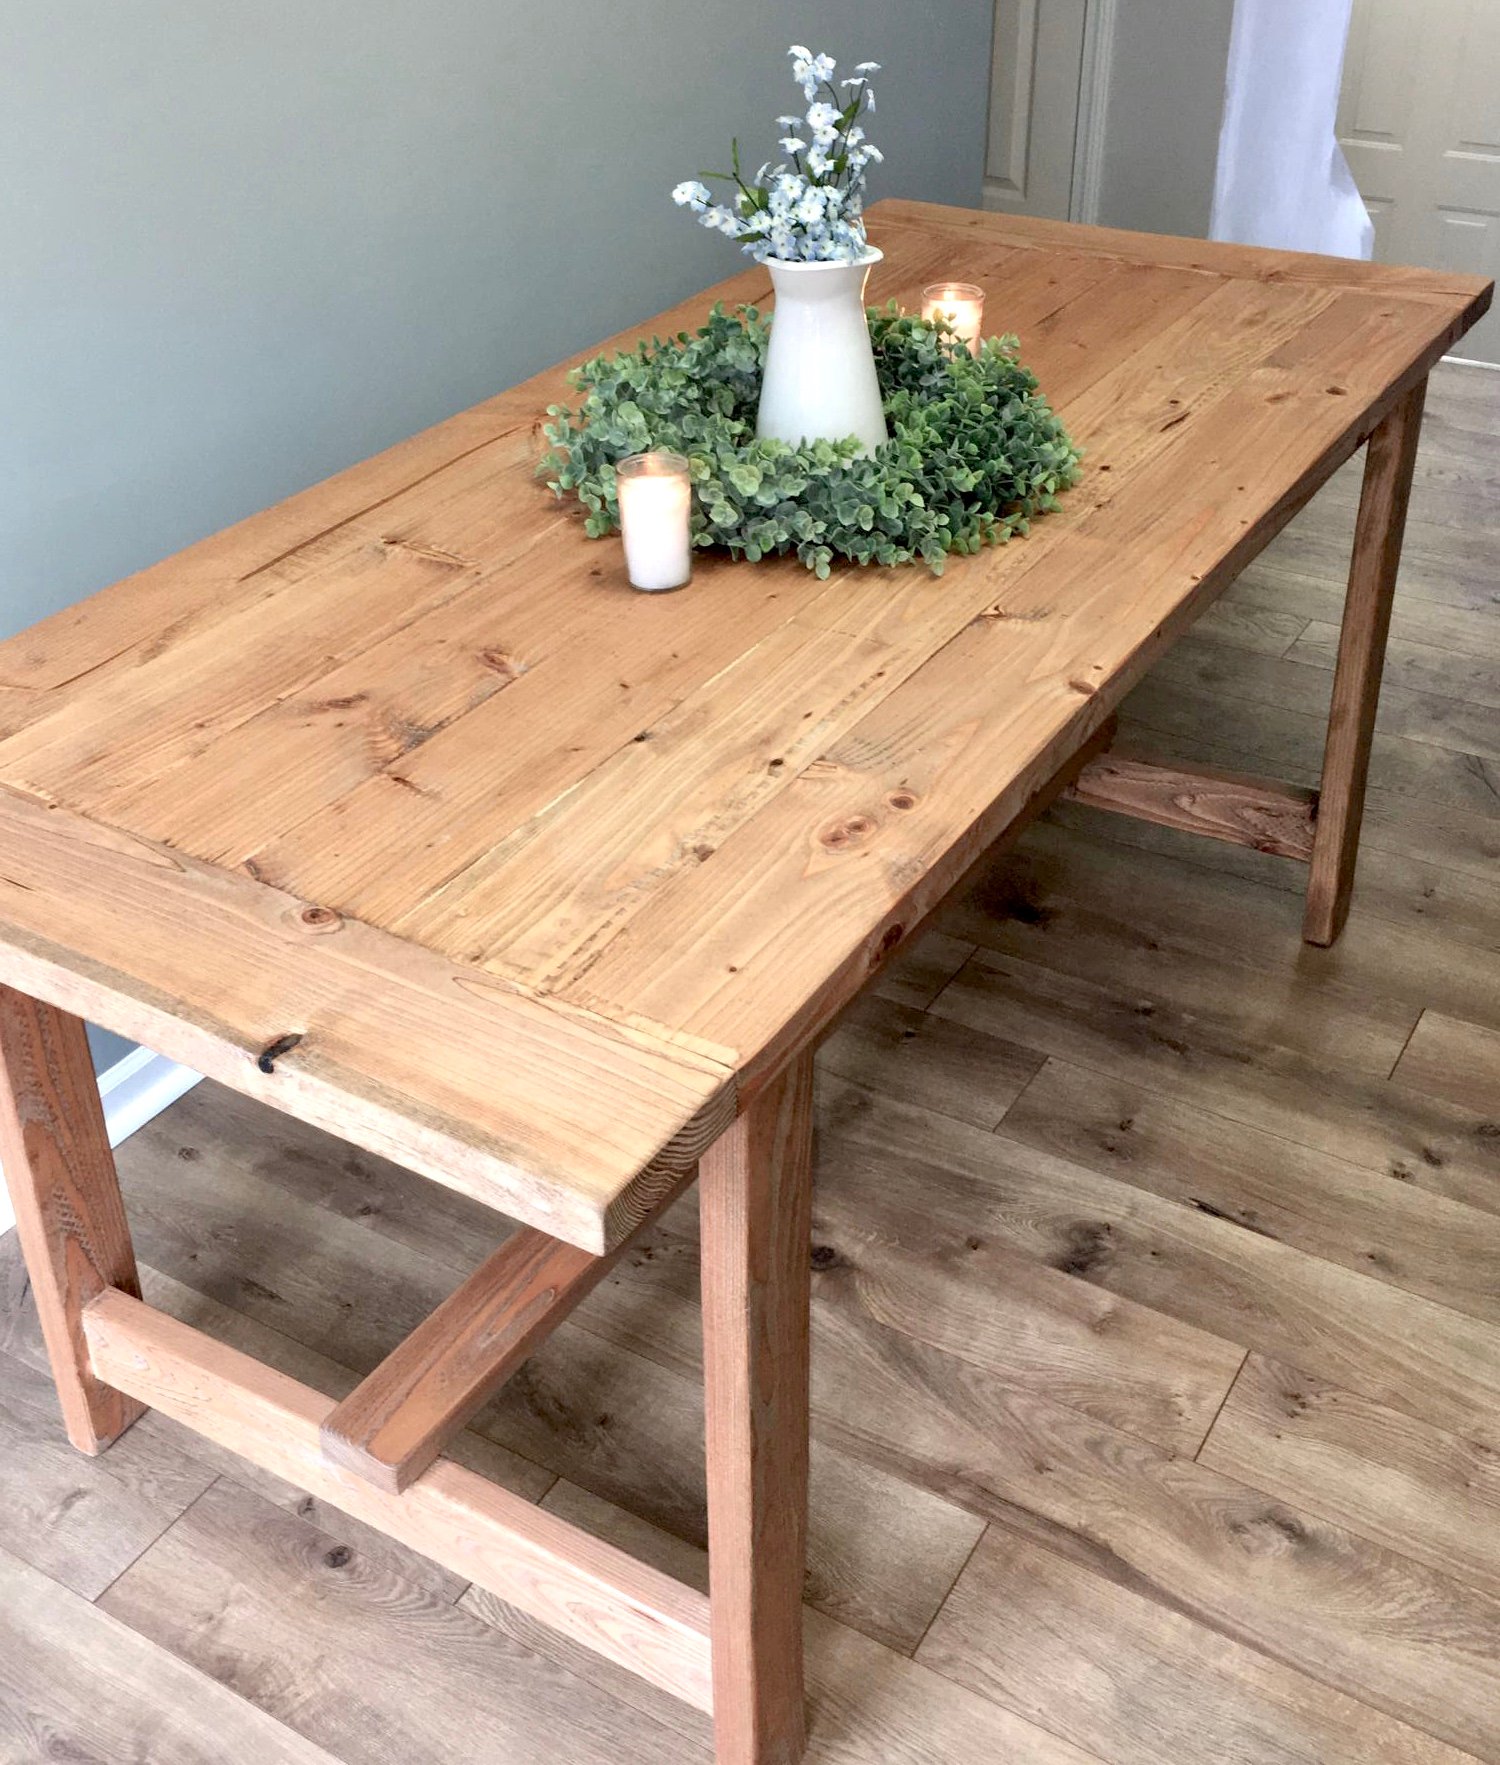
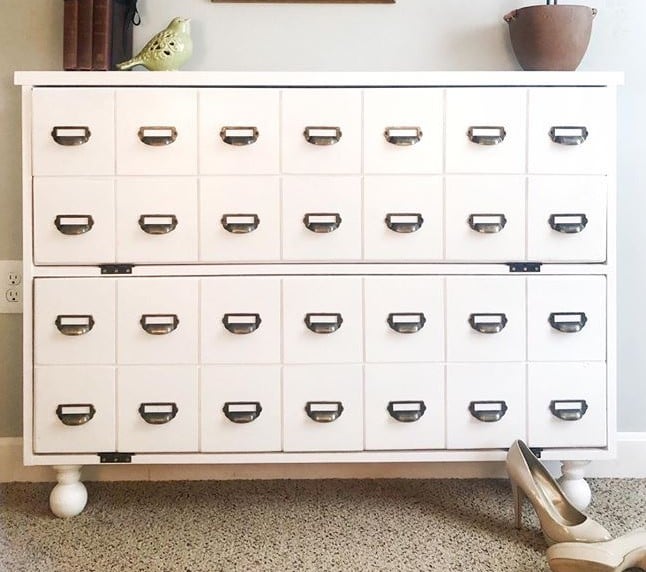
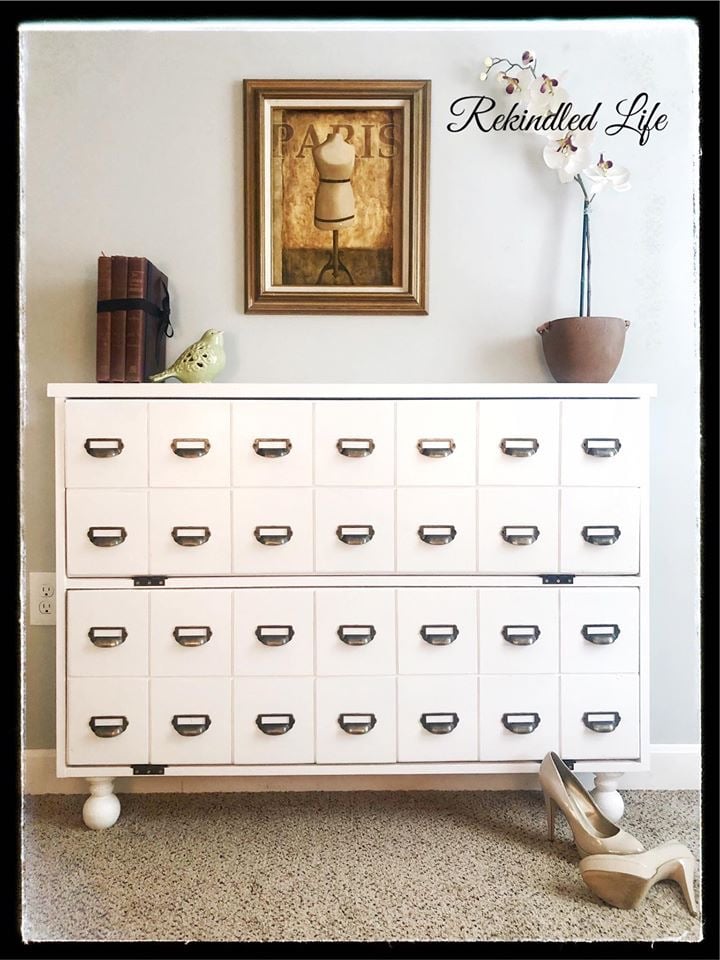
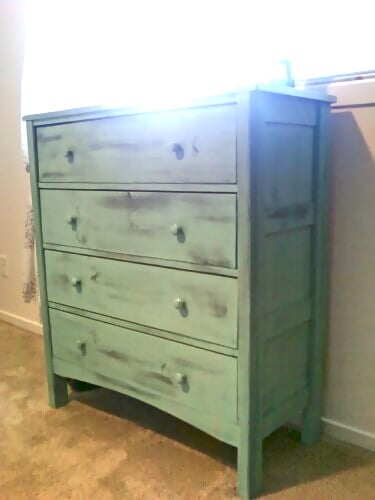
Laundry bins
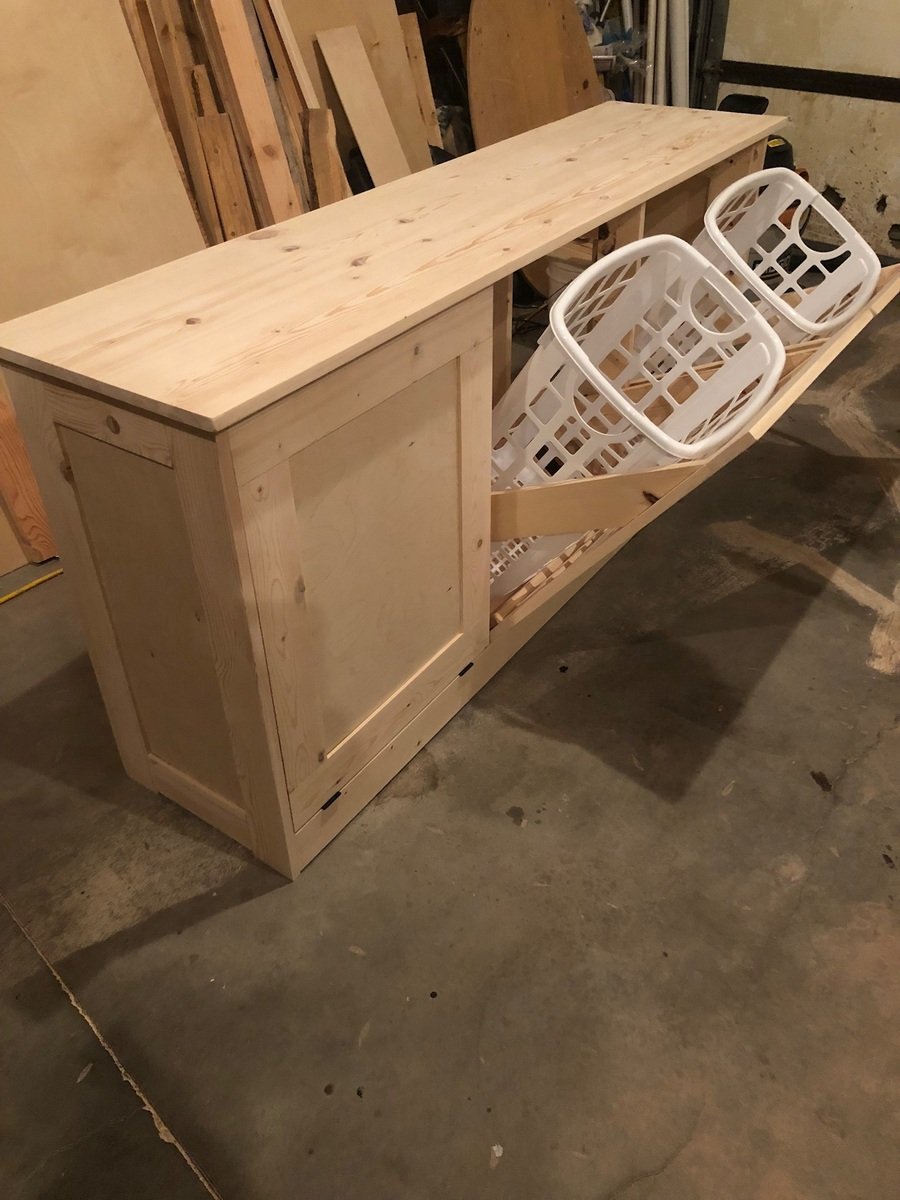
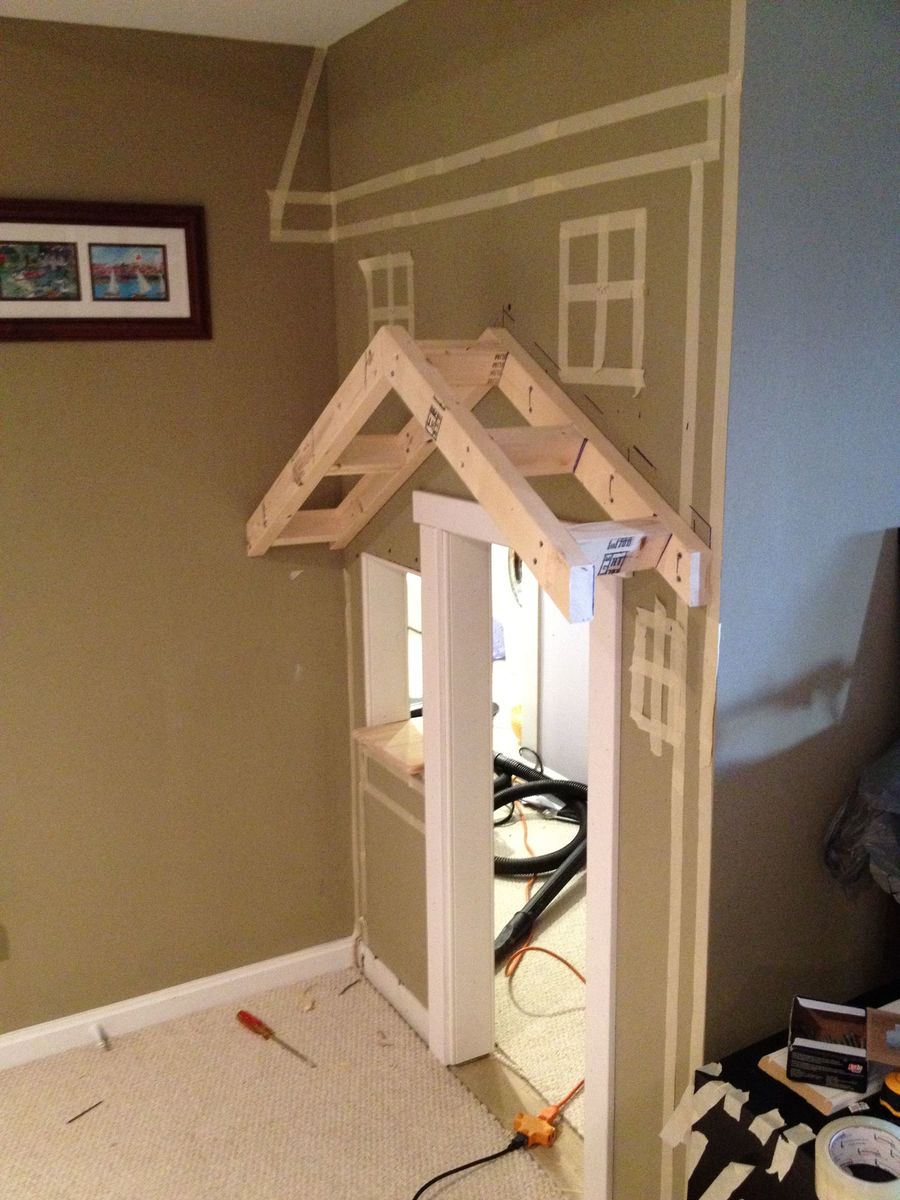
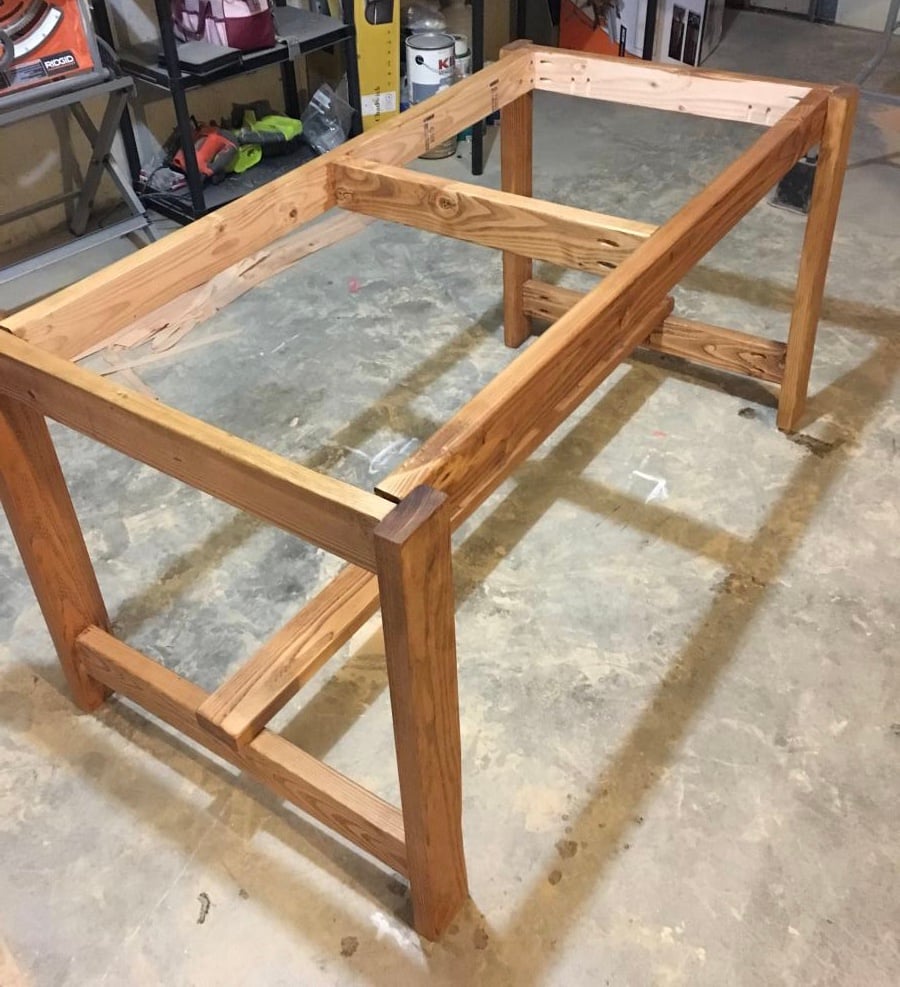
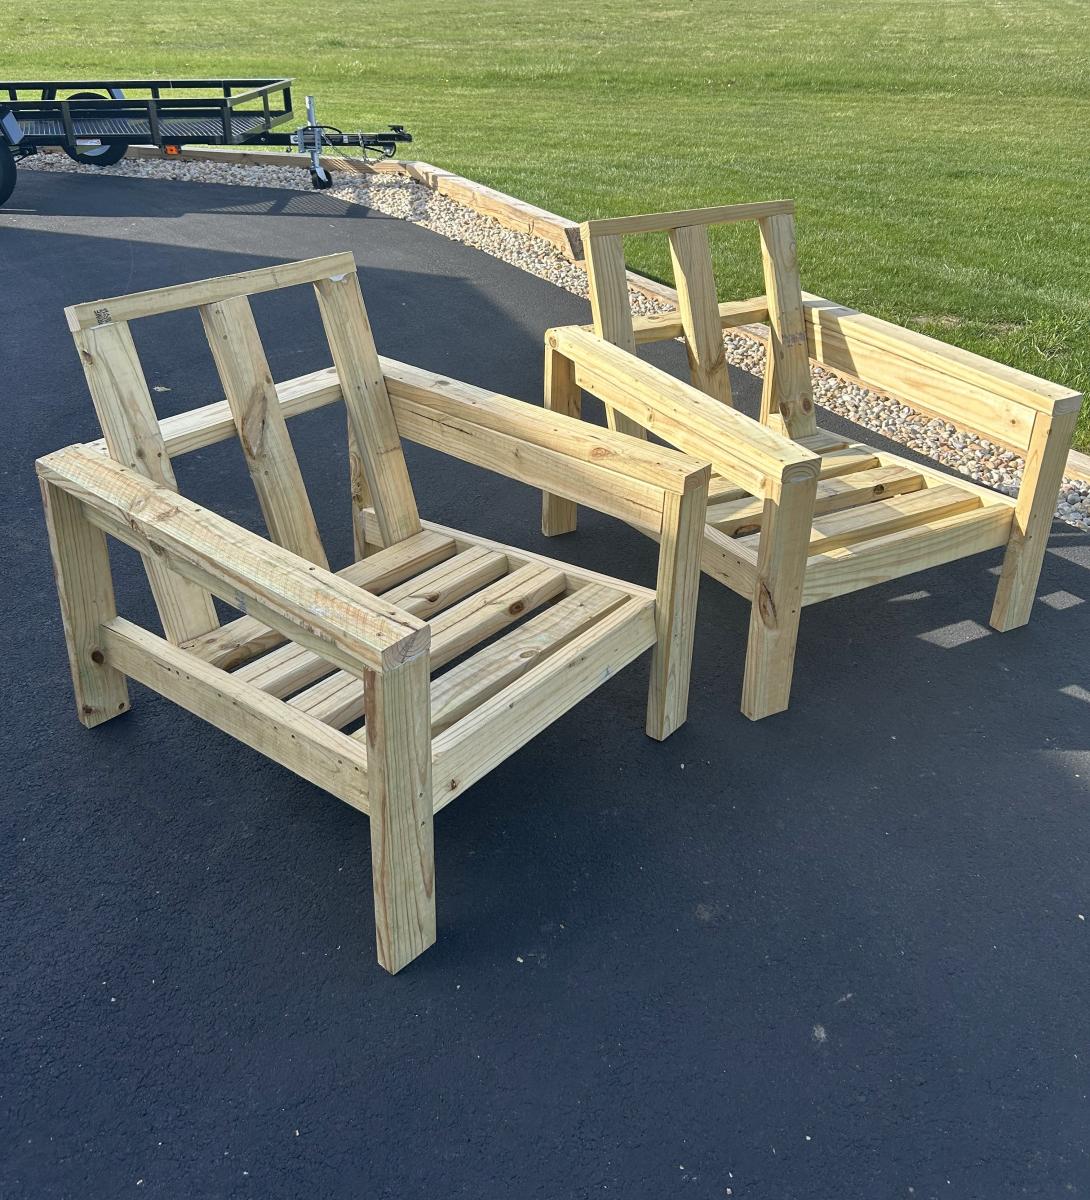
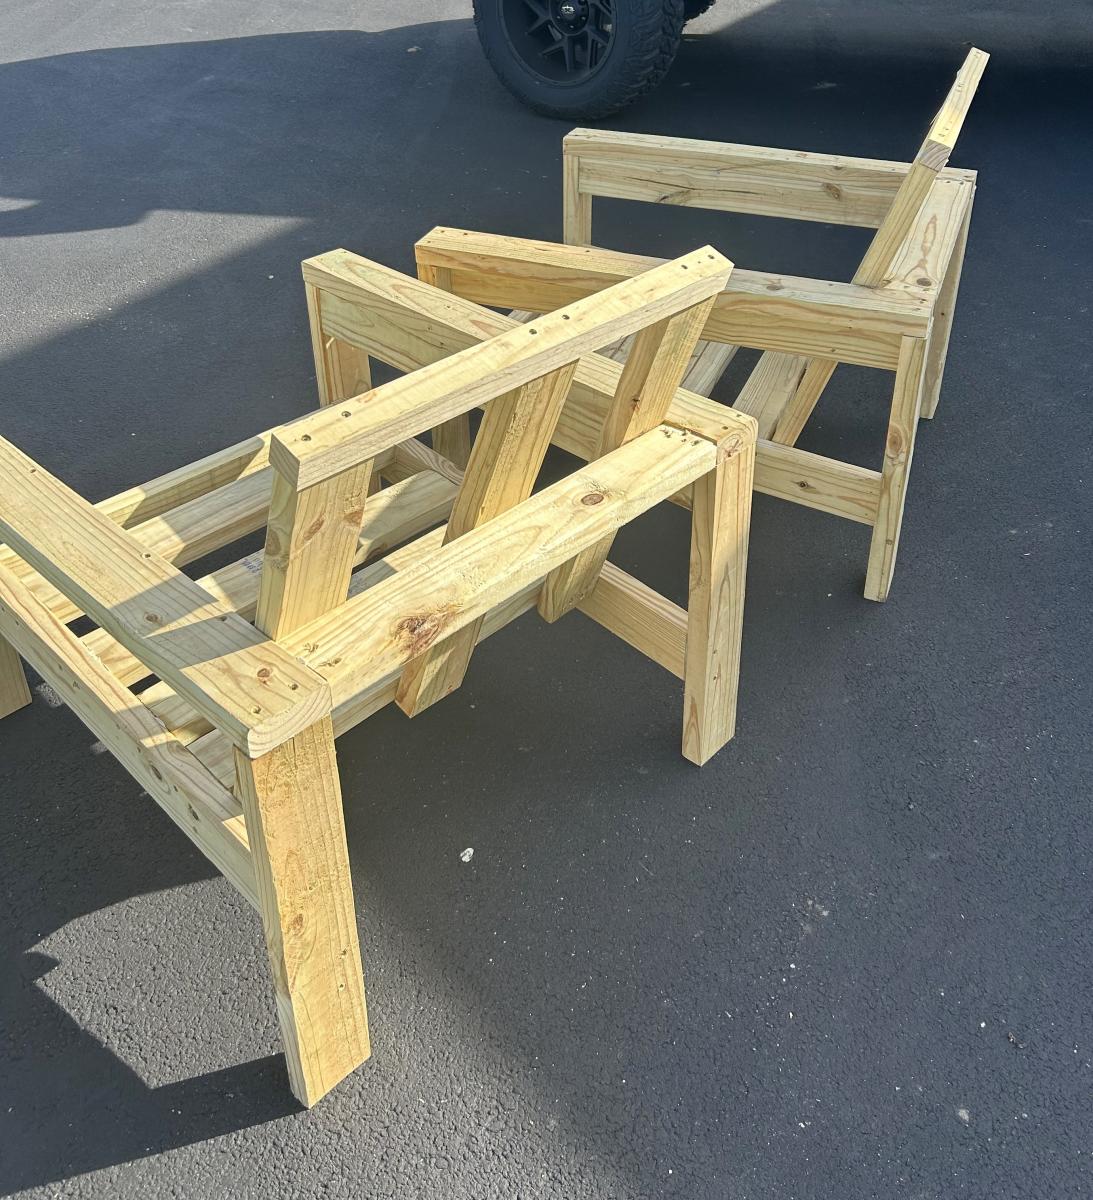
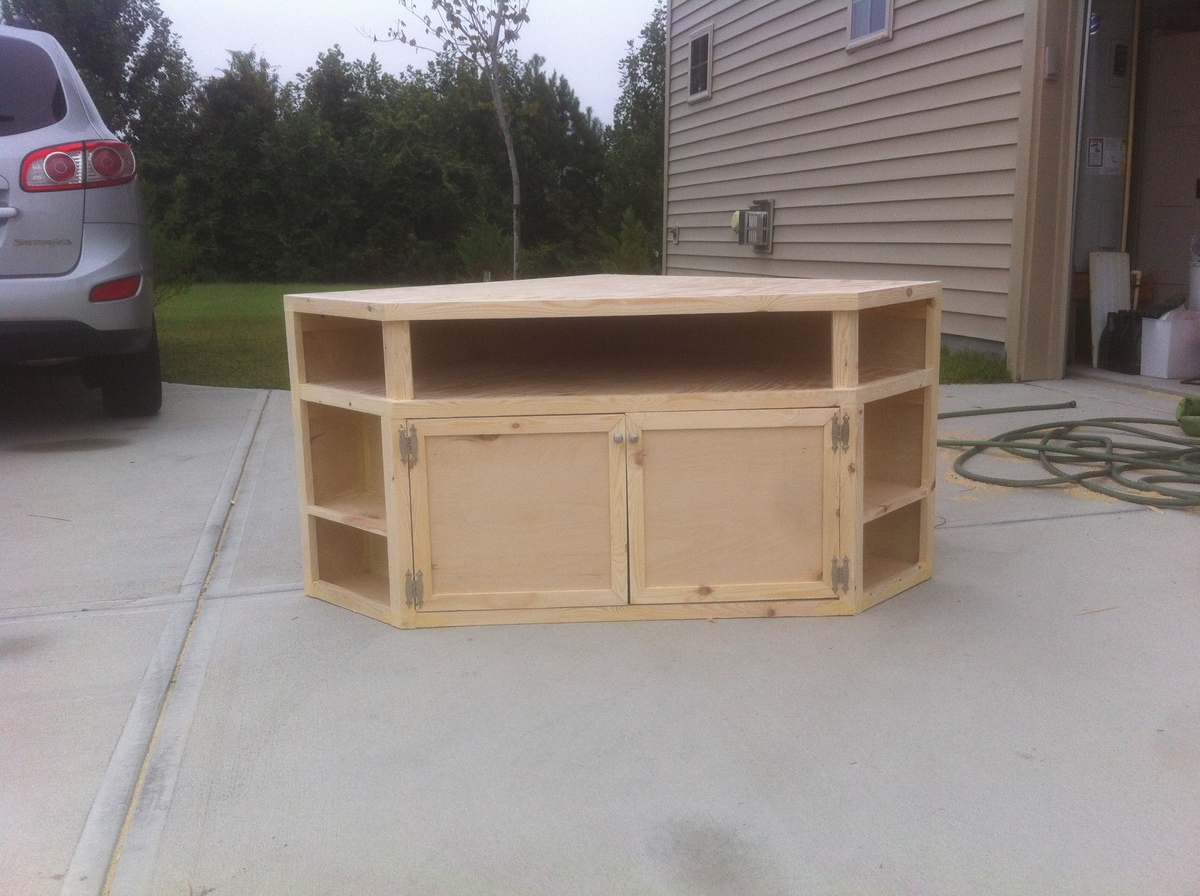
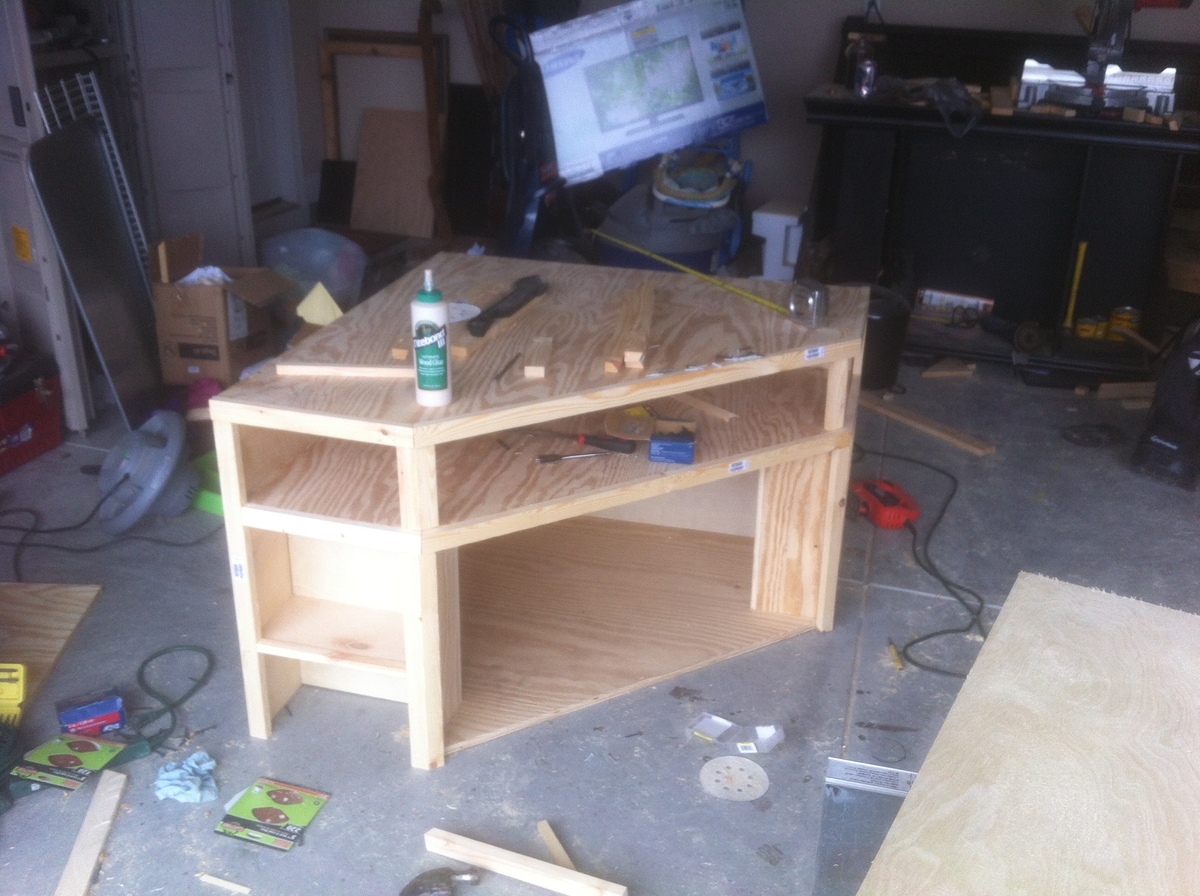
This was a build from a picture and made to fit into a space we have in the laundry room. Used the Kreg jig for much of it.
Estimated Time Investment
Week Long Project (20 Hours or More)
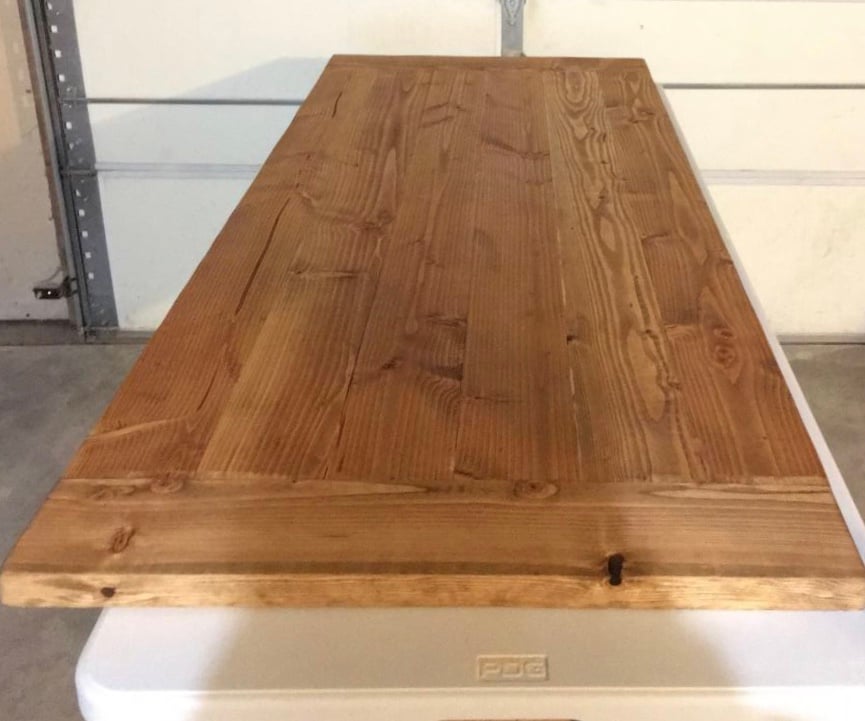
Finish Used
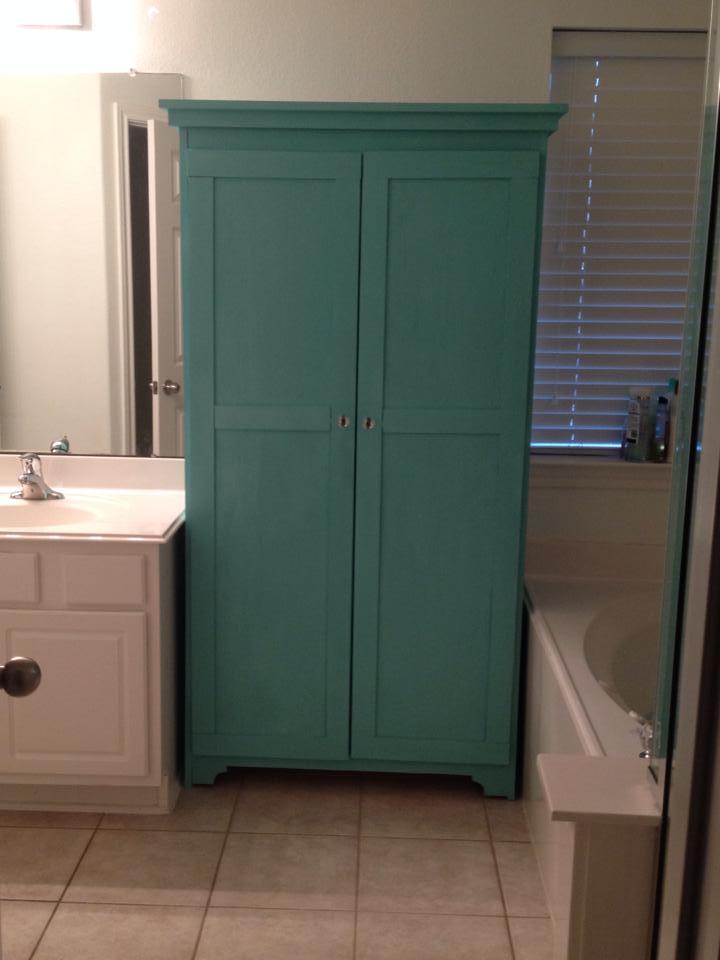
Will be painted and distressed
Recommended Skill Level
Intermediate


Comments
Ana White
Tue, 06/05/2018 - 14:52
Amazing DIY Laundry Bins Sorter Cabinet
Awesome laundry sorter! Can't wait to see the paint/stain!
Thanks so much for sharing a brag post - much appreciated!
Ana
thecrazyrican
Wed, 08/18/2021 - 11:47
Like it
Very nice... DO you have the plans for this build???