Bookcase
My wife wanted a bookcase for her office. She had an idea on what she wanted, so this is what I came up with.
Made the case with 3/4” MDF.
My wife wanted a bookcase for her office. She had an idea on what she wanted, so this is what I came up with.
Made the case with 3/4” MDF.
Easy to build workbench. I added an extra 2 1/2 inches (width) to the top plywood cut. This gave me a 1 1/4" lip to the front and back sides. I wanted to be able to clamp on all sides of the bench. Also added casters since I wanted to use this as an outdoor table for entertaining if needed and to simply have mobility with the bench. So far I love it!
I was so thrilled to see this cut out, modern headboard included in Ana's plans, since I had been lusting over the expensive West Elm version for months. It was really easy, and I'm thrilled with the results.
This is another piece for my living room to go along with the console table I've already finished. My hope is to replace all of the furniture in the living room with matching pieces to finally have a house that doesn't look like it was decorated through the Salvation Army.
This one has the specific purpose of a toy box for our two year old. Now she has a place to store her toys that she keeps in the living room instead of just piling them up in that corner. It's based on the 6 cube bookshelf design and finished with three coats of Varathane's Kona poly blend over regular pine.
Great, matching bedside tables and headboard. Made it mostly from pine, and scrap lumber.
Needed a new coffee bar to fit a specific area. Changed the plans to fit my needs and this is the result. Spent a few hours a day over two weekends, probably 8-10 hours in all (paint/stain/poly included)
My son needed more shelves/storage in his room. Modified this a bit shorter in length and with to fit better in his space. Easy to build and love how it turned out!
Ever since I saw this cupboard, I wanted it. So when I got a free day I jumped at the chance to build it. I love it! The only problem is trying to figure out where I want to put it.
Fri, 11/02/2012 - 19:29
In an afternoon? I would have taken a couple of days. You did a great job.
Thu, 02/19/2015 - 19:11
Hi Ana - I dont mean any disrespect but how do you figure this project costs $30-40. I bought just the boards no hardware or plywood and its cost me $60. Pine #2.
Please let me know your thoughts and where you buy your wood from.
Fri, 02/20/2015 - 12:00
The cost estimate is from emilyr, posted almost three years ago. Lumber prices fluctuate, but $30-40 is still quite low. I estimate about $100 to buy the lumber (pine) on the shopping list from Ana's plan at current prices in my area.
This is the first project I have done; we used a couple of different plans to make this bed. I had to change dimensions to make this into a full size bed. Overall I am very happy with the way it all came together. We made this for our 8 year old daughter and now I'm working on a vanity! I used the twin headboard plan made taller and wider for a full, I made a footboard to match and the storage bins bellow are from the modified farmhouse queen made a little smaller to fit a full.
These wood plans were great! Easy to follow and an awesome first project for my hubby and I to build together. Only hitch for us was by choosing to make the longer bench we didn't check the placement of the feet before attaching it. When we were done we weren't able to push the benches under the table so we had to redo that step.
I never built anything before this. I really wanted a sturdy wooden kitchen for my son for Christmas but they were sooo expensive. Then I found this plan and decided to give it a try. And I did it! All by myself with no real experience (seriously, I had to buy a drill for the project). It isn't perfect but my son doesn't know (or care) and I had fun doing it. Note that as we have it placed across the threshold from carpet to tile floor, I currently have a board underneath to level it. I modified to put a door on the sink since I don't sew and thought the curtain might look a bit feminine on my son's kitchen.
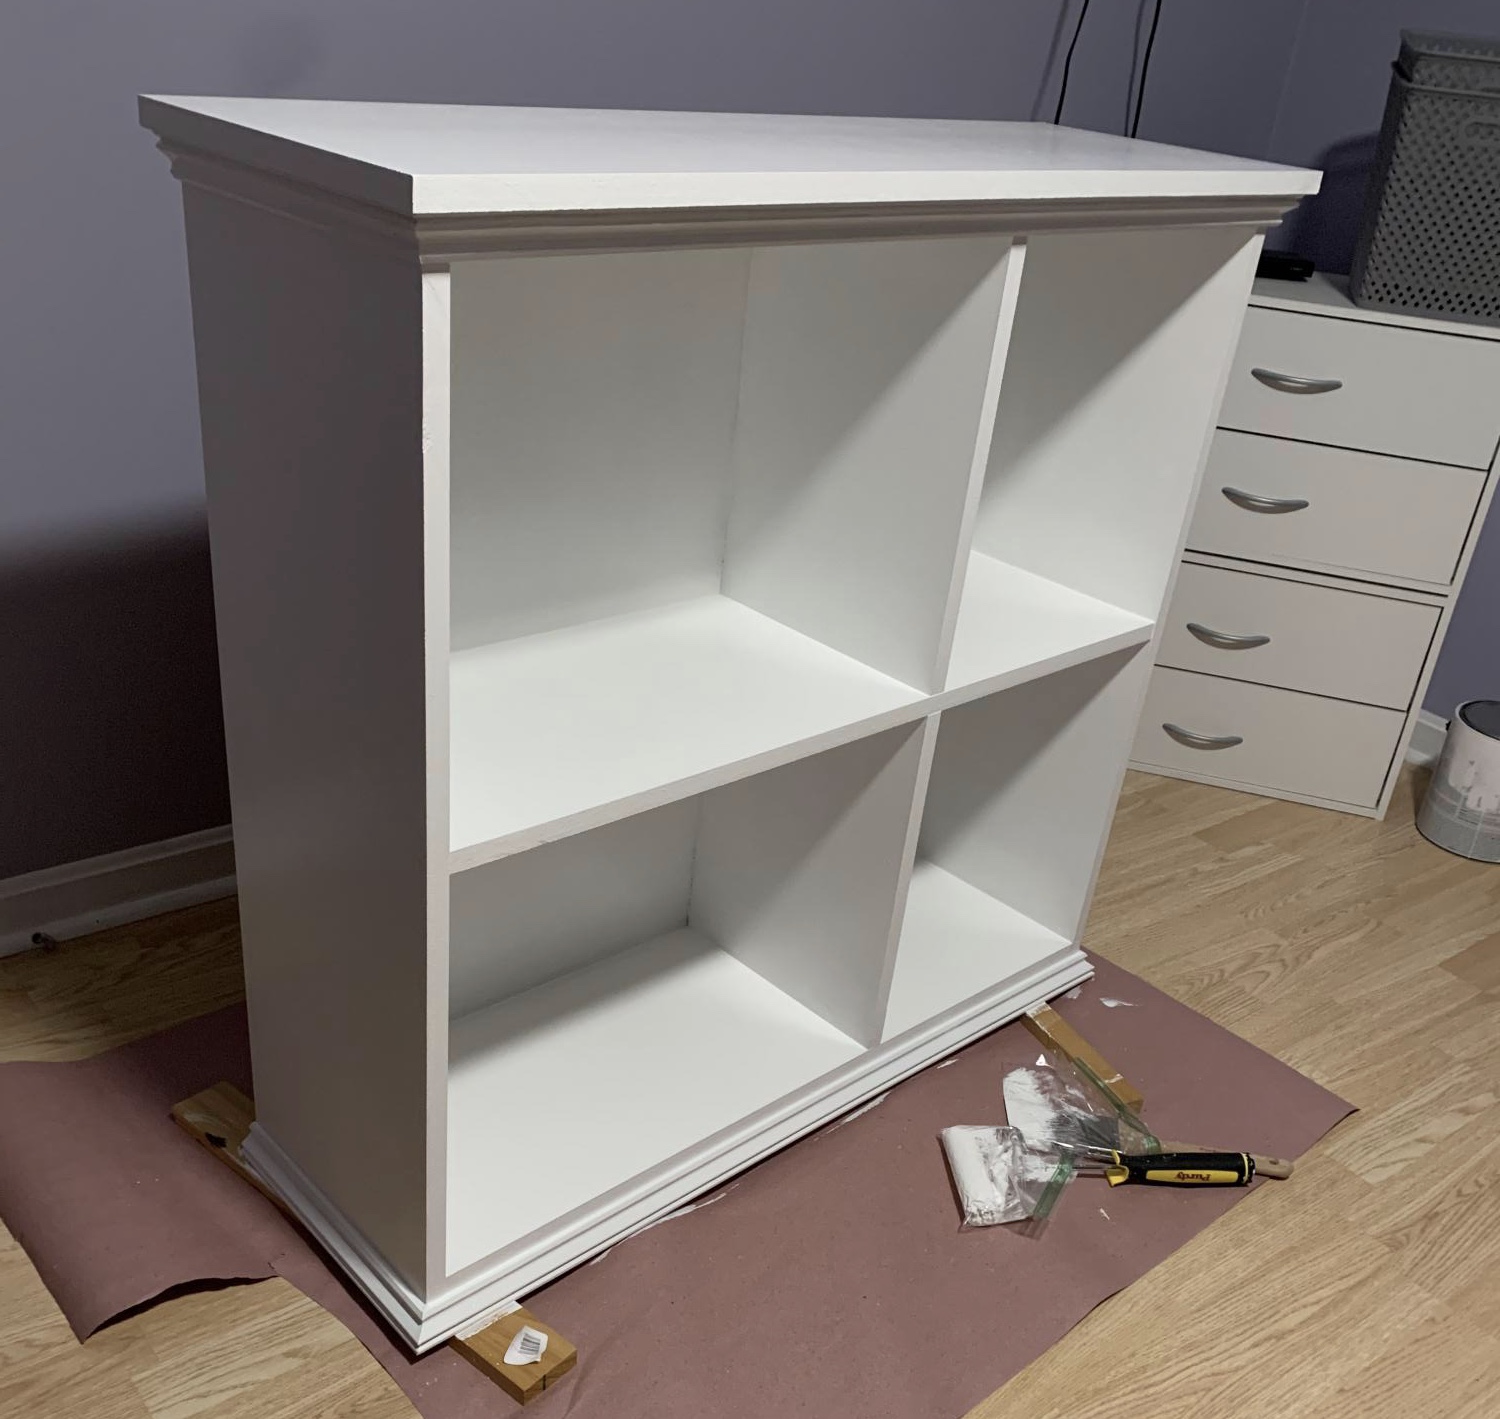
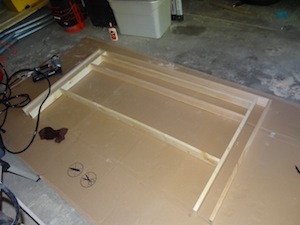
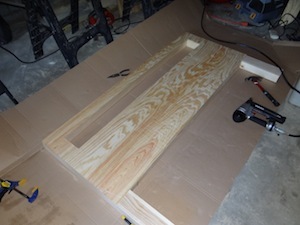
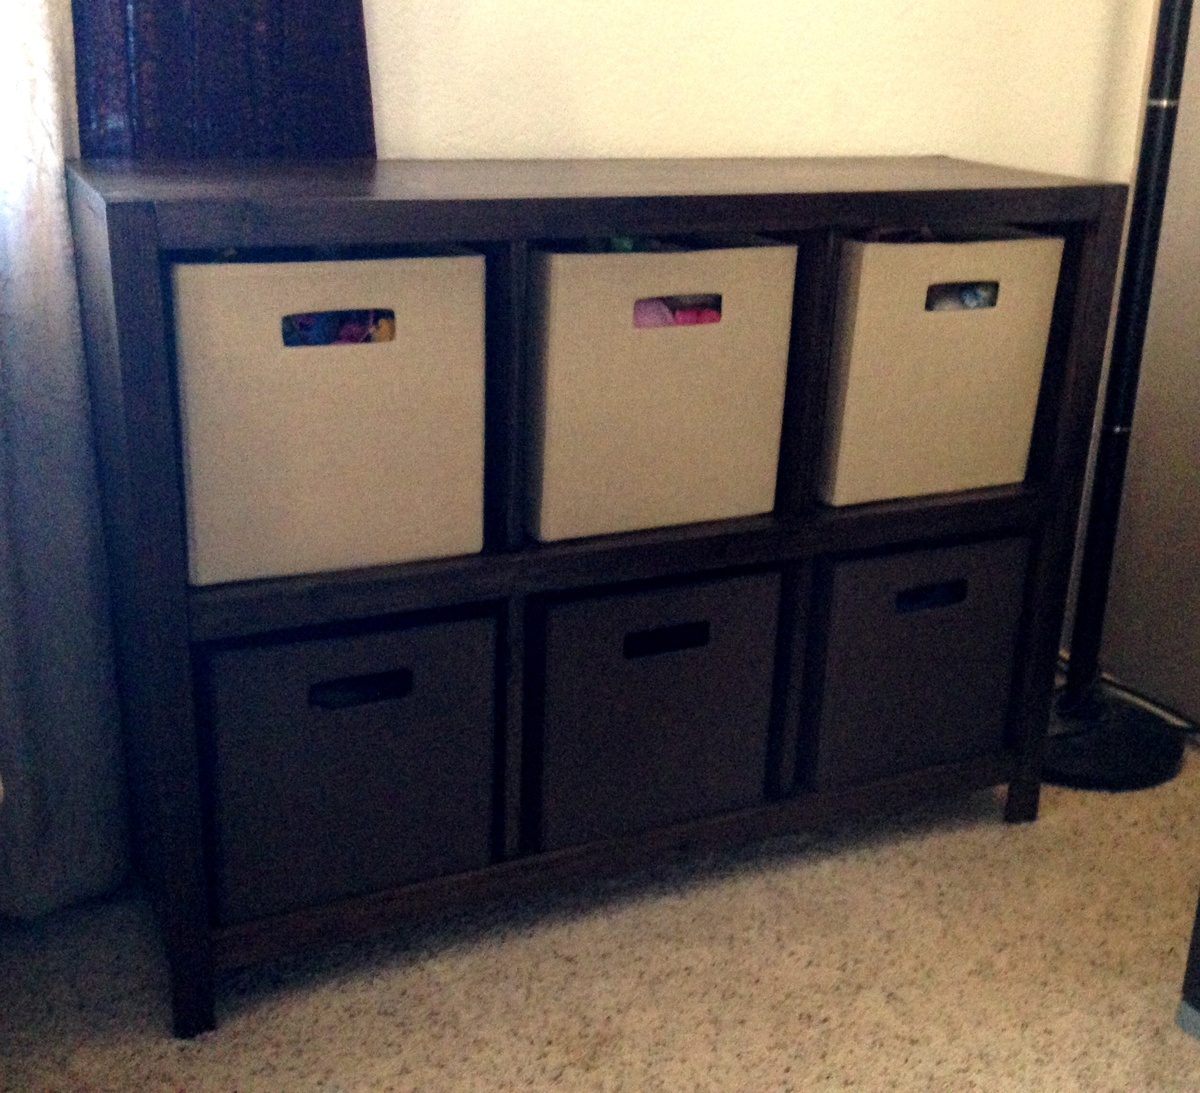
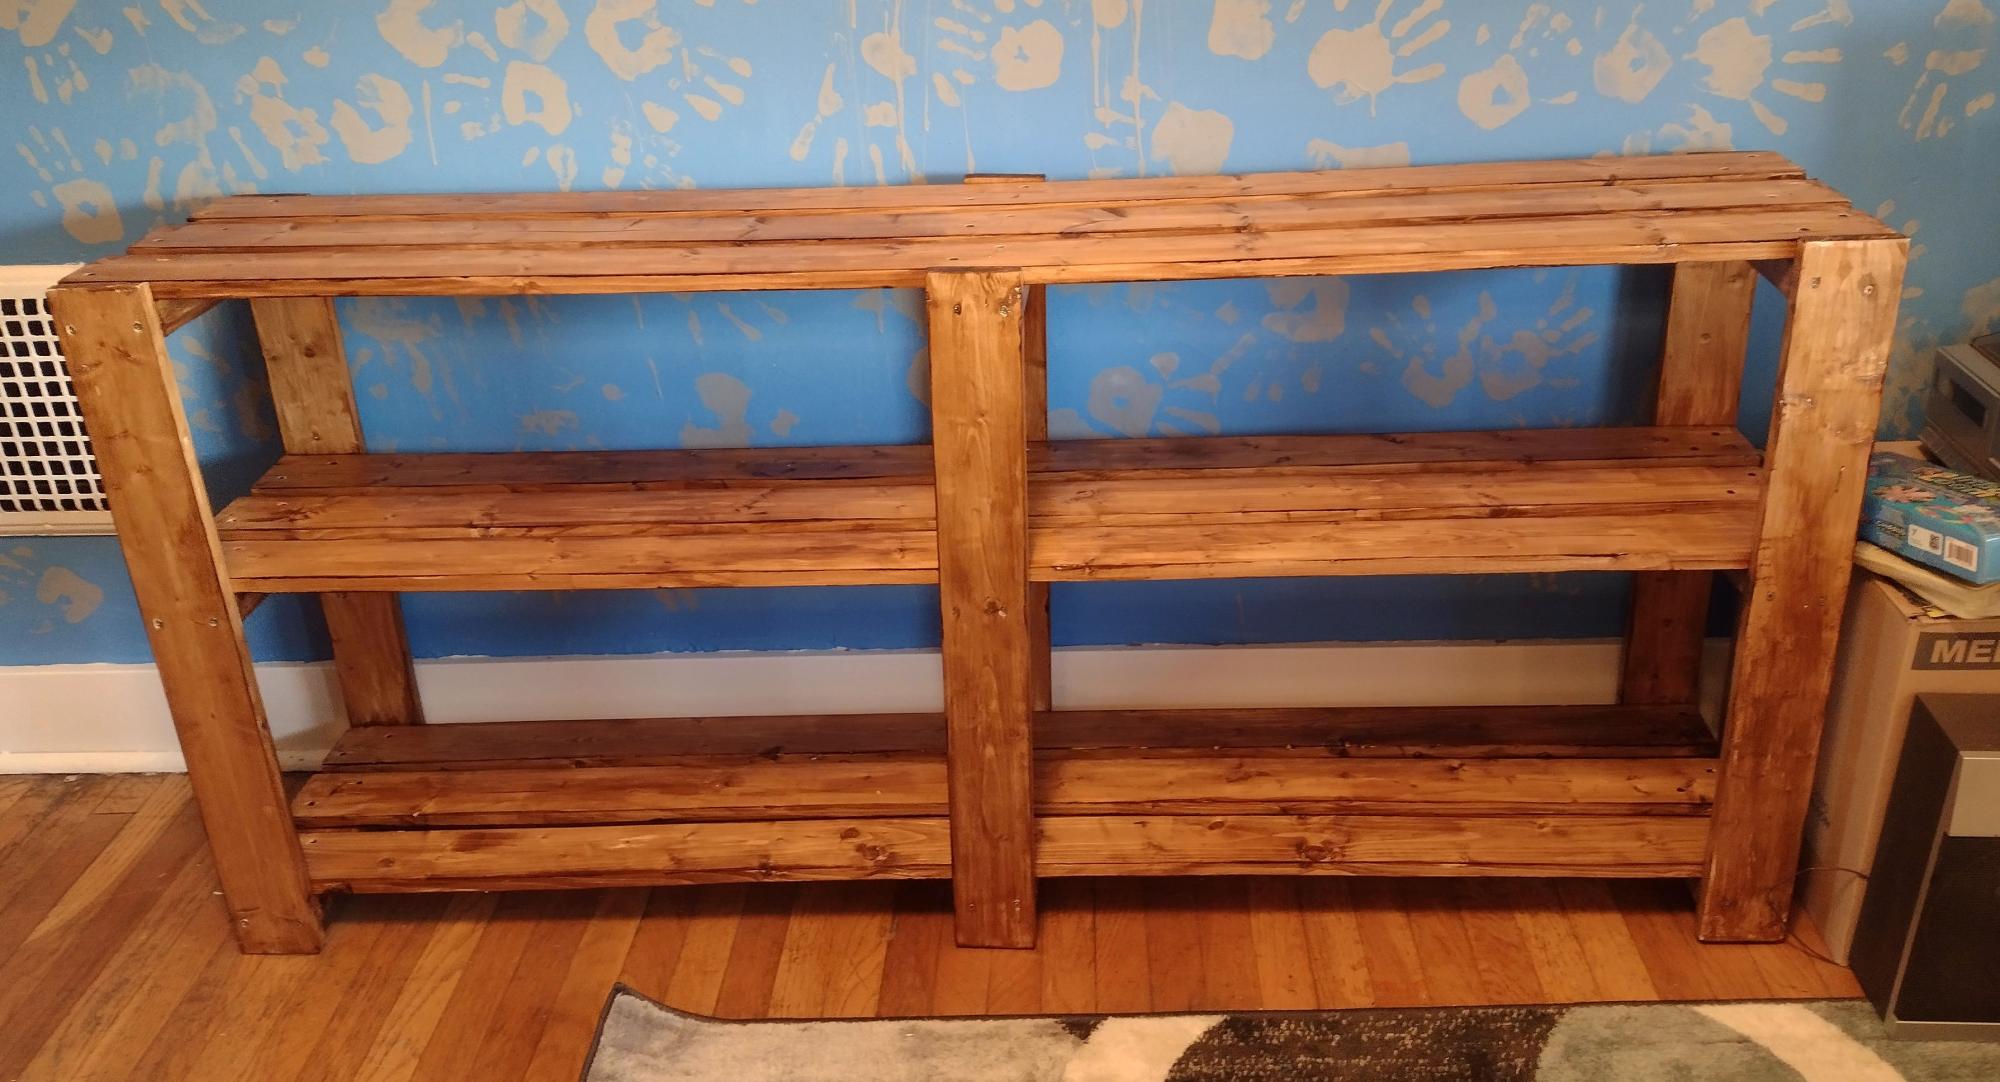
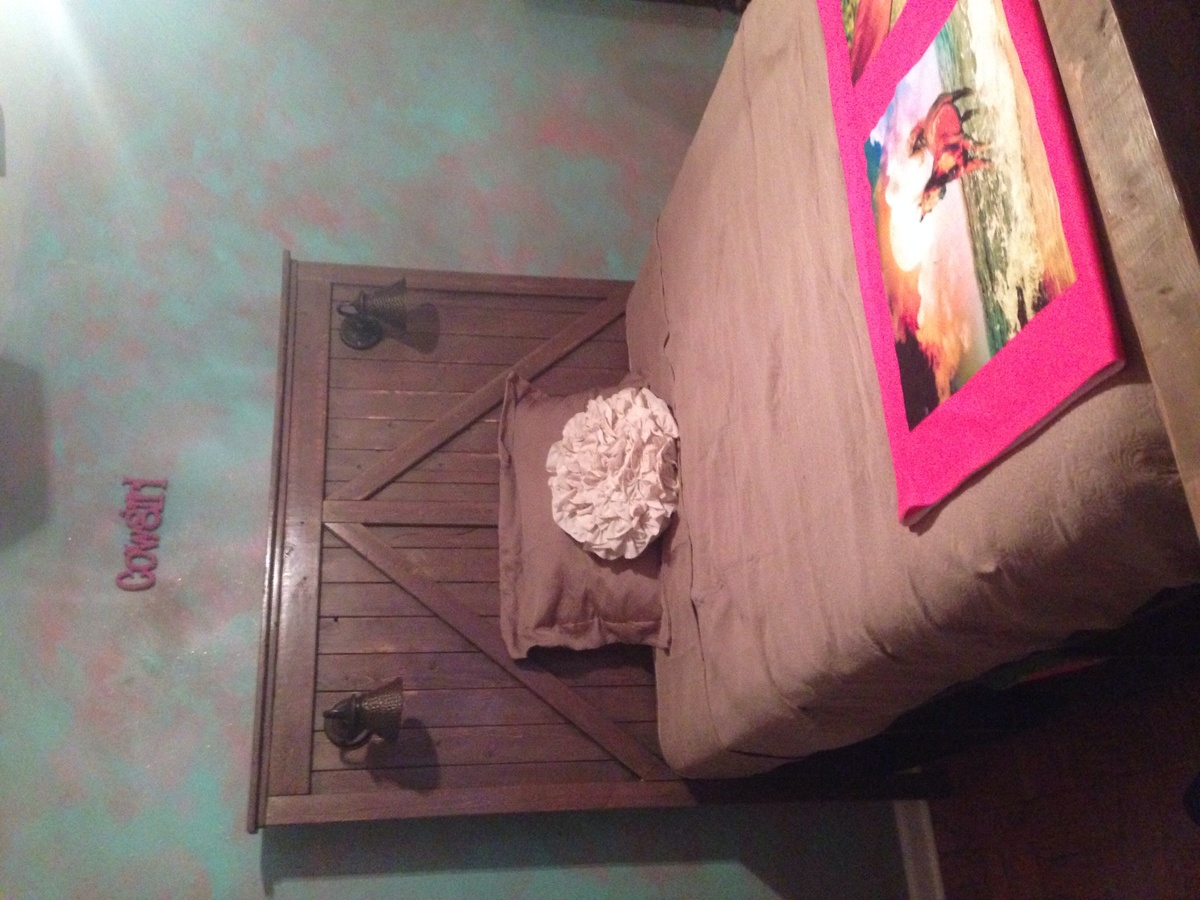
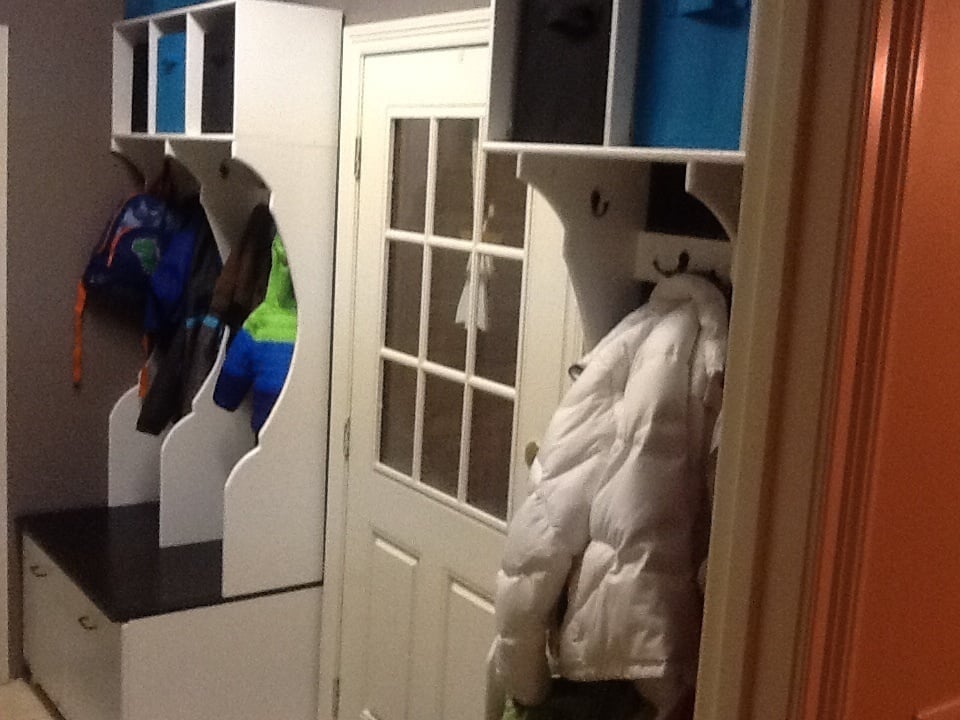
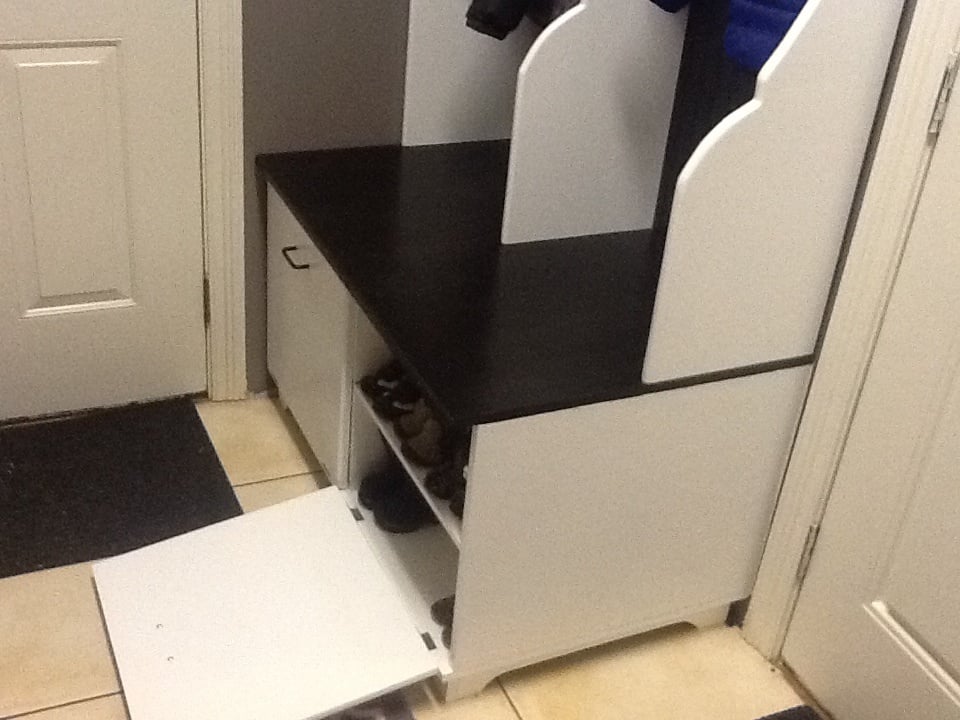
My wife requested this project as a Christmas present. Since we have a door in the middle of the room, I decided to build 2 identical hutches with storage areas for all 4 of us. I used 3/4 plywood that was cut to 2'x4' sheets at the store to make transport and further cutting on my table saw manageable. I connected the main pieces by using the kreg jig. After attaching the bead board to the back with screws and nails, the hutch was very sturdy. We had trouble finding baskets to fit the squares which I designed to fit a 12" square basket that we already had in the house. It proved very difficult to find that size so we went with a slightly smaller basket (I wish we would have researched this ahead of time). The color scheme came from another brag on Ana's site.
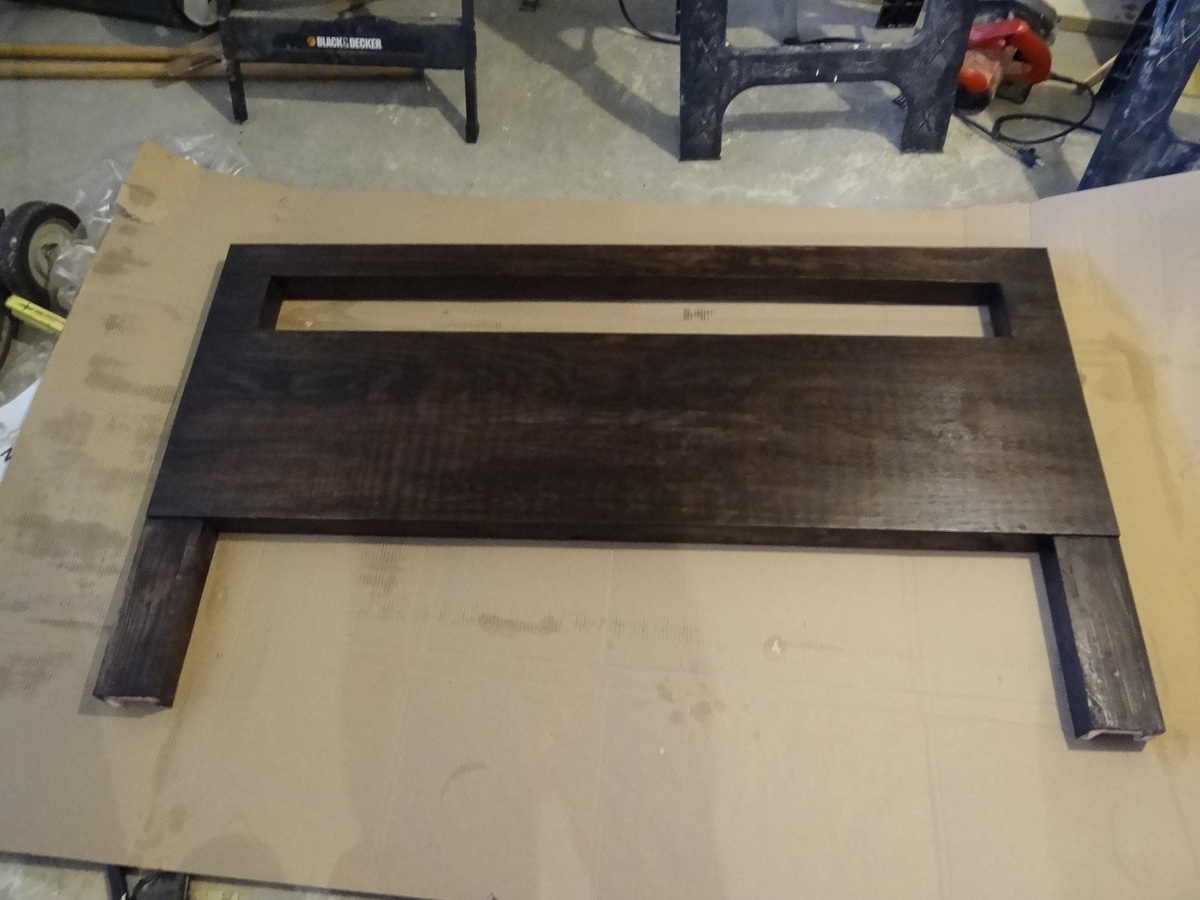
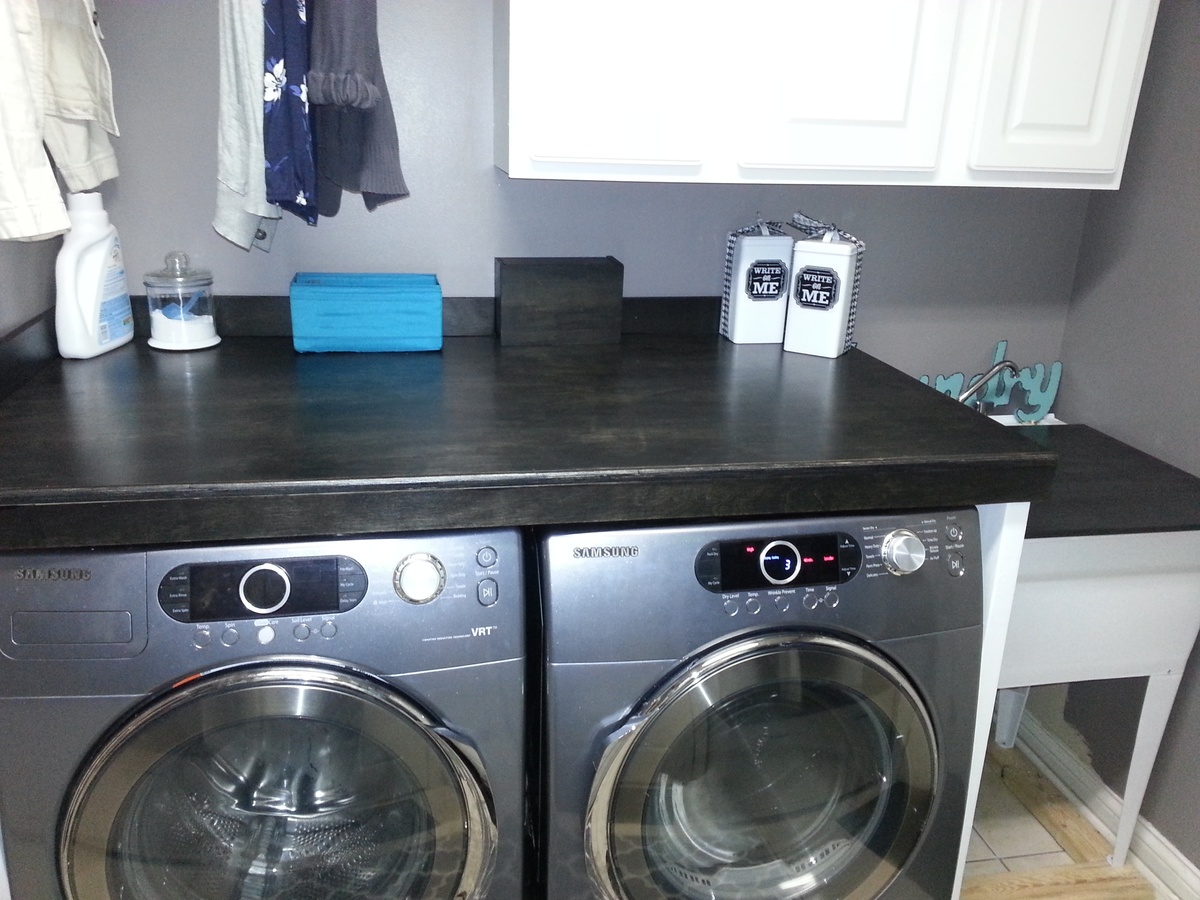
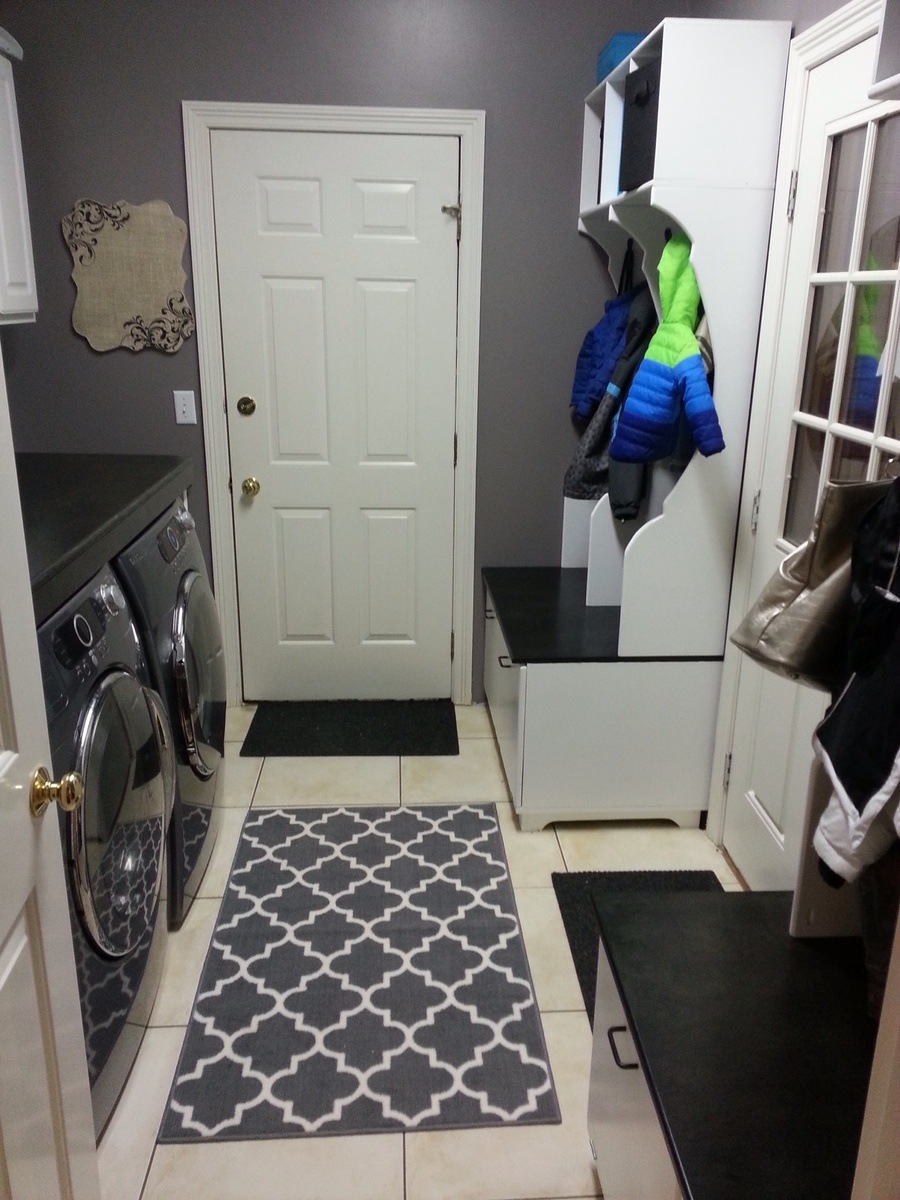
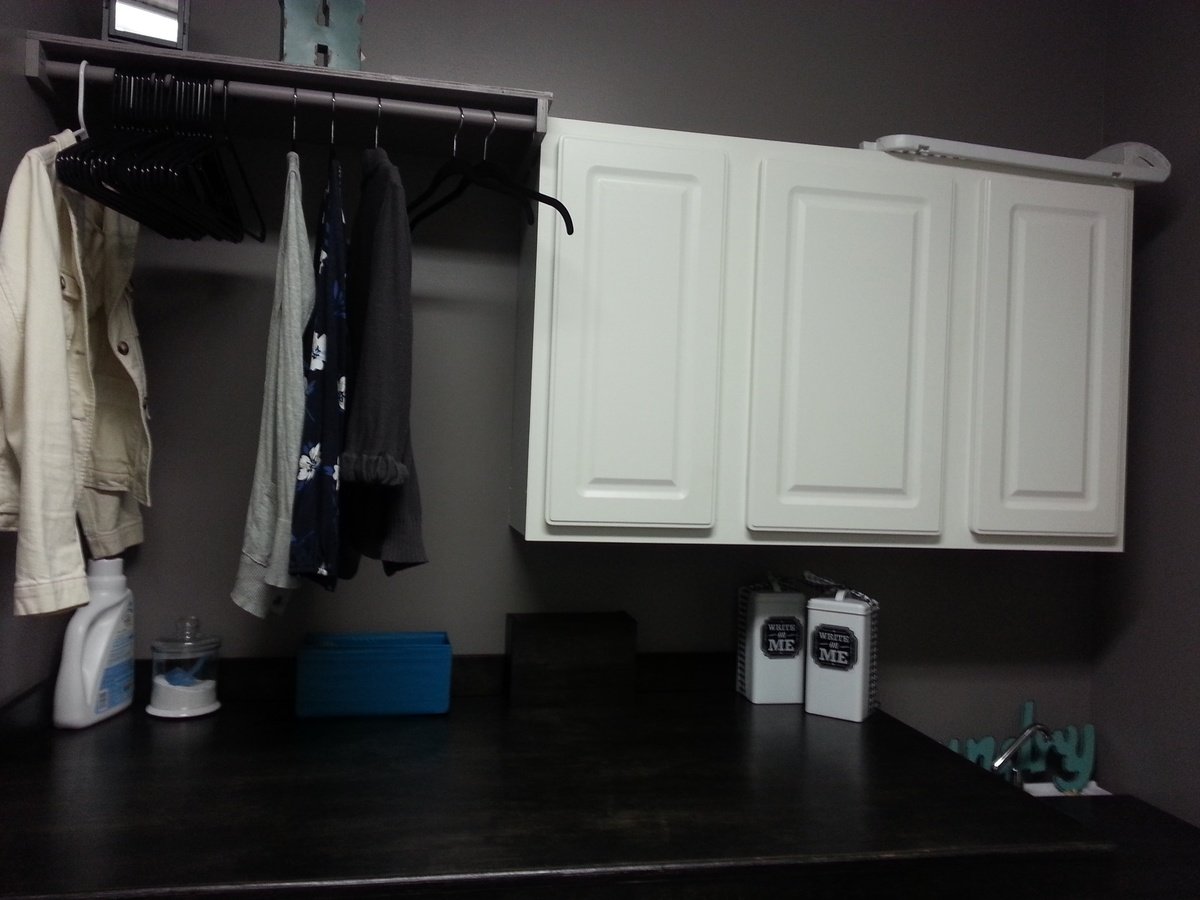
After completing the hutches, Patti mentioned that someday she'd like to take the washer and dryer off the pedestals and add a table across the top of them to fold clothes...so before putting away the tools I decided that was the "someday" LOL. I stained the tabletop to match the hutch and painted the 2x4 legs white. I then added a 1 inch dowel to hang clothes and a shelf above the dowel. Of course, the new room would not have been complete without new paint! I plan on building a cabinet for the laundry sink with a pullout drawer for recyclables in the near future.
It's fantastic to have a spot for all our coats, shoes and hats/gloves. It makes it easier getting two young boys out the door for school when you know exactly where their items are stored and makes the room look so organized compared to before. Thanks to all for your inspirational posts/brags!!
I followed the Rustic X Tall Bookshelf plan to make a set of bookshelves for my husband for Christmas! It was my second ever woodworking project. The plan was really easy to follow and so fun to make! I ended up using an additional shelf piece on the very top for a more modern spin on it. I also bought a pocket hole jig to use on this project. I'm happy with how it turned out!
Outdoor Sofa
Wood Worker Flames
This bench was perfect for our front porch, but after I bought all the lumber I realized how big and substantial it would be. So, I slimmed it down and swapped out the following: seat slats 1x2, posts and supports 2x2, arms 1x3, backrest 1x6, aprons 2x3. Looks great and feels like a better fit for our porch. Enjoying the afternoon sun in style now, thanks!
Wed, 05/01/2013 - 09:31
I would like to make the bench on a diet since my front porch is smaller aswell. Are the cuts the same as original plans?
Thank you for a very clear tutorial. Only challenge was the hinges but managed OK. I changed the position of the legs and chose some bit thicker tree and rounded the bottoms to make it more steady and easier to move around.
This is my first brag post! I modified the base to make benches. I am not super creative or any good at math, so I was super proud :D
My handy Dad built this for my daughter using the awesome Plan as a base. Made a couple minor modifications (raised it up so more space under the bed; added brackets so the siderails can easily be removed; etc). Turned out perfectly!