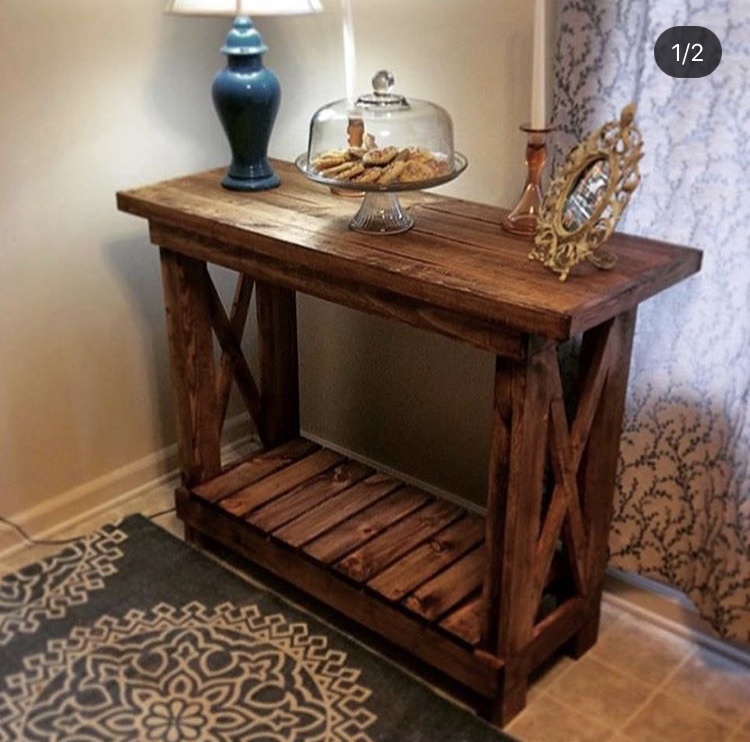
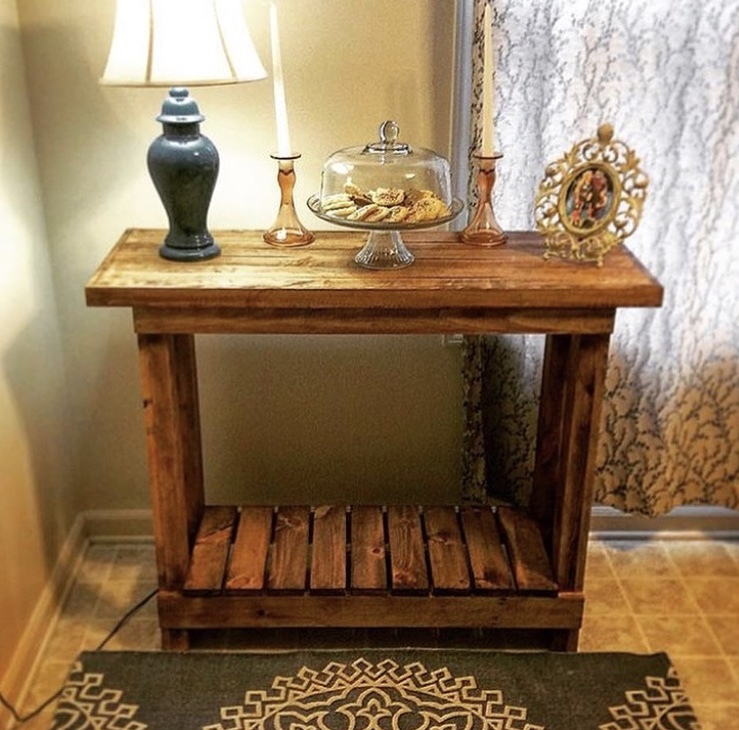
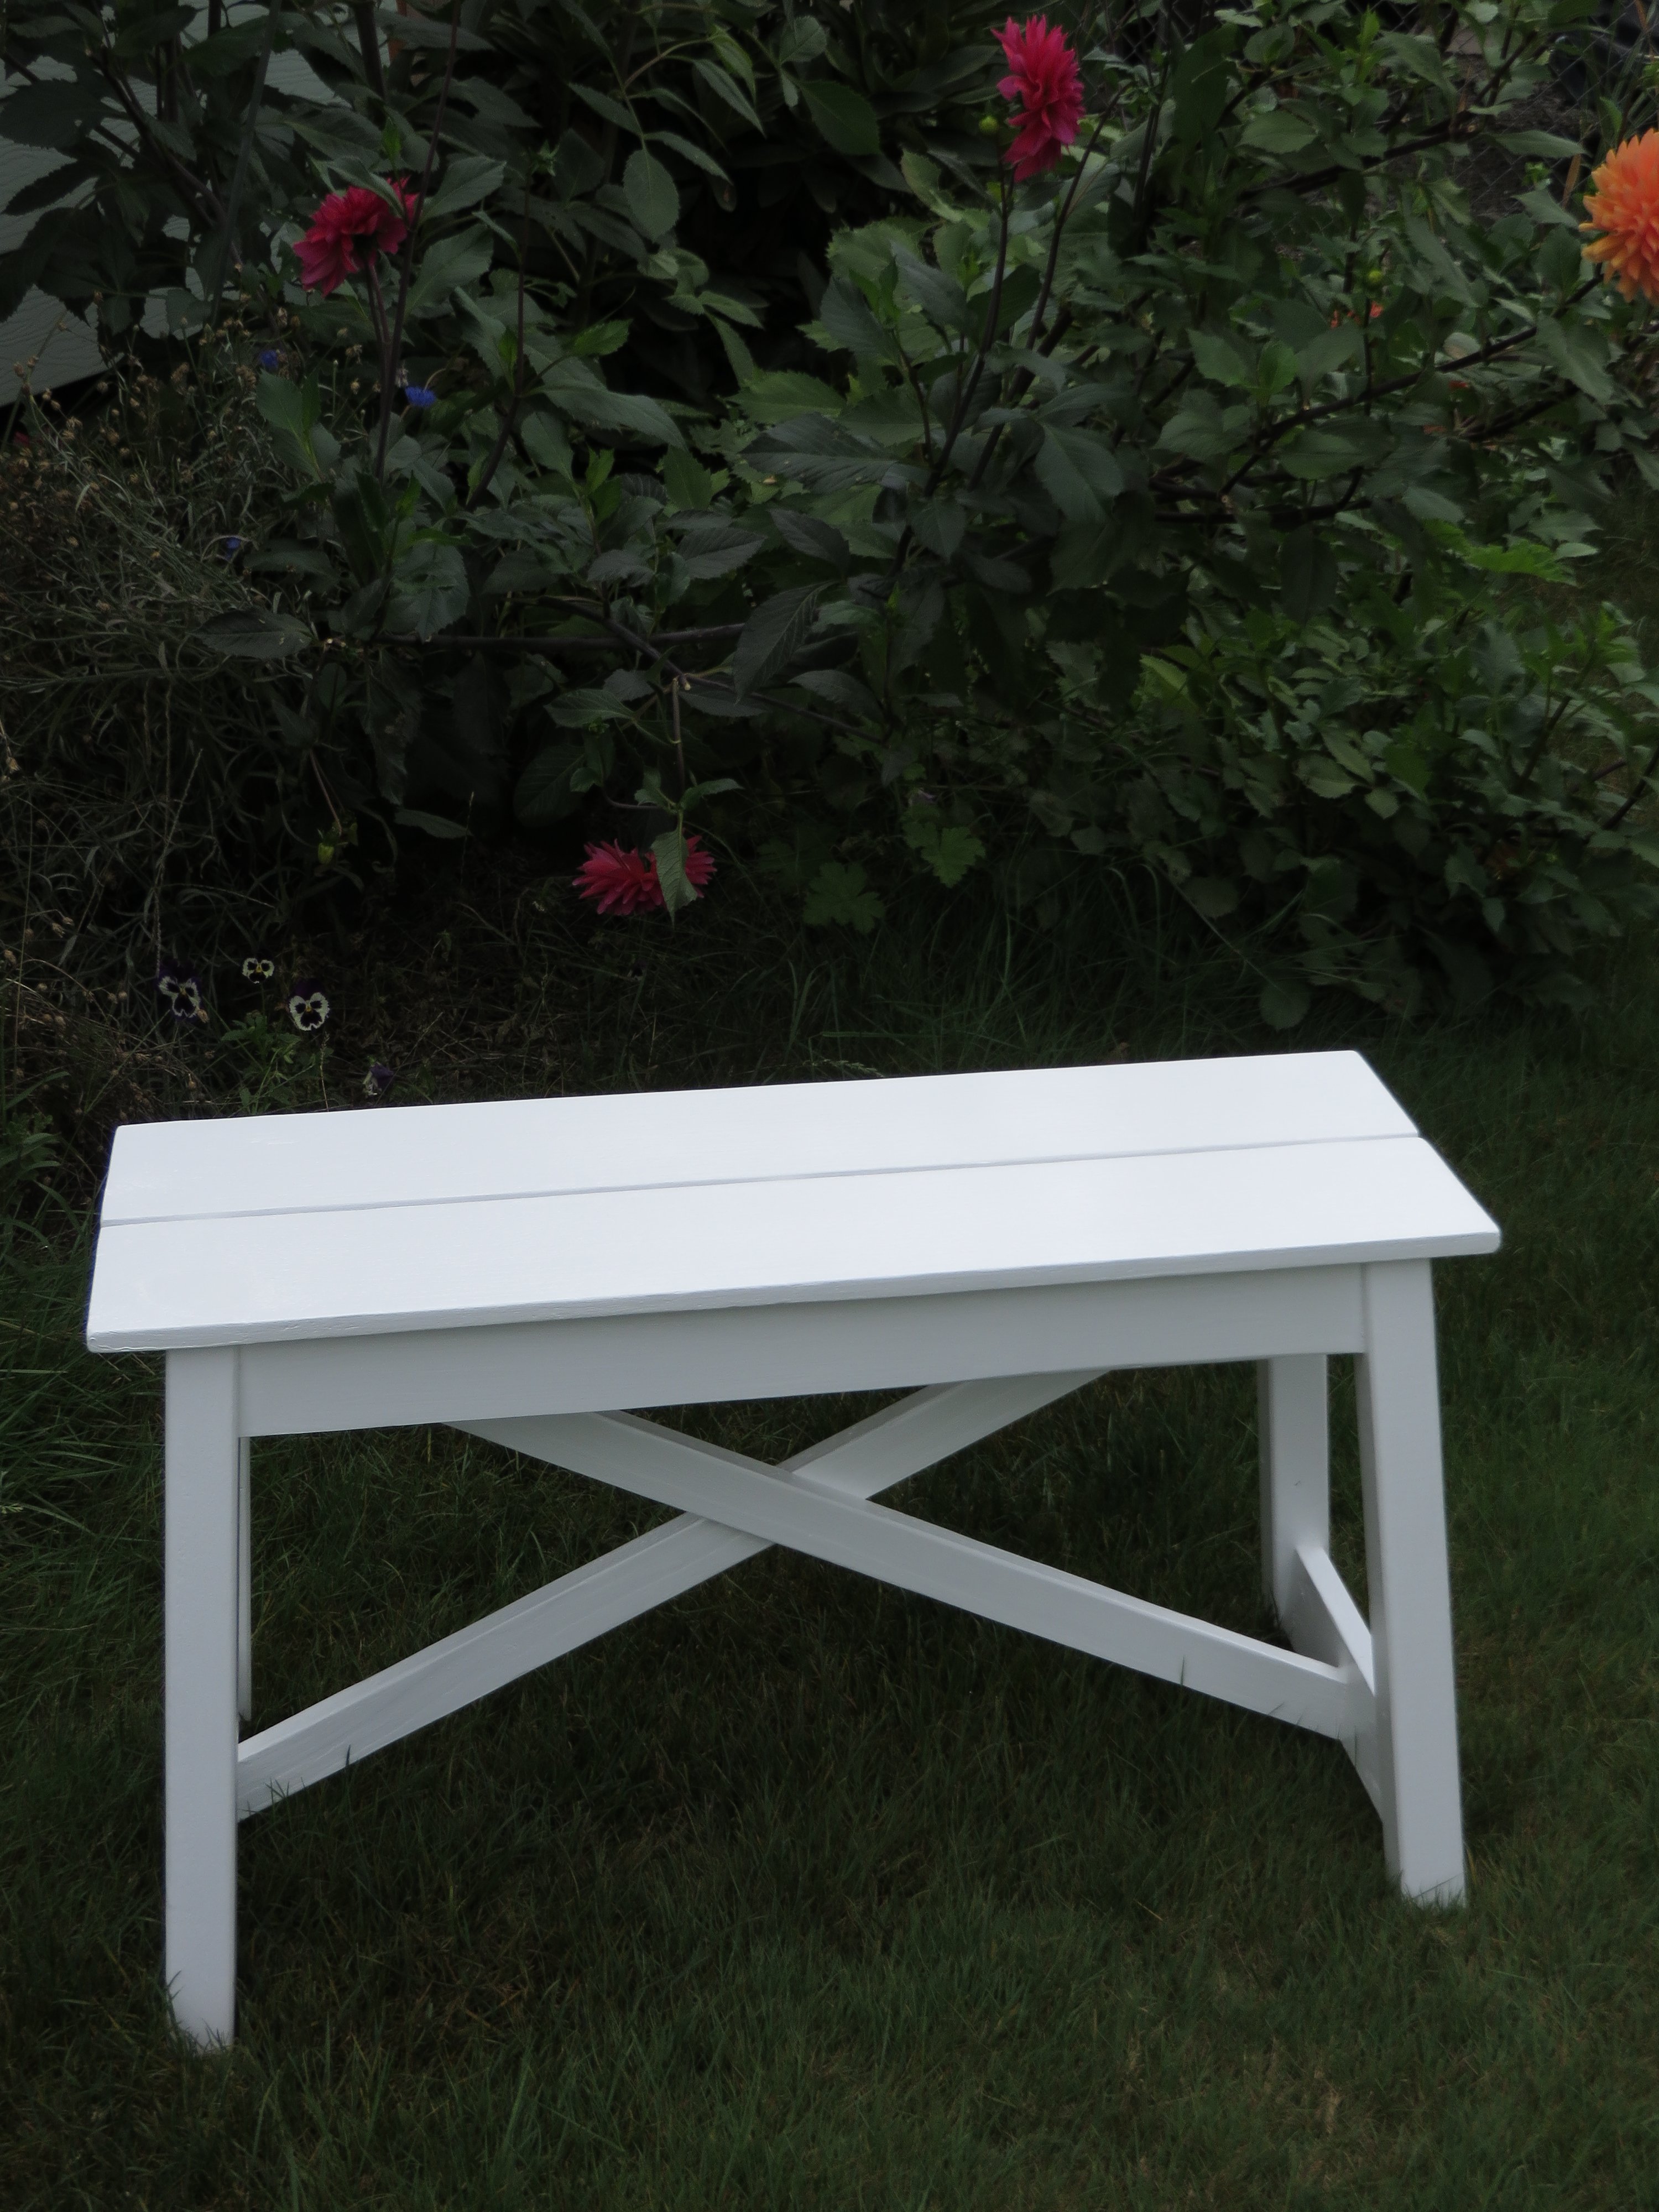
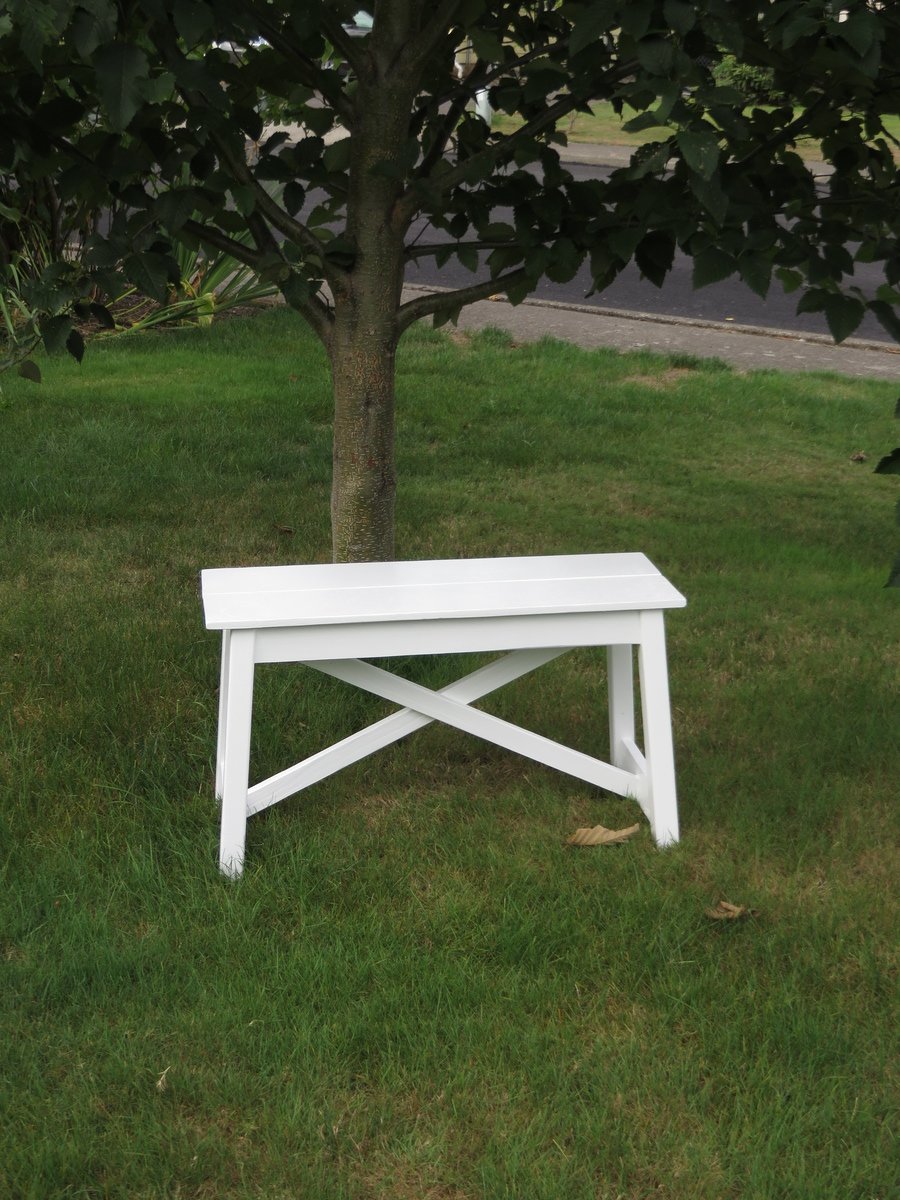
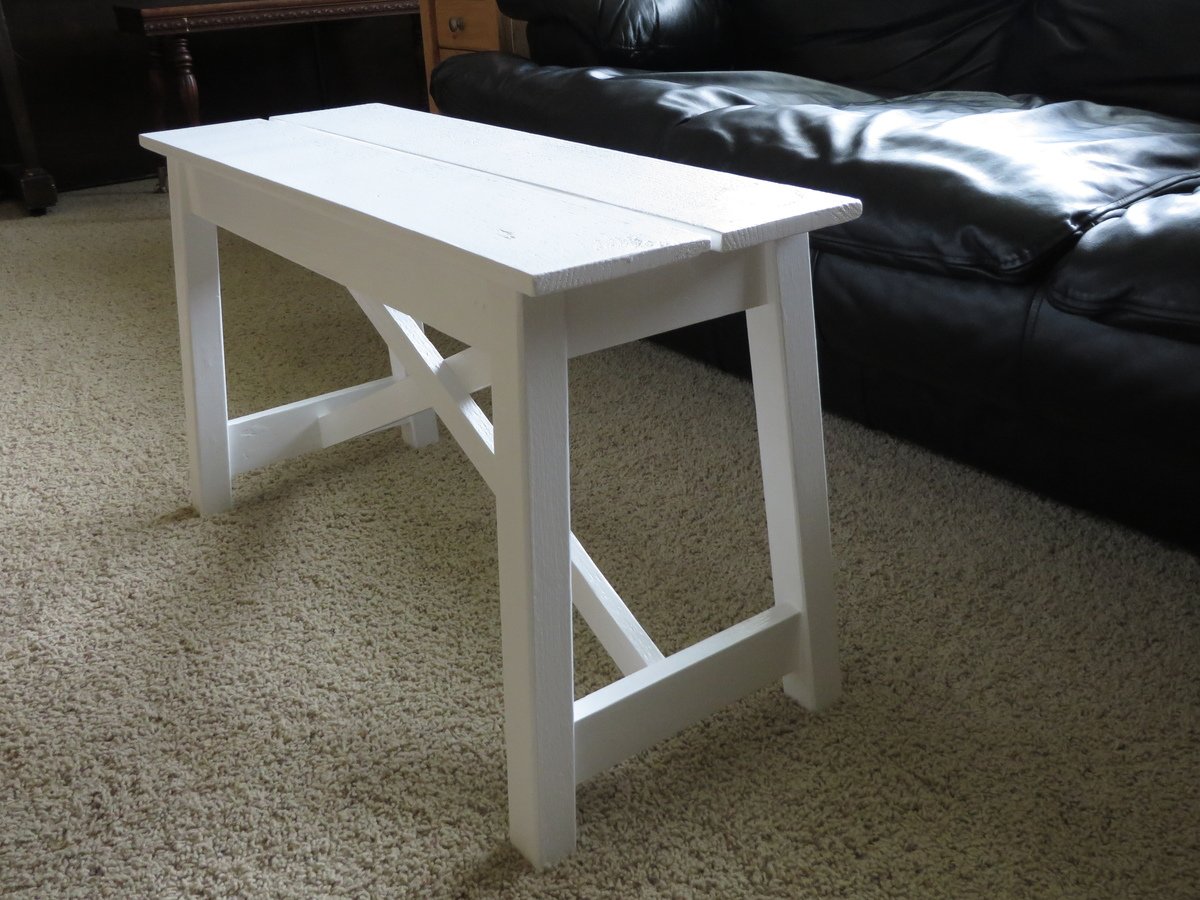
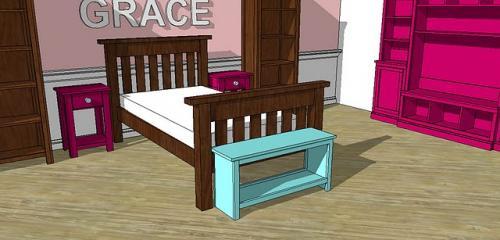
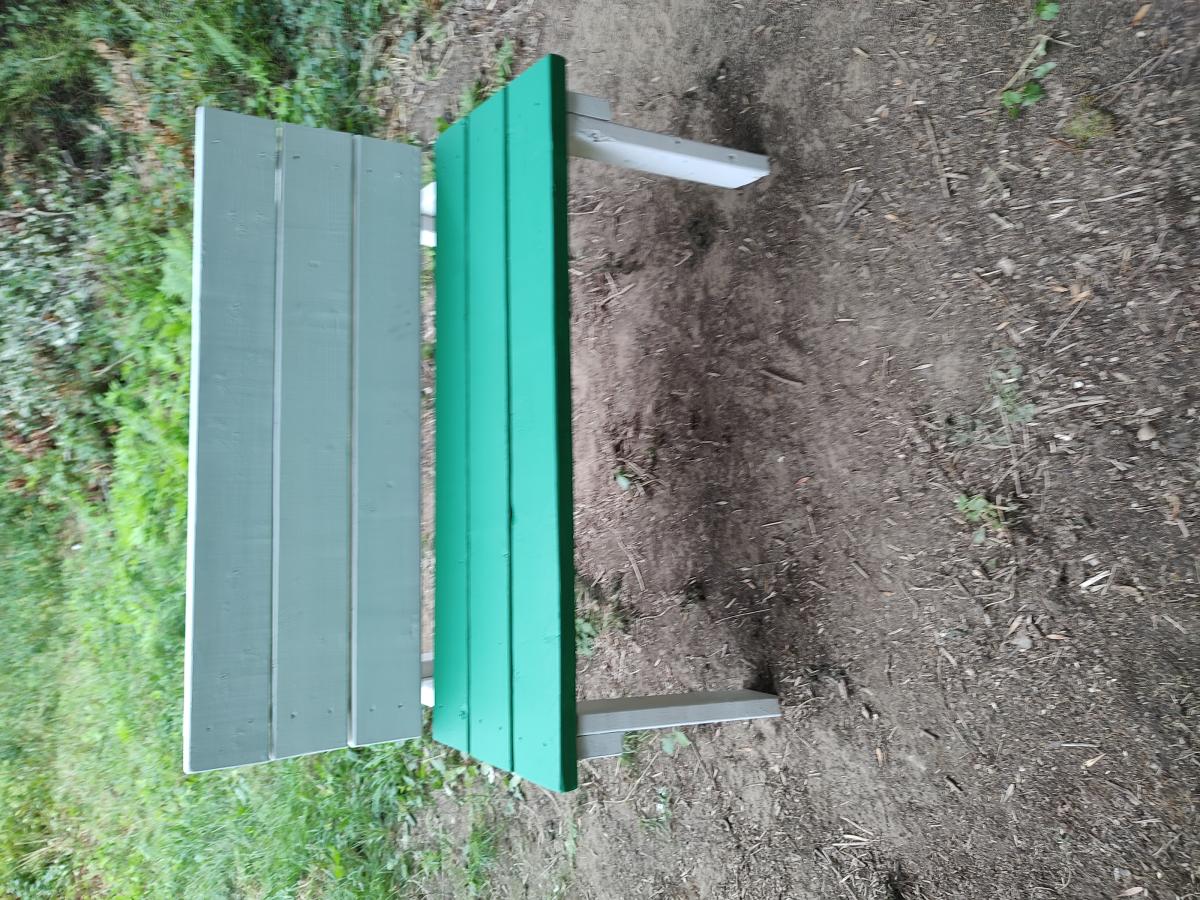
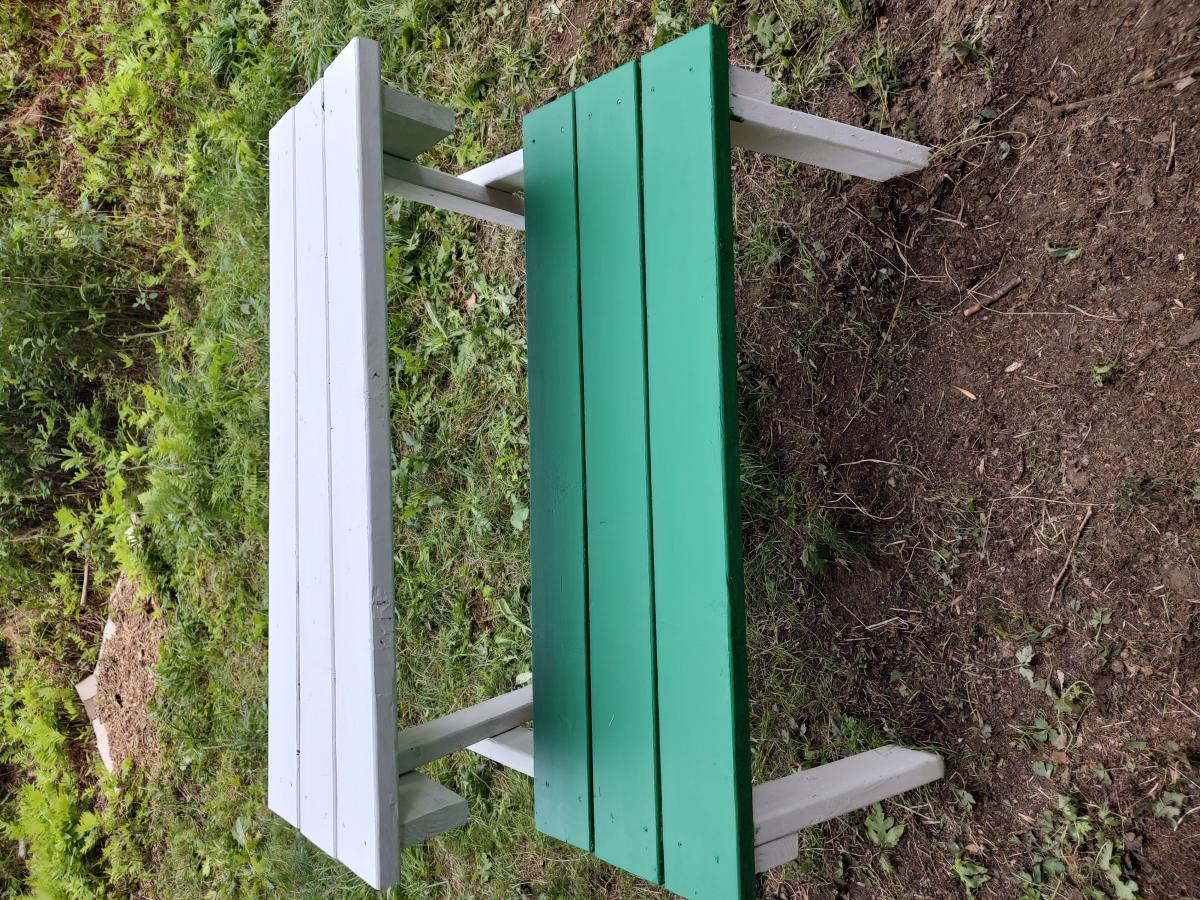
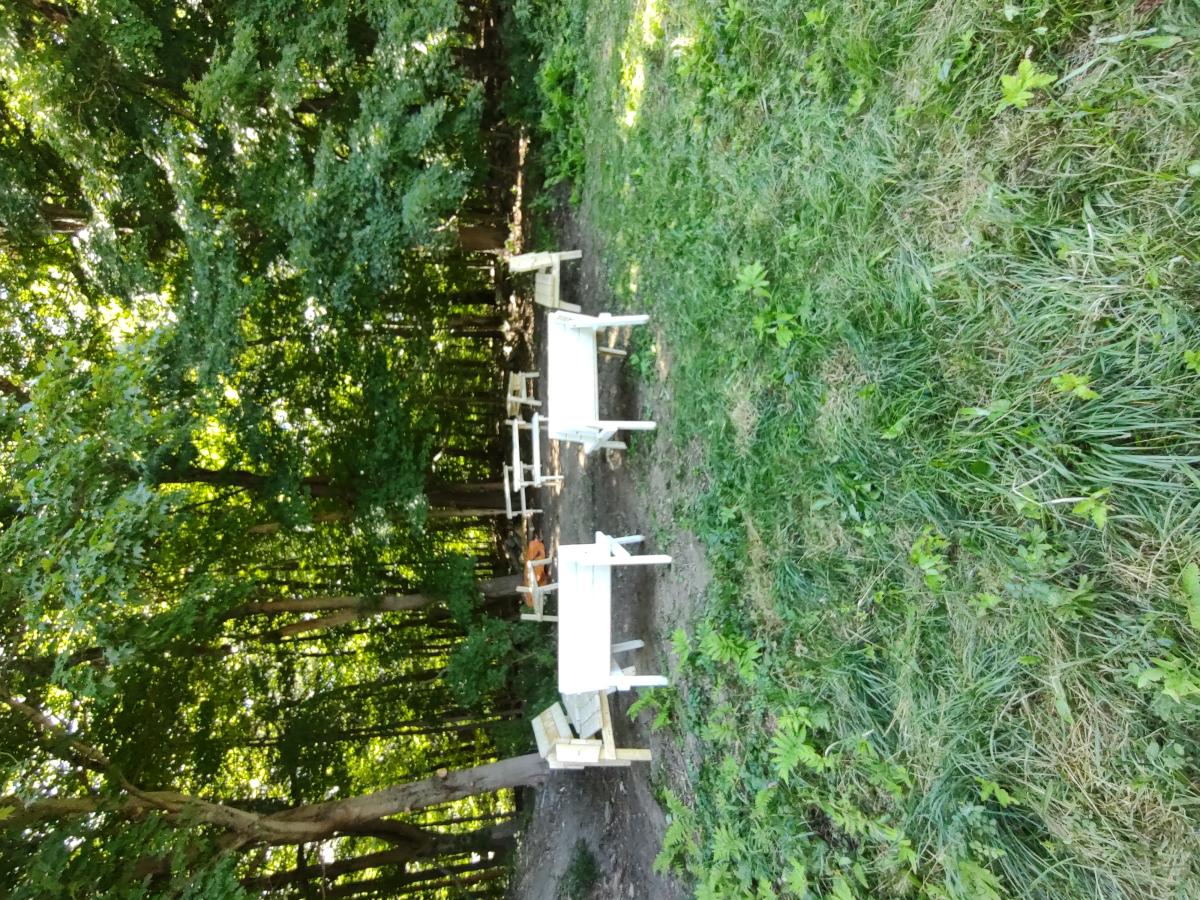
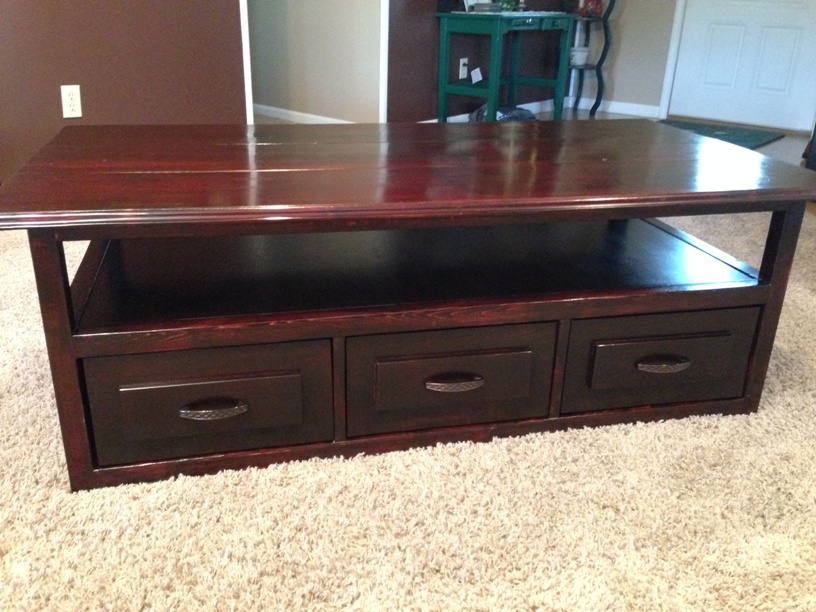
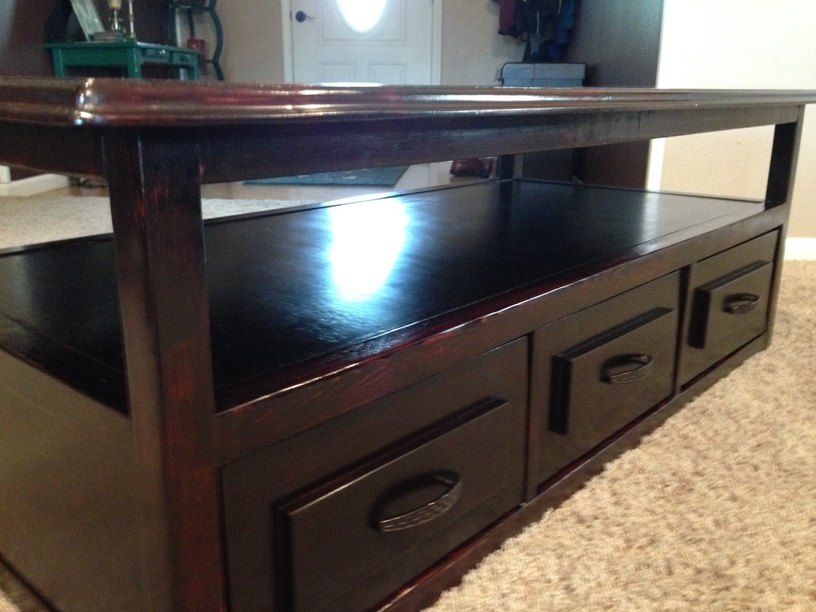
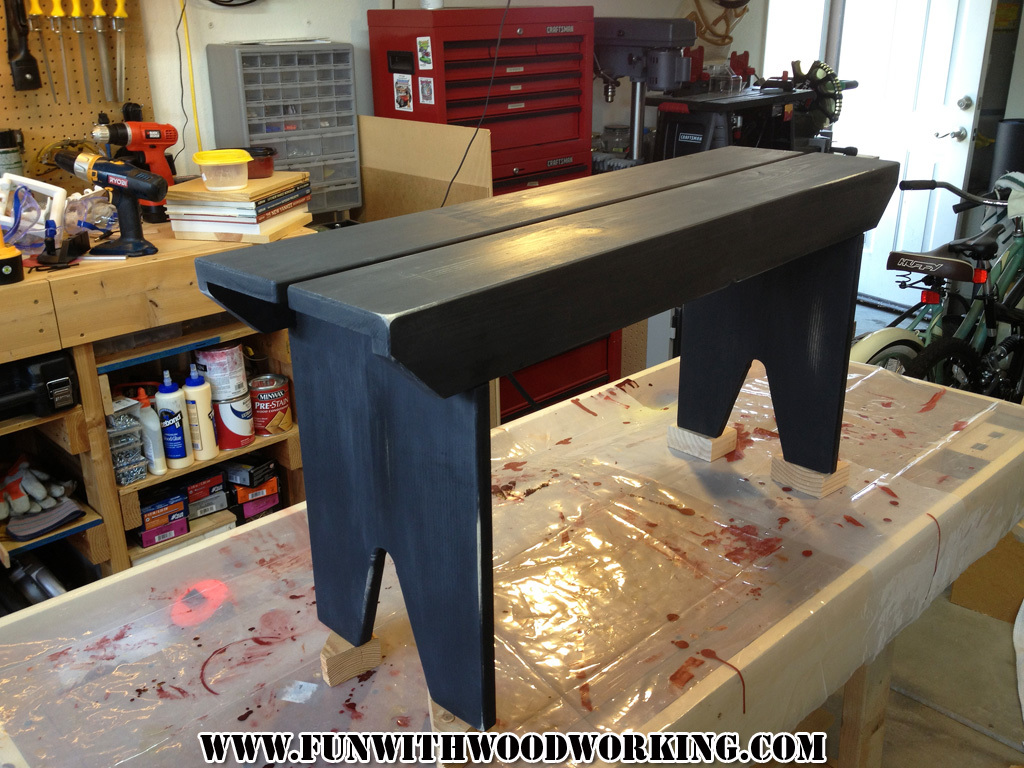
Community Brag Posts

5 Board Bench

Submitted by truckrun on Tue, 09/17/2013 - 20:50

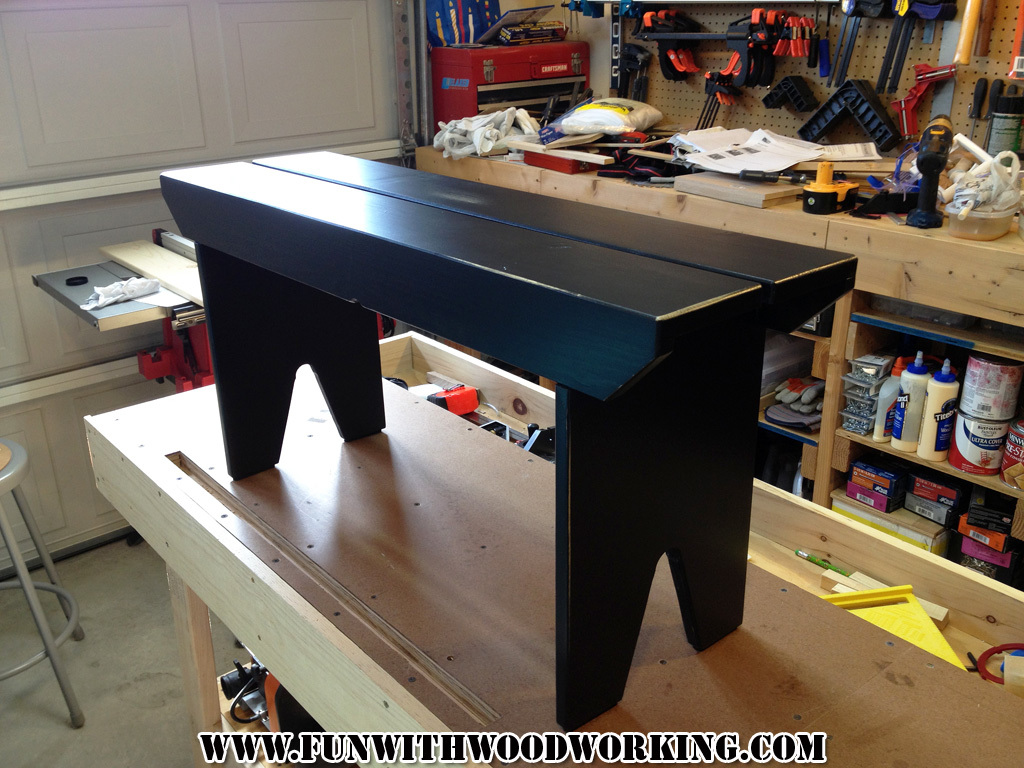
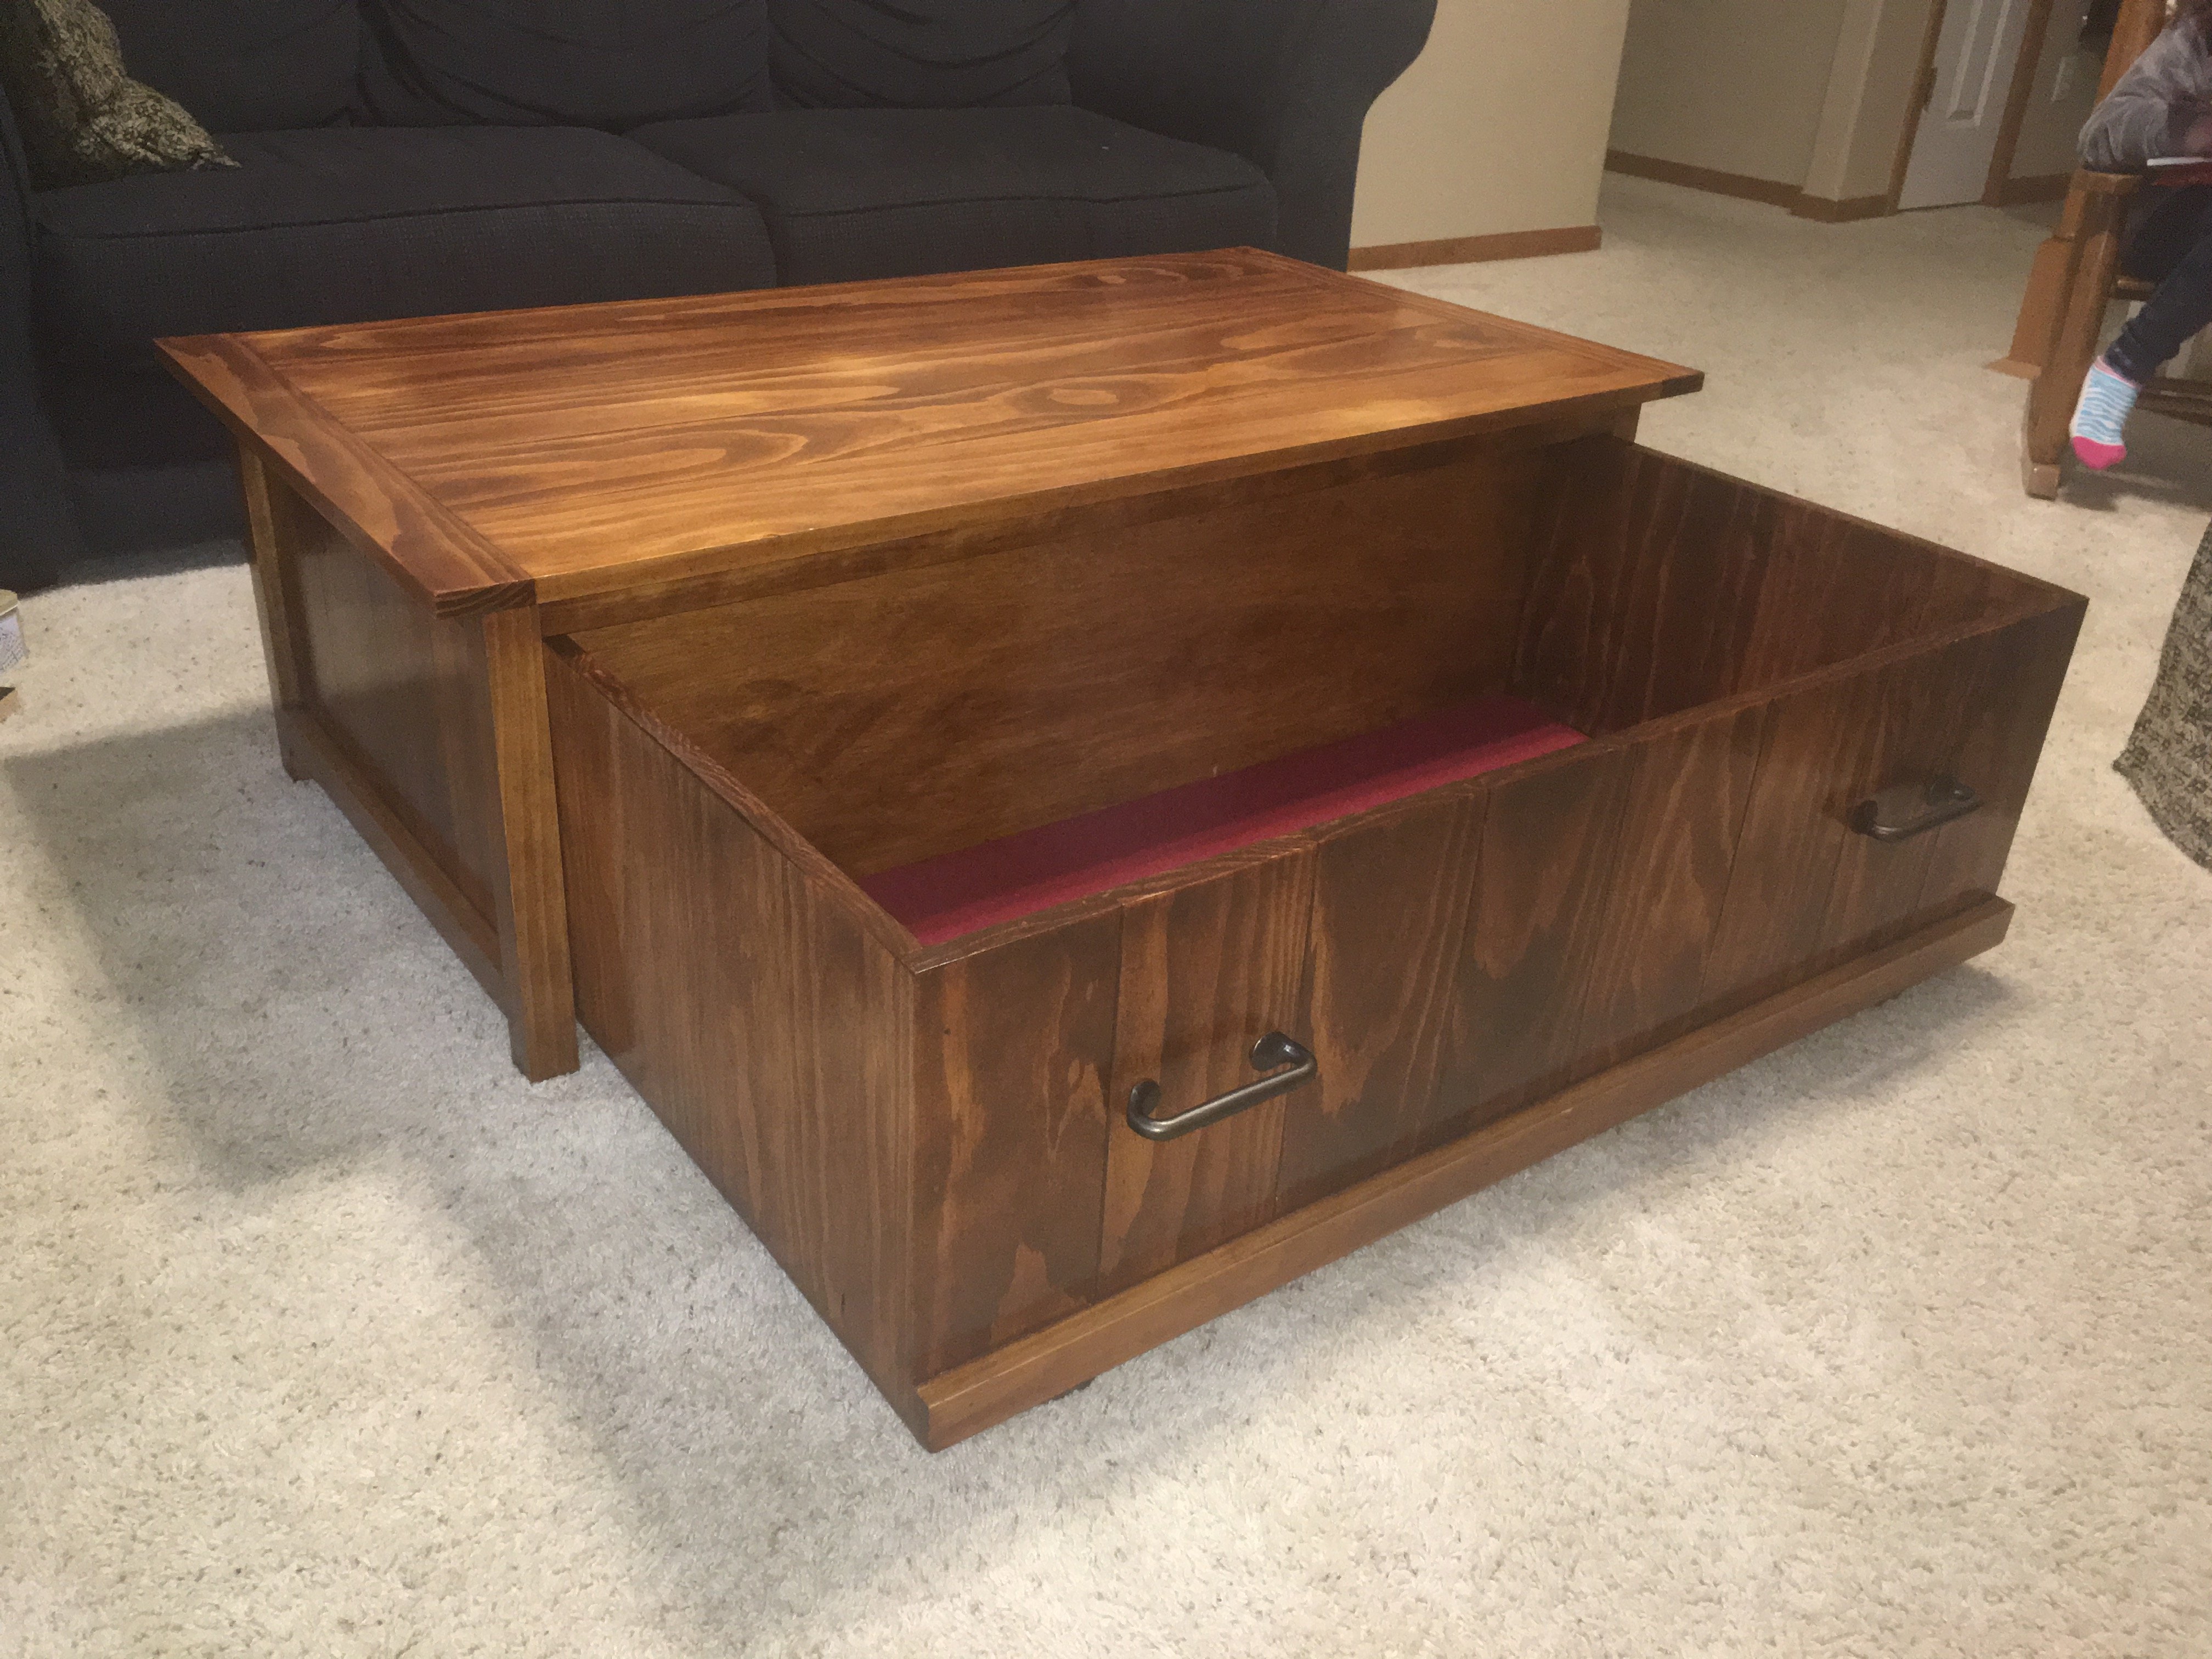
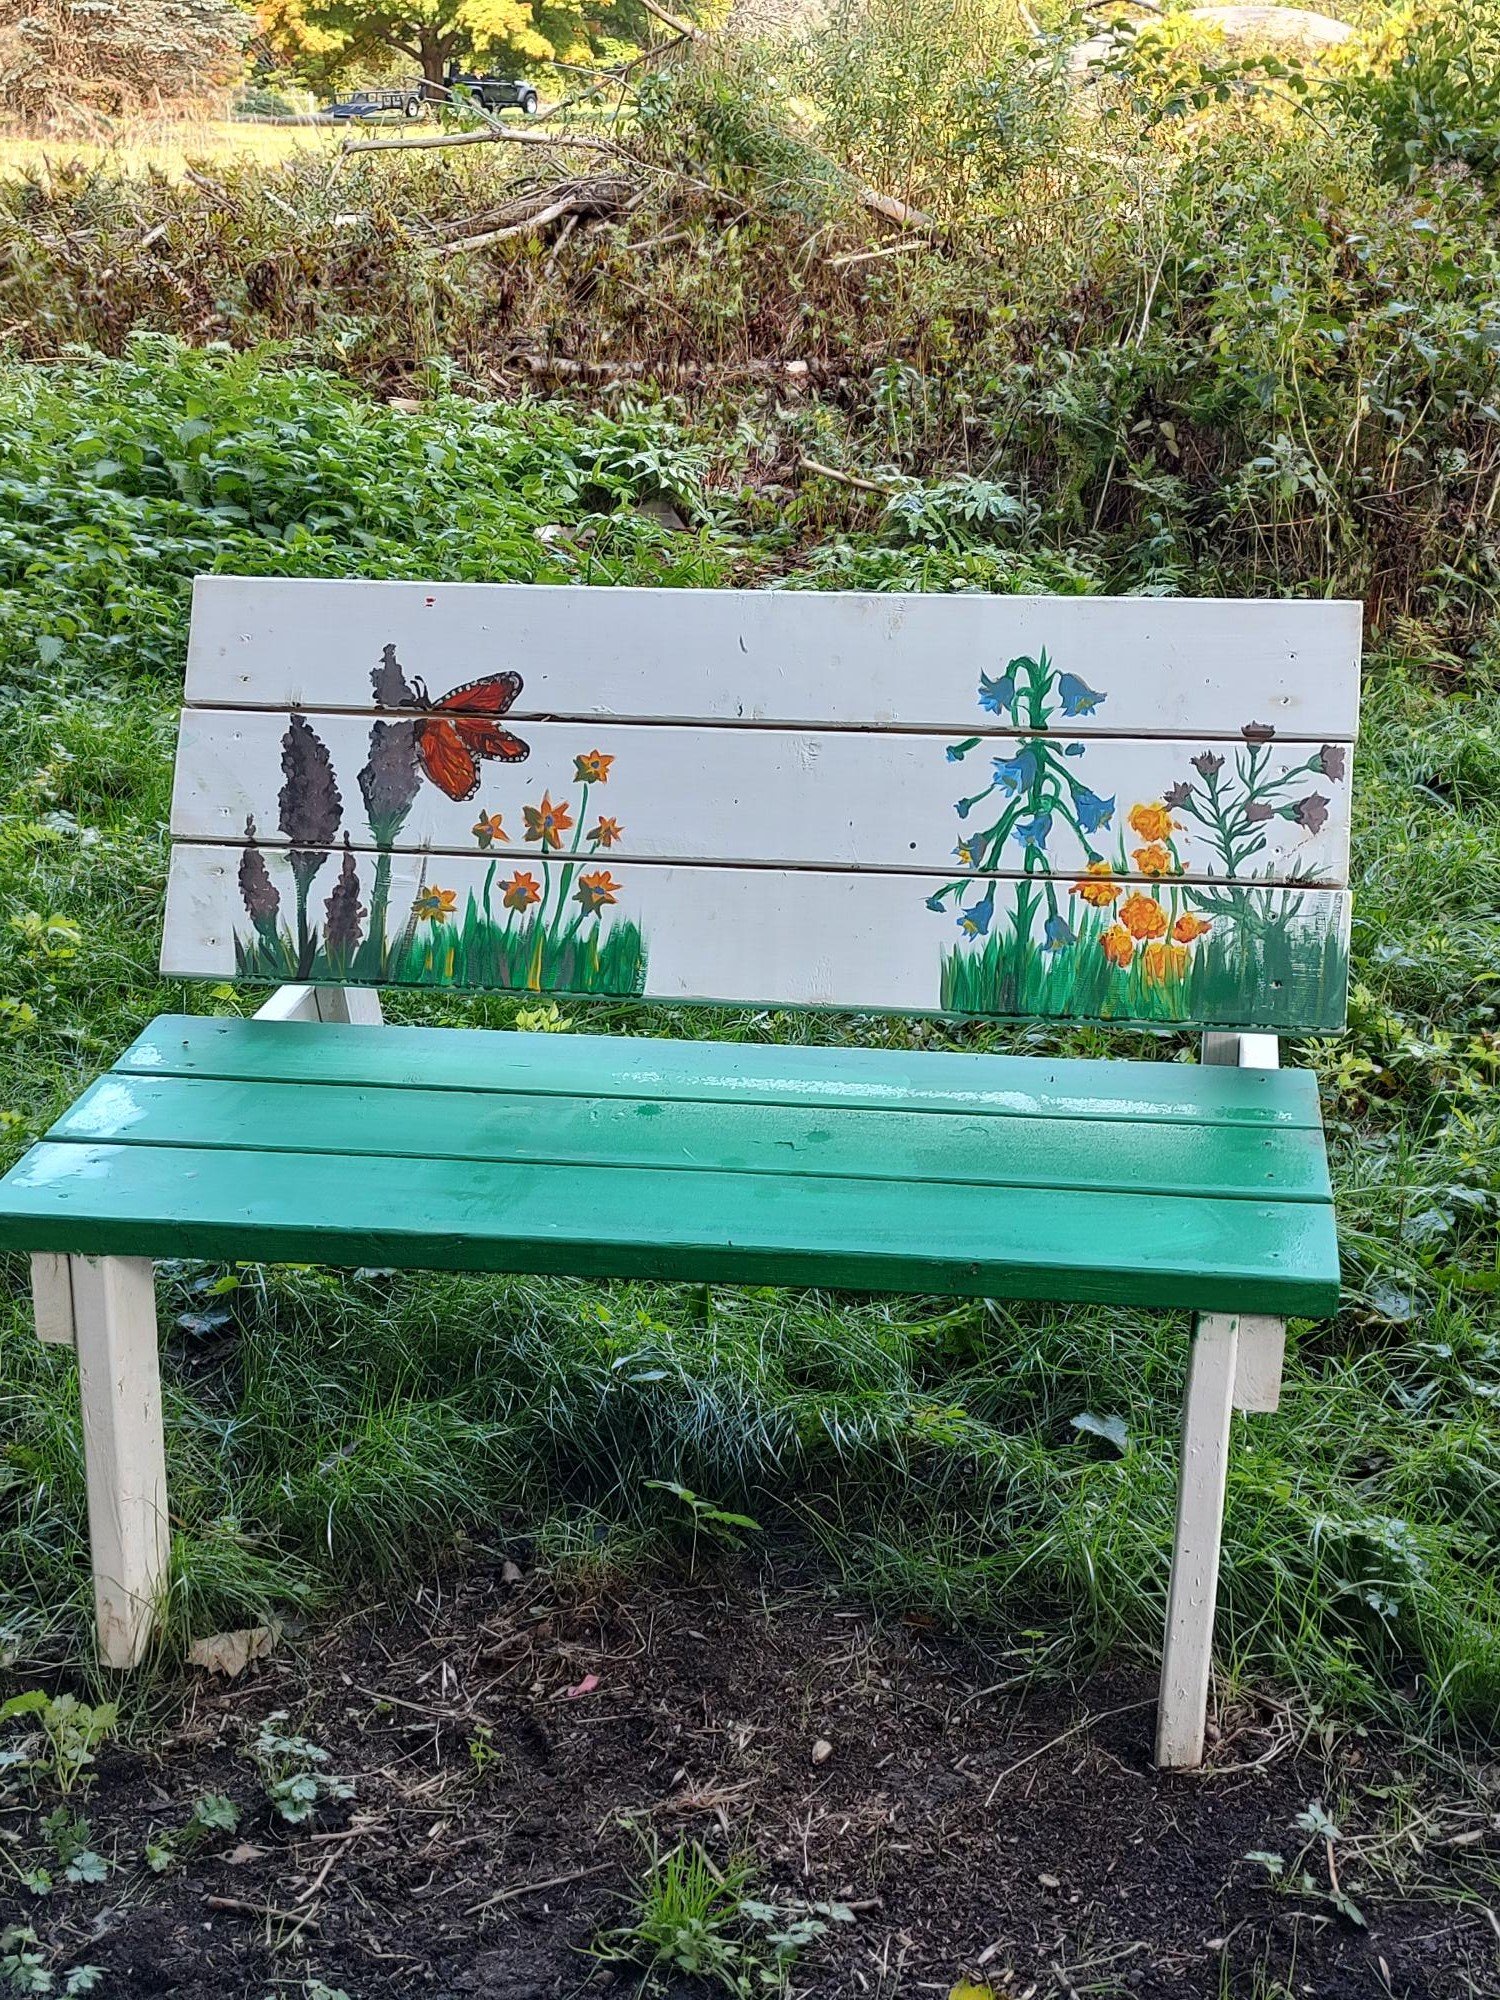
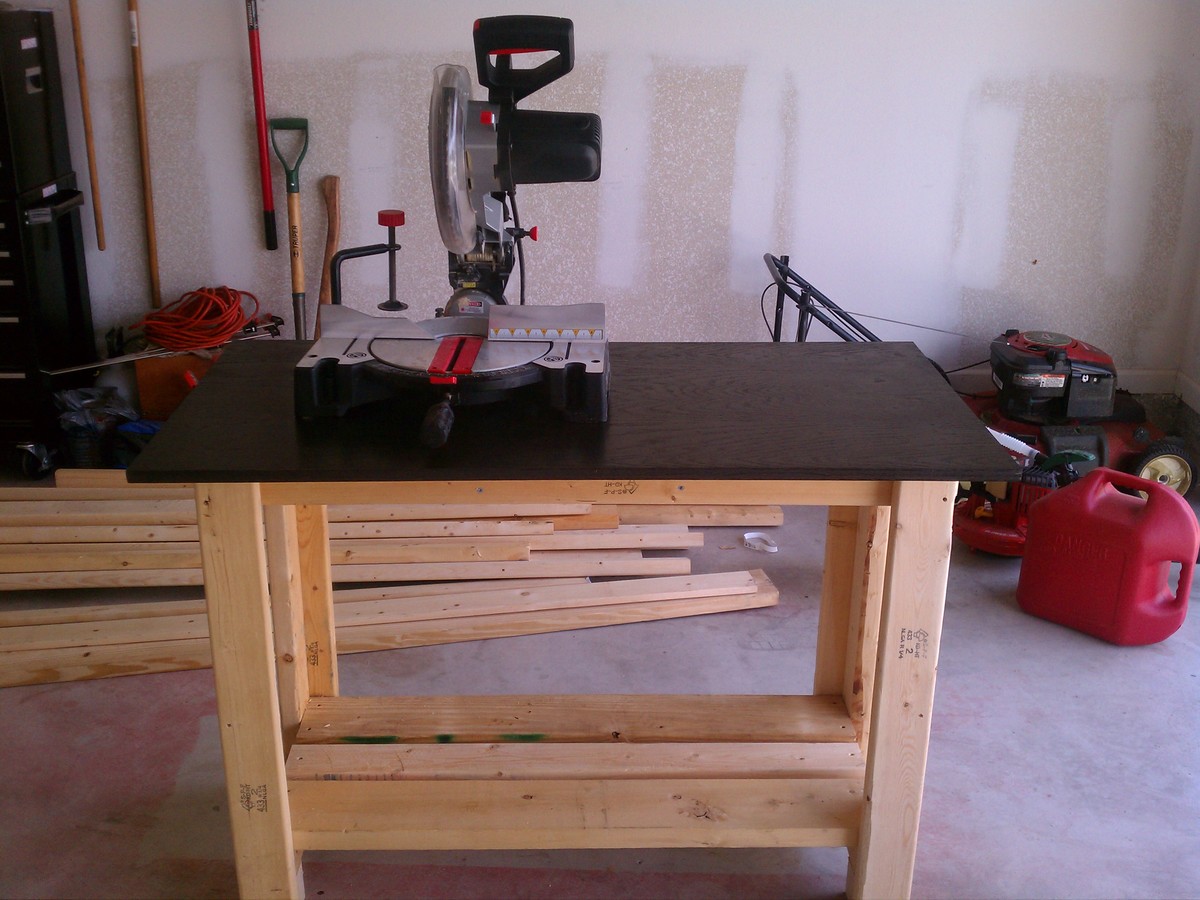
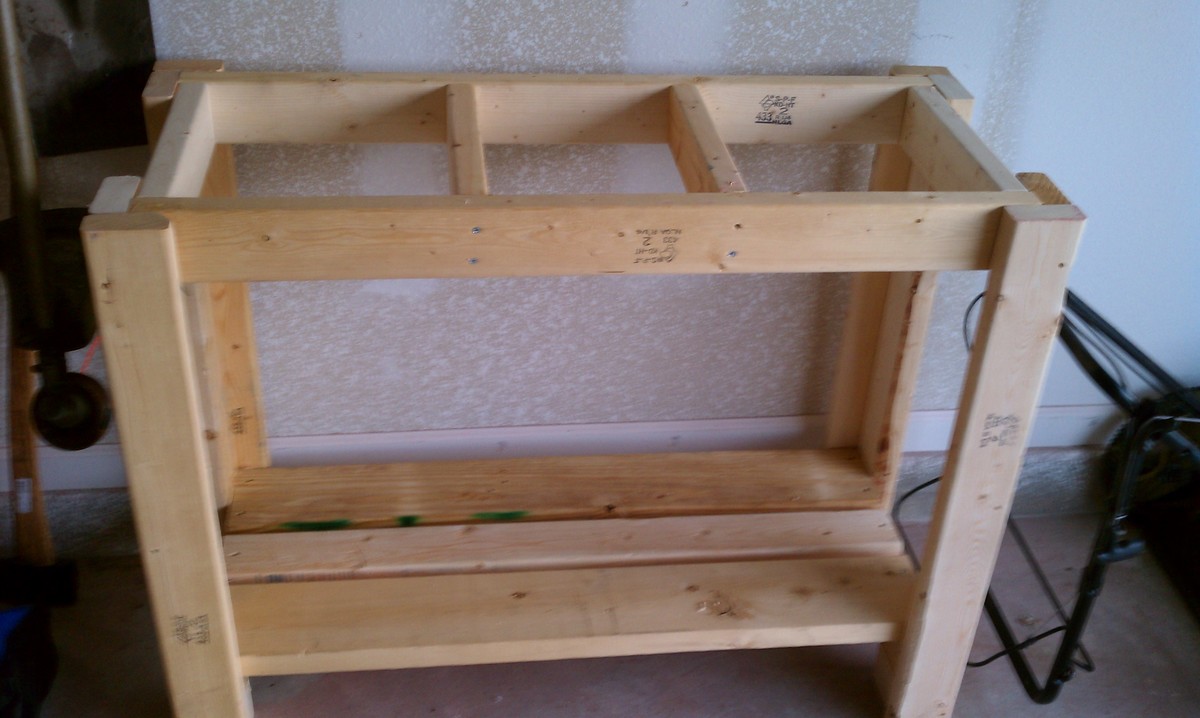
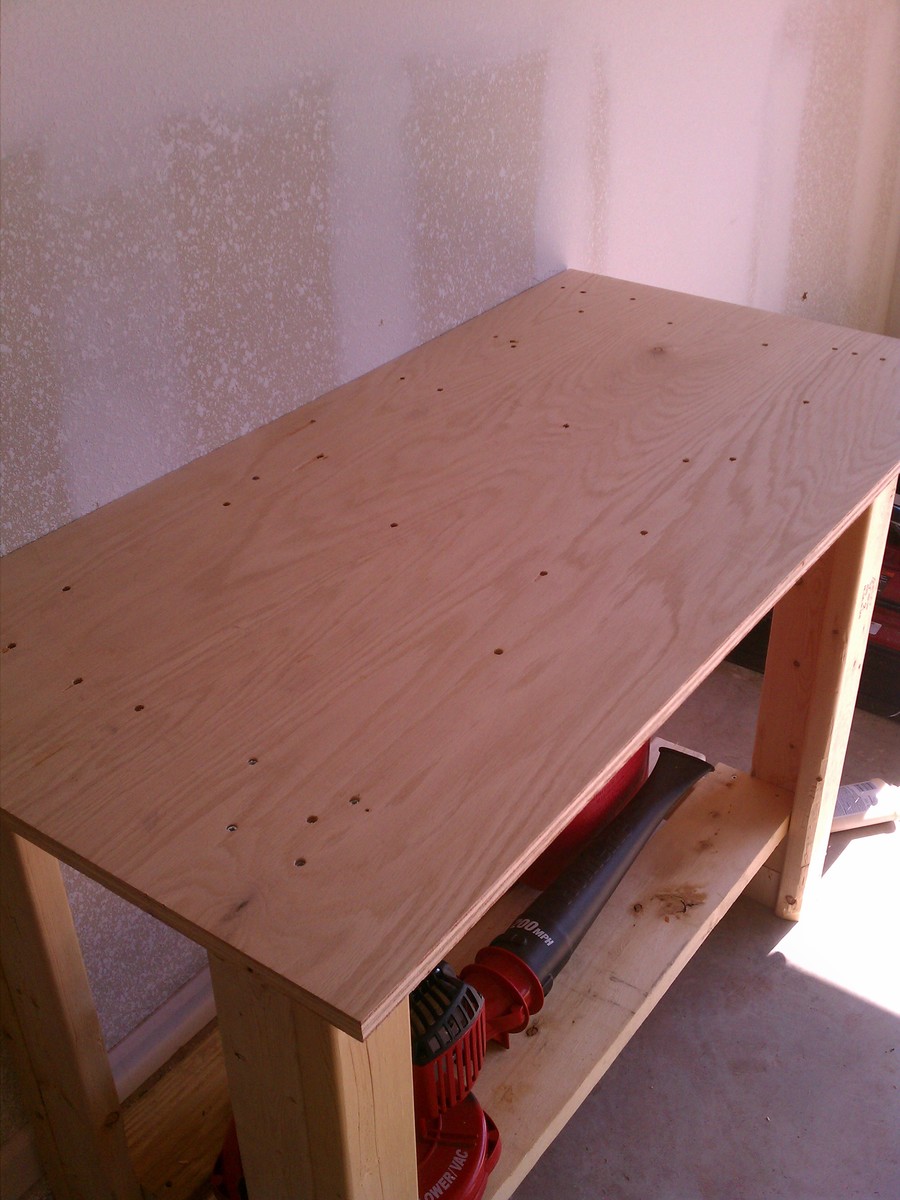
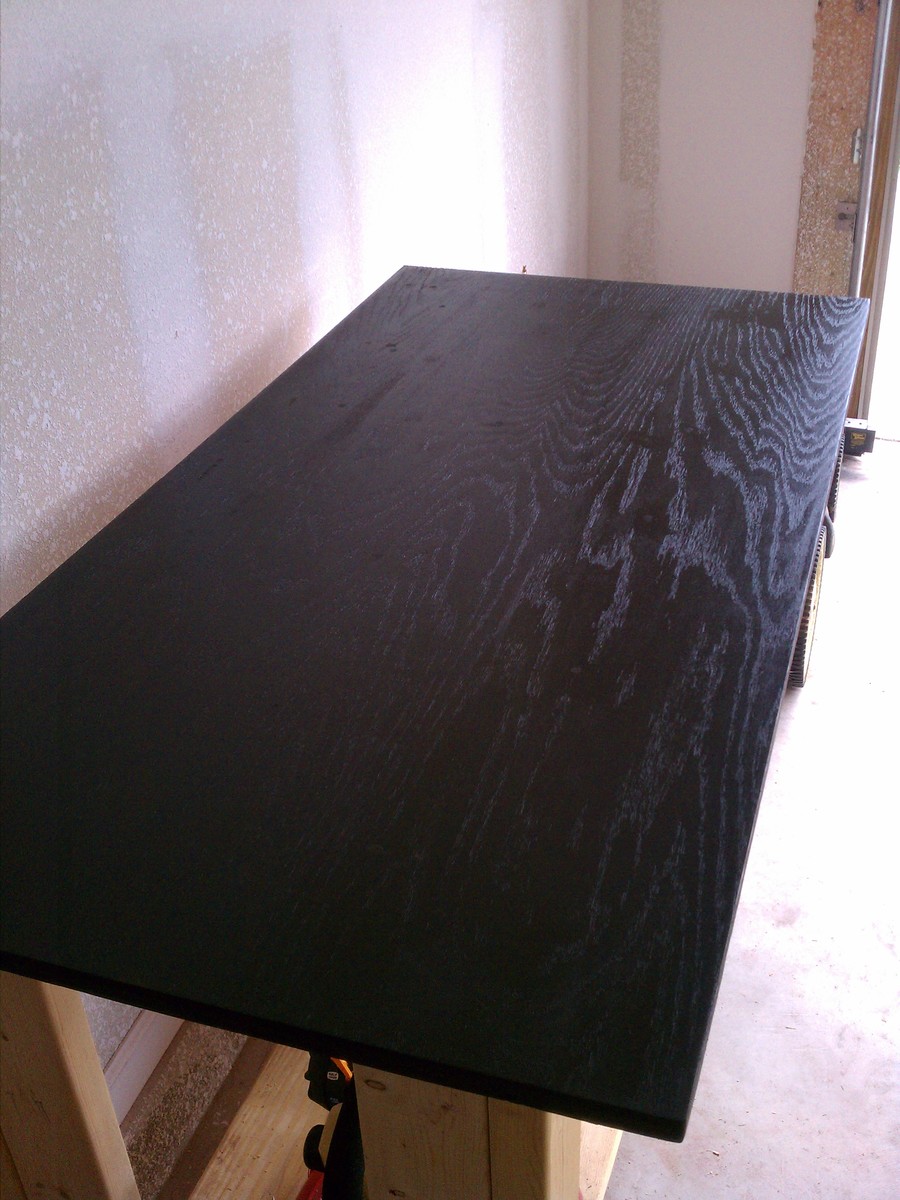
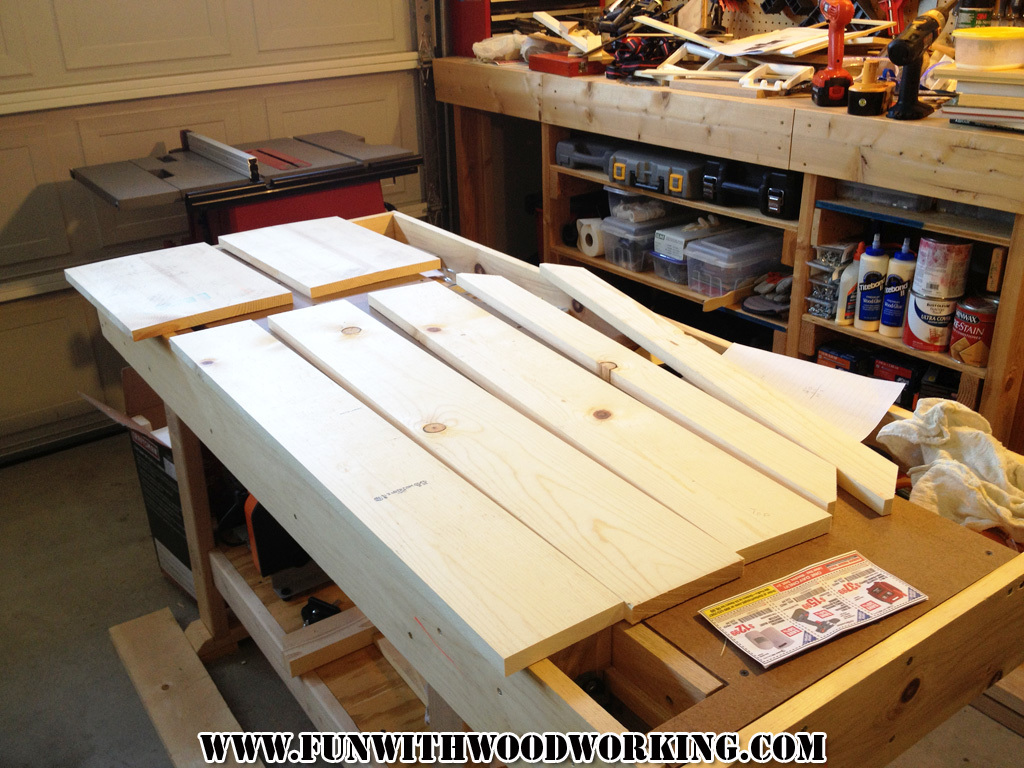
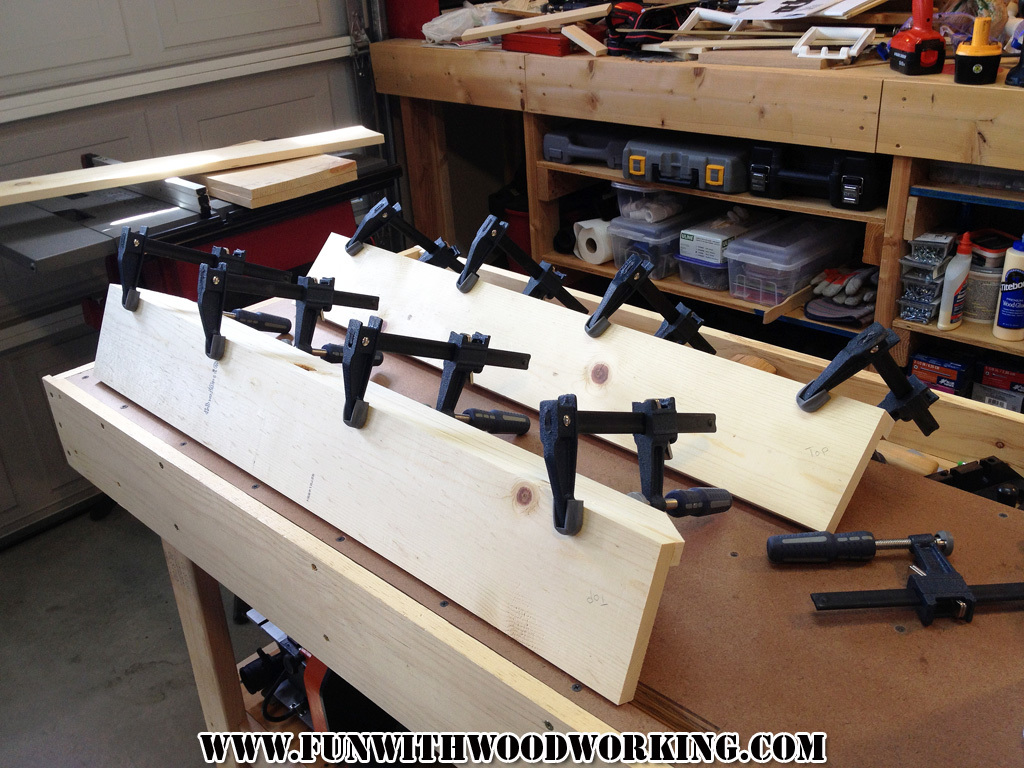
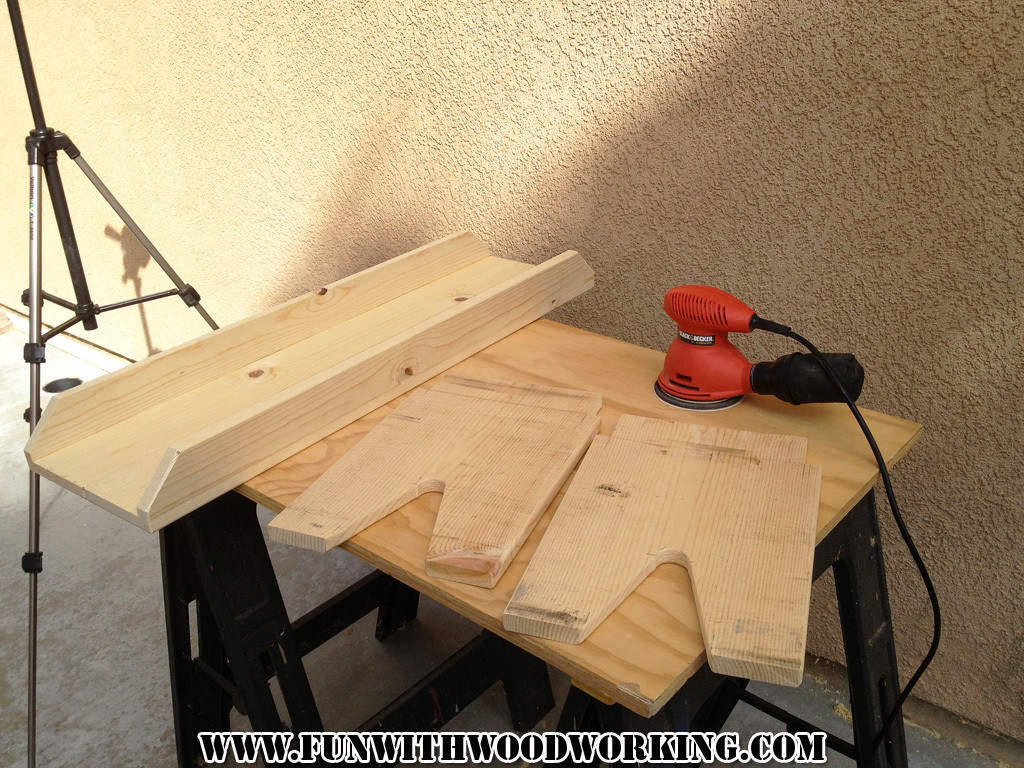
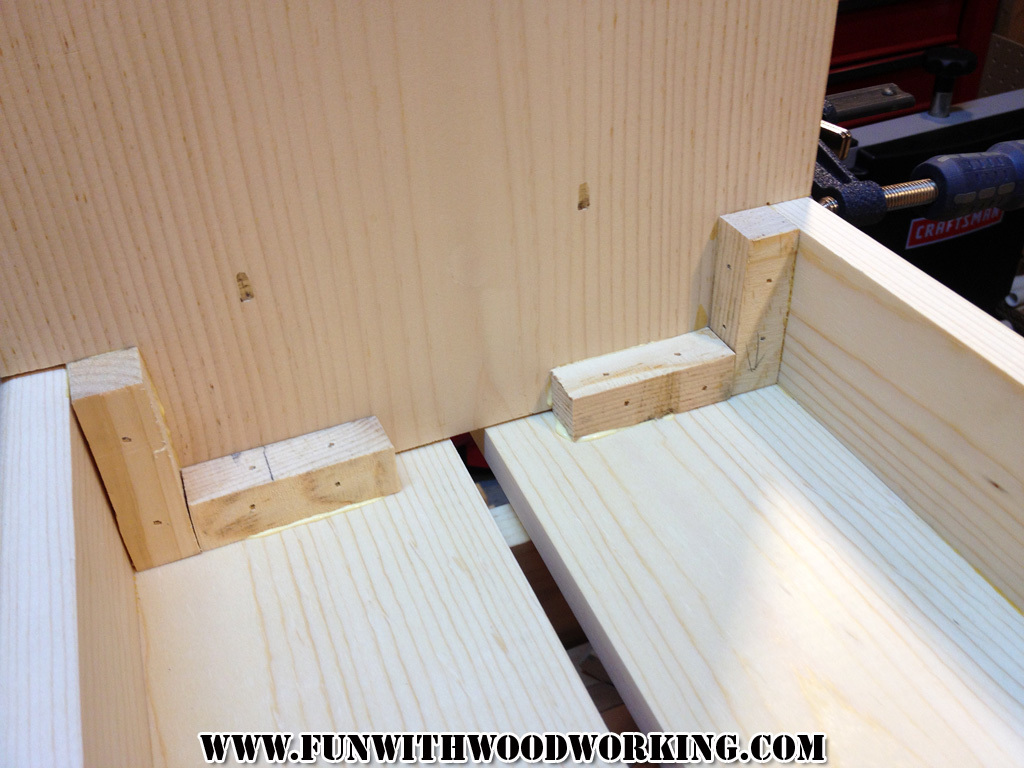
I was looking for a plan for a 5 board bench so naturally I came to your site. I made your basic design but made it a little bit smaller in all dimensions and I put a half inch split down the middle of the top. I built it out of pine and painted it flat black. I gave the legs and underneath 3 coats of satin polyurethane and the top and sides received 5.

You can follow the build on my blog at :
http://funwithwoodworkingtoo.blogspot.com/2013/09/project-how-to-build-…

You can also watch a video of the build on my YouTube page at:
http://youtu.be/1_hz2n7v9ss

Thanks for the free plans!

Estimated Time Investment
Day Project (6-9 Hours)
Finish Used
MINWAX water based satin polyurethane
Recommended Skill Level
Beginner

Farmhouse Coffee table

Submitted by wnmhunt on Thu, 10/27/2022 - 06:52

Ana, thank you so much for all your beginning wood working plans. My husband and I worked together to do this farmhouse coffee table for our daughter-in-law Danielle and she loved it.

Comments

Rustic Bench

Submitted by mom of 4 on Thu, 09/19/2013 - 21:53

I wanted a simple bench for my yard during the summer. This was a fun, simple build with a little bit of extra style. I used a fence picket for the seat and added a center support underneath, since it was a bit bendy. Sanded the top really well before finishing. Built with Kreg jig.

Built from Plan(s)
Estimated Cost
$20
Estimated Time Investment
Afternoon Project (3-6 Hours)
Finish Used
The finish takes way more time than the building. Sanded first with 60, then 150 grit paper. One coat water-based primer, two coats white Behr enamel, two coats clear spray-on lacquer.
Recommended Skill Level
Beginner

Miter Saw Cart

Submitted by Anonymous (not verified) on Wed, 11/16/2022 - 07:16

I had my mitre saw on a stand I had purchased and it was ok. Hard to move around, but it supported the saw ok. Frustrated over having to drag it around every time I was using it. This cart is smaller than the old stand and easier to move around.

Built from Plan(s)

Comments

Reclaimed Wood Look Bedside Table - Modified

Submitted by lishamarie on Thu, 09/01/2011 - 18:42

I built the reclaimed wood headboard for our master bedroom, and then found some awesome reclaimed-look stools at Pottery Barn on sale. About a month after that, Ana came out with her reclaimed wood bedside table plans. I was slightly bummed that I already had these cool stools, but then I realized that I had a whole guest room that I could build for! My guest room has a beach theme so I painted my tables white. The room is also kind of small, so I decided that I would put in one drawer and put in a shelf on the bottom. That way it wouldn't look so huge in the room. I love it! And I found these cool bronze starfish knobs at Lowe's. I got a little overzealous at times and I have pocket hole screws in places that are visible, but not that visible. It could be better. All in all, I'm very happy with the way it turned out.

Estimated Cost
$60 (for two)
Estimated Time Investment
Day Project (6-9 Hours)
Finish Used
Valspar Flat White Spray Paint and Valspar Clear Flat topcoat. I sanded all the edges with 150 grit sandpaper before applying the topcoat. After the topcoat dried, I lightly sanded it again with 220 grit sandpaper to smooth out all the bumps.
Recommended Skill Level
Beginner

Comments

leejae76

Sat, 10/15/2011 - 18:14

Curious about how the bottom shelf is supported - how did you attach it to the solid side panels? Looks great! :)

Sarah's Room

Submitted by scokenour on Sun, 09/22/2013 - 19:45

I actually made this bed for my daughter about a year ago, but recently finished a few other projects in my daughter's room, so I wanted to share. Bed is Ana's "Mom's Fancy Headboard" and end tables are Farmhouse Bedside Tables (modified) and then I made a dresser, loosely based on the Hudson dresser, but utilizing as many scraps and free wood as I could.

Finish Used
Paint and slightly distressed
Recommended Skill Level
Intermediate

Comments

spiceylg

Mon, 09/23/2013 - 08:23

Beautiful room. Lucky daughter. Really nice job on the builds!

Coffee Table

This project was a Christmas present to my wife.  I used the plans from the 20-second tidy up coffee table  and made some slight modifications.  

Estimated Time Investment
Week Long Project (20 Hours or More)
Finish Used
Early American stain. Water-based polyurethane.
Recommended Skill Level
Beginner

Students build an Outdoor Classroom

Submitted by Anonymous (not verified) on Sun, 11/27/2022 - 06:26

The high school environmental club built an outdoor learning space for classes. The plans were super easy to follow and the students were able to put them together with minimum direction. Imagine being able to take your lessons while out in a field beside the woods! Thank you Ana!

Dress Up Cart

We used the Dress Up cart plan, but altered it in a few ways. We added additional storage up top and used hooks instead of a bar with hangers. We also added a mirror on one end and wheels. Visit our blog for more photos!!

http://bearrabbitbear.blogspot.com/2011/09/sneak-peak-natalees-dress-up…

Estimated Cost
$30-40
Estimated Time Investment
Weekend Project (10-20 Hours)
Recommended Skill Level
Beginner

Comments

juli Eckmeier Cosack (not verified)

Mon, 11/21/2011 - 06:29

What a great modification! i want to make this for my boys but even though they're ranging from 2 to 6 trusting them to hang things on hangars is a ridiculous request. maybe it's too time consuming for their busy little lives? who knows! but this is a great alternative! will definitely be using this plan!
thanks!

Coffee Table

This a coffee table I built that is based on Pottery Barn's Rhys Coffee table and features and open shelf and six drawers. I modified the plans to include a top and changes to the drawer fronts. The original plans can be found here at Ana White's website: http://ana-white.com/2012/02/plans/rhyan-coffee-table

Estimated Time Investment
Week Long Project (20 Hours or More)
Finish Used
Minwax - Red Mahogany
Recommended Skill Level
Beginner

Faux fireplace mantel

I just wanted to say thank you, Anna White, for easy to follow instructions for this DIY. I've really enjoyed making this piece and it turned out oh so pretty! It's exactly what I wanted :) And to those who may be intimidated by this project, I'd say Go For It! You can do it!!! :)

                                             ~ Marina

Estimated Time Investment
Weekend Project (10-20 Hours)
Finish Used
Minwax Provincial 211
Annie Sloan Chalk Paint ( French Linen )
Recommended Skill Level
Beginner

Cooler Caddy

Submitted by Anonymous (not verified) on Sun, 01/27/2019 - 17:53

Hi, Made my 1st cooler caddy some 5 yrs ago. Bright blue with dark walnut stain on shelf & top trim. Made 2nd & 3rd coolers of the deep blue both w/bottle caps in the center. My forth cooler was gray paint w/an antique wax applied. The side shelf was made of pallet wood (white oak) with a wine rack under neath (was a wedding gift for my niece) All the coolers were made with 2x4’s, pine, exterior paint and marine grade spray poly on exposed wood. Had fun making them all. More to come.

Recommended Skill Level
Intermediate

Entry table

Thanks for the plans. Wife has enjoyed this and makes a great feature to our house.

Comments

workbench

Submitted by ddietz12 on Fri, 09/09/2011 - 10:33

Built two of these workbenches using 2x4's I found in the dumpsters around my neighborhood. Tested out rustoleum stain for the tops. Covered really well in just one coat.

Built from Plan(s)
Estimated Cost
$30
Estimated Time Investment
An Hour or Two (0-2 Hours)
Finish Used
Rustoleum stain in kona
Clear lacquer
Recommended Skill Level
Beginner

Comments

dan-k

Fri, 09/09/2011 - 20:45

Looks great, I like the look of the dark top, but it might make it harder to see small objects.

kdearing (not verified)

Tue, 11/13/2012 - 18:14

Nicely done! I also like the look of the stained top!

ddietz12

Mon, 05/06/2013 - 06:49

Wow. Thank you for those unbelievably kind words. I am not an architect though. My main profession was a service manager and now I'm unemployed and partially disabled. I just love to be creative and use my hands. I also love photography. I did all my work on nights and weekends. Again, thank you for the kind words.

Family Work Table

Submitted by msw1978 on Fri, 09/27/2013 - 05:18

This was a project that I messed up and it actually turned out much better than the original idea. I wanted to to make a buffet/side-table for our dinning room but ended up measuring wrong and this turned into what it is now.
I am happy with the way it turned out. It was pretty simple to make as far as the design is concerned.
The woodwork involved was planing, cutting, sanding, etc and then there was bit of metal work like cutting and welding.
I love how the milk baskets tie things together.

Estimated Time Investment
Day Project (6-9 Hours)
Finish Used
Miniwax wipe on polyeurethene
Recommended Skill Level
Intermediate

Comments

spiceylg

Fri, 09/27/2013 - 08:39

What a happy accident! I really like this and the milk crates finish it off fabulous!

Built with cedar

Submitted by Anonymous (not verified) on Sat, 02/02/2019 - 17:50

I made a few modifications because I built it all out of cedar. Mostly just adding additional bracing so that the shelves were sturdy. Just need some hooks for my tools.

Estimated Time Investment
Day Project (6-9 Hours)
Recommended Skill Level
Intermediate

Corner Cupboard in Cottage White

Submitted by The Keys on Sun, 09/29/2013 - 18:20

We made this piece 7' tall rather than 6' tall so that it would go well in our dining room, leaving the cabinet doors the same height but adjusting the upper shelves to fit.

Built from Plan(s)
Estimated Time Investment
Week Long Project (20 Hours or More)
Finish Used
White paint and primer that we also used on the trim throughout our house.
Recommended Skill Level
Beginner

Comments

Herringbone Table

Submitted by newtoit on Thu, 12/17/2015 - 11:58

This was a project I had been dying to try out as a way to challenge myself. I wanted to make a herringbone pattern on a table top. I built the legs around the Bois Rouge Saint Paul Table plans. The hardest part was milling on the wood and making it the same width and size but once I had all my pieces the process went pretty smoothly. The funy thing is I did not build this piece for anyone specific and now I have this beautiful table that is sitting unused in my garage. The next step is to sell it!! wink

Built from Plan(s)
Estimated Cost
$300-$400
Estimated Time Investment
Week Long Project (20 Hours or More)
Finish Used
Waterlox Original Sealer/Finish
Recommended Skill Level
Intermediate

Comments

Laundry Tower

Submitted by Anonymous (not verified) on Thu, 02/07/2019 - 17:13

I modified the plans from the favorite Bookshelf to fit my laundry baskets. Once I'm done painting, this will be installed in my master closet. (Finally all the dirty laundry off the floor!)

Built from Plan(s)
Estimated Time Investment
Afternoon Project (3-6 Hours)
Recommended Skill Level
Beginner