Community Brag Posts

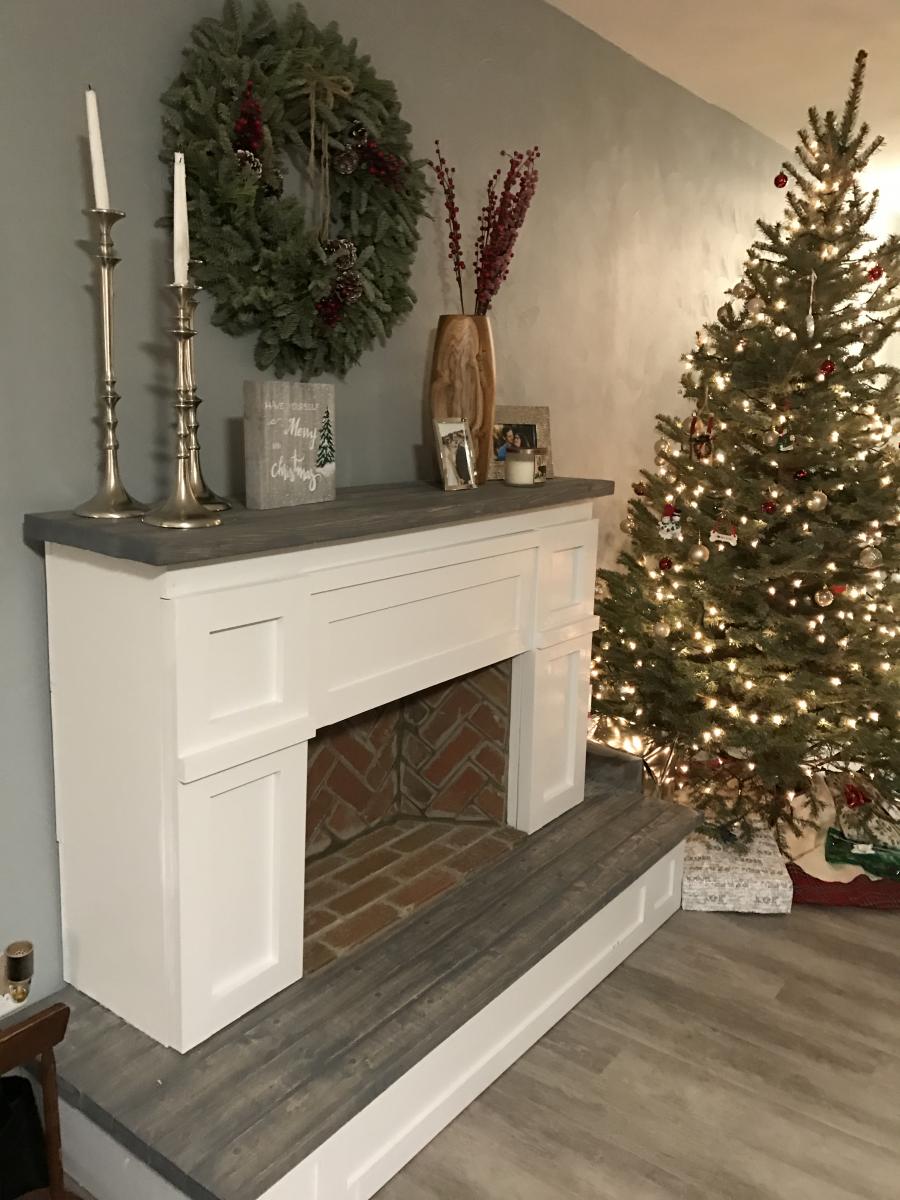
Faux Fireplace with Hearth
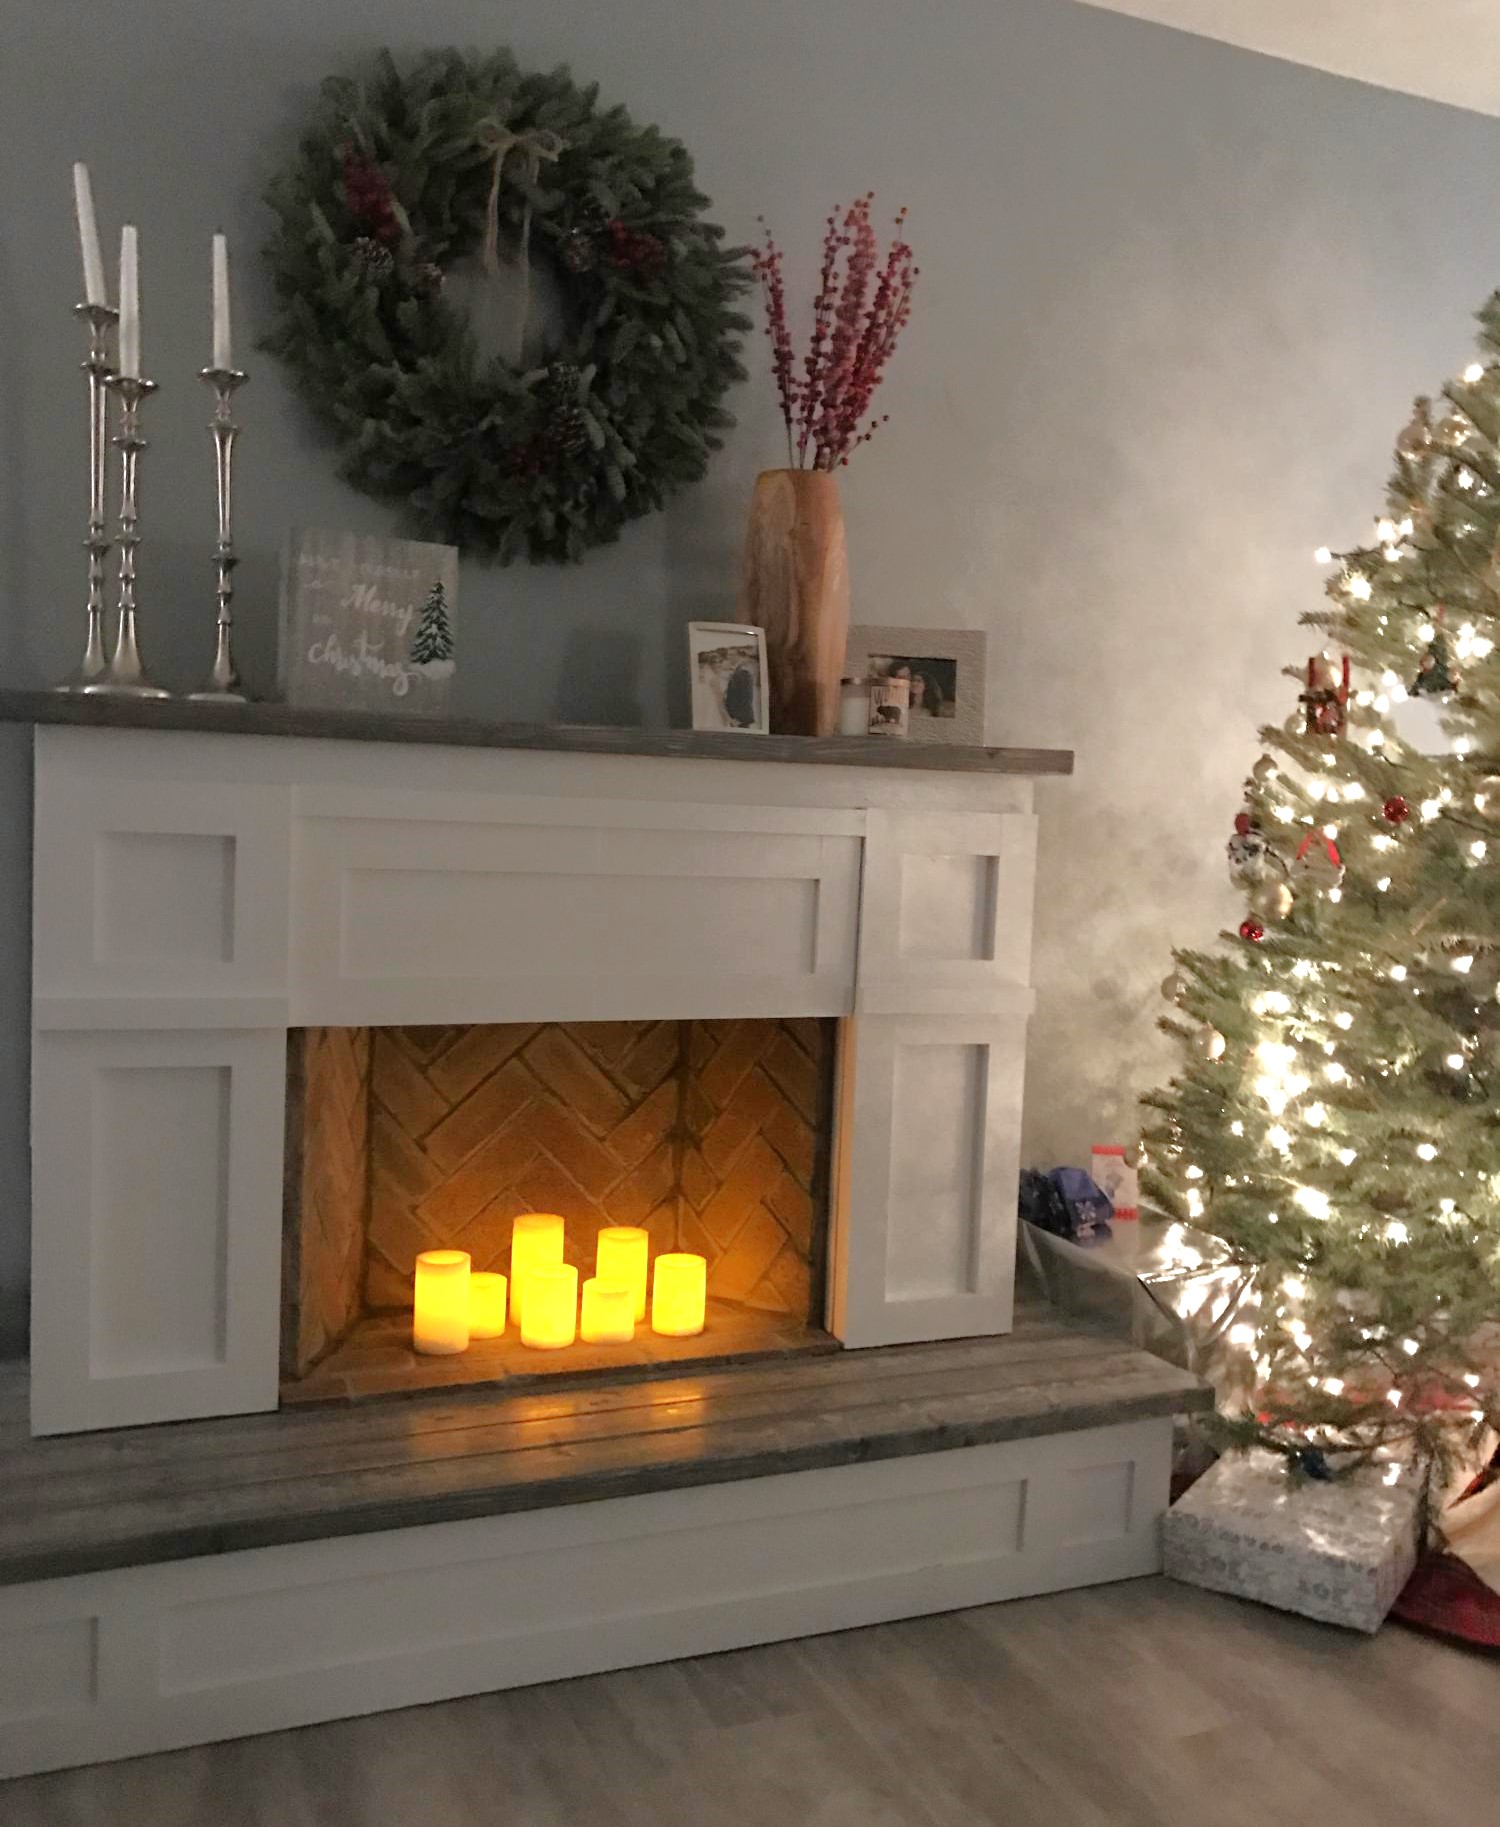
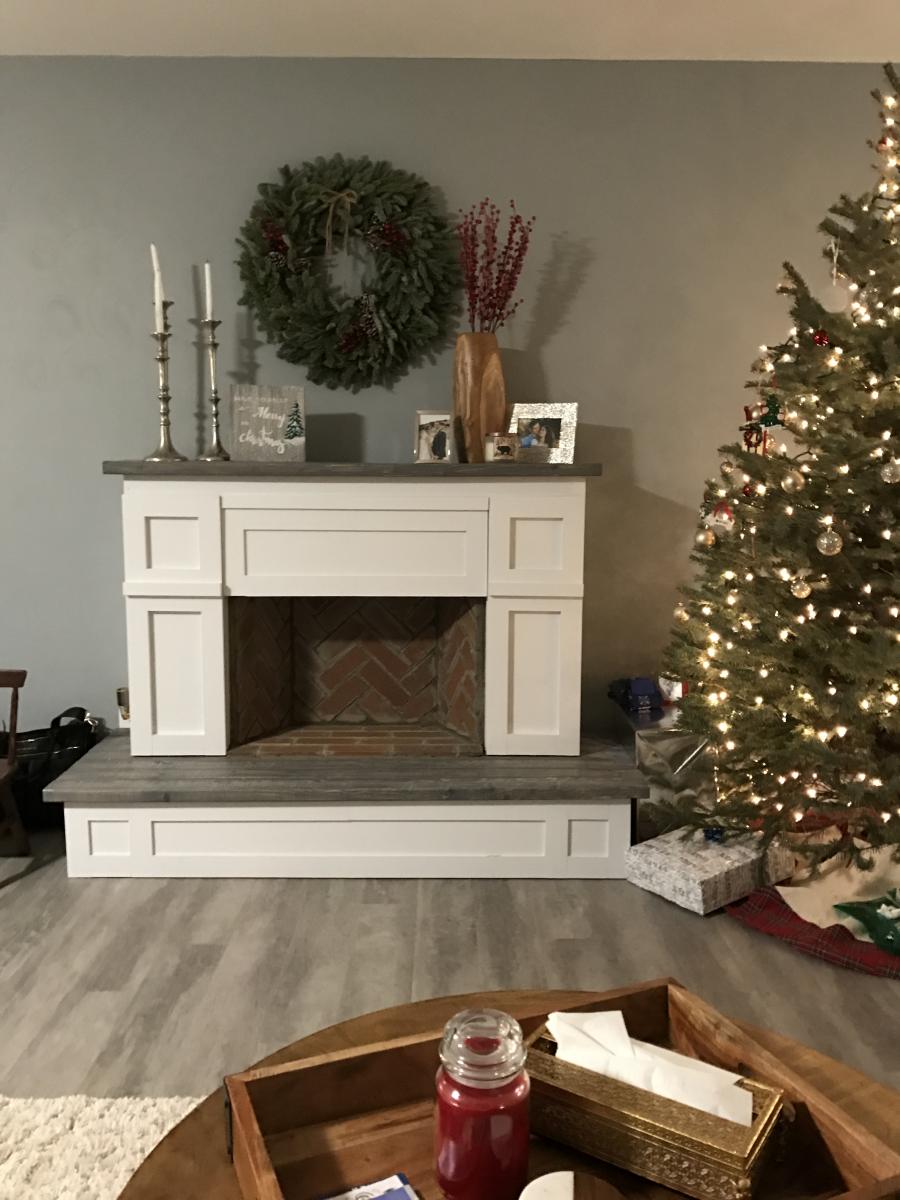
We made some modifications by adding a hearth for additional height (the room we have it in is very large and open) and joining 2x4s for the mantel and base which I stained grey for contrast. We decided to use thin brick for in the "firebox" to make it look more realistic. We also have a newborn and spent over two months putting it together a little at a time in our free moments so I'm not sure how long it would actually take to do at once, but cutting and putting up the brick was very time consuming. 
Estimated Cost
$250
Estimated Time Investment
Week Long Project (20 Hours or More)
Finish Used
White paint, Minwax "Classic Grey" stain
Recommended Skill Level
Beginner

Comments

westmoundstar

Thu, 08/27/2020 - 11:16

This looks great! I'm actually in the middle of this build with the hearth as well. Couple questions....
How did you connect the two pieces? Also, did you connect to the wall? I'm assuming you didn't leave the 5 1/2 inch gap on the bottom of the fireplace and connected direct to the hearth. Let me know, thanks!

Seasonal And Holiday

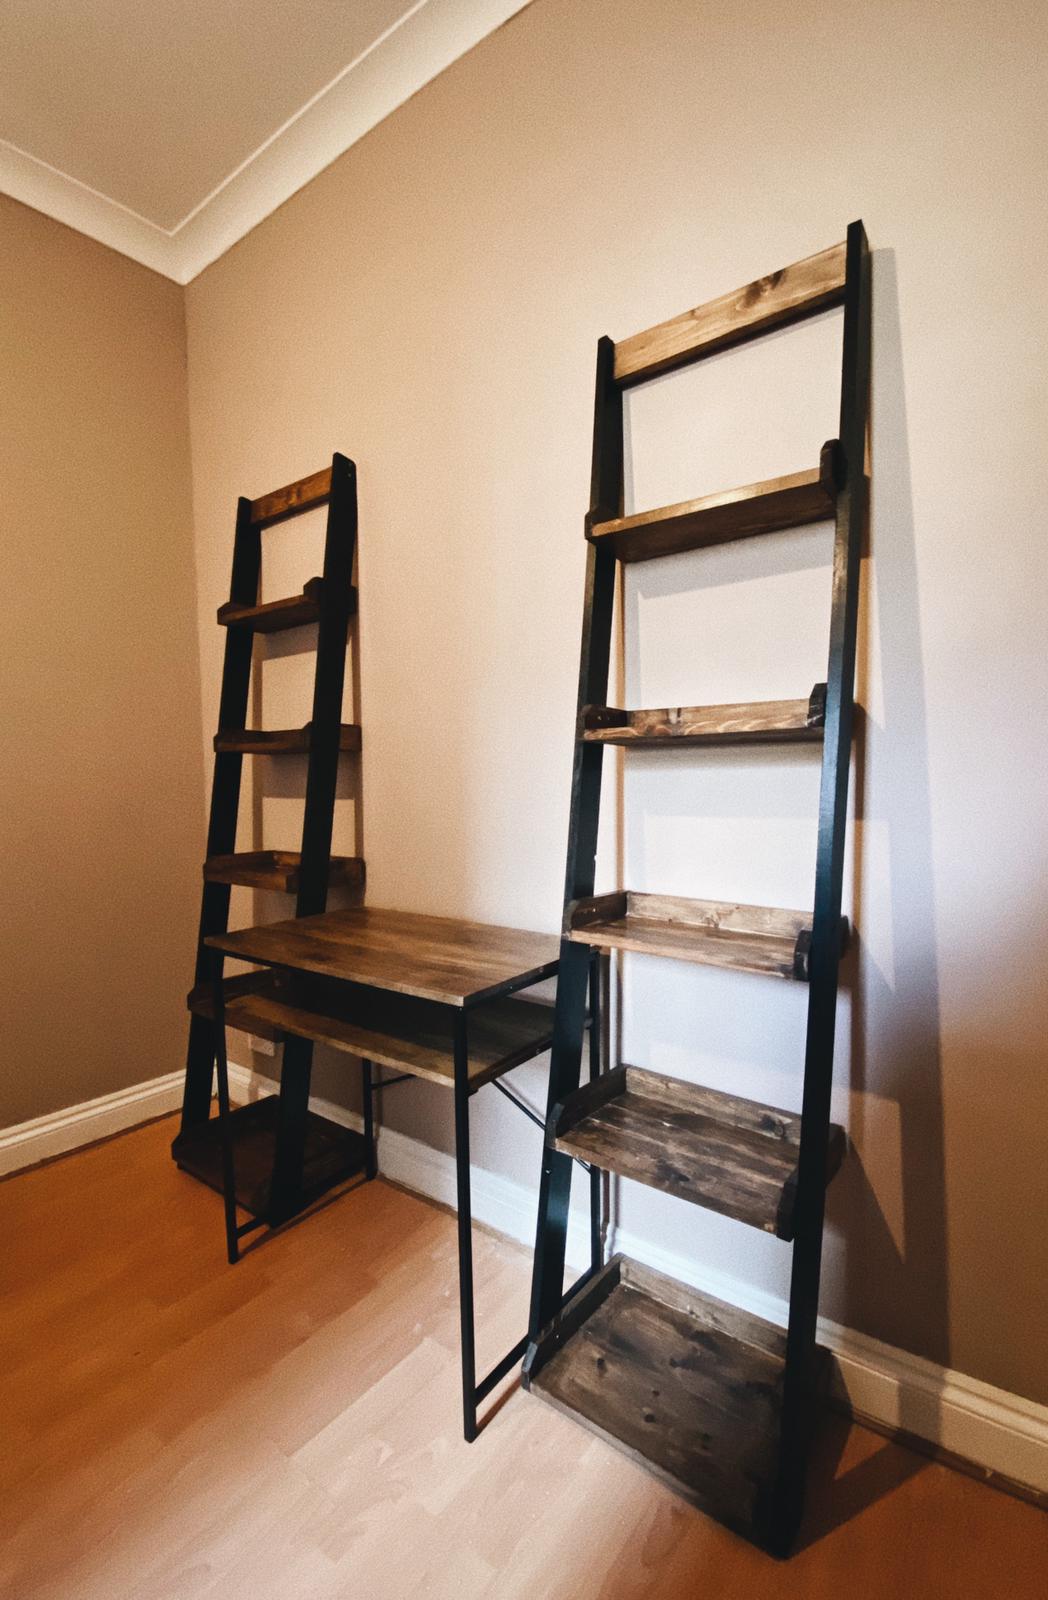
Ladder shelf

Submitted by Anonymous (not verified) on Wed, 12/15/2021 - 03:57

I saw your video and it was perfect for a small room. You made it look easy but it was hard work but worth it in the end.

Comments

Little Kids Picnic Table

Submitted by Cassie1686 on Tue, 04/12/2011 - 23:35

Thanks to LoriInVegas for her help with the legs on this project!  My legs were so wobbly, even thought I was super careful to cut them evenly.  So, I unscrewed all the screws besides one, in each leg, and then re-screwed everything in one by one, being sure it was steady after each screw.  I built this for my 3 year old and 1 year old daughters.  The table was a bit smaller than I had imagined, but it's sooooo cute!  It will fit them both for now, but definitely no more than one child on each side, and I assume my 3 year old won't be able to fit comfortably much longer.  I plan to build the Bigger Kids Picnic Table this weekend!  I painted the entire table in chalkboard paint so that the kids could go crazy decorating it.  I plan on putting a cute little basket in the middle of the table to hold their chalks.

Built from Plan(s)
Estimated Cost
$15
Estimated Time Investment
Afternoon Project (3-6 Hours)
Finish Used
Behr Paint, mix 1 cup paint with 2 tablespoons unsanded grout. Paint and let dry. Prime the surface for chalk by coloring entire surface with chalk and wiping clean with damp cloth before using.
Recommended Skill Level
Beginner

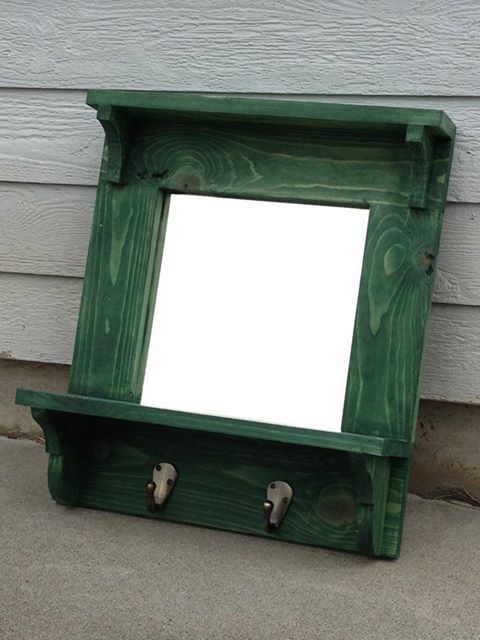
"Mirror" from Ana White's book, The Handbuilt Home, pg 37

Submitted by tracysmith on Wed, 06/19/2013 - 14:36

This was a great project to do - fairly easy. About the hardest thing on it was the scroll work for the shelf brackets, but that really wasn't bad.

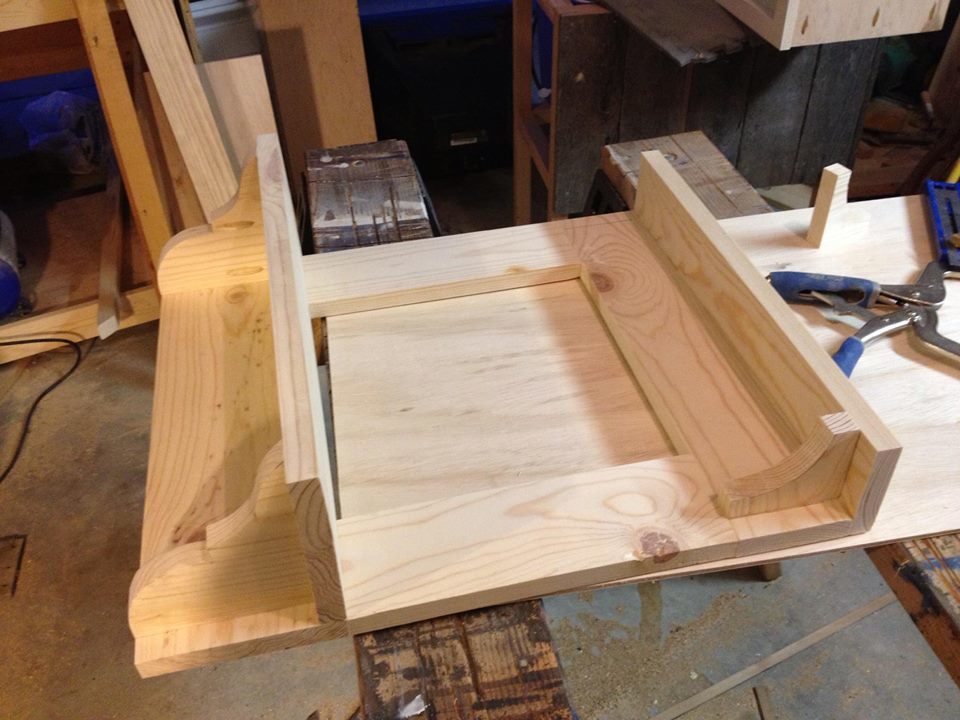
I built this entry shelf from Ana's book (pg. 37) for a client who was looking for something to place his brothers ashes on - a memorial shelf as I'm calling it. I altered the dimensions of the project to fit the clients needs.

I used Minwax Color Express for the first time on this project and I was quite surprised with how easy it was to deal with. I do wish I had stained the pieces first, but because of how it came together, I really needed to put off the staining until the end.

Estimated Time Investment
Afternoon Project (3-6 Hours)
Finish Used
Minwax Color Express - in Emerald. No top coat, really doesn't need it!
Recommended Skill Level
Intermediate

prarie style light

Submitted by wvtim1968 on Wed, 05/27/2015 - 23:08

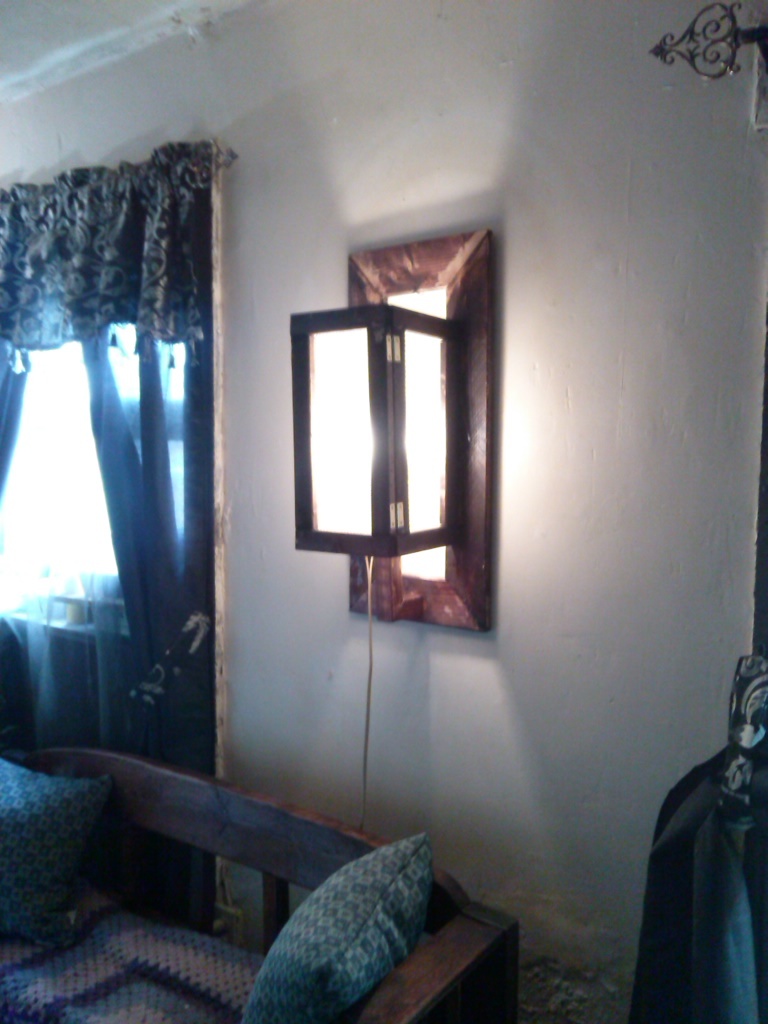
saw a picture online of this light and liked it so i did my own measurements and this is what i came up with

Estimated Cost
15.00
Estimated Time Investment
Day Project (6-9 Hours)
Finish Used
red oak and poly
Recommended Skill Level
Beginner

Xmas wall tree shelf

Submitted by debinmi on Fri, 12/22/2017 - 12:31

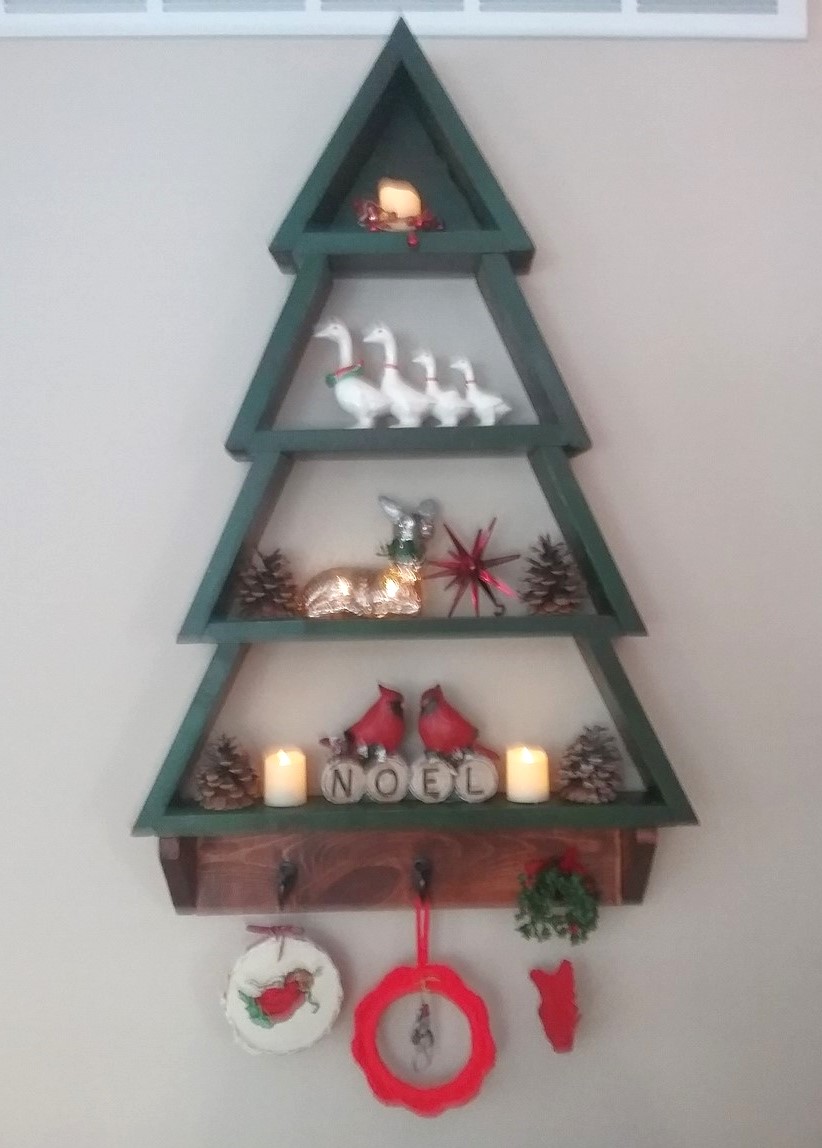
I've loved this little tree shelf since it was first published, but thought the angle cuts might be too difficult.  I was wrong.  It was simple and fun, with an extra pair of hands. Made a few minor changes. Merry Christmas & thanks for the cute plan!
Built from Plan(s)
Estimated Cost
Maybe $10, including paint, but not stain
Estimated Time Investment
Afternoon Project (3-6 Hours)
Finish Used
Rustoleum hunter green paint & Miniwax stain
Recommended Skill Level
Intermediate
Seasonal And Holiday

Deck Enhancement

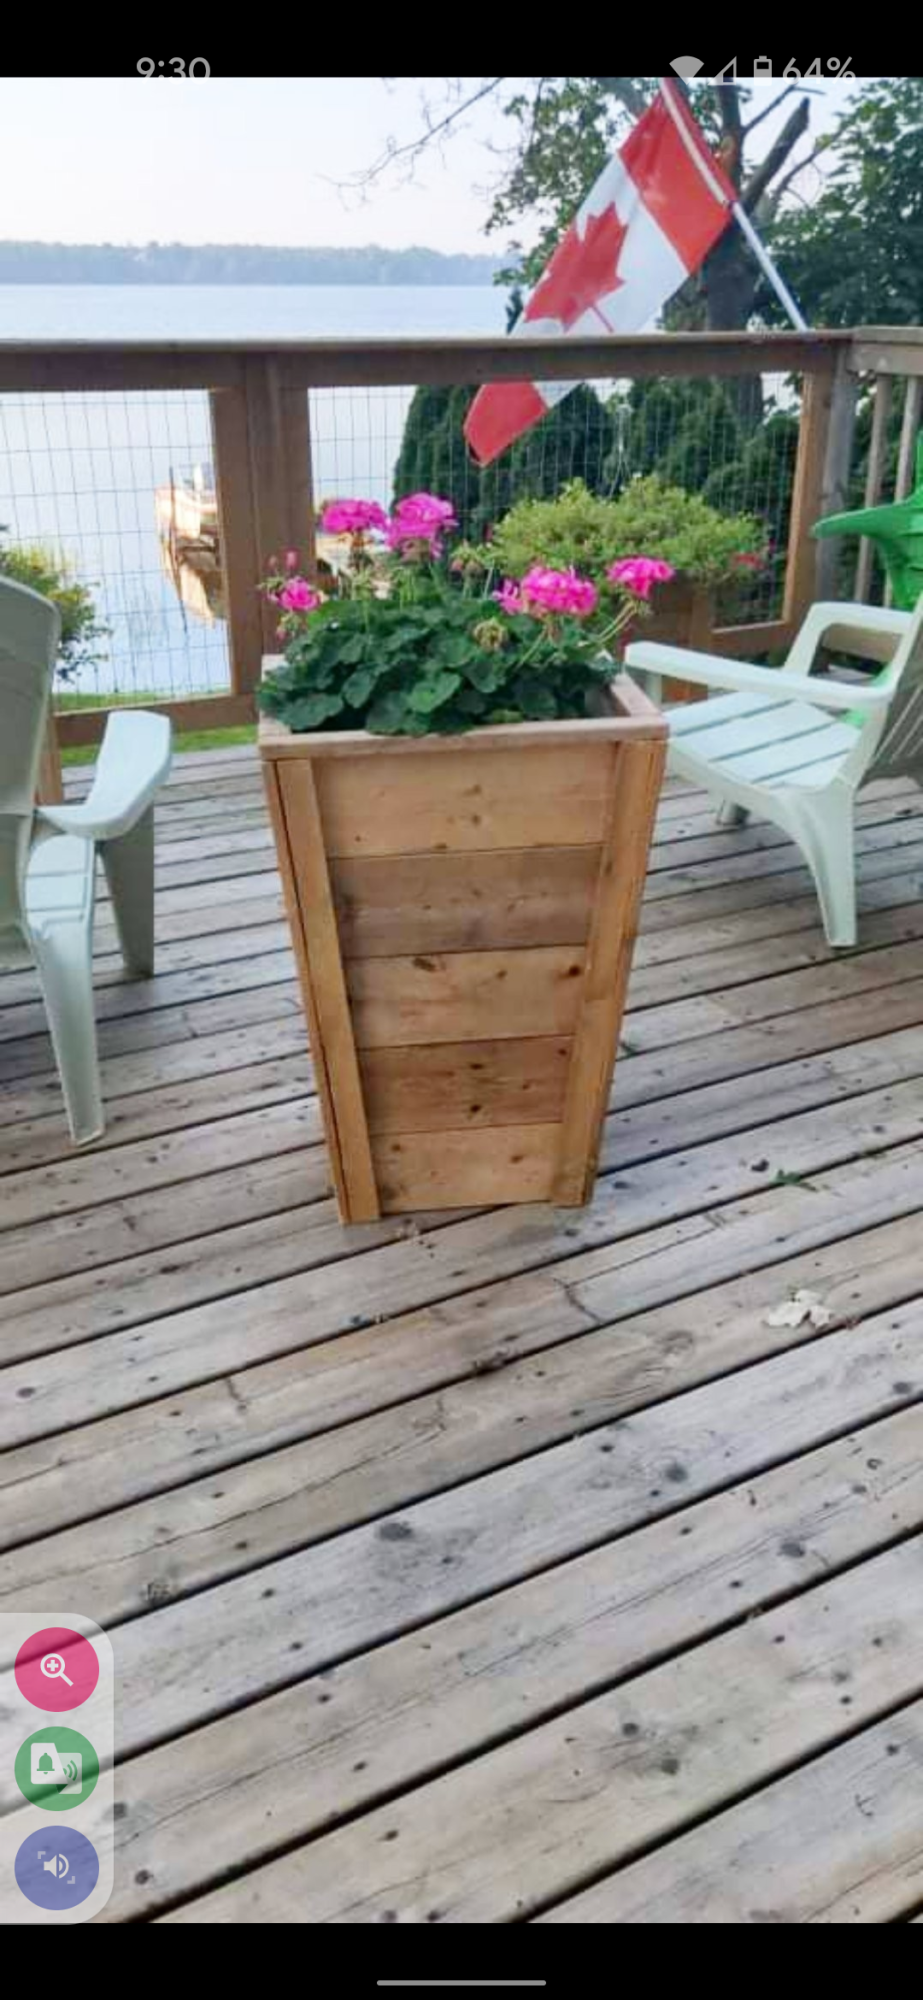
A little tricky for me as it was my first time with a circular saw. It looks great on my deck. I'm going to build a few more for my front porch. Thank you for the easy to follow plan and video. You are an inspiration.

Wood pullout Cabinet drawer pulls

Submitted by 3kidsilove on Sat, 04/16/2011 - 20:03

When I saw these on this sight I had to have them! We just bought a house and it has old cabinets and a remodel is not in the budget so these were perfect ! I did the top one then my husband did the other 4. This was a fun project can't wait to do more.

Estimated Cost
100.00
Estimated Time Investment
Weekend Project (10-20 Hours)
Recommended Skill Level
Beginner

Pink Camp Loft Bed

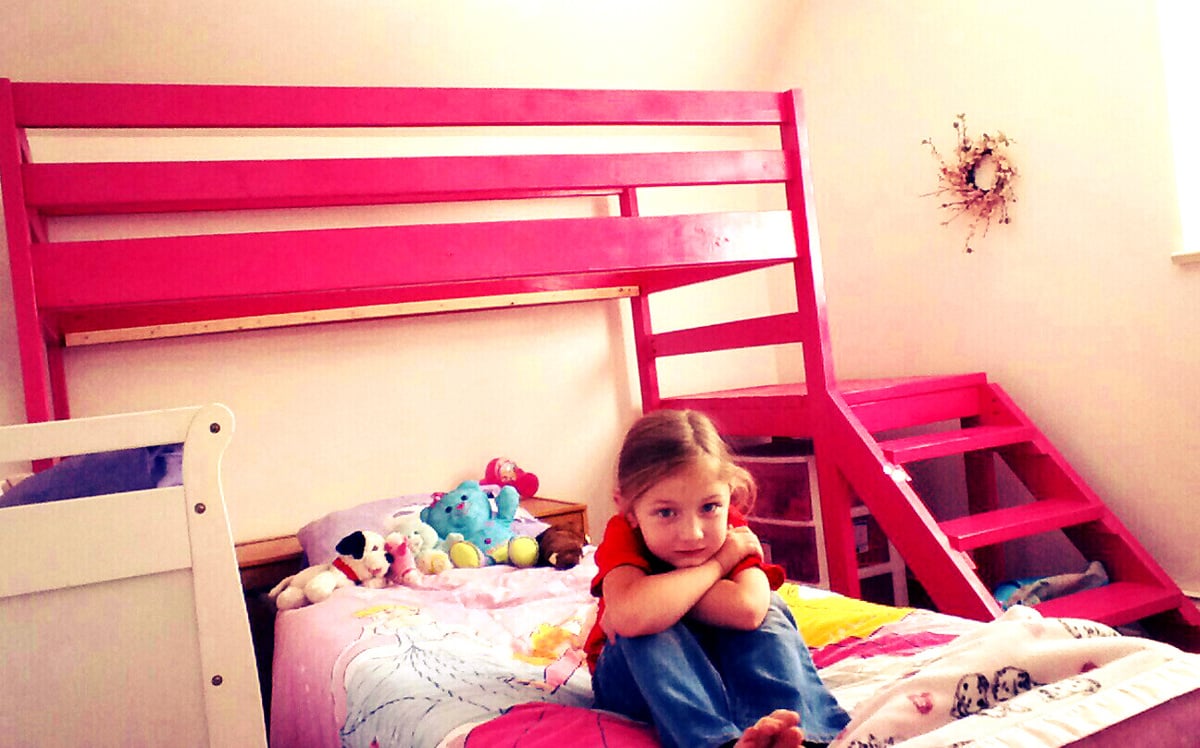
My husband and I just finished this bed, as you can see from the photo, we haven't even bought the mattress yet. This was our first project, and it's amazing how quickly it went together. The Kreg Jig was a little expensive, but it was completely worth it.

Originally we were going to paint it white, but at the last minute we decided to make it pink. Right now it works great for a 'princessy' room, and because the color's pretty bright it should work well in a tween room when our daughter gets older - add some zebra throw pillows and we'll be good ;)

We're so happy with the results, and we can't believe our first project turned out so well. Now we have plans to do one for my son's room, and we're also planning on tackling a desk and a few more pieces for around the house.

Estimated Time Investment
Weekend Project (10-20 Hours)
Finish Used
Rustoleum Primer, Rustoleum Painter's Touch Spray Paint in Berry Pink Gloss - 2 Coats
Recommended Skill Level
Starter Project

Comments

AshbyandPenelo…

Wed, 11/18/2015 - 19:44

Hi there! How did the spray paint work out long-term for the bed? We are building this in the next few weeks, and I love the idea of spray painting!  Did you paint the pieces individually before putting together, or after it was complete?

Thanks!

Modern Farm table

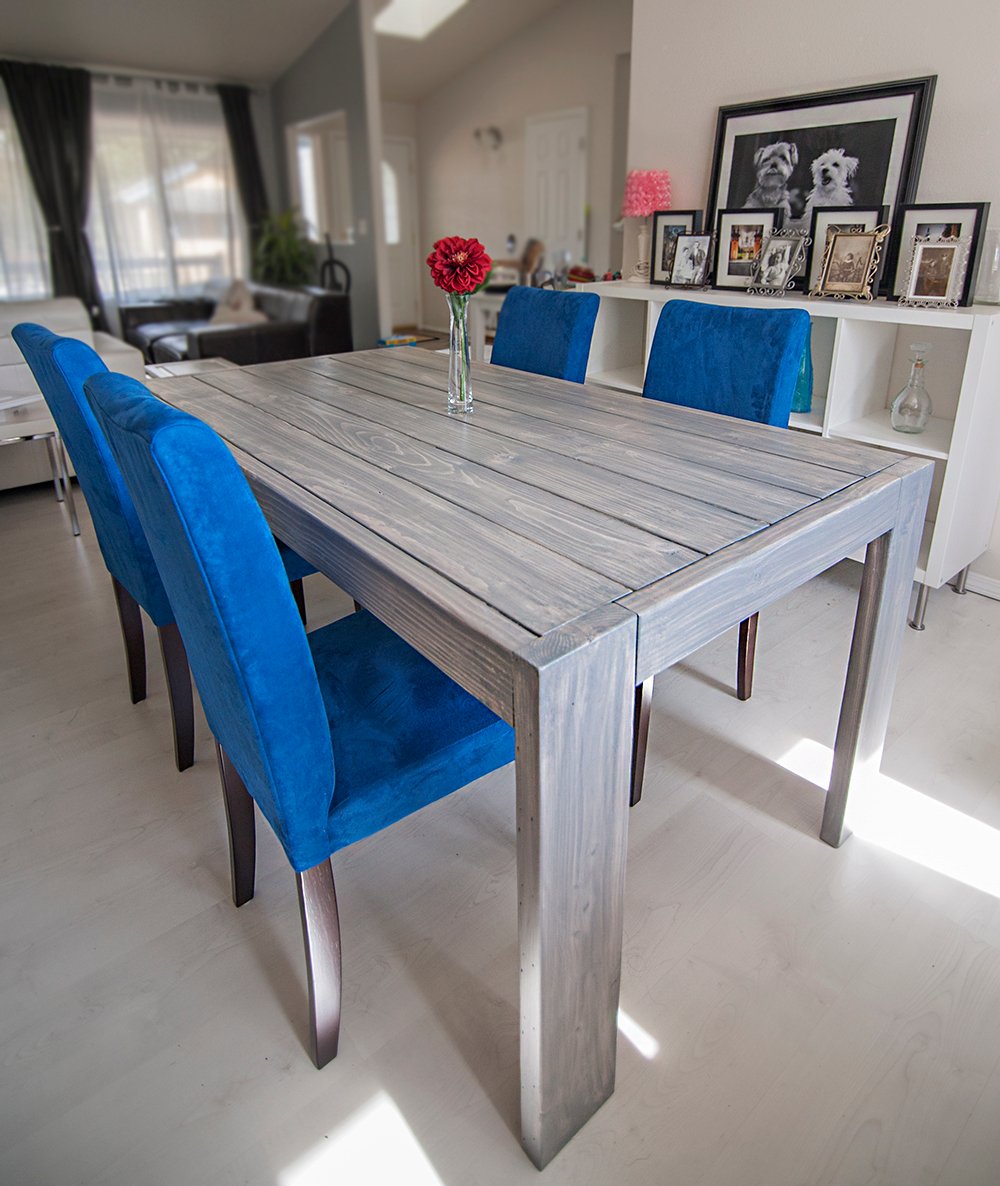
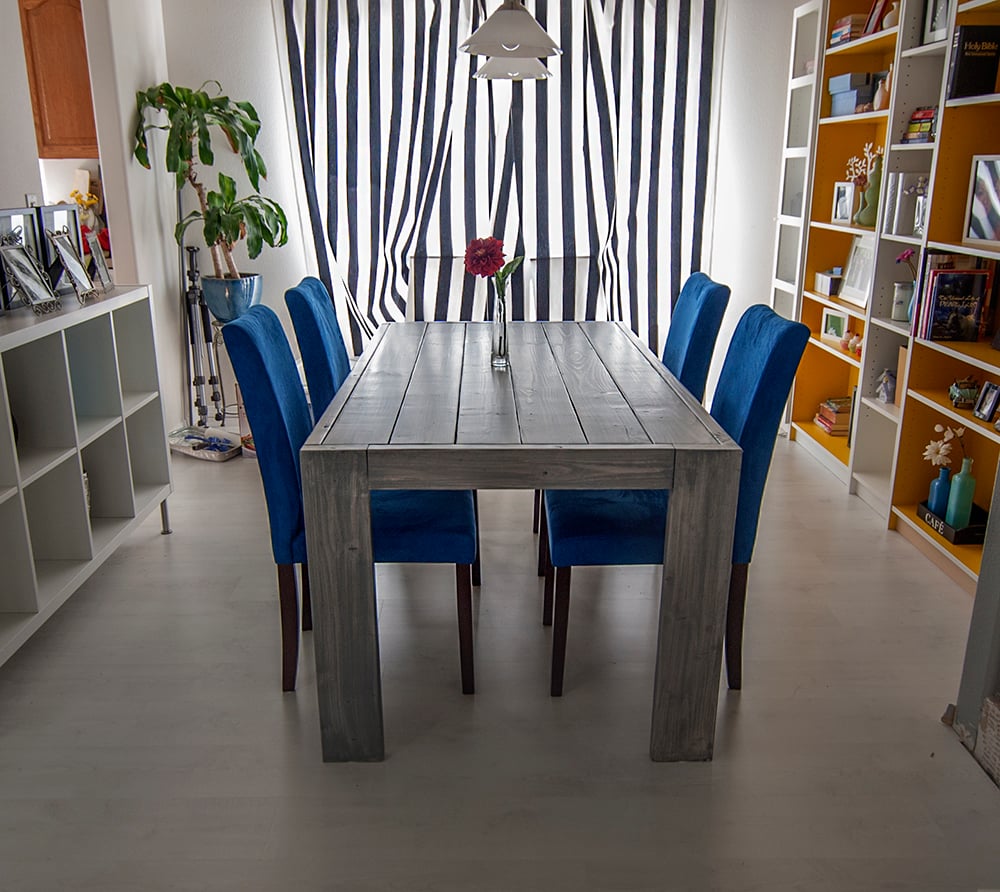
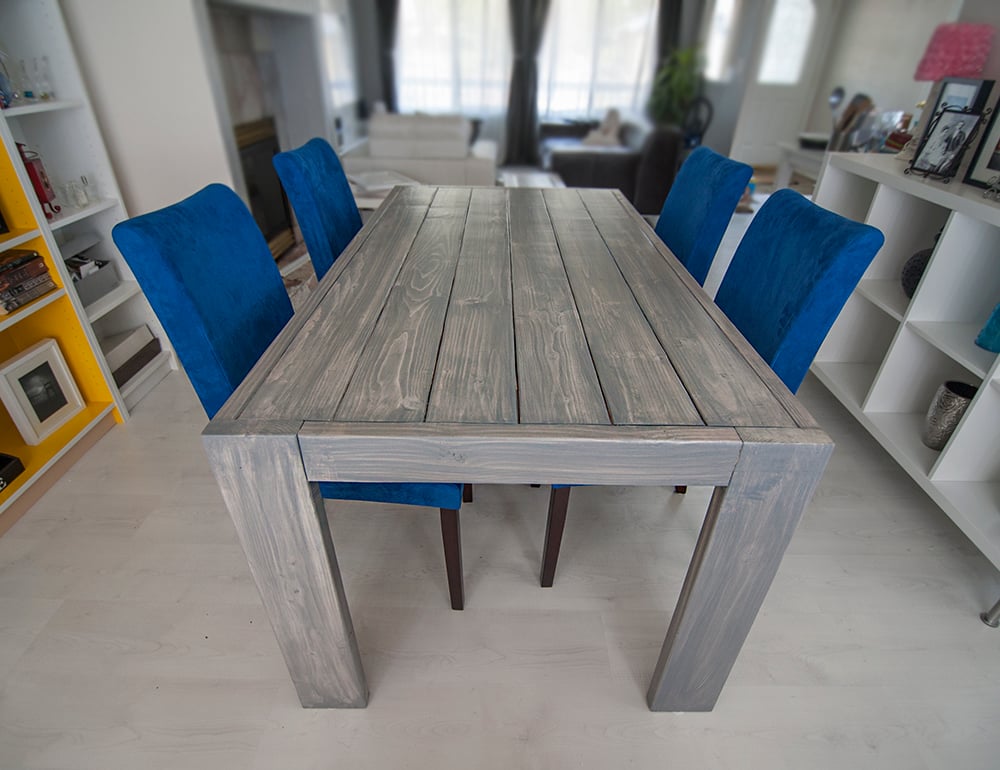
My first real project, can't wait to do another one.

Built from Plan(s)
Estimated Cost
70.00
Estimated Time Investment
Day Project (6-9 Hours)
Finish Used
White wash/weather oak grey stain
Recommended Skill Level
Starter Project

Comments

leejinhaeng

Tue, 06/02/2015 - 12:38

Great job!!
I was wondering how did you do the finish on the Pine to come out like that?

cris_stroud@ya…

Thu, 06/04/2015 - 03:15

Thanks! Sorry for the late reply. Didn't get a notice.
1. 3 coats of white wash
2. 3 coats of weathered oak grey stain
3. 2 coats of polyurethane matte finish.

RobA

Thu, 06/02/2016 - 11:00

I know this is an old post. But just wondering about your finish as well. So when u say white wash what did you use?

Beautiful by the way!

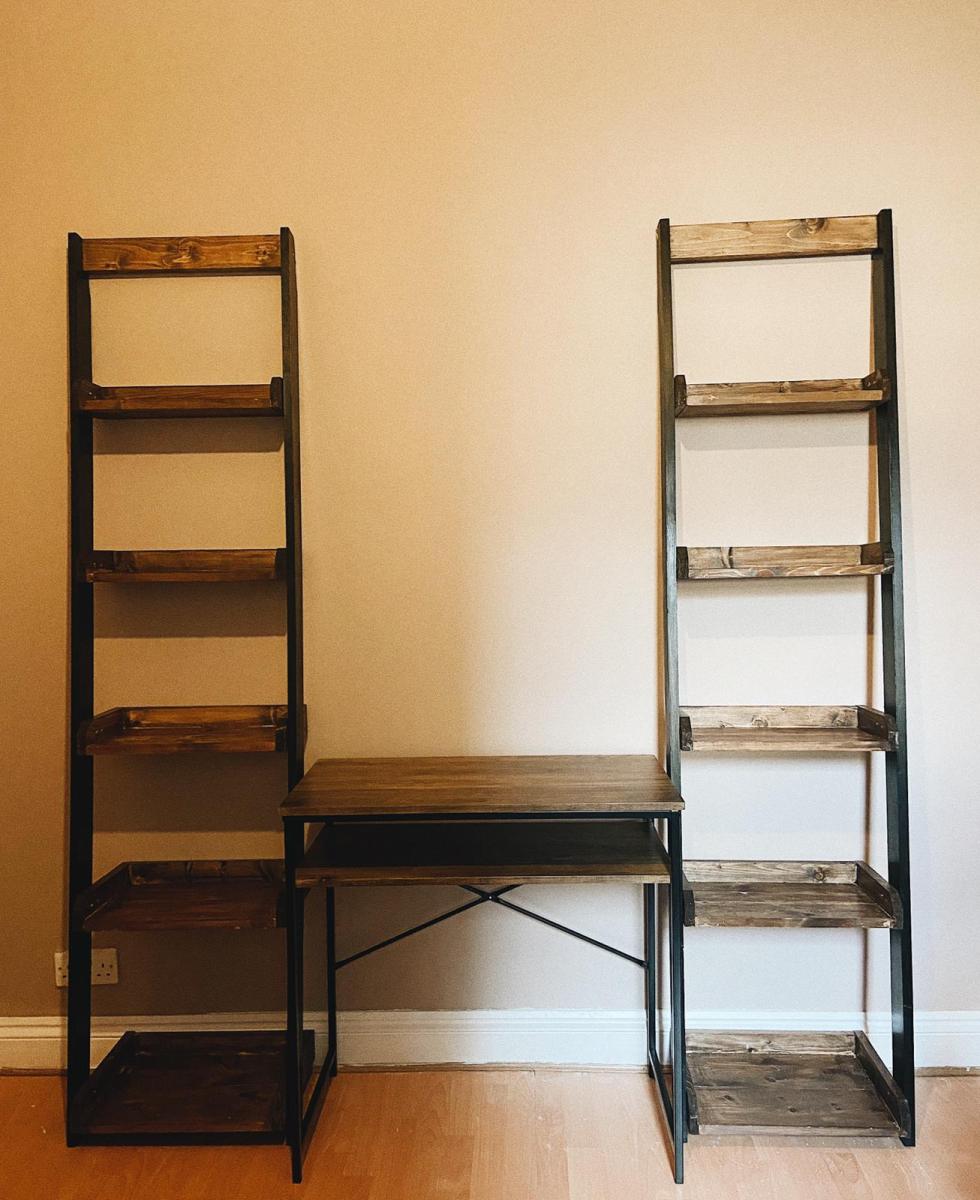
Dream Bookshelves!

Submitted by Anonymous (not verified) on Sun, 12/26/2021 - 12:32

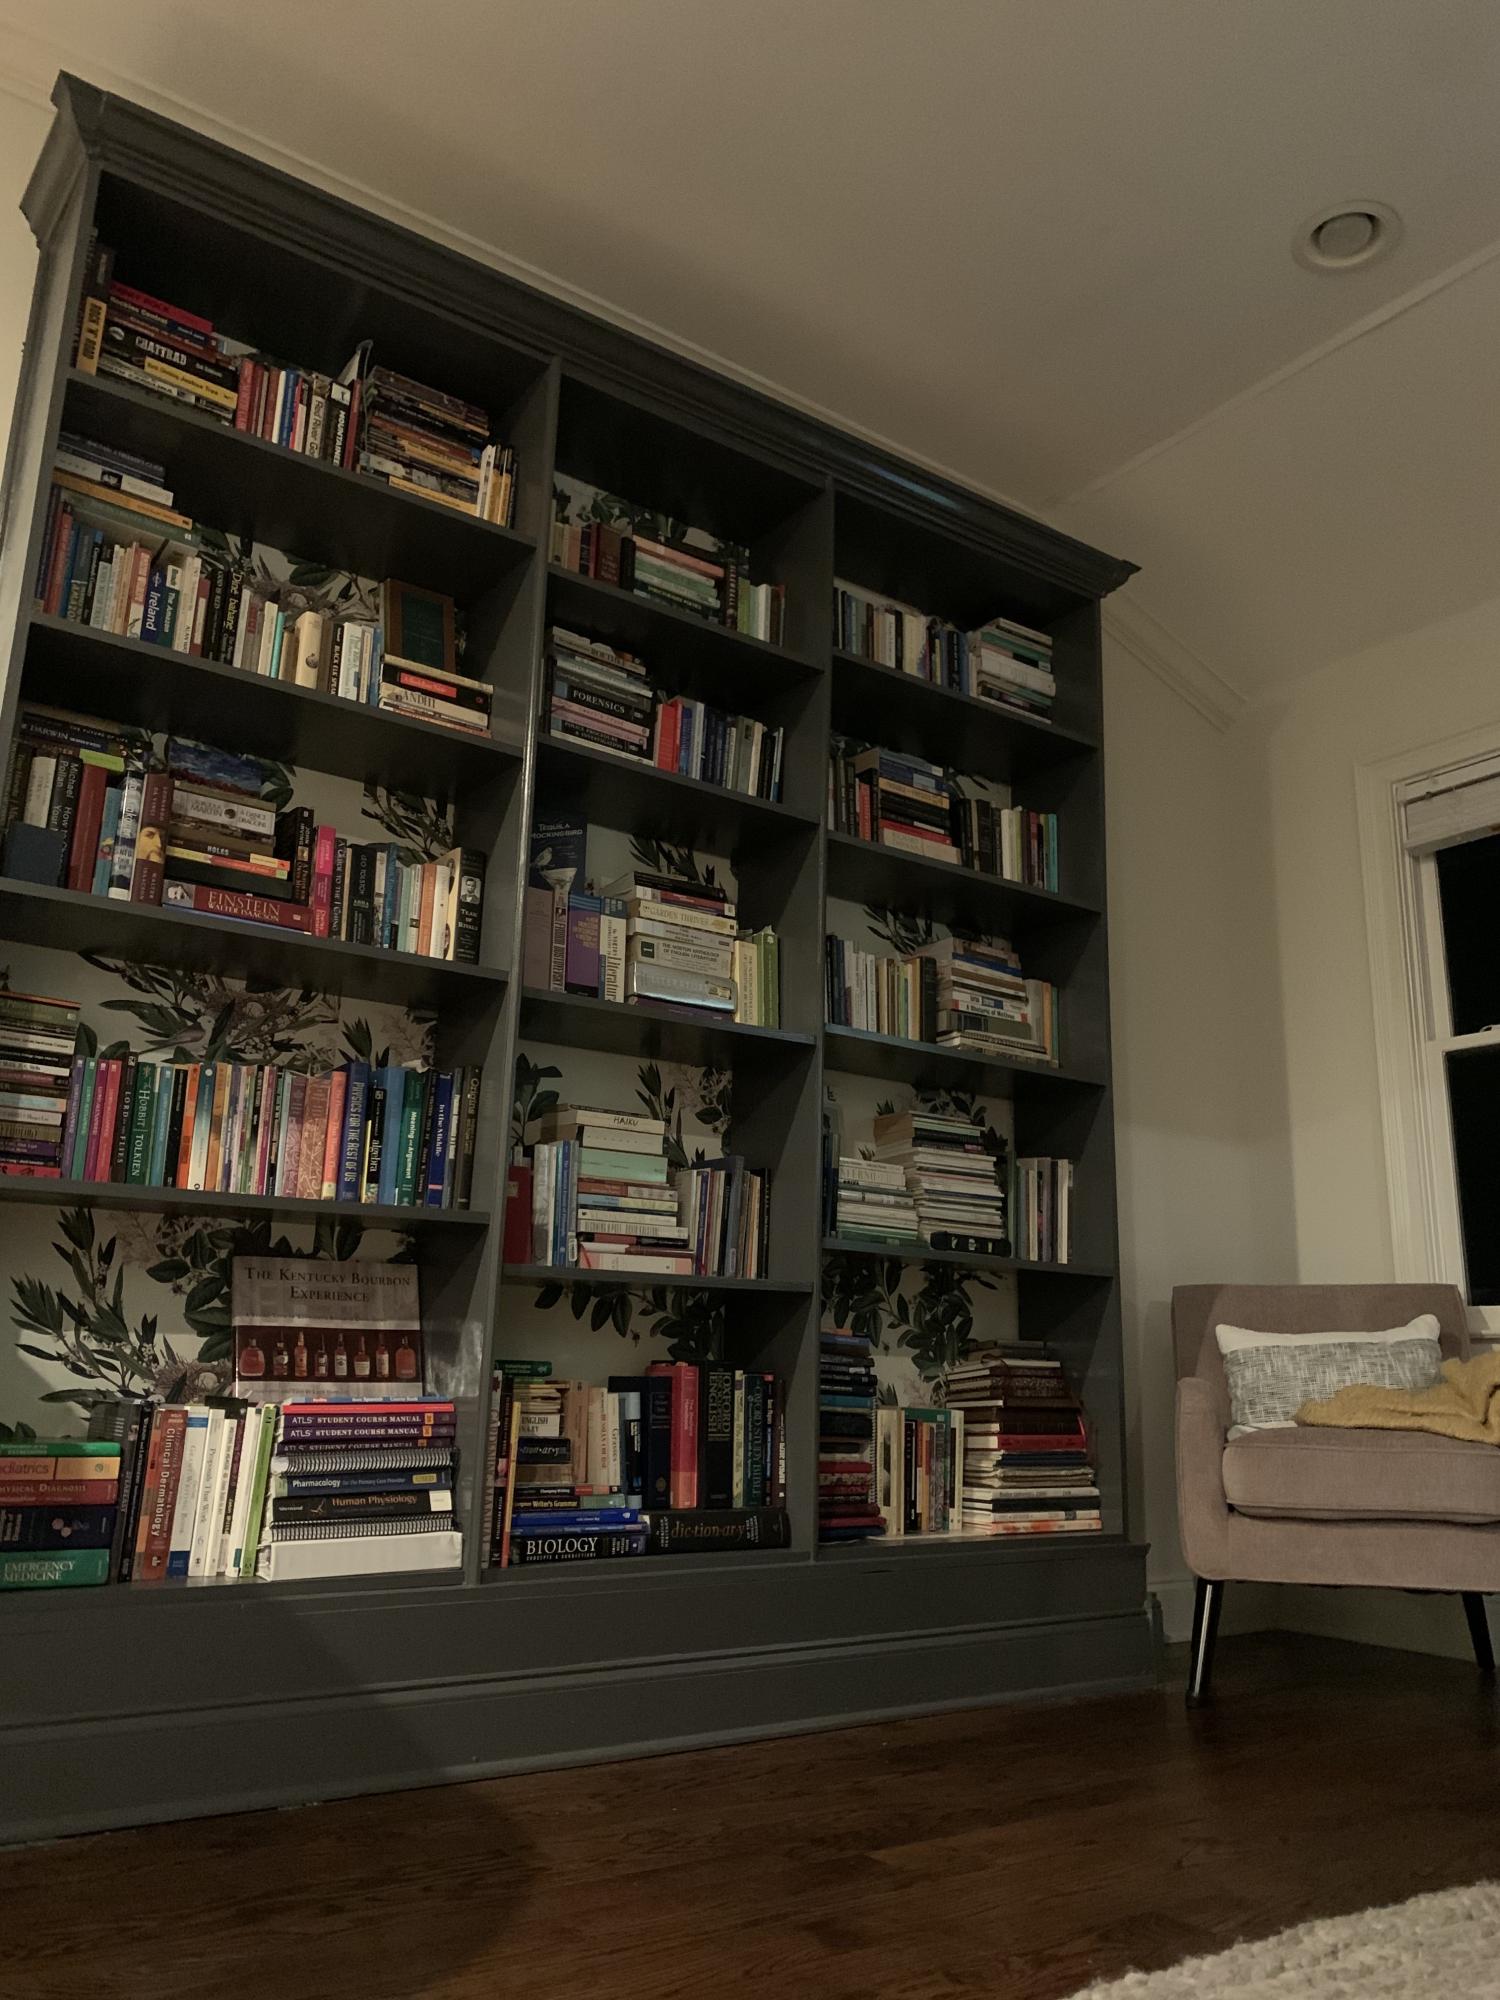
When supply issues made buying lumber for my dream shelves nonsensical, I turned to Ana's Shelfhelp and Voila!! I built the base on my own and added my own moulding, but without Ana's sites, I would not have made this dream come true. THANK YOU!

Comments

easy deck lounge chairs anyone can make

Submitted by lorasolis on Wed, 04/20/2011 - 11:53

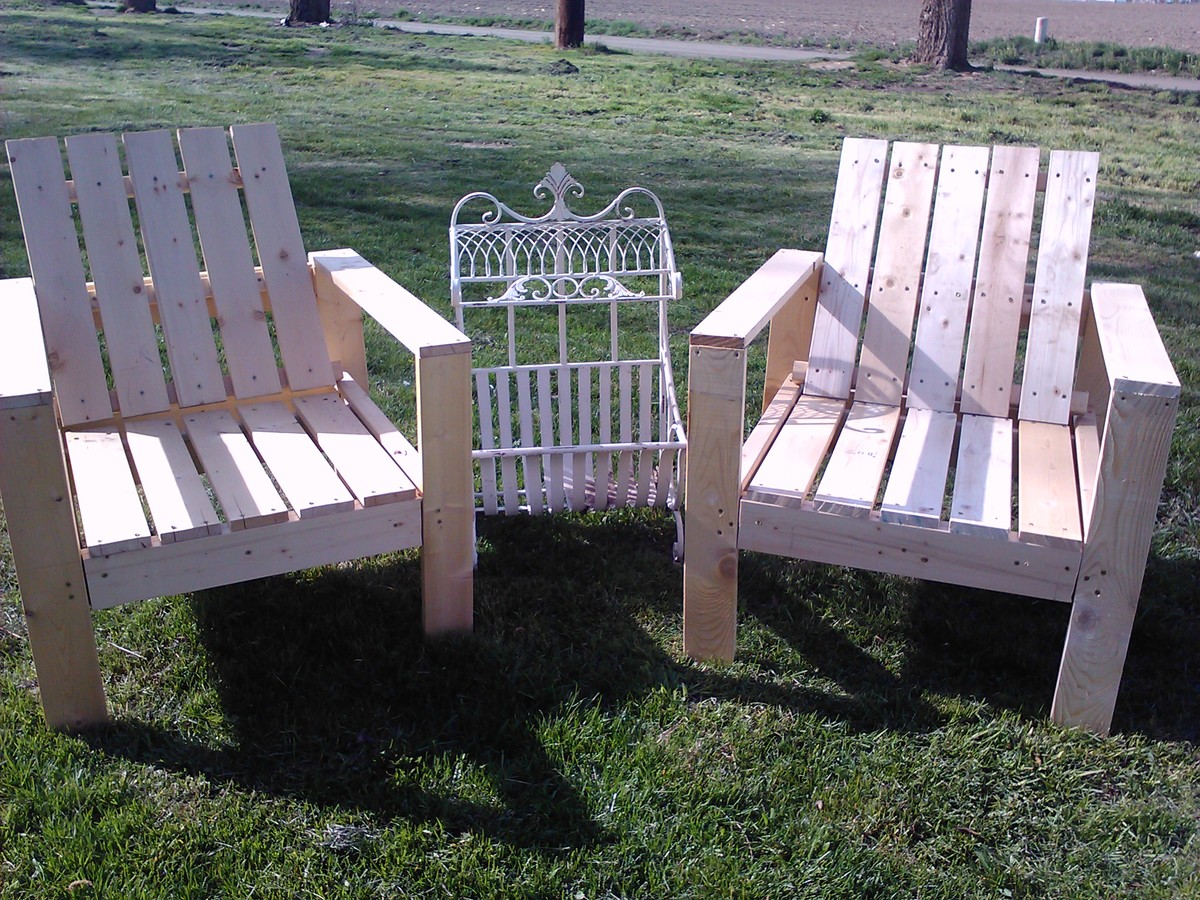
Love these chairs. Simple to construct. most important thing is to predrill! These boards will most definitely split if u don't. I always have 2 drills out when I'm building.
Not sure on how to finish yet. Whether o paint brightly or use a deep poly finish. I'll keep you posted!
Estimated Cost
around $20 each
Estimated Time Investment
An Hour or Two (0-2 Hours)
Finish Used
Shown unfinished.
Recommended Skill Level
Beginner

Rustic X coffee table

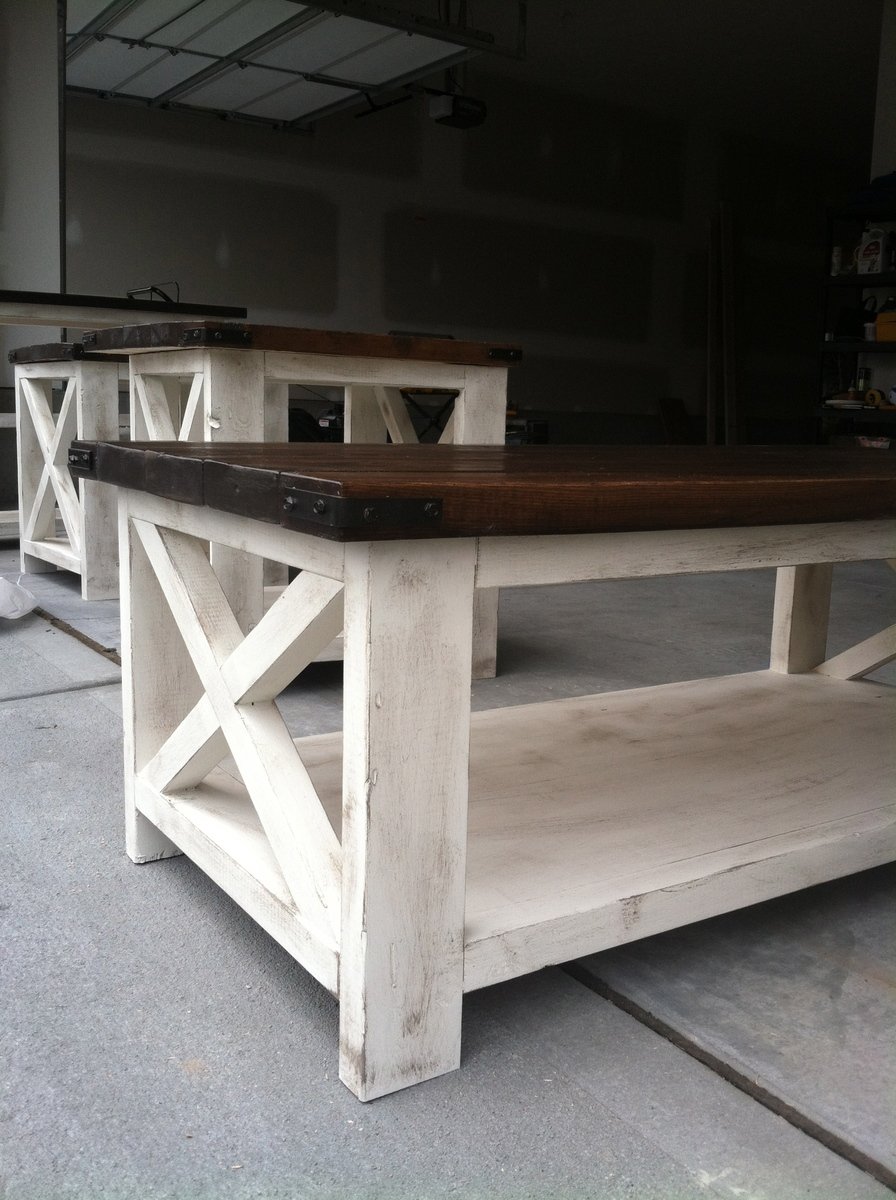
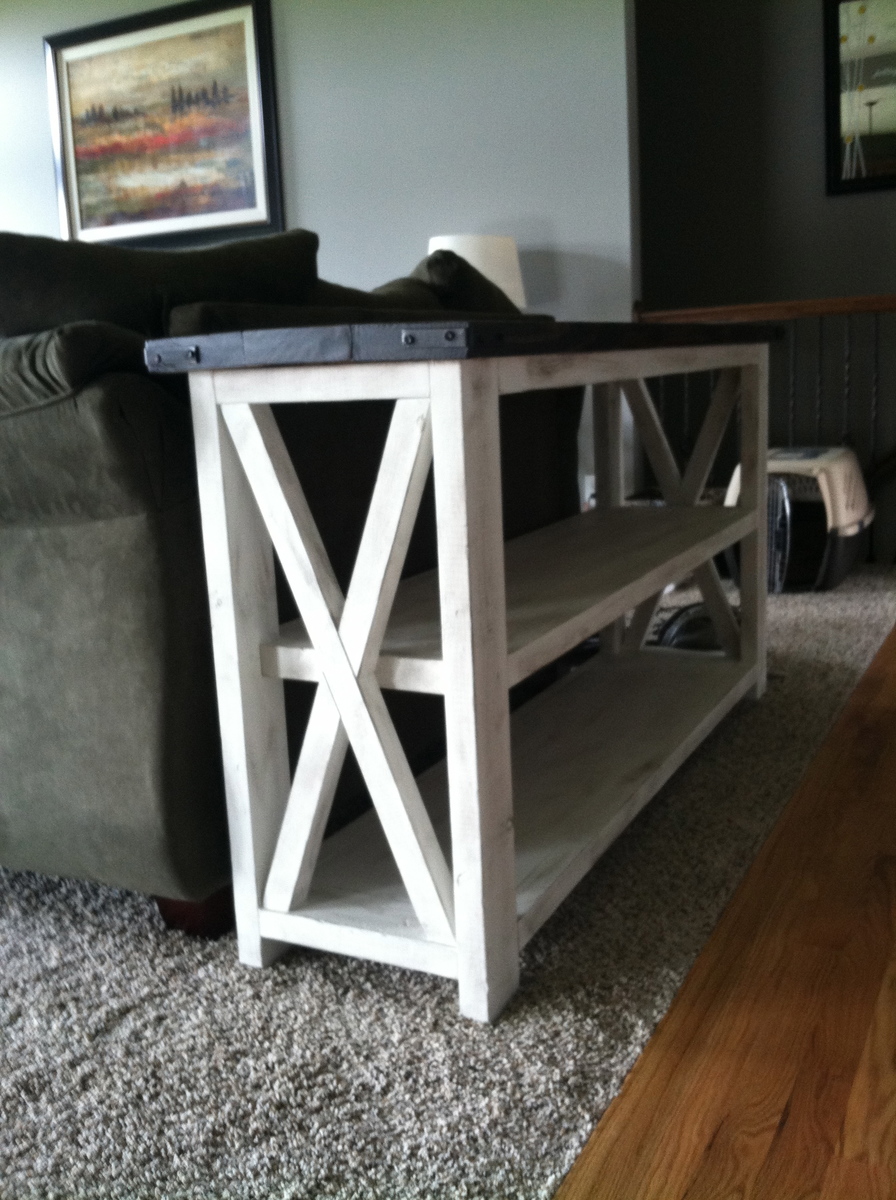
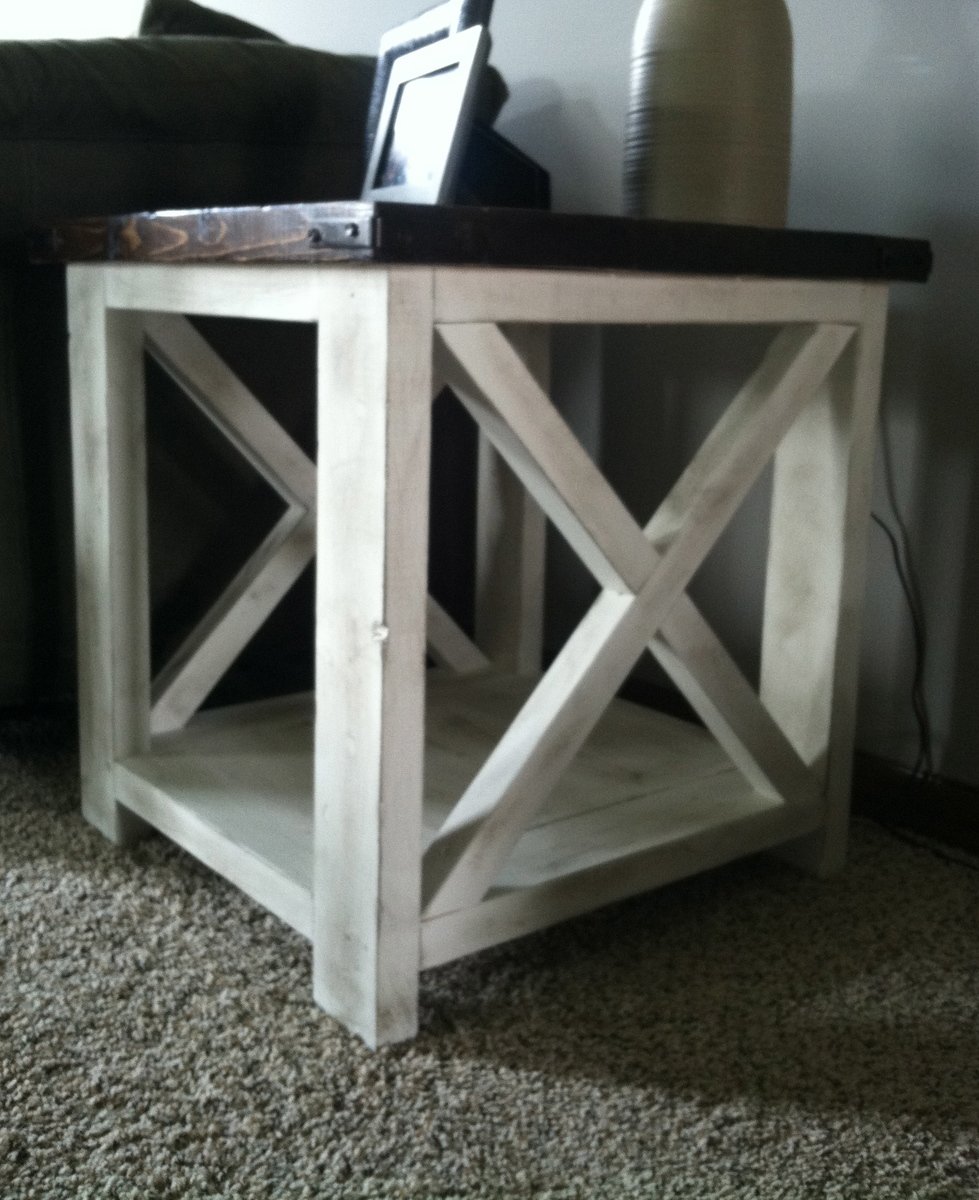
This was a weekend project with my husband, dad, and mom. My dad builds custom homes so we were able to knock all 4 projects out in approximately 10 hours with his expertise. We adjusted the measurements for each of the tables according to our space and couch height. Every piece of the Rustic X collection is gorgeous and I couldn't be happier as to how they turned out.

Estimated Cost
$220
Estimated Time Investment
Weekend Project (10-20 Hours)
Finish Used
Stain: Dark Oak (Sherwin Williams)

Before adding the table tops to the structure we applied one coat of stain. Then added 2 coats of Minwax water-based satin Polycrylic. Sanded very lightly and added one more coat of Minwax.

Paint: main color (Valspar: Shore) distressed color (Valspar: Mountain Smoke)

Applied Shore to the entire body prior to putting on the table tops.

Then added distress using Mountain Smoke. We dipped the paintbrush very lightly into the paint and then brushed out most of it onto cardboard until there was hardly any paint left on the brush, then applied it very lightly all over the body. This really brought out the imperfections in the wood, which is exactly what we wanted.

Note: We used a hammer to create extra dents and imperfections to the wood.
Recommended Skill Level
Advanced

Comments

Mail sorter

Submitted by brittanyj on Thu, 06/04/2015 - 10:30

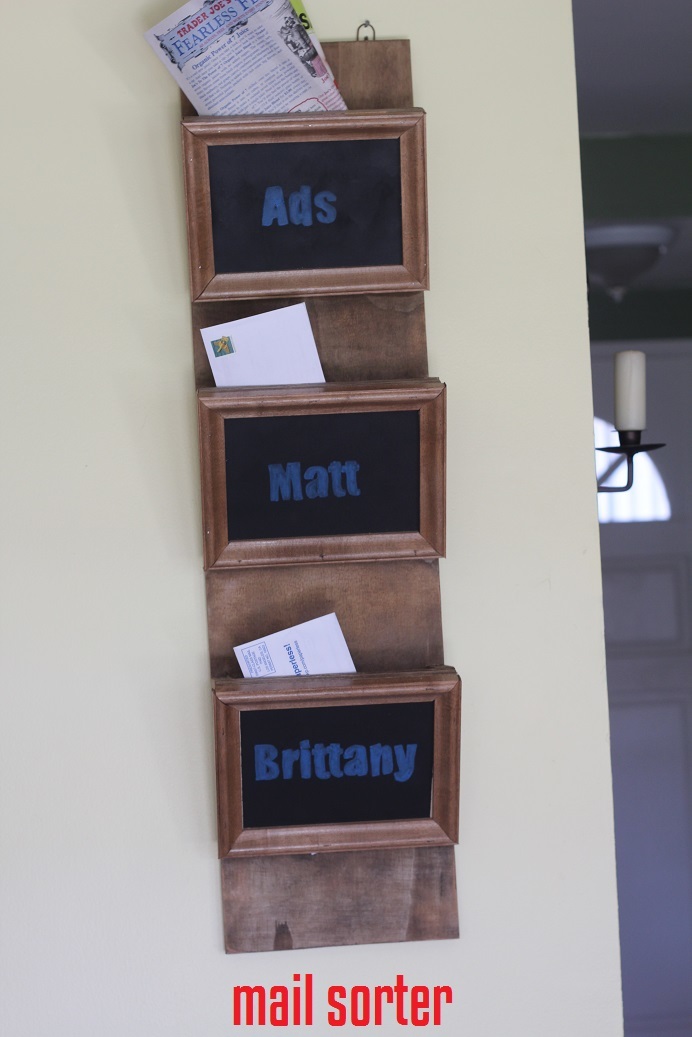
If you're like me, the mail ends up scattered all over the dining table. Such a mess. Now, all is nicely organized into our respective slots, save the occasional laziness where it still ends up on the table : ) Used chalkboard paint for the centers and moulding for the trim. Love it!

Built from Plan(s)
Estimated Cost
$10
Estimated Time Investment
Afternoon Project (3-6 Hours)
Finish Used
varathane Kona, chalkboard paint
Recommended Skill Level
Beginner

Craft Desk

Submitted by Chuck1979 on Thu, 12/28/2017 - 21:40

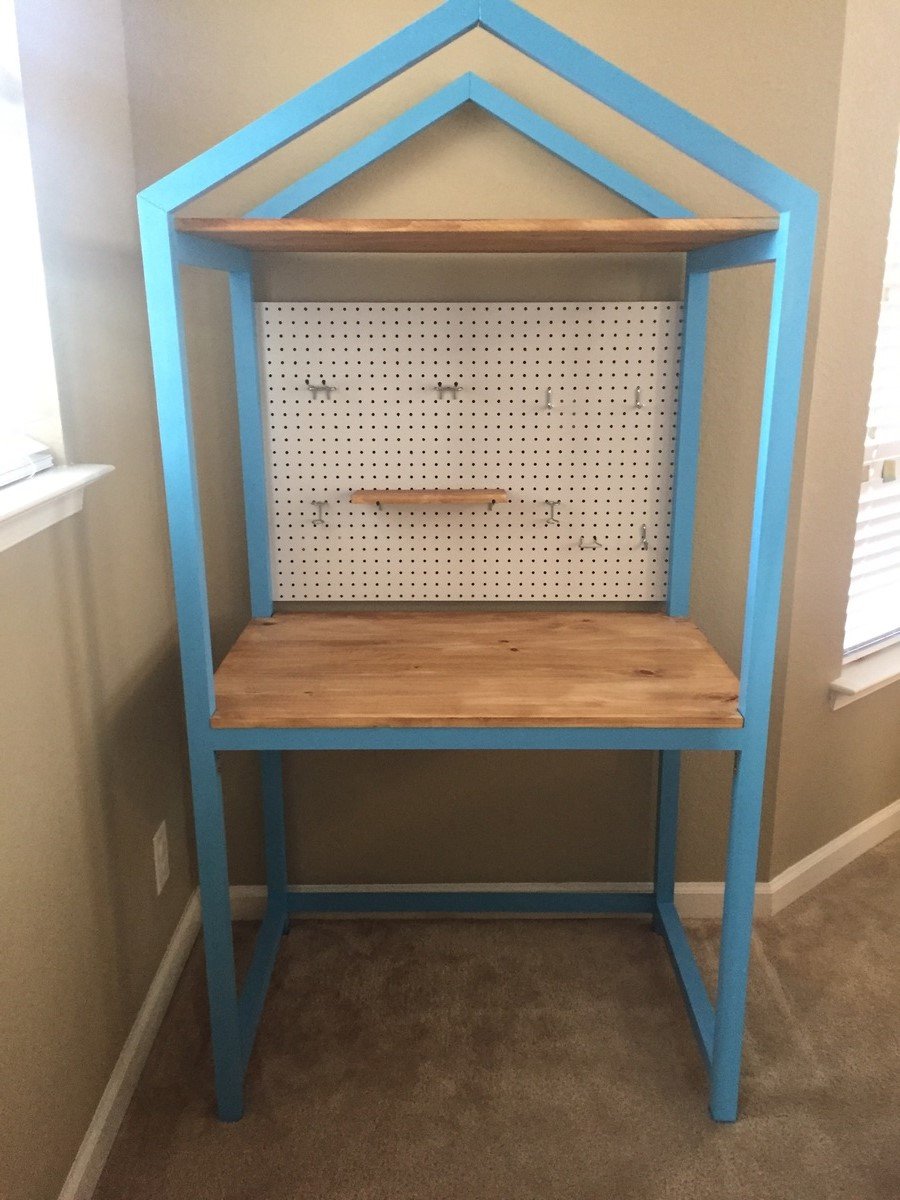
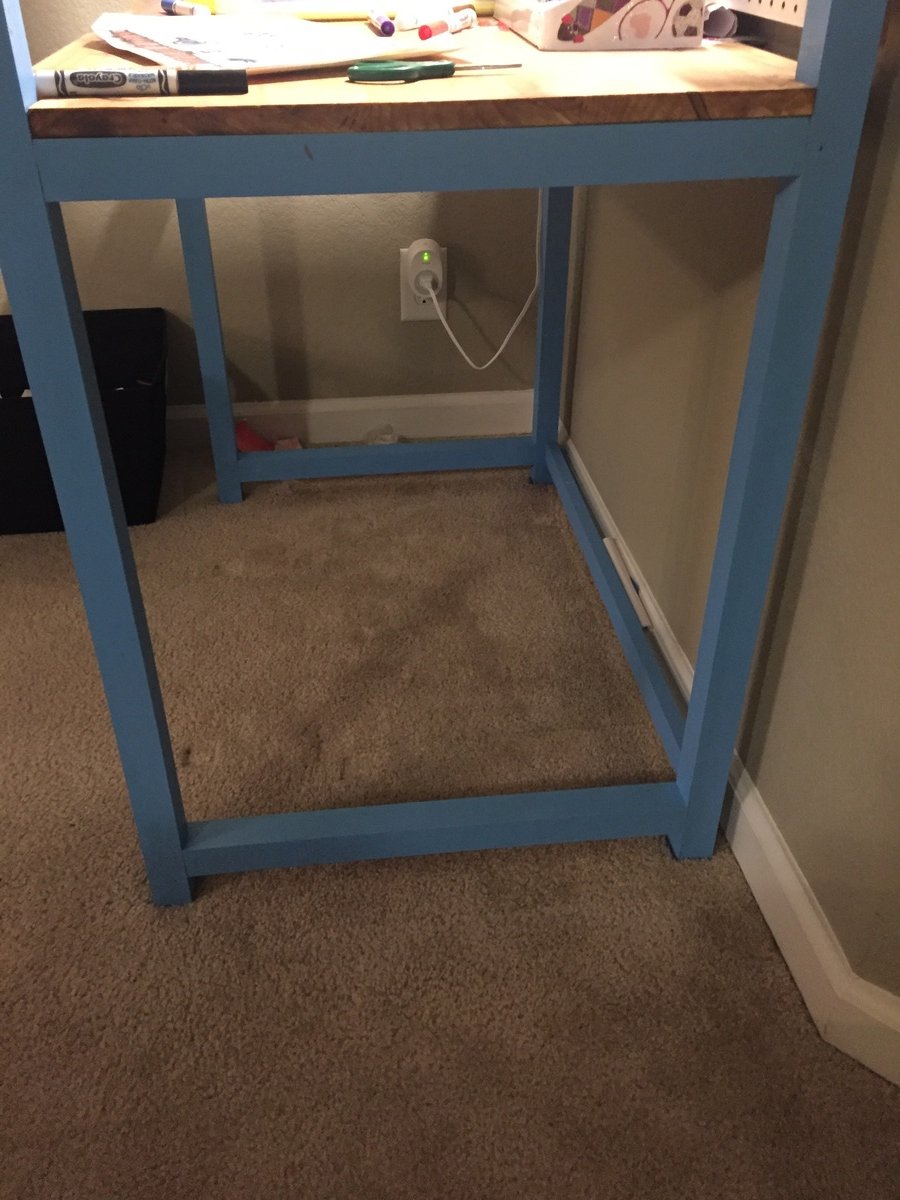
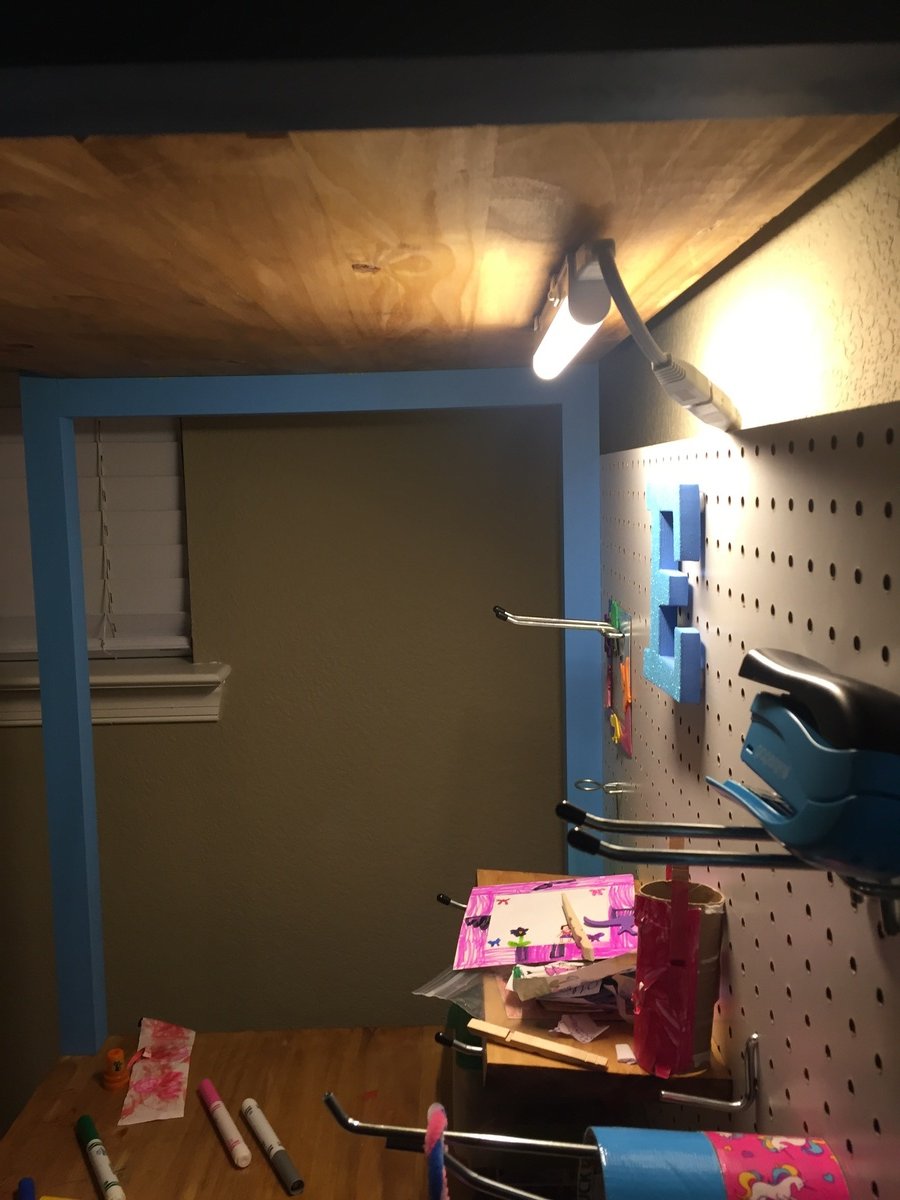
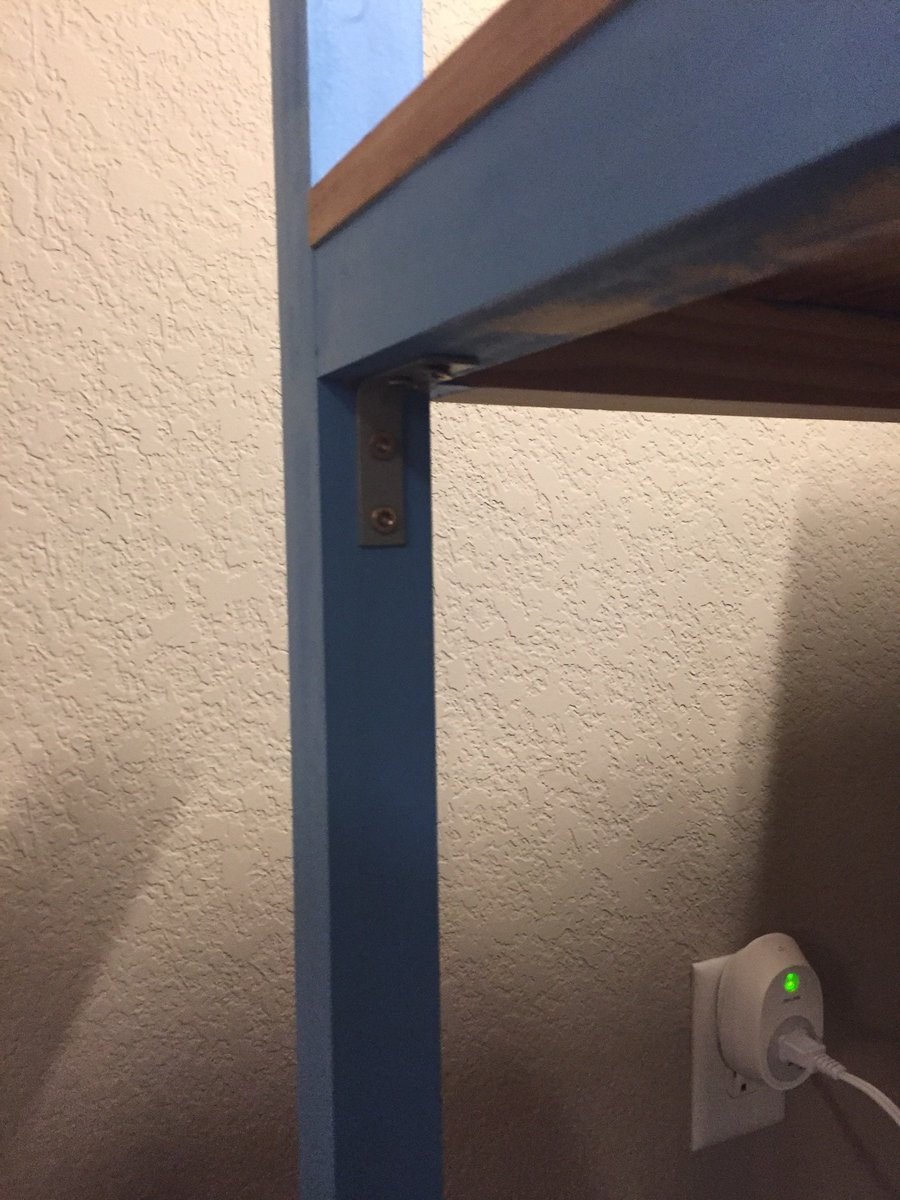
Love the desk! A few issues I had though are that the top panel will not go into the space of the top angle pieces are in place. I had to remove them to get it in. Additionally, the pocket holes seemed insufficient for the top 2x2s because of the angle they are at, so I went back and drilled countersink holes directly into the adjacent support board and added wool glue. Lastly, for then 2x2s that are supporting the bottom panel, I was worried about just having the pocket holes there as well because I could see my 5 year old climbing on it to reach the pegboard so I added L brackets to the bottom of the 2x2s under the bottom panel. I also added a light to the underside of the top panel and supports at the bottom near the floor. Turned out great 

Built from Plan(s)
Estimated Cost
$120
Estimated Time Investment
Afternoon Project (3-6 Hours)
Recommended Skill Level
Intermediate

Squared2 Headboard, Queen

Submitted by Anonymous (not verified) on Sun, 12/26/2021 - 13:55

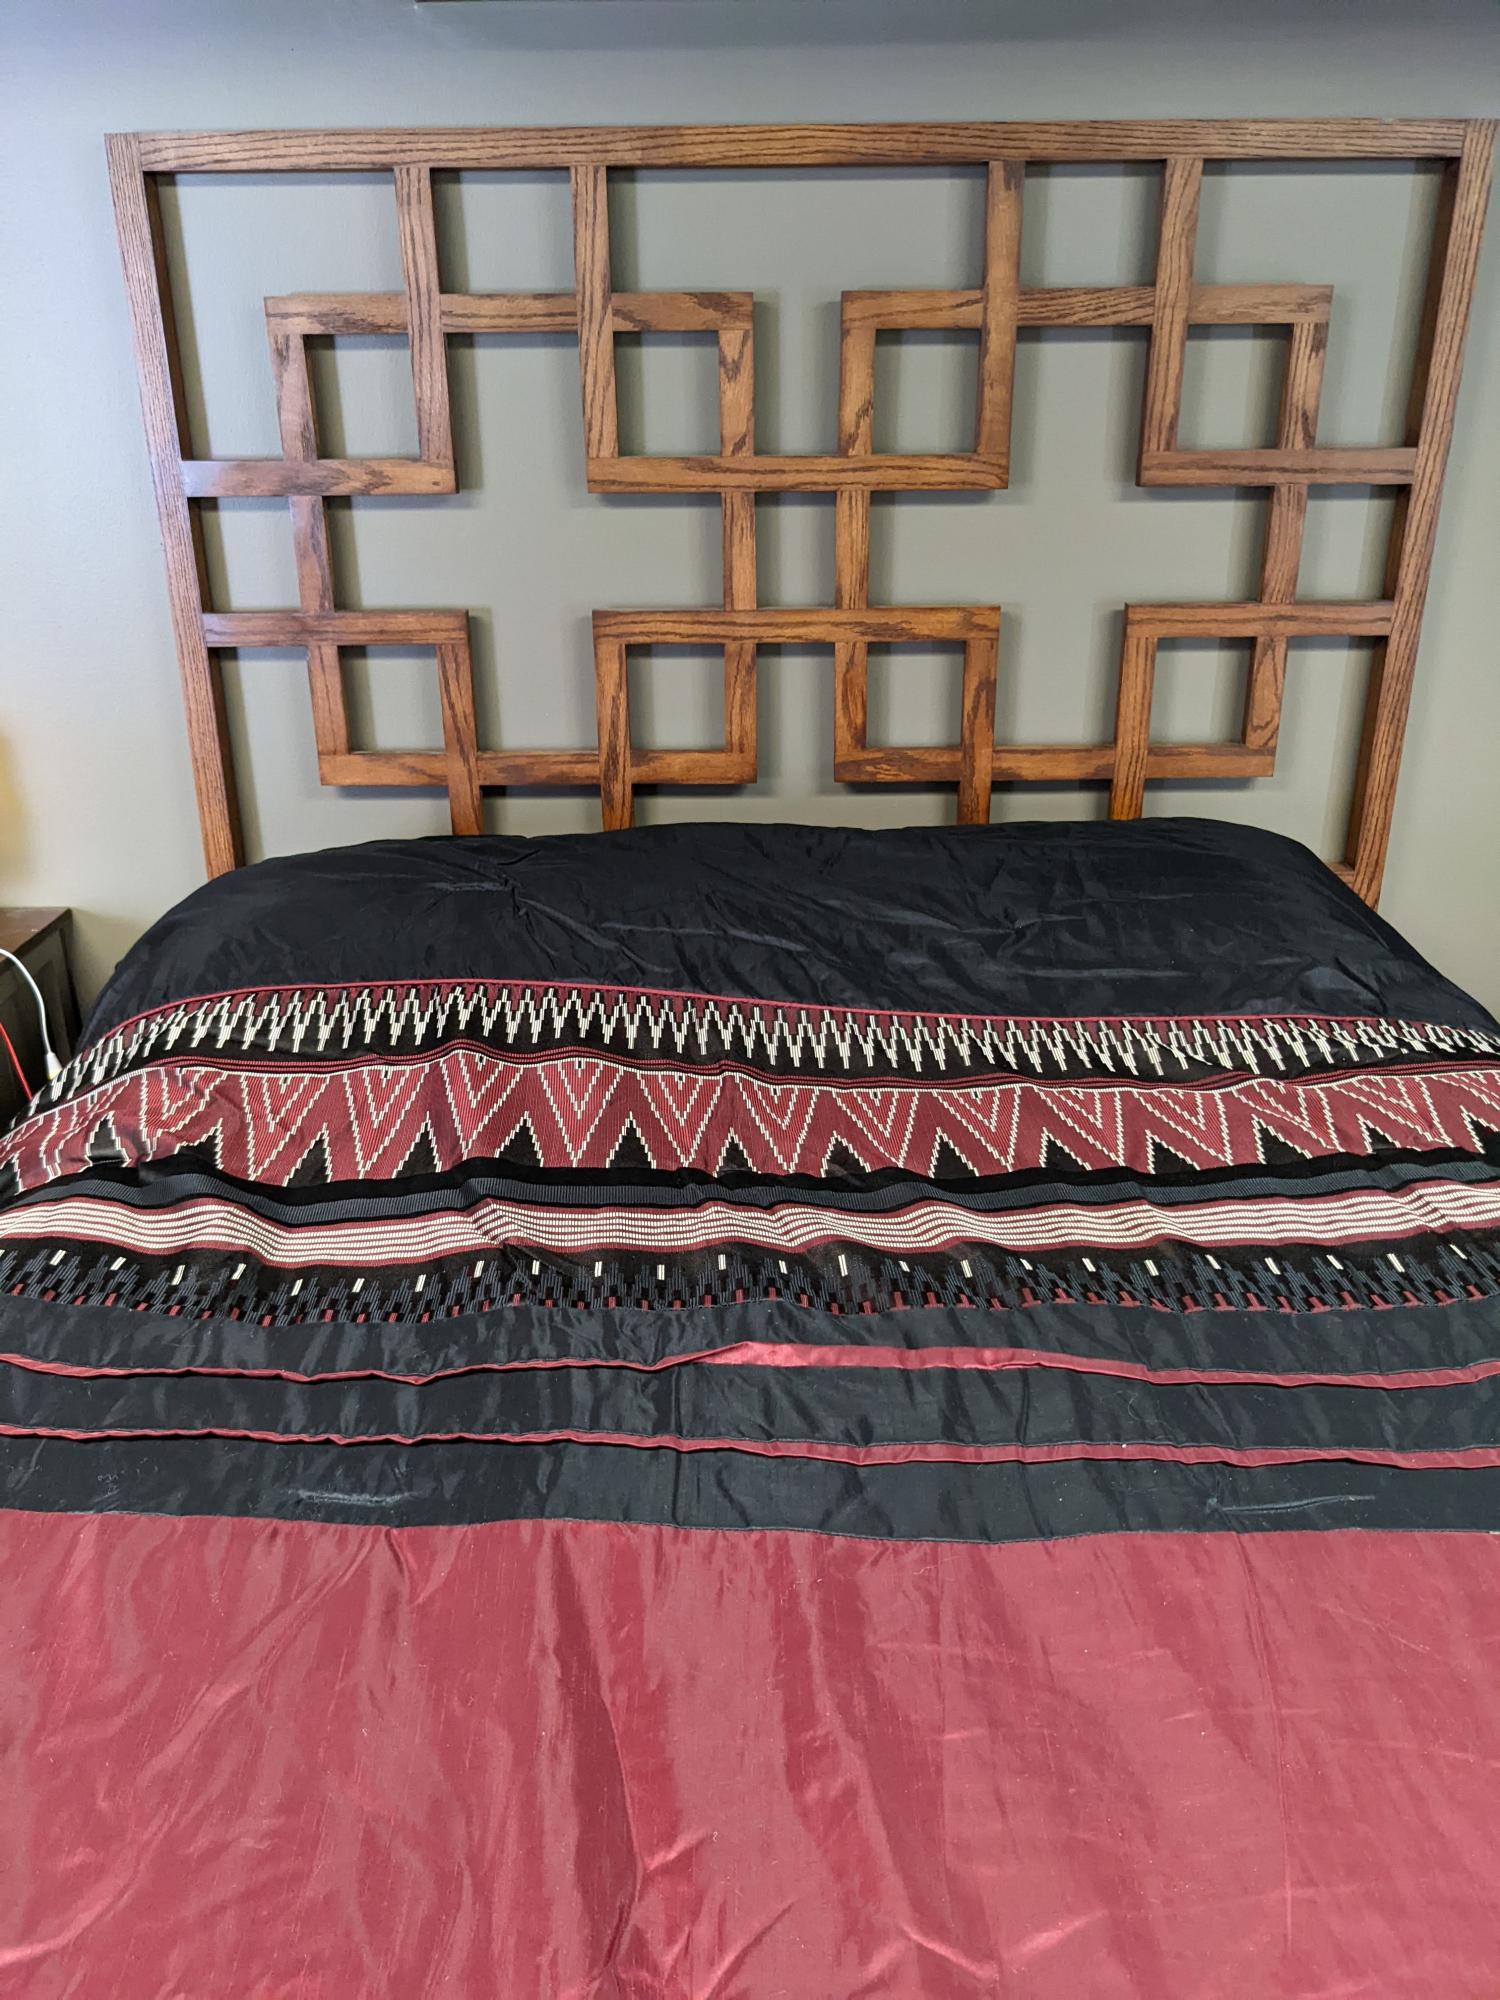
Made from red oak. I made it 65" tall so the full pattern was visible above the mattress.
I'm very happy the way it turned out and would like to thank you for the inspiration 🤗

Comments

Kid's Adirondack Chairs

Submitted by tlcbbp on Sun, 04/24/2011 - 16:43

The first one I built (the white one) was a terrible failure because I rushed through it and didn't read directions! Also, I used only scraps that I had on hand. The blue one went smoothly because I used the right materials and took my time.

Built from Plan(s)
Estimated Cost
12 - 15 dollars
Estimated Time Investment
Afternoon Project (3-6 Hours)
Finish Used
The blue paint is oops paint from Lowes & the white is spray paint
Recommended Skill Level
Beginner
Seasonal And Holiday

Farm House Table

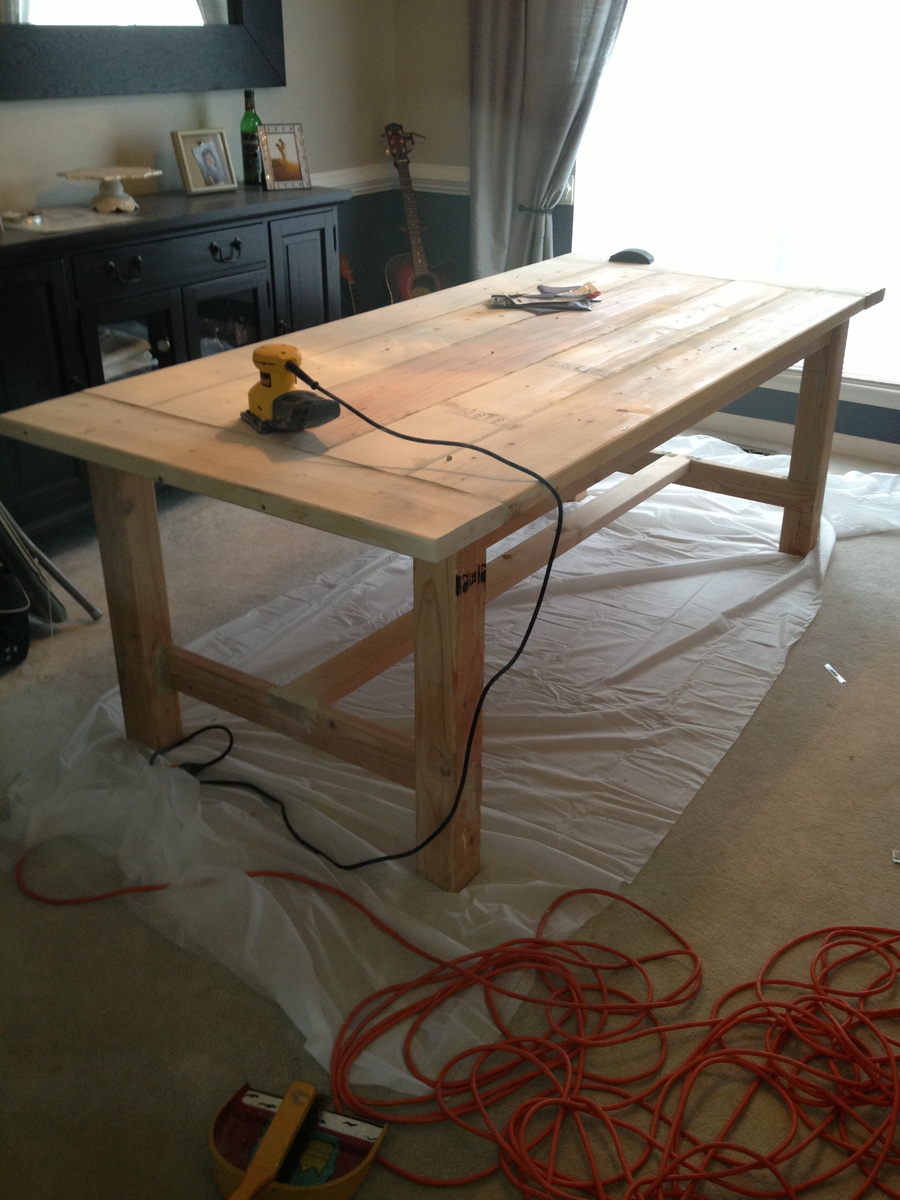
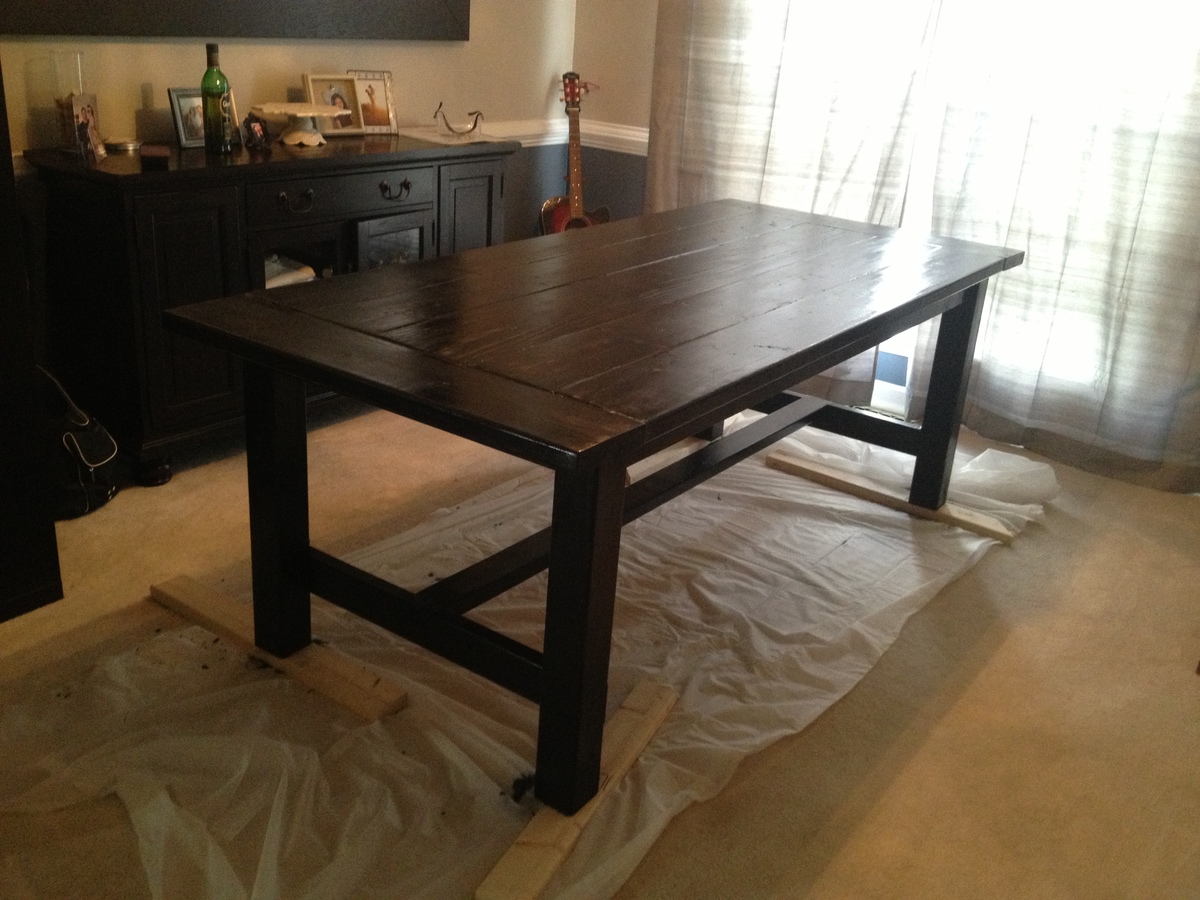
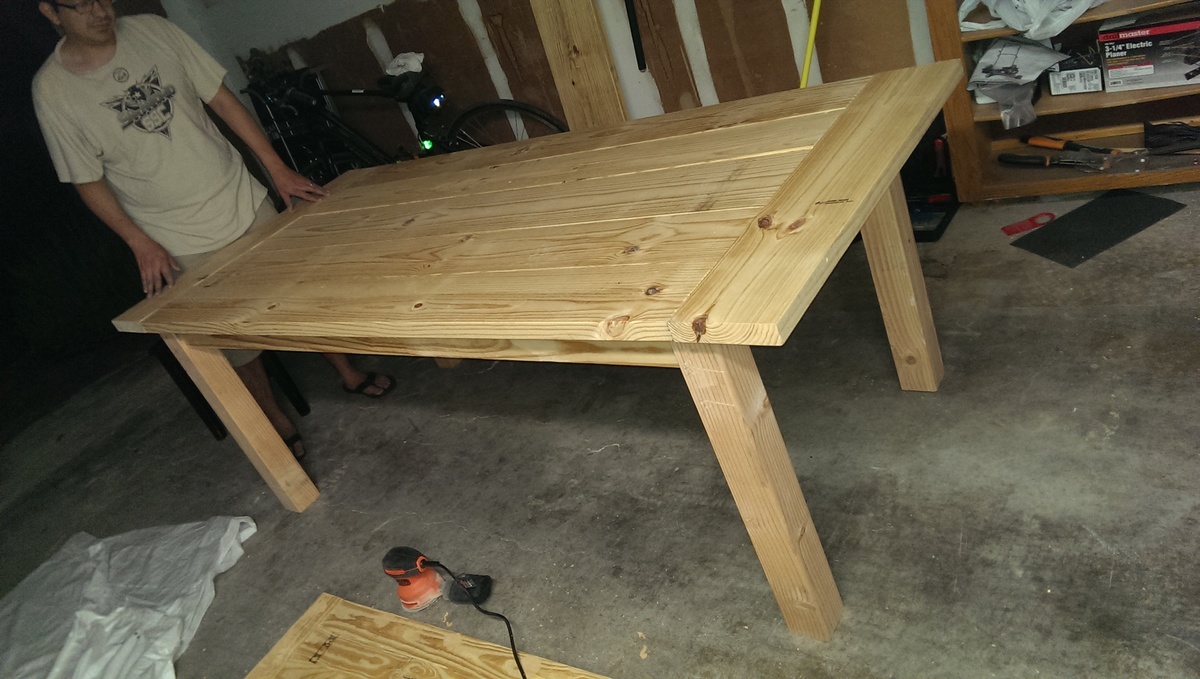
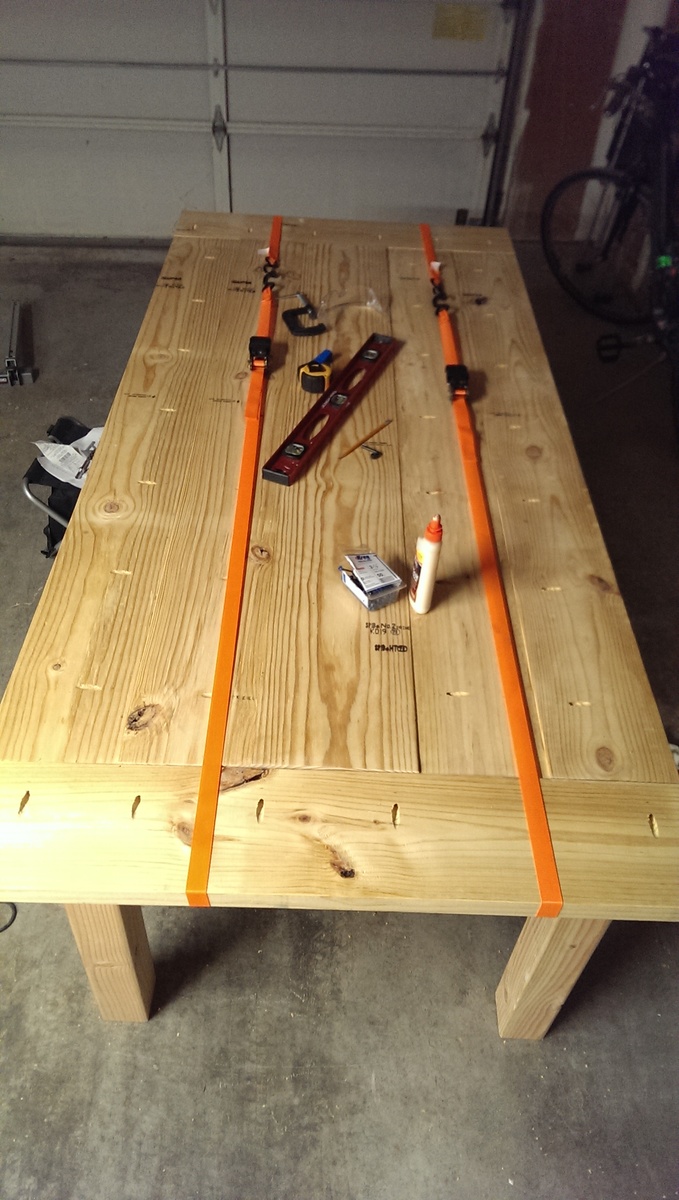
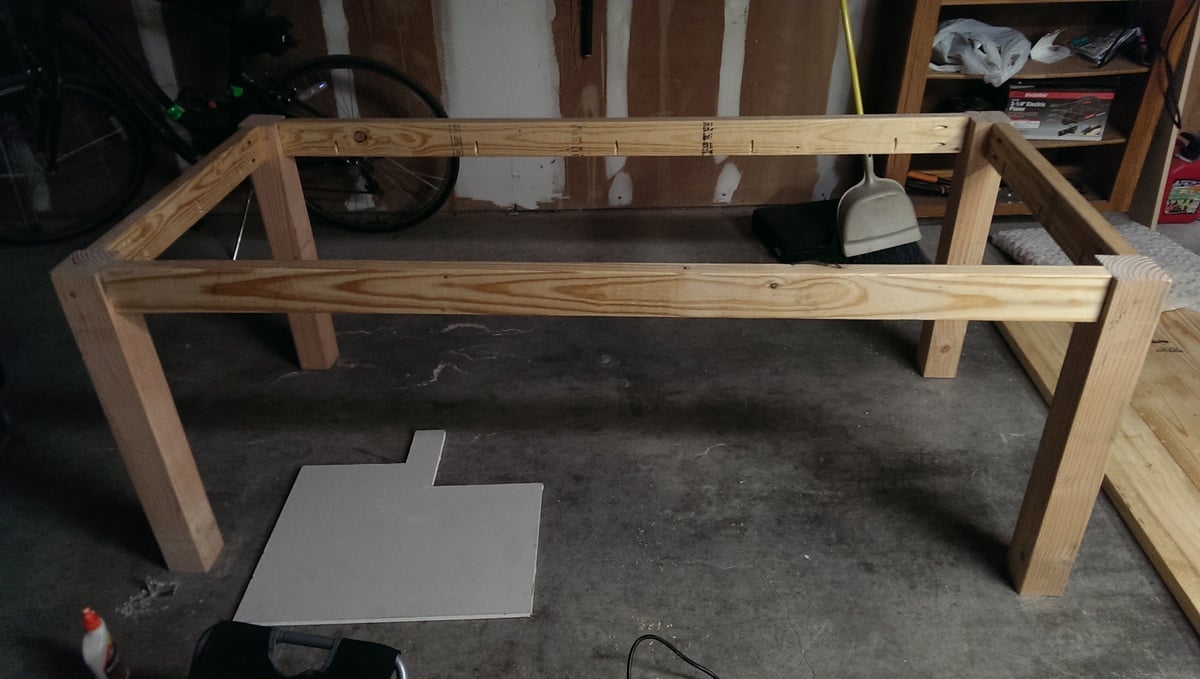
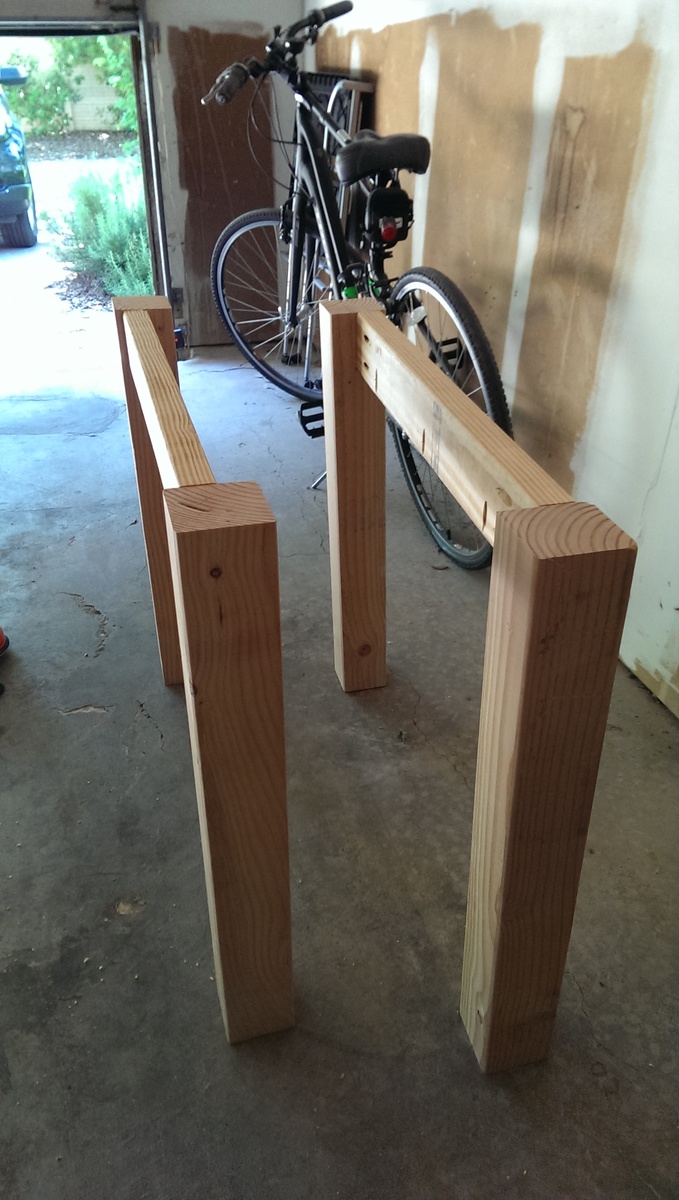
This was our second table from Ana's website. We flipped the bottom legs around to make the cross bar on the inside...just for a little additional leg room on the ends. Don't be discouraged if you have trouble finding good boards. We had to go to two stores and REALLY dig for them... and even then, we did a LOT of sanding to make the boards even when it was all built. We used the Kreg Jig (we initially bought the $20 one, and then went back for the "real deal" so if you're considering buying one - just go for it, the small one frustrated us). The Kreg Jig is AWESOME!!!. We are just finishing up building the farm house bench to go on one side of this table... then we're going to have to figure out where to get our other chairs. A few friends have seen our table so far and every one of them has asked to purchase it! Thanks Ana!!!

Estimated Time Investment
Weekend Project (10-20 Hours)
Finish Used
we used ebony from Rustoleum. I tried Ebony from Min wax and liked this better. I used a high gloss finish... we tried a matte finish first (I put one of those pictures up here so you can hopefully see the difference) but it was TOO matte... high gloss was definitely the way to go for us.
Recommended Skill Level
Intermediate

My First woodworking Project!

Submitted by minhnguyen on Mon, 06/08/2015 - 11:39

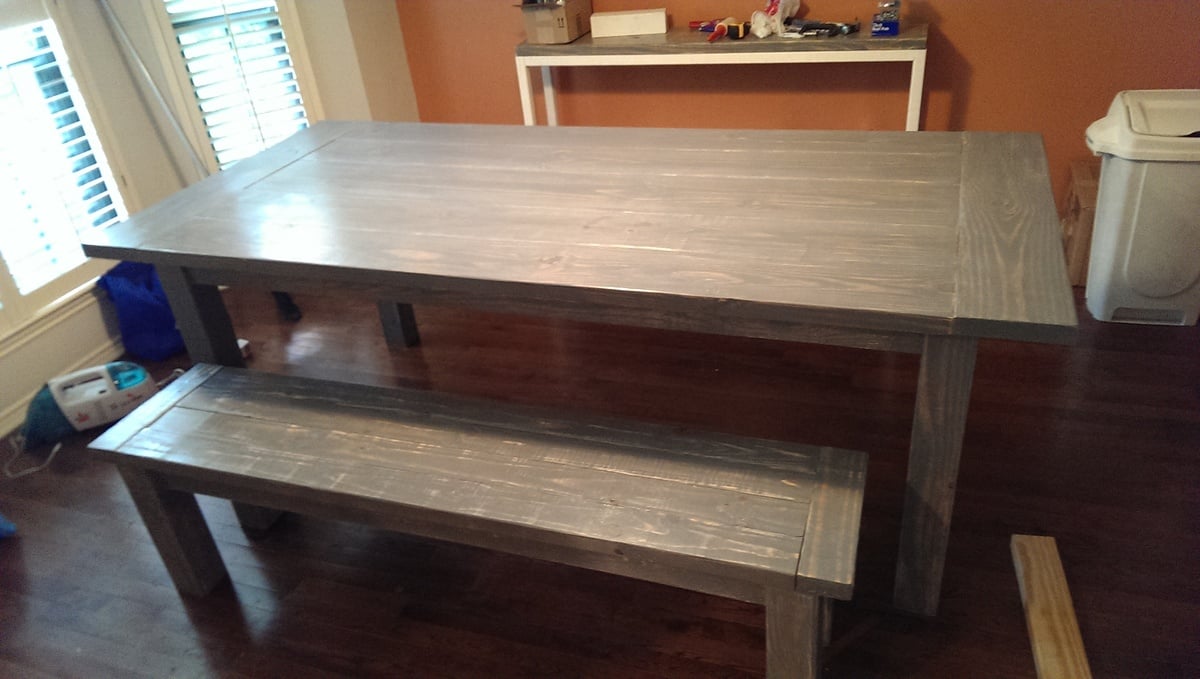
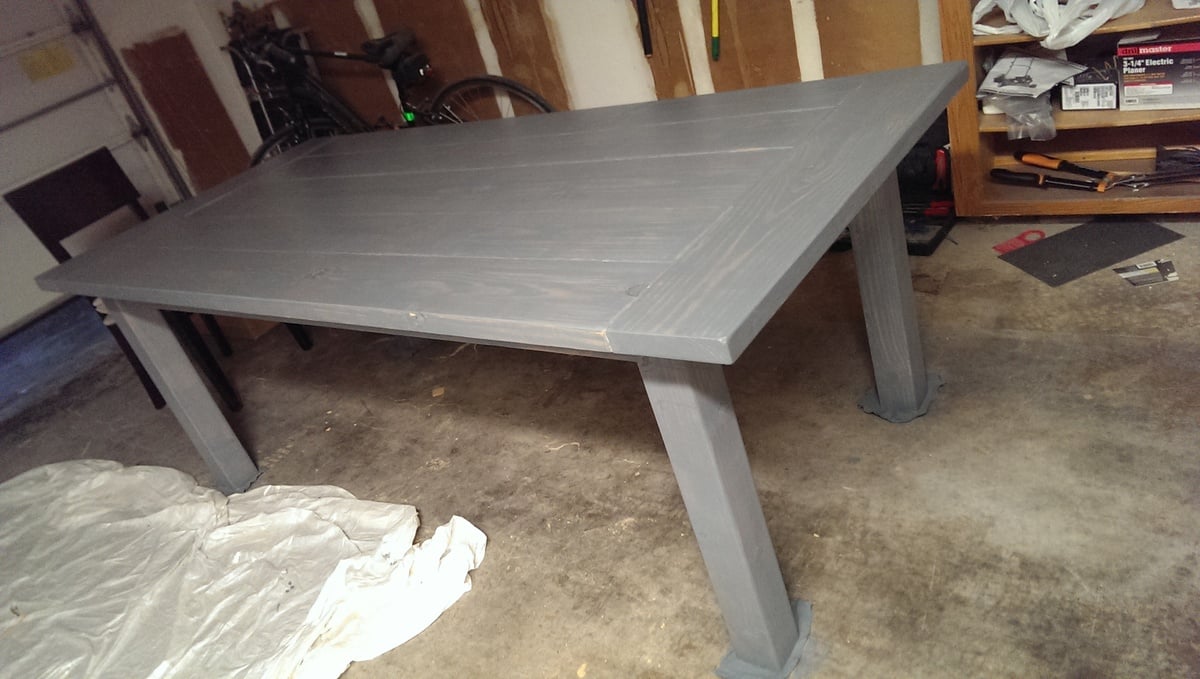
I really wanted to build something for our first home so 3 months after moving in (and 7-8 months pregnant) I started on our dining table. To fit our dining room, the measurements were modified to have a 7ft-table, with the bench just long enough to slide all the way under the table. The legs are made of 4x4s of Douglas Fir and everything else is pine. I also removed the stretchers underneath because I wanted to be able to have chairs on the ends. The table seats 8 people very comfortably. It took me a little longer than anticipated, since I couldn't do any of the lifting until my husband came home, and he stained it with 2 coats of Rustoleum Weathered Grey stain and 2 coats of poly (with my light sanding in between each coat).

Estimated Cost
$100
Estimated Time Investment
Week Long Project (20 Hours or More)
Finish Used
Rustoleum Weathered Grey Stain
Minwax Fast-Drying Semi-Gloss Polyurethane
Recommended Skill Level
Beginner

Comments

OUTDOOR SOFA

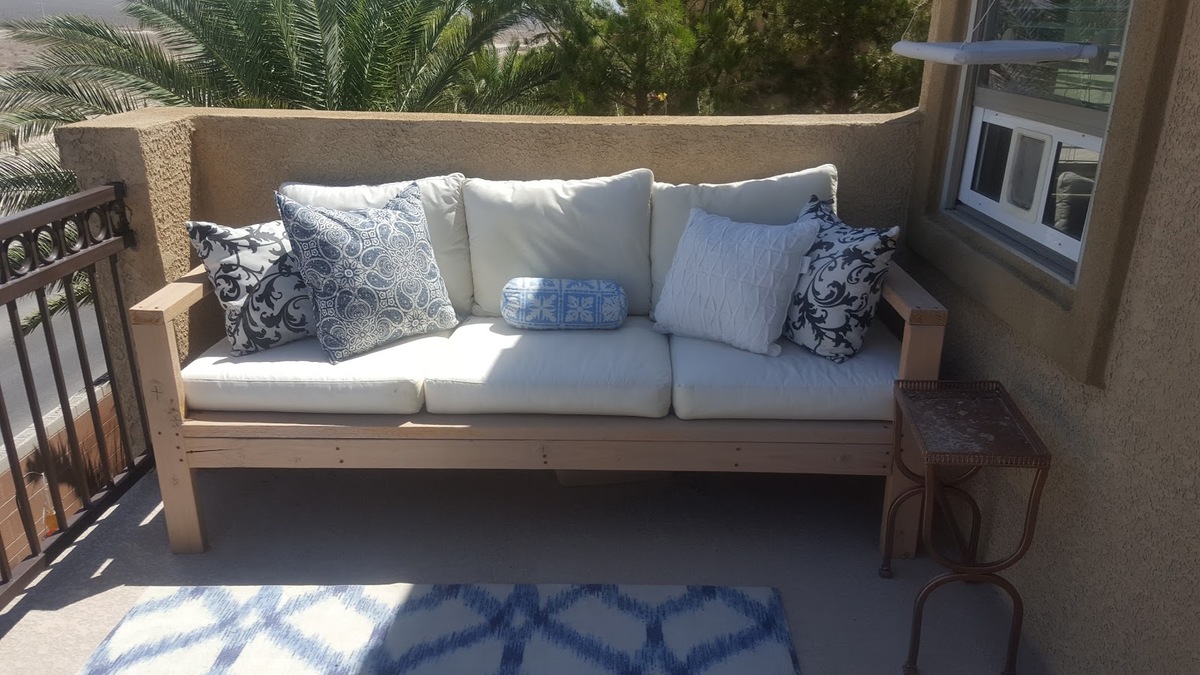
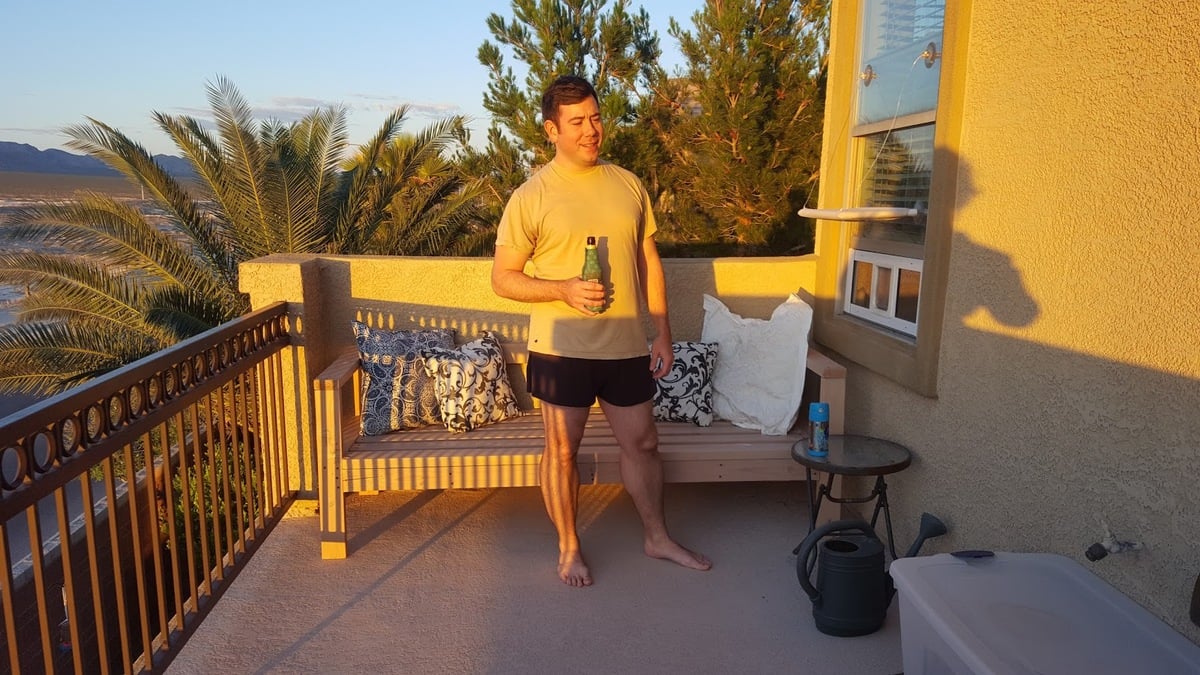
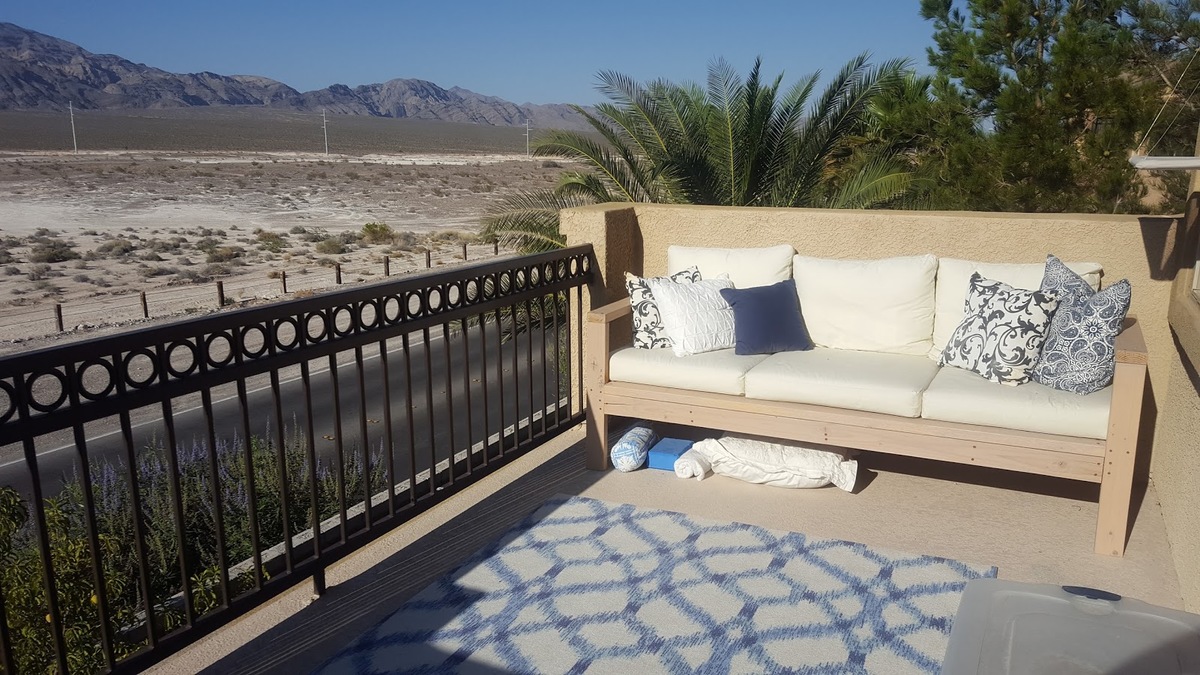
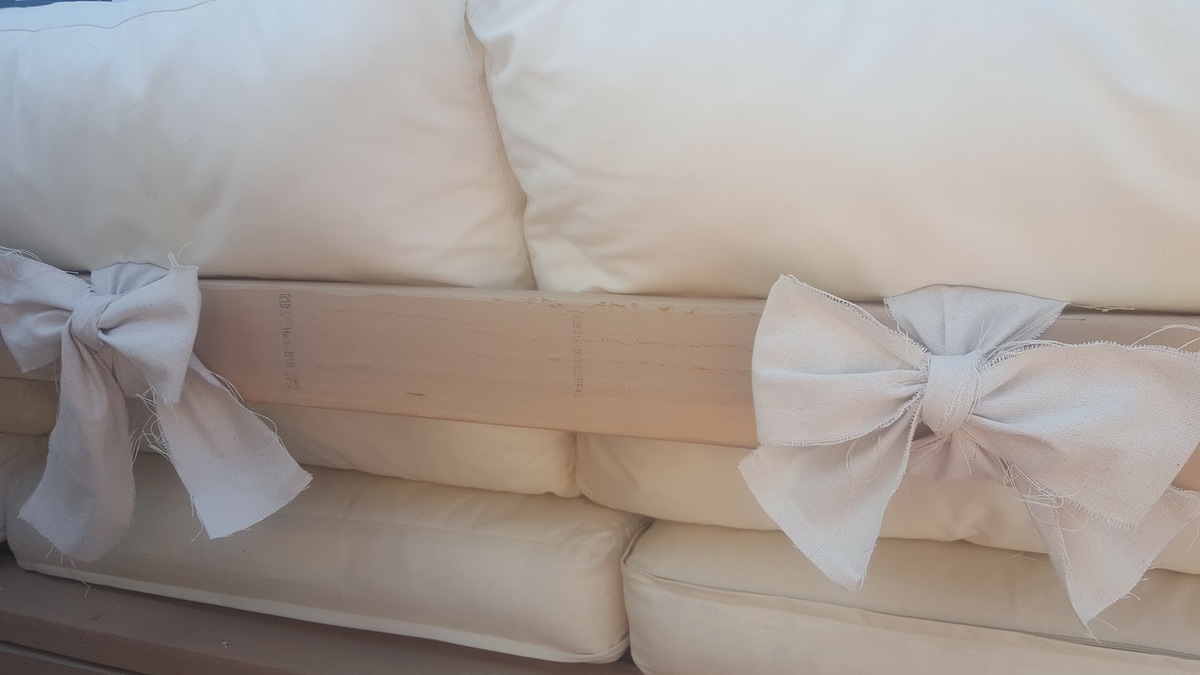
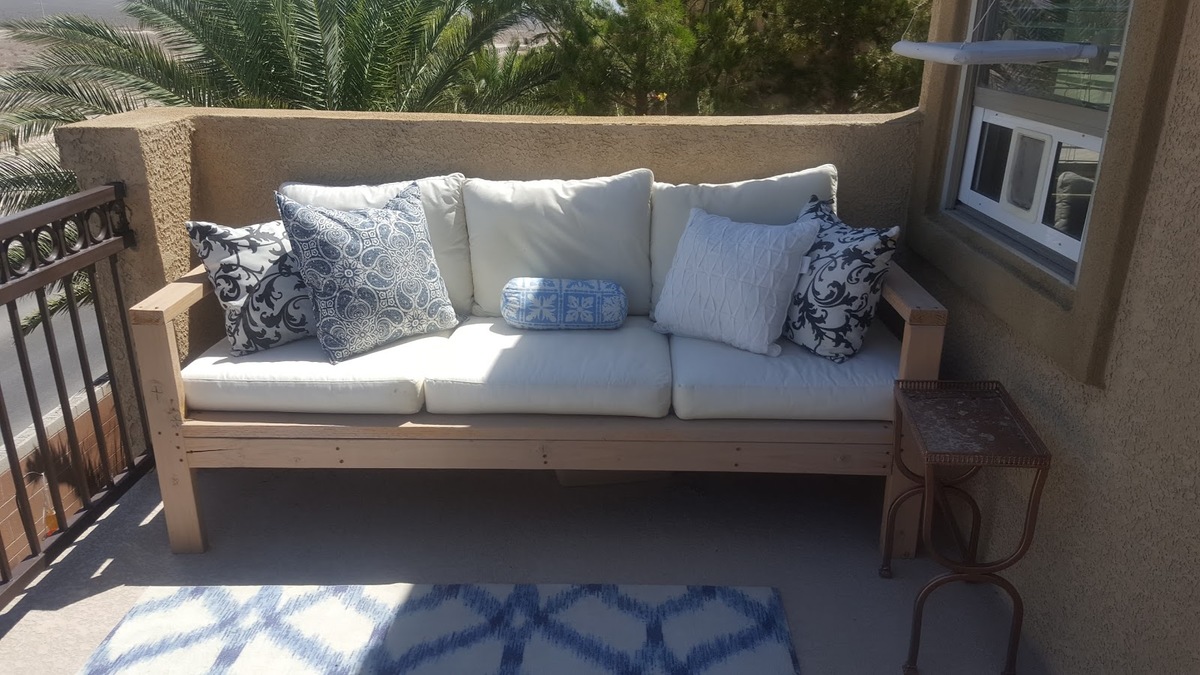
Decided to build Ana's outdoor sofa for our Master Balcony and love the results. I was a bit impatient to finish the build and therefore did not take the time to use pocket screws for a more finished result, (which I will do next time). Regardless, I love how the sofa turned out and would reccomend for anybody to build. The cheapest outdoor cushions I could find were from Ikea and we spent around $160.

Built from Plan(s)
Estimated Cost
$100 BUILD, $160 CUSHIONS
Estimated Time Investment
Afternoon Project (3-6 Hours)
Finish Used
OUTDOOR STAIN
Recommended Skill Level
Beginner