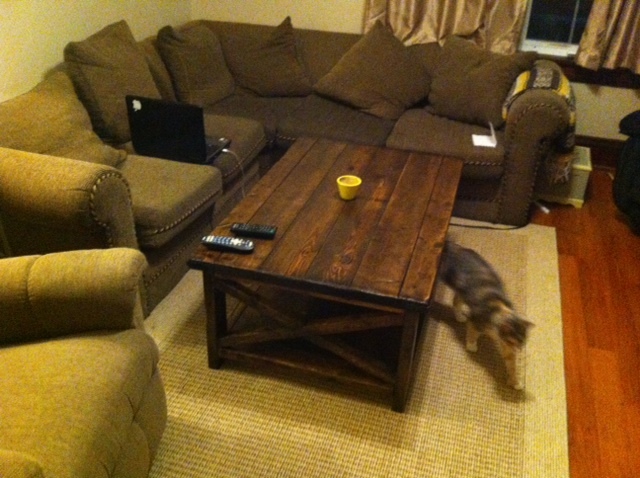
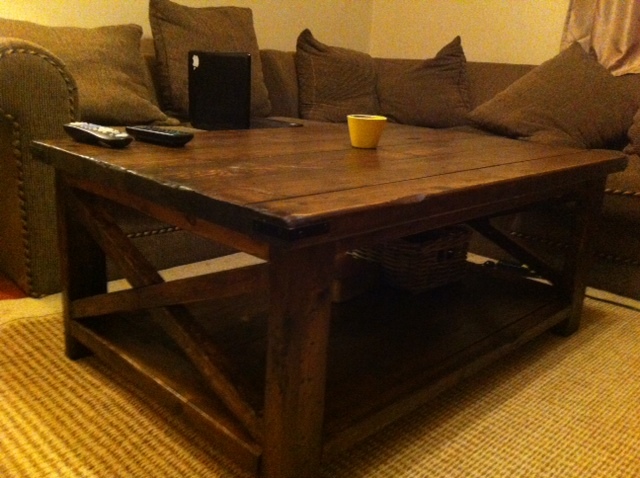
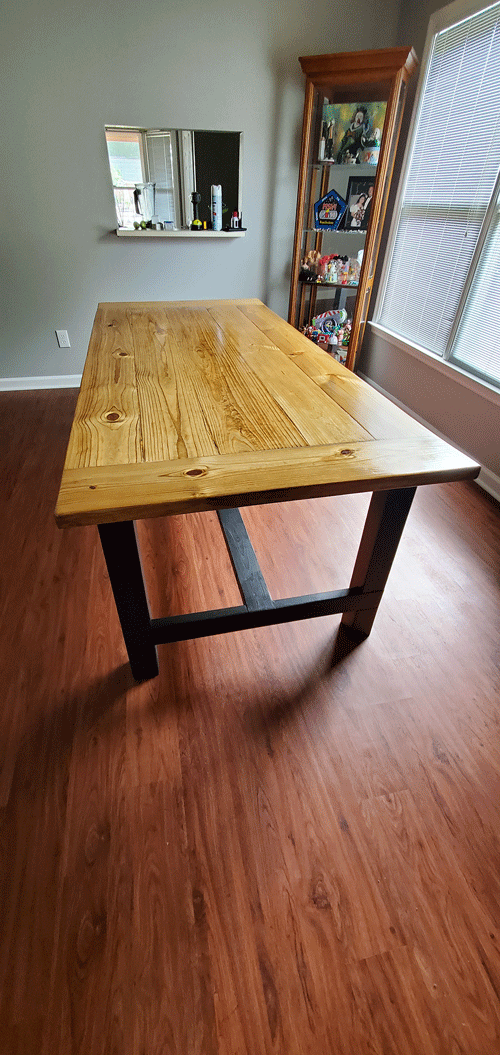
Square Modern Farm Table

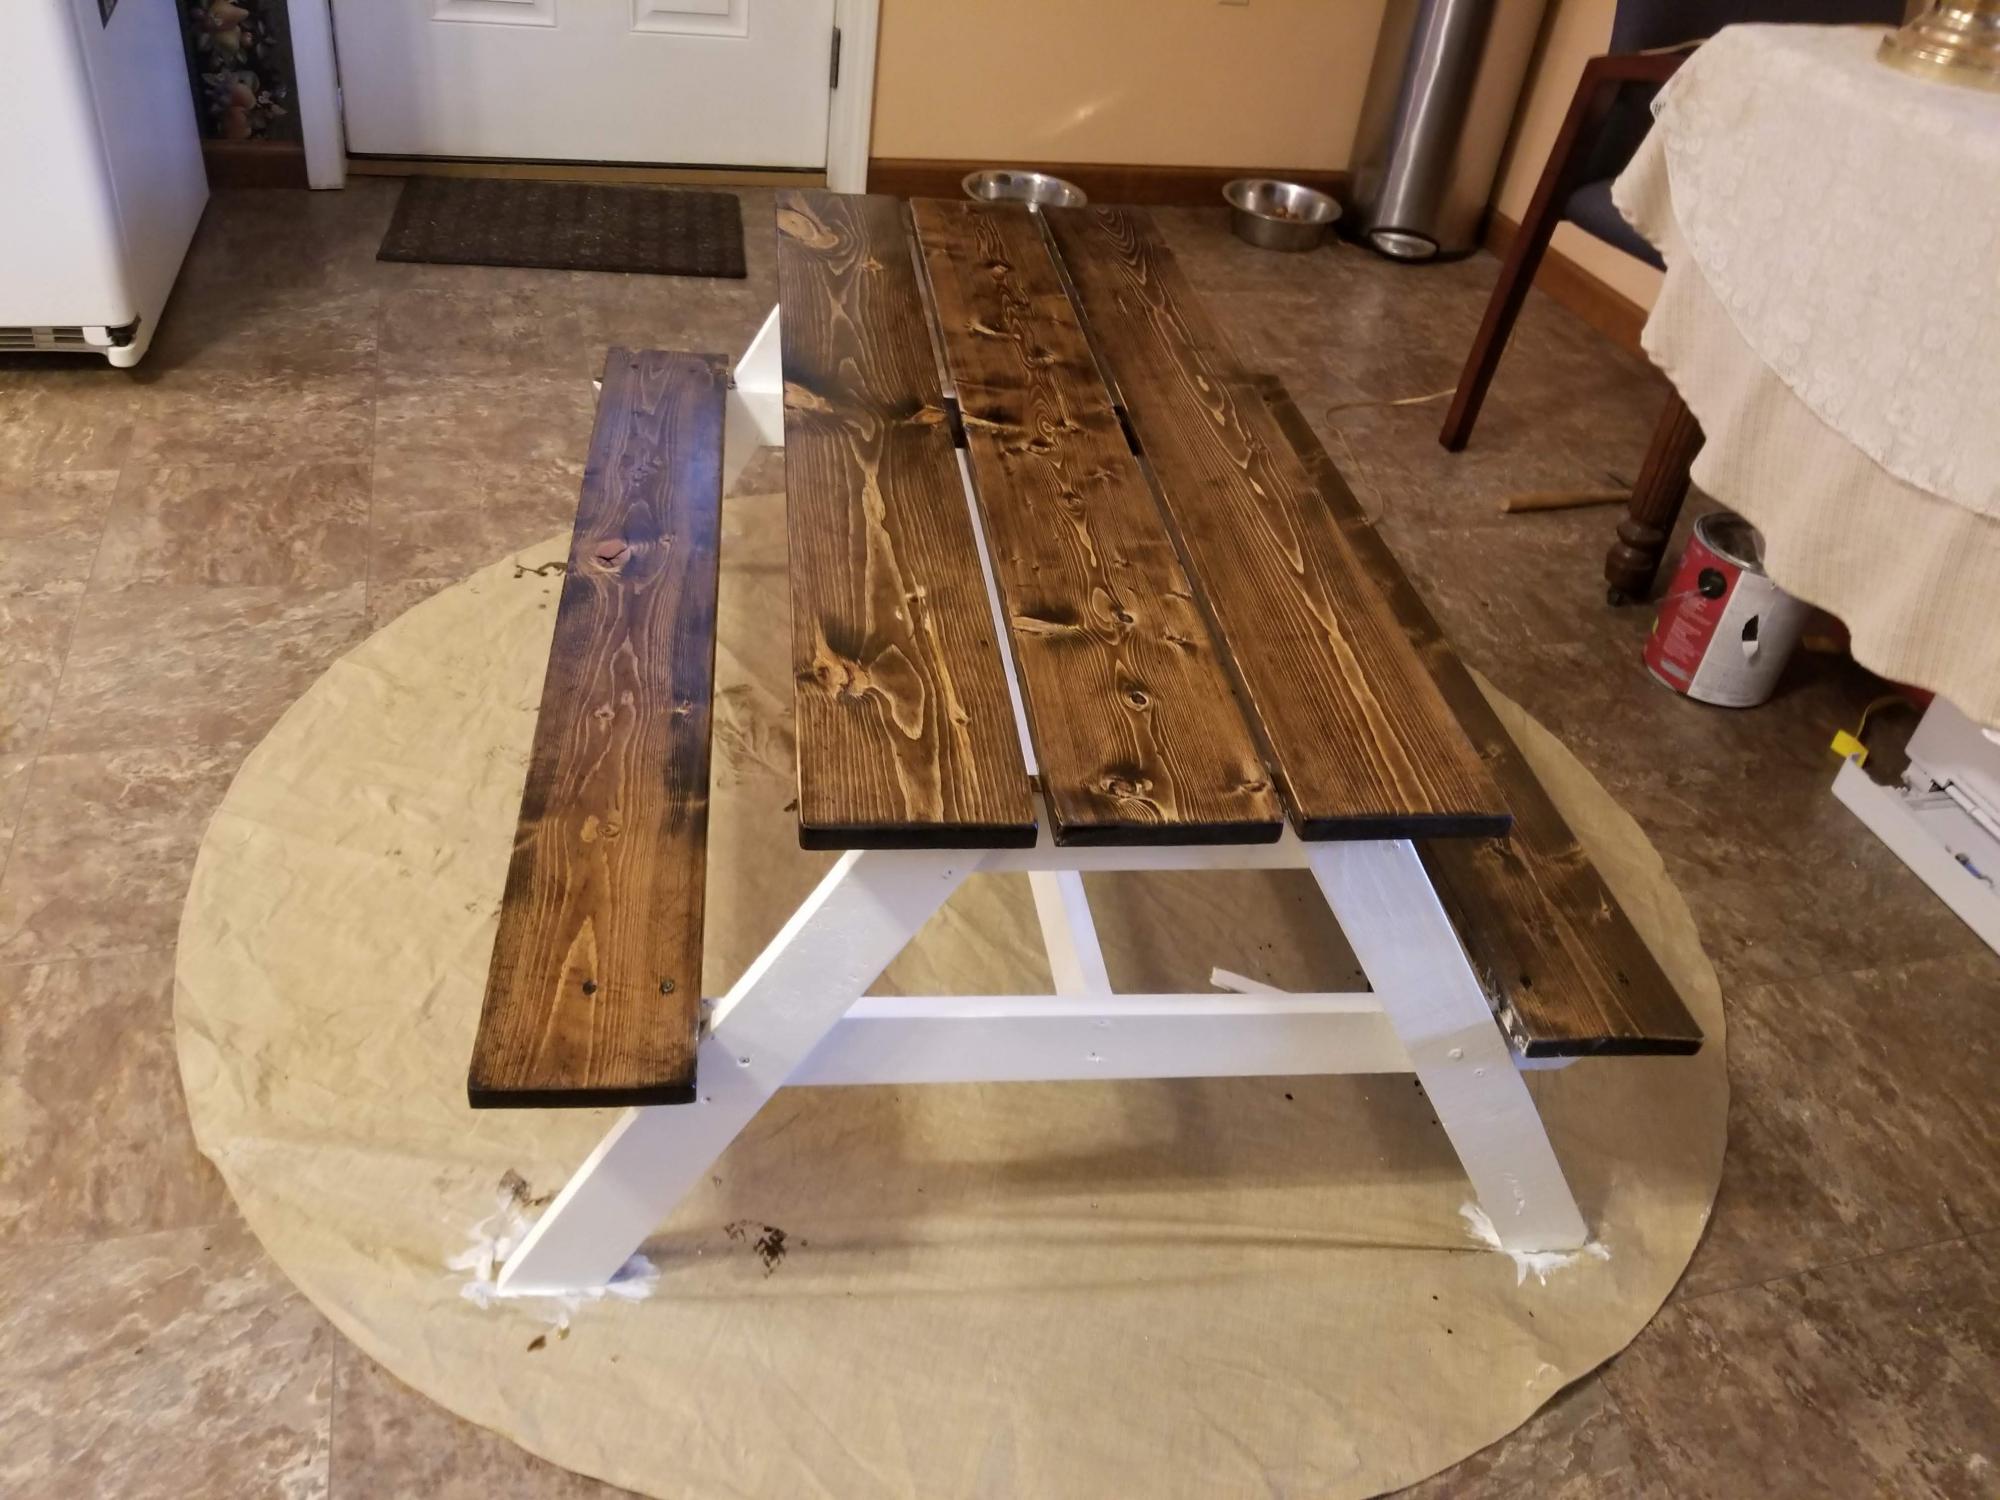
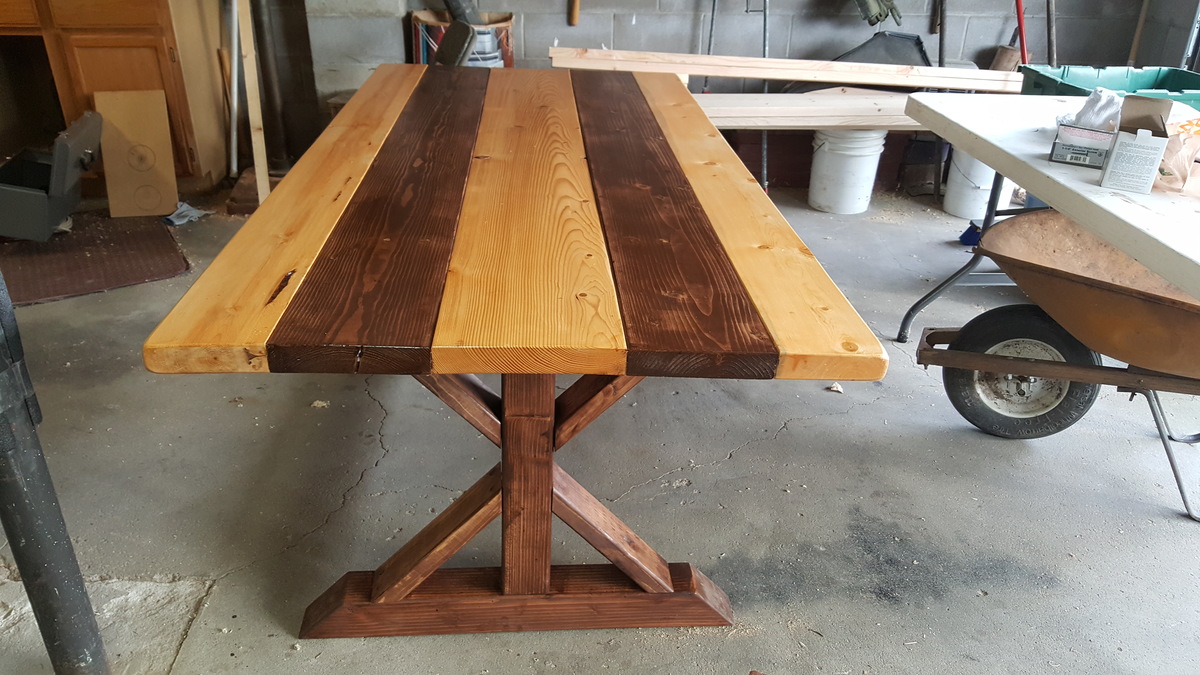
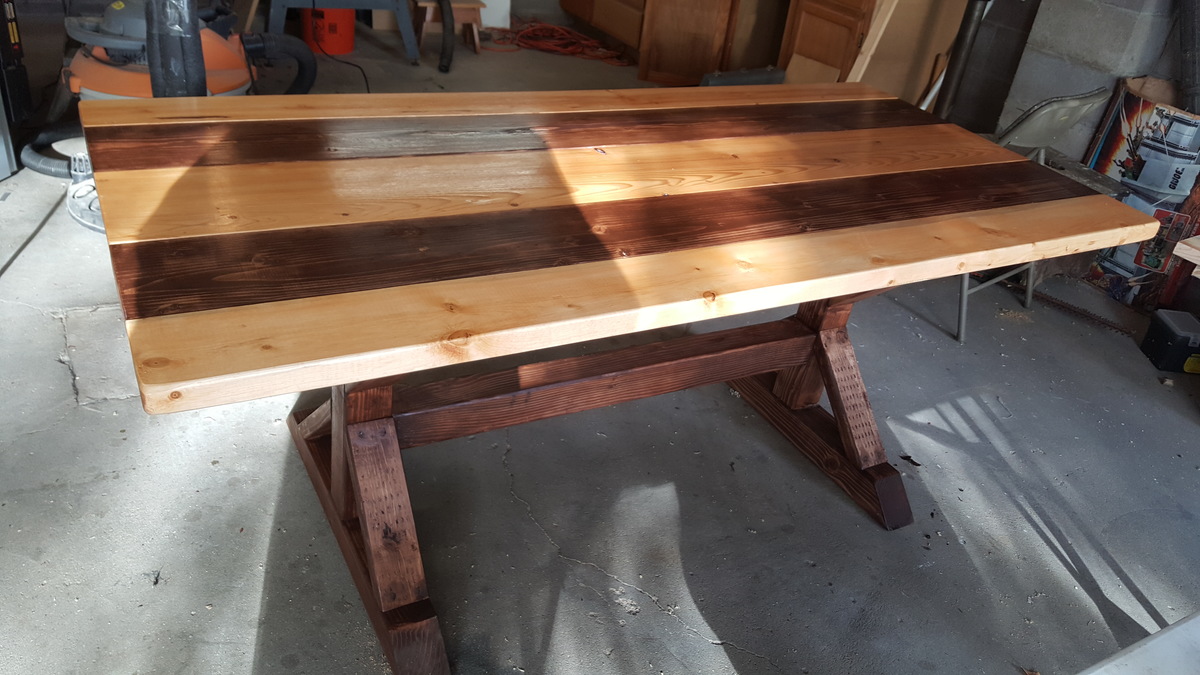
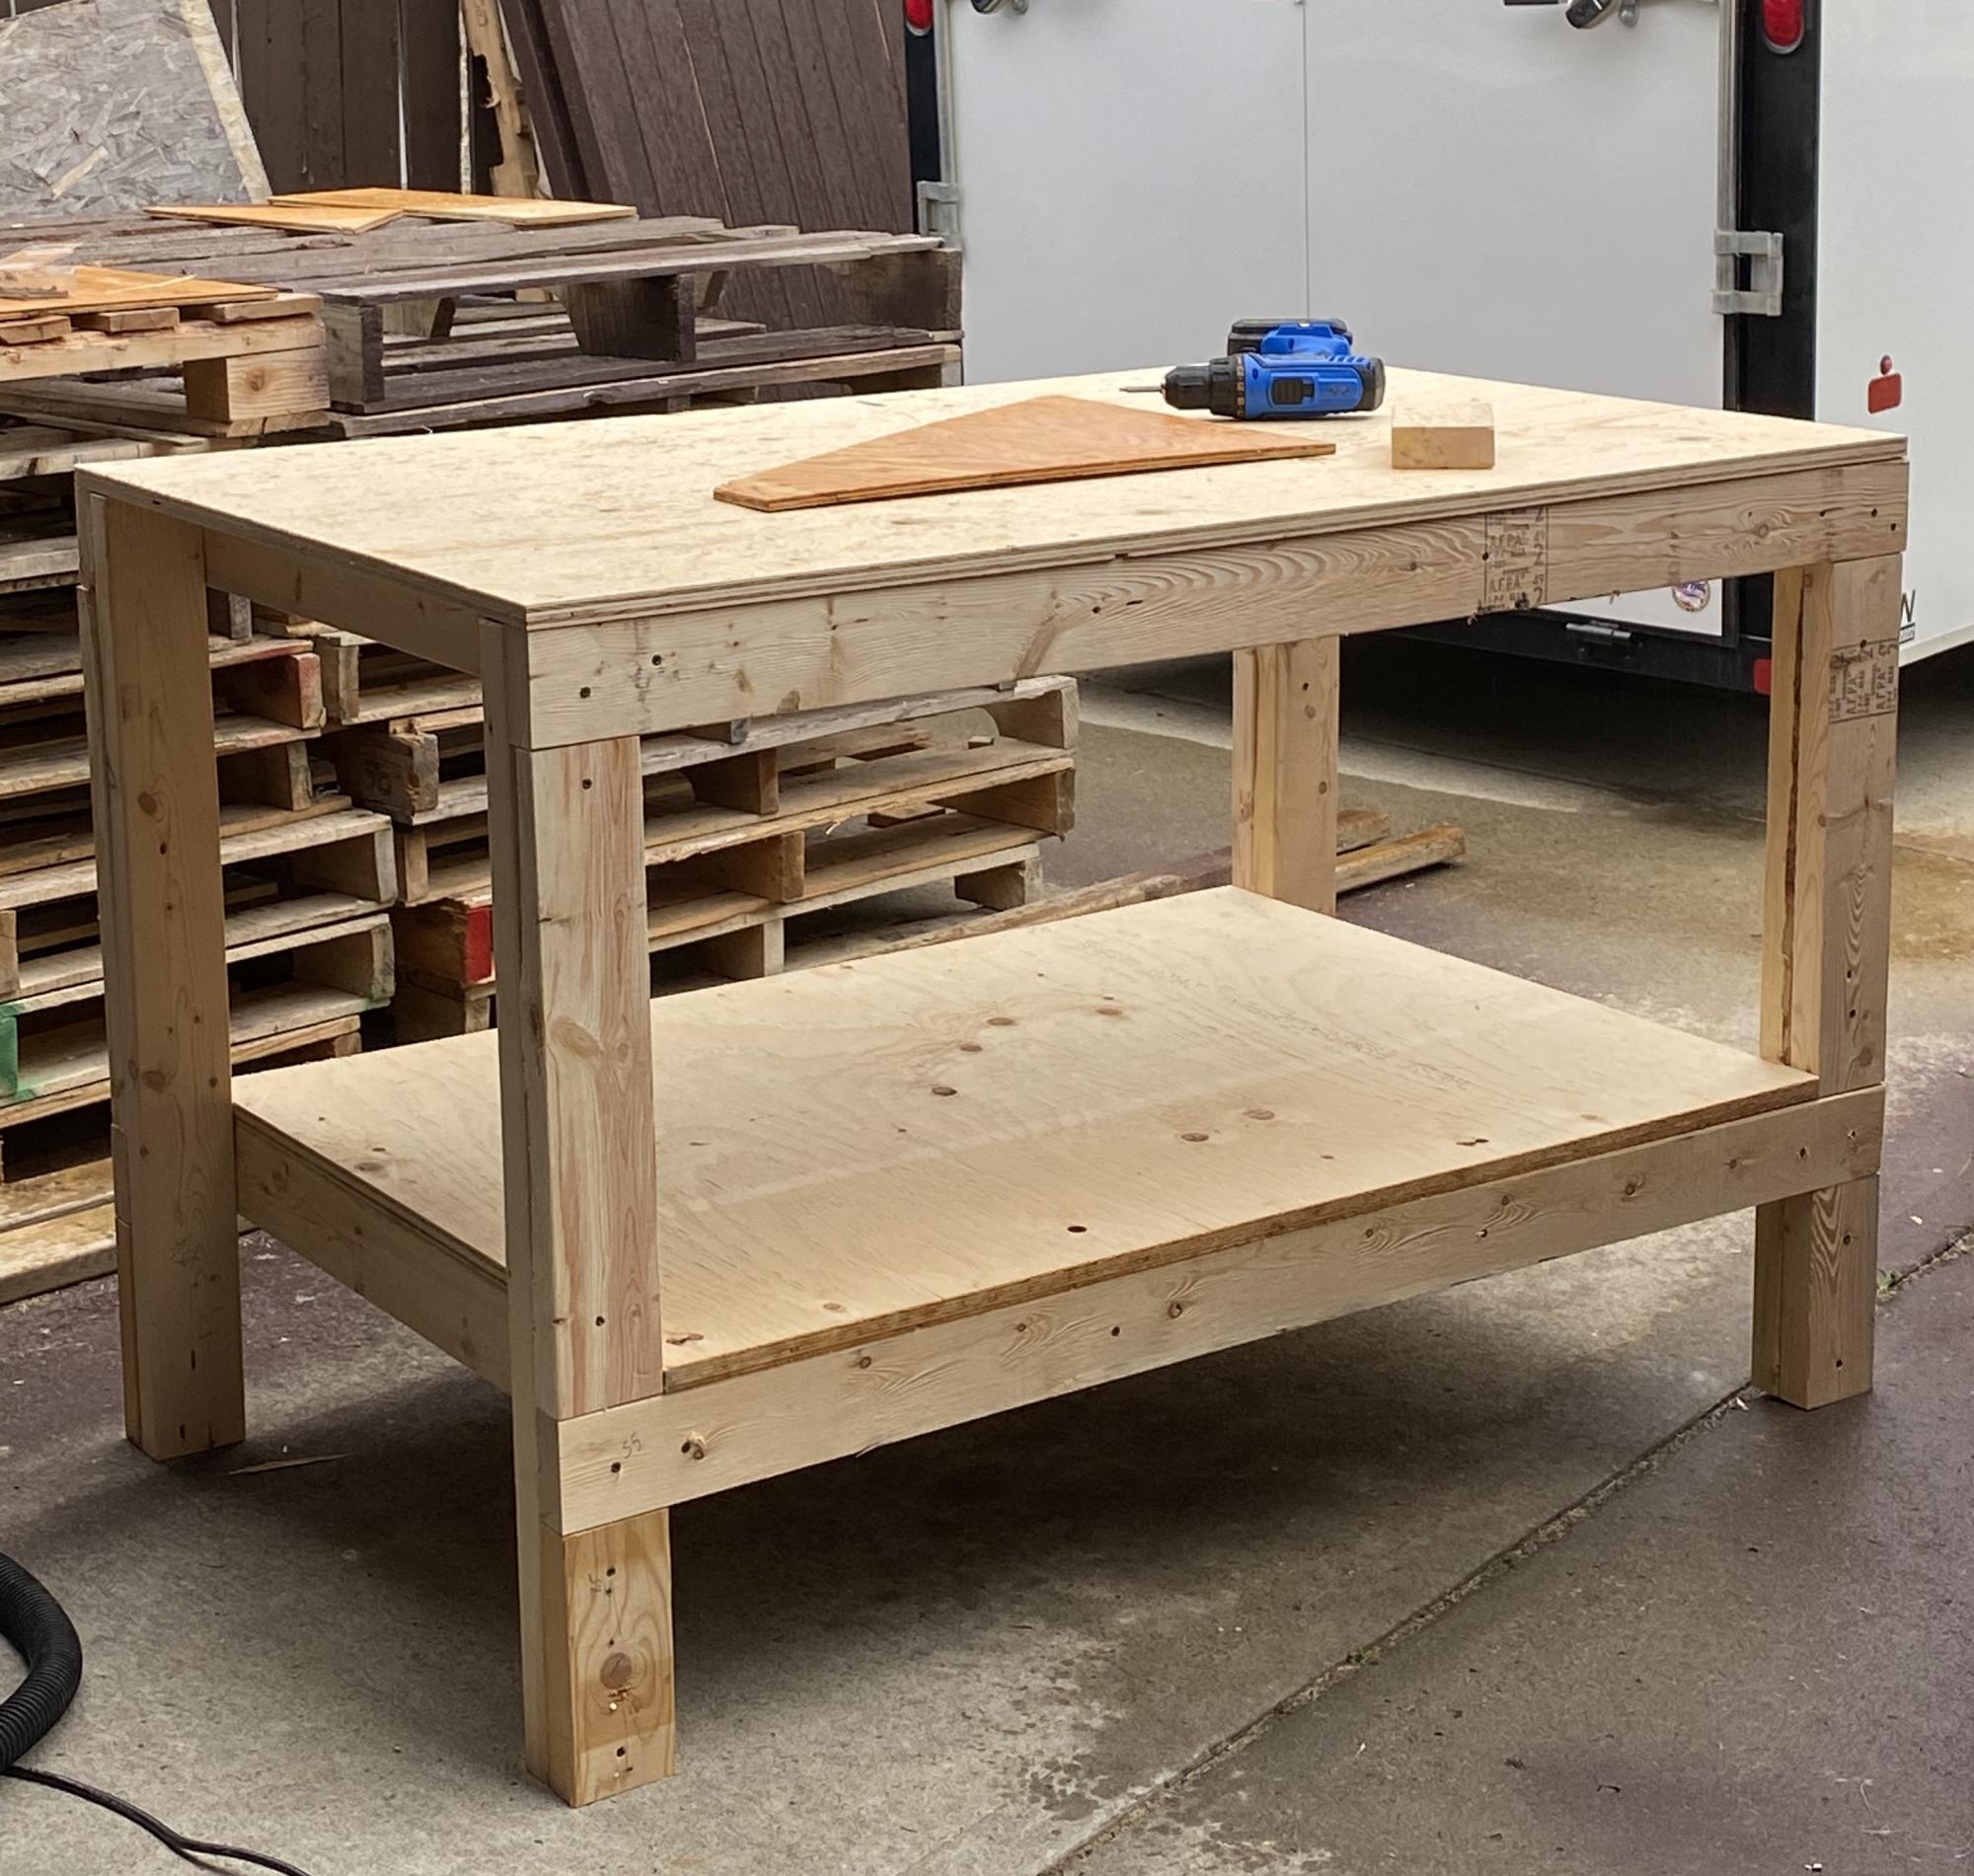
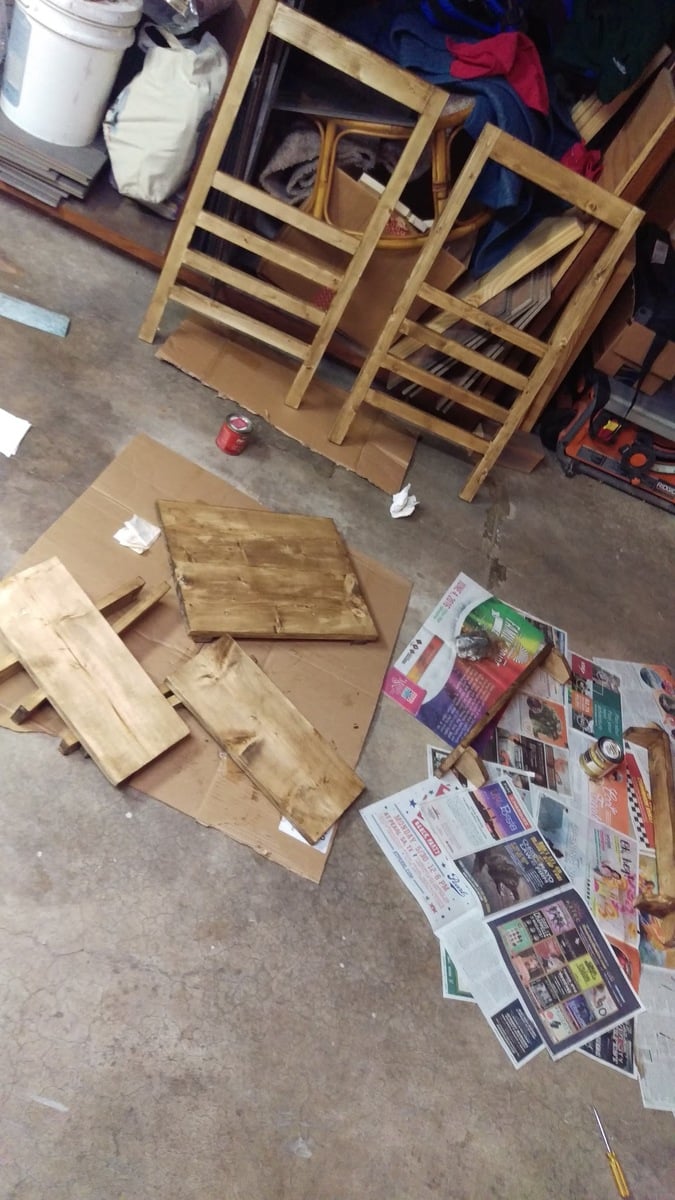
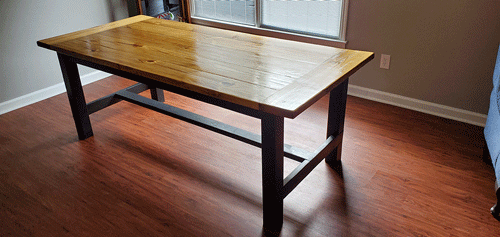
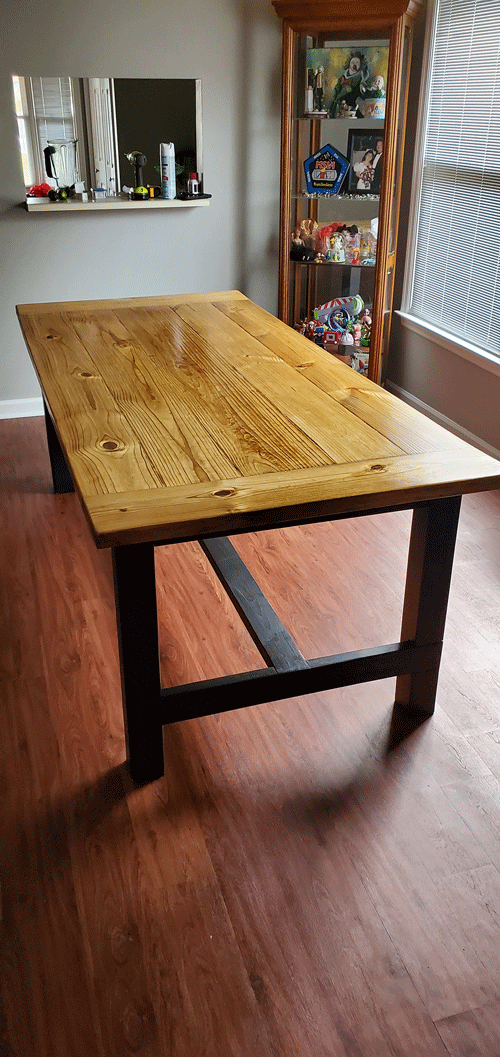
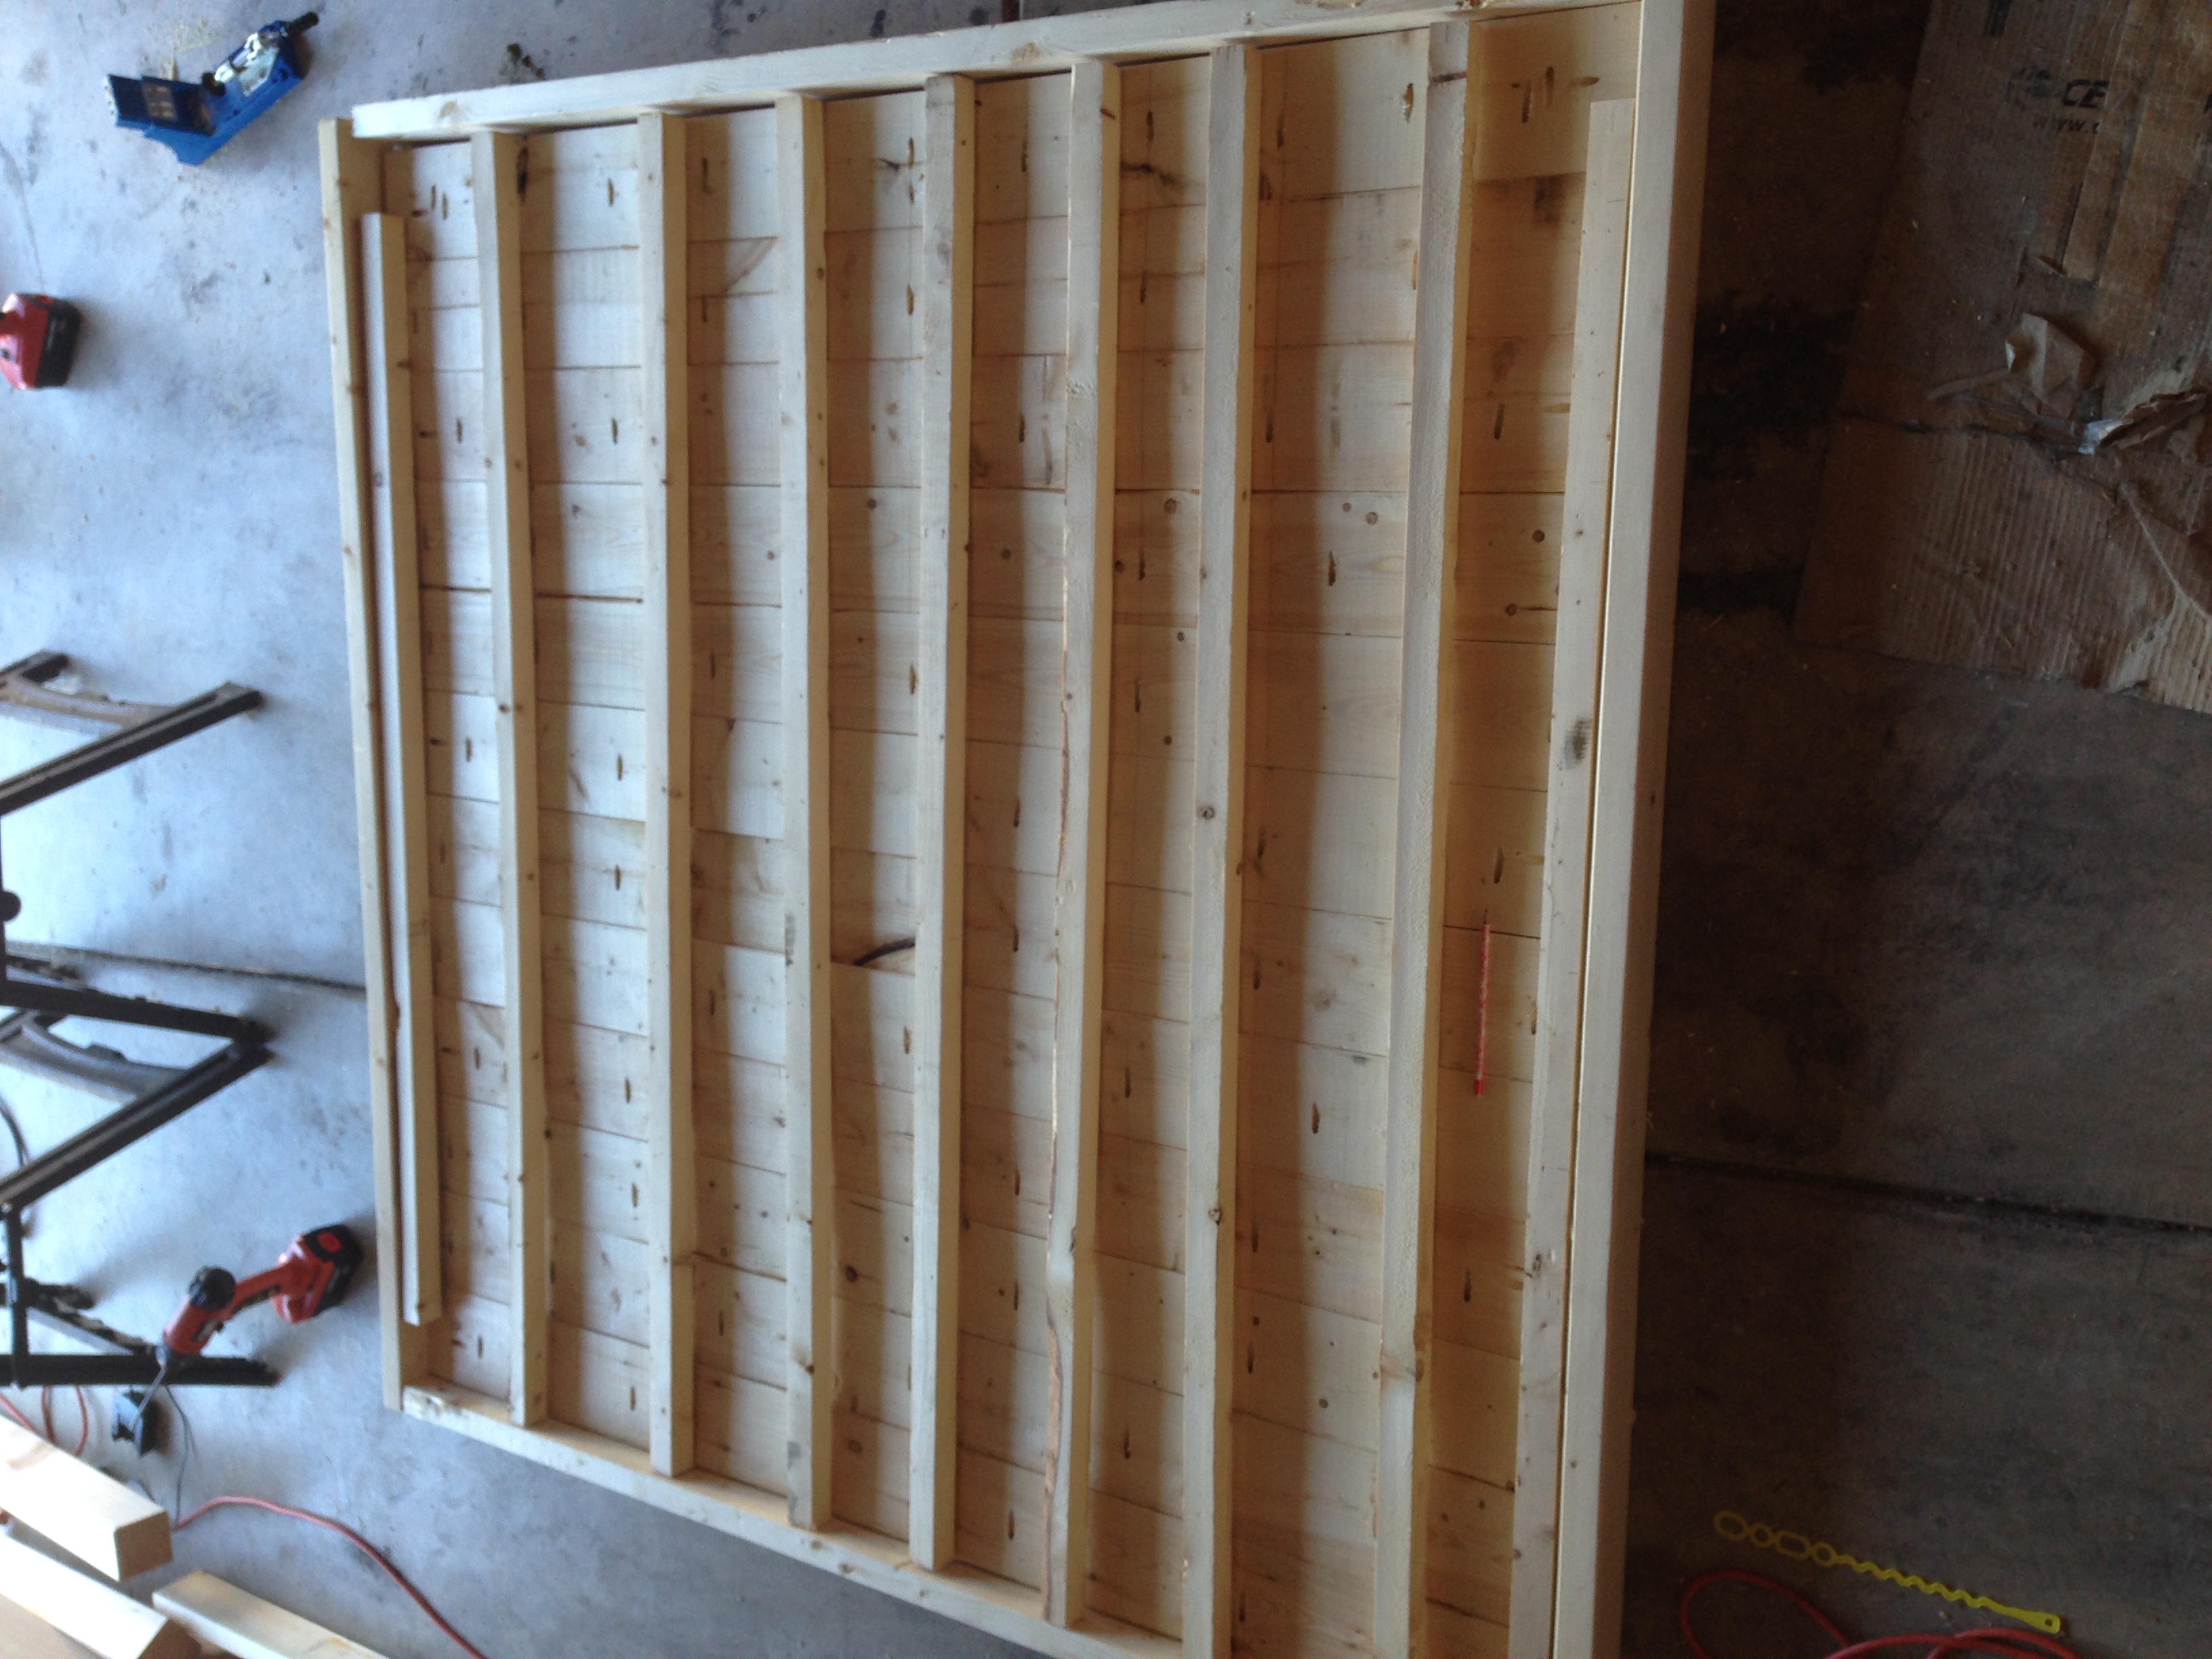
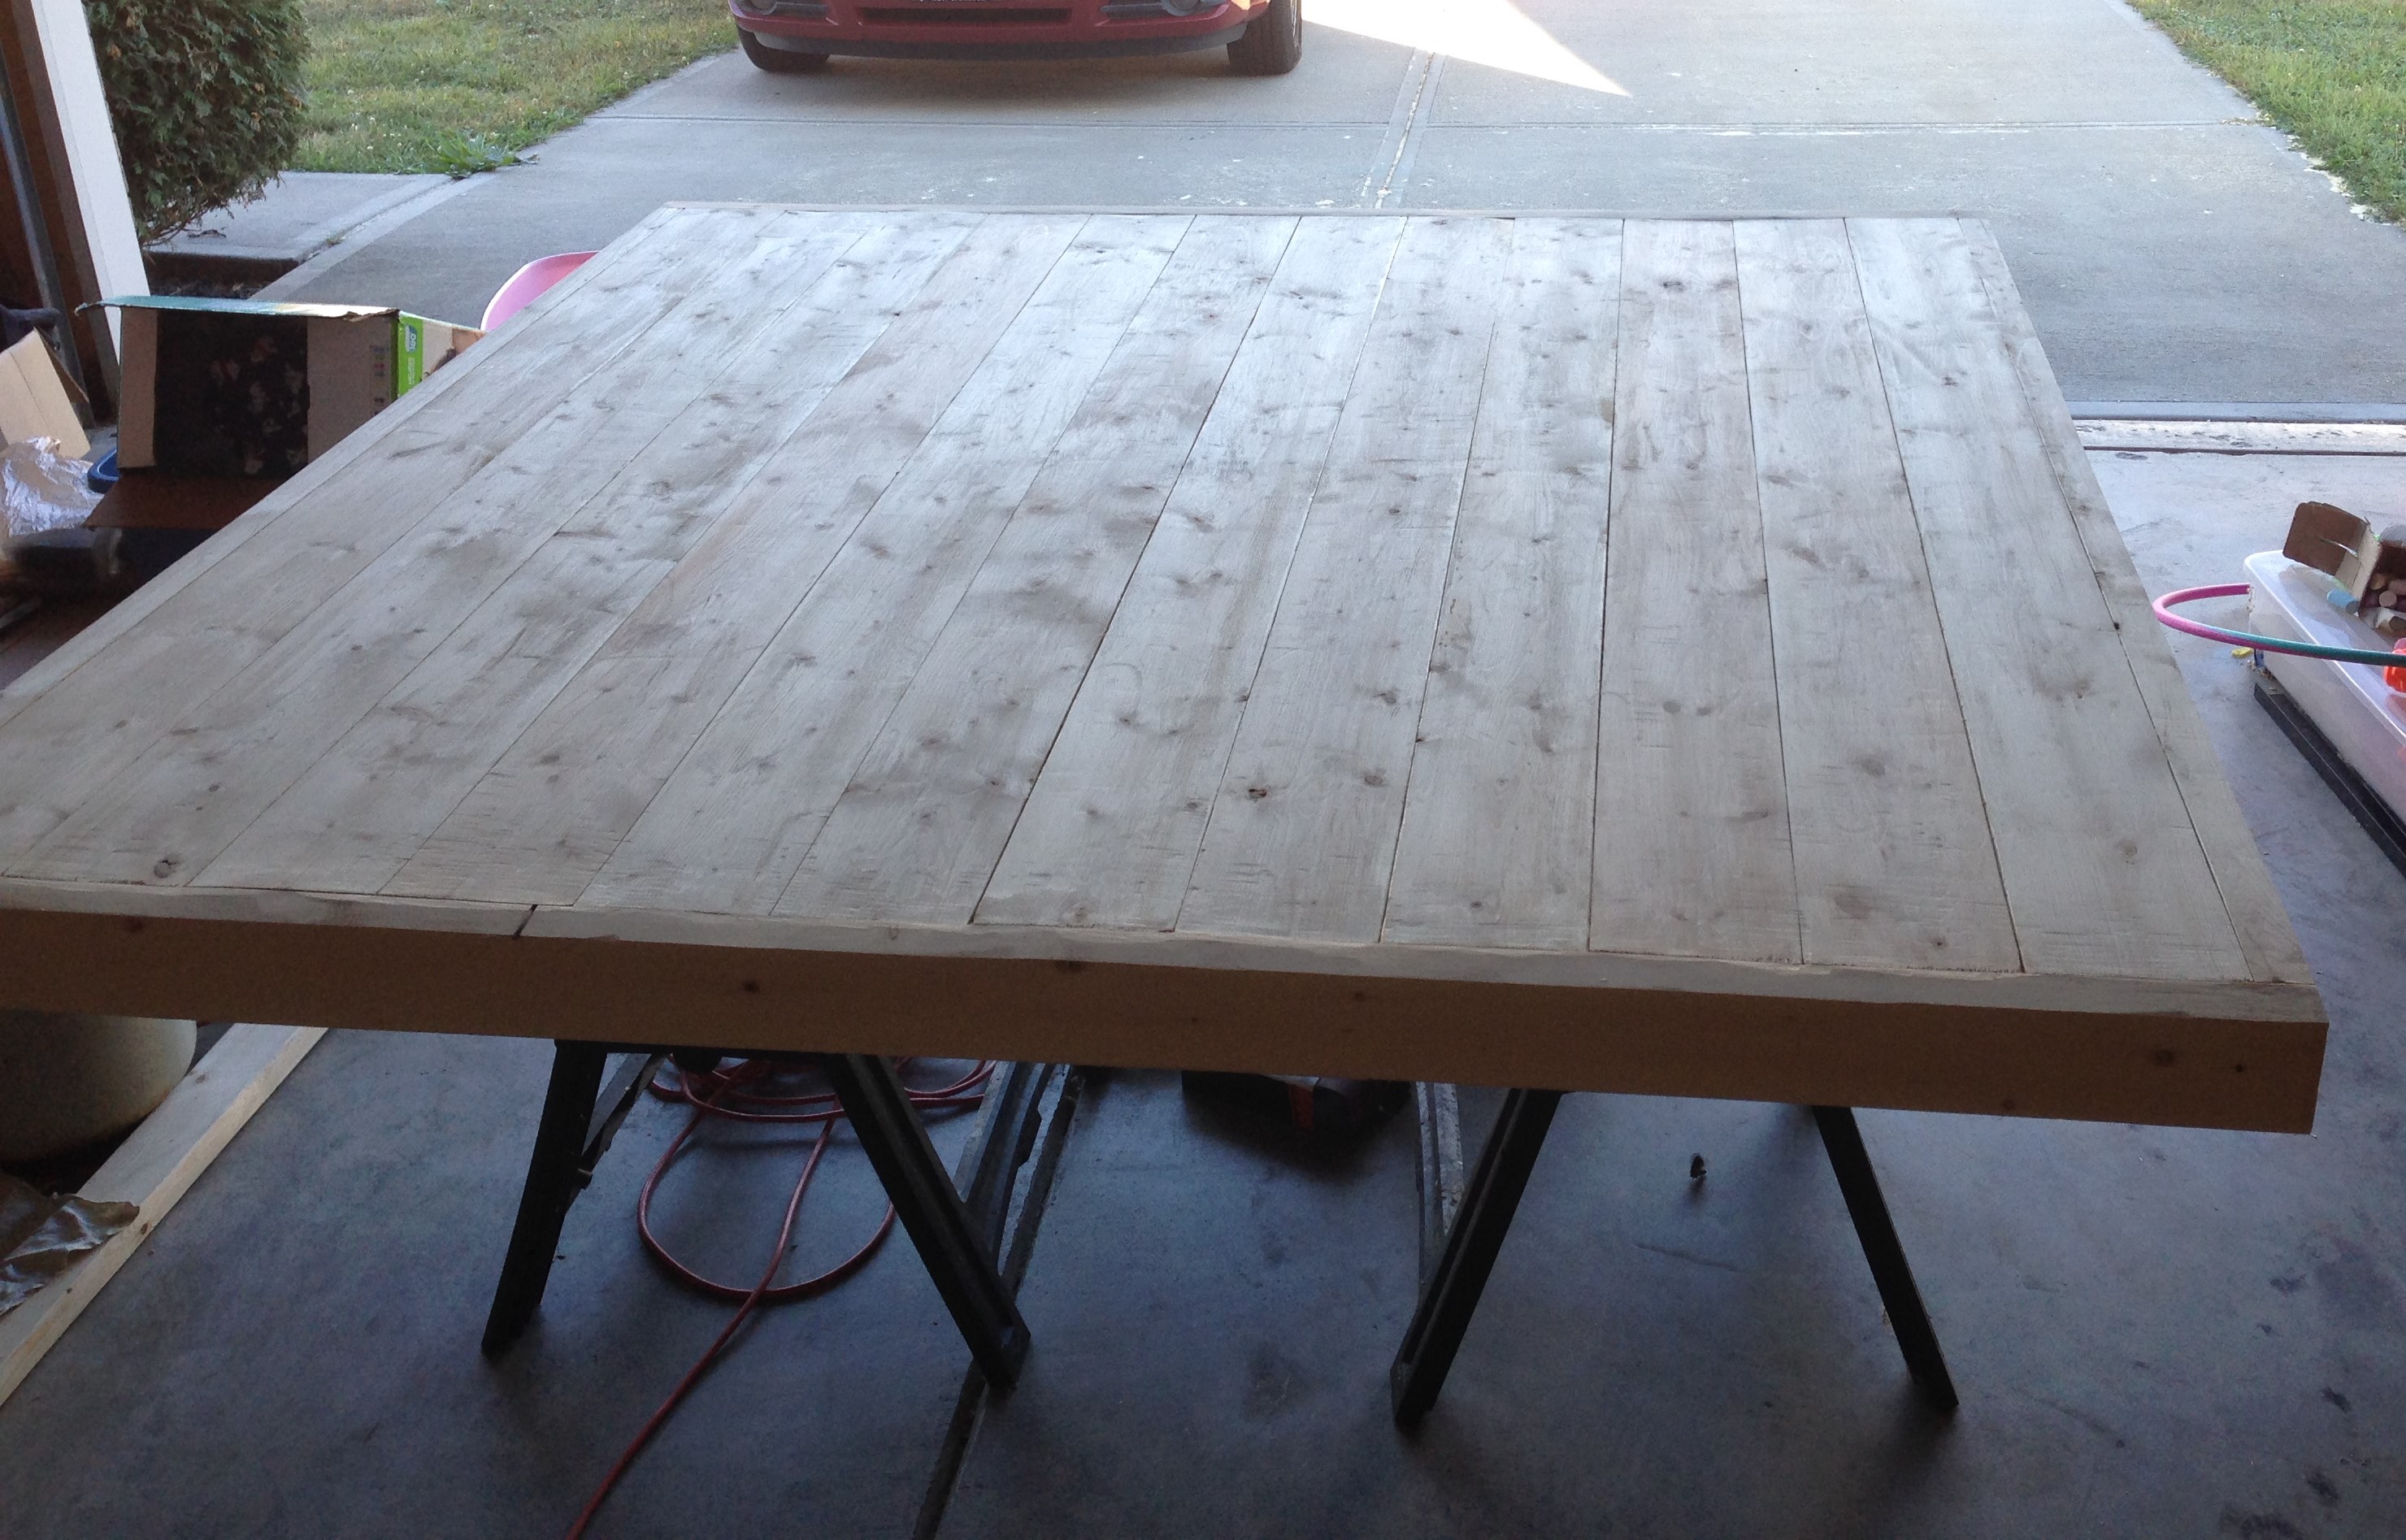
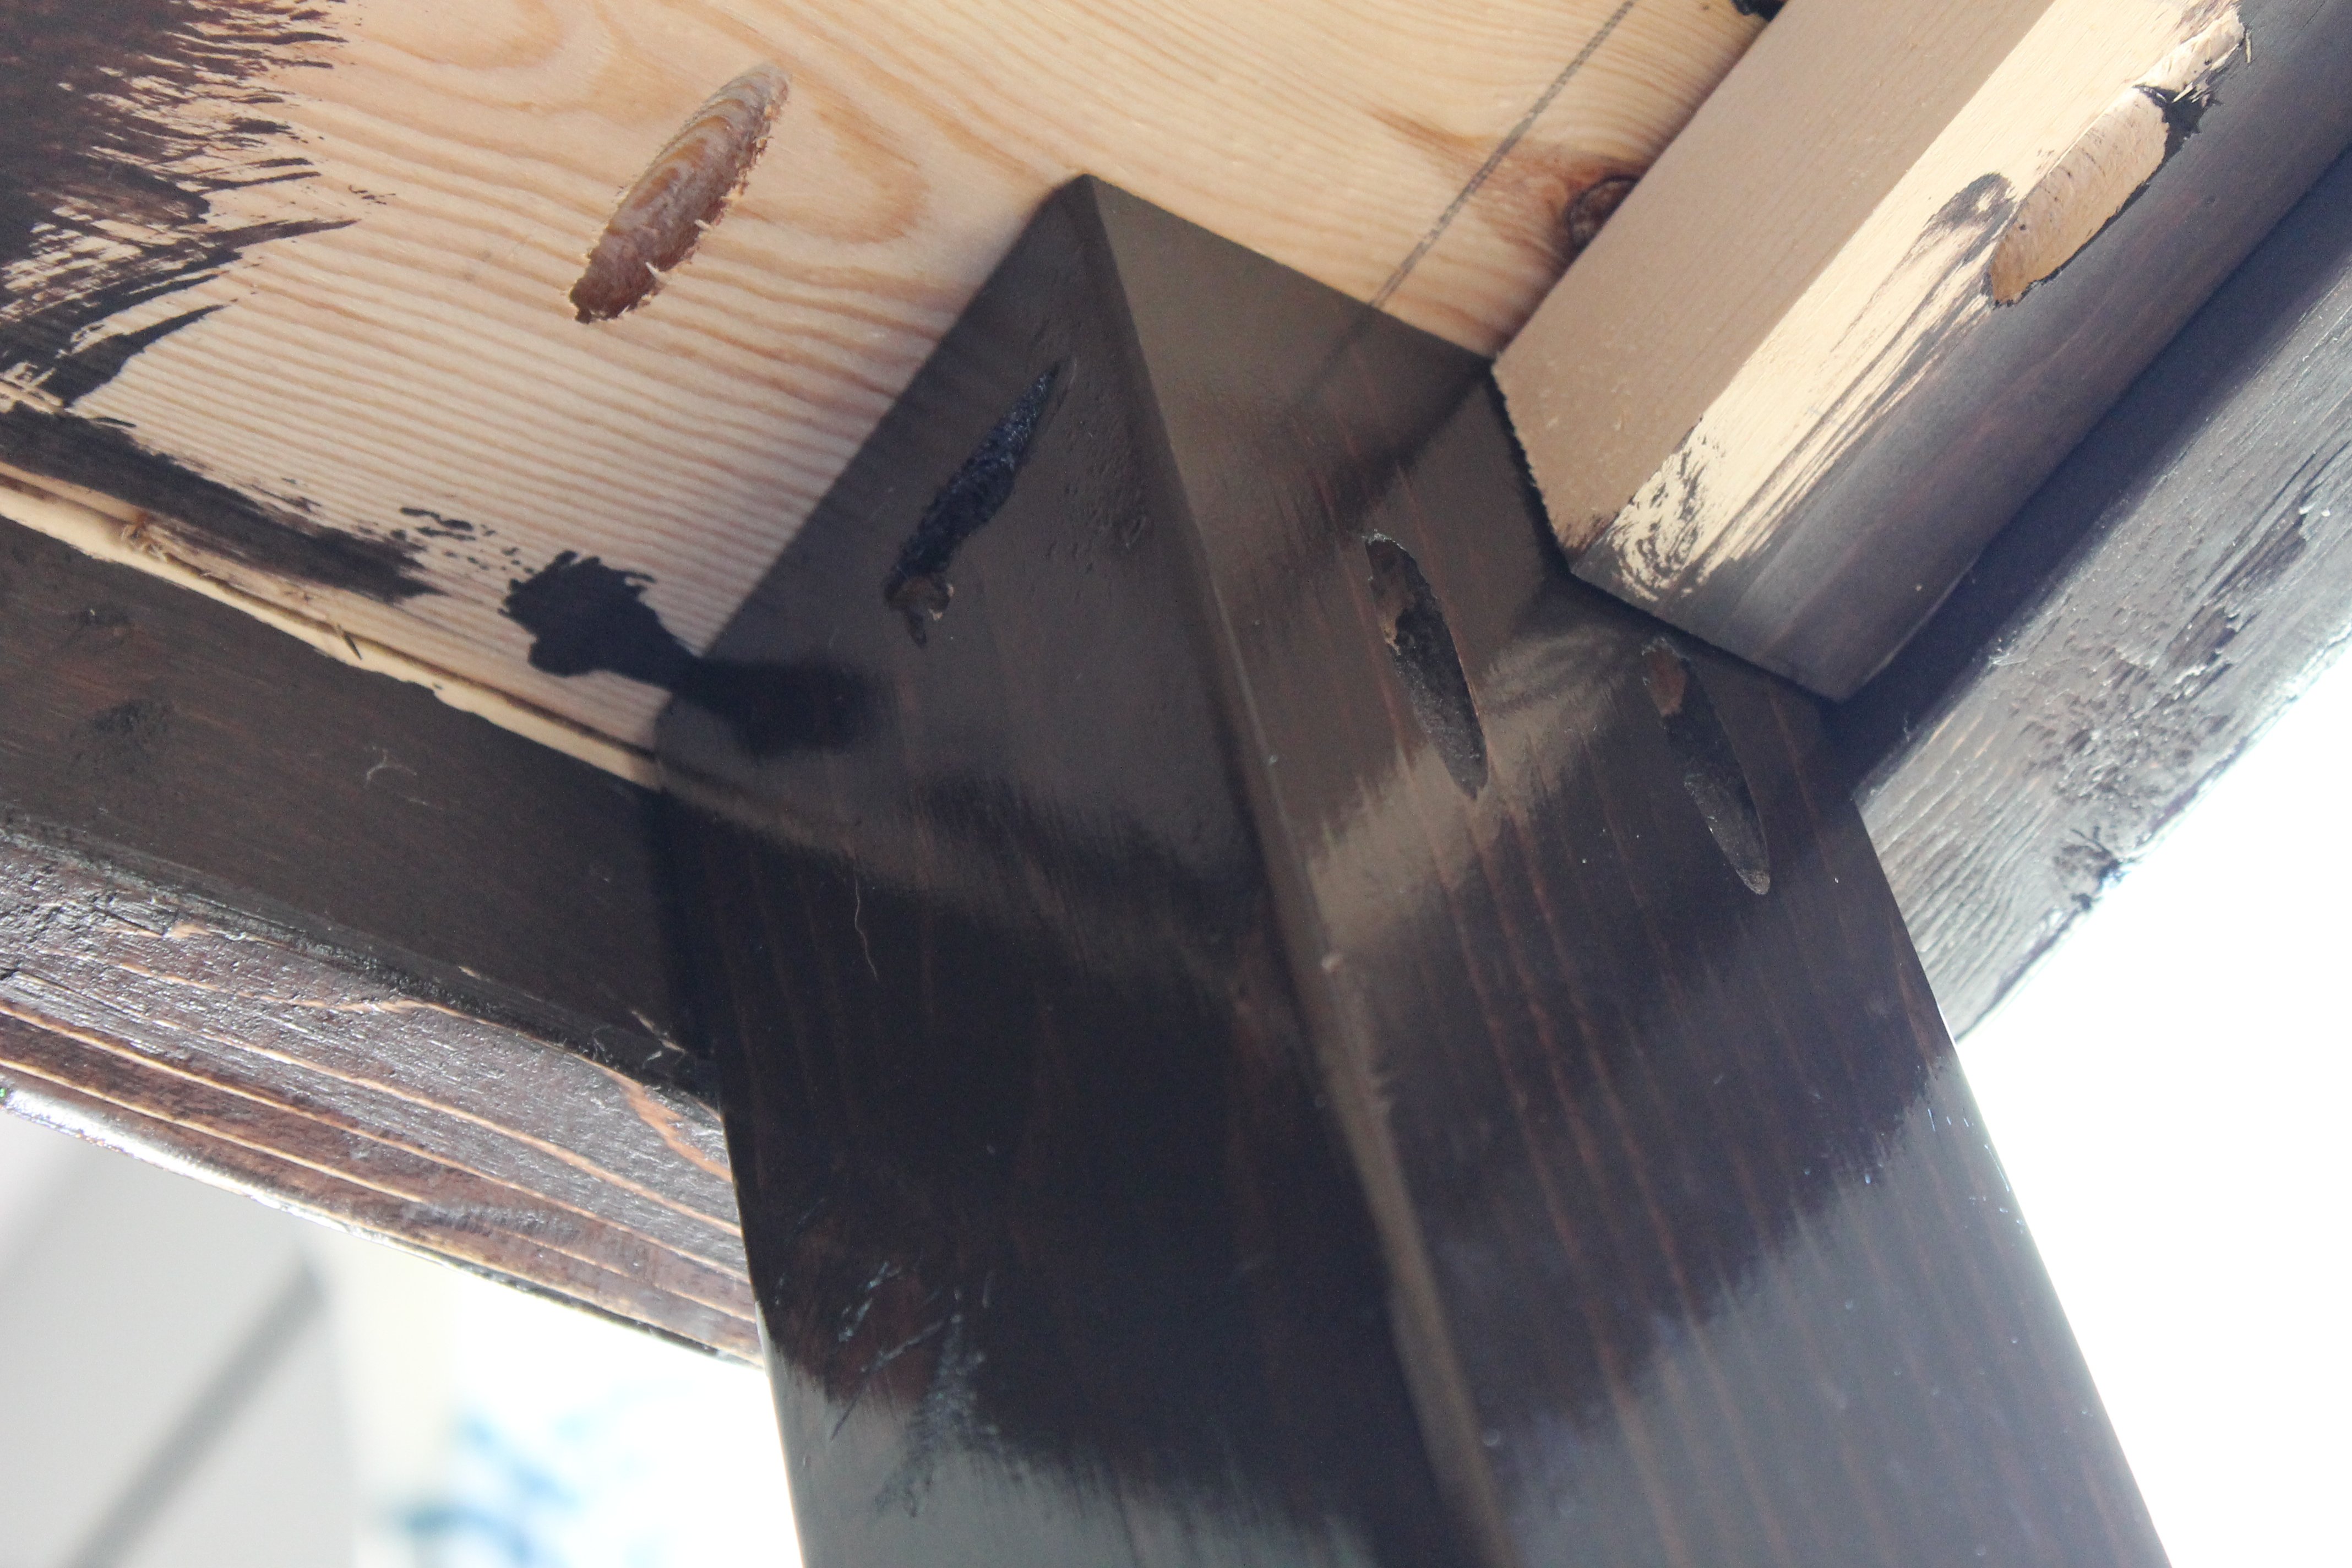
I really loved the modern farm table, but we wanted something to fit our square-ish dining room space and still fit 8-12 people to fit our famiy of 8+ company. What we ended up with was a unique statement piece that we absolutely adore. We made some minor changes to the plans to accomodate the changes in size, primarily by using 4x4 posts for the legs and attaching them differently. The table is very sturdy with no wobble. It is very heavy, though! Please see our blog post for details on size, cut list and our building modifications!

Built from Plan(s)
Estimated Cost
$200
Estimated Time Investment
Weekend Project (10-20 Hours)
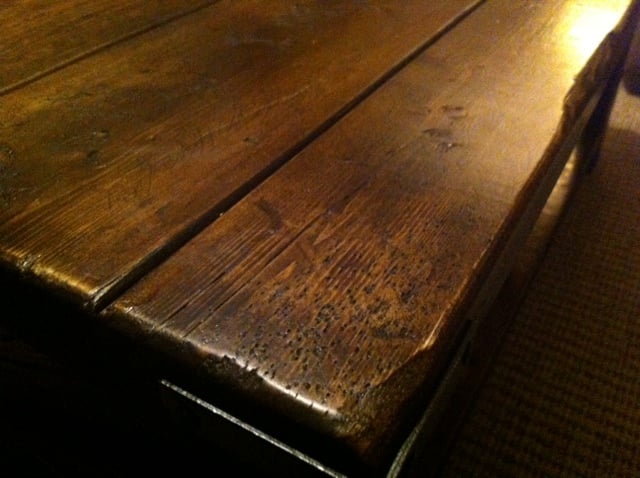
Finish Used
Rust-oleum Dark Walnut Stain,
General Finishes Java Gel Stain,
Polyurethane - gloss
General Finishes Java Gel Stain,
Polyurethane - gloss
Recommended Skill Level
Beginner