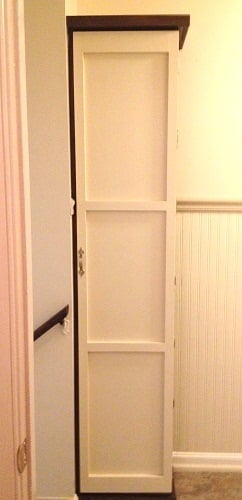
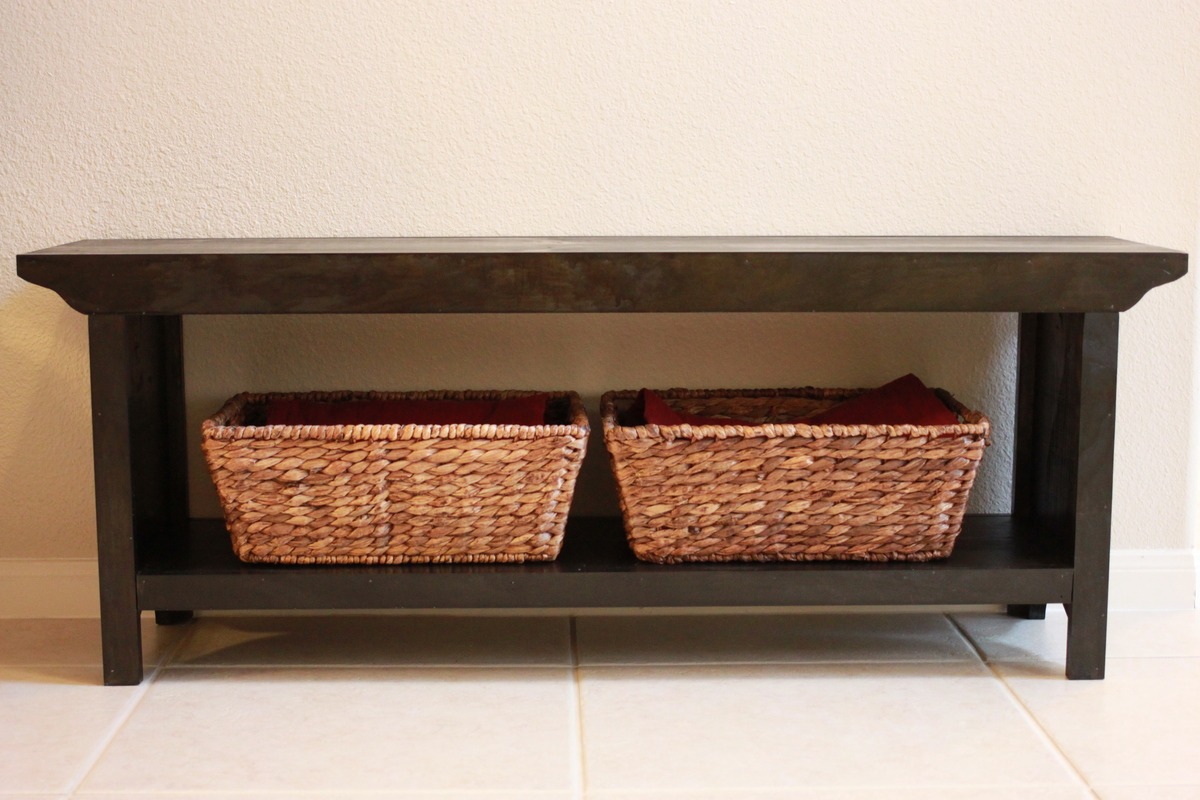
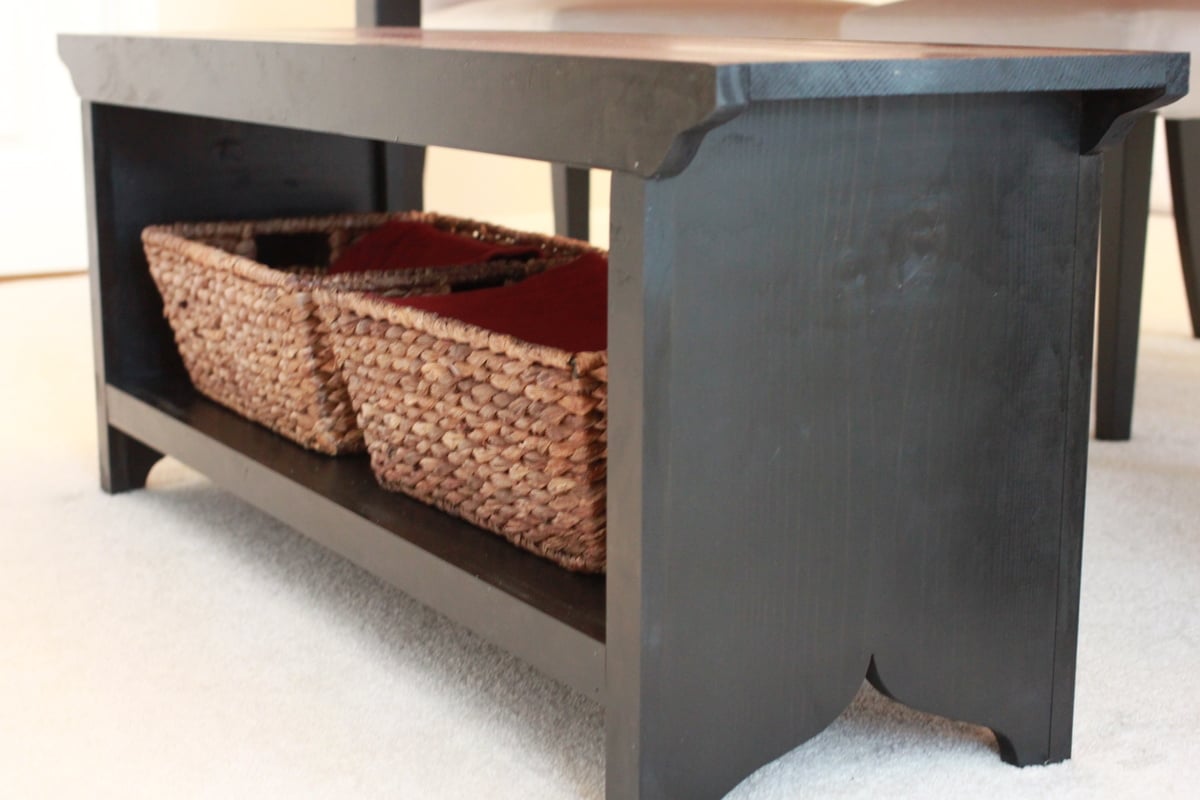
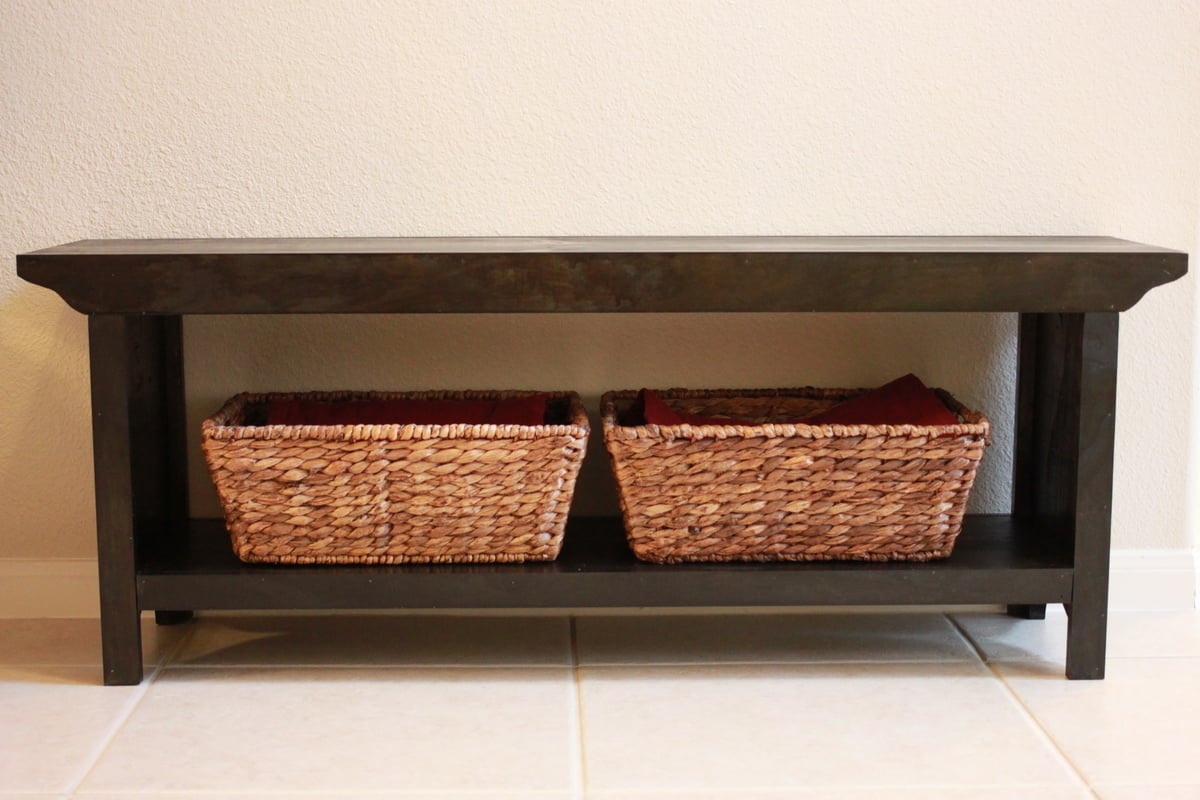
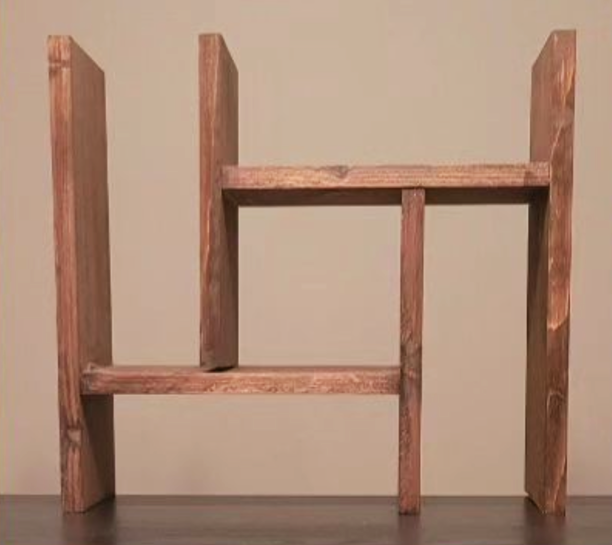
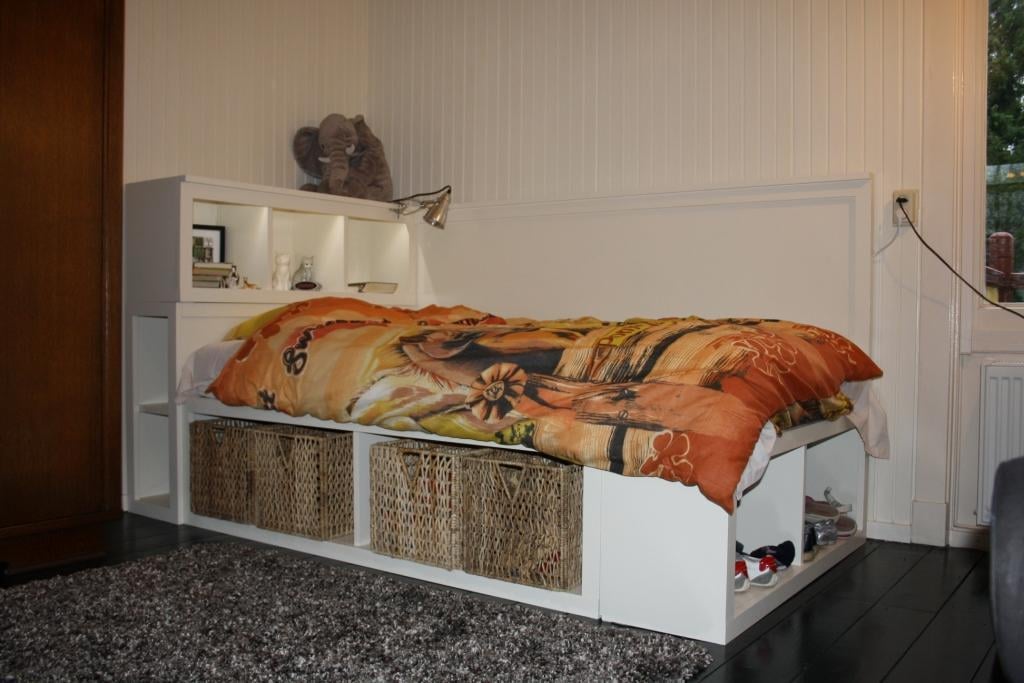
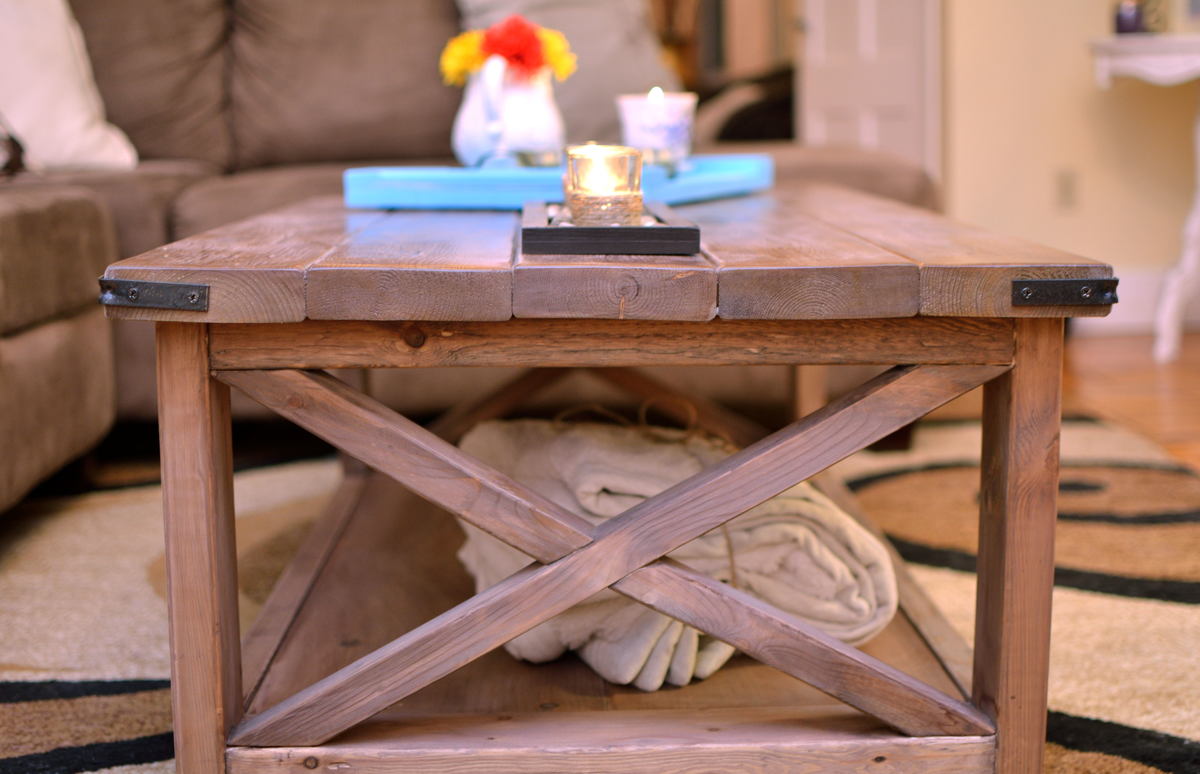
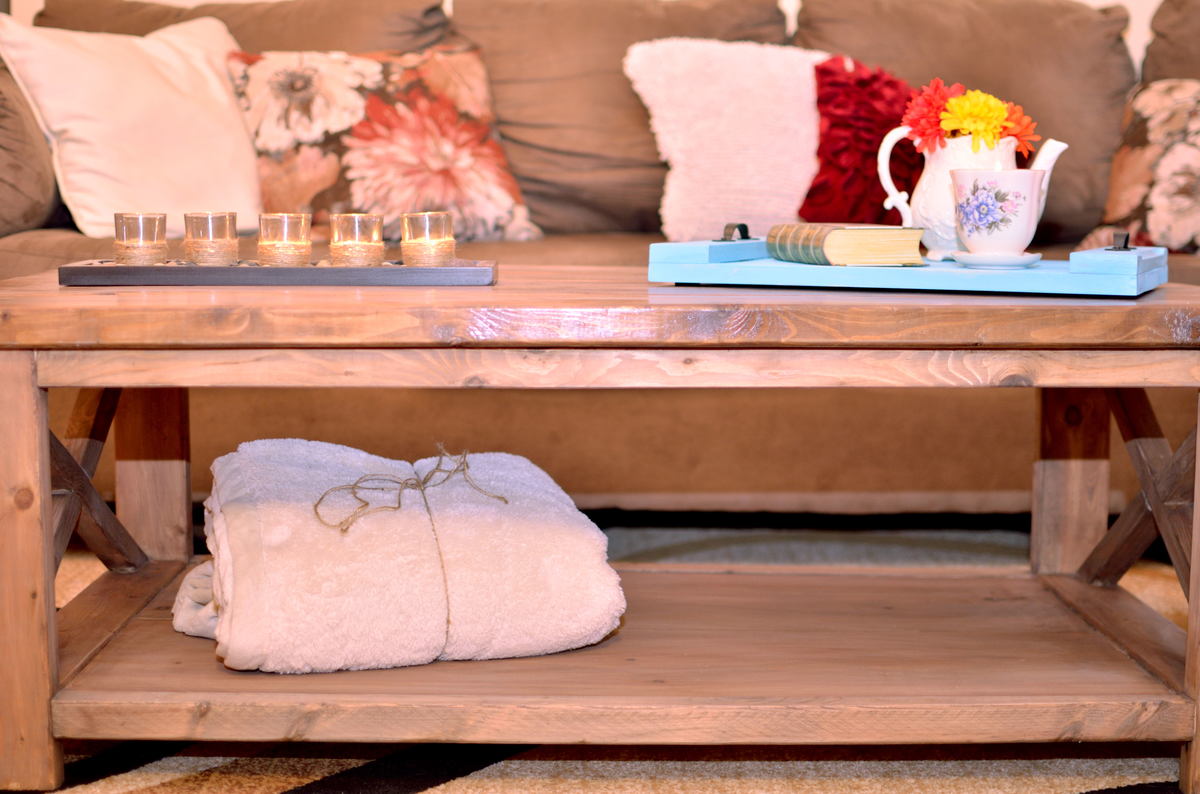
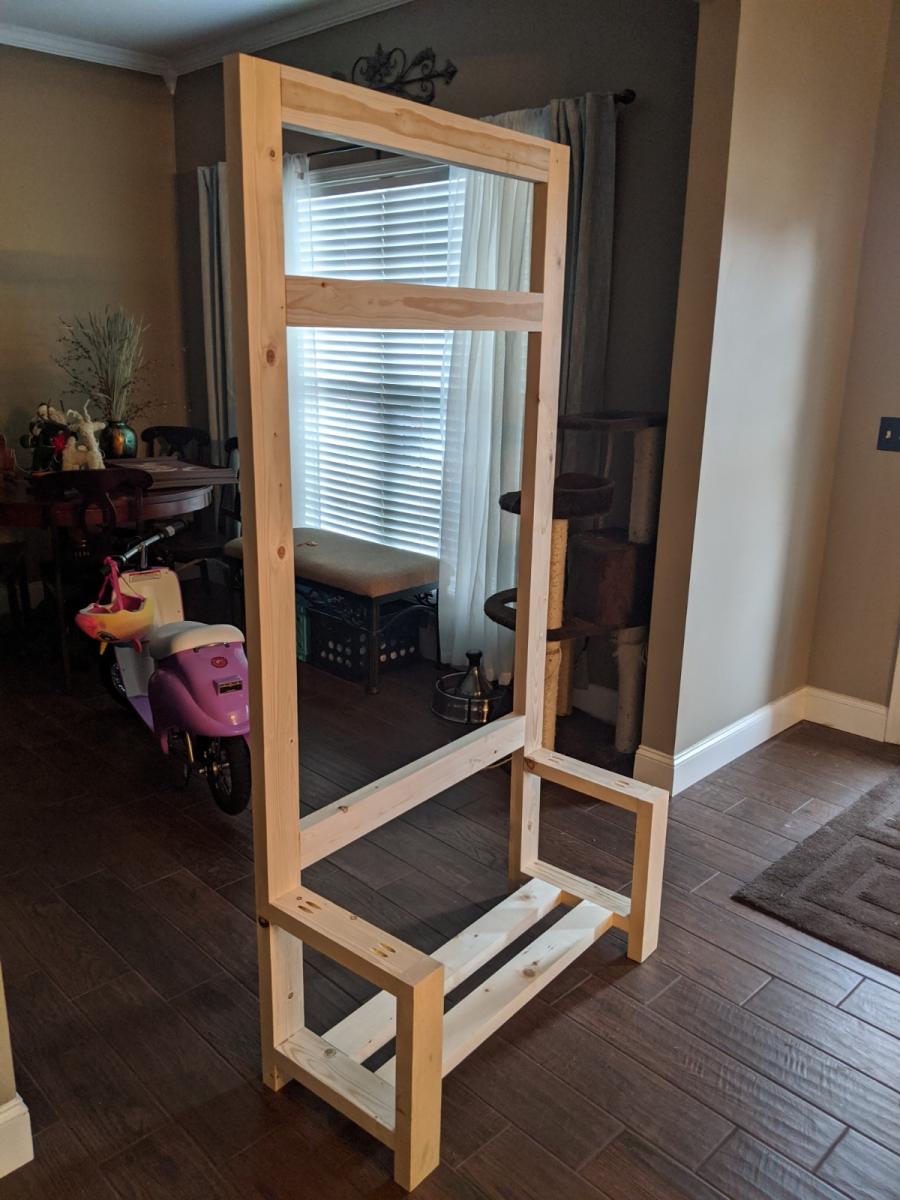
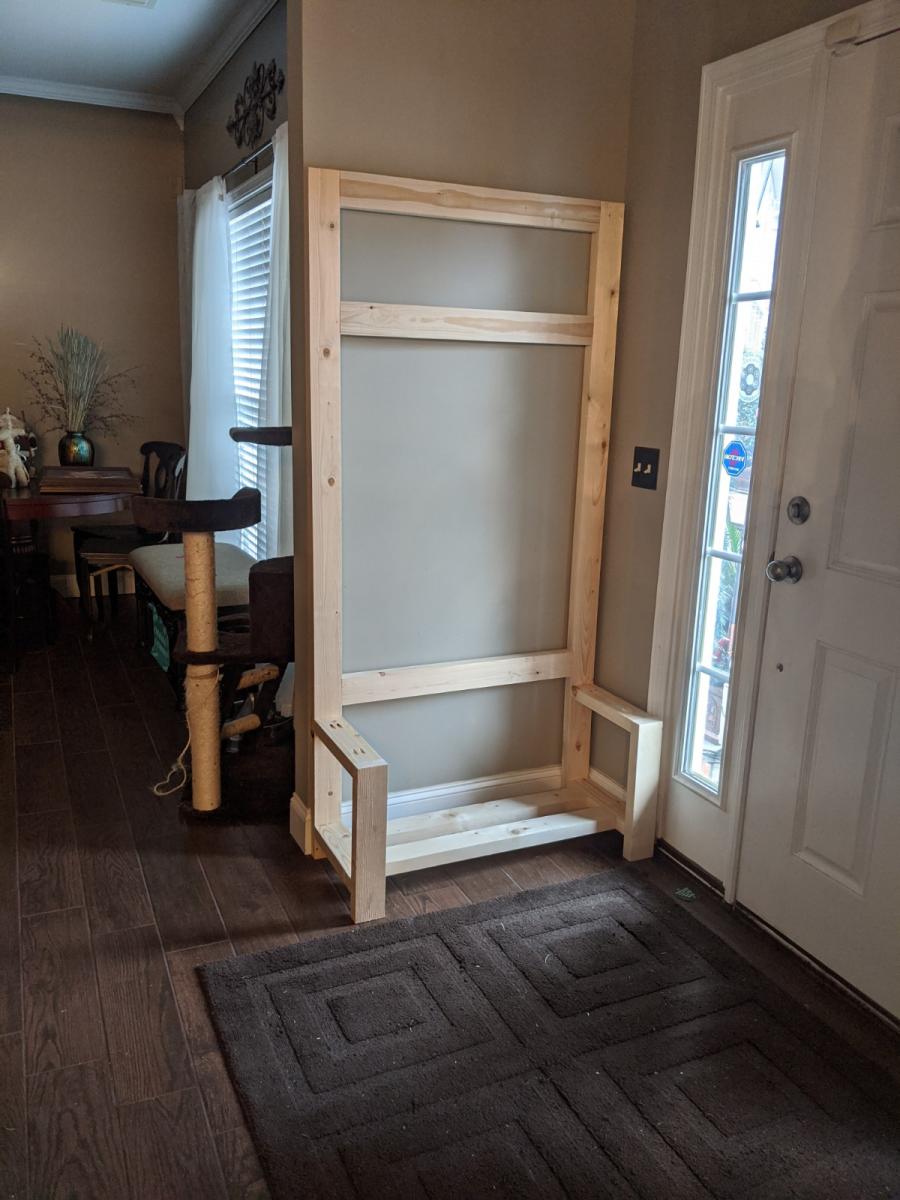
Rustic X Hall Bench
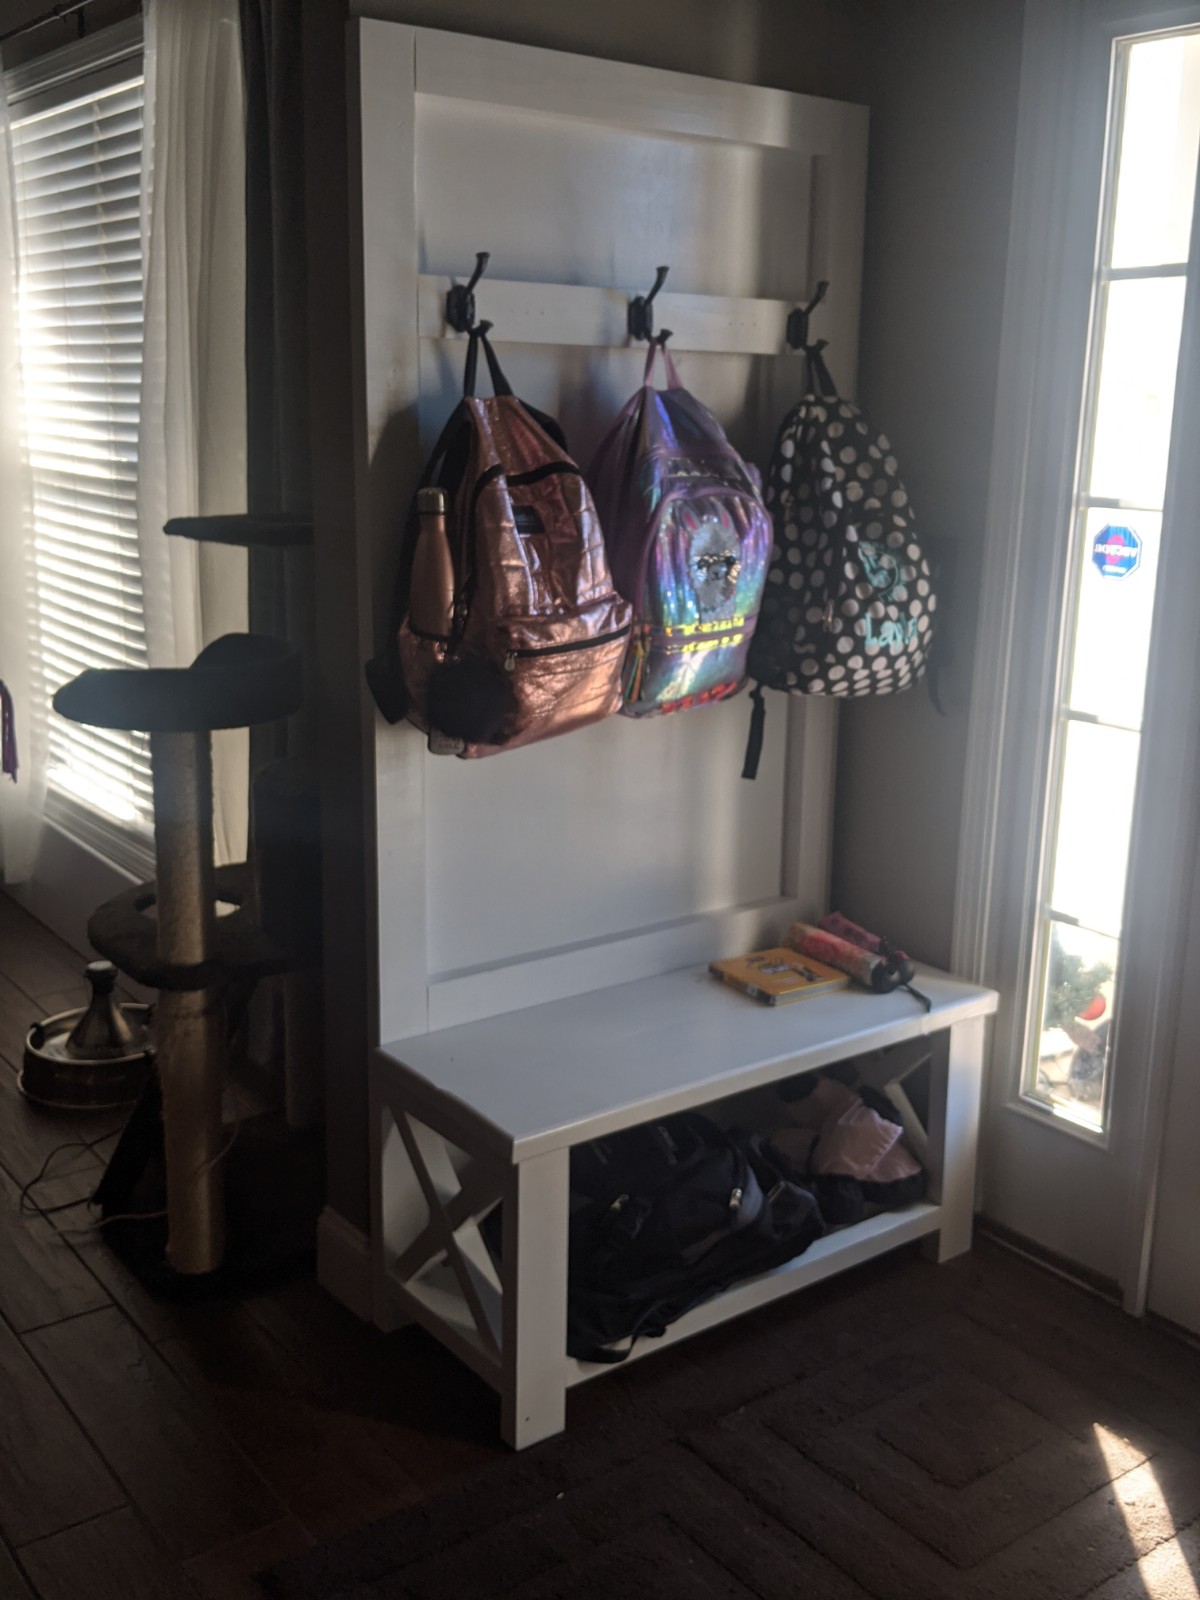
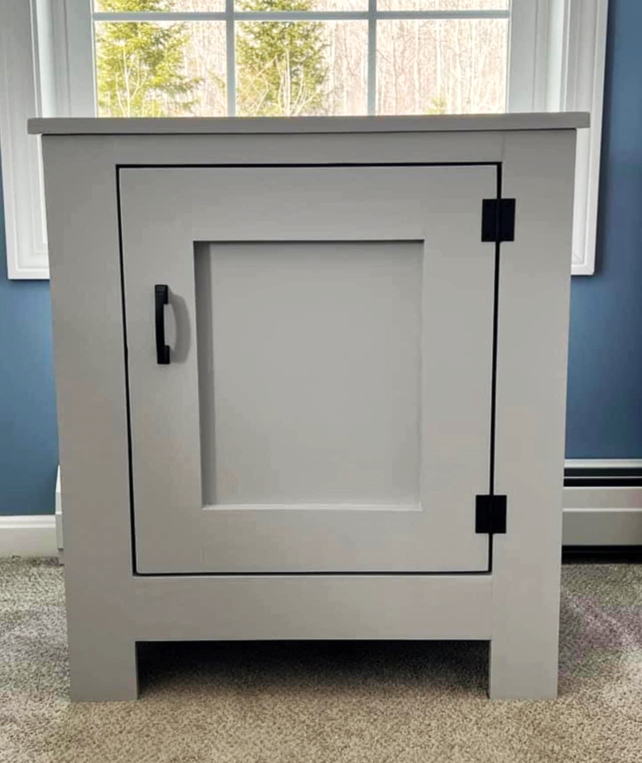
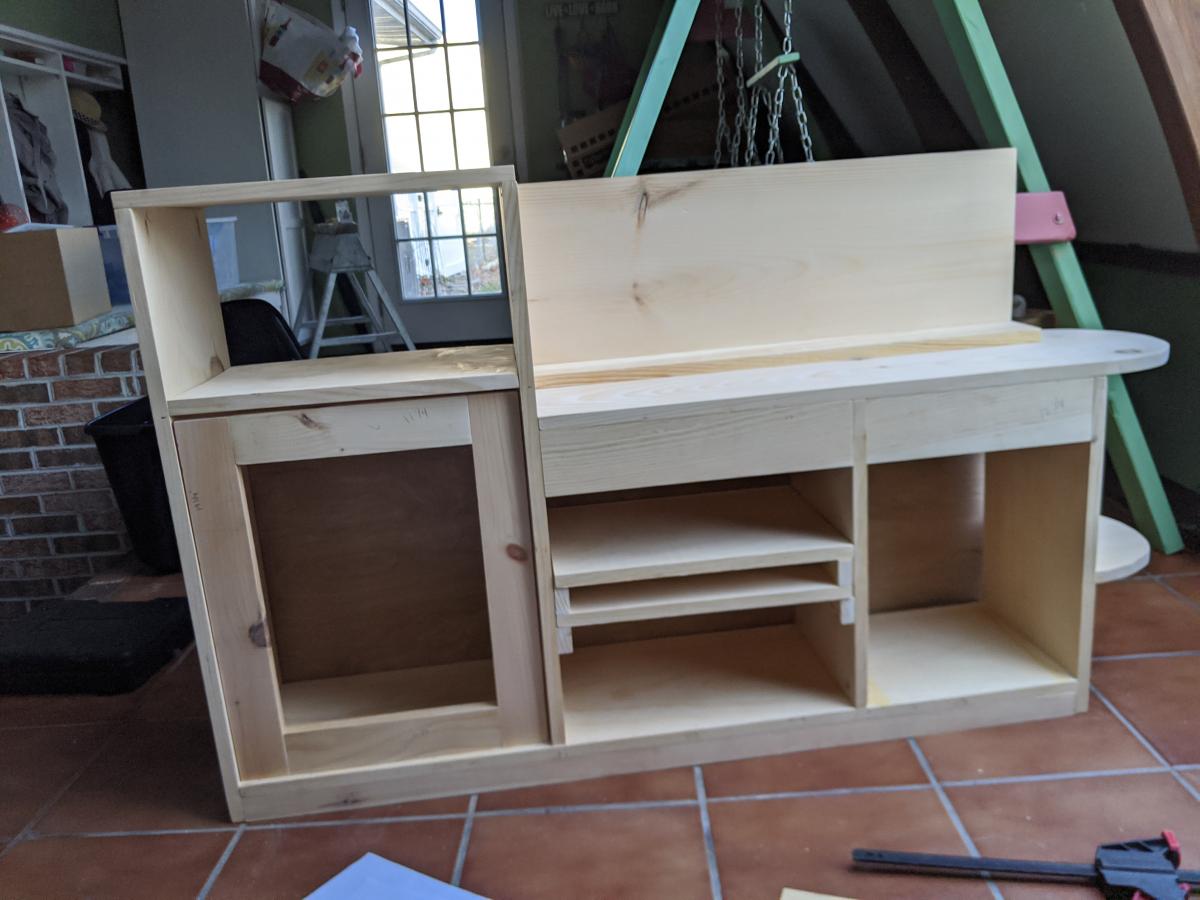
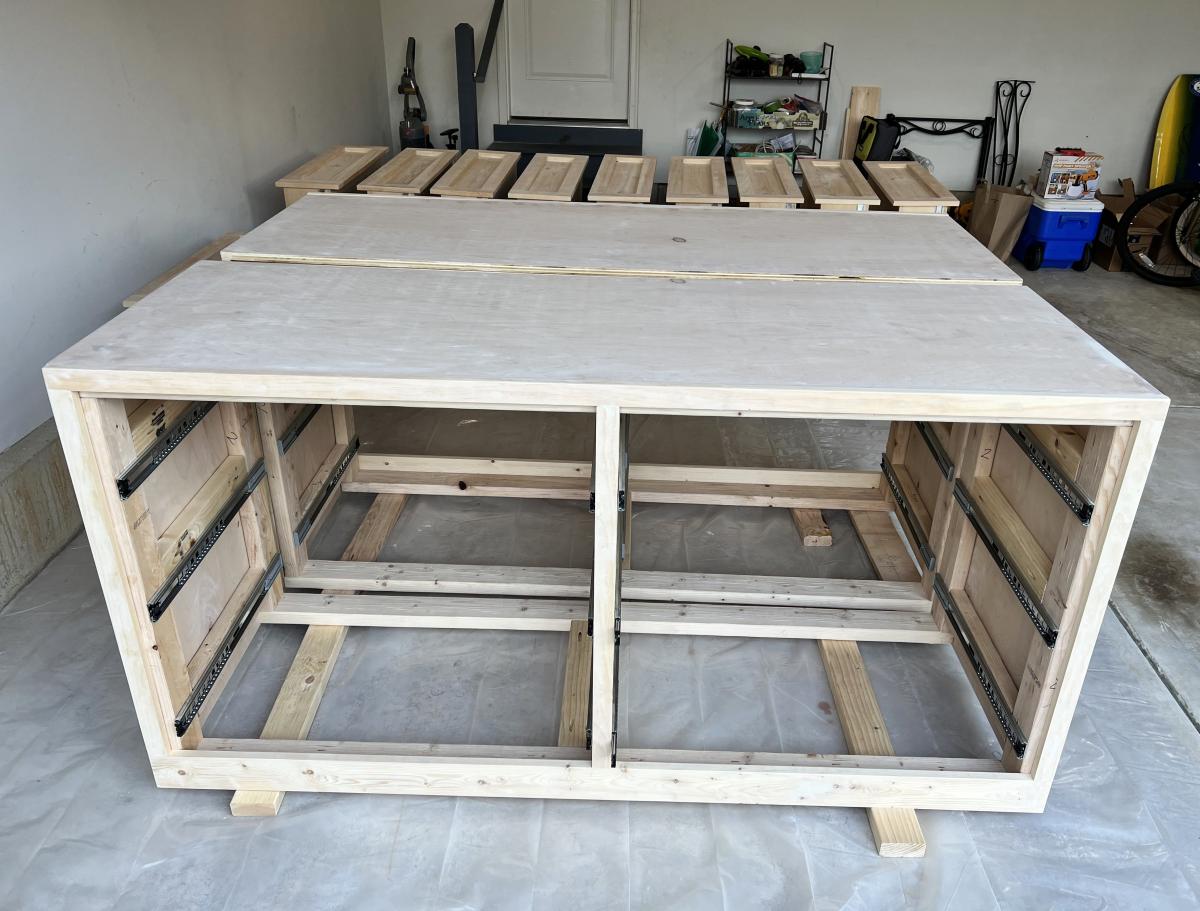
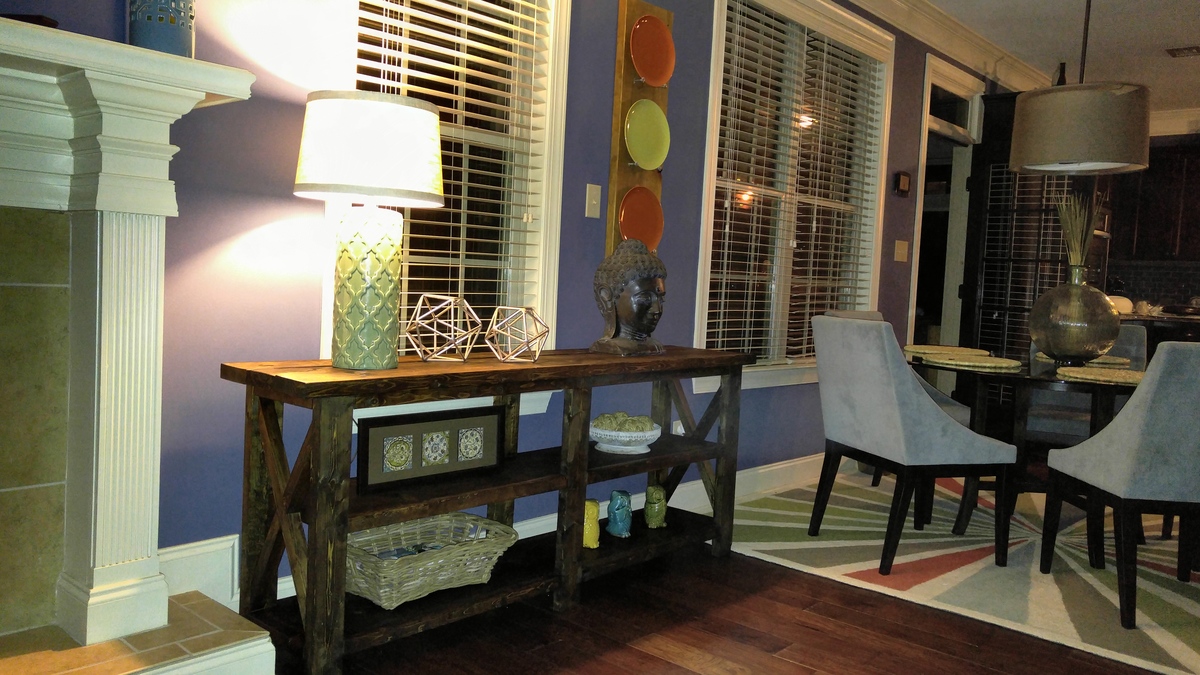
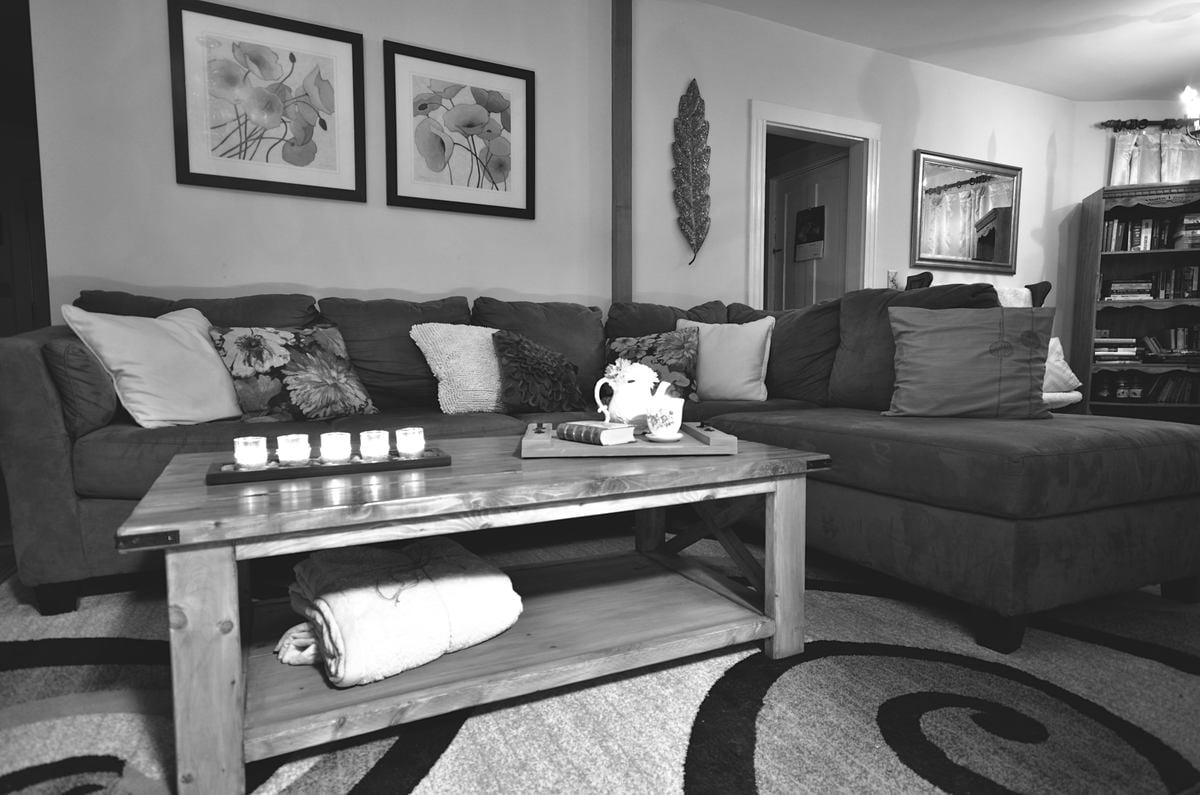
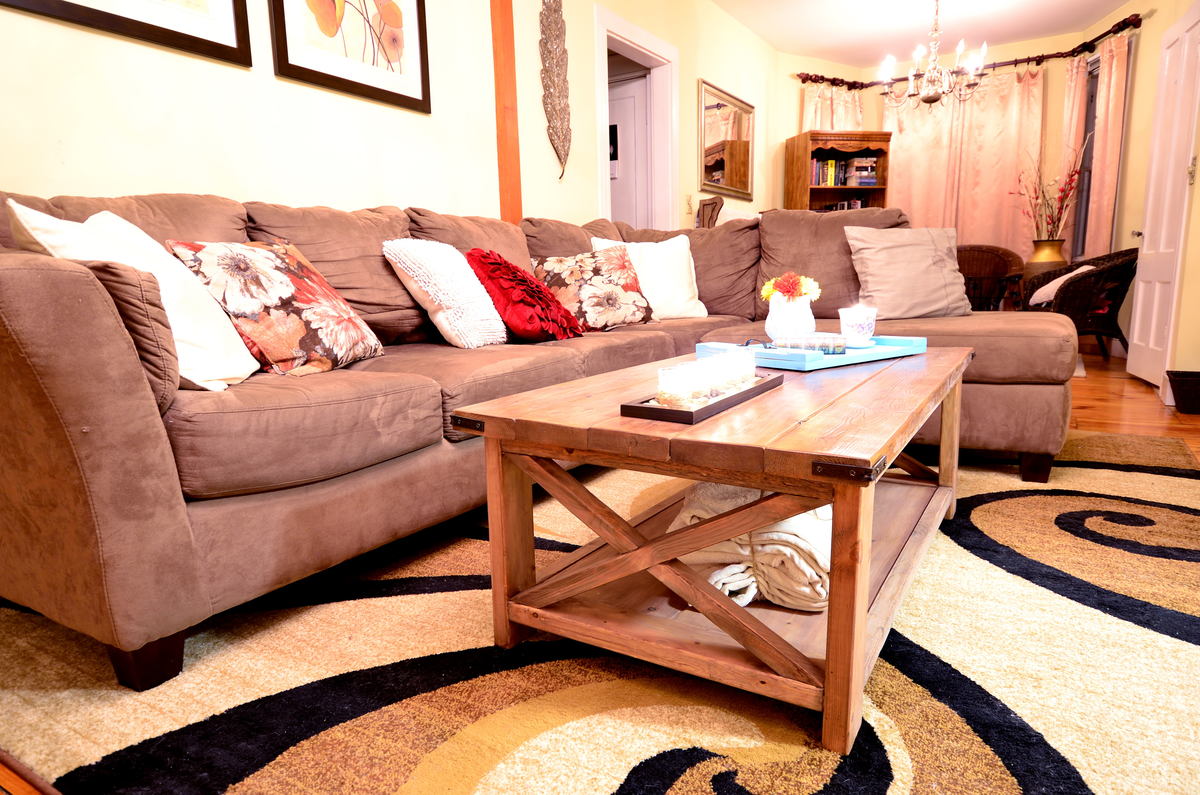
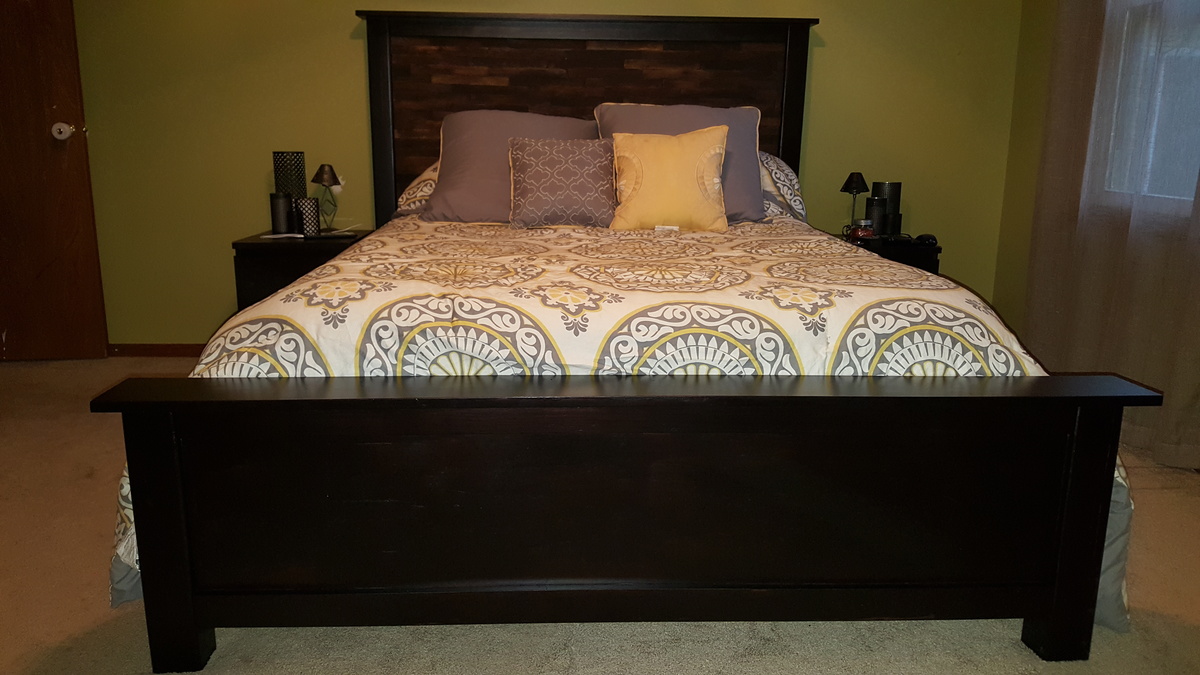
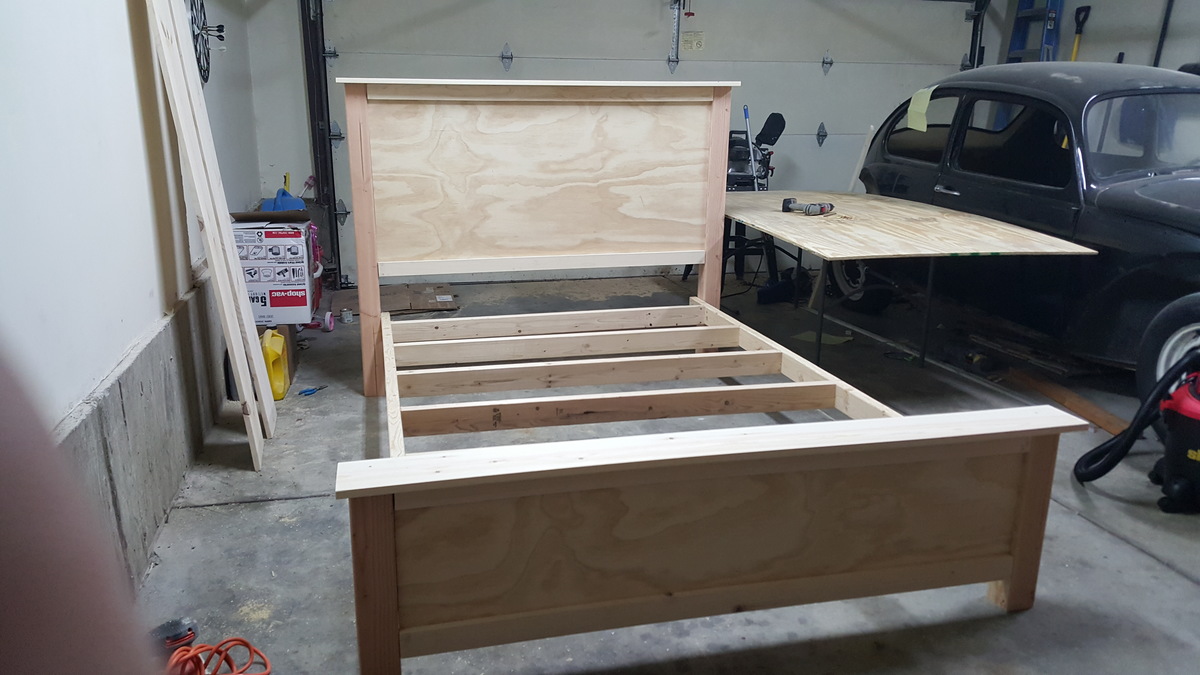
My wife got some gift cards for Christmas. Instead of going and buying stuff for herself, she handed them to me and said that she wanted a Hall Bench/Mudroom bench and she wanted me to build it. We've got several of the Rustic X furniture pieces in our home already and she wanted it to match, so this was the natural fit. This was a great project and addition to some of our home decor. I had to shrink it down to fit our space, but that was easy.

Built from Plan(s)
Estimated Cost
<$100
Estimated Time Investment
Day Project (6-9 Hours)
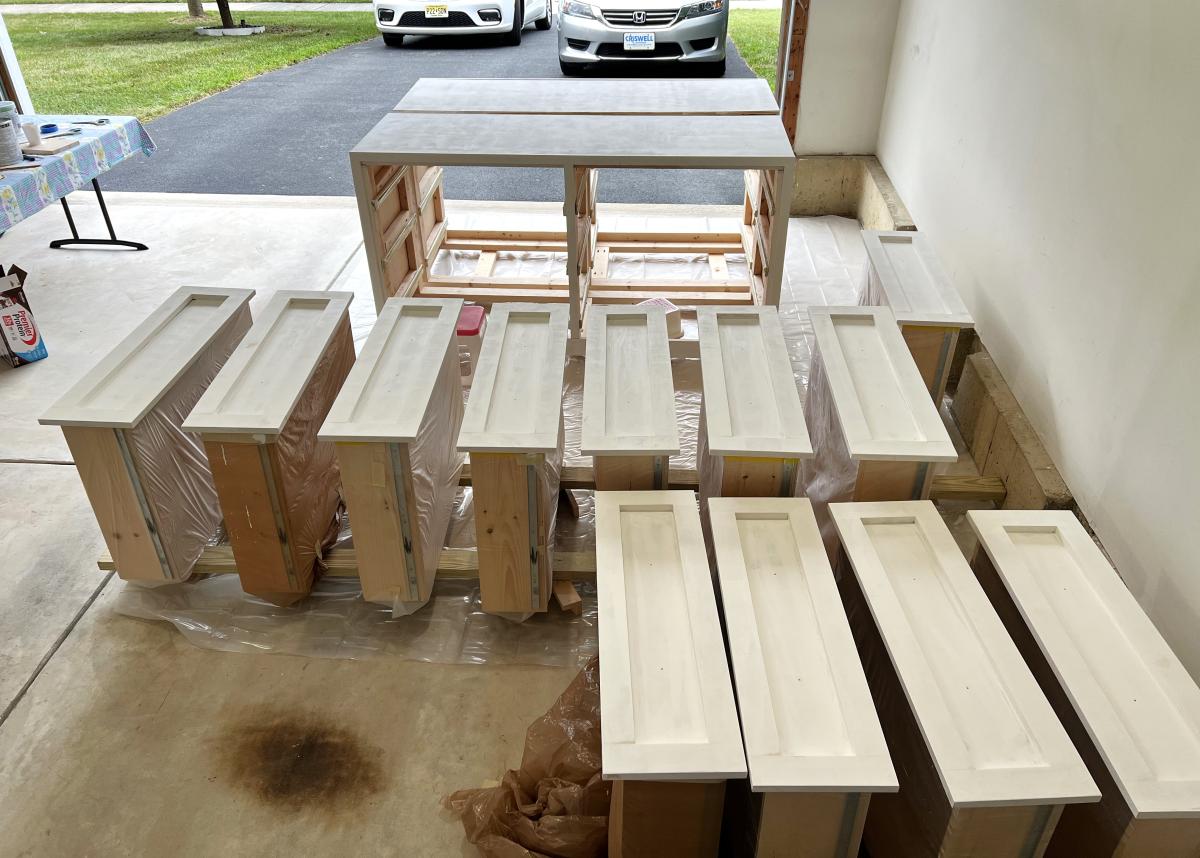
Finish Used
Sherwin Williams primer and paint