Fancy X Desk
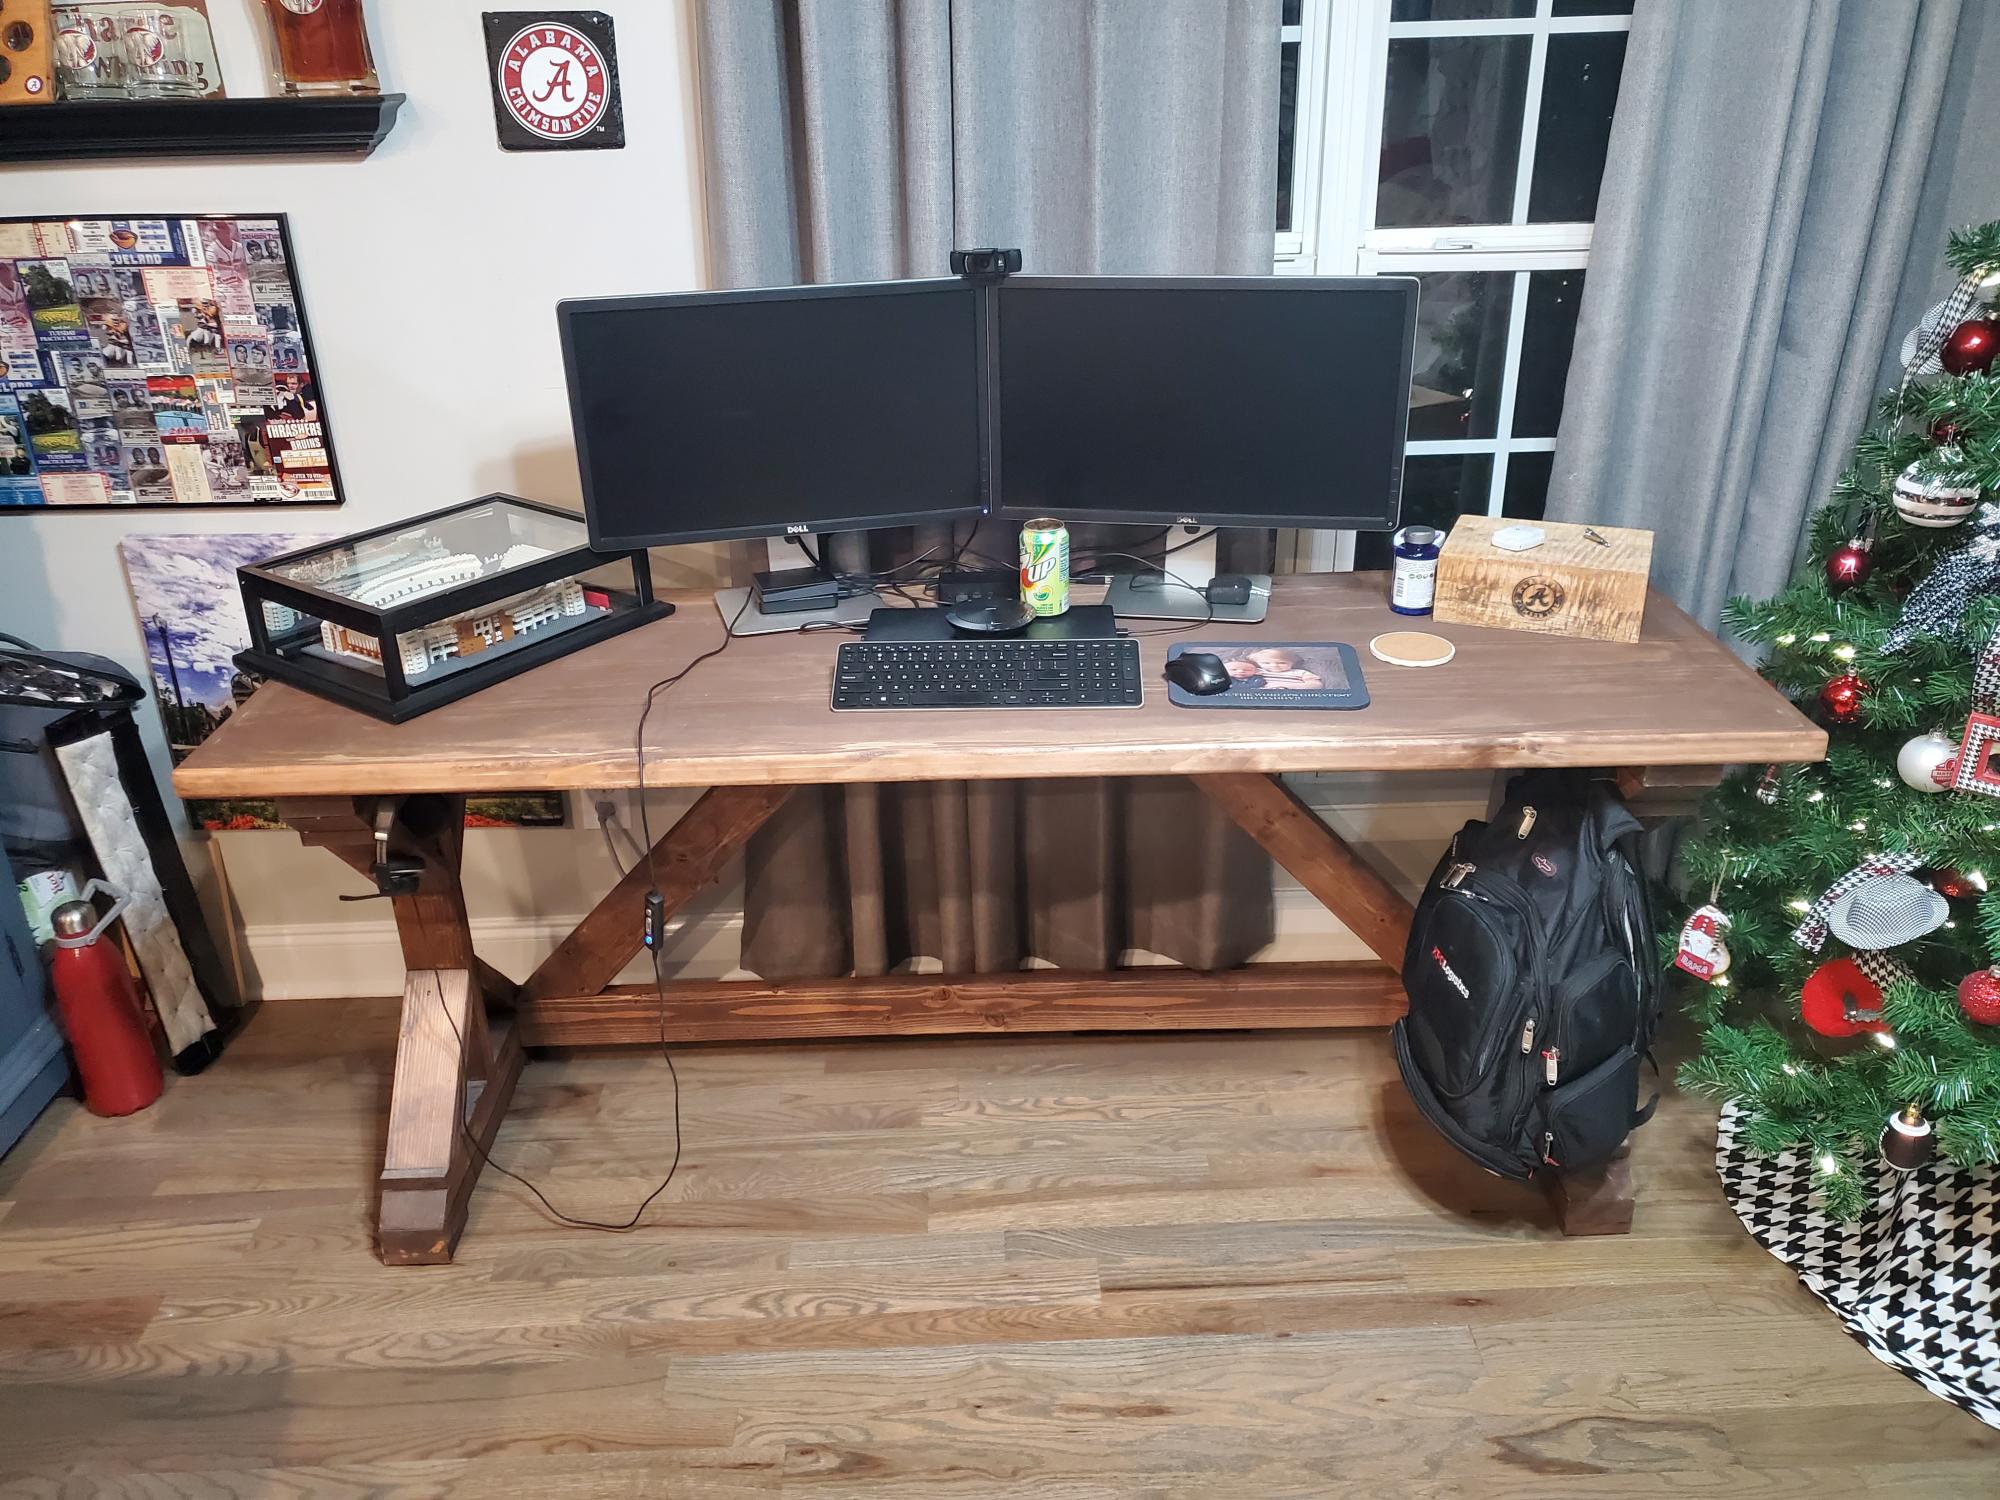
The dining room table was my office since WFH requirement. I made this one for me and then made 2 more 1 for my wife and 1 for my sister in law. All with different dims of course. Fun project!
Built from Plan(s)
The dining room table was my office since WFH requirement. I made this one for me and then made 2 more 1 for my wife and 1 for my sister in law. All with different dims of course. Fun project!
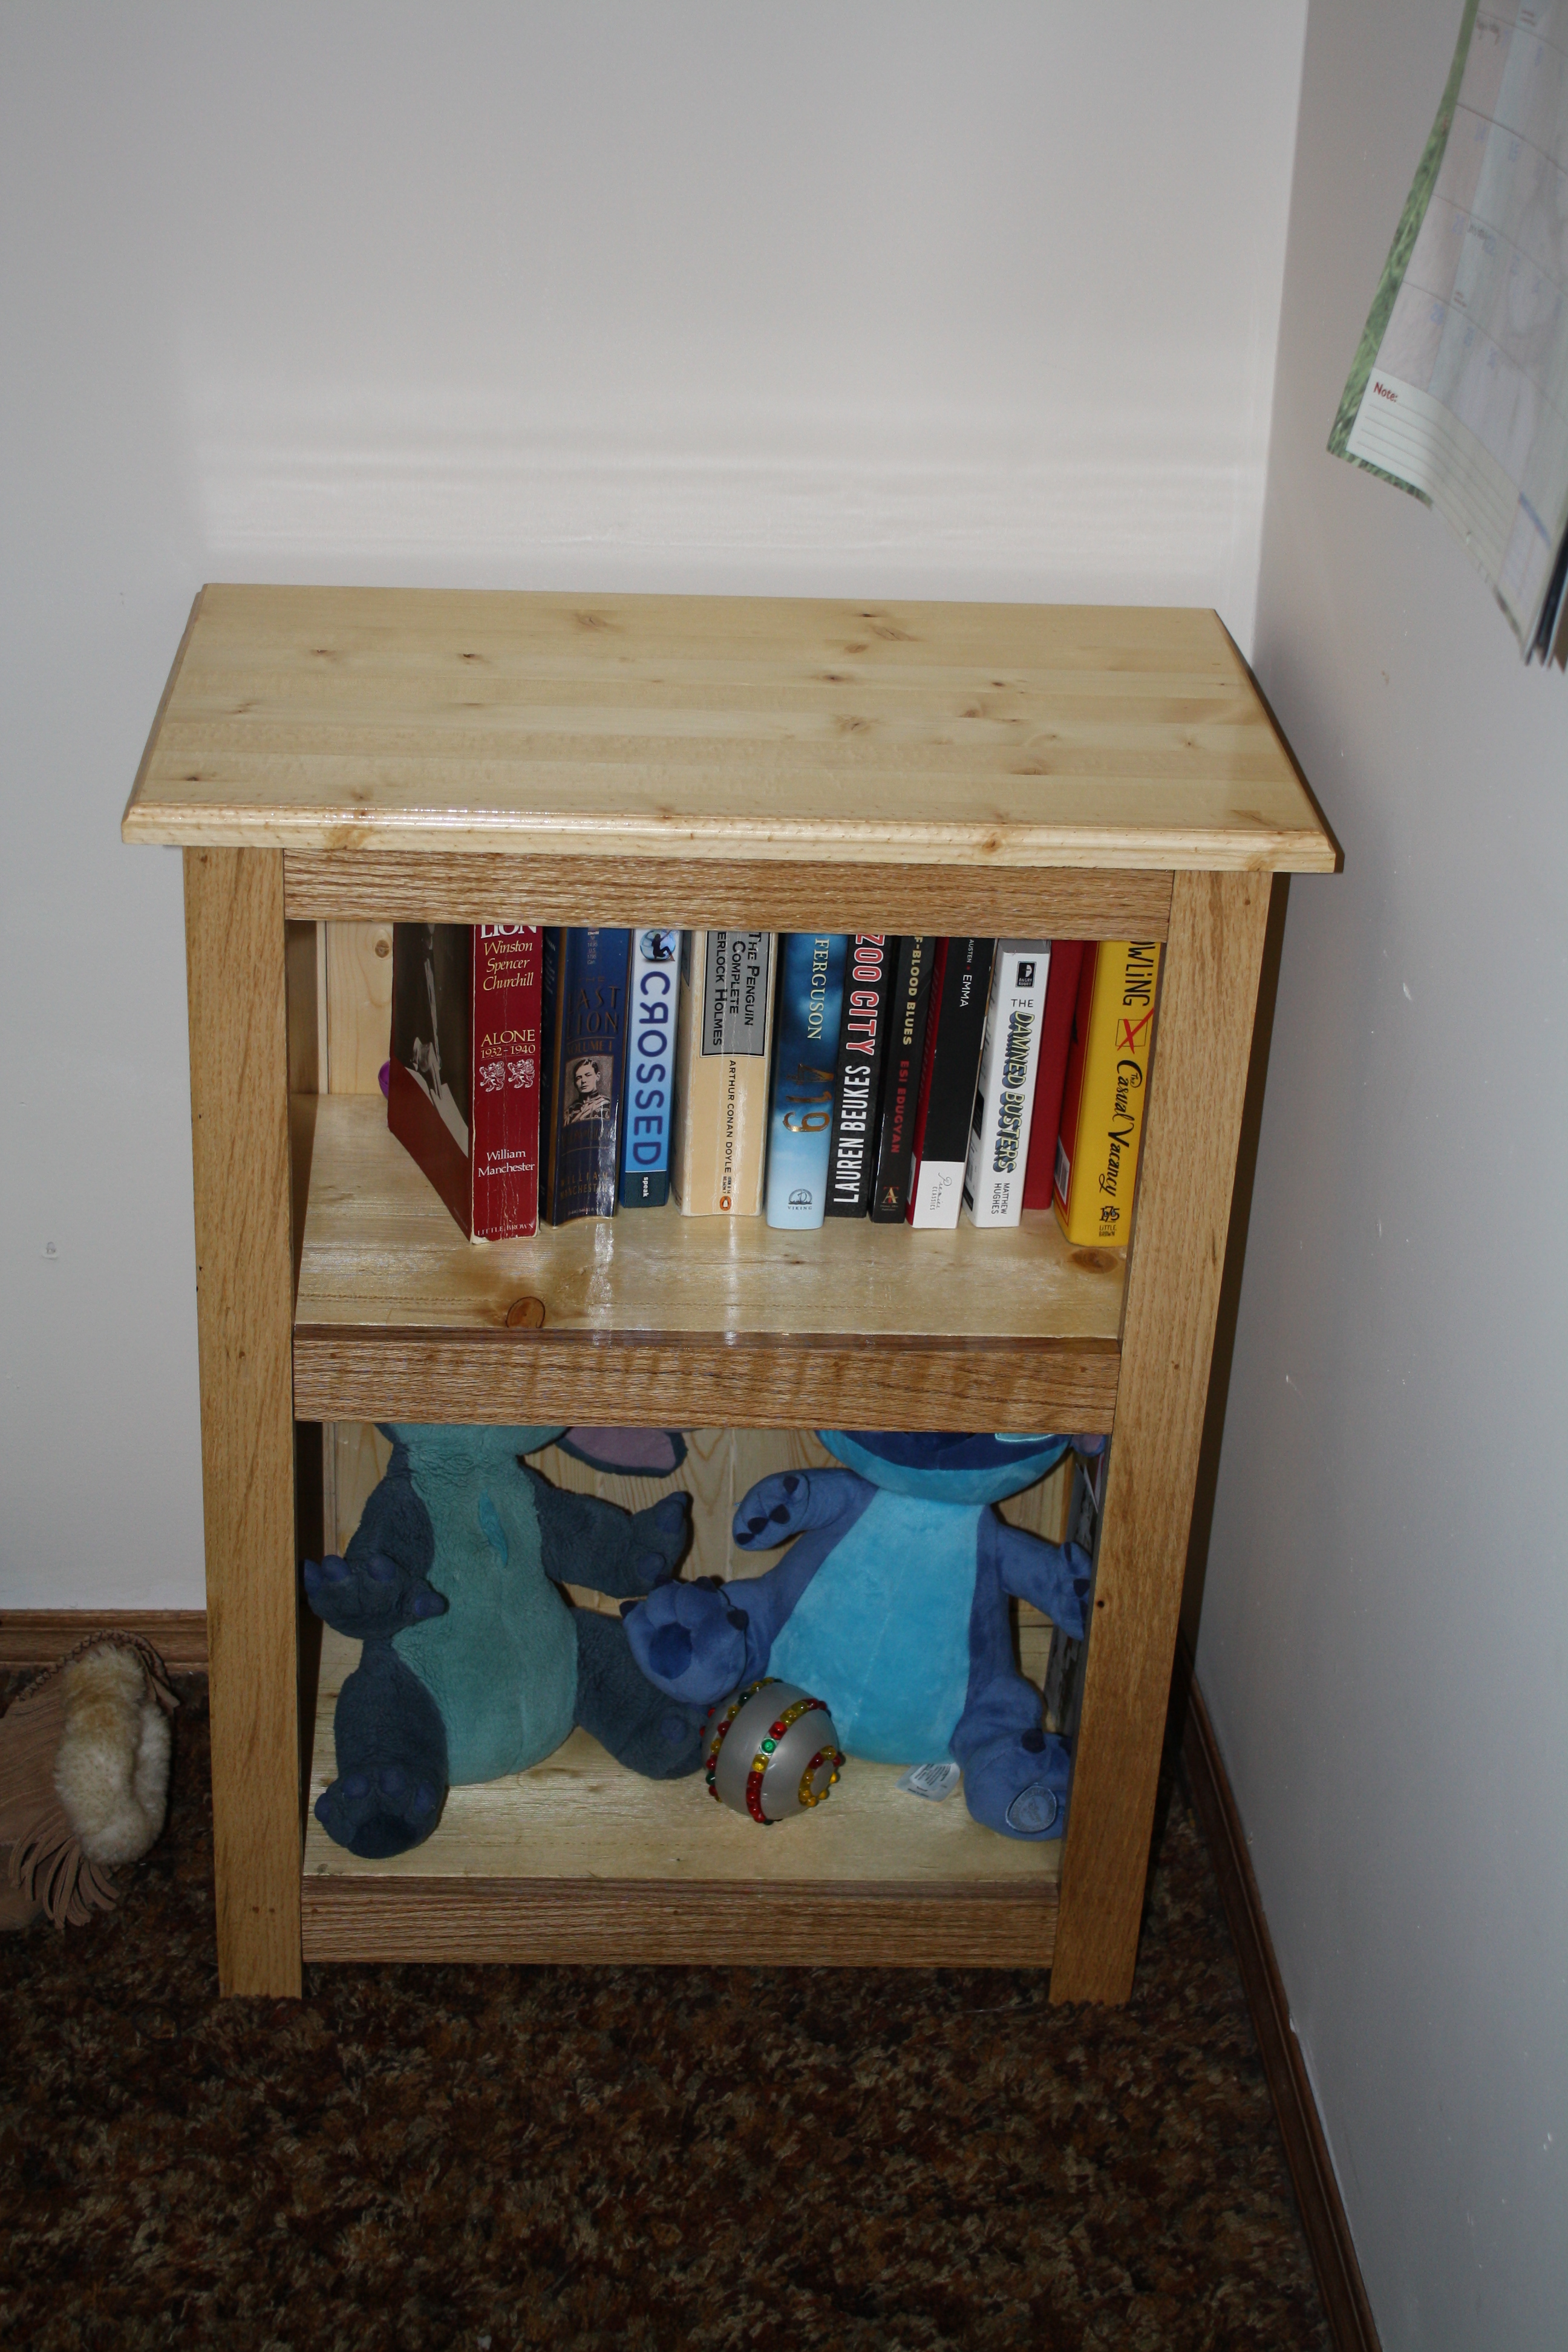
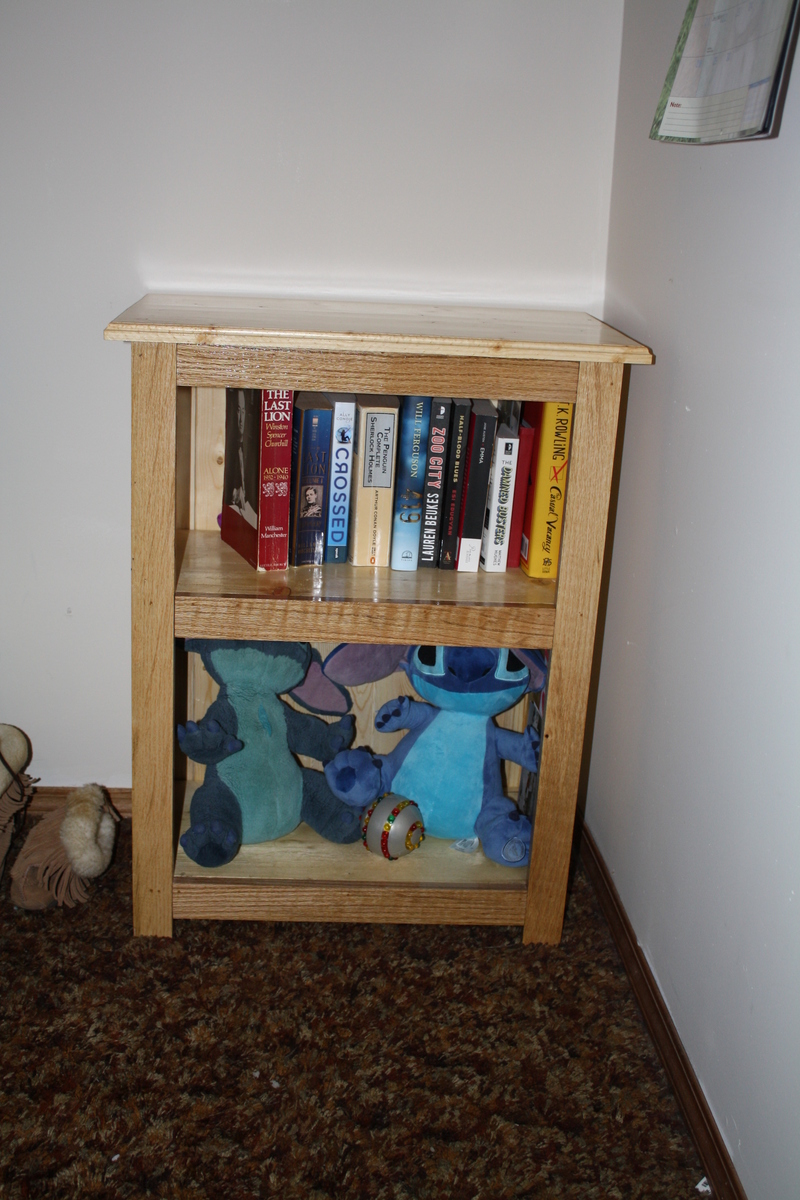
I upgraded the "Simple Bookshelf Plan" somewhat. I dadoed my shelves into the sides, built the majority of the shelf with pine faced with Red Oak, and added a laminated pine top which I routered with an ogee bit.
The back is tongue and groove pine paneling.
I finished the project with three coats of Spar Varnish. It's a good plan and produces a handsome result.
Beginner project if you use the basic plans. With dadoed shelves and a routered edge it probably bumps it up to intermediate.
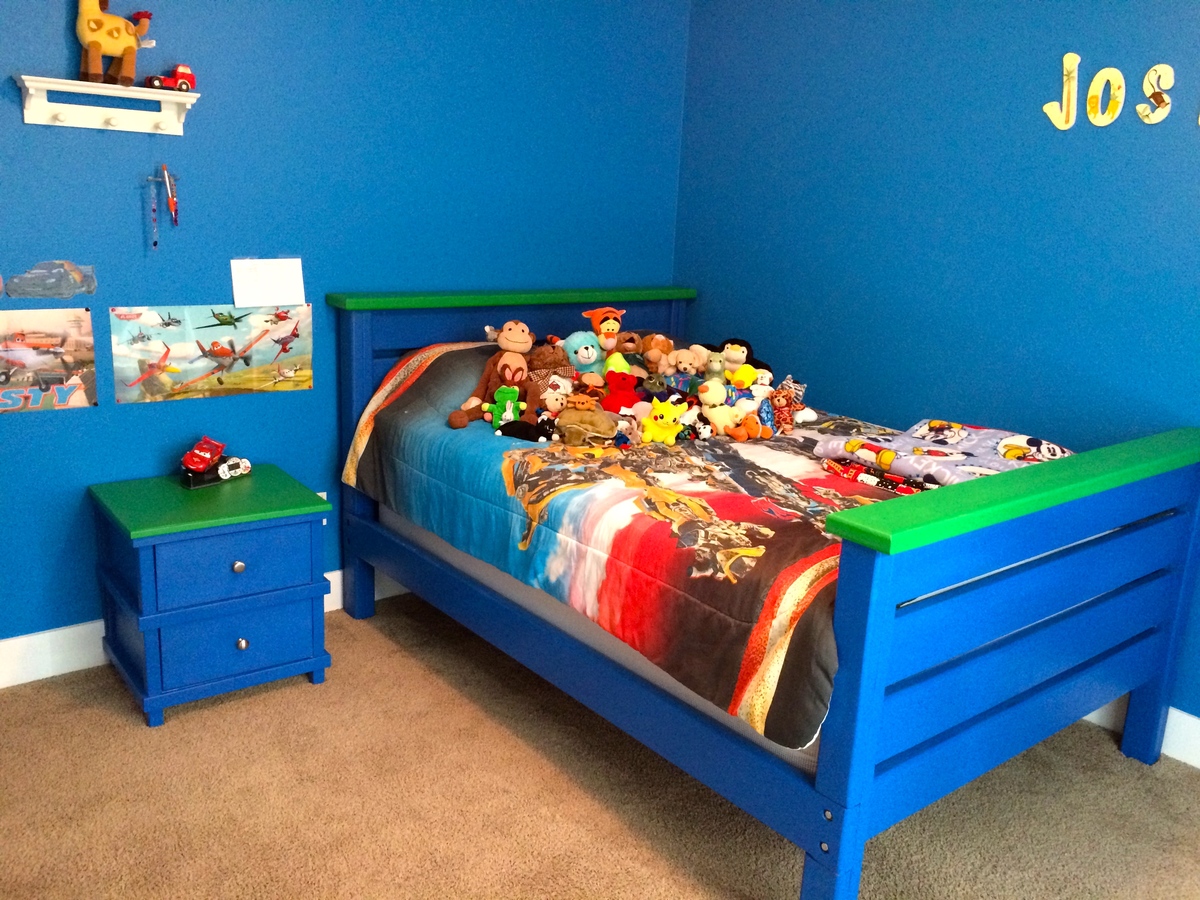
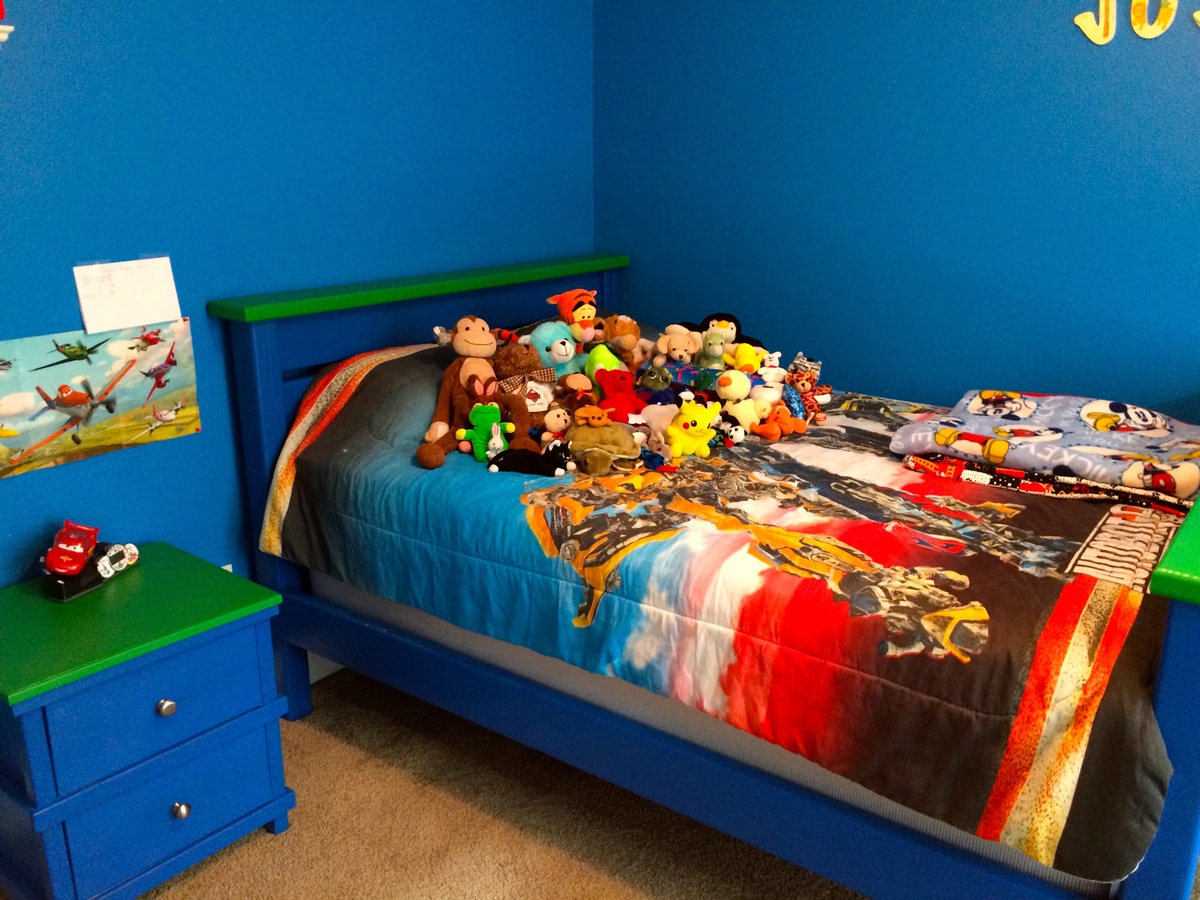
I made the side street bunk beds for one one of my sons, so it was time to make a project for my other one. I showed him several different beds, but in the end, he wanted it to look like the same style as his brothers....Of course! He picked the colors!!
Unlike the bunk beds, I painted these before I put it together, and boy what a difference!


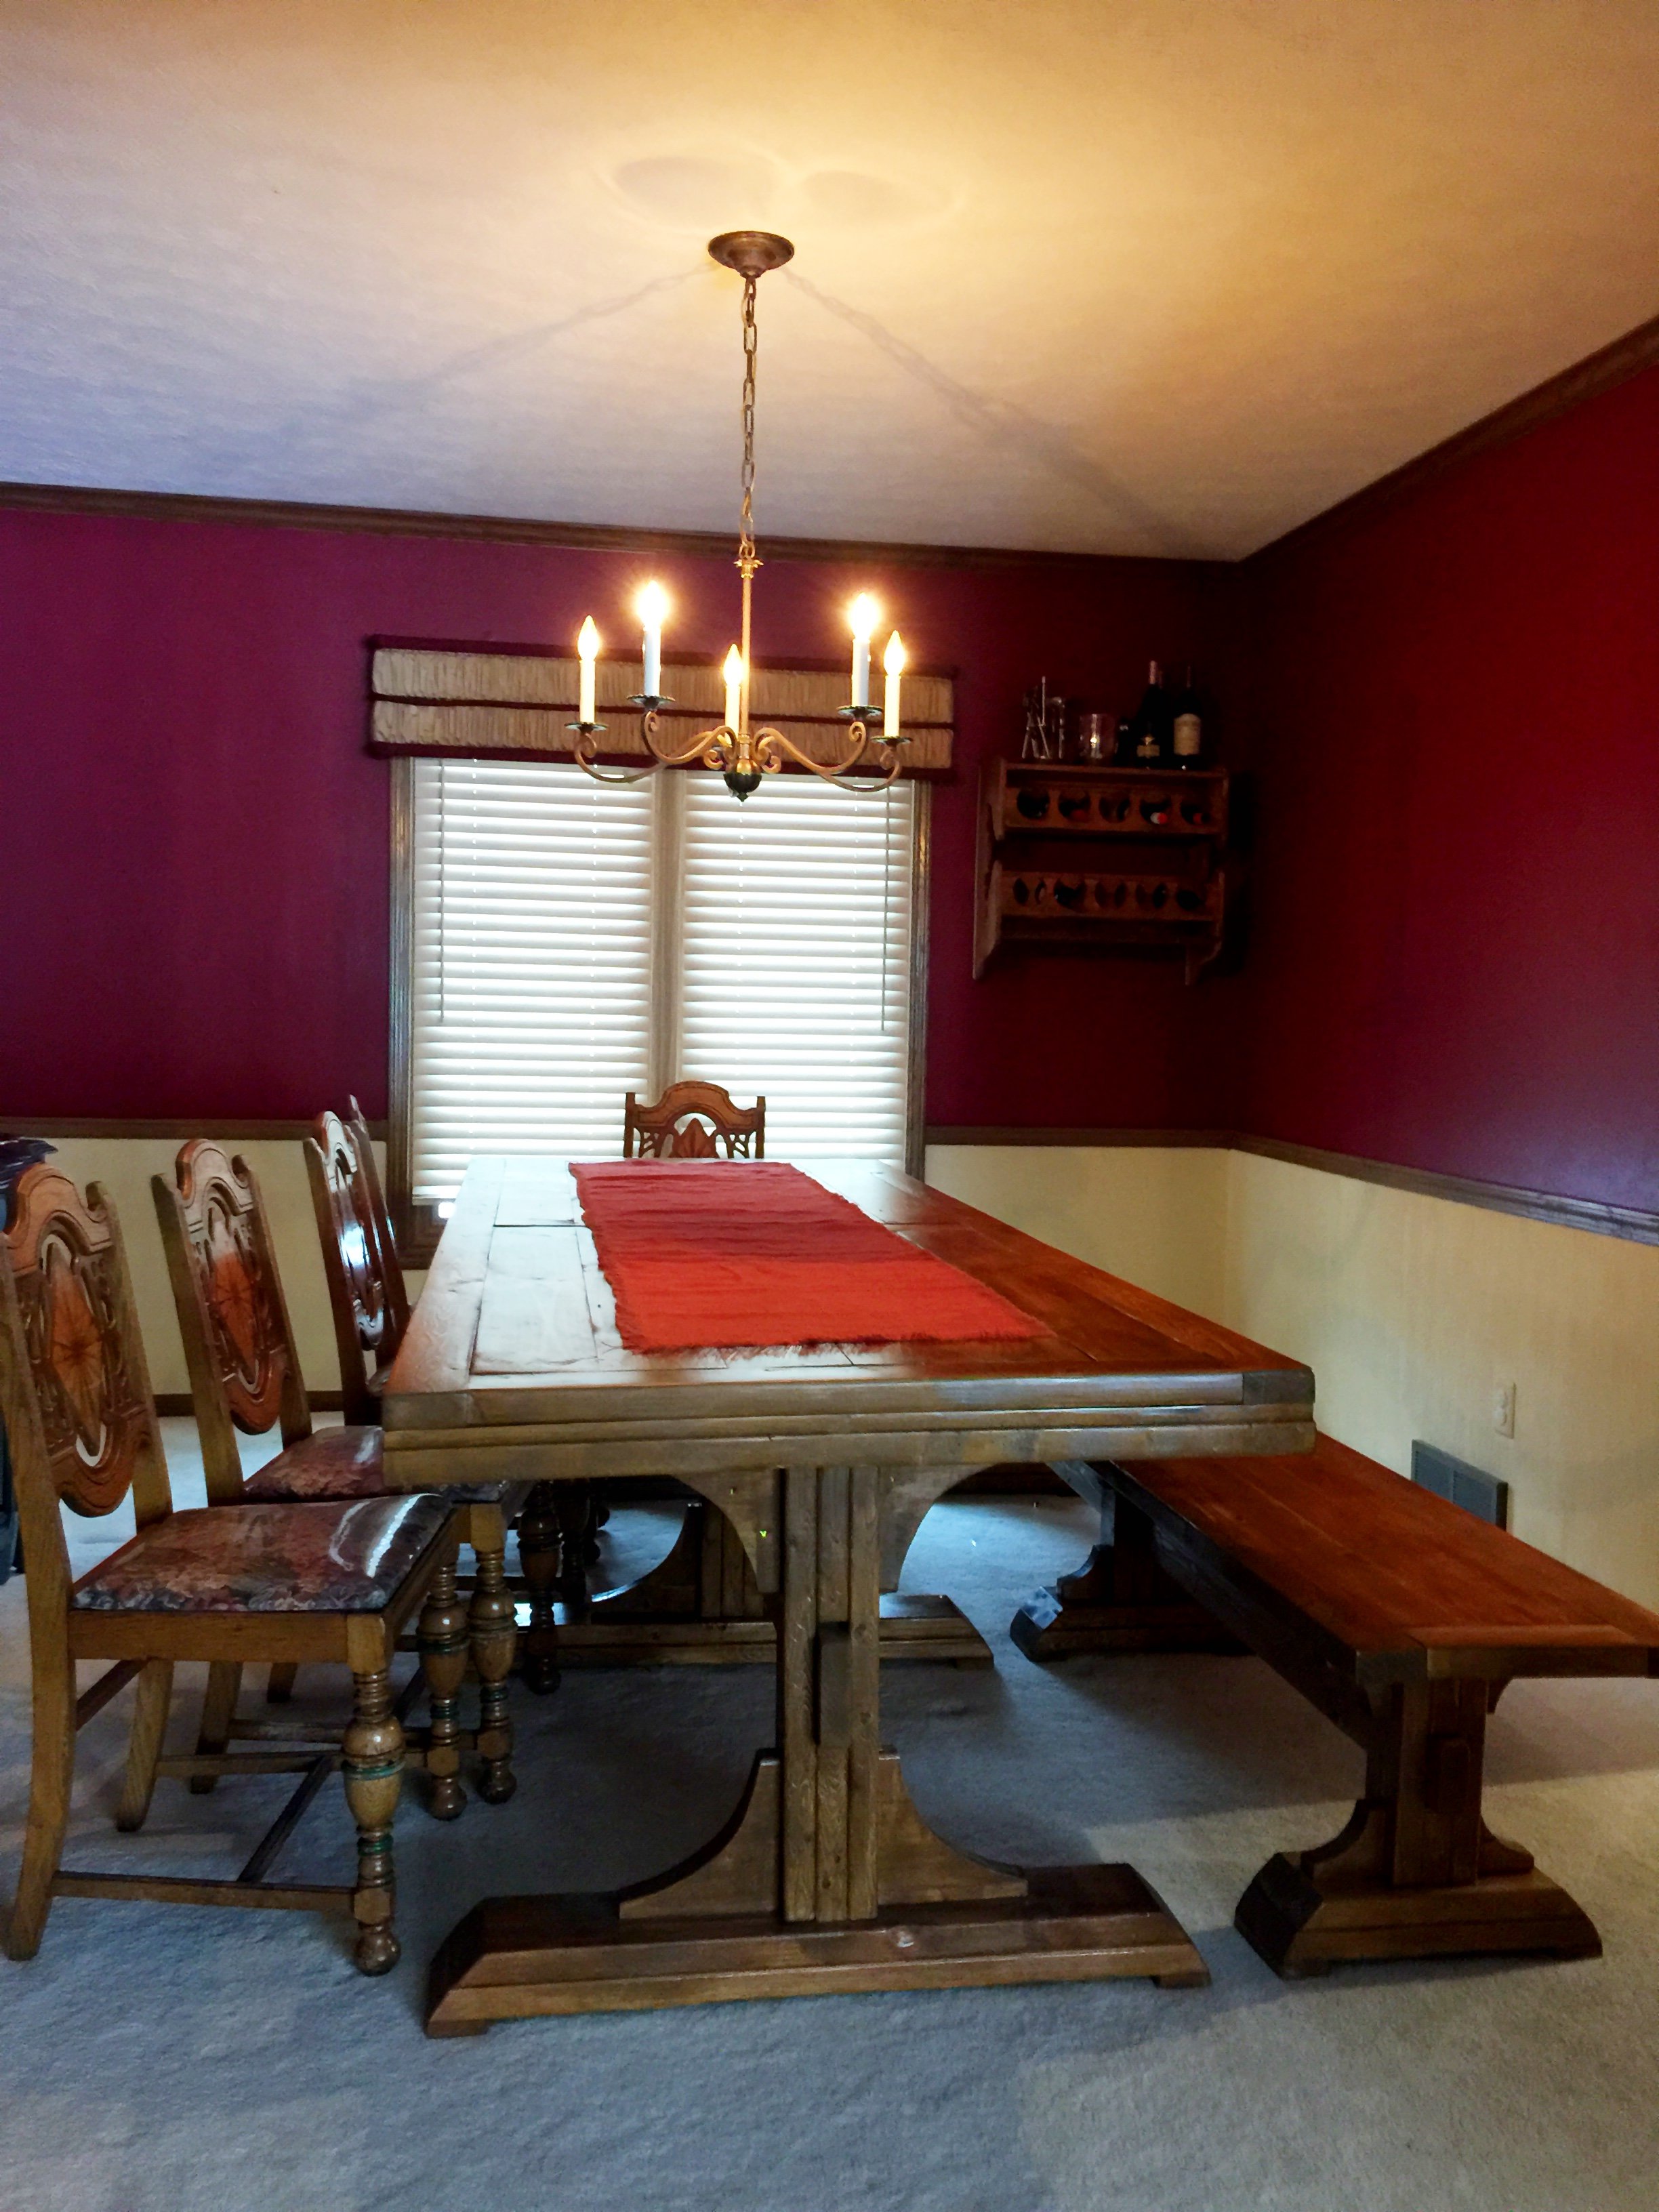
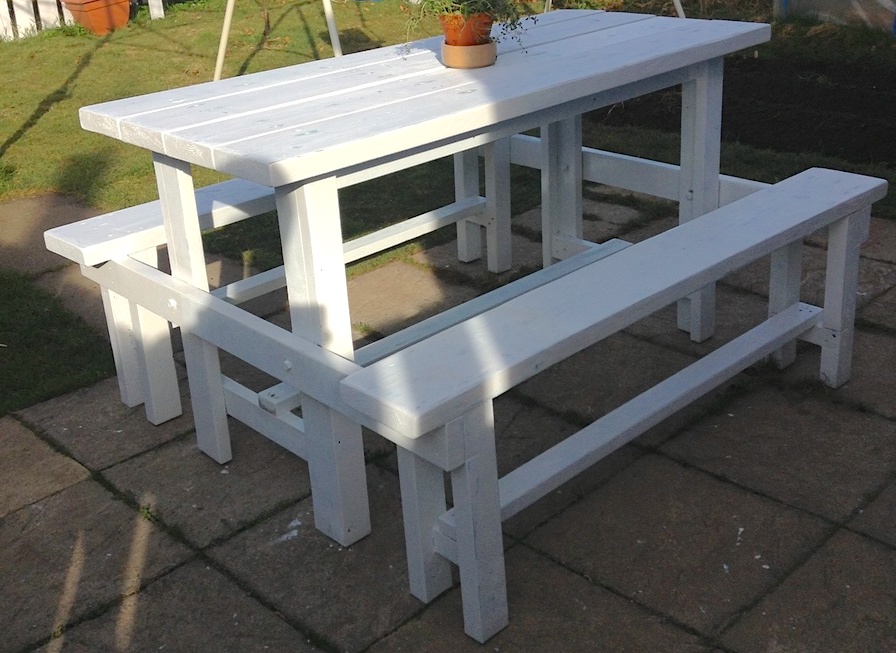
The boss requested a table to the patio, figure I would keep the theme going and use the same size wood that used for the pergola. Followed the Fancy X Farmhouse Table plans with a few exceptions. Instead of 2x4, it was constructed with 6x6, 4x4, 2x8, 2x6 (Doulgas-fur, rough-cut). The bench plans can be found on the site as well, the original plans were for a full-length bench, on one side two benches were built with half the length.
Had a weekend to complete it for a party the following week. table top needs to be refinished.
Great look and feel for the backyard patio.

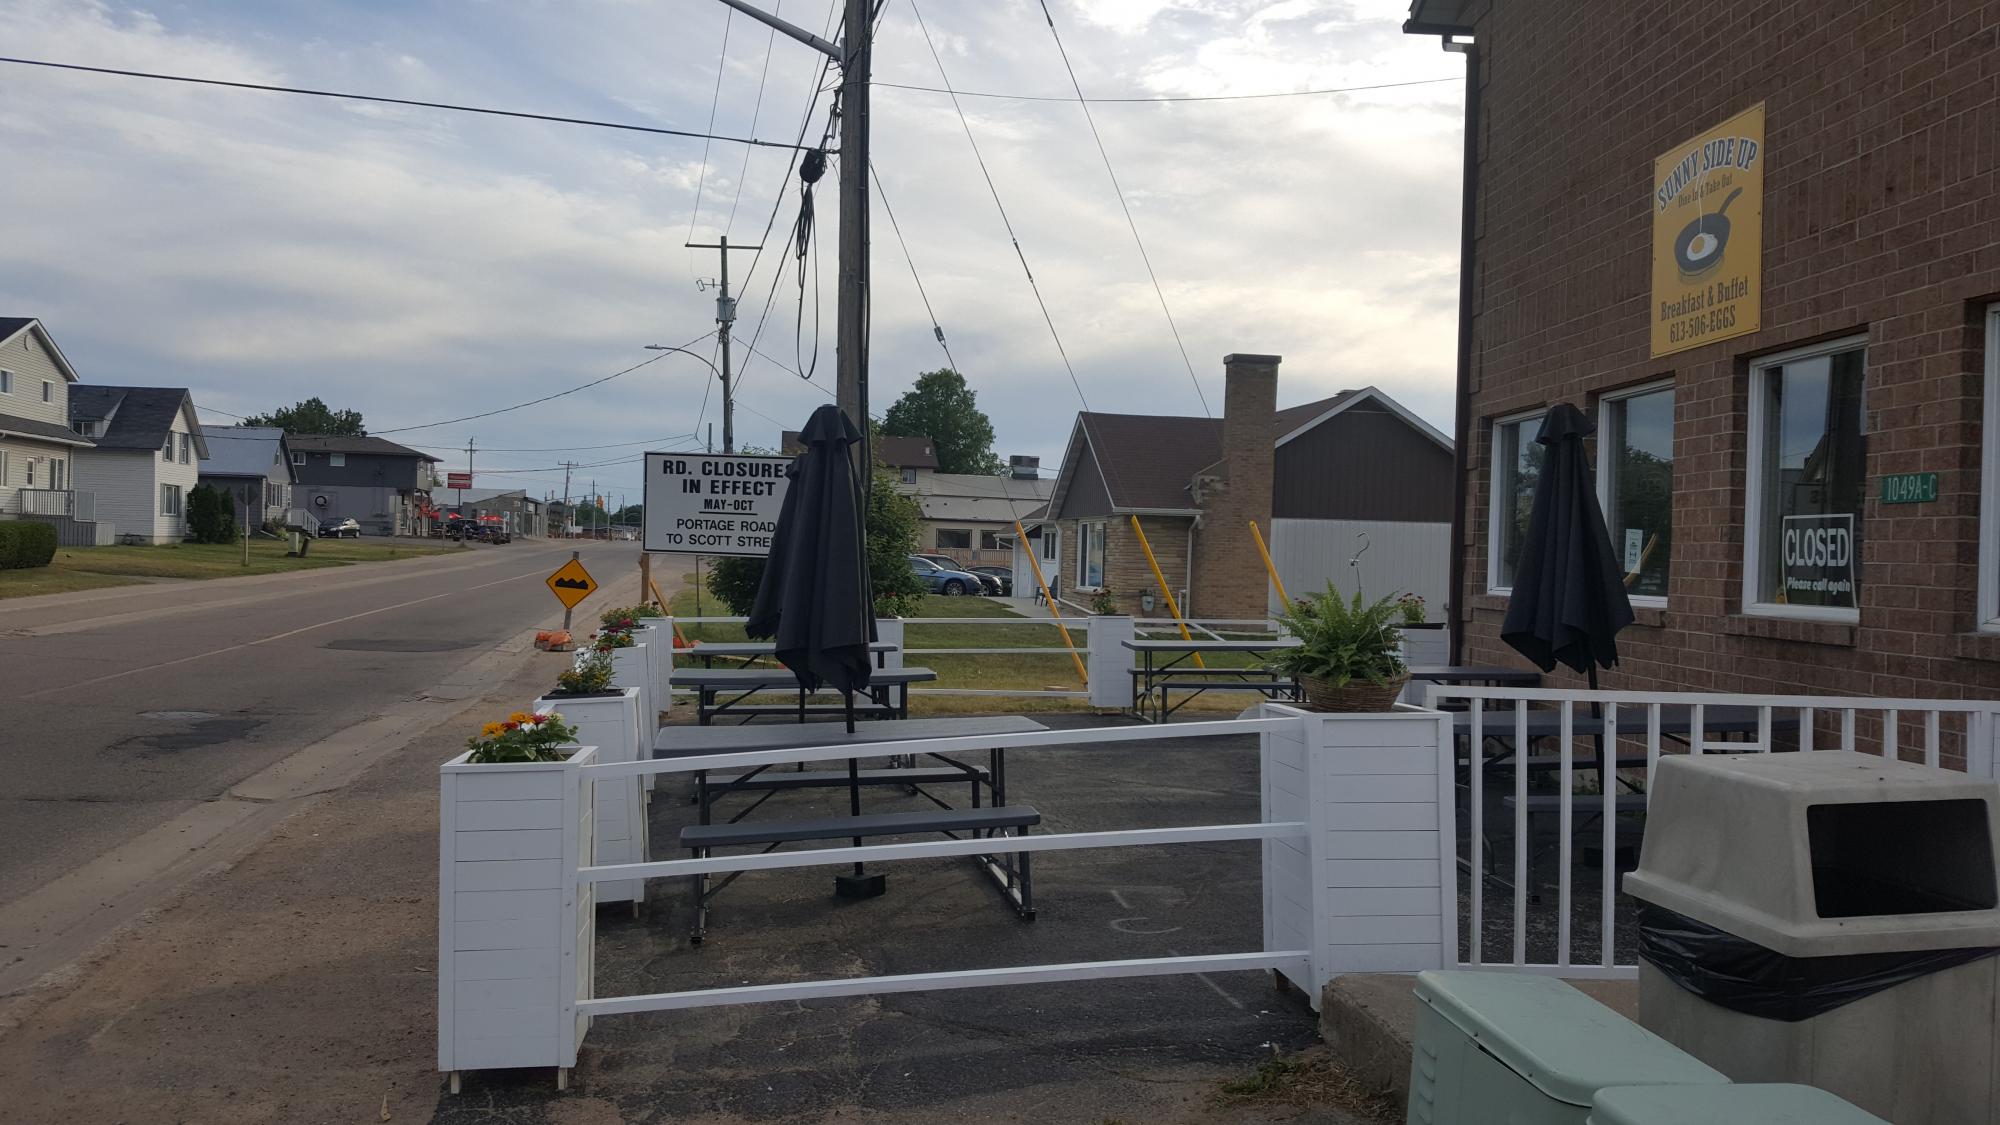
A friend of mine asked me to build her a patio enclosure for her restaurant, but she wasn't sure what she wanted. I suggested modified planter boxes as they were easy to make and the supplies could be purchased locally. After the planters were painted, my friend was thrilled with the final look and she is constantly being complimented on how pretty they are. Thanks for the free plans Ana!
Cheers,
Teresa.
Mon, 06/14/2021 - 20:28
Love this application, fantastic job! Thank you for sharing:)
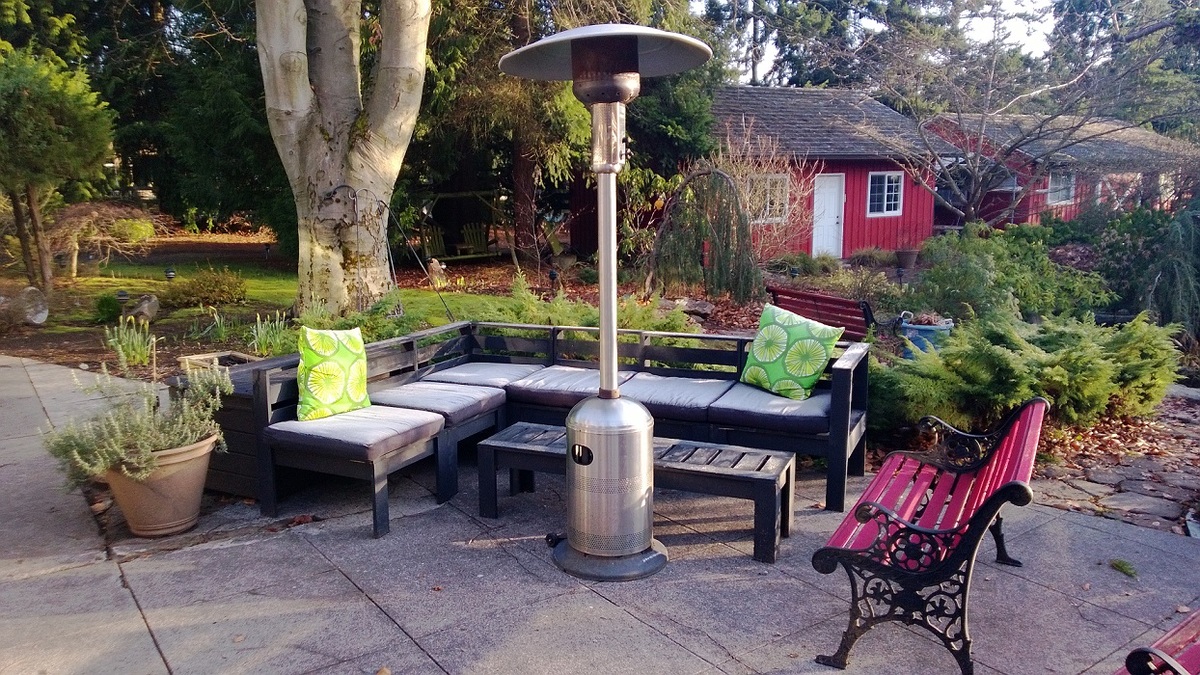
My wife and I actually built this the summer of 2011 after my sister (ferbit on this site) told me about Ana-White.com. I have to say it turned out awesome.
Note, we used pine here partly for cost as this was our first try ever building our own furniture and we didn't know if we'd totally fail at it but also because the cedar at our Home Depot and Lowes didn't have the nice clean edges that the pine did. Also, the paint counter assured us the paint we were getting would protect the wood against the elements. Time will tell, but we are also planning to re-paint every couple of years to keep things looking fresh as well as "just in case"
Believe it or not when we built this we were living in an apartment (granted one with a very large balcony) in a downtown area (I wish I still had the pictures but I can't seem to find them anymore) The neighbors didn't seem to mind as we got all the cuts done as quickly as possible during the middle of the day. We got all of the cutting and drilling done in one day. The Kreg Jig my sister recommended is really what made this project possible. I don't know how we would have done it without it. The Second day was all about assembly and the following weekend we bought some saw horses with special little pointed risers specifically made for helping with painting. For paint we went to Home Depot and just asked for what they recommended for outdoor furniture in the Seattle area. Two coats later with some drying time and we had this amazing set.
The coffee table btw, is simply a highly modified seat from the sectional.
Now that we've moved, we're planning to build a second set this summer as I like to hold BBQs and invite lots of friends and family so a single set this size just isn't enough :-)
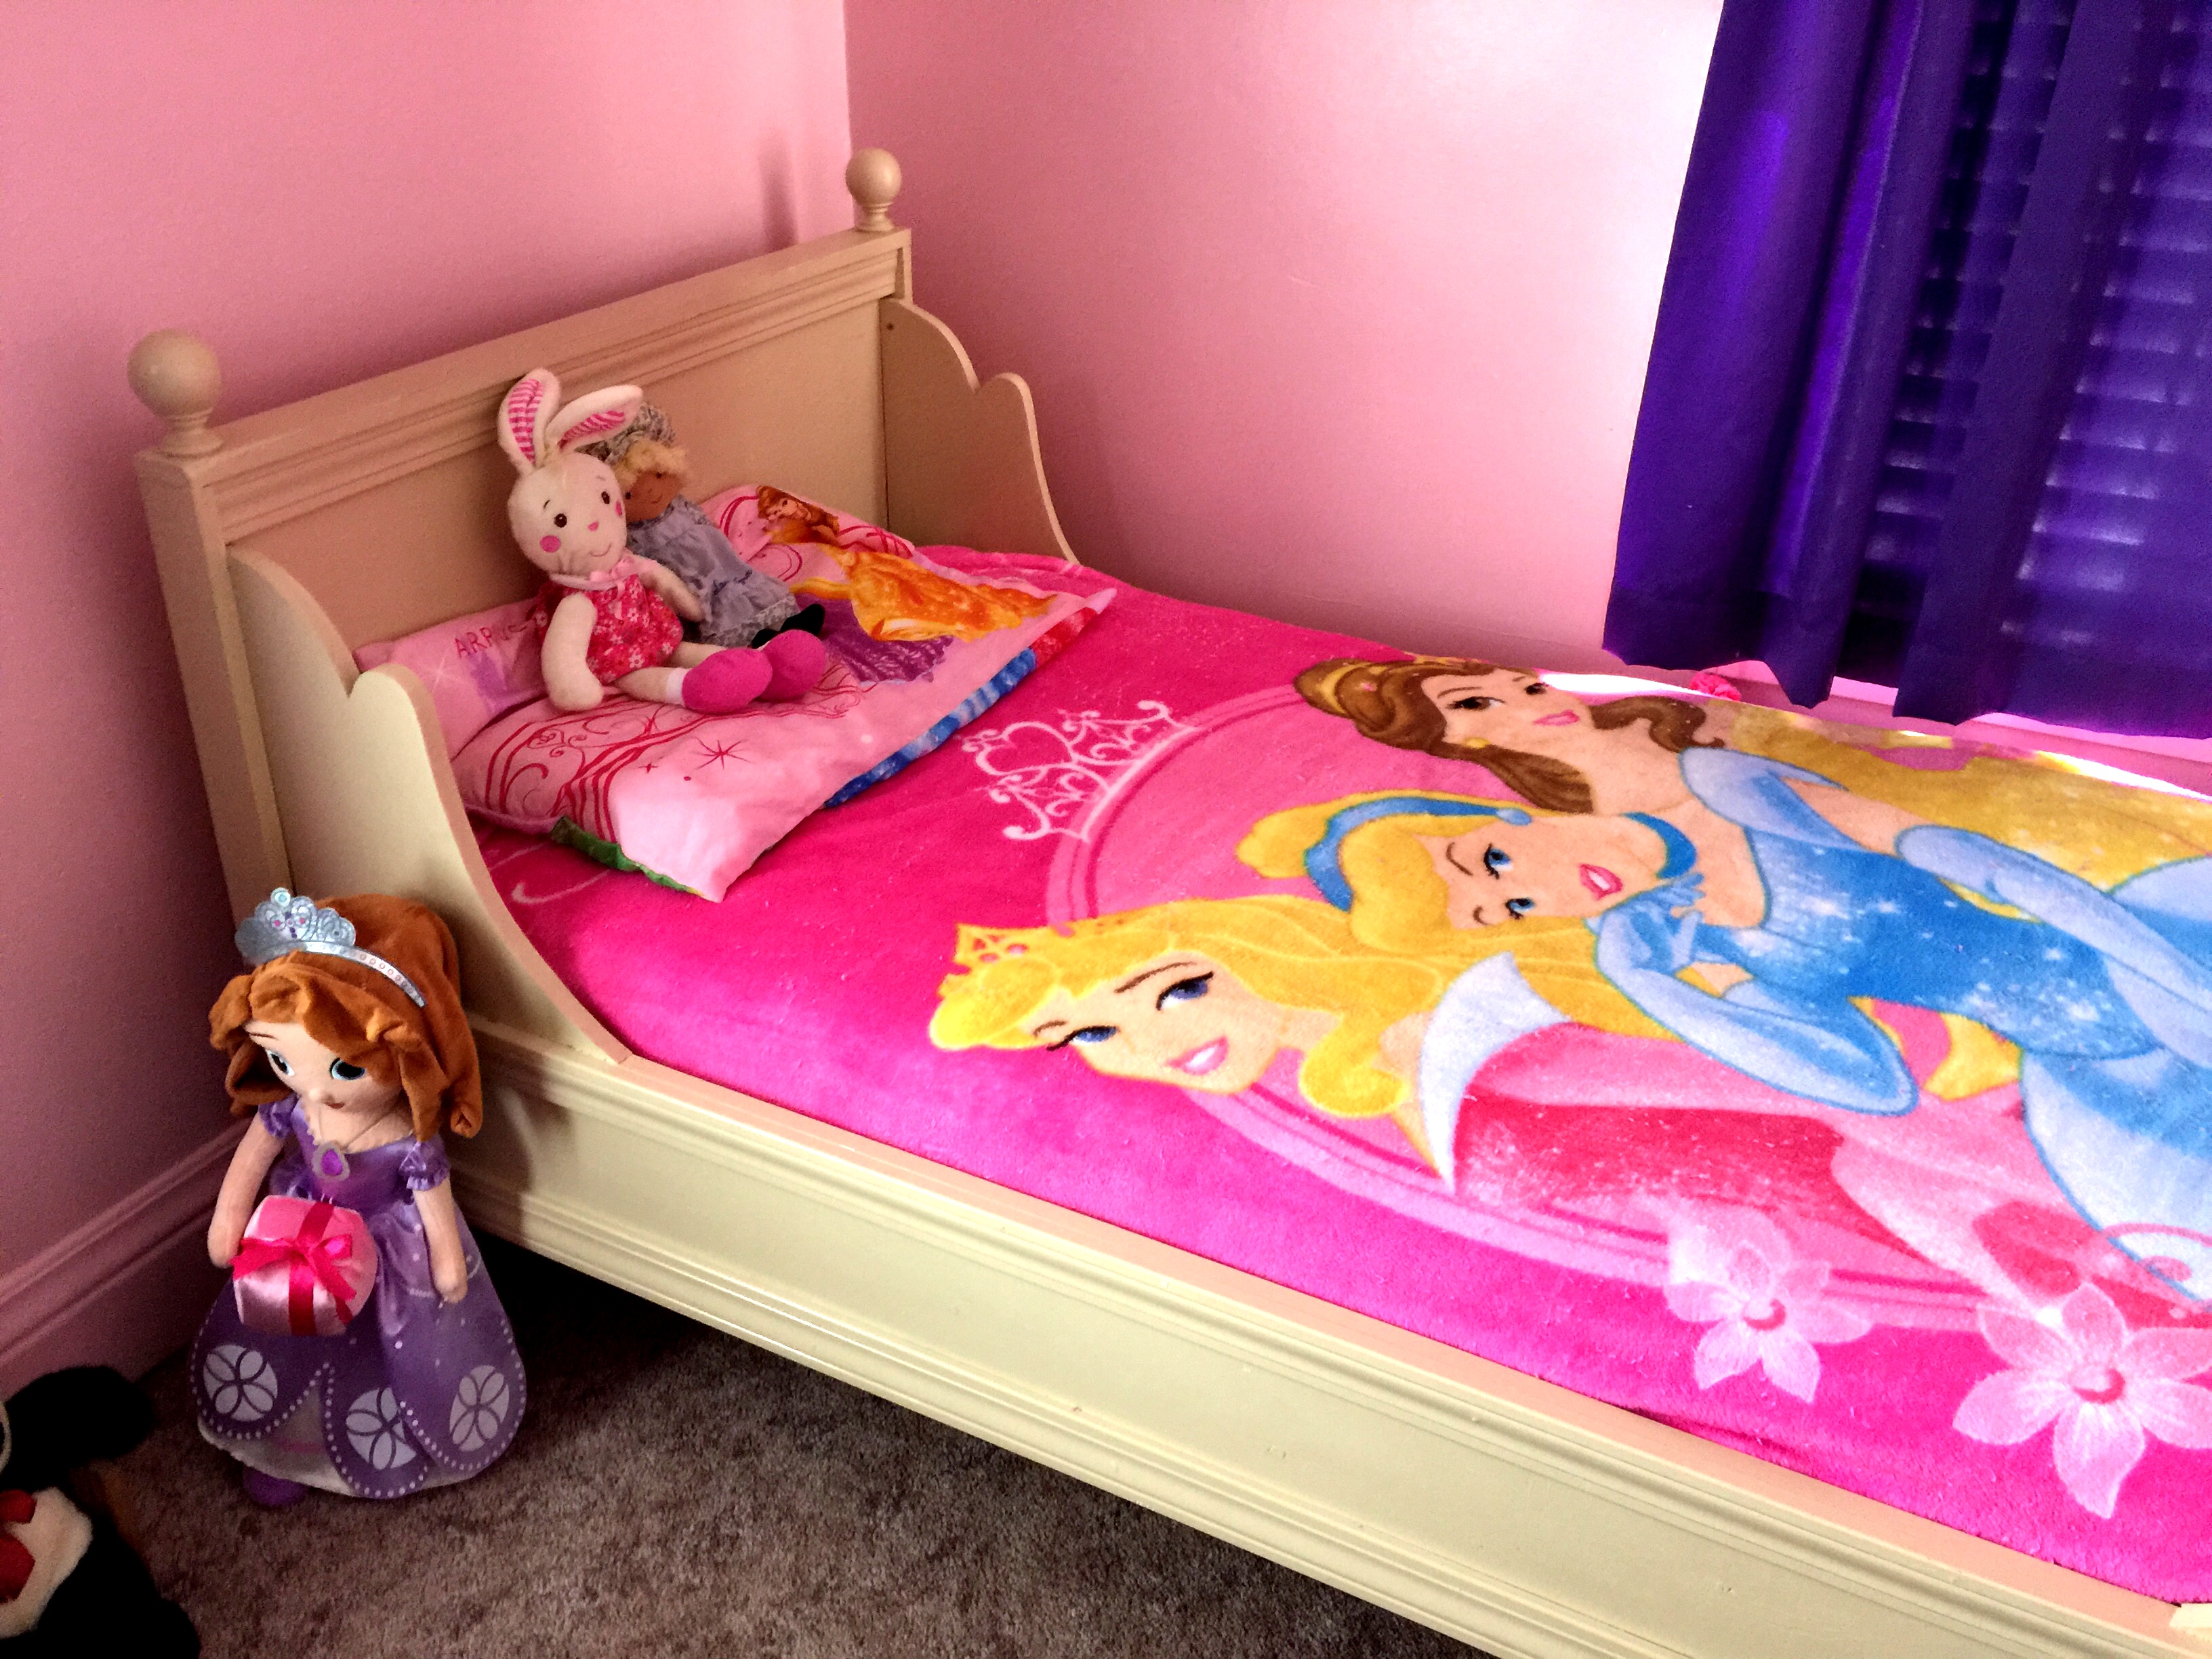
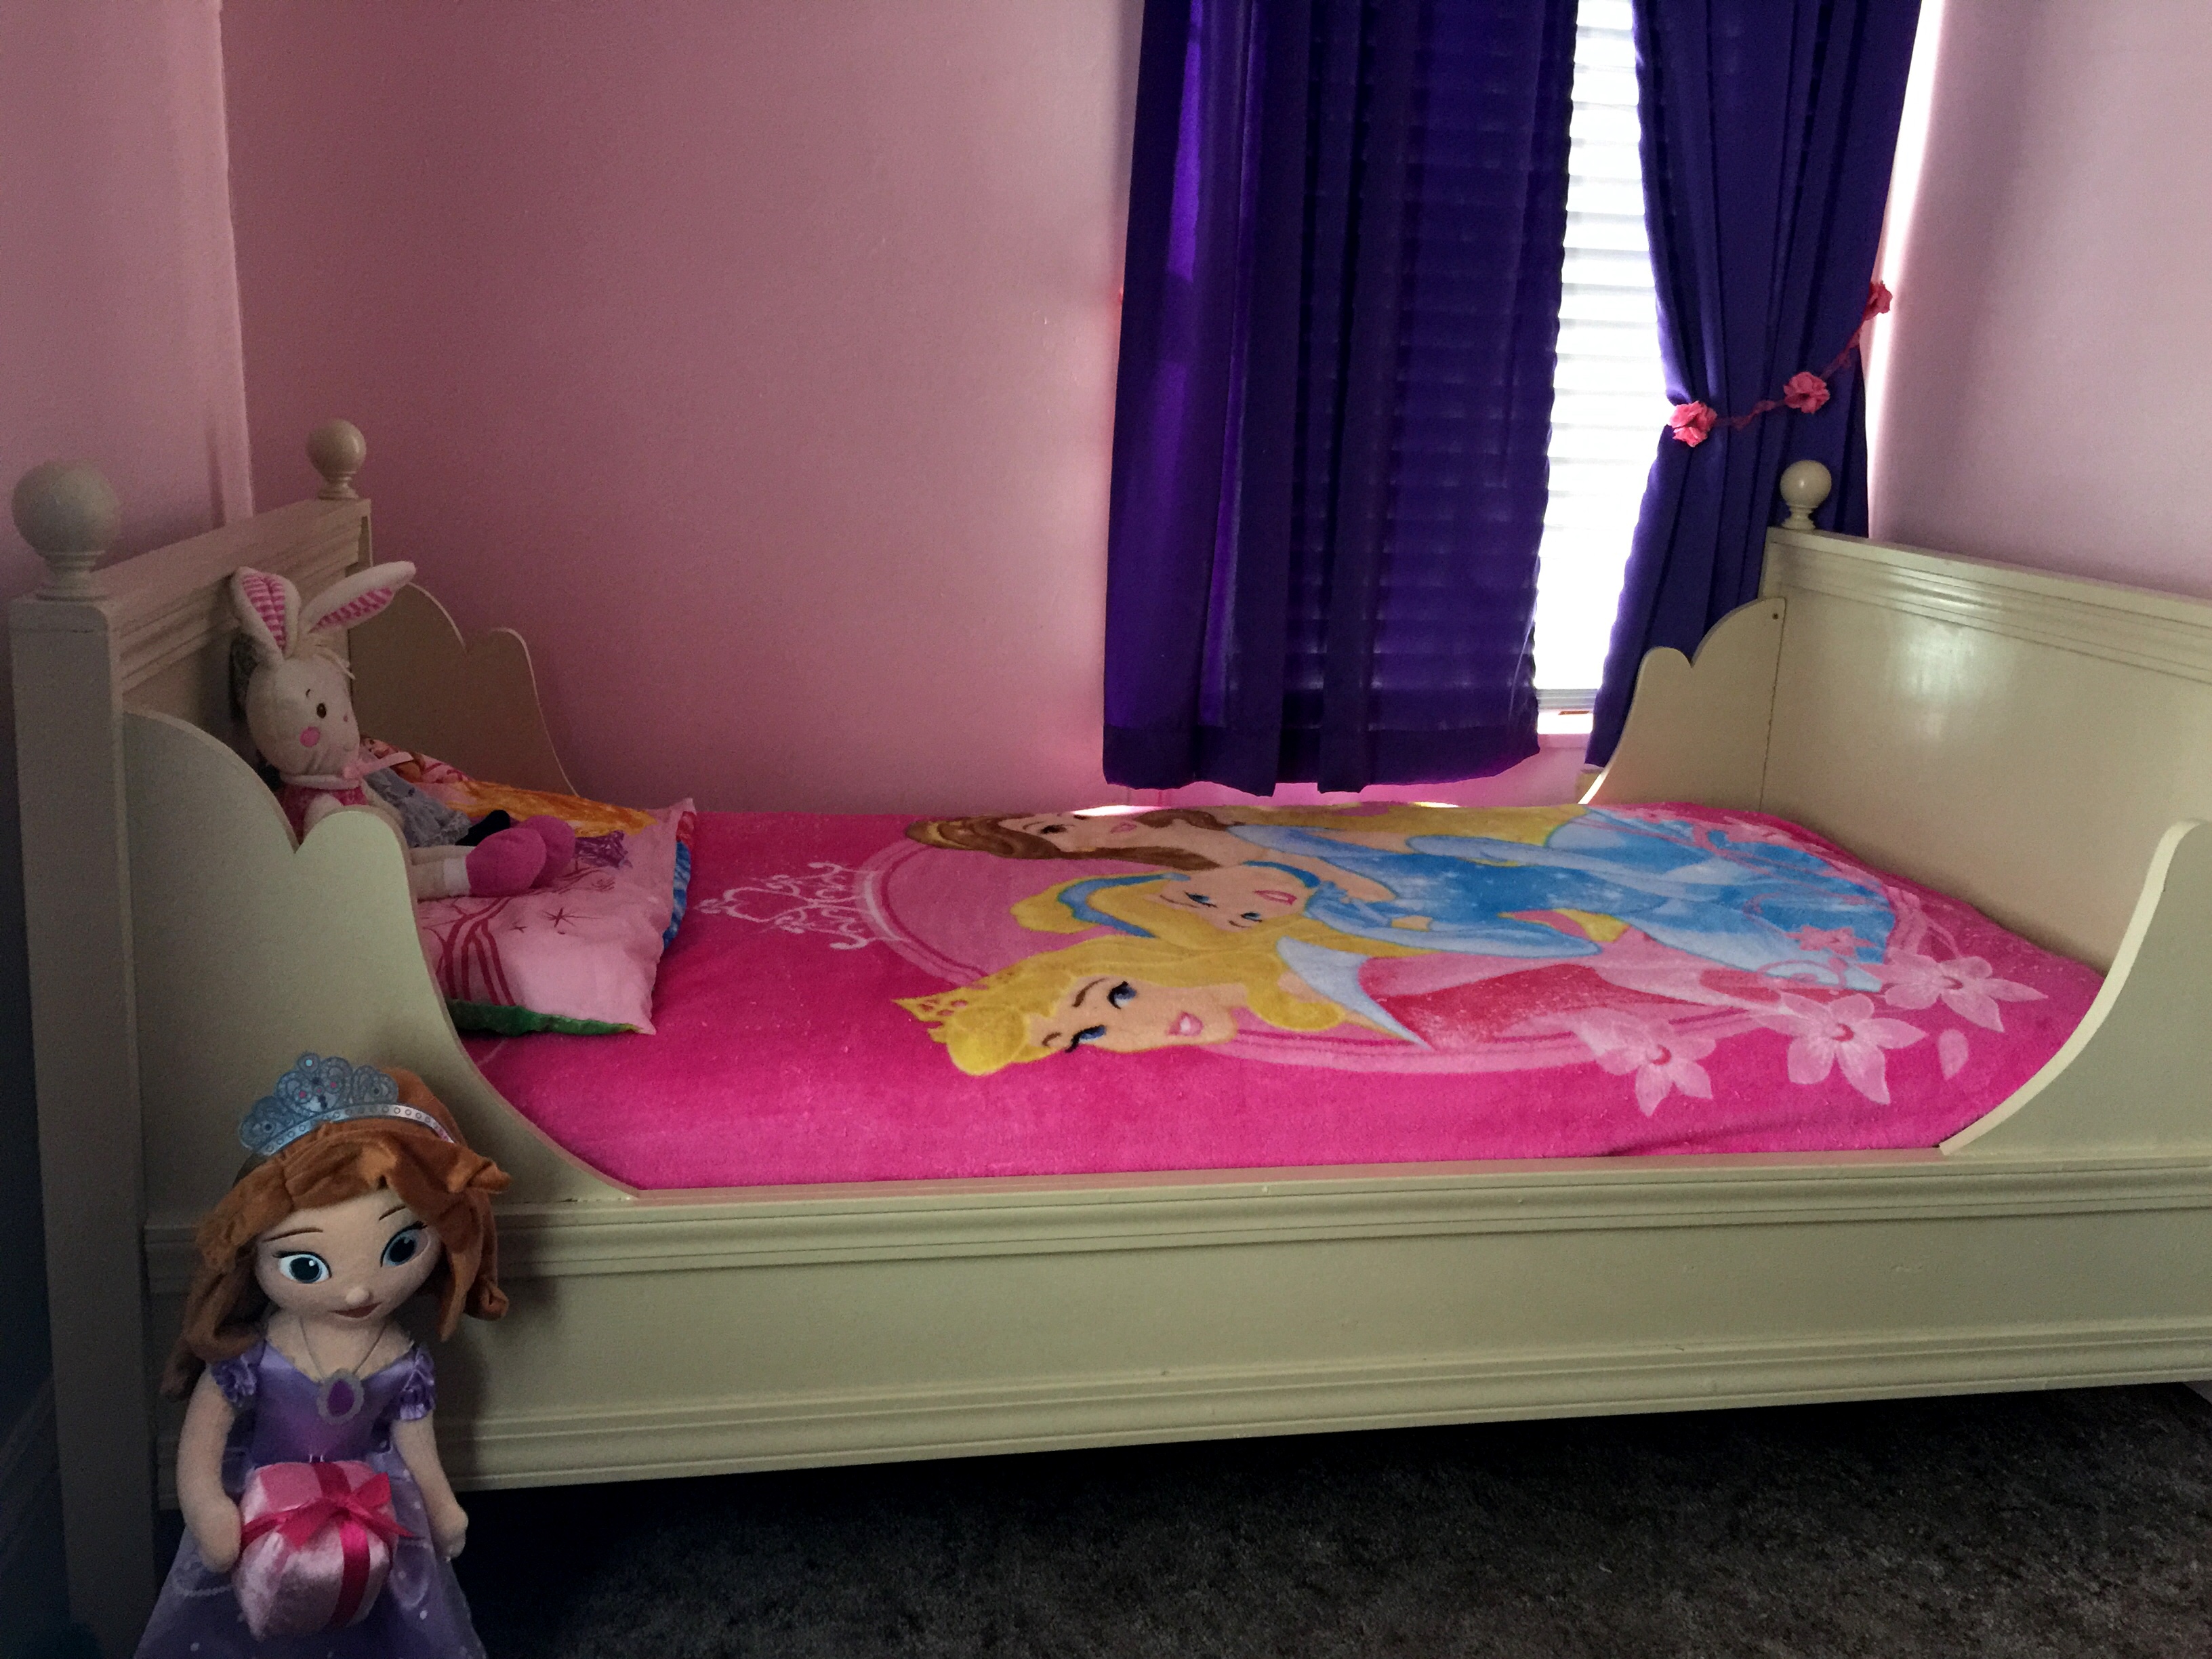
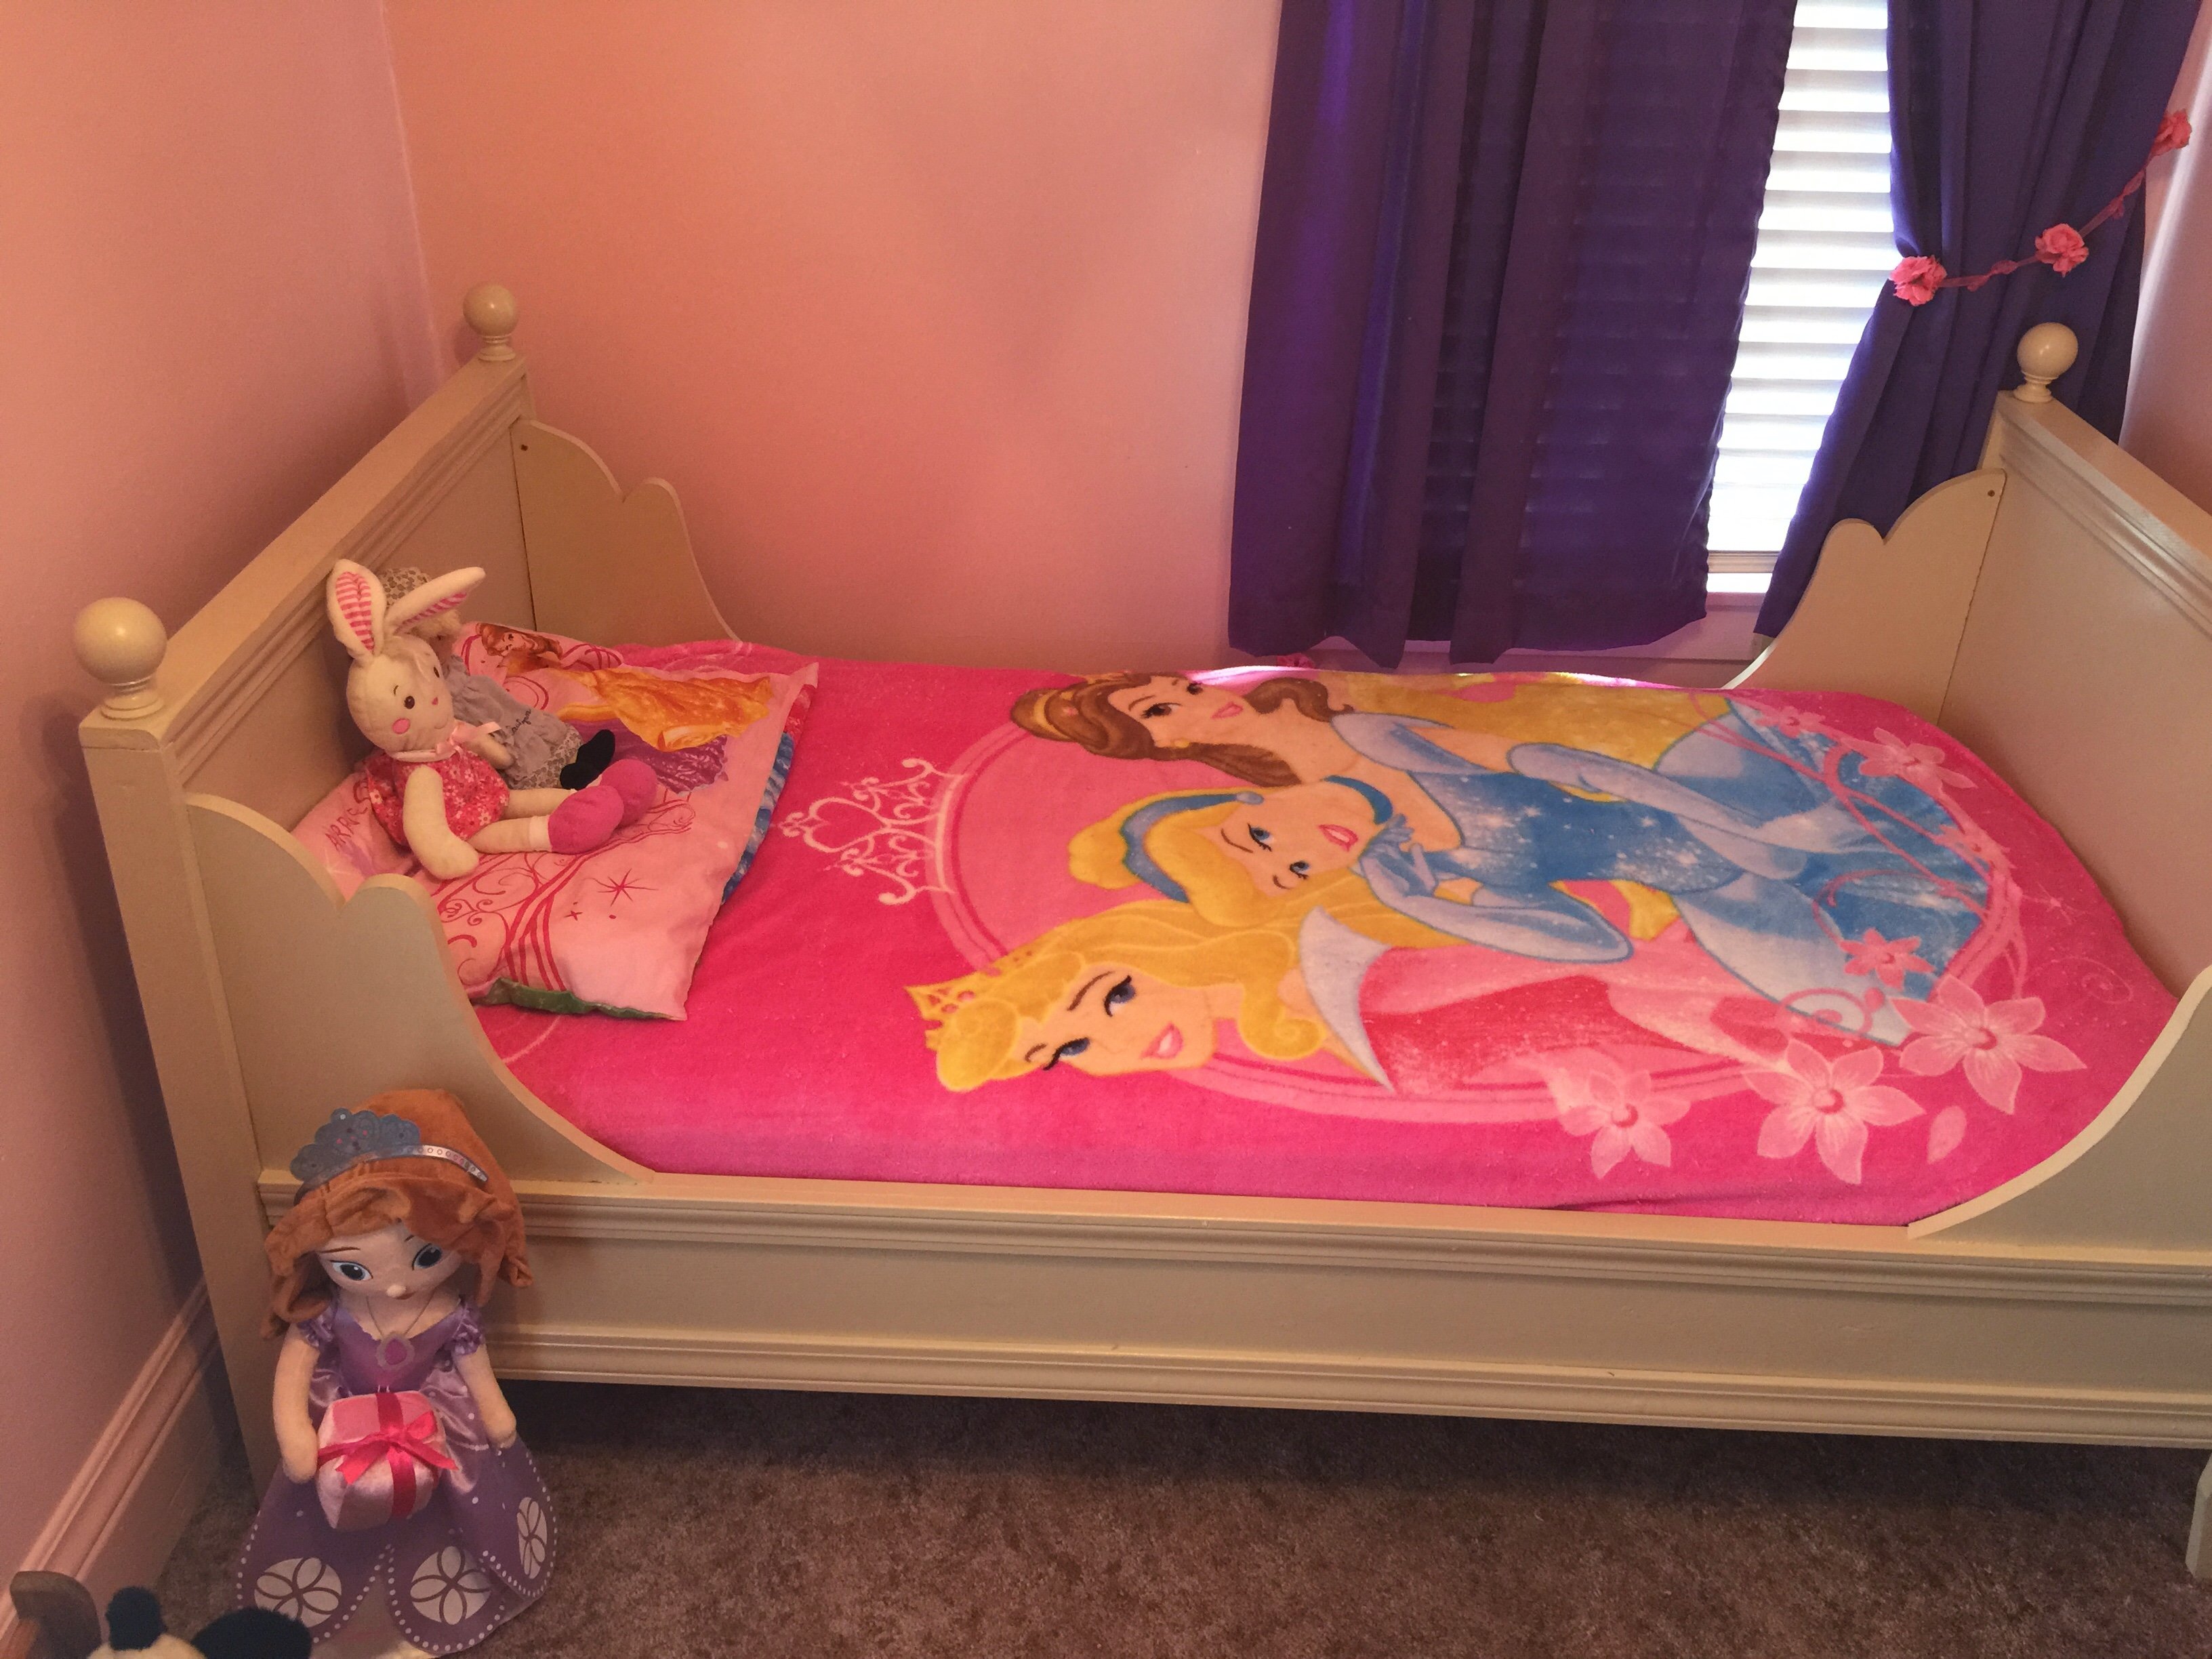
My father in law wanted to remodel an old bedroom to a princess room for our daughters' visits. We came for a weekend with our tools and built it in pieces, which was easy to assemble and finish after the rest of the room's remodel was finished.
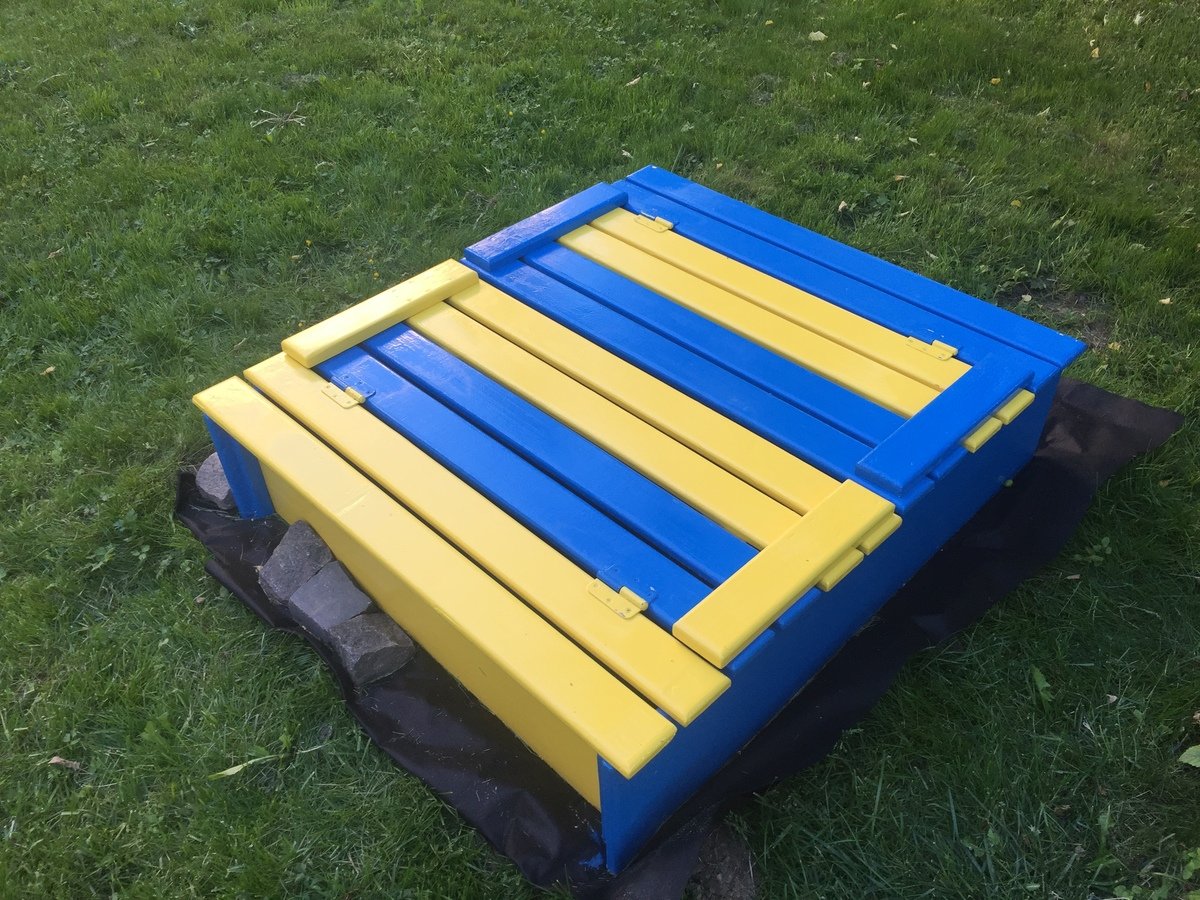
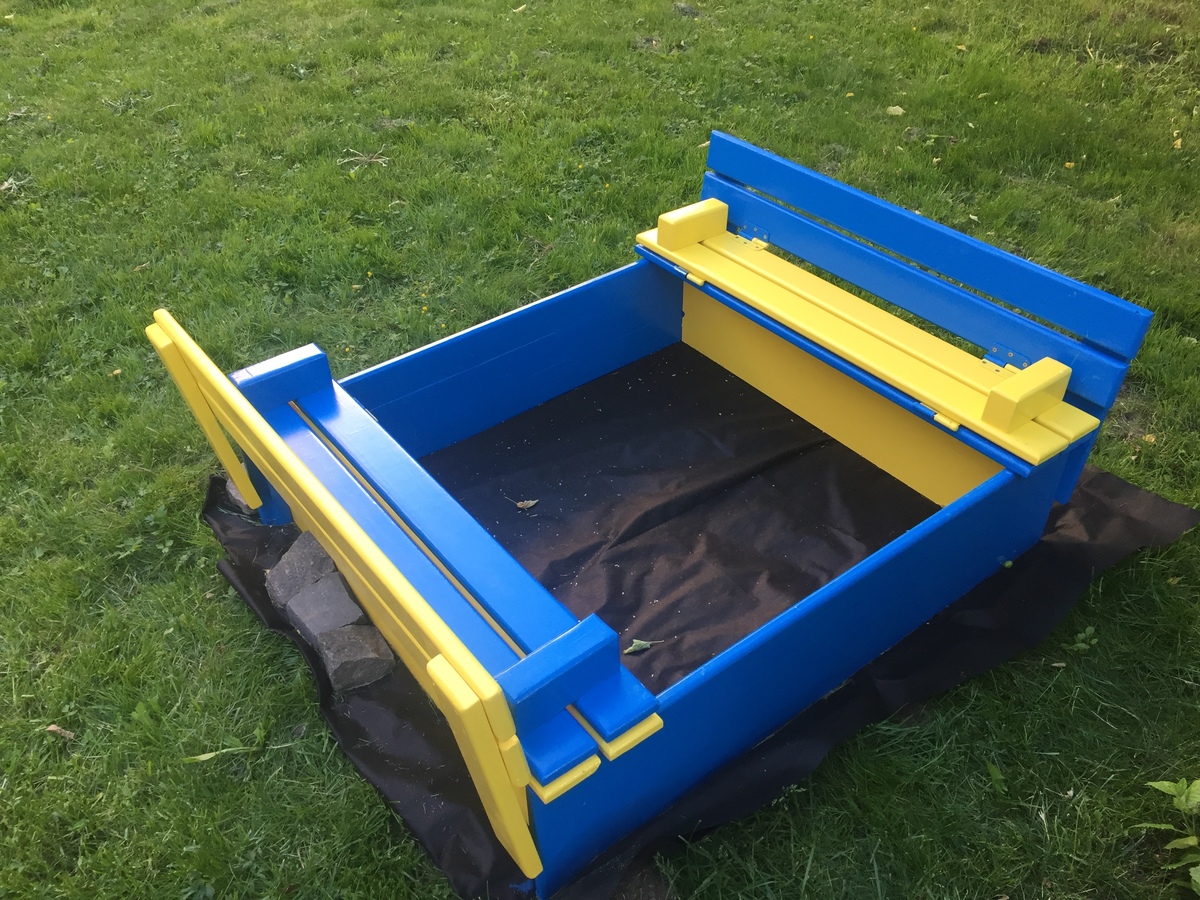
I live in Lviv Ukraine and painted it in he national colors of Ukraine.
The wood came from a old pallet.

Wed, 07/17/2024 - 03:09
Last summer, I built a sandbox with built-in seats for my kids. I think this is something innovative. I was inspired by this article https://noticiasdelaciencia.com/art/49785/una-trayectoria-de-innovacion… and made playtime for kids much more enjoyable. The kids loved the comfortable seats and the extra space for their toys. It’s amazing to see how small changes can lead to greater enjoyment and practicality in everyday life.
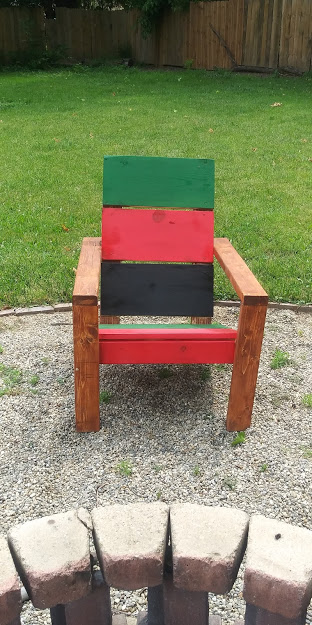
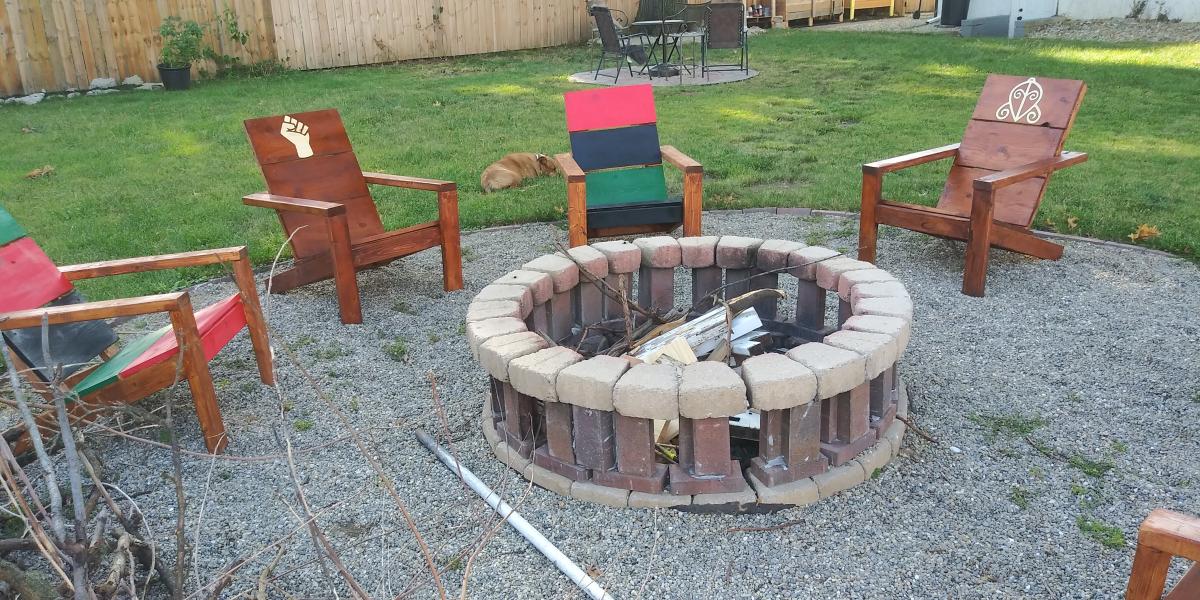
Built a set of six. First chair wasn't perfect, but with each build it got easier.
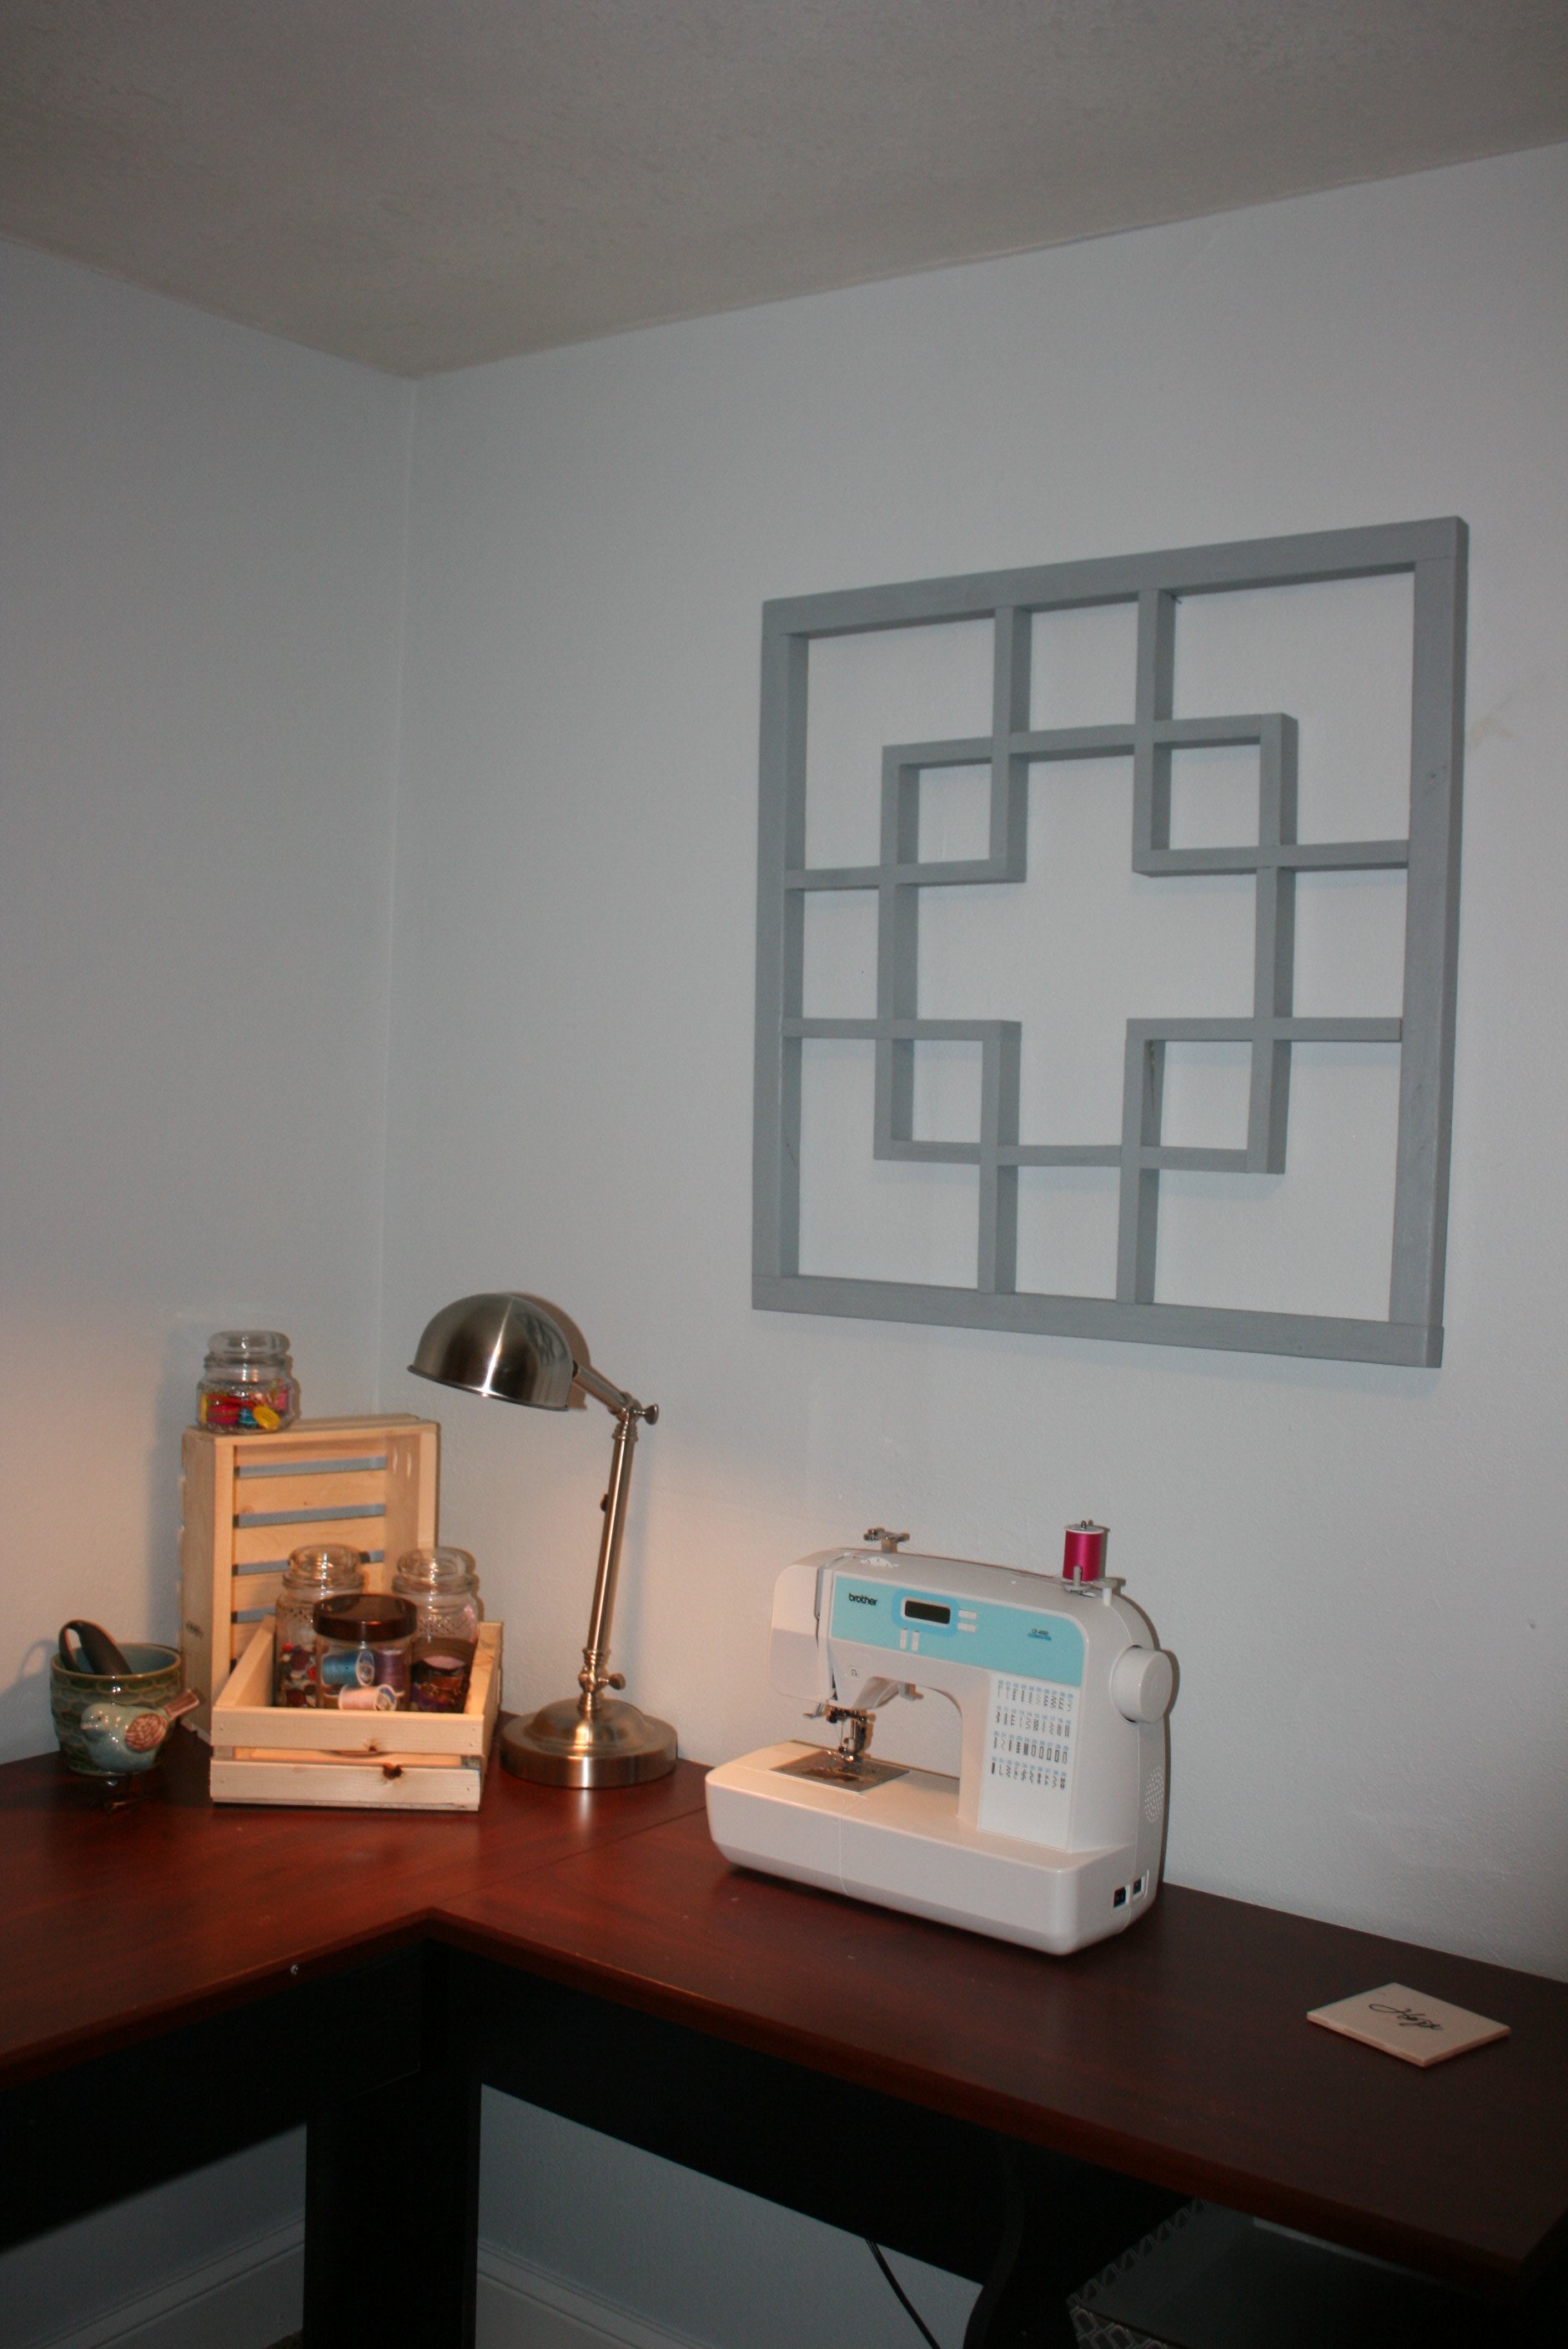
I was looking for an affordable way to decorate my new office and use scrap lumber I have piling up in the shop.
I thought the Squared2 headboard would look great since it make a nice large piece of art.

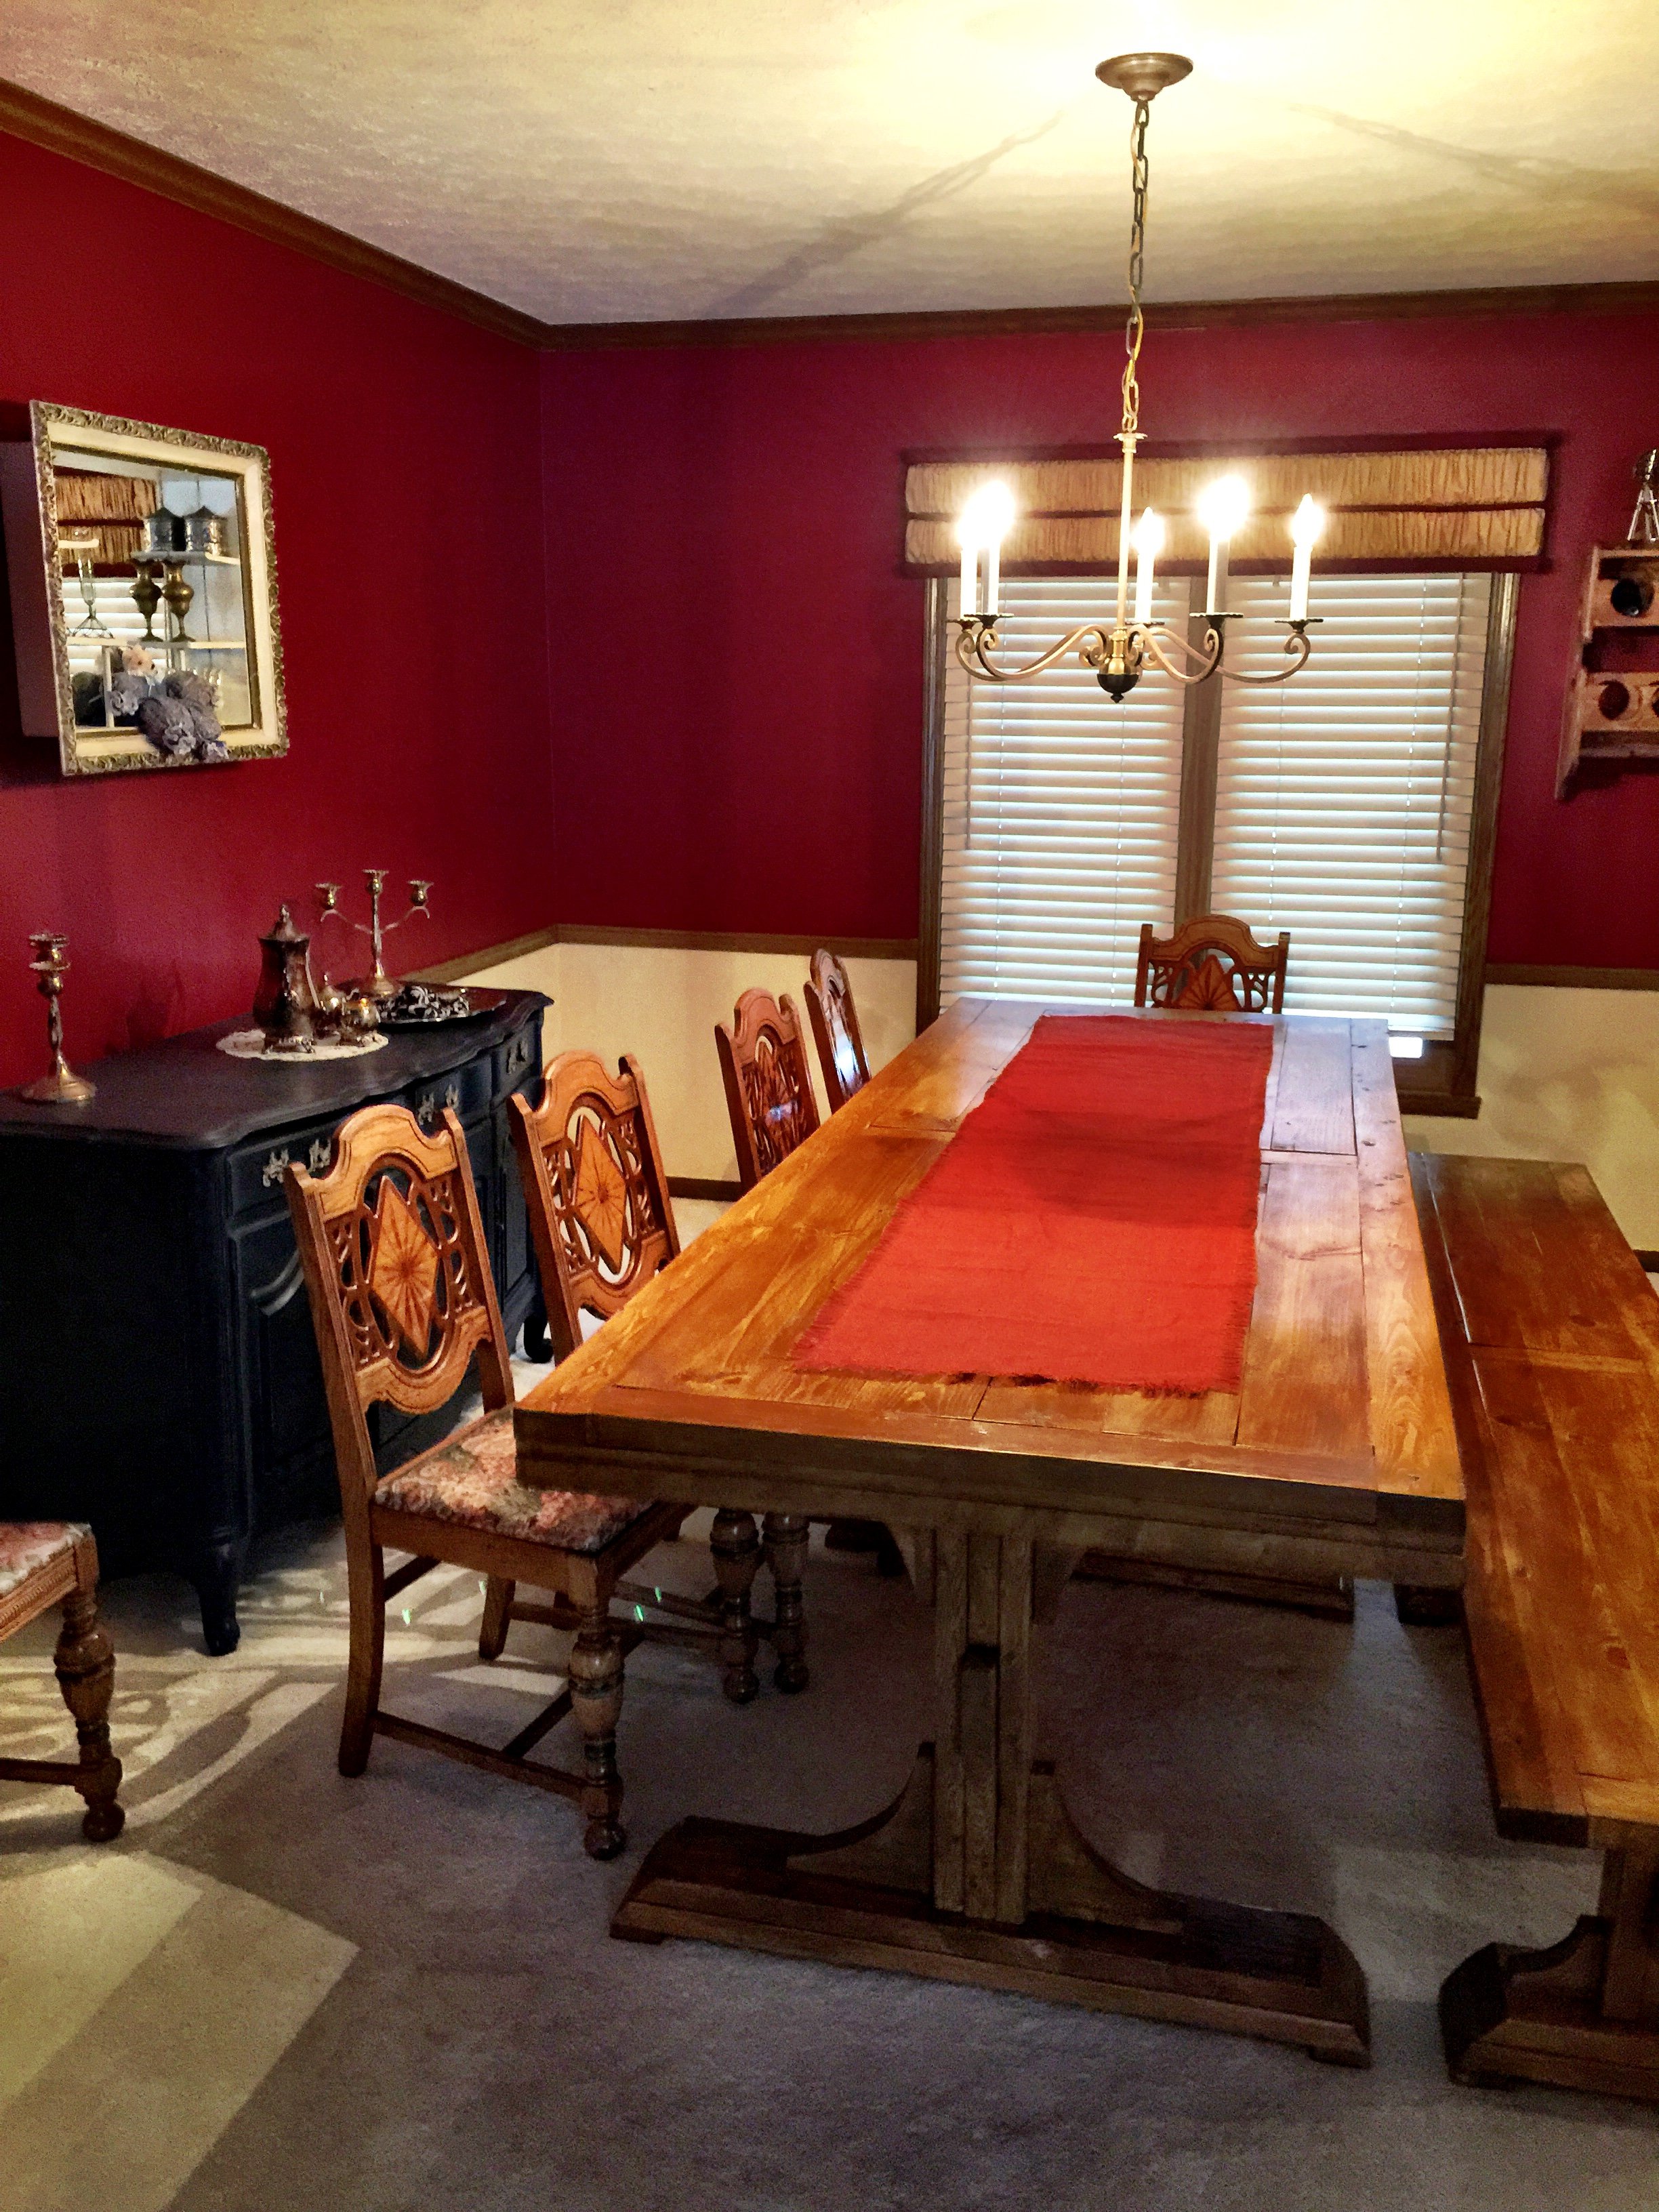
If you build the triple pedestal table, you also have to build the triple pedestal bench.
Fri, 03/06/2015 - 08:46
Where are the plans for the adjusted triple to the double pedestal table. I found them once, can't find now.
Thanks
Sat, 03/07/2015 - 06:19
We are going to try builiding the triple pedestal table. Thank you so much for the detailed plans. Are there similar plans for the accompanying bench? I see pictures, but no measurements or instructions. I've looked in the pdf and printer friendly versions as well.
Sat, 03/07/2015 - 06:24
Nevermind. I found over on one of your other pages. For those looking here, try http://ana-white.com/2013/01/plans/triple-pedestal-farmhouse-bench instead
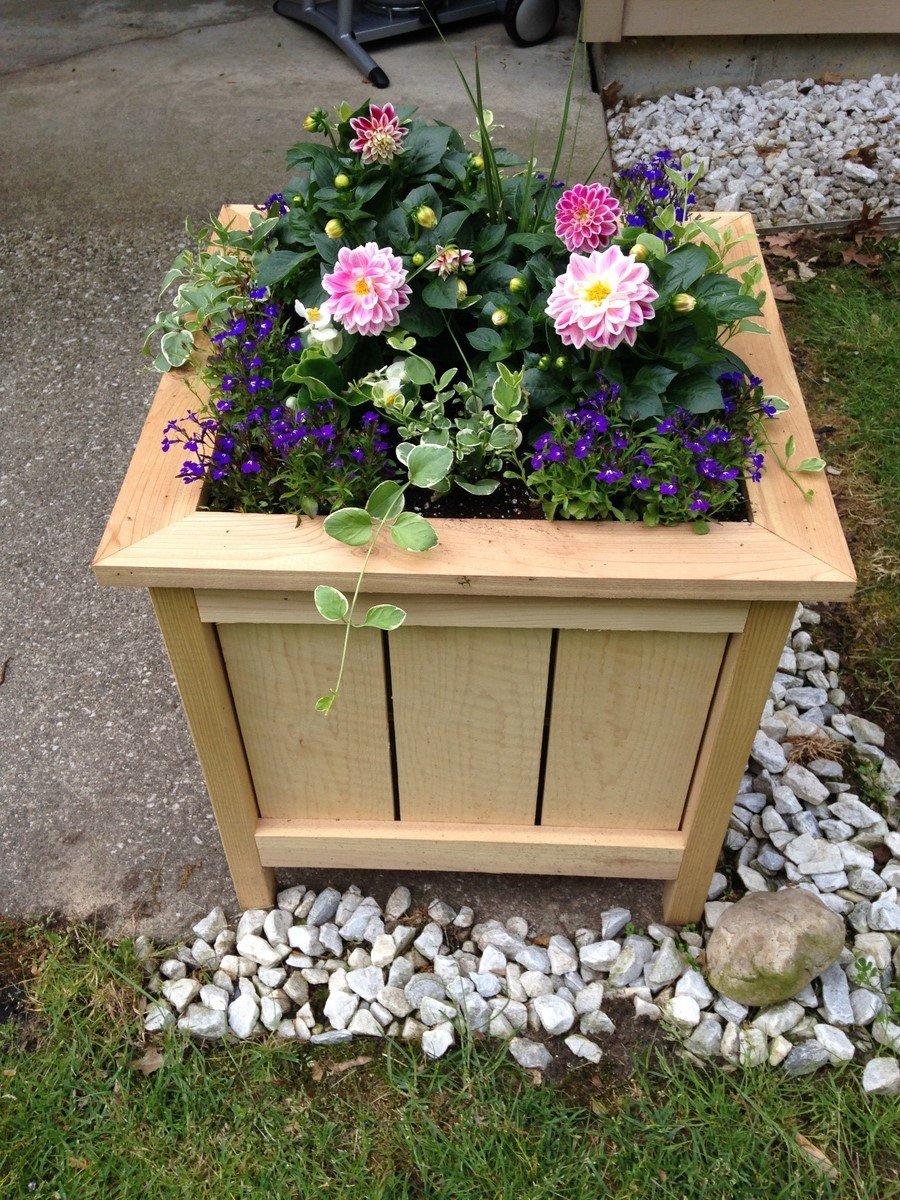
This was a Mothers Day gift for my mom. She absolutely loves it! She lives in a retirement complex and neighbors are complimenting her on it all the time! I did decide to go with all cedar instead of using any pine, so that did increase the cost. I also altered the plan like others and added a trim piece on the top. I think that makes the planter! Thanks Ana for the wonderful plans!
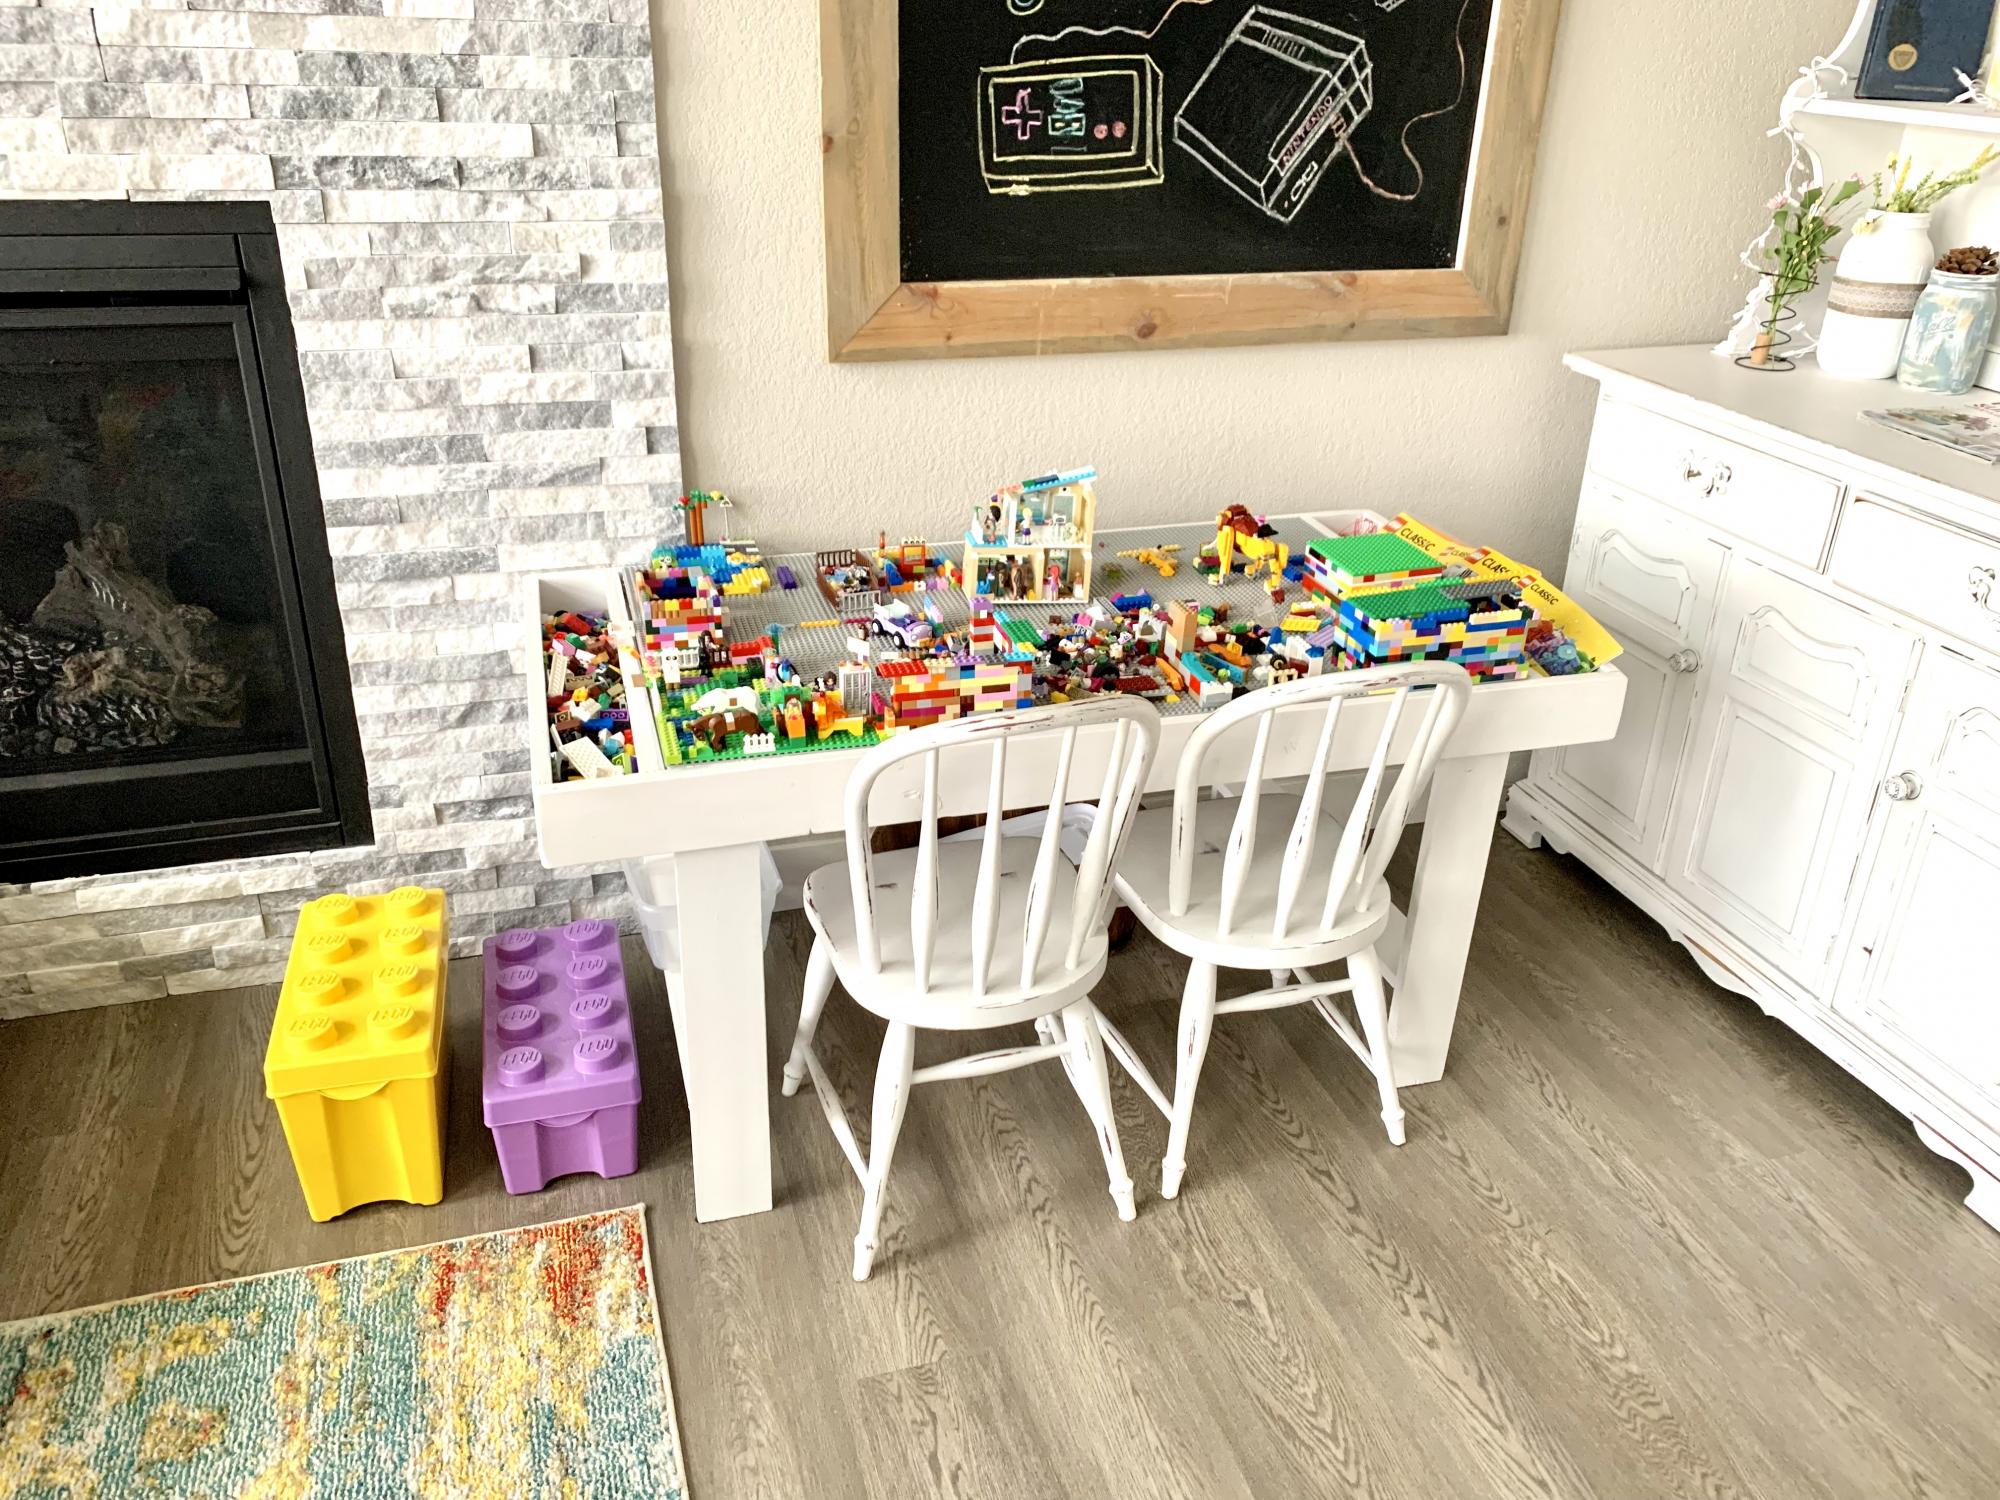
Our kids were starting to get into legos recently and they were ending up in the dogs mouths and in our toes so of course, the hubby turned to Miss Ana’s site and found this perfect sized table ! Fits both kids even on one side !

Fri, 07/09/2021 - 15:42
Nice and sturdy , I painted it in chalk paint and sealed it up …. Added 12 gray lego plates (I had to cut 4 to size with the circular saw to fit perfectly)
Fri, 07/09/2021 - 16:30
Thank you for sharing, it looks like the kids have been busy enjoying it!
Our old picnic table was falling apart so I made a new one with it

Assembly Workstation with small drawers for tools and hardware supplies and large drawers for scrap wood storage.
Has lockable wheels so can be stored against wall when not in use and pulled out to allow easy access to move around the piece I am working on.
Drawers have 3/4 inch ply bottoms for strength and the big ones have full extension drawers.
Top is 66 inches wide by 34 inches deep to give plenty of work surface.
Total cost was about $300.
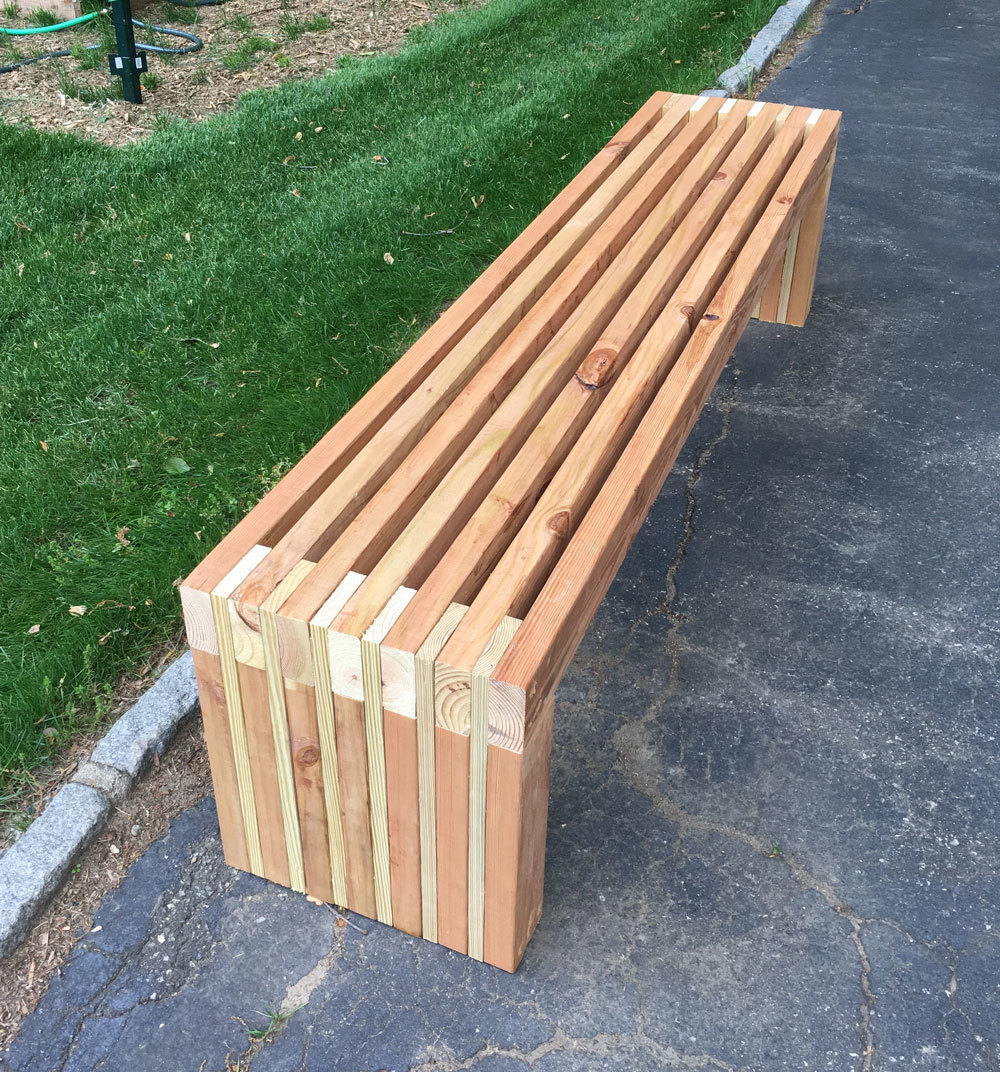
Great bench
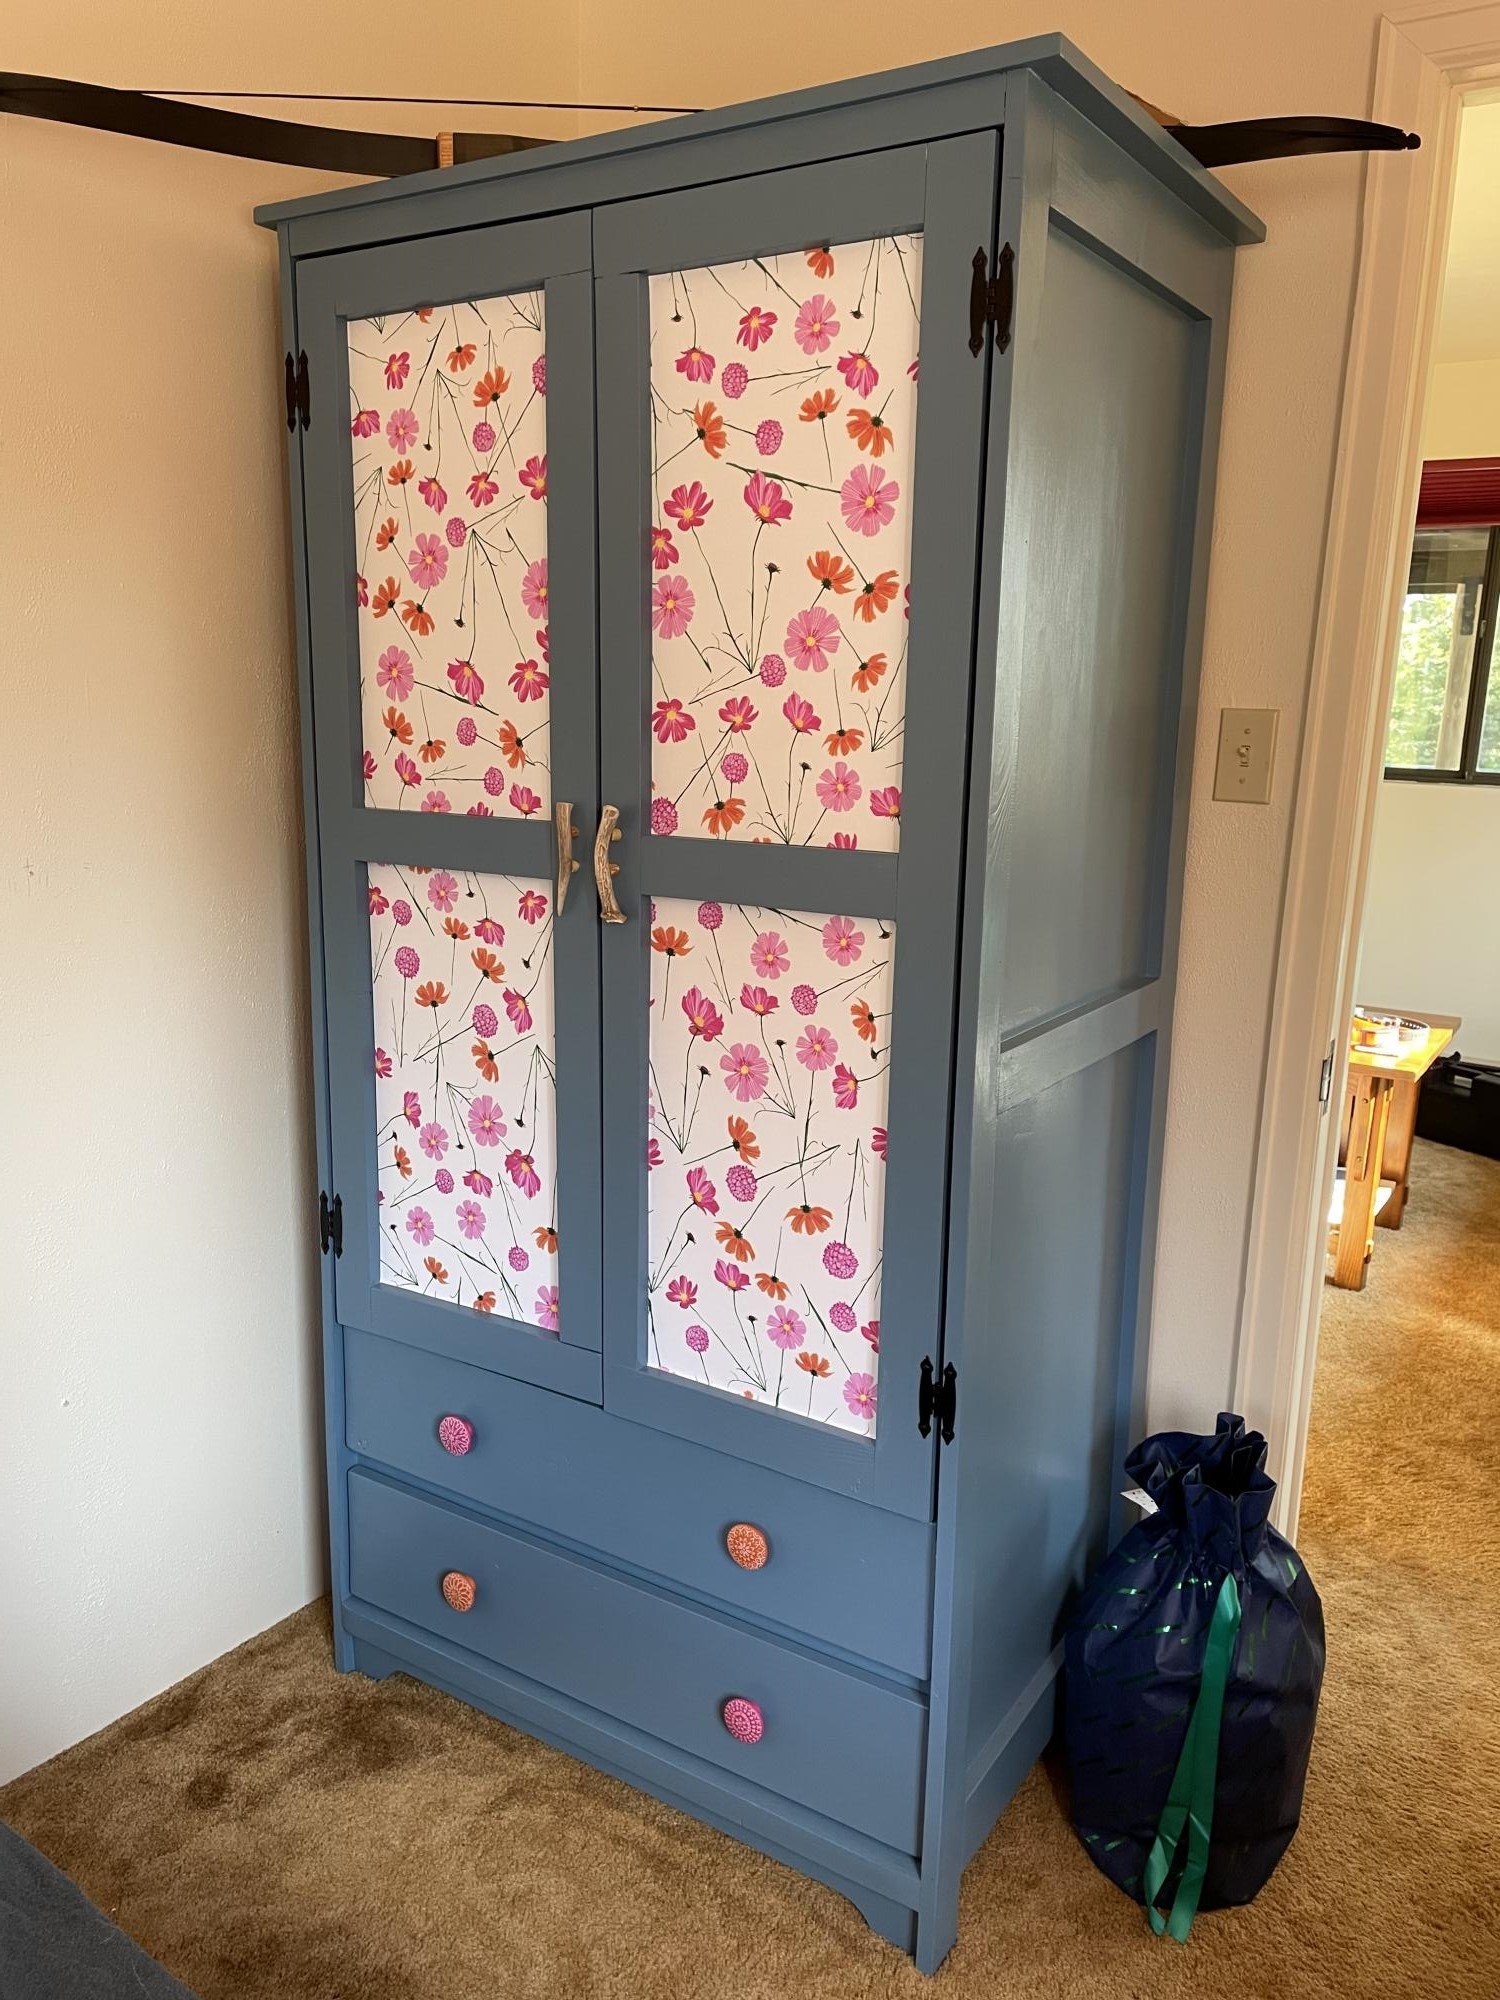
Used Ana’s Toy/TV armoire plans, tweaked the dimensions to make it a bit taller. Added drawers and a hanger rod inside. Found deer antler used for handles. Color and cosmo wallpaper thanks to my wife. Perfect for a quirky old cabin in Colorado. My first attempt at furniture. Thanks!
Fri, 07/23/2021 - 13:46
It's too cute and functional too, thanks for sharing!
Fri, 07/23/2021 - 13:47
It's too cute and functional too, thanks for sharing!
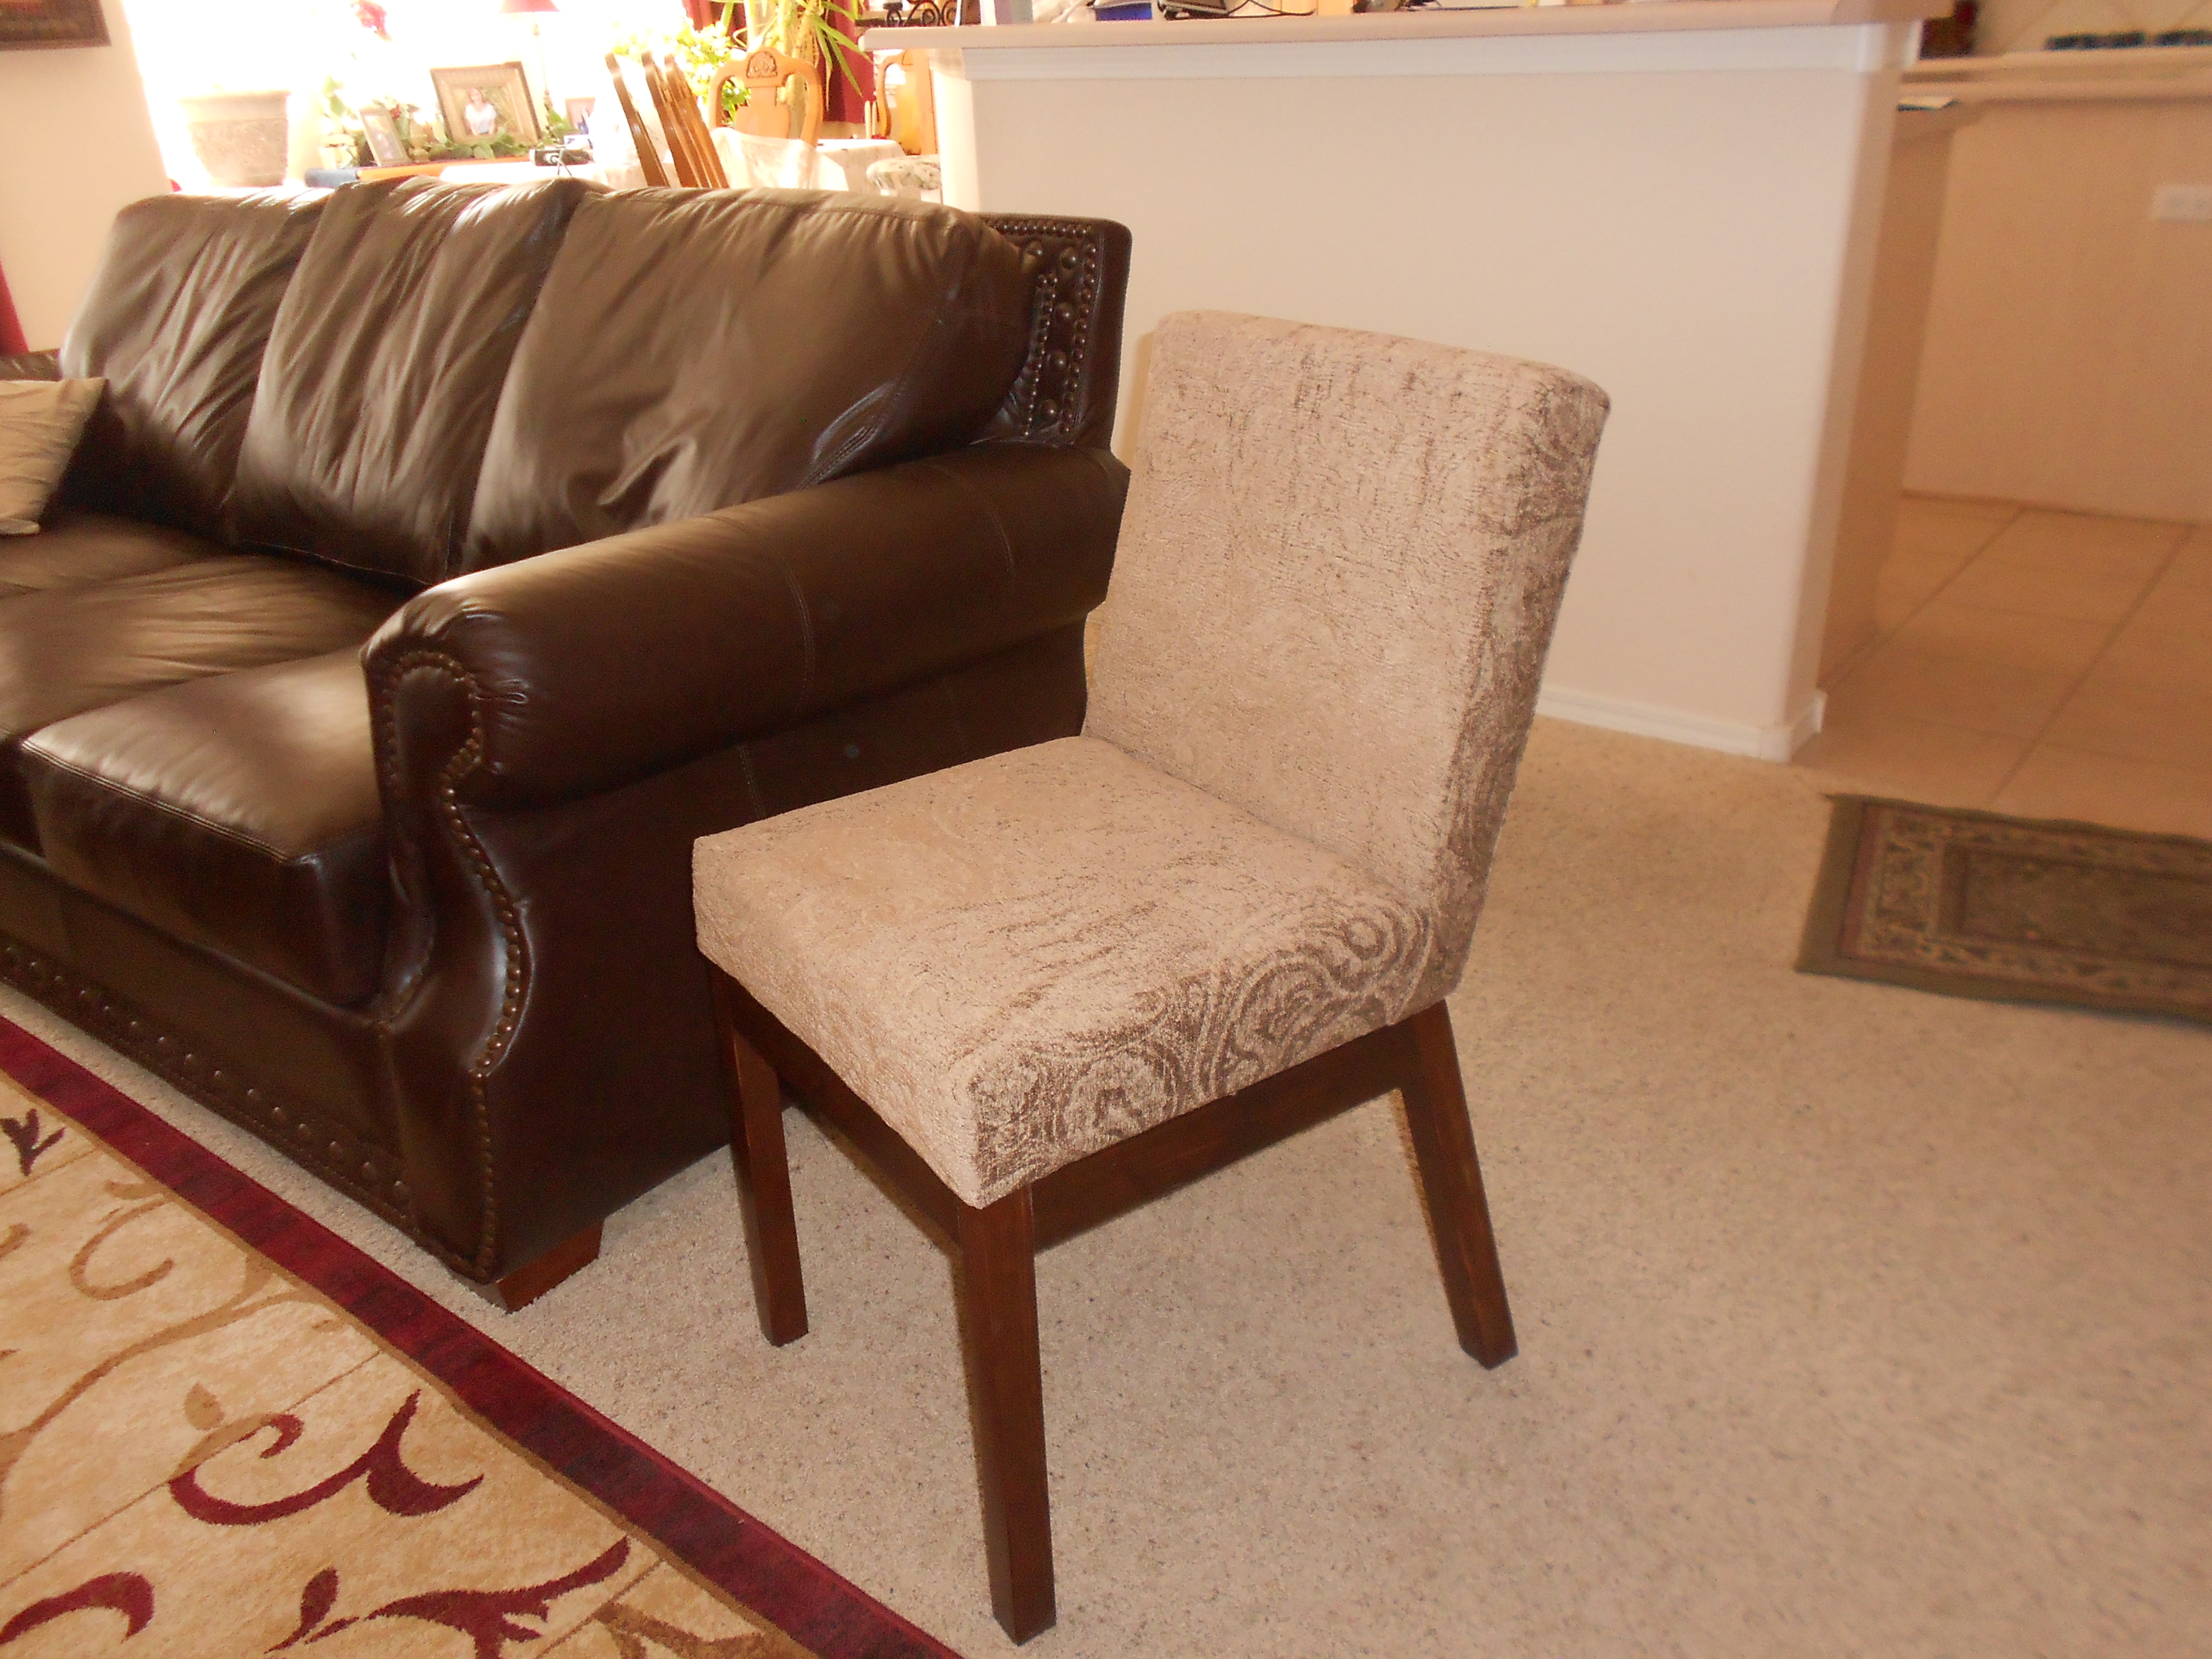
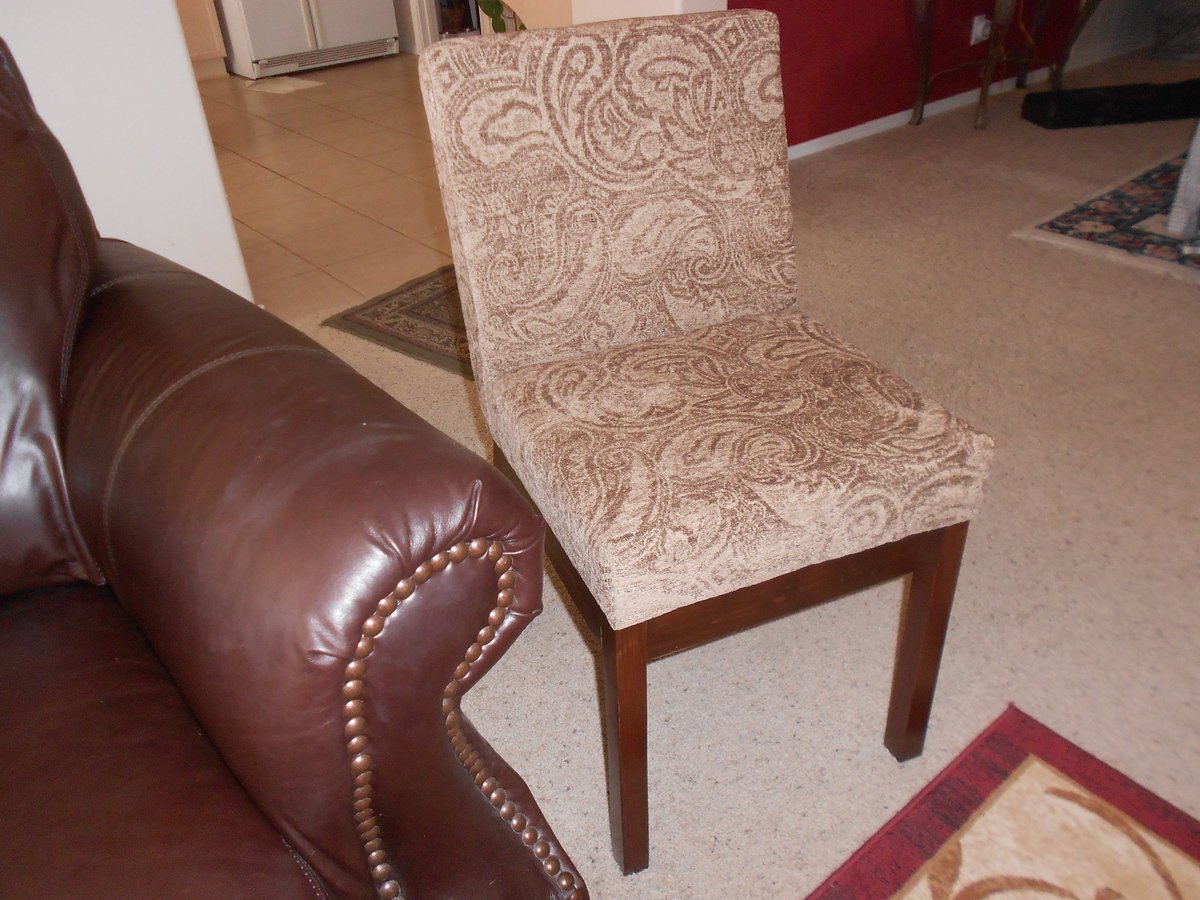
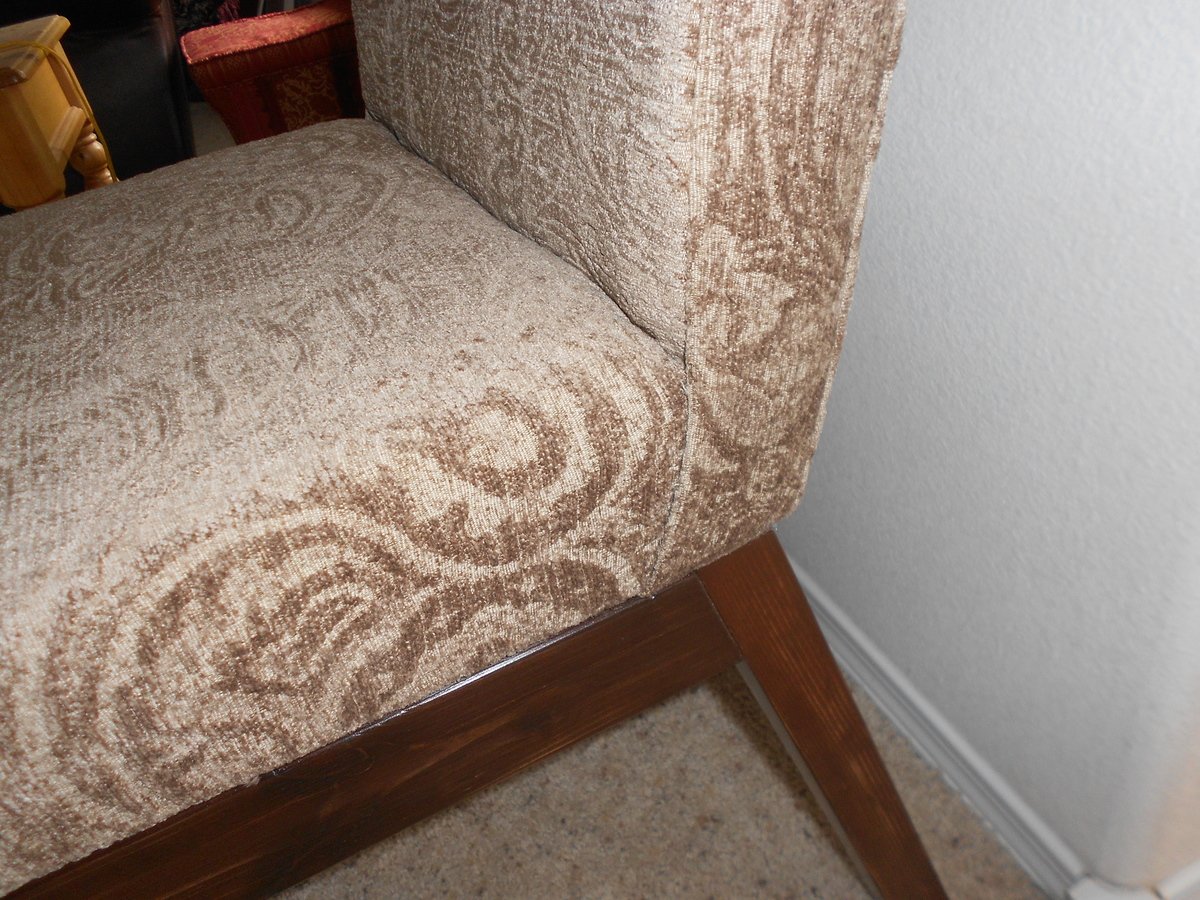
This was my first time making a chair. It was easier than I thought it would be. The instructions were very easy to follow.

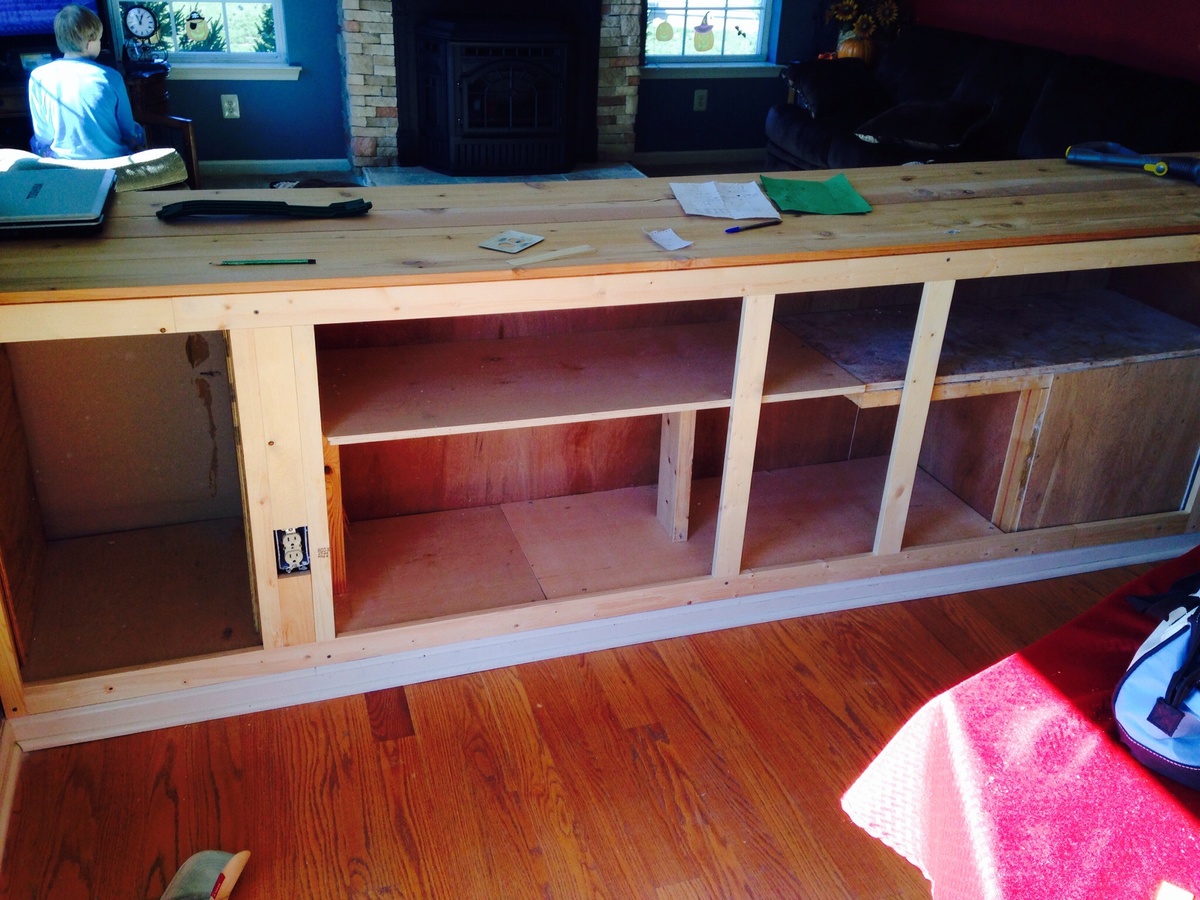
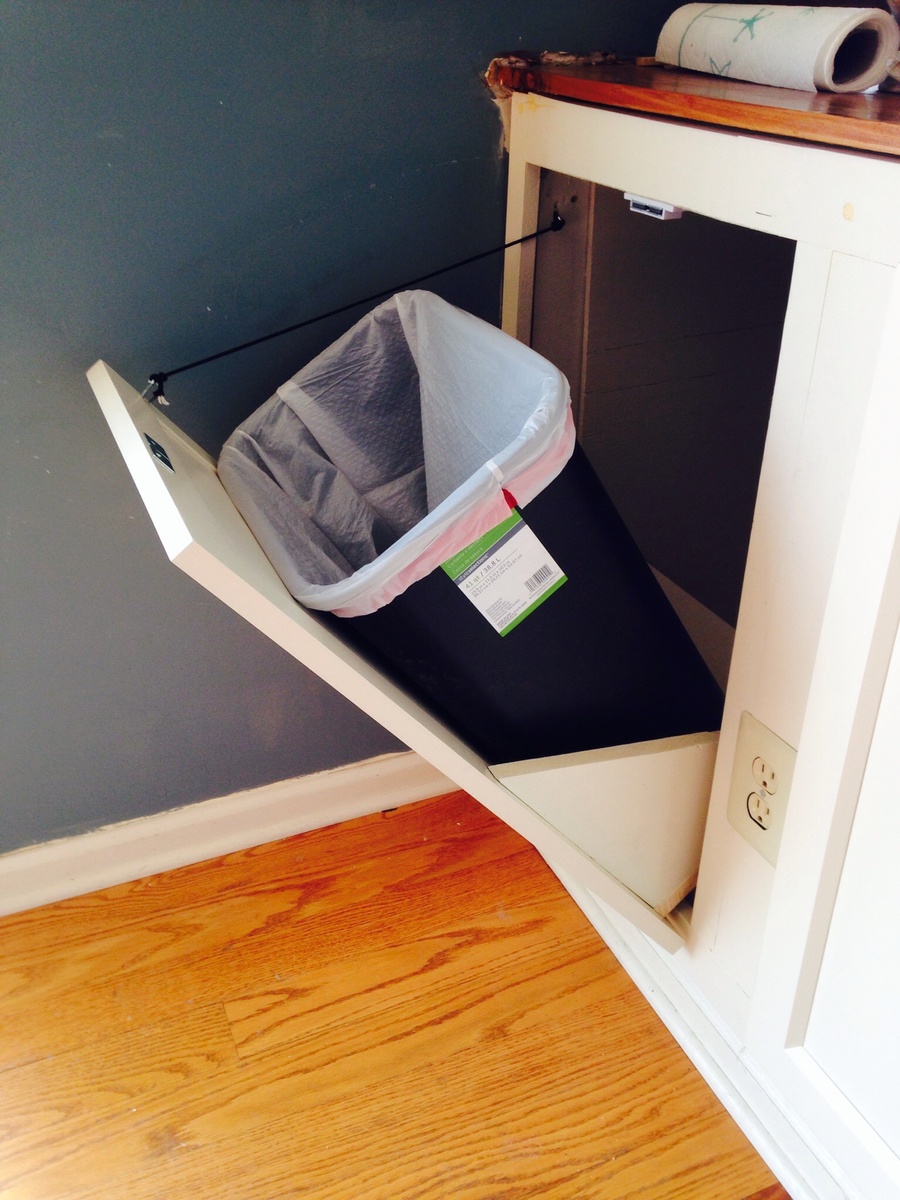
My wife and I made loads of additional storage space by using a hollow half wall
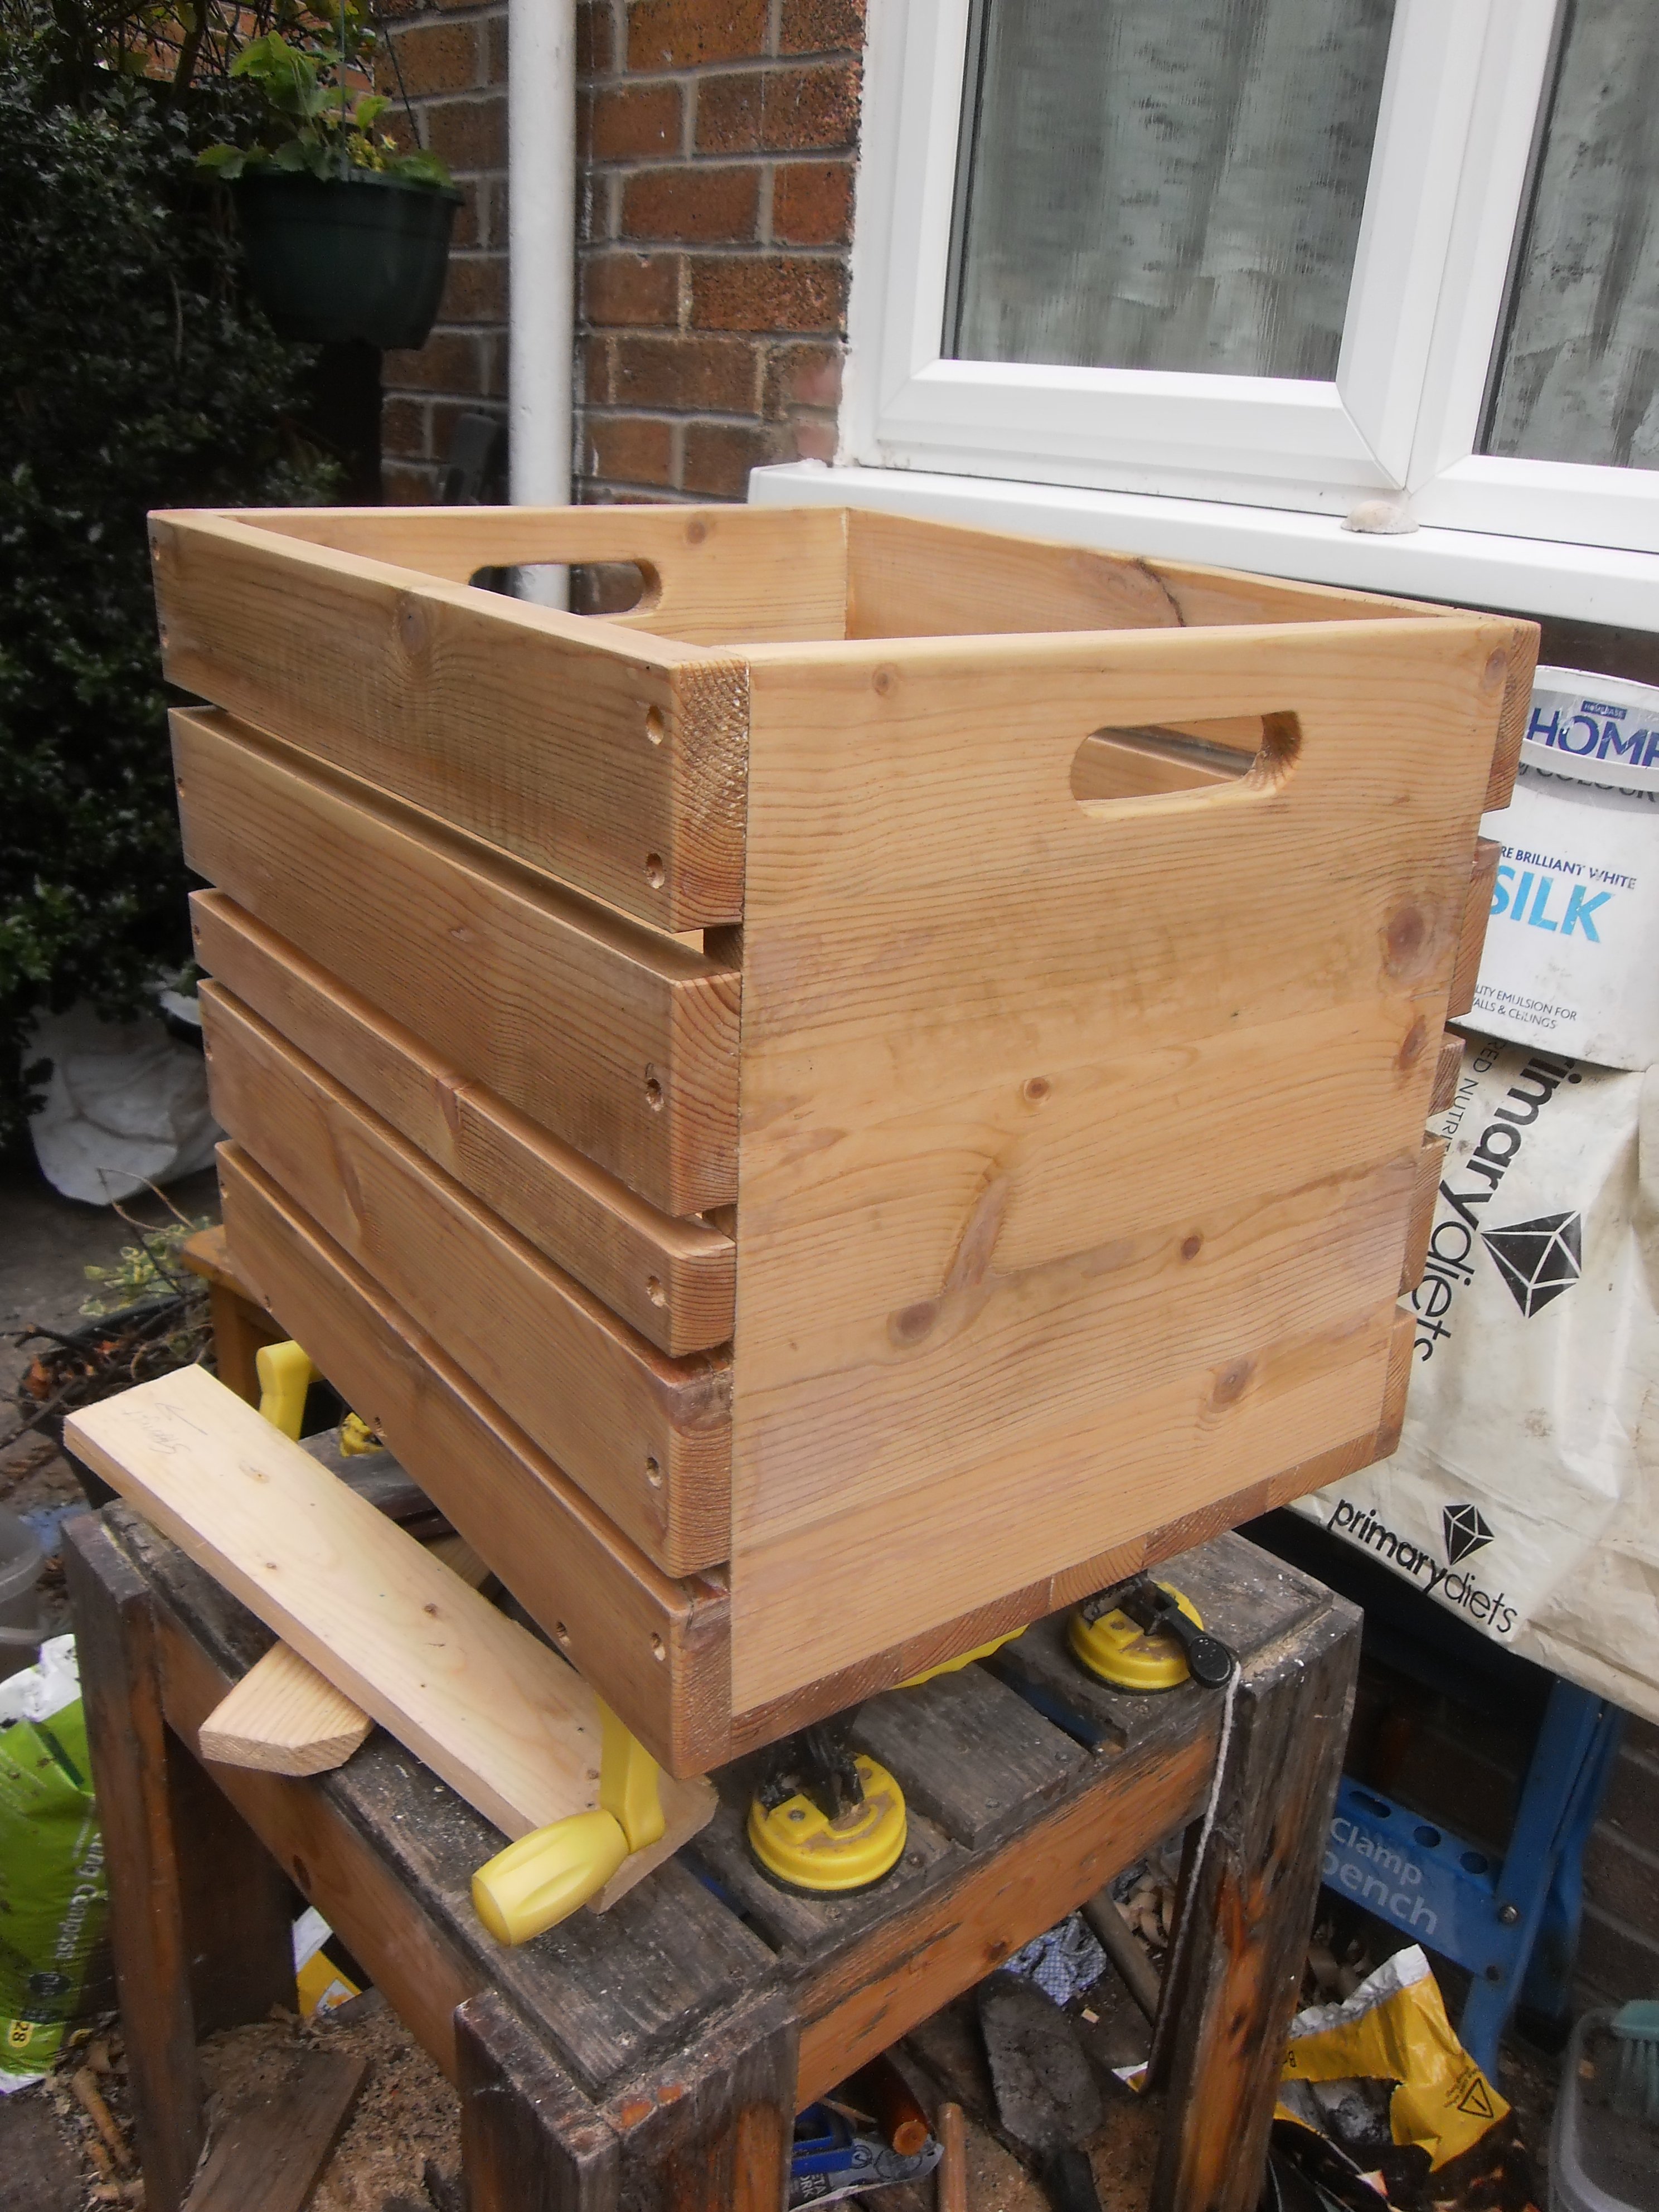
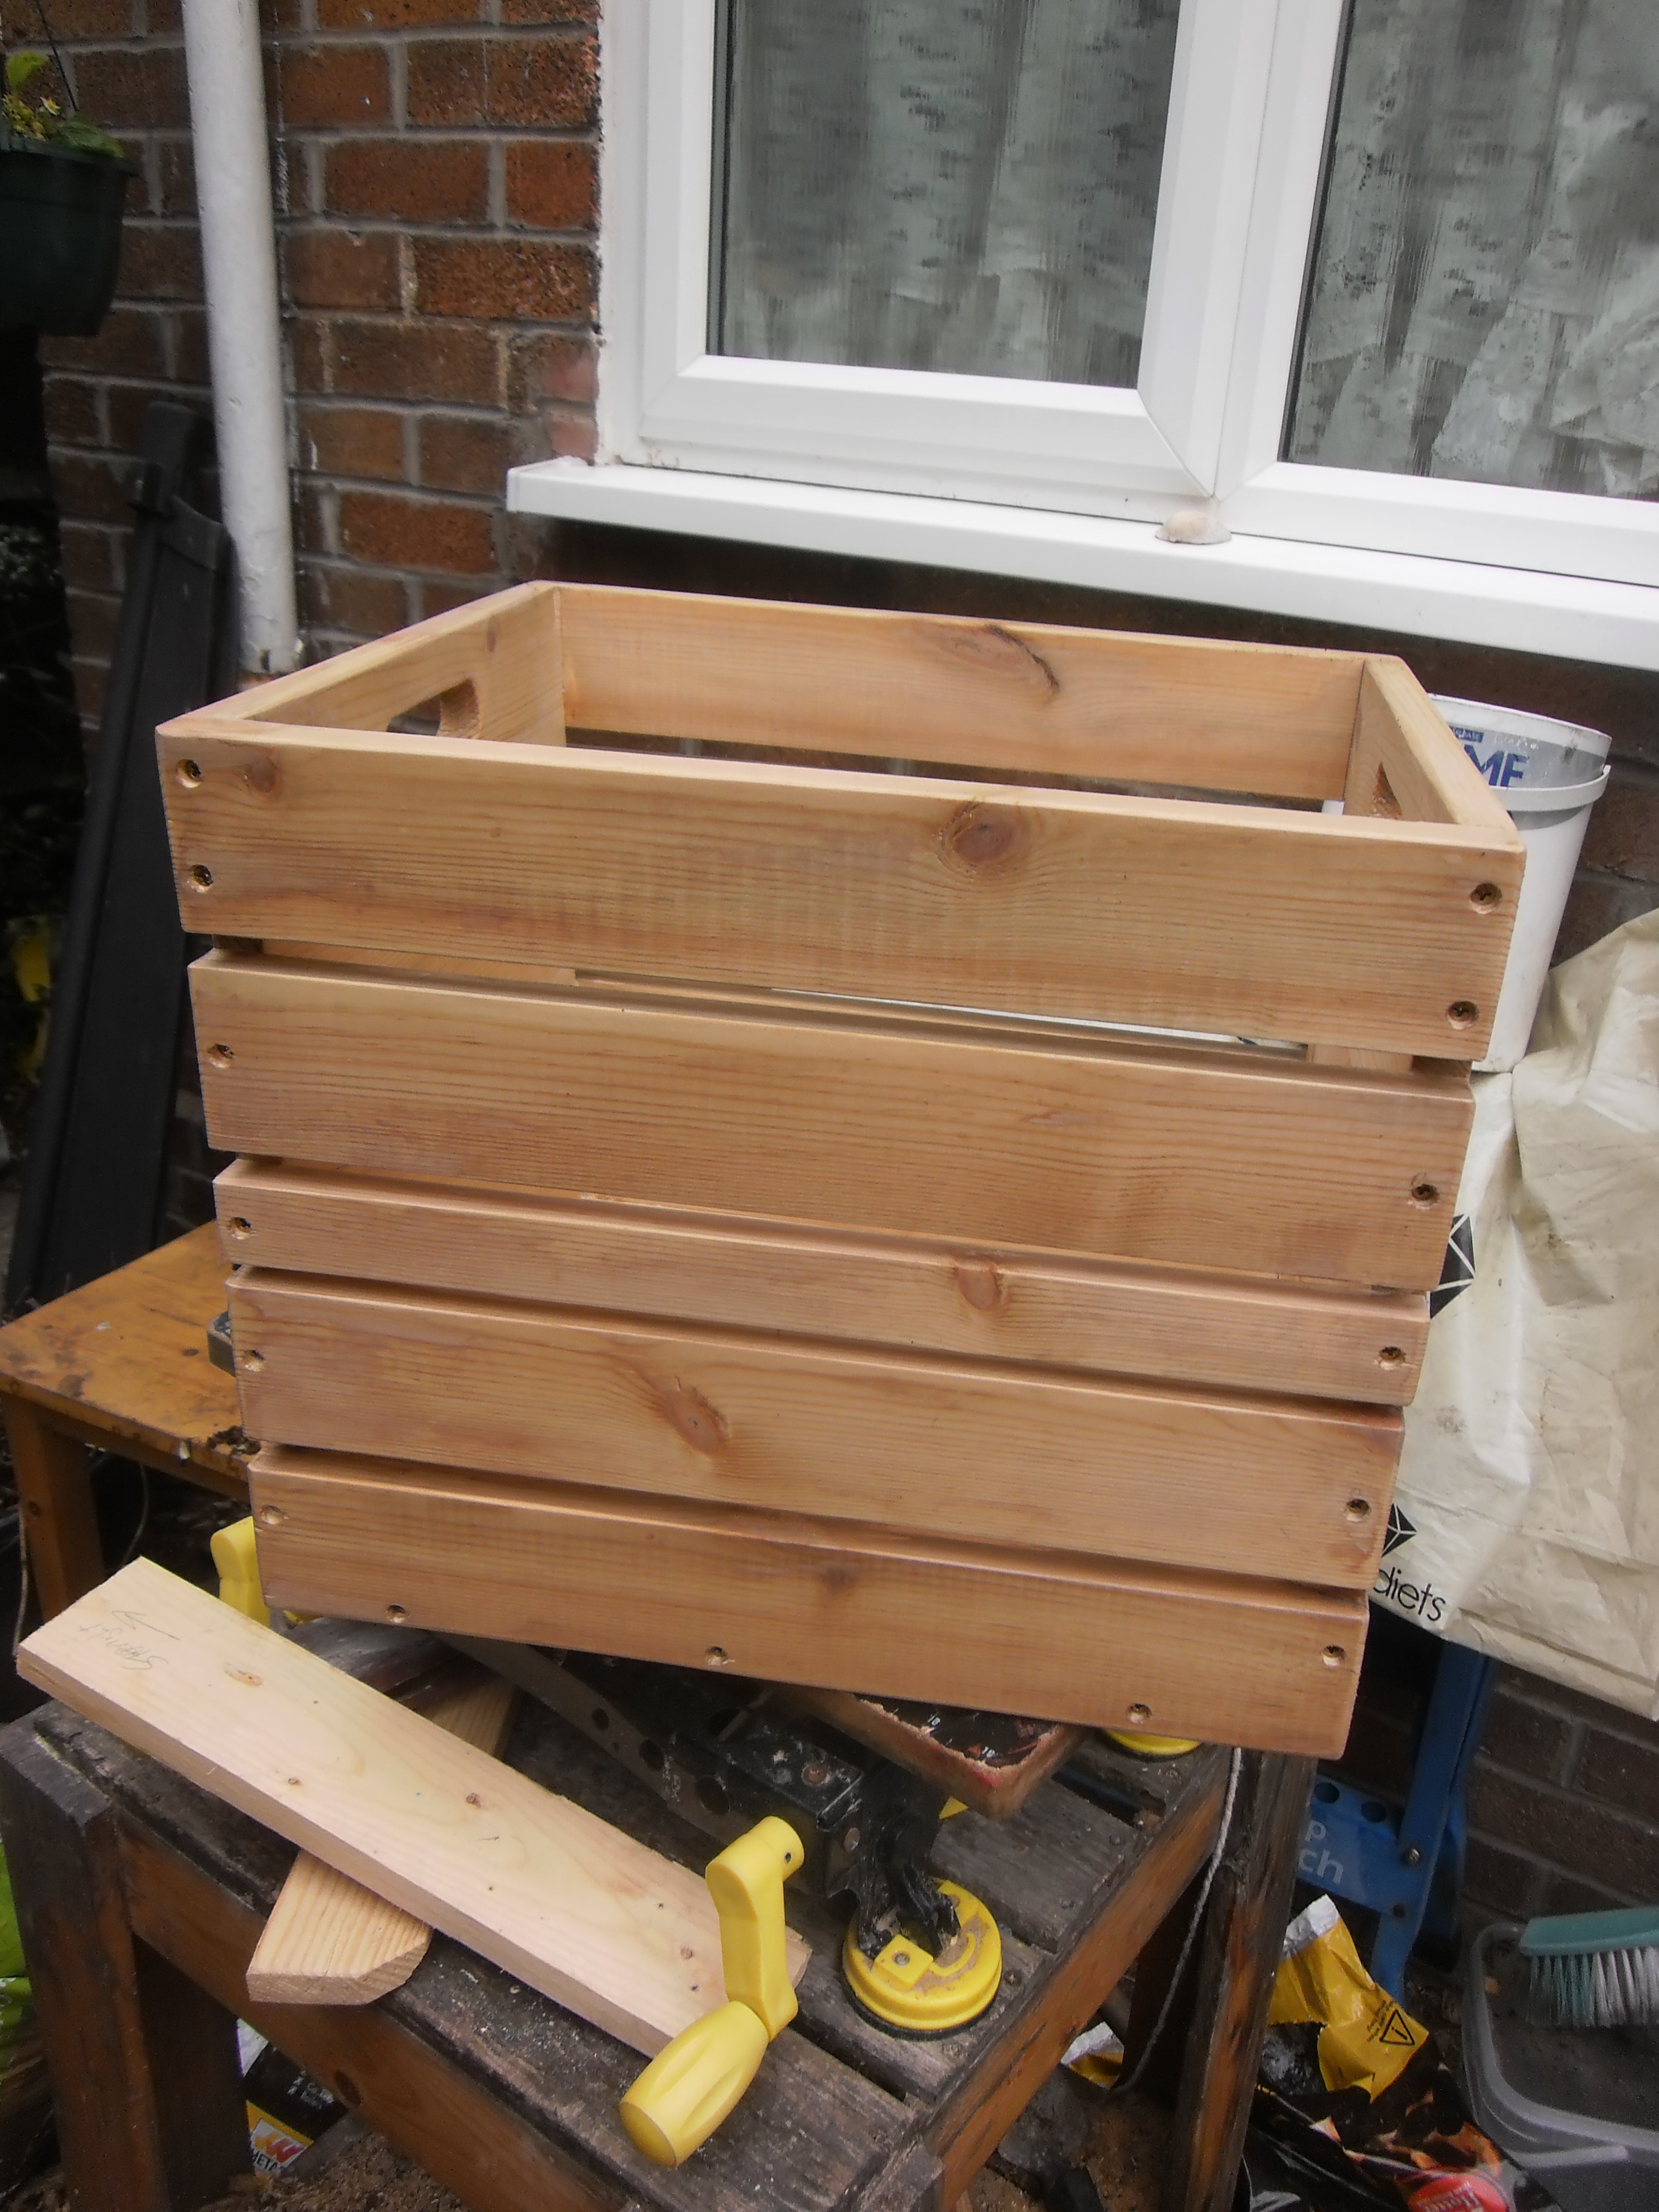
Hi Ana, found your page very informtive and very easy plans to follow. Made the crate to keep my vinly records in and was well pleased with the en result. Think I'll add some castor wheels to it once I've finished painting the crate,
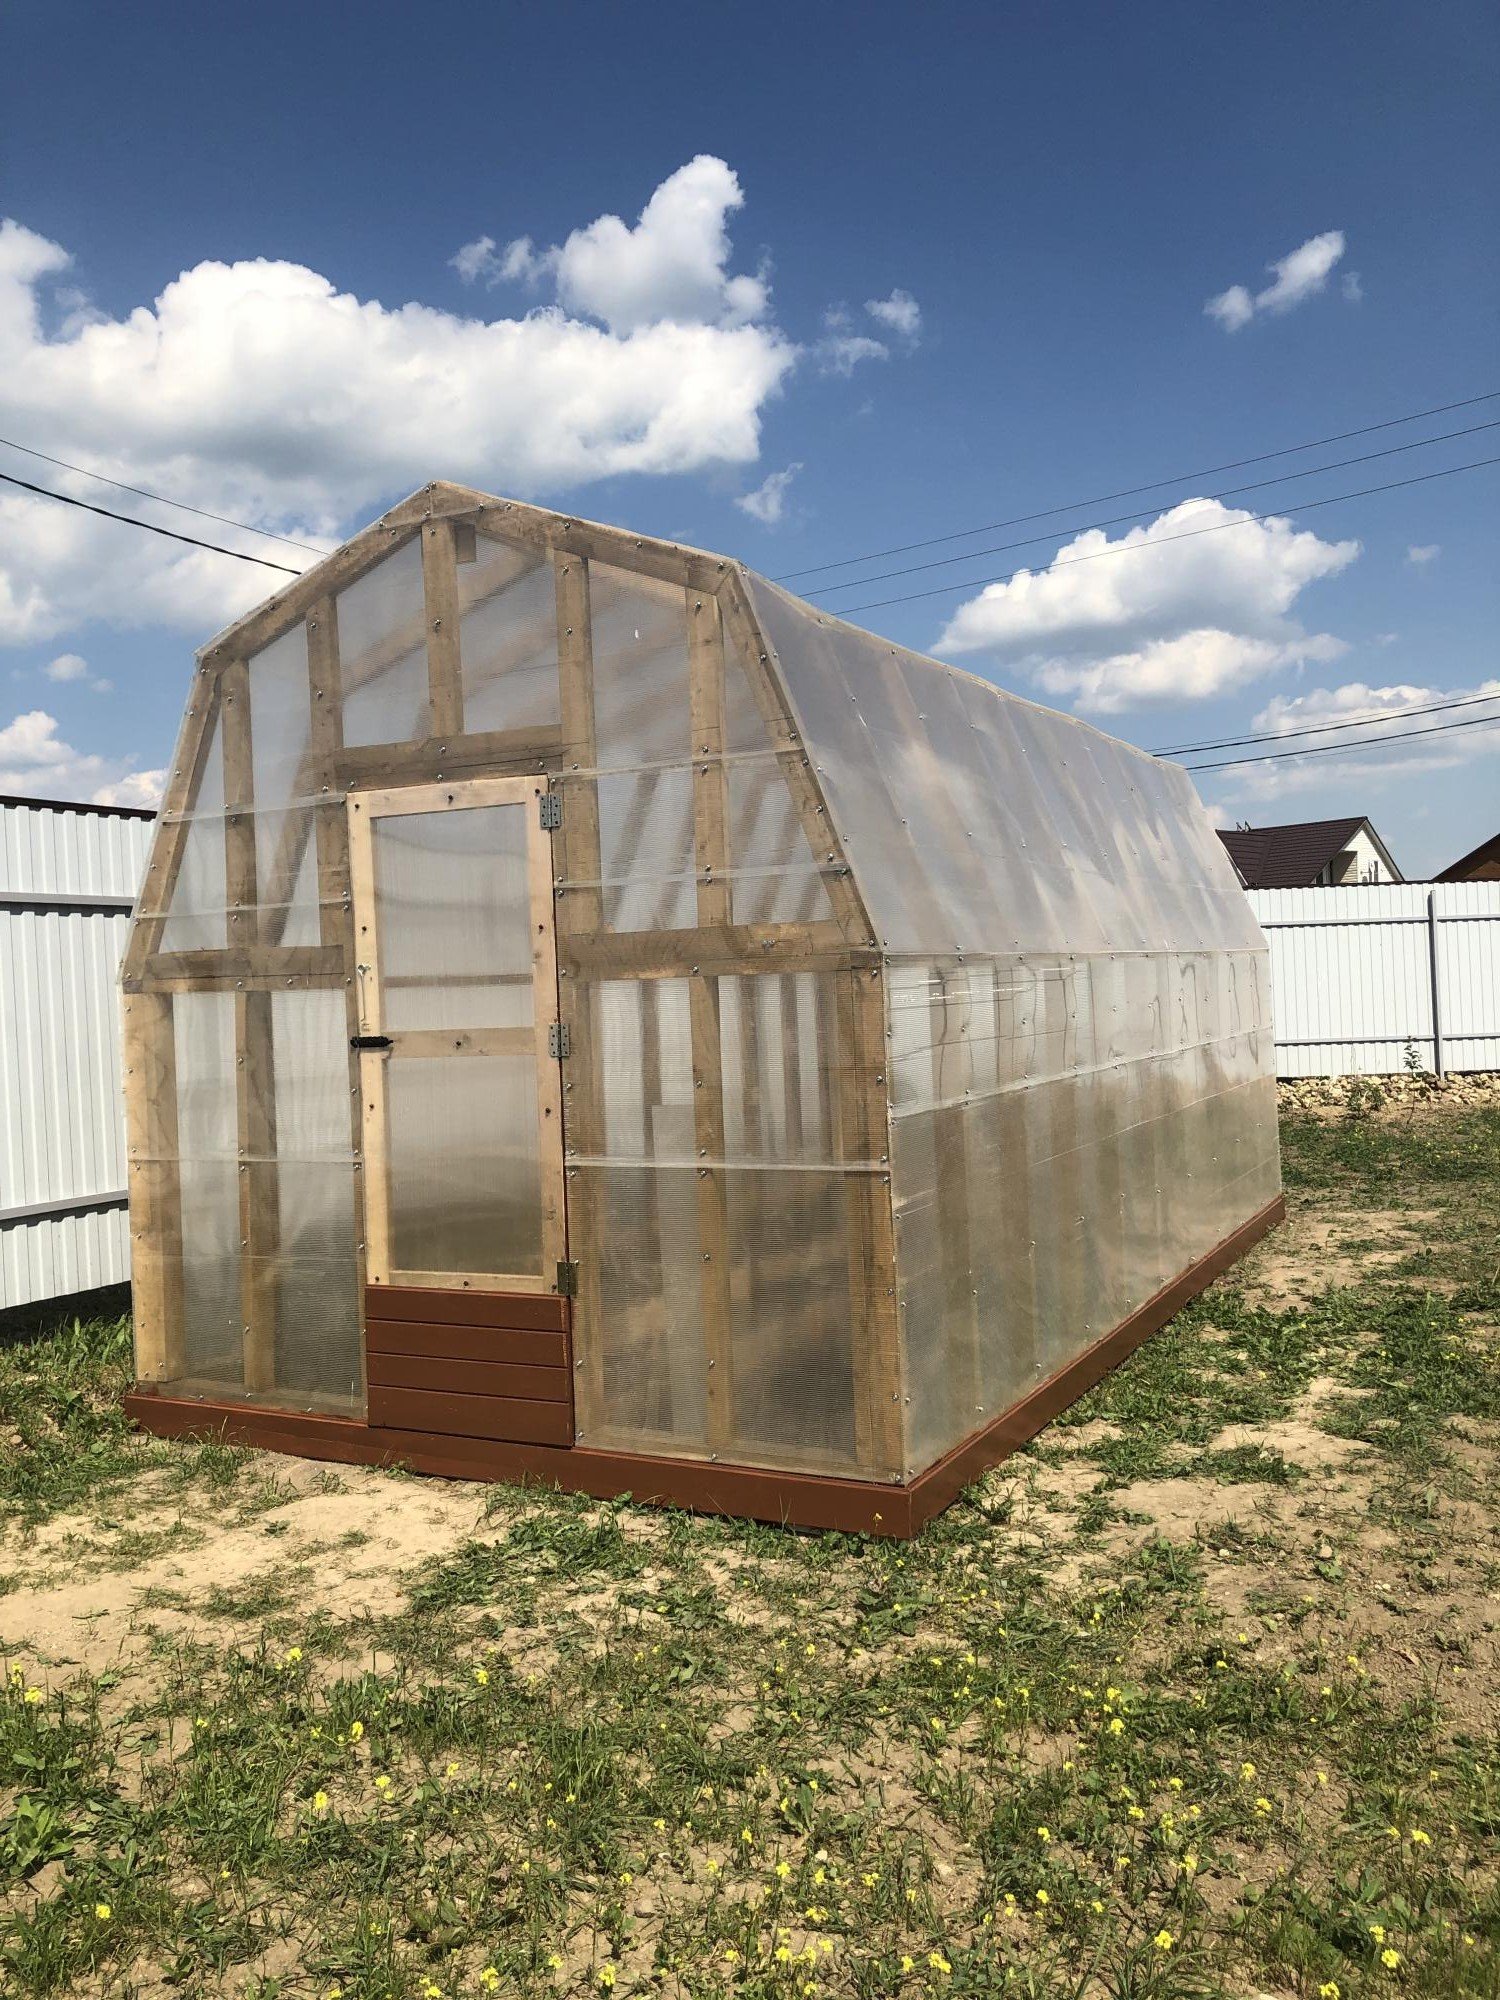
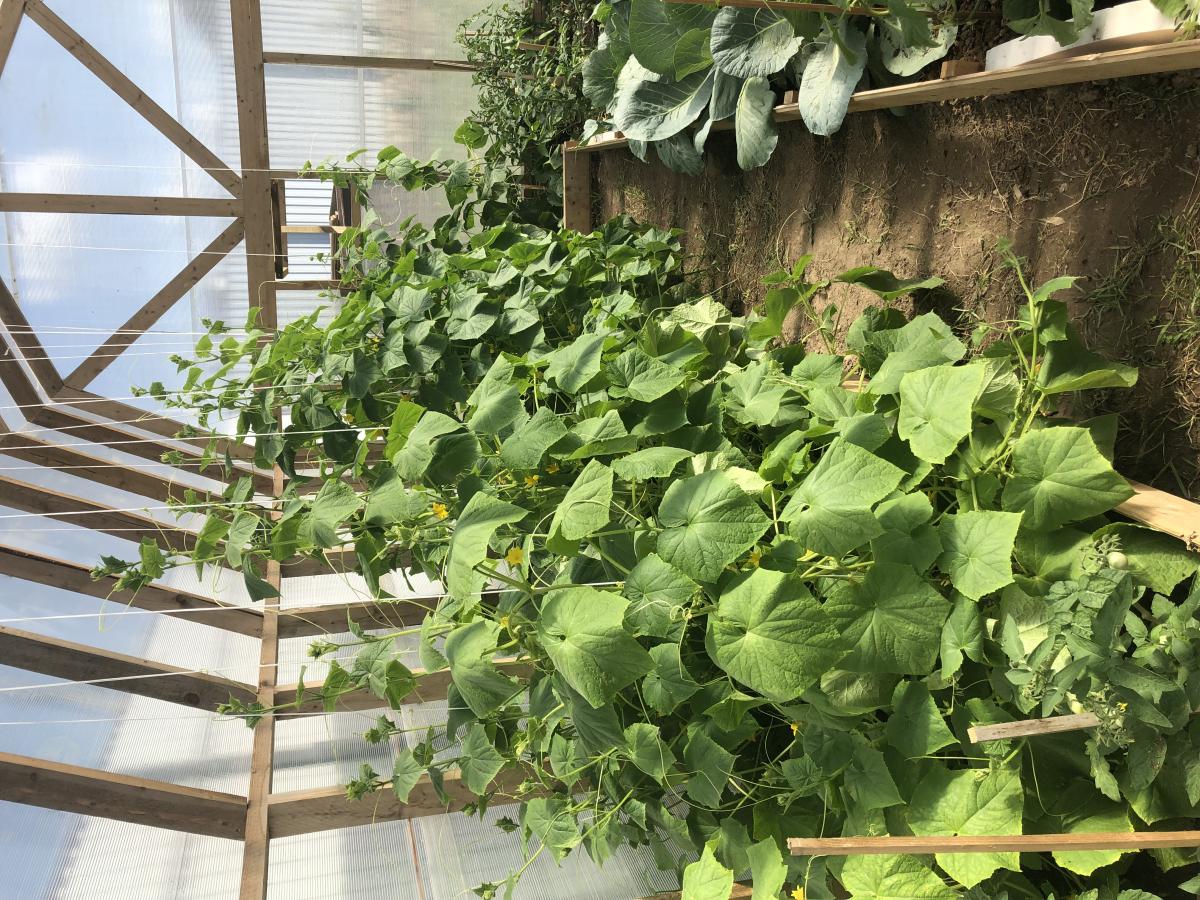
This was my first attempt at building a greenhouse. I wanted my cucumbers to be able t climb high so I made the house higher than the plans showed. It's also a little larger too. Since I am in Europe my dimensions are in meters. The overall size is 3 x 6 meters. I also built it on top of 100mm x 100mm lumber (the equivalent of 4x4's). It took 5 sheets of 6mm thick polycarbonate in 2 x 6 meters.