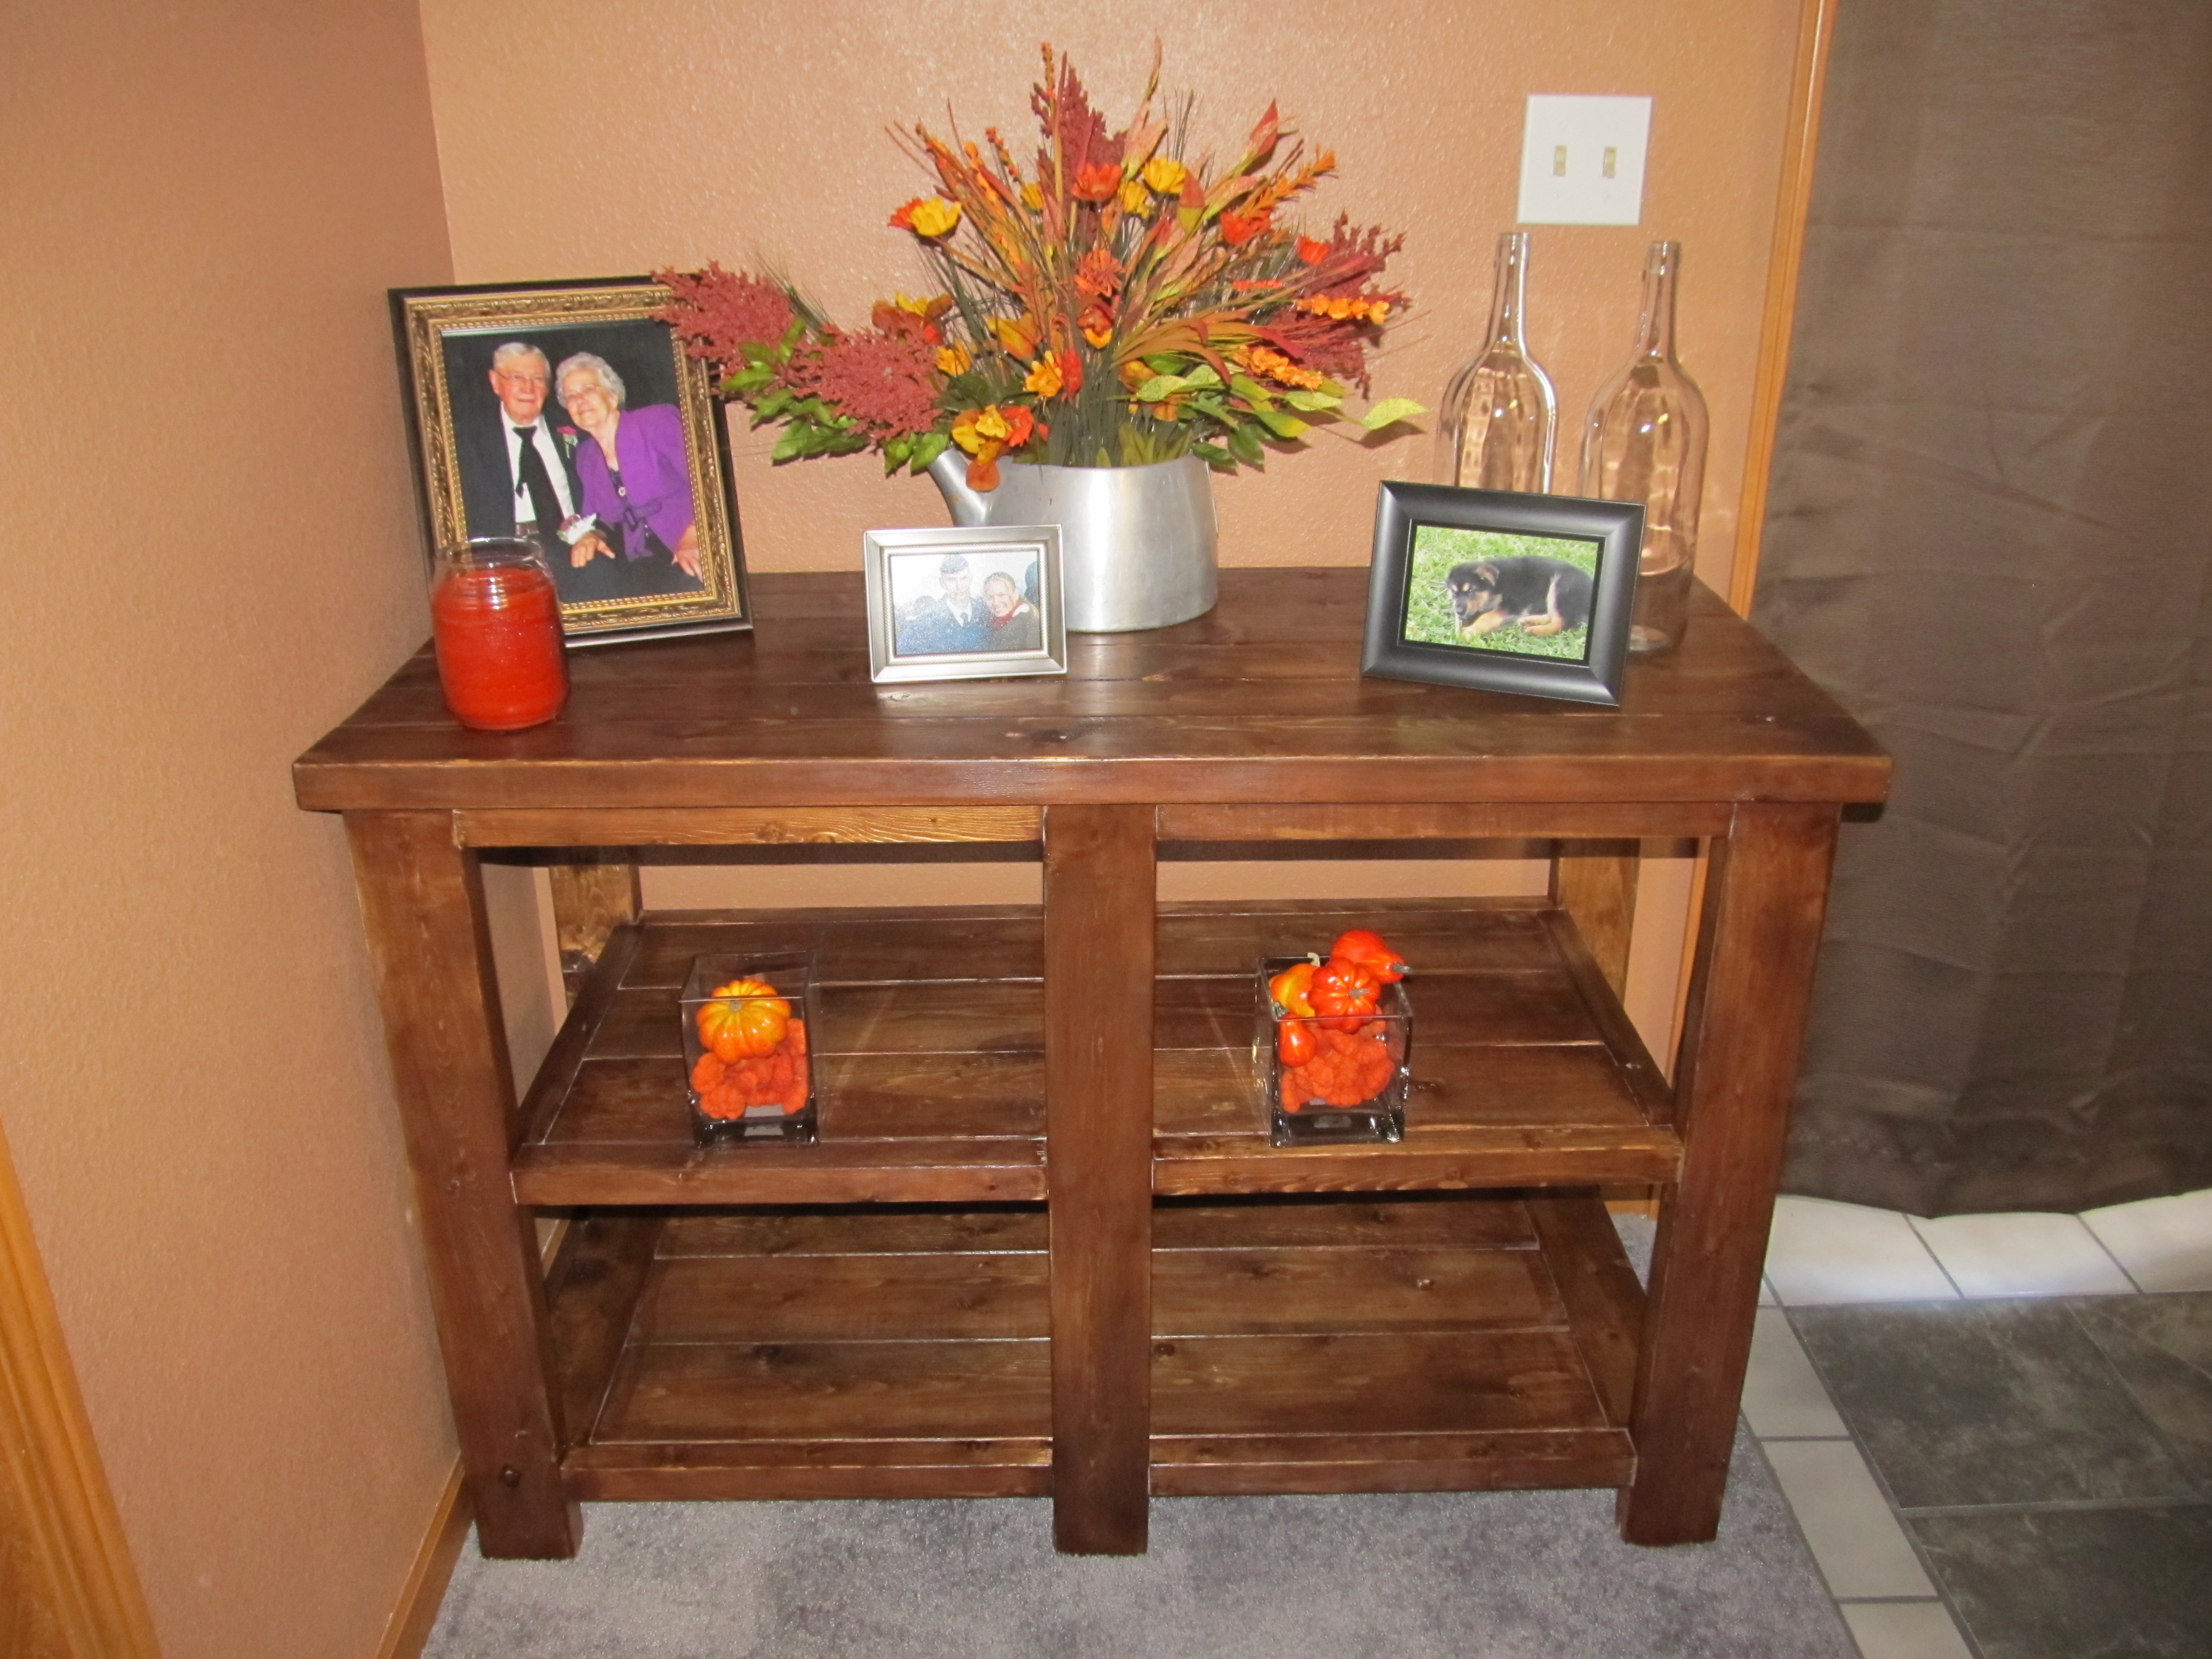
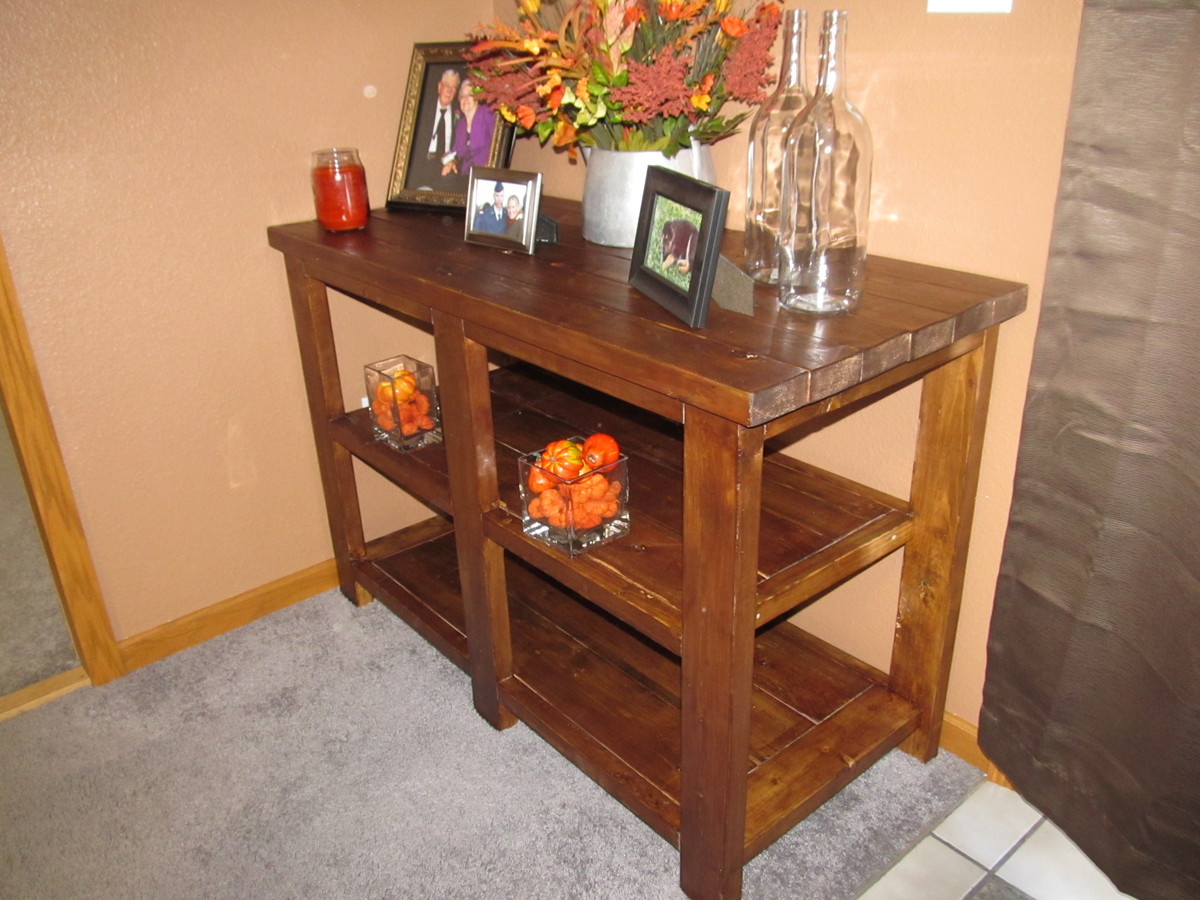
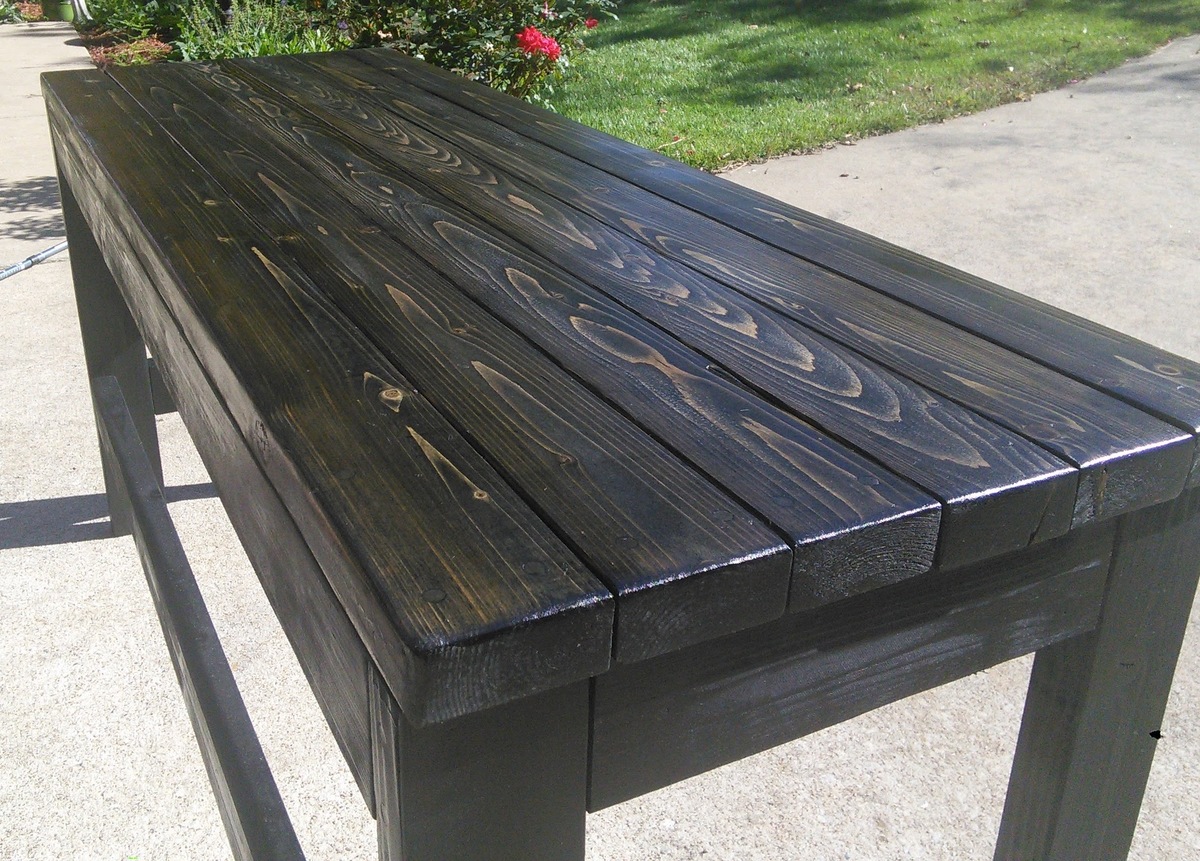
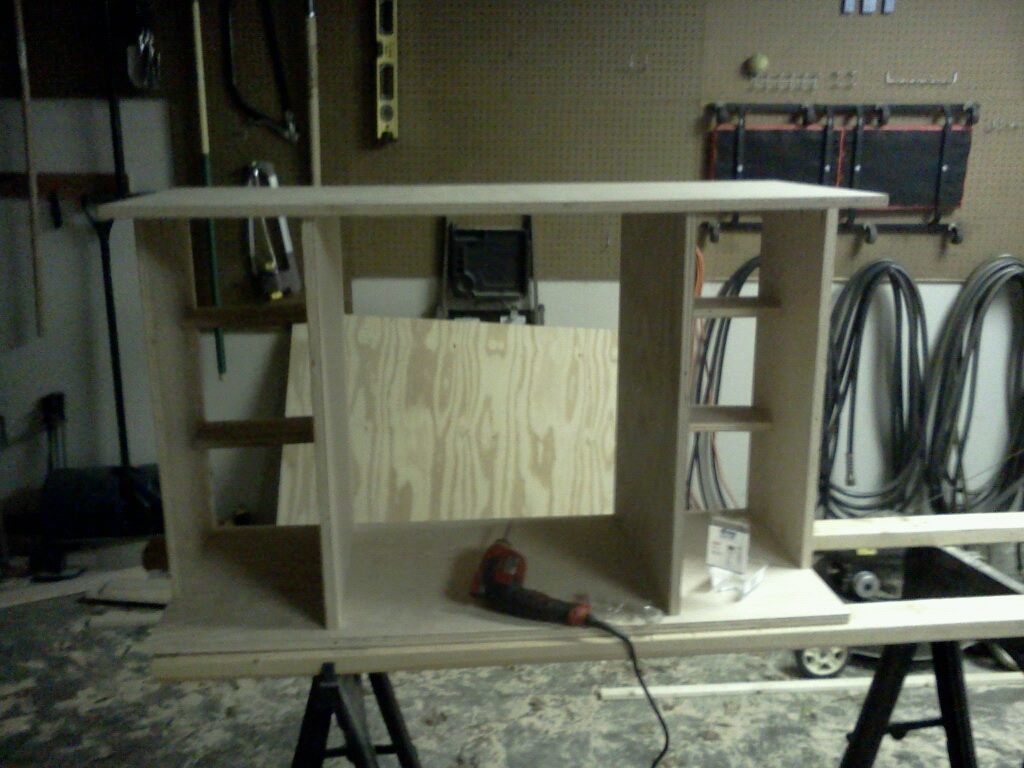
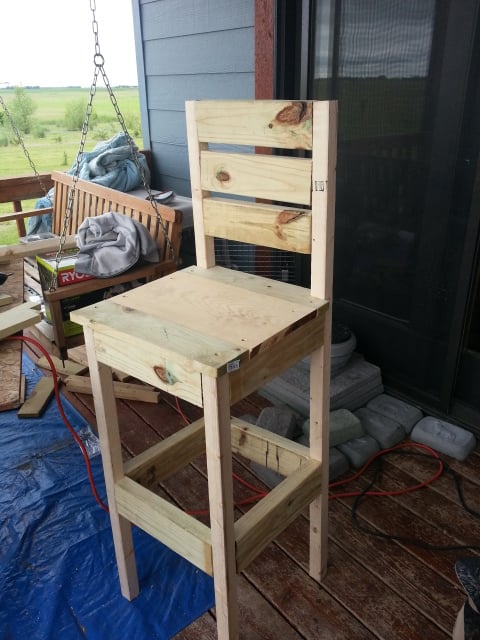
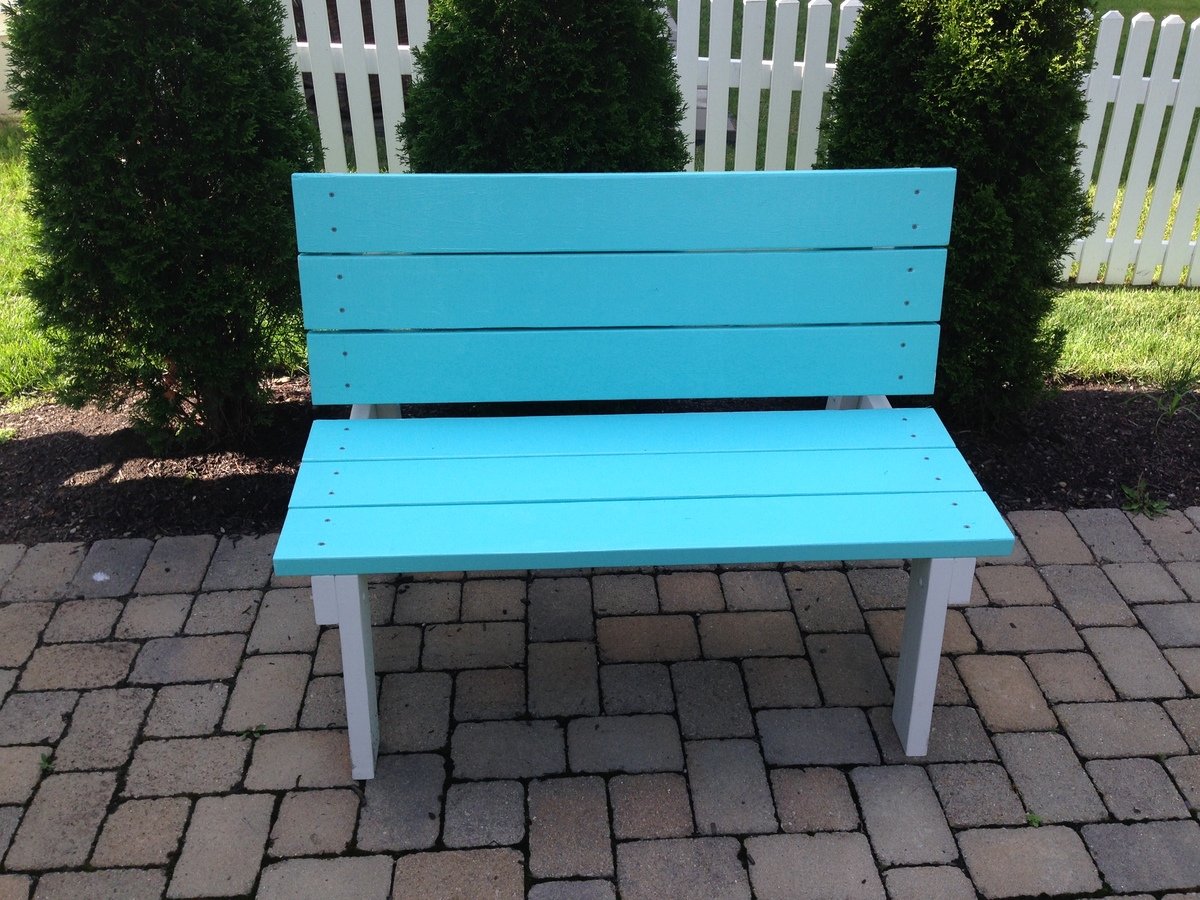
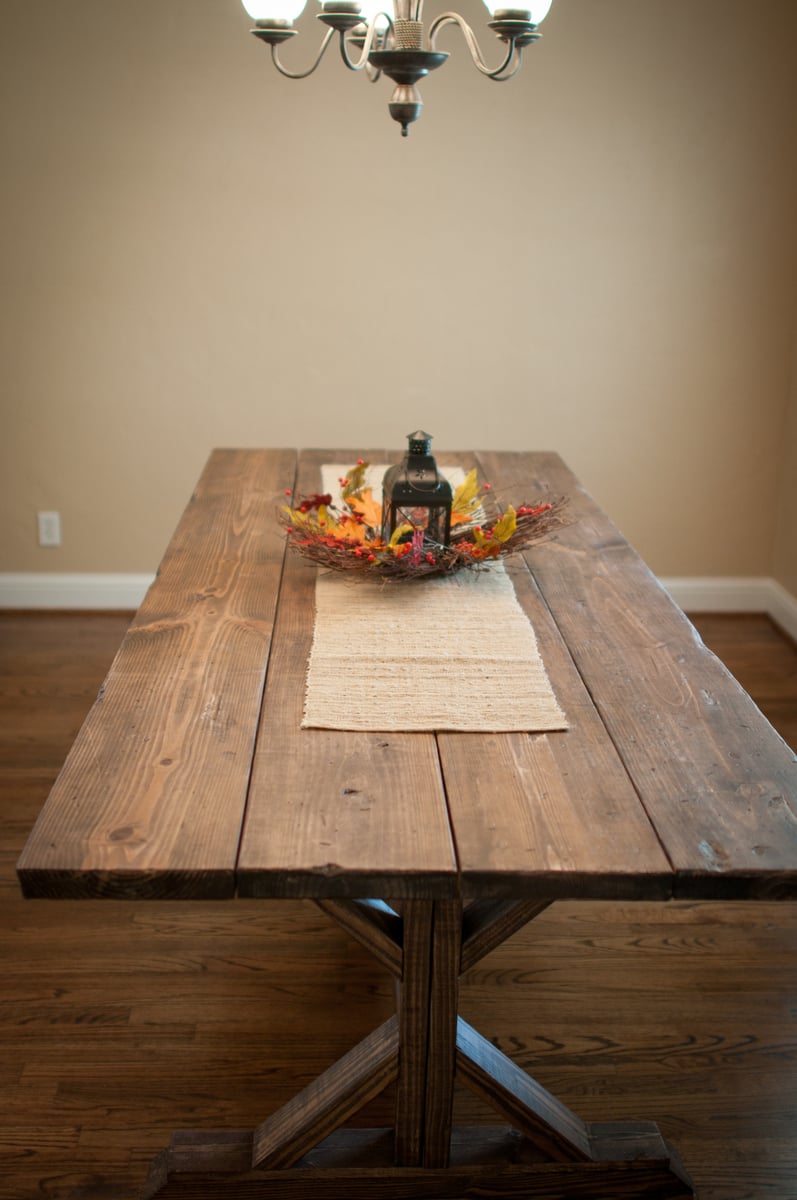
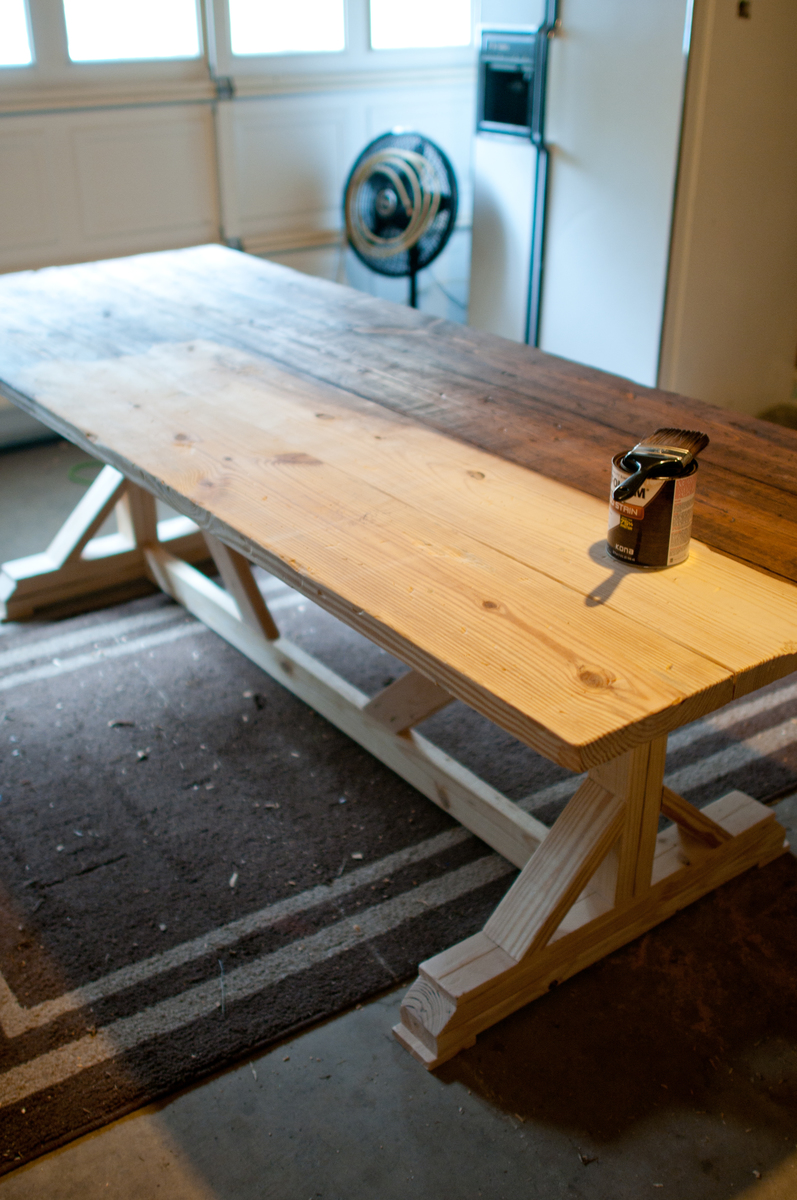
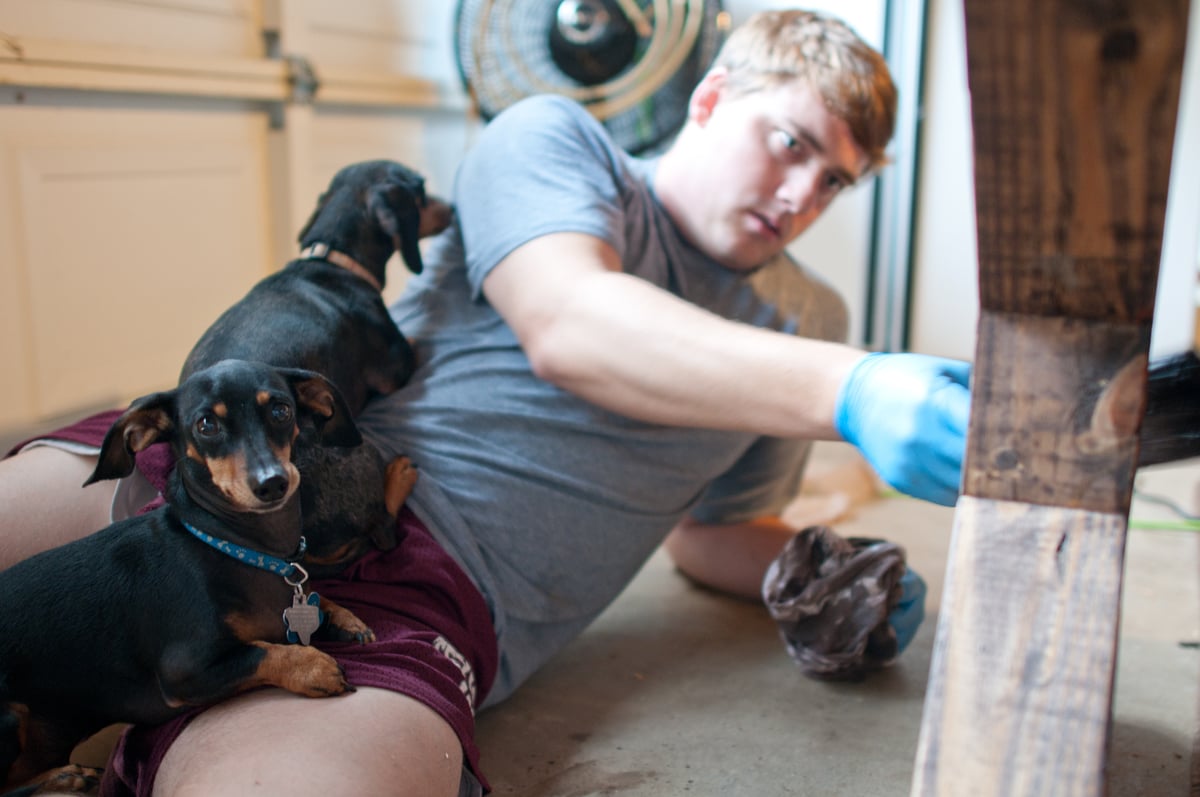
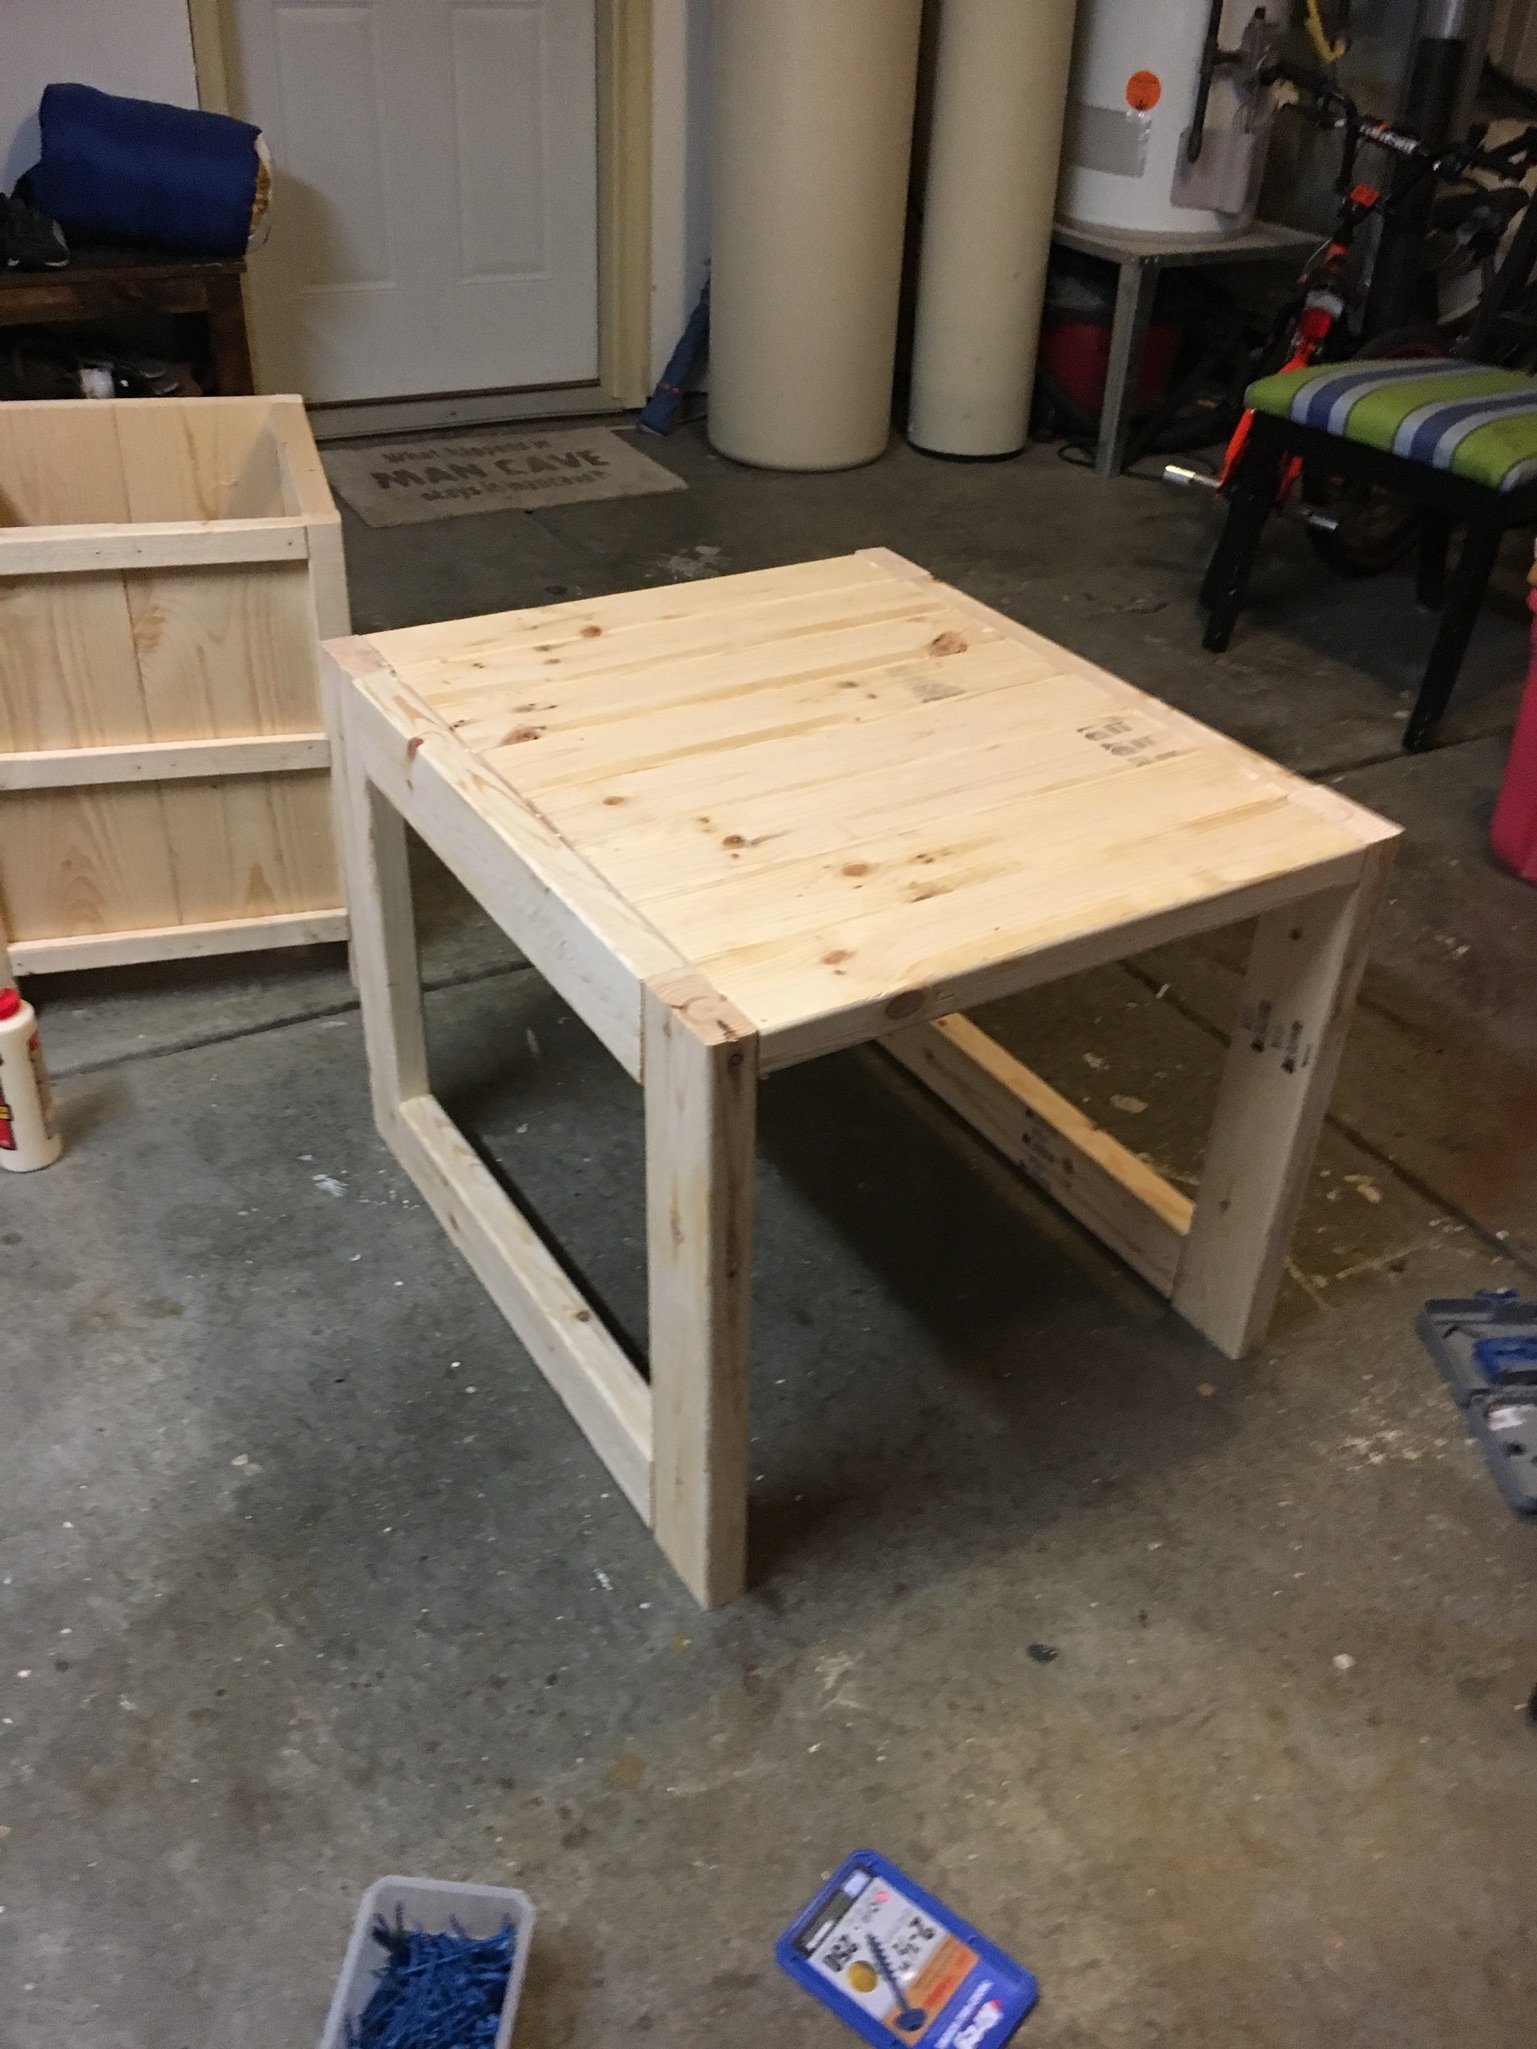
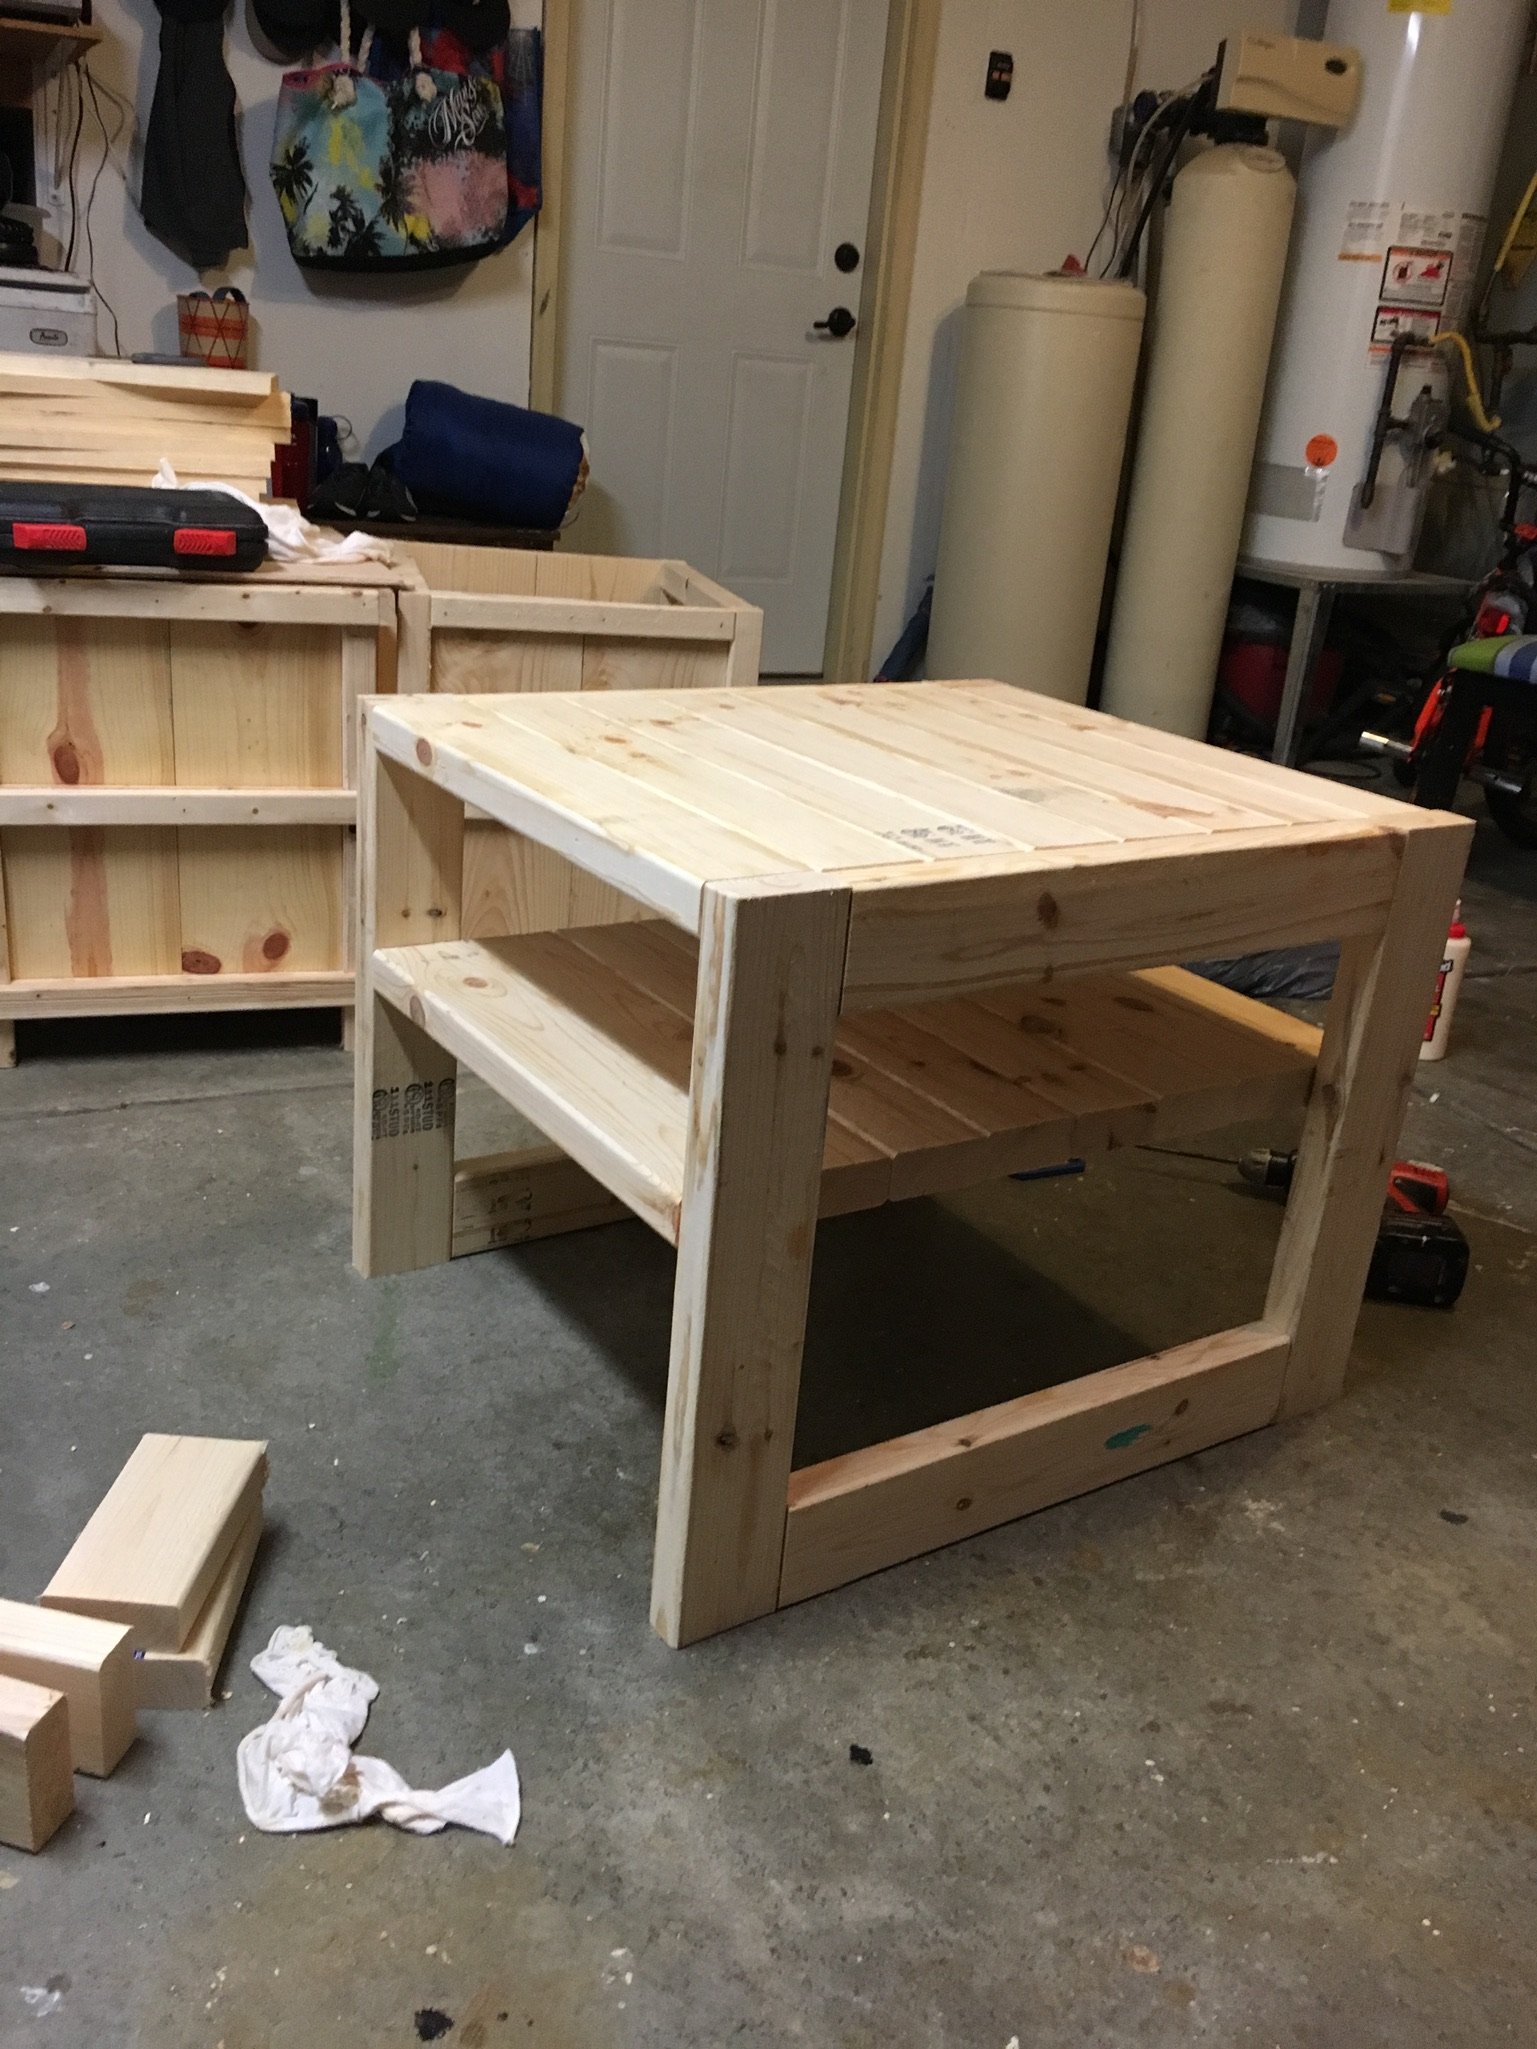
This was my first project like this from website, the instructions were clear and easy to follow. I did this over a weekend all total it took 10 to 15 hours with the bulk of that going to priming and painting the wood.
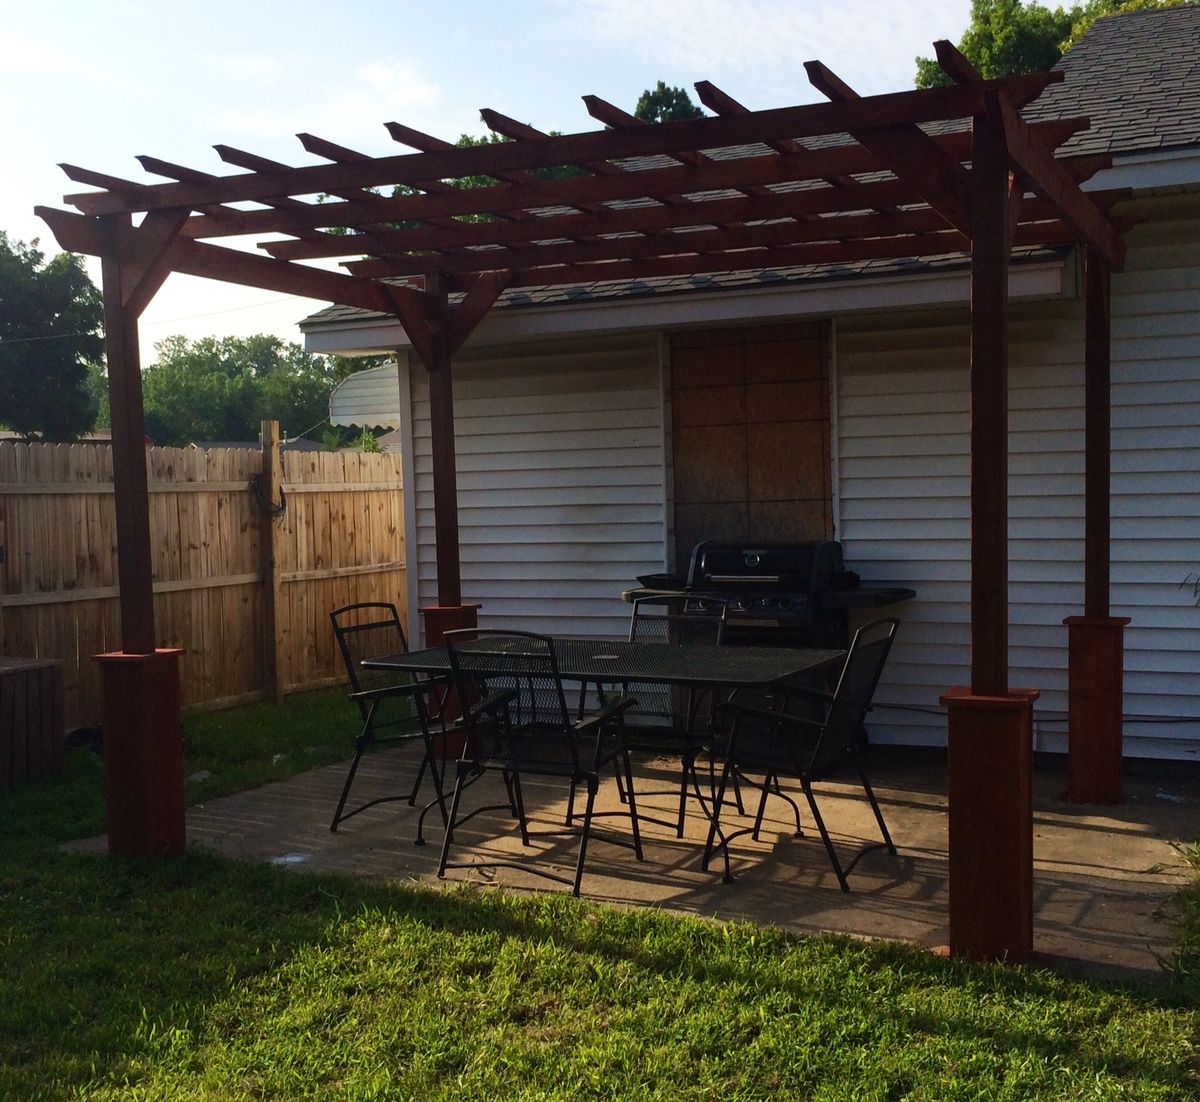
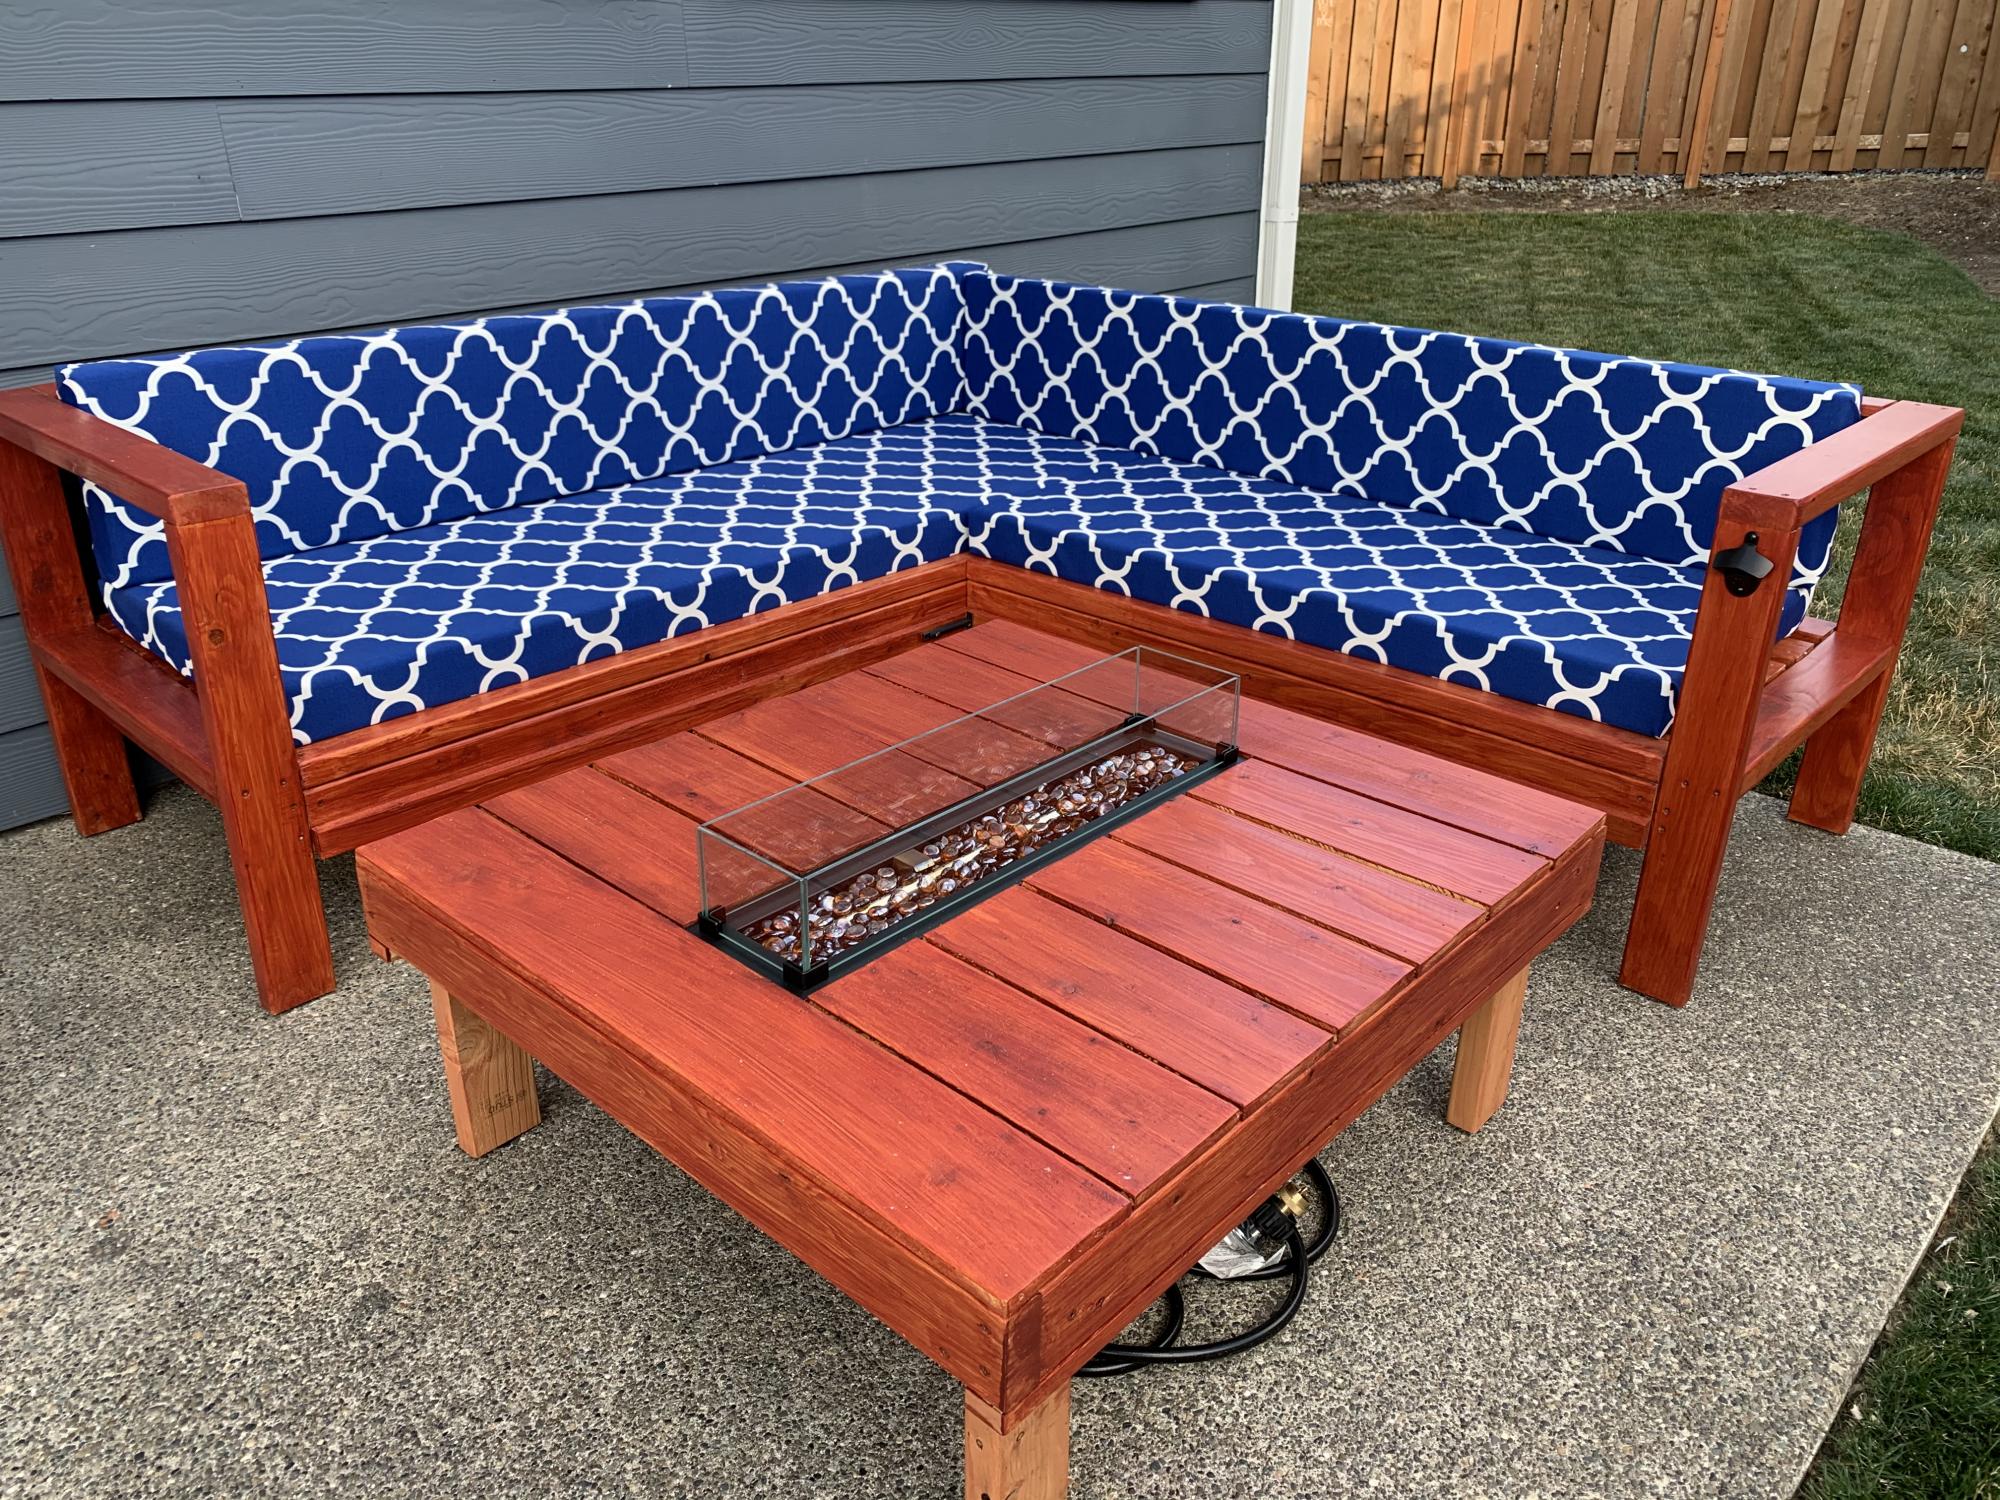
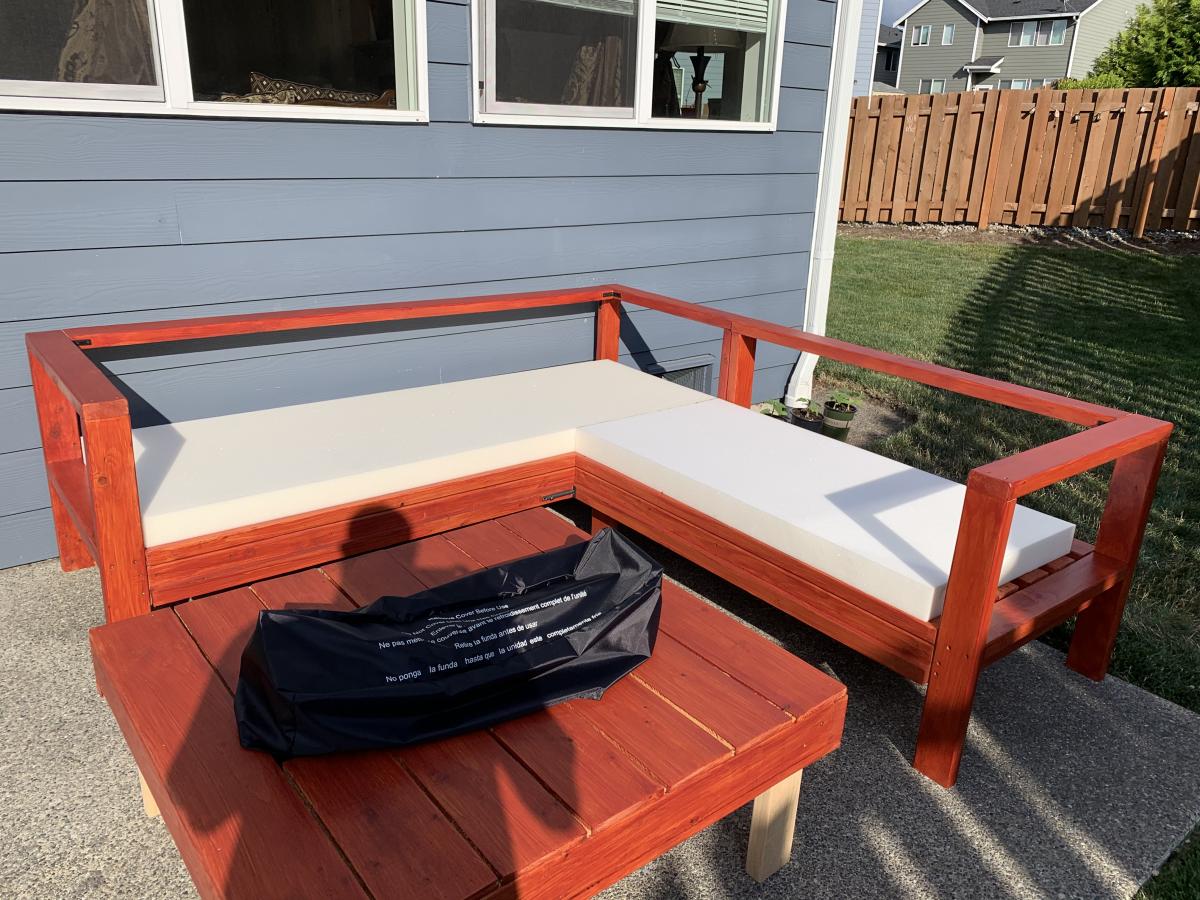
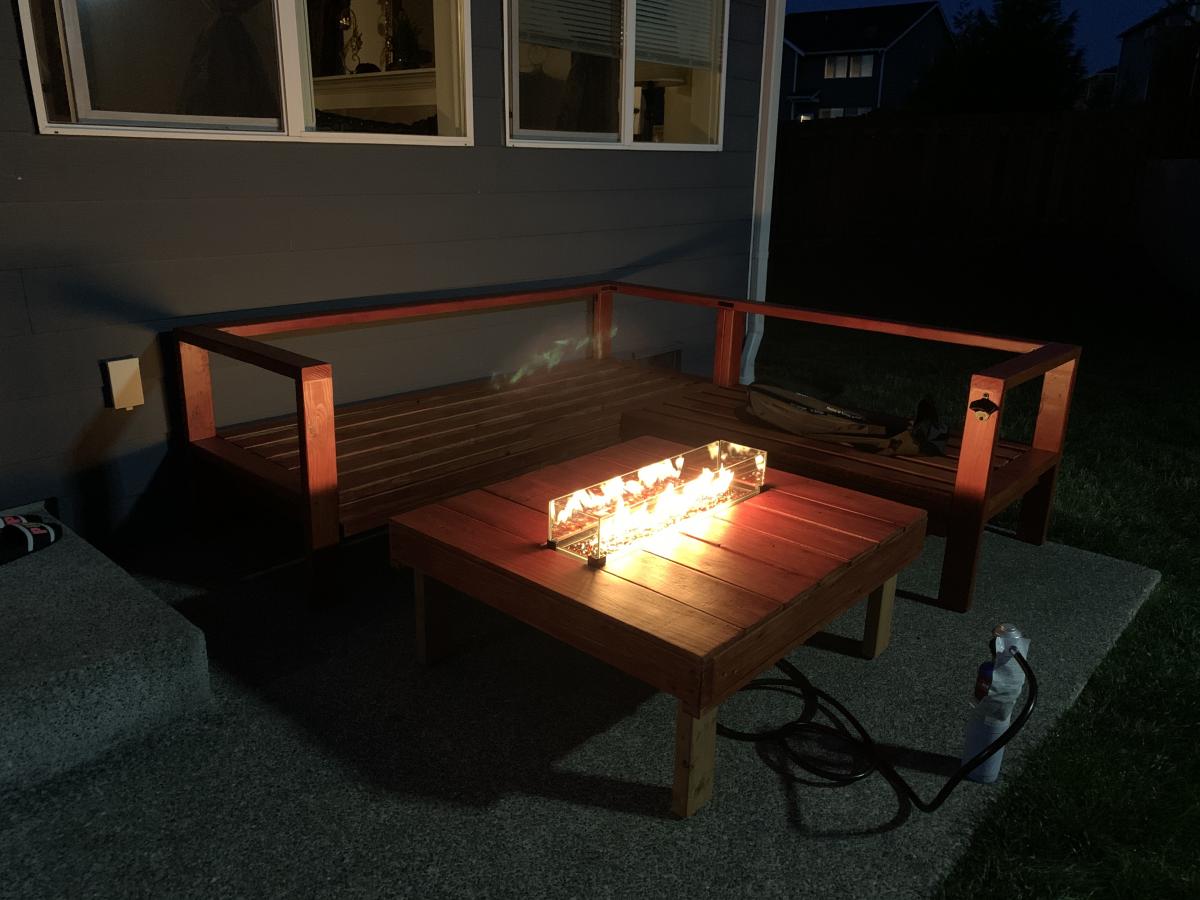
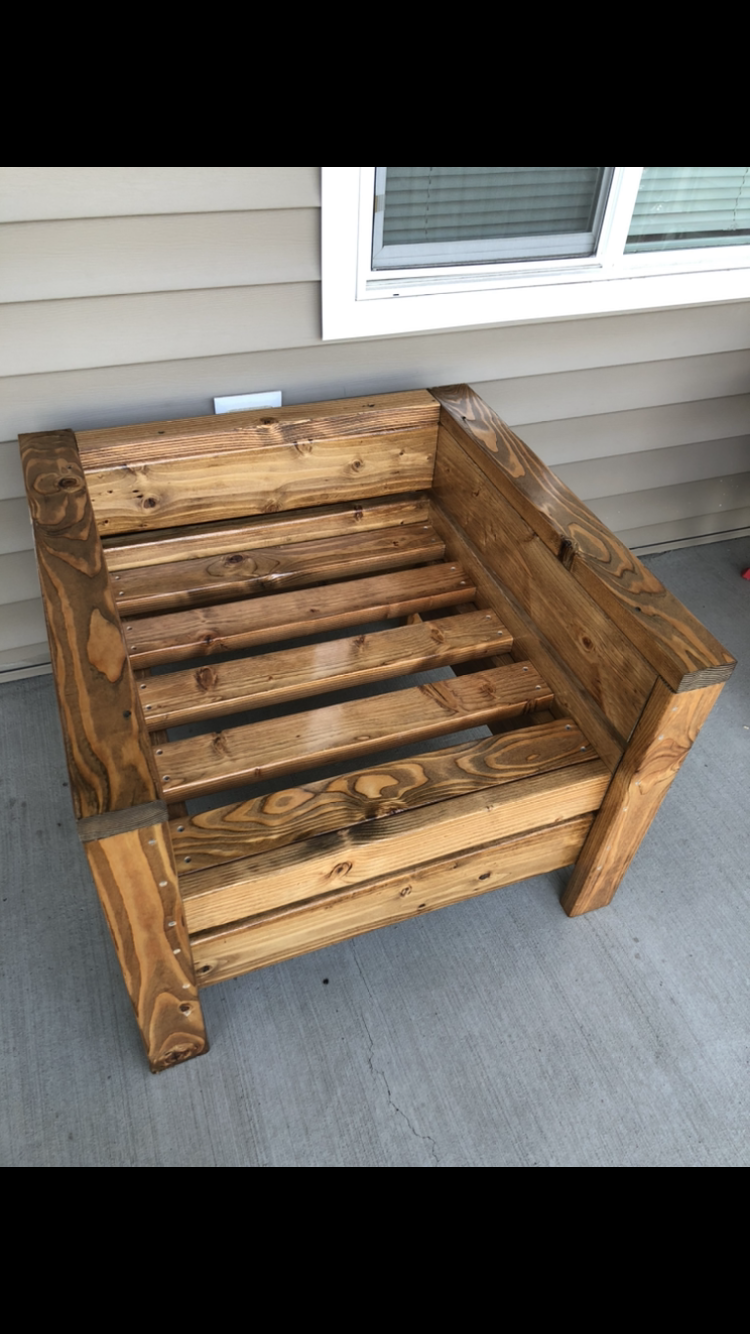
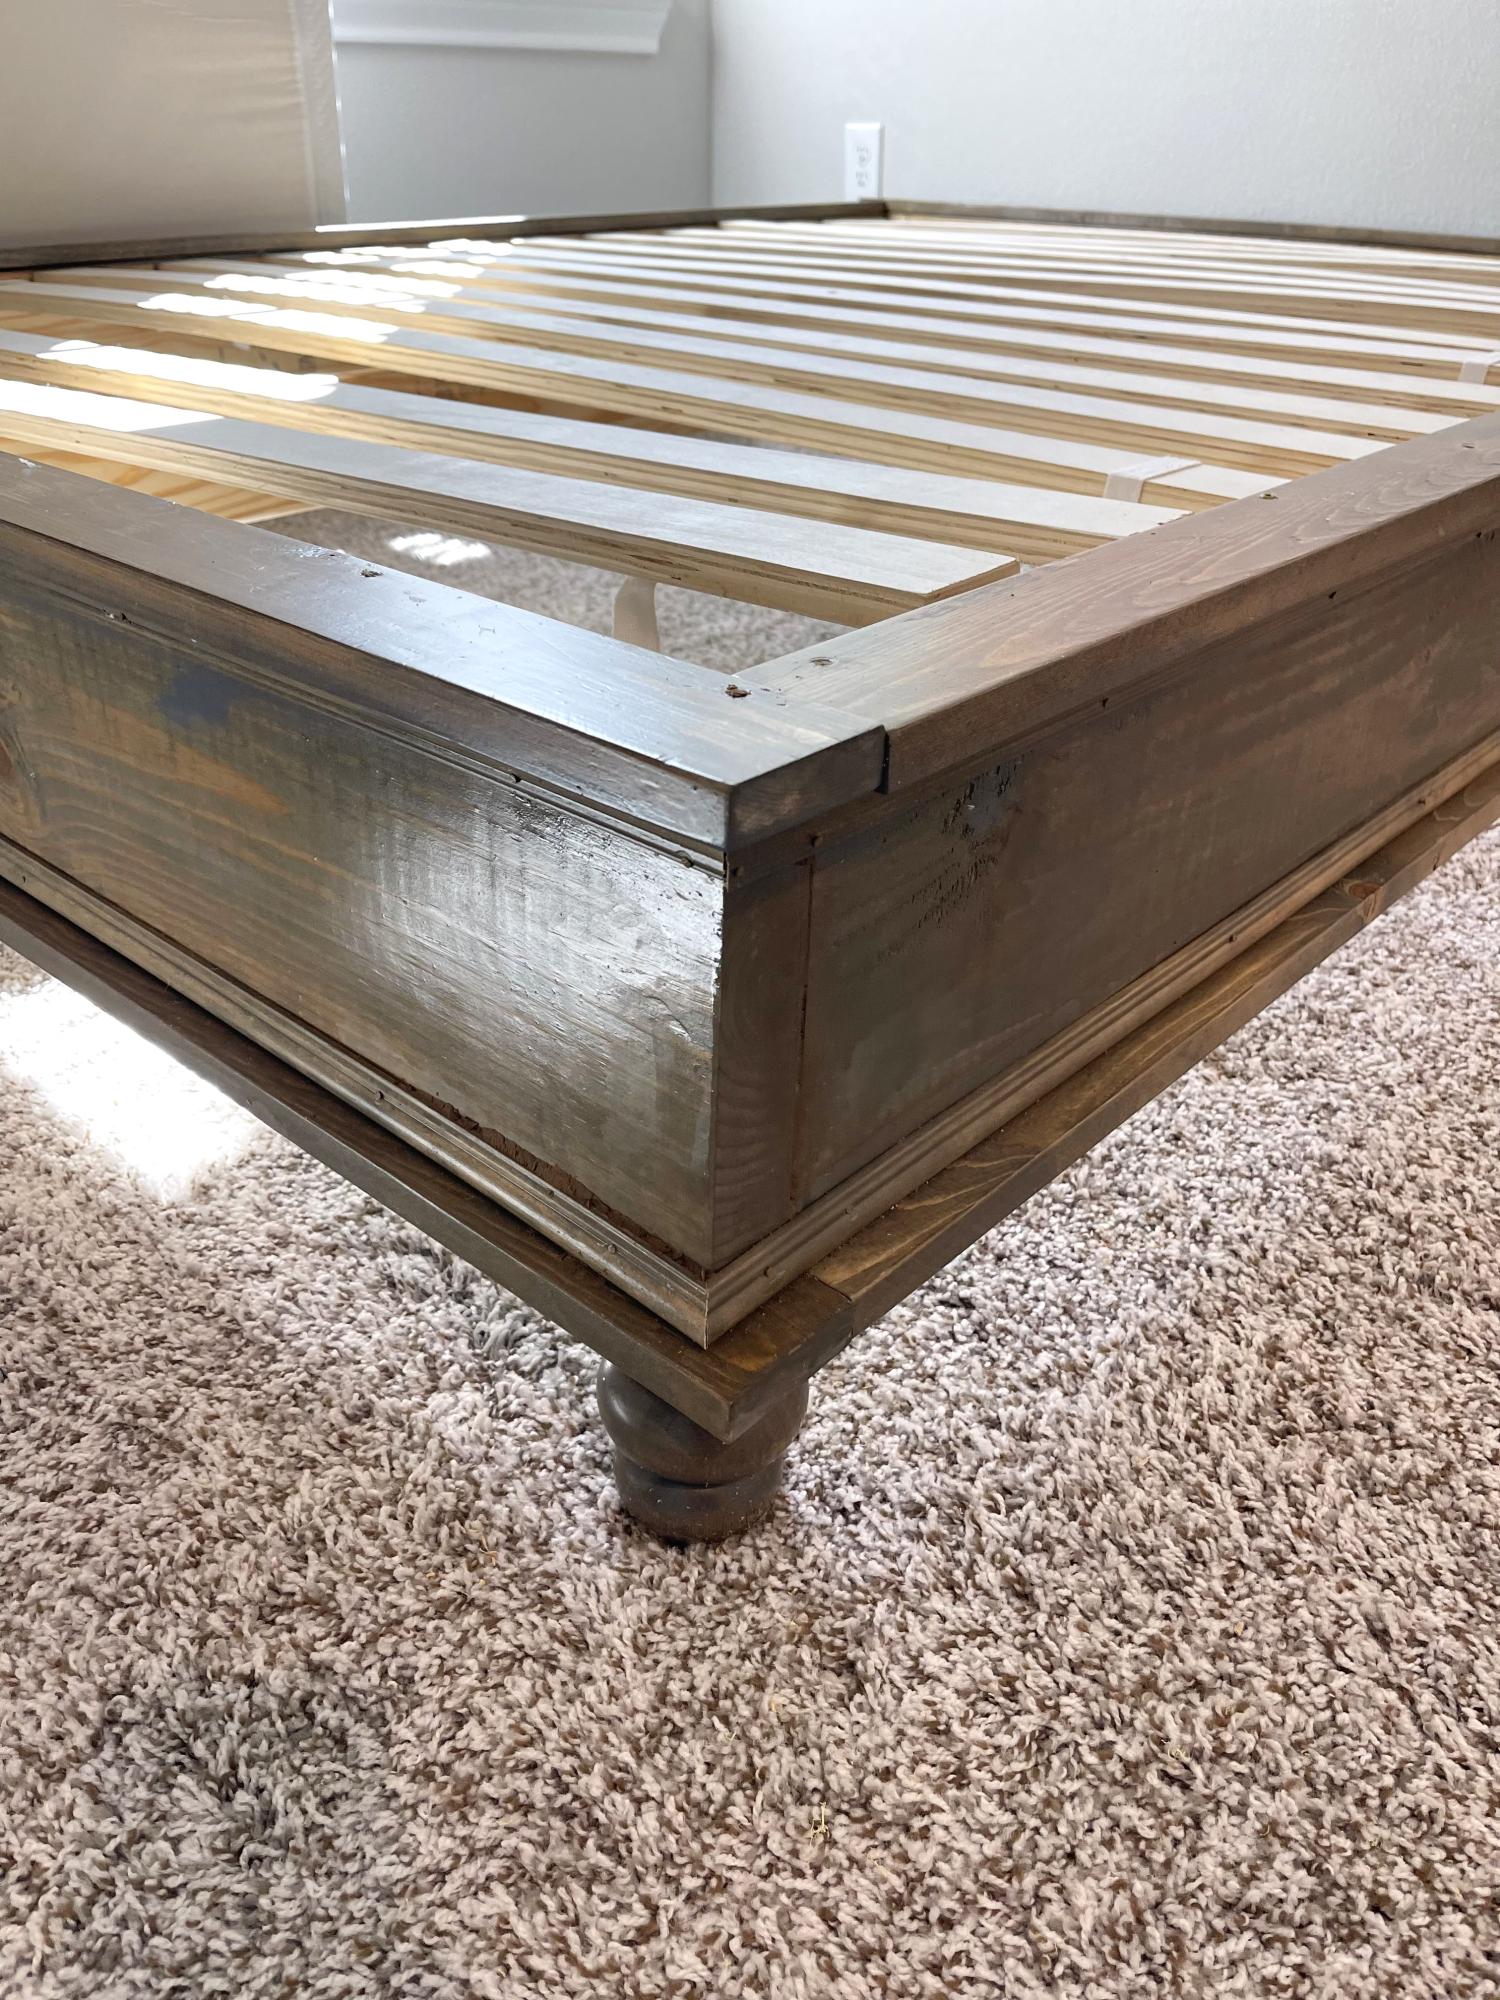
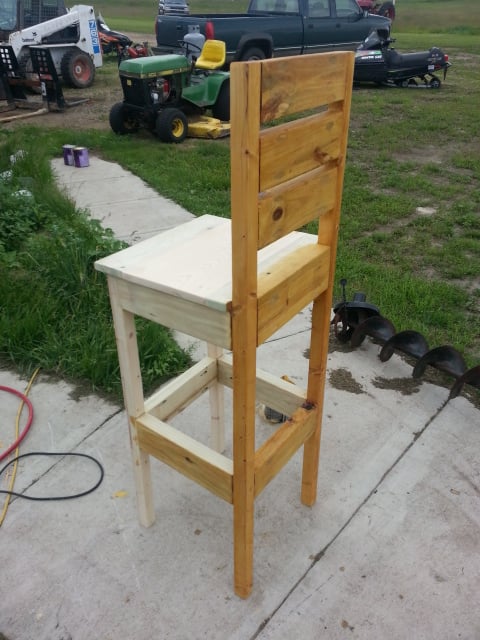
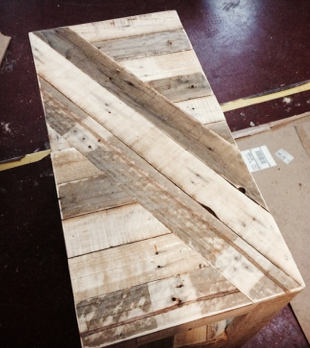
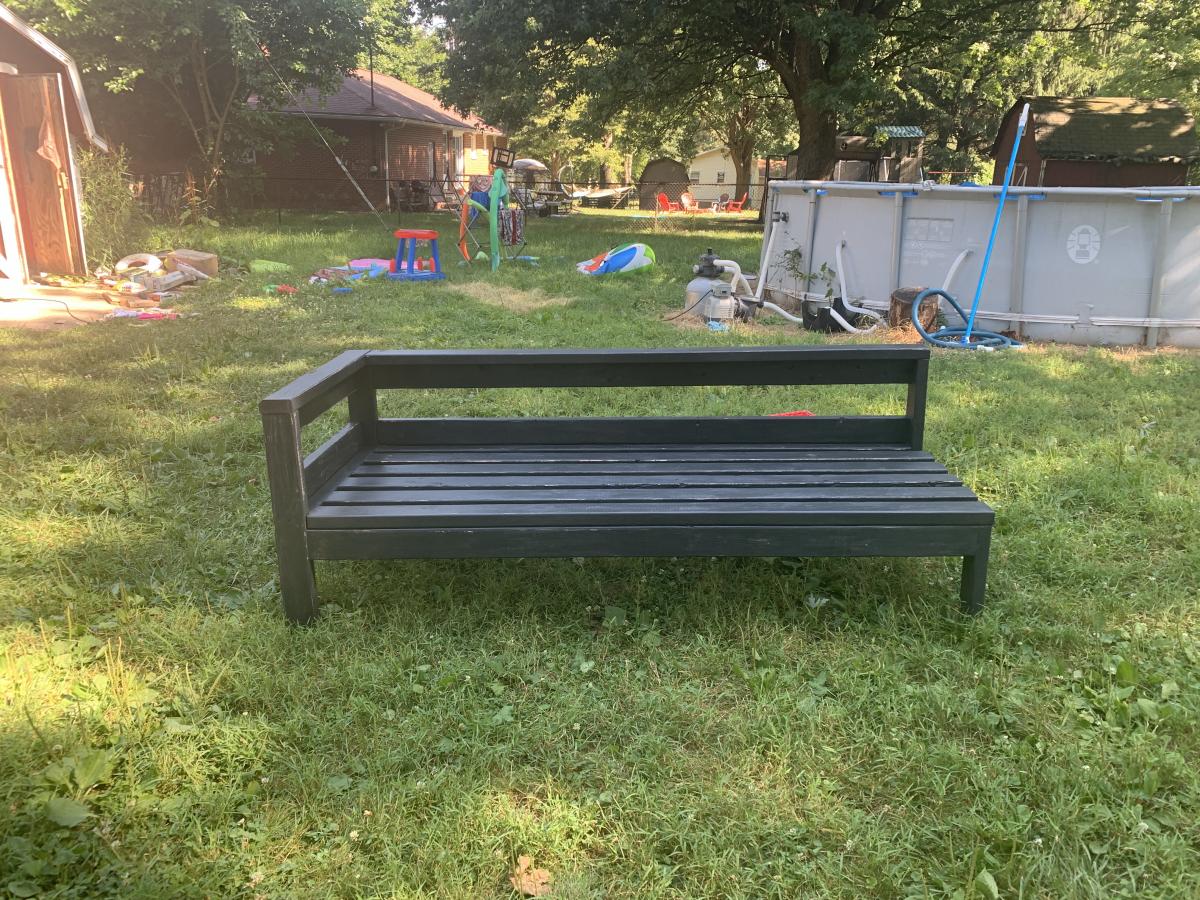
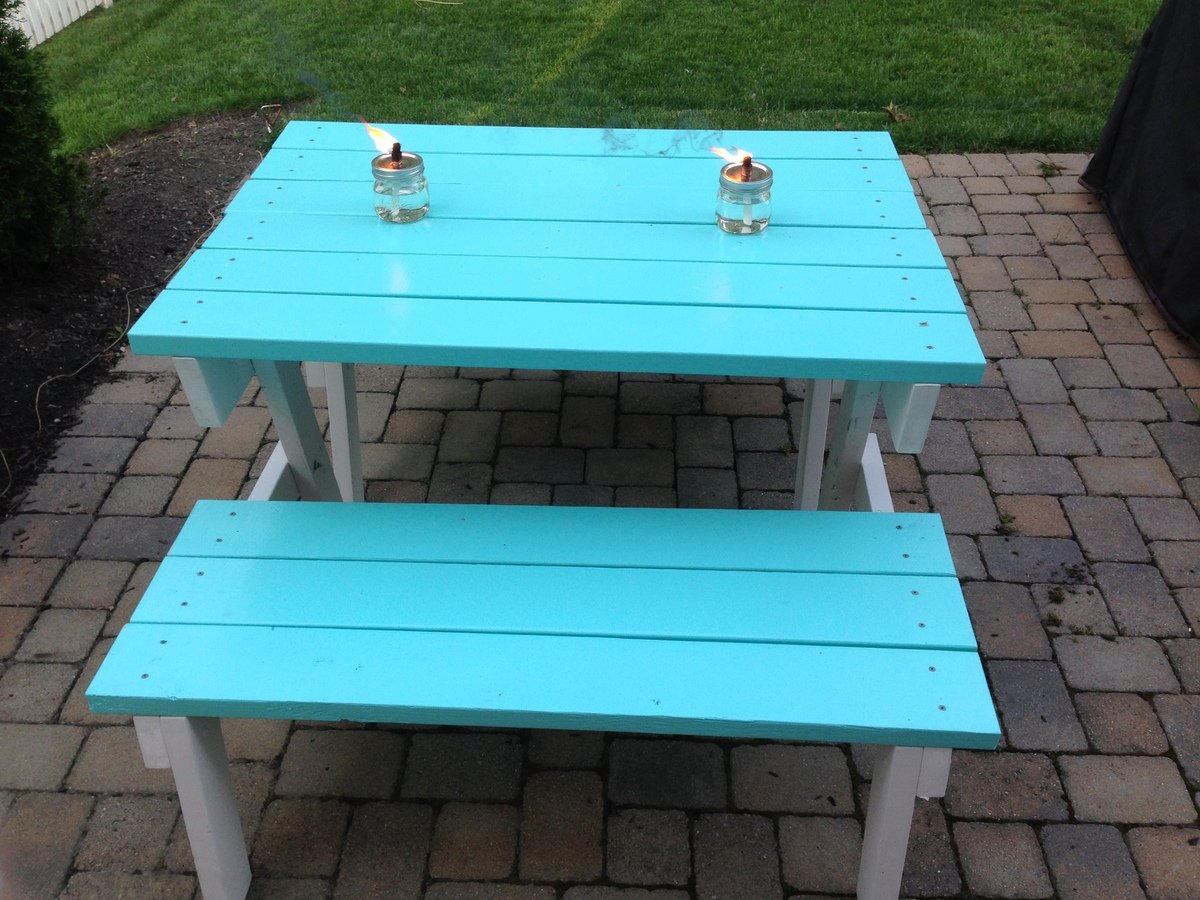
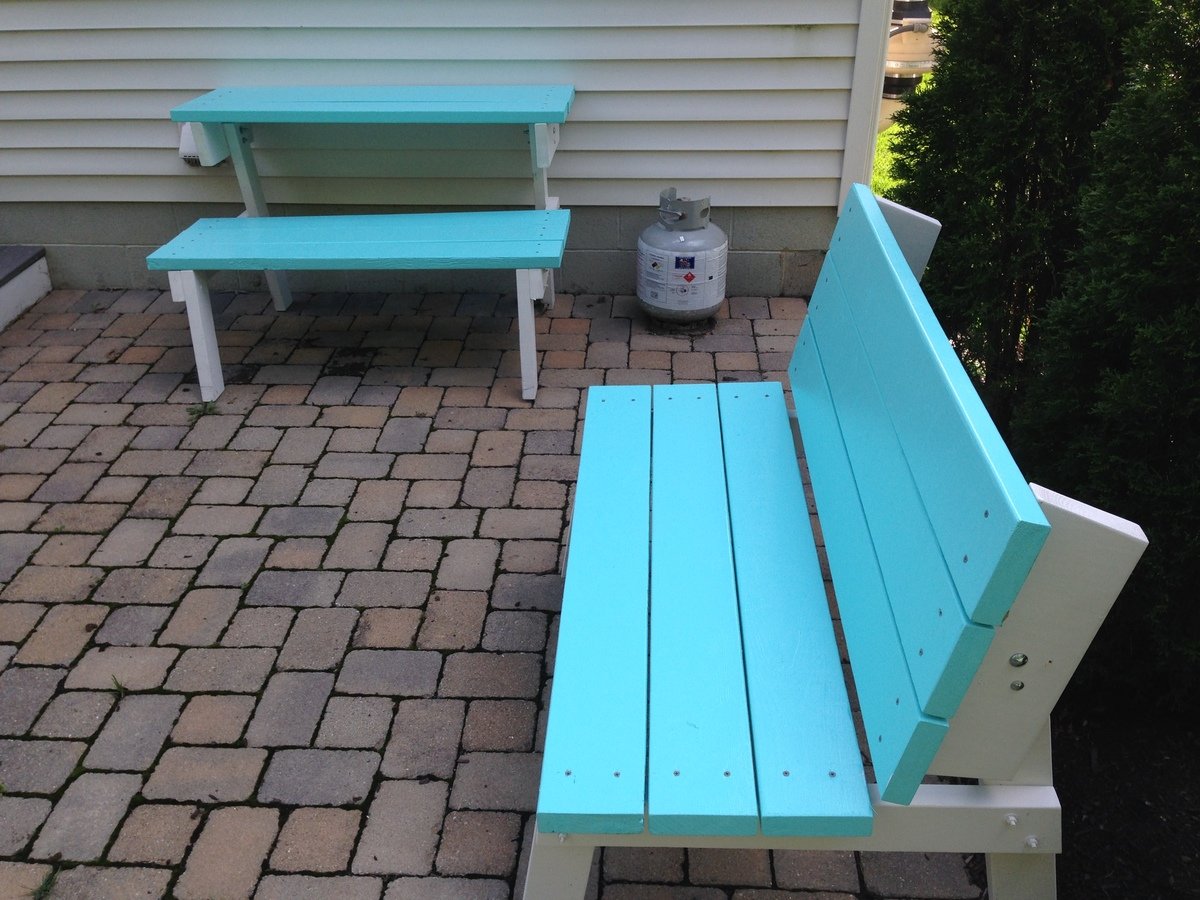
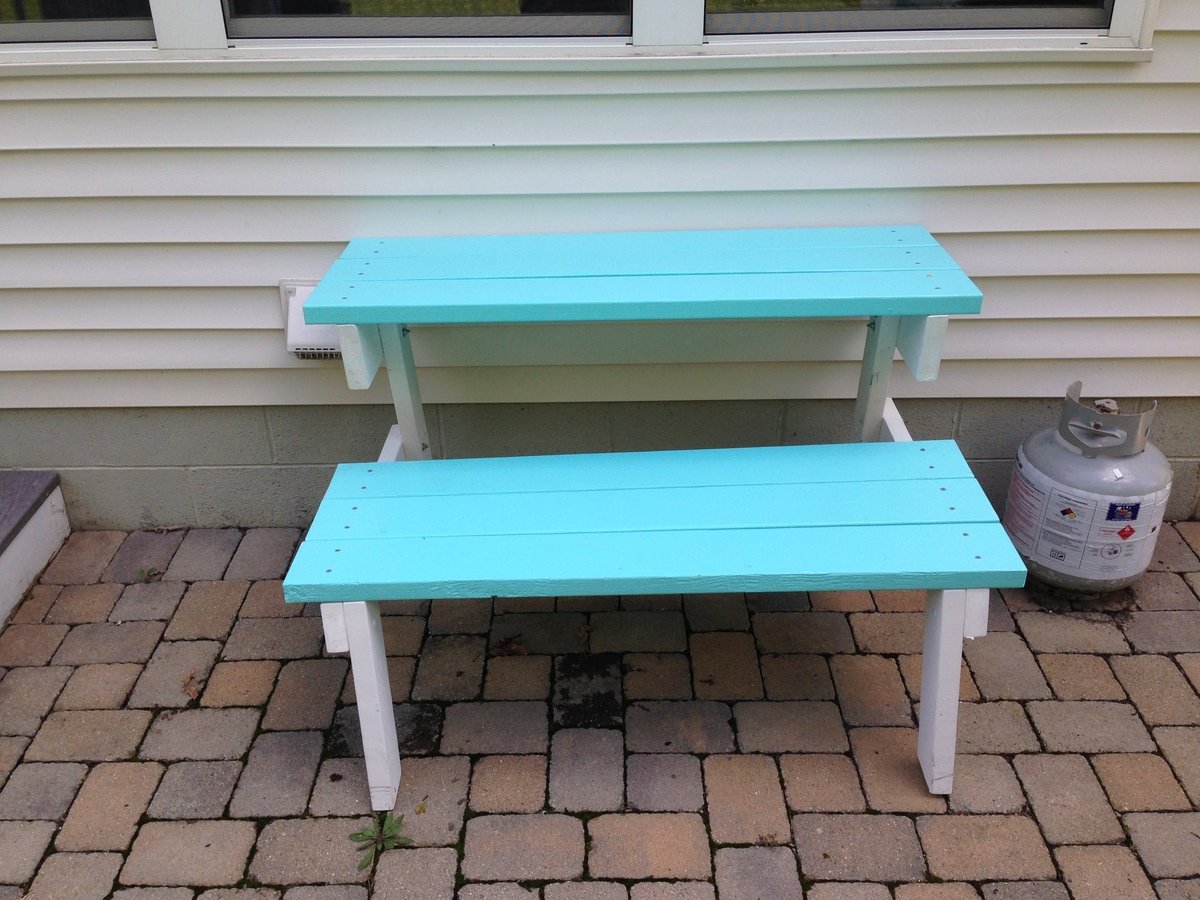
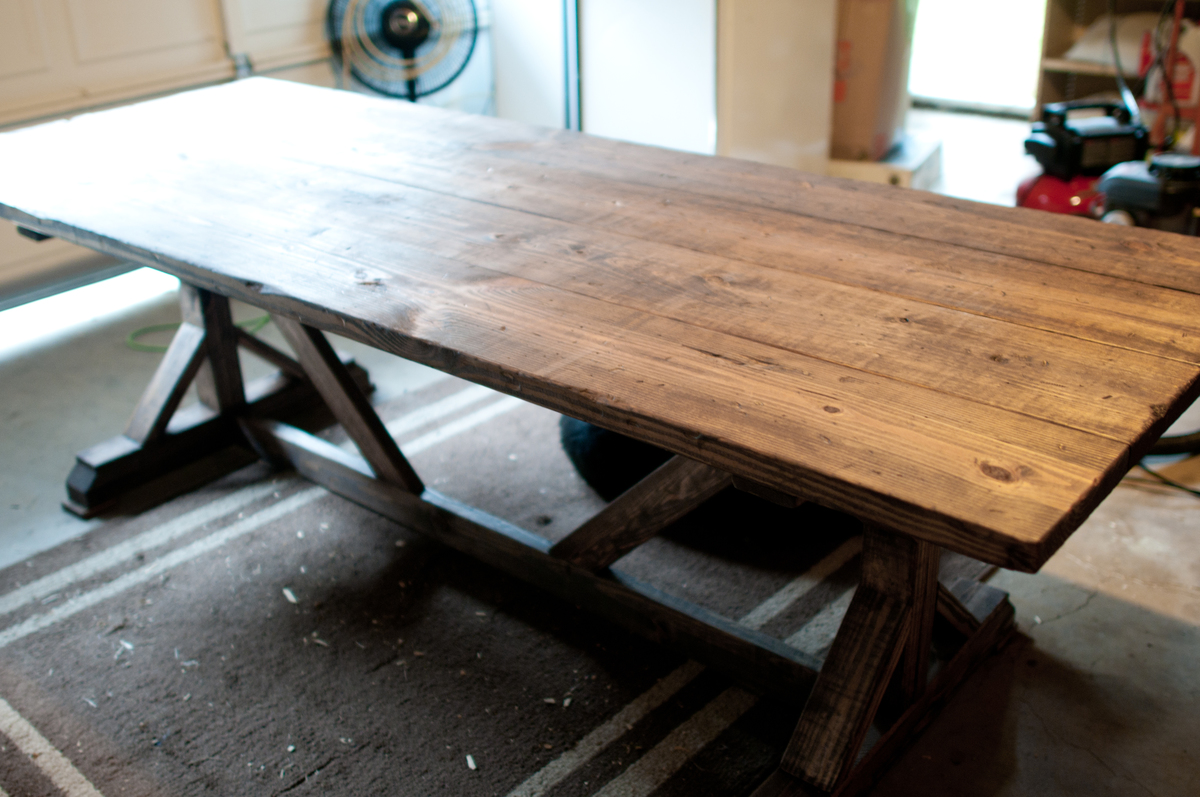
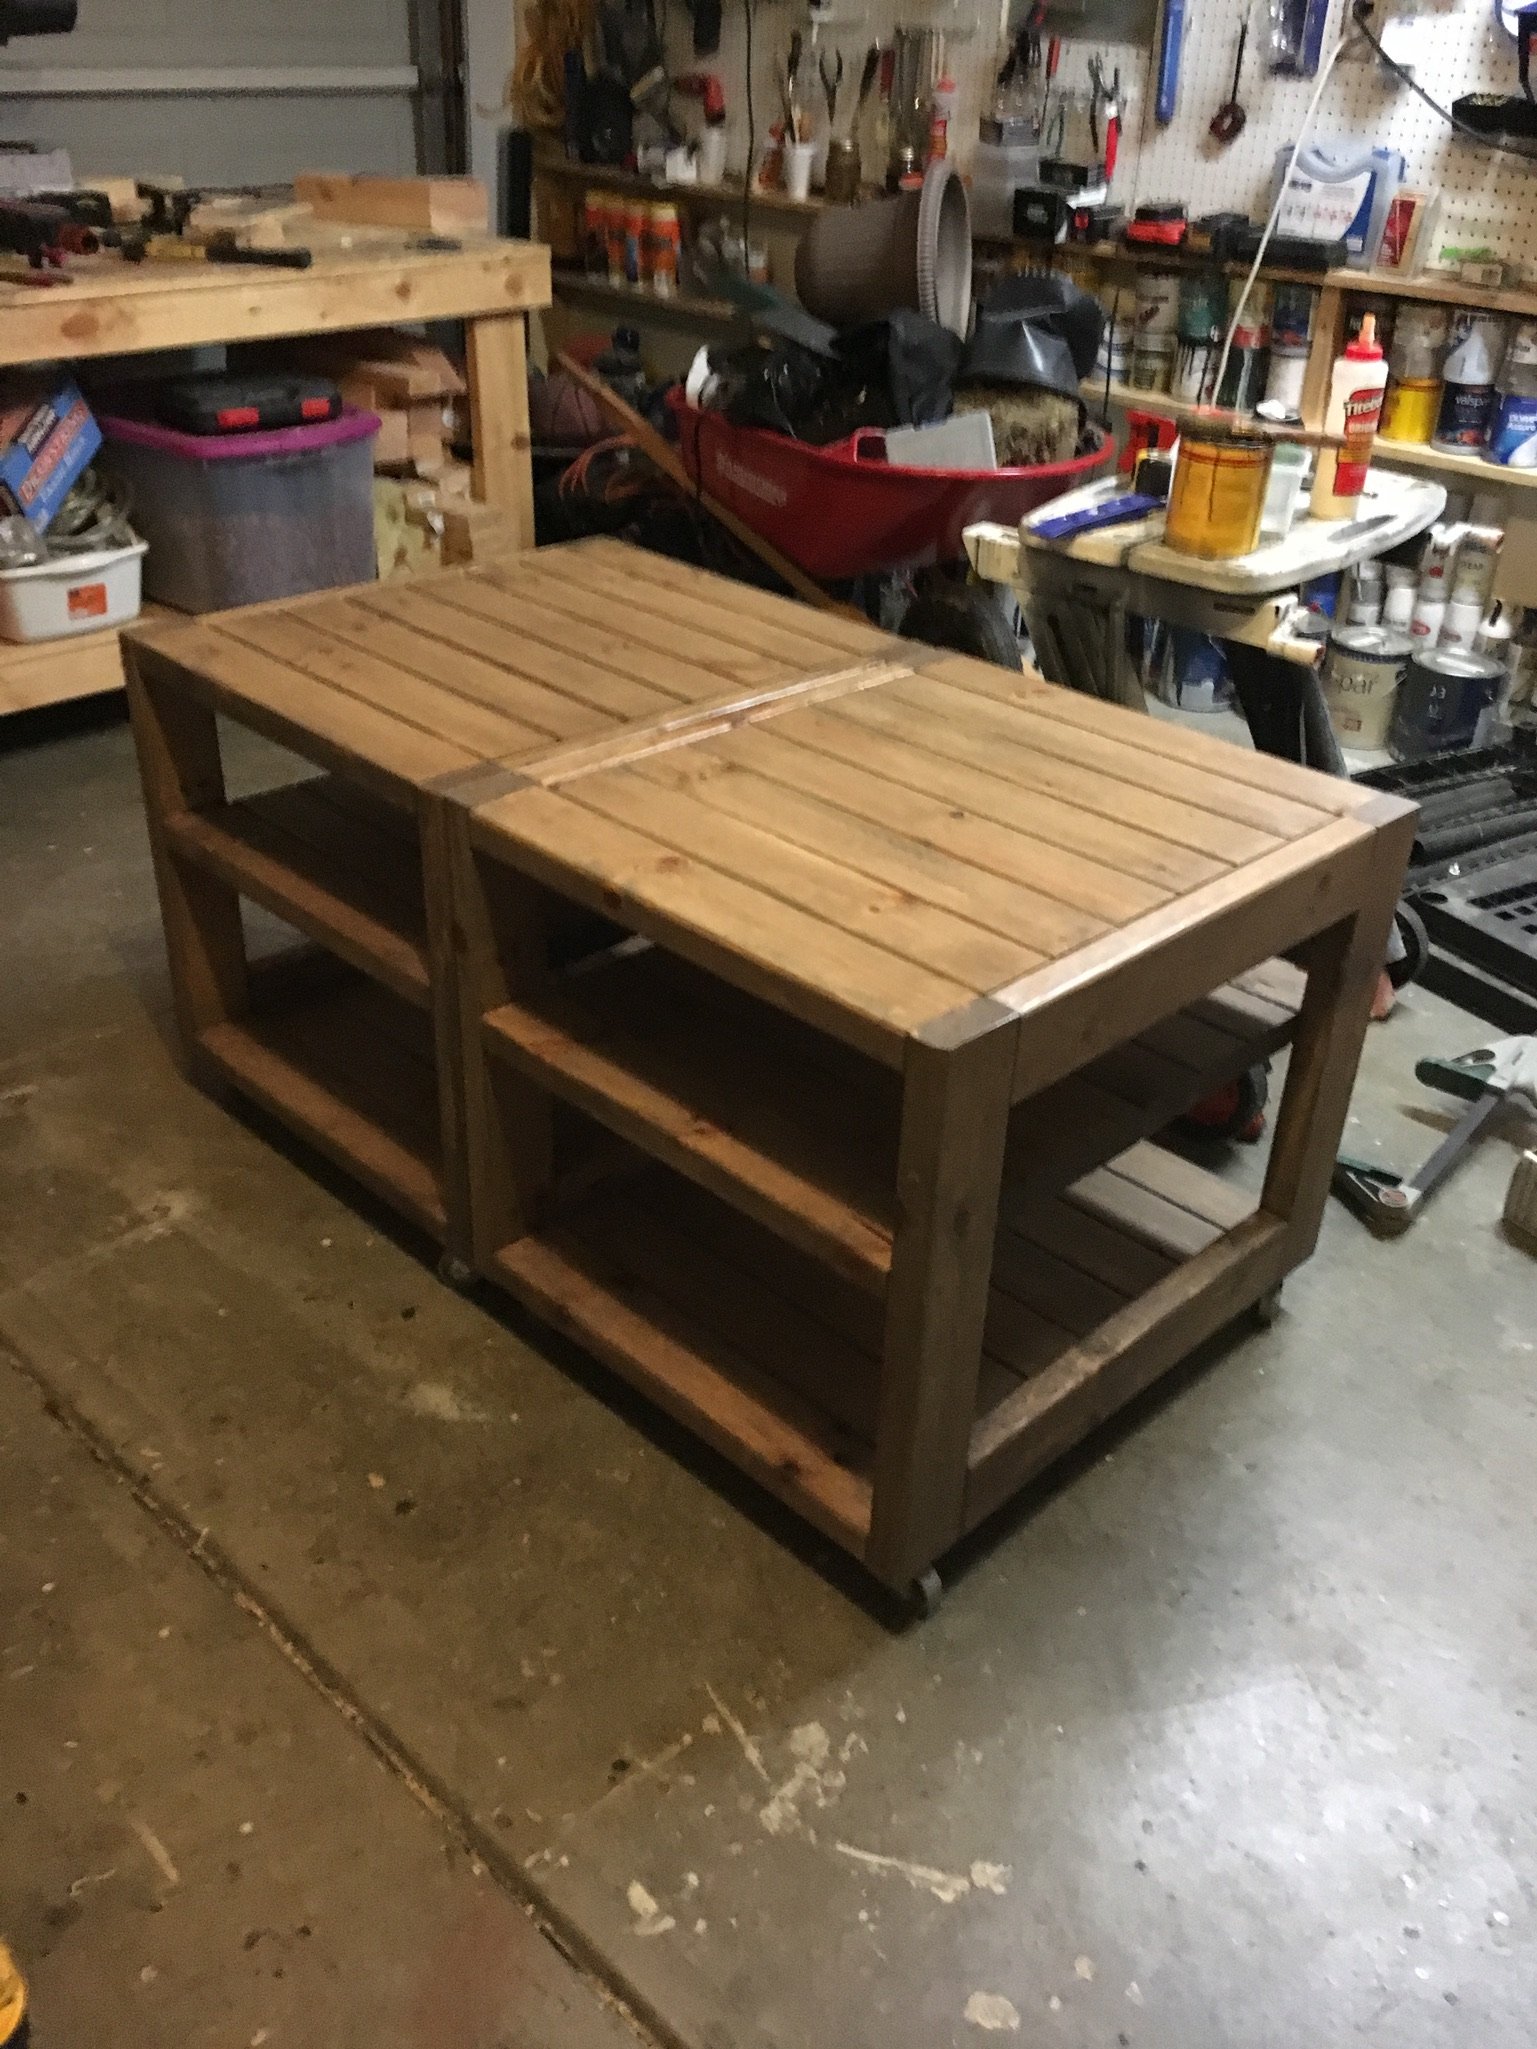
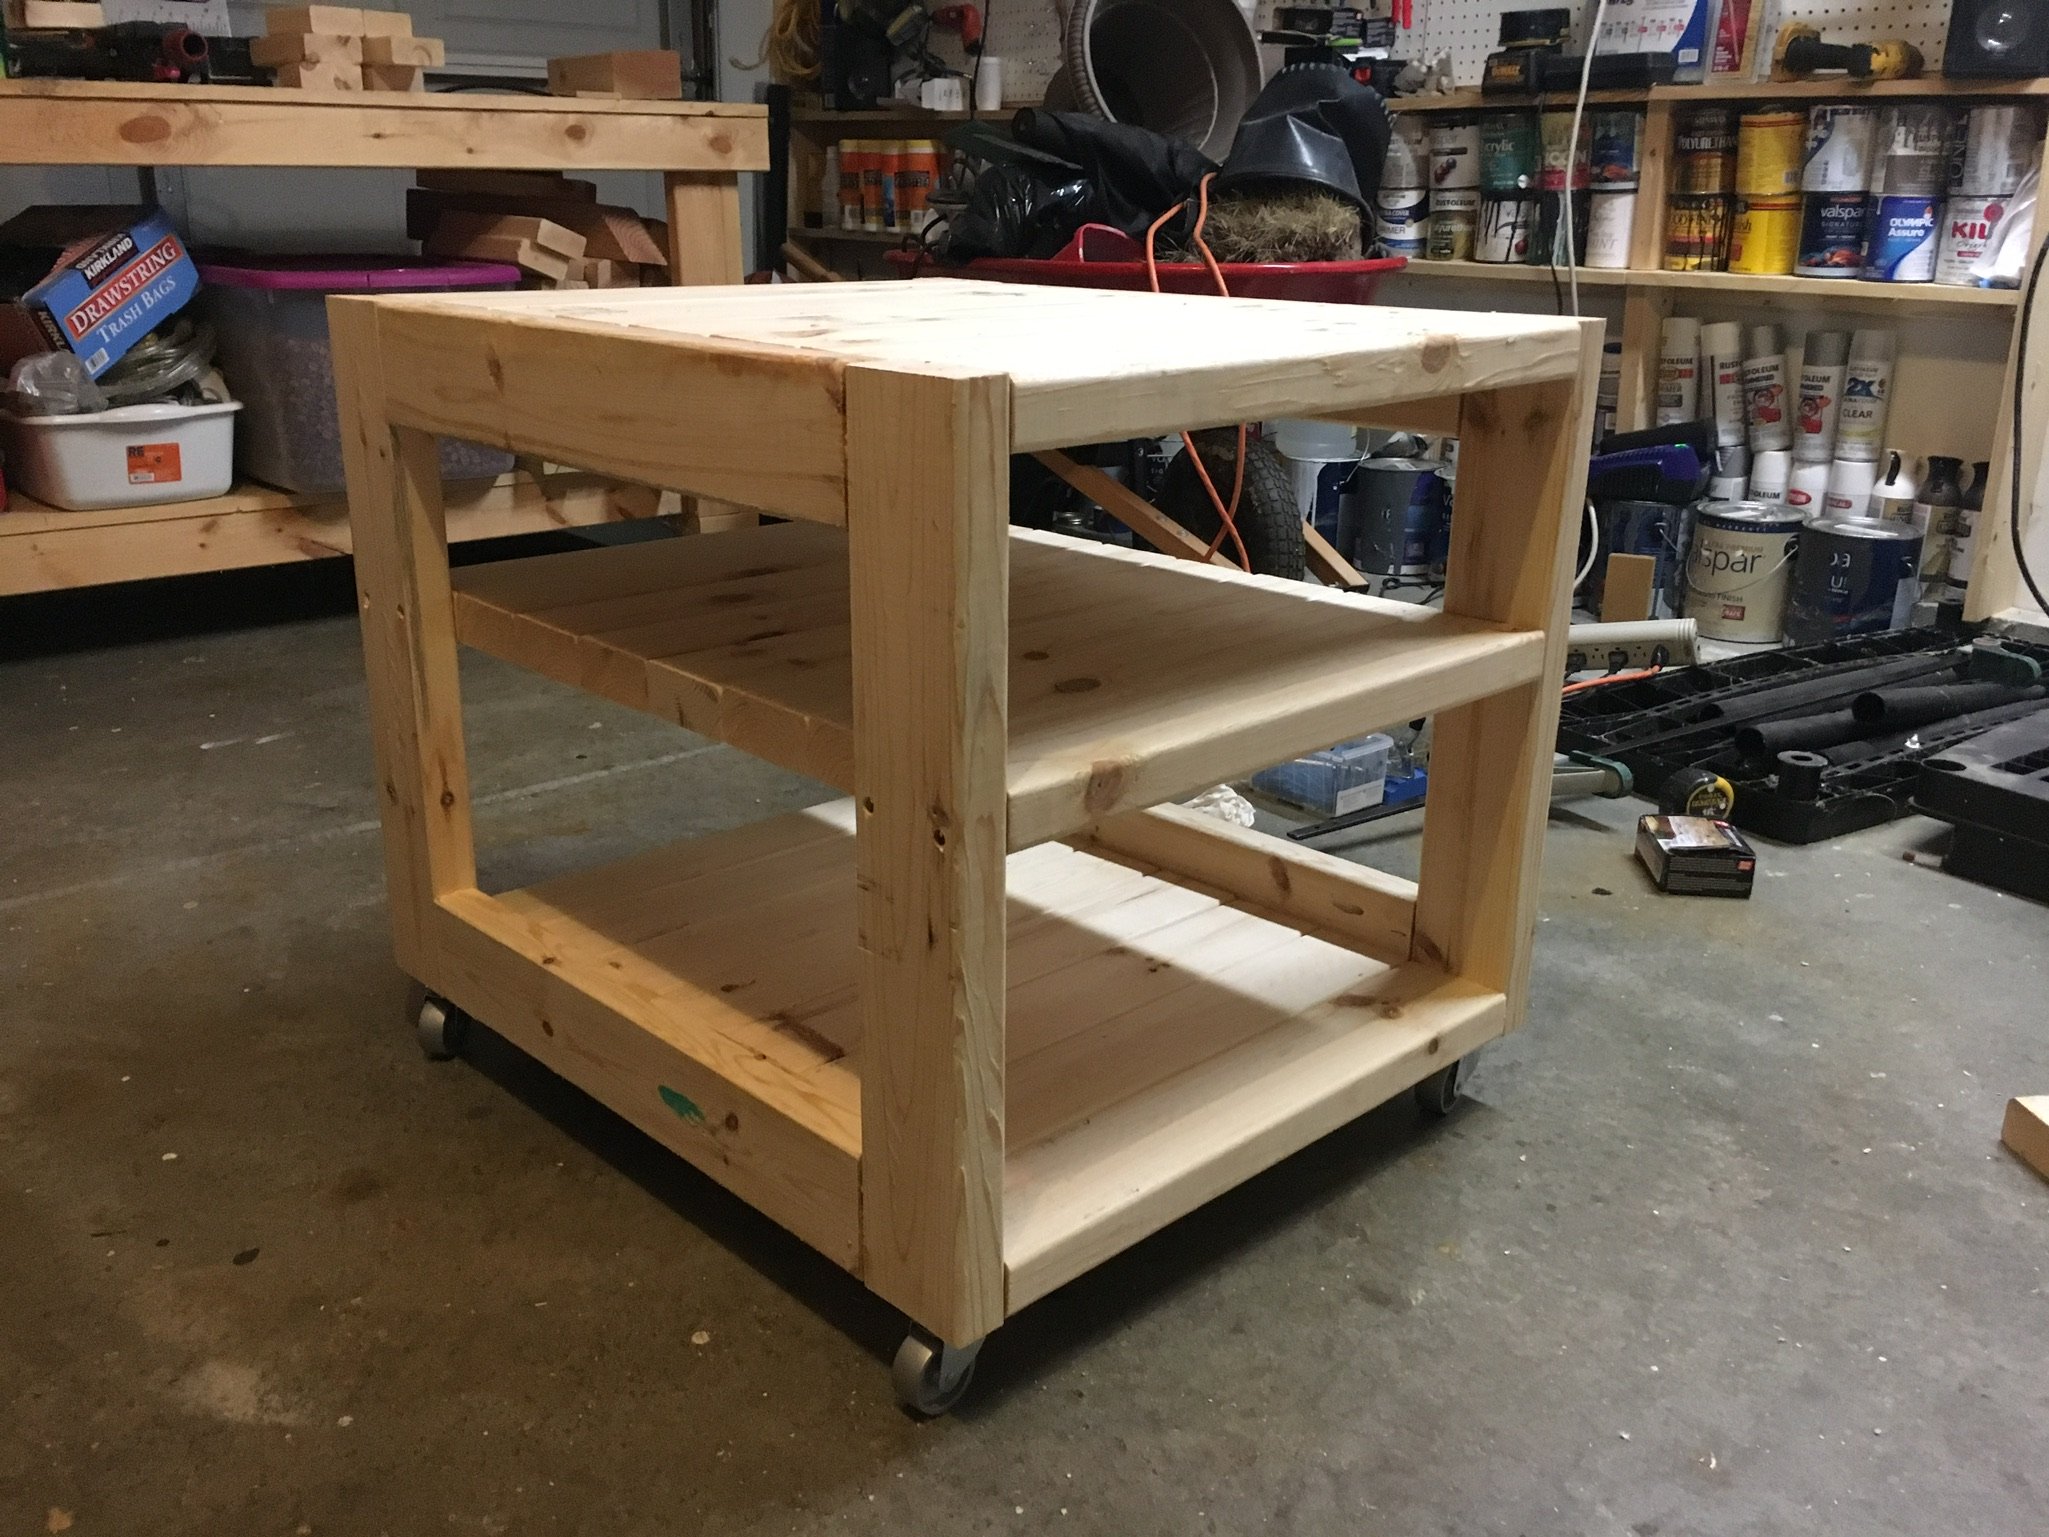
The table is a little small (as is mentioned in the instructions). If I was going to make it again I might try 6 foot boards for the benches and top. I made a couple of modifications, one intentional and one unintentional. The intentional changes was bolting the frame together with carriage bolts. Others had mentioned that it was wobbly and I'm a bigger guy and didn't want to take a chance. The unintentional change is that it's an inch shorter than it should be. I was cutting the first pieces and thought it said 27 when it said 28. That wasn't a big deal as I shortened the other piece by an inch.
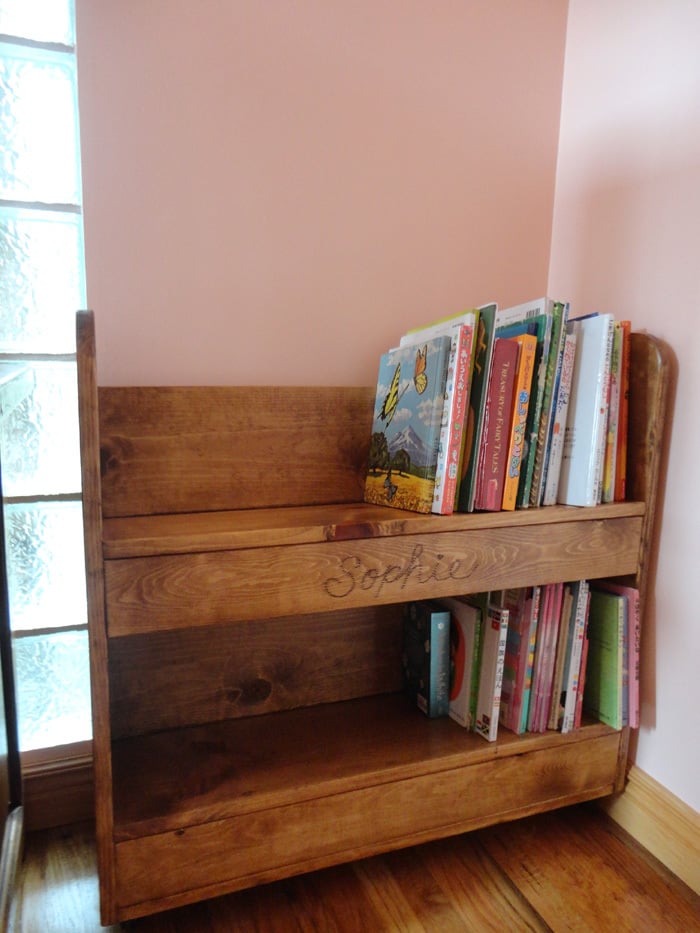
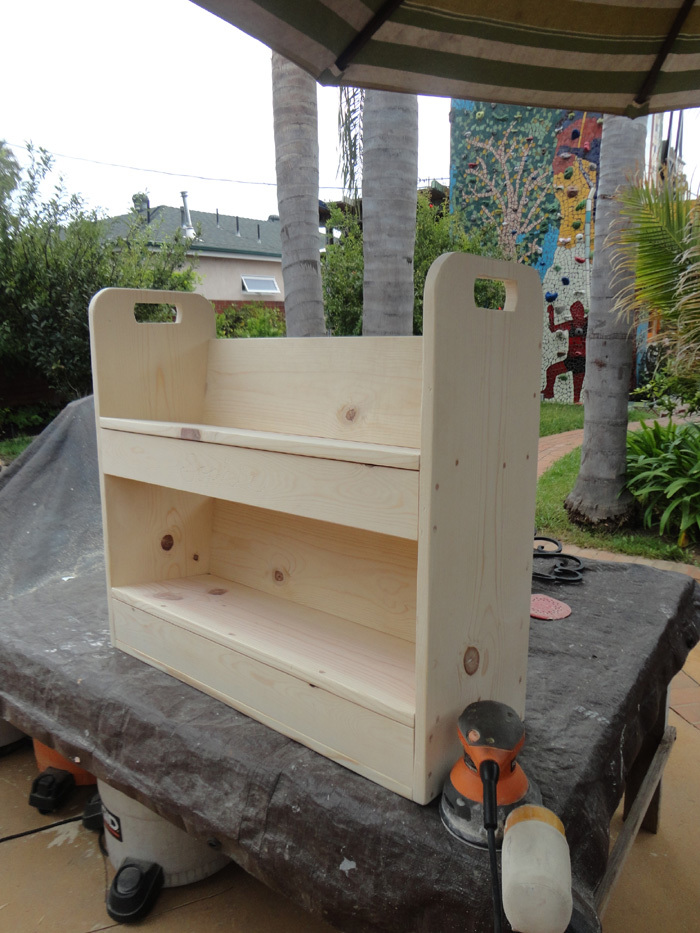
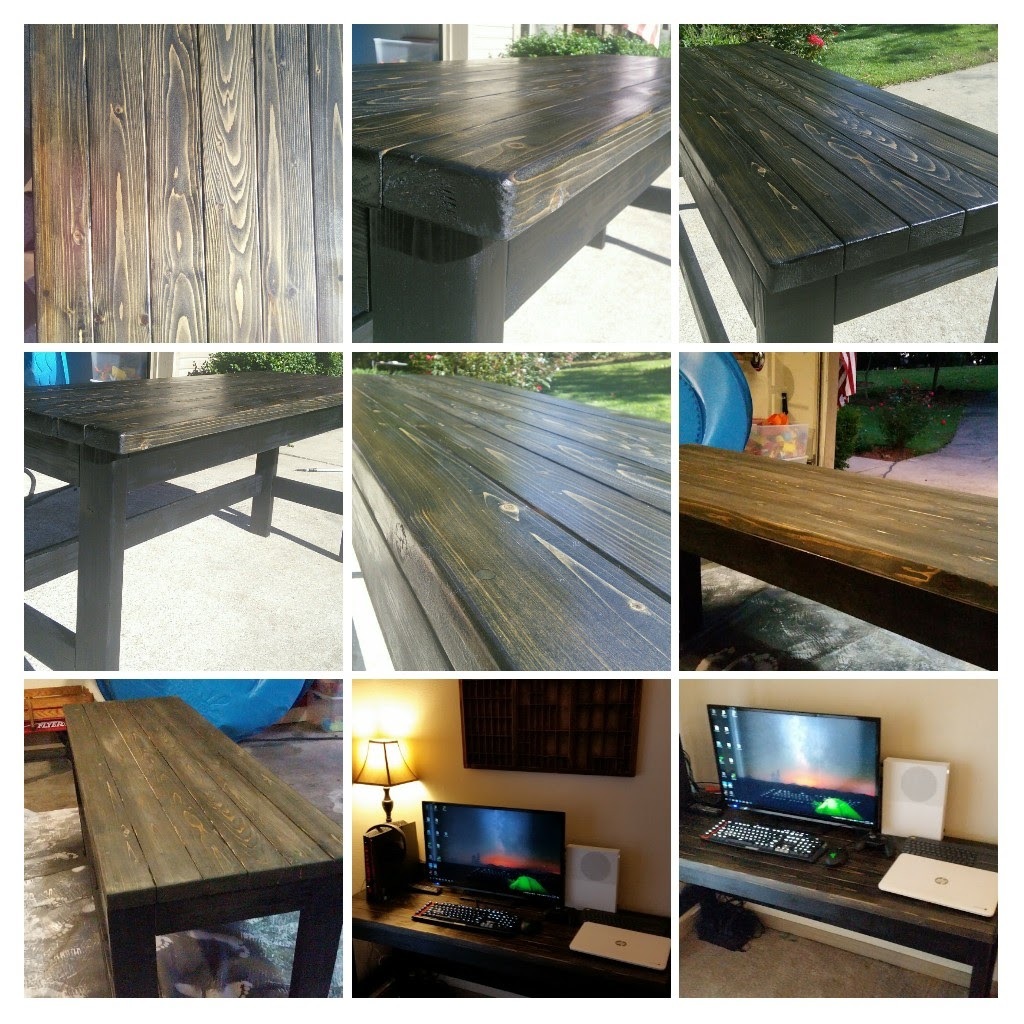
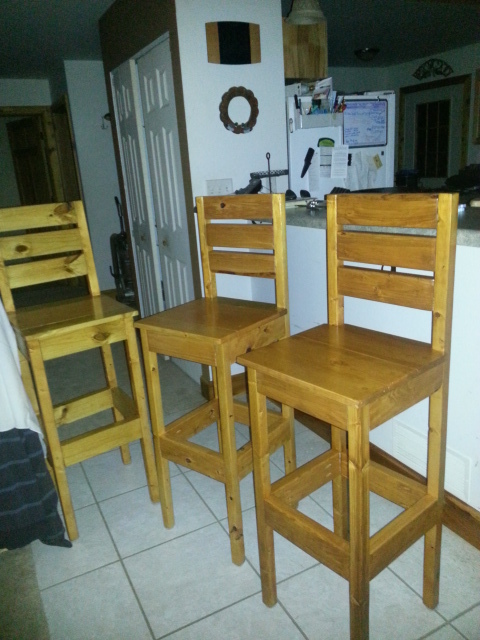
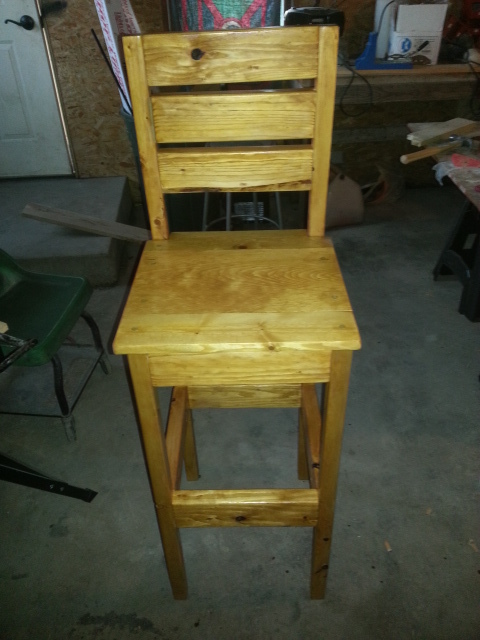
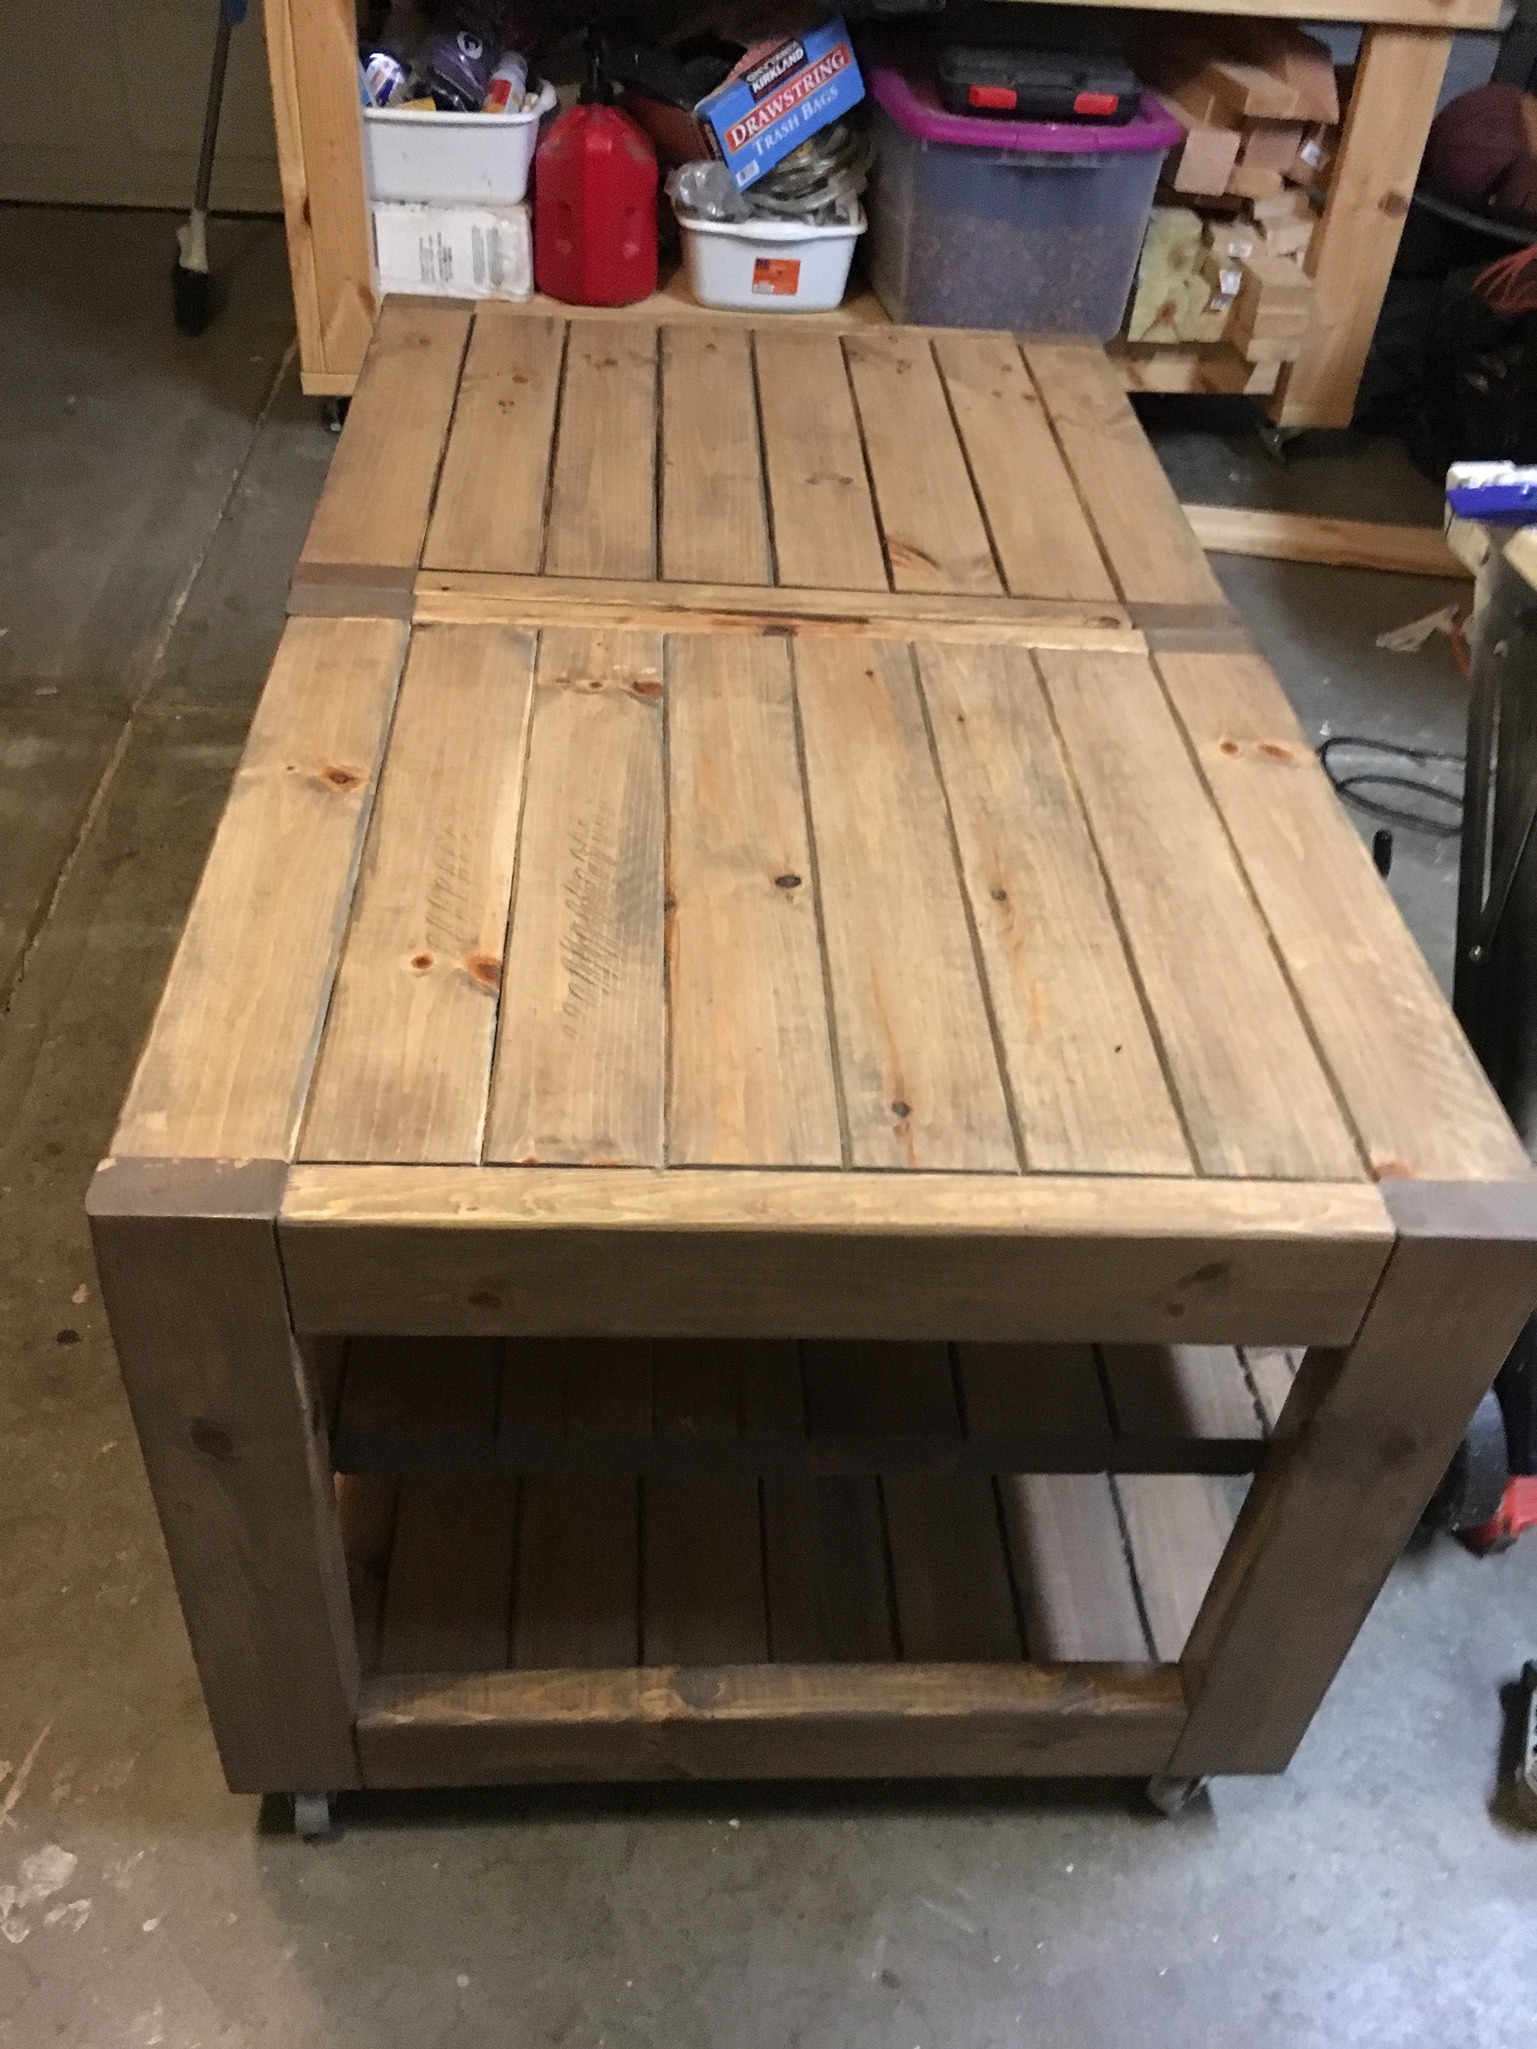
I'm very happy with how they turned out except that one of my benches isn't completely square. The top of the bench and table is square but somewhere in all my drilling and bolting together its off a little bit. I need to take it apart to determine where I am off and fix it.
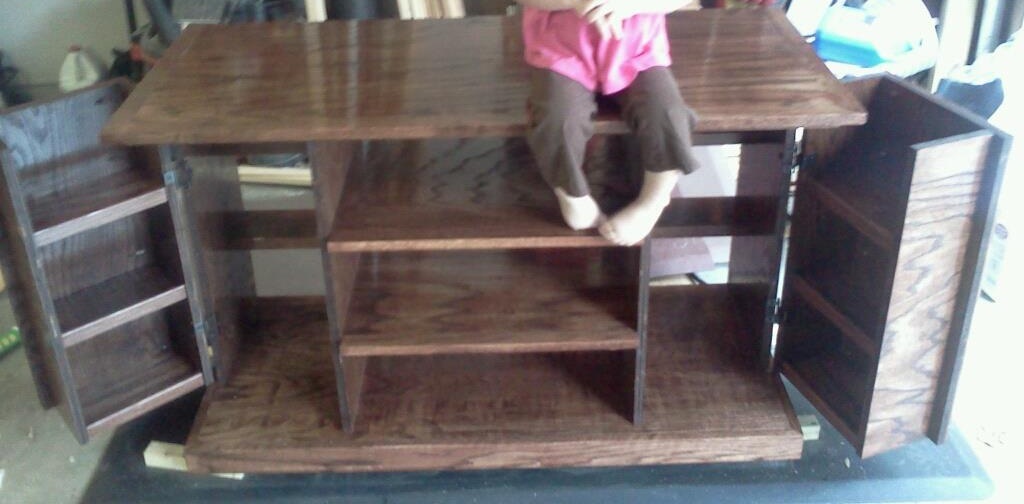
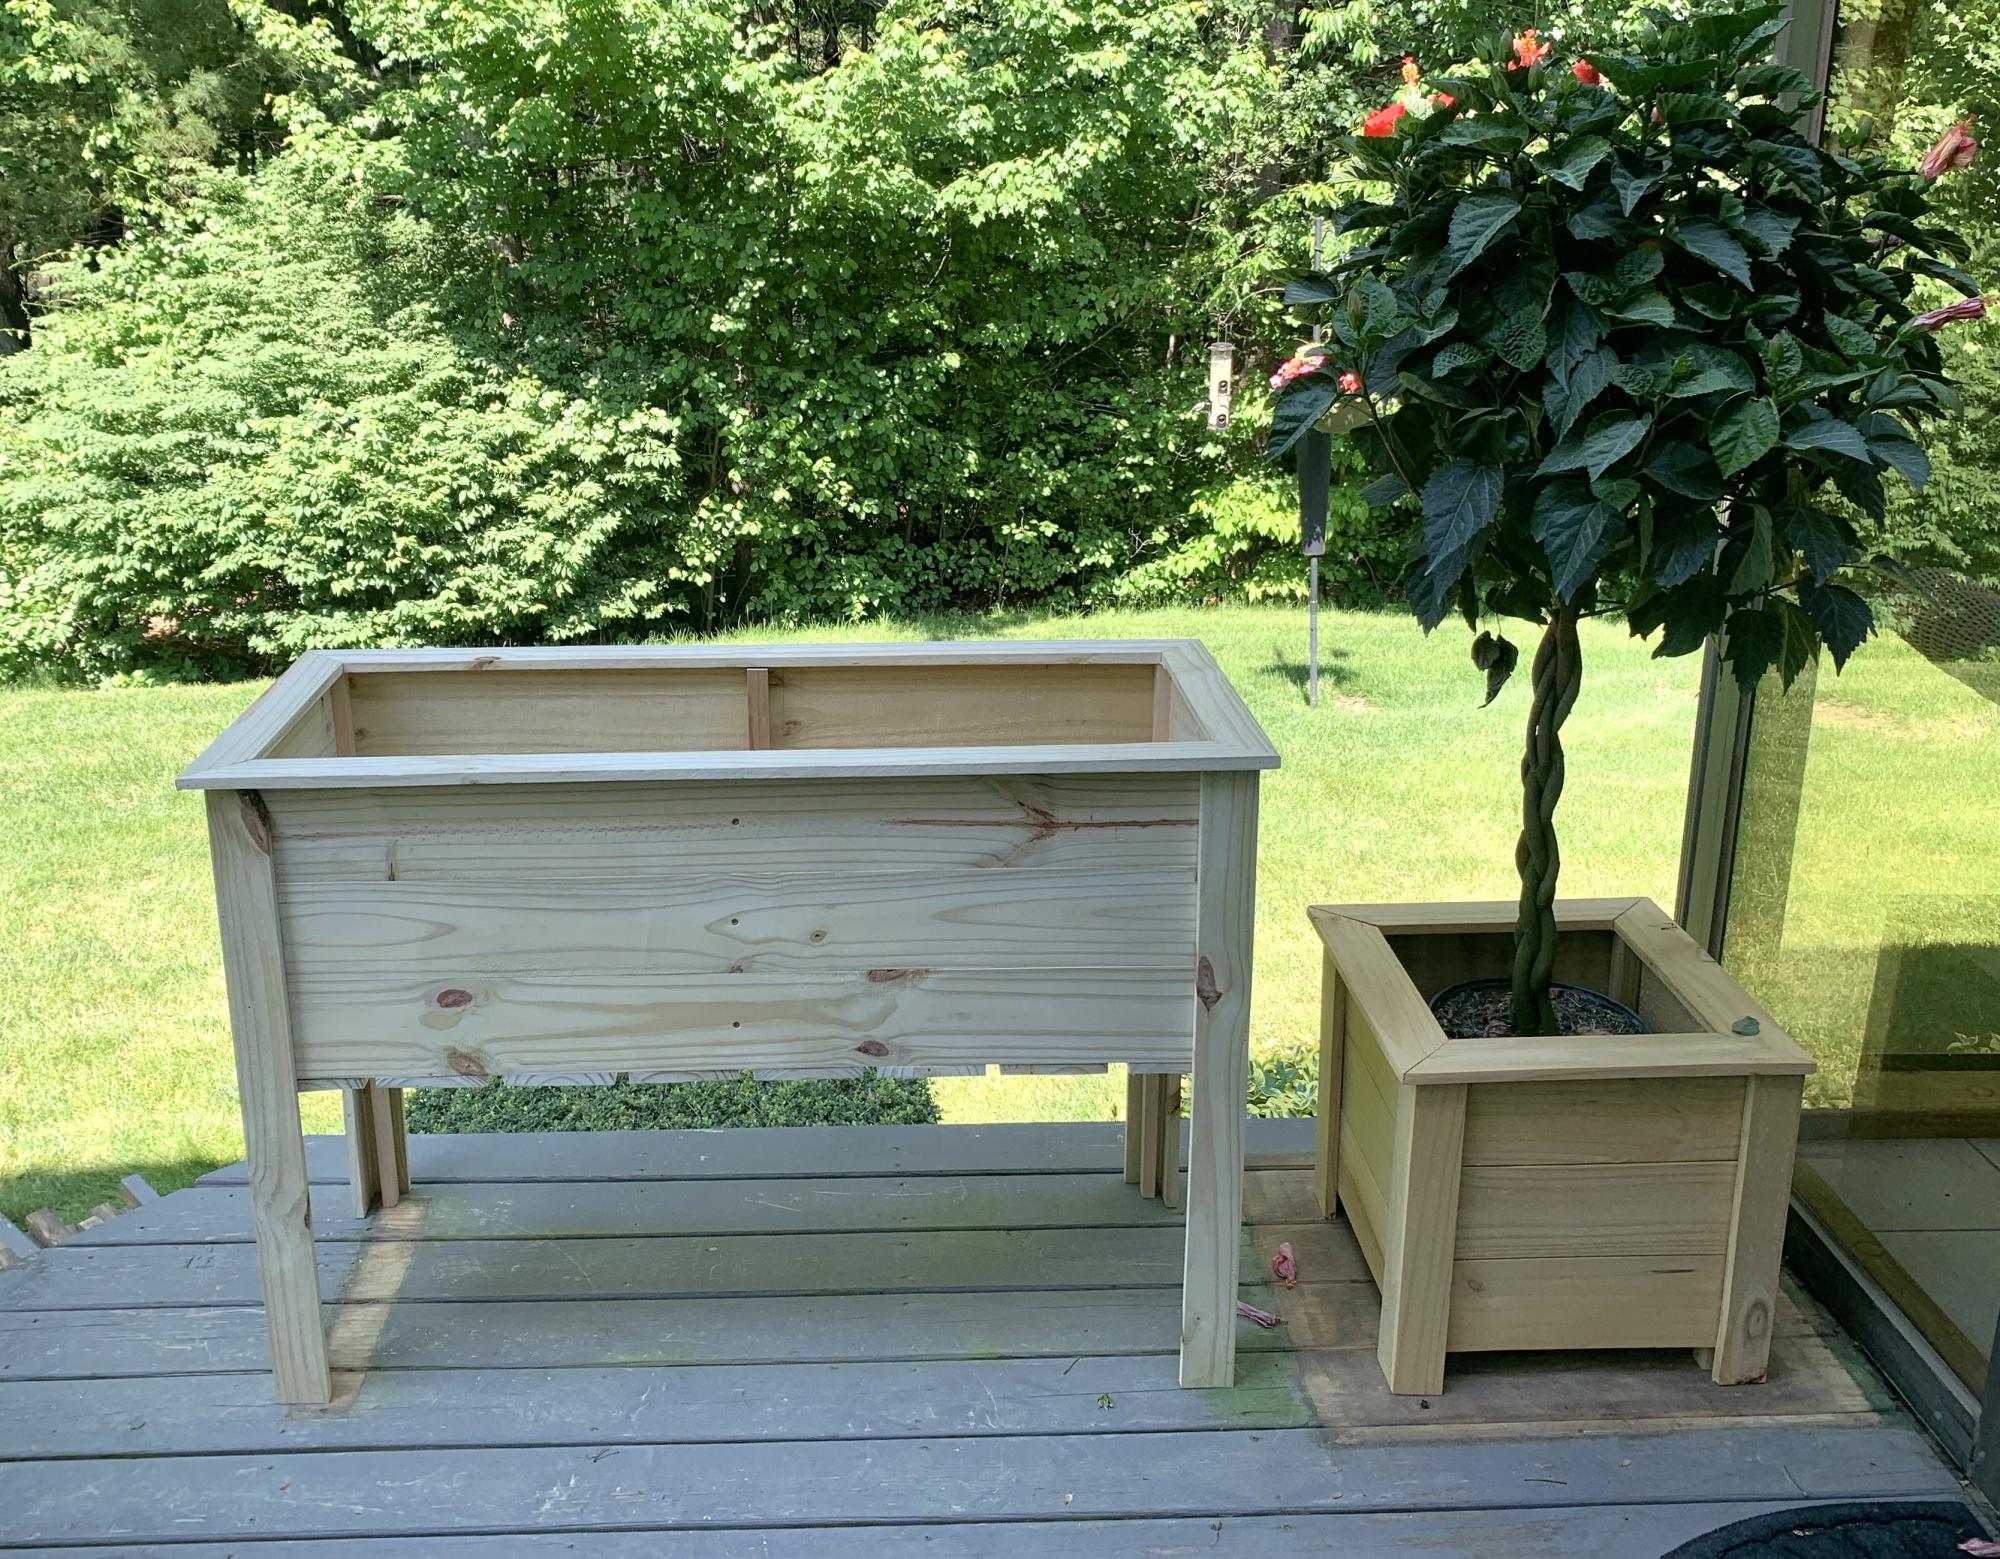
I mentioned that it was $100 to build, it was $40 for the wood and $60 for all the other little stuff, screws, paint, primer, bolts, etc. Of course I have enough left from most of that to complete another bench or two if I just get the wood.


Comments
tommirhea
Fri, 09/14/2012 - 09:39
So nice!
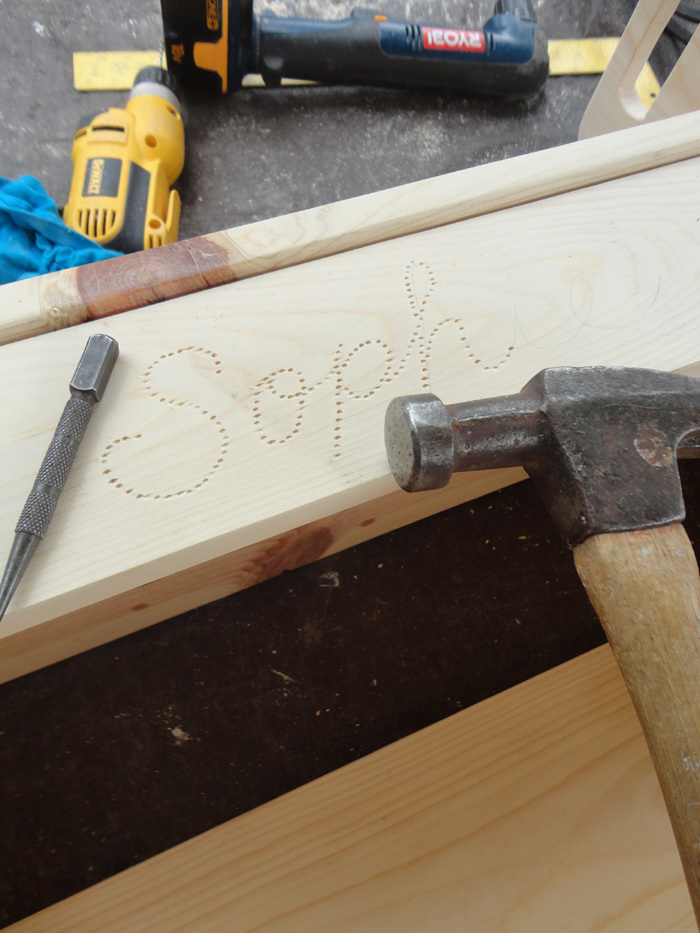
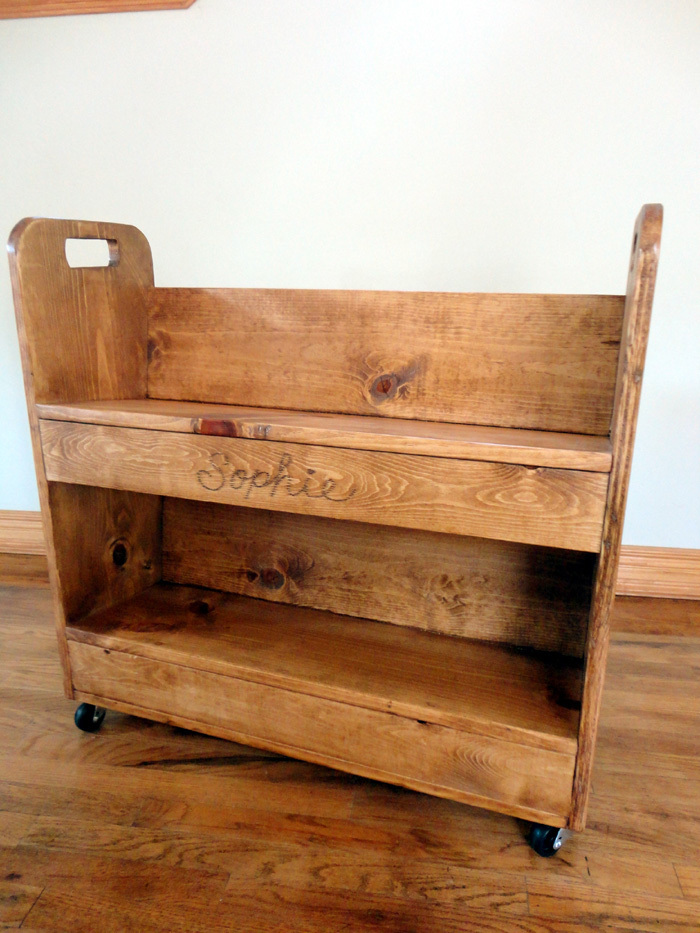
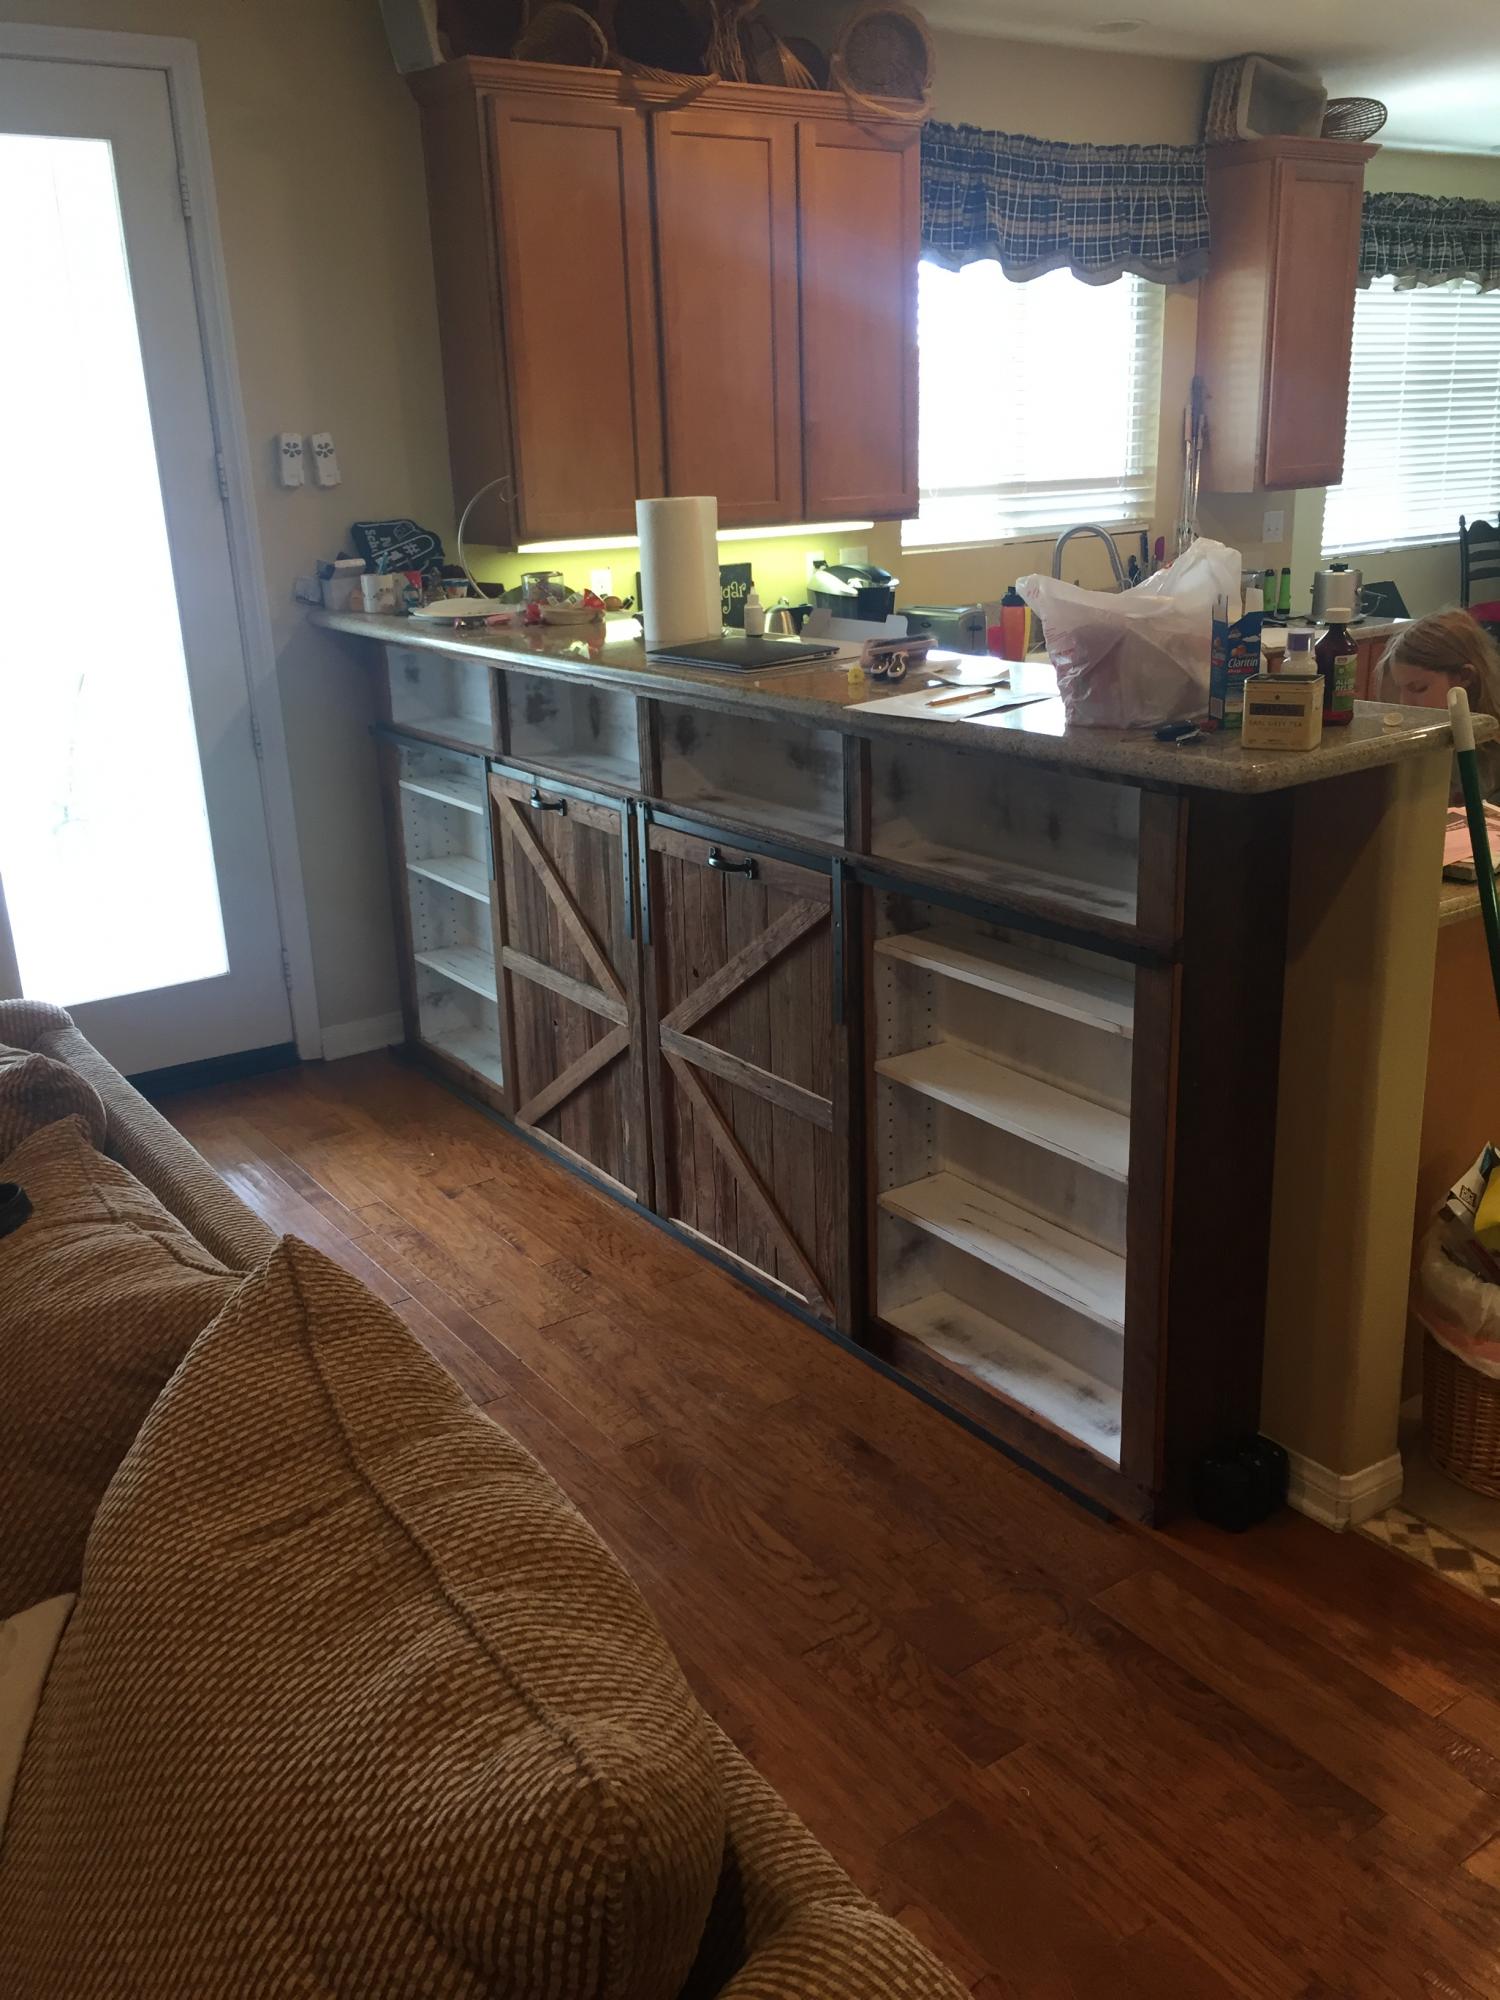
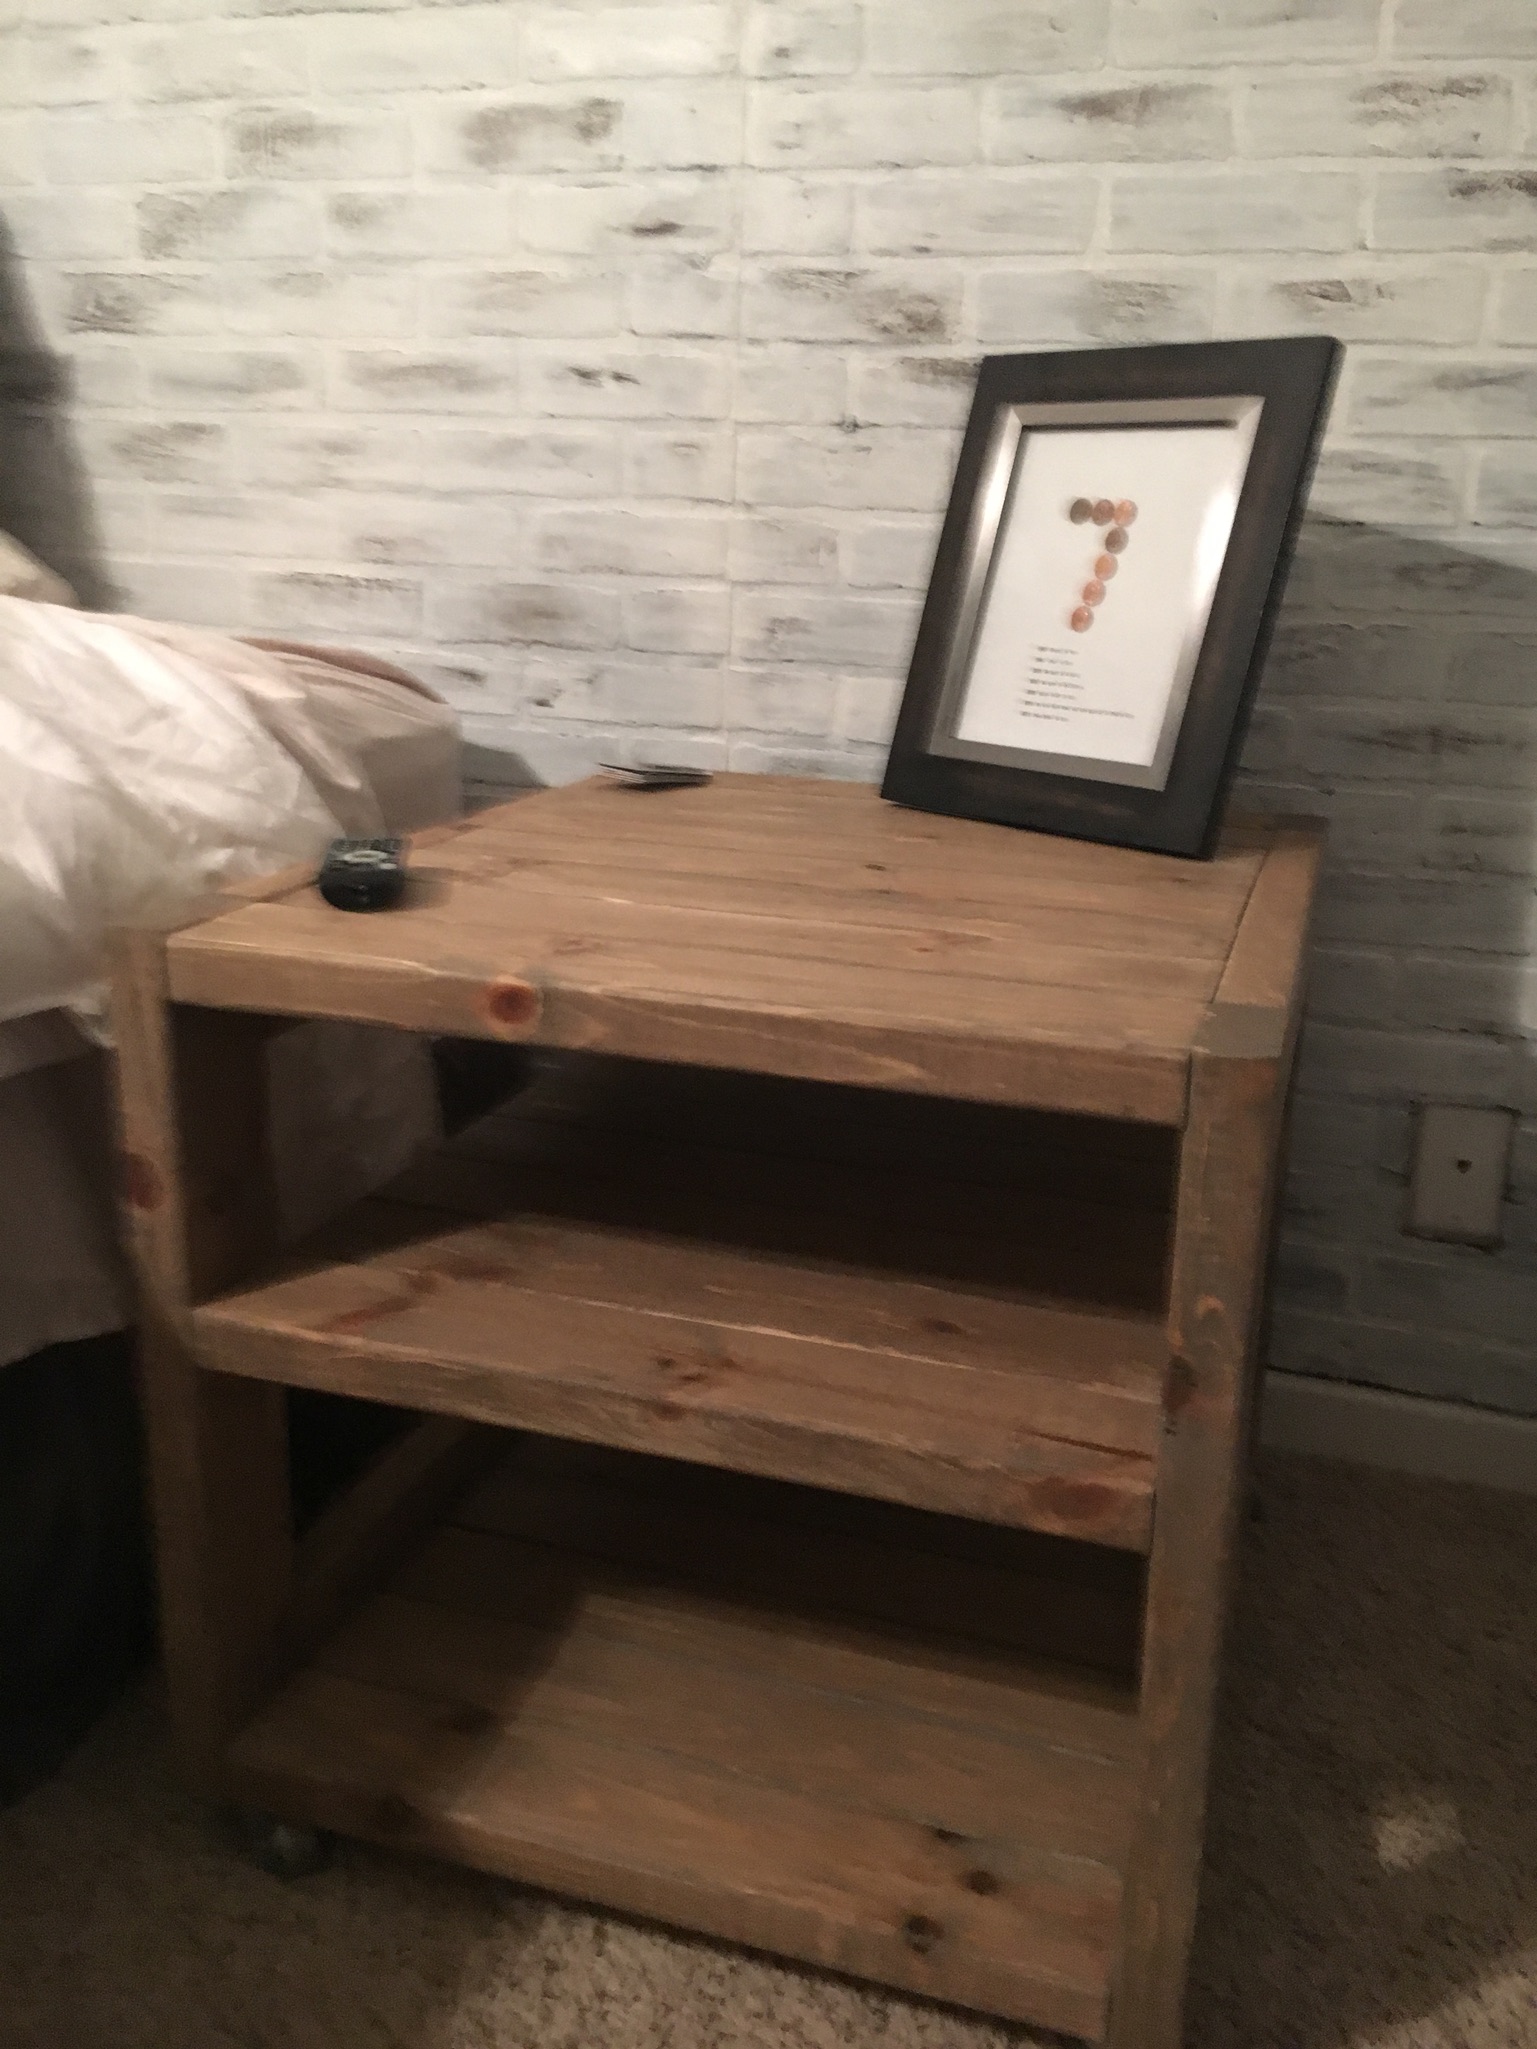
This is so pretty, I love the name in it! How wonderful. When you mix your stains, how do you know how much of each? Is is just a trial and error type of thing?
Terukosan
Fri, 09/14/2012 - 12:06
Thanks!
Hi tommirhea,
Thank you for your nice comment!
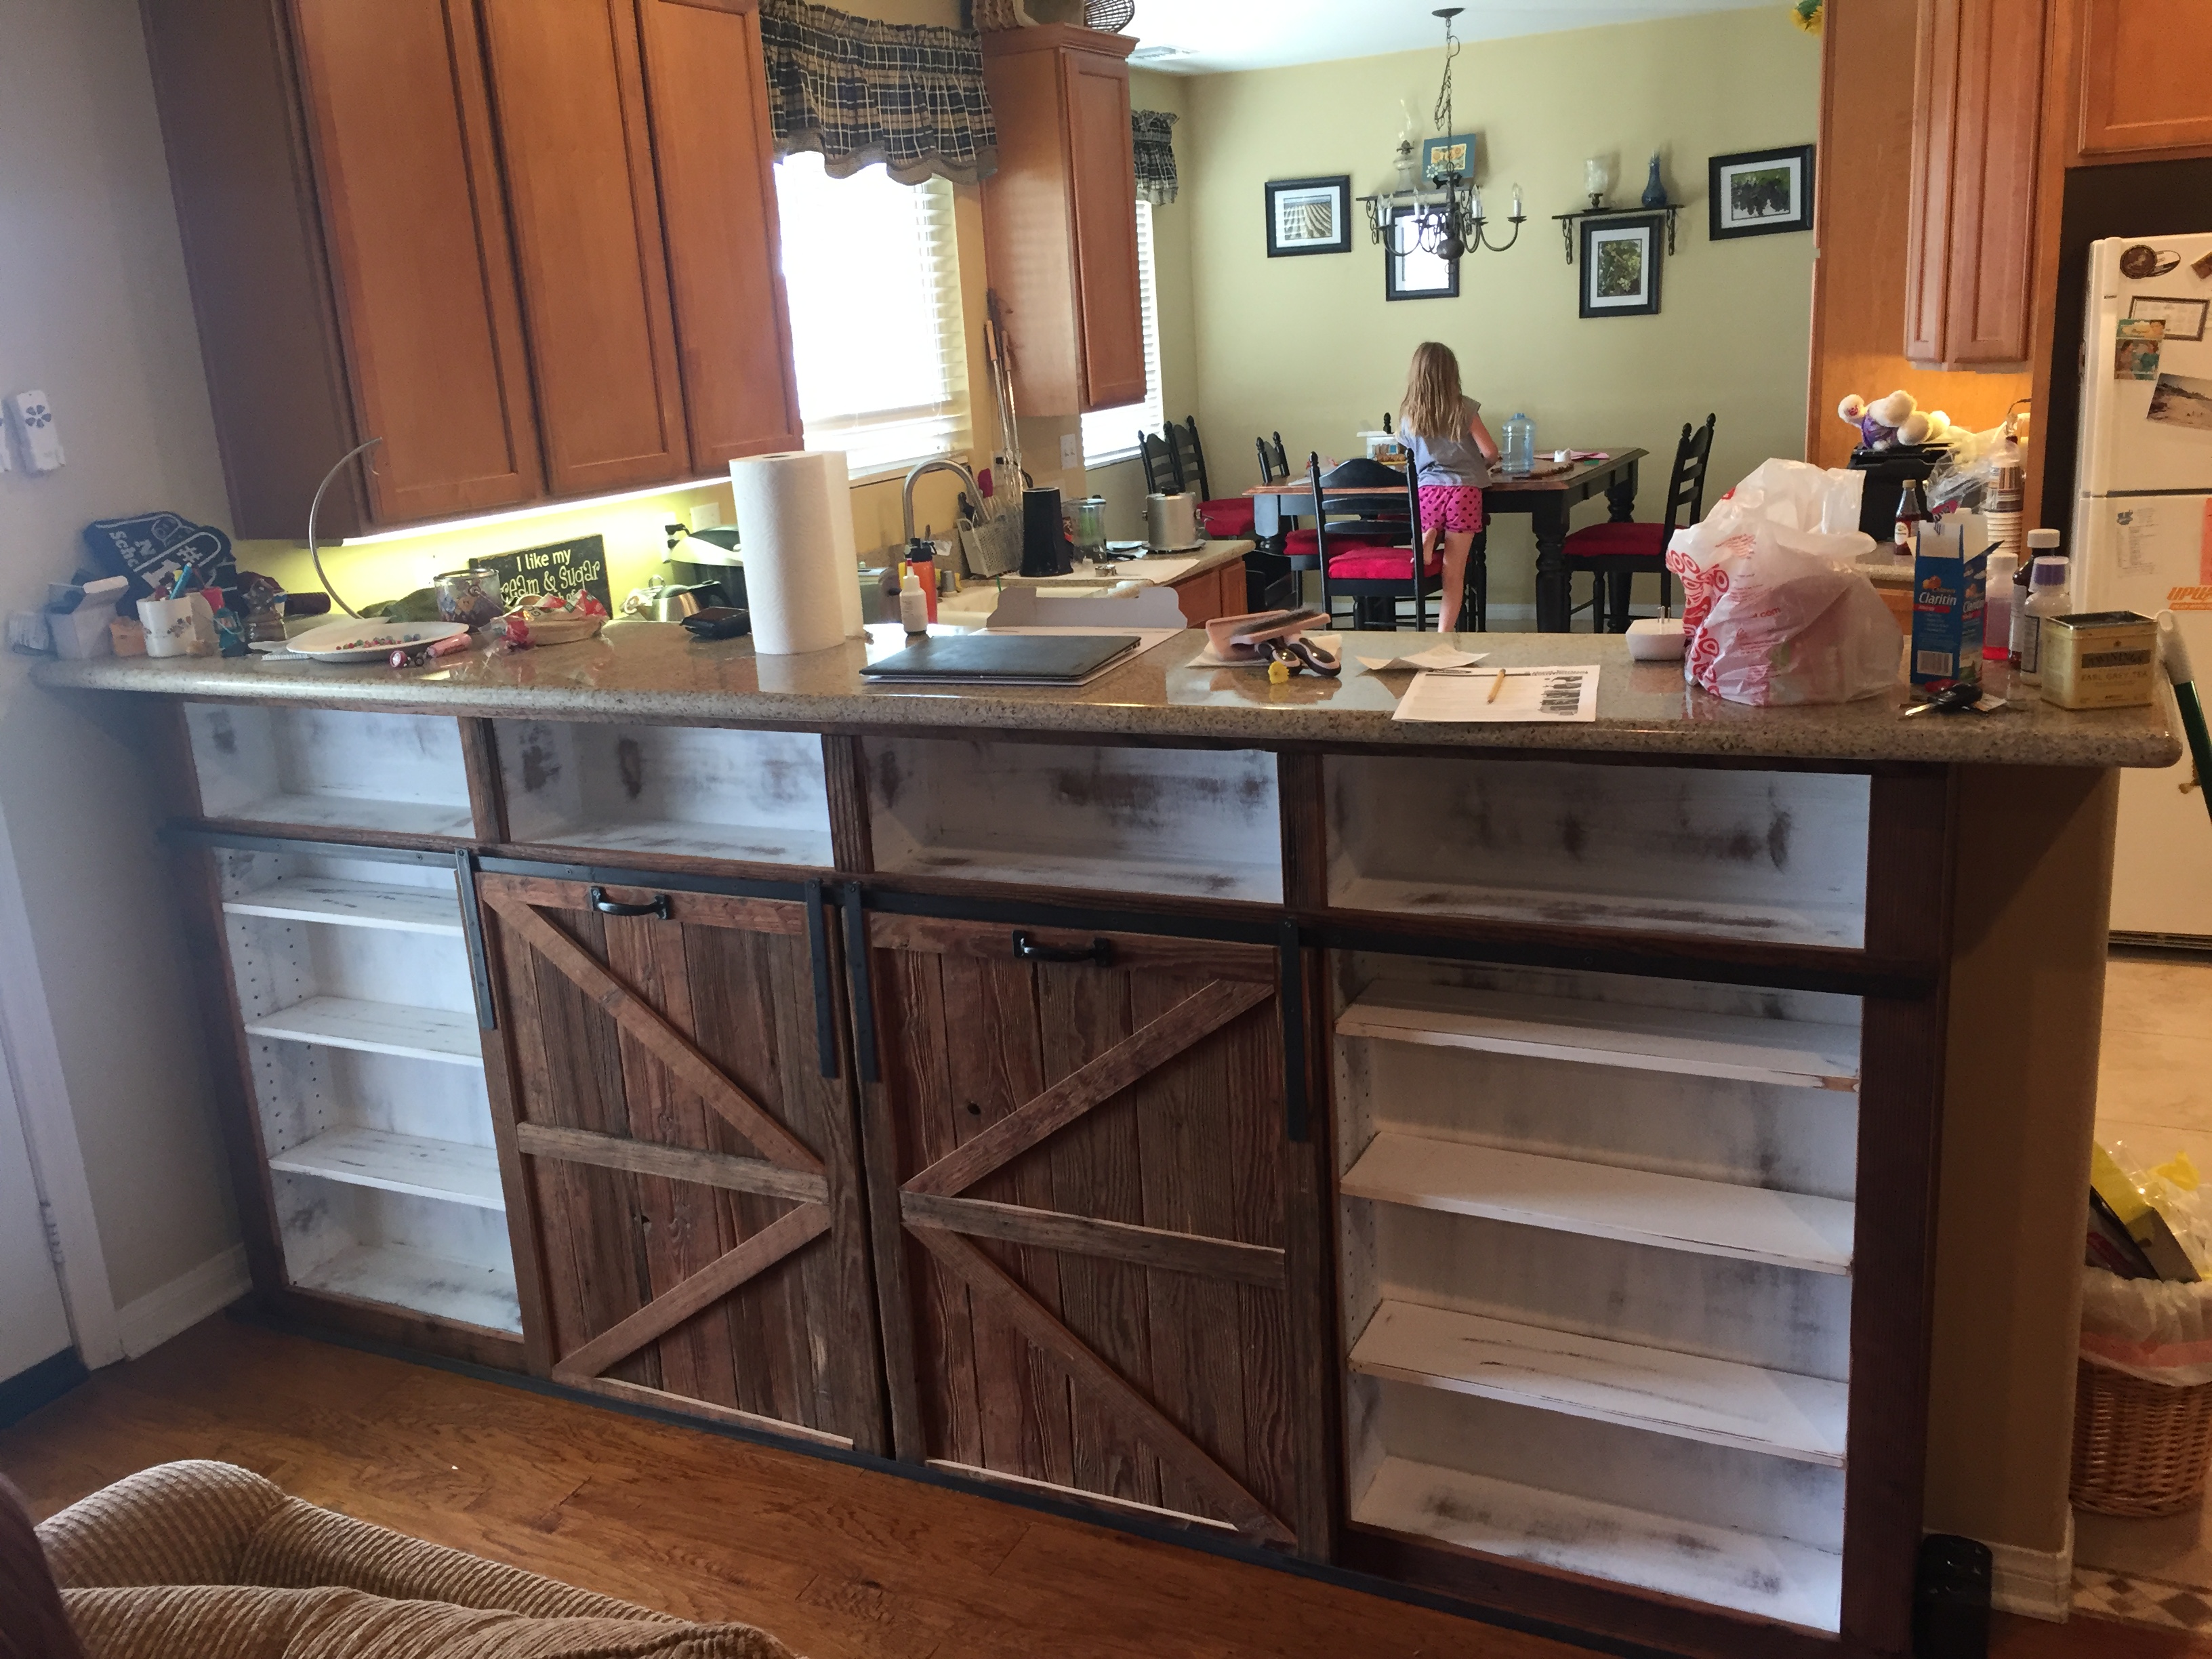
Mixing stains is just a trial and error. Pour into empty yogurt cup and mix with form brush. I like rustic looks, so, I don't care if color is not even ;-)
Have a nice weekend,
Sunny
tommirhea
Fri, 09/14/2012 - 12:14
Thanks
Okay, thanks. I think I will try it on the desk I am going to make. I don't always love the color of stains, but never thought I could just dump different ones in to make my own :) I like rustic looks as well, makes it more unique.