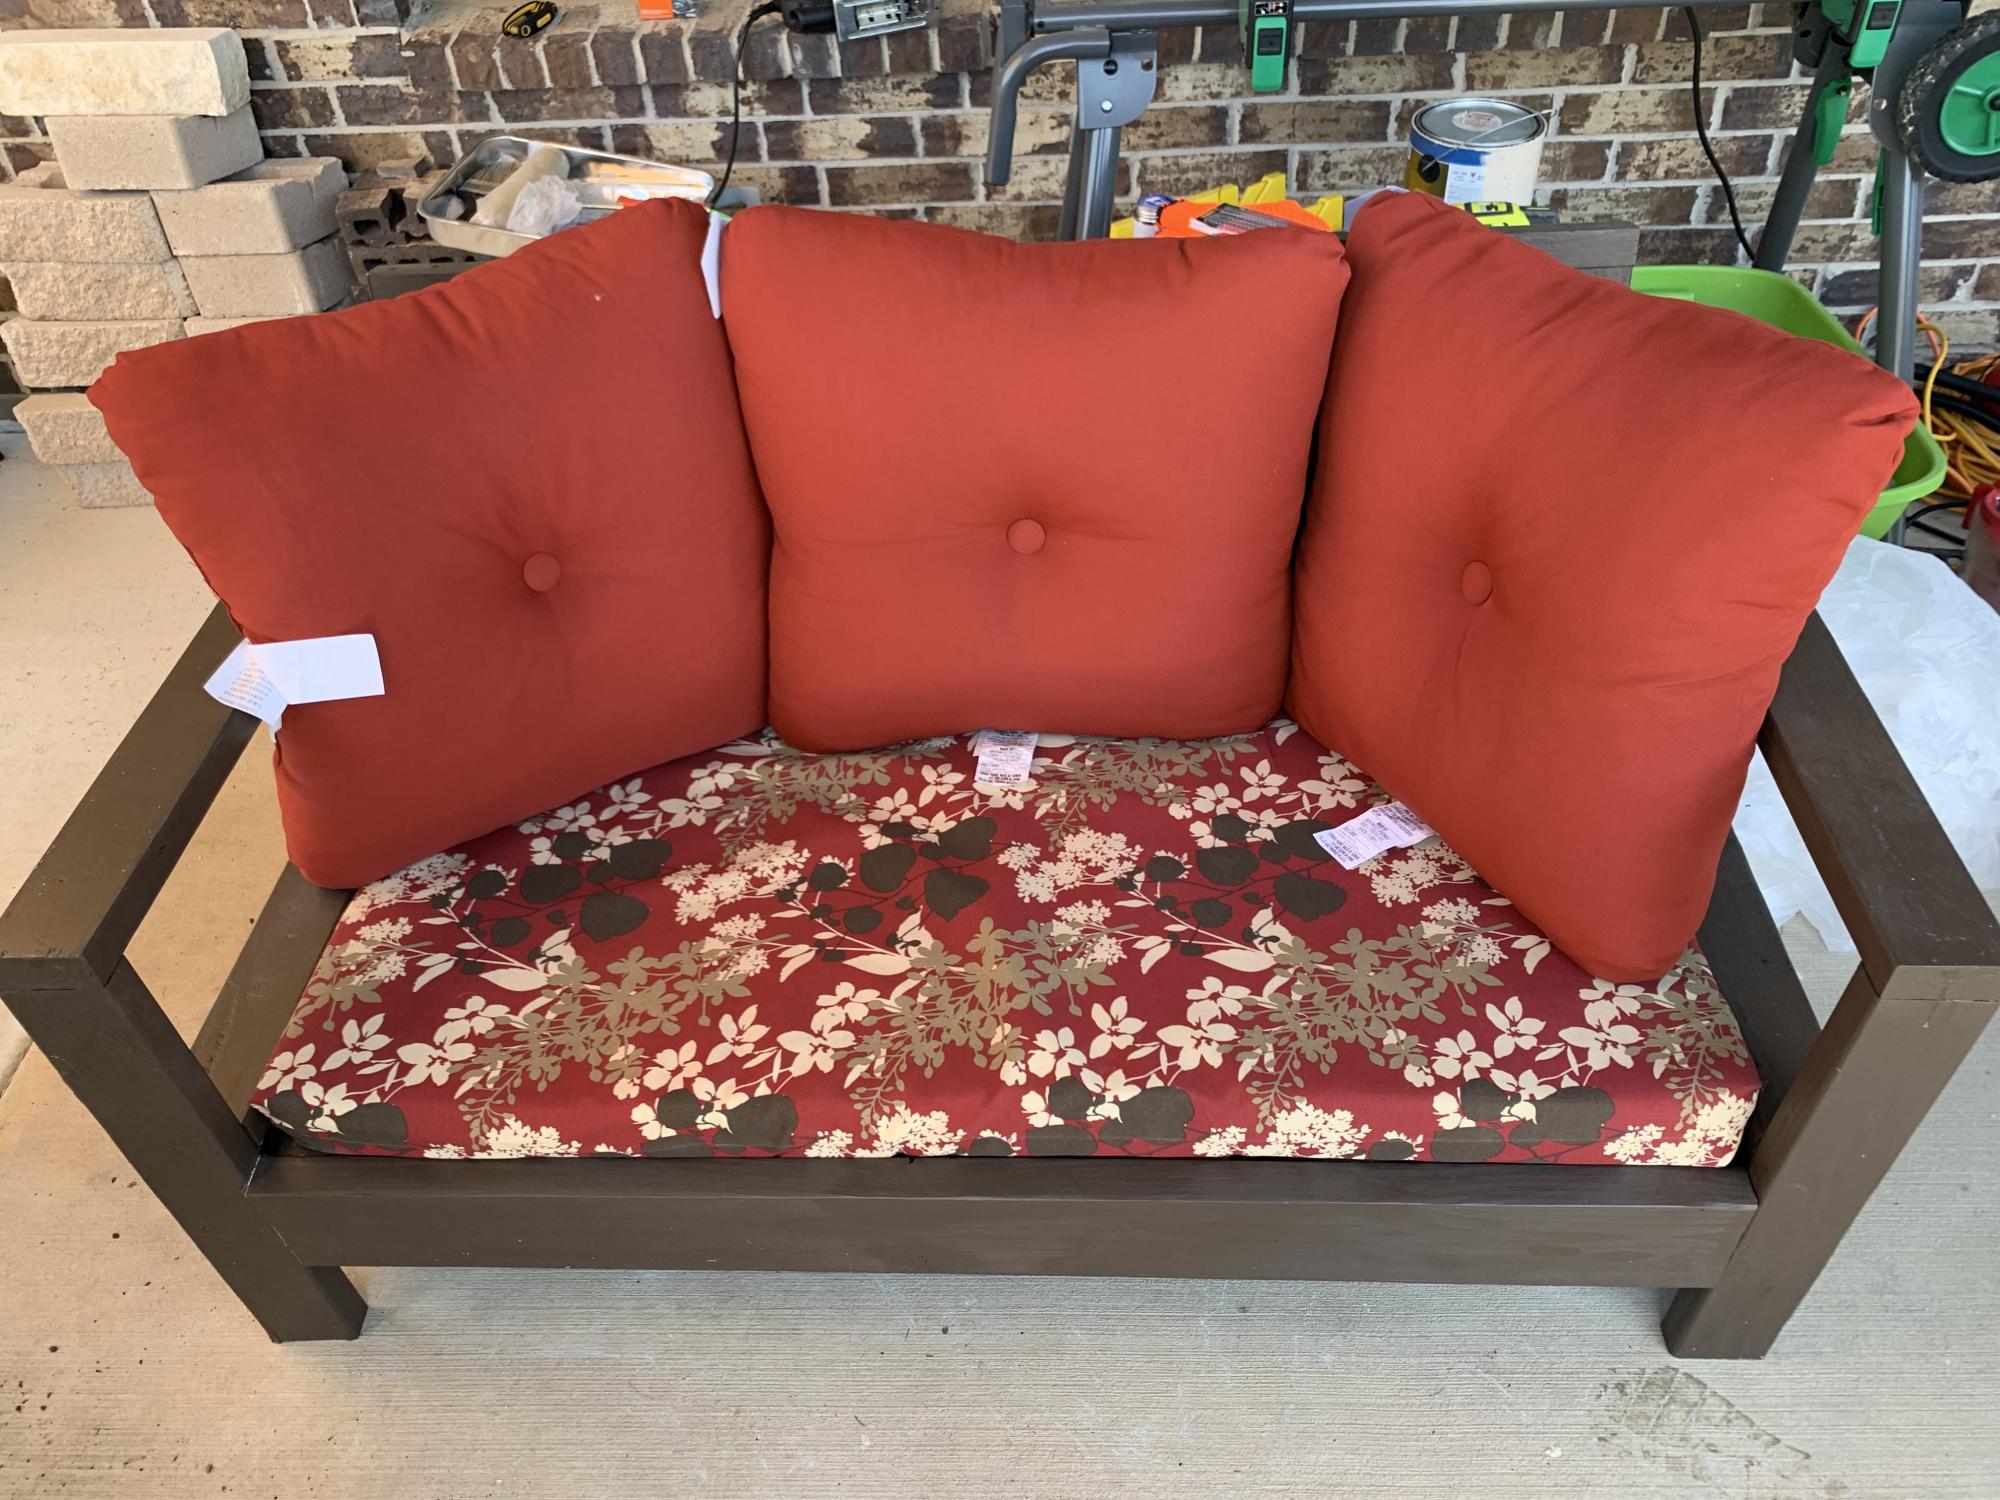
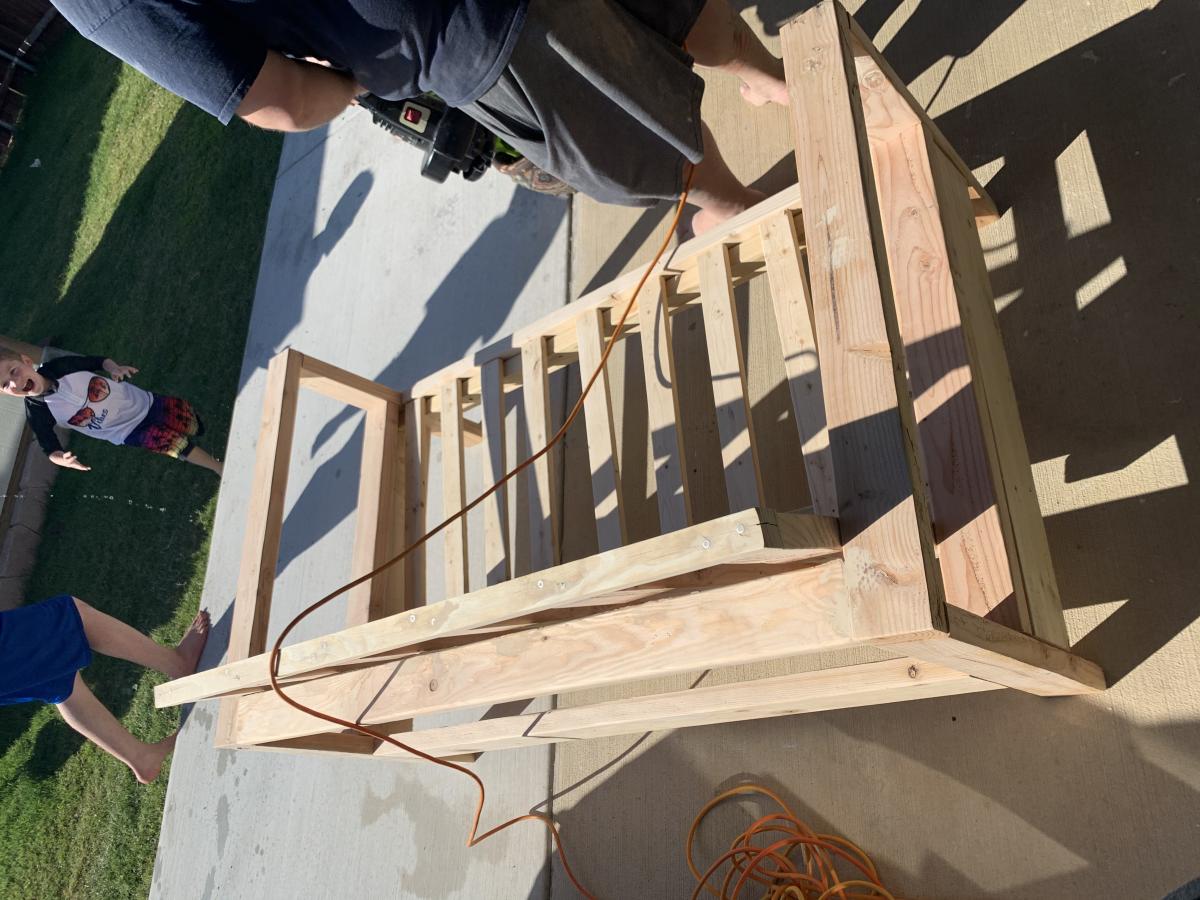
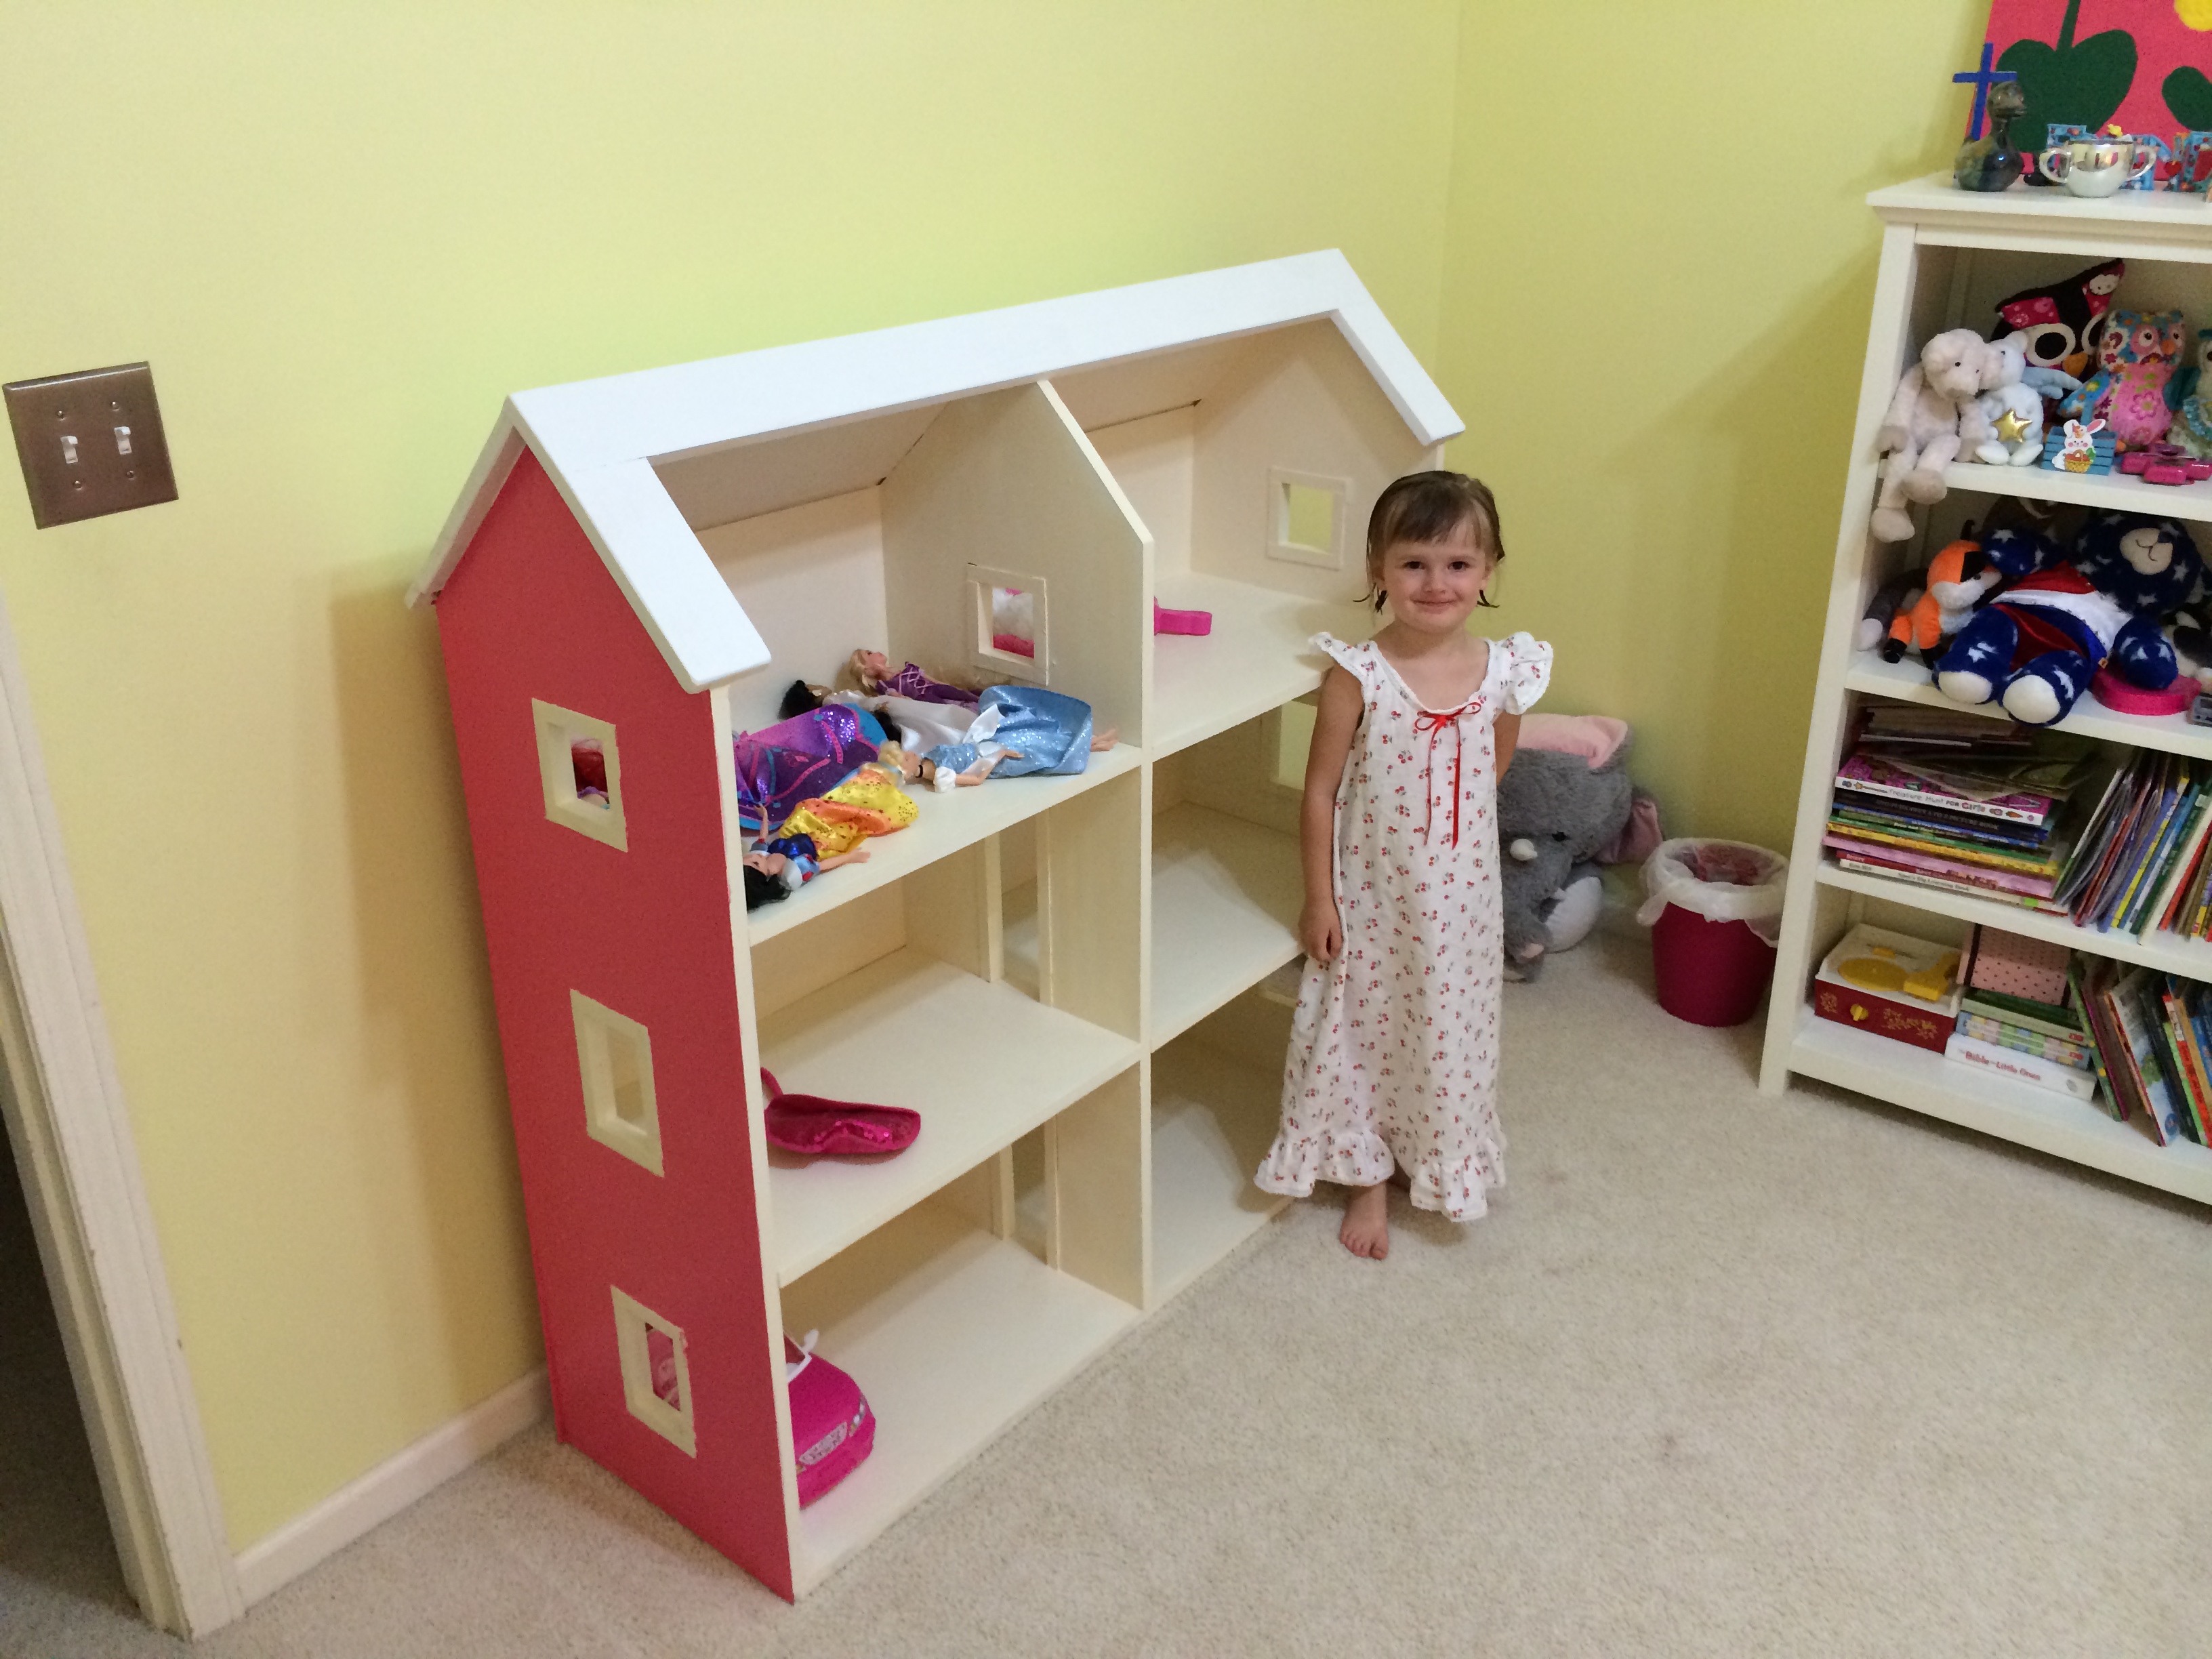
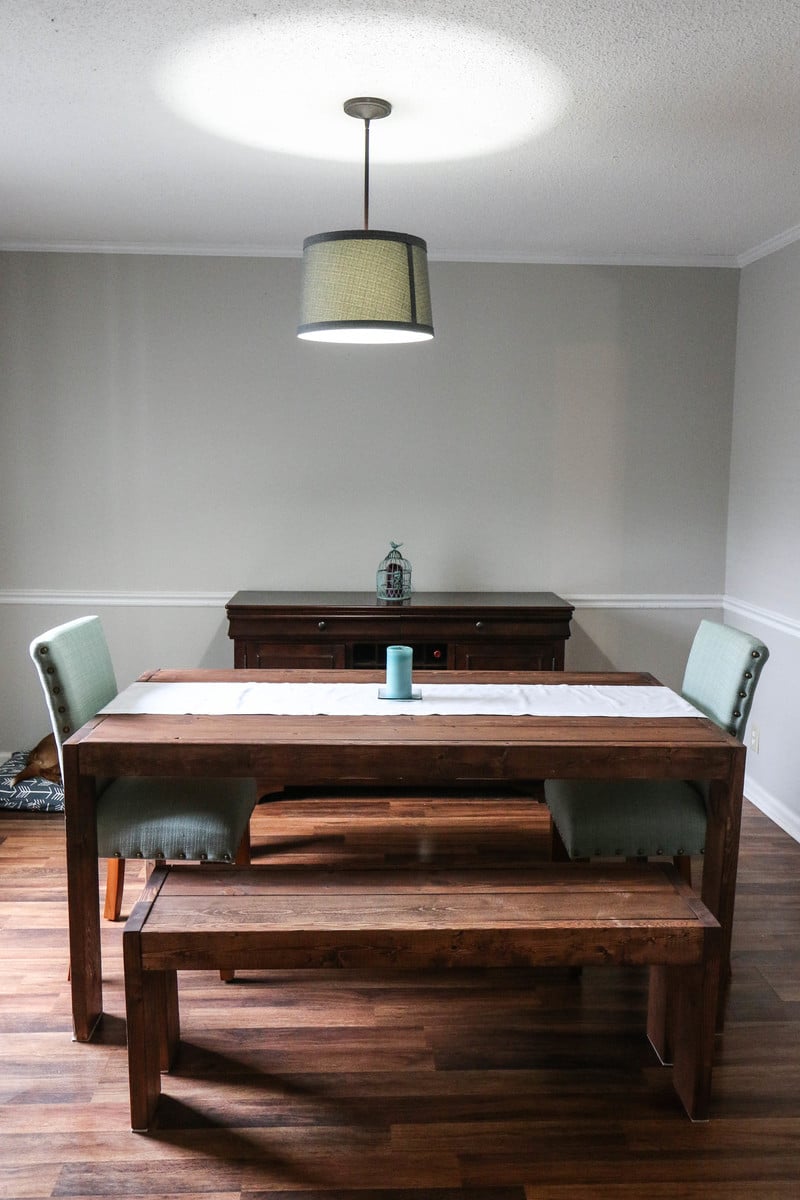
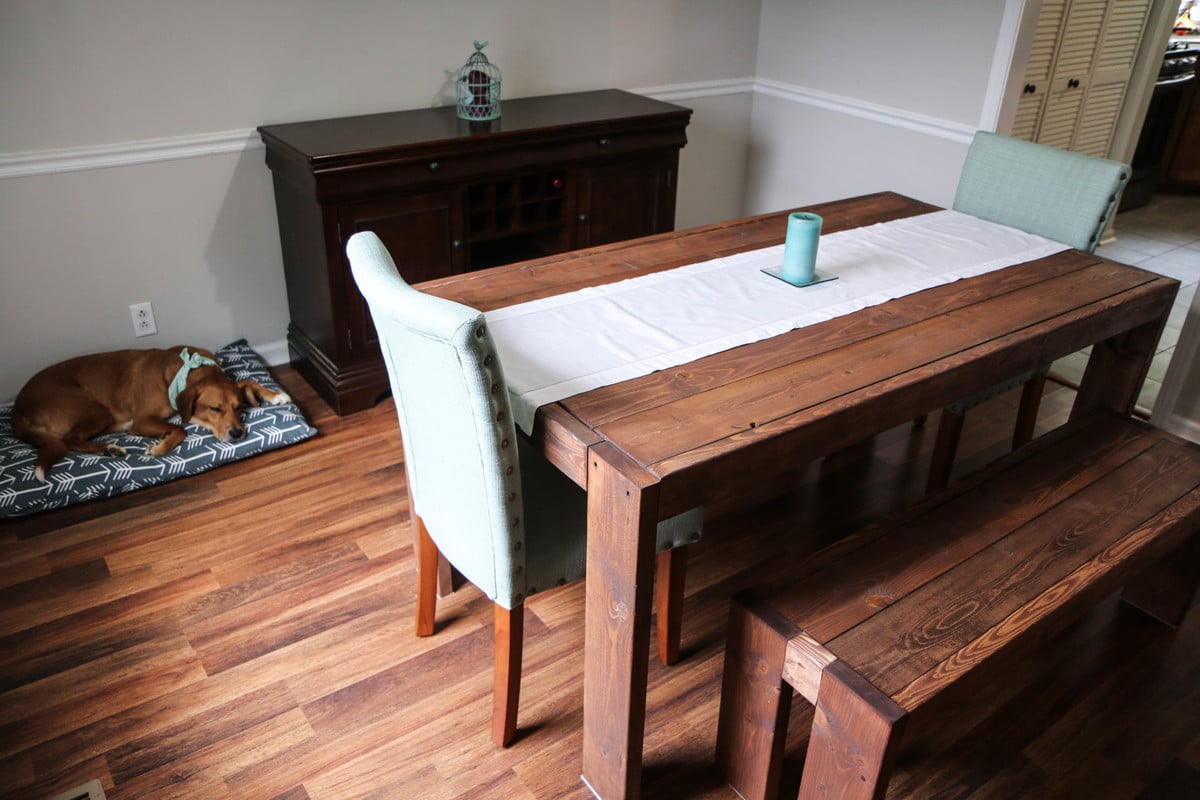
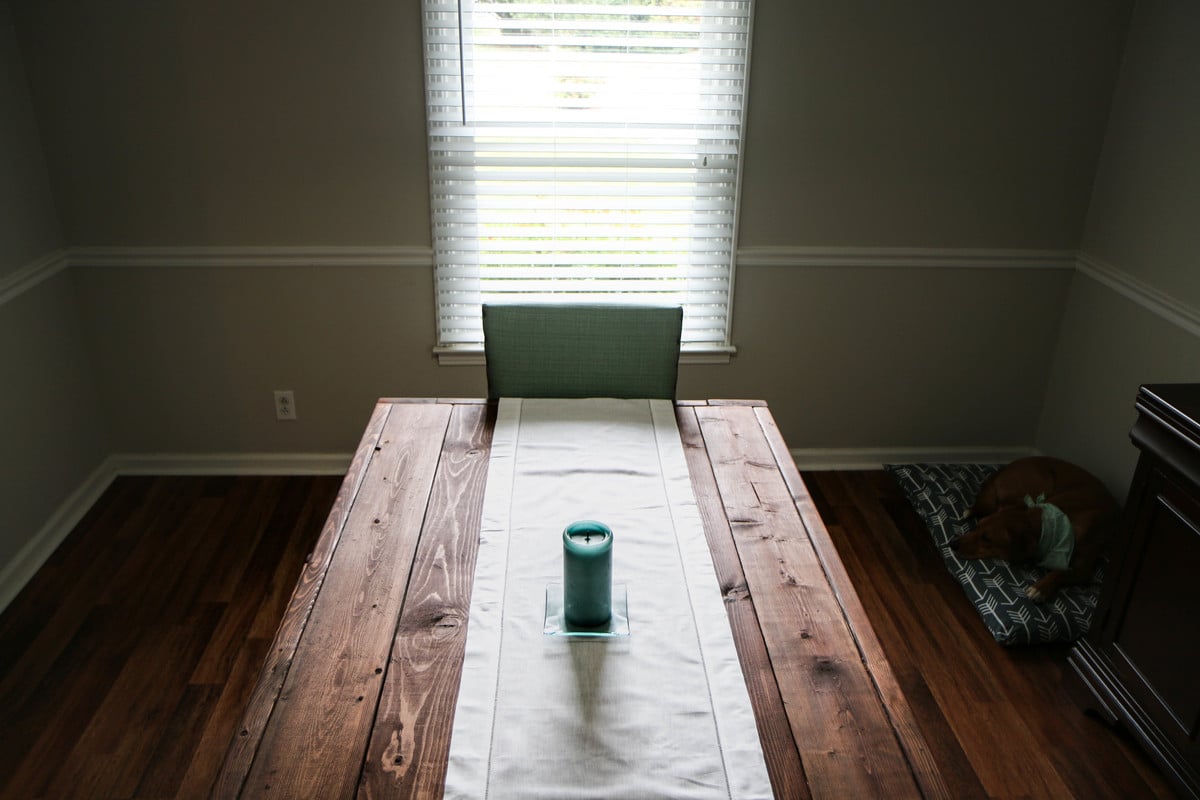
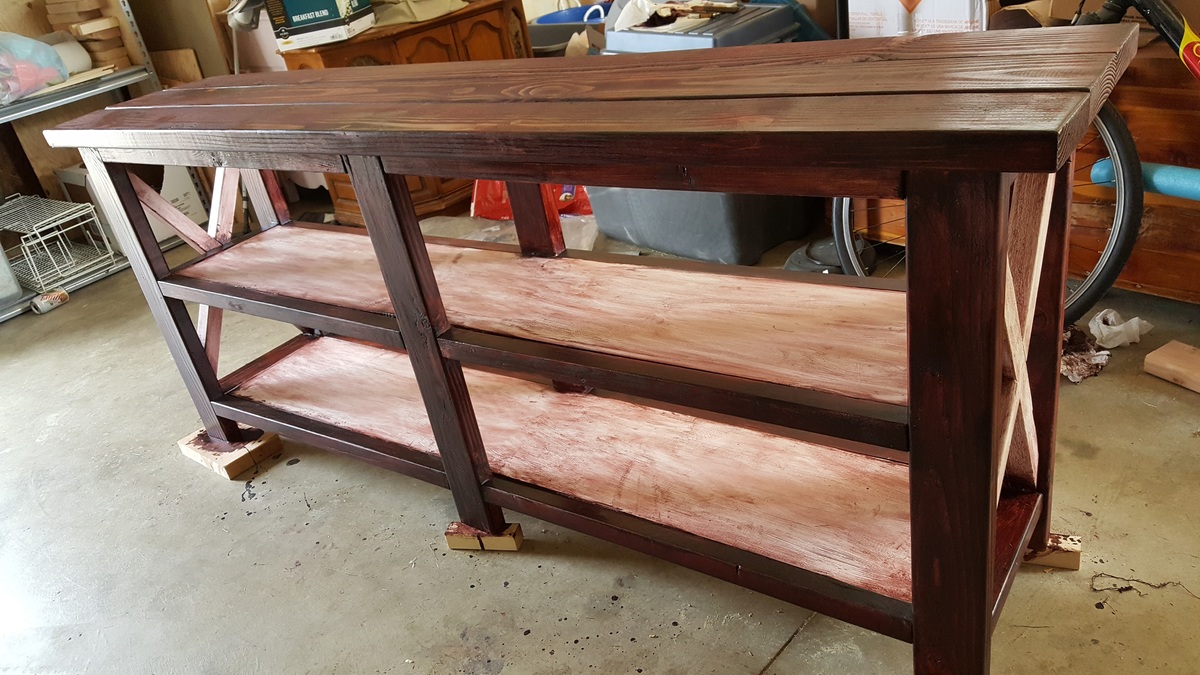
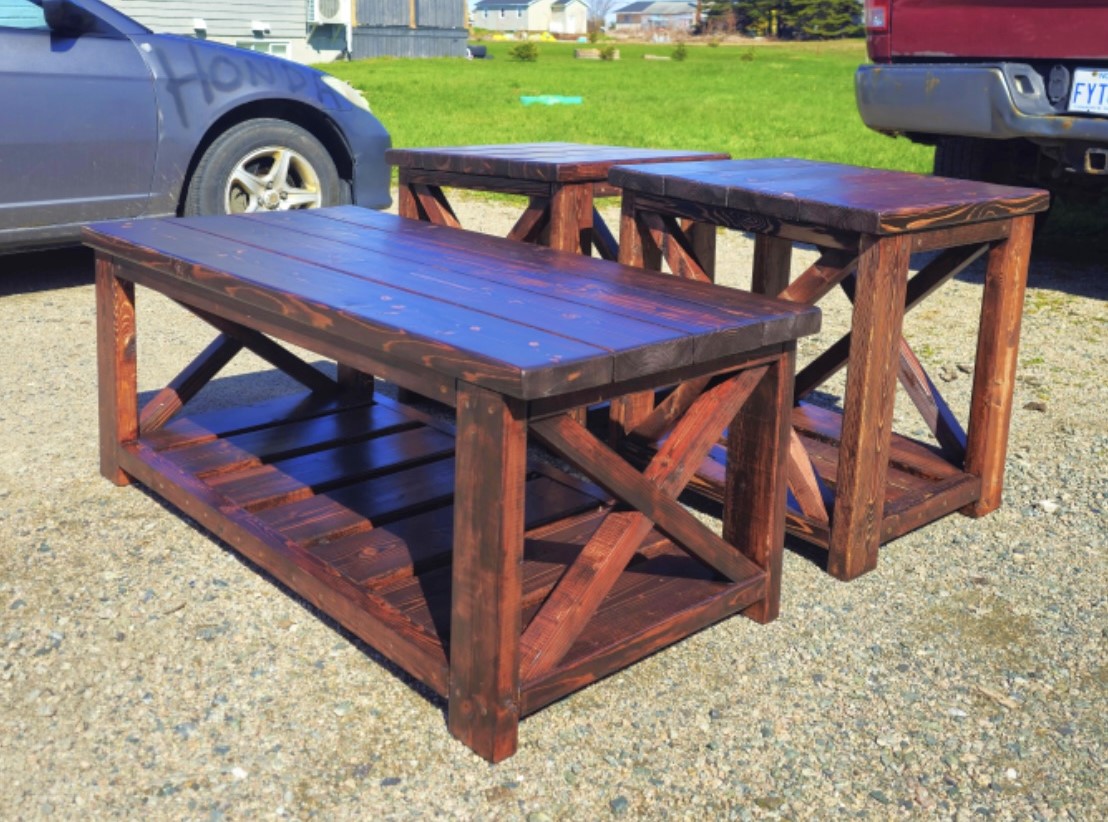
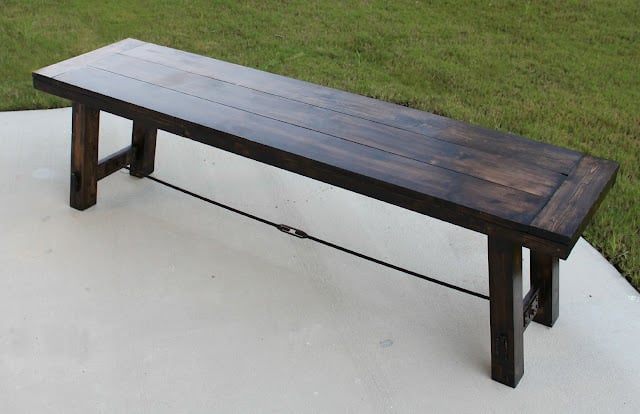
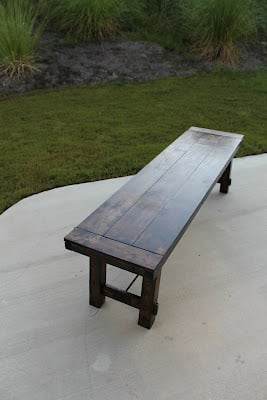
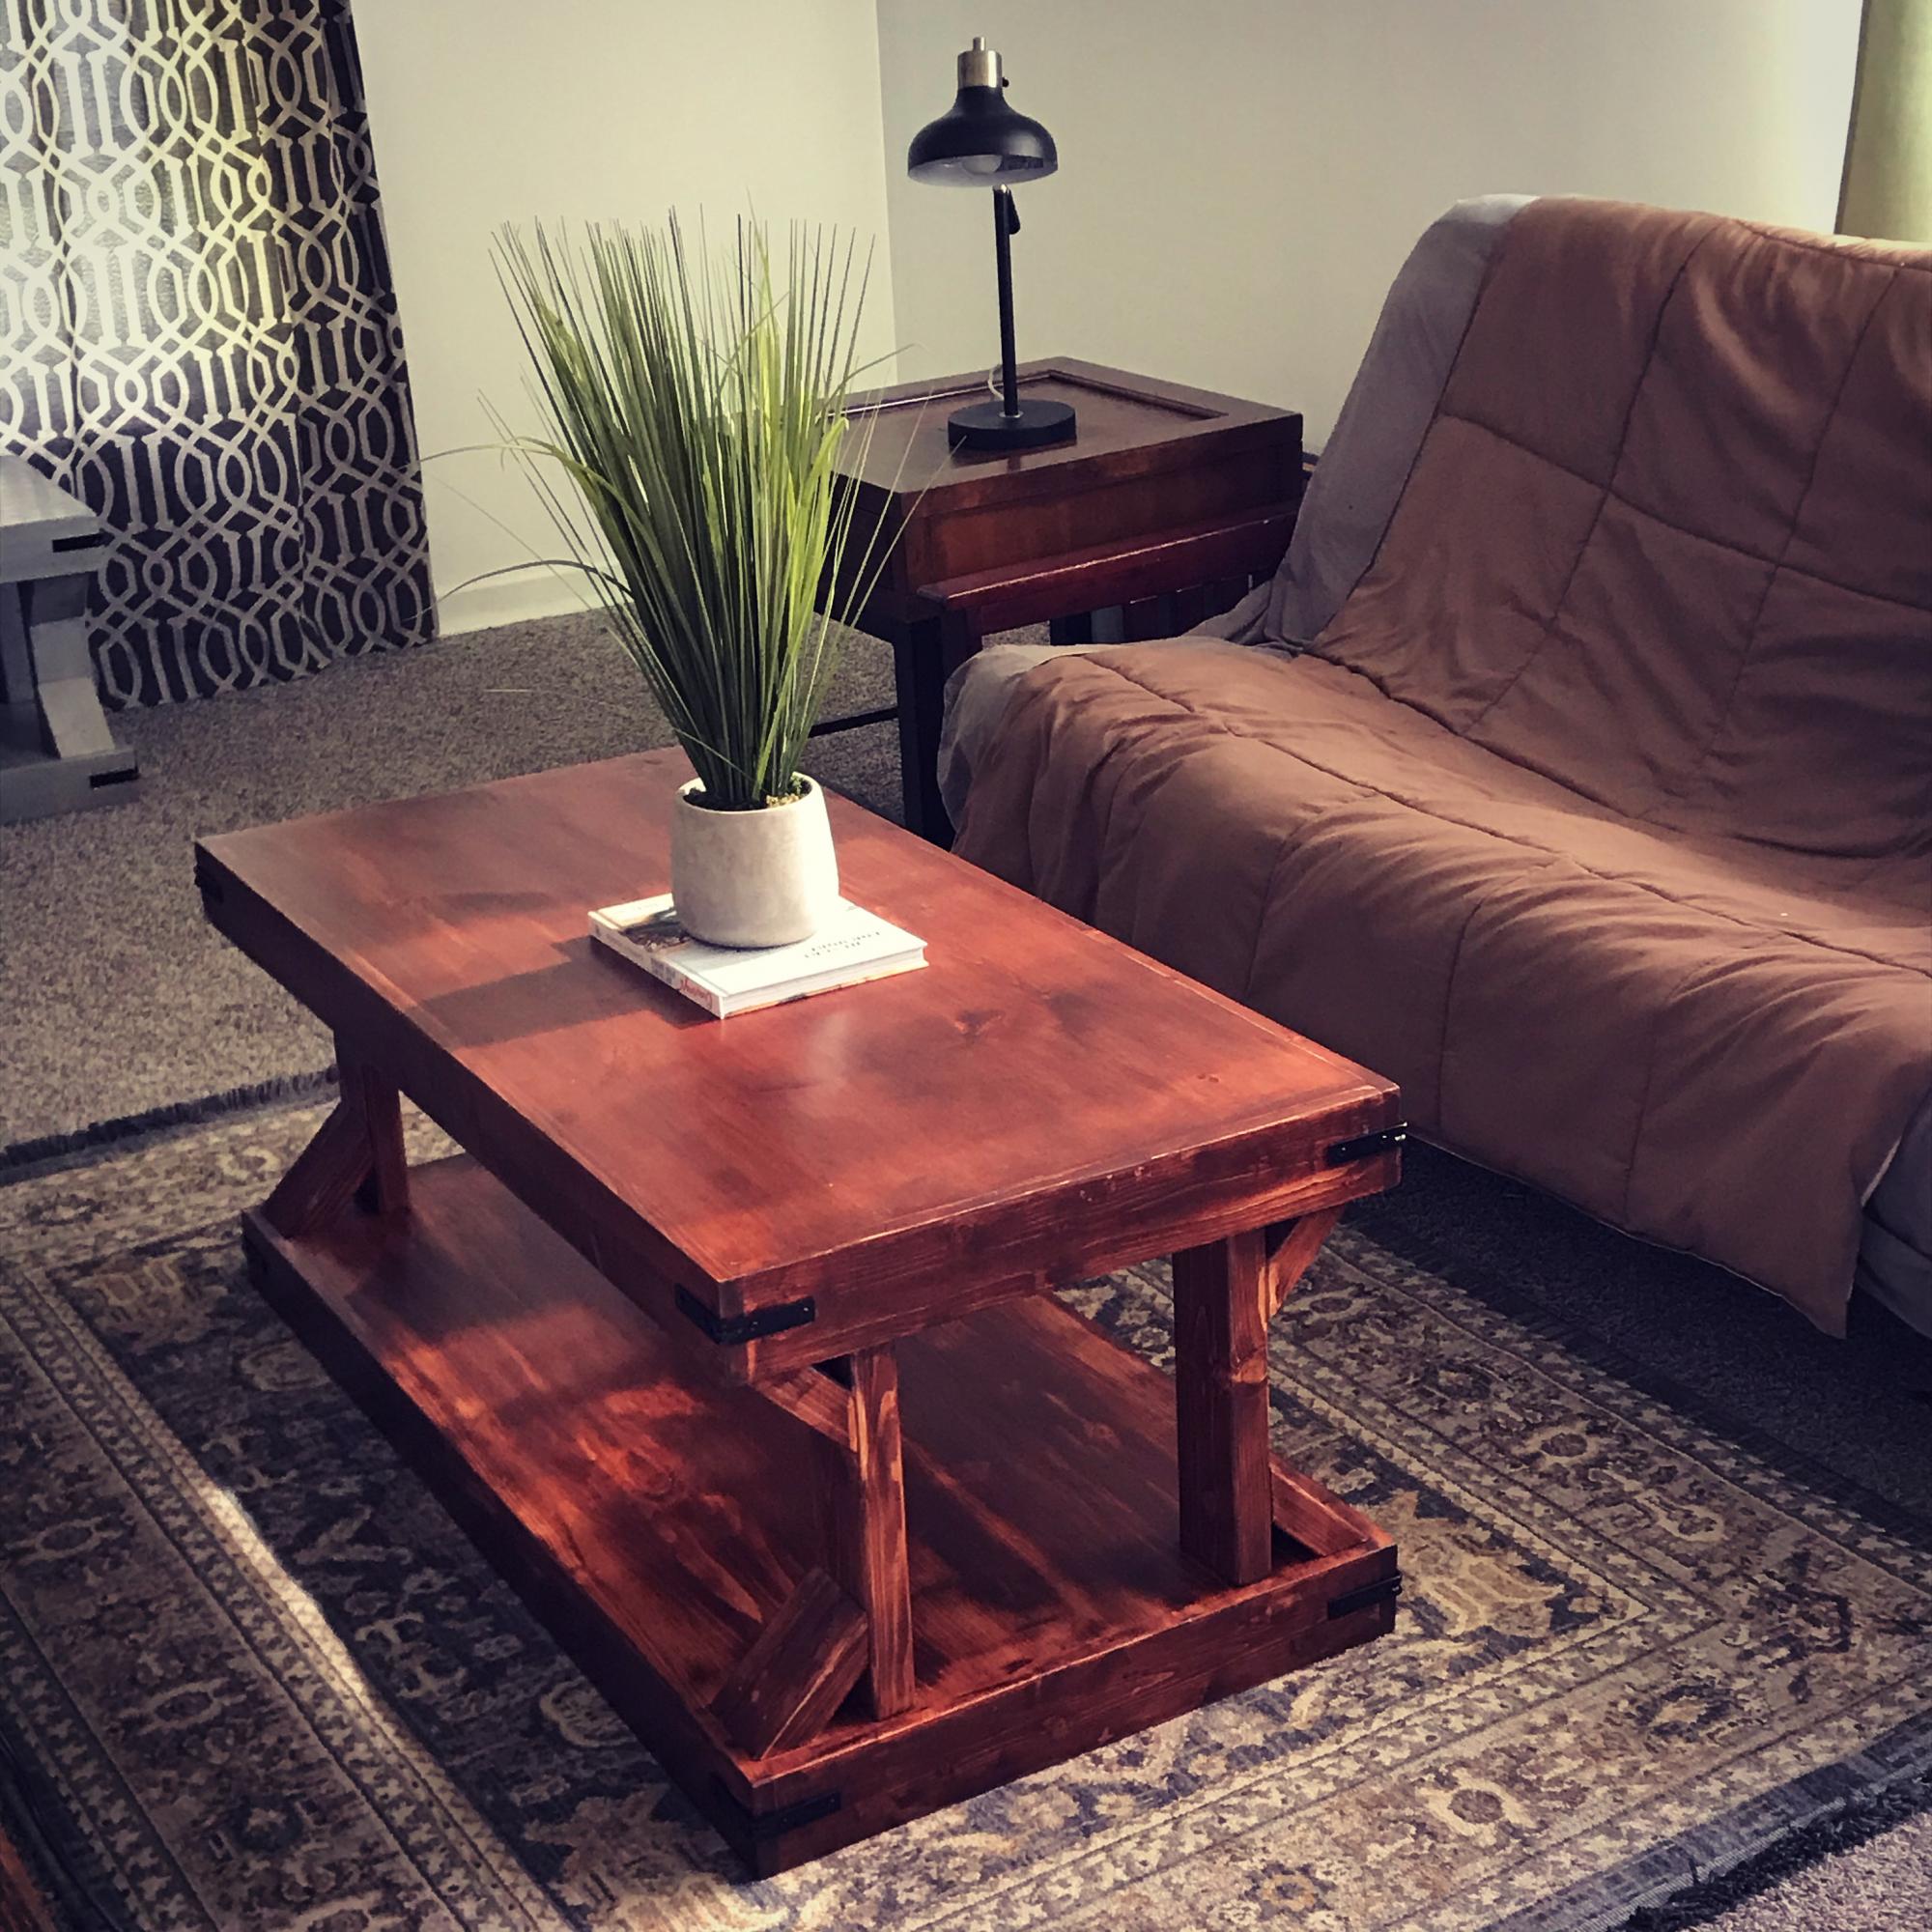
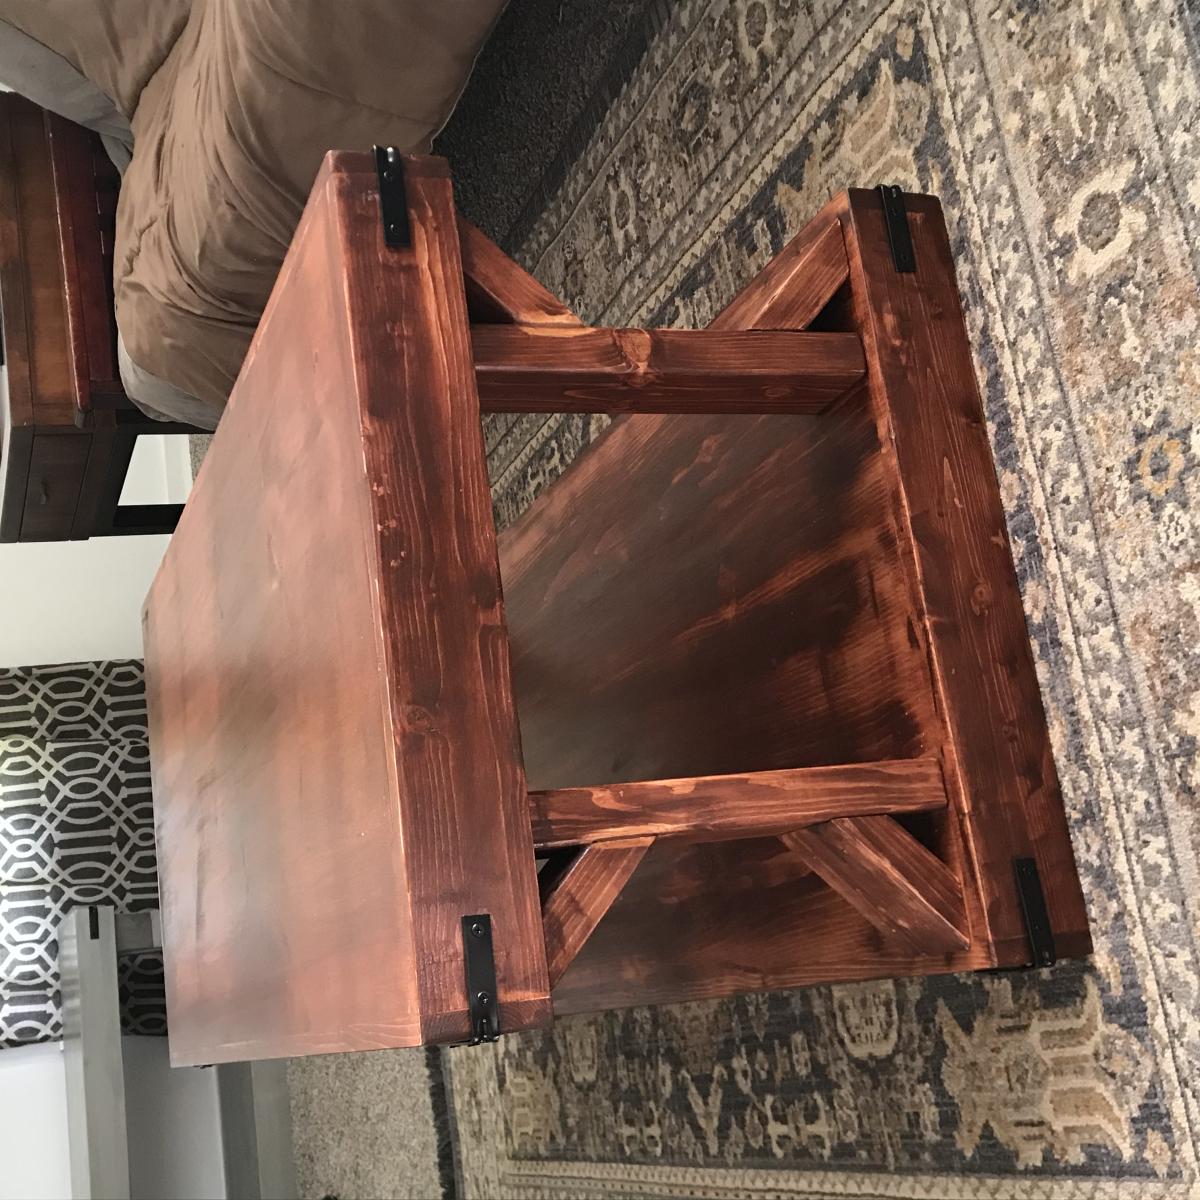
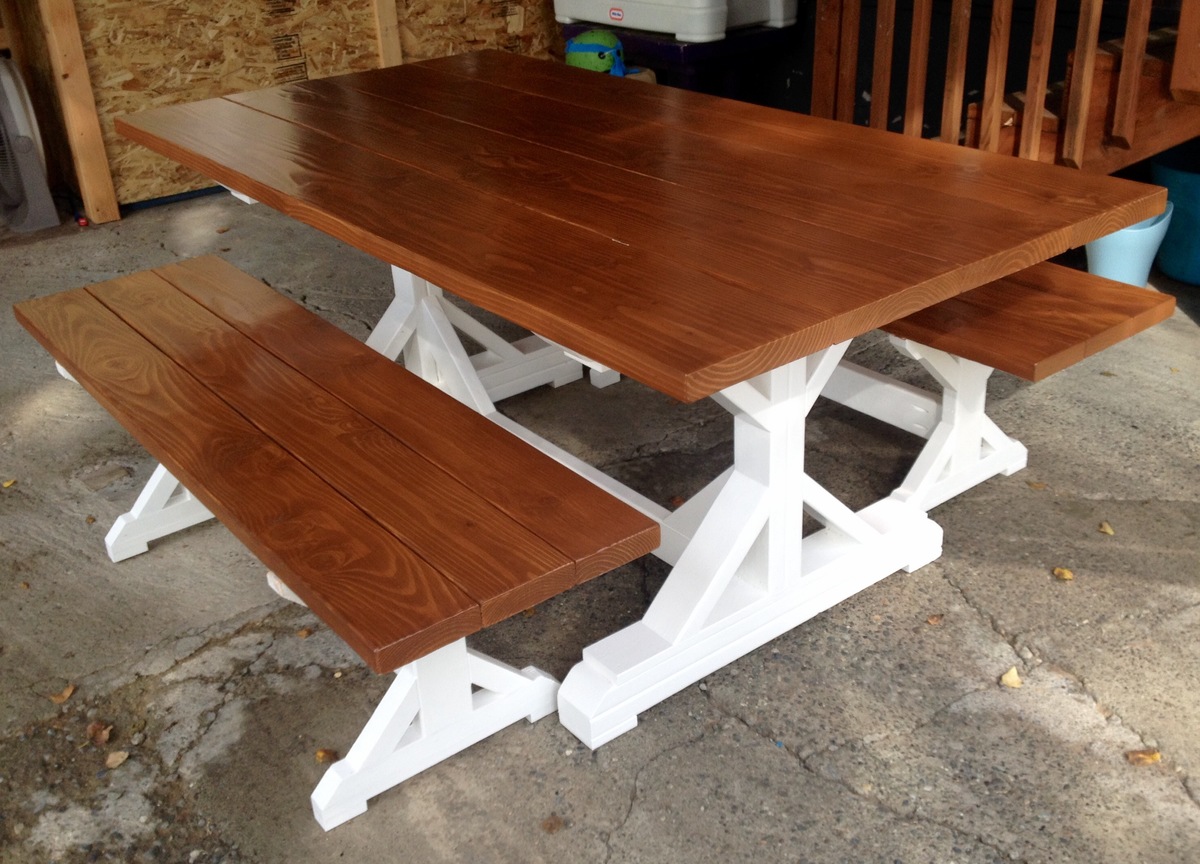
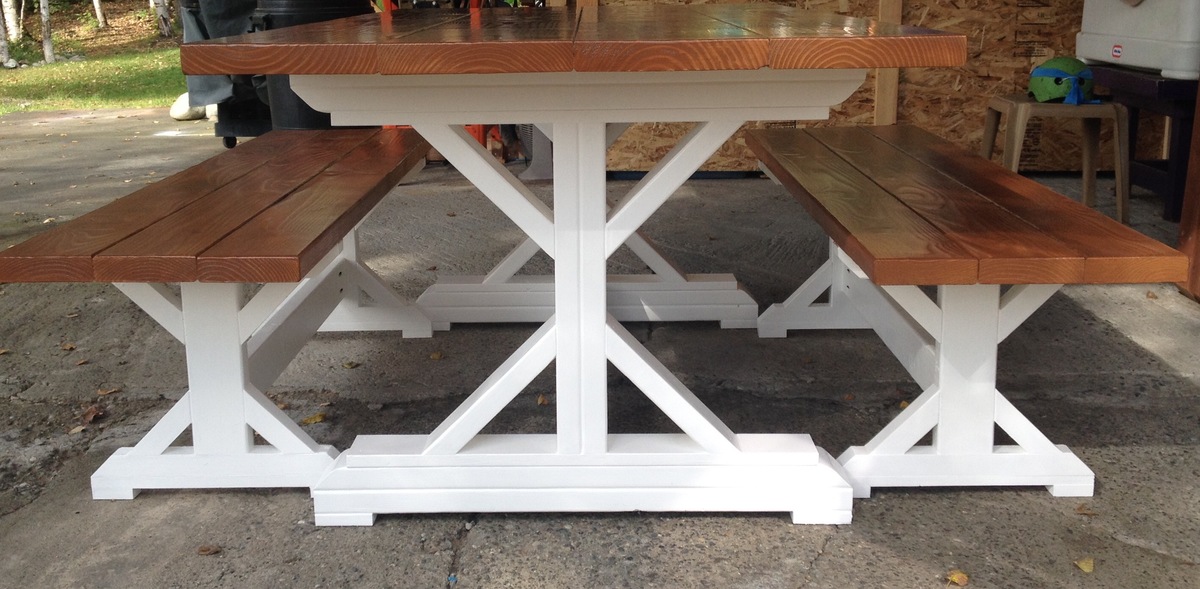
Picnic Table
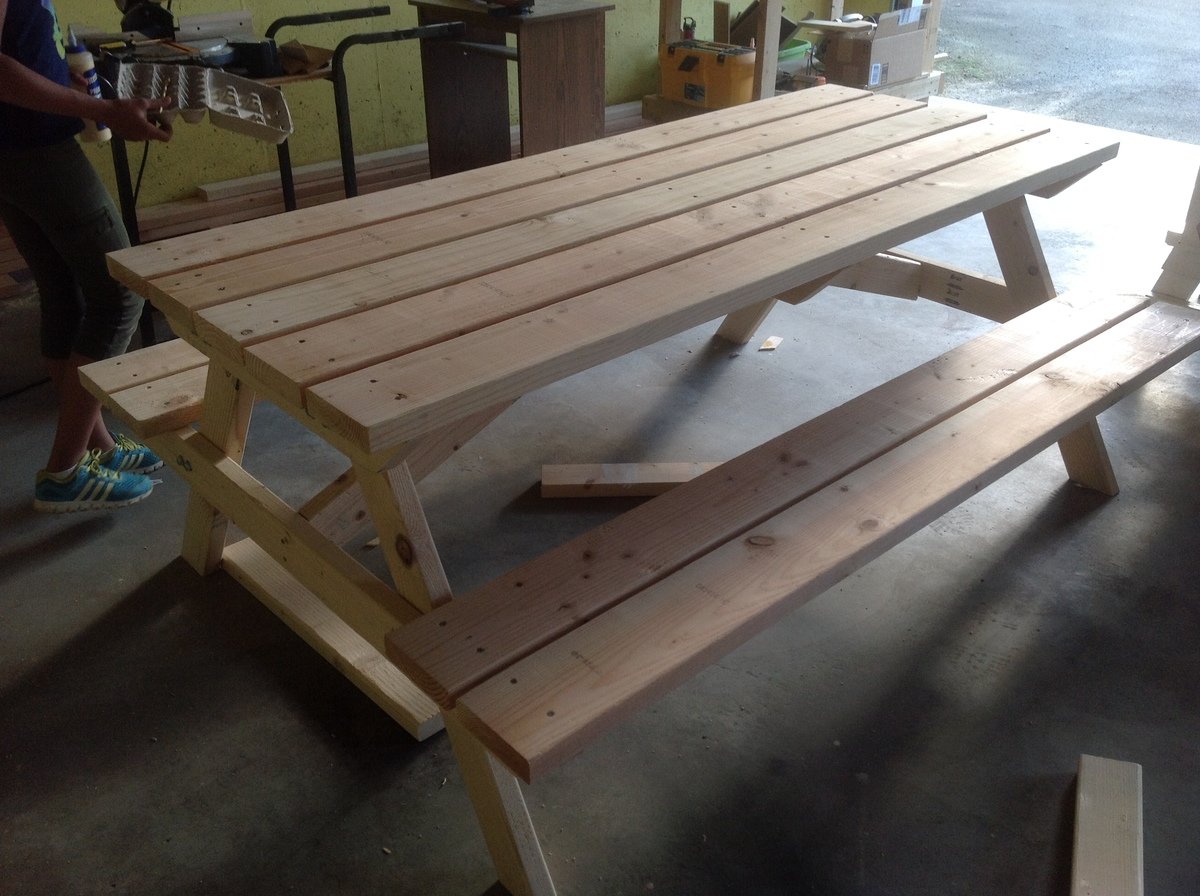
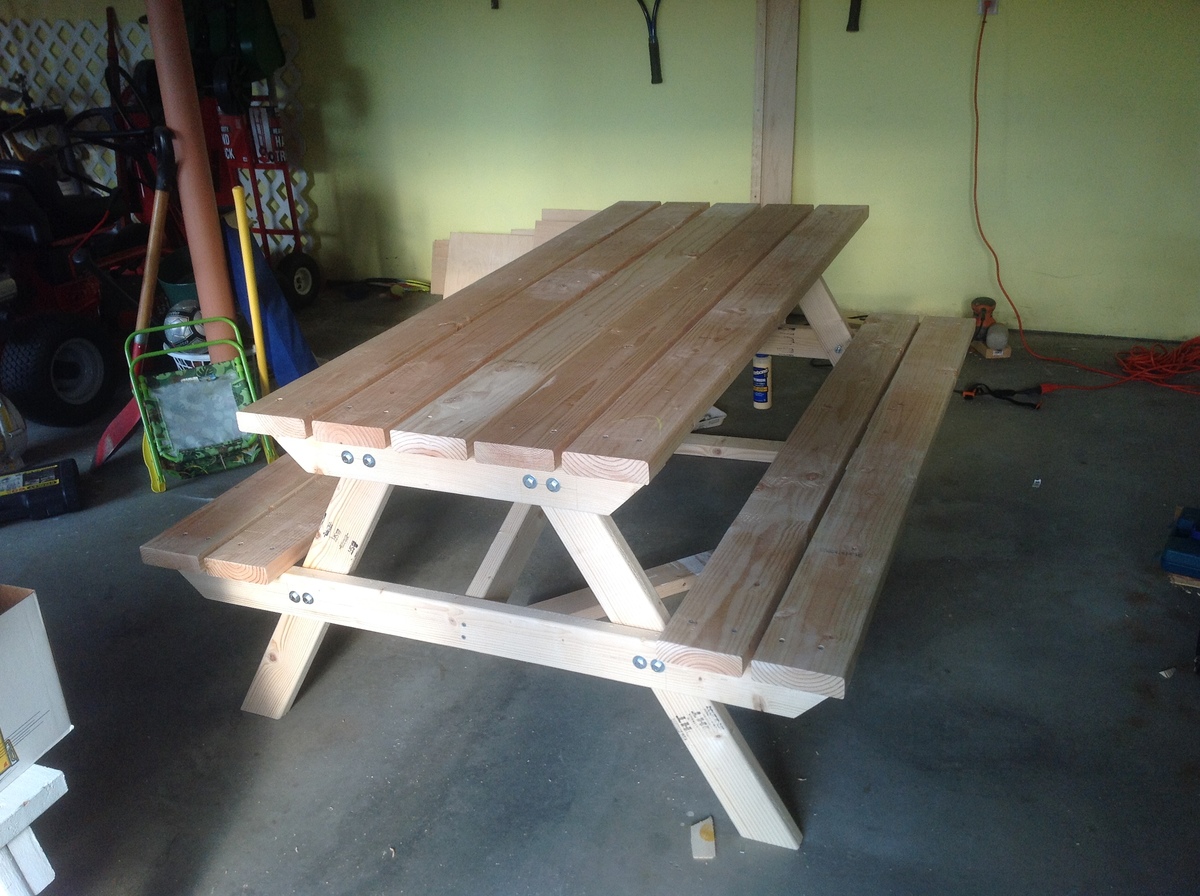
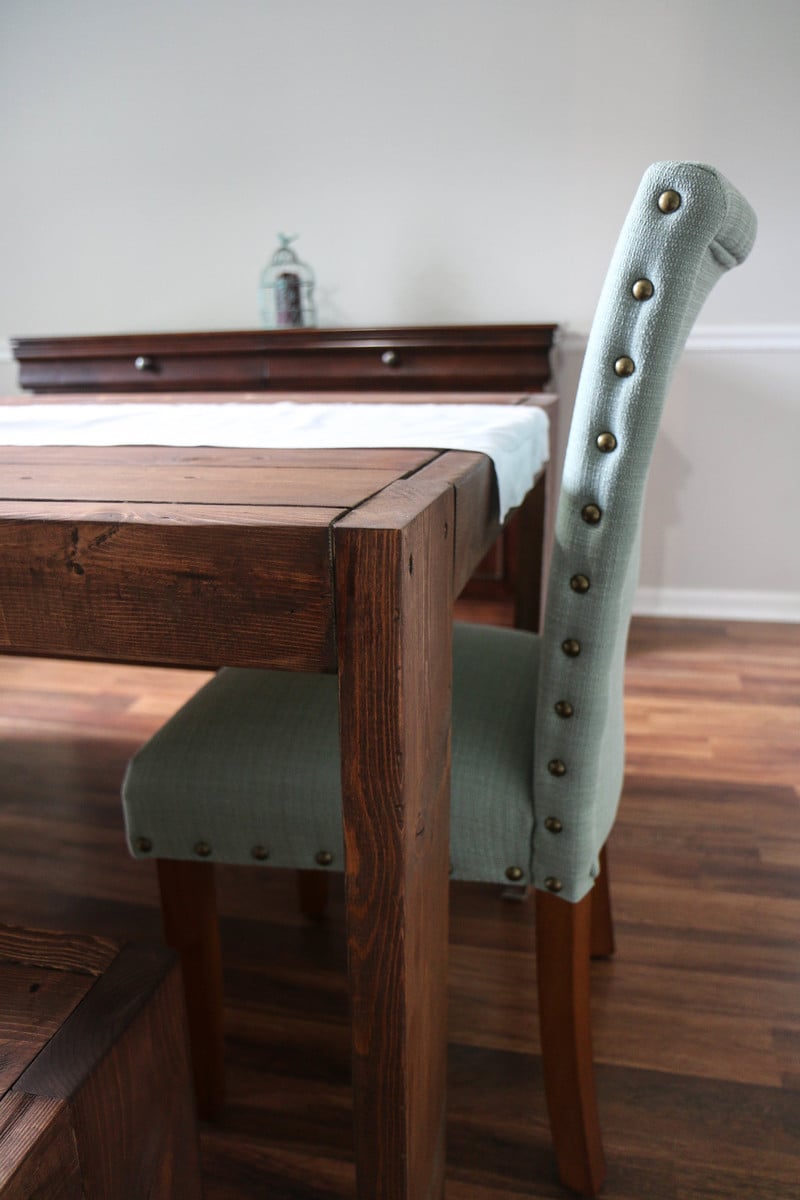
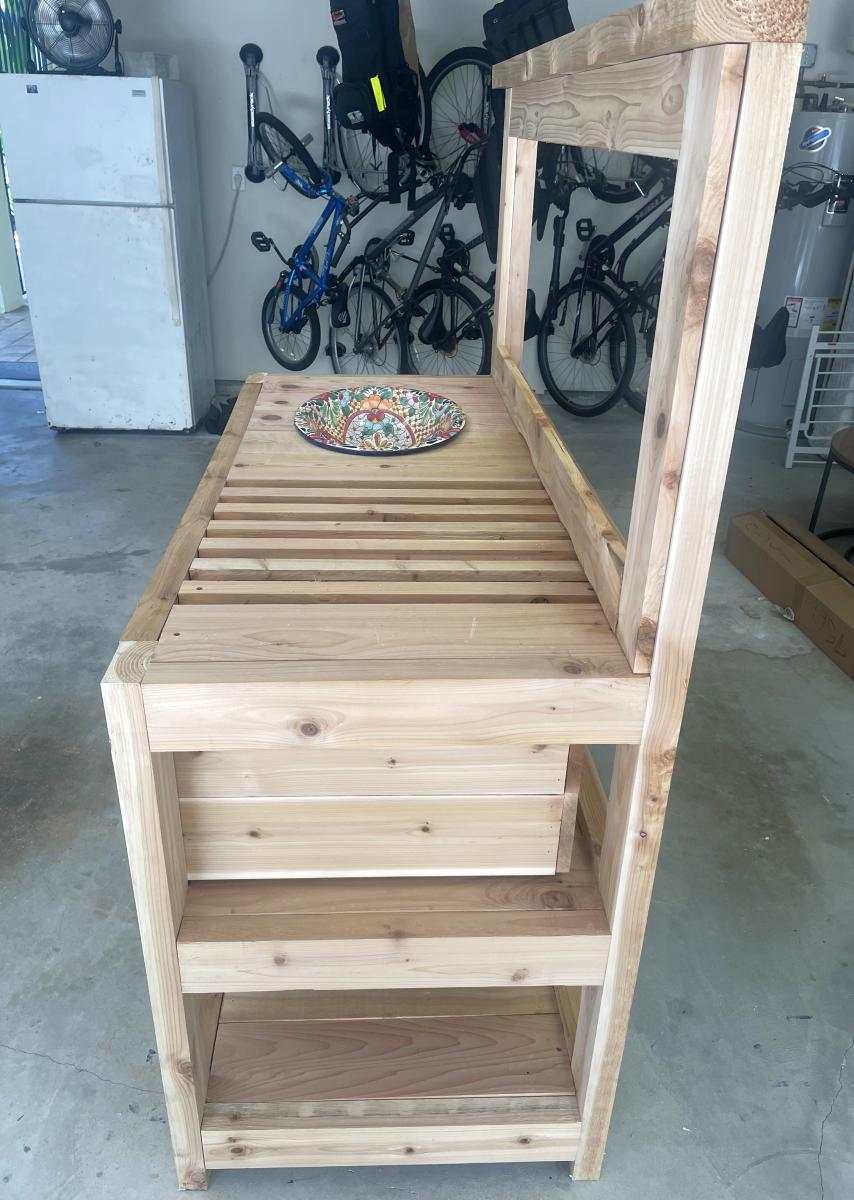
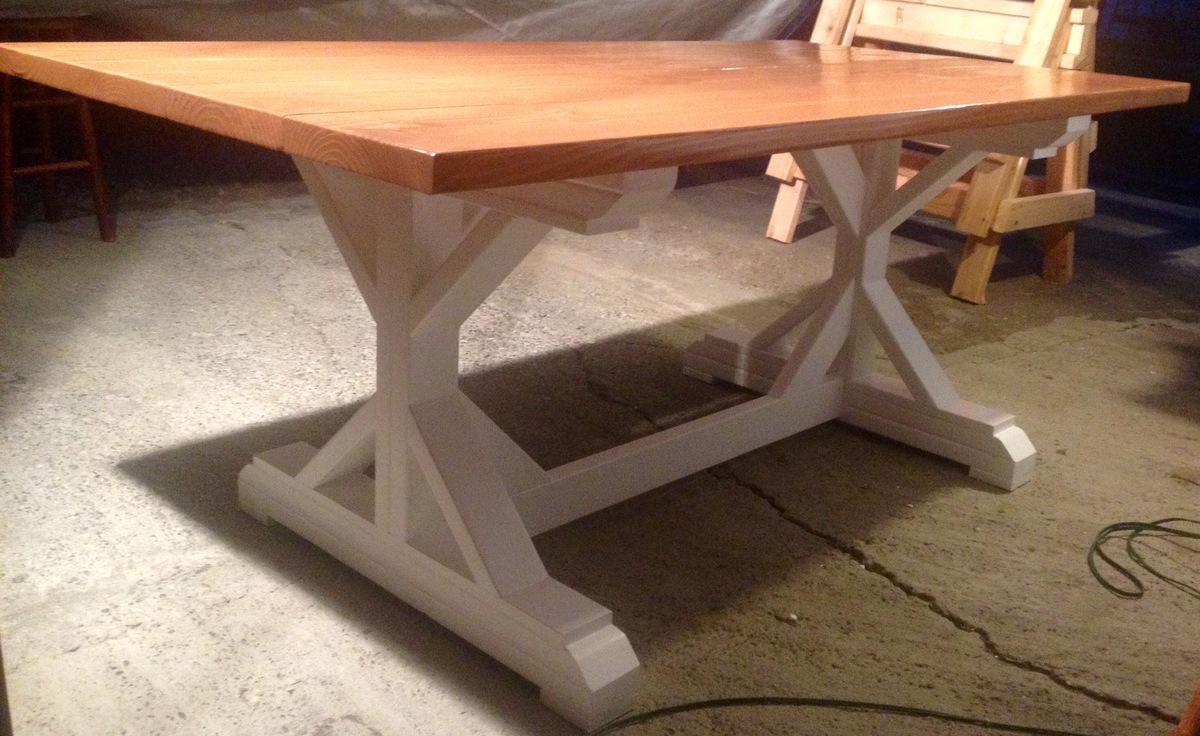
Wanted to kick start my summer projects with something that would not take too long. So I built this picnic bench for a friend over the last weekend. Thank you Ana for the plans.
Built from Plan(s)
Estimated Cost
$150
Estimated Time Investment
Day Project (6-9 Hours)
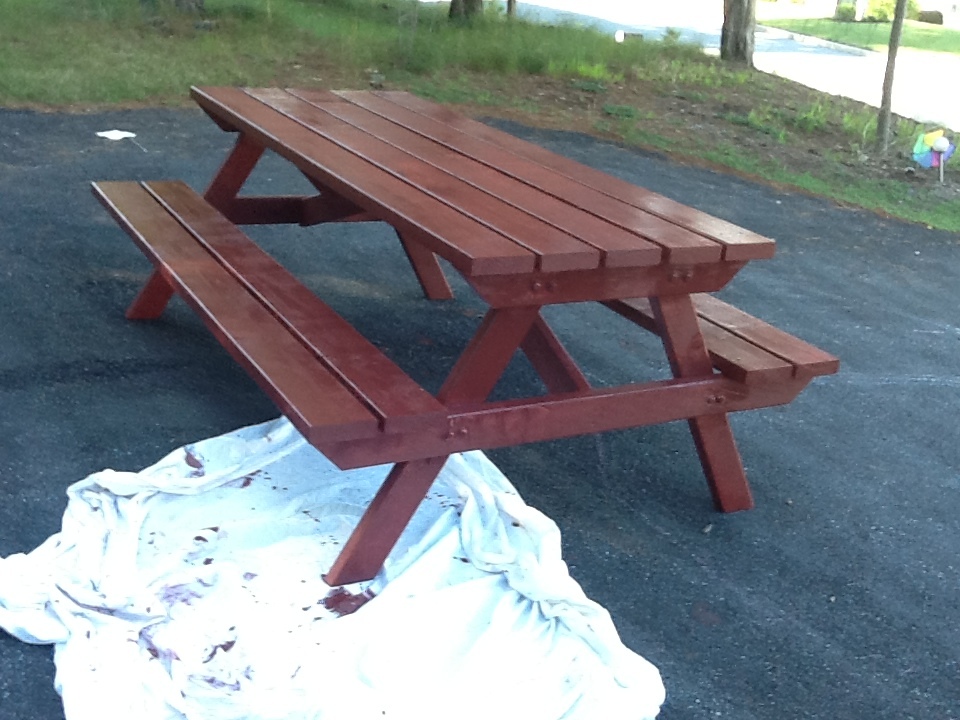
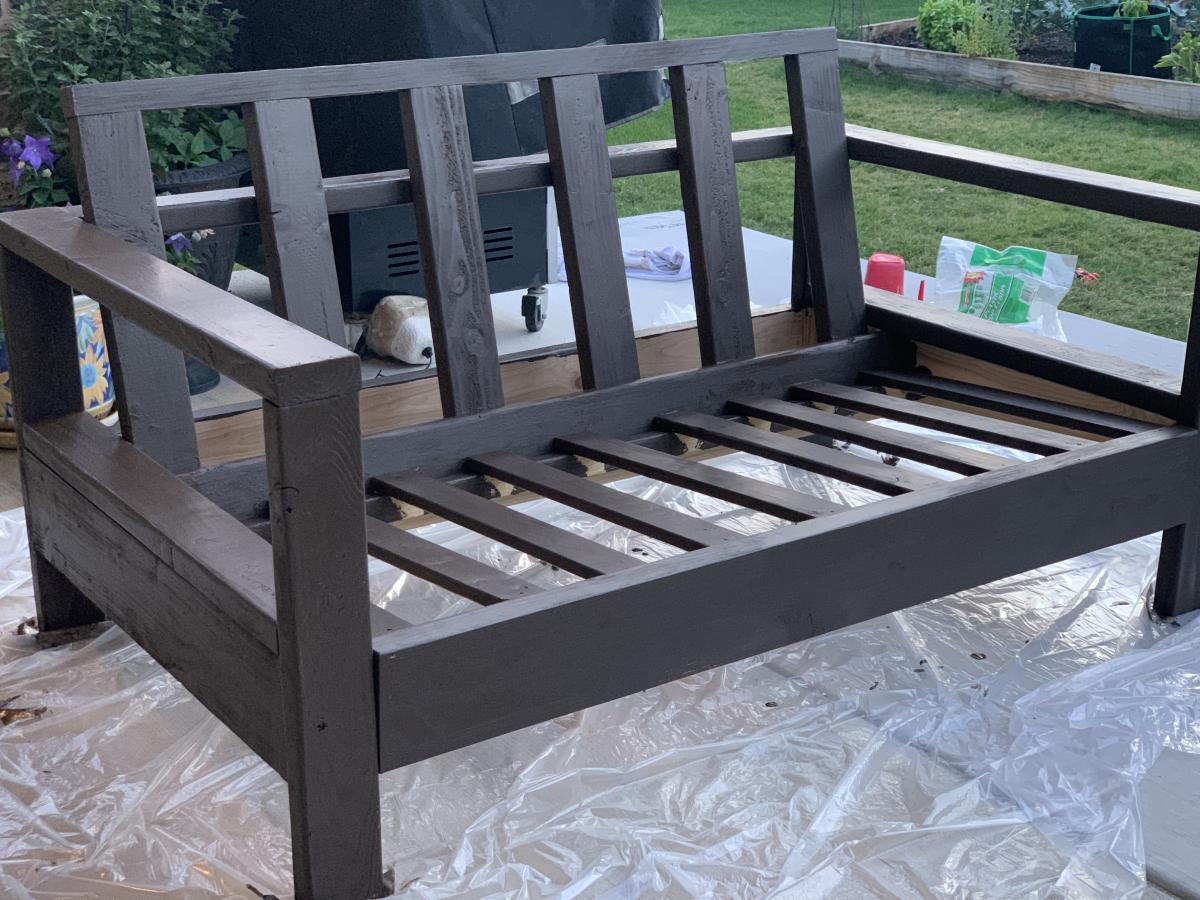
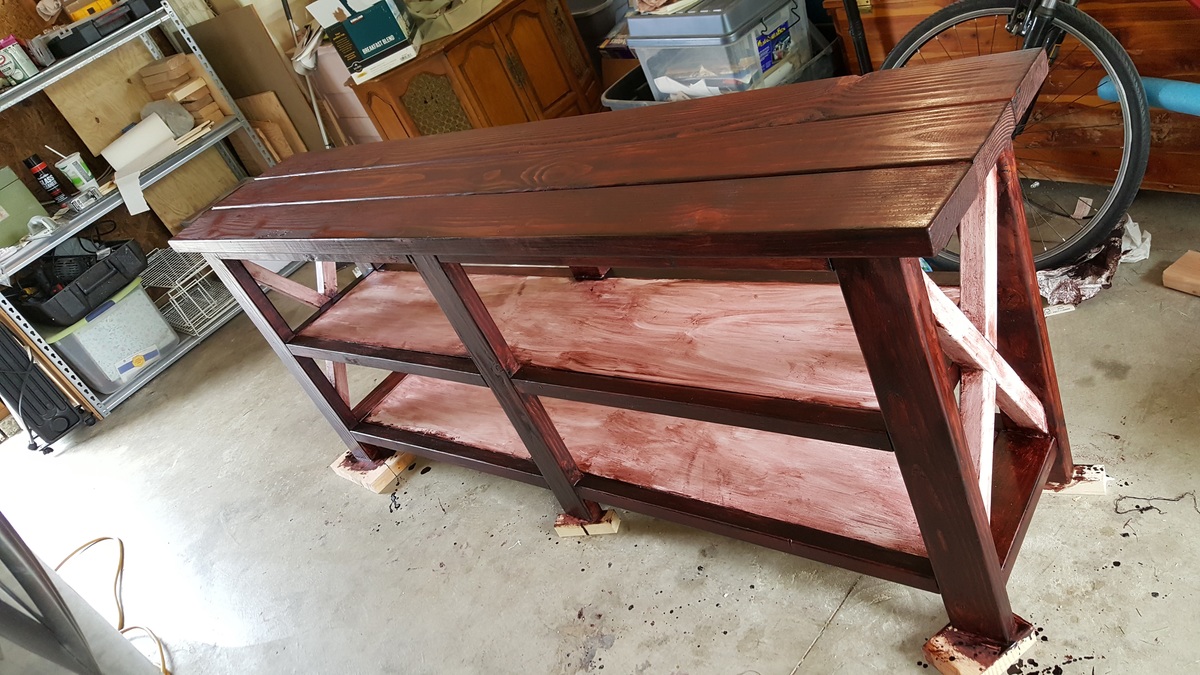
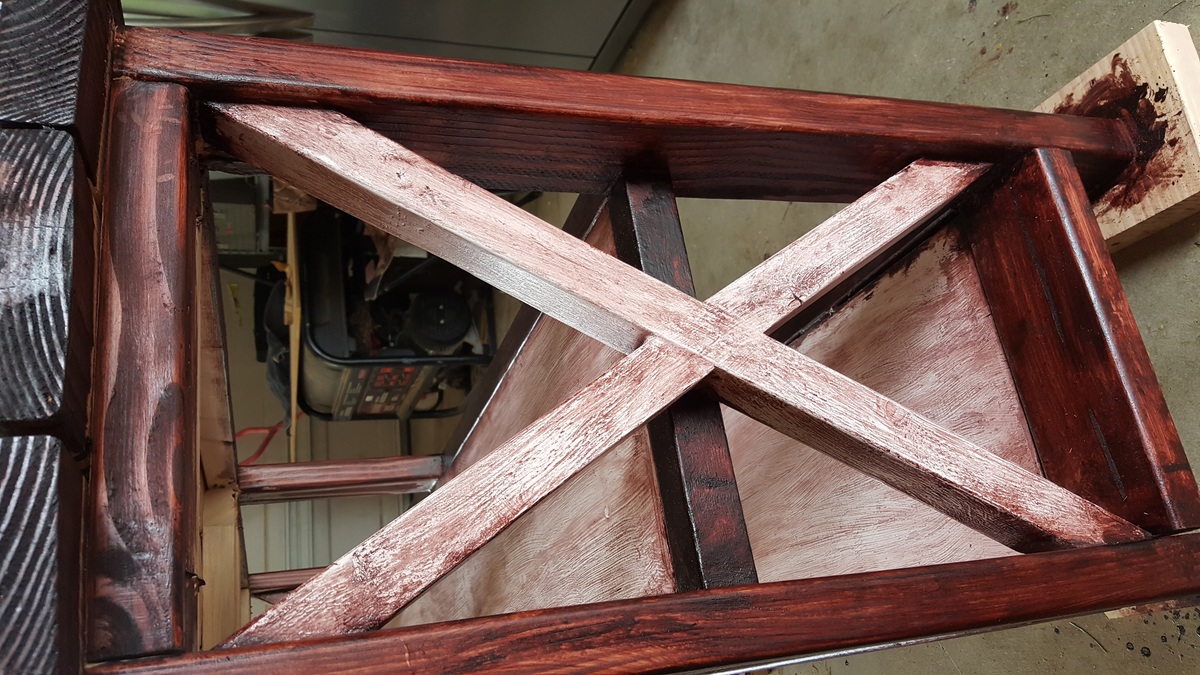
Finish Used
Benjamin Moore Red Barn Stain
Recommended Skill Level
Starter Project


Comments
gkatie26
Sun, 03/01/2015 - 12:16
Length
I was just wondering if these are 5ft boards from the plan or if you used longer boards? If so what length did you use? Love the way this one looks! :)