Community Brag Posts

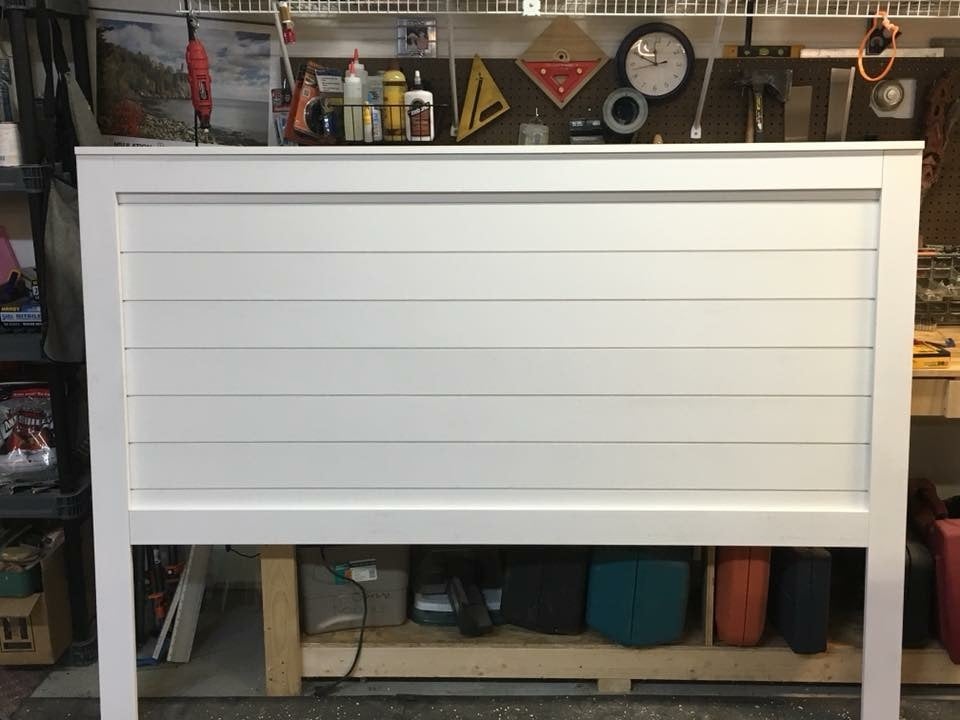
King Shiplap Headboard.

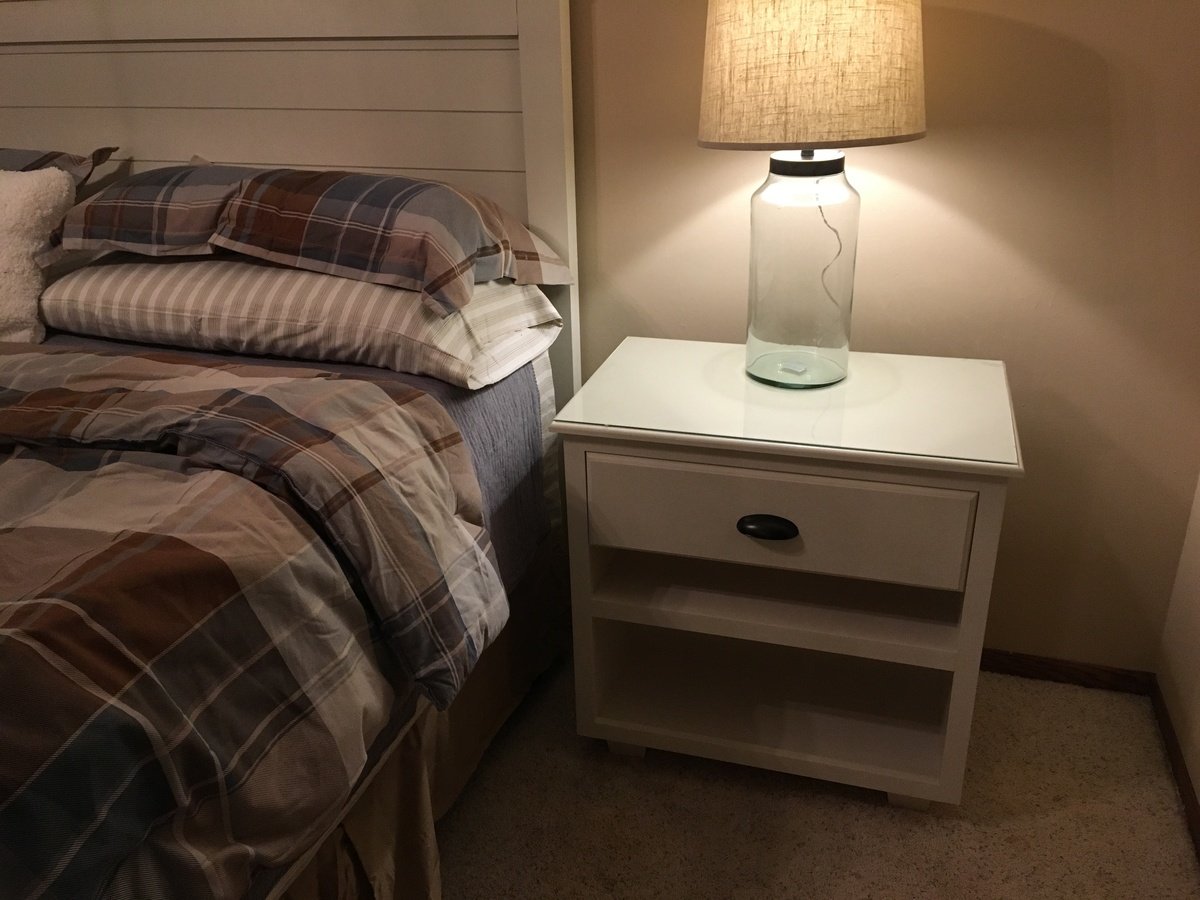
The Beauty Queen described a headboard with shiplap and sort of cottage style. I modified the Ana White plan to fit my needs and the wife’s taste. I used the preprimed shiplap and 1x material from the big box store so it was a little more expensive but still very reasonable. Then I made side tables. 

Estimated Cost
$100
Estimated Time Investment
Afternoon Project (3-6 Hours)
Finish Used
Marquee Semi-gloss enamel in antique white
Recommended Skill Level
Beginner

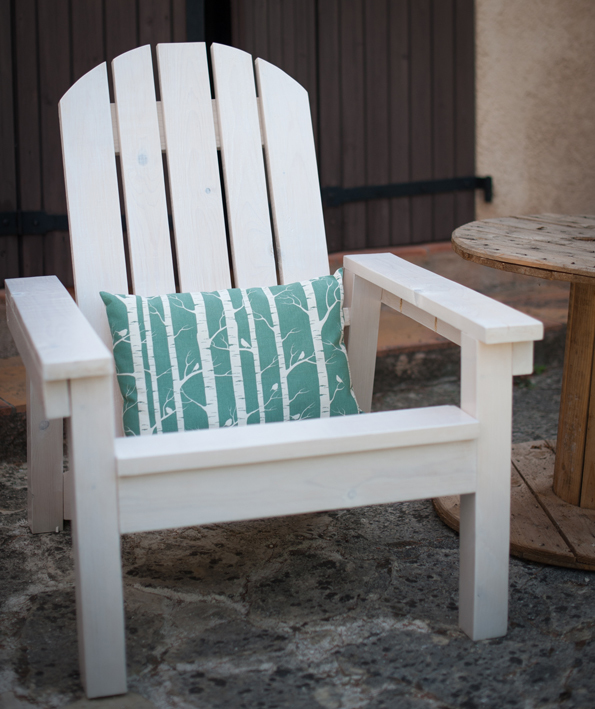
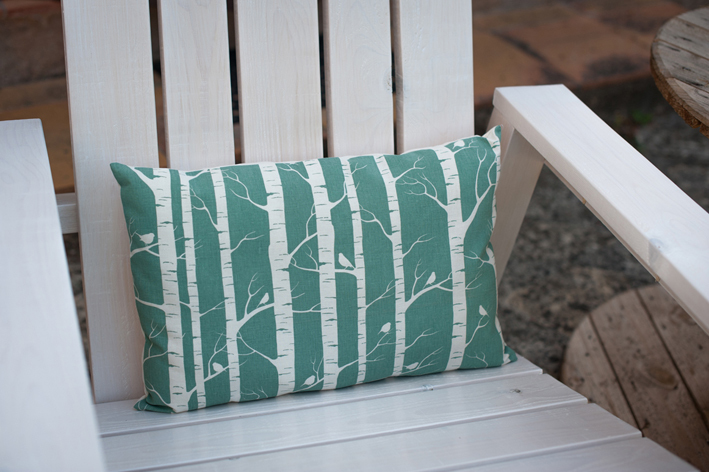
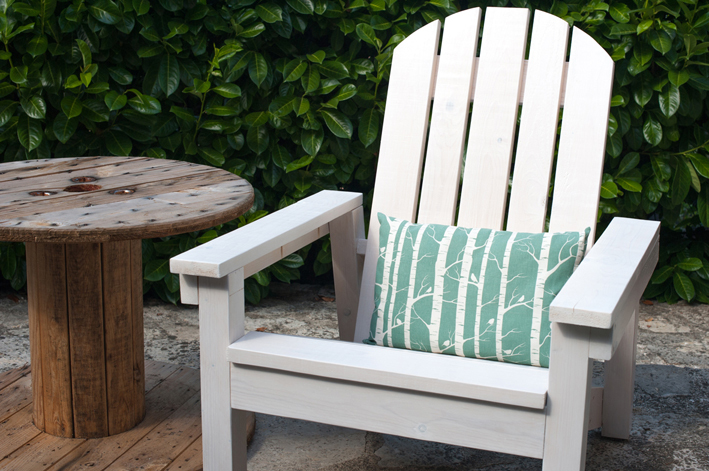
Adirondack Chair

I'm a French woodworking. It was so easy to buid this adirondack chair. I'm using my lovely kreg jig. I want to redo two other chairs... Thank you so much Ana ;-). Sory for my bad english !!!

Estimated Cost
50€
Estimated Time Investment
Afternoon Project (3-6 Hours)
Finish Used
lasure
Recommended Skill Level
Intermediate

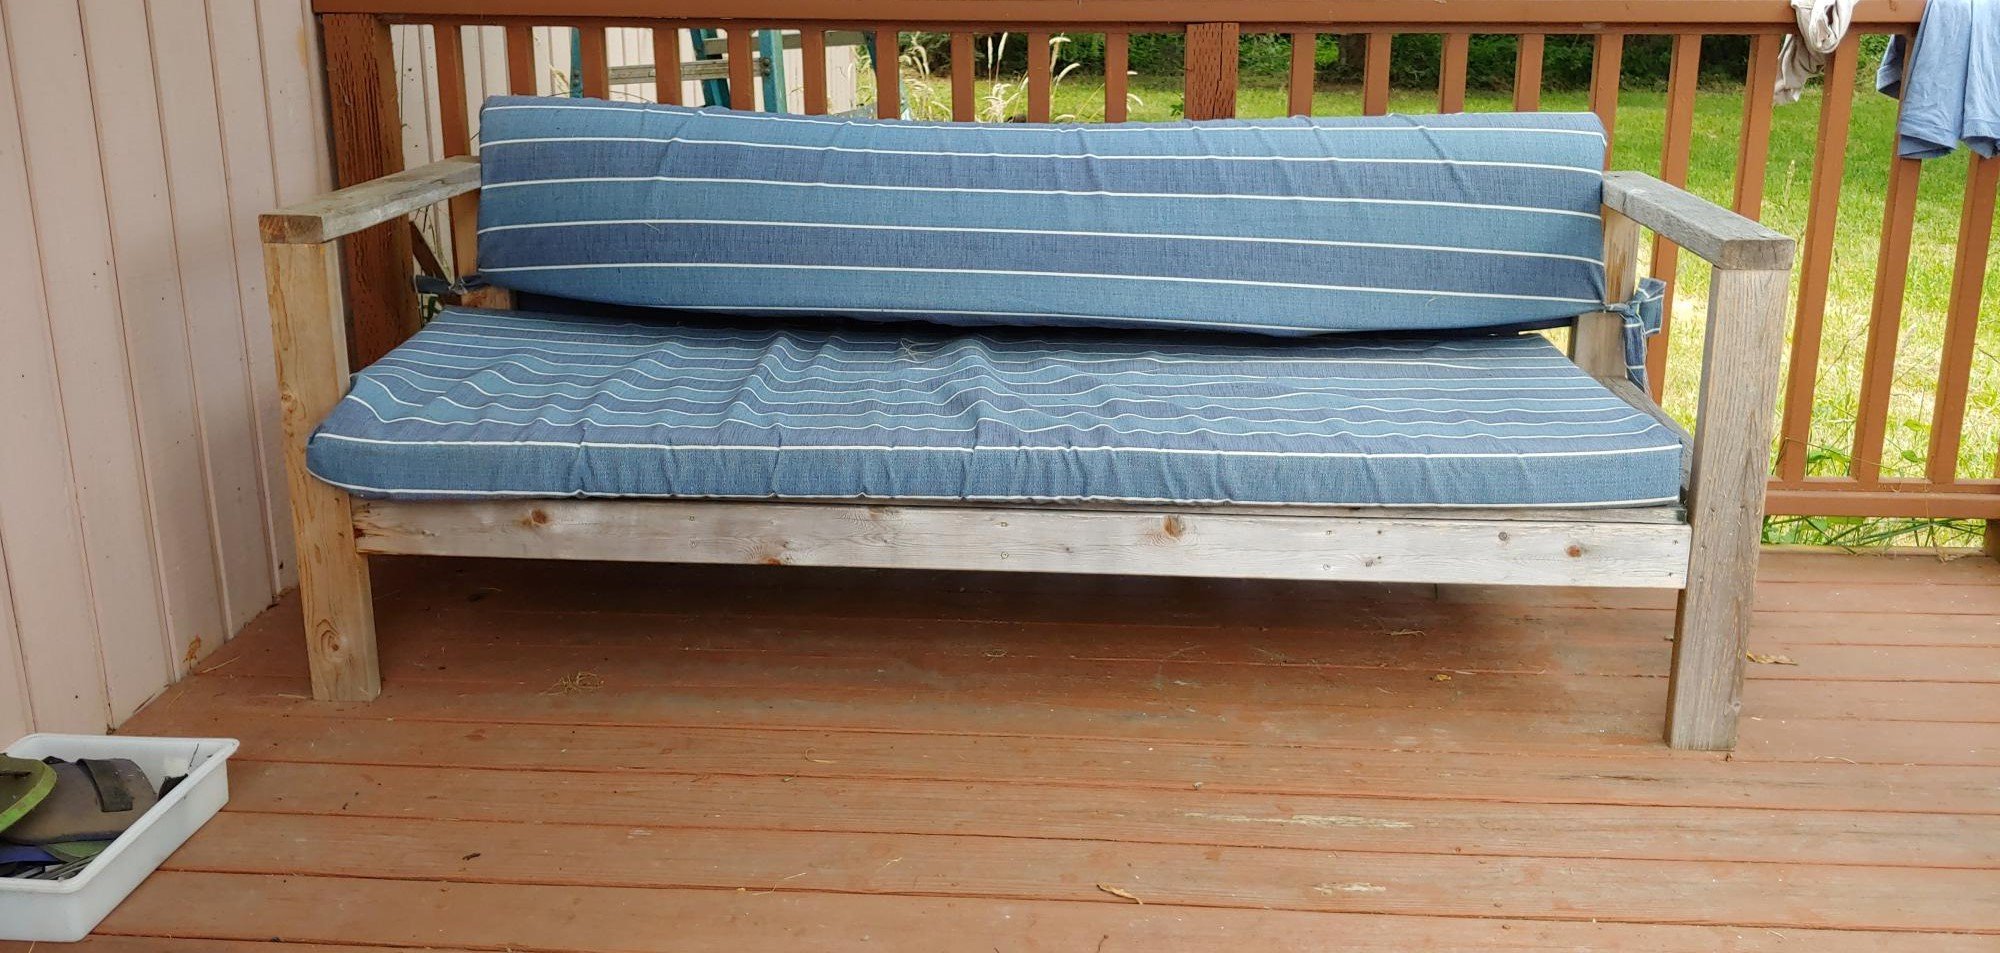
Well loved outdoor sofa

Submitted by Anonymous (not verified) on Sat, 07/16/2022 - 17:51

This sofa has been in constant use for three years. Sturdy and comfortable, we have to compete with the cats for a nap or rest. Even on the winter, when we remove the cushoins, it gets used as a bench or a kitty hiding place while they wait to come in.

Built from Plan(s)

Comments

Murphy bed

Submitted by bpcooper14 on Wed, 05/08/2019 - 06:09

So I've always wanted to build a Murphy bed.  And by always I mean since I first came across plans here that made it look so simple.  It ended up taking me a while to do because my job has me working 6 days a week so I was only able to work on it for short chunks of time.

I ended up utilizing a few different plans and mashed them together to build a full size murphy bed.  The shelves are the support legs when the bed is down.  The "hinge" mechanism are heavy duty 360 degree seat swivels.

All-in-all it turned out WAY better than I expected with only some minor issues throughout the construction process.  

Next up is a twin xl Murphy bed with a murphy desk attachment that will serve as a craft  table when up.

Estimated Cost
3 - 4x8 sheets of 3/4" plywood ($25 each)
3 - 1x2x8 to wrap the frame ($2-3 each)
1 pack Door Hinge pins to serve as the pins to hold the bed upright ($3-5)
1 pint stain
1 pint shellac
2 - Heavy Duty 360 degree seat swivels ($20)
Screws/nails/etc.

All told, this project probably cost around $200
Estimated Time Investment
Week Long Project (20 Hours or More)
Recommended Skill Level
Intermediate

Comments

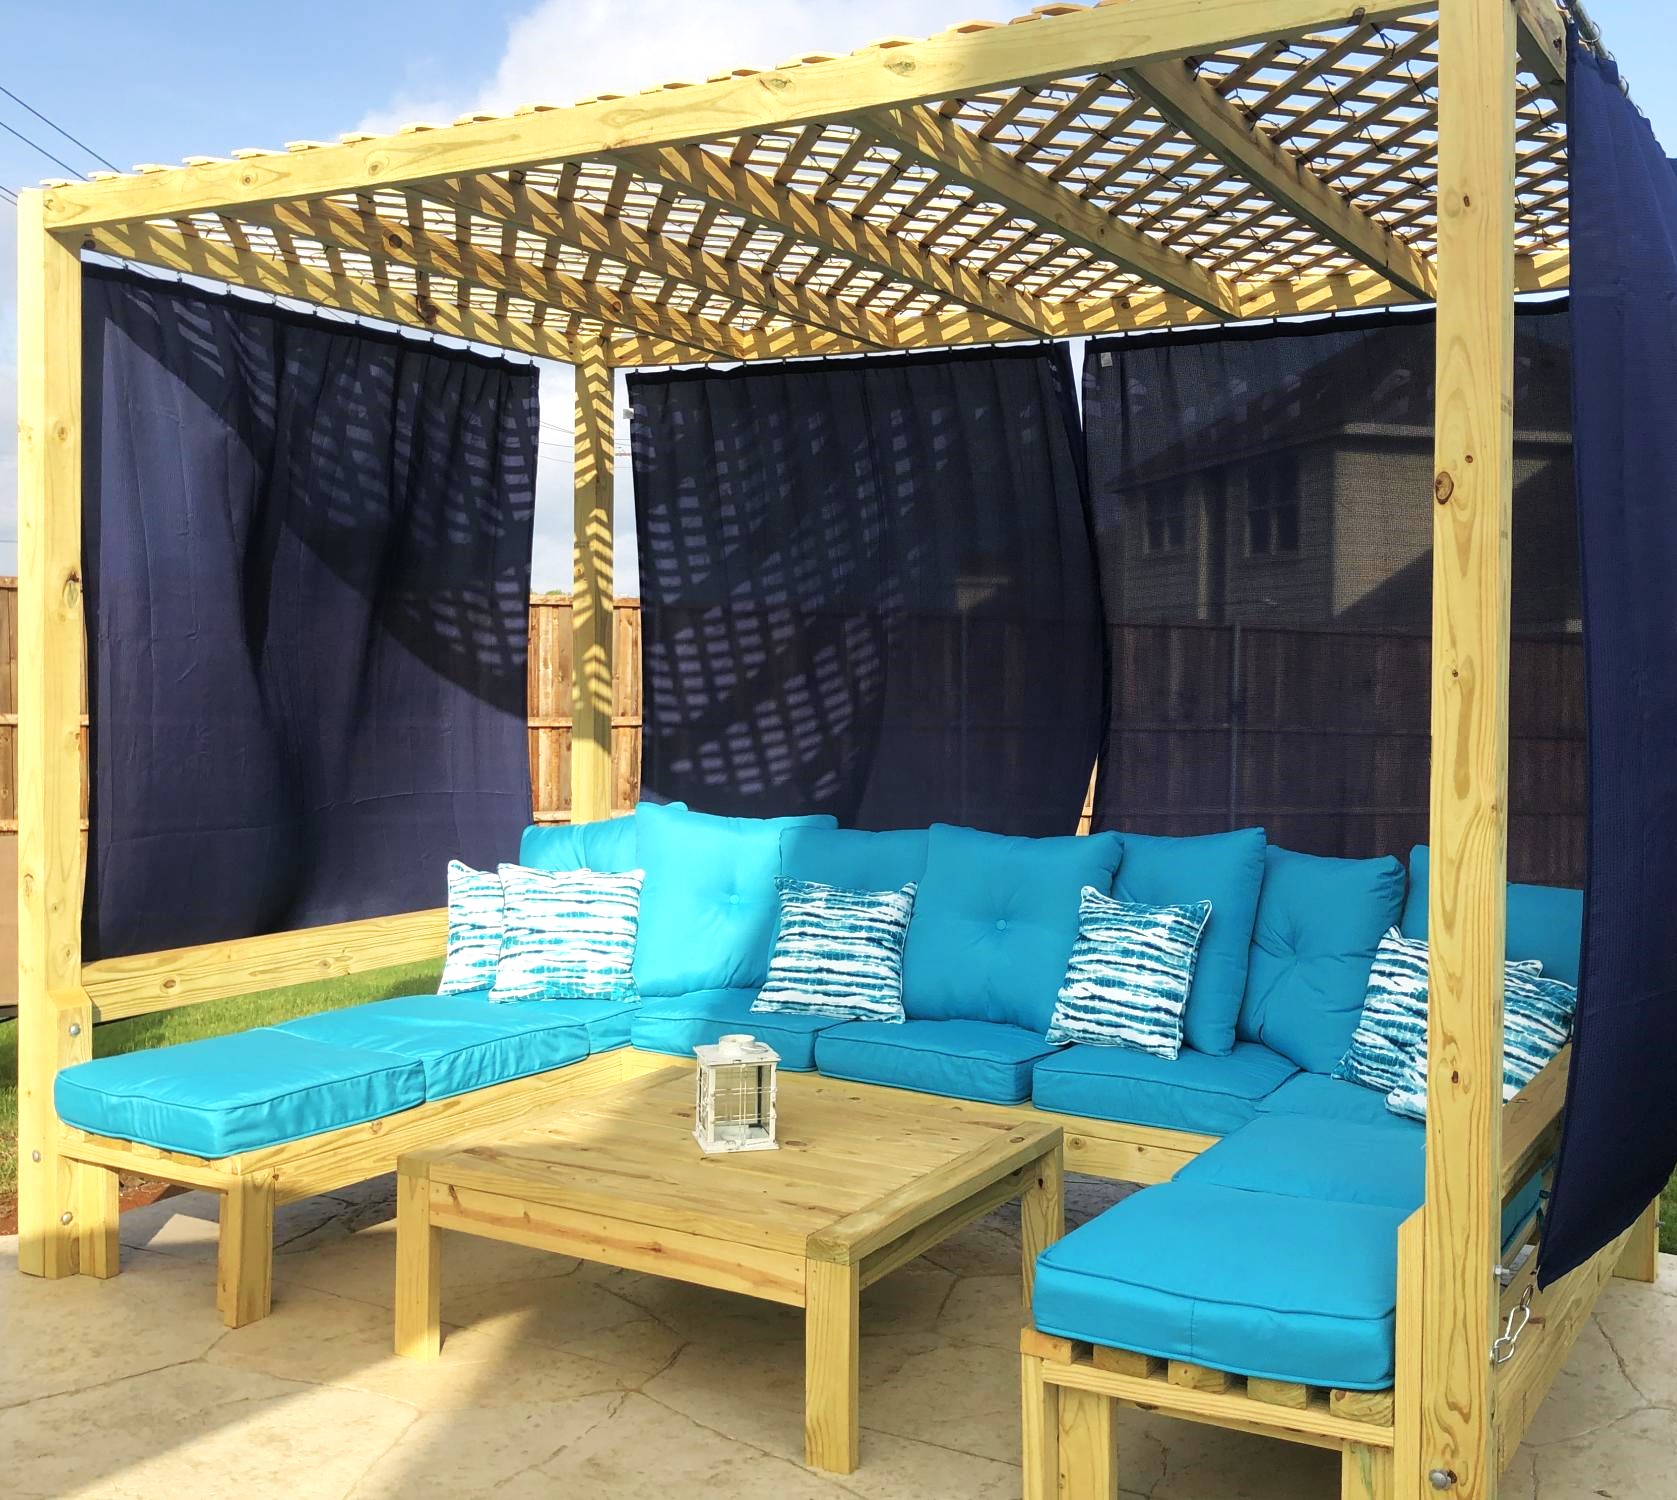
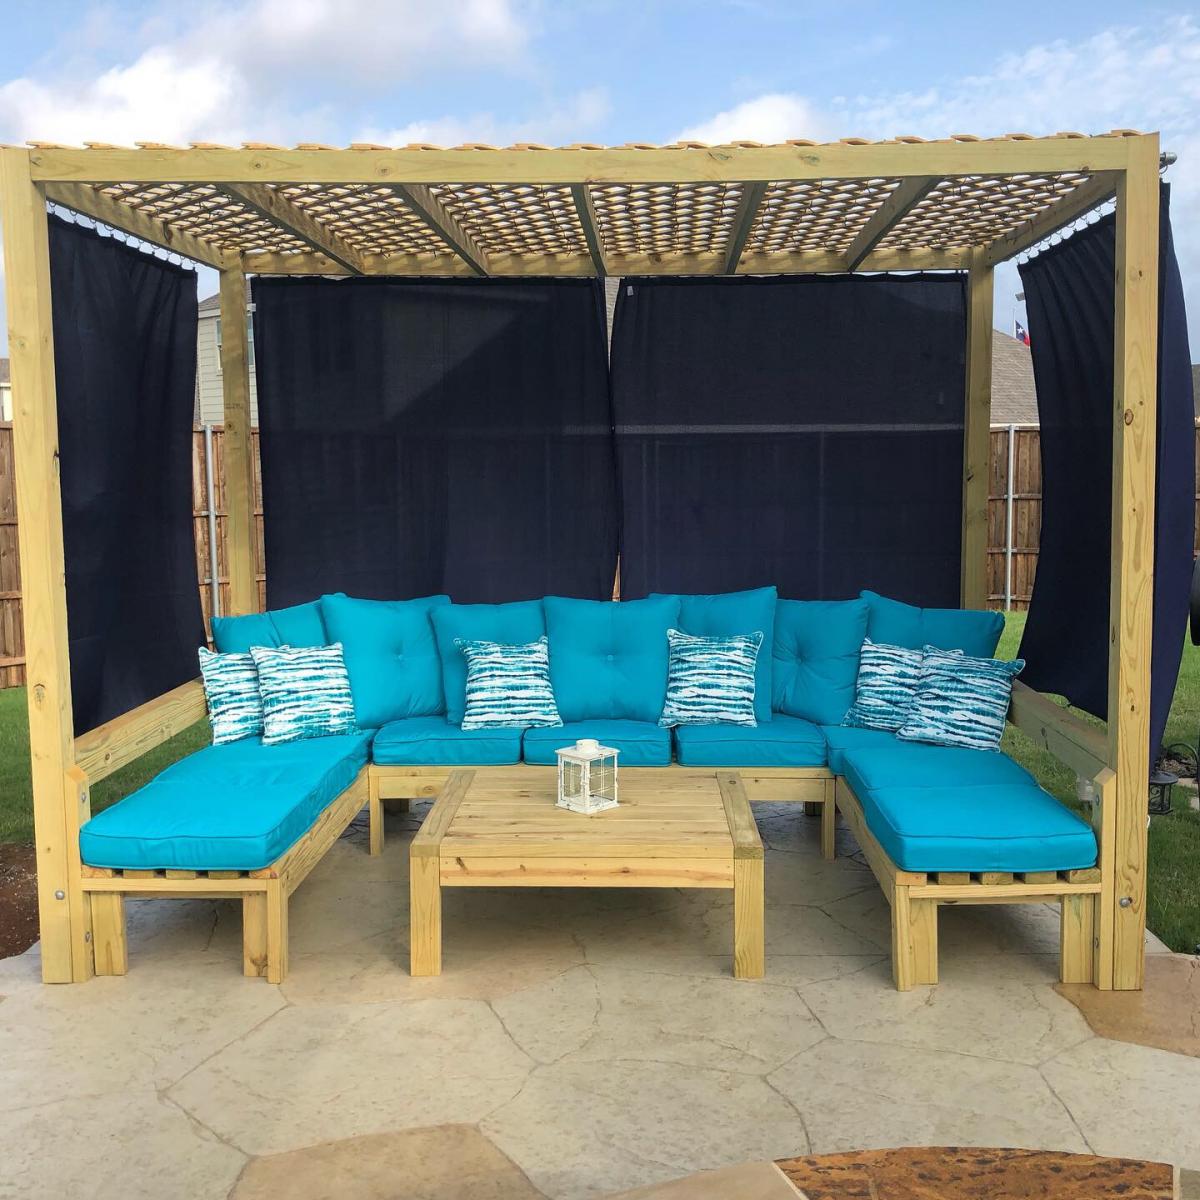
Outdoor Pool Cabana

Submitted by Anonymous (not verified) on Thu, 10/31/2019 - 20:21

I wanted a huge cabana for my outdoor pool area to have a place guests could kick back and relax if they weren’t swimming. I took the plans from the one arm and armless outdoor sofas and modified the plan to include posts and a lattice top for shade. This inspired plan was finished off with cushions from at home and features seating comfortably for 9. Everyone loves this area in the backyard to kick back! At night we have solar lights twinkle at the top and they complete the project perfectly with a soft twinkle.

Estimated Cost
$250 before cushions
Estimated Time Investment
Weekend Project (10-20 Hours)
Finish Used
Nothing yet. Needed to wait for the pretreated wood to finish drying out.
Recommended Skill Level
Intermediate

Comments

Seasonal And Holiday

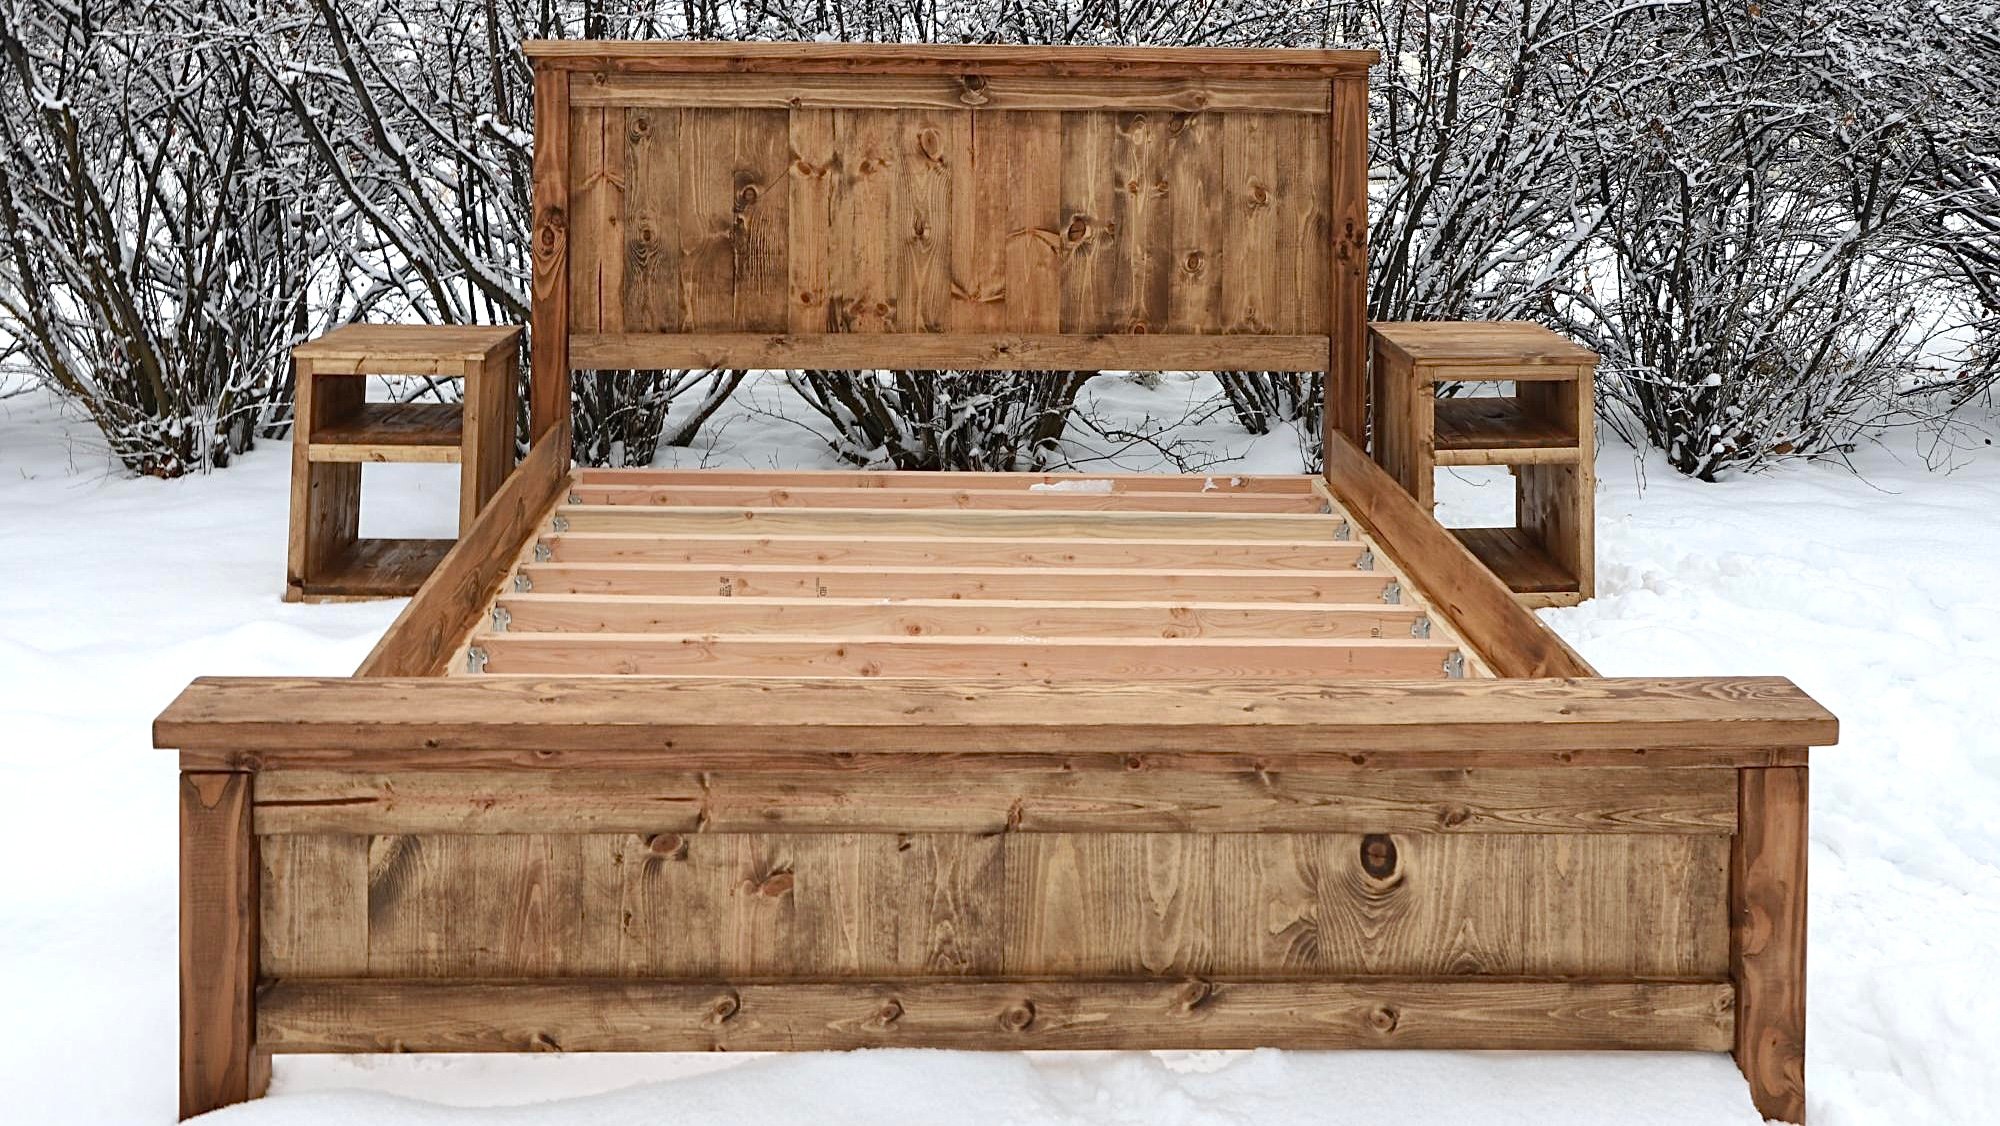
Farmhouse King Bed Frame

Since developing a love for woodworking I’ve began building things for other people. This particular bed frame I built for a couple who are rebuilding their home after it unfortunately burned down. It’s a beautiful farmhouse home out in the country, and this bed frame fits perfectly in their new home.

Estimated Cost
$250
Estimated Time Investment
Weekend Project (10-20 Hours)
Finish Used
I used minwax pre-stain to prepare the wood. I then stained it using special walnut by Varathane (got it from The Home Depot). Finally, I finished it using a clear satin polyurethane by Minwax.
Recommended Skill Level
Beginner

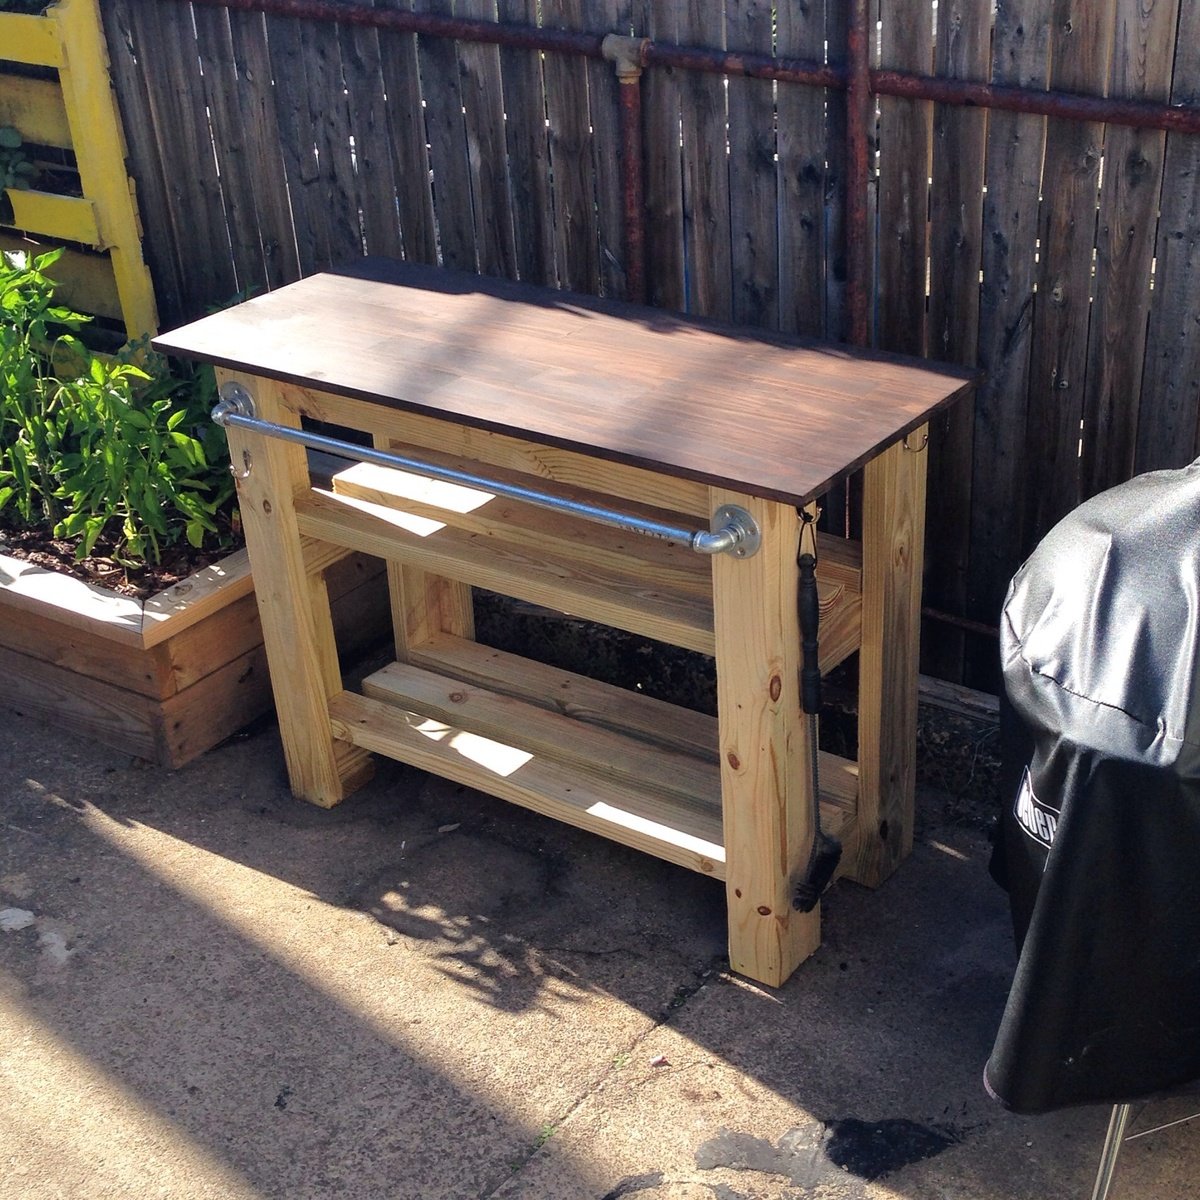
Grill Station

Submitted by JDillen on Sat, 07/05/2014 - 15:32

Grill station

Built from Plan(s)
Estimated Cost
100
Estimated Time Investment
Afternoon Project (3-6 Hours)
Finish Used
Rustoleum Kona
Recommended Skill Level
Beginner

Modern Outdoor Collection

Submitted by Anonymous (not verified) on Tue, 10/27/2020 - 16:06

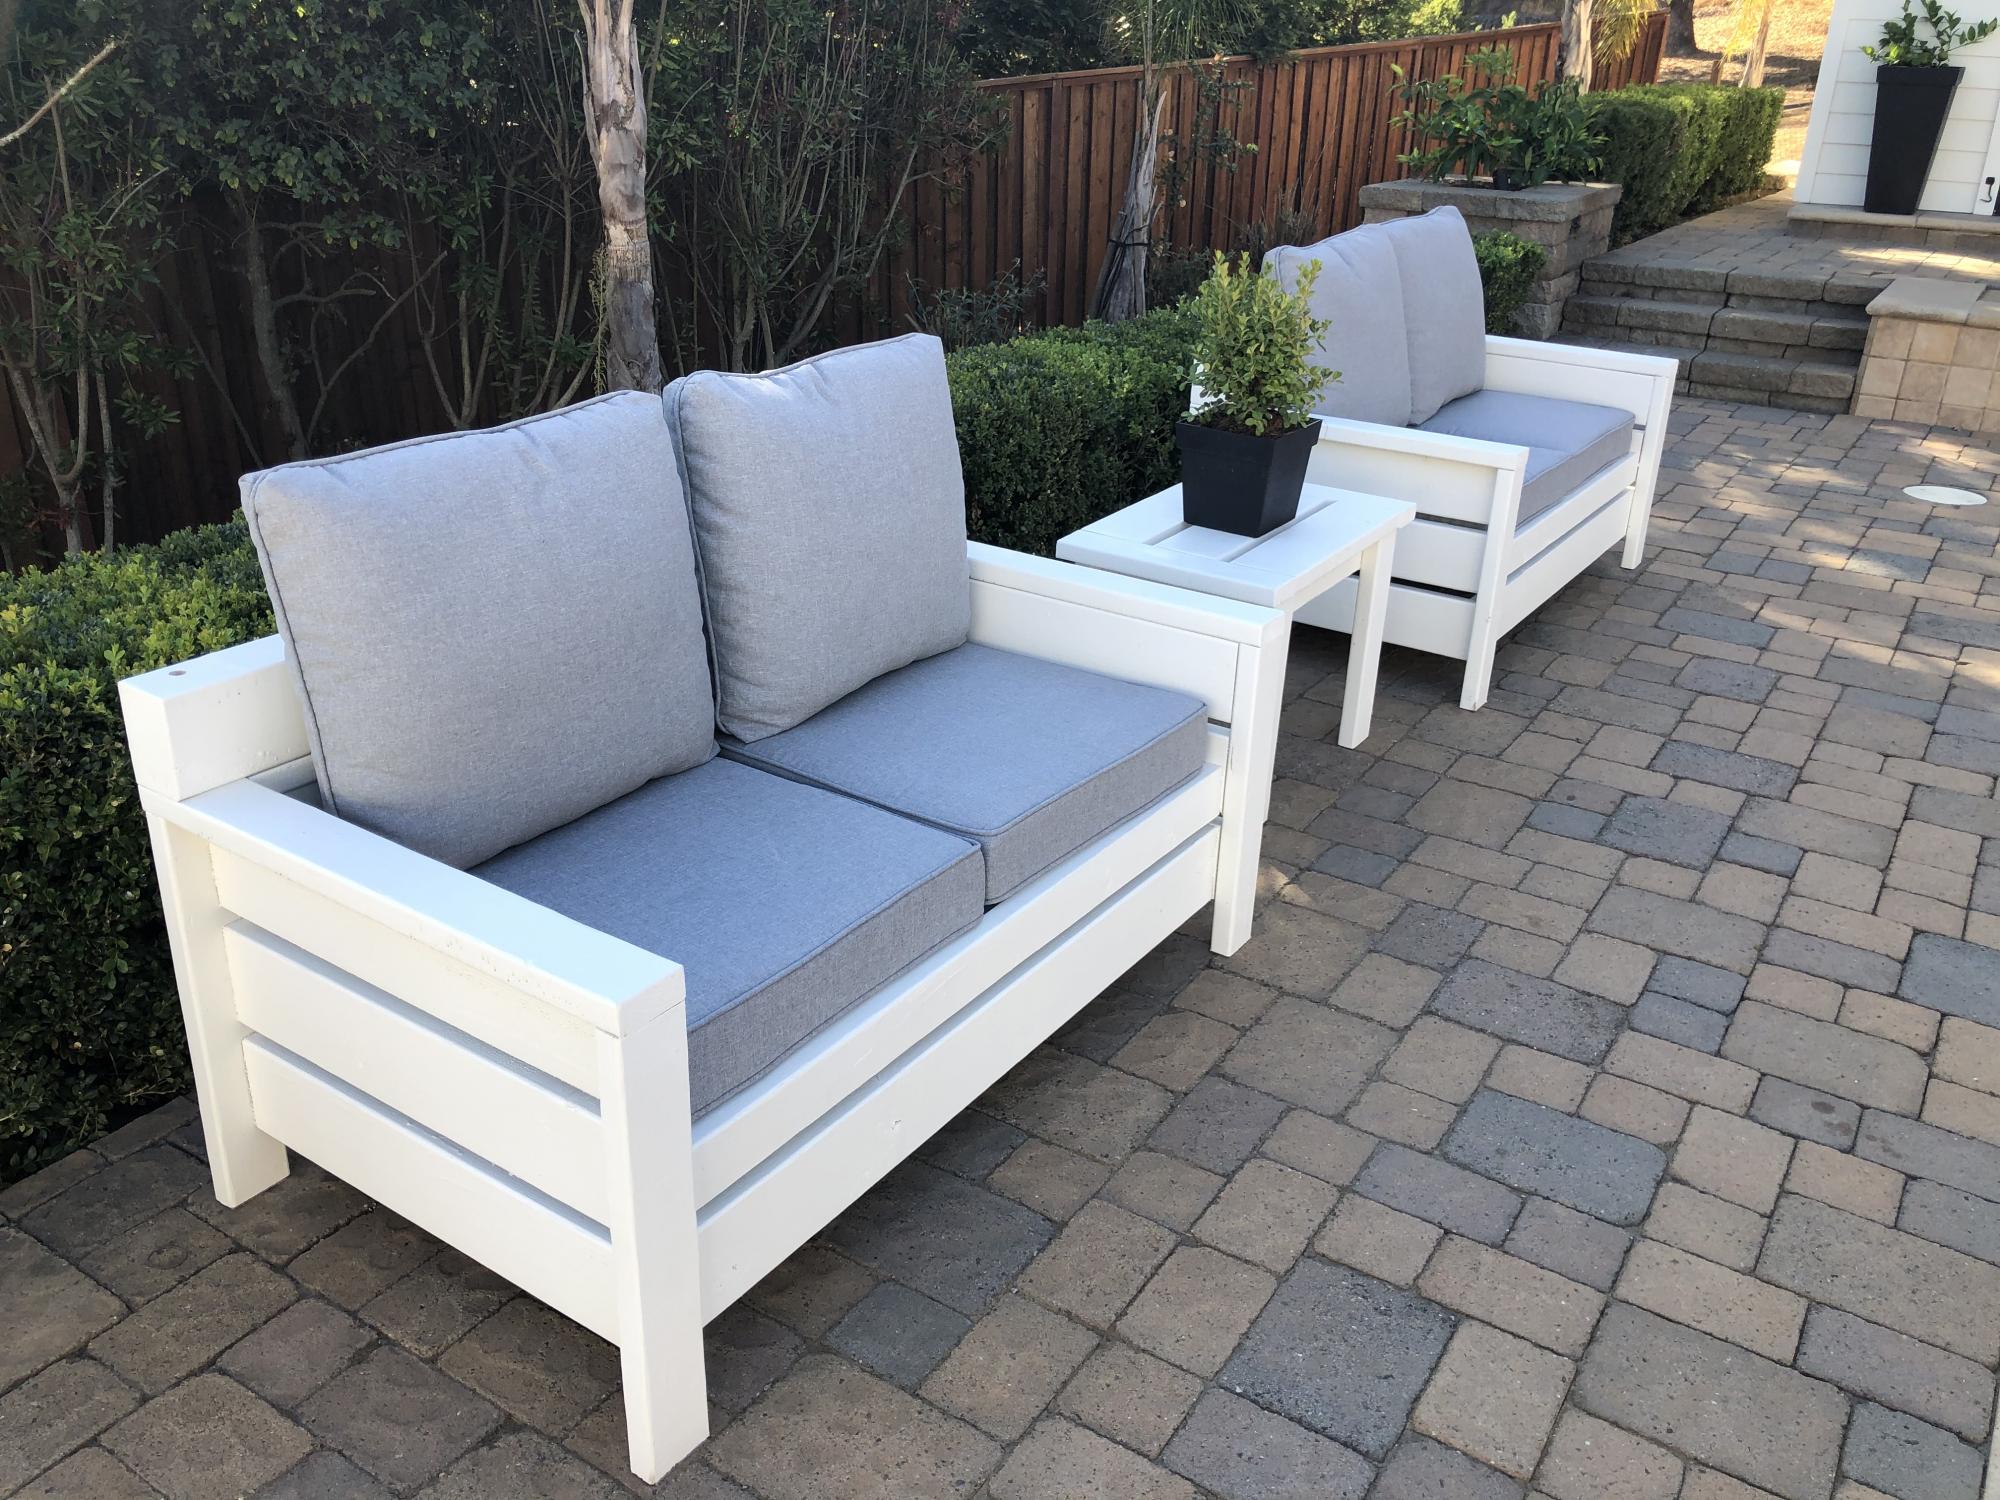
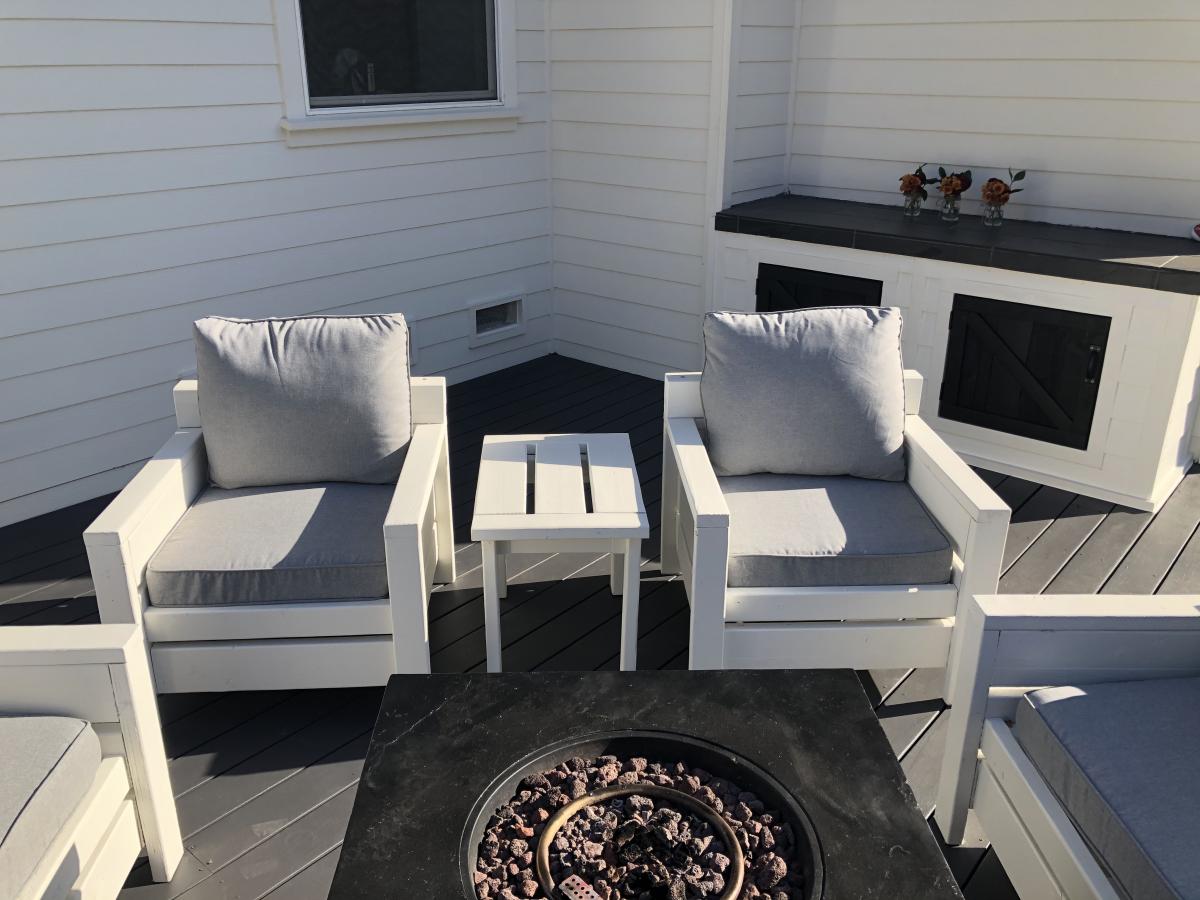
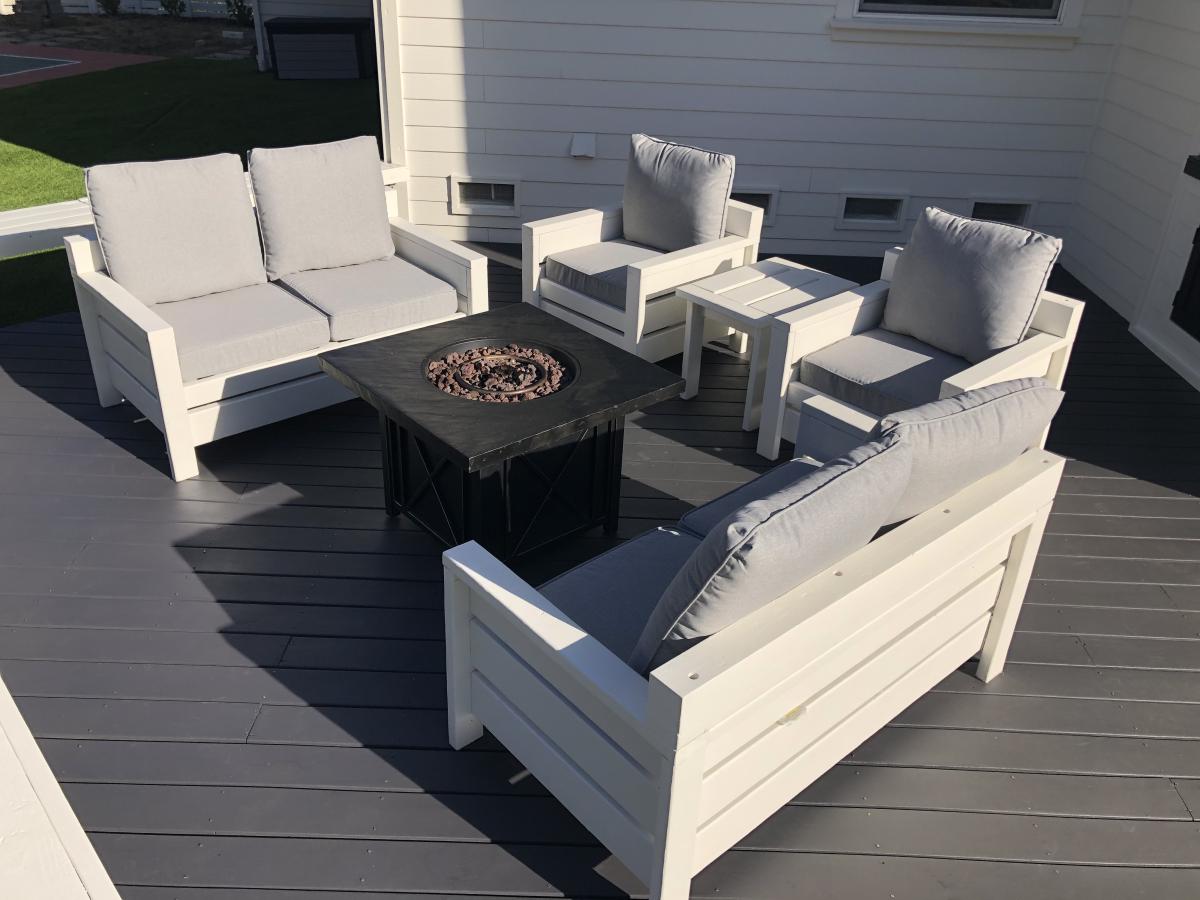
Great plans - thanks so much! Started with two chairs, and kept going...

MODS: Once built, we felt there wasn't enough back support, so added a 2x4 then 4x4 on top. Also added a 2x2 in back of the seat bed, so our 25" x 25" seat cushions didn't float around.

Recommend paint gun vs. painting by hand.

Estimated Time Investment
Weekend Project (10-20 Hours)
Finish Used
Two coats of Behr waterproof stain + sealer (BM swiss coffee)
Recommended Skill Level
Beginner

Comments

Seasonal And Holiday

Kentwood Book Shelf

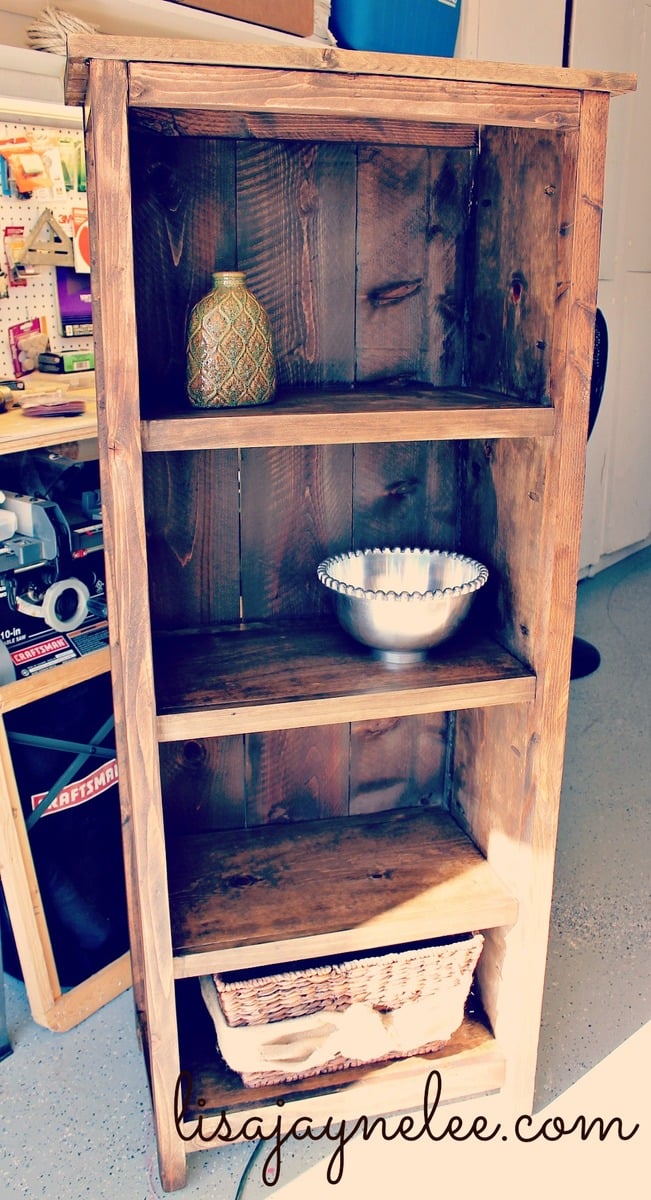
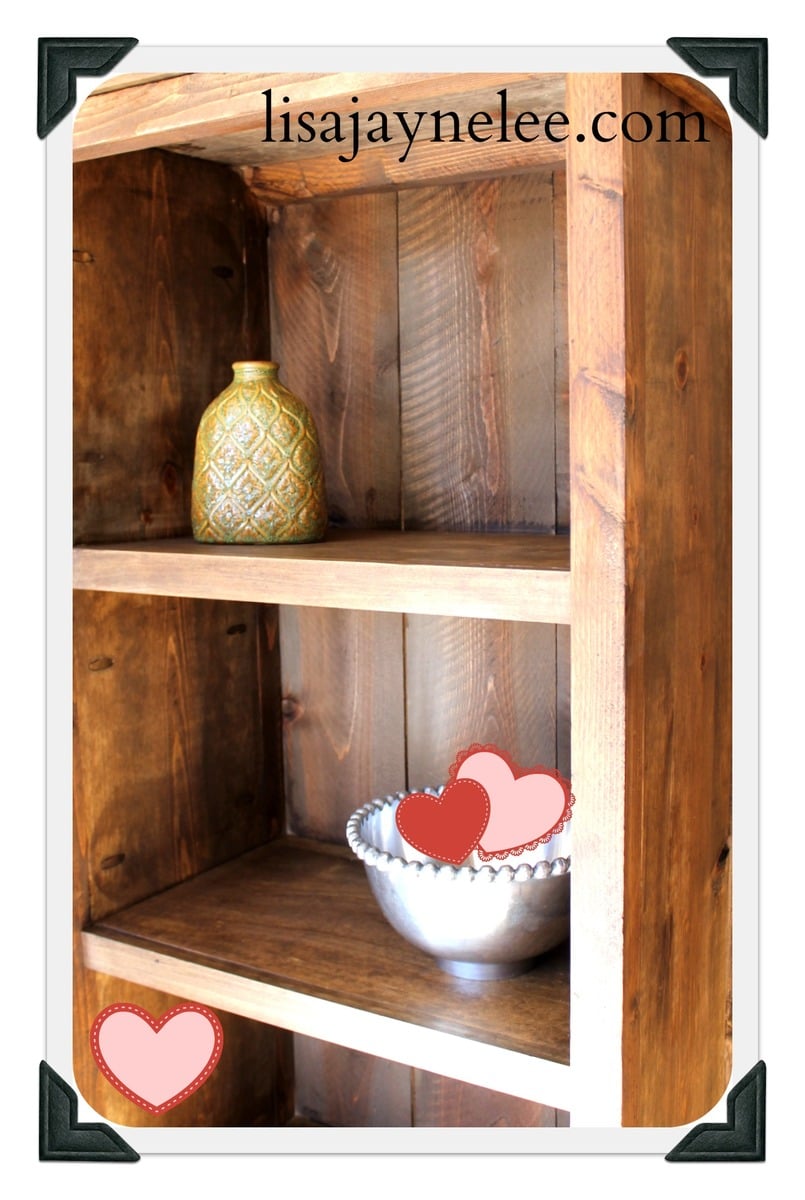
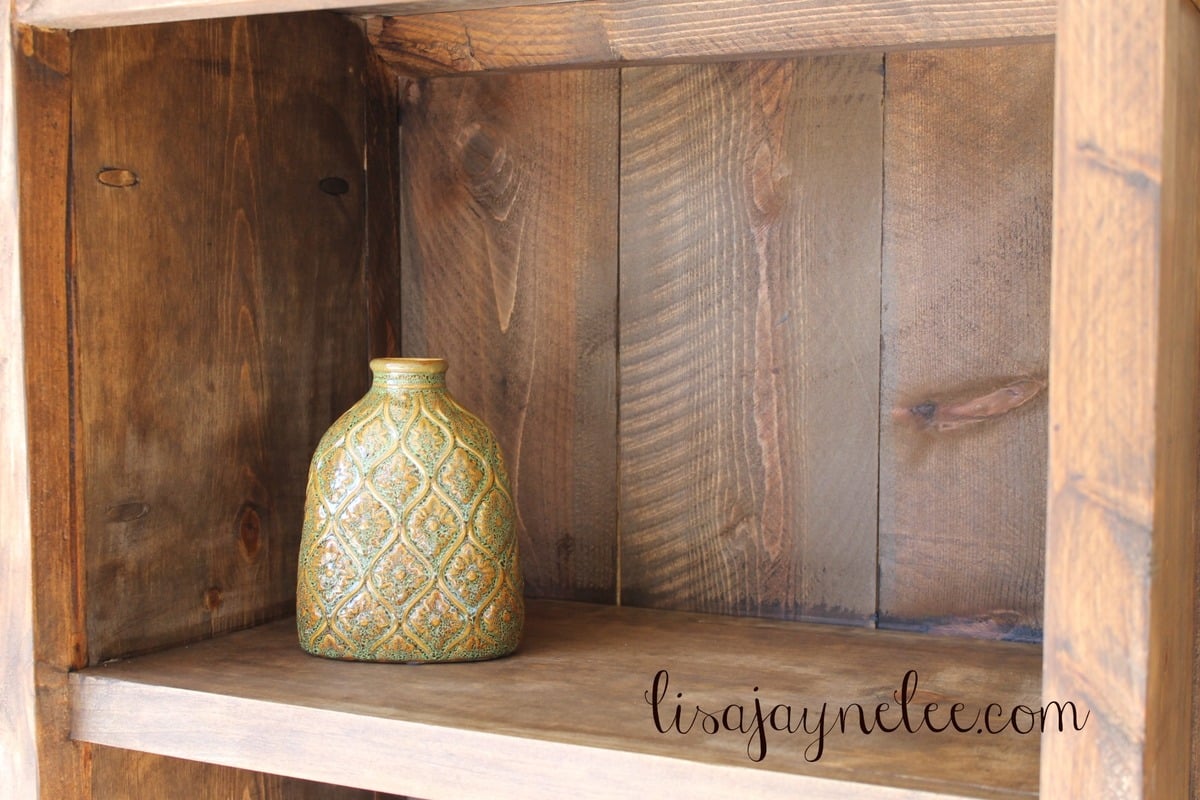
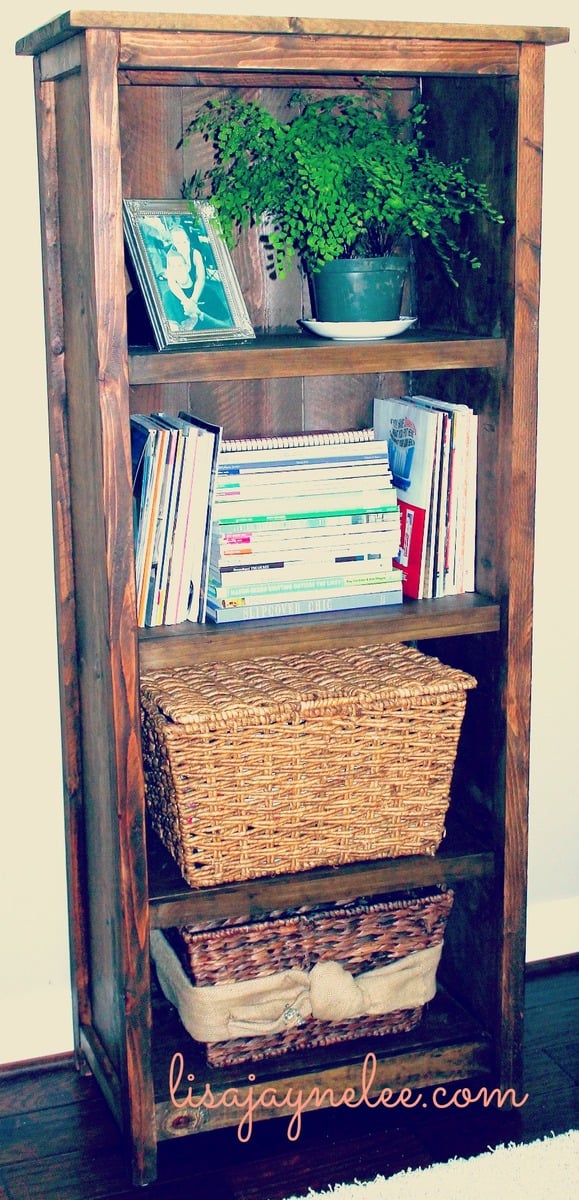
This was my first major build with plans from Ana. I actually found this bookcase via Shanty2Chic. It went smoothly and all in all took me a few evenings about an hour at a time. I have 3 kids so it did take me a little longer to finish. I am so impressed with myself and so is my husband. I used a 10" chopsaw for most of the cuts. I also used my KregJig. Thanks Ana!

Estimated Cost
$100
Estimated Time Investment
Day Project (6-9 Hours)
Finish Used
Minwax Special Walnut followed by Annie Sloan Chalk Paint Dark Wax Finish.
Recommended Skill Level
Intermediate

Comments

Farmhouse table with epoxy finish

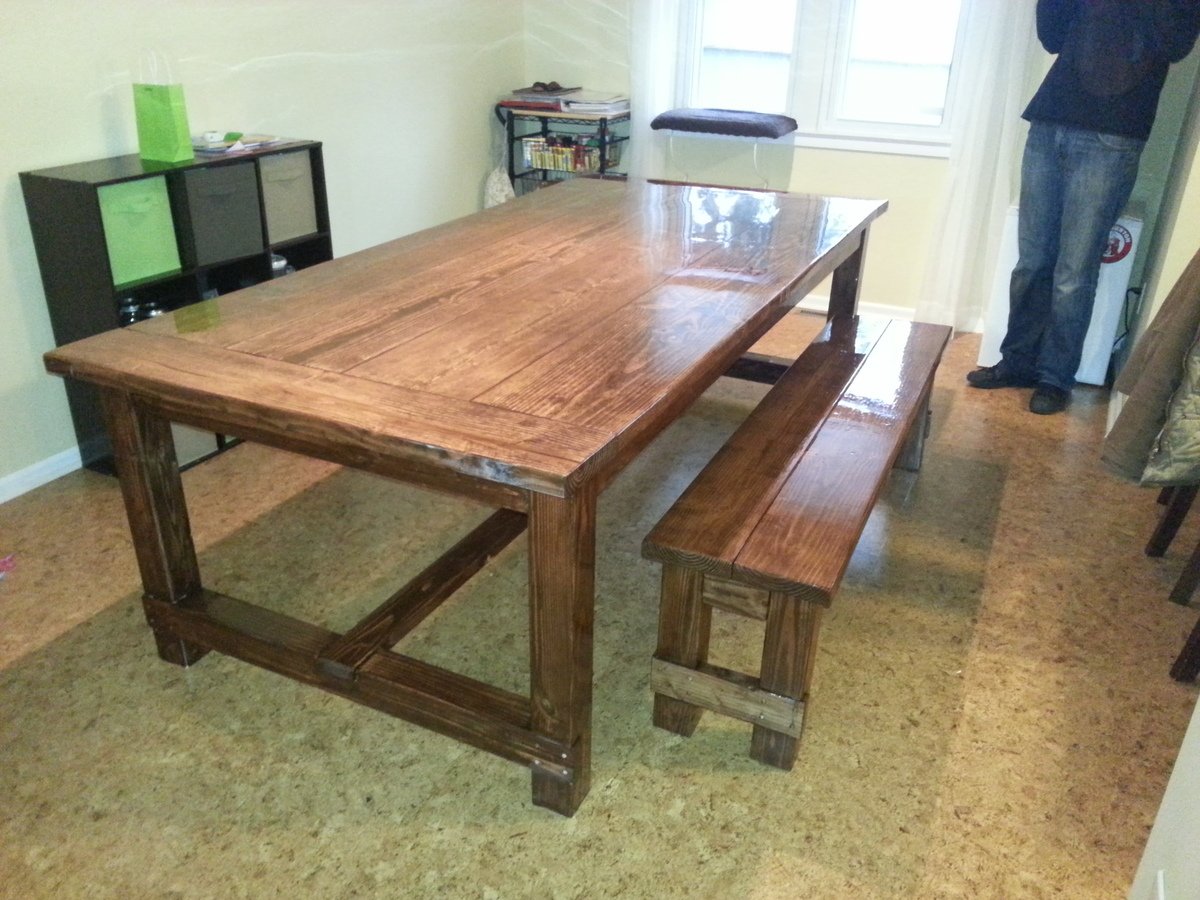
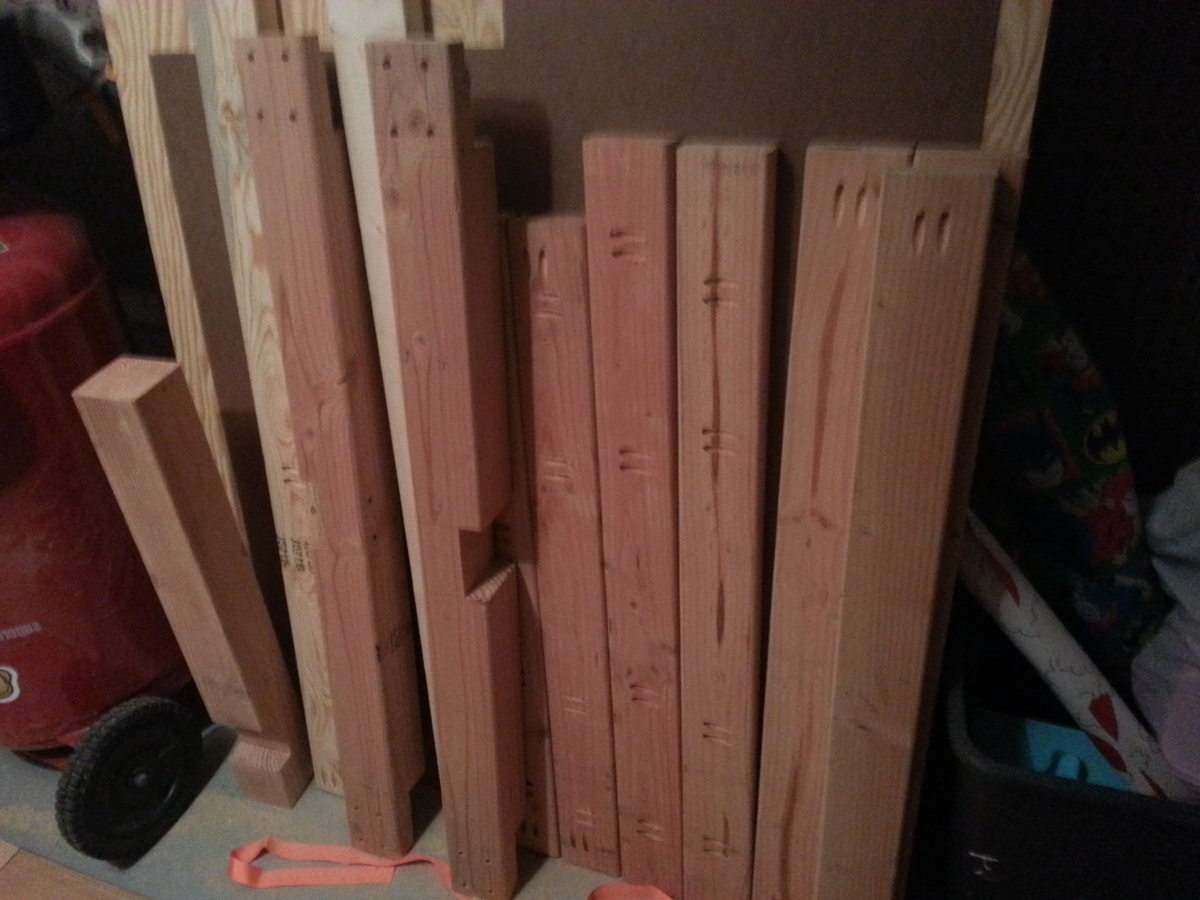
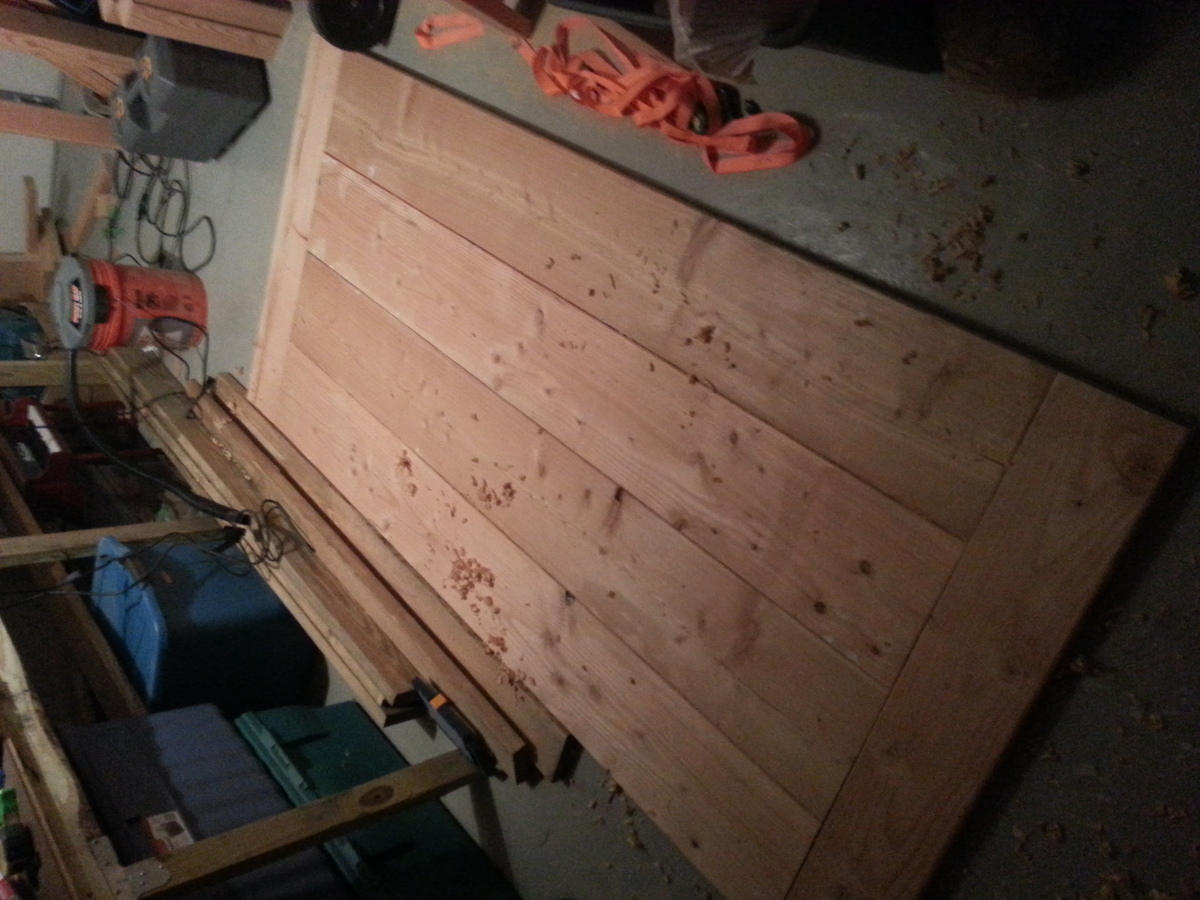
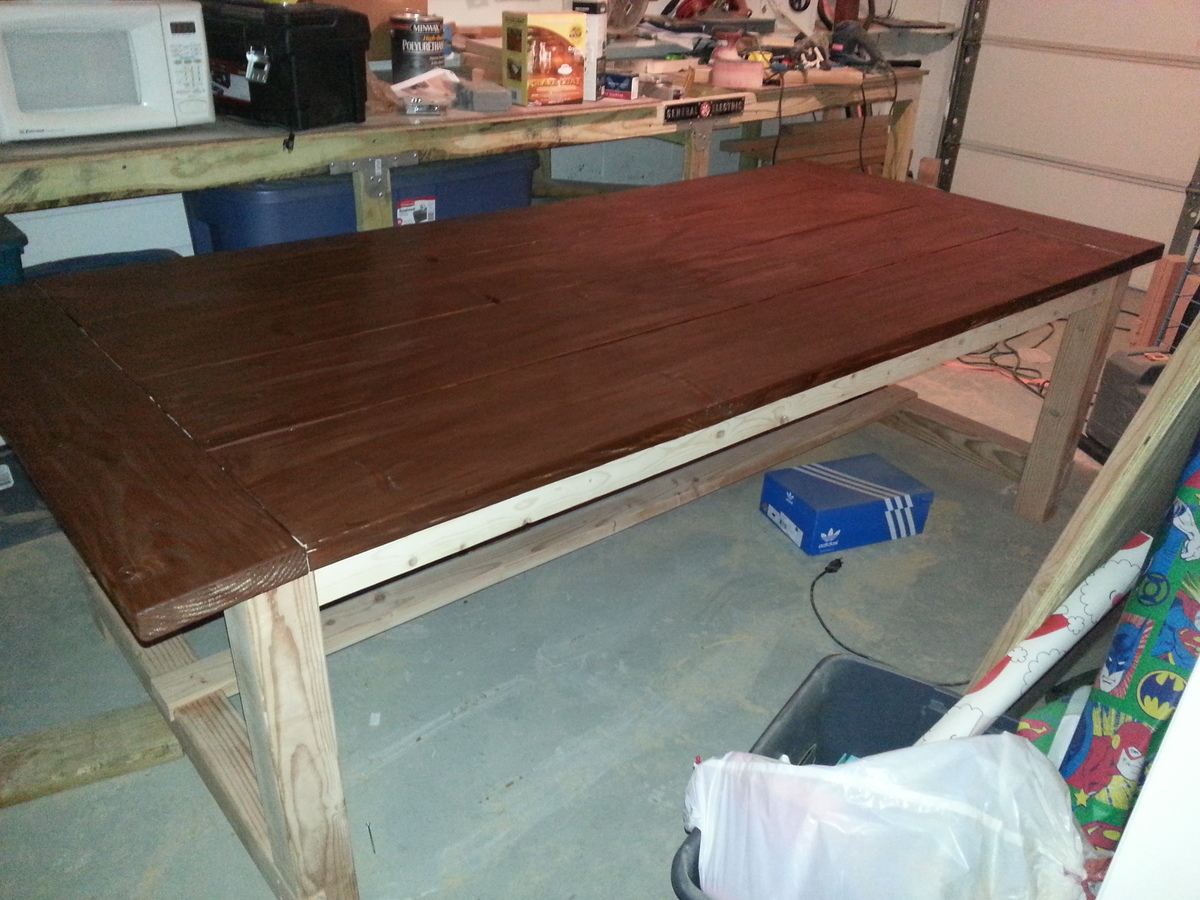
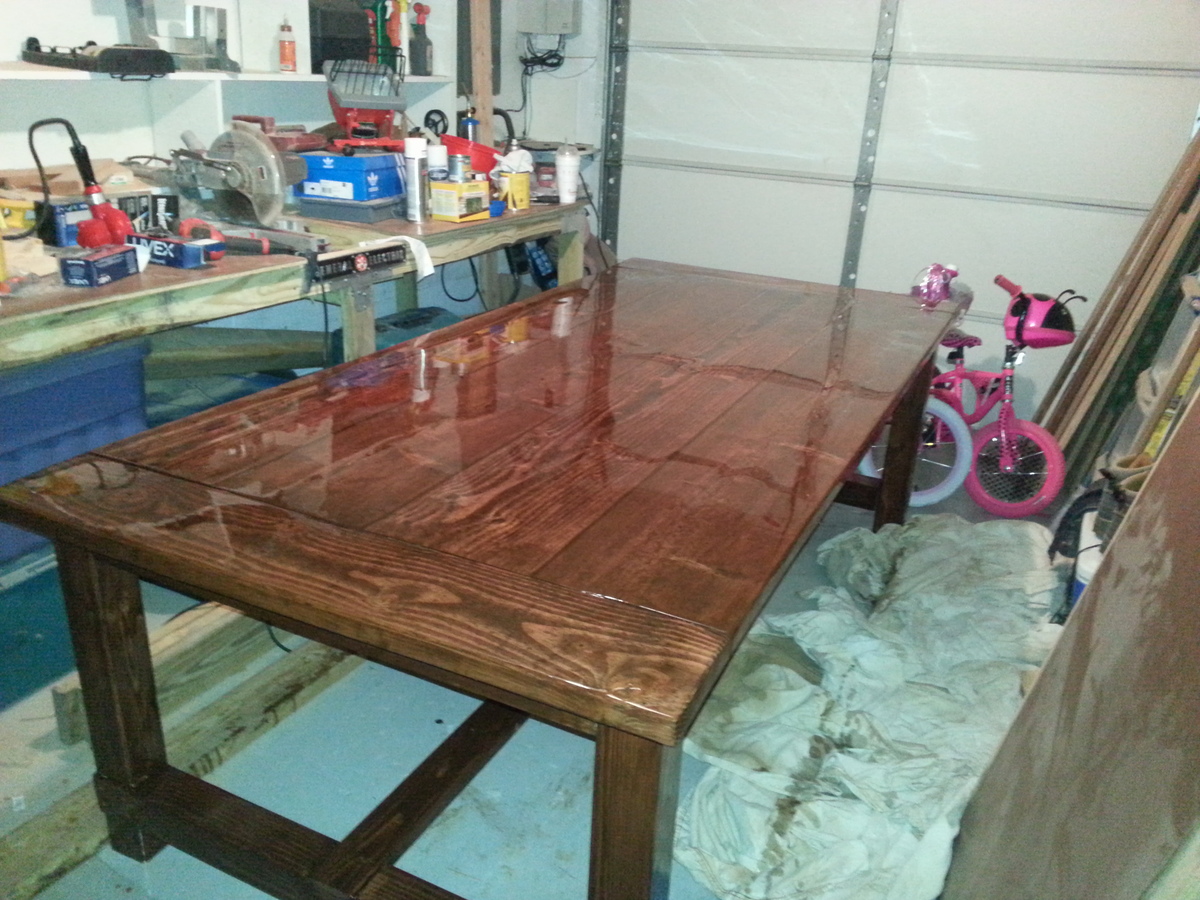
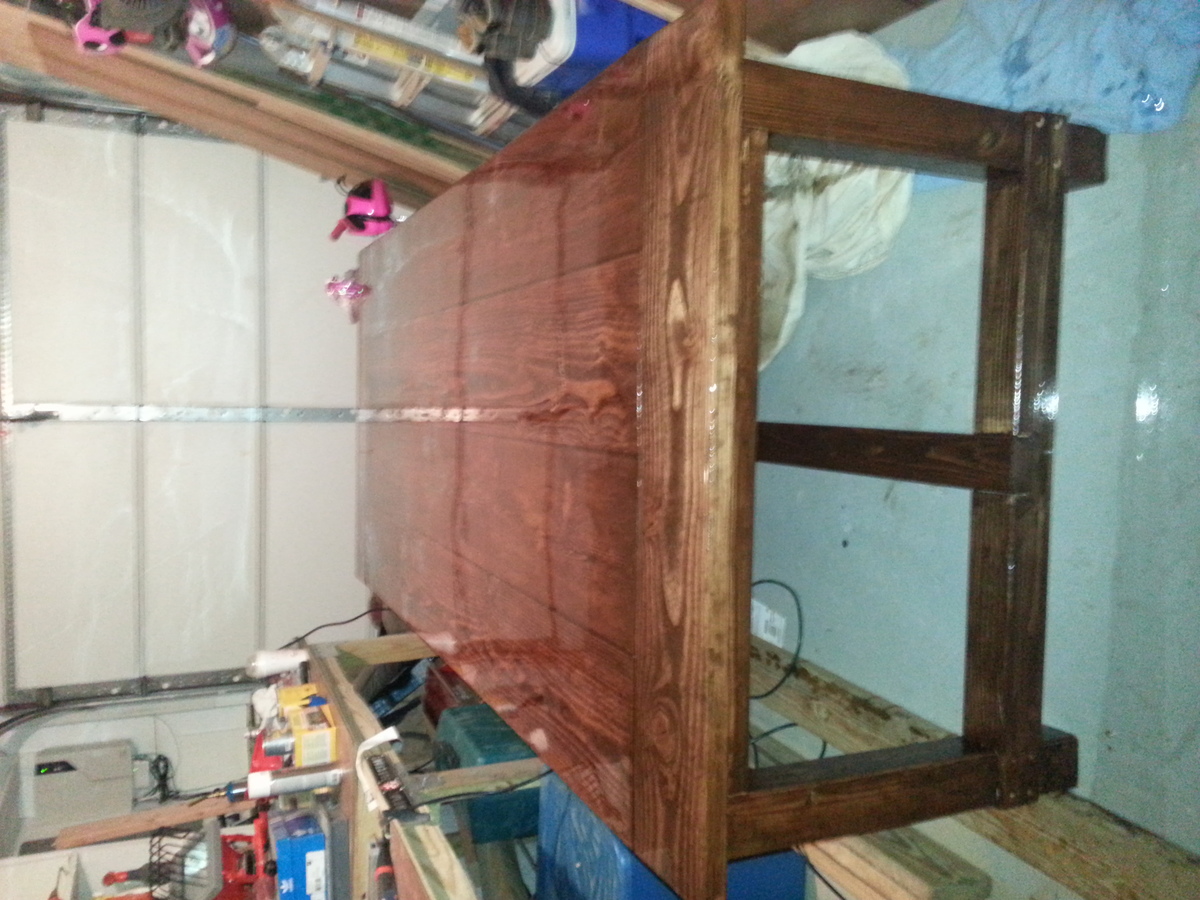
This is my first big woodworking project. That being said, there were a lot of mistakes that were made. In the pictures you can see the beginning stages when I was making the base cuts and assembling the table top. The picture with the dark top and natural legs was the beginning of one mistake. I bought gel stain because it was the color I liked but I had no idea how to use it correctly. Because of this I left the stain on and it was waaayyyyy too dark. I had to sand down the entire top and redo it. After fixing that I correctly stained the base, extensions, and bench. The extensions I made are not in the photos because I forgot to make the cuts to slide them in. I'm supposed to do that this weekend... After staining I polyurethaned the base, bench, and extensions to give them a nice shine. The table top I finished with Liquid Glass two part epoxy. That gave the top a super hard surface that shines and makes the normally soft pine top, rock hard. I figured this way when my daughters do homework on it they wouldn't leave their writing indented in my nice, new table. I hope you guys like it and I plan to do many more projects and post my results here. Thanks for taking the time to check this out.

Estimated Cost
$300-$325
Finish Used
Minwax hickory gel stain, polyurethane, and 2 part epoxy acrylic finish. The gel stain must be applied and then immediately wiped off. The polyurethane may need multiple coats in order to achieve an even finish. The epoxy must be poured on and spread evenly. Remember that if it drops on something and it is allowed to dry that it will usually rip up whatever material it is on our you will have to sand it off. USE DROP CLOTHS.
Recommended Skill Level
Starter Project

RyobiNation workshop carts

Submitted by CarolinaL on Sun, 07/08/2018 - 14:23

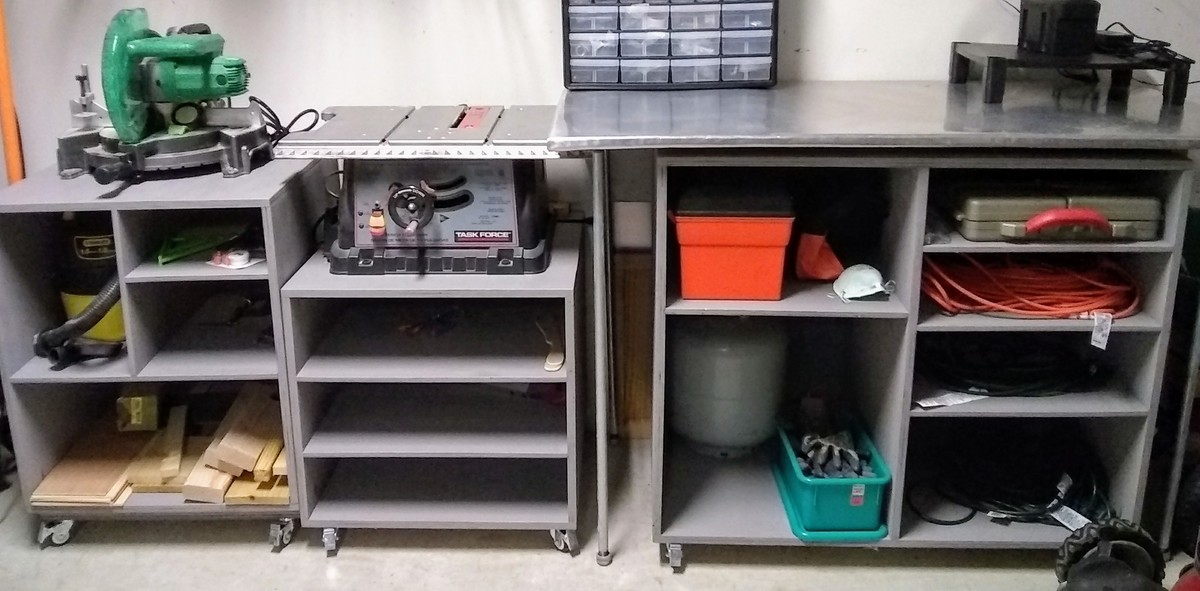
The plans were easy enough to follow. I made the miter and table saw carts not as long because of the space I had to work with. These were perfect to provide a stand for my saws while at the same time giving me the additional storage I need. This was the last part of the garage that needed to be organized so I'm extremely pleased. 

Estimated Time Investment
Weekend Project (10-20 Hours)
Recommended Skill Level
Beginner

Comments

Planters

Submitted by Anonymous (not verified) on Fri, 05/26/2023 - 07:47

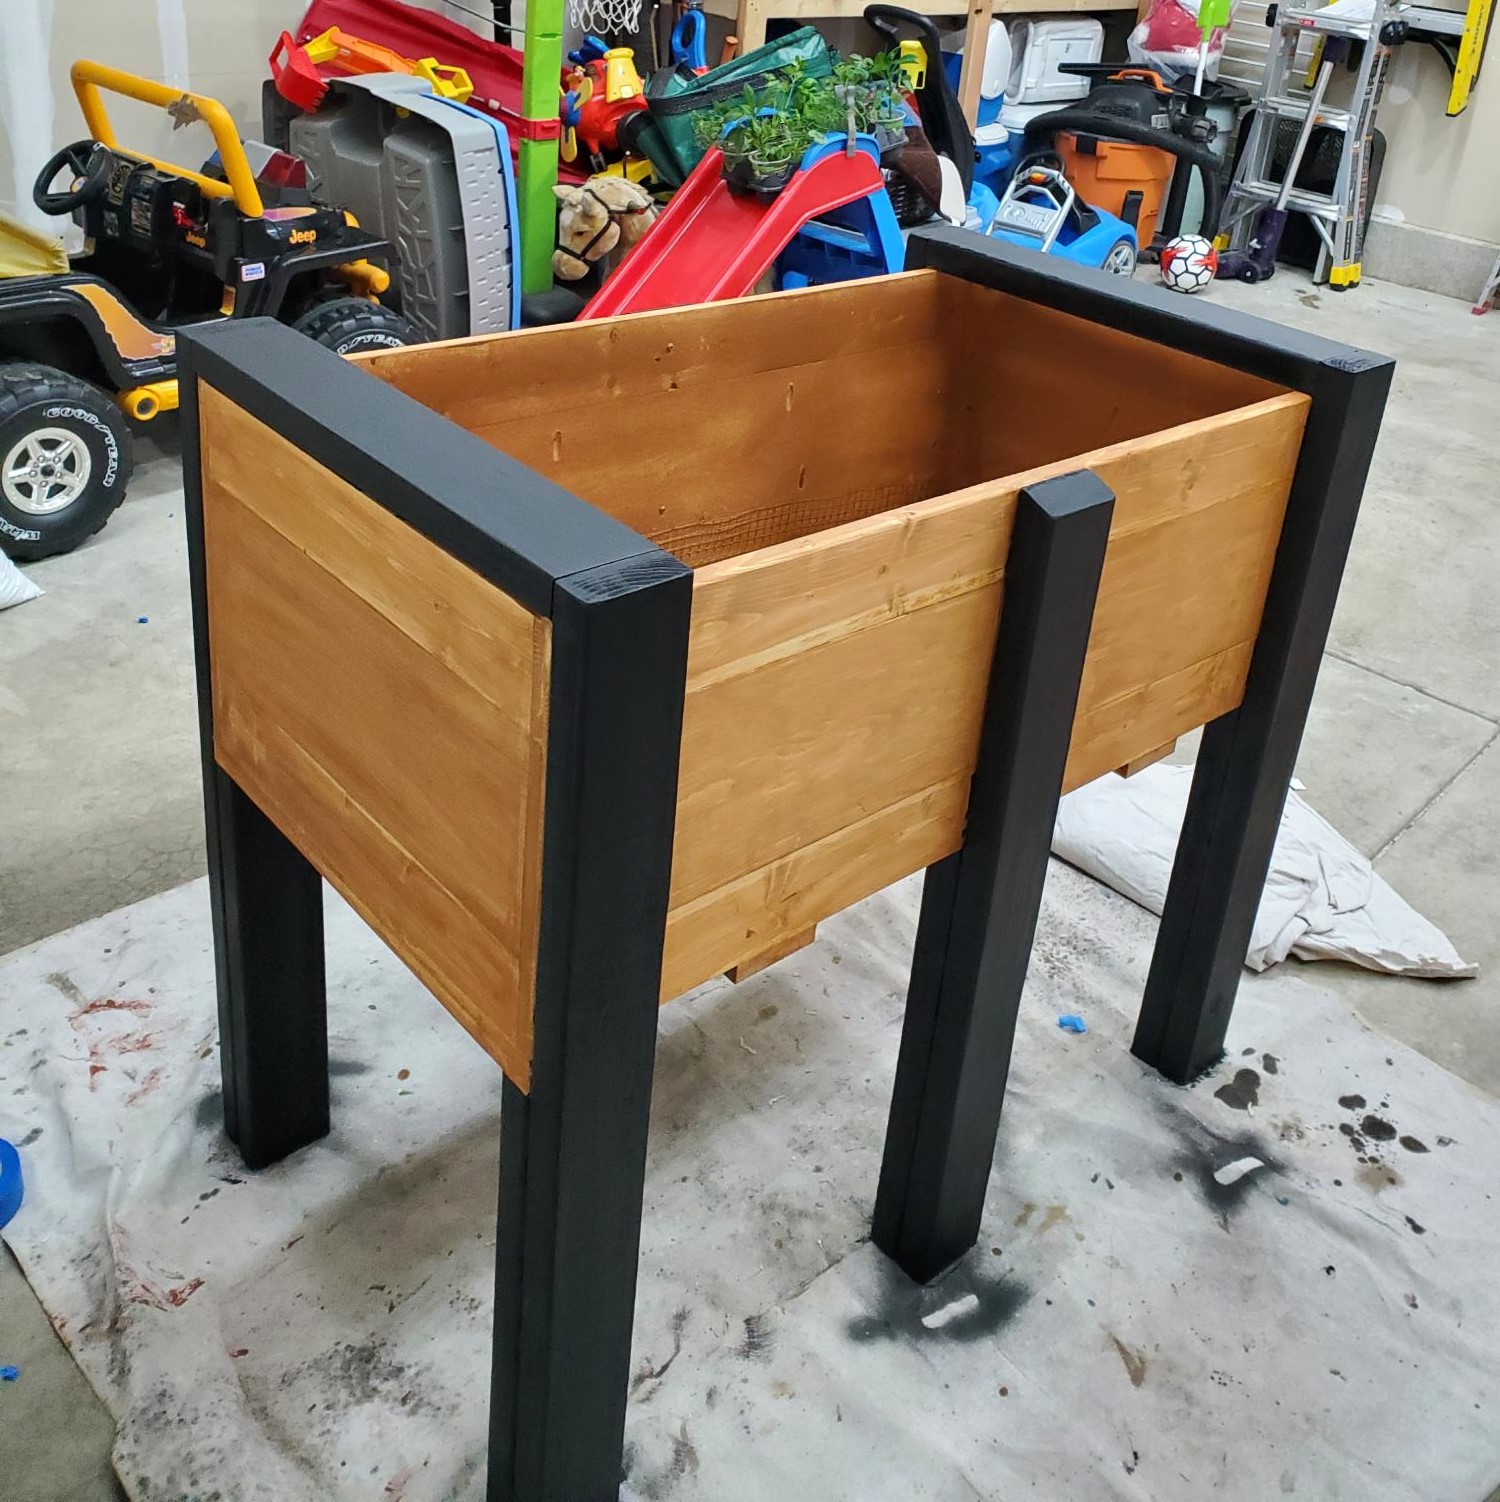
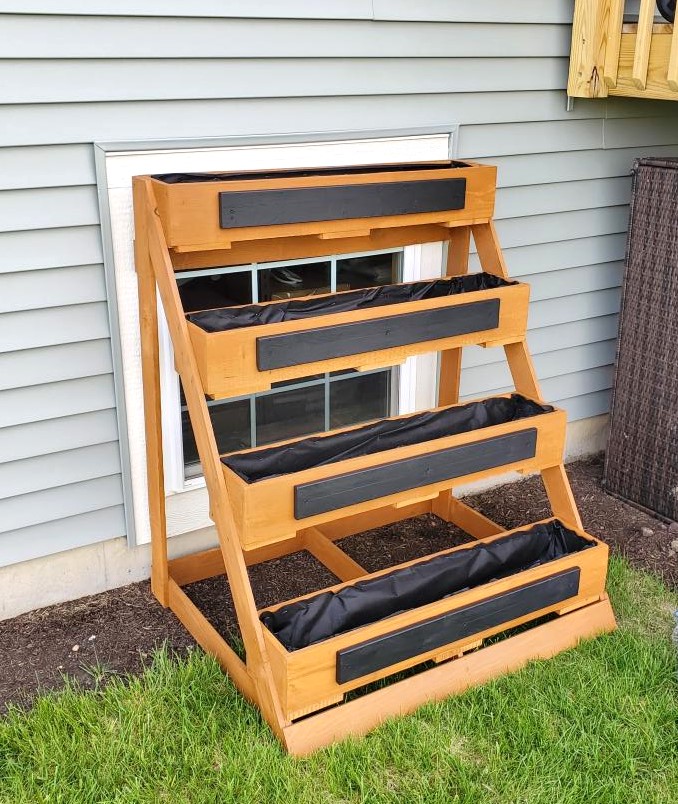
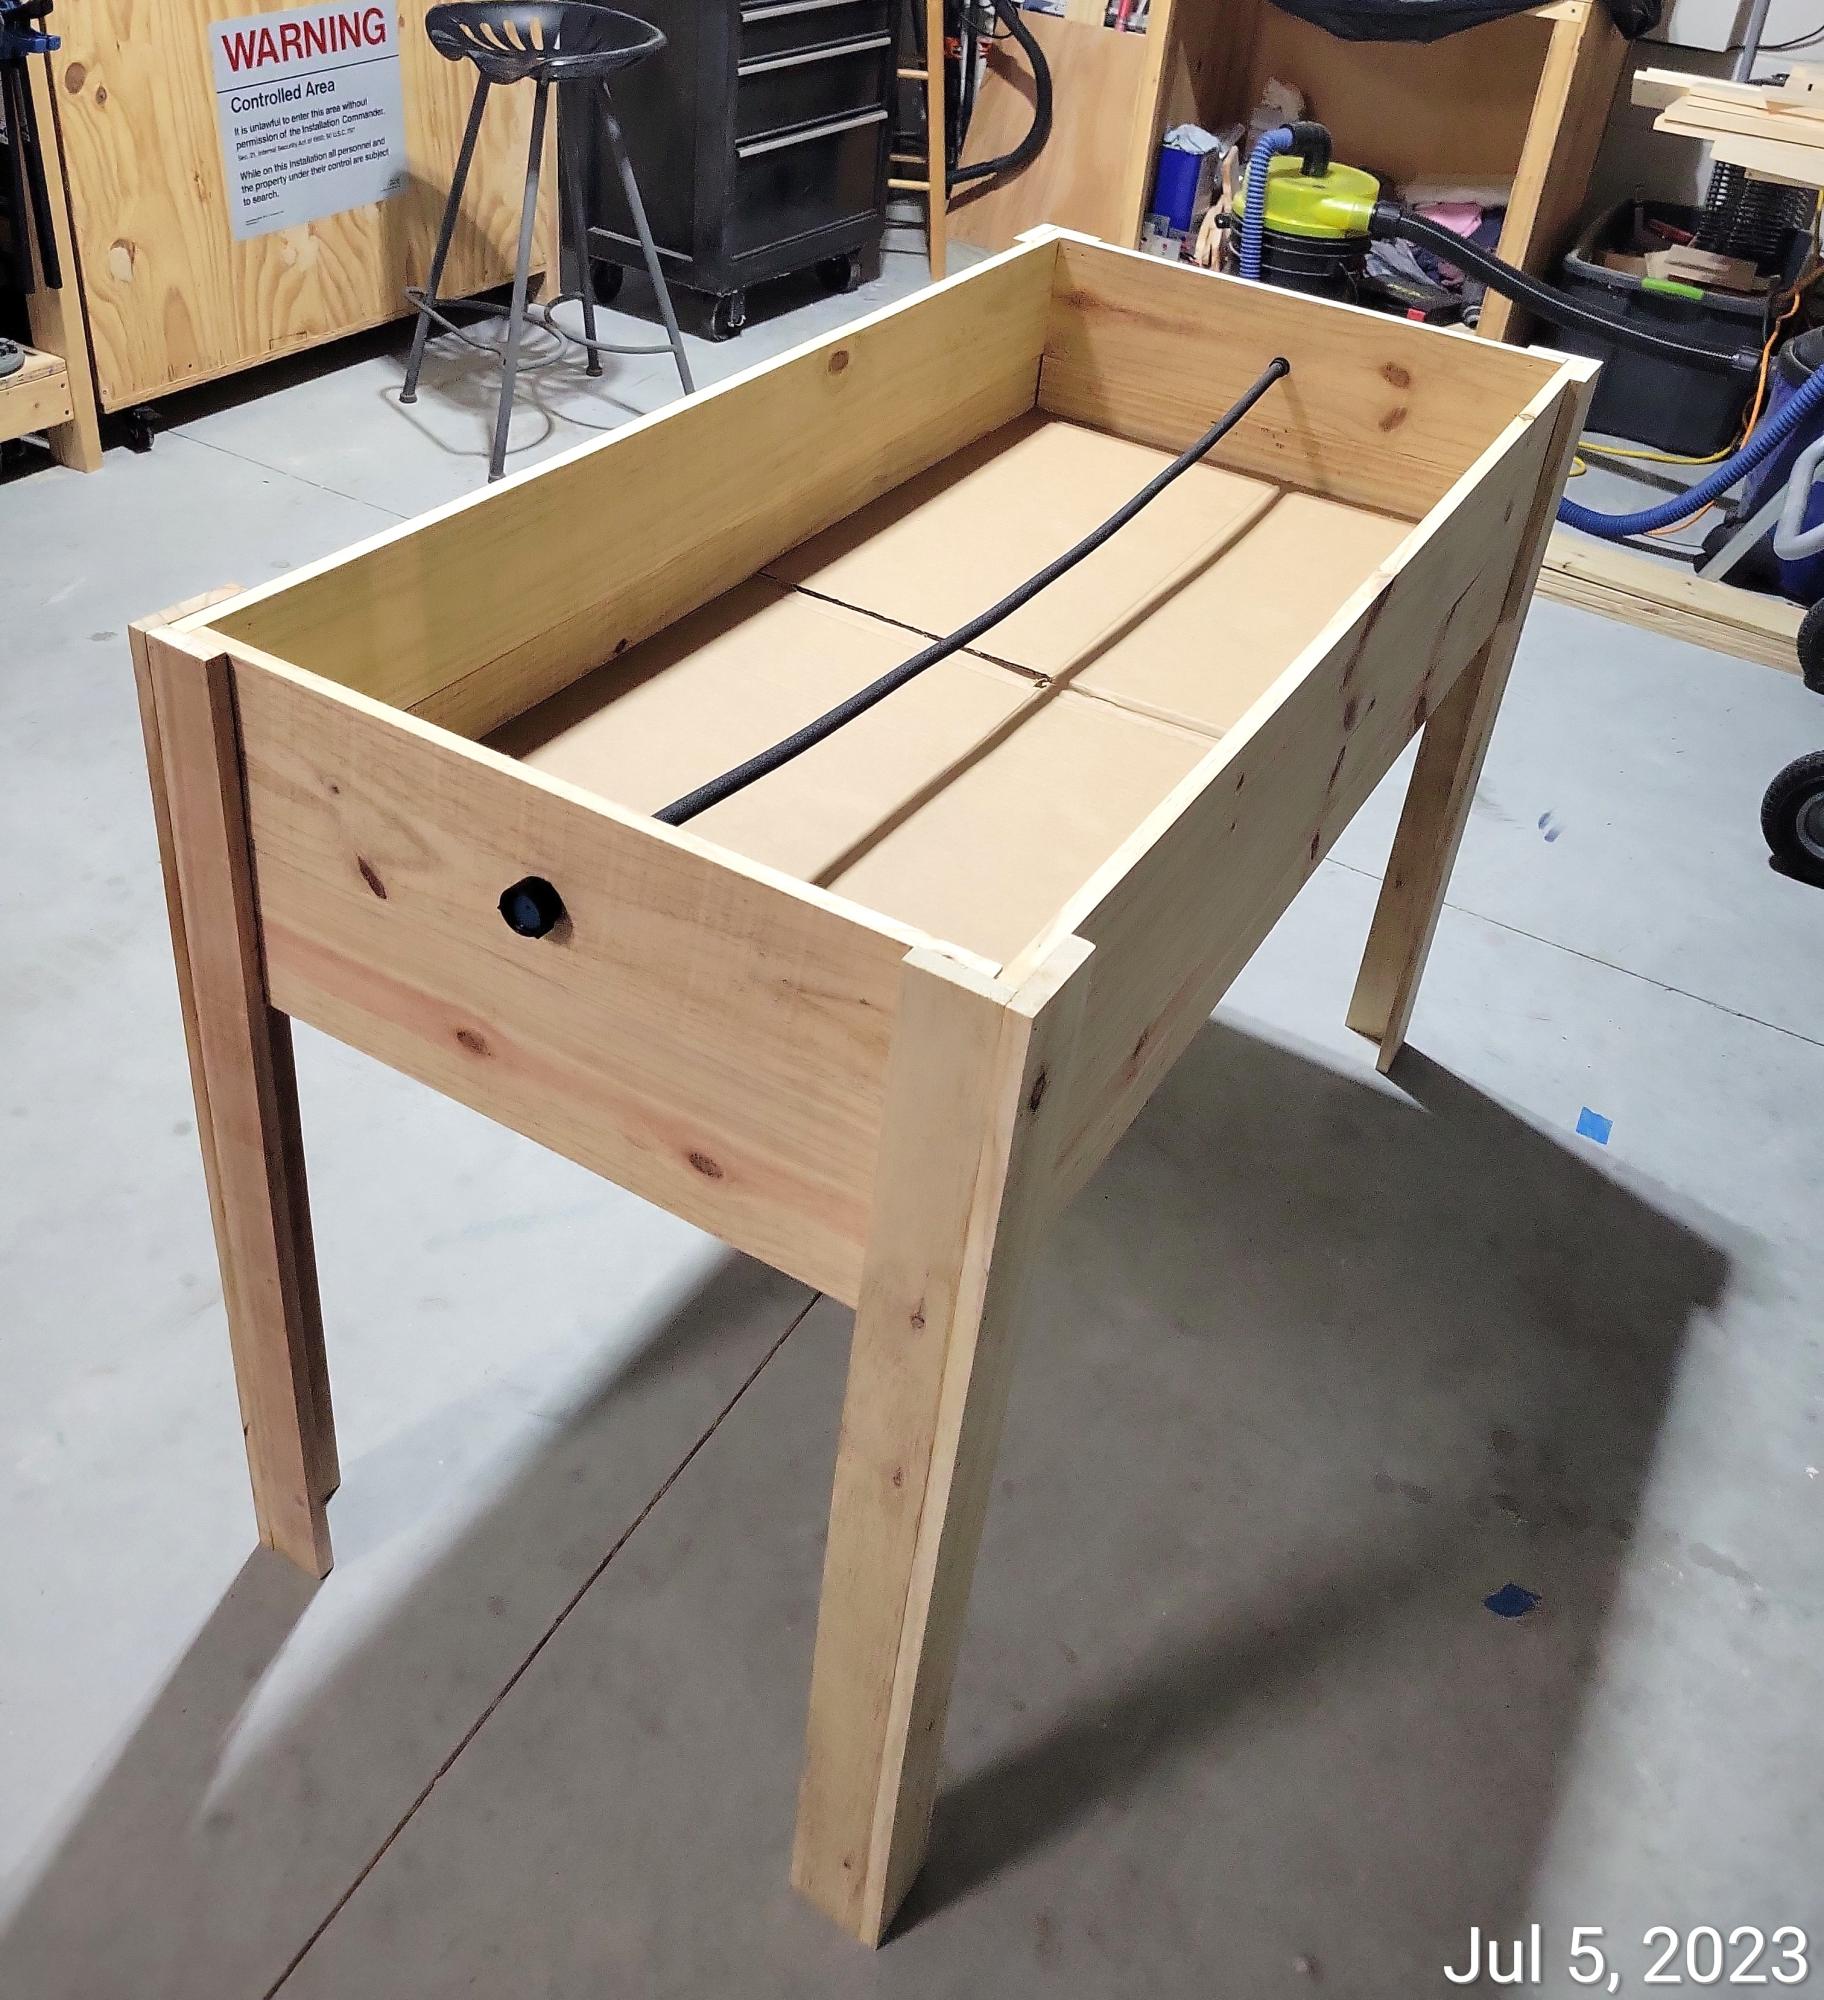
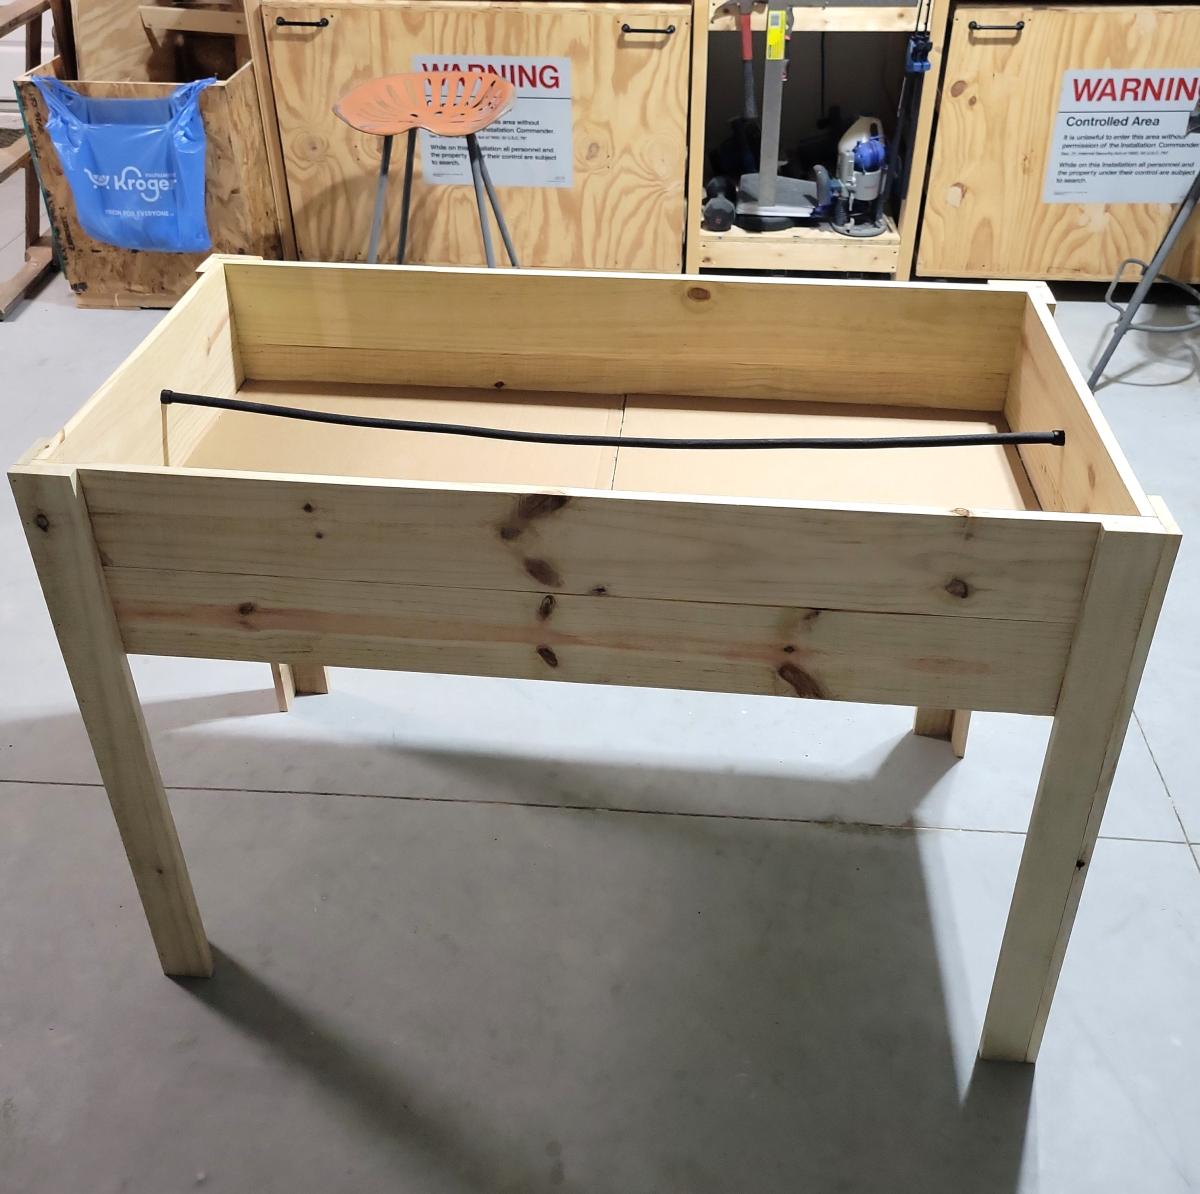
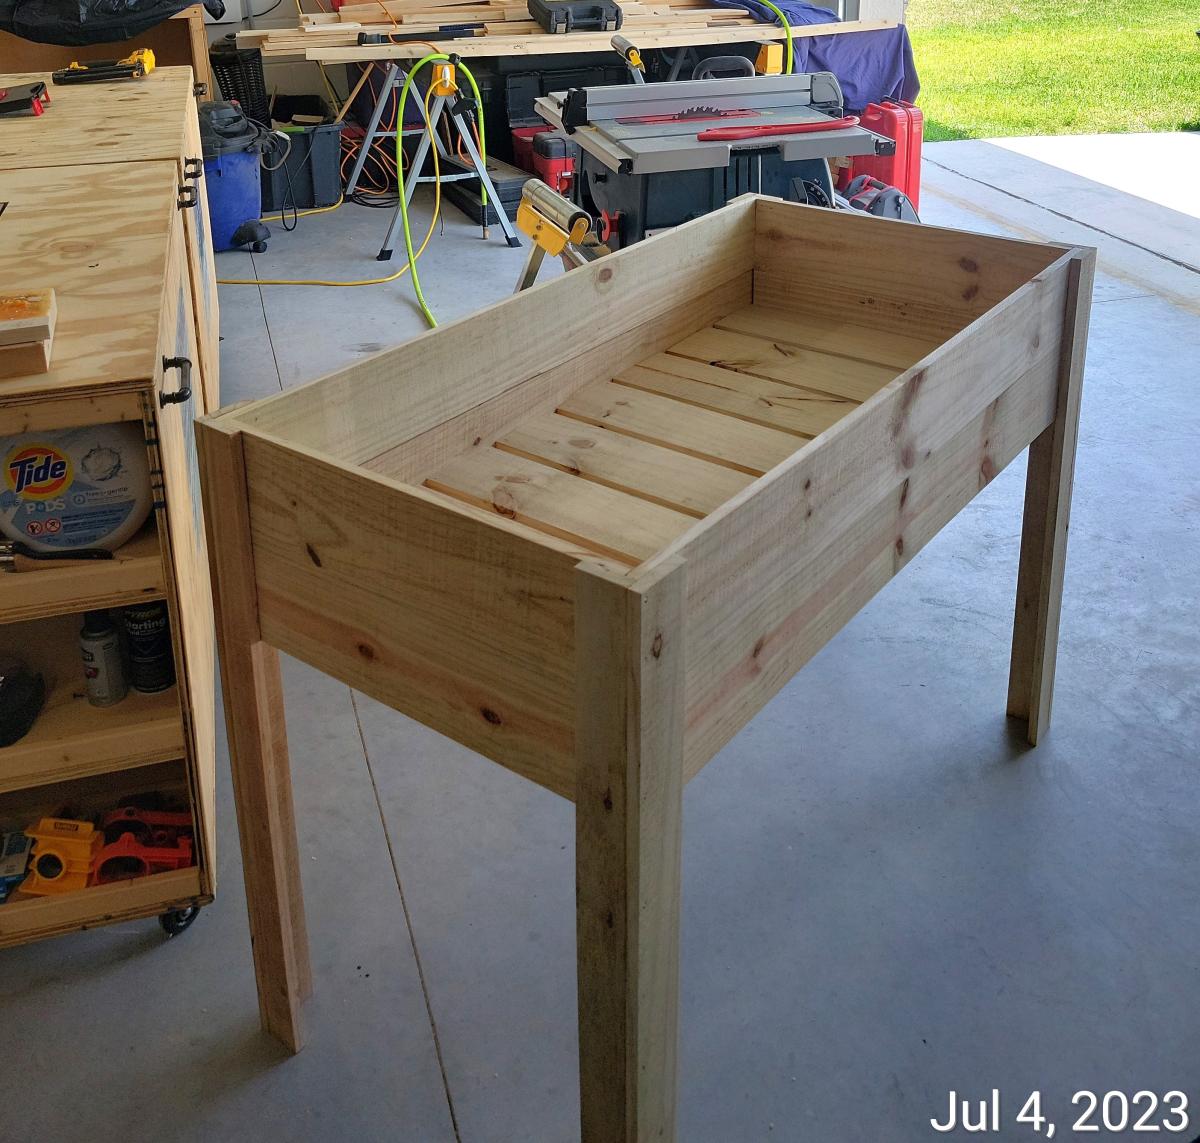
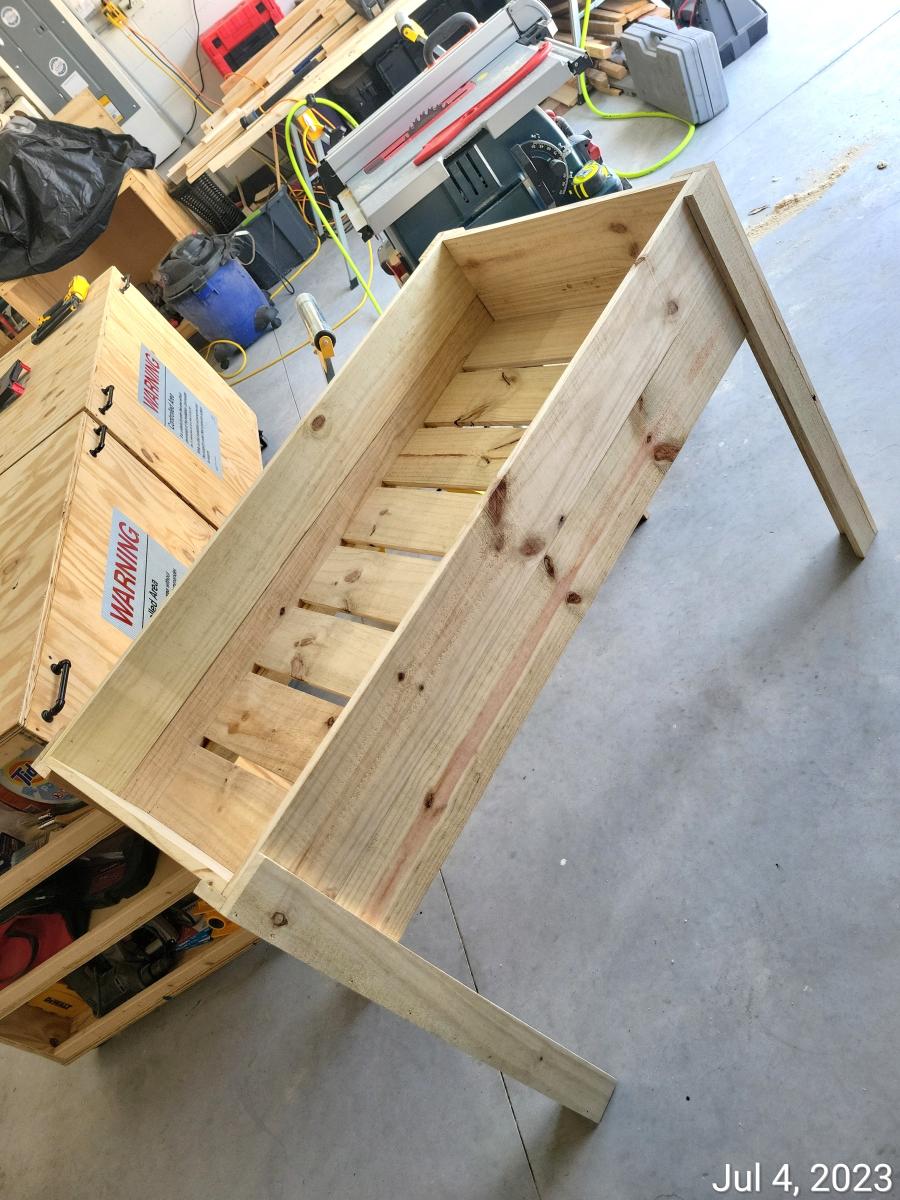
Hi Ana. Been a fan of yours. My name is Ed. Wood working is my hobby. And its always nice to look at your plans, and put my own spin on it. My wife wanted a planter for our deck. So I tweaked your plans and made them a little bigger. I Also built her a herb garden too. With these new planters; it should put a stop to the rabbits eating everything.

Thanks for your inspiration.

Comments

Washer/Dryer Platform Pedestal

Submitted by Dimarc67 on Fri, 04/17/2015 - 10:45


THE MOTIVATION
After a recent washer outage (that I was ultimately able to repair myself), my wife and I talked about eventually replacing our front-loading washer/dryer set.  One of the bullets I hate biting is paying the exhorbitant prices for the matching pedestals for new washer/dryer sets.

Having just bought a good set of cordless powertools, and having watched my father when I was a kid build countless household fixtures, window dressings, furniture pieces, etc., I decided to try my hand and construct a permanent platform for our current washer/dryer set, thereby eliminating the need to ever buy manufacturer pedestals again.

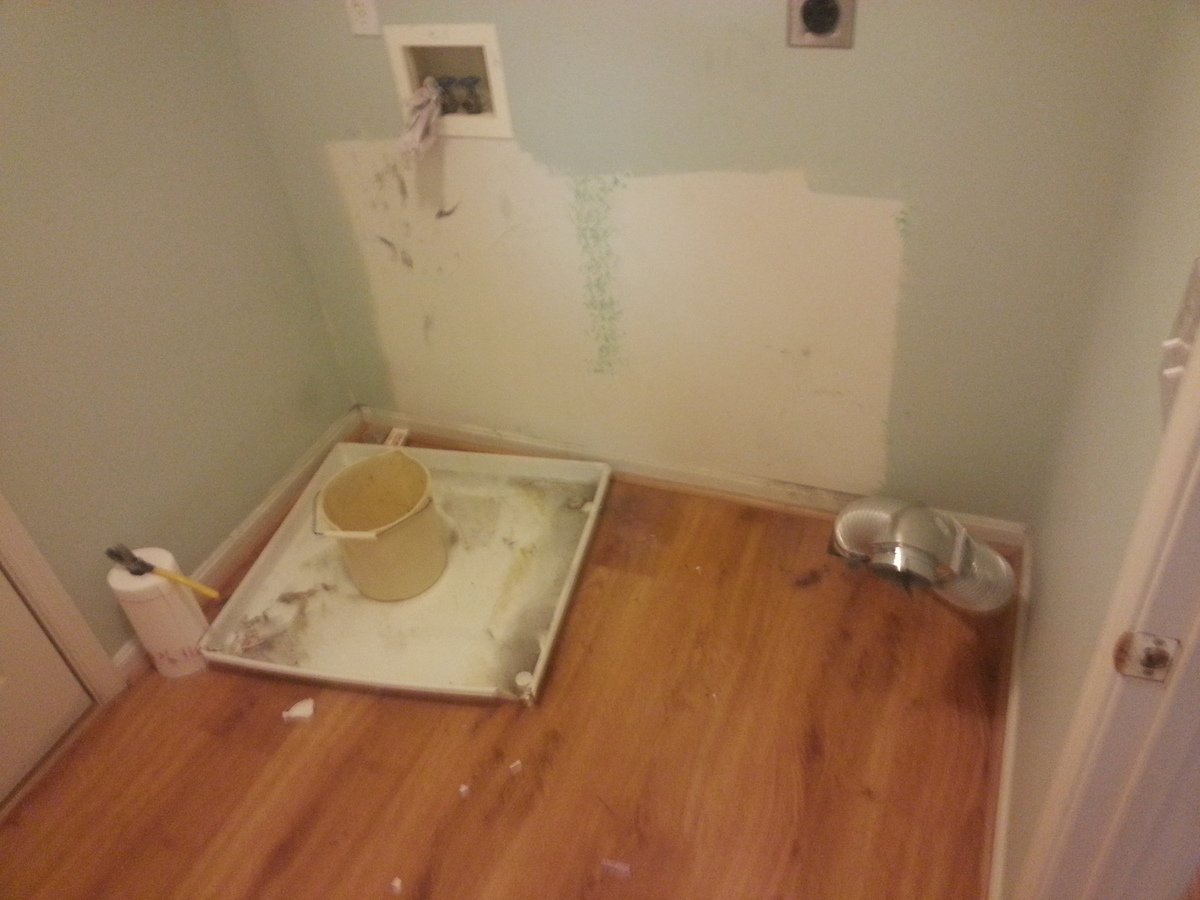
The existing pedestals were a standard 15" high, with a storage drawer, which we felt was still not high enough for comfort.  And, the washer pedestal drawer was entirely inaccessibl due to the 2" walls on the washer drain pan, so its drawer was totally useless, wasted space.

And, lastly, we really wanted more space for clothes baskets full of laundry, which we generally stacked (full and haphazardly) on top of the machines.


THE CHALLENGES
The largest challenges were mainly logistics, and gravity.  The washer/dryer would have to be unavailable for at least 2-3 days while they sat disconnected in the next room waiting for their new home.  So I coordinated with the family so they'd know when they needed to have their laundry done, or tough it out until I was done.

There was no way to know for sure what the drain connection for the washer pan looked like until I got the washer out.  So it was a small gamble that I'd be able to get the parts needed to extend the drain pipe up to the new platform right when I was ready for them.  Fortunately, this was no issue at all.

The biggest challenge turned out to be toward the end when it came time to lift our 230-lb. washer onto the new platform.  I seriously considered disassembling the washer to the point that I could remove its molded concrete counter-weights, but instead (and arguably stupidly) elected to use a large hydraulic car jack to raise the washer.  This ultimately worked, but I have to STRONGLY ADVISE AGAINST trying this.


THE SPACE
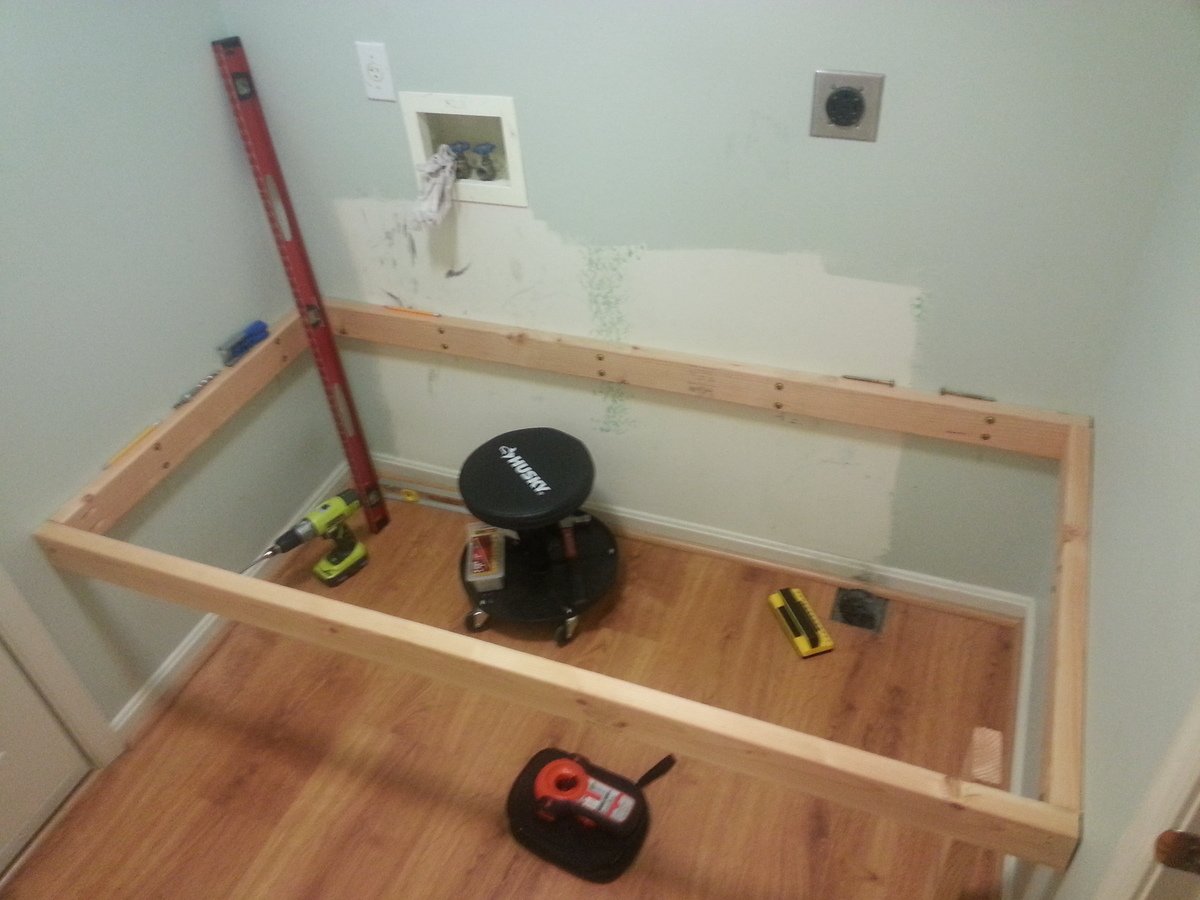
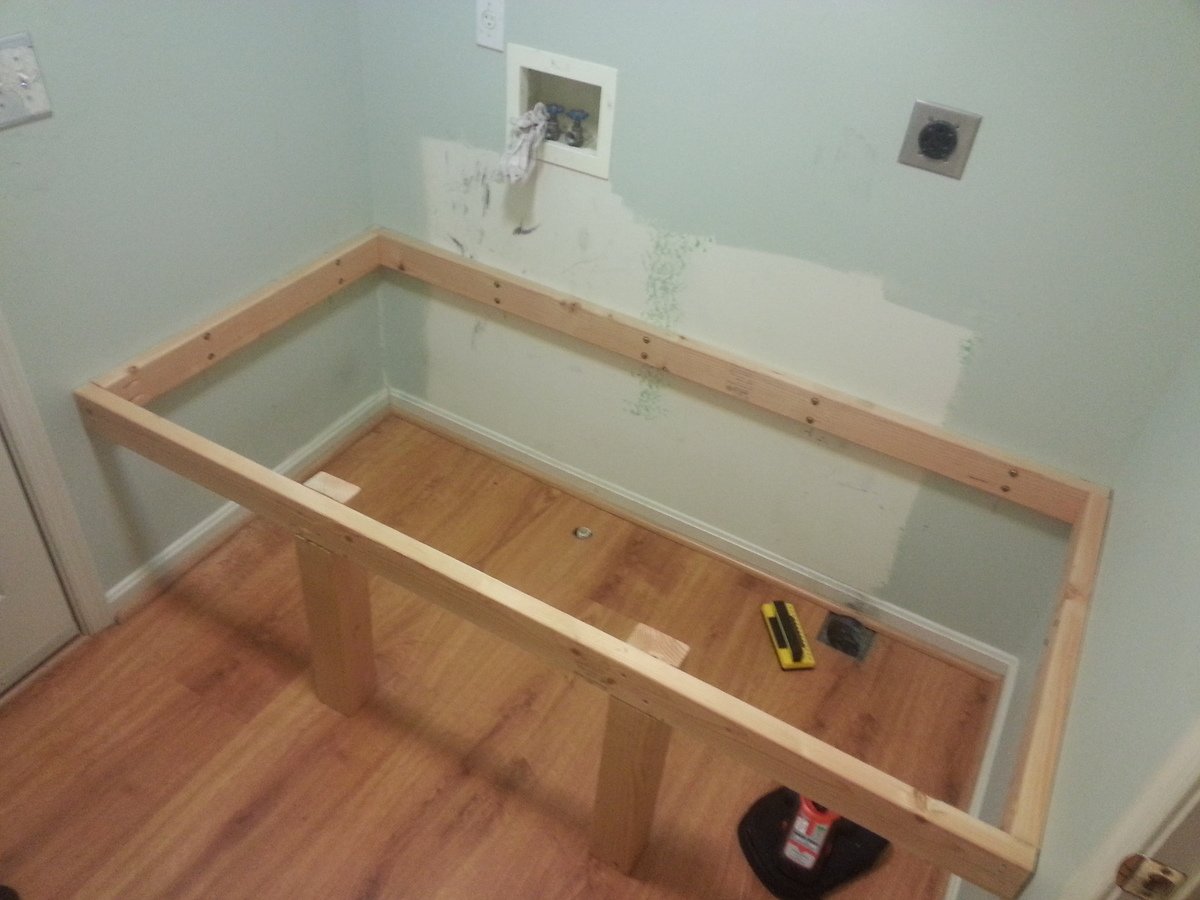
Our laundry room is also the "mud room" between our kitchen and the garage.  It is only large enough for the two machines, and the walk way between the two doors--in total, about 70.5" square.  Building the platform from wall-to-wall made the most sense, and minimized framing by fastening edge framing directly to the wall studs. 


THE PLAN
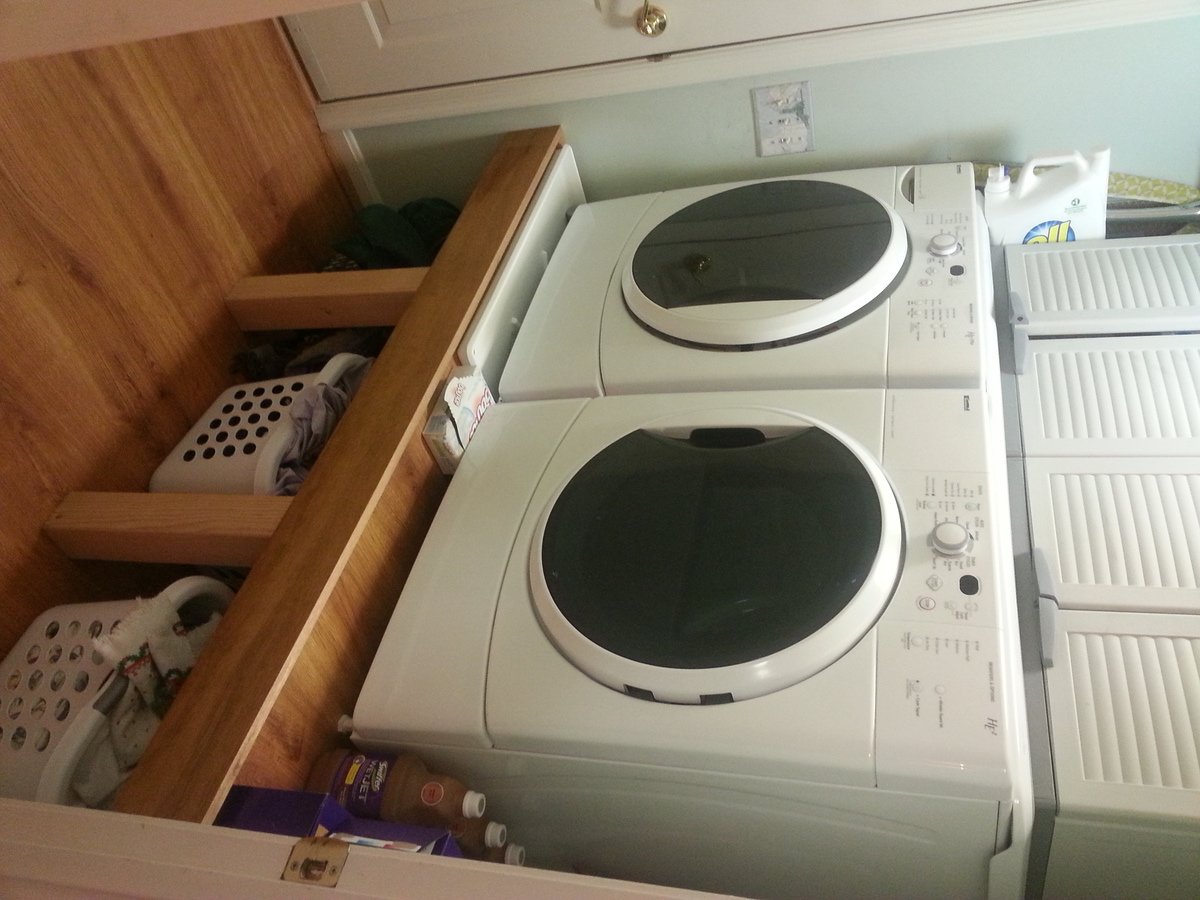
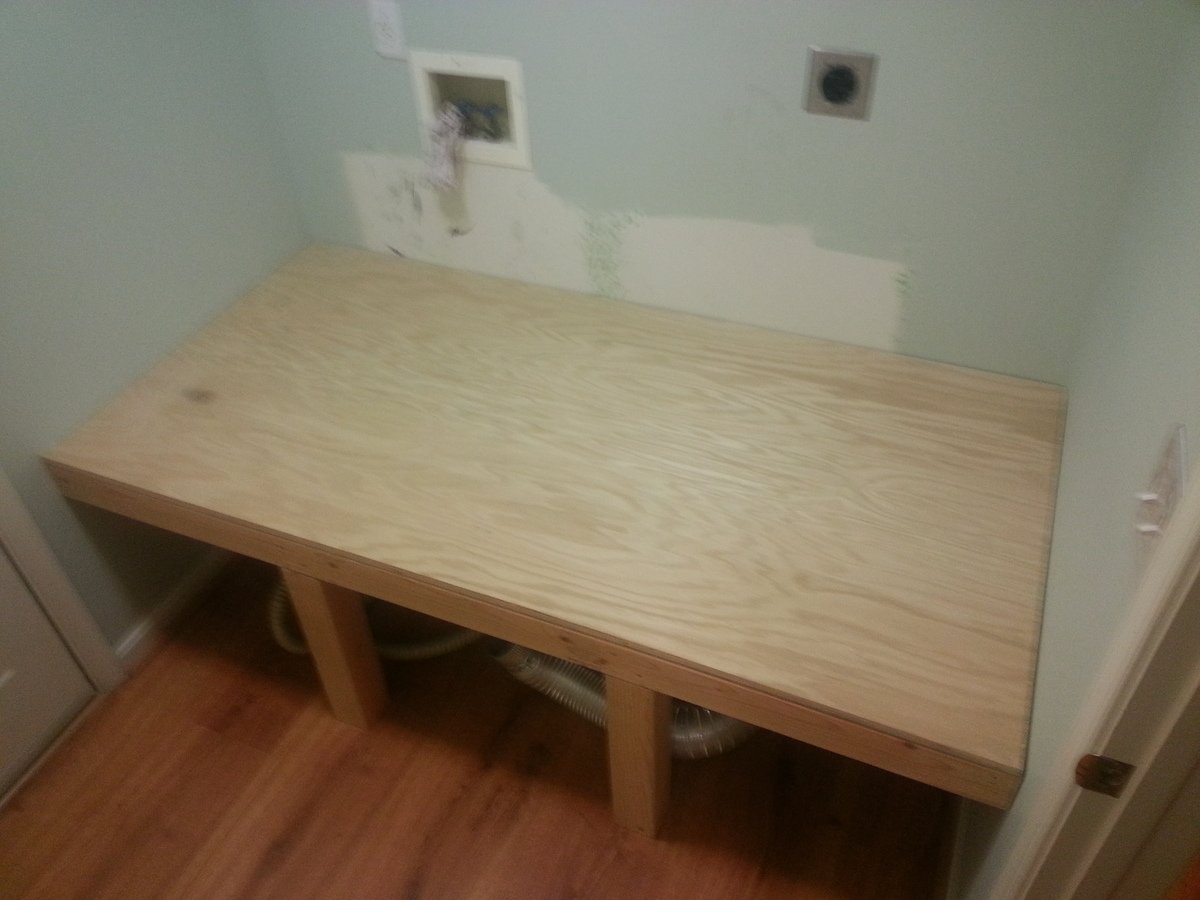
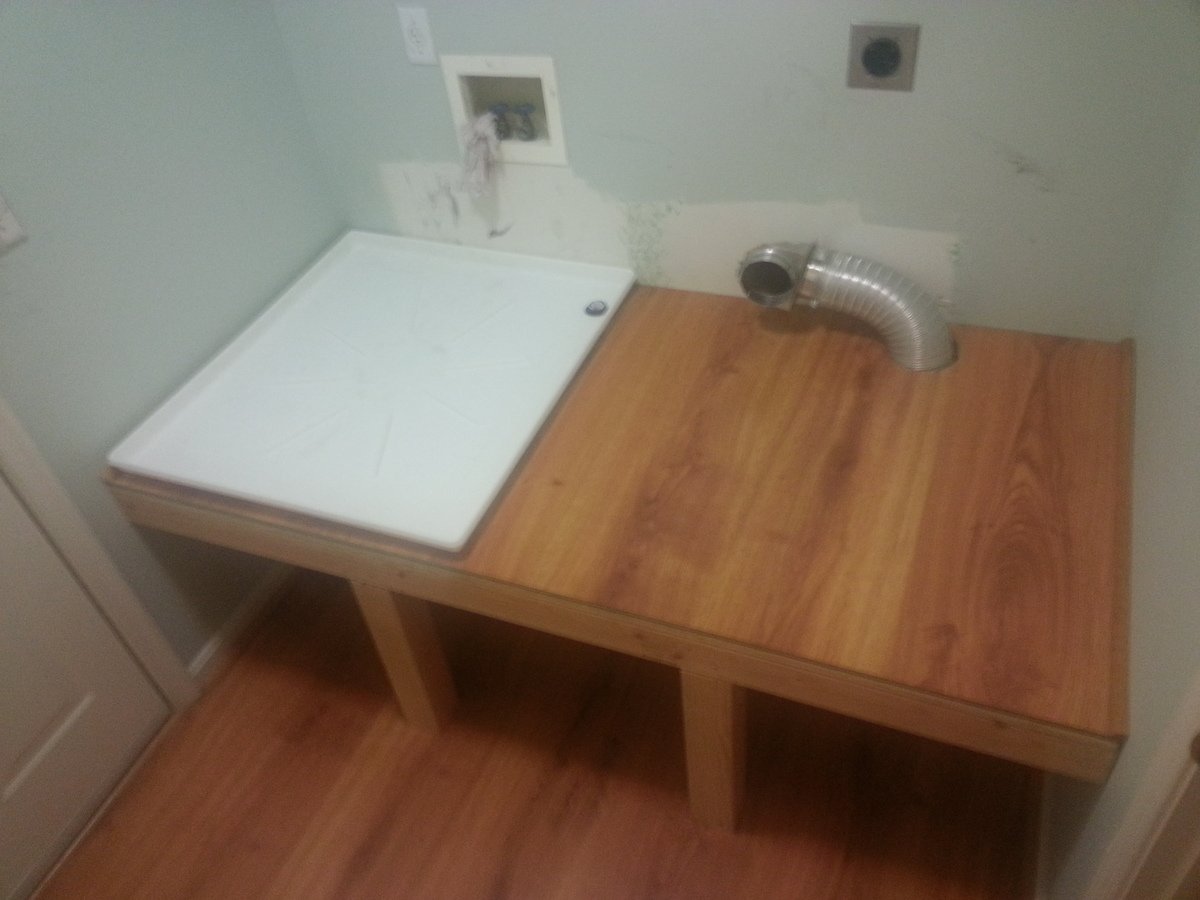
Pretty basic:  2x4's all around for the edge framing--back and sides fastened directly to the wall studs, and front 2x4 supported by two, notched 4x4 legs.  3/4" plywood for the subsurface, and 1/4" laminate faux-wood flooring on top (left over from reflooring, so it matches the floor below).  Bore holes for the washer pan drain and the dryer vent.  1" quarter-round molding on the sides, and 5.5" face piece flush with the top of the molding across the front (spare lauan I had looks perfect).  I also made a point of putting the machines on the platform before the face piece since it might have been in the way or damaged.

Anyone will tell you that it's best to at least sketch out what you want to do so you can minimize surprises, forgotten parts, etc.  I, of course, did virtually none of that, and made several course changes and corrections along the way.  For this project, I was lucky that I didn't need to backtrack at any point, and probably won't learn this lesson any time soon anyway.  However, you SHOULD.


TAKE-AWAYS
The main mistake I made was while gathering the platform dimensions for cutting the plywood.  It was only blind luck that kept me from having to do it more than once (and having to buy more than one 4x8 sheet).  I know that it's actually very unlikely that two adjacent walls are perfectly square, so I made a point to measure the width between the walls at the back and at the front--and, sure enough, found a 1/8" difference--wider at the front.  But when I measured and marked the plywood for cutting, I measured both distances from the precut edge, and then cut.  By doing this, I inadvertently assumed that one of the back corners was perfectly square. 

What I should have done was used a carpenter's square in each back corner to extend a square line from the back edge to the front, and then measured from the square lines to their respective side wall.  This would have accounted for neither back corner being square.

Fortunately, my mistake wasn't big enough to keep the plywood from fitting, but it was very, VERY close.


GIDDY
I honestly couldn't be happier with the finished project (or more smug).  We've raised the washer/dryer 9" higher than they were (24" off the floor), and we now have basket storage underneath all the way across.  I placed two 24" plastic cabinets on top, which still leaves room for the detergent right over the soap inlet on the washer.

And, most importantly, I got to use every powertool I own.  Kinda beats "the quick brown fox jumped over the lazy dog" thing, huh?
 

Estimated Cost
Most of my project made use of spare lumber and materials I've had on hand forever. The 4x8 sheet of plywood was about $30 at Home Depot.
Estimated Time Investment
Weekend Project (10-20 Hours)
Finish Used
Natural. No finishing, staining, or painting. Lauan has a natural stained oak coloring, so it was perfect for the facing. (A soft wood, Lauan--"lao-AHN", also sometimes called "Philippine Mahogany" simply for the darker color--used to be as readily available as pine, but I haven't seen it in stores for many years.)
Recommended Skill Level
Intermediate

Comments

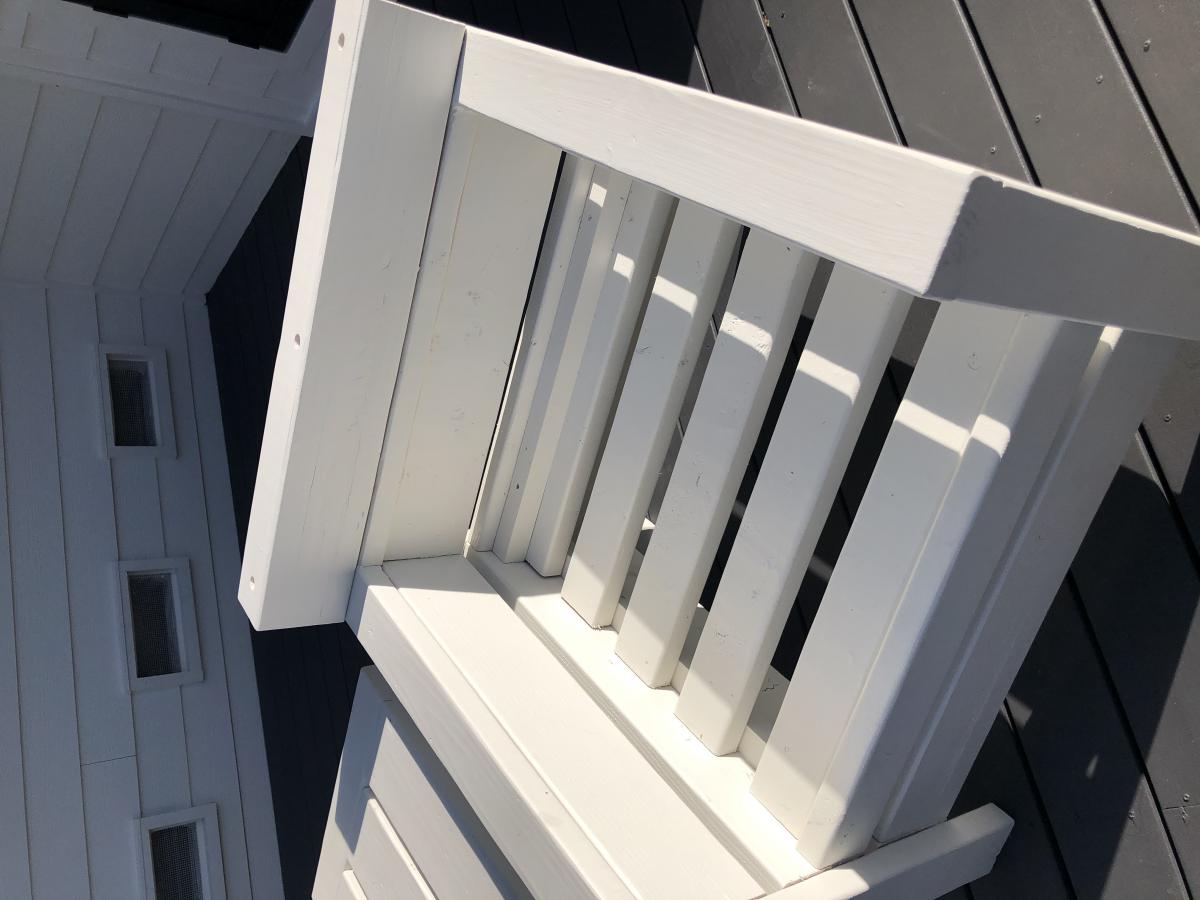
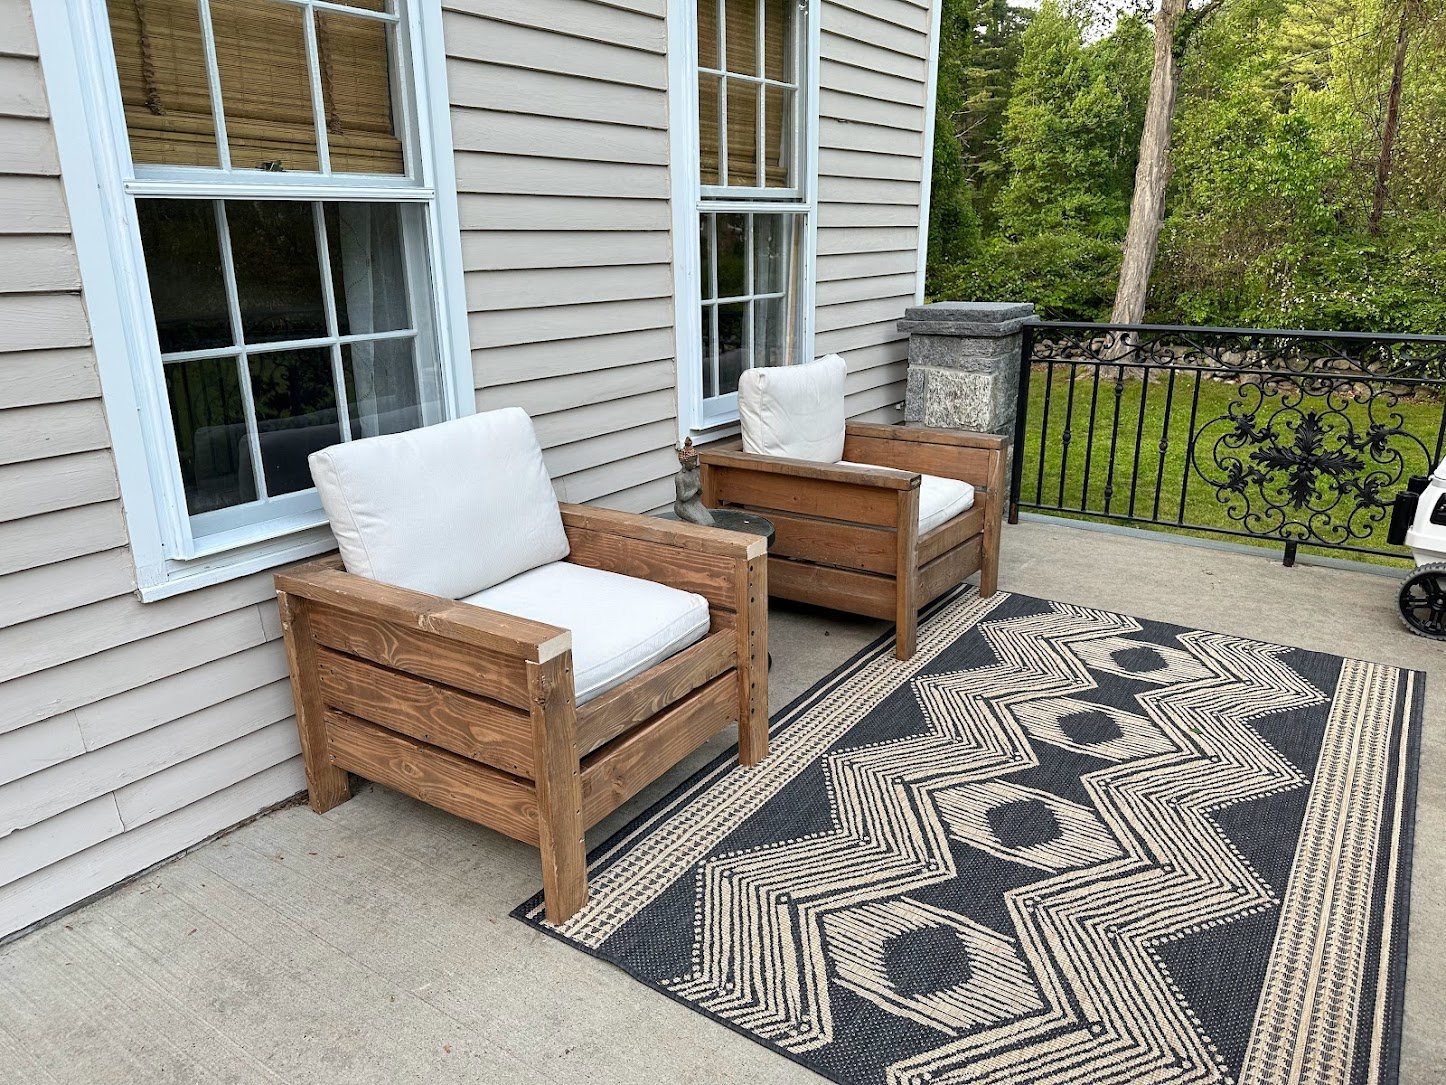
Modern Outdoor Chair from 2x4s and 2x6s

After a whole year I finally made a second chair! The first one was made a year ago and now my wife can sit outside with me too 😊. Next for the couch!

Comments

Farmhouse Chairs

I found a picture of this style of chairs, and I really wanted to make them for my table. I created my own plans and adjusted them until they were perfect. I’ve since made several sets of chairs for other people including this set of 6. 

Built from Plan(s)
Estimated Cost
$25
Estimated Time Investment
Afternoon Project (3-6 Hours)
Finish Used
After sanding down the chairs, I apply a coat of Preston by minwax. To get the color I wipe on the stain gunstock by winwax. After letting it dry for about an hour, I then wipe on a coat of espresso stain. For the finish, I apply coats of a gloss polyurethane by Minwax.
Recommended Skill Level
Intermediate

Comments

Outdoor Sofa Mash-up

Submitted by Anonymous (not verified) on Thu, 06/30/2016 - 19:51

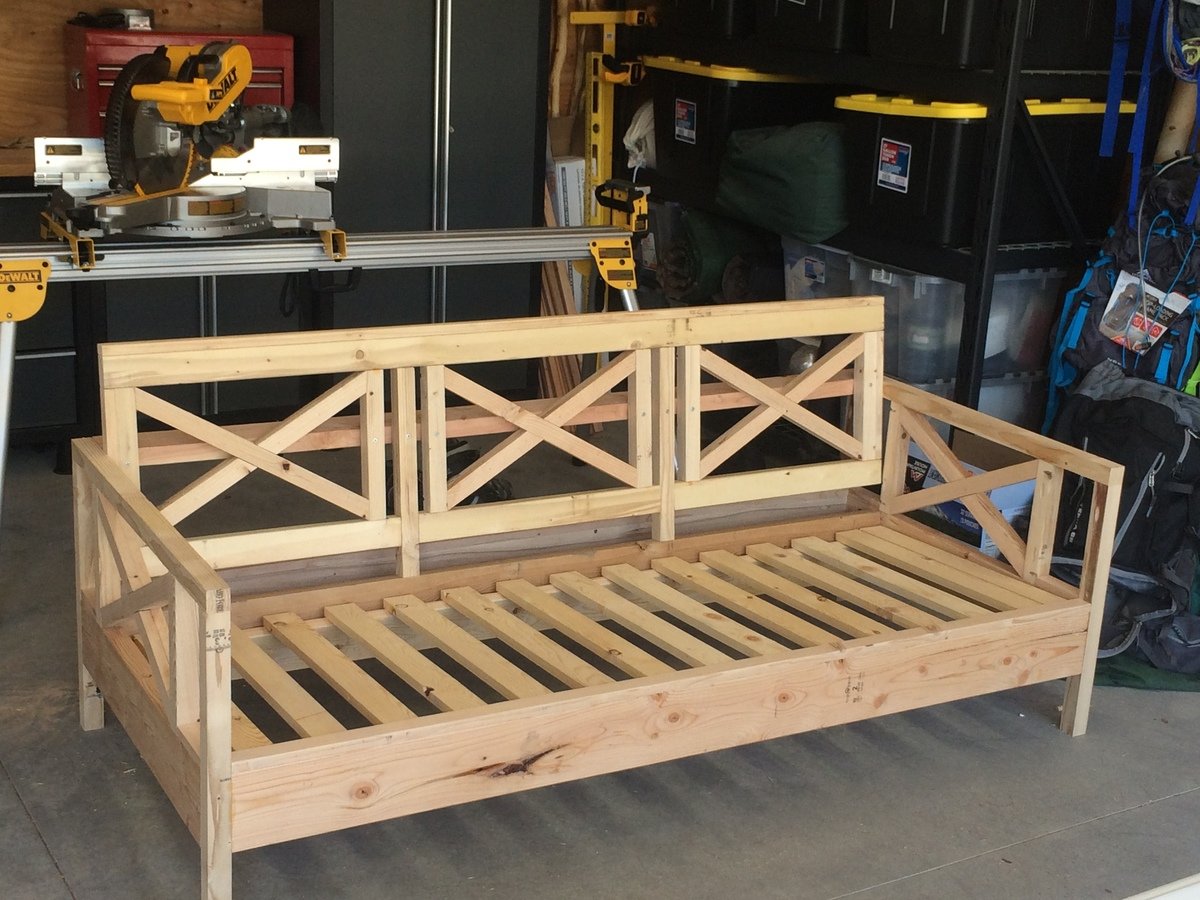
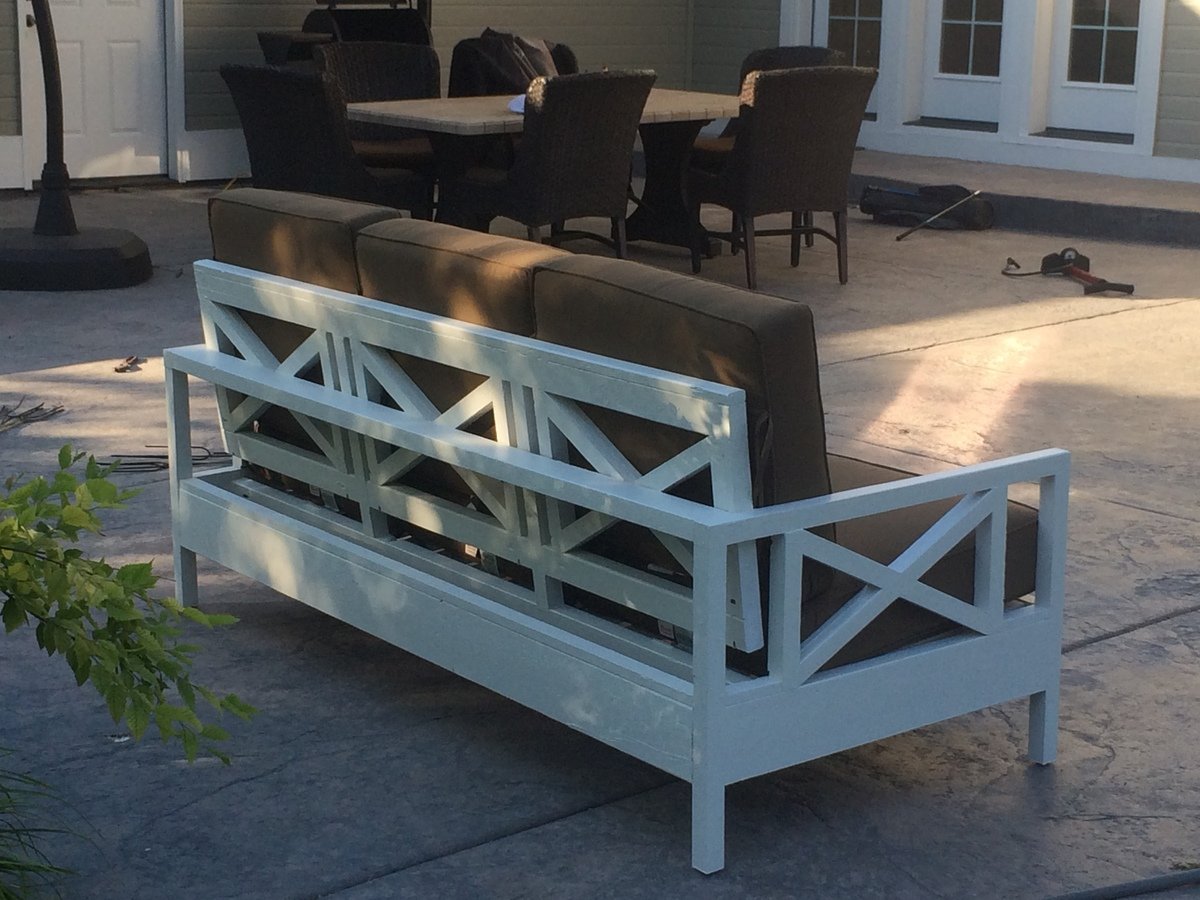
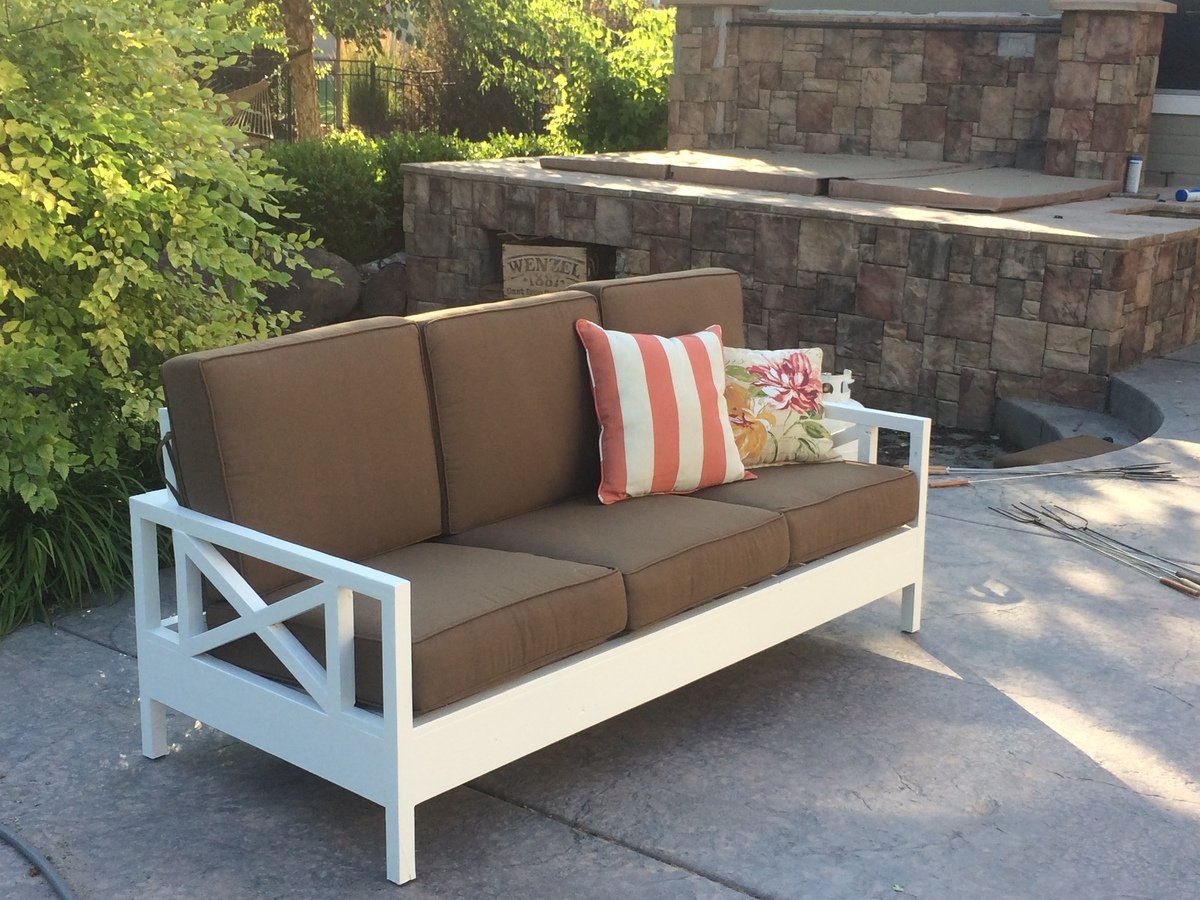
My wife loves the X pattern of the Weatherly Sofa, but wanted the tilted back from the Simple White Outdoor Sofa. This was our best of both worlds effort!

Estimated Cost
$85 for lumber and materials without cushions.
Estimated Time Investment
Afternoon Project (3-6 Hours)
Finish Used
Primer and outdoor paint.
Recommended Skill Level
Beginner

Comments

Katie.Belmont88

Wed, 07/06/2016 - 19:18

I love this! I was so excited until I realized that this was a brag and didn't have plans. I don't know if I'm as talented at modifying as you are. :)

Seasonal And Holiday

Moses Basket Rocker

Submitted by bd on Sat, 04/19/2014 - 14:15

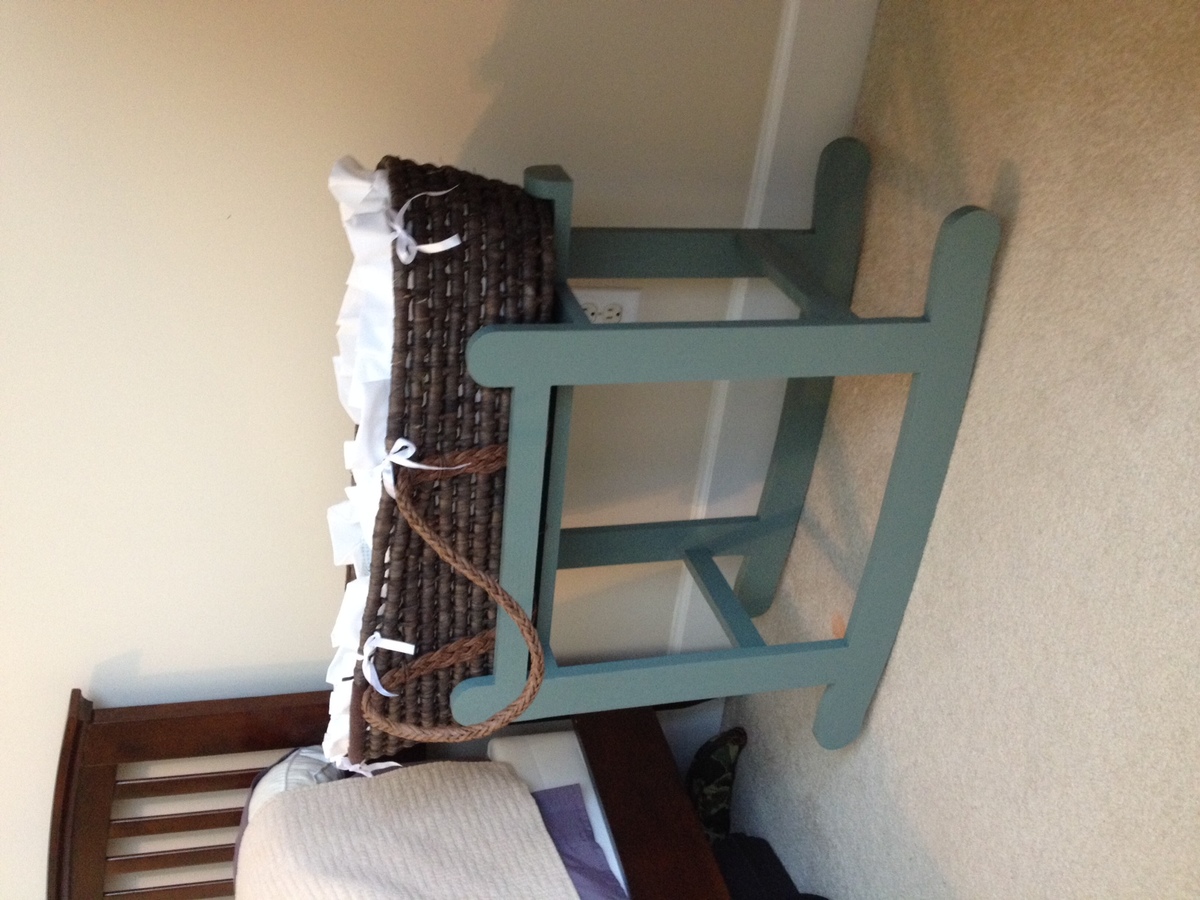
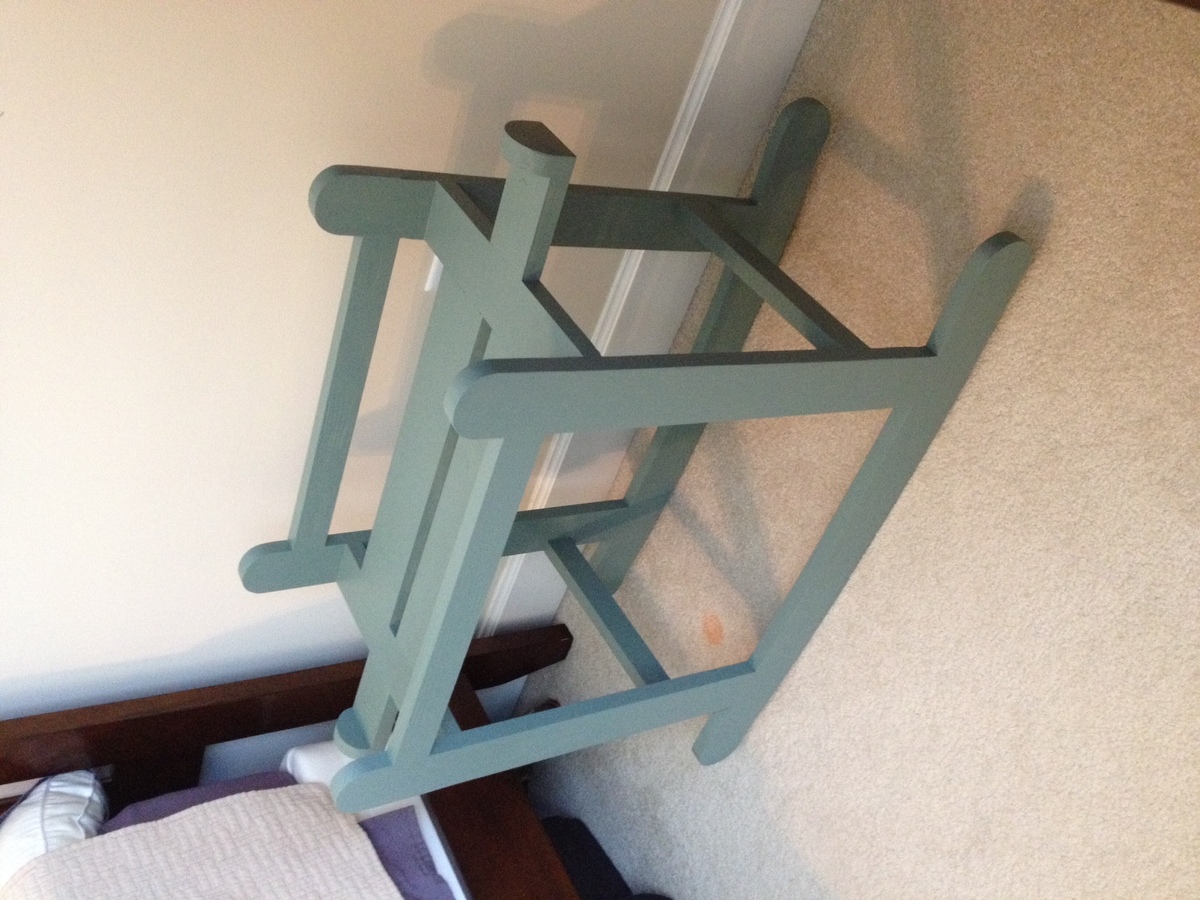
Pretty much followed the plan, except I raised the height of the platform. I intended to make the legs longer, but I forgot and cut them to the length on the plan. It looks like the sides of the basket aren't supported as well, but the basket stays in just fine.

I also added little wings on the end to support the ends of the basket. I wanted to be able to remove the basket from the cradle without screwing it in, but also wanted the basket to be secure so I added the little wings. It was easy.

Overall a pretty easy project, except the rockers are time consuming. They're not hard to make, you just need to take your time.

Built from Plan(s)
Estimated Time Investment
Weekend Project (10-20 Hours)
Finish Used
Sample paint on the clearance shelf - can't remember the color name.
Recommended Skill Level
Intermediate

Doggy Door or Baby Gate

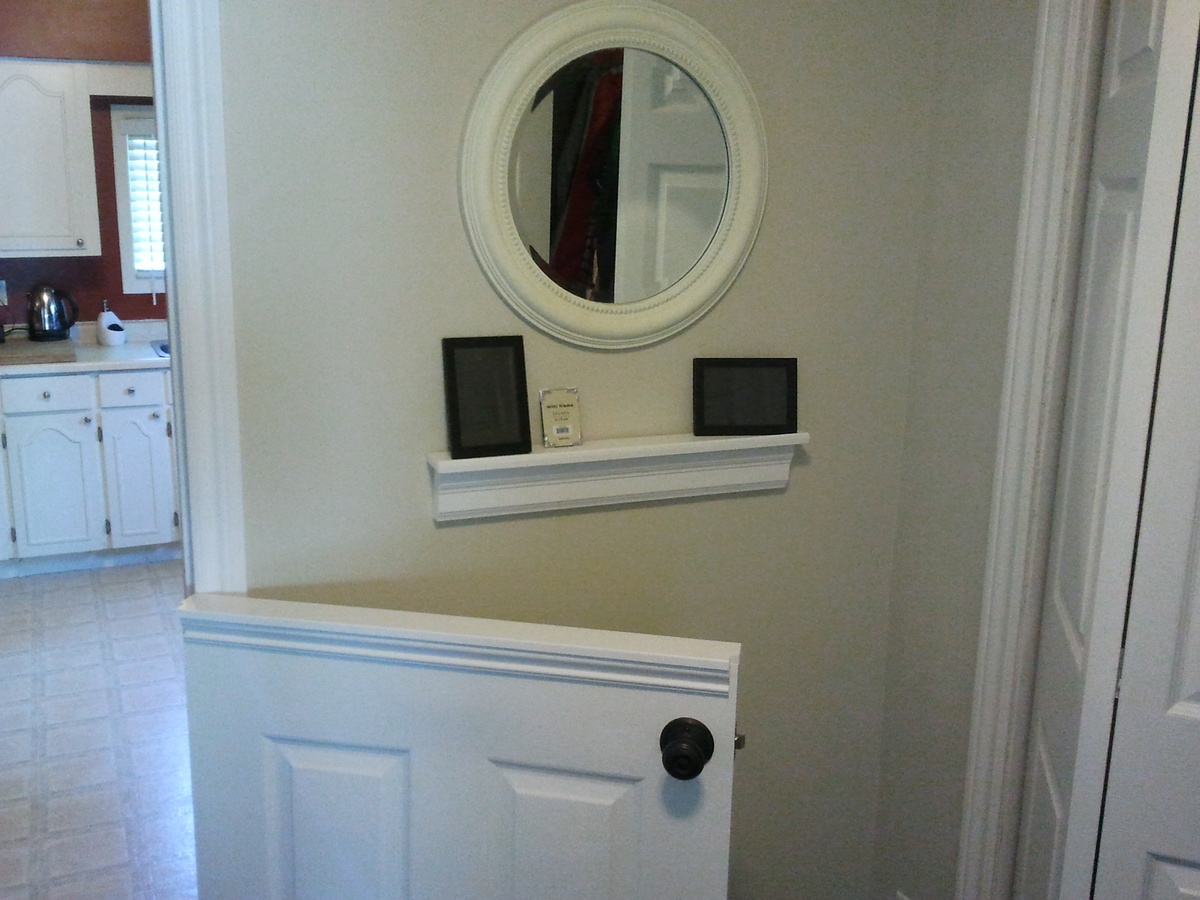
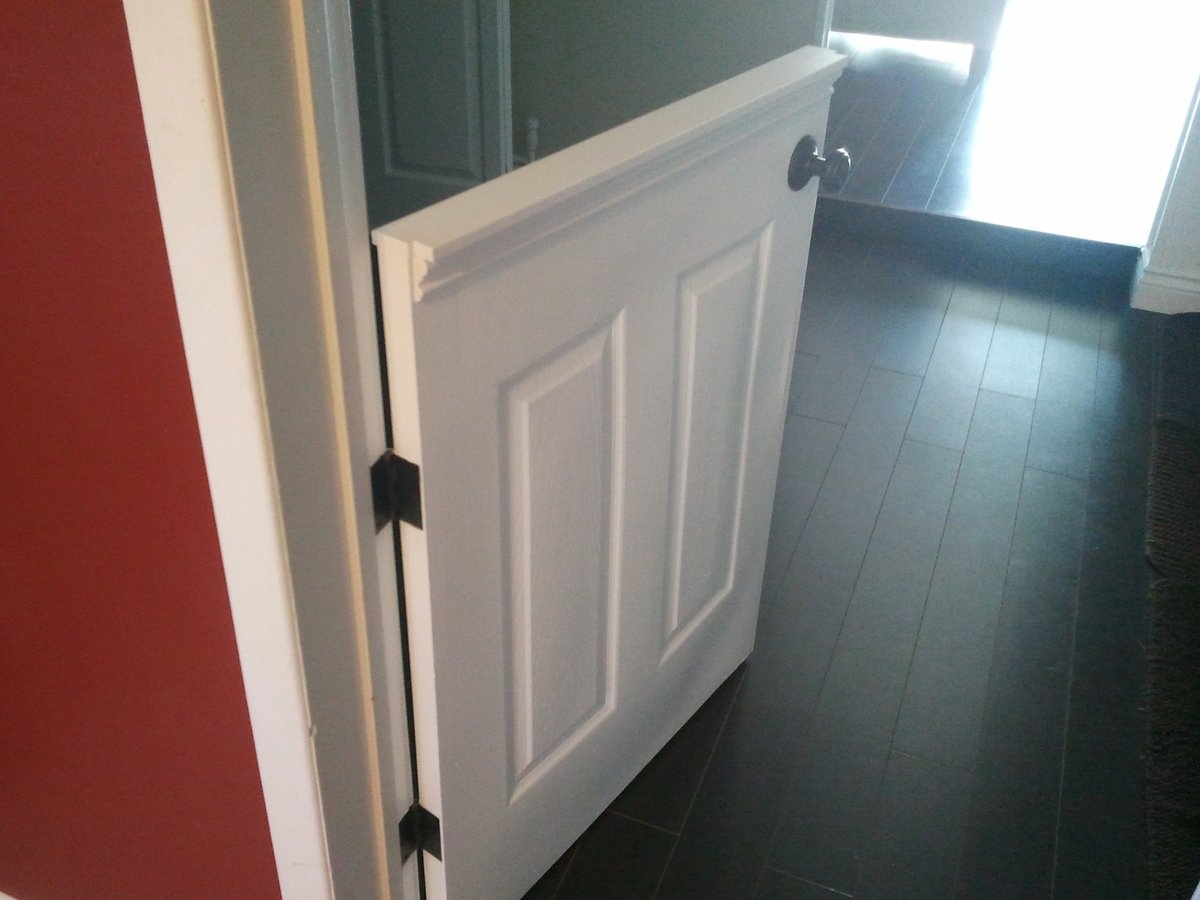
I installed a half door to isolate our dog from the laminate flooring when he sleeps at night.

It was only $25 for the hollow core 6 panel door from HD, which got cut in half.
$25 for the passage knob.
$10 for top plate and trim
Less than $5 for the hinges.

Not having to replace the laminate flooring priceless!

Some Tips:

The $25 door is not prehung. Buy the $14 dollar irwin door jig to install the door "http://www.homedepot.ca/product/door-lock-installation-kit-carbon/904157" It will come in handy if you are remodeling and installing new doors to replace those old flat panel doors. You will also have to chisel out the hinges.

When installing and marking the hinge locations in the door frame shim the door a 1/4" off the floor.

Estimated Cost
$65 materials + $15 jig = $80
Estimated Time Investment
Day Project (6-9 Hours)
Finish Used
White paint
Recommended Skill Level
Intermediate

Comments