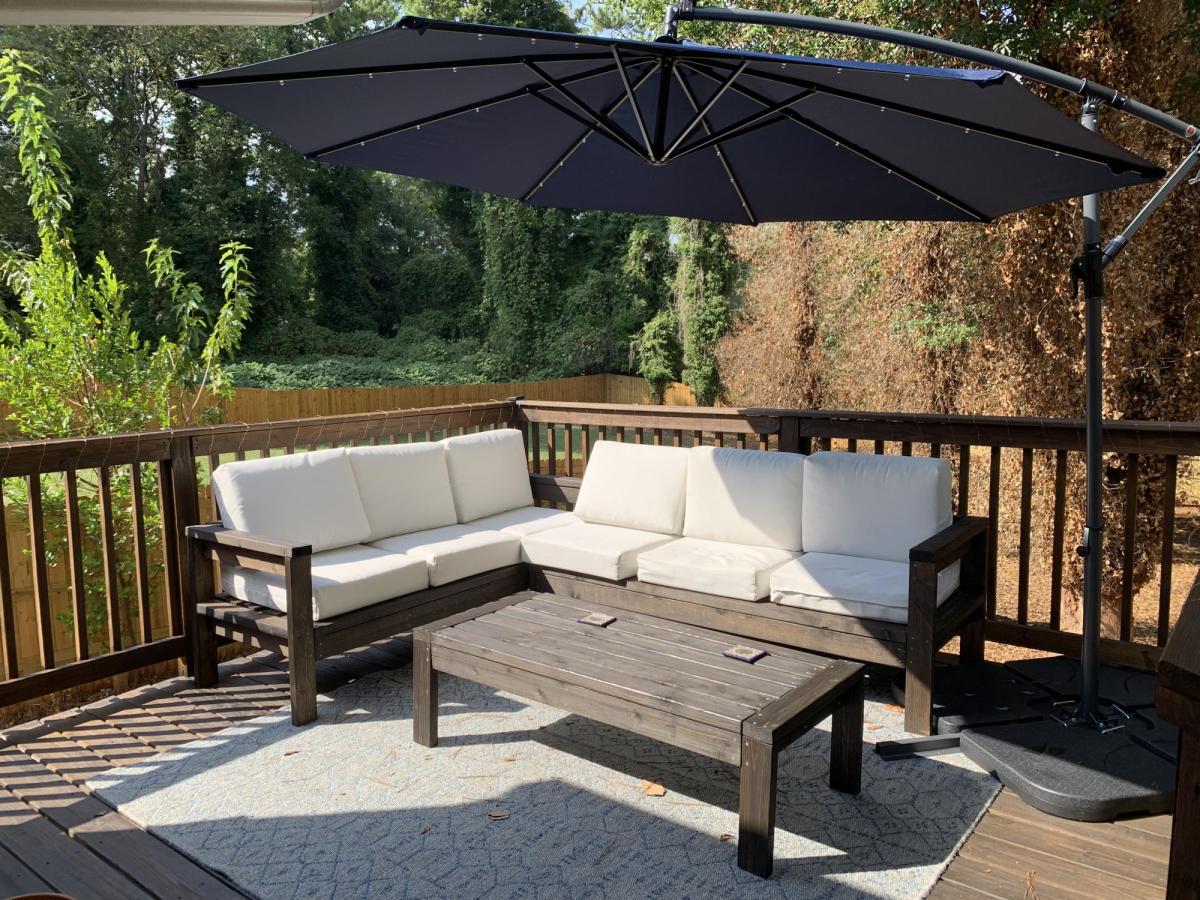
My Simple Outdoor Lounge Chair with 2x4 modification
I modified this chair with 2x4's as the base and 2x2 for decoration on arms, this is prior to sanding and finishing
I modified this chair with 2x4's as the base and 2x2 for decoration on arms, this is prior to sanding and finishing
We built these before we saw these plans, but they are pretty much the same... We added the chicken wire to keep the rabbits (and our dog) out of the garden. We added the owl to keep the birds out. We've gotten a ton of tomatoes, onions, and bell peppers so far. Next year, we'll add a few more beds. We also added the verticle garden to take up less space, but its not deep enough. We'll make the next one deeper.
Sun, 07/10/2011 - 14:19
Love the vertical garden! What a wonderful idea! Did you line the boxes with plastic??
Thu, 11/17/2011 - 07:59
We ended up getting a ton of tomoatoes and green peppers from the garden boxes. We've actually built a couple more. We'll probably double again before next spring. We're looking at adding more veggies.
We now have ton of stuff planted for the fall...
Tue, 04/03/2012 - 06:19
i love the vertical boxes. I am just trying my hand at the world with a green thumb and could use as much advice as possible about how to make as well as to line the boxes or not to line them. All advice appreciated!
Fri, 11/23/2012 - 21:53
Hi, my name is berman. I found you pin from my pinterest and your box garden is so great. I am a newbie in this field and so interested to build garden in my house. If i can ask you some question, could you please to answer that?
cheers,
berman
Tue, 03/10/2015 - 21:19
Hello! Do you mind sharing the Vertical Box Instructions? I absolutely love this idea!
Sun, 05/31/2015 - 21:00
Came across this beautiful design while searching for my next diy garden idea. Wondering if there are blueprints available
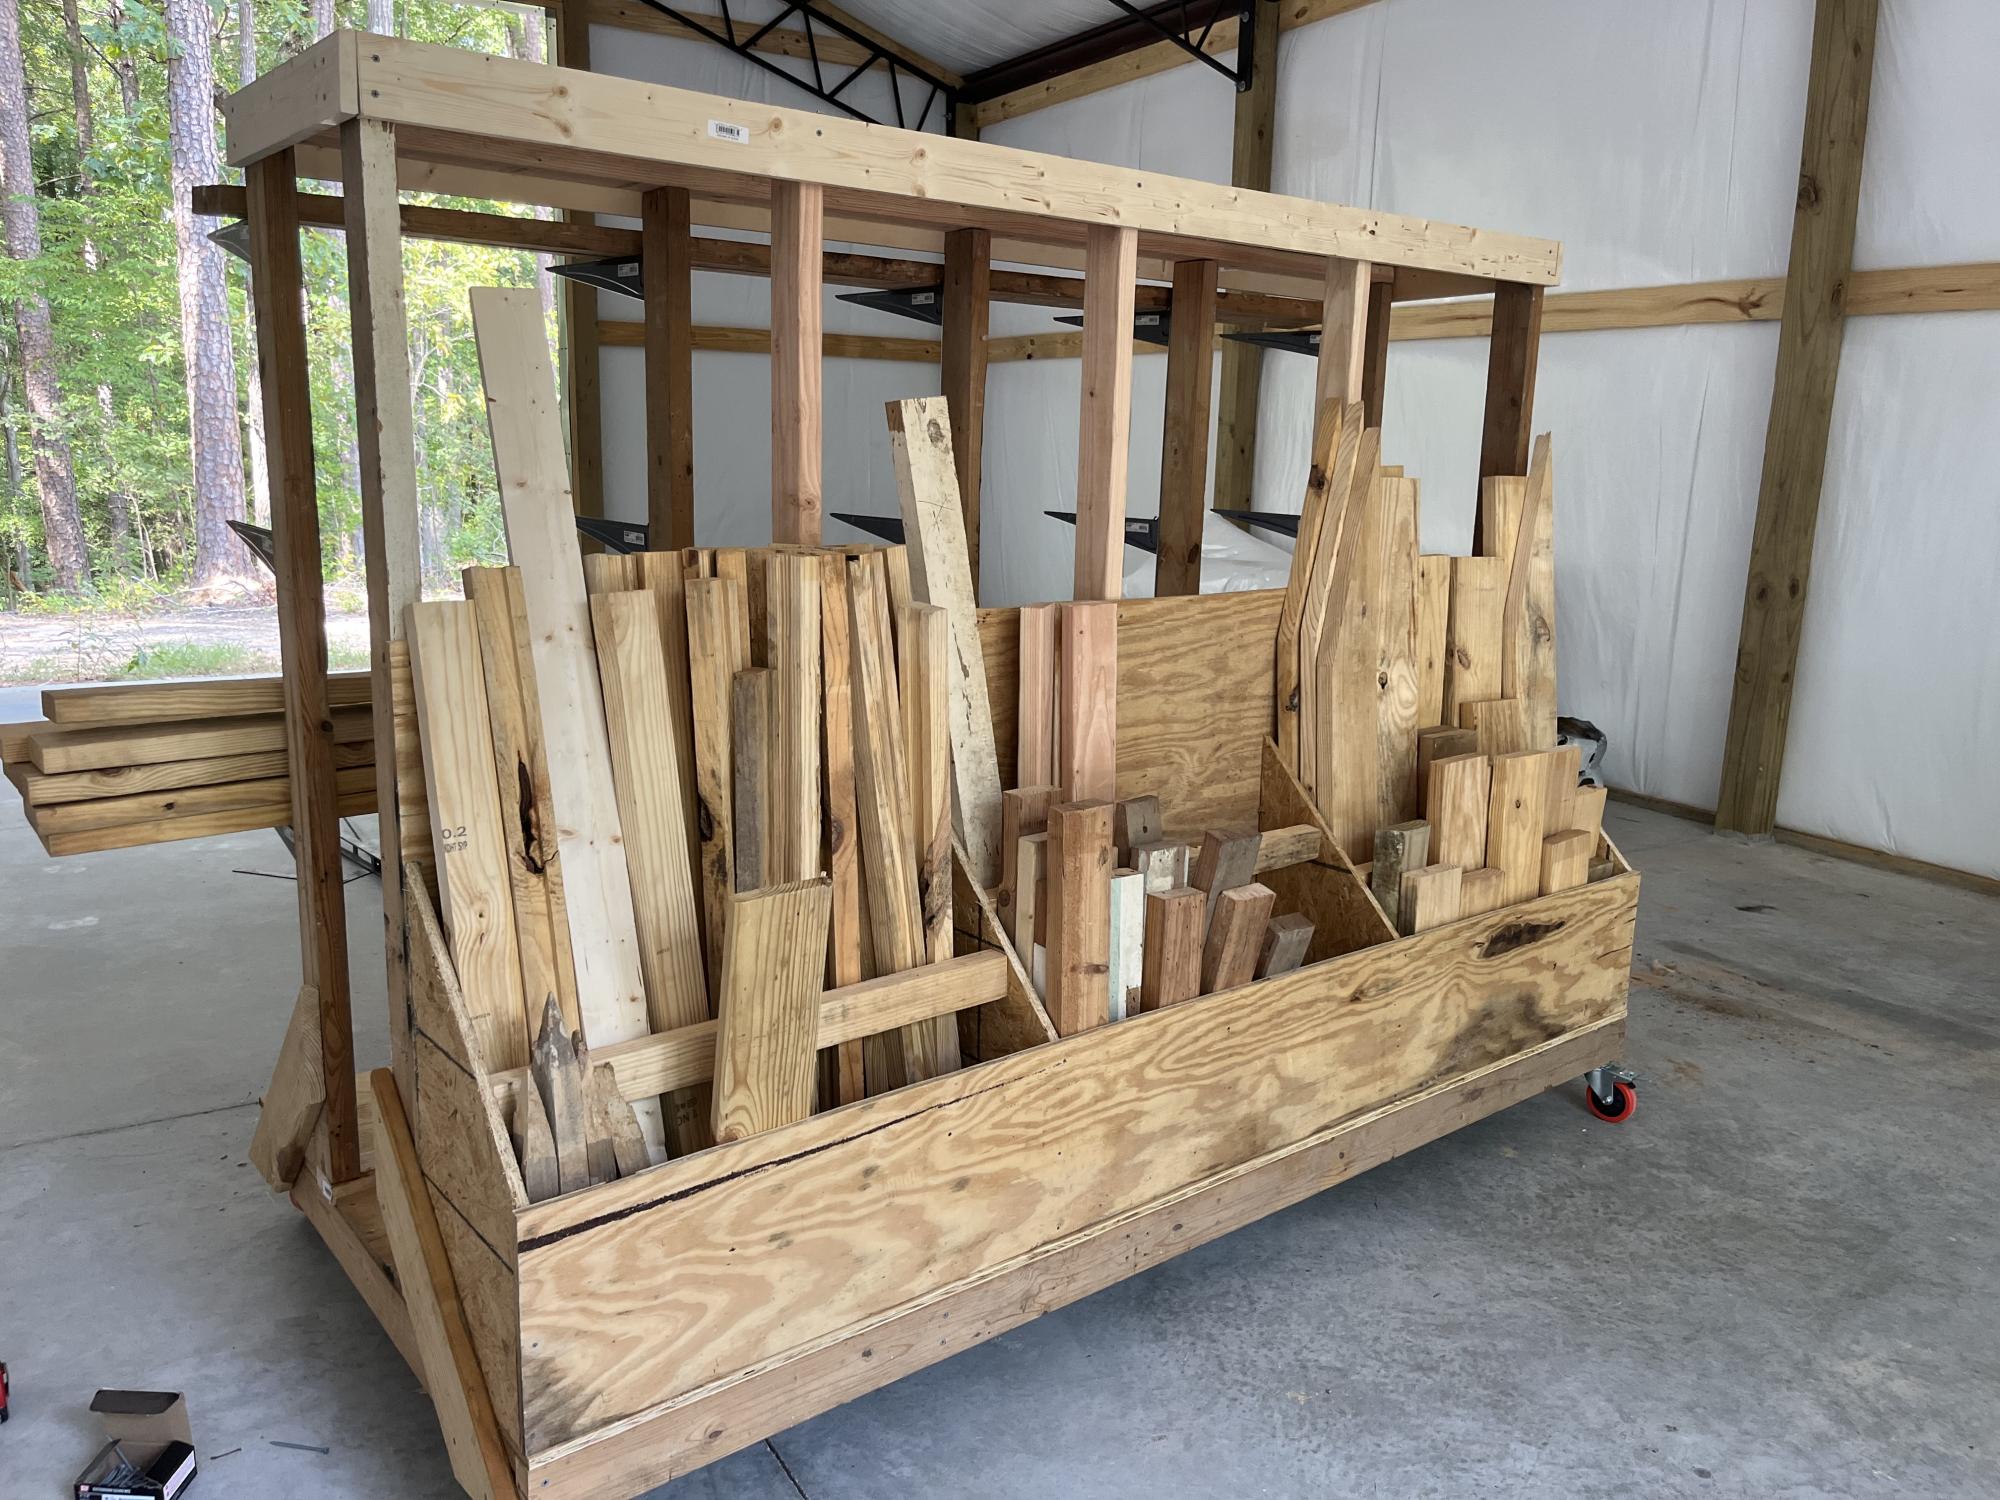
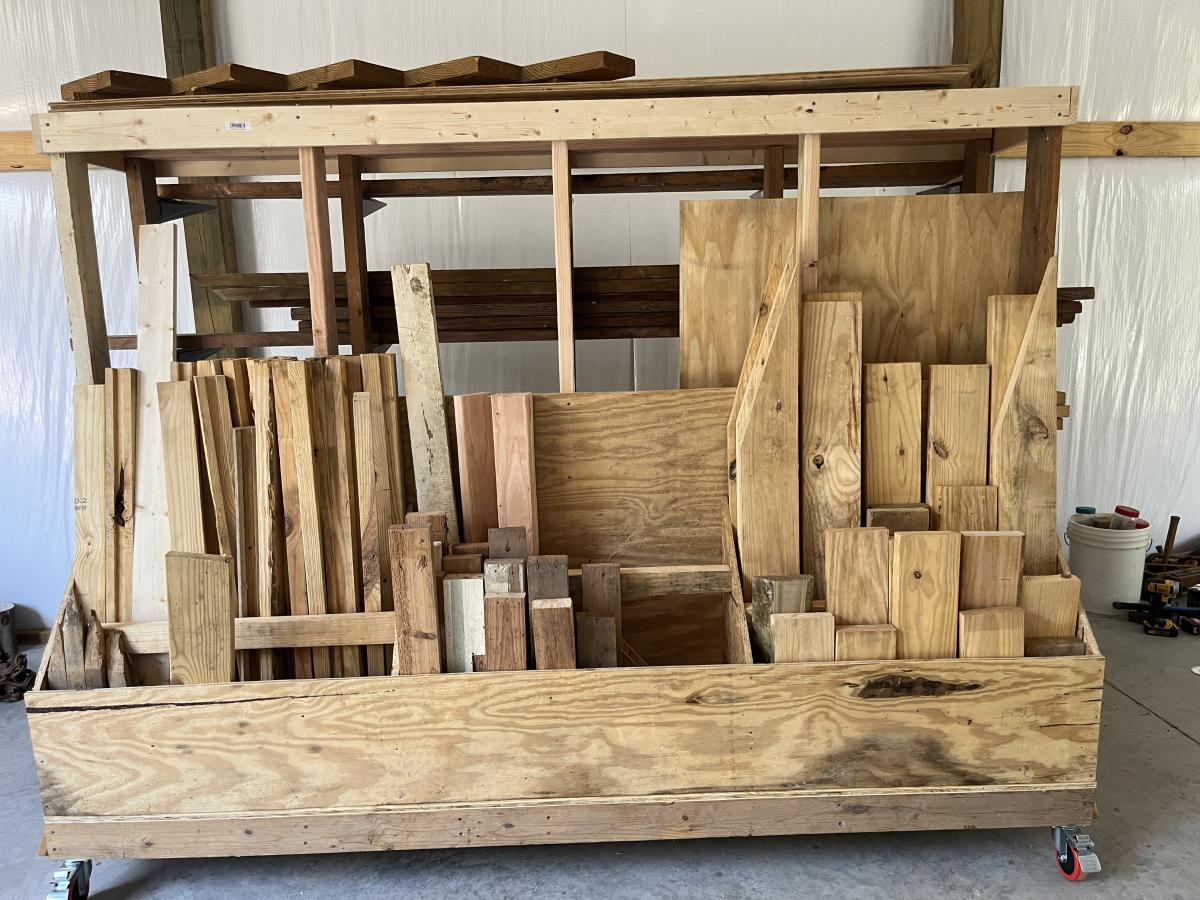
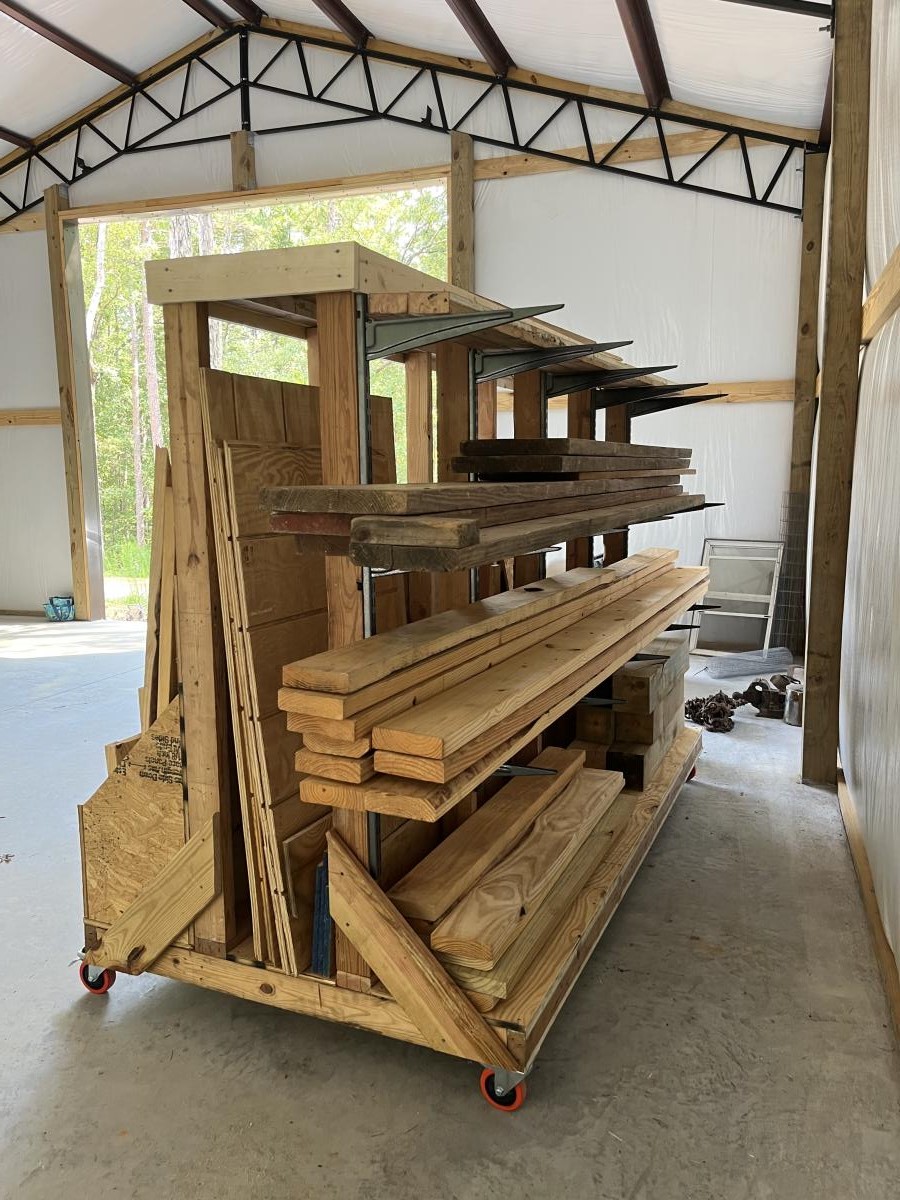
We are so excited about have an organized way to store our lumber and scraps. We only had to purchase 4 2x4’s for this project and were able to use a lot of on-hand scrap pieces. The plans were so clear and easy to follow. Thank you for sharing!!
Wed, 08/24/2022 - 09:50
This looks awesome and that 's great you had so much on hand to make it happen! Thanks for sharing.
I've thought for a while about building a bed for our dogs, but wasn't sure where to start. We had an extra crib mattress so I set out to find a toddler bed that would work. I decided the Lydia Toddler Bed plan would work best. It doesn't look anything like it, but it was a great starting point.
First, I got rid of the canopy and the decorative side pannels. I also raised the bed 12 inches. (The hope is to add a rug on the floor underneath as sort of a "bottom bunk") The lumber store didn't have 2x2s so I used 2x3s for the legs. I also only used two 1x6s at the head and foot of the bed. They are seperated by 1" because when I got home, I realized they were actually 1x5 (RUDE).
All in all, it turned out exactly as I had hoped and the dogs love it! GOODBYE stinky dogbeds!
**Photo 1: Just finished building--the slats weren't screwed down yet.
**Photo 2: Deacon is testing out his new digs! See the stinky dogbed underneath?YUK!
**Photo 3: Dog Bed Completed! Mac & Deacon love it!


Thu, 10/16/2014 - 18:49
Thanks for sharing the great plans. We built this end in a few hours and she loves it!
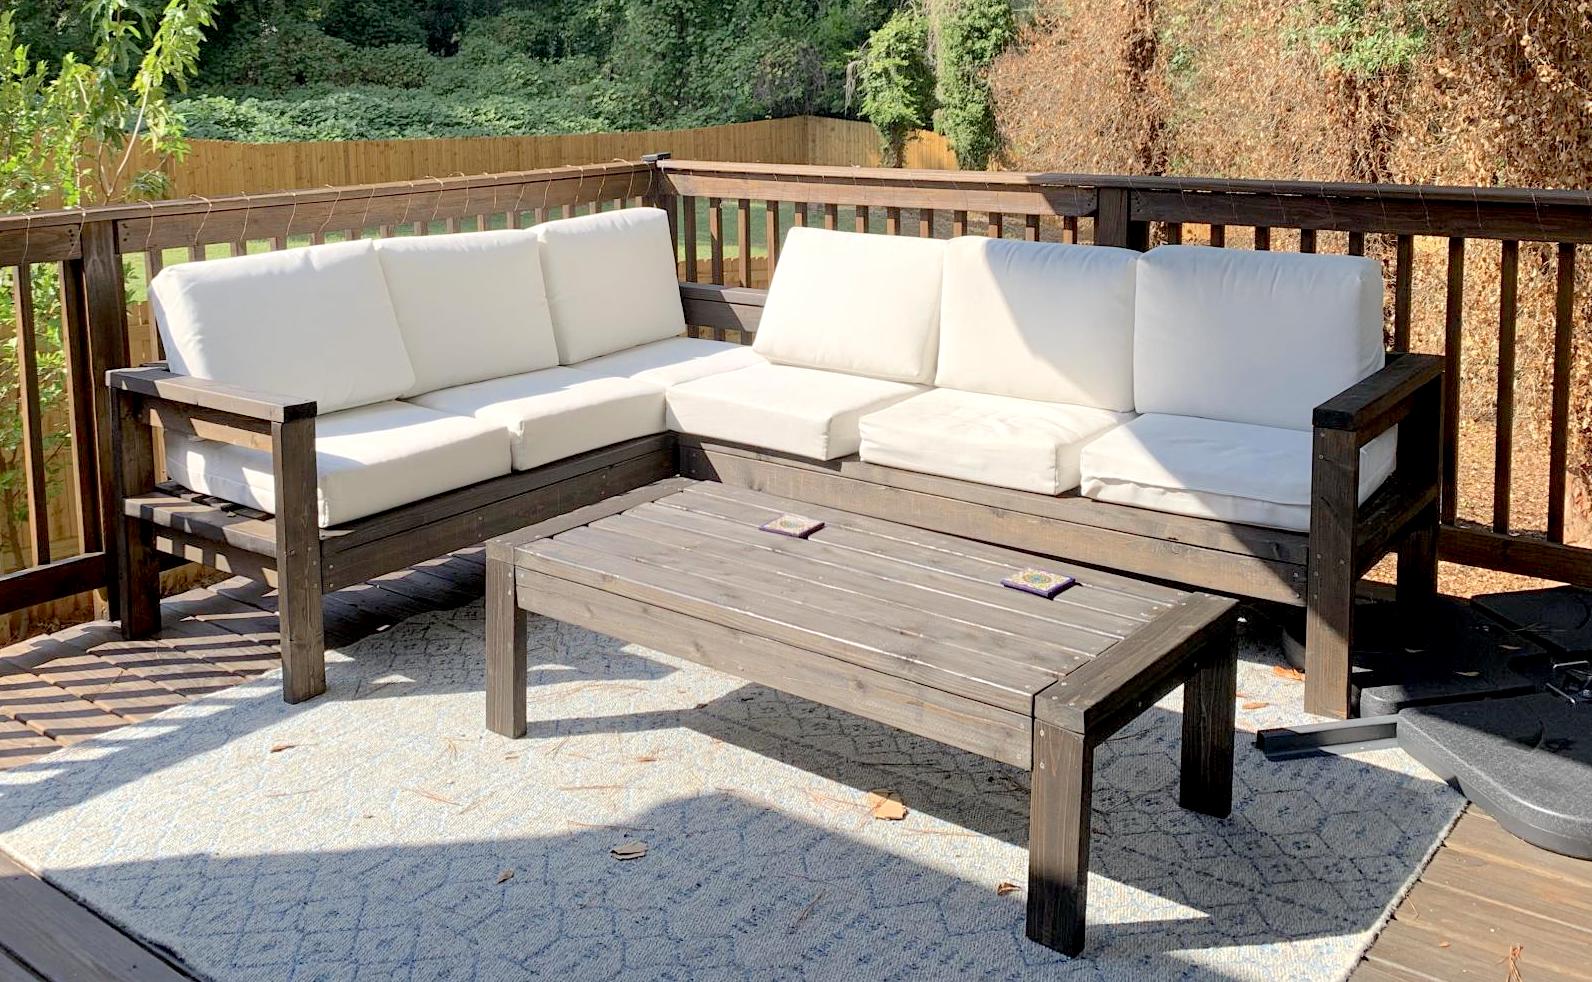
This was my first real woodworking project and was so much fun! I use my deck much more now and am excited to build more!
With the arrival of our first baby in 10 days, the wife wanted a changing table. My only vision of a changing table was the ones in public restrooms. With the help of Google, I came across all the great diy ideas on this site. I combined 3 plans into 1 and came up with this. The project took 2 days to build. Next step is to prime and paint.
Tue, 12/24/2019 - 11:37
I live this changing table. I made the "Simple Changing Table" but would like to make this one. Are there plans for this one? Thanks!
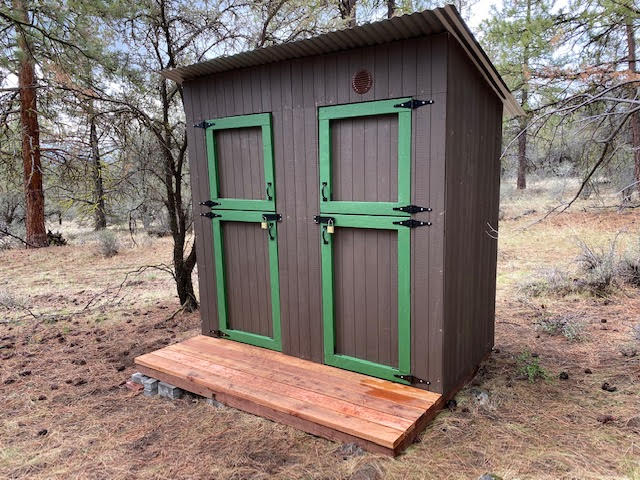
I built an an outhouse for my camping property in the PNW. The plans were great and easy to follow.
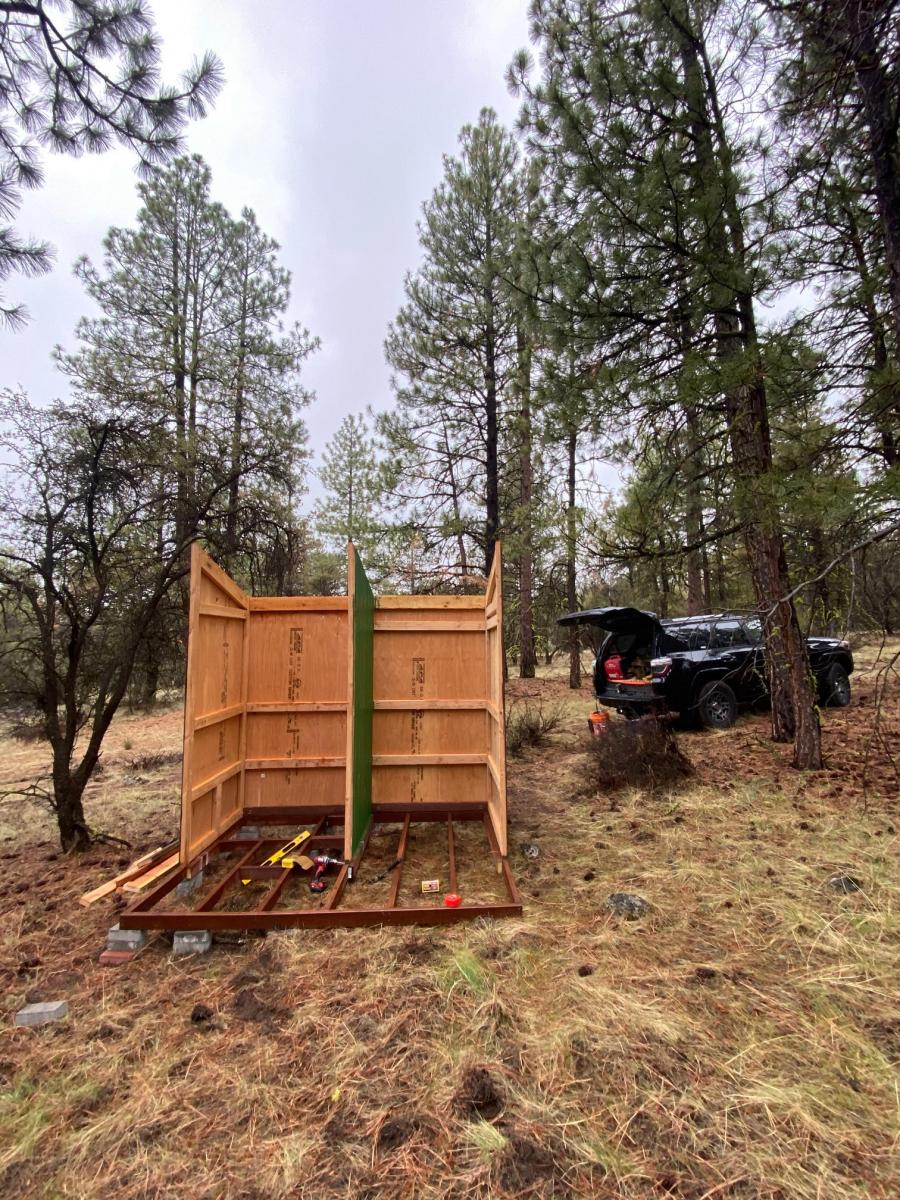
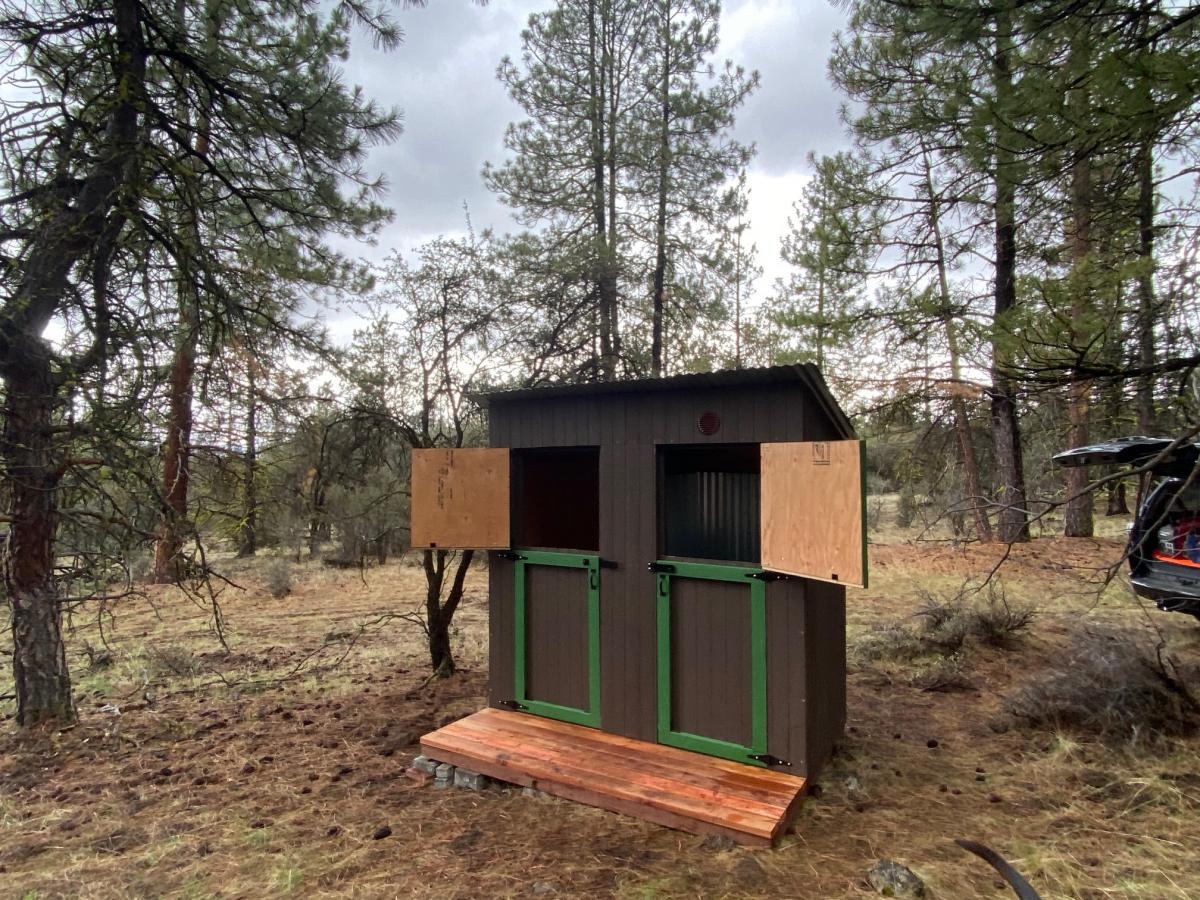
I did take the liberty of extending the the front wall to 8' still using the 15 degree roof line. I also wanted the option to shower during extending camping trips so I extended the floor and added one more back and side wall to create a shower house. With this design, I basically duplicated the side and back wall. Since I am in the middle of the woods, the Dutch doors were a last minute embellishment that I'm glad that I implemented in order to take advantage of the view!
For the shower, I used composite decking with 1/2" gaps for drainage and lined the inside with 6' lengths of corrugated metal roofing.
One additional note: I did build this on my back patio over a couple of weekends since my property is a fairly long drive from my home and about 2 hours round trip from the nearest hardware store. It broke down easily in about 30 minutes with 2 people and fit perfectly in the back of a full size pick up truck for the trip.
In summary, great plans and I love this site. Much appreciated and happy building!

Thu, 04/29/2021 - 16:44
Thank you so much for sharing, what a great addition to your property!
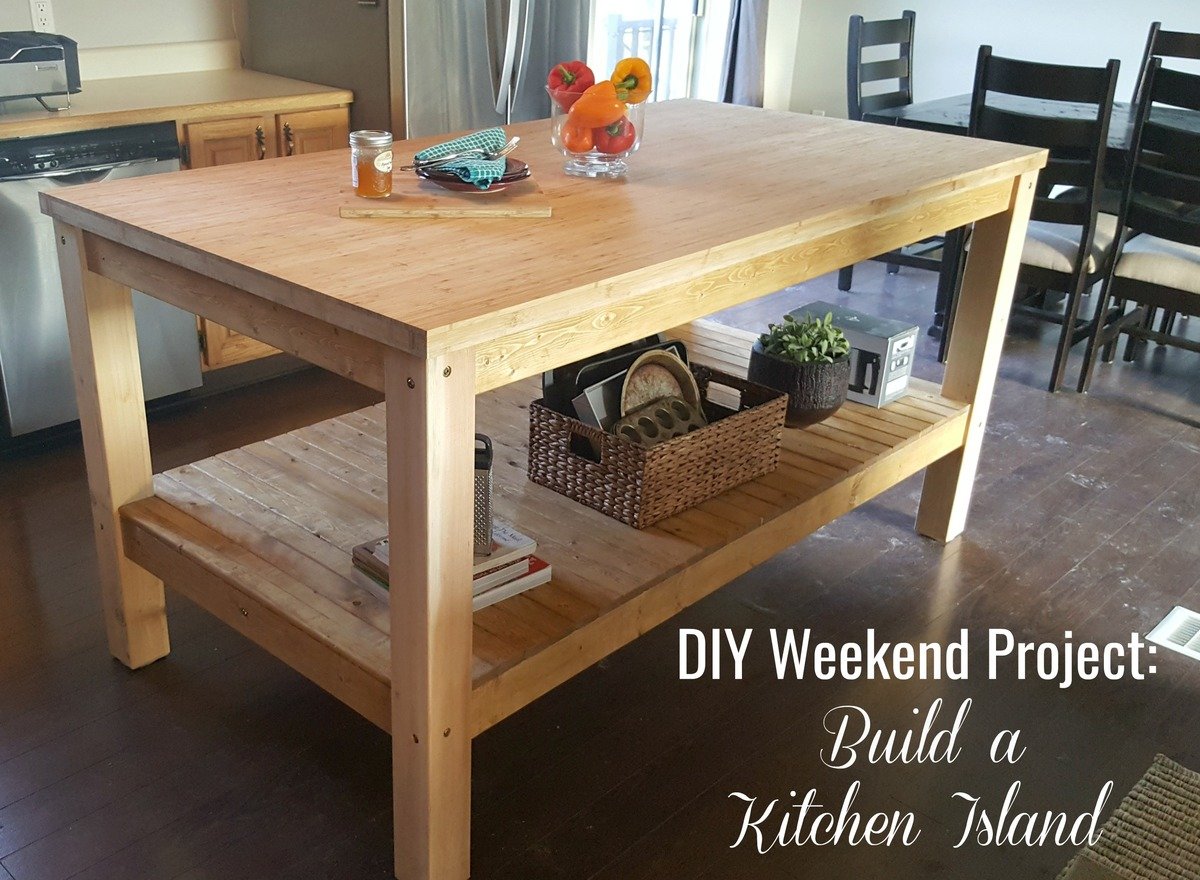
We have a limited amount of counter space in our kitchen, while also having a large open space that is unused. We've always planned on including an island once we renovate, but we didn't want to wait. We decided to build a butcher block-style island with open shelving underneath - a simple design that would give us all the counter space we needed and some additional storage space.
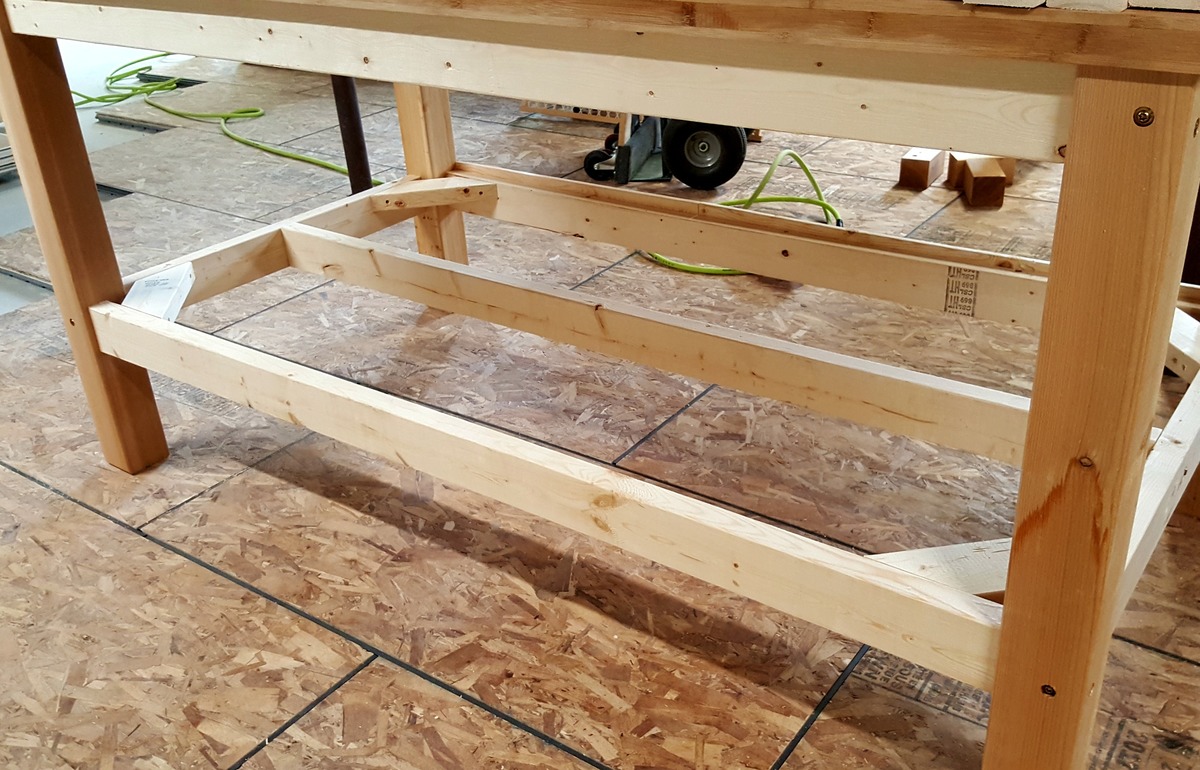
We bought a premade bamboo tabletop, as well as 4x4 cedar posts for the legs, 2x4s for the framework, and 1x2 slats for the shelf.
You can see all of the details of how we built it in the blog post, but here are a few of the features:
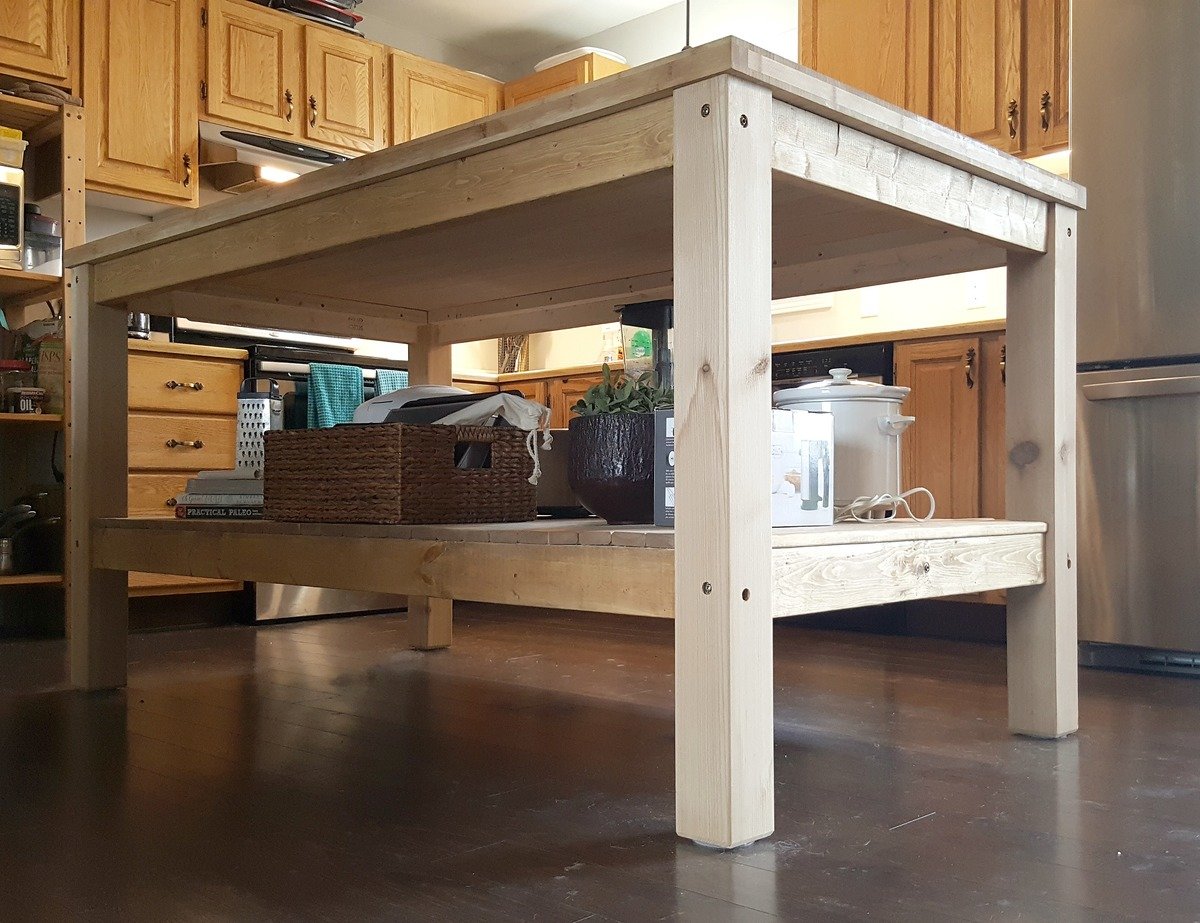
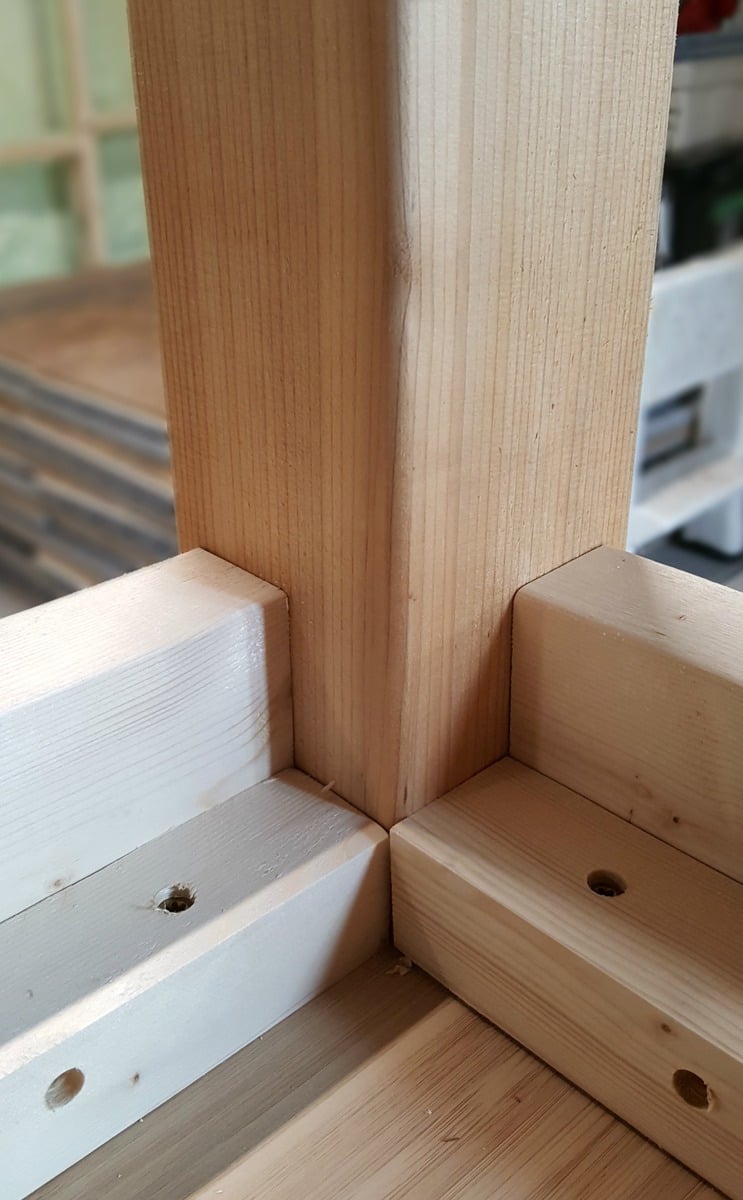
- an interior framework that connects to the tabletop and outer framework so that no screws are visible on the outside
- countersunk GRK structural screws used to attach the legs htat look like carriage bolts
-feet are angle cut so that floor is less likely to be scratched if the island is moved
We're really proud of this build and are enjoying having so much extra counter space. It's amazing what you can get done in a weekend!
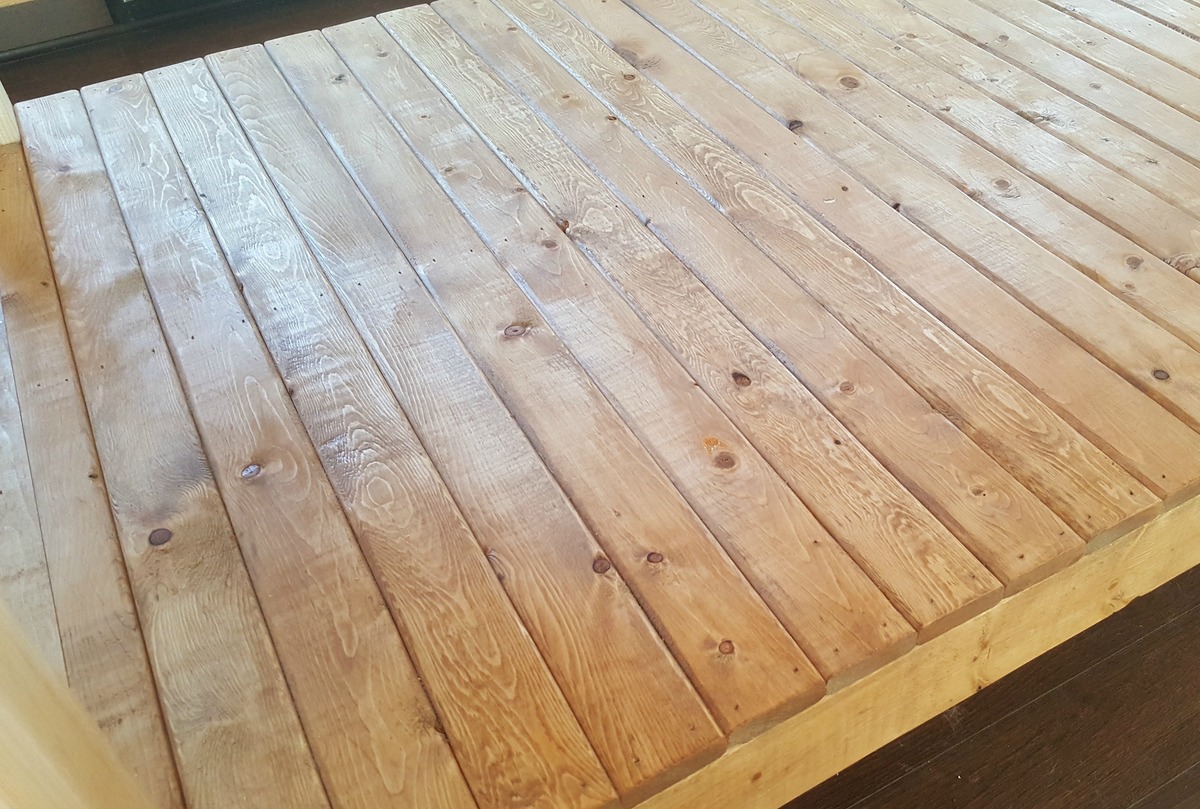

This project was made from reclaimed wood from my office where they had built a temporary safety railing out of 2x4s and 2x6s. I added a compartment for storage. The top is stained in a classic grey. I painted the body in black followed by white. I then sanded the body to allow the black to bleed through for a distressed look.


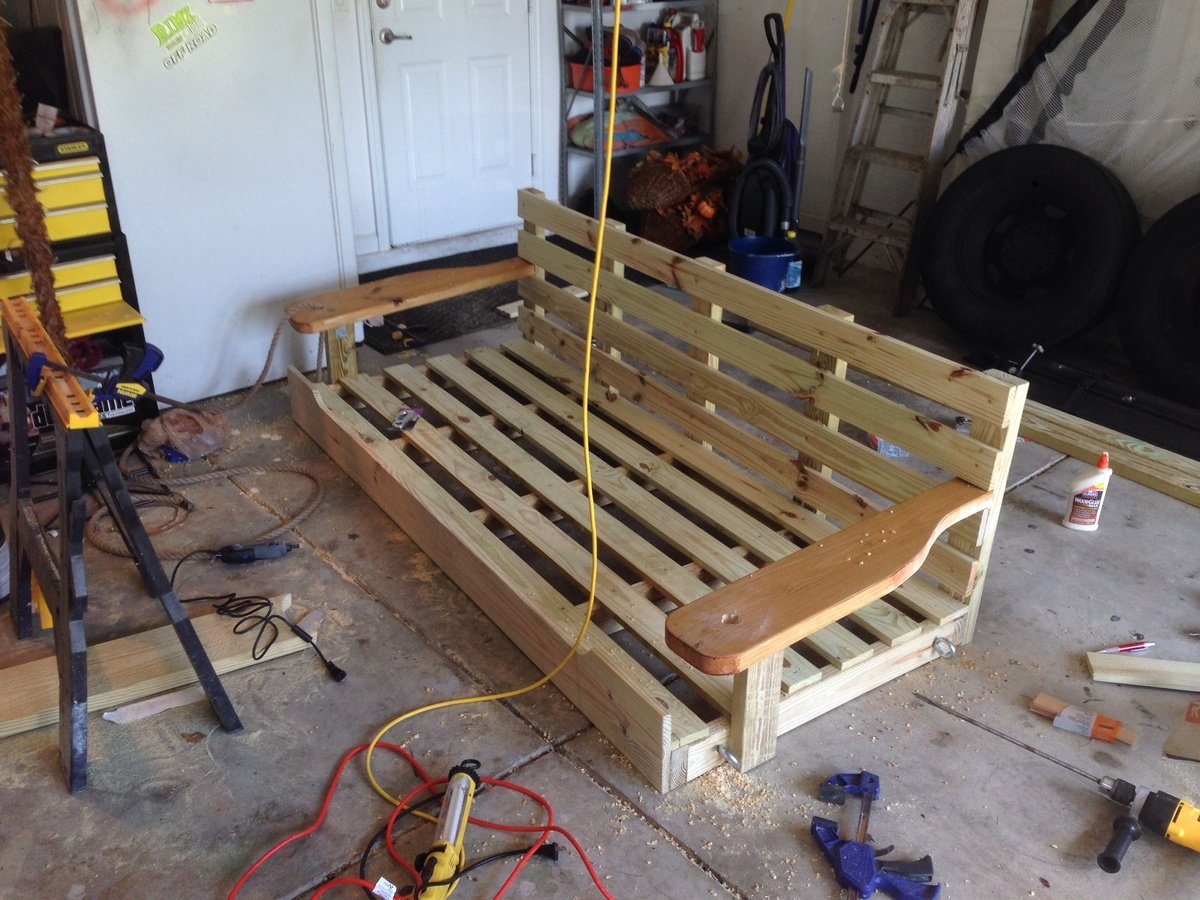
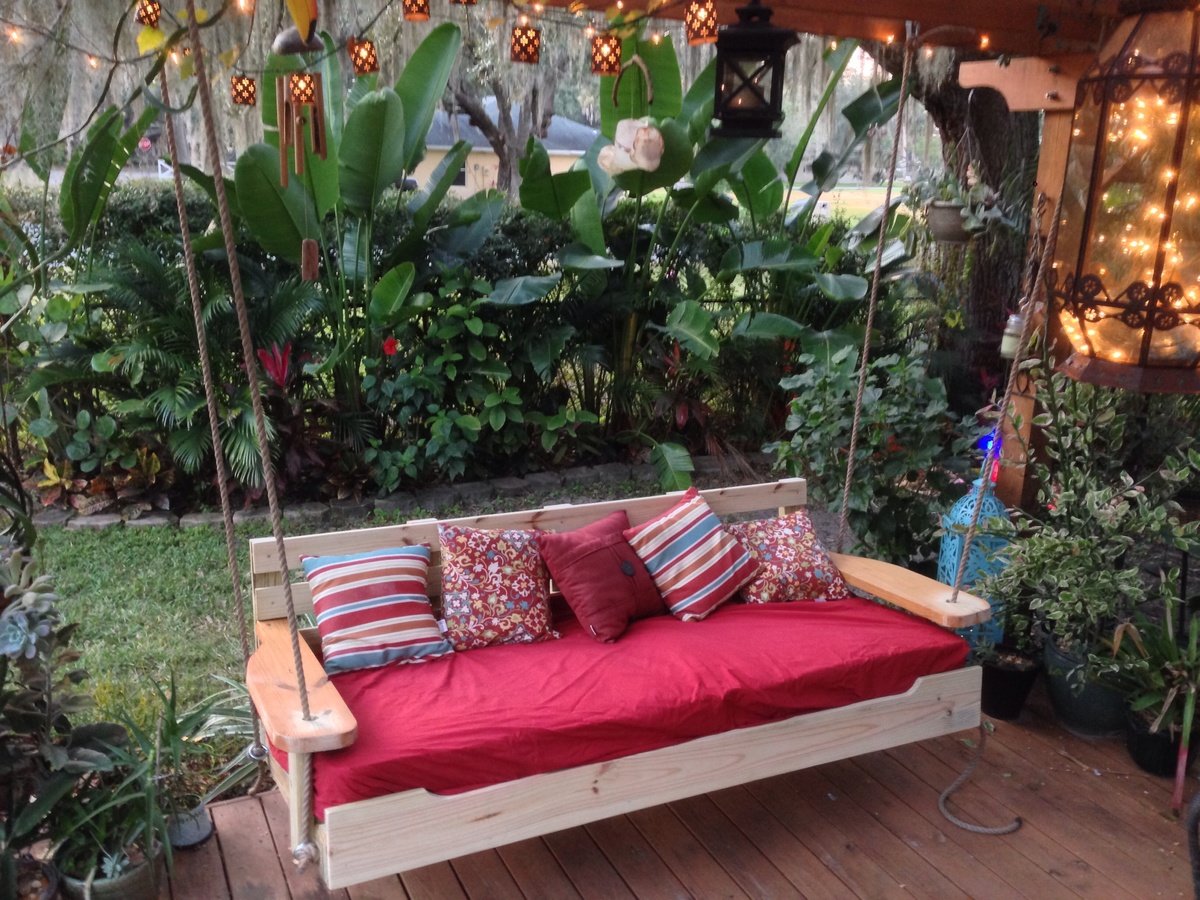
Started off with the original design but enlarged it to fit an oversize single mattress. The mattress cost me $35 from a local faith farm, while the materials came in around $200. I decided to hang under my backyard pergola. Fun and easy project.


Tue, 01/28/2014 - 21:10
Wow this looks so inviting I might just have to make one too! Nice work-- it looks great!
Mon, 04/07/2014 - 22:49
Really lovely! Great job! This will be one of your favorites spots all summer long.
Mon, 07/27/2015 - 22:45
I want this! I just made a couple of plant stands for my front porch. My husband asked me what my next project was, why, a swing bed. (This was only my second project!) I want to put cup holders in those big ole arms! We have a house at the beach in South Alabama, so, you gotta "hydrate." This is an awesome swing. I can't wait to do mine...pillows to rest on, one foot on the concrete pushing me in a slow swing. Cold beverage in my hand or in my cup holder. Yep, southern girl has a new project. Love it!
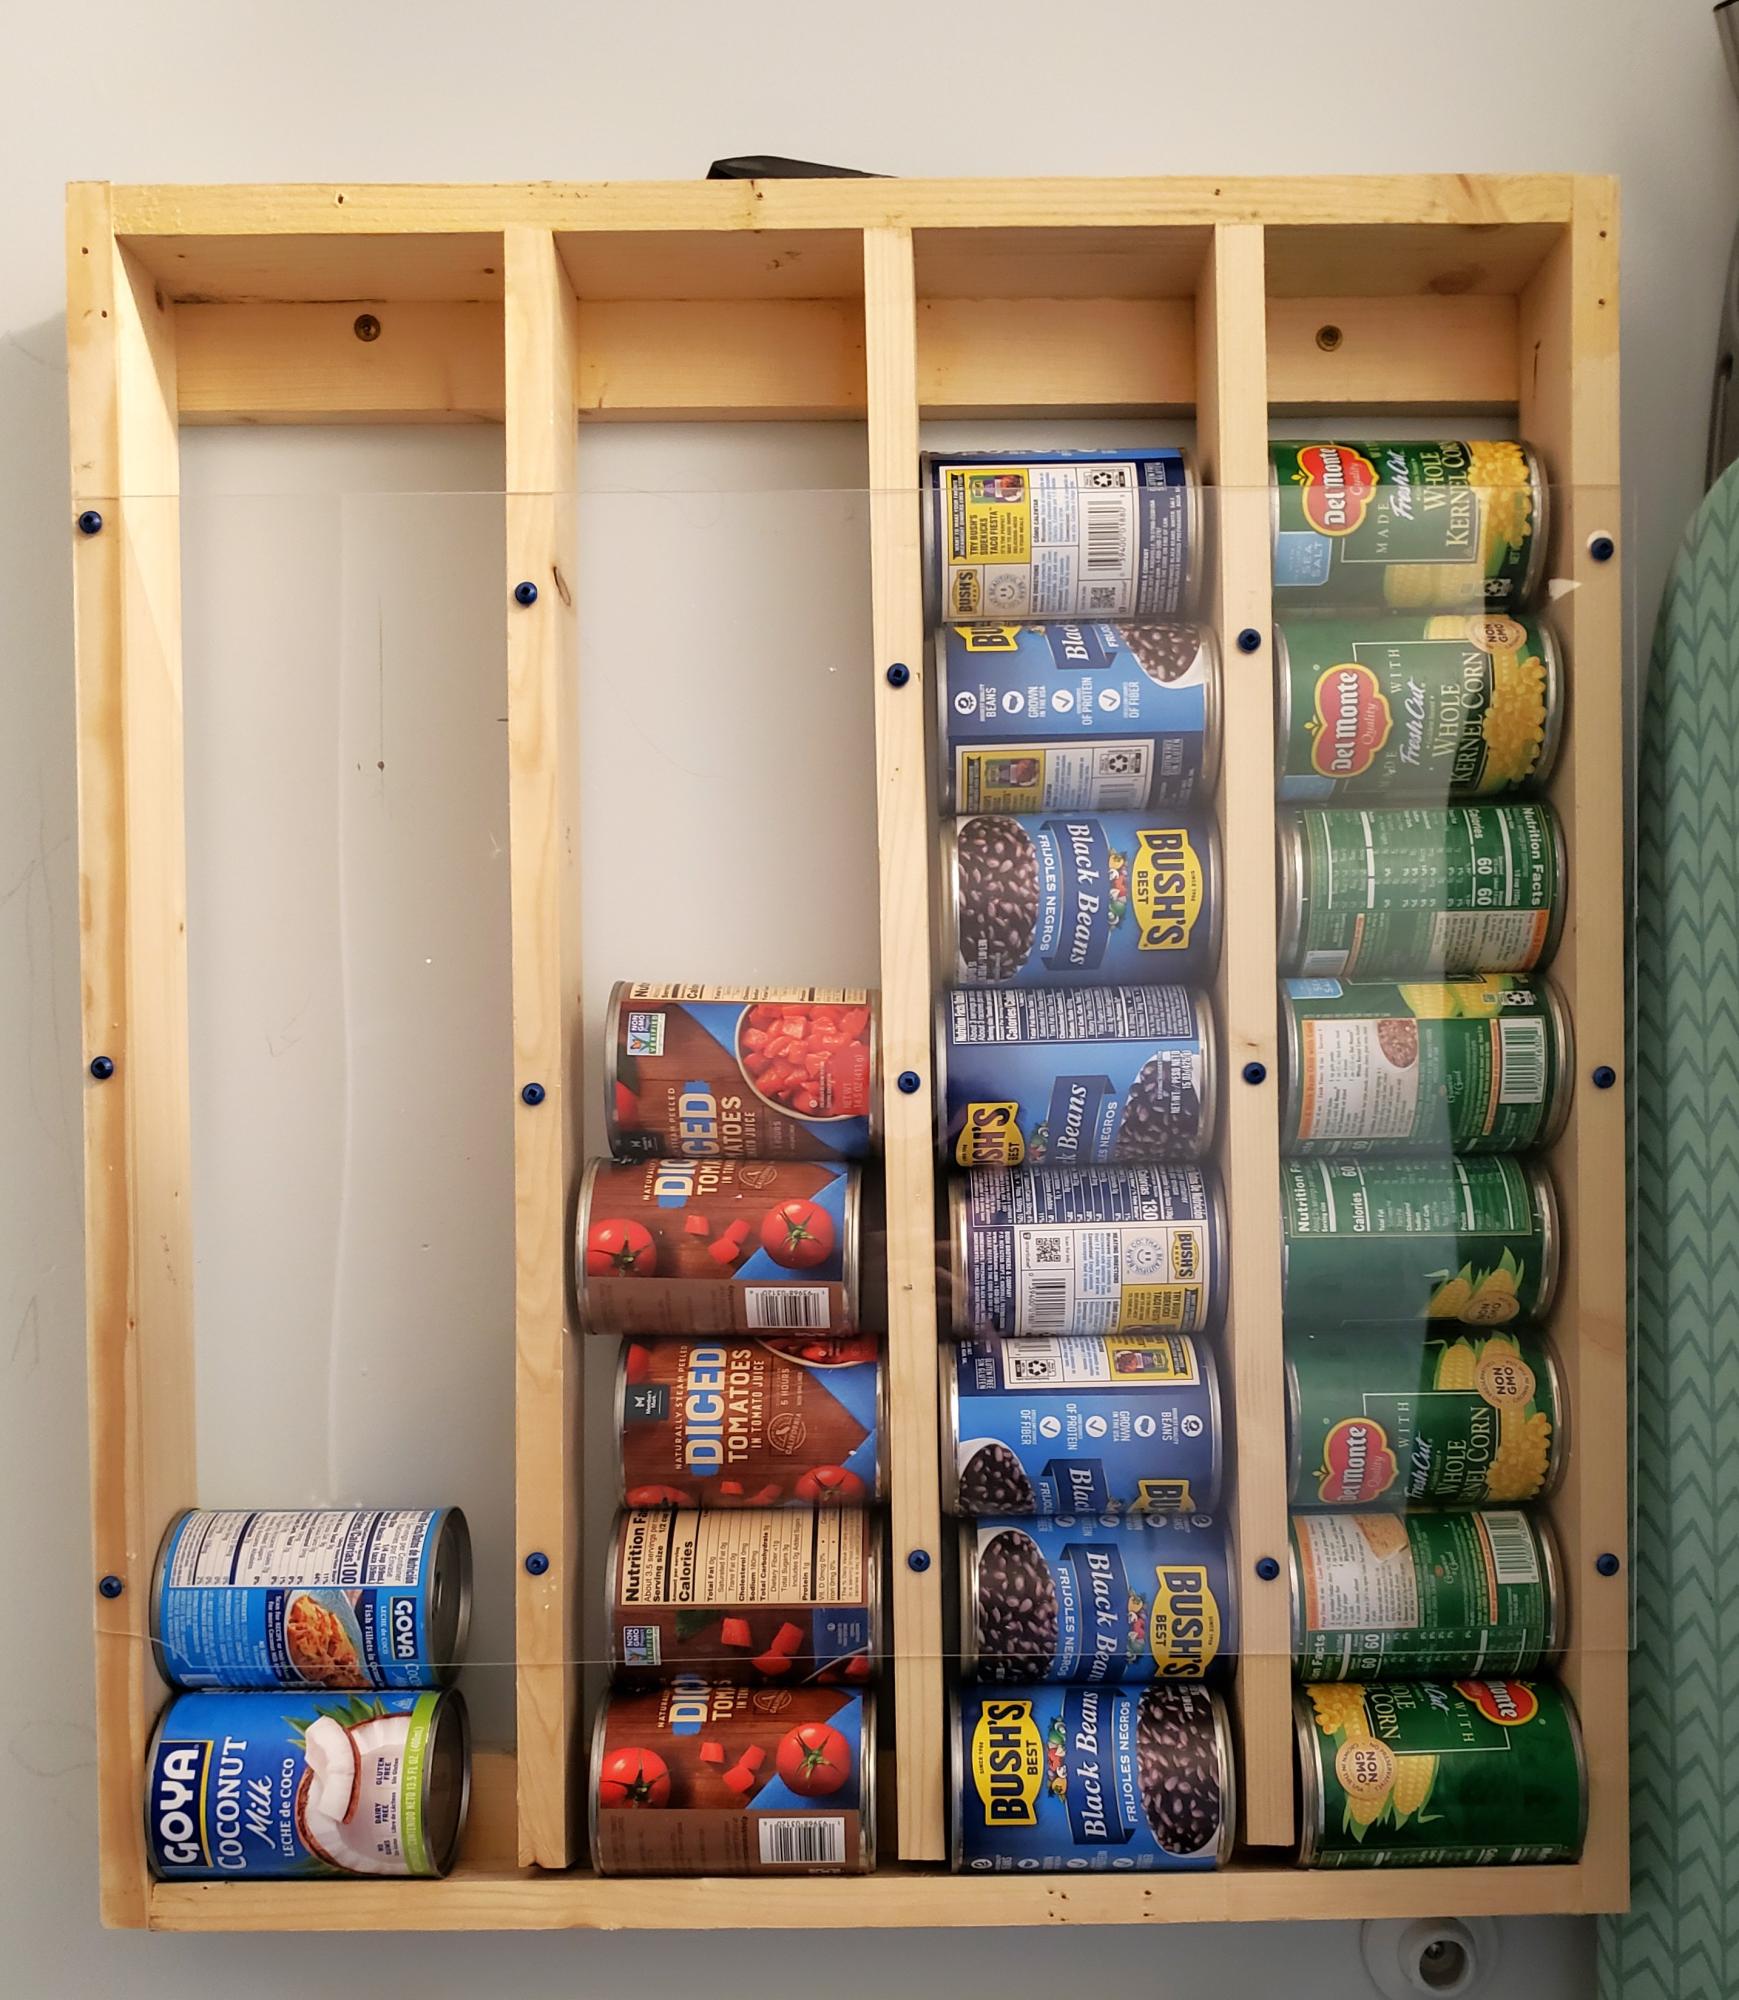
We didn't paint it, but between two newbies, it only took an afternoon. It has freed up a ton of space in the cabinets!
Hattie

Built a full size loft bed for my kids but wanted something safer than having them climb up and down a ladder so used the Camp Loft Bed plans to add the platform and stairs. It is much easier for the kids. Going to finish by covering the platform and stairs with carpet.


Wed, 10/02/2019 - 09:51
I really like how the platform is only half way so the stairs are inset, this is very smart and good use of space.
With grandchildren and pets we decided to put a gate on the deck.
The gate is made from 2 X 4's and 2 x 2's. I used brass hinges to prevent rust and smooth operation
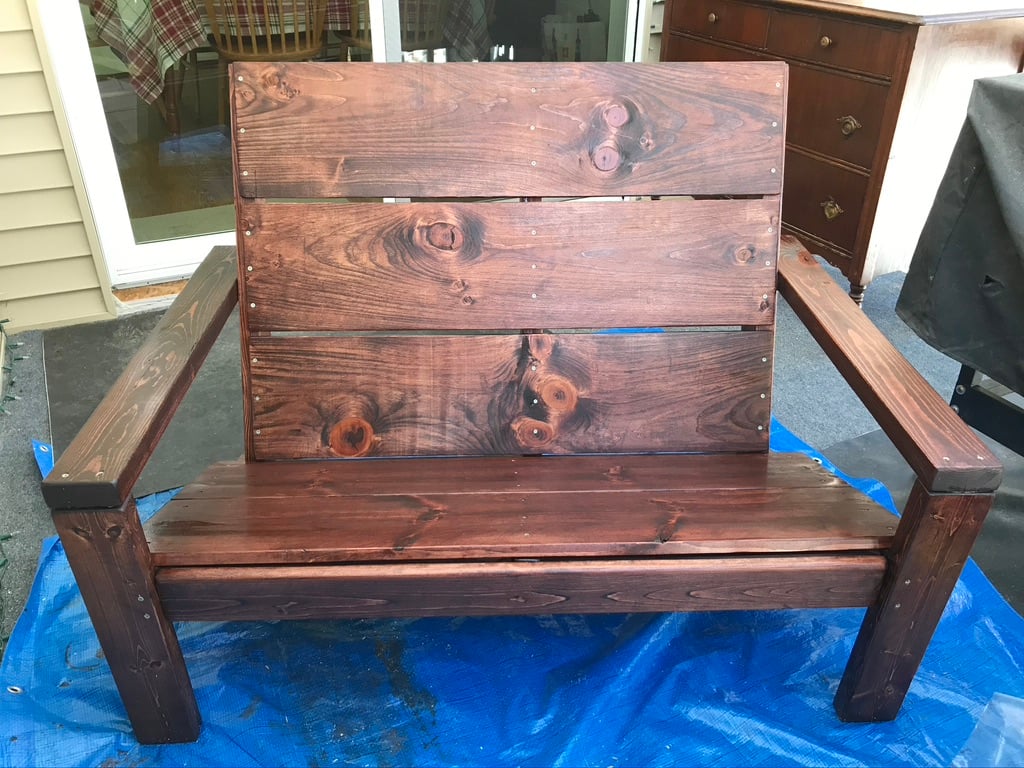
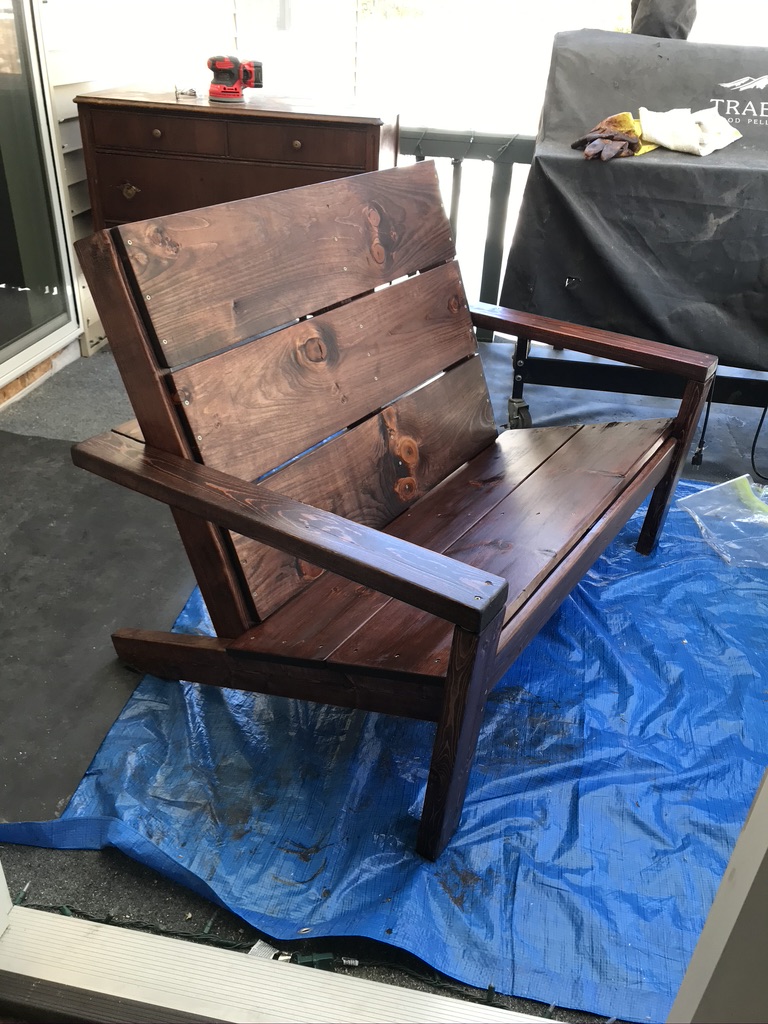
I loved the Rustic Adirondack Chair so much I felt I needed to make a bench in the same style. I had to be a little creative with the chair plans and modify them to make my bench work. I am absolutely thrilled with how it came out! I already have a friend who has requested a chair and bench (love seat) for his son's wedding gift!
Mon, 08/16/2021 - 10:51
Can someone tell me the dimensions of the wood (1x10) for the bench and the dimensions for the frame (2x4)
Please
Thank you
Fri, 08/20/2021 - 16:37
You can make the 1x10 in any length you want. I’m planning on making a loveseat too and The measurements I chose for the seating area will be 48” long (which is the size for 2 seat cushions).
The Step 1 in Ana’s plan, all measurements will be the same.
Step 2: The two 2x4 horizontal supports will be cut at 48”.
Step 3: the two 1x10 seat panels will be 3 inches longer than the horizontal supports. So you will cut the 1x10 seat panels at 51”.
Step 4: Instead of two, you will need THREE seat supports. So cut three 2x4’s @ 32 3/4”. The third seat support will go in the middle of the other seat supports, drilled to the horizontal back support.
Step 5: Attach your back bottom horizontal support which will be a 2x4 at 48”.
Step 6: Attach the 1x10 seat back panels. You will cut (3) 1x10 @ 48”.
Here is the cut list for the loveseat version of Ana’s Adirondack plan. These are the lengths I chose. So with this cut list your loveseat should be big enough for two 24x24” seat cushions. I plan to add cushions for extra comfort.
My cut list:
(2) 2x4 @ 31 3/4”
(2) 2x4 @ 19 1/2”
(2) 2x4 @ 33 1/4” Cut at 20 degrees as per Ana’s plan.
(3) 2x4 @ 48” Horizontal supports. One goes behind your calves.
The other connects the end frames/arm rests at the back.
(2) 1x10 @ 51” Seat panels.
(3) 2x4 @ 32 3/4” Vertical supports for the back panels.
(3) 1x10 @ 48” The back panels.
Fri, 08/20/2021 - 17:32
P.S.
You will also need an extra support attached underneath the seat panels in the middle for extra support and keep the long seat panels from bowing.
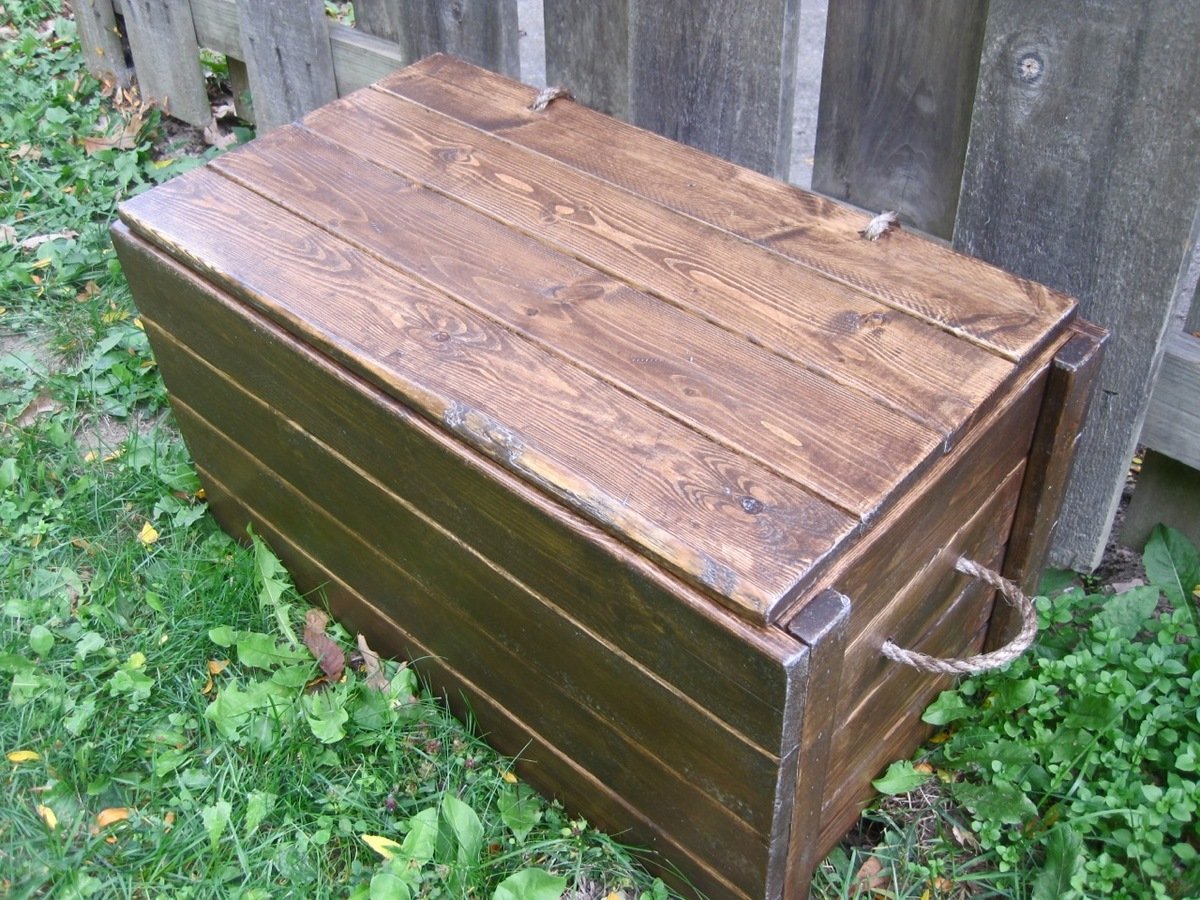
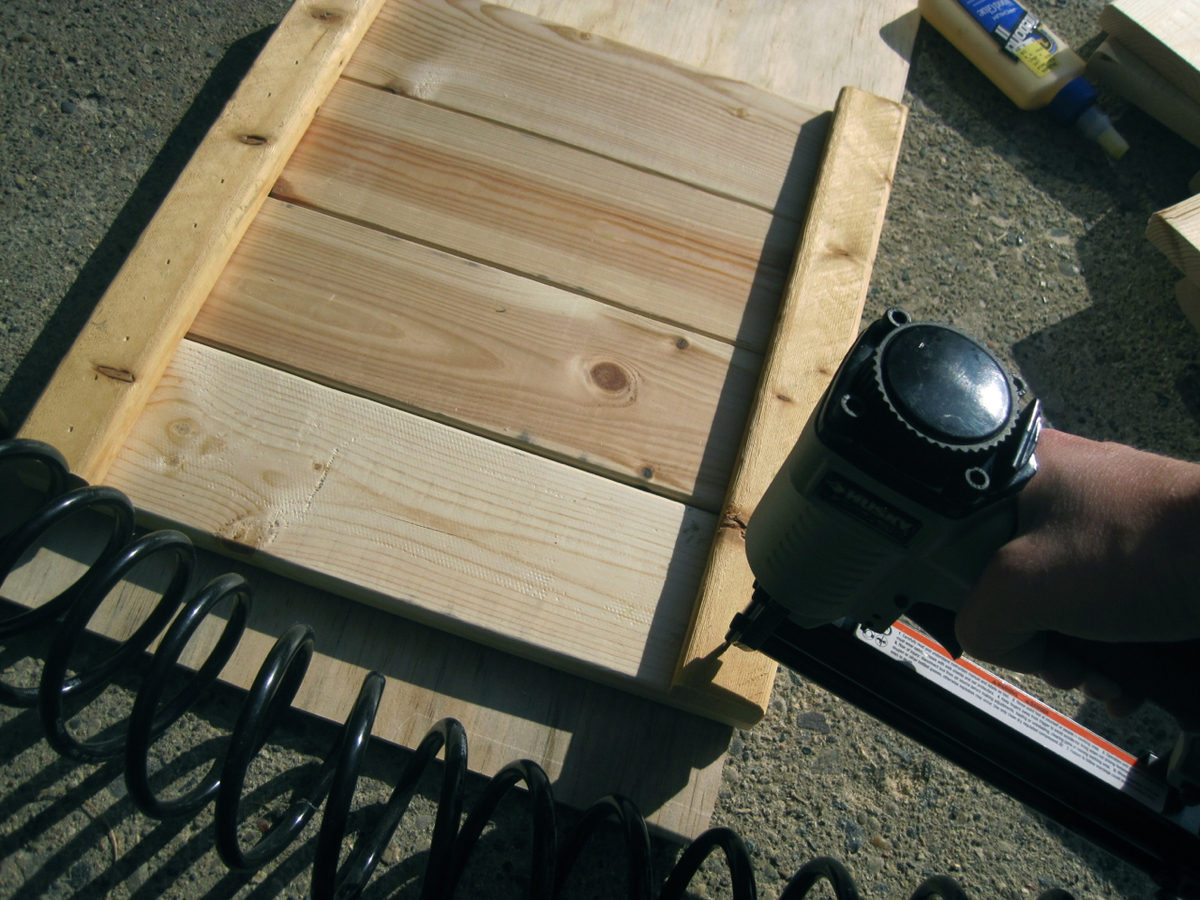
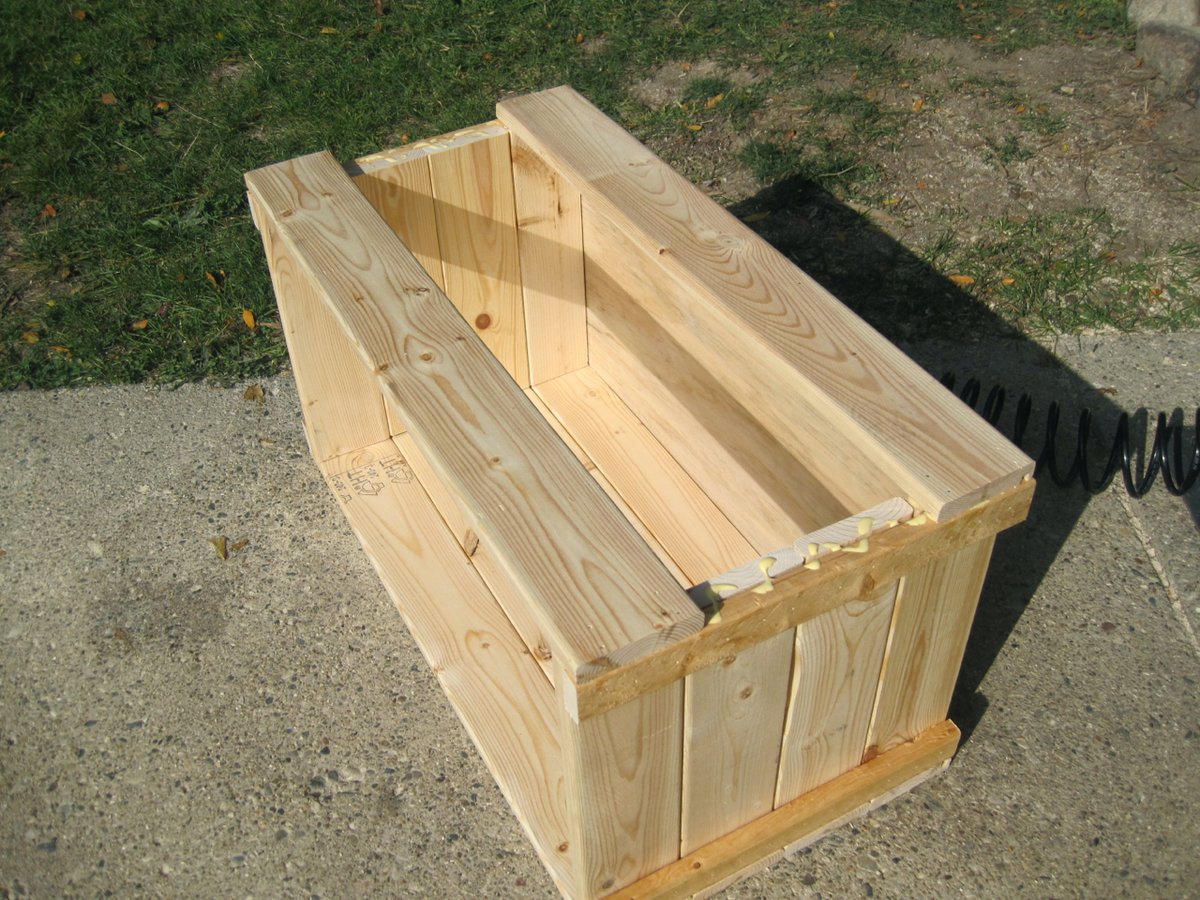
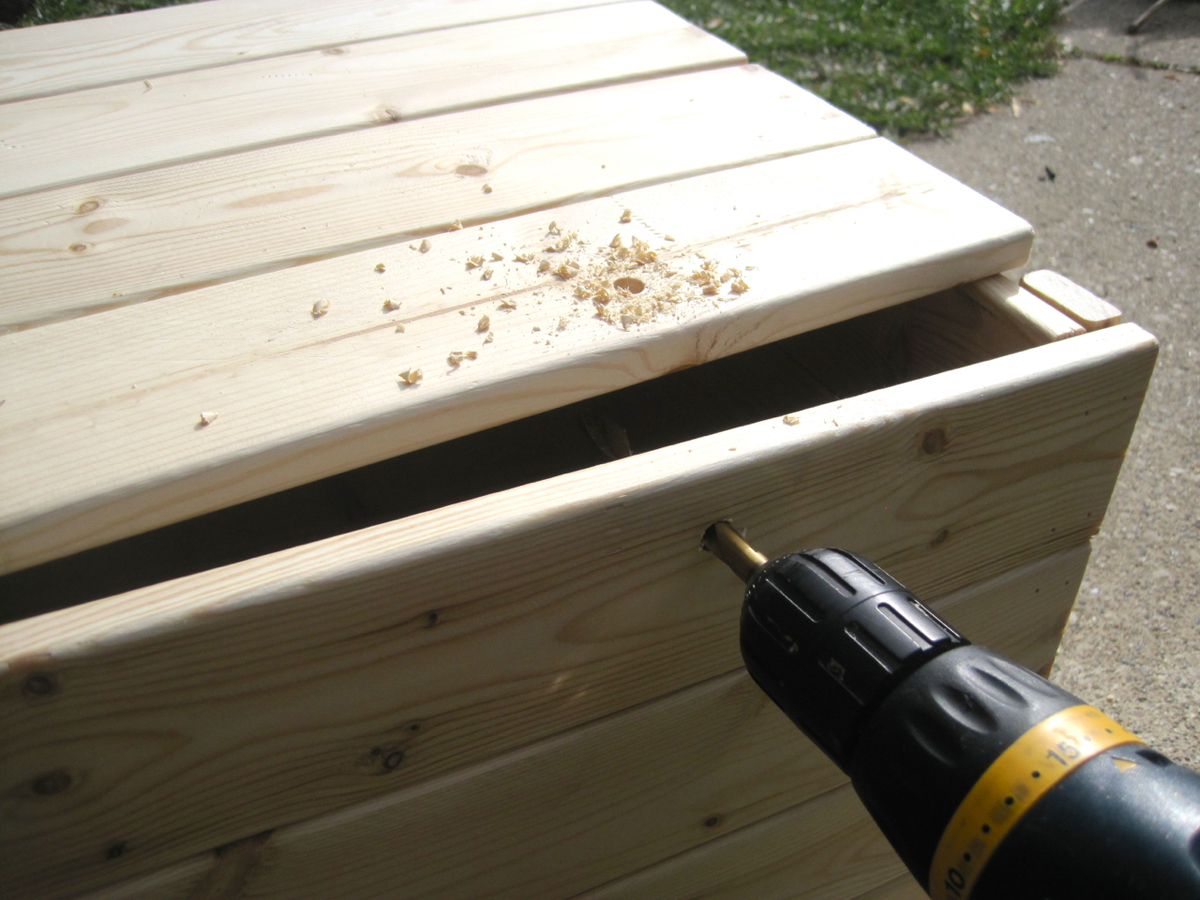
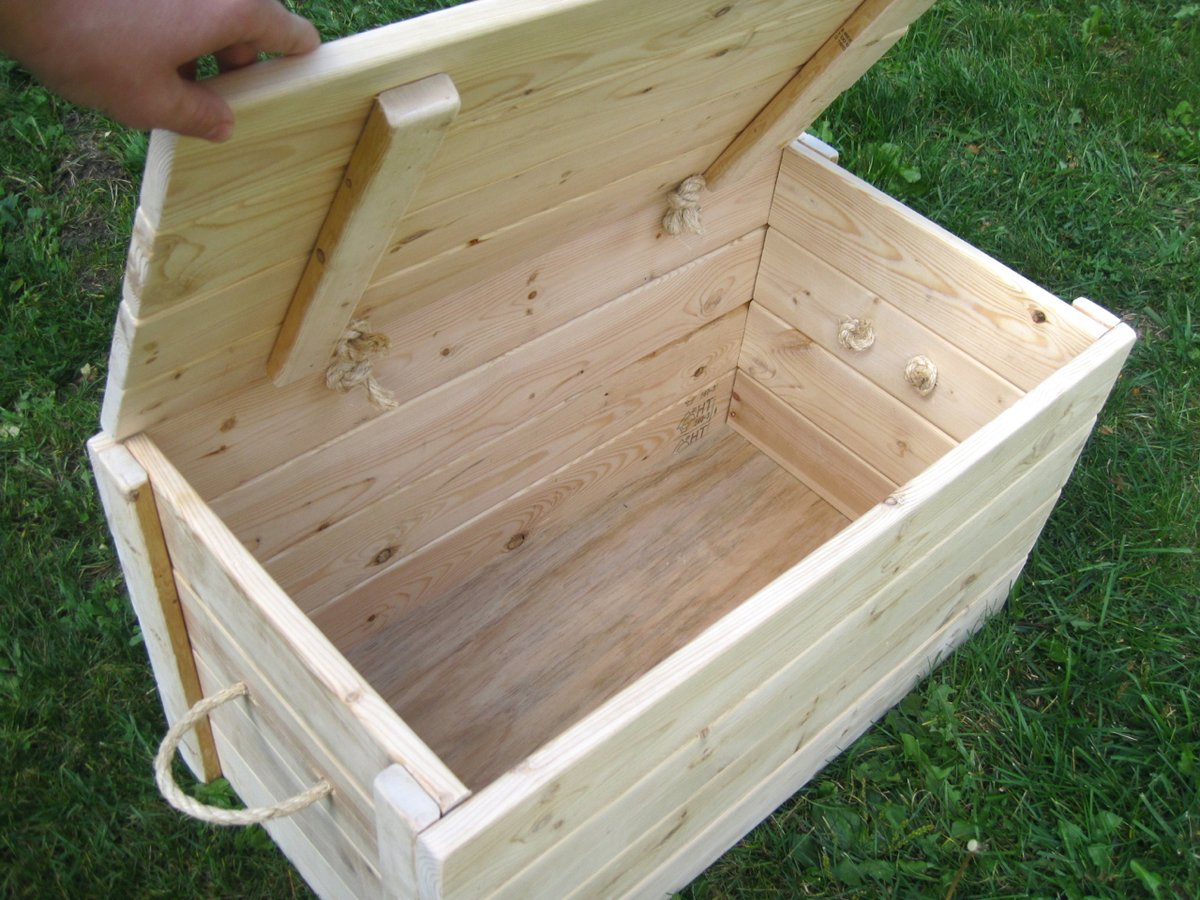
I wanted a large chest to store toys, books or blankets. I wanted it to be cheap to build and be rustic. This project turned out perfectly! I used 2" and 4"-wide furring strips and rope for the hinges and handles. I used 1/4" plywood for the bottom and made a groove with the router for it to slide into while assembling. I helped 16 girls make these who had no previous experience and they loved it!
Fri, 12/27/2013 - 06:21
Can you provide a lumber list for this? I know you said you used 2x4 but the lumber I see in the photo doesn't look like 2x4.
Thanks,
Ben
In reply to Lumber list by benjaminrogers
Fri, 12/27/2013 - 07:17
Hi Ben!
I used 1x4's and 1x2's. I have a shopping list and cutting list on my blog. I can't post the link here but you can click on the link where it says "Blog Link" under "About This Project"
Let me know if you have any other questions!
Fri, 12/27/2013 - 07:22
Thank you so much! Somehow I missed the link!
Ben
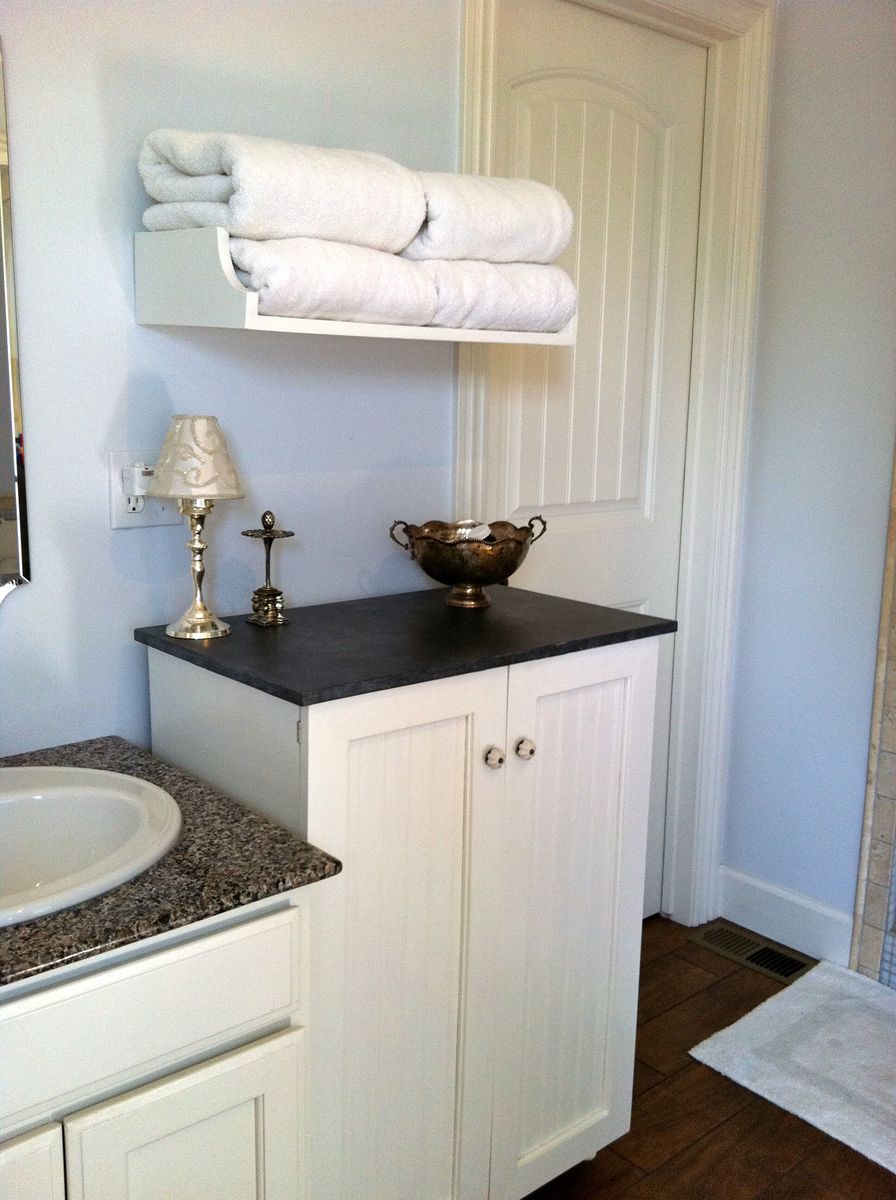
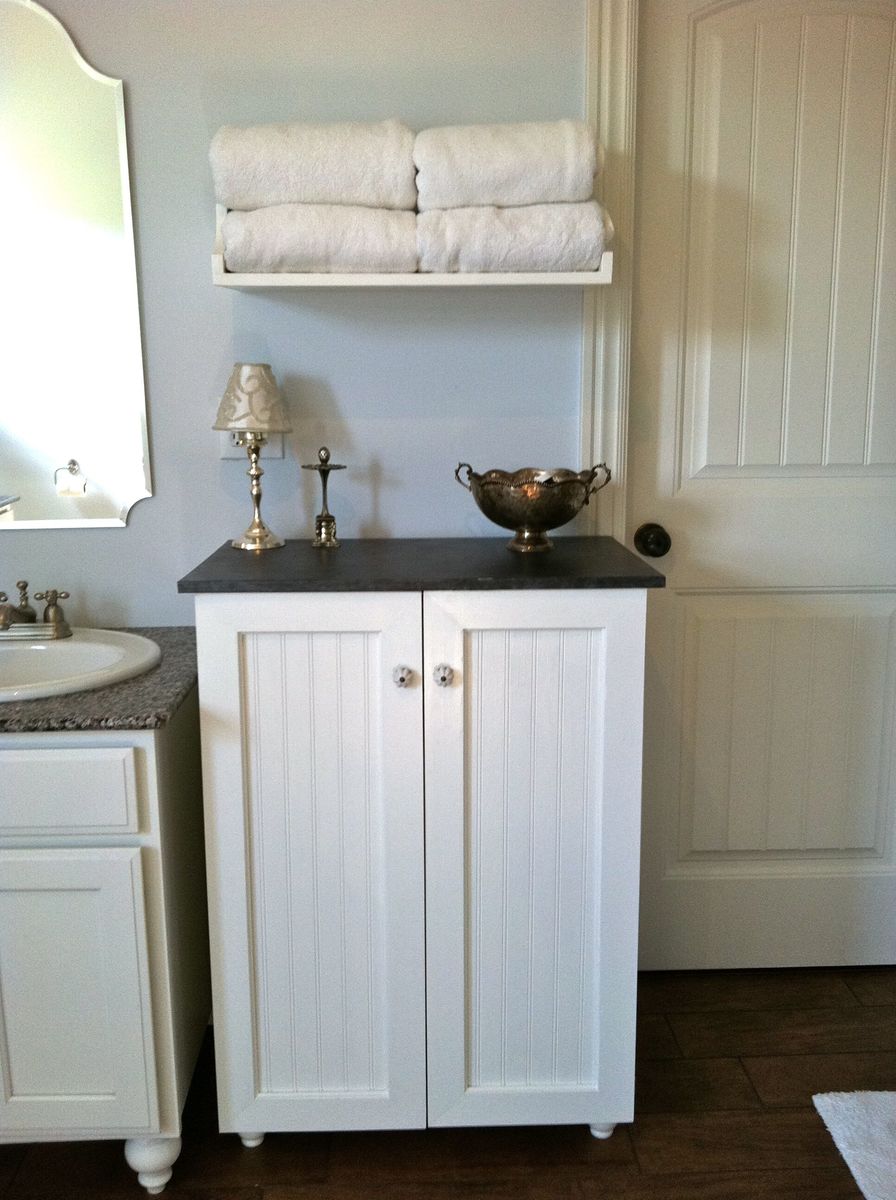
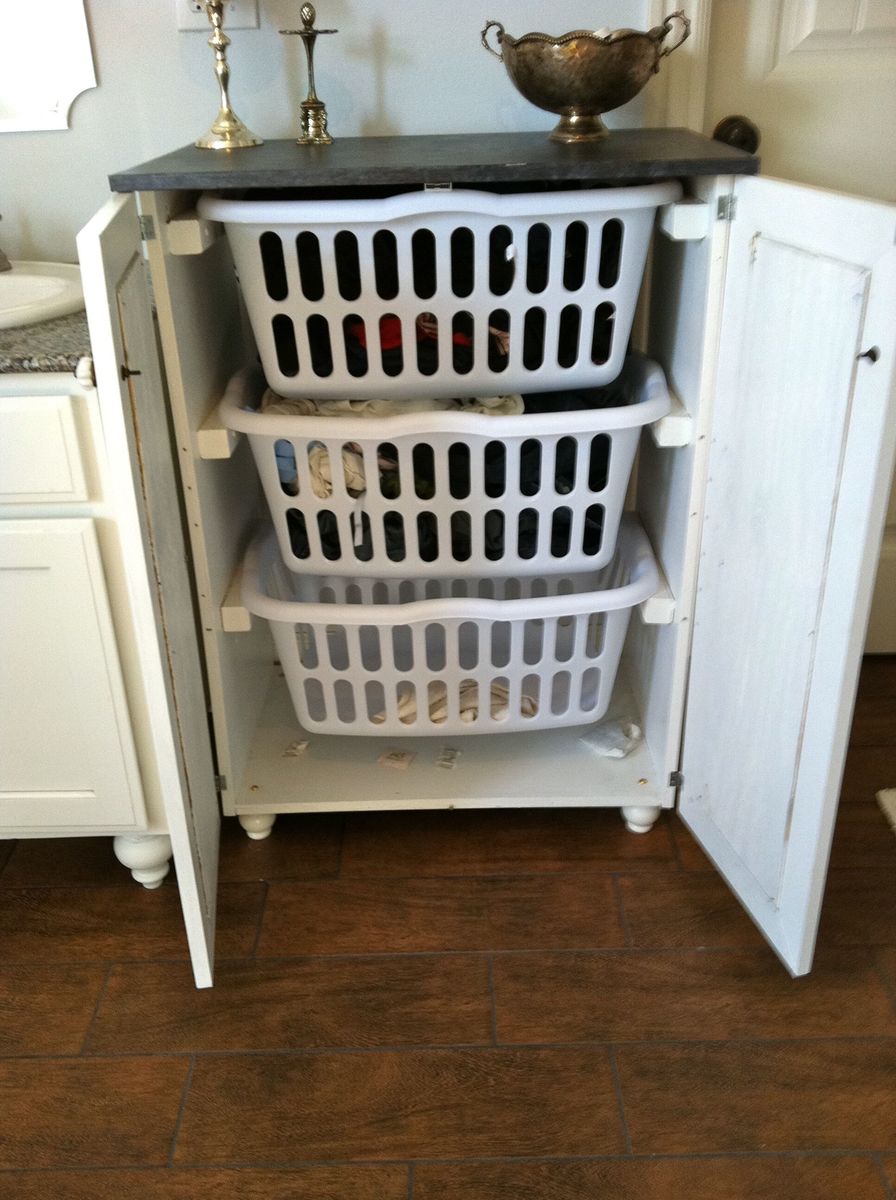
I wanted to use our laundry basket dresser as a collector for dirty laundry in our bathroom, and wanted it to have doors so it would blend in better. I also made the shelf above for our towels. It is painted white with a faux-zinc finish on the top. I made the top slightly larger so it would overhang and added cute little bun feet. My talented friend Carli helped me build the doors (and by helped I mean I handed her things while she impressed me with all her tools and skills!) and frame.
Fri, 07/29/2011 - 23:37
this is perfect! i totally need a bunch just like this! I love the added doors!
Tue, 10/11/2011 - 20:42
Would you mind sharing the dimensions for this cabinet? Love this idea!!!! Great job!
Wed, 01/11/2012 - 08:29
I love this idea! I will have a new bathroom soon and I think this will get used! What are the dimensions, or what style cabinet would you suggest to look for? TIA!
Fri, 02/17/2012 - 05:57
The dimensions are the same as Ana's plan: http://ana-white.com/2010/11/laundry-basket-dresser except that the top is slightly bigger (3/4" overhang on front/sides) to look more like a countertop. On the doors we just made a frame w/ angled pieces, routed a notched line on the back & glued/nailed some beadboard in from the back. Sorry I can't be much more detailed on that, a friend did most of the doors for me!
Sun, 02/19/2012 - 07:42
I actually got the plywood to do this project and I was going to add doors. I looked at the baskets suggested but it seems they would stick out the front. I was just curious, did you use different baskets that would fit inside the cabinet or did you make the cabinet slightly deeper?
Sat, 02/25/2012 - 05:36
Actually I discovered the same problem after it was built. I just didn't put a back on and they stick out a tiny bit in the back. I actually kind of like it that way because it lets some air in (being in the bathroom and putting towels in I could see it getting mildewy without much circulation). But if I had gotten the baskets first I probably would have made it about 2" deeper, then leave some open space, but not all, on the back.
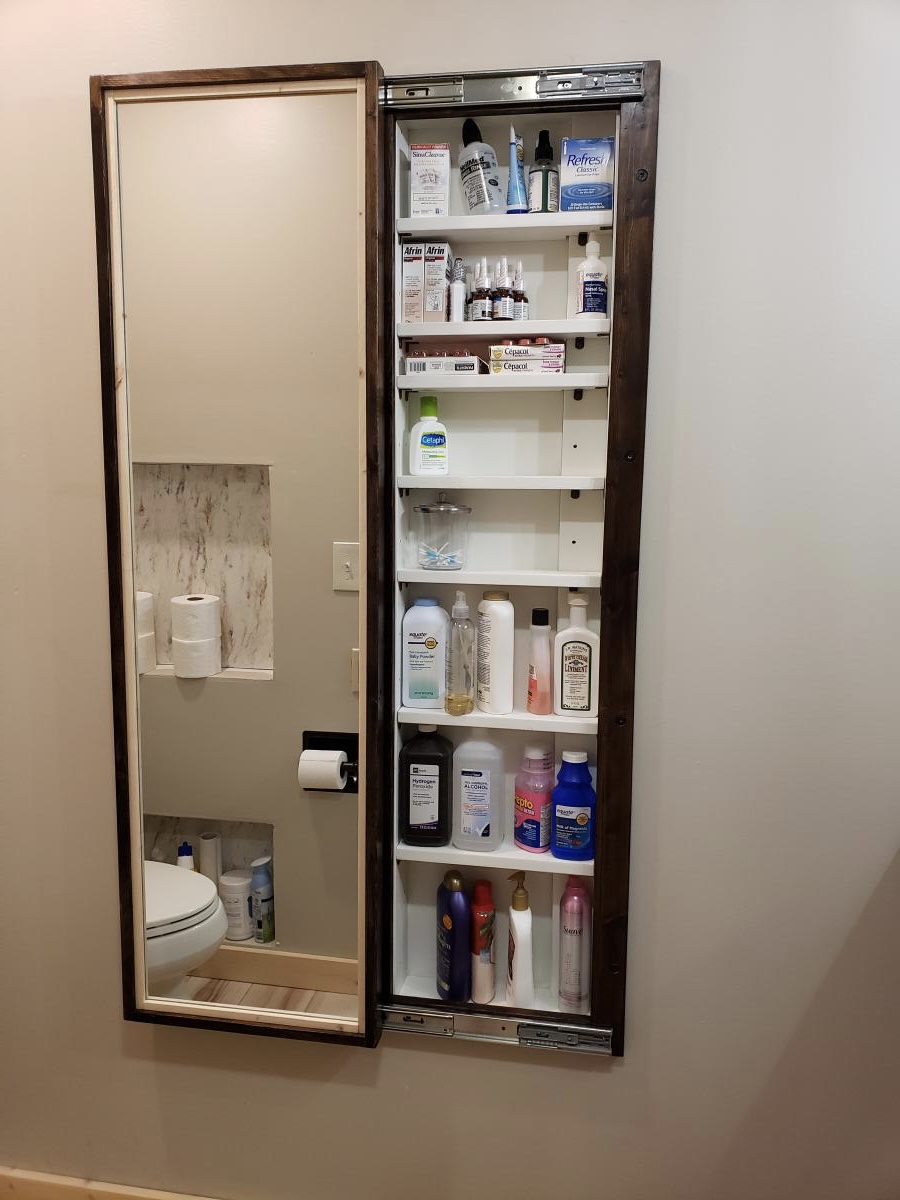
My bathroom has very little storage space. So during our recent remodeling of the room, I decided to add this cabinet. Changed the plan a little to make it recessed in the wall. I love how it turned out!
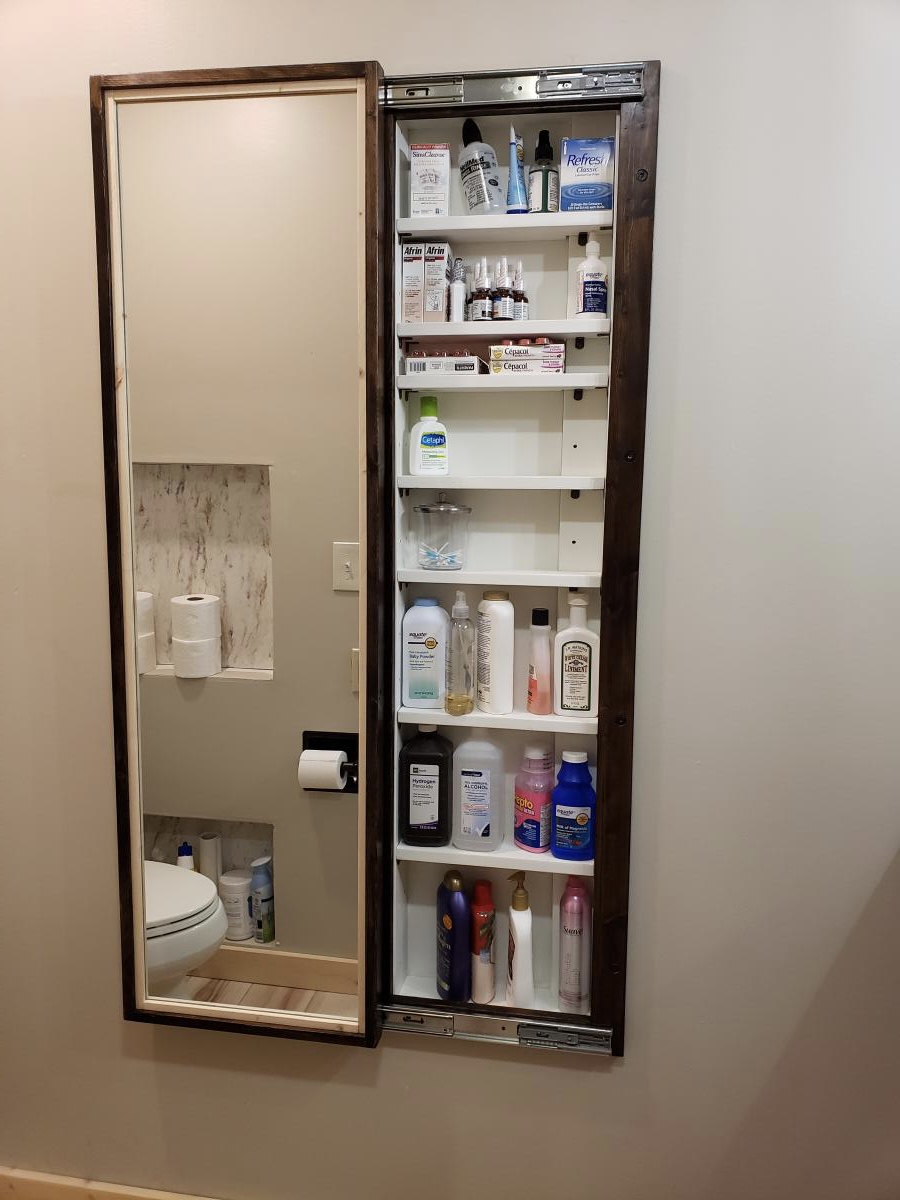
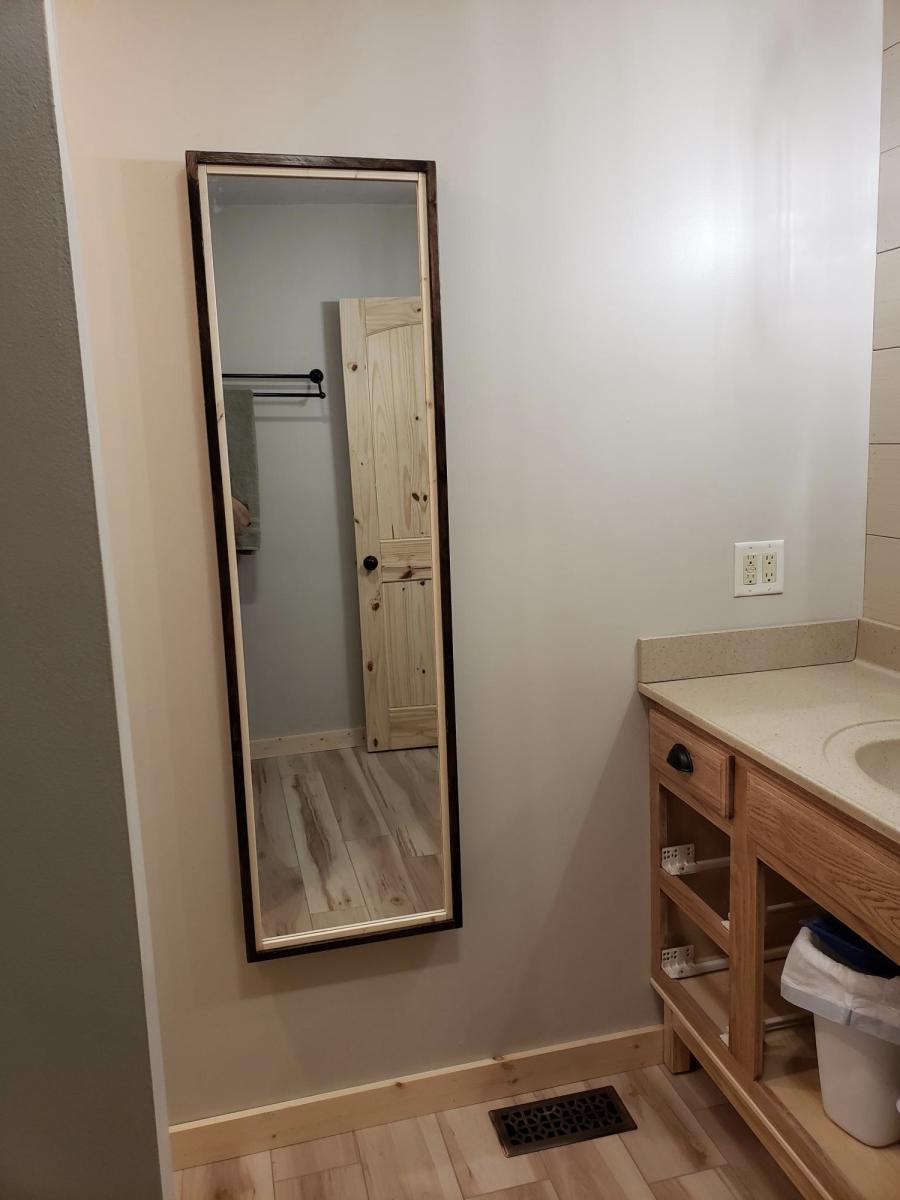
Sat, 09/03/2022 - 13:28
This looks amazing, love how it's recessed! Thankyou for sharing.

This was my take on your Twin Sleeper Chair. I made it into a full. I used 2x4’s where there was suppose to be 1x4’s because I changed the width. This was a very fun project, my first project actually. Thank you for the plans and idea.


My sister needed new outdoor furniture for her deck and liked the look of the sectional. I used cedar with a clear varnish to creat this piece for her that was perfectly sized for her deck. The challenge to this one was getting it to her house about 3 hours from mine. Fully assembled it would have been tight getting it in my truck. I ended up cutting all of the boards and drilling all of the pocket holes in my shop and then assembling at her house. I have added backs to some of the pieces I have made fro others that want the extr support. I add a 1x4 laying flat across the back of the seat. The slats going up and down then have a slight angle to them which adds comfort and support. I attached the pieces to the 1x4 and the upper back rest piece in the plans.

Our old screen door wasn't cutting it anymore, so I built a new one, and to kill two birds with one stone, I included a built-in dog door. Now I just need to find the motivation to close off the old dog door.
I have the plans to build this screen door with a built-in dog door posted via the blog link below for anyone interested.
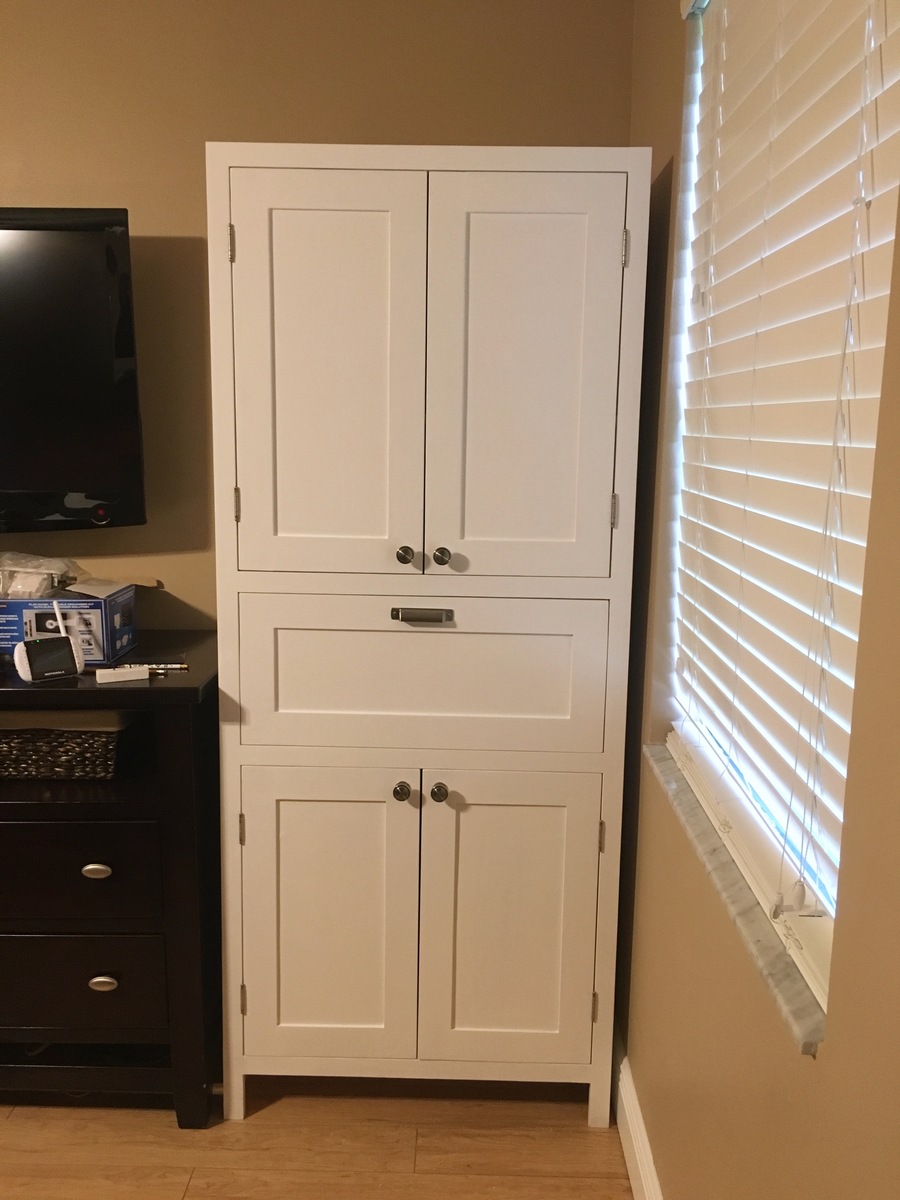
Inspired by the Tall Secretary with mail slots but with my own twist/needs incorporated in it. Finished with pure white satin paint.
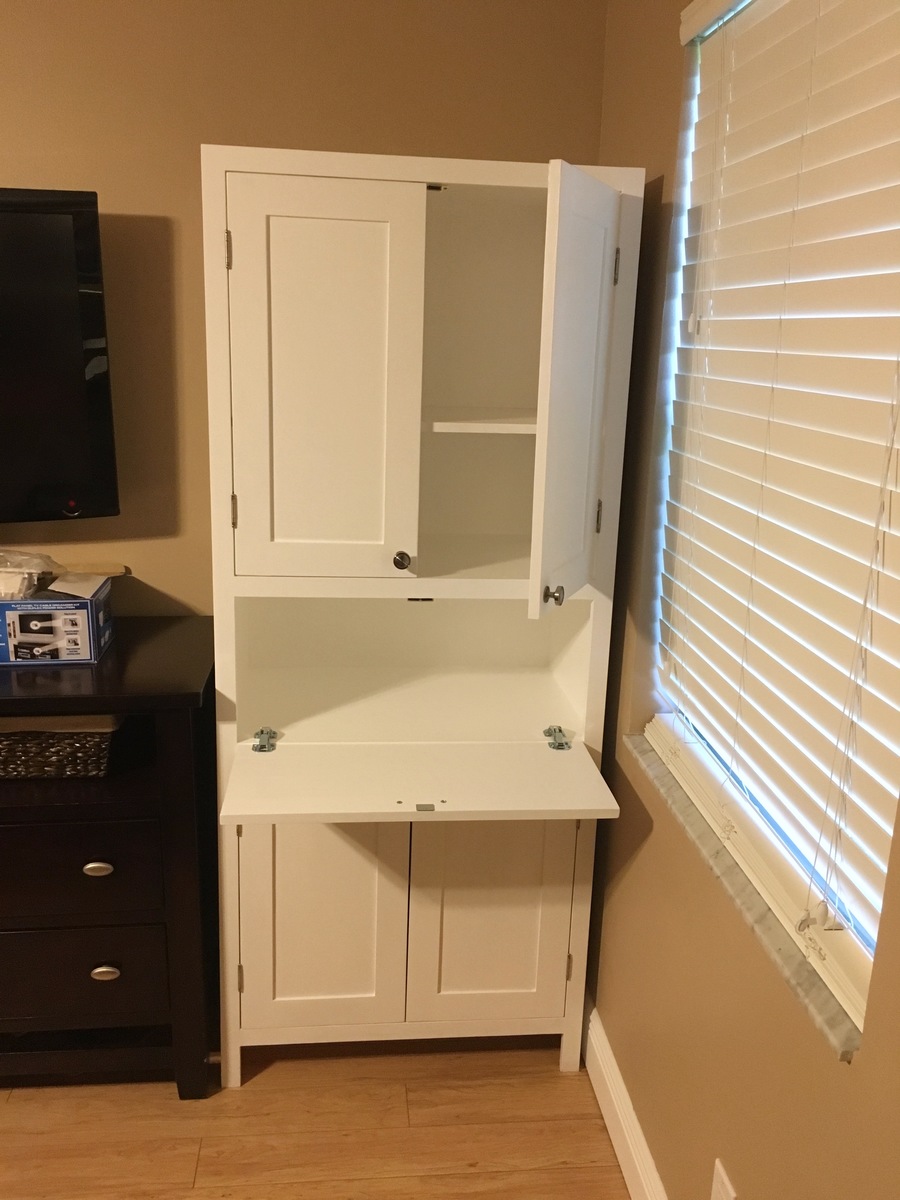
Comments
RandyW
Sat, 06/13/2020 - 16:33
Edges
I always take my sander to the sharp edges and round them off