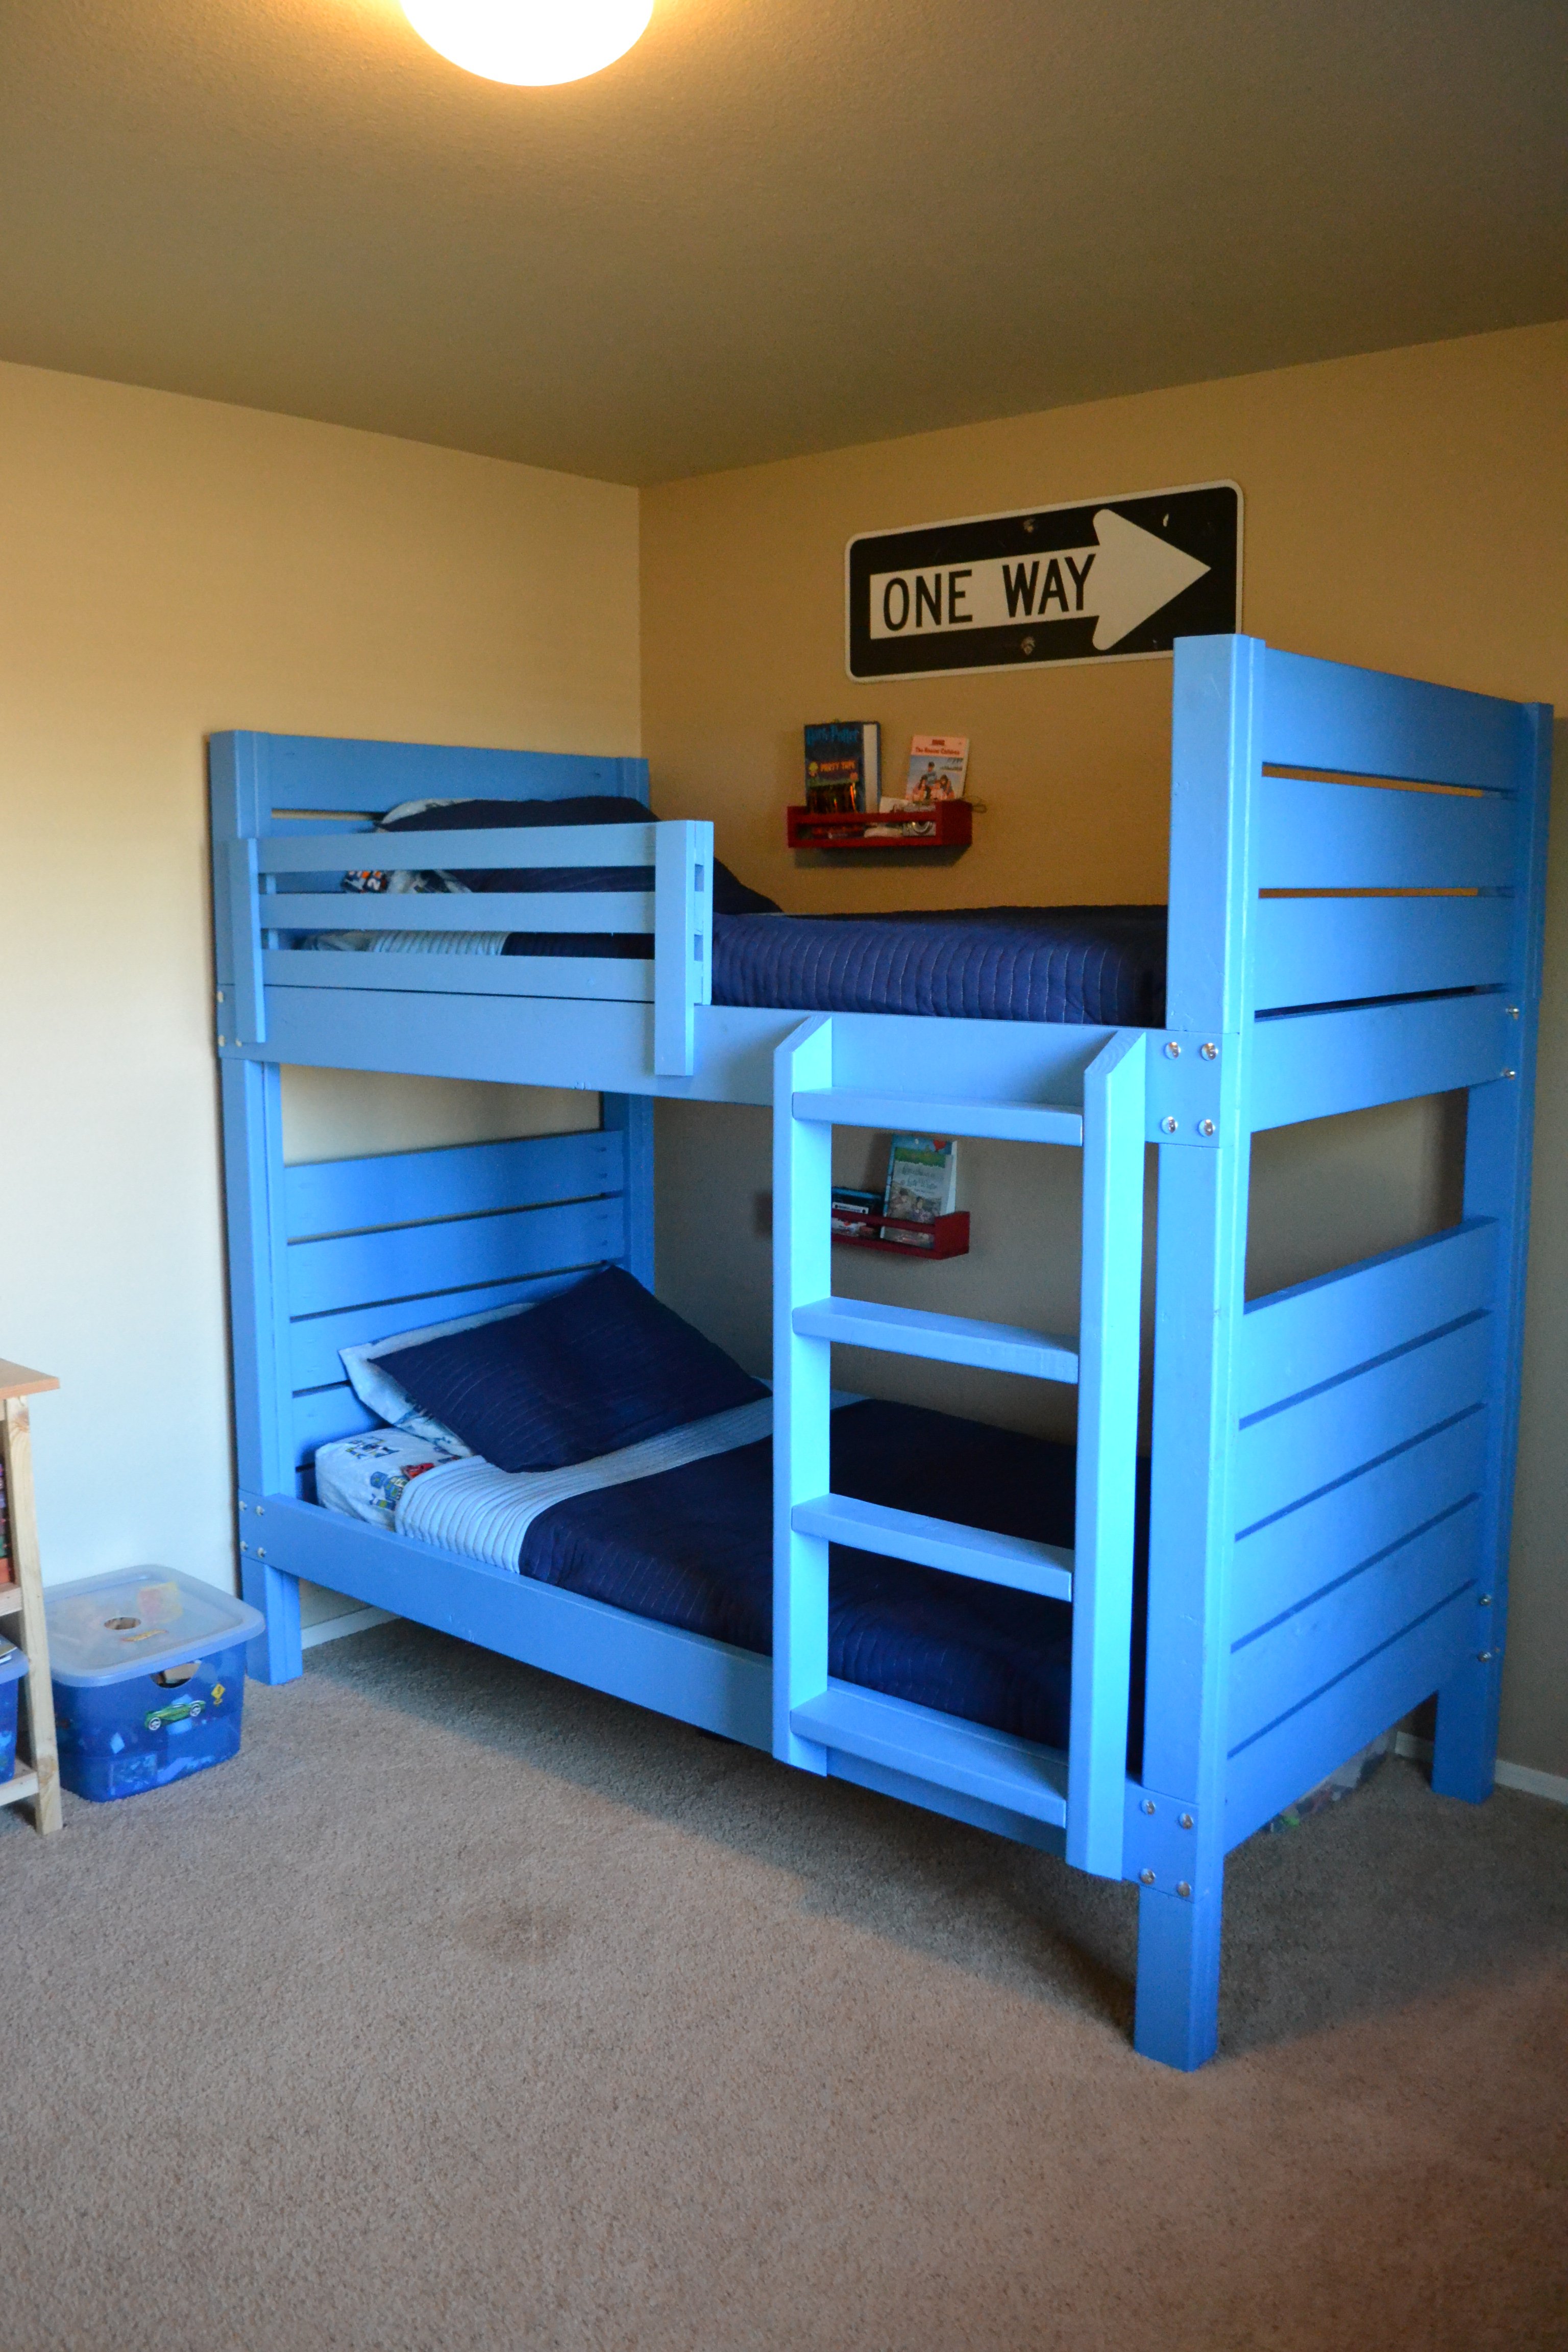
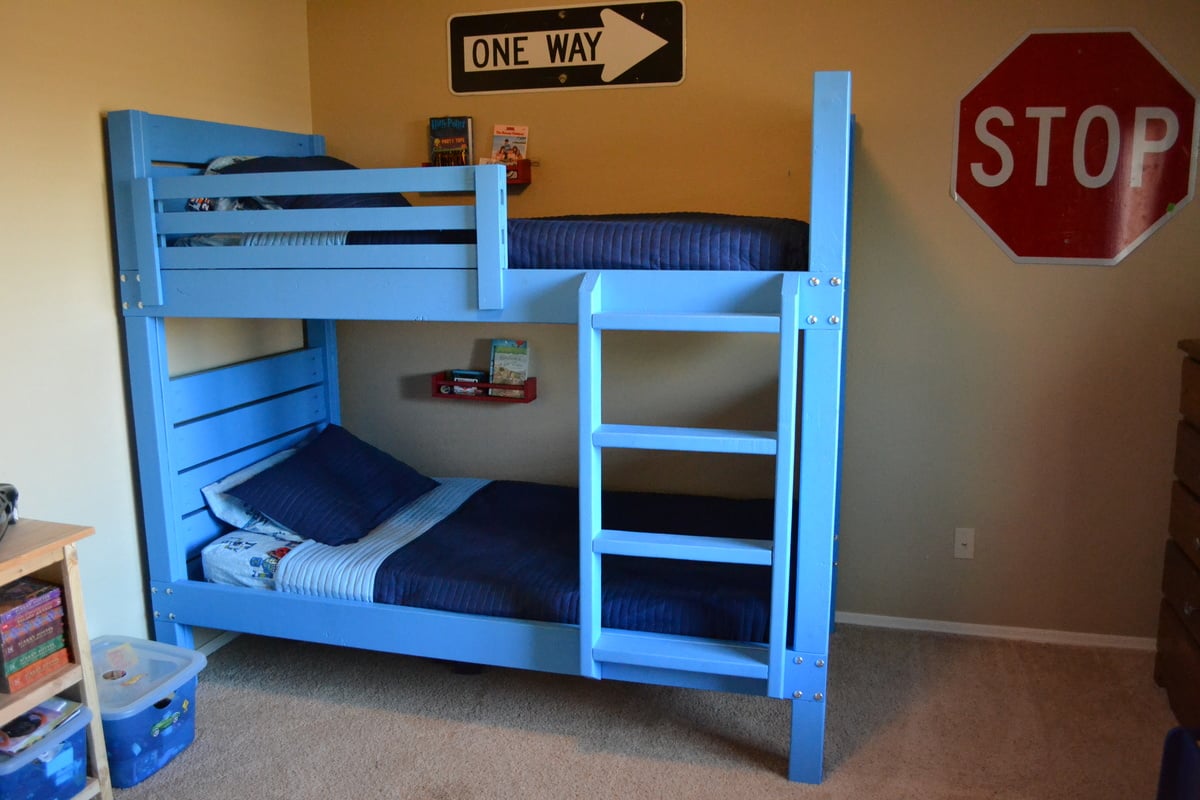
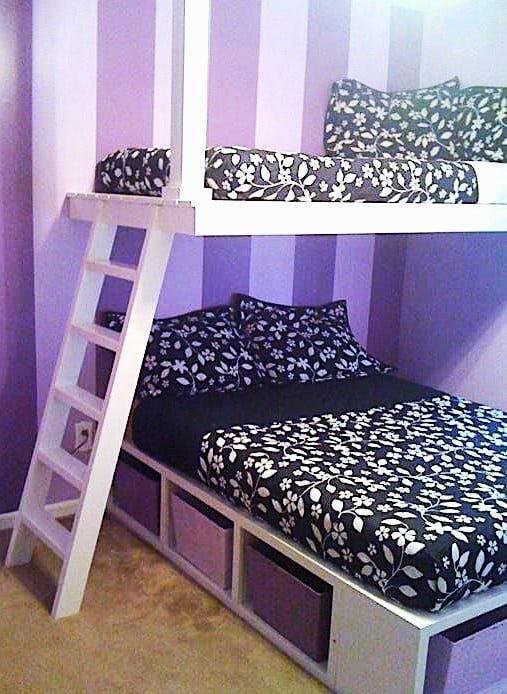
After building the playhouse loft bed, I found this project to be very easy. I built the bunk beds at 37/38 weeks pregnant, so that should tell you how simple it is to construct. The total cost came in under $300 and I was able to use some of the scrap wood I already had in my garage.
I did run into some trouble with the slanted ladder. Even though the pieces were cut to the exact measurements in the plan, the sides of the ladder were too short for the bed. Being very pregnant and impatient, I just modified the ladder so I wouldn't have to waste the pieces I'd already cut.
You may also notice that I didn't fill and sand my pocket holes on the end pieces yet. That was also me being very pregnant and impatient. I'll go back and do that later when I have more time. Despite the little bit of finishing work remaining, this was pretty much a 2-day project. Cutting and construction was fast (one day) and finishing took another full day.
I used Valspar "Blue Burst" paint from Lowe's to finish the bed. I used bolts to attach the side rails because we move frequently so I wanted the bed to be easy to disassemble. Overall, this was a very easy and fun project!


Comments
Ana White Admin
Sat, 03/25/2023 - 09:14
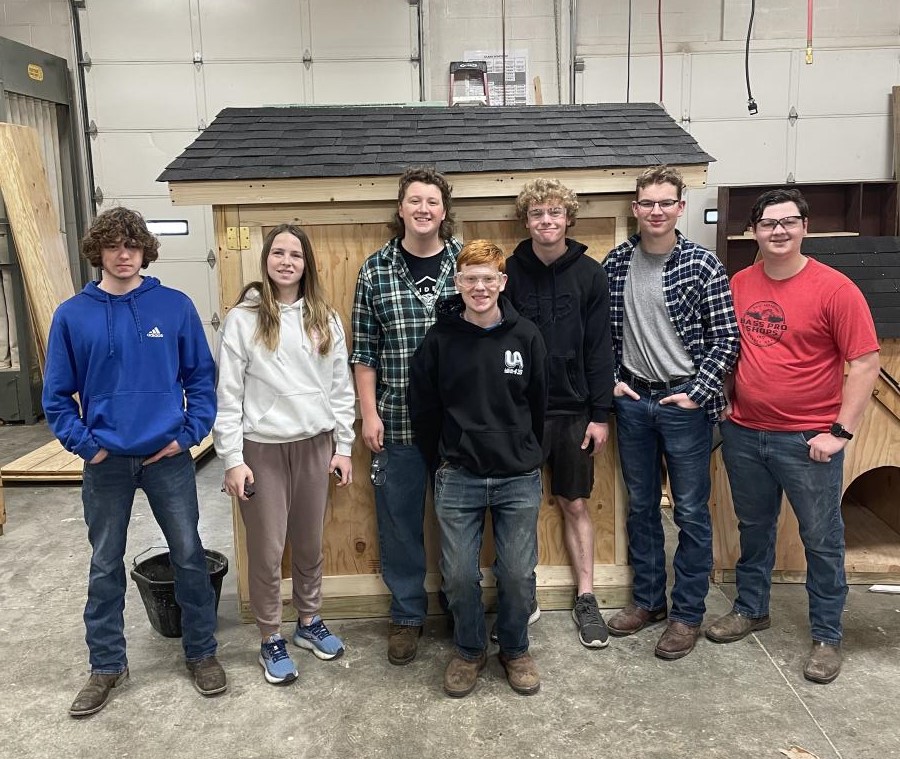
Great project for your class!
Very fun and job well done! Thank you for sharing.