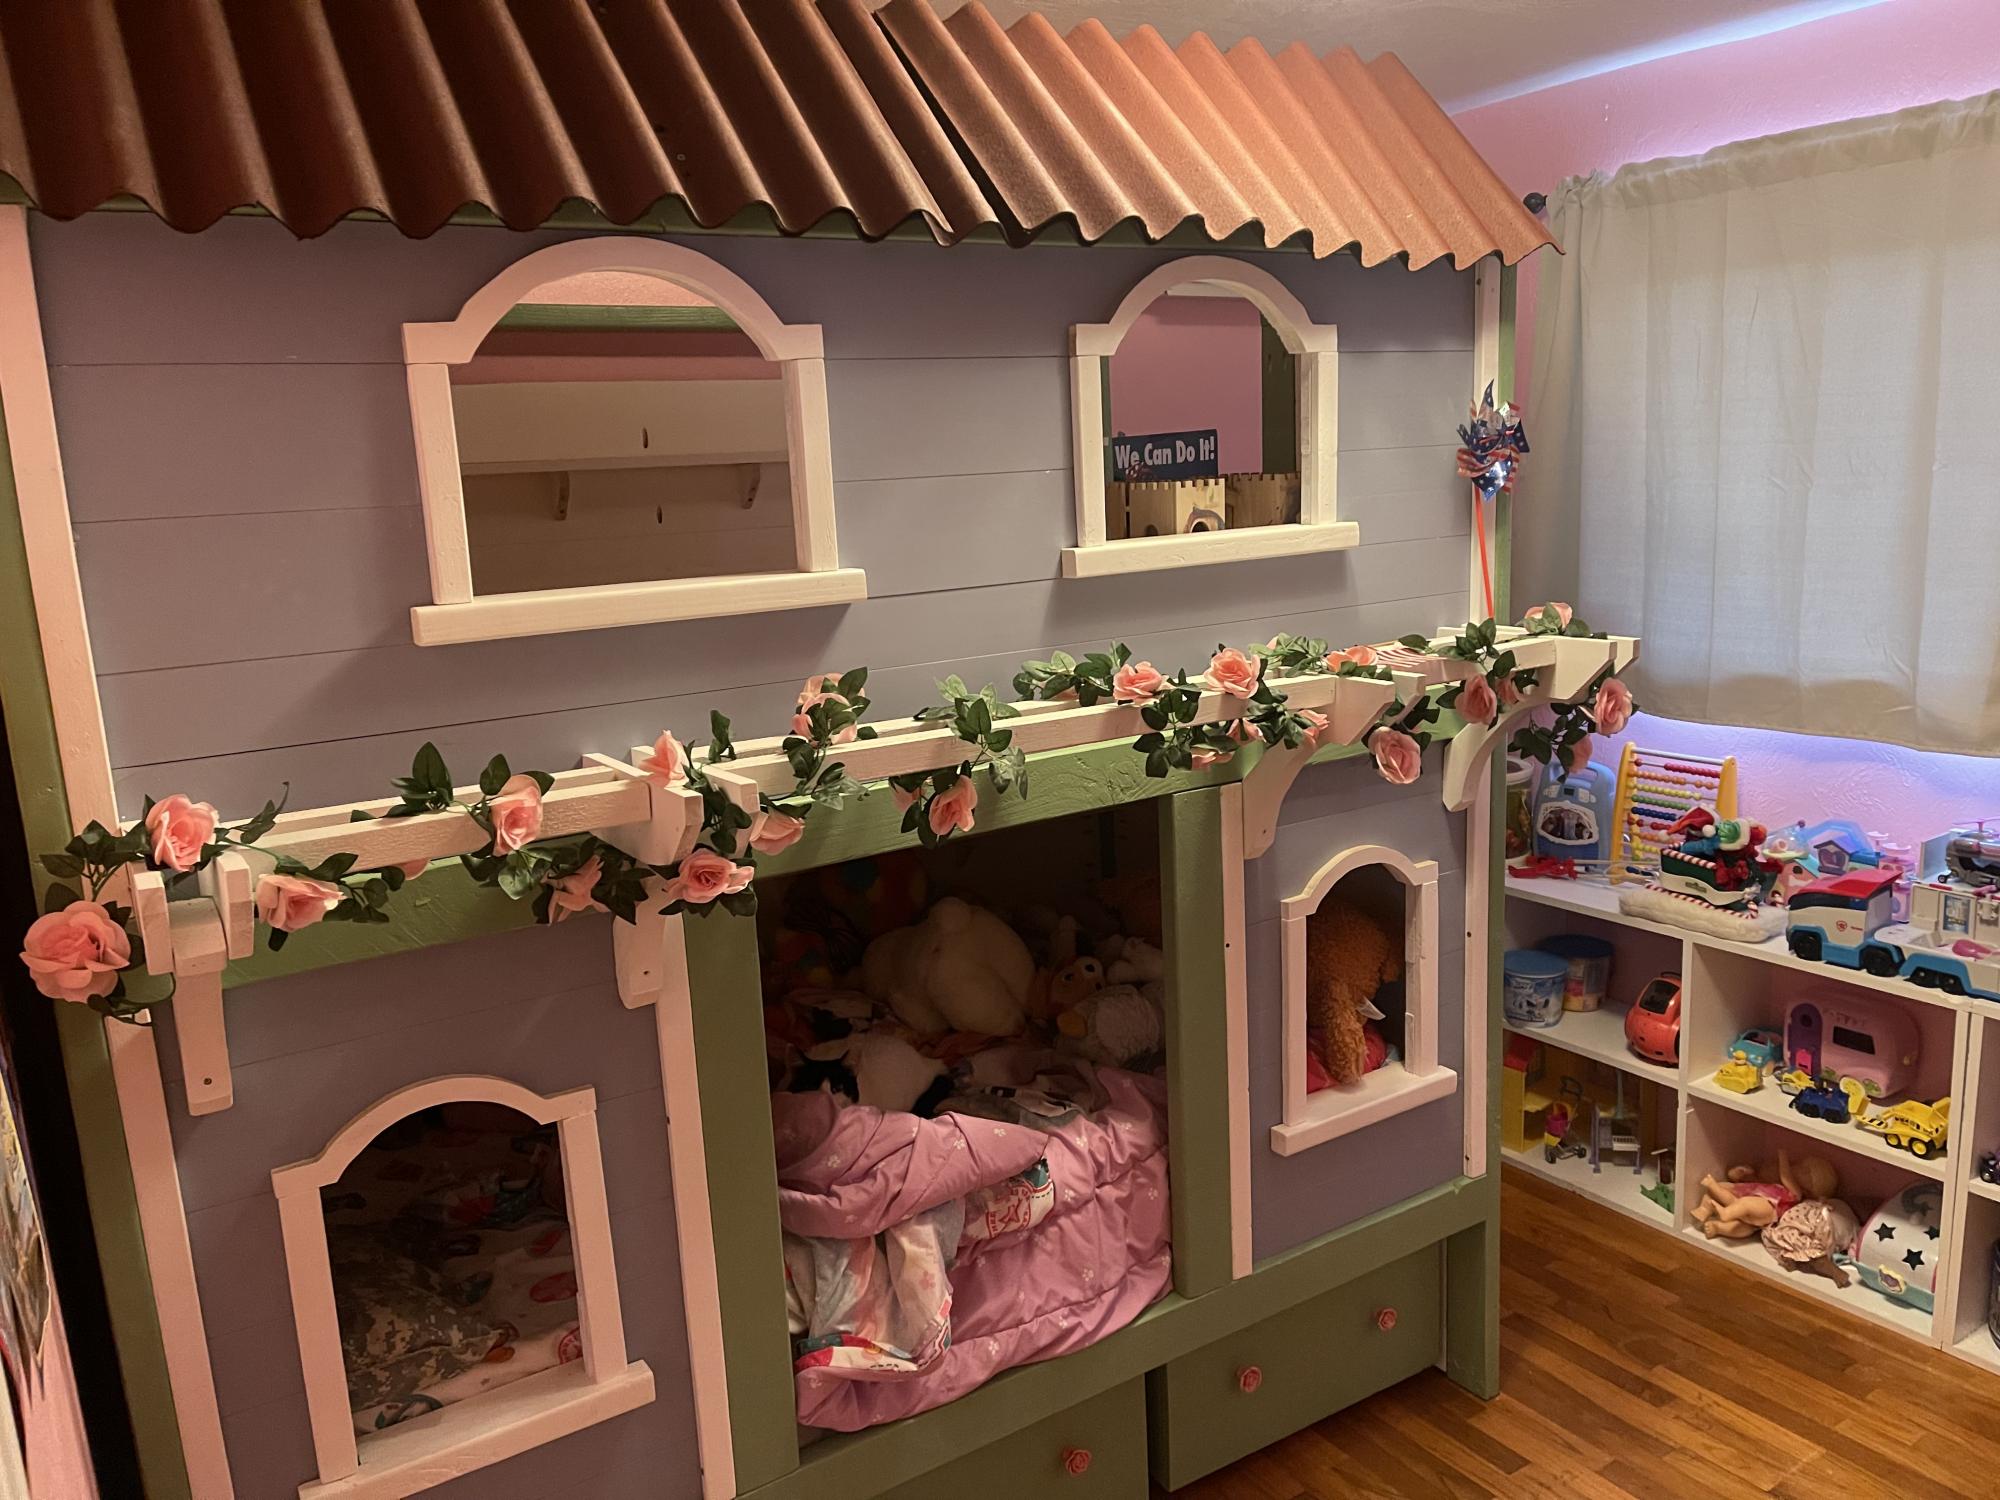
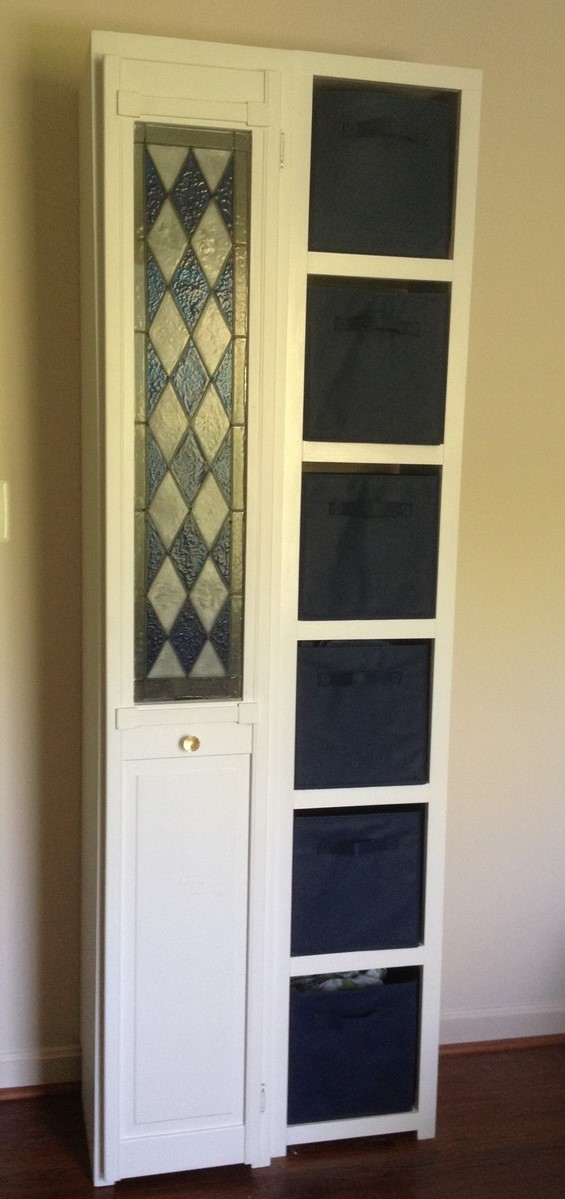
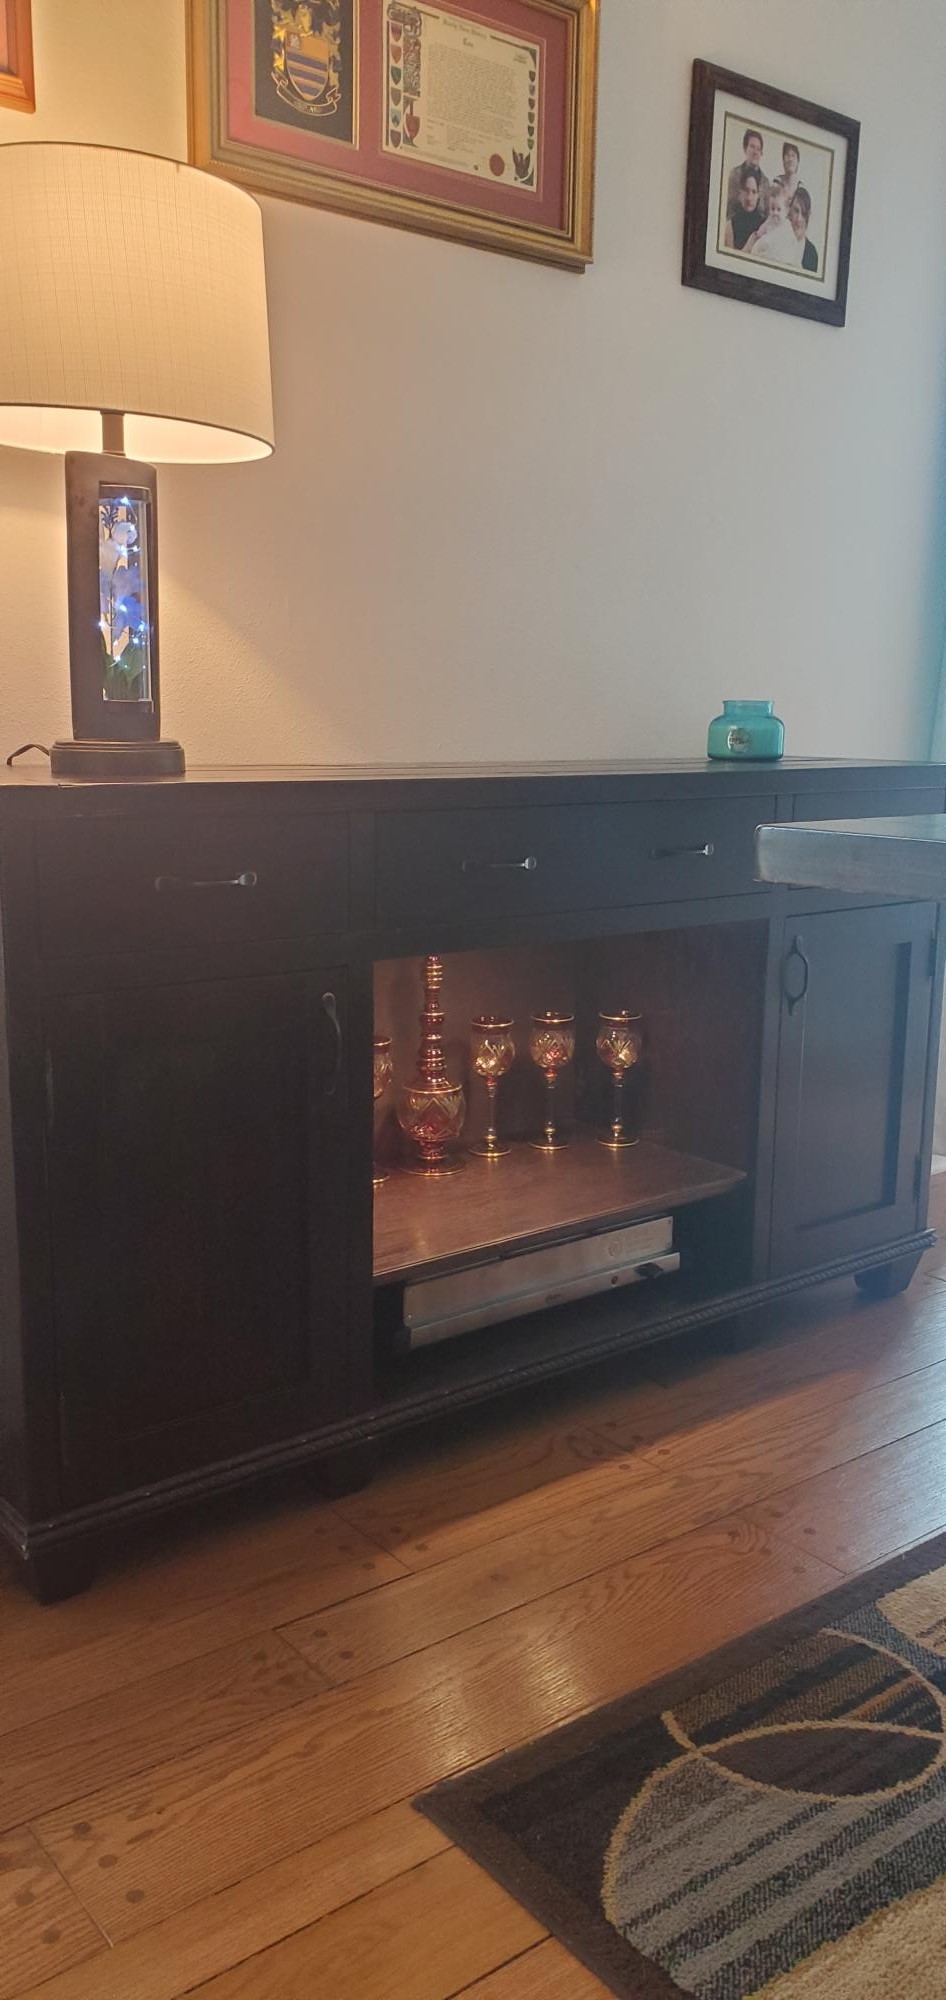
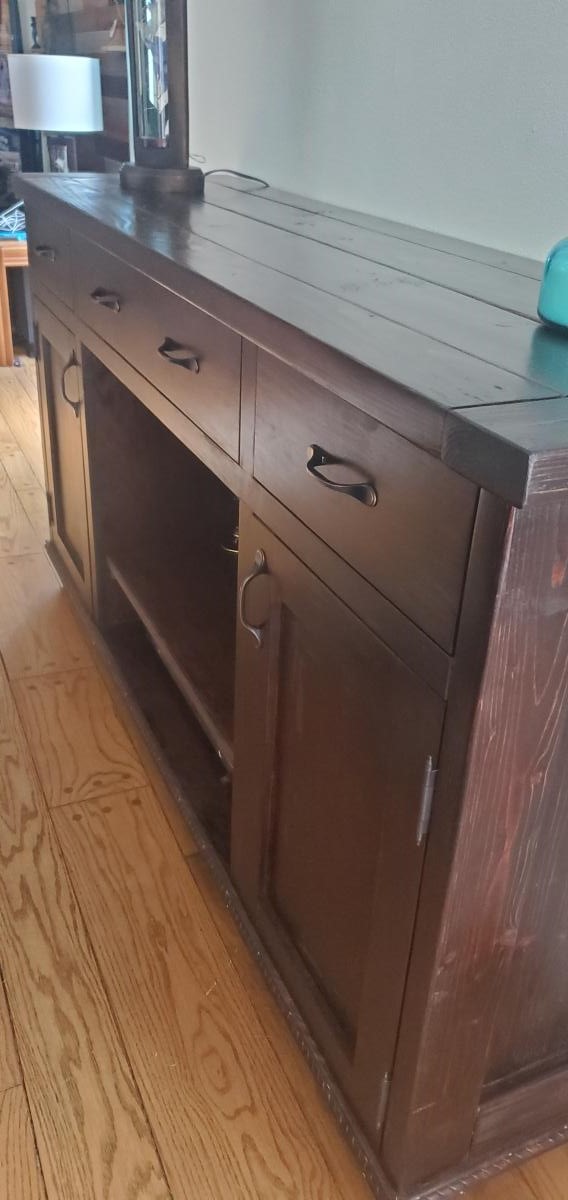
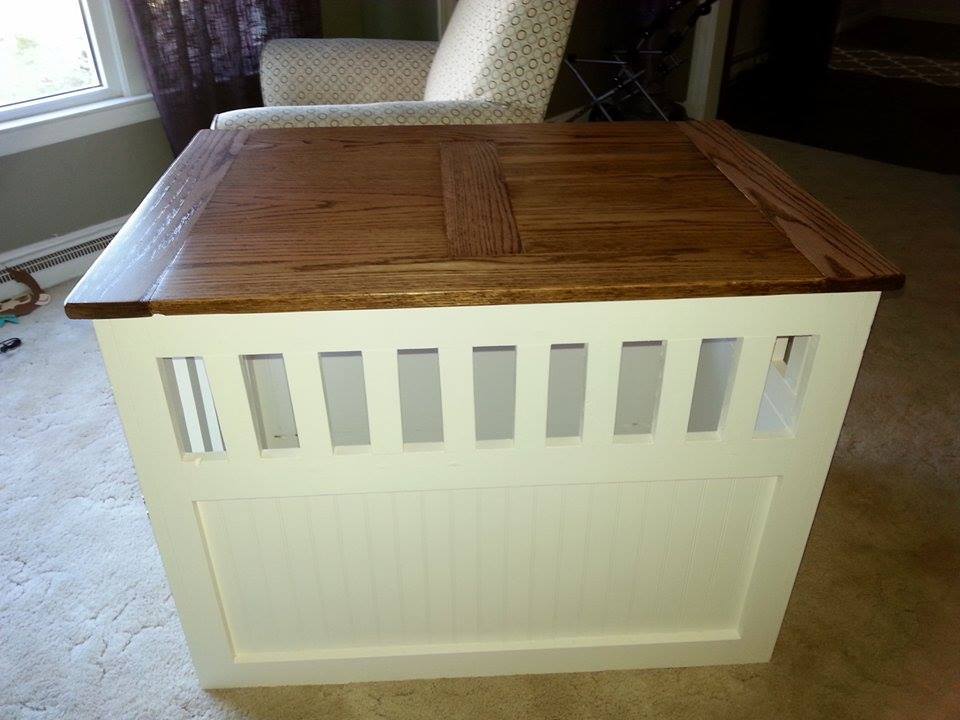
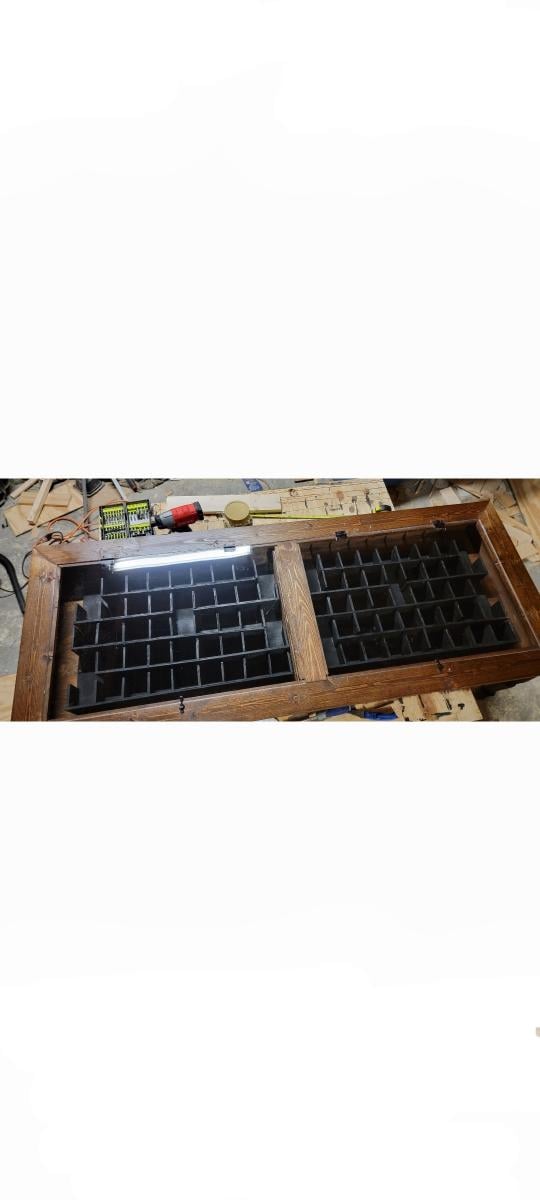
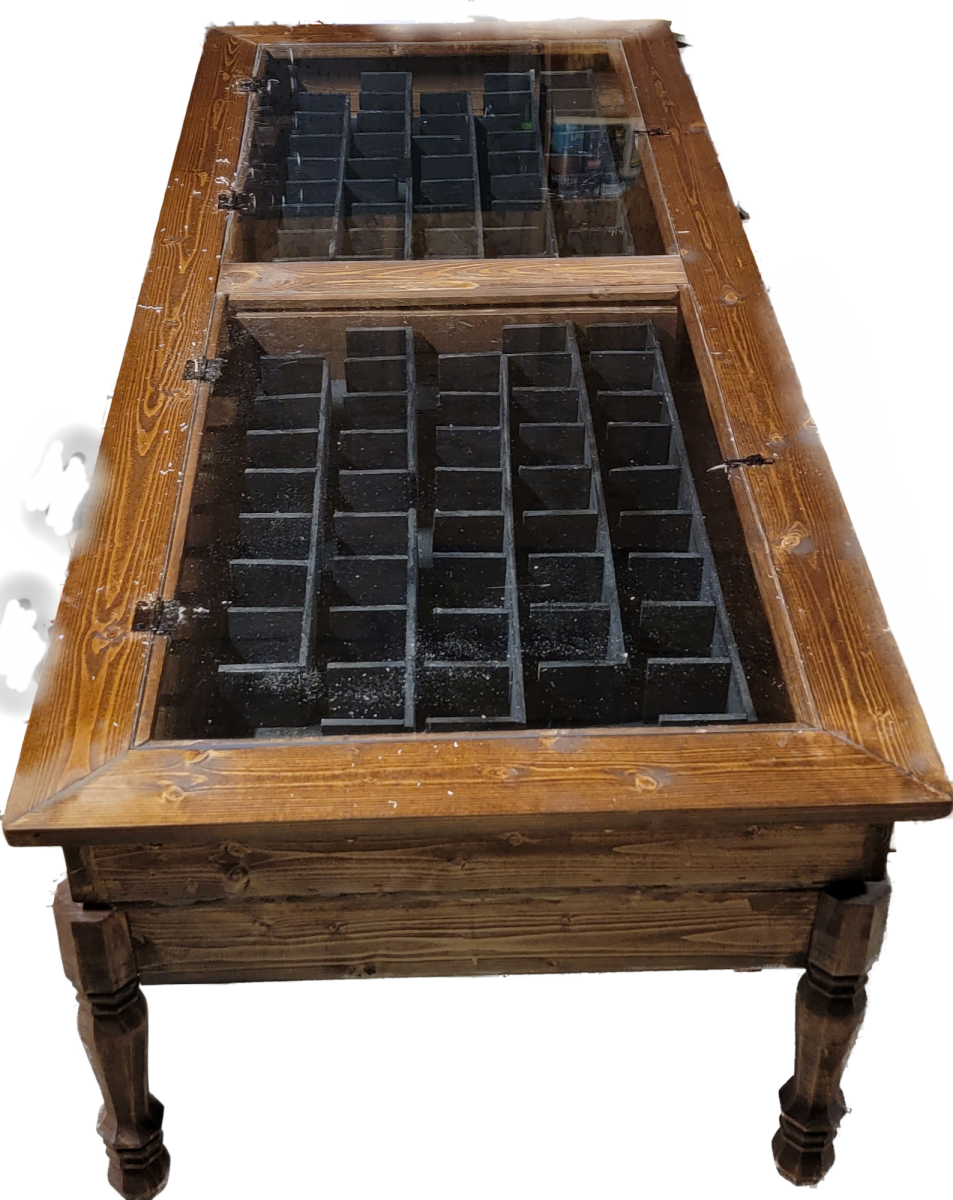
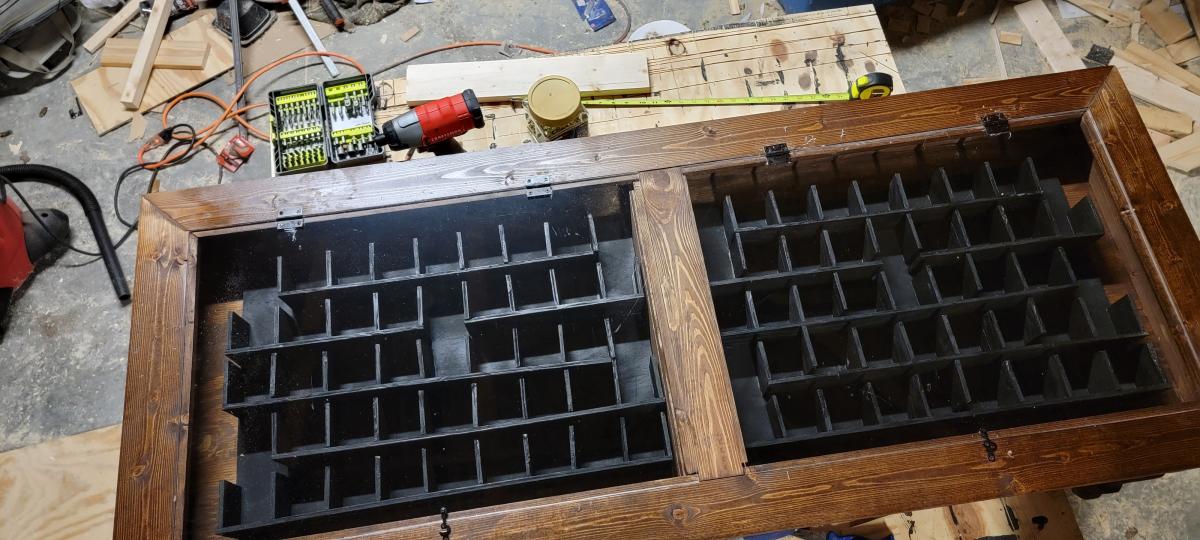
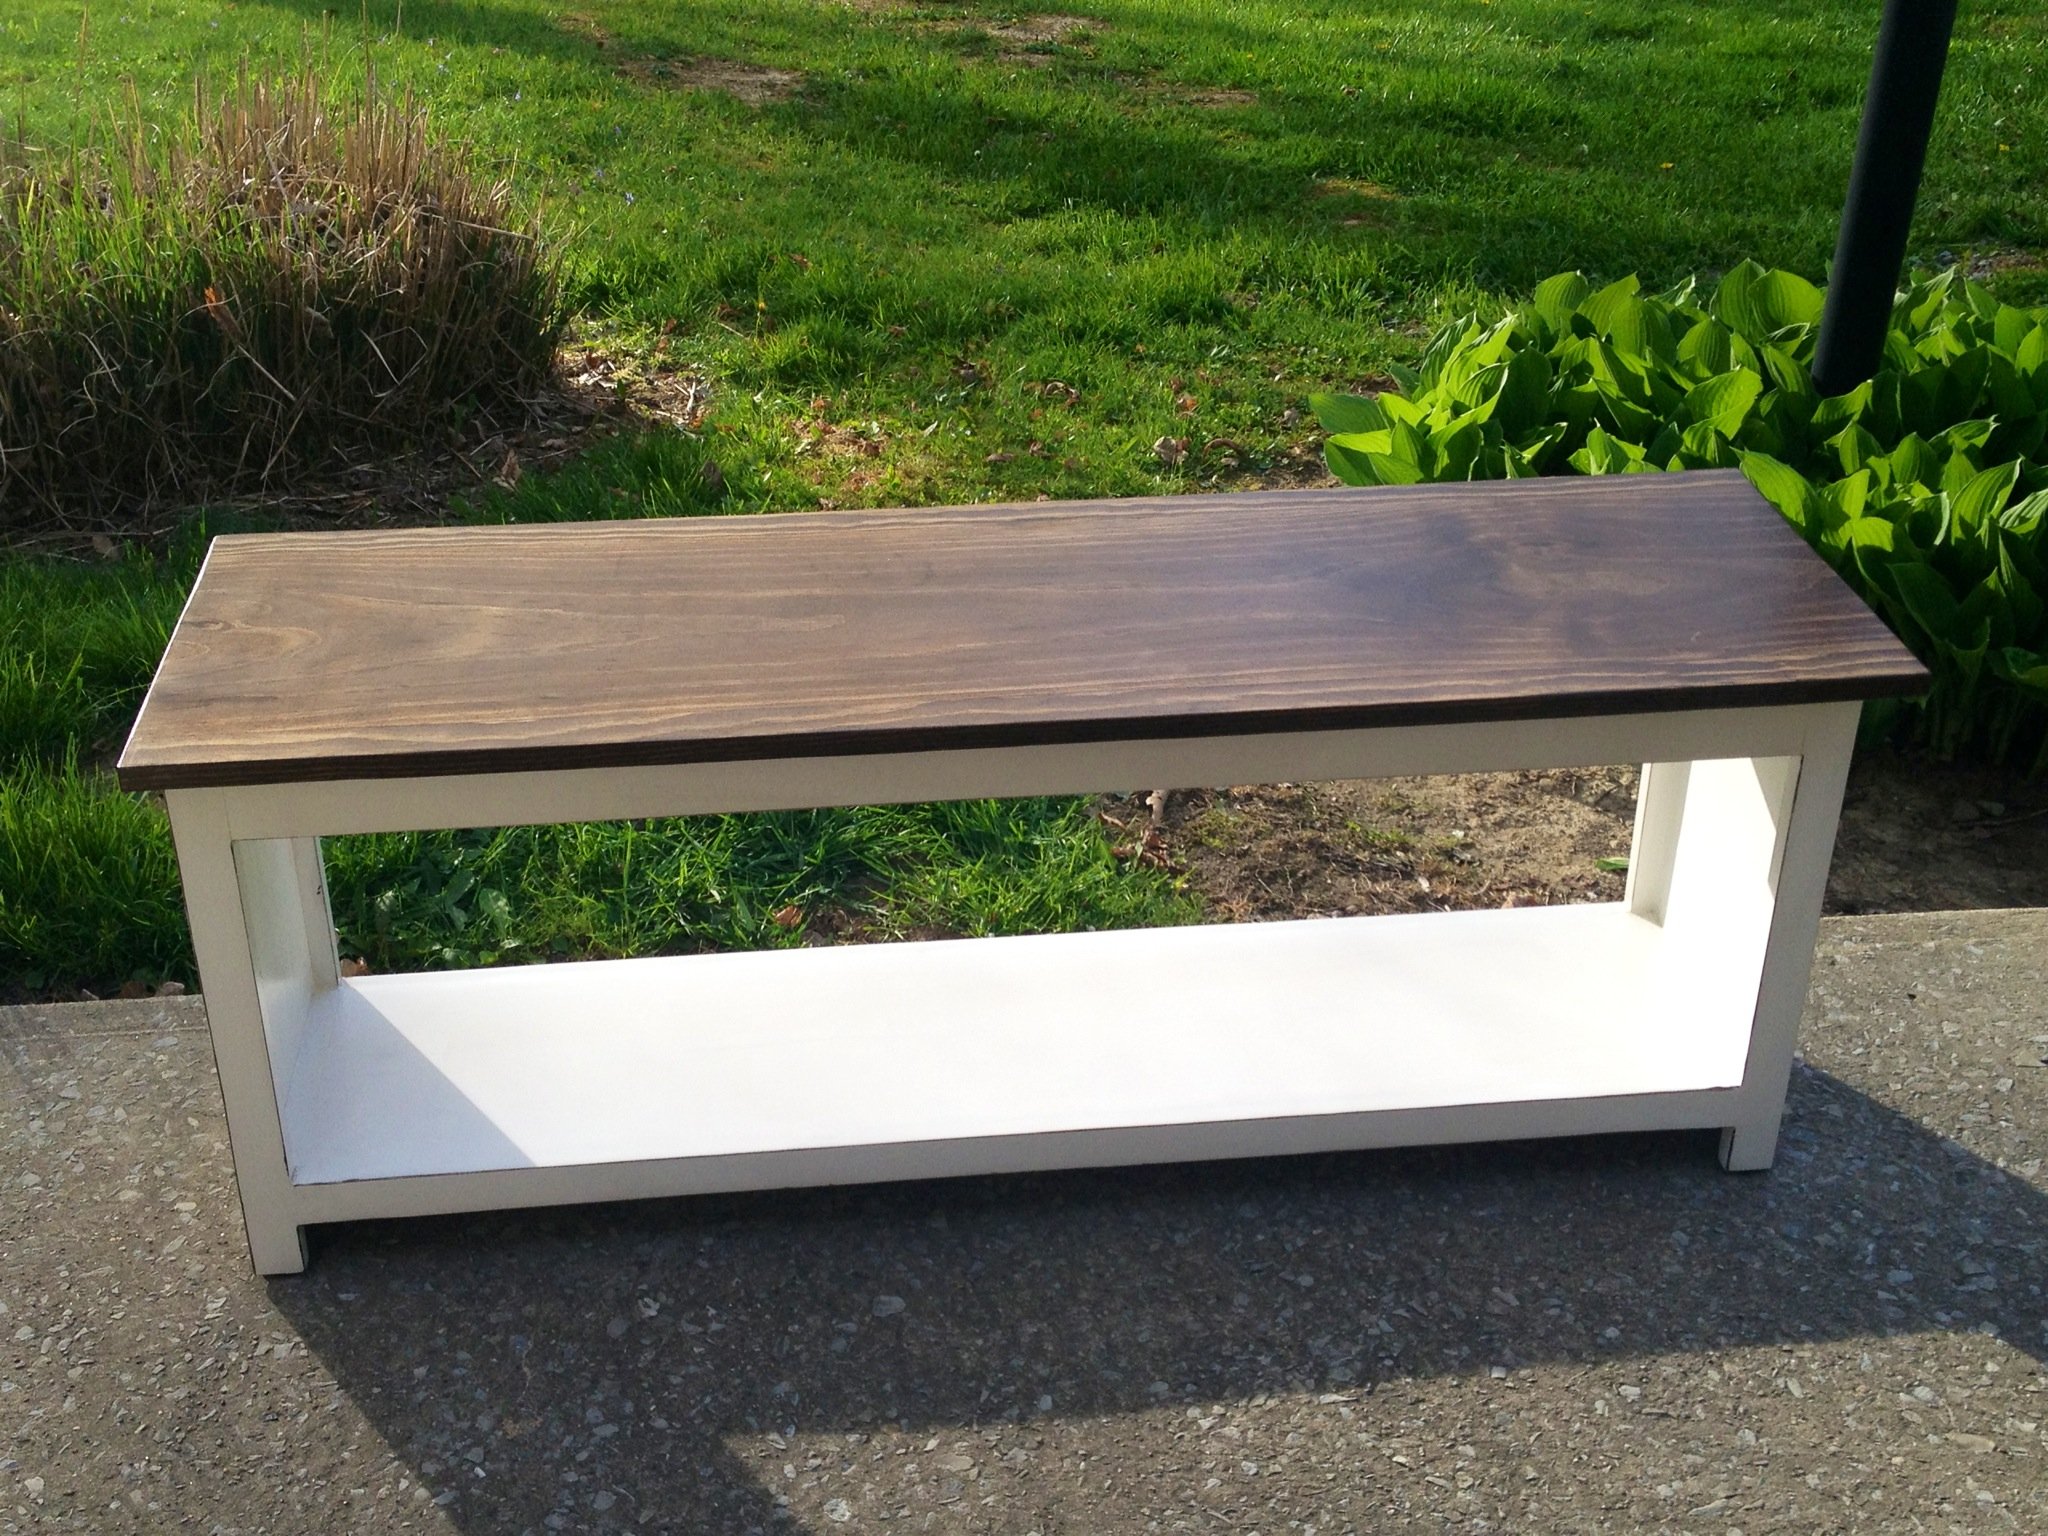
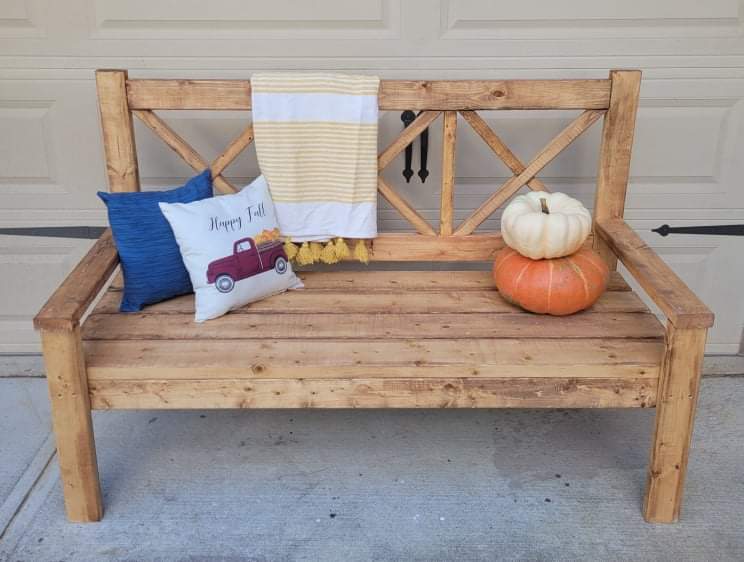
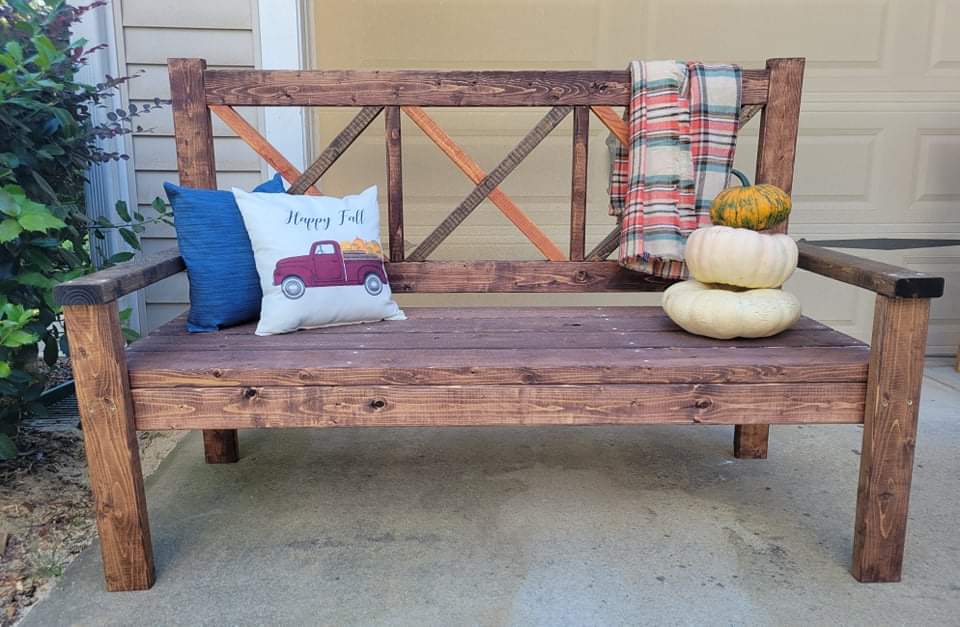
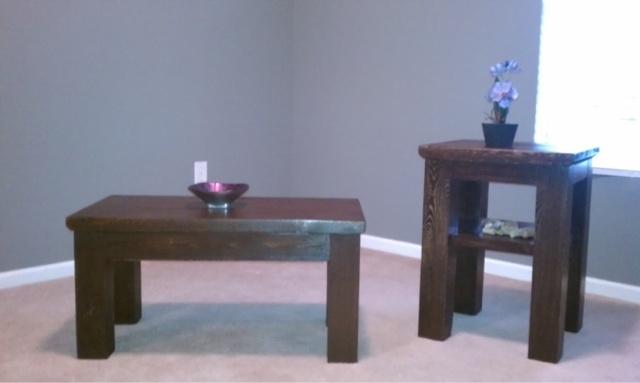
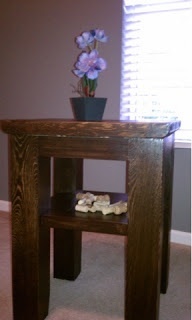
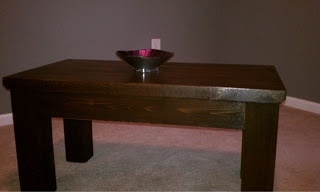
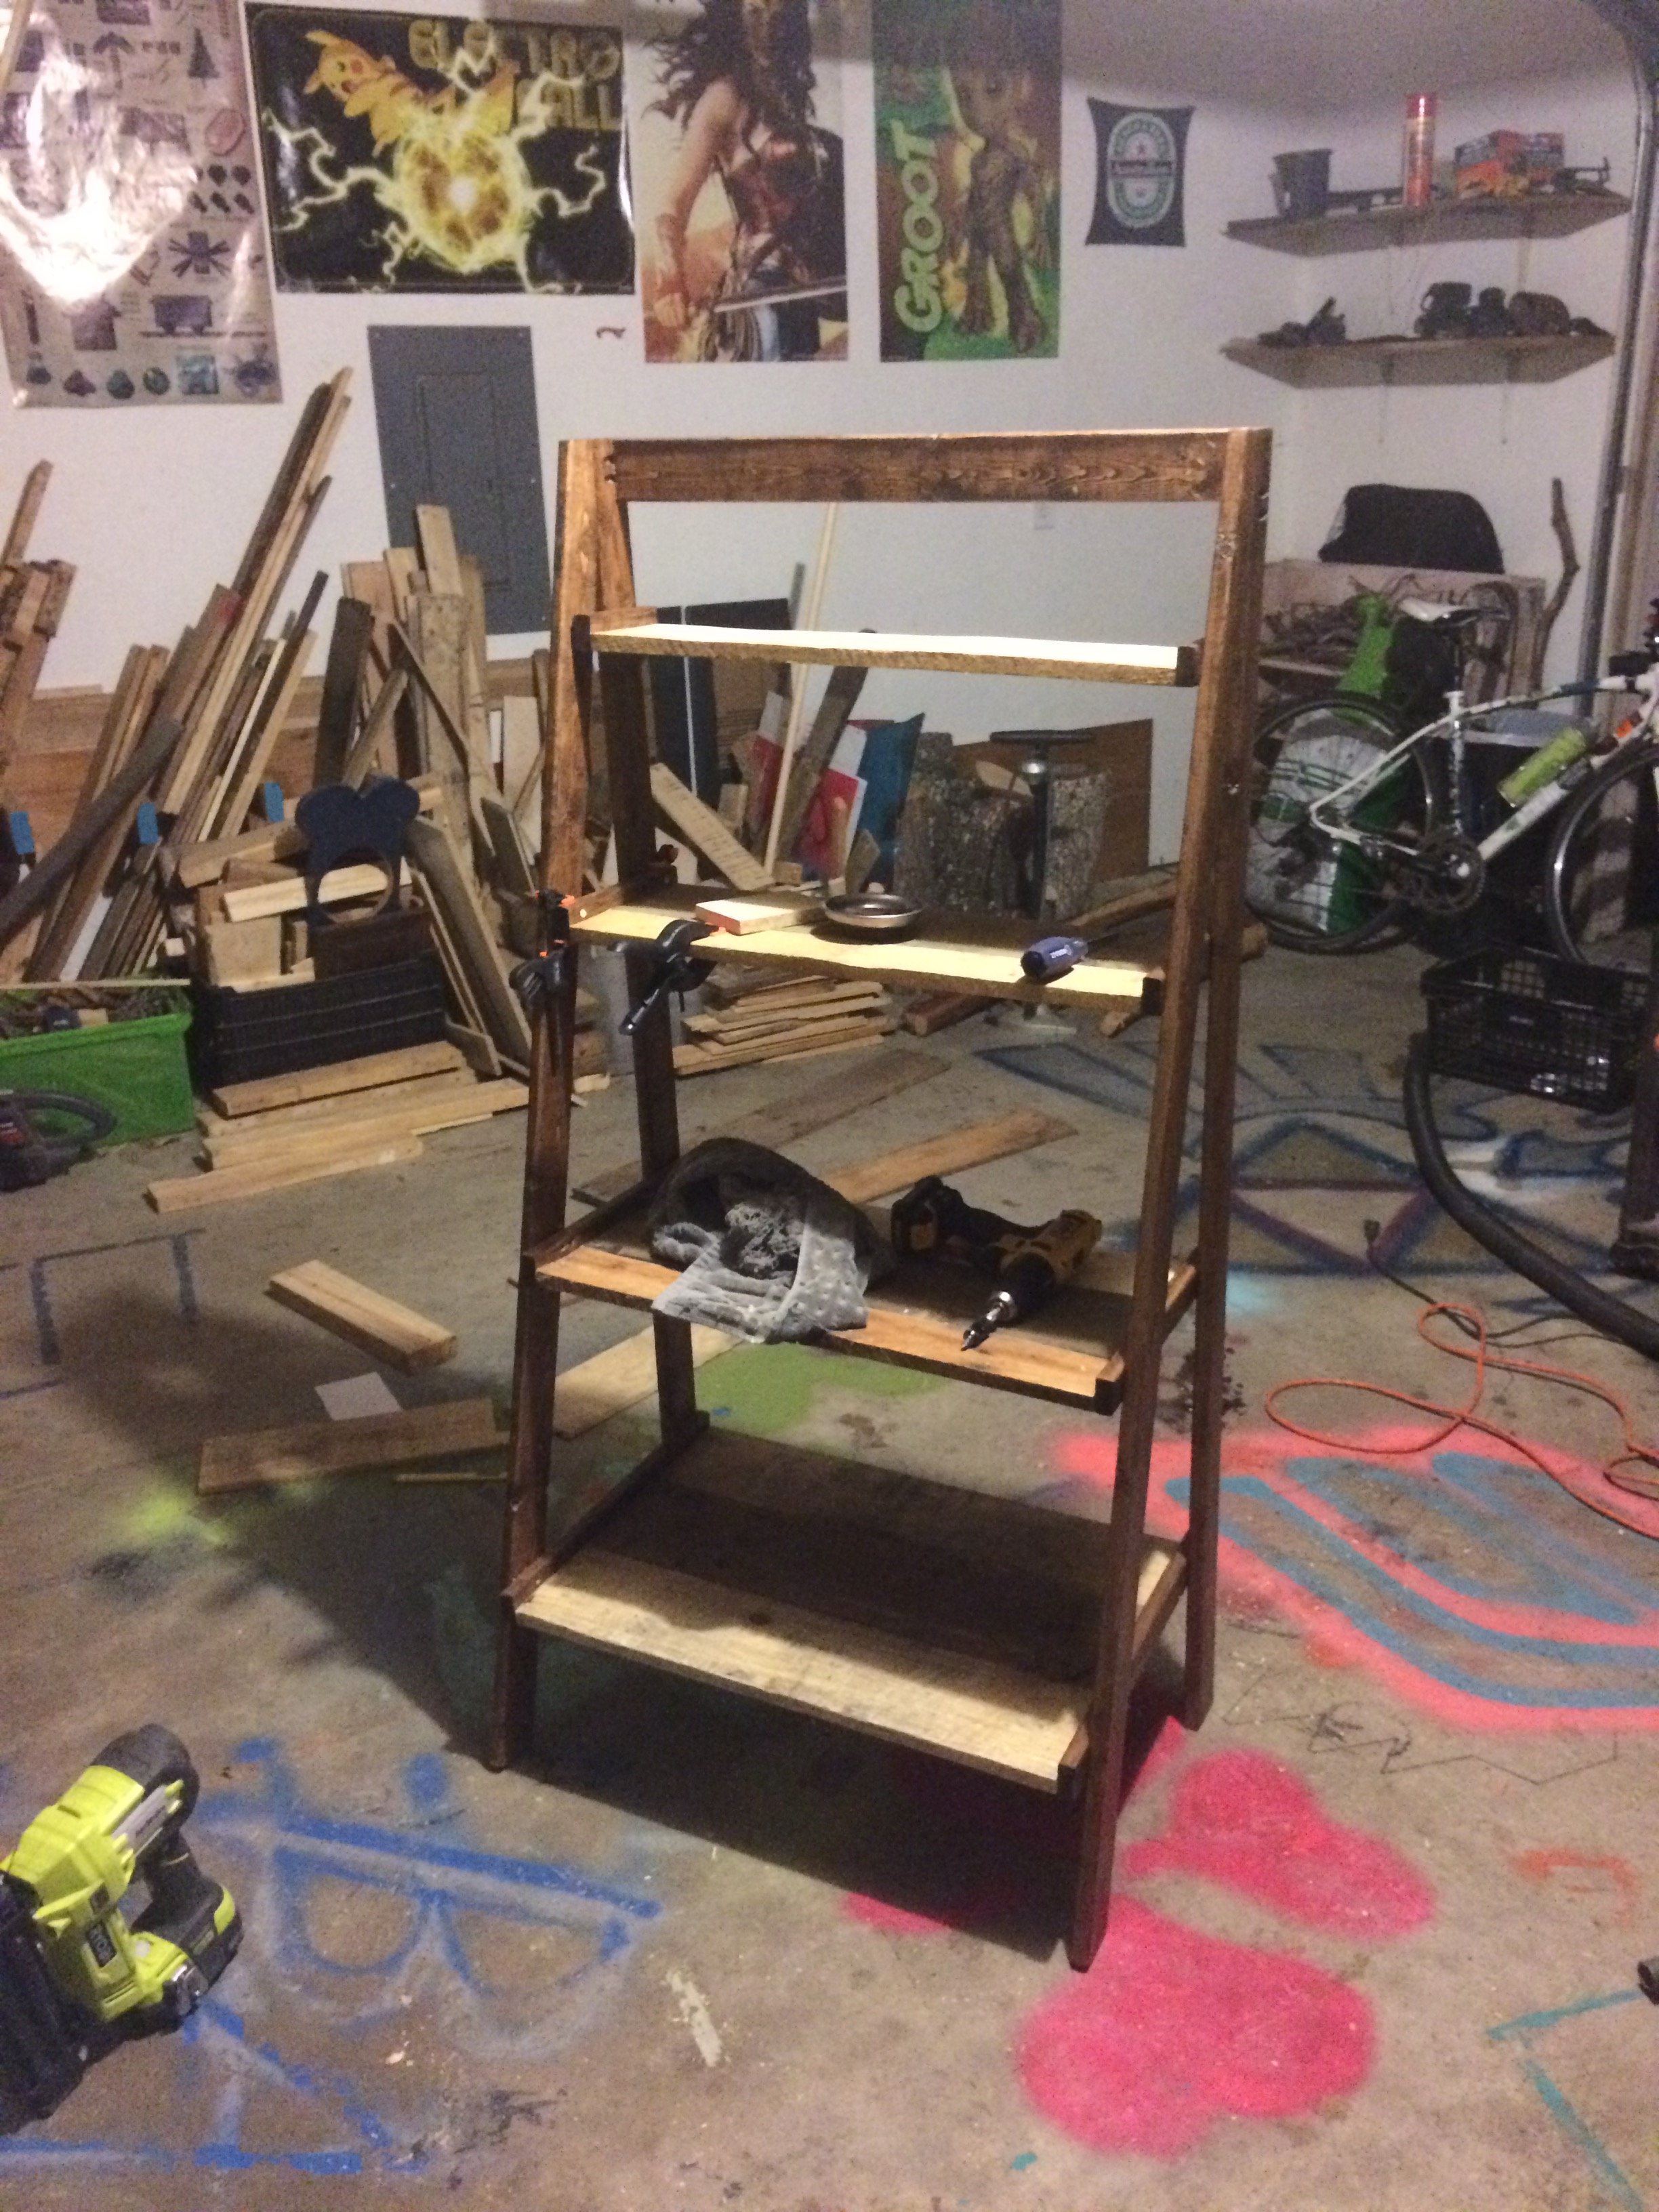
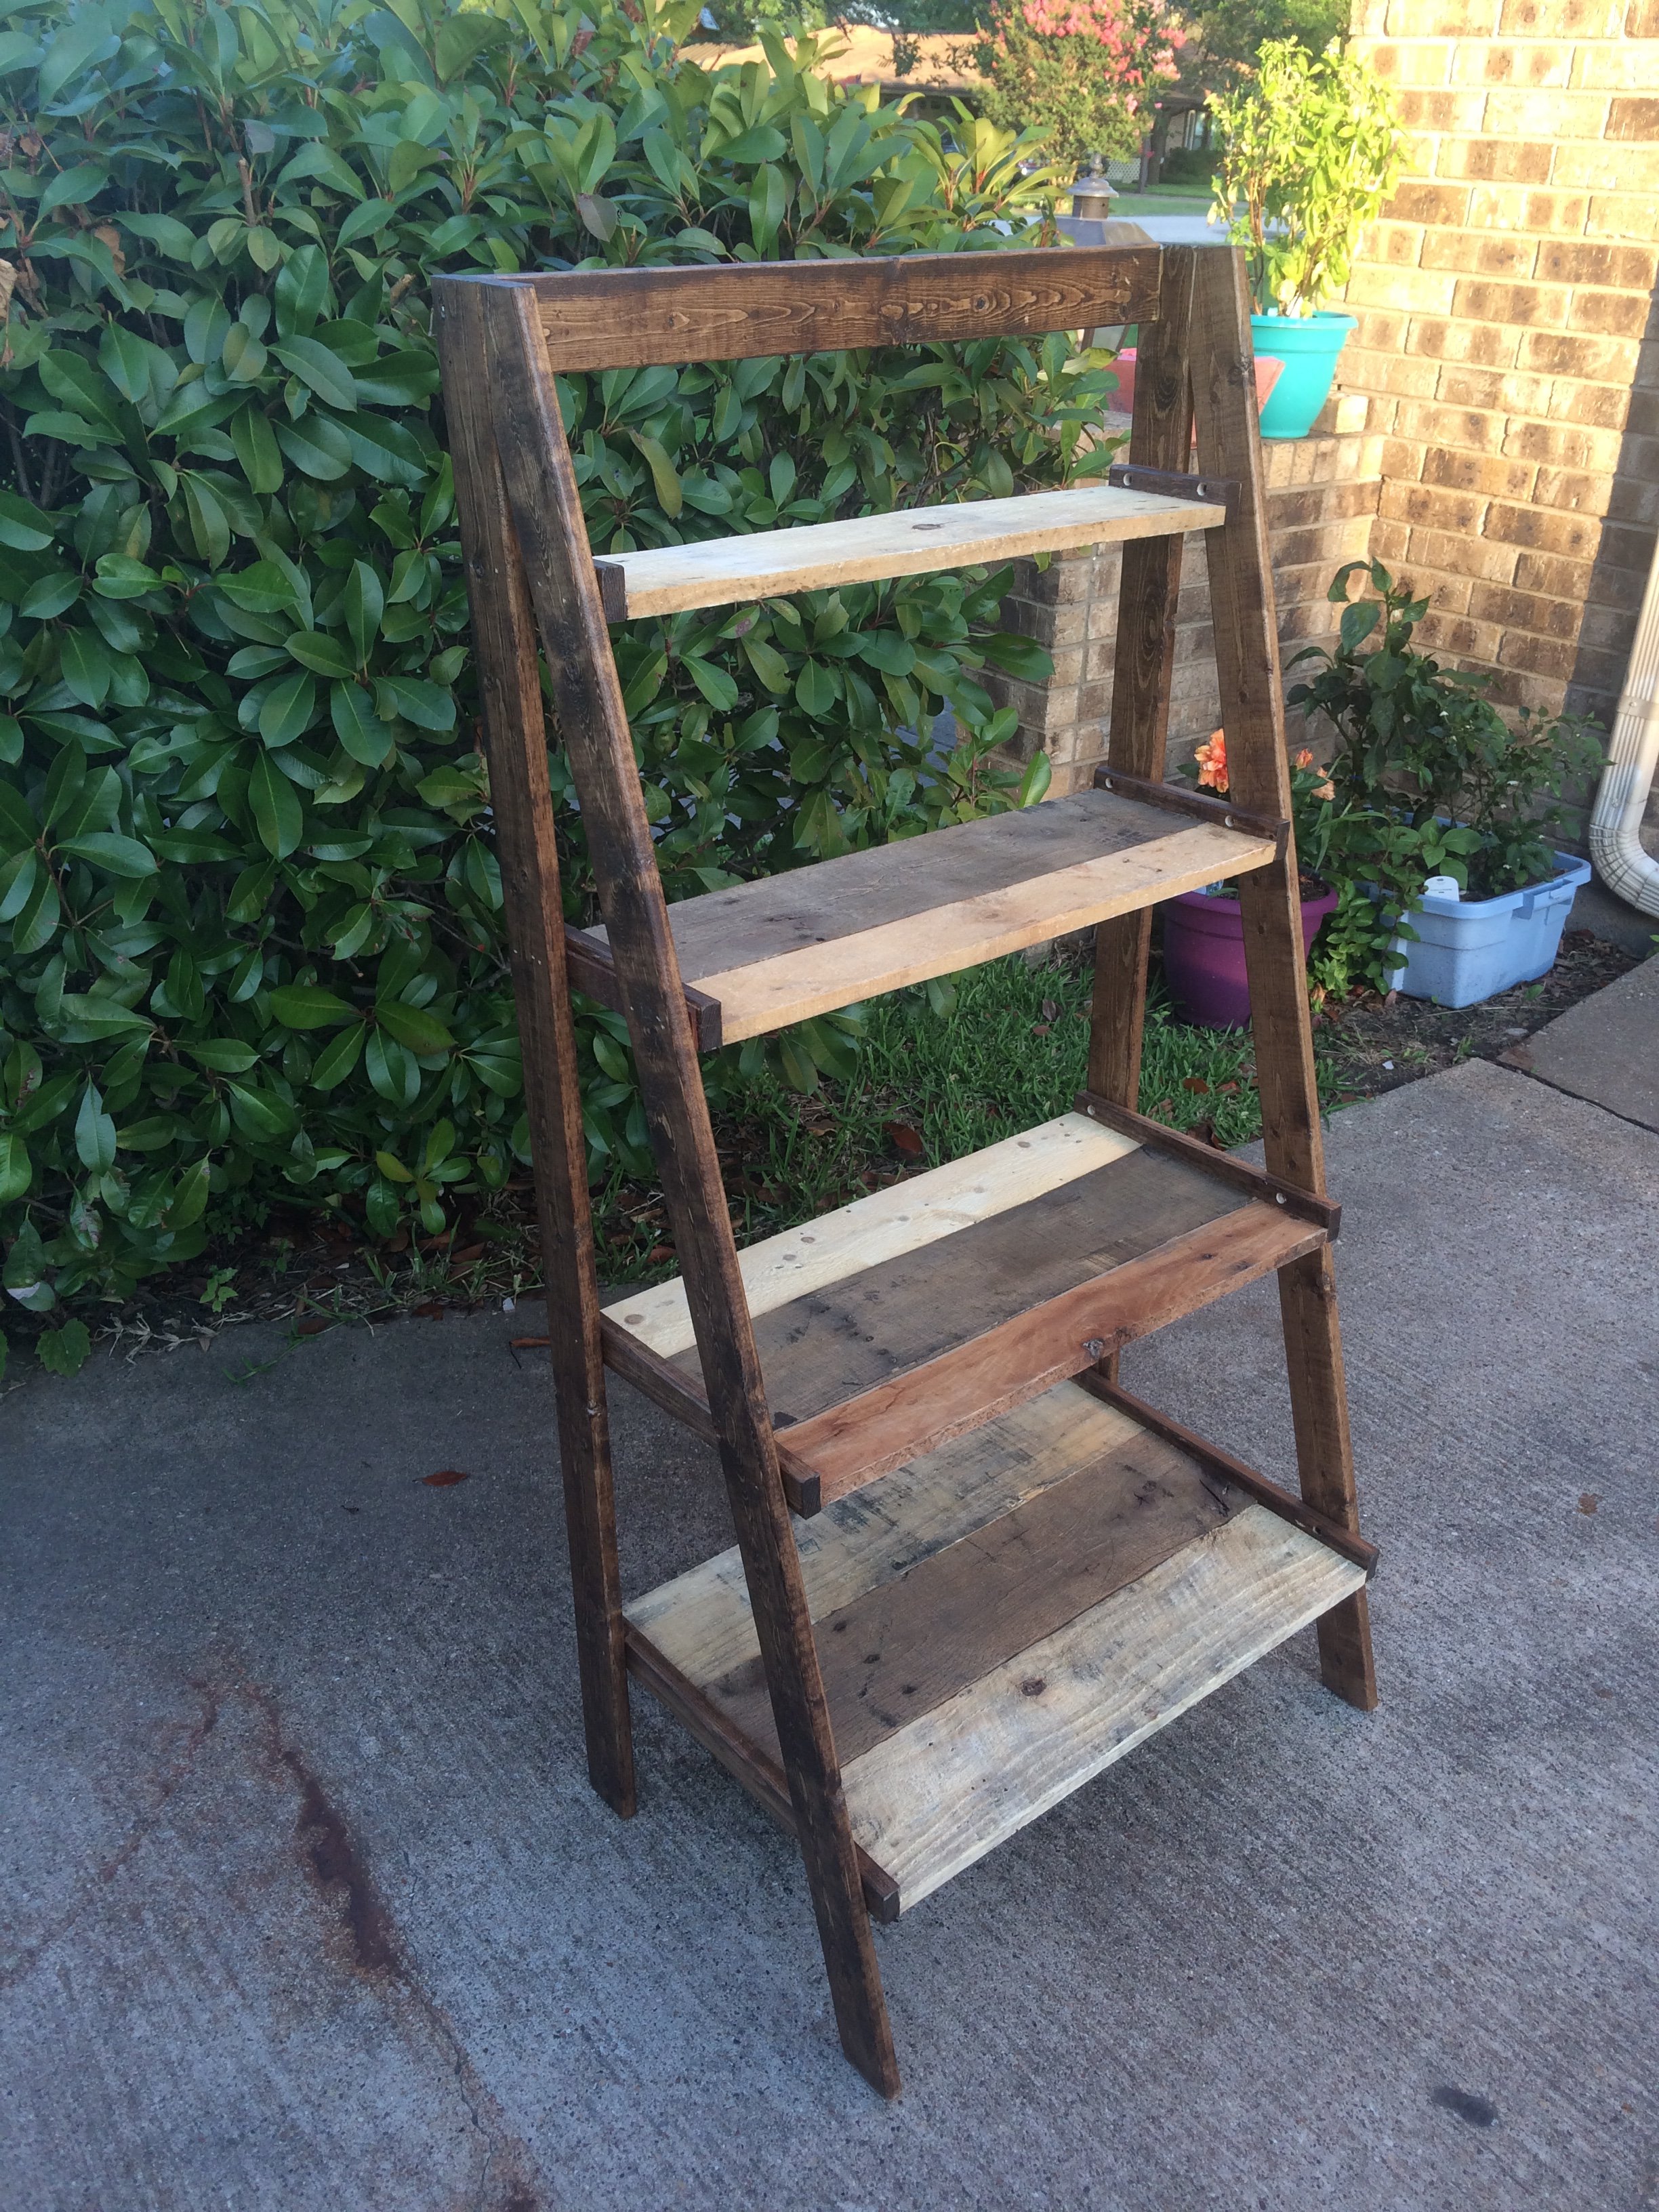
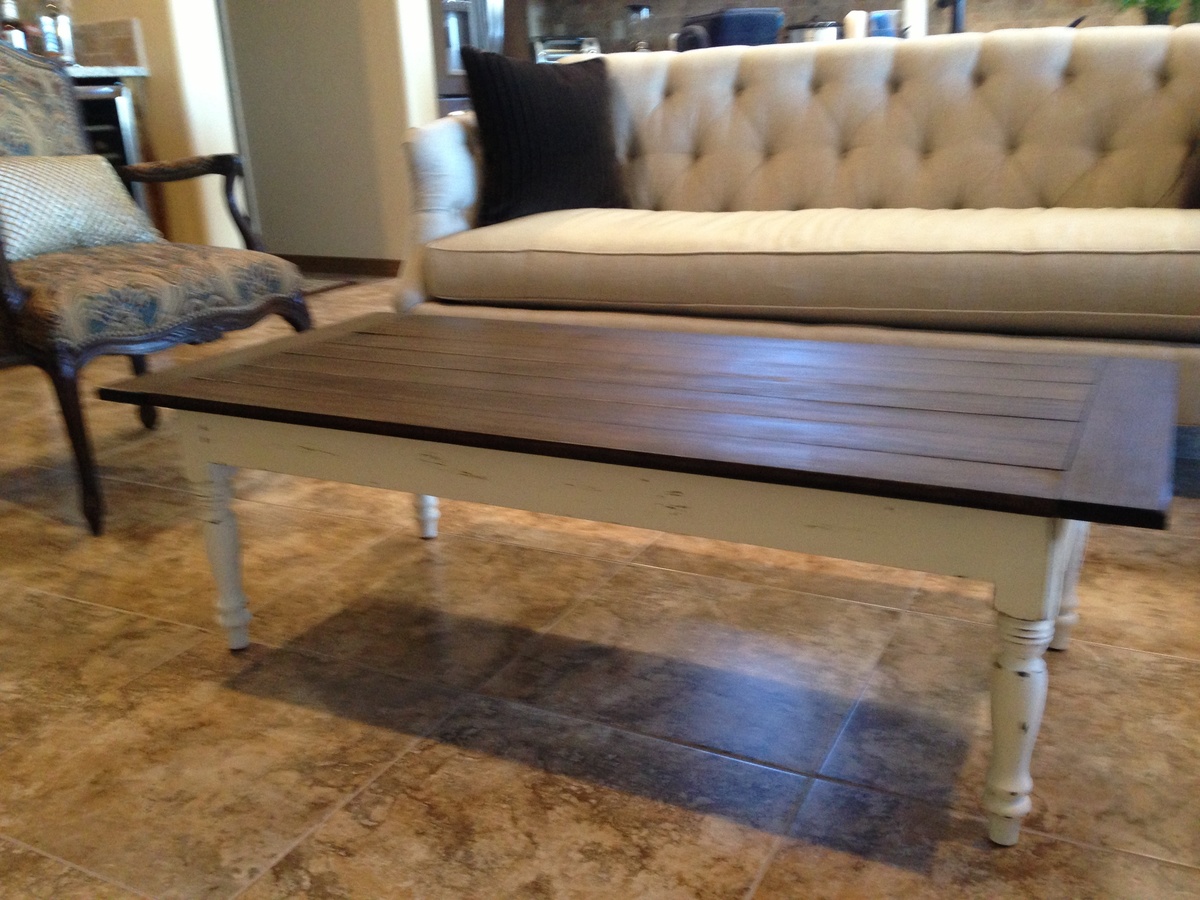
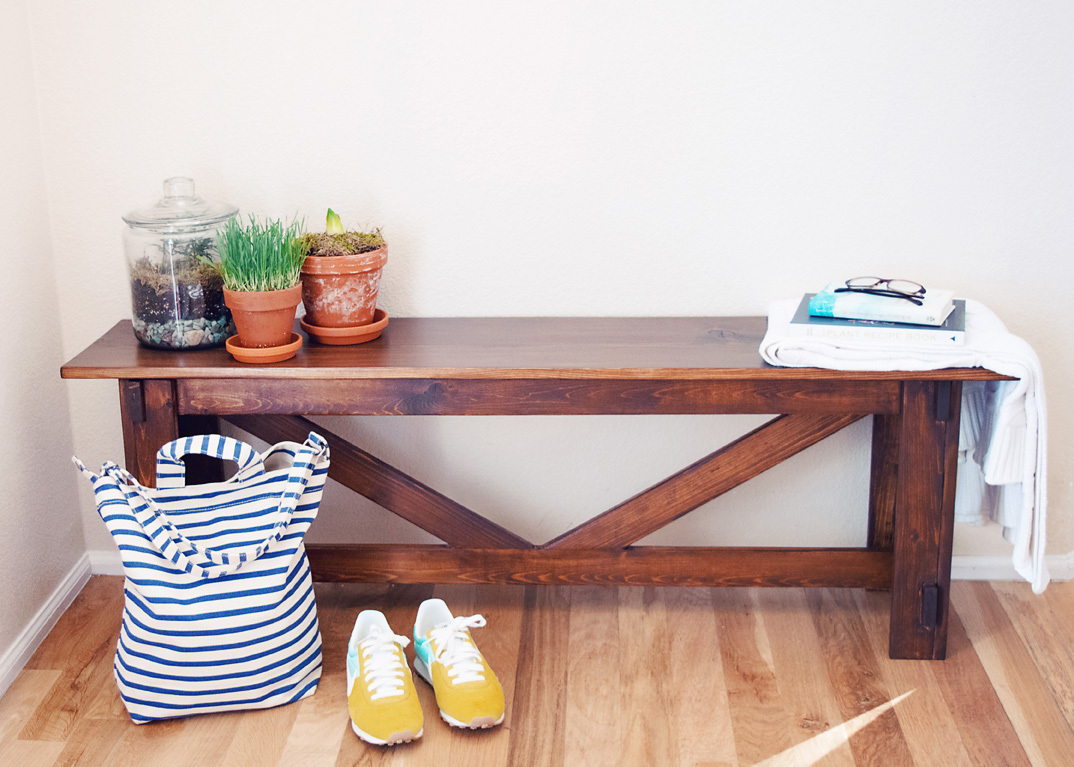
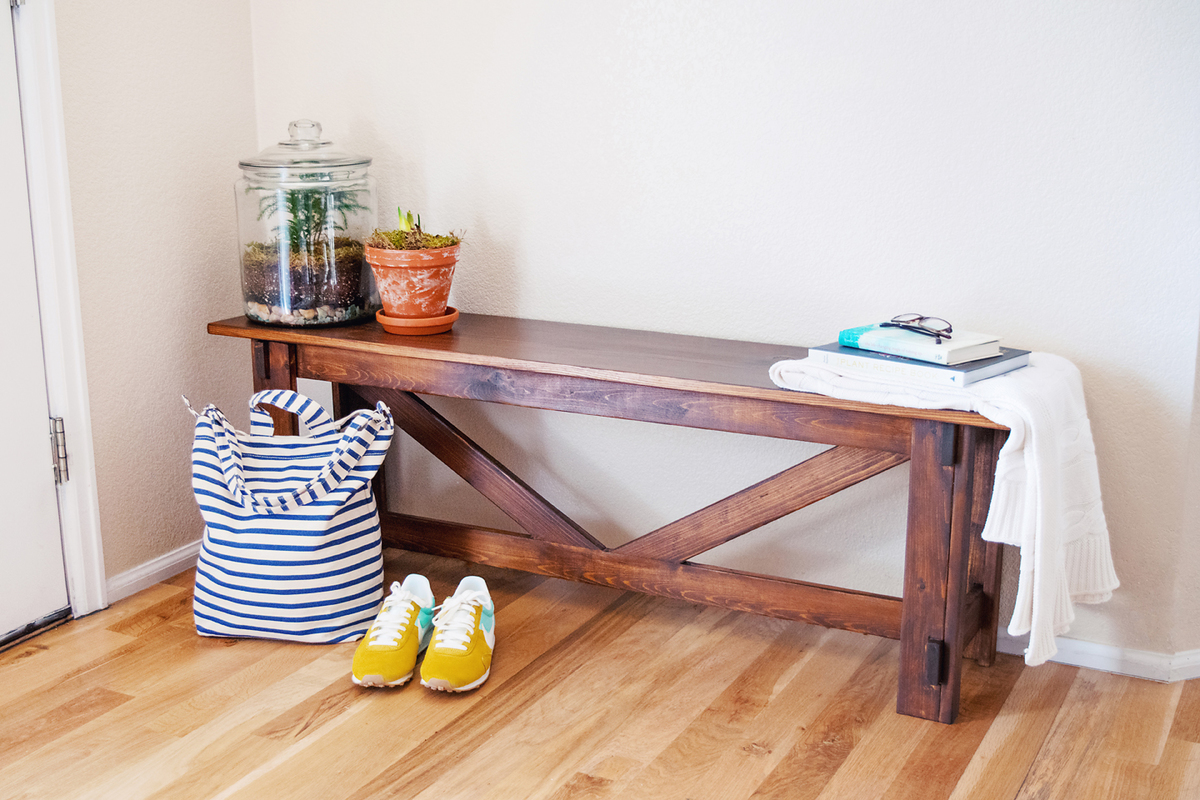
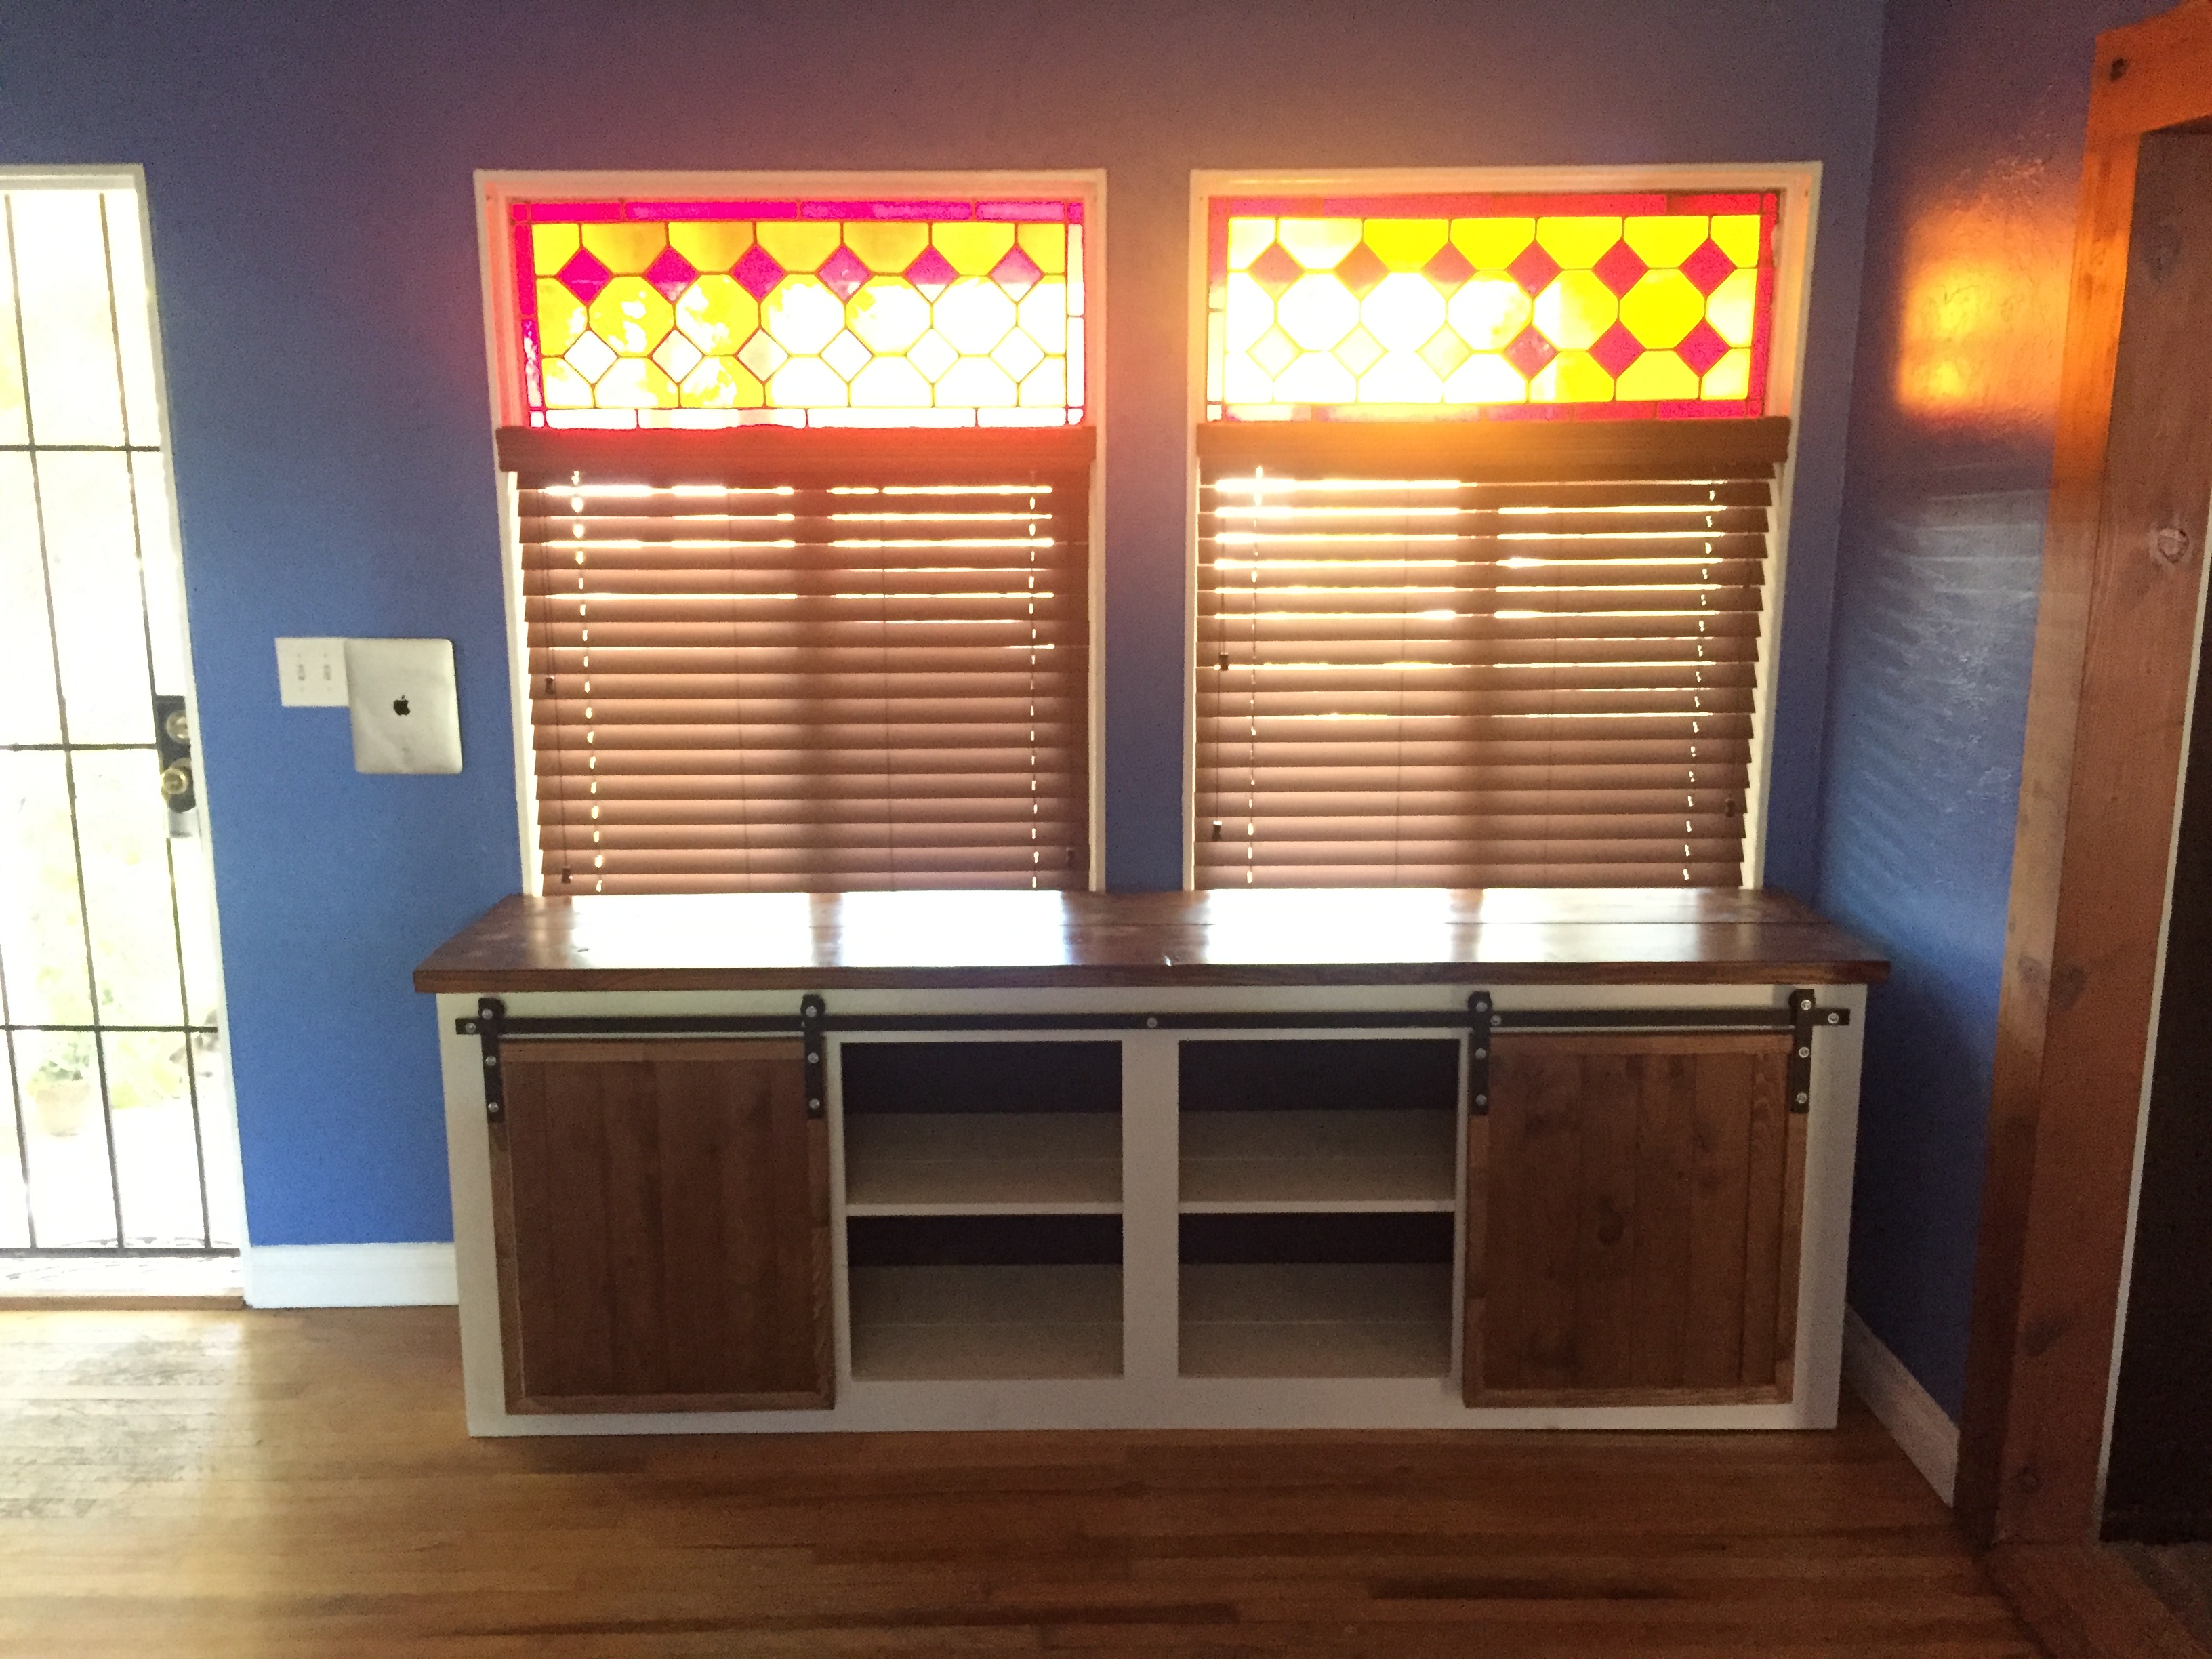
Entryway Table
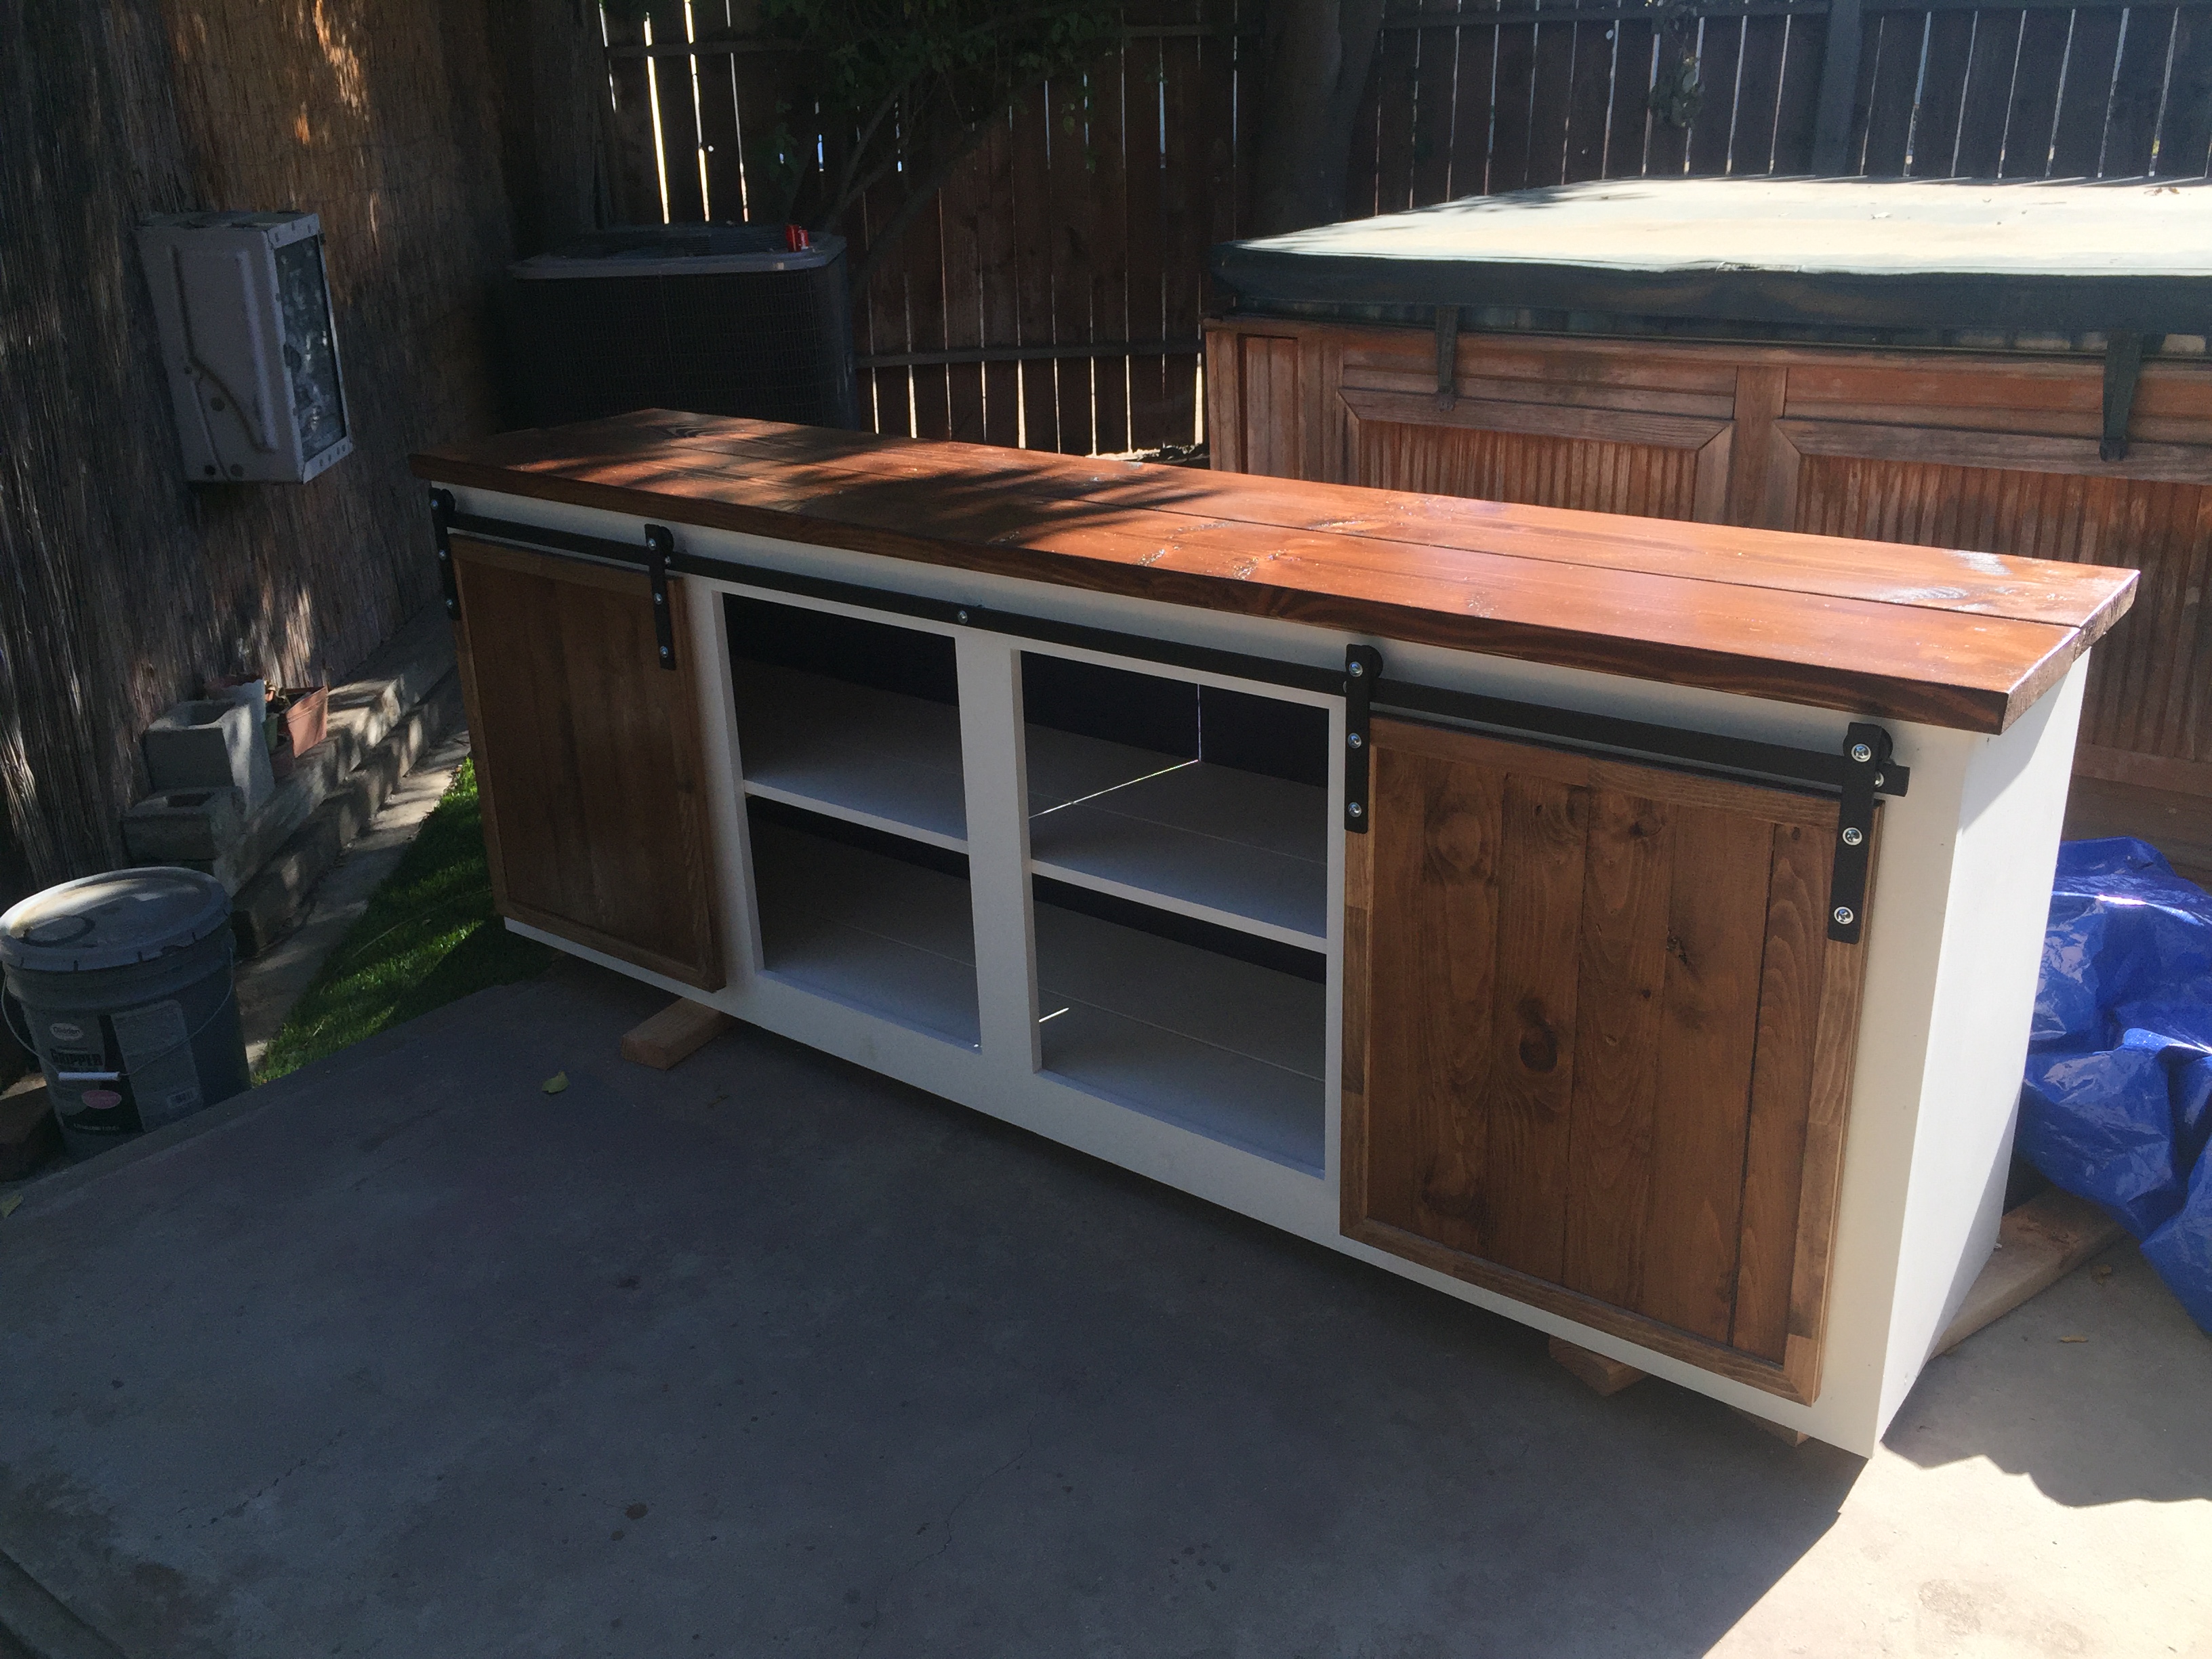
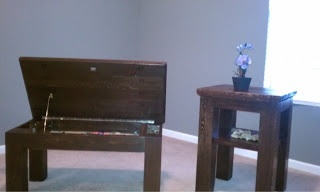
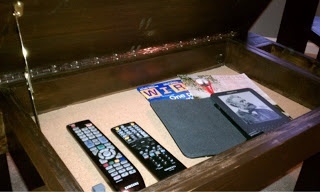
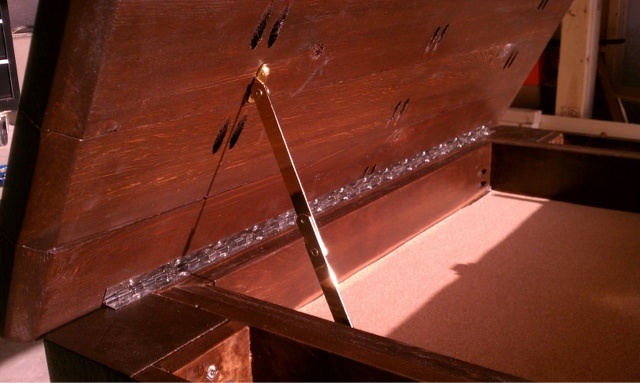
Great plans. Made a height adjustment to fit better in the space. I'm pretty new to the game but this was a great project to work with the Kreg Jig. Make sure if you are going to use the Kreg Jig to attach the table top, drill your pocket holes on the under side of the frame BEFORE you install your middle shelf... I made that mistake and had to live with counter sinking 2 1/2 screws from the top. For the door hardward: Home Depot had awning pulleys that allowed you to take the pin out for easy extraction, make sure to find some that have little spacers in the middle so you can keep the wheel from locking up.
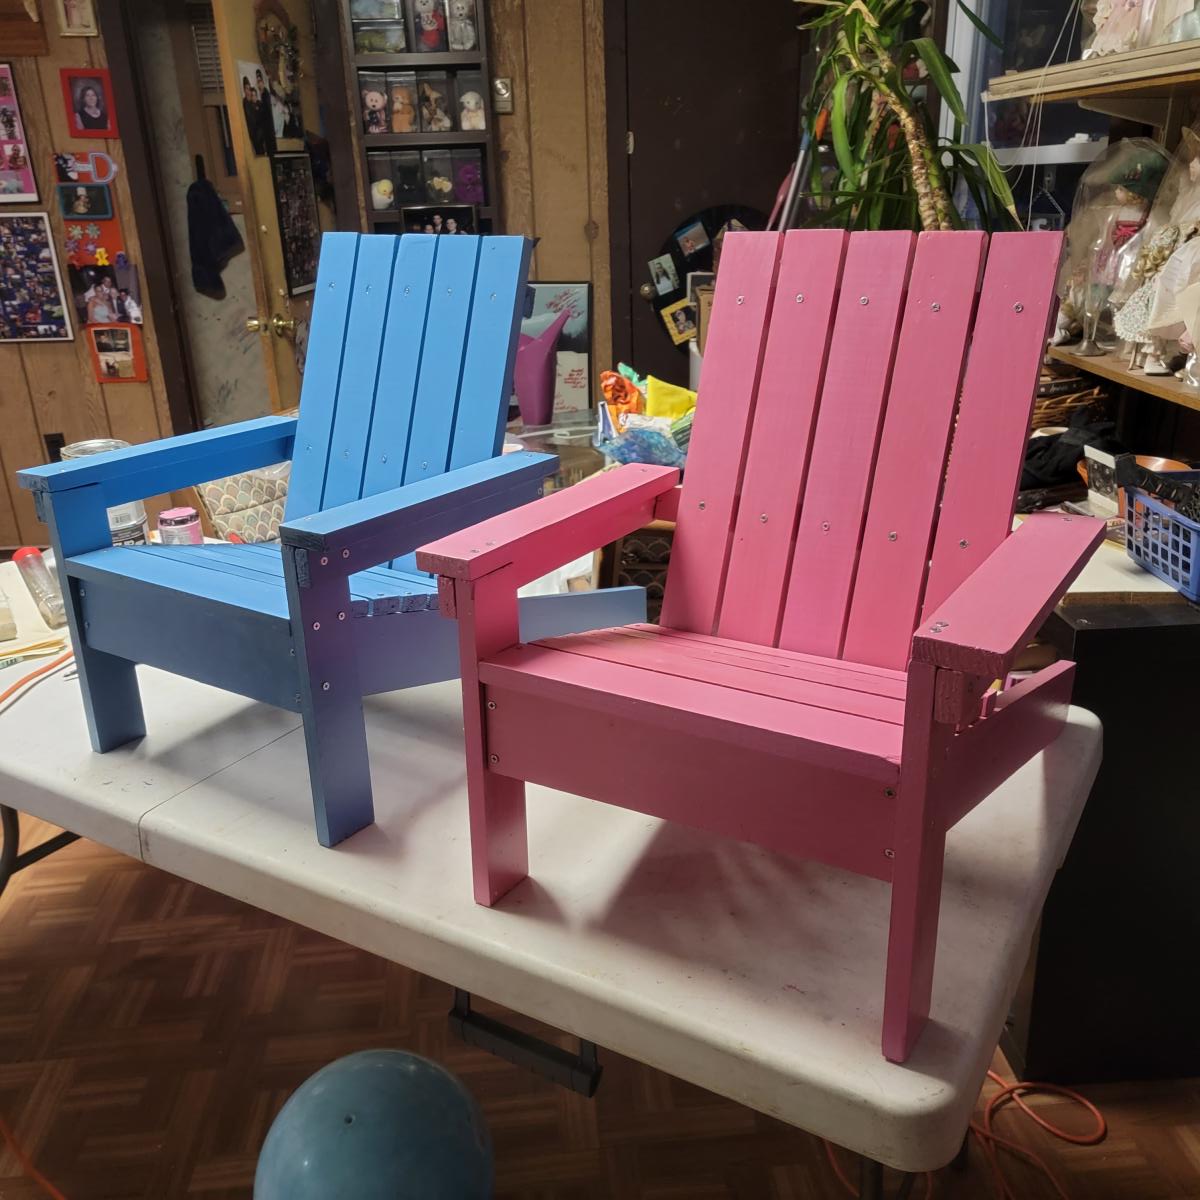
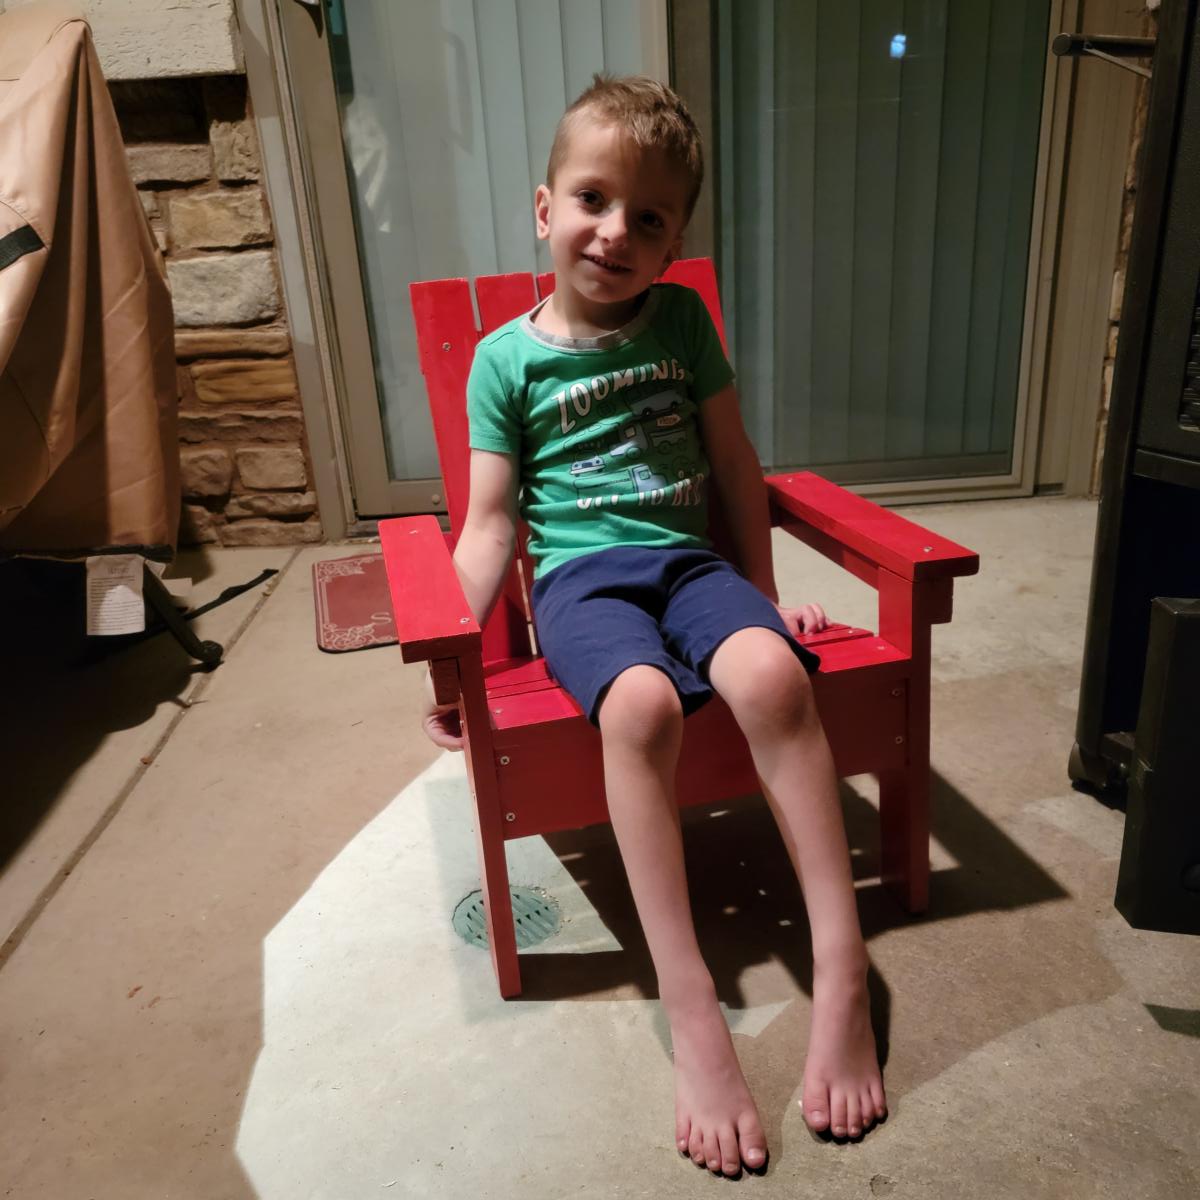
Really excited to keep on building!

Built from Plan(s)
Estimated Cost
$300
Estimated Time Investment
Weekend Project (10-20 Hours)
Finish Used
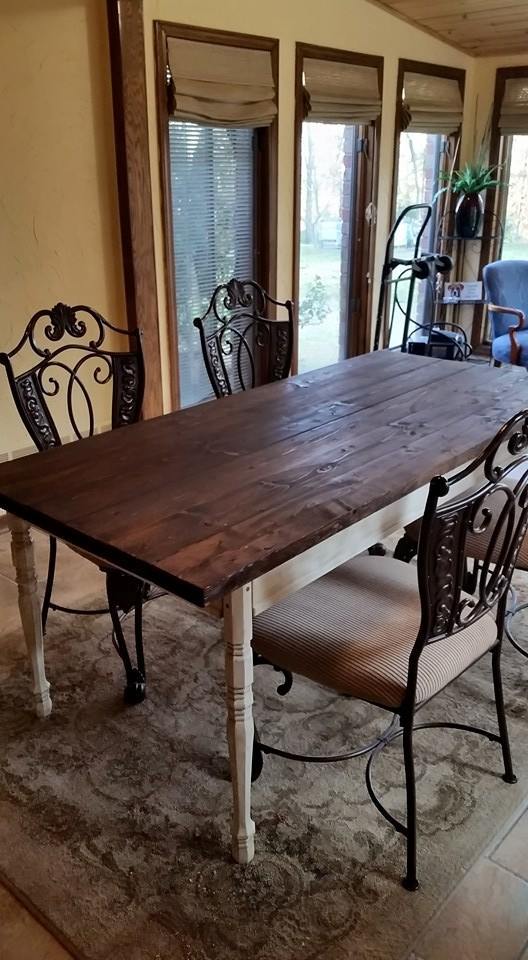
White Paint
Dark Walnut Semi-Gloss Stain with Poly
Dark Walnut Semi-Gloss Stain with Poly
Recommended Skill Level
Beginner