Community Brag Posts

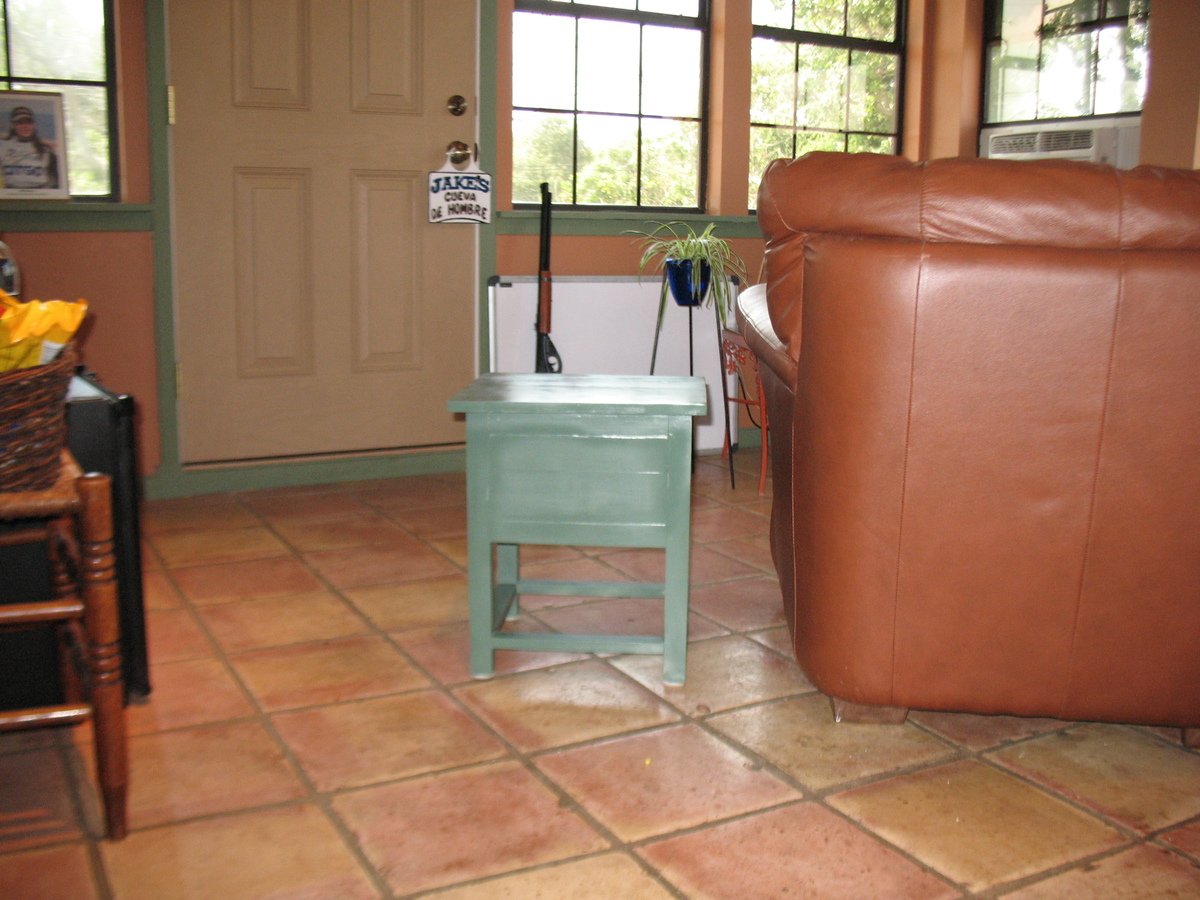
Mini-Mini Farmhouse Table

Submitted by Jake on Wed, 05/02/2012 - 13:35

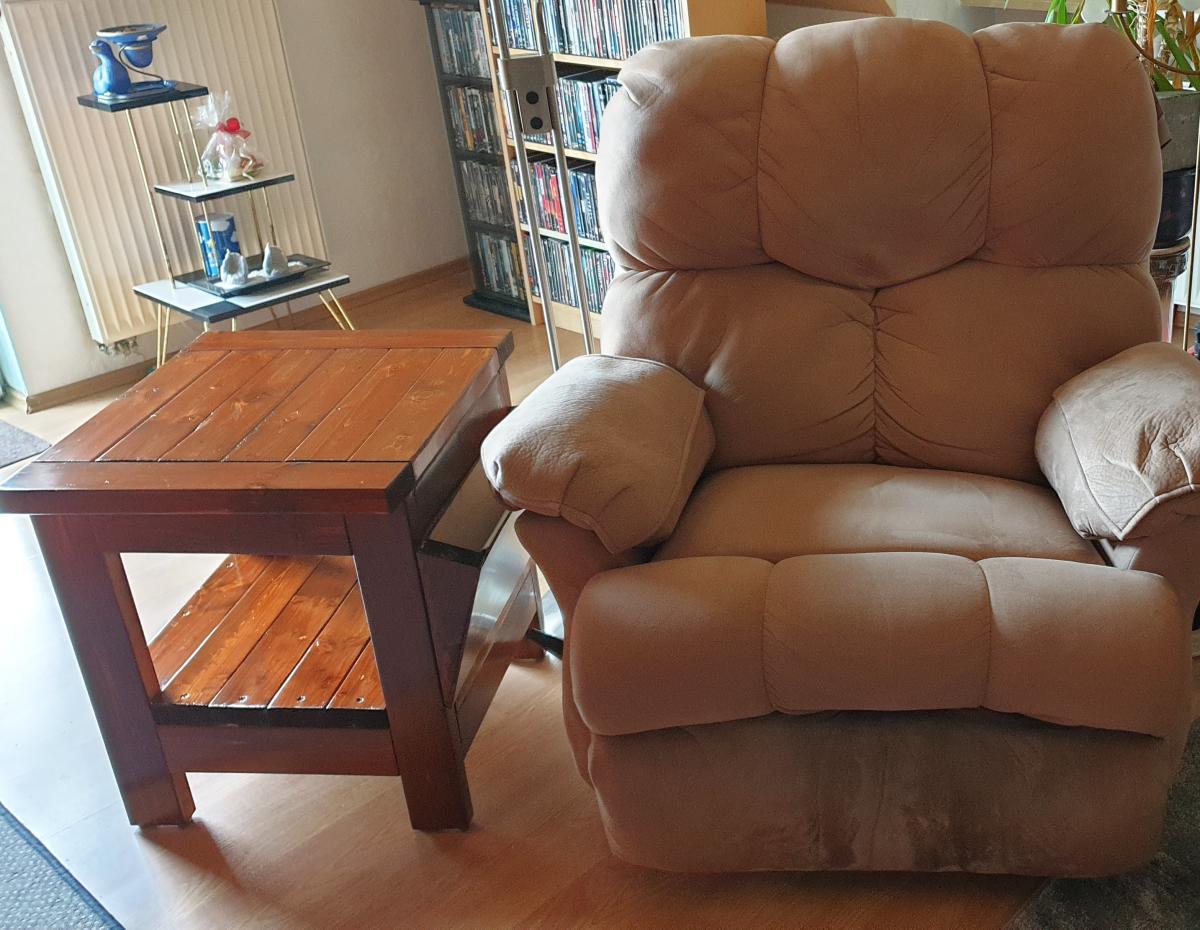
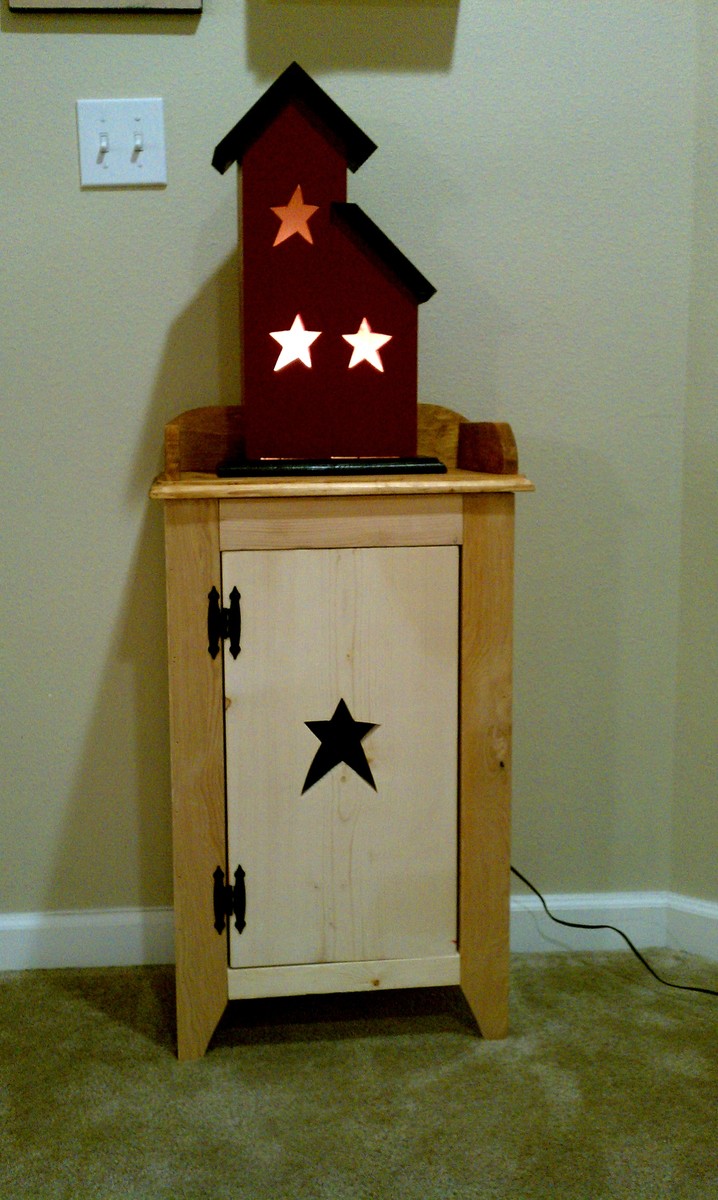
I took the suggestions for the Mini-Farmhouse Bedside Table and revised it a little further. First I cut the legs to 18" which gave me a total height of 19". I enclosed the back to avoid looking at the back of the drawer. I covered the drawer with a piece so it overlaps the drawer slot. Worked great at hiding some of my mistakes. From the pics you can see that it sits next to my easy chair in Mi Cueva de Hombre. Great project.

Built from Plan(s)
Estimated Cost
$40 includes knob ($2.40), Spray paint ($8)
Estimated Time Investment
Weekend Project (10-20 Hours)
Finish Used
One coat of Rustoleum primer and two coats of Spruce Green Rustoleum spray paint.
Recommended Skill Level
Beginner

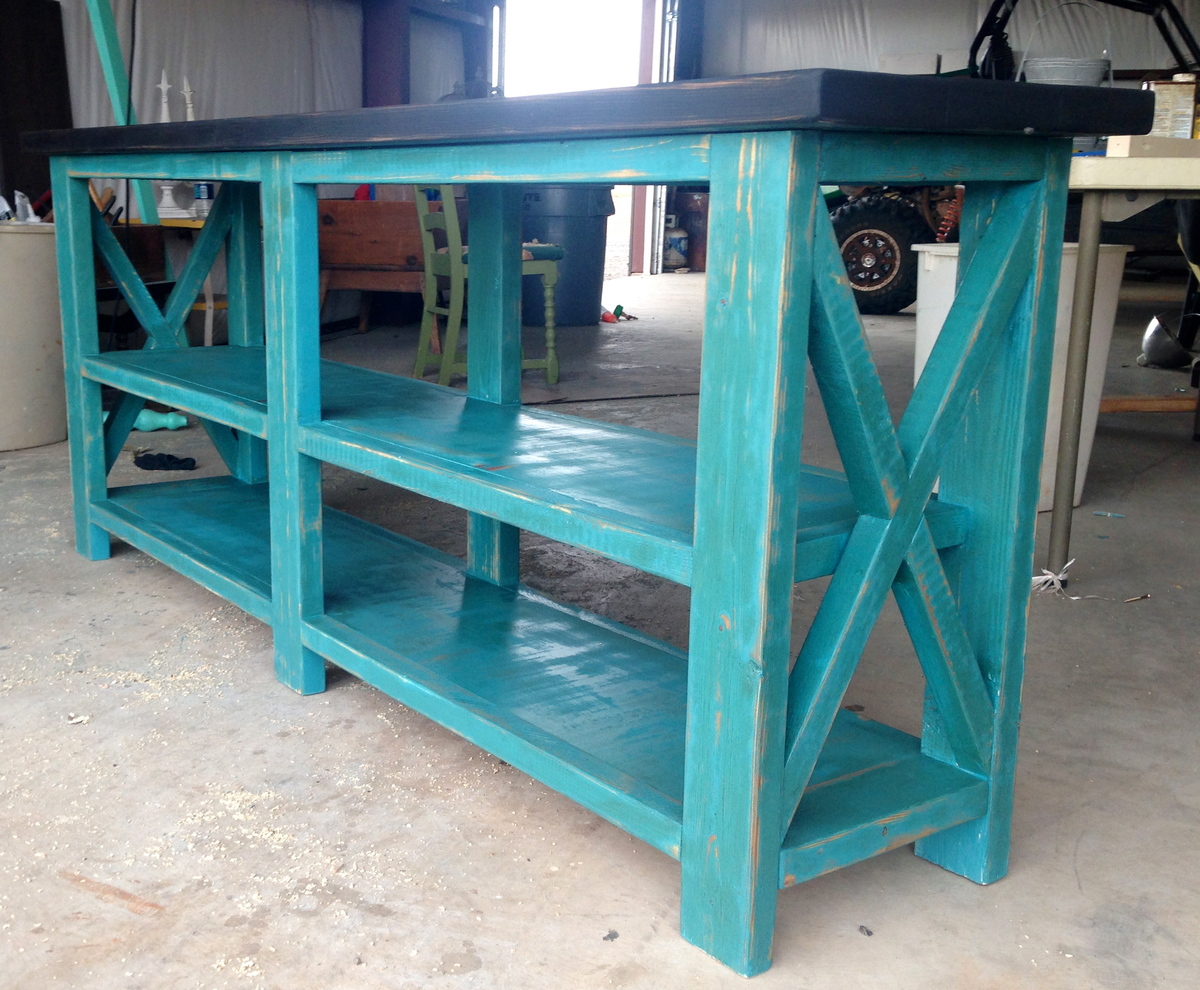
Rustic X Console

I made this Console following your step by step rustic X console plan. turned out great! I love your site!

Estimated Time Investment
Weekend Project (10-20 Hours)
Recommended Skill Level
Beginner

Comments

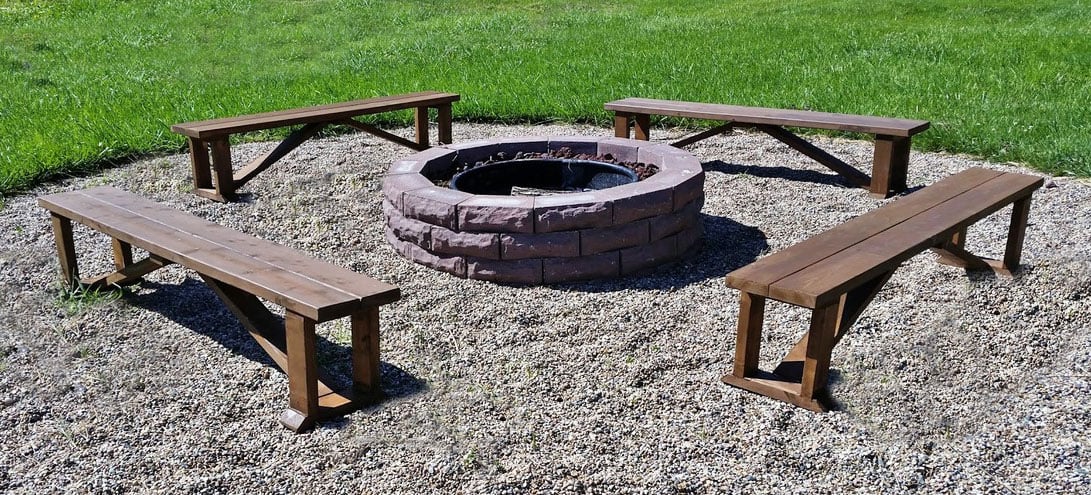
Happier Homemaker Outdoor Firepit Benches

I built these benches out of cedar, which added considerable cost to the job.  The total cost for four benches (including stain) was about $240.  I used clear cedar and Sikkens outdoor stain in chocolate brown.  I also modified the plans slightly to create stronger joints, using rabbet and mortise joints and Titebond III (waterproof) glue.  This only slightly changed the dimensions, but I think it will make the benches last for years to come.  It did add some time to the plans, as I think butt joints would've taken only 2-3 hours total before sand and finish. 

Estimated Cost
$250
Estimated Time Investment
Afternoon Project (3-6 Hours)
Finish Used
Sikkens ProLuxe Semi-Transparent Chocolate Brown
Recommended Skill Level
Beginner

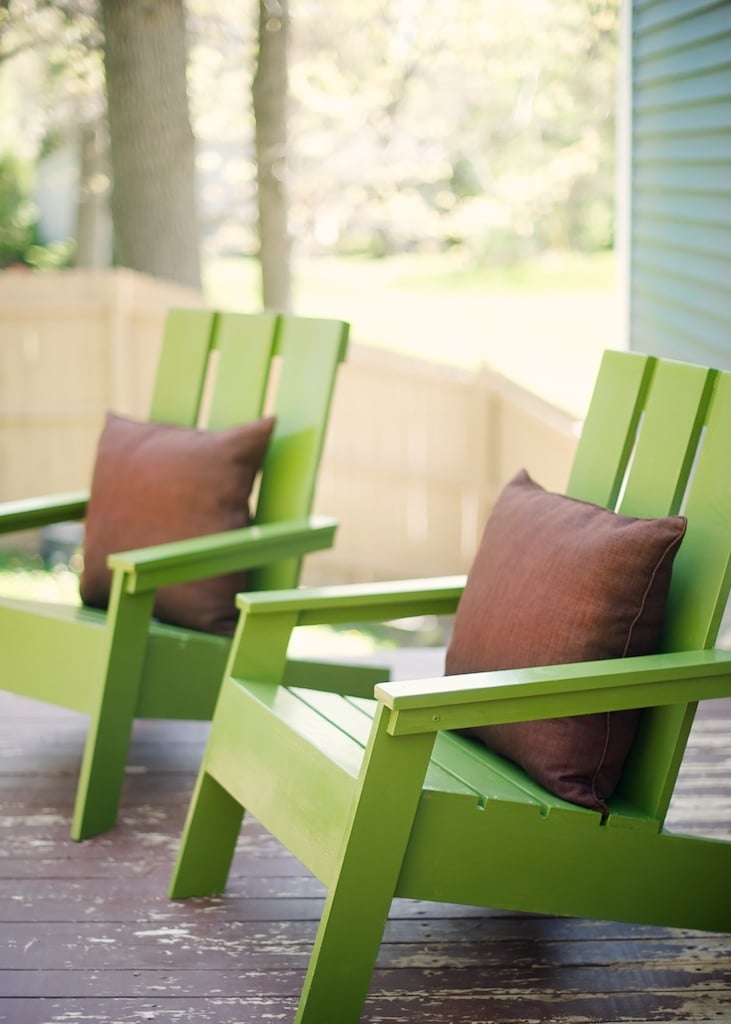
Modern Adirondack Chairs

We love how these modified 3-panel adirondack chairs turned out! The pillows were from Costco- $15 for a two pack.

Built from Plan(s)
Estimated Cost
$30 per chair
Estimated Time Investment
Afternoon Project (3-6 Hours)
Finish Used
The color used is Relentless Olive (SW 6425) from Sherwin Williams. These chairs got a coat of exterior primer and were finished with one quart of green high-gloss exterior enamel.
Recommended Skill Level
Beginner

Comments

Seasonal And Holiday

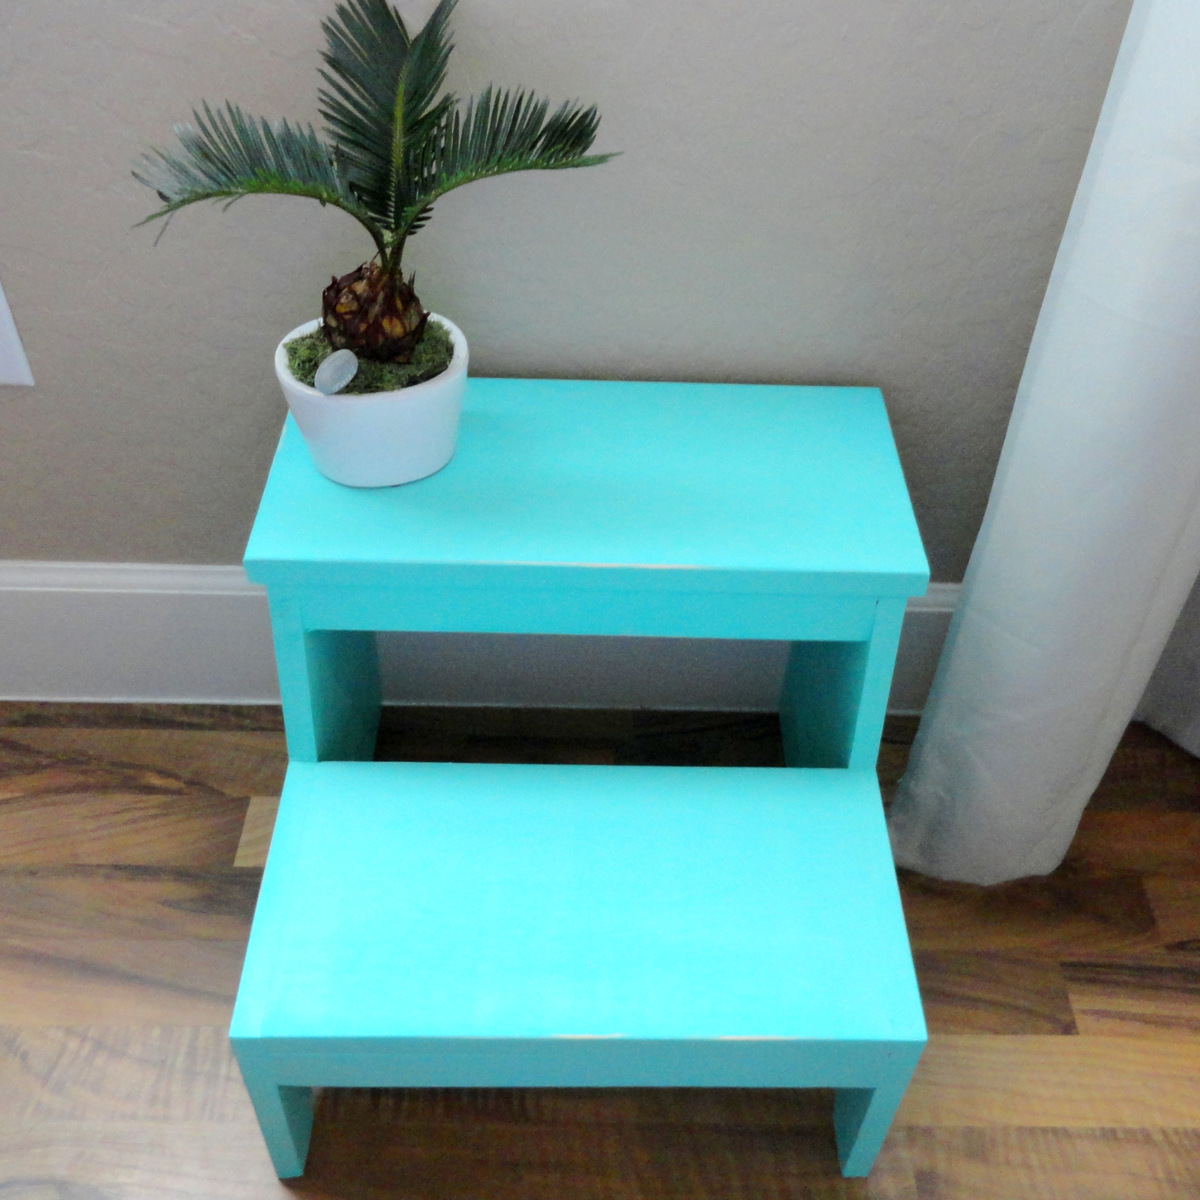
Vintage Step Stool

Submitted by sraper2 on Tue, 02/18/2014 - 20:10

I built this step stool recently and am so happy with the way it came out! I even learned that I'm not all that terrible with my jigsaw anymore haha. I painted it turquoise and distressed the edges a little bit. I also added some silicone to the bottom to prevent it from sliding out from under little ones. I have some of the build process up on my blog. Thanks!!

Built from Plan(s)
Estimated Time Investment
Afternoon Project (3-6 Hours)
Recommended Skill Level
Beginner

Comments

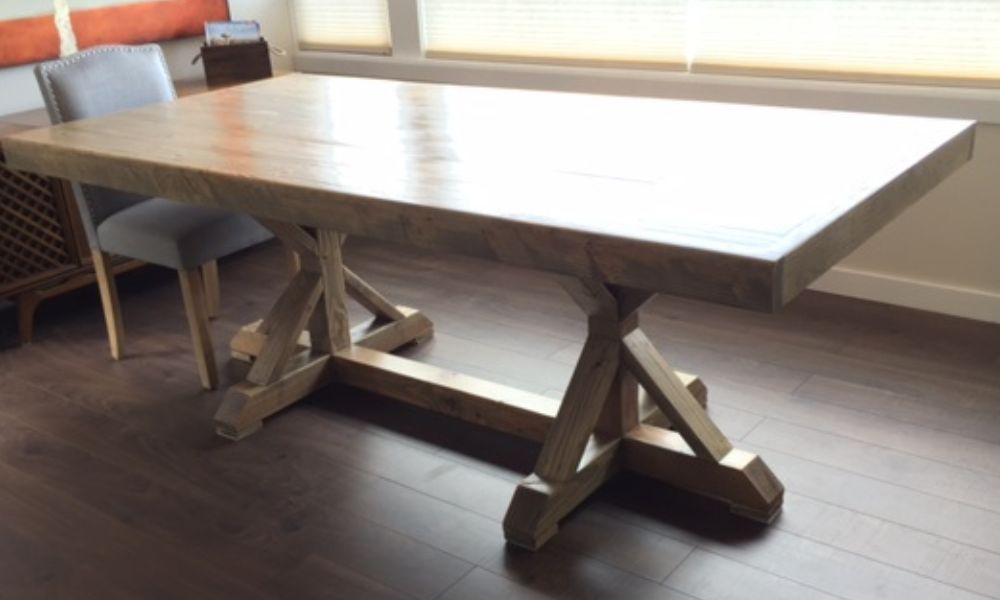
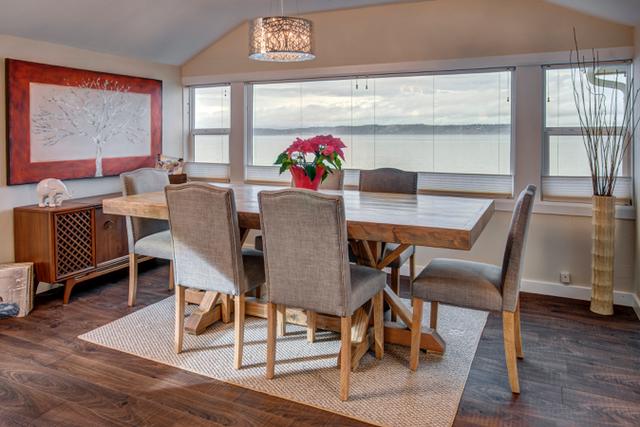
Restoration Hardware Inspired table

Submitted by EstebanM on Fri, 05/20/2016 - 10:31

Needed a classy table...

Purchased the chairs separetely. Sanded the legs from black paint back to wood, and stained them to match the table.

Estimated Cost
$150
Estimated Time Investment
Week Long Project (20 Hours or More)
Finish Used
Weathered Oak with a satin seal
Recommended Skill Level
Intermediate

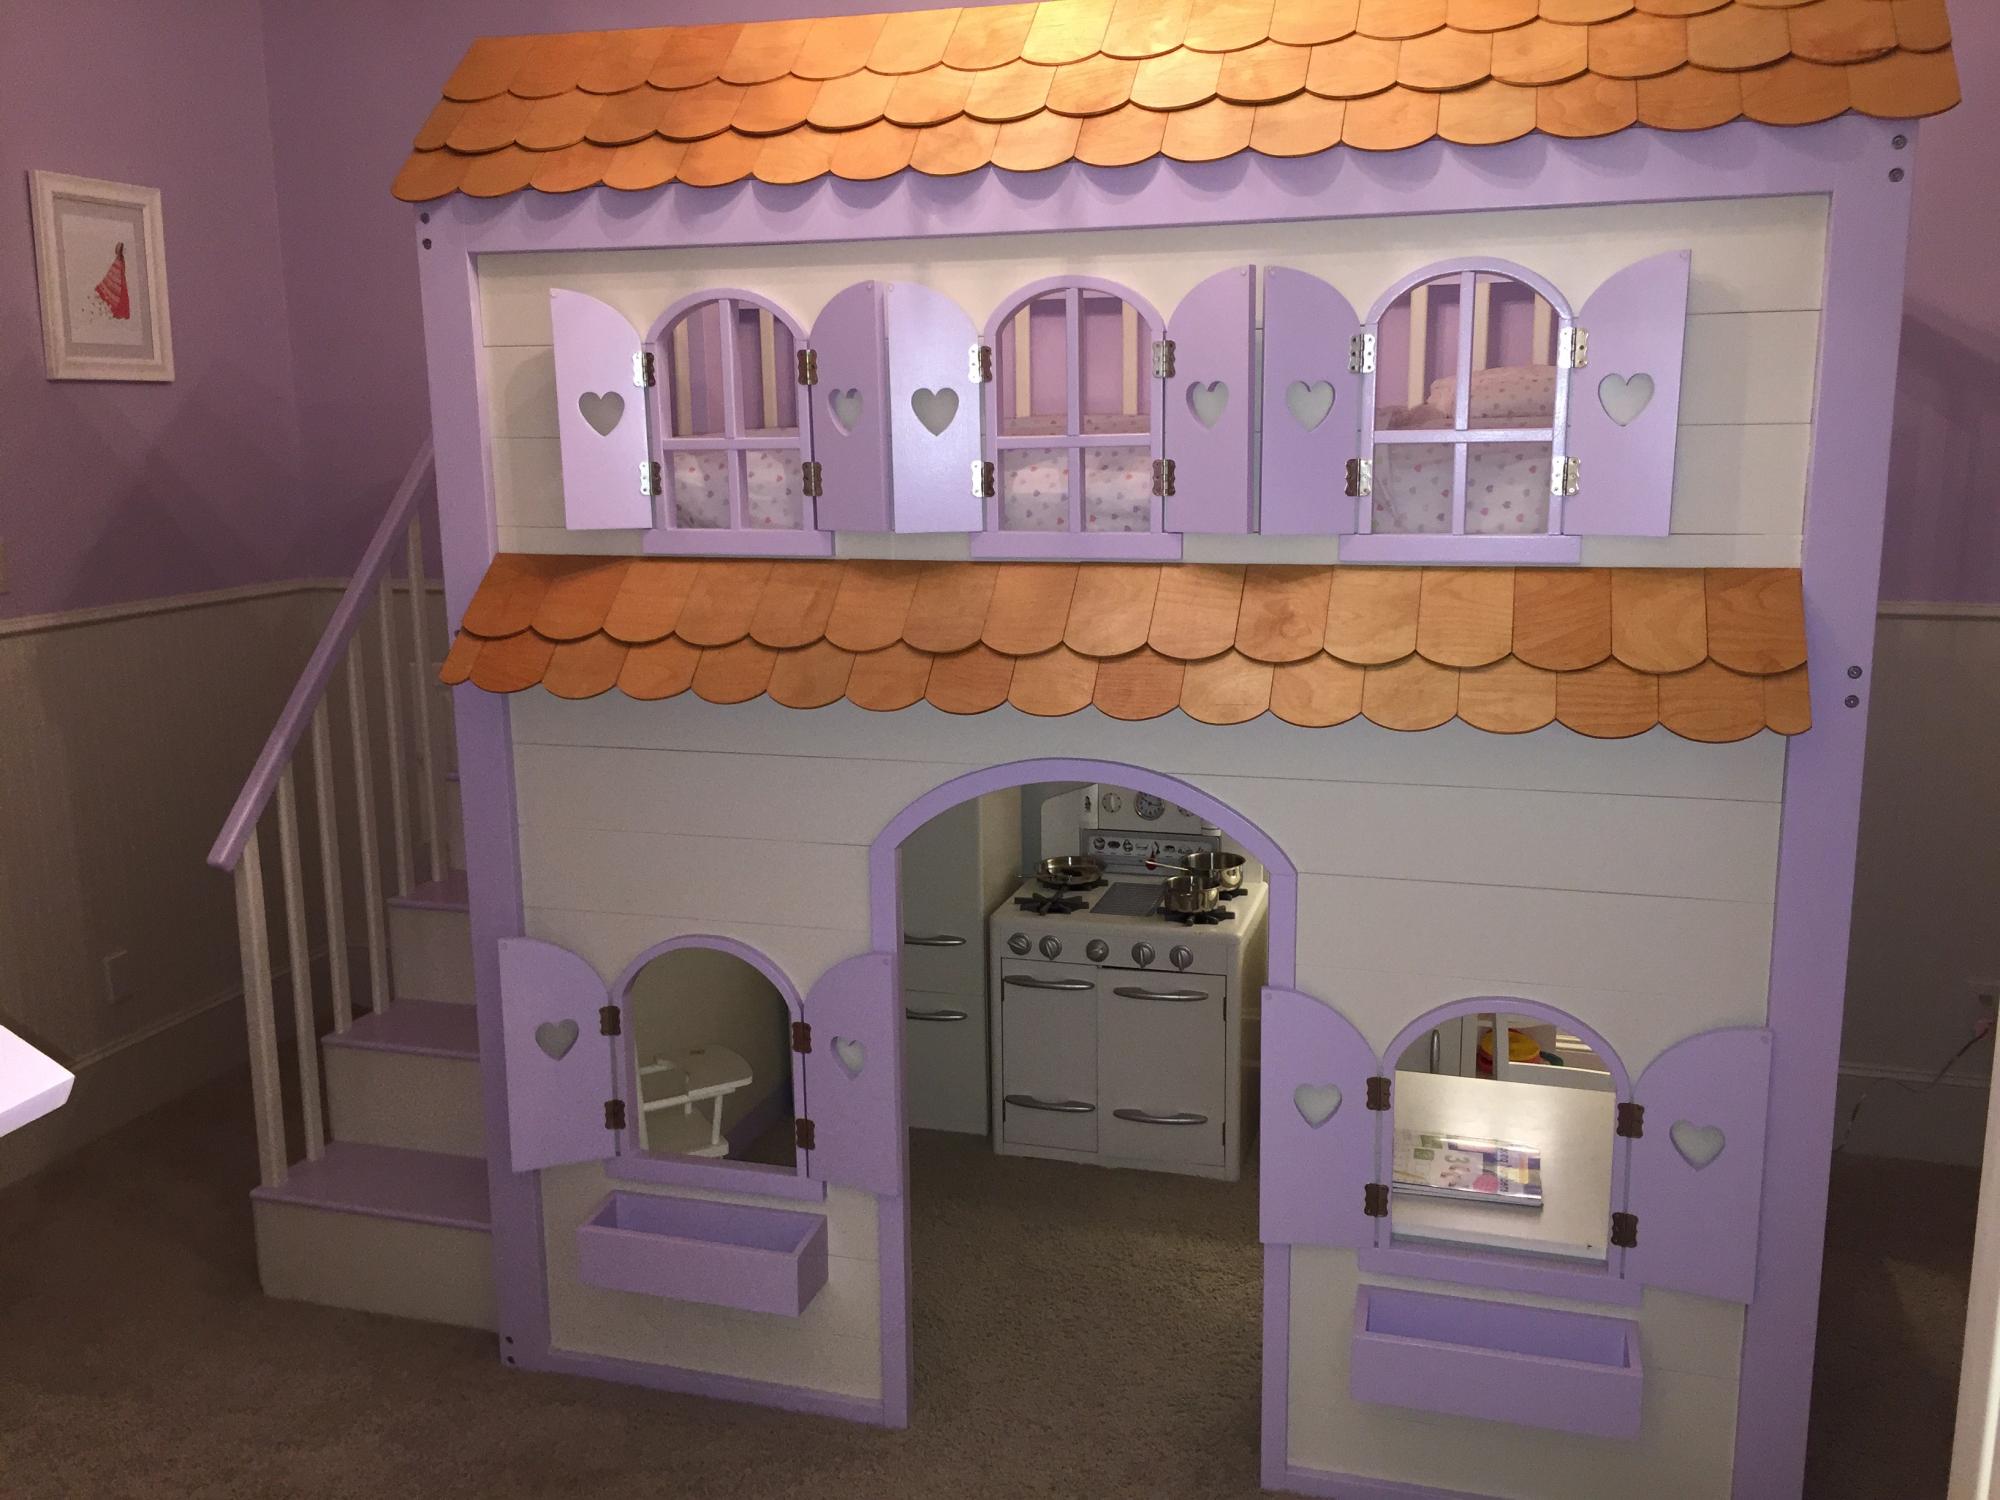
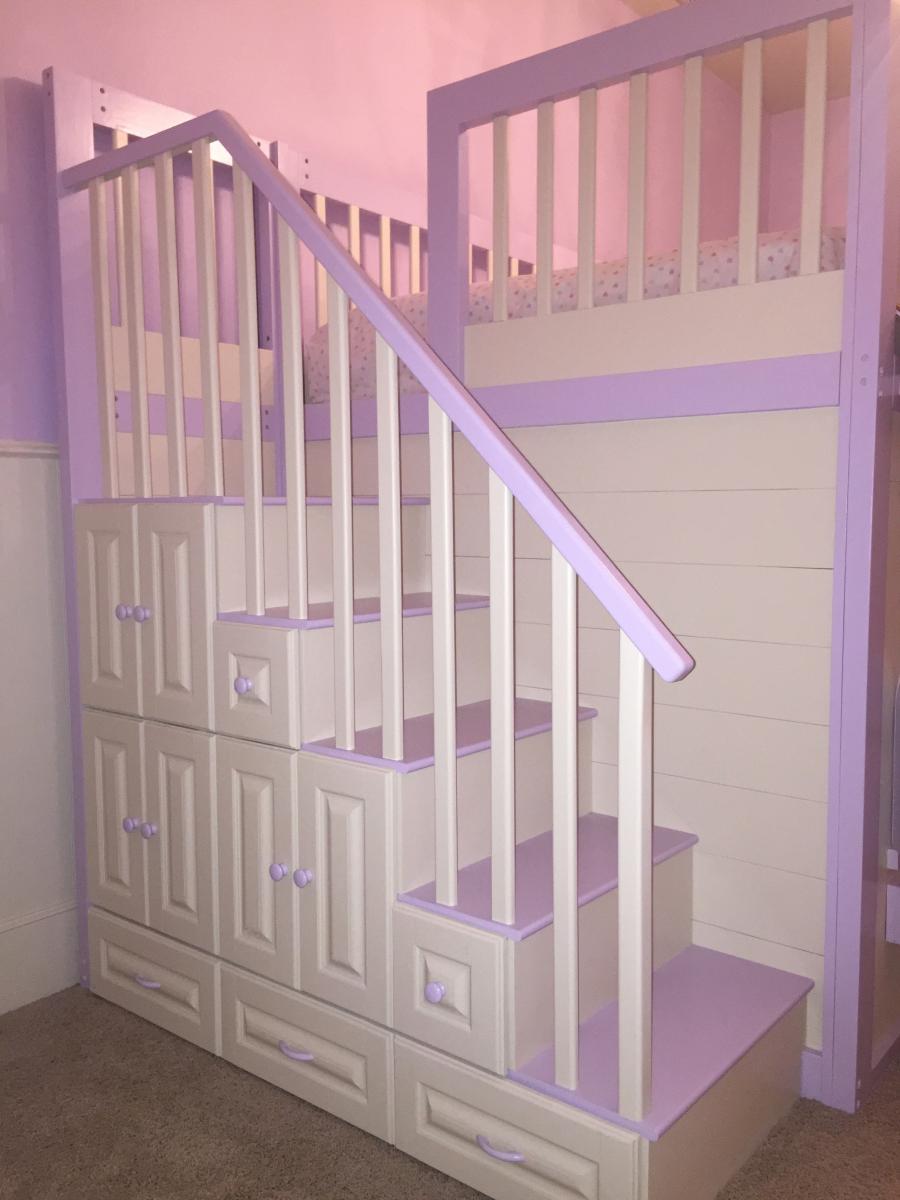
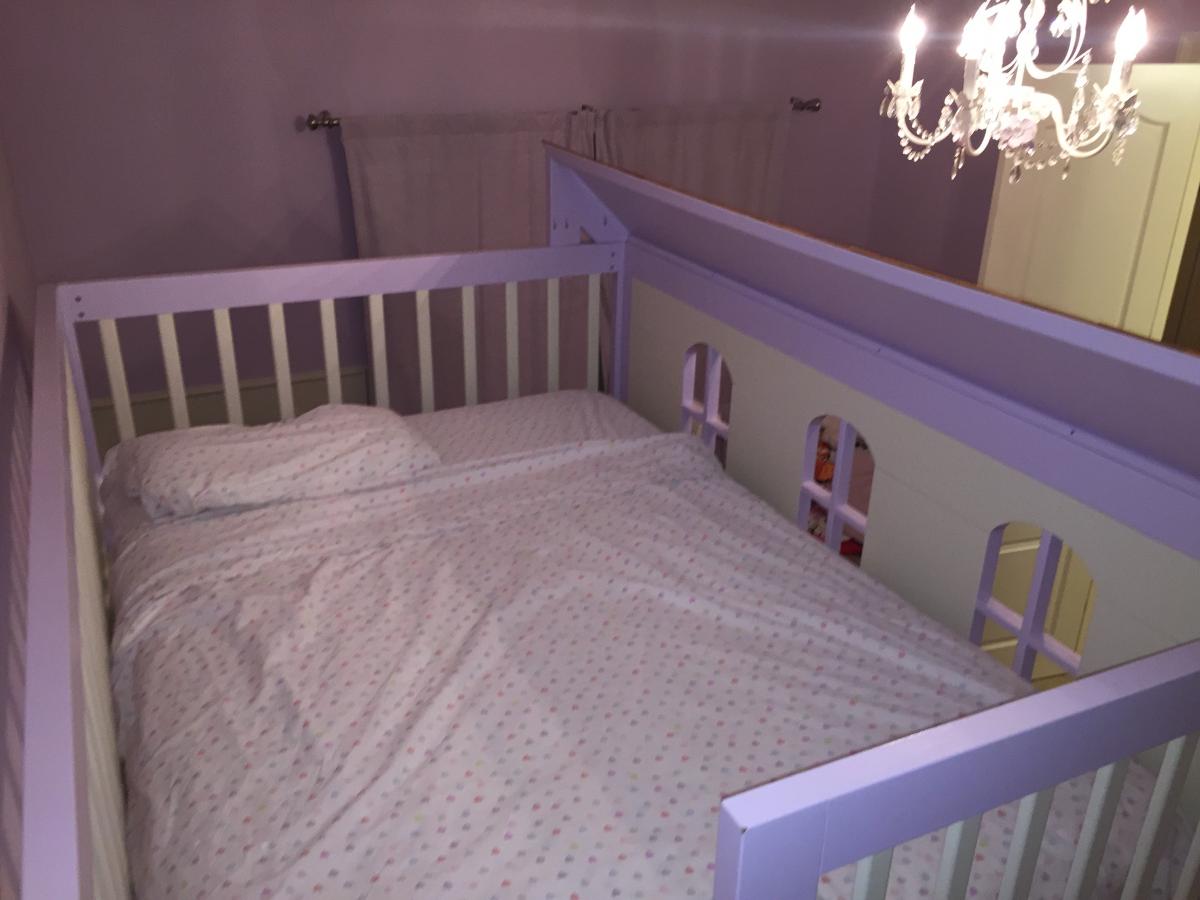
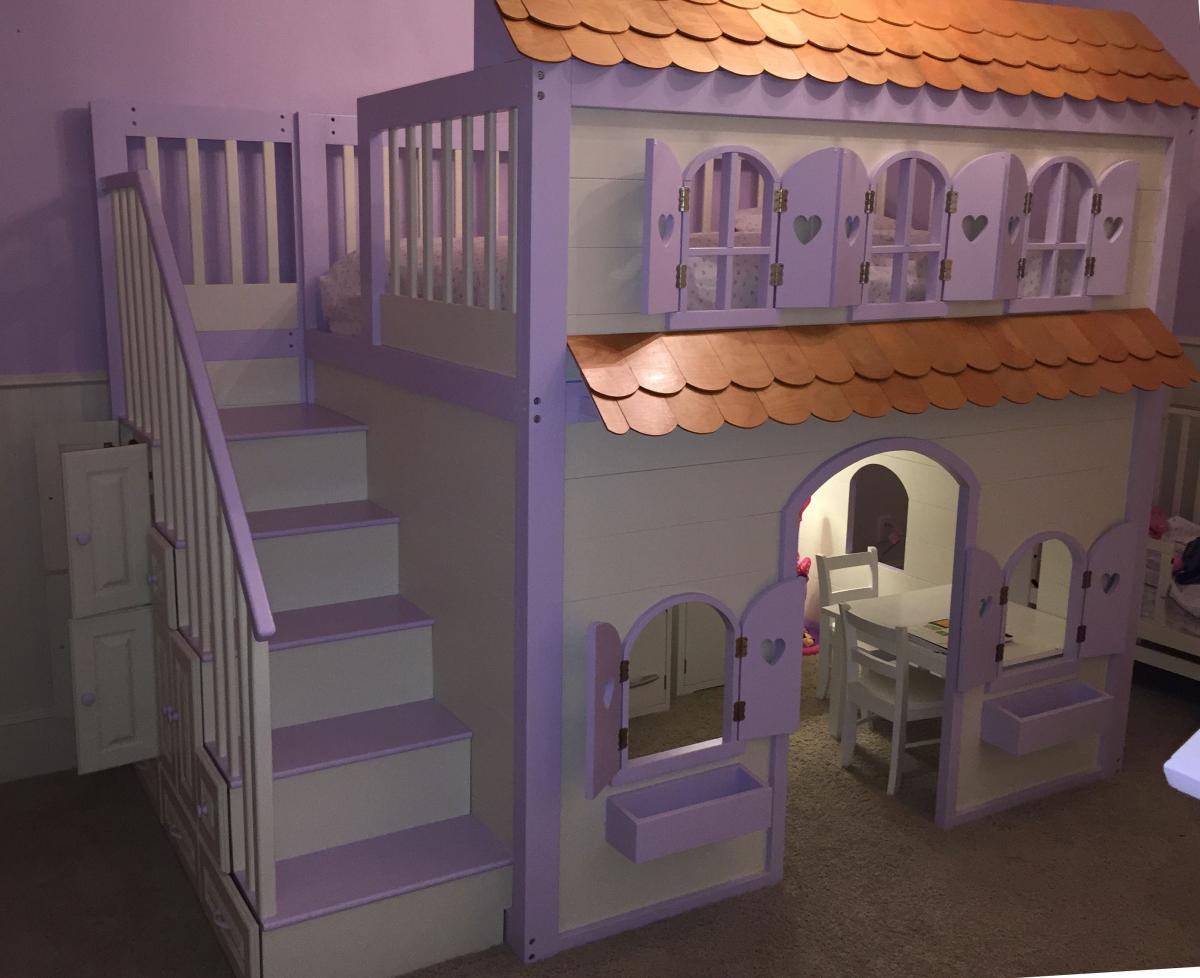
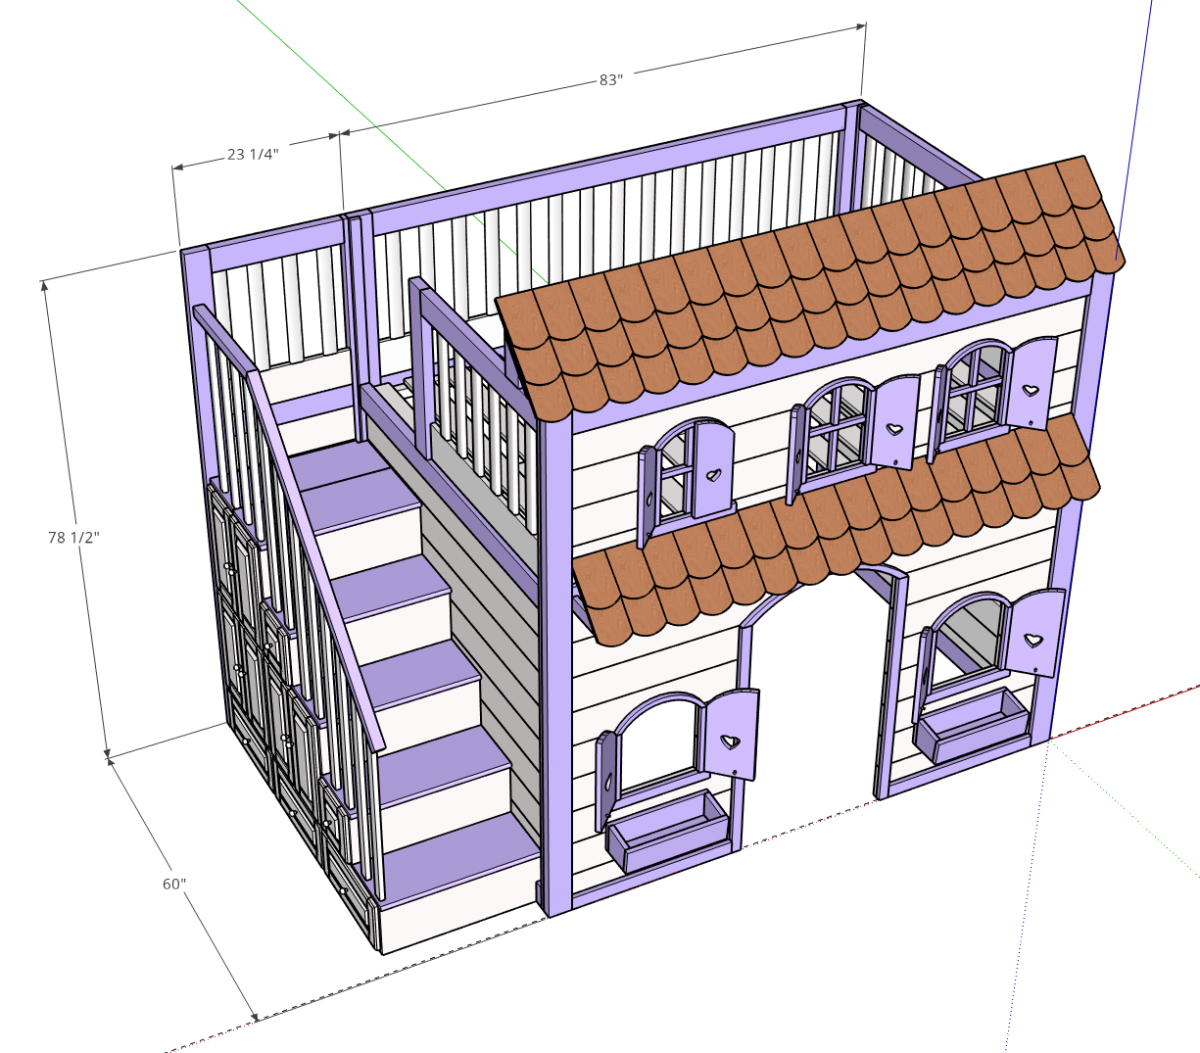
Full Loft Cottage Bed with stairs and shutters

Submitted by dannymd22 on Sun, 02/23/2020 - 10:11

My wife started off looking for a commercially available bed for my daughter (age 4 when I started), but after not finding a style and size that she wanted (e.g., at Pottery Barn Kids), she convinced me to design and build one. This was the biggest projected I've ever undertaken, so I looked for inspiration on a number of websites including ana-white.com. 

The Sweet Pea Bunk Bed served as major inspiration for this bed, but I also took ideas from many other designs.  However, I made a few changes:

  • I designed it as a single full-size bed with play-area underneath
  • Designed to be cottage-like
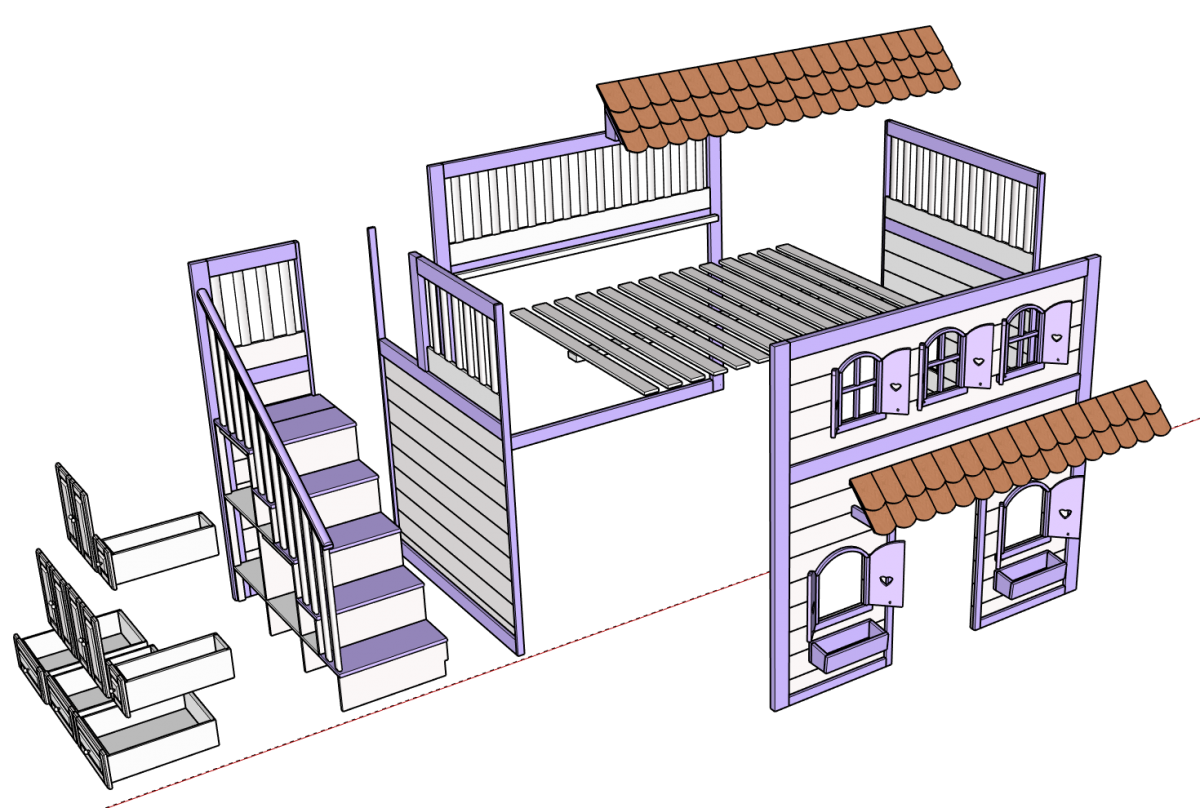
  • To get it into the room when complete and if it ever needed to be moved, I designed as 6 separate pieces: the 4 walls, the roof, and the stairs
  • All of the main pieces are held together by 6 bed bolts at each corner
  • I added some cabinets and drawers with raised-panels. these came out nice, but added a lot of time!

In all, it took me 9 months to design build. However, much of this is because this is new territory for me, I'm a bit OCD, and I could only dedicate about 4-8 hours per week on it. Plus, we were hit by Hurricane Harvey during this, so things slowed down for a few weeks. I decided to go with hardwood for most of it for durability and paintability, but this could likely easily be done with less expensive pine.

Note: I did not build the appliances seen in the images. Those were purchased. 
Estimated Time Investment
Week Long Project (20 Hours or More)
Finish Used
2-3 coats of Semi-gloss Sherwin Williams Paint Latex pain for bed. Shingles are 3 coats of Miniwax water-based poly.
Recommended Skill Level
Advanced

Comments

DIY Shed Chicken Coop

Submitted by Anonymous (not verified) on Mon, 10/16/2023 - 10:30

8x12 coop modified from your classic shed plans. 2/3 for the chickens, 1/3 for storage.

by Harmony Munson

Built from Plan(s)

Comments

Seasonal And Holiday

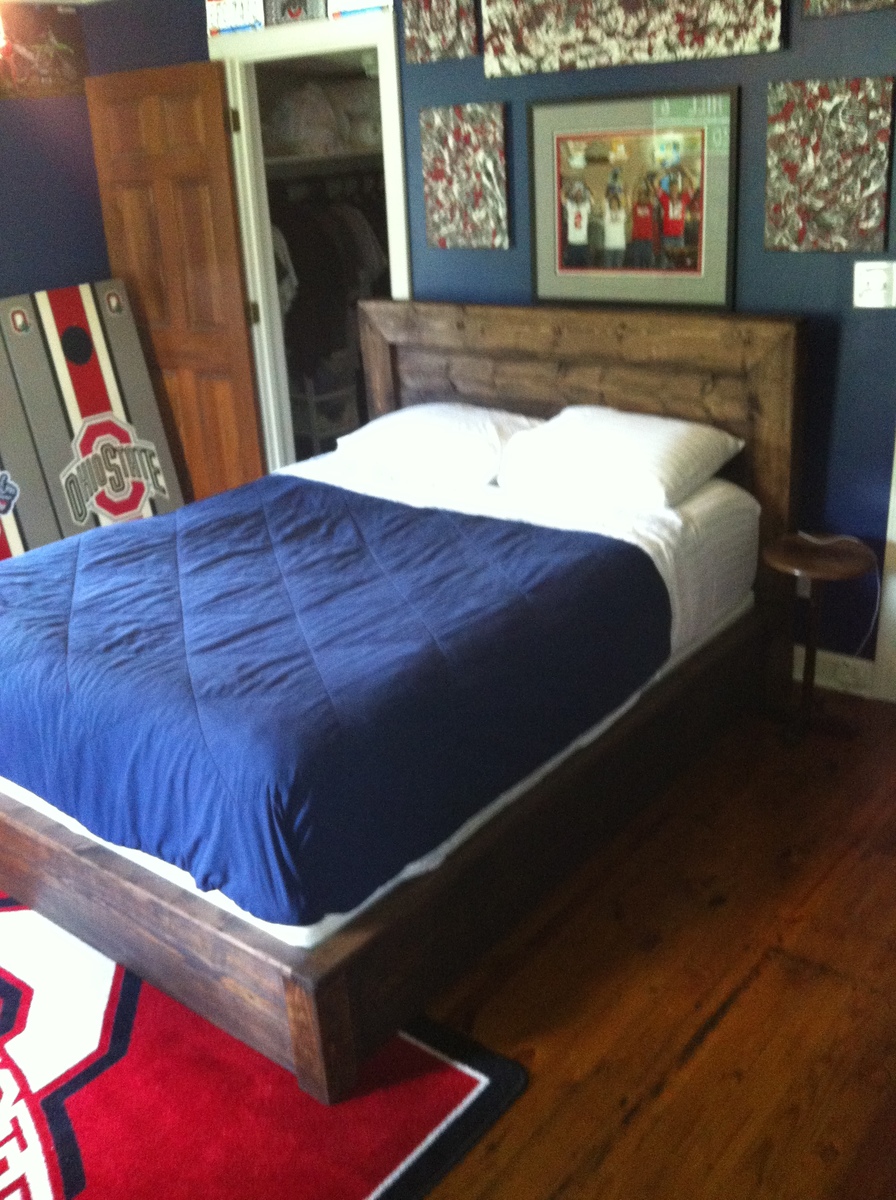
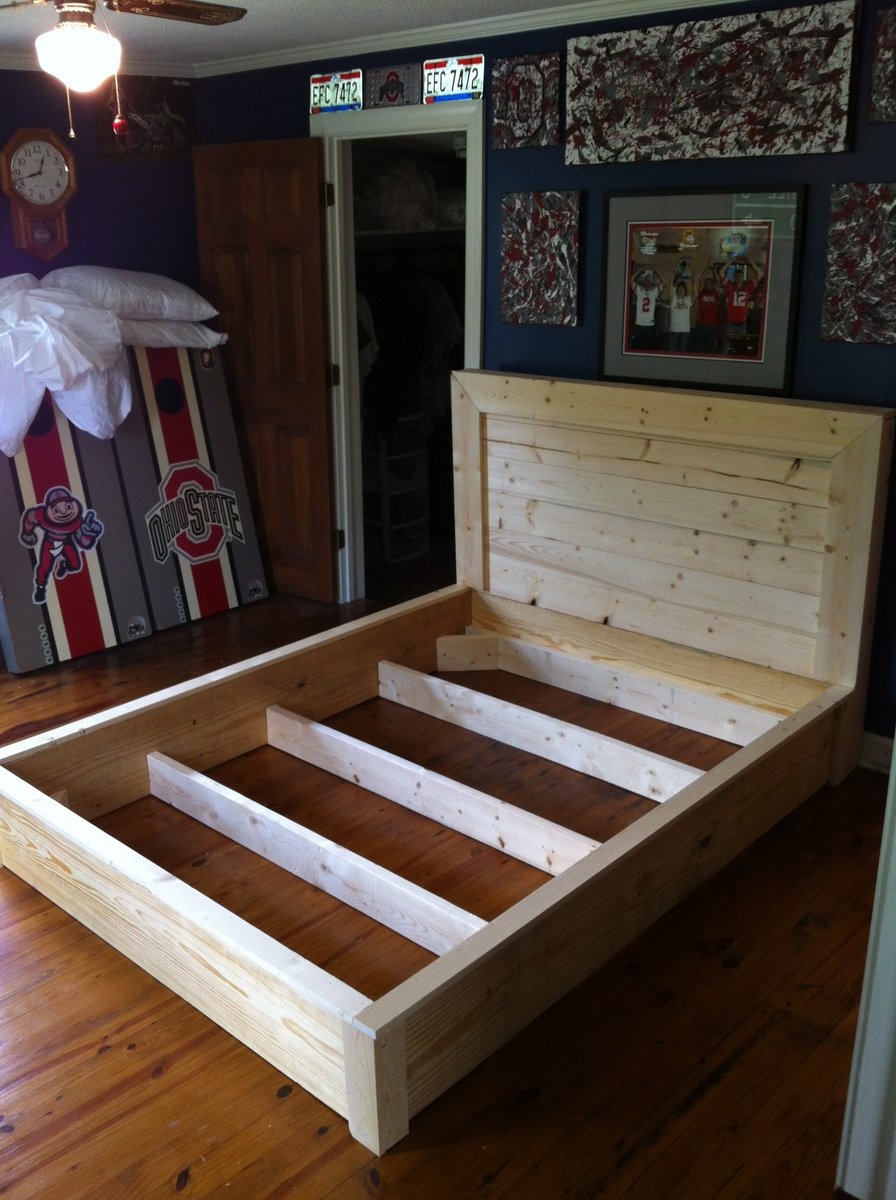
Platform inspired bed frame

Submitted by KL728MX on Sun, 02/23/2014 - 15:01

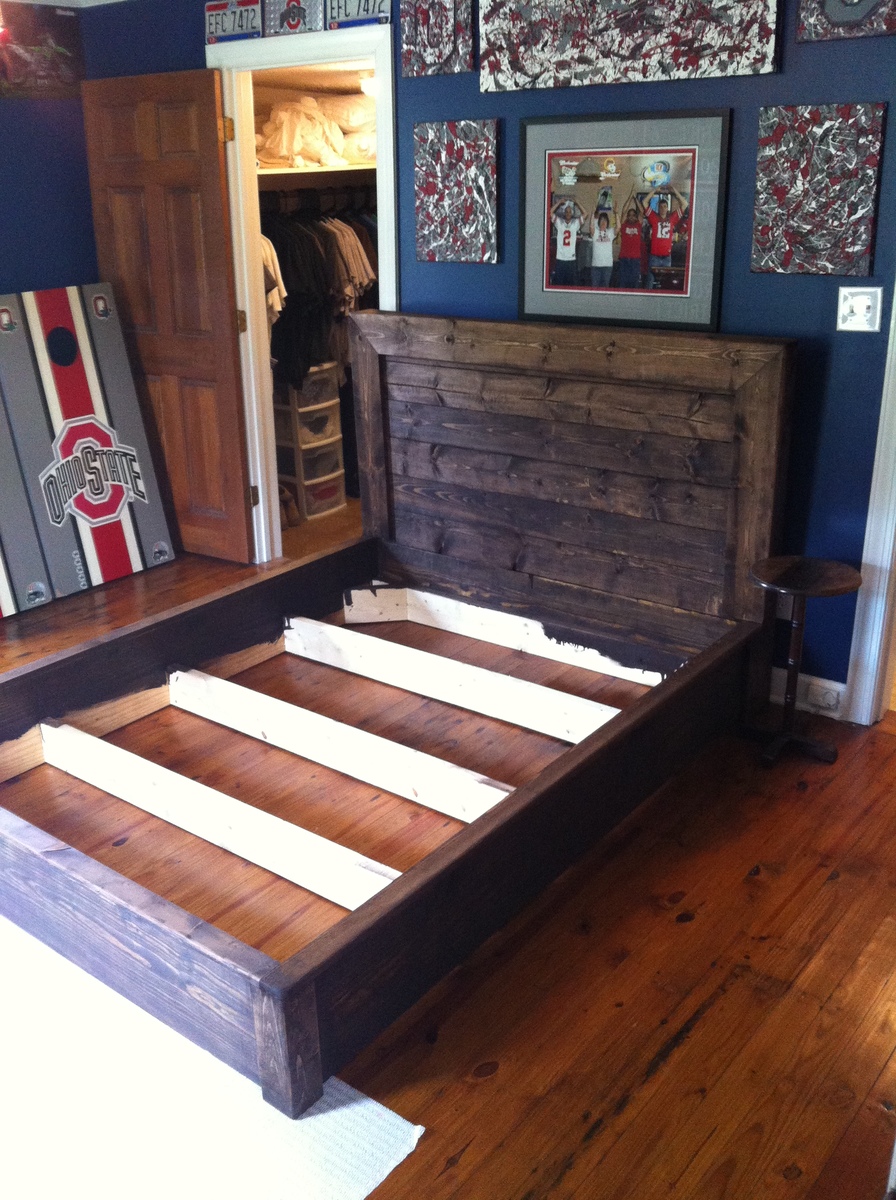
I had searched for a nice bed frame for the longest time. I wanted something that would last and the prices in furniture stores or antique shops were crazy. I found the plans for the platform bed/headboard and modified them a little. I used 2x12's for the frame and set my 2x6's down inside for my box spring. 2x6's for the headboard and trimmed it the same way as in the plans. I love it. Thanks for the plans Ana.

Built from Plan(s)
Estimated Cost
125
Estimated Time Investment
Day Project (6-9 Hours)
Finish Used
Rust oleum dark walnut. I didn't put polyurethane on it so it would have an older look.
Recommended Skill Level
Beginner

Comments

Jmar2038

Fri, 05/30/2014 - 18:40

Love your inspired bed! What size mattress is your frame for? I am looking to make a frame just like yours for a queen size bed. Do you have your measurements or are they pretty similar to the original post? Complete beginner here, any help is much appreciated!!
American Girl Doll Bunk Beds

Submitted by Anonymous (not verified) on Mon, 05/23/2016 - 12:16

My daughter and I built it together. We had great fun. She is totally into the Kreg Jig and the brad nailer now. I'm sure we'll find something else to build. What a great father daughter activity. Thanks for the plans!
Estimated Time Investment
Day Project (6-9 Hours)
Finish Used
Non
Recommended Skill Level
Beginner

Custom Closet with Heated Floors

Submitted by Anonymous (not verified) on Fri, 10/20/2023 - 08:16

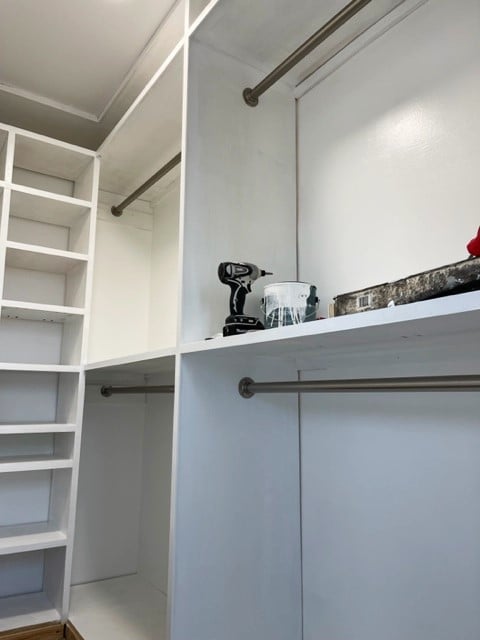
I love the outcome of this project! I removed the old wire shelving and used 3/4 inch sanded plywood and few pieces of trim and pine to build this floor to ceiling custom closet. Then I primed and painted, and installed the clothes rods. Out of the frame are new recessed lights and a tile heated floor!

Laura E.

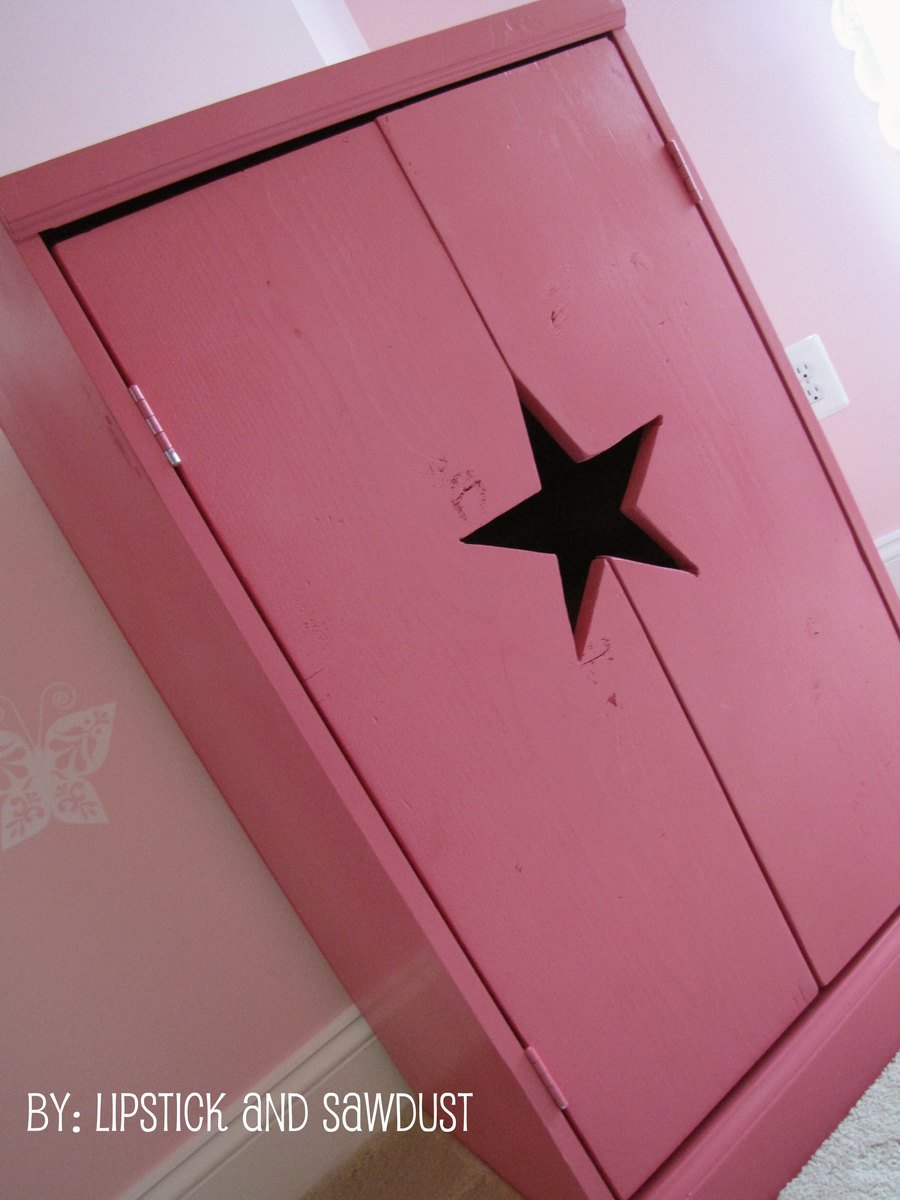
Wardrobe for American Girl Doll

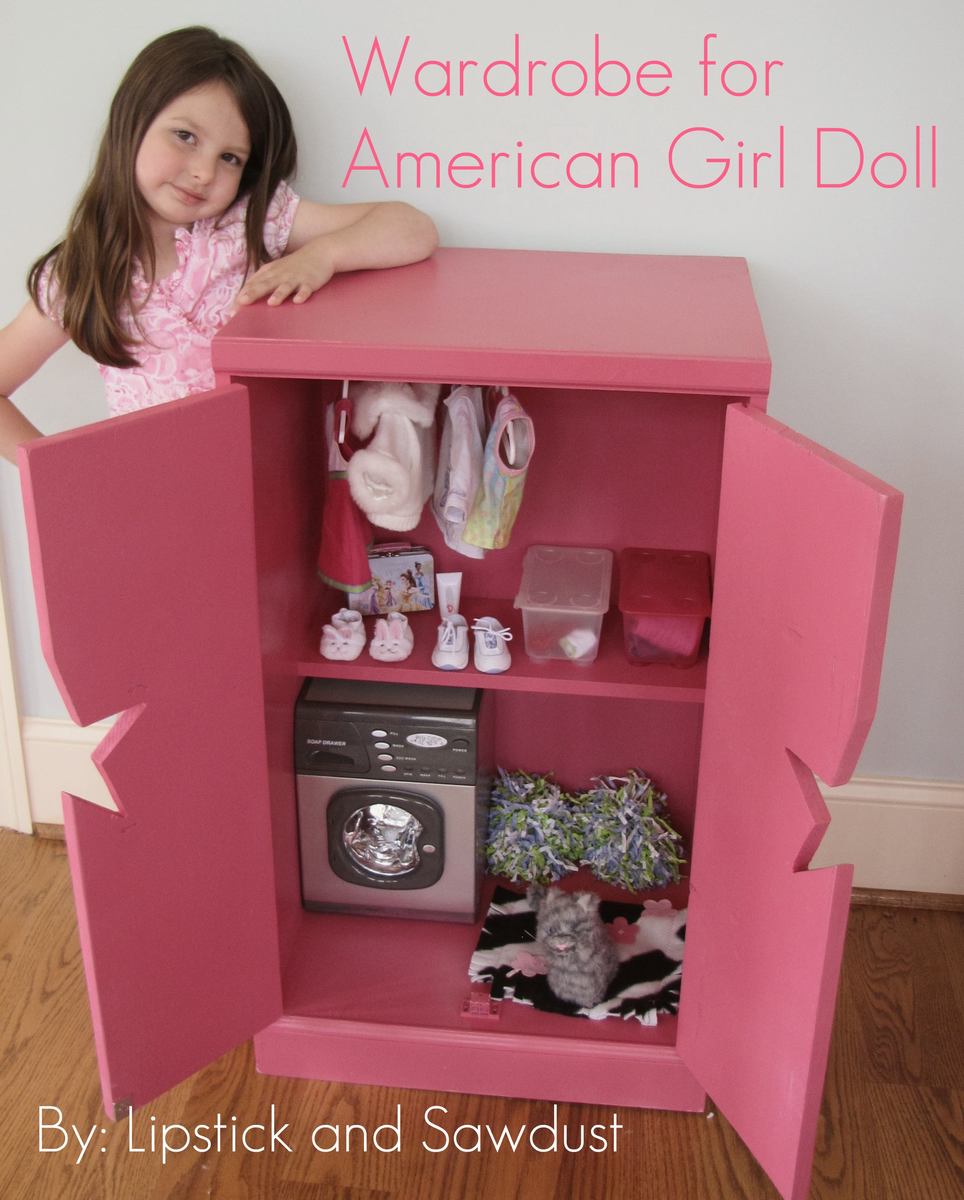
I Loved this plan ever since the first day I saw it! I was very intimidated though by the star cut out.

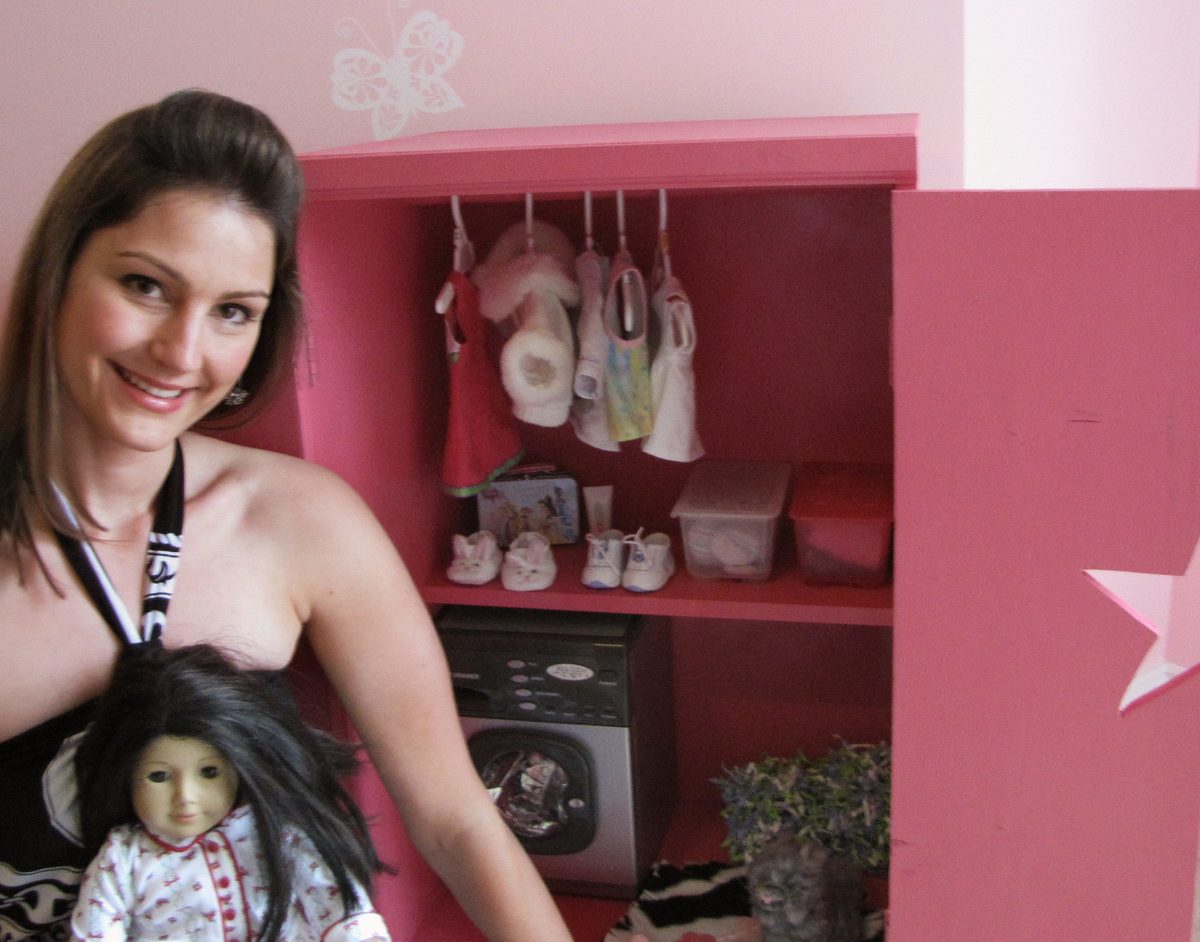
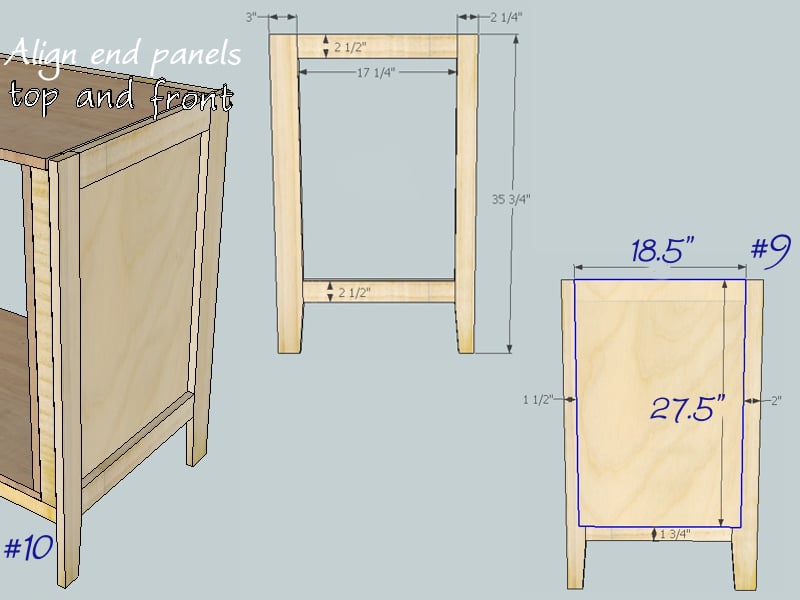
I modified this plan a little, mine is about 6 inches taller than the plan, because I had to fit my daughter's Pottery Barn kids washing machine inside which I believe is bigger than the machines in the original plan. My middle shelf is only about half the width of the shelf pictured, I wanted to add extra space beneath, plus it was the cheapest piece of shelf I found.

For the star cut out, since I did not have a protractor, I cut out little templates with my miter saw at the different angles, I labeled each piece, so I could reuse them if I ever build another one. My daughter loves this wardrobe, so does my son! I am planning on making this again for my son, but making it grey and calling it a "Hockey Locker". Thanks for the plan Ana! This is my favorite plan so far!

Estimated Cost
$25
Estimated Time Investment
Day Project (6-9 Hours)
Finish Used
Berry Pink Spray Paint, Spray Poly-Acrylic
Recommended Skill Level
Beginner

Comments

itzann

Sat, 10/13/2012 - 09:41

Very nice job! I love that color of pink, too. Where do you find hangers for the doll clothes? I make a lot of clothes for my granddaughters' dolls, so I guess I need to find hangers!

Farmhouse table

Submitted by Dtrain1680 on Tue, 02/25/2014 - 05:46

First time project, this was a birthday present to the wife. Good project and a very good build. I only modified the length and went with 3 2x10s instead of one. Nice big table that we hope to enjoy for years. The entire table is distressed and we actually went with two stain colors. Dark Walnut on the top and an Ebony on the base.

Estimated Cost
Under $200 only because I didn't know what I was doing and made mistakes.
Estimated Time Investment
Week Long Project (20 Hours or More)
Finish Used
Dark Walnut on the top with Ebony stain on the base. I did let the stain soak in for at least 10 minutes and did re-apply. I used Spar Urethane Satin as my clear coat and it was the most difficult to get perfect. I would advise at least 4 coats with sanding in between.
Recommended Skill Level
Starter Project

Comments

Double Bed Headboard

Submitted by RobA on Fri, 05/27/2016 - 20:18

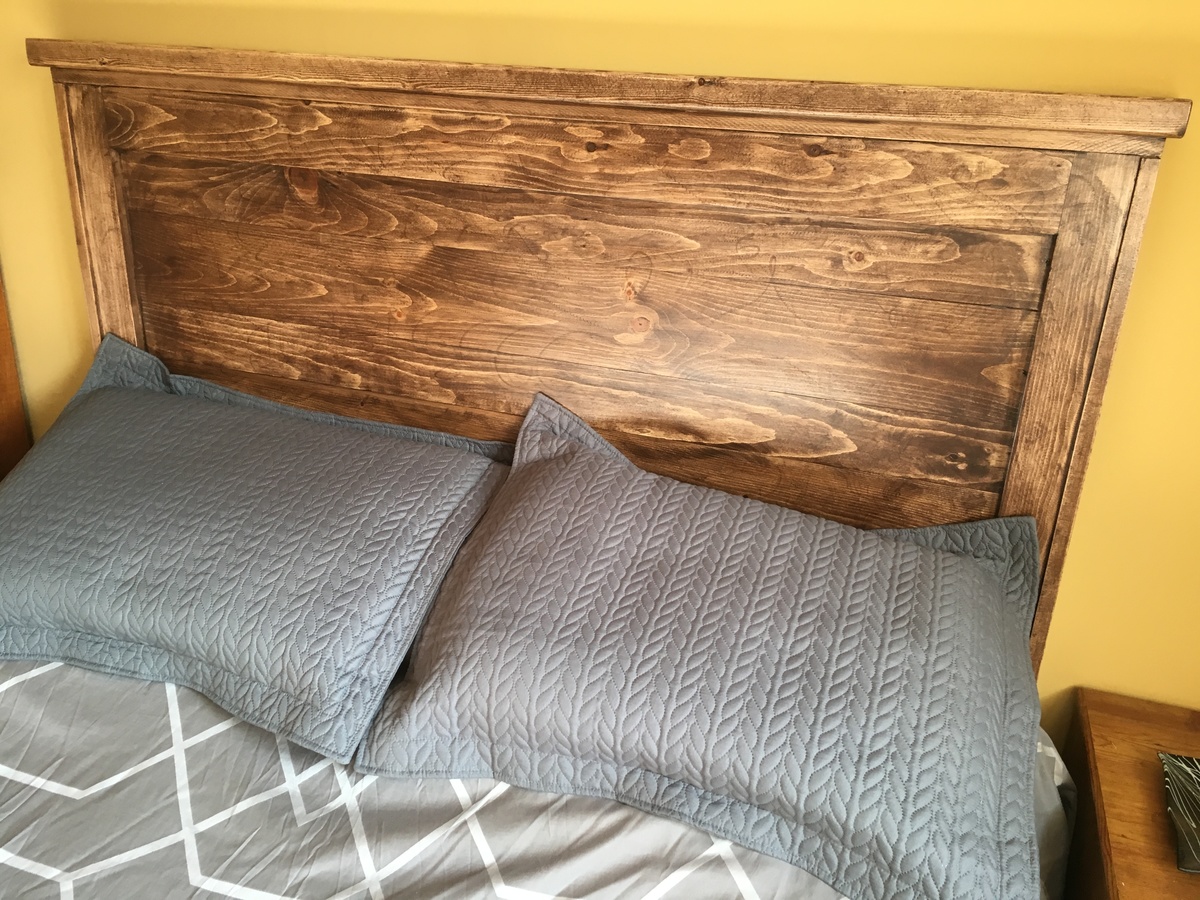
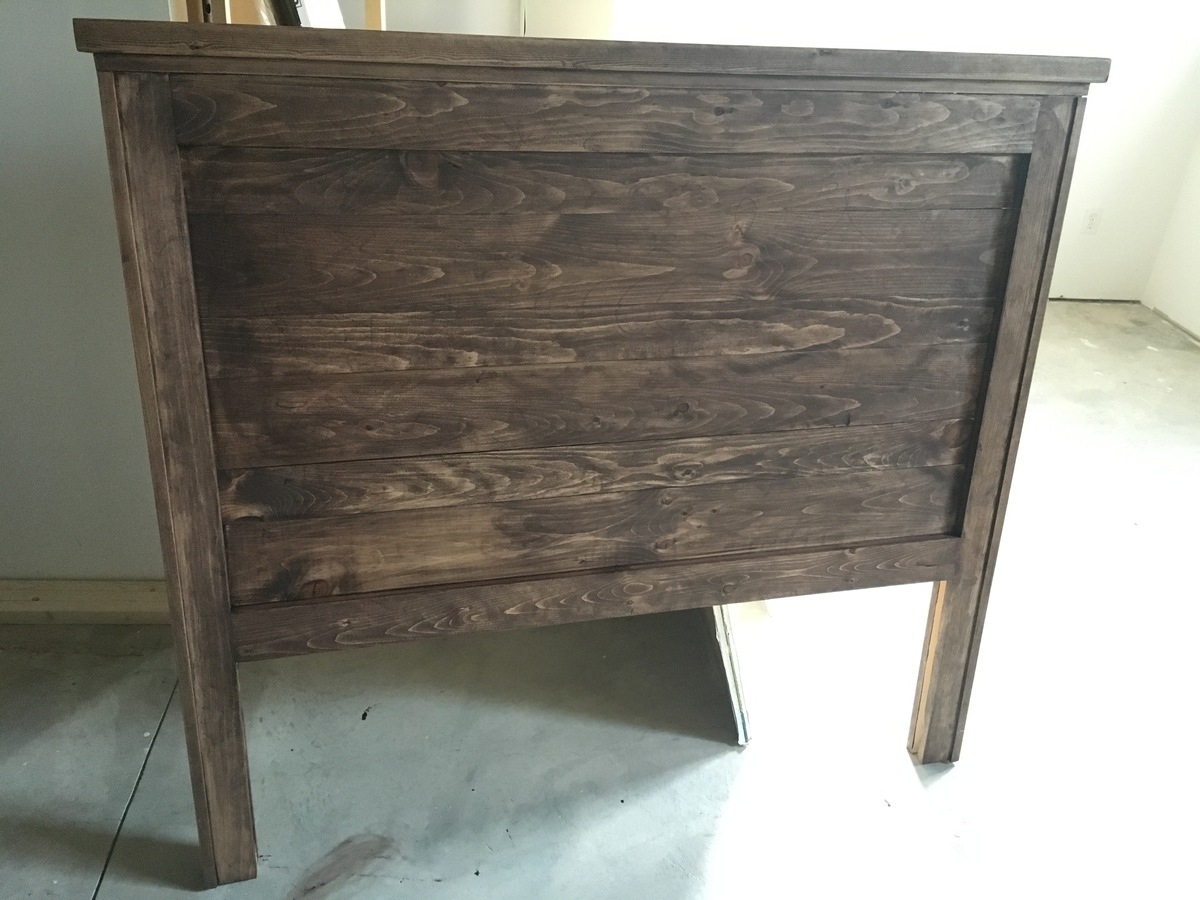
so I tweaked this plan and made it a double bed for our spare bedroom.

Estimated Cost
$100 CAD
Estimated Time Investment
Afternoon Project (3-6 Hours)
Finish Used
Miniwax gel walnut stain
3 coats Polycyclic clear
Recommended Skill Level
Beginner

Comments

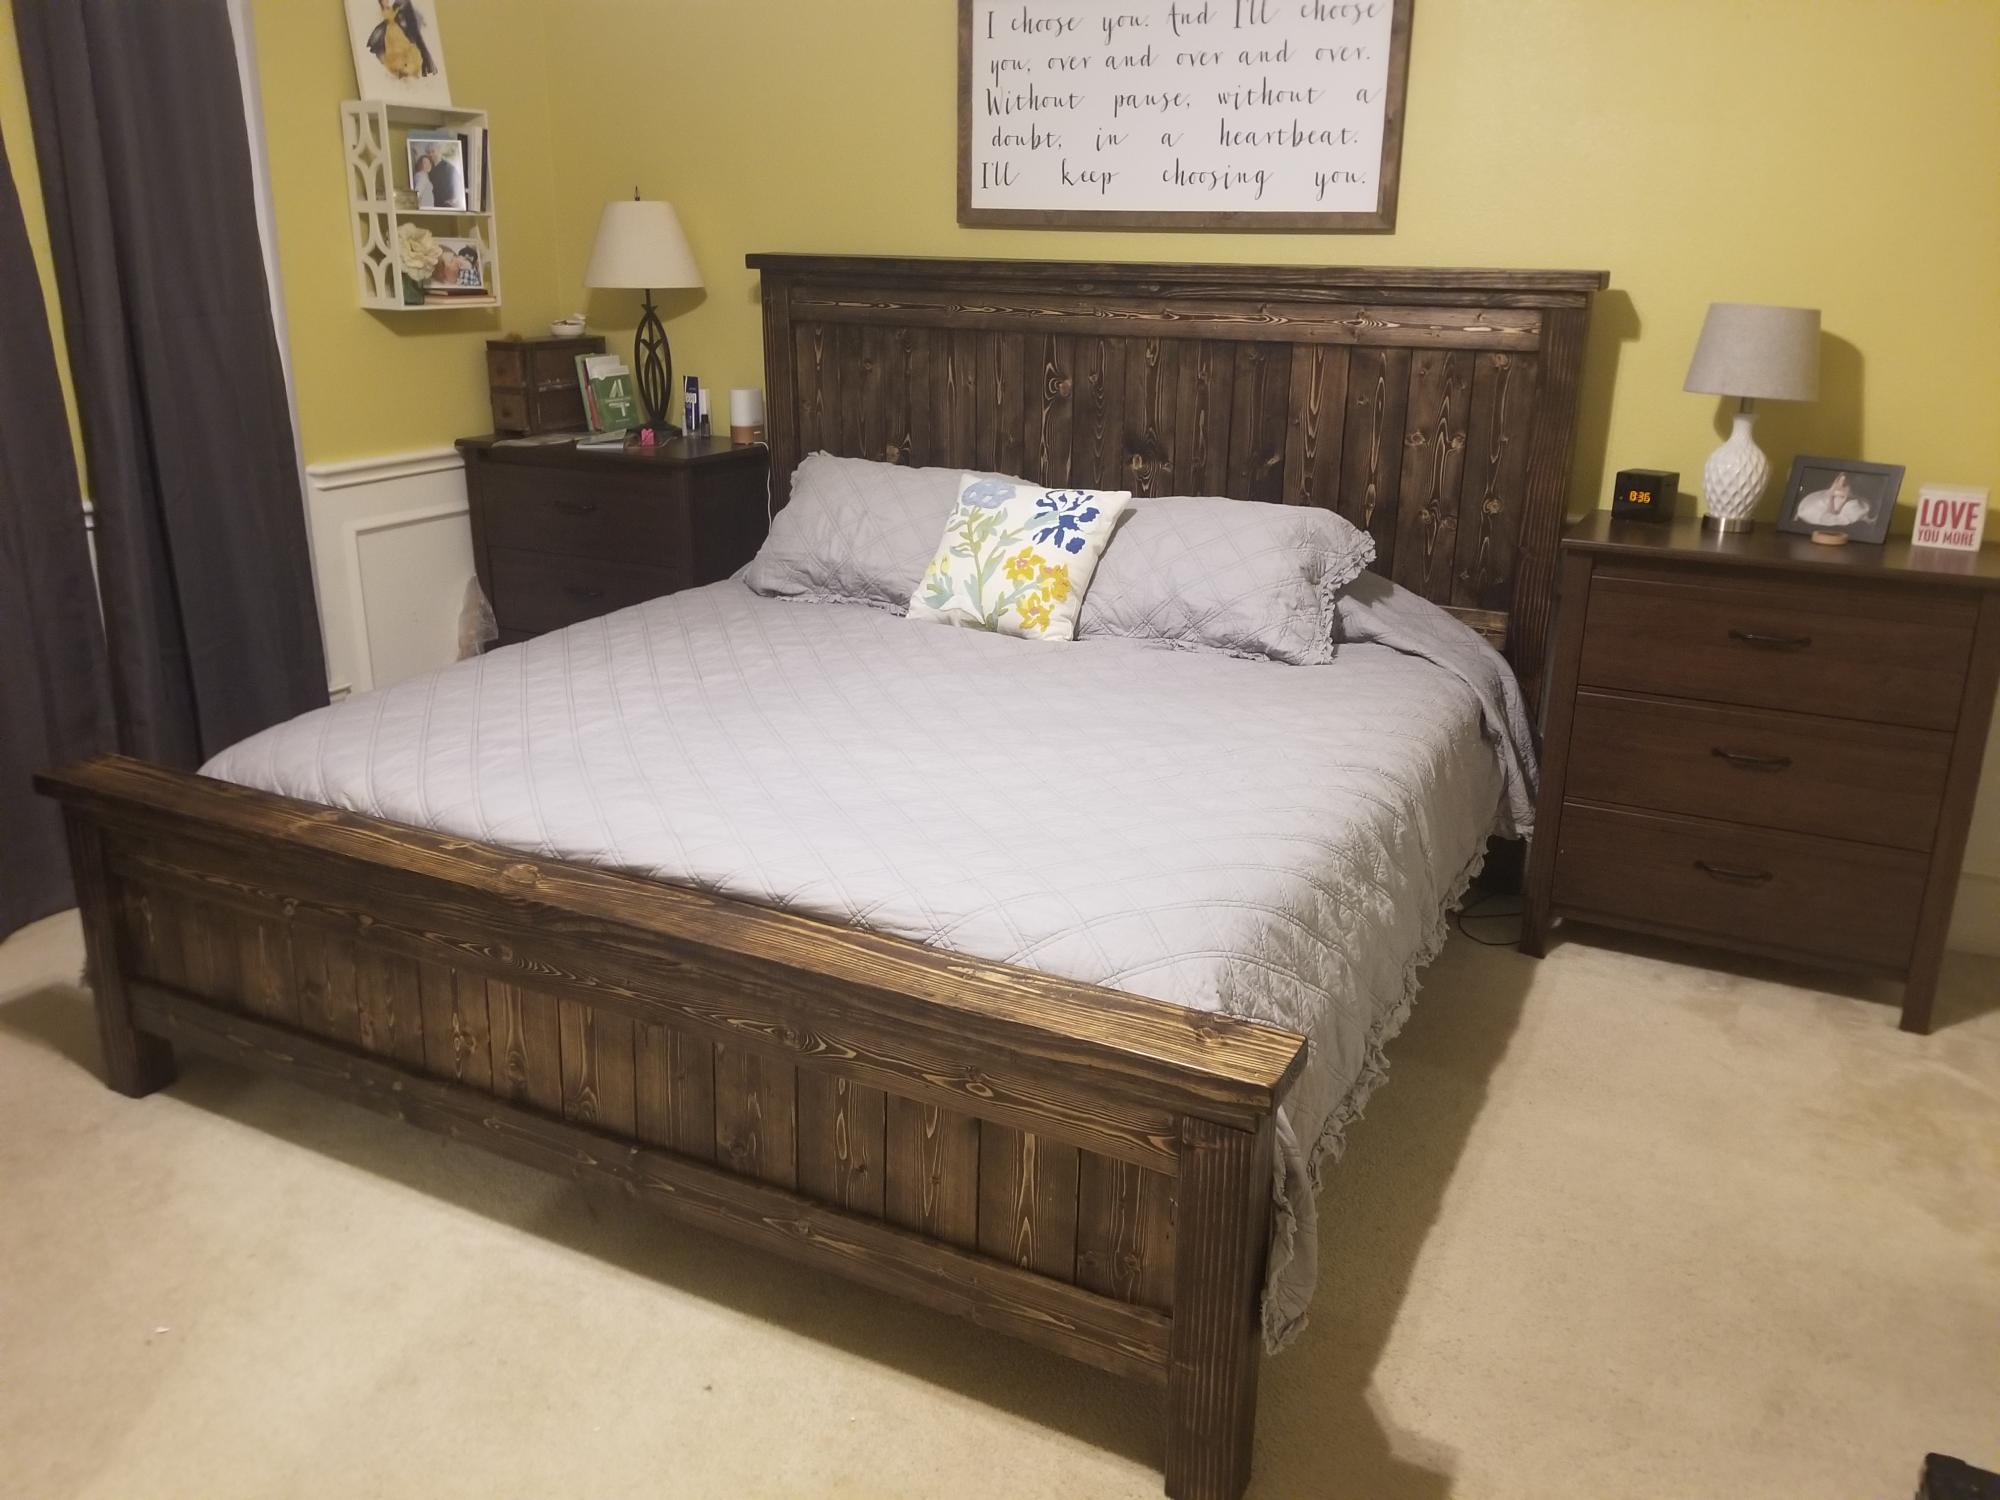
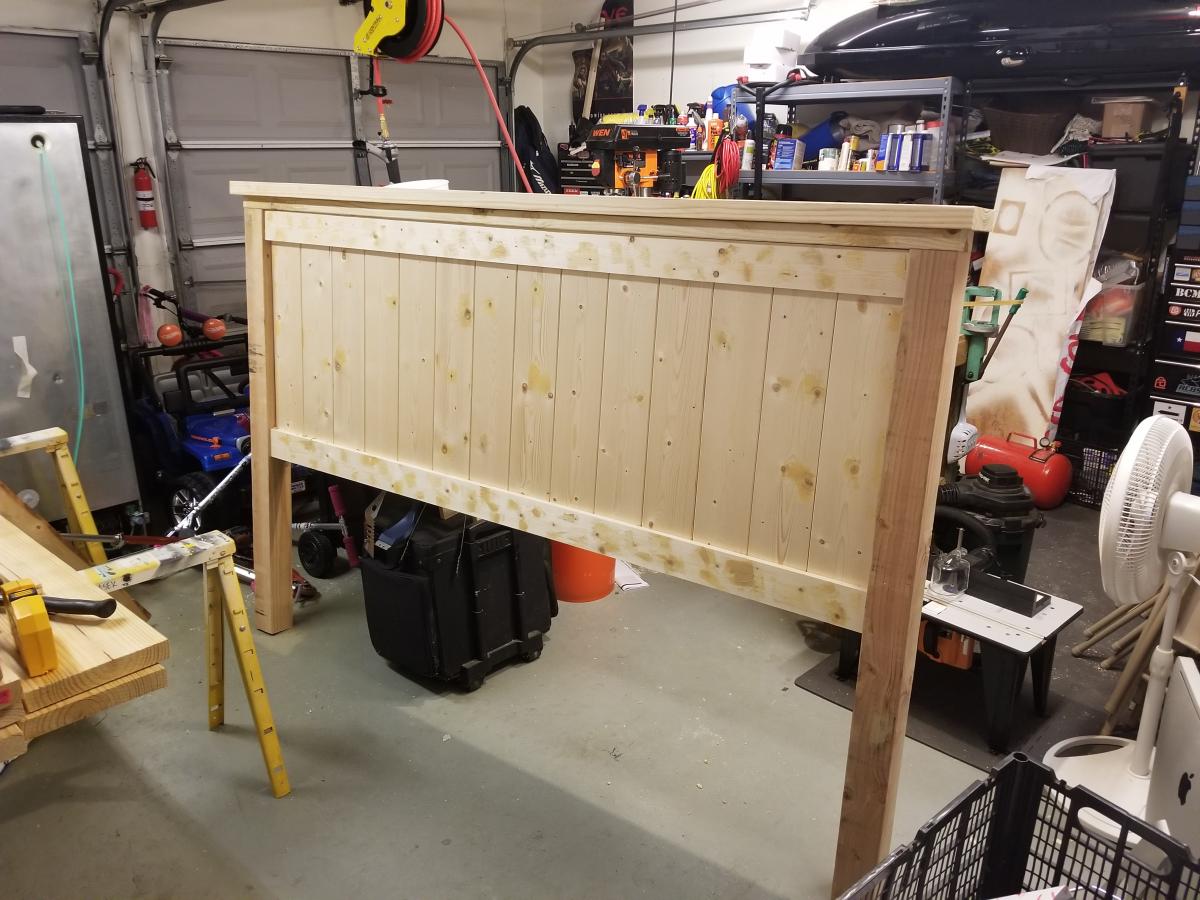
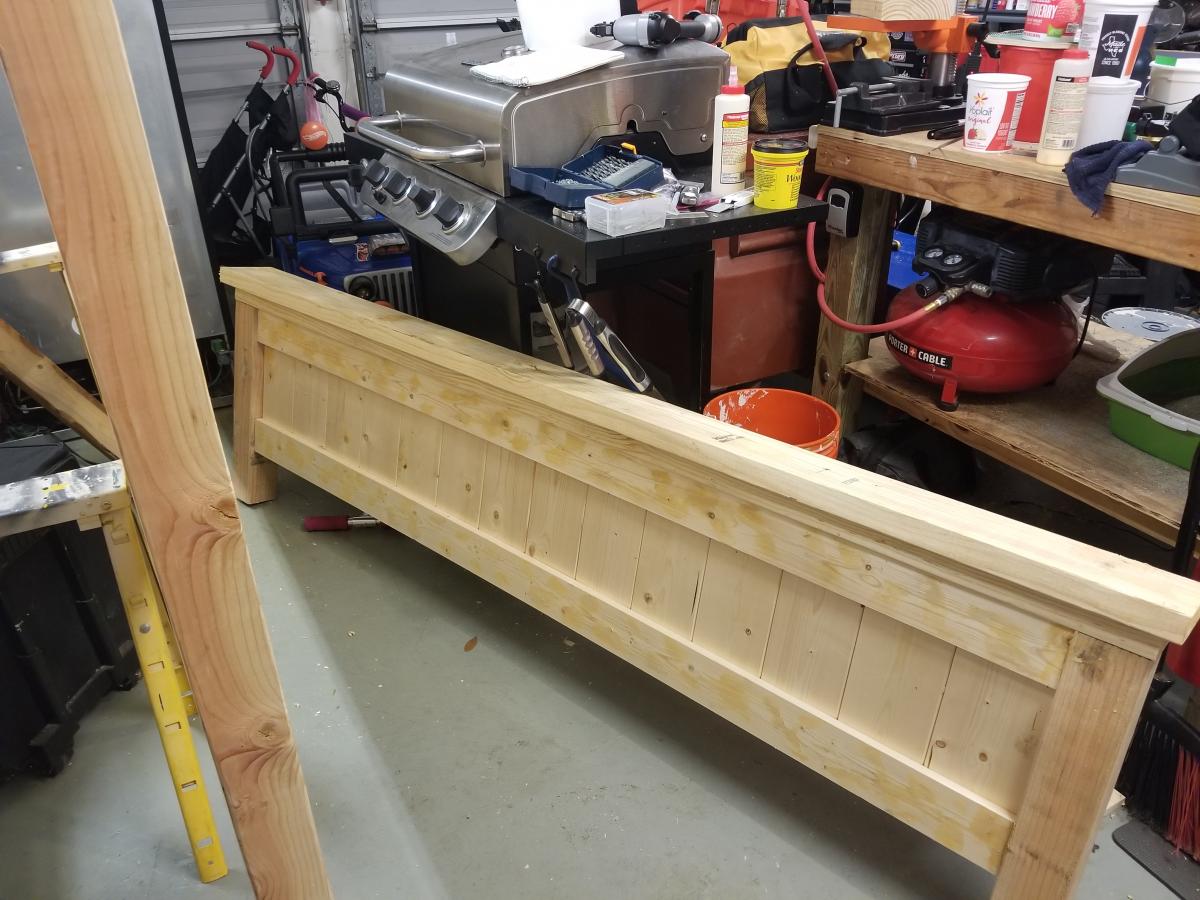
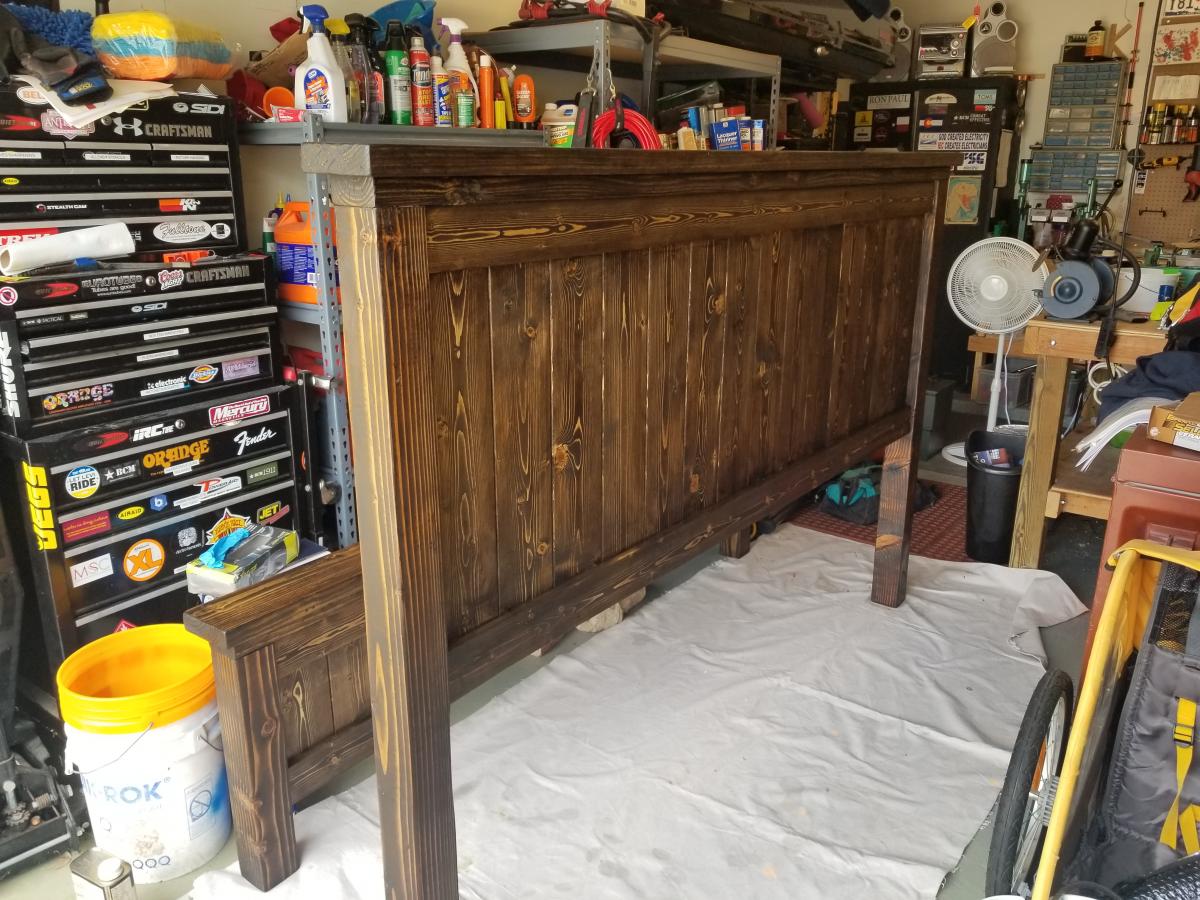
Farmhouse King Bed

Submitted by Anonymous (not verified) on Wed, 03/11/2020 - 07:20

The plans, as always, were very easy to follow. I couldn't be happier with the results. For anyone looking to build this plan, I highly recommend picking up a Kreg jig. For the couple of places you'll use it, it makes a huge difference.

Estimated Cost
$400
Estimated Time Investment
Weekend Project (10-20 Hours)
Finish Used
Minwax Pre-stain, Minwax Jacobean stain, Watco Satin Wipe-on Poly
Recommended Skill Level
Intermediate

Country Primitive Side Table

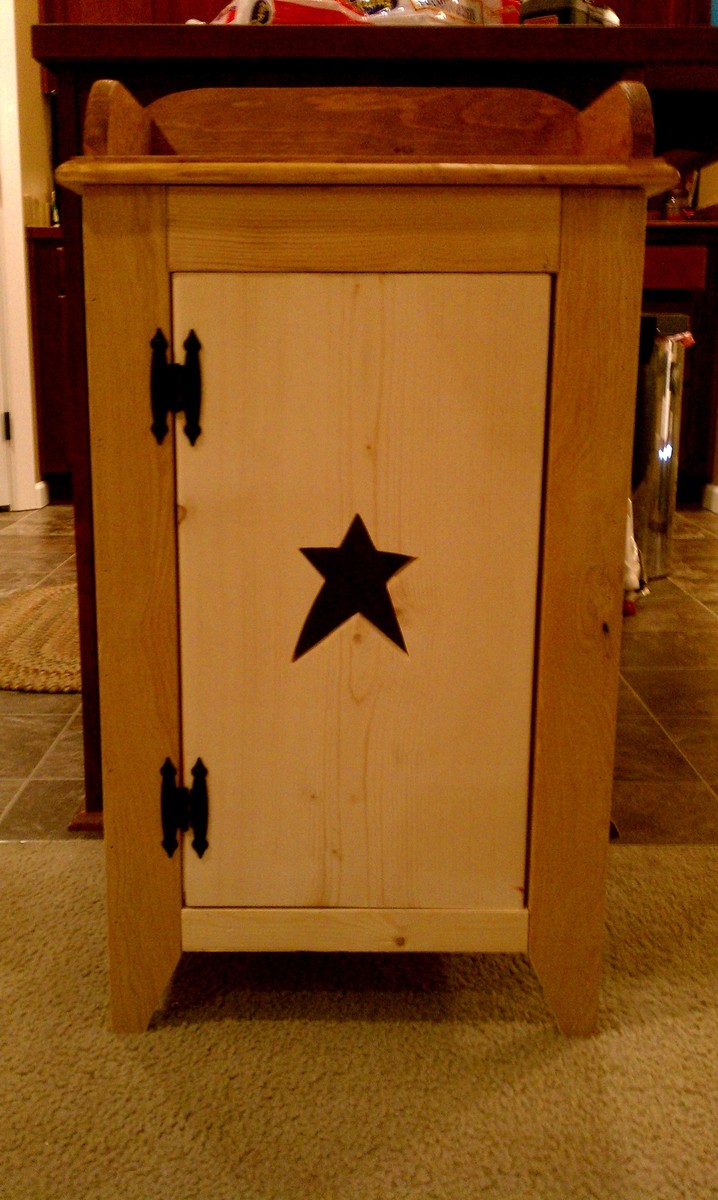
This is another one of those, honey I like this projects. My wife was doing her normal primitive furniture web surfing and came across this end table. It's really not to hard to build. All you need is 8ft of 1x10, 5ft of 1x12, 16ft of 1x3, and some spare 1x2 and 1x4. A few simple cuts and then you have a perfect little primitive side table.

Estimated Time Investment
An Hour or Two (0-2 Hours)
Finish Used
Natural
Recommended Skill Level
Beginner

OCTAGON PICNIC TABLE

Submitted by BigBry on Sat, 03/01/2014 - 07:36

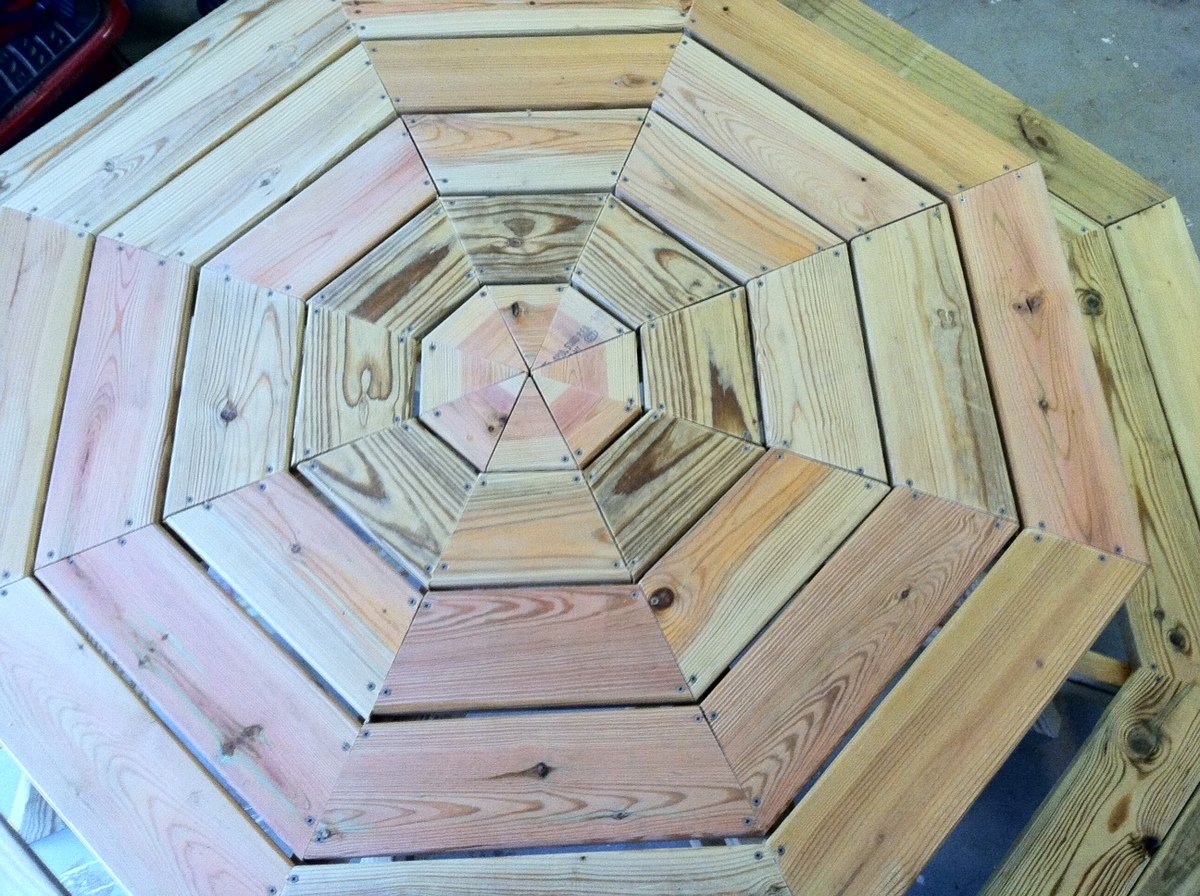
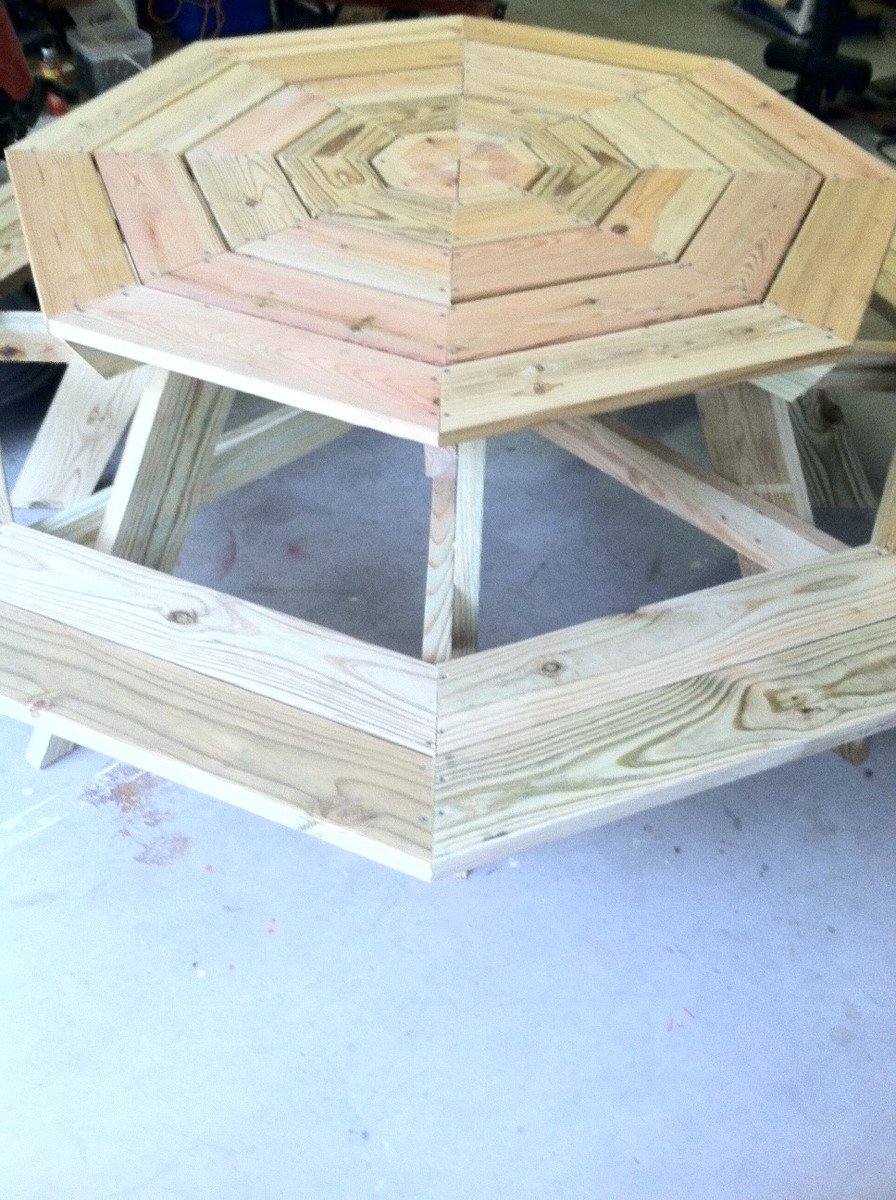
My son and I had a blast building this table last October. I have been meaning to write and thank you for the great plans. We took the suggestion of staggering the legs for better access and it turned out great. I also used deck boards for the top to help reduce weight and they were already slightly curved on the sides which made sanding easier. Thank you!
My cost includes a nice Kreg Jig set up (approx $100)

Built from Plan(s)
Estimated Cost
$220
Estimated Time Investment
Weekend Project (10-20 Hours)
Recommended Skill Level
Intermediate

Grandy TV Table

Submitted by Anonymous (not verified) on Tue, 05/31/2016 - 07:34

Love this tv table! It was my husband's first project from Ana's plans, and it turned out really well. The most difficult part was deciding how to make the sliding barn door hardware, since paying $70 for hardware when the wood cost about that much seemed crazy. My husband built it and I stained it, Sunbleached by Varathane. A nice blue-grey.

Built from Plan(s)
Estimated Cost
$100 (or less) for wood. Up to $80 for sliding hardware unless you DIY it.
Estimated Time Investment
Day Project (6-9 Hours)
Finish Used
Sunbleached stain by Varathane, followed by 2 coats of a matte polyurethane.
Recommended Skill Level
Intermediate