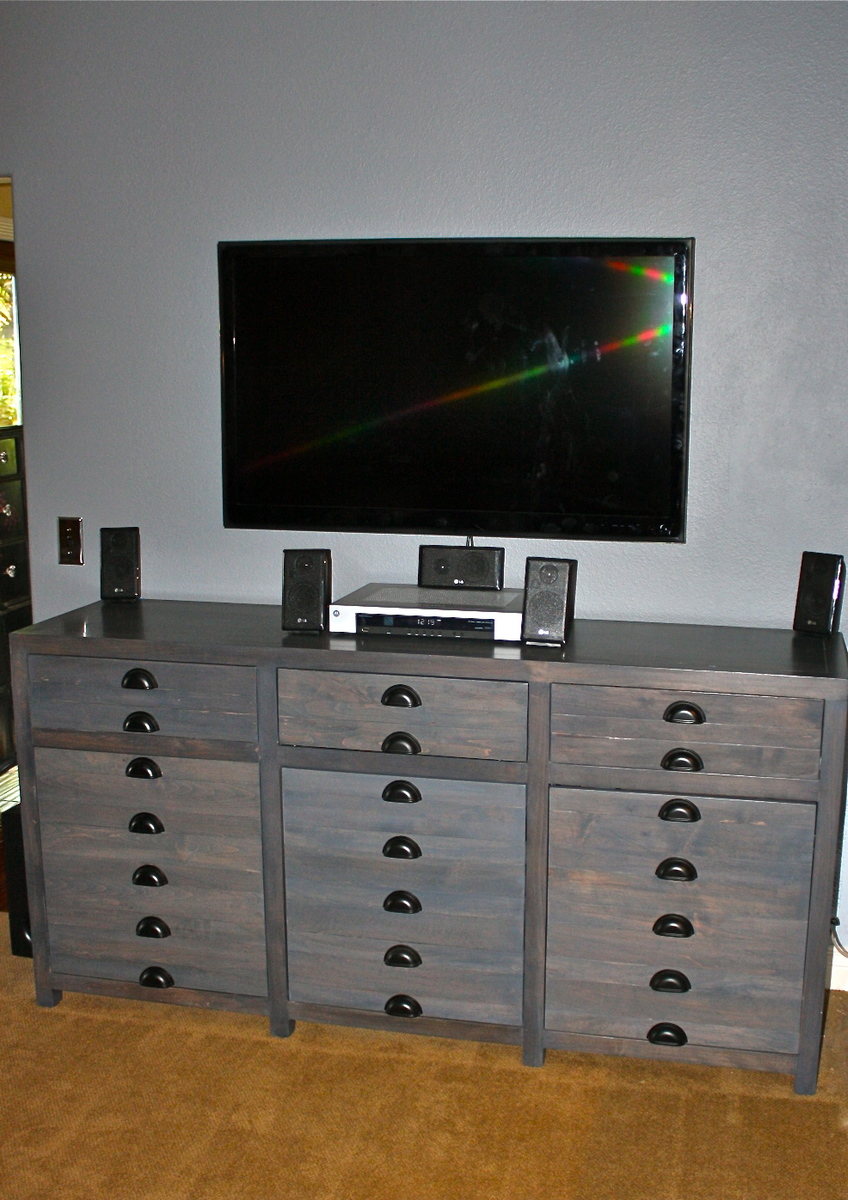
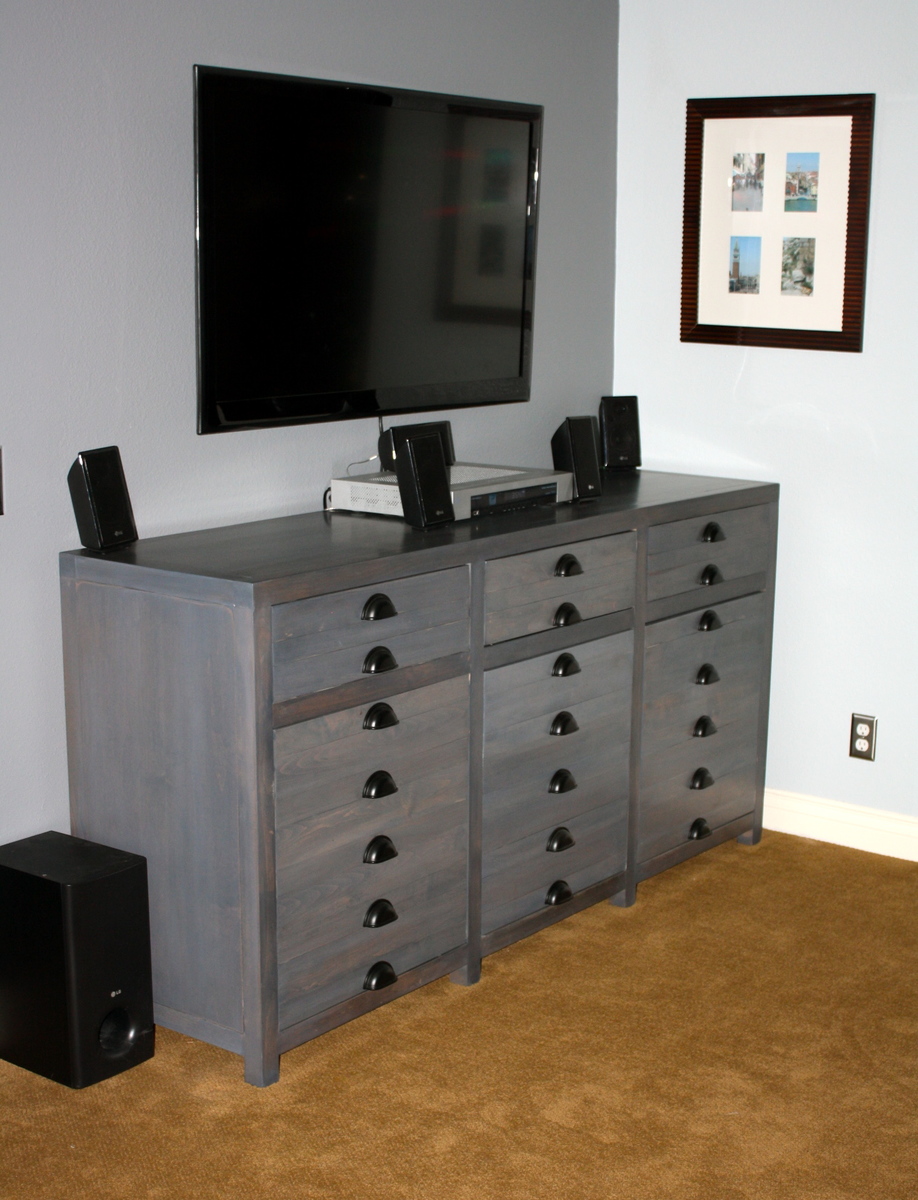
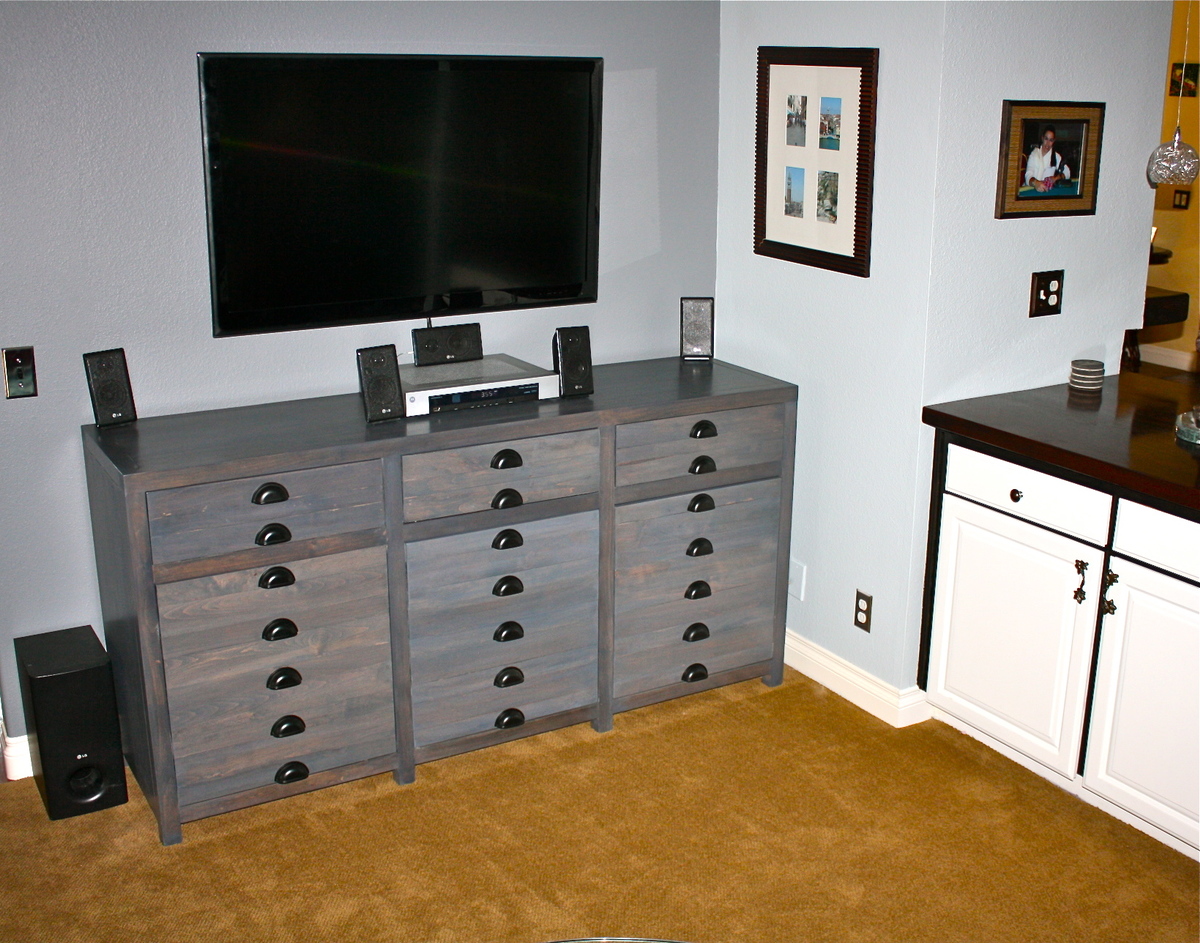
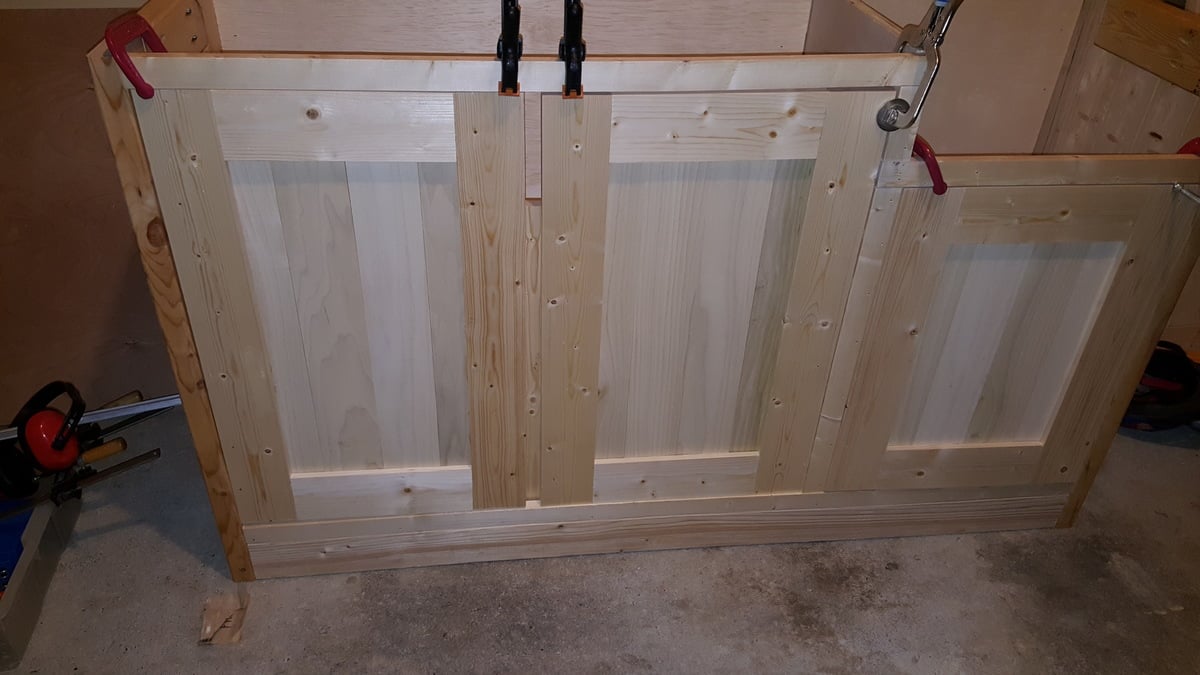
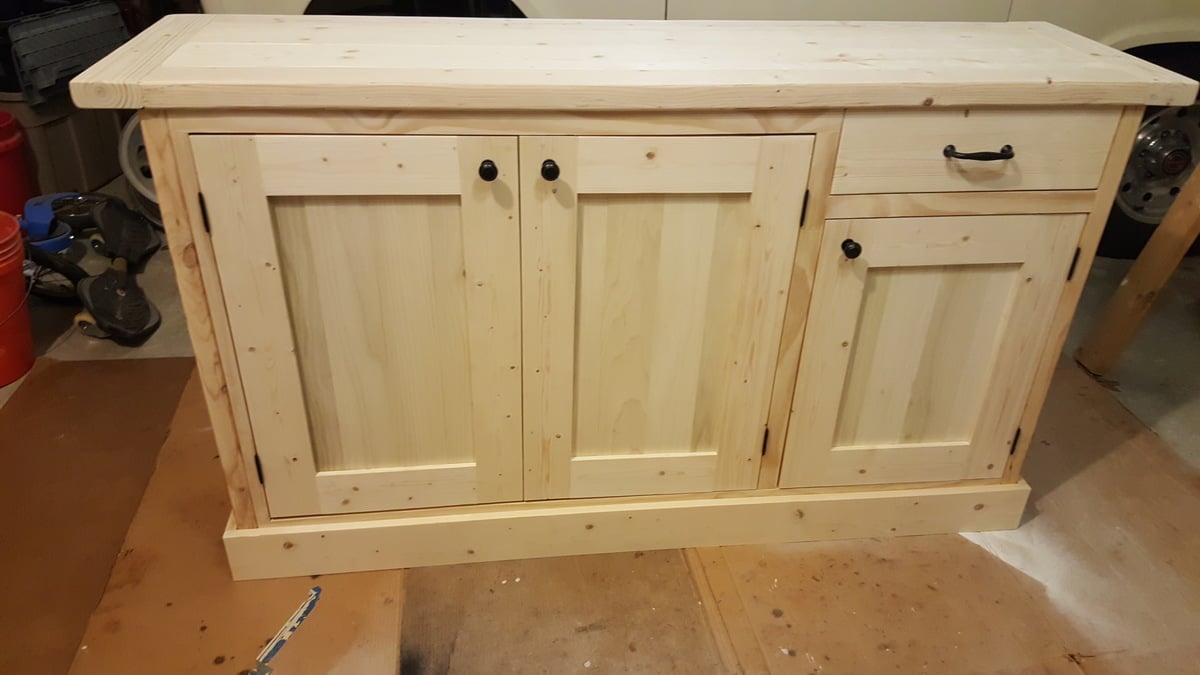
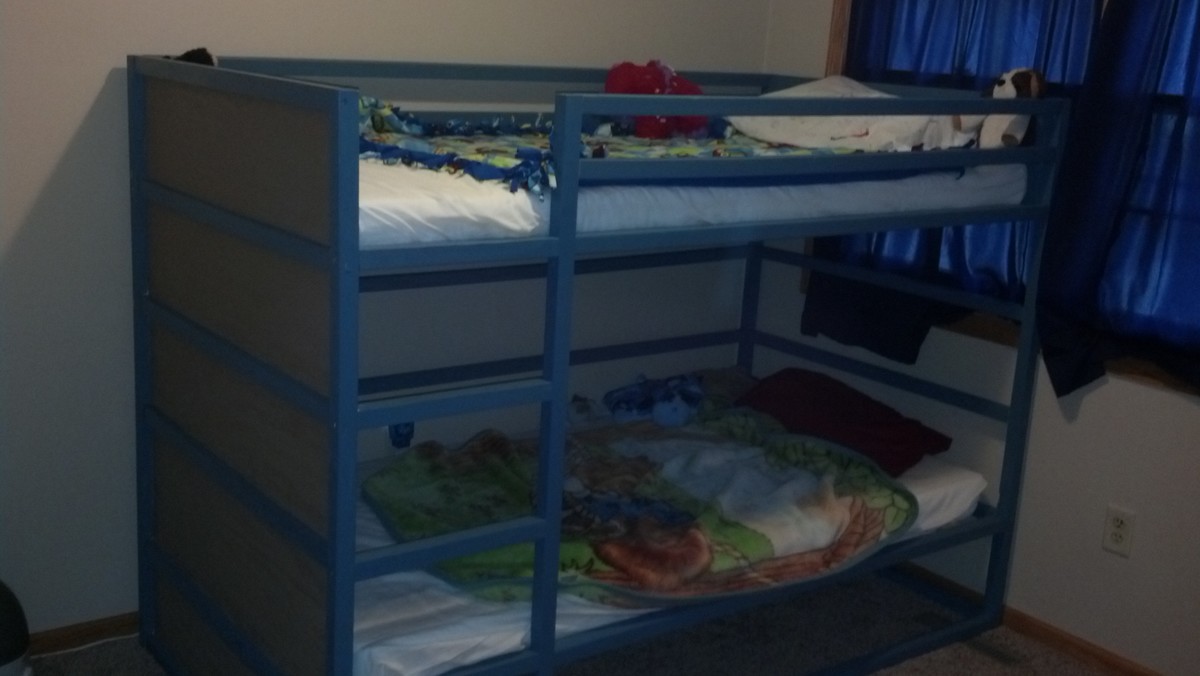
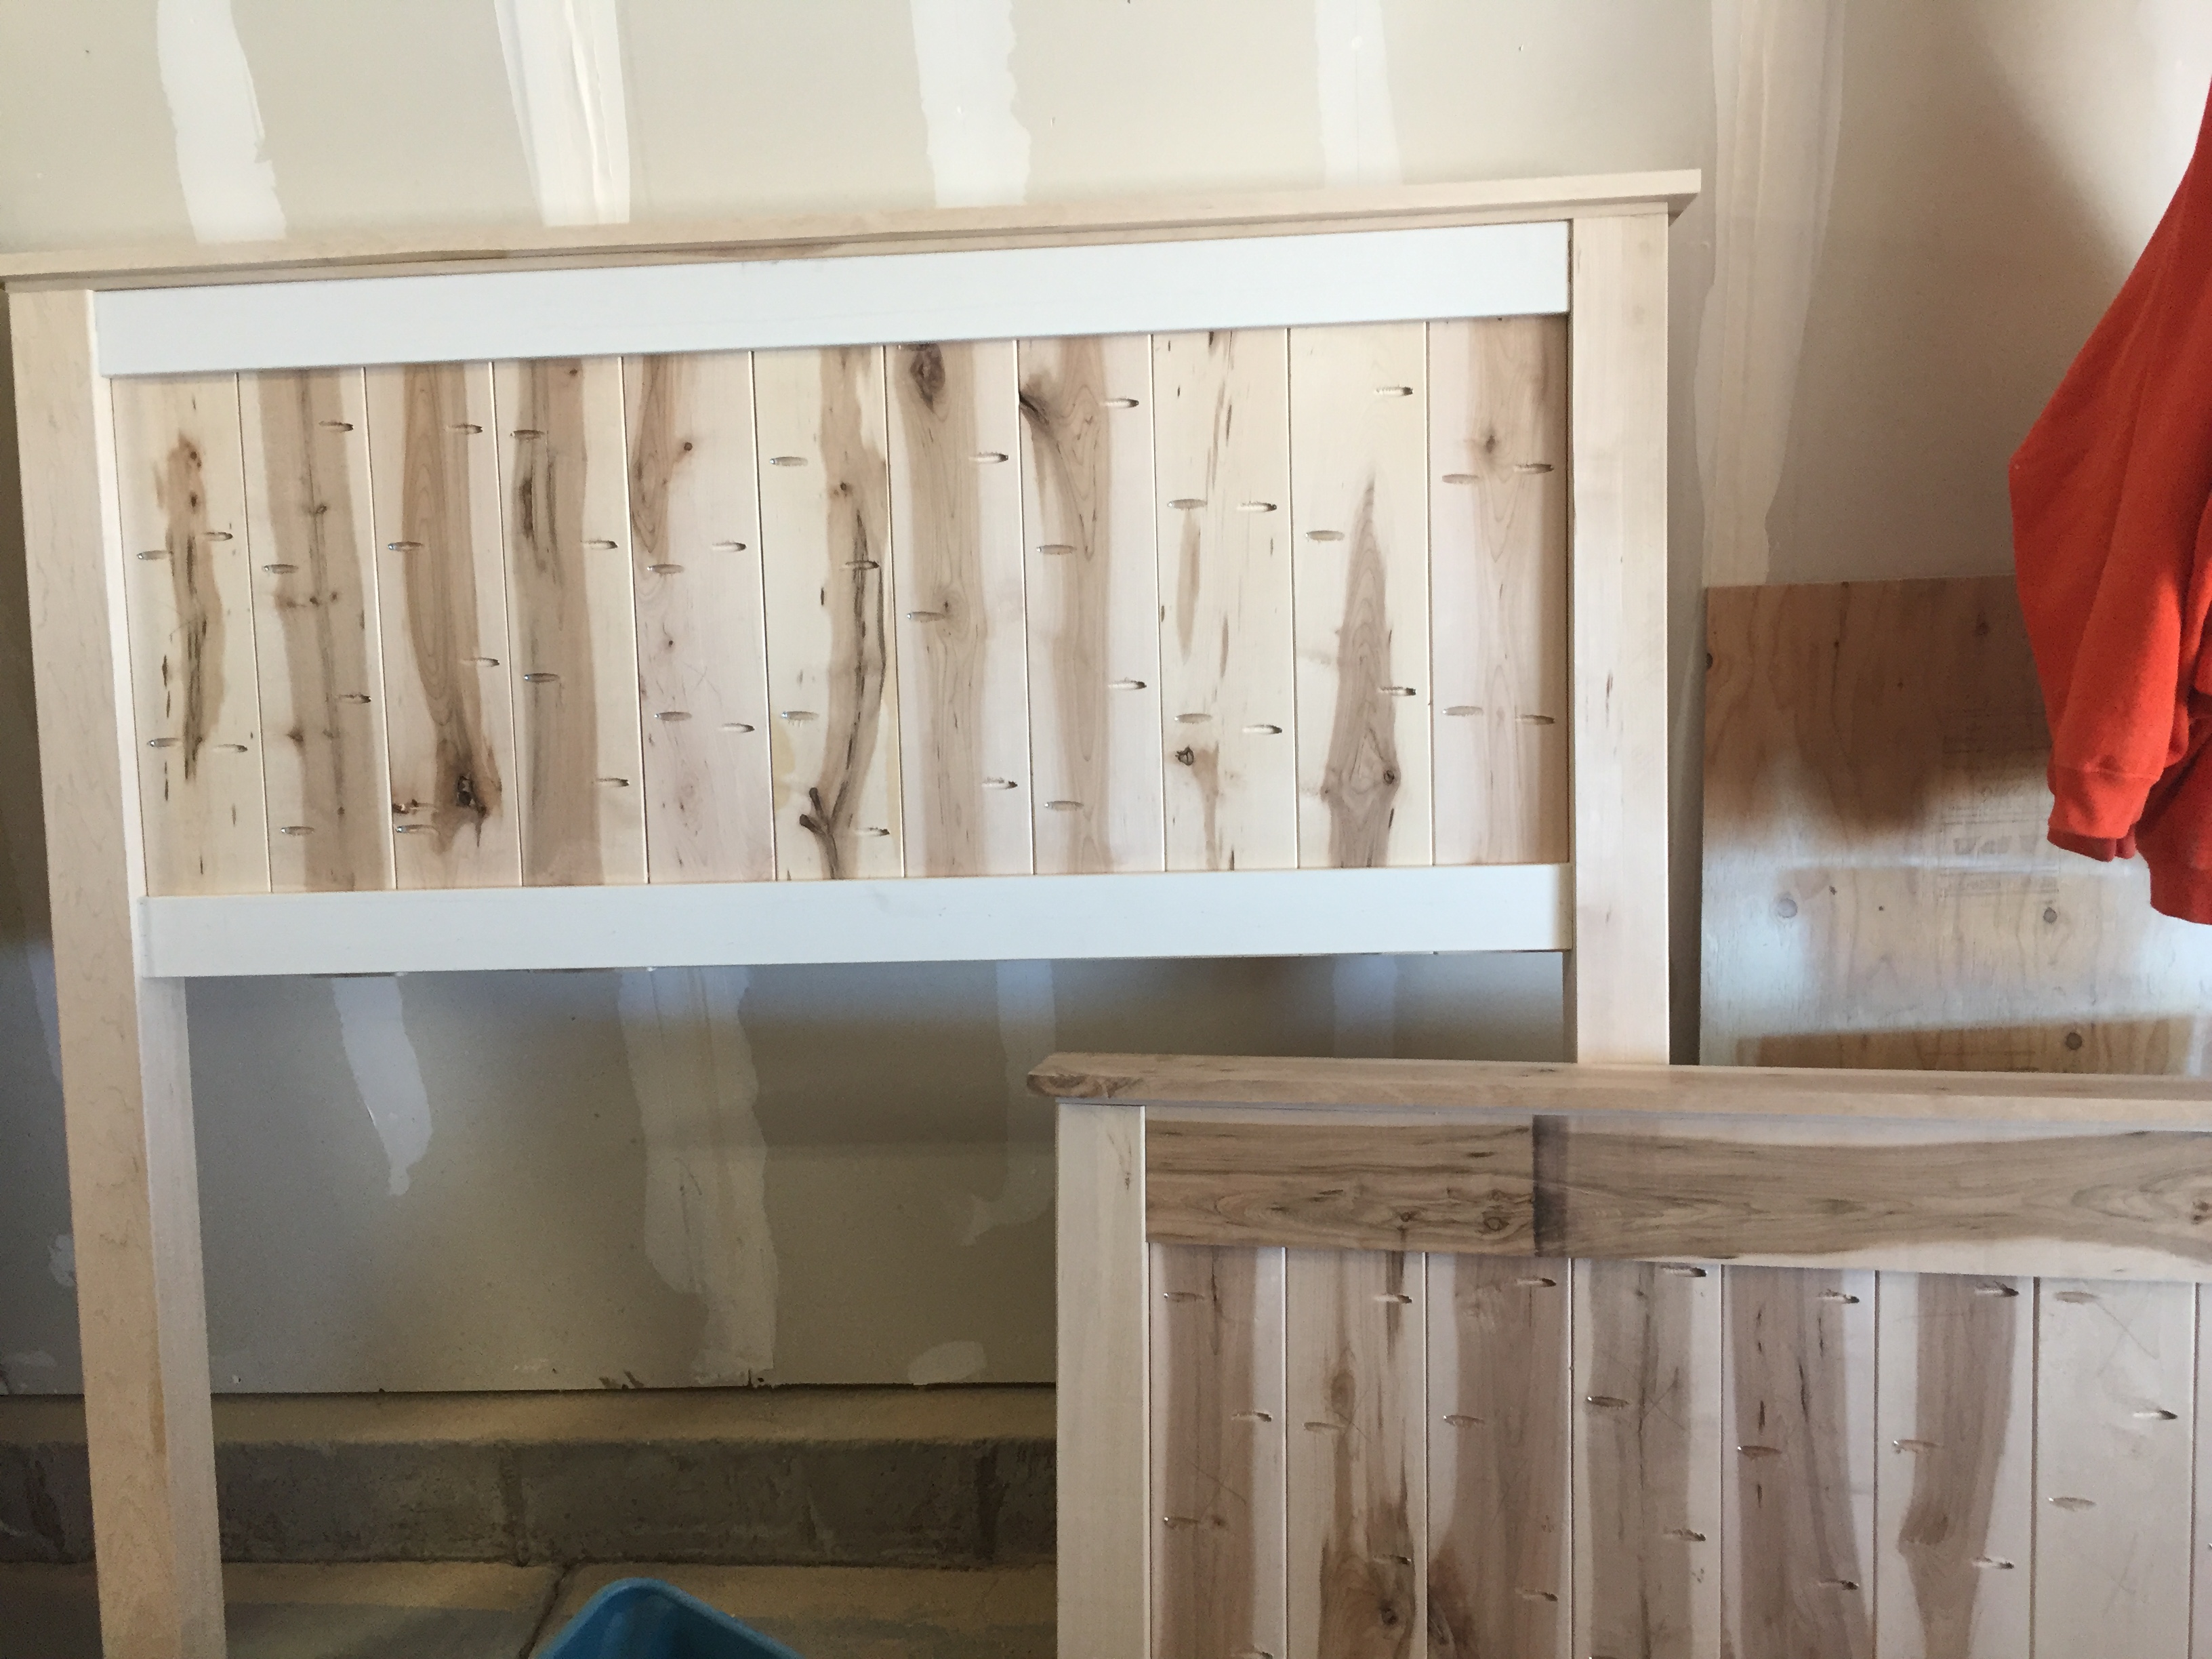
Queen Farmhouse Bed with Two Layers of Drawers
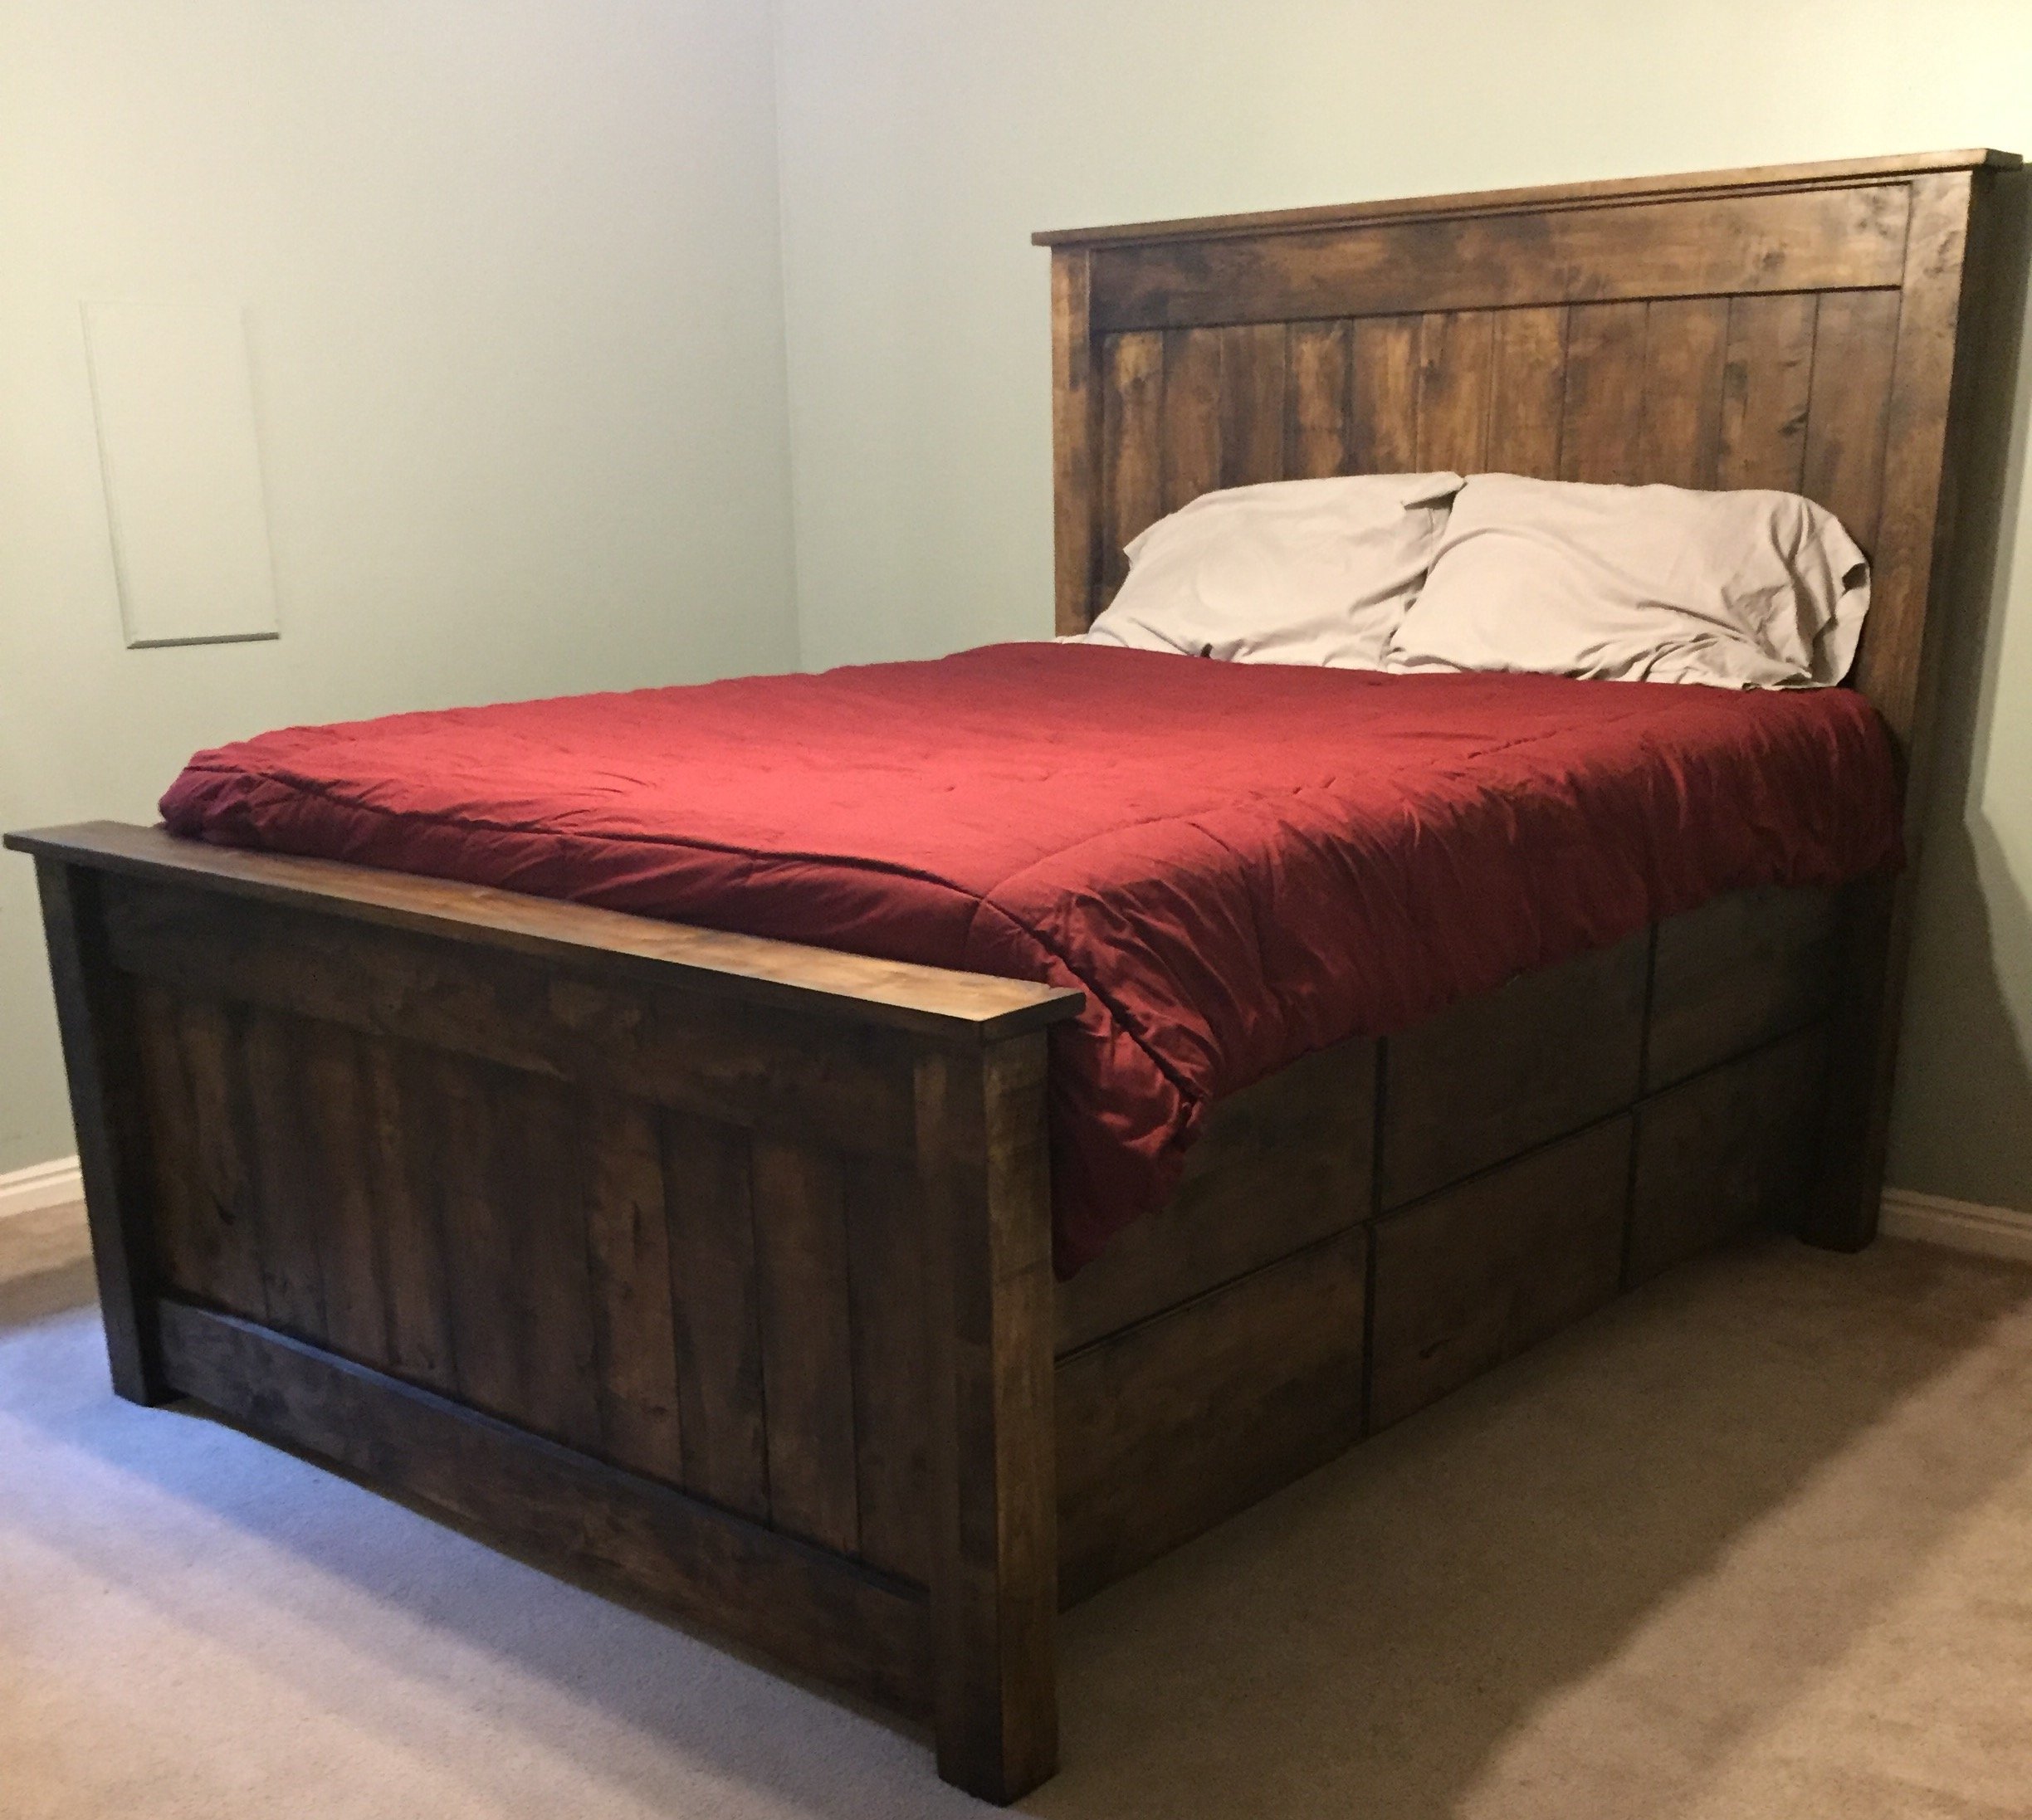
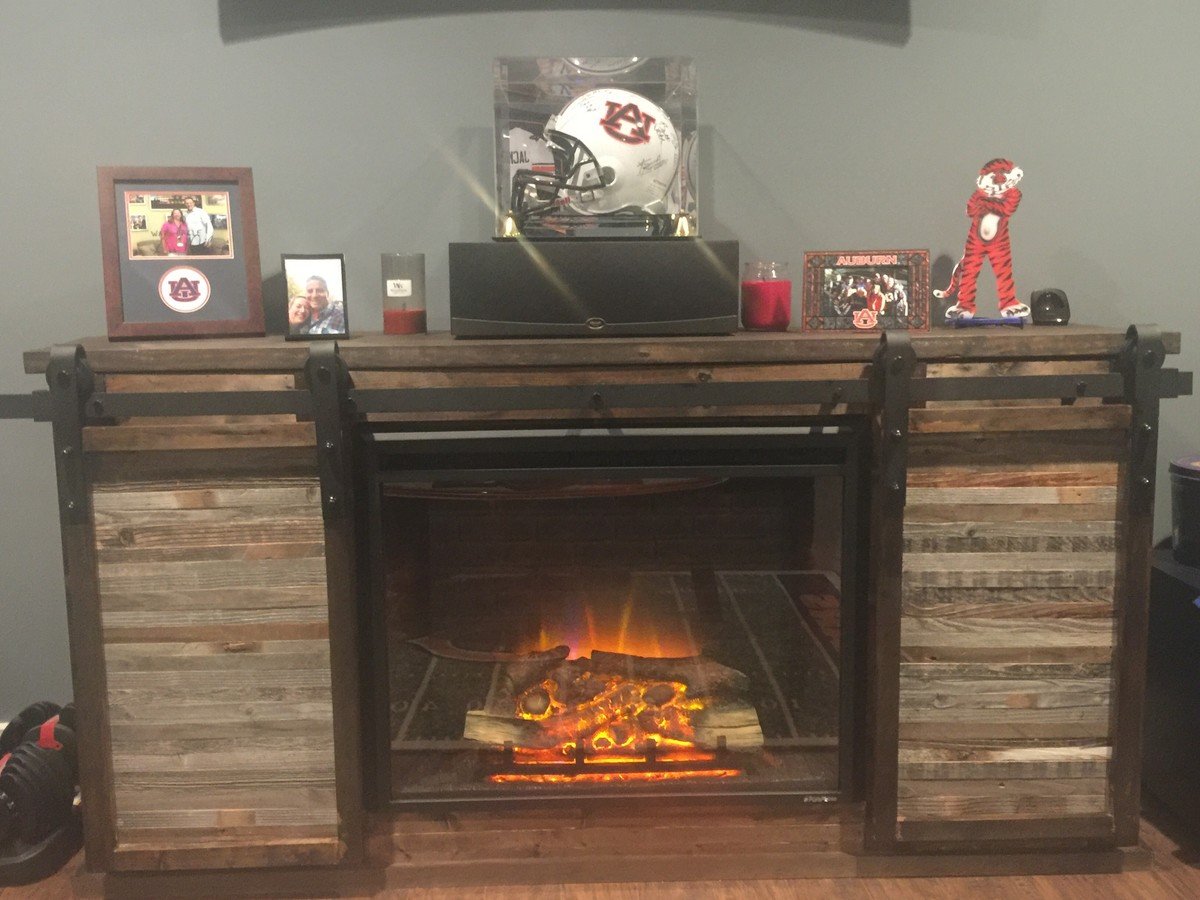
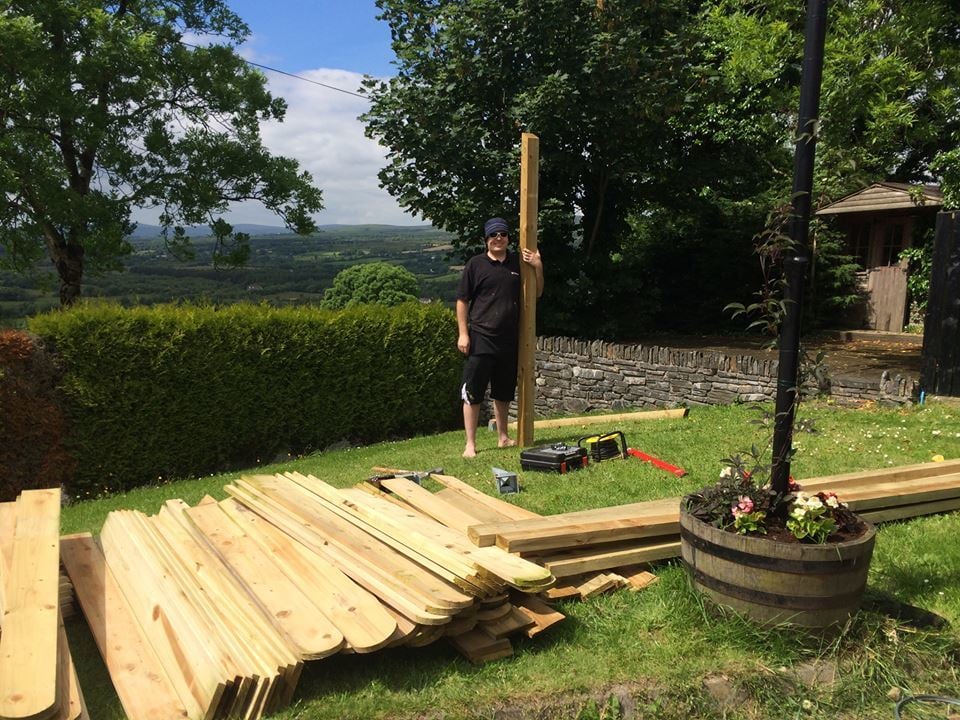
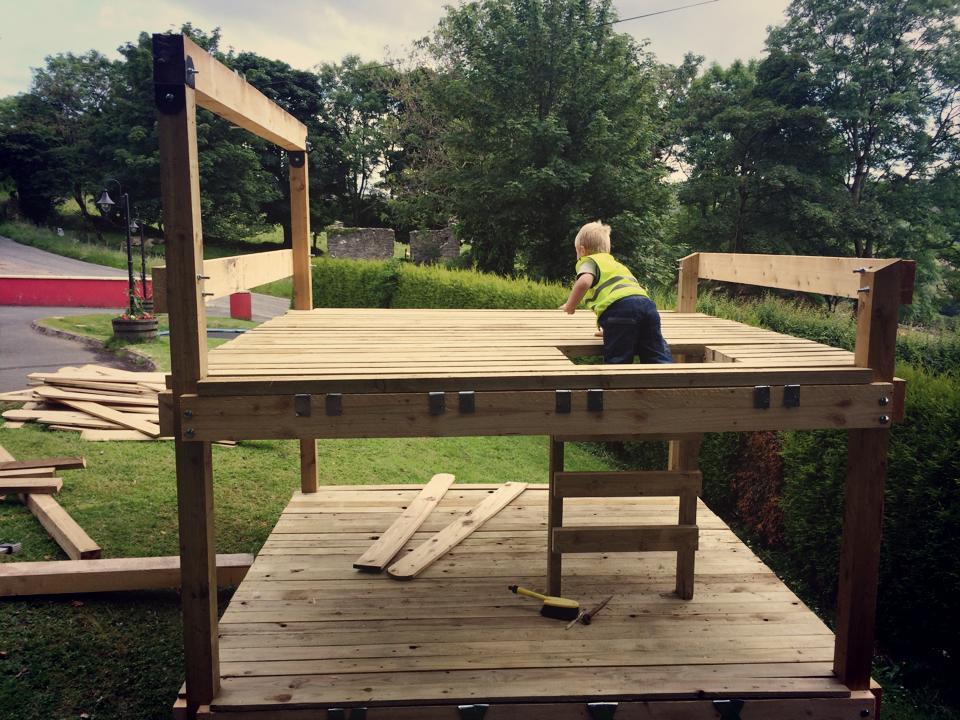
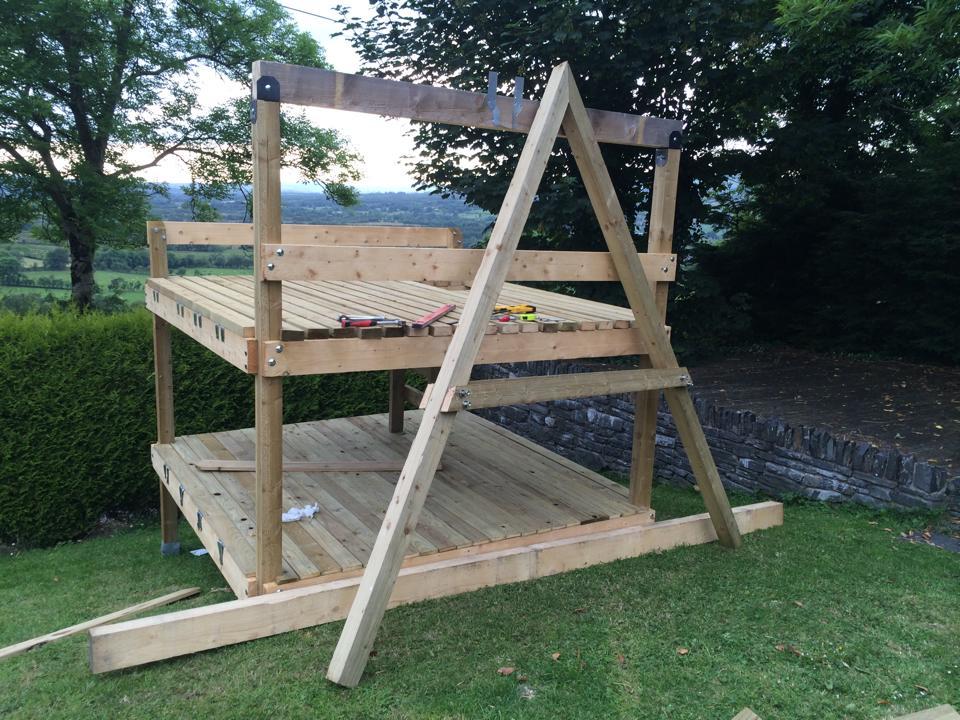
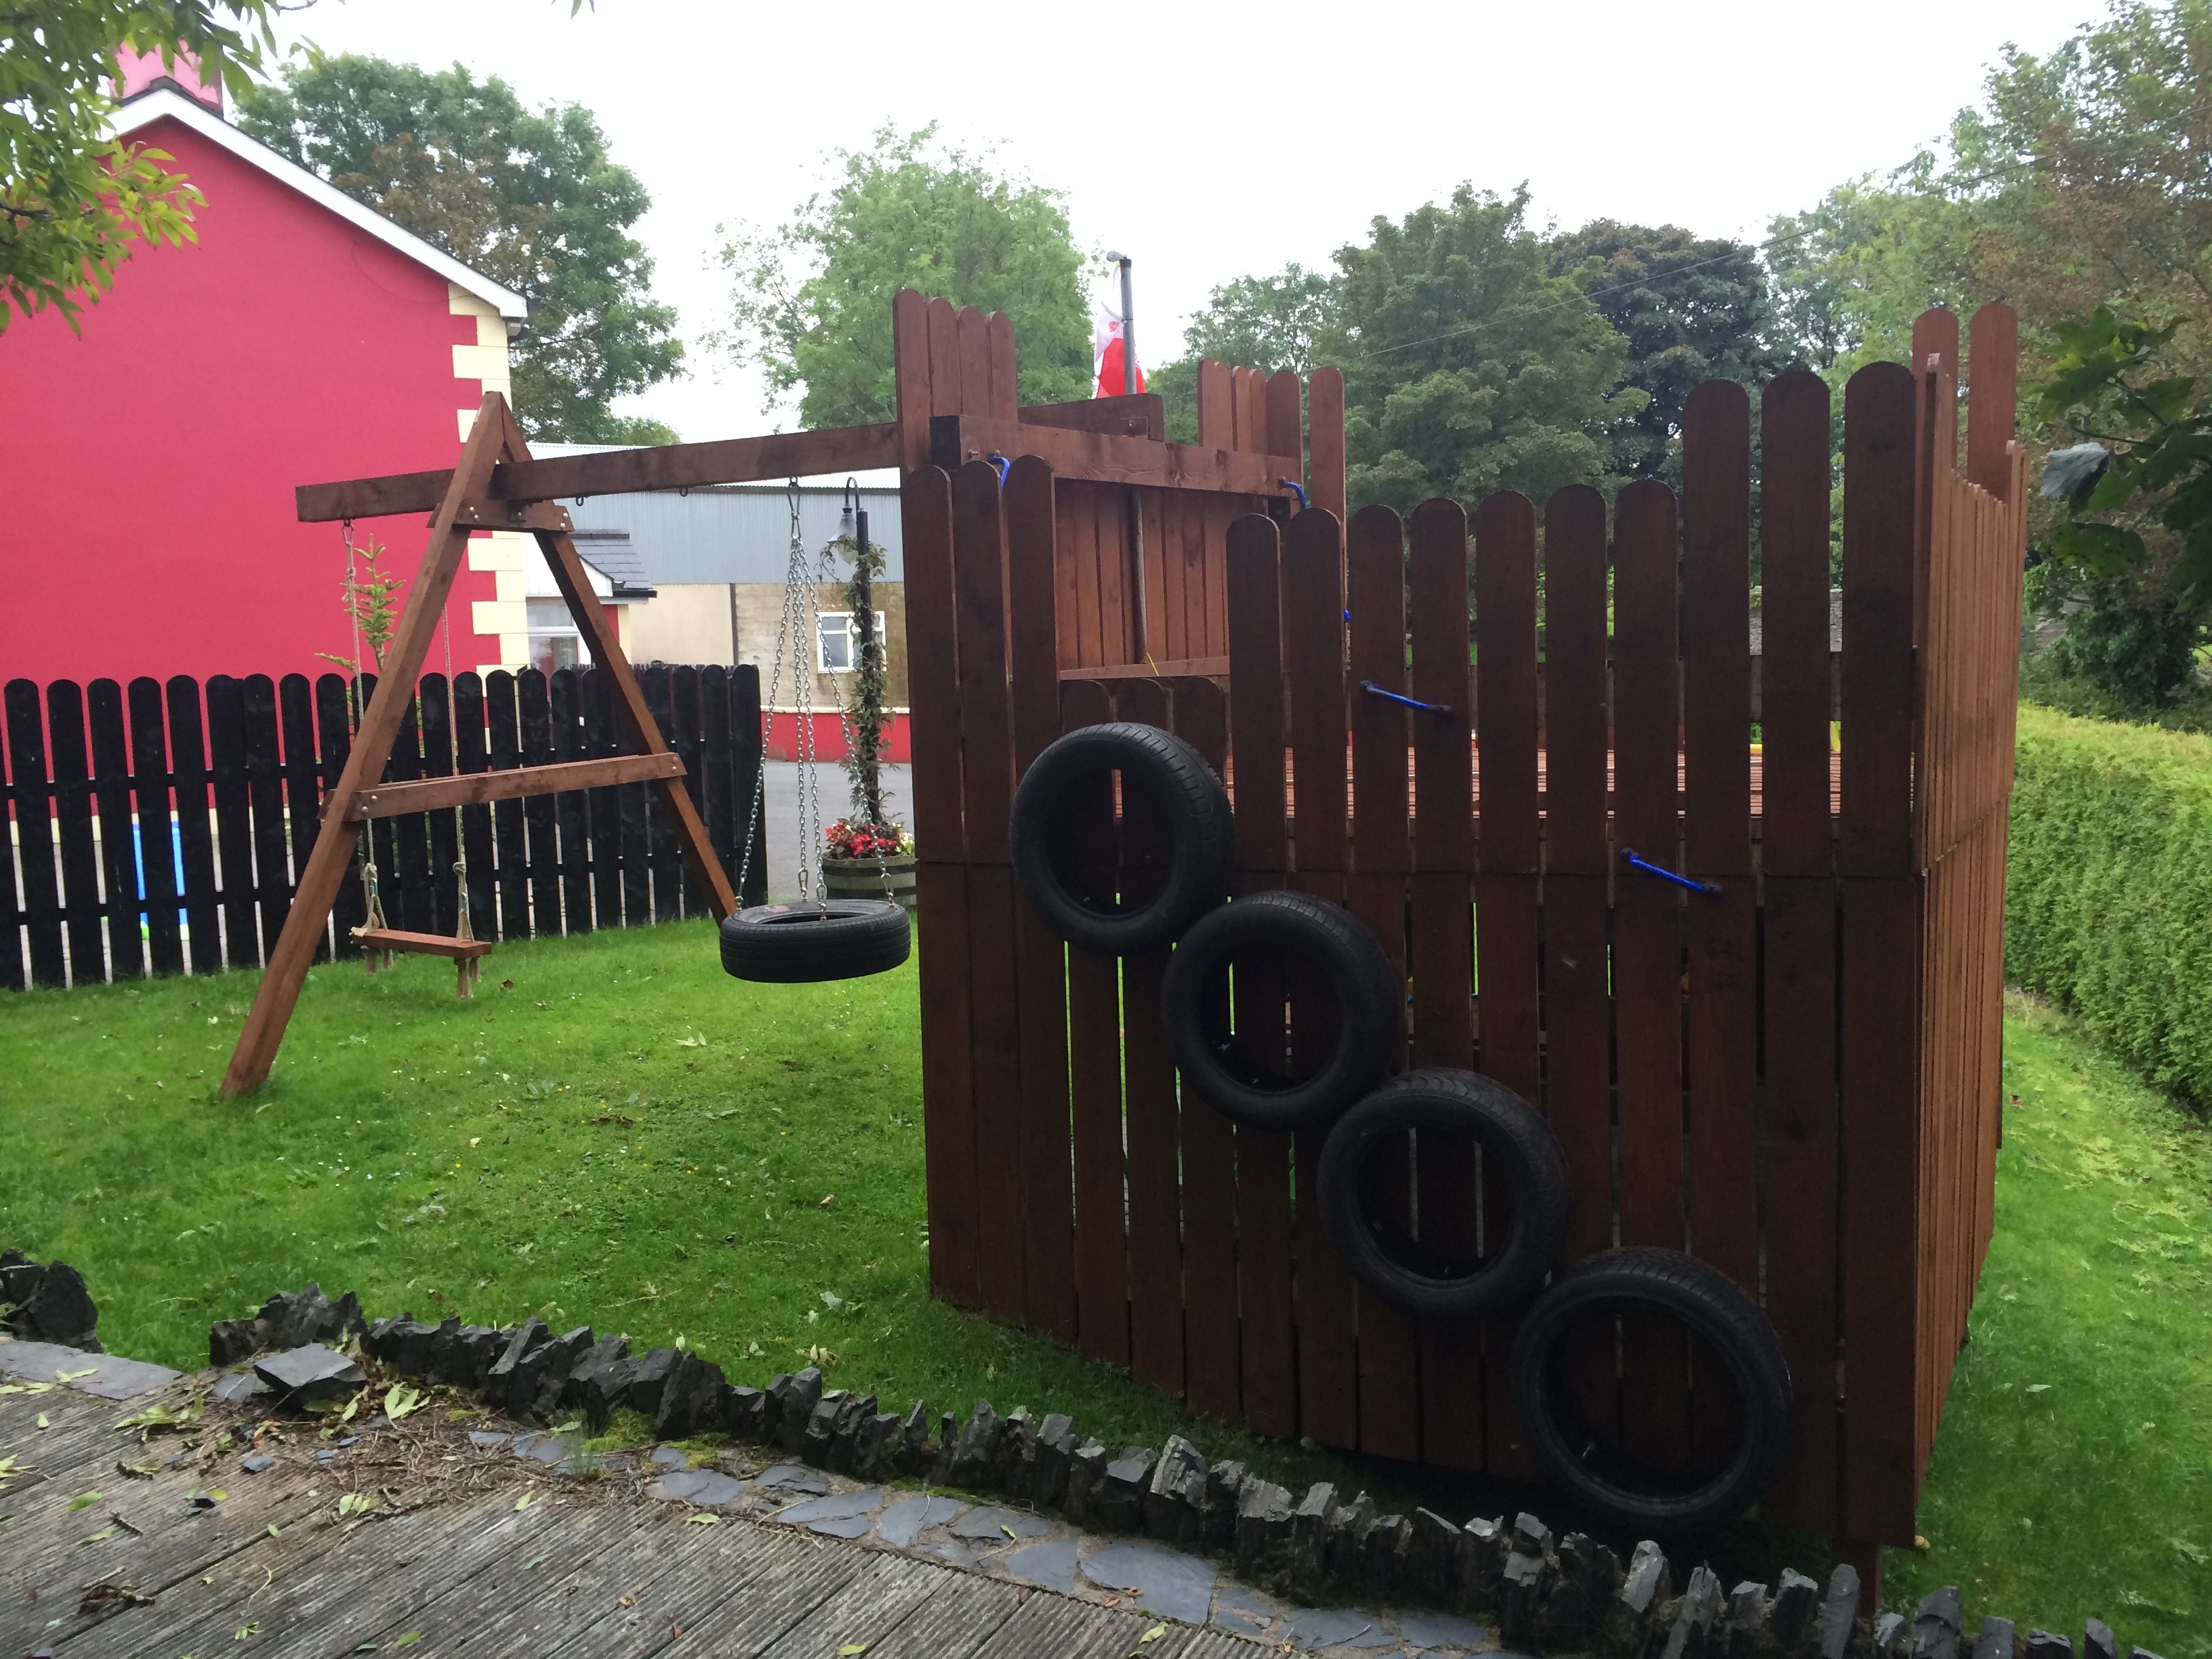
My brother-in-law and I took on this project in the fall of 2016. I don't mean to brag, but it turned out amazing. #happywifehappylife
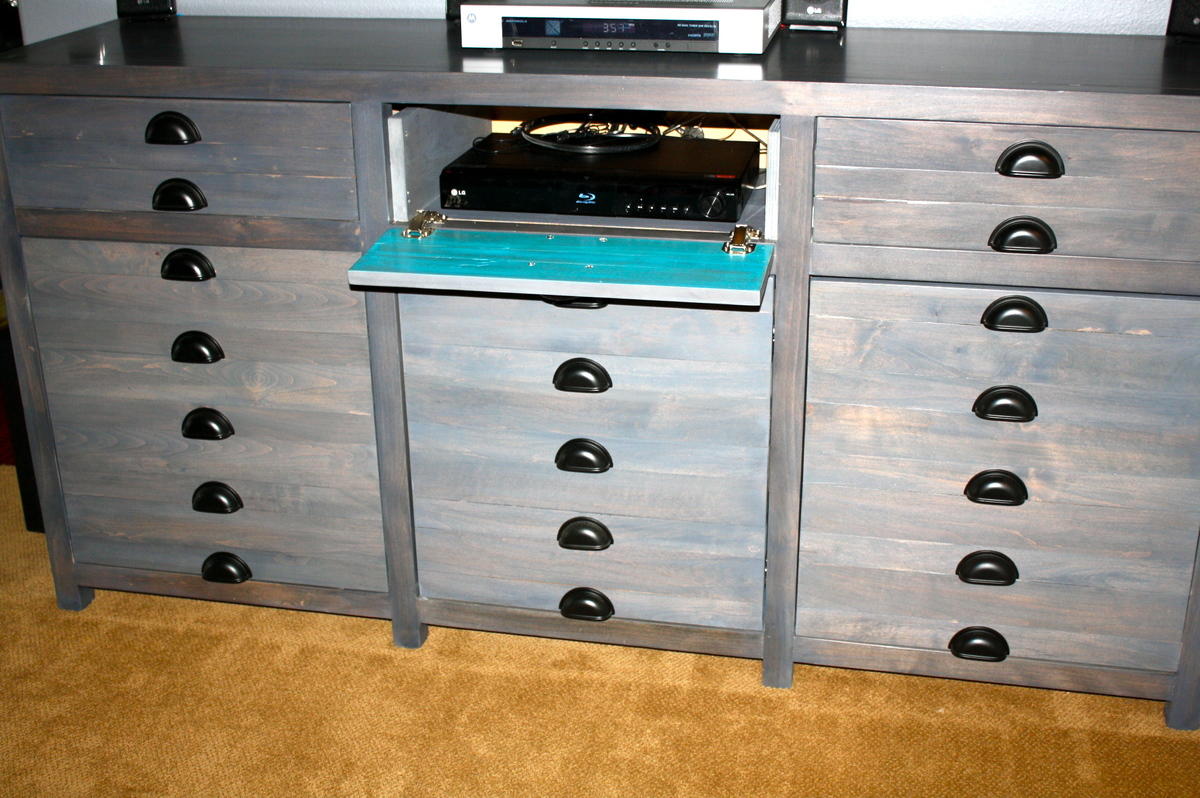
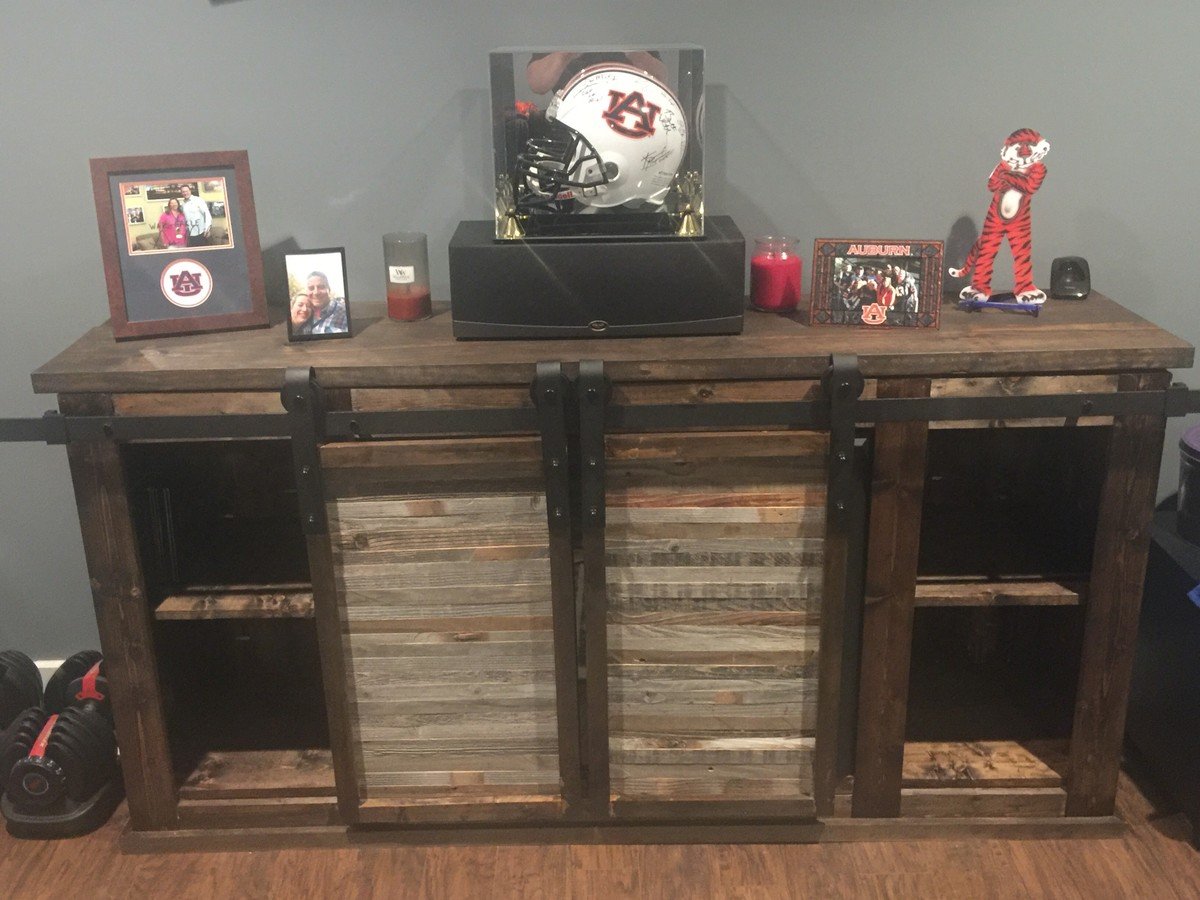
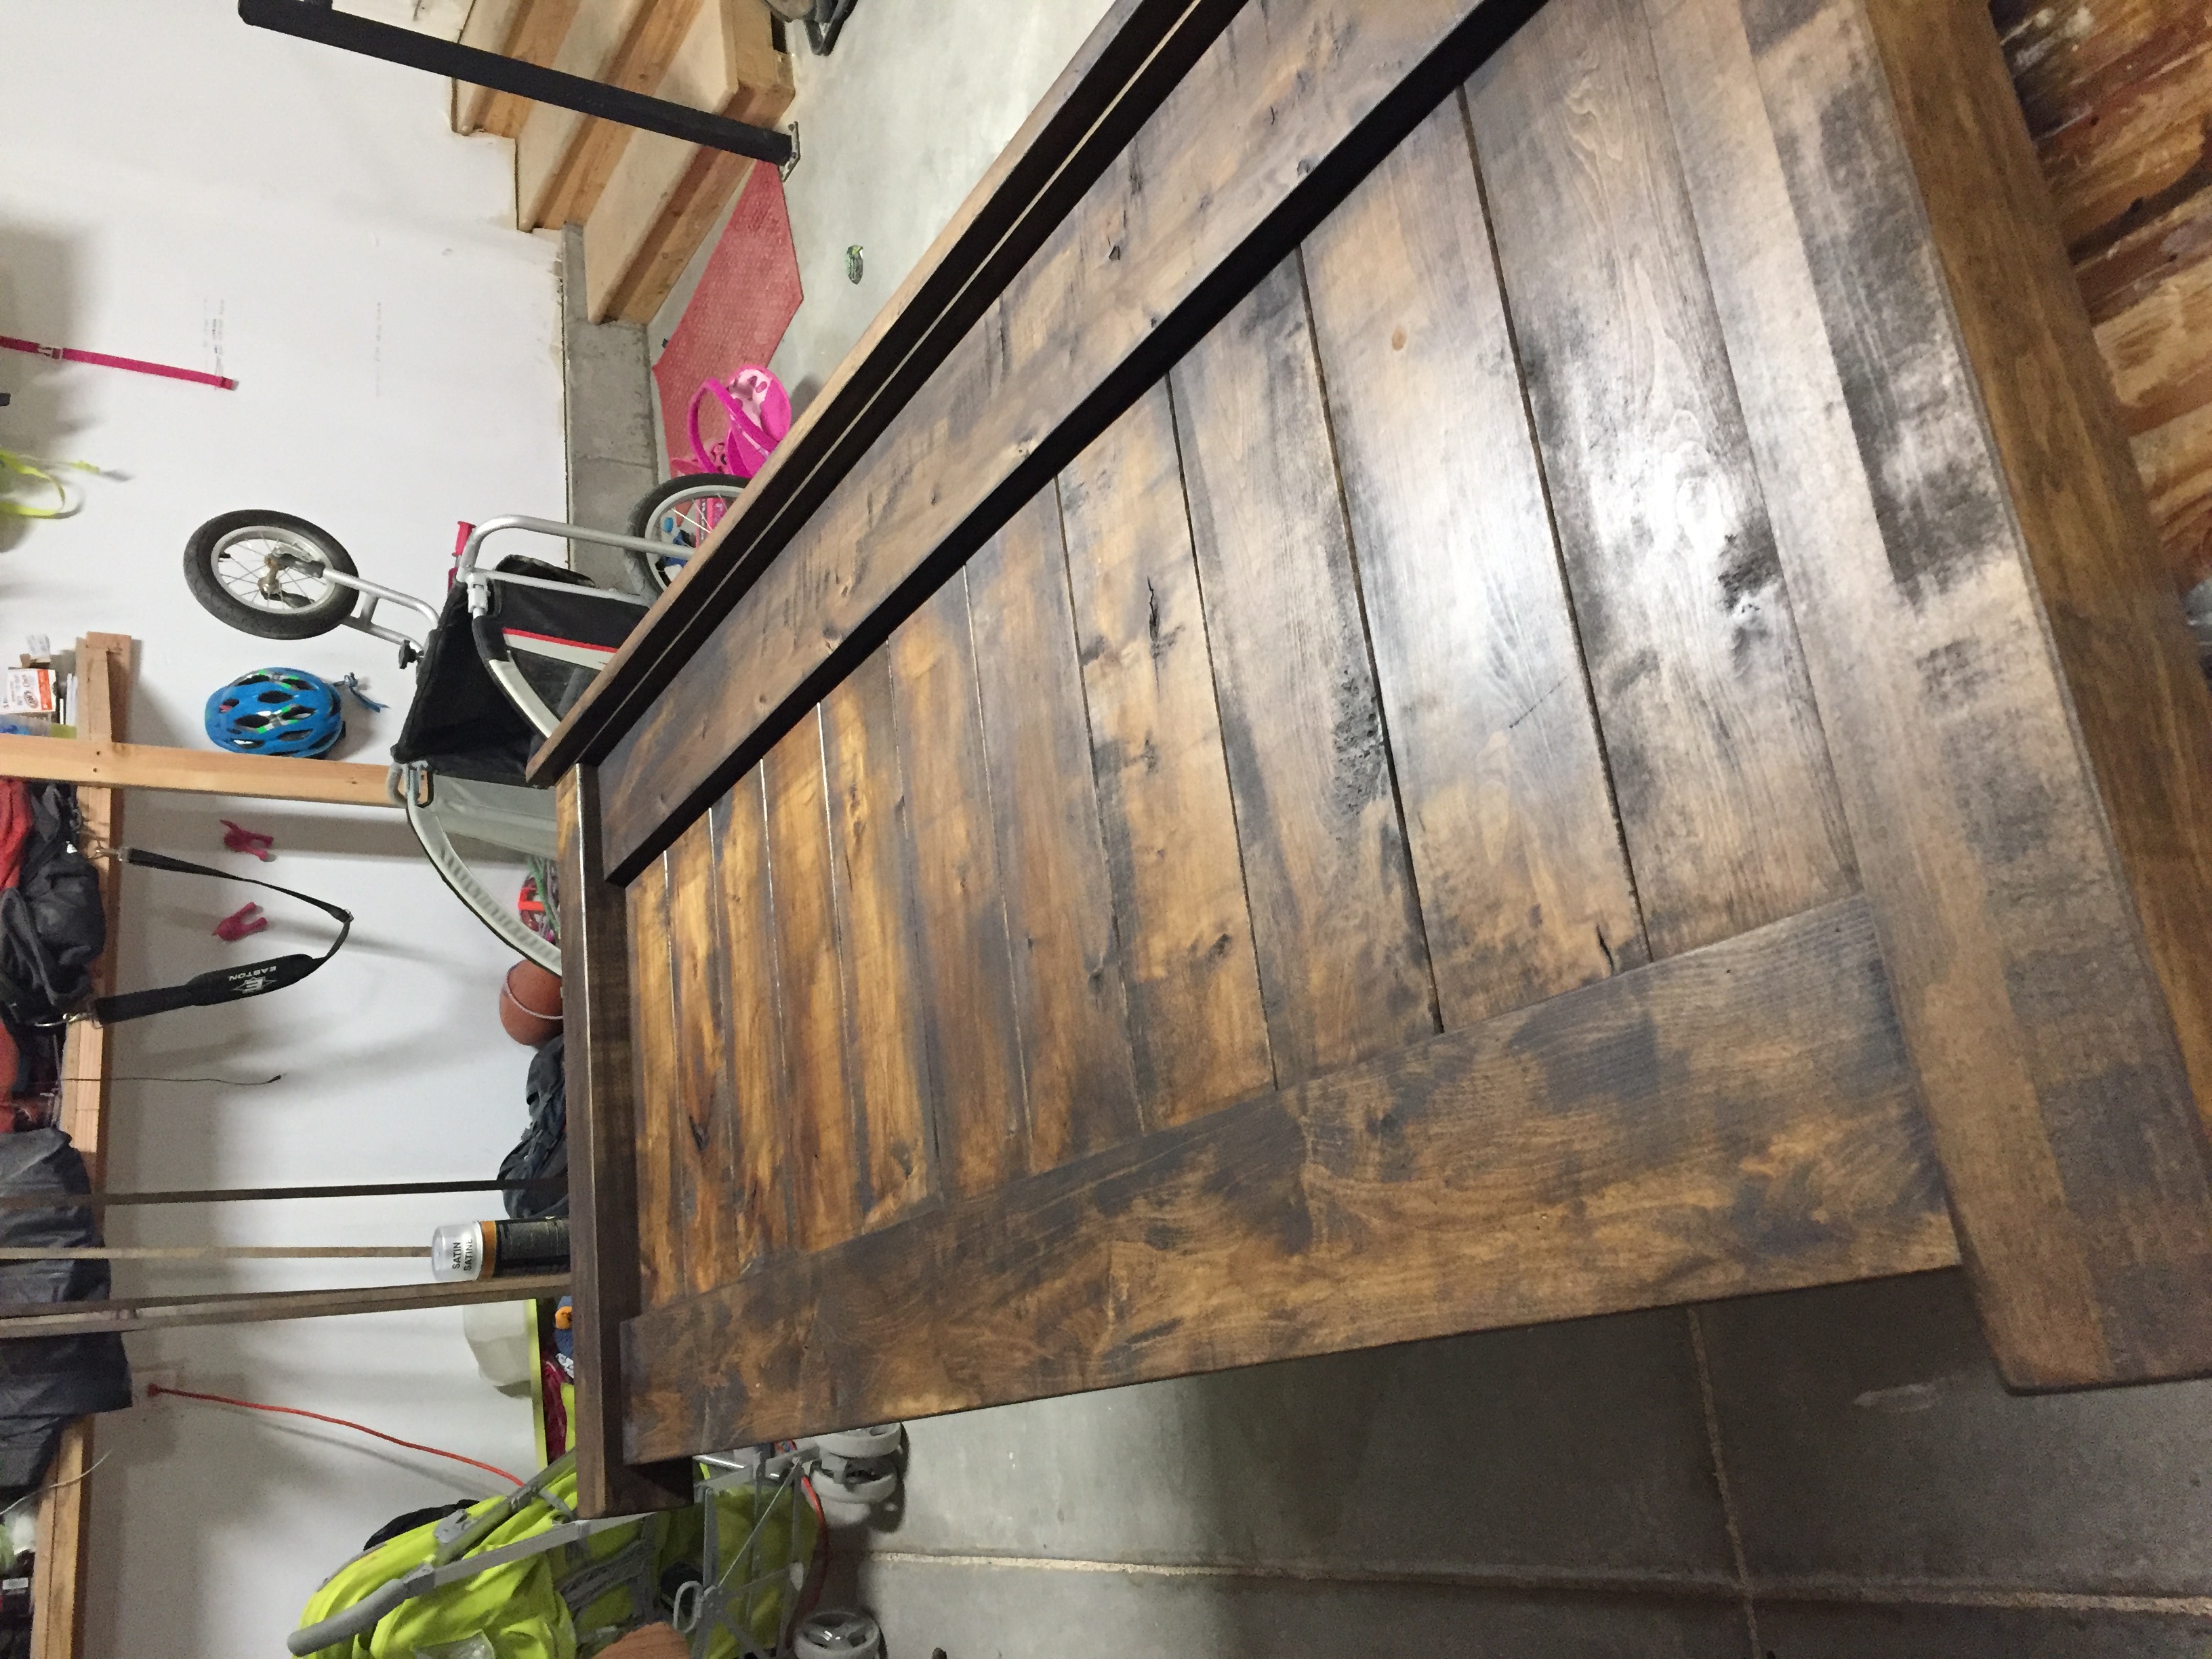
We adopted the plans from the Full Farmhouse Bed Plans. But we added two banks of cabinets and made it a lot taller.
Built from Plan(s)
Estimated Cost
too much... but still worth it. between $600 & $700.
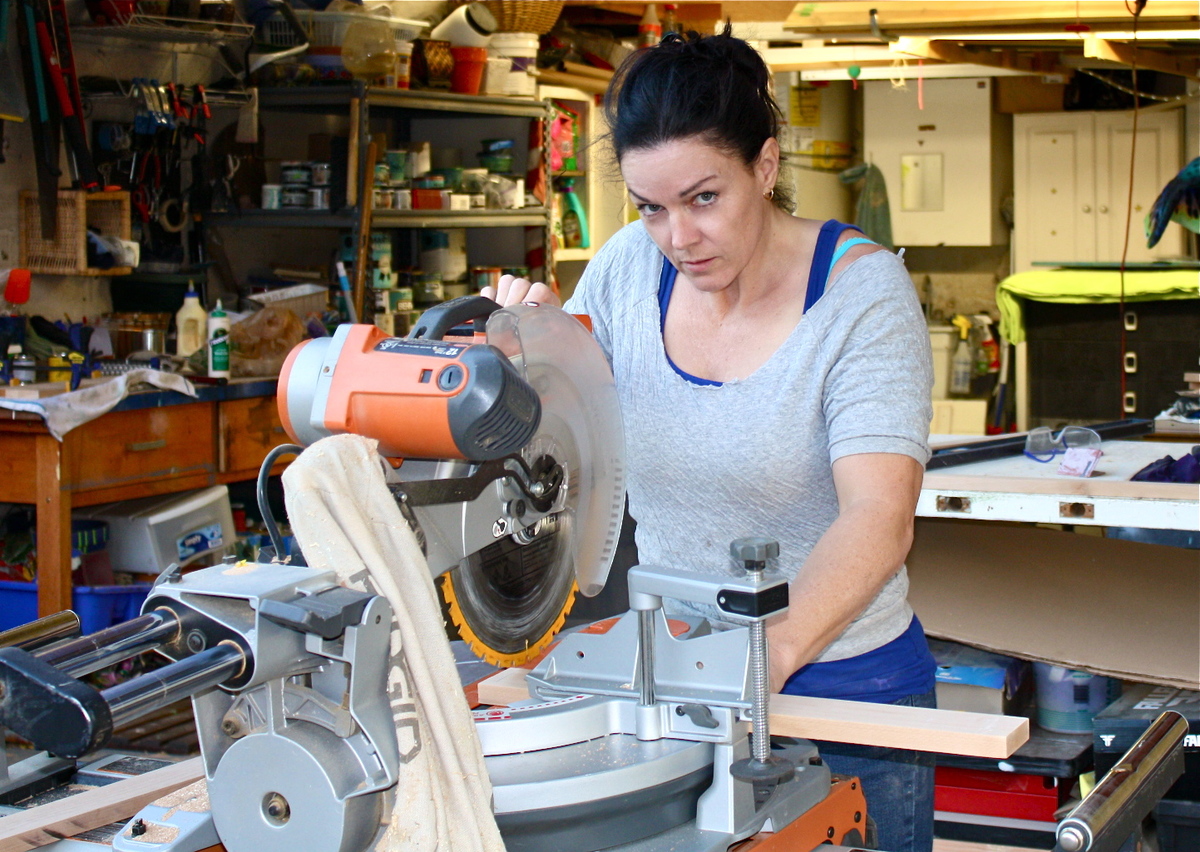
Estimated Time Investment
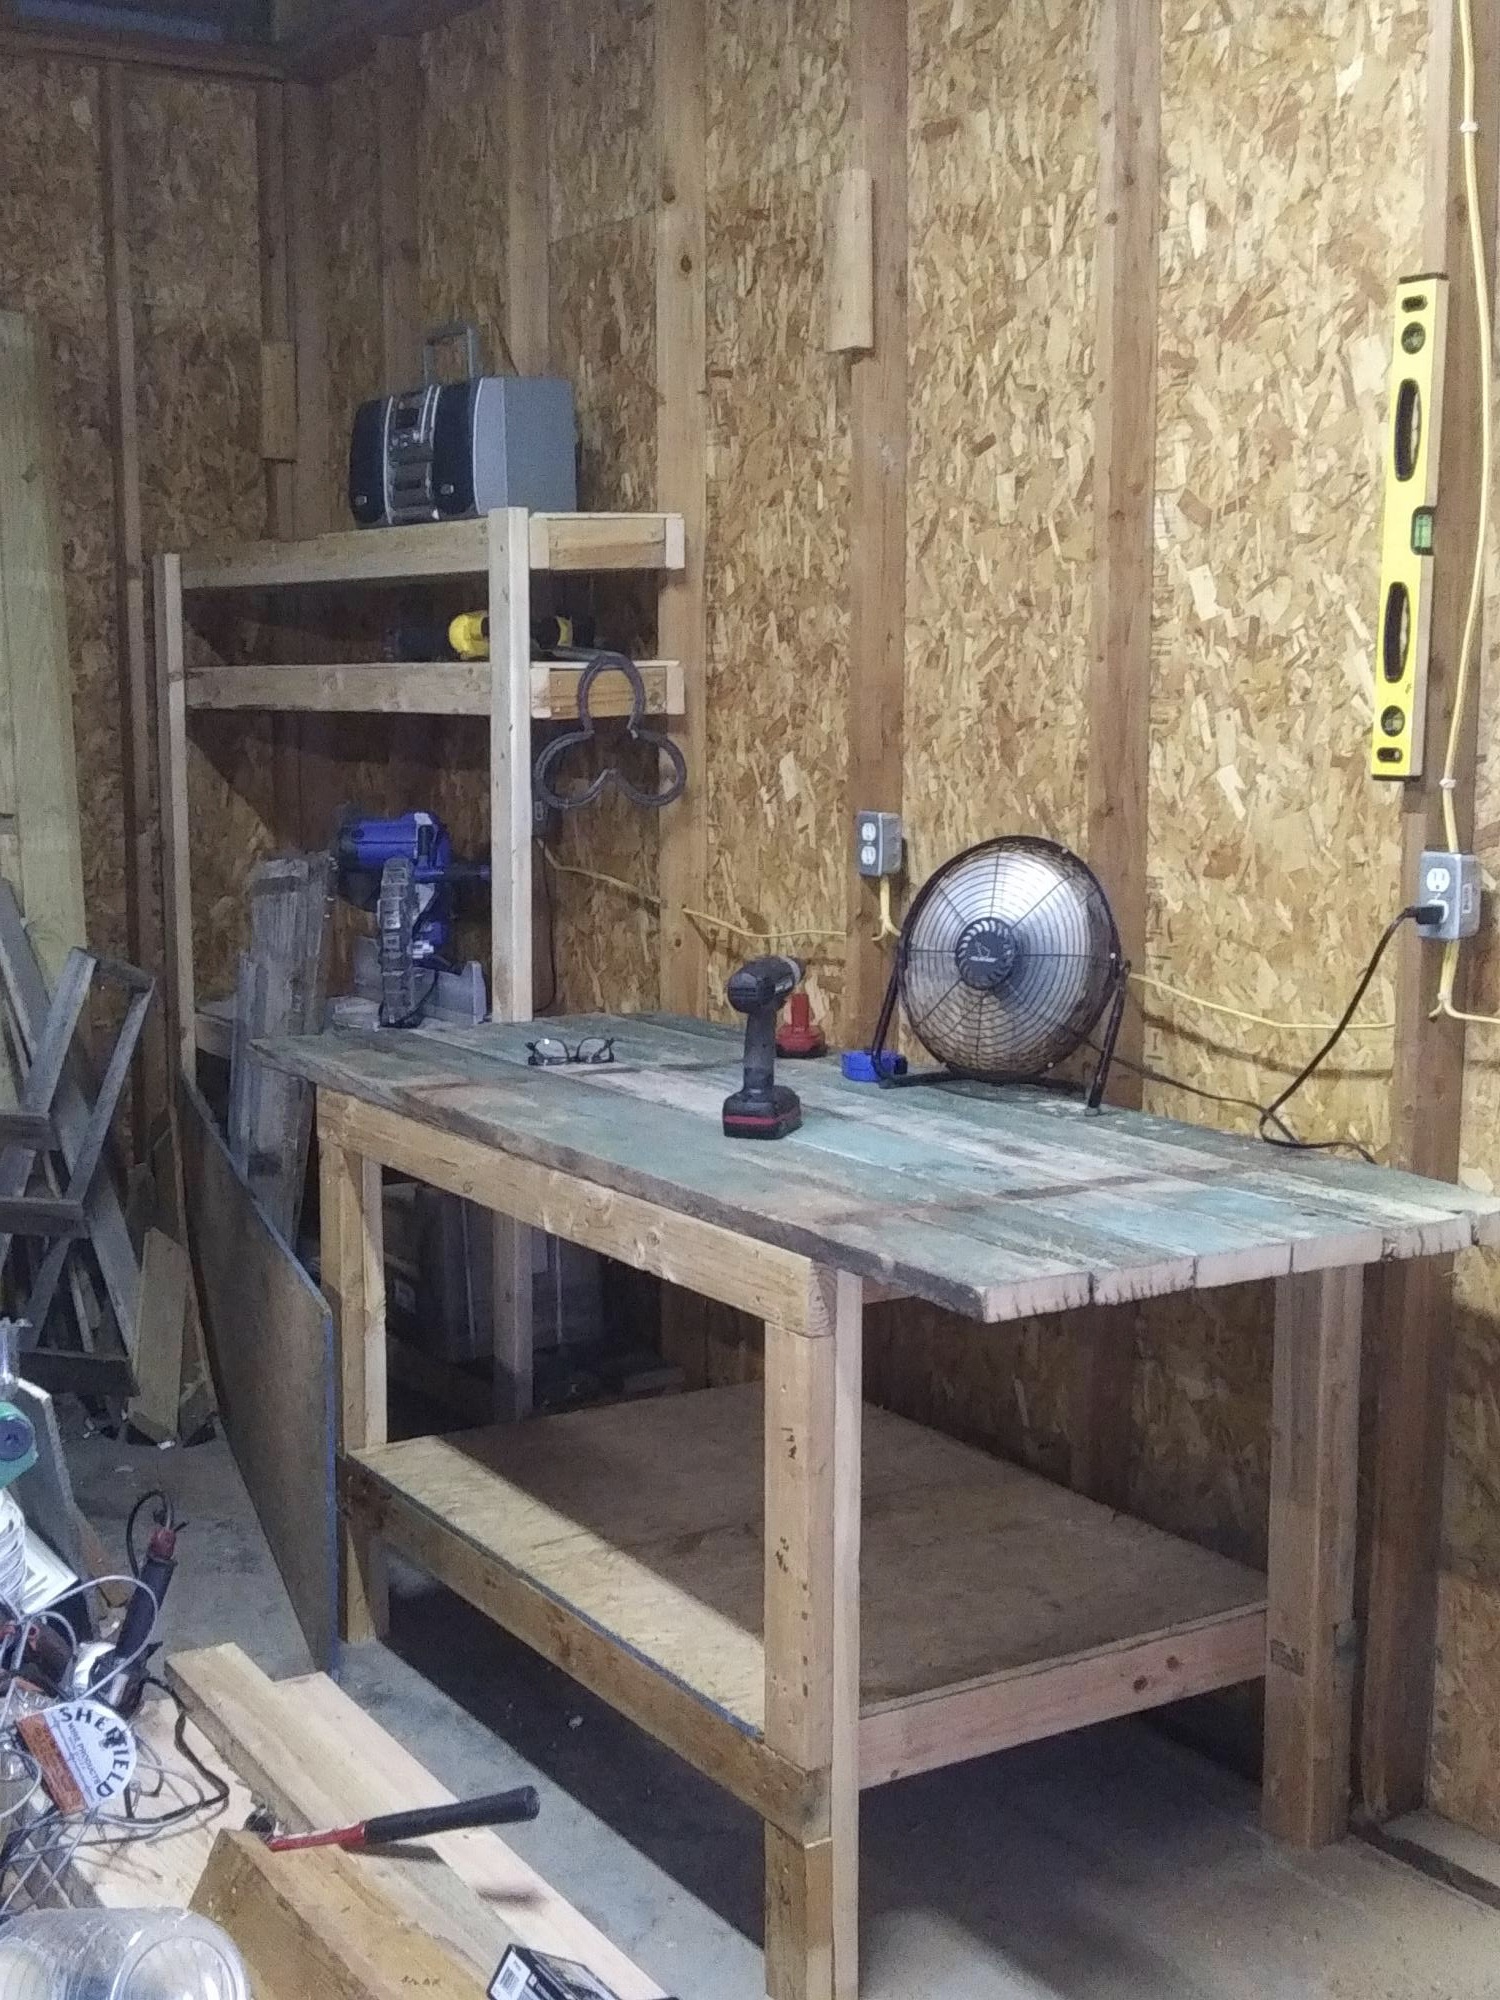
Week Long Project (20 Hours or More)
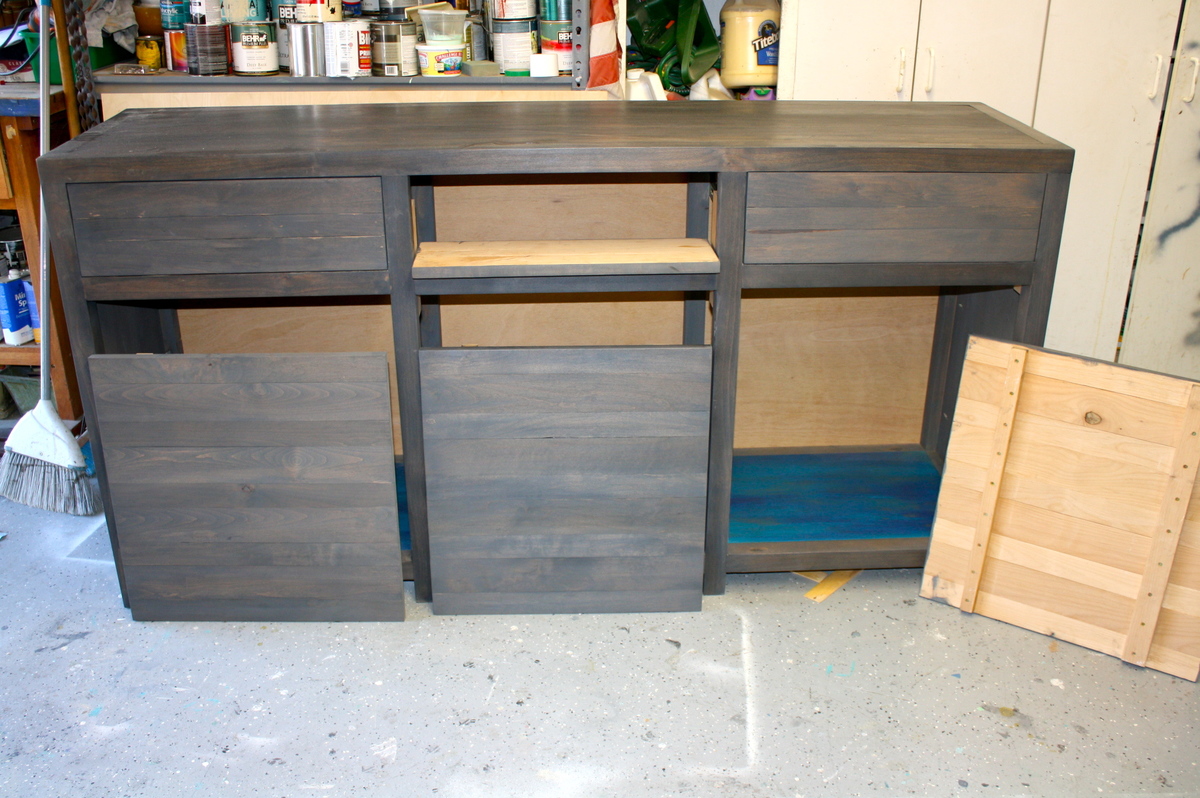
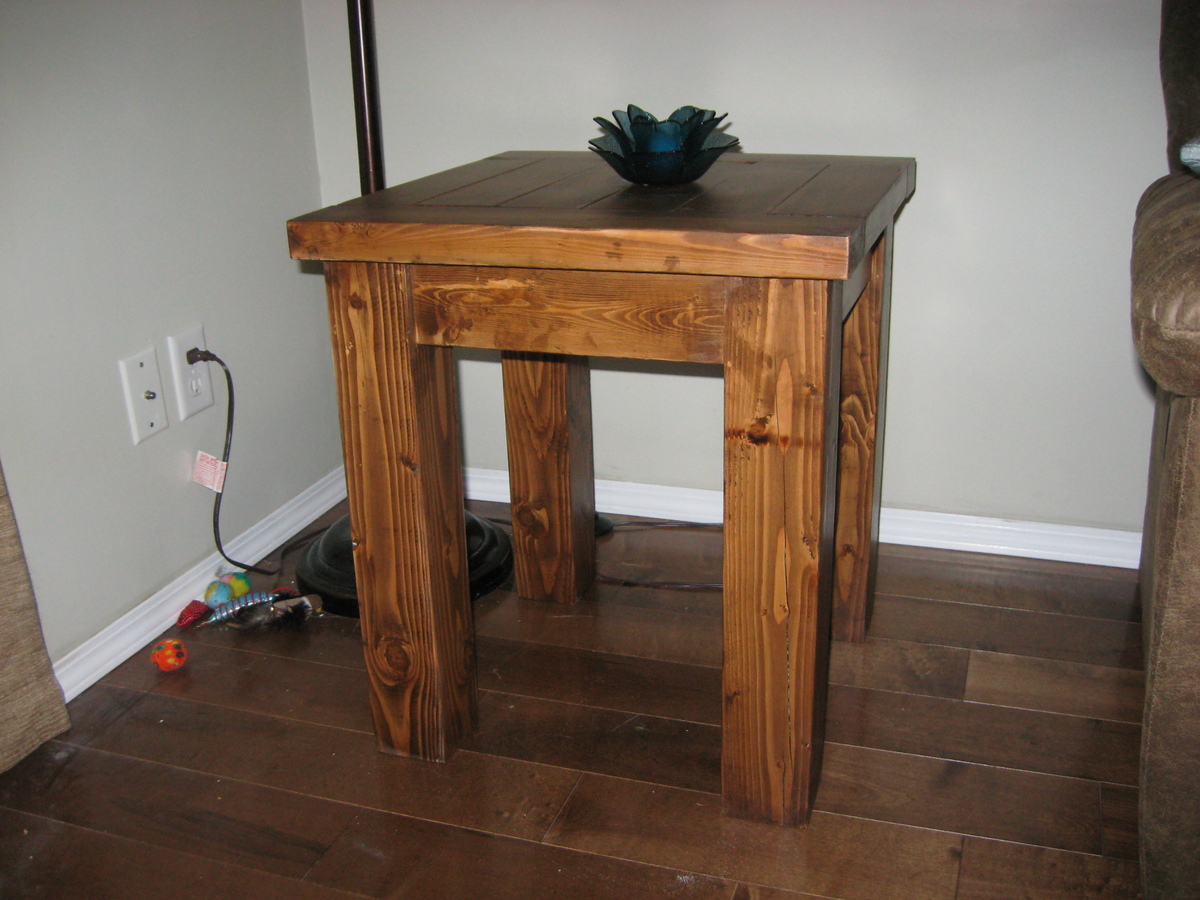
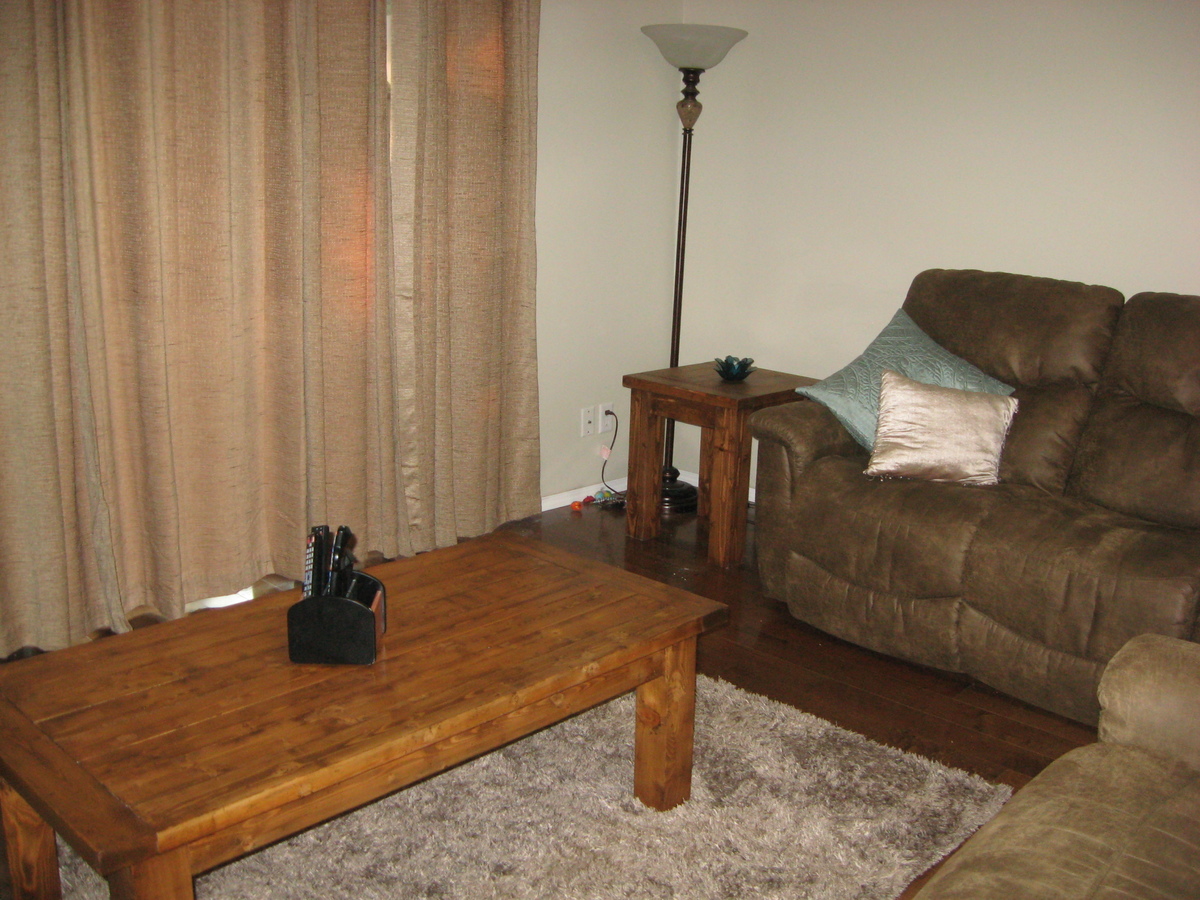
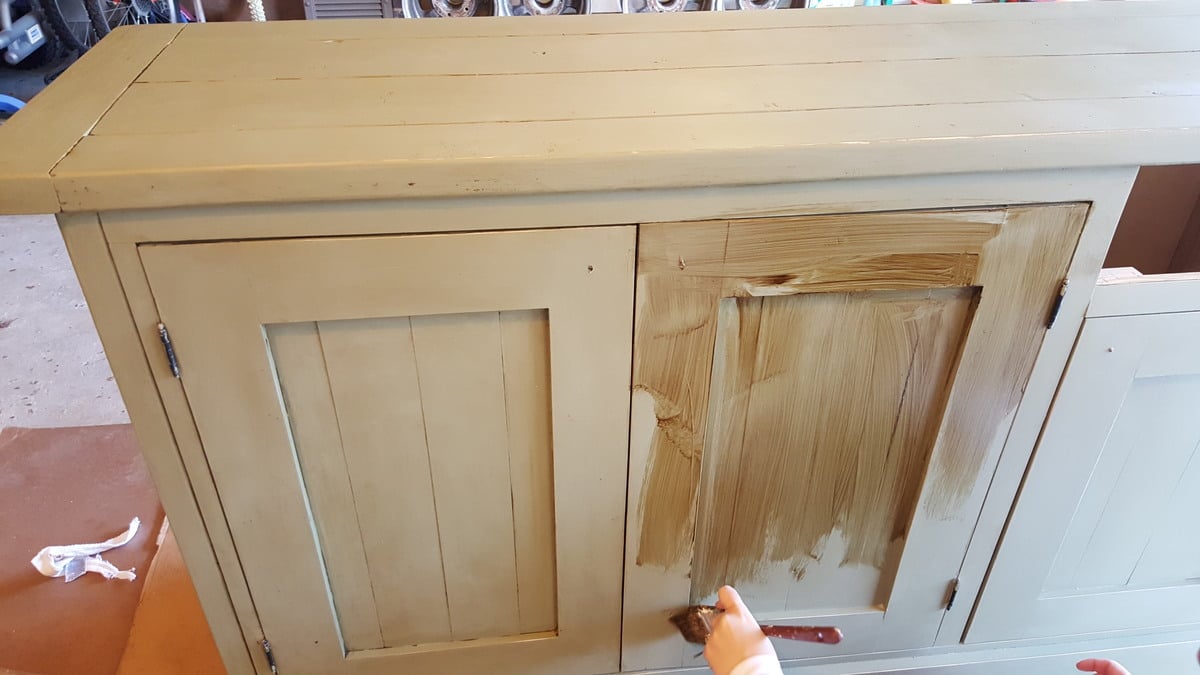
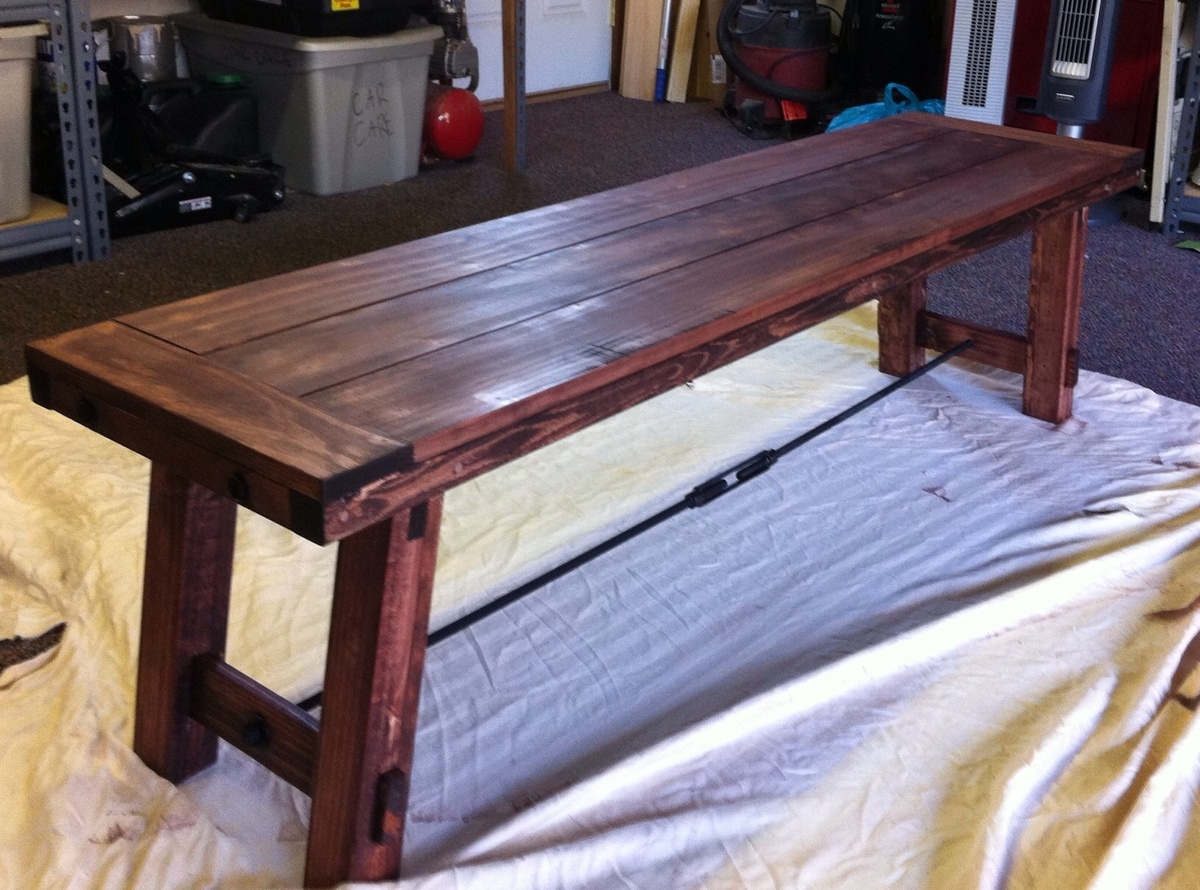
Finish Used
Dark mission brown (it is a dye from Woodcraft) mixed with denatured alcohol. To get that color it was about 6 or 8 oz of the dye to 1 liter of alcohol.
Recommended Skill Level
Advanced