Community Brag Posts

Simple Adirondack Chair

Submitted by HoodFam on Sun, 05/13/2012 - 12:27

This was the second (larger) type project my husband has completed and I got to help this time! We made this for the loving ladies in our lives for Mother's Day. This one is his mom's and we didn't finish it because we don't know if she'll want to stain or just paint it. It was relatively easy!

Built from Plan(s)
Estimated Cost
25-30
Estimated Time Investment
Afternoon Project (3-6 Hours)
Finish Used
Not completed yet! We are making two for ourselves so I will upload those when we get them finished.
Recommended Skill Level
Beginner
Seasonal And Holiday

Easiest Upholstered Bench

Submitted by TLinskey on Sat, 03/15/2014 - 08:51

This was a very simple and fun project!!! One of my favorites!! Plus I learned two new DIY SKILLS......upholstery & tapered legs!!!

Built from Plan(s)
Estimated Time Investment
An Hour or Two (0-2 Hours)
Finish Used
Dark Walnut, HGTV FABRIC
Recommended Skill Level
Starter Project

Vintage pew bench alteration

Submitted by Wnolan on Mon, 03/17/2014 - 11:16

I needed additional seating for my dining room table and wanted something a little unusual. When I saw the vintage pew bench, I loved it. After looking at the plans, I determined I could alter the arm height so we could use it at our dining table. Now that we have moved, we no longer need it at our dining table, so it now sits in our entry. It has been a great multifunctional piece.

Built from Plan(s)
Estimated Cost
less than $100.
Estimated Time Investment
Afternoon Project (3-6 Hours)
Finish Used
Miss Mustards Seed's Milk Paint with a clear coat of wax and an antiquing glaze over that.
Recommended Skill Level
Intermediate

Comments

Ana White

Tue, 03/18/2014 - 10:44

Amazing Pop of Color, Love the Bench! Is that a print or painting, may I ask where you found it?

Wnolan

Mon, 03/24/2014 - 13:25

Thanks Ana! It is a painting. I bought it in South Korea while we were living there.

I may be able to track a canvas down for you, though. You would have to get it stretched...it would be too large to ship. I have a friend who is living there now. ;-)

Kae429

Sun, 09/20/2015 - 16:44

What's the new arm height? I'm going to TRY to adapt this to a 60" bench with two drawers, and the lower arms.

Seasonal And Holiday

Christmas Tree Cup Shelf

Submitted by Anonymous (not verified) on Mon, 12/04/2023 - 08:50

Hi Ana,
I just want to thank you for sharing your projects. My father is 92 years and was always a "maker." For the last three years he is living with and being cared for by my sister, but while he no longer has use of his basement workshop, he still gets up early each morning and goes to his small work area in her craft room where he does small projects like bird feeders. He had made and given away so many bird feeders that we were searching for another small project he could take on. I came across your Christmas Tree shelf. My husband cuts the pieces to size and then my dad completes the projects. He has made enough to give his six children and 10 grandchildren each one as a keepsake. Pictured is the way one of the grandchildren has recently used the shelf he was given. So thank you for being so generous with your ideas and plans!

Mary Beth Sharp

Built from Plan(s)

Comments

Seasonal And Holiday

Farmhouse Media Console

This was my second wood project and I am really happy with how it turned out. I basically followed the plans but made mine alot bigger. It measures roughly 6' long, 33" tall, and 20" wide. I wanted to let people know how I made the center door because the video used alot of tools and skills that I do not have.
I made the doors out of 4" and 2" select pine with PH's on the back. I then cut a 5/16" groove in the center on the outside of the stiles. About 7/8-15/16 of the way up the door I installed a 1/4" wooden dowel. On the cabinet frame I installed another wooden dowel that the door dowel rests on when closed, this is also the dowel that rides in the groove that was cut on the door.
The other difficult part (for Me) was the cut out design on the bottom of the frame. I did this by using a big bowl for the center and a really thin strip of wood. Once I cut out one side I just flipped the cut piece over and traced it to the other side.
I finished the top off with 3 coats Minwax Dark Mahoganey and 3 coats of Minwax Polycrylic.

Estimated Cost
250$
Estimated Time Investment
Weekend Project (10-20 Hours)
Finish Used
Minwax Dark Mahoganey and Polycrylic clear
Recommended Skill Level
Beginner

Comments

Medicine Cabinet

Submitted by beansurfin on Mon, 07/02/2012 - 18:12

I found this project on I different site (sorry) but really wanted to make it for our quest bathroom. It was not to difficult and it really helps to finish off our quest bathroom since it was missing a medicine cabinet.

Estimated Time Investment
Day Project (6-9 Hours)
Finish Used
Painted
Recommended Skill Level
Beginner

Comments

Dining room set (with Classic Chairs made Simple)

Submitted by Anonymous (not verified) on Mon, 07/18/2016 - 10:16

This was my first attempt at making furniture...but it turned out GREAT!  My fiance was about to buy a VERY similar dining room set for $1300 before I stopped her and insisted that I could build it myself, finish it to match our kitchen/dining room, and save a TON of money!

Built from Plan(s)
Estimated Cost
$350 total
Estimated Time Investment
Week Long Project (20 Hours or More)
Finish Used
Minwax Expresso Stain plus 2 coats of Minwax Polycrylic on table top and seats
Minwax Classic Black Polyshades on frame
Recommended Skill Level
Beginner

Comments

Birdfeeder

Submitted by beansurfin on Sat, 07/07/2012 - 07:30

Decided to use some scrap pieces of wood to make this for our backyard. Only difference I did was use 1x6 instead of 1x8 since that is what I had around. Thanks for the plans.

Estimated Cost
$0; had the wood lying aroung
Estimated Time Investment
An Hour or Two (0-2 Hours)
Finish Used
Paint
Recommended Skill Level
Starter Project

Farmhouse Table & Benches

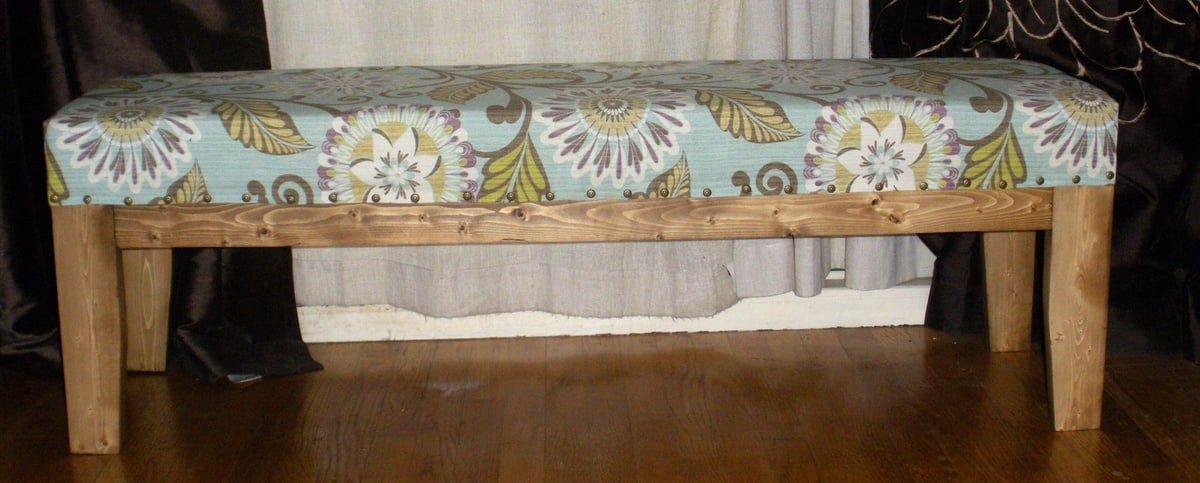
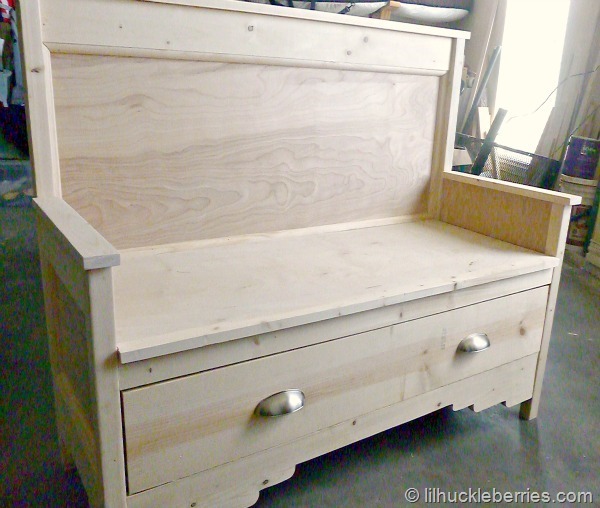
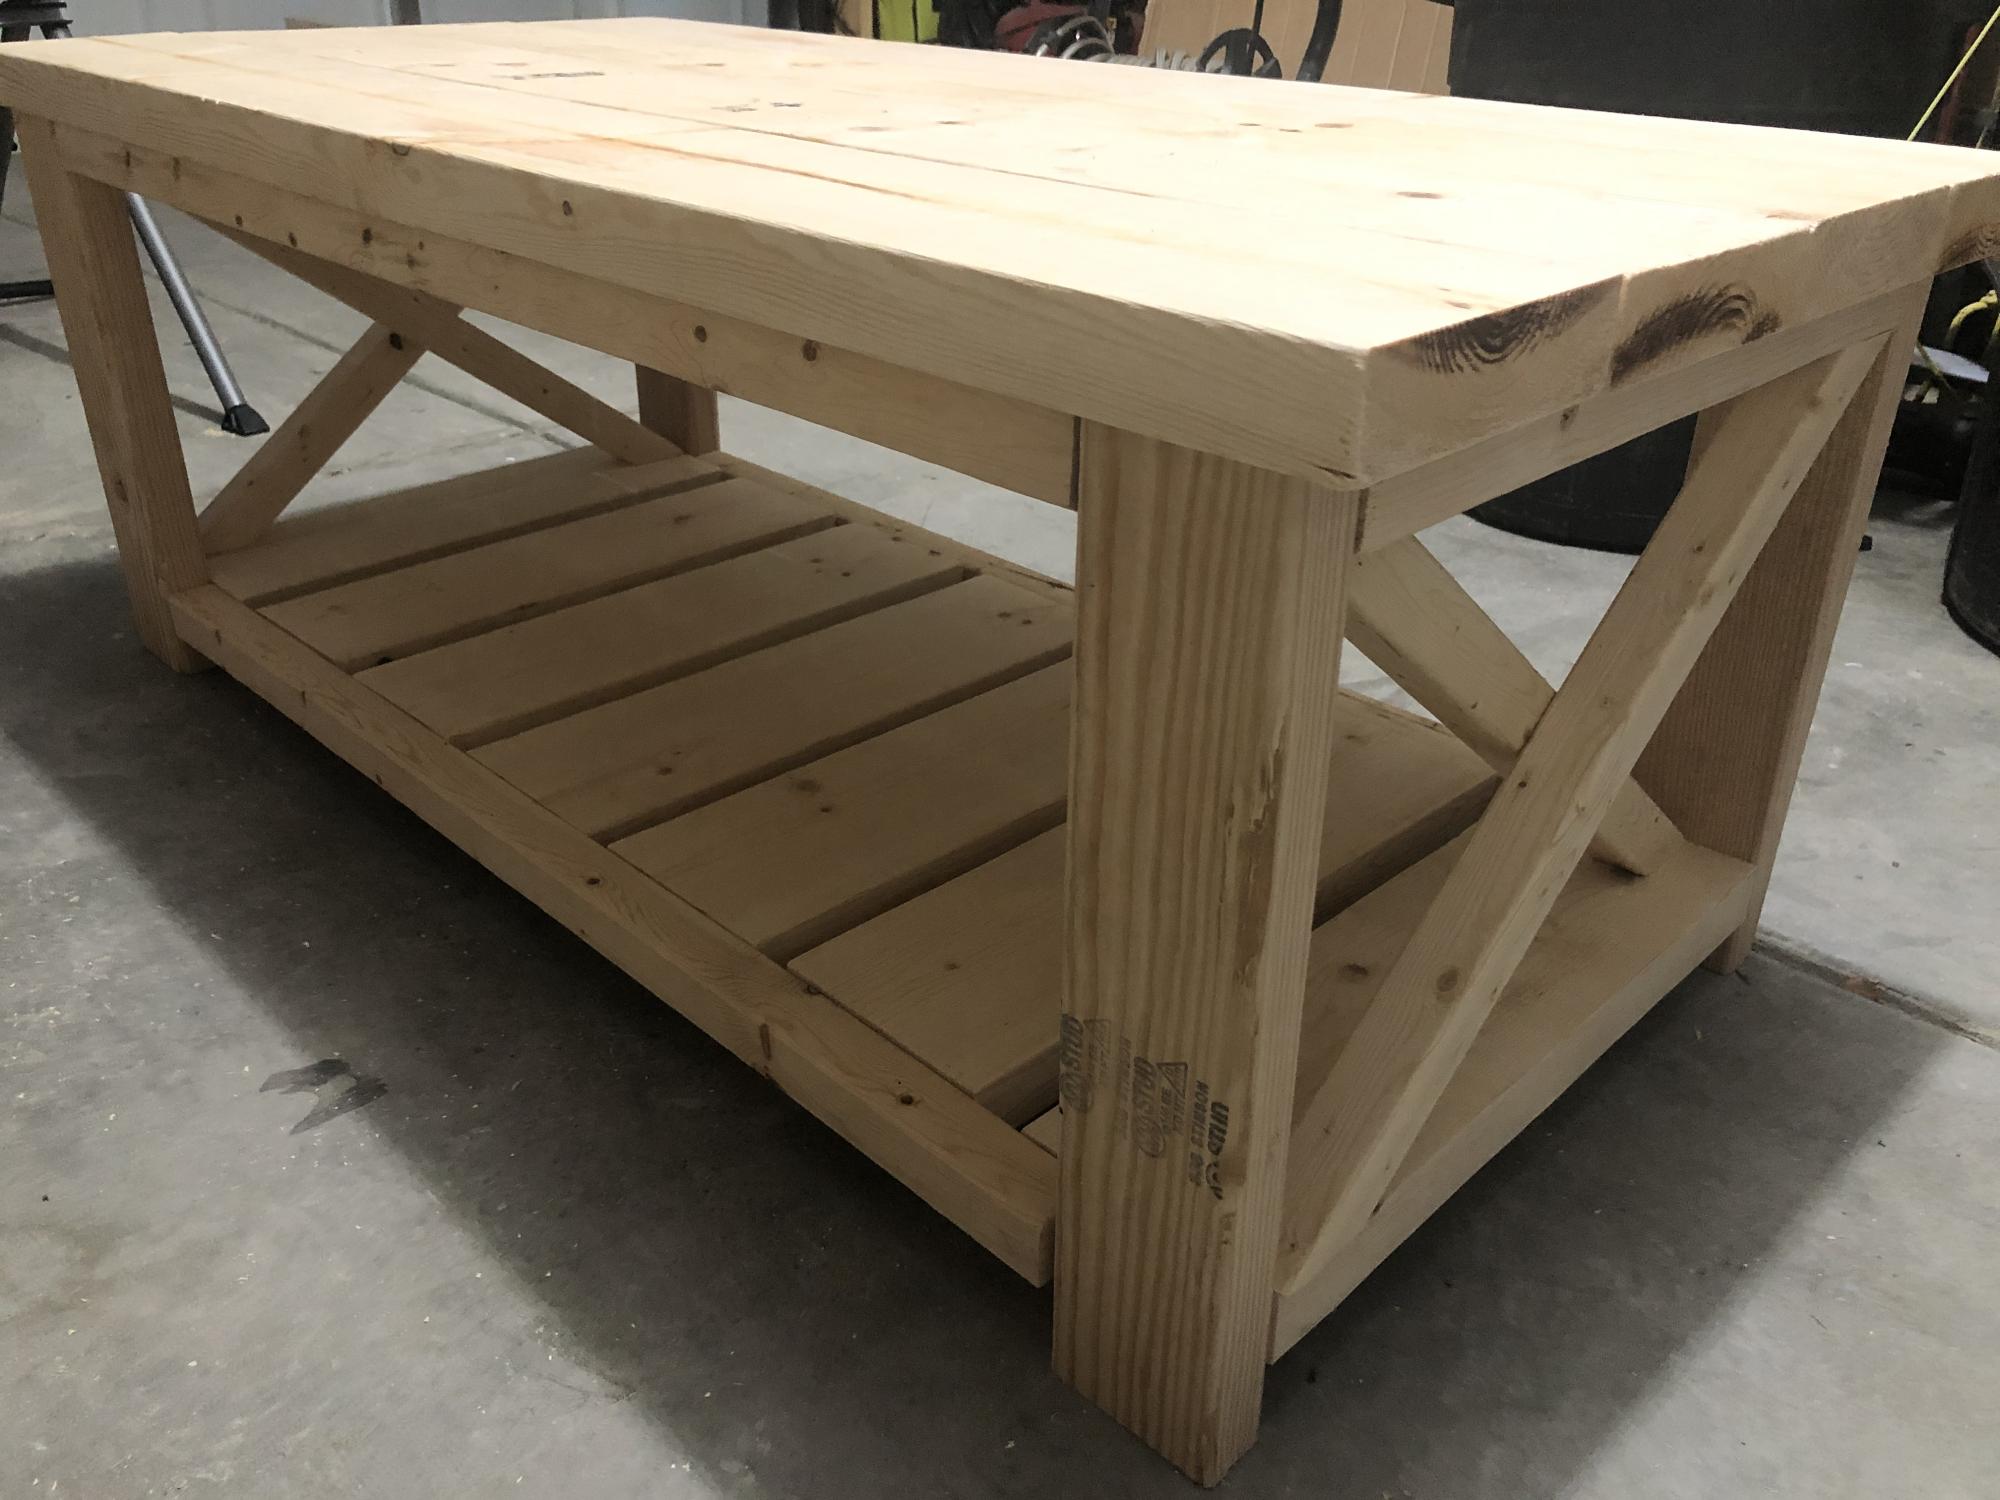
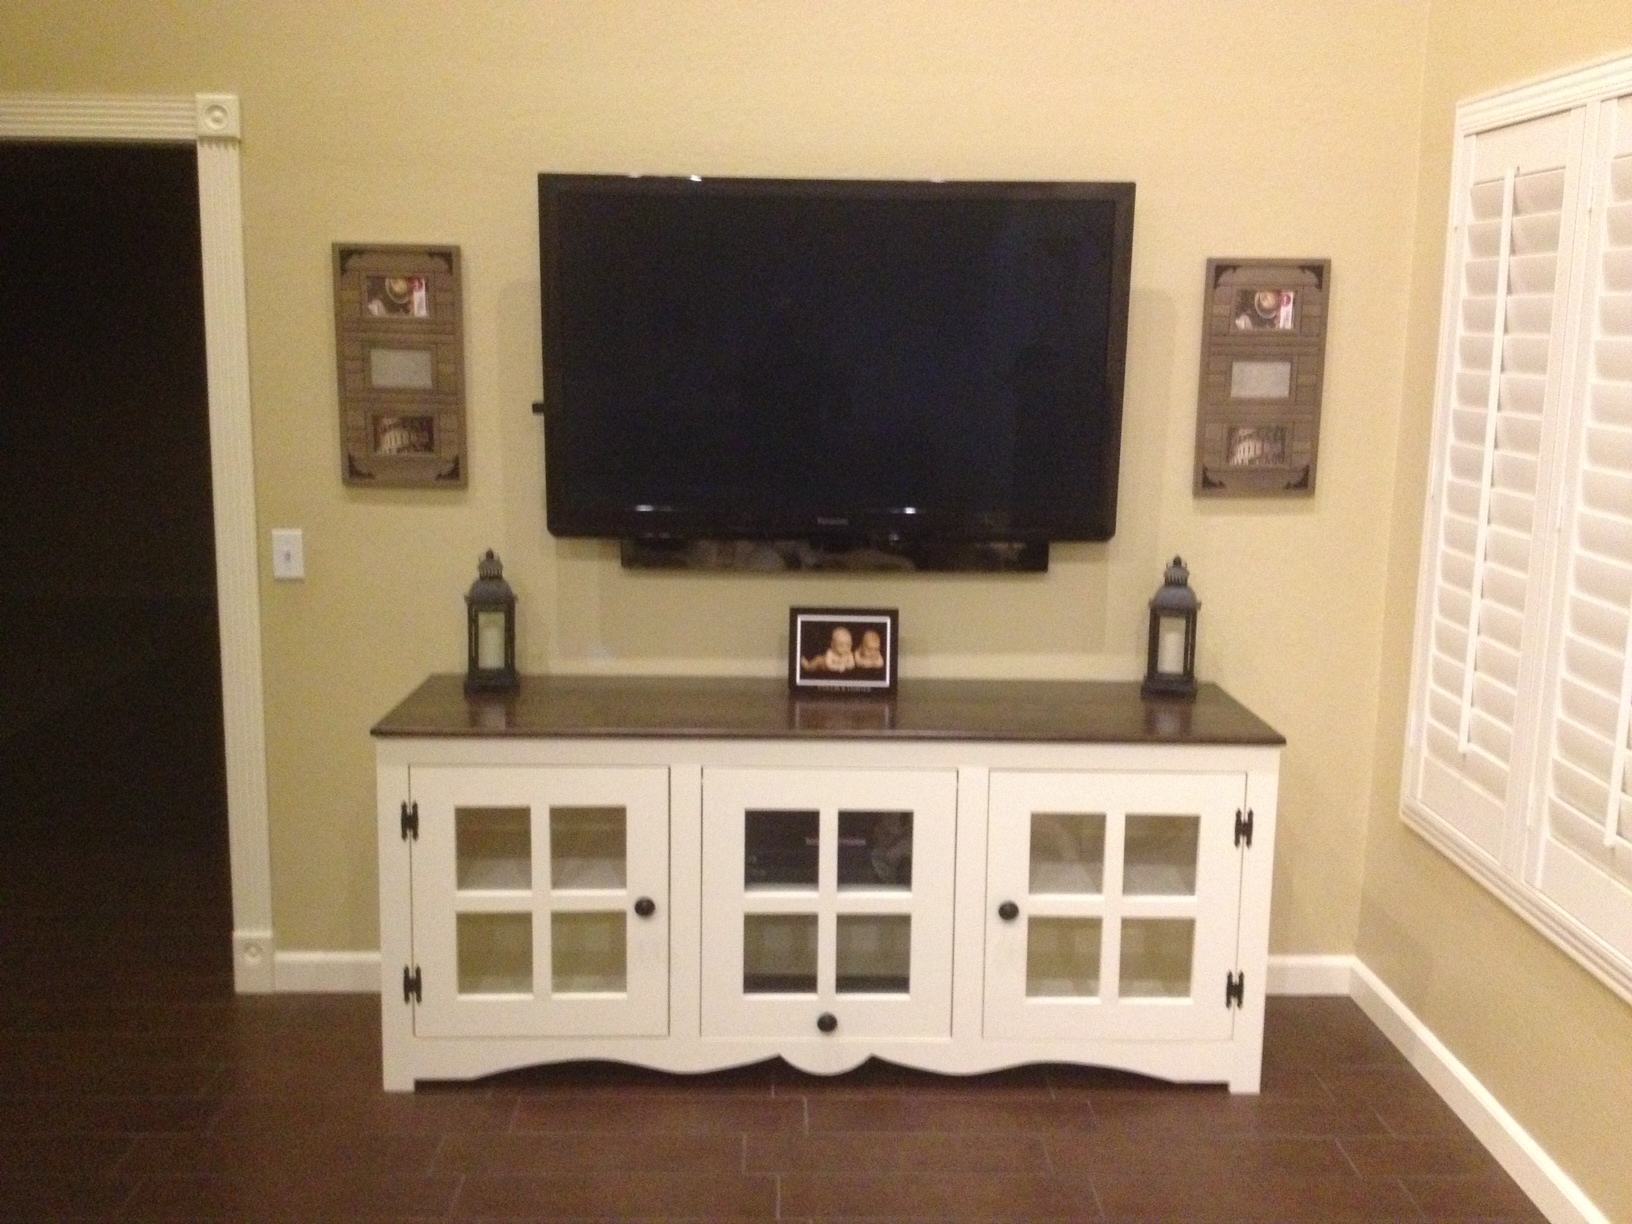
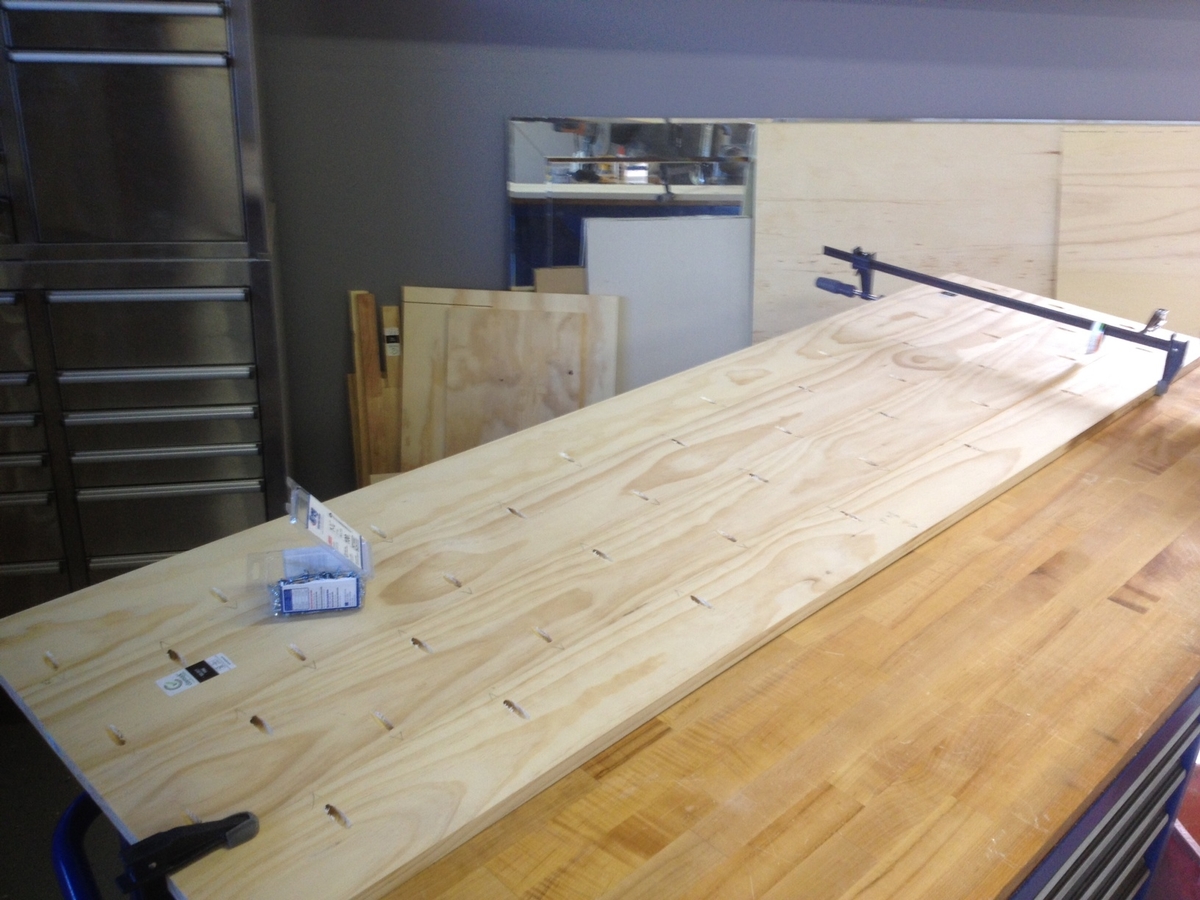
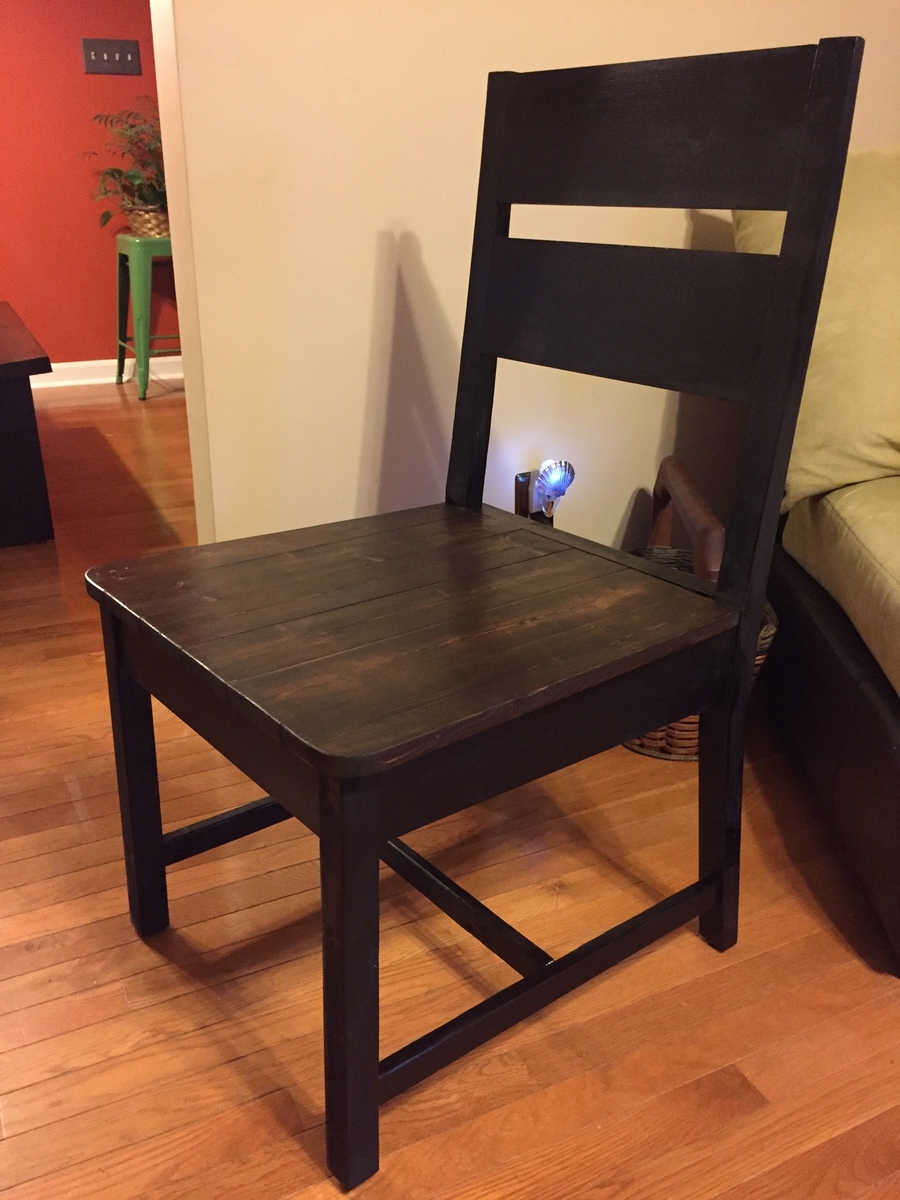
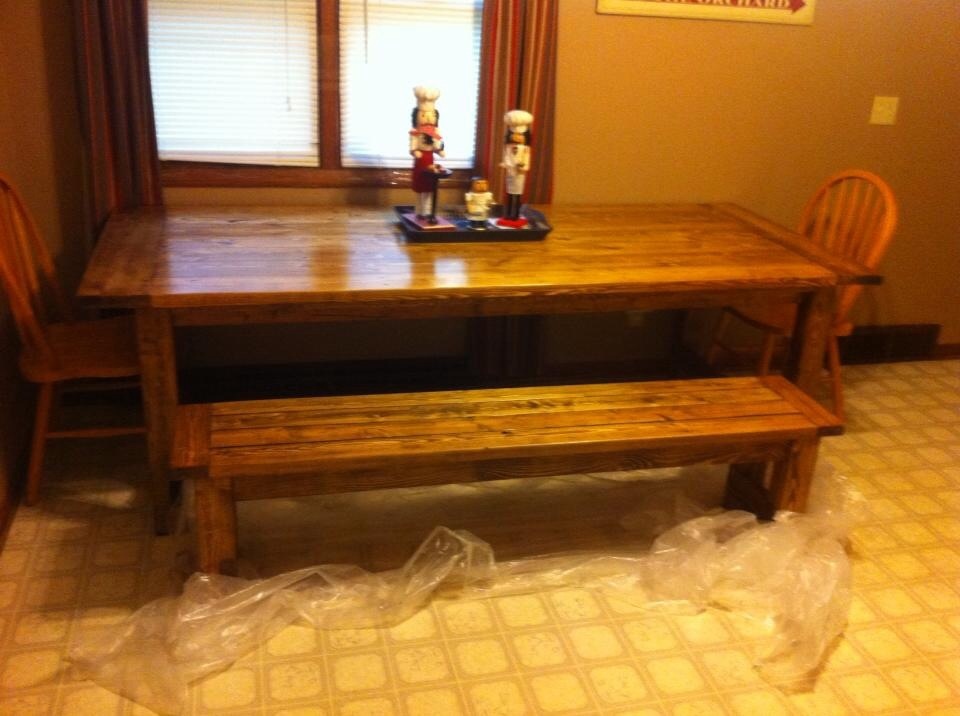
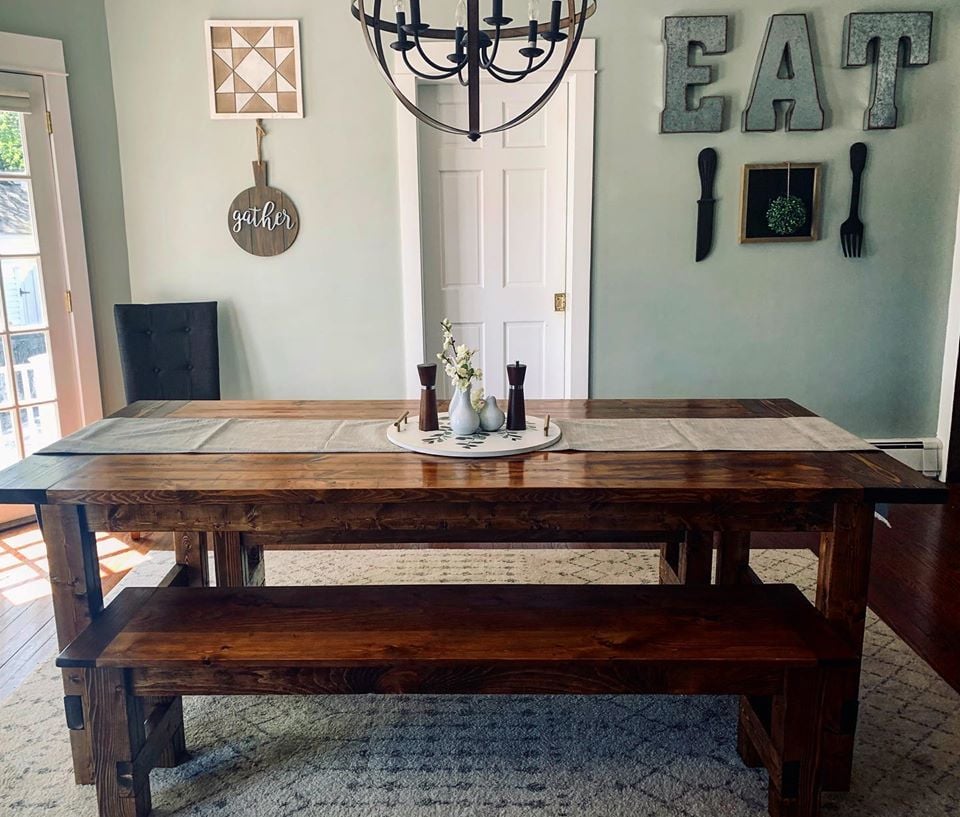
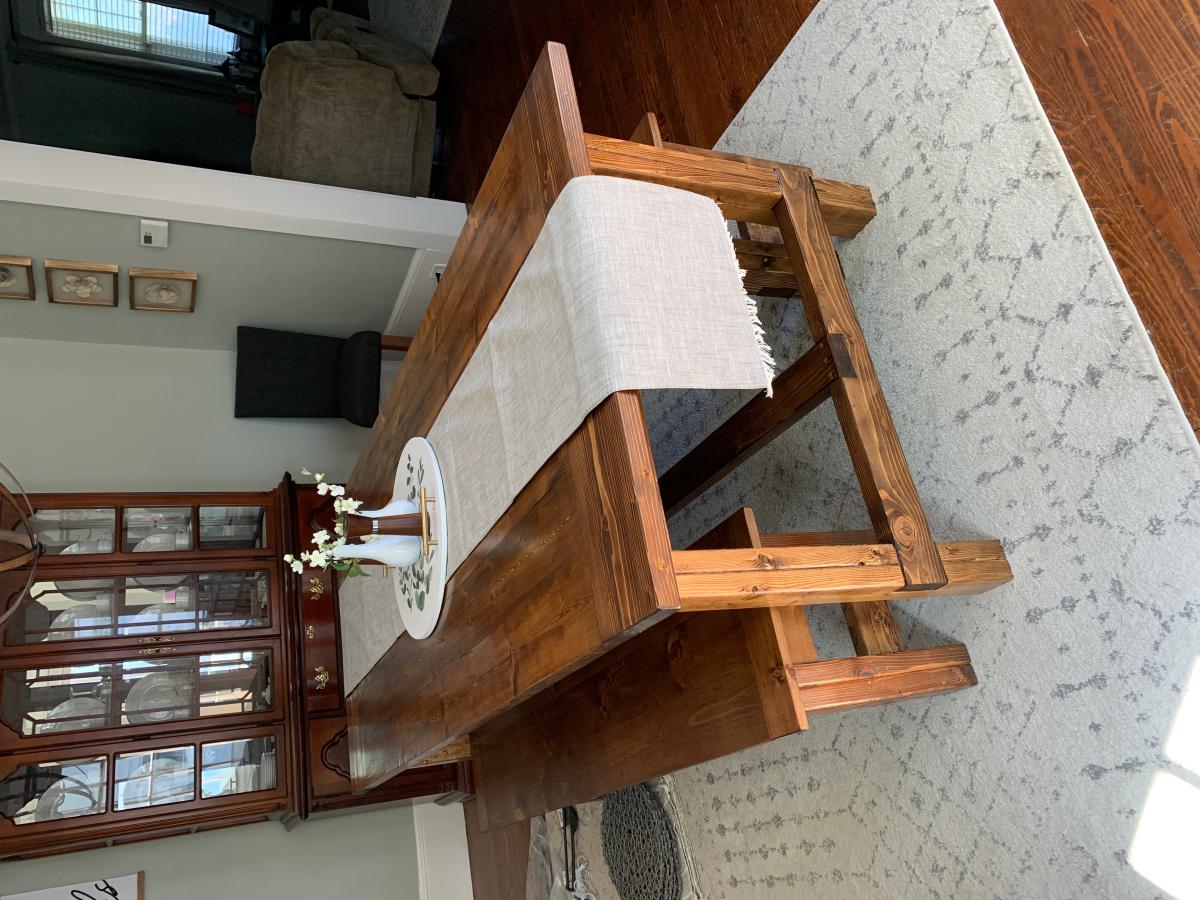
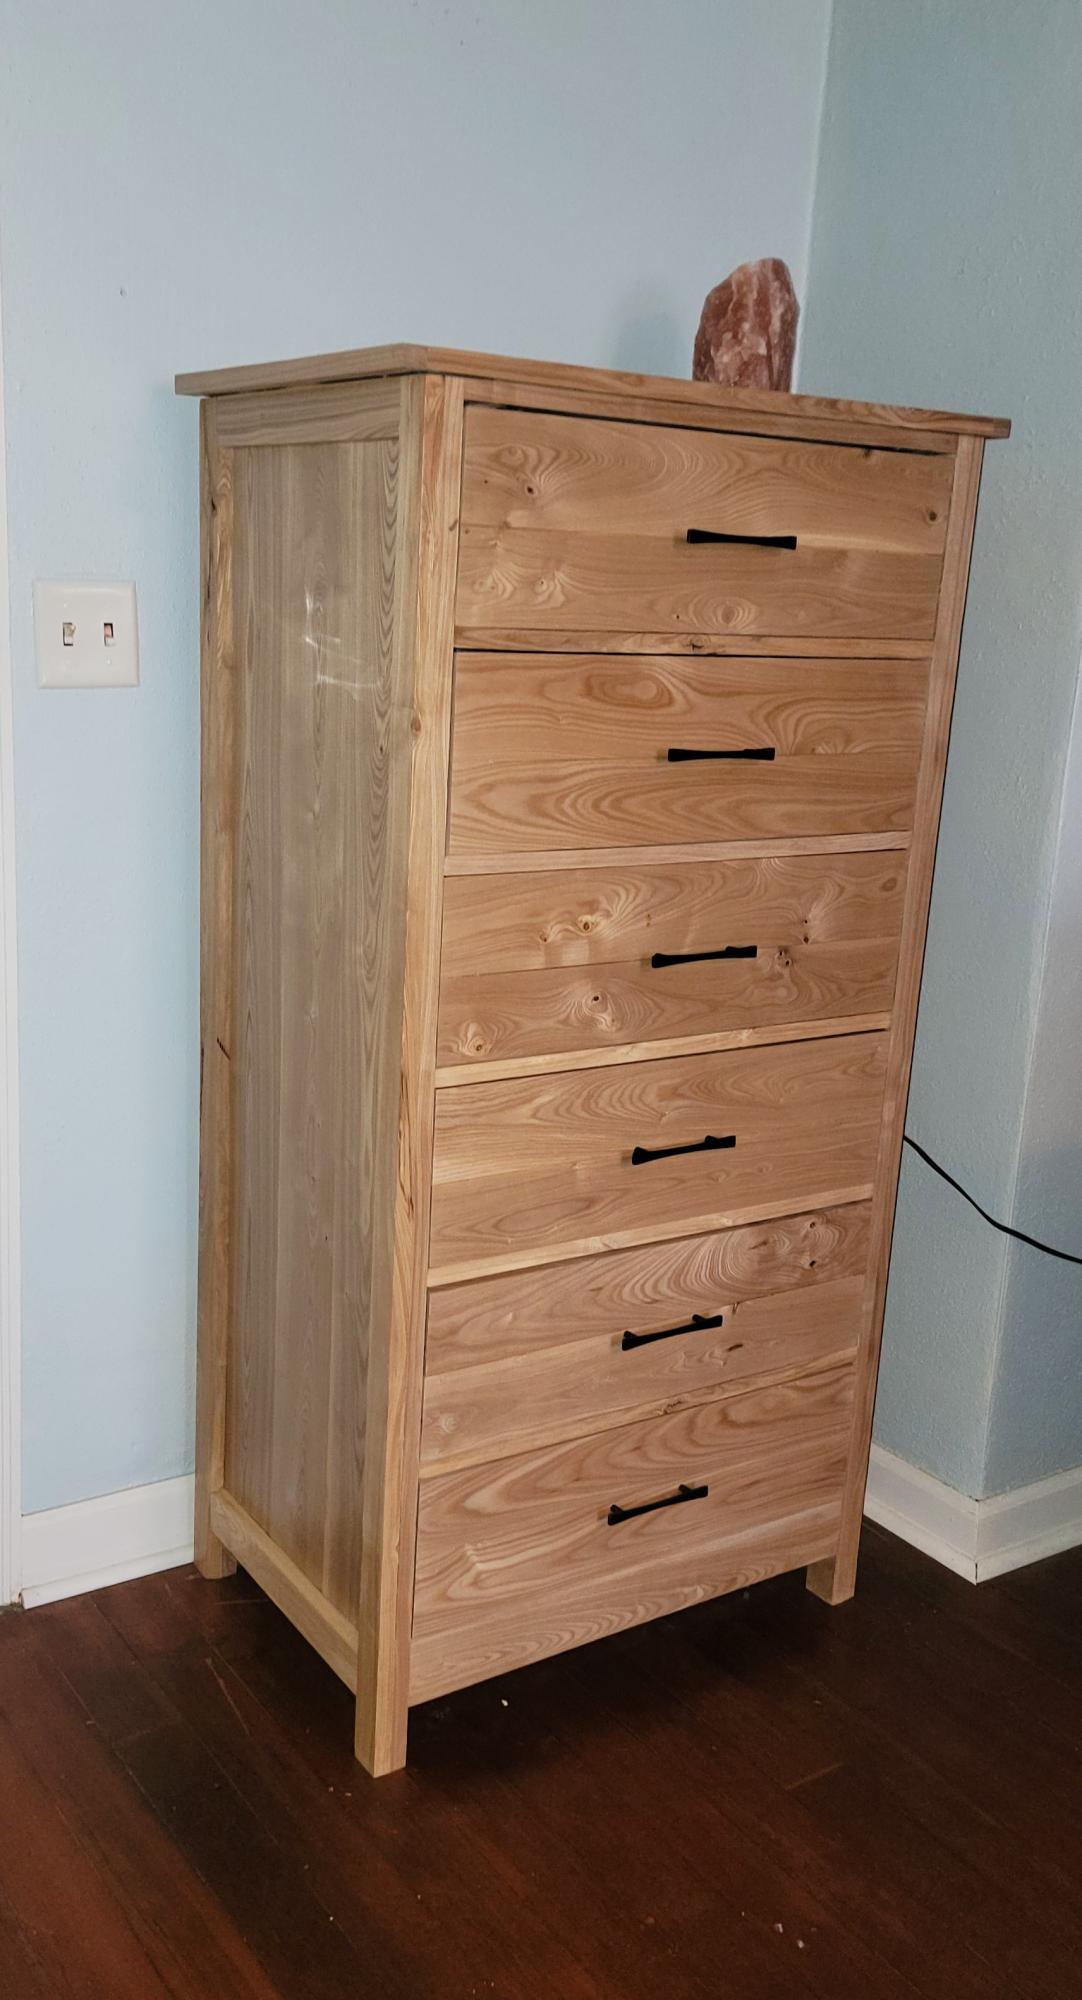
This was my first time building a piece of furniture on my own, so it was a lot of learning and trial and error on my part. The plans were fantastic for the most part (I thought the bench plans could have used a little more specification and couldn't seem to find a pocket hole version). We completed the project over the course of a couple months, simply because we revisited it when time allowed. It could easily be done in a much shorter period. One thing I will say is this -- add a step to the plans and utilize a planer and jointer on all of the boards. I had the table put together at one point and whew, I wasn't sure what I did wrong, and I went back and had followed all the steps. While this might sound obvious now, remember it was my first time doing something like this, so I followed each step to a T. I also used a belt sander on the table and bench tops to level things out even more, and went across the grain to make a smooth surface with an 80 grit belt, then hand sanded with a sanding block with 120, 220, and 320 grit. I also modified the bench plans to cut about 5 inches off so that they would fit under the table.
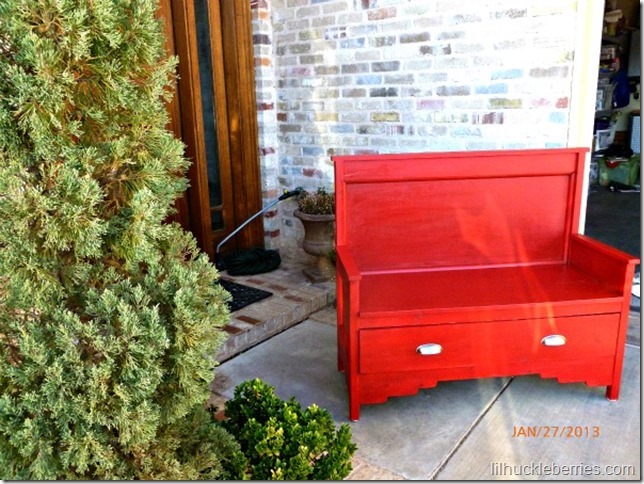
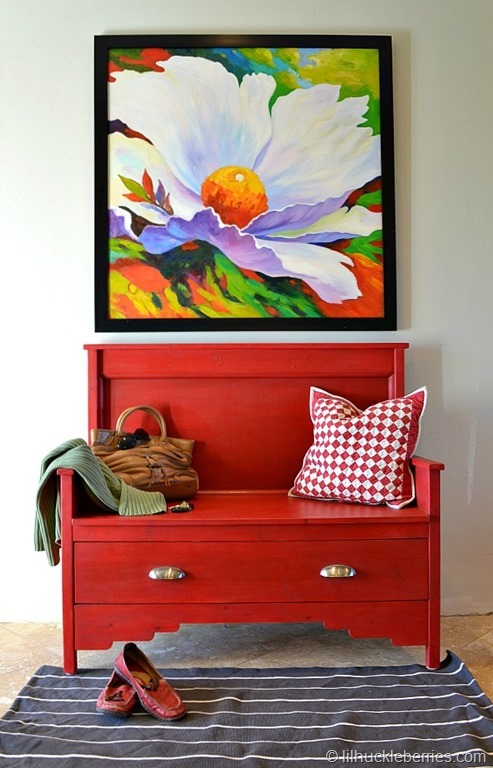
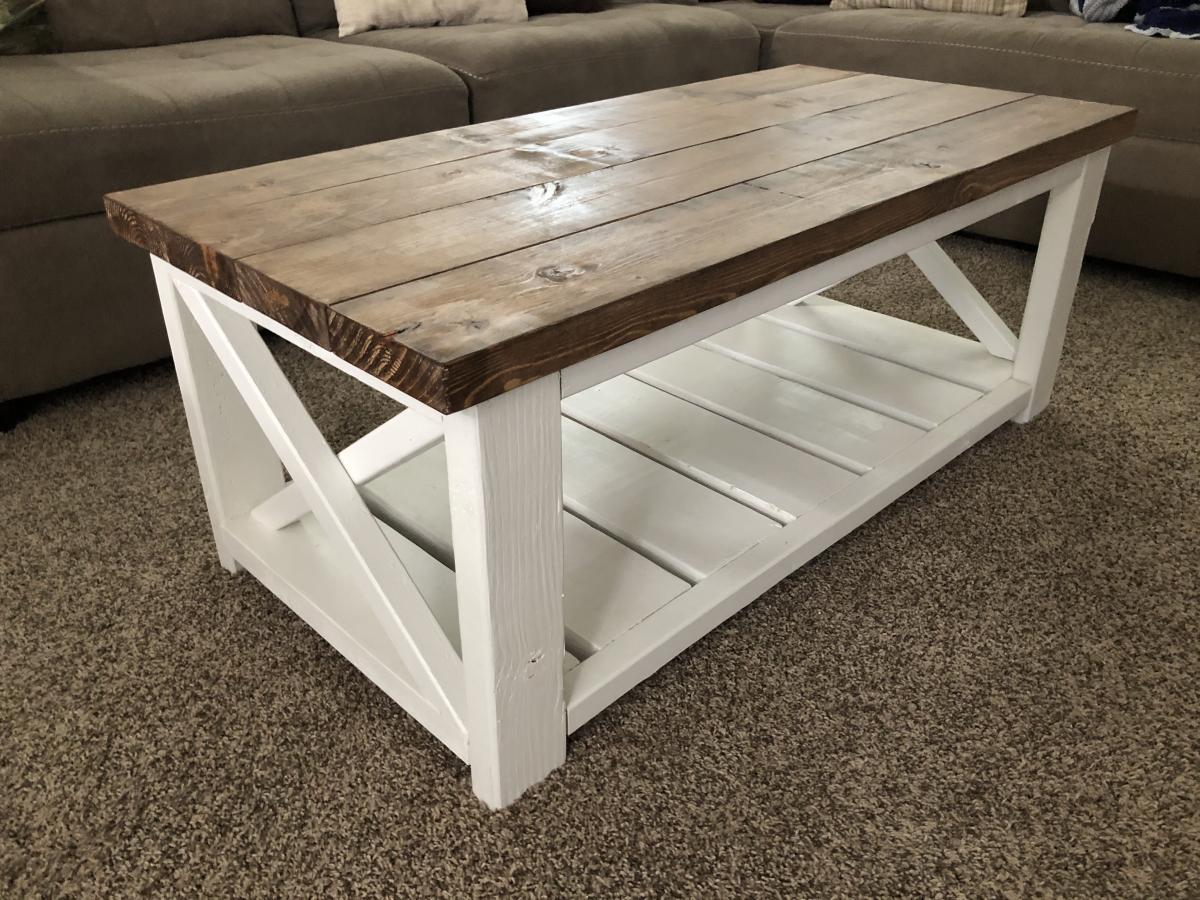
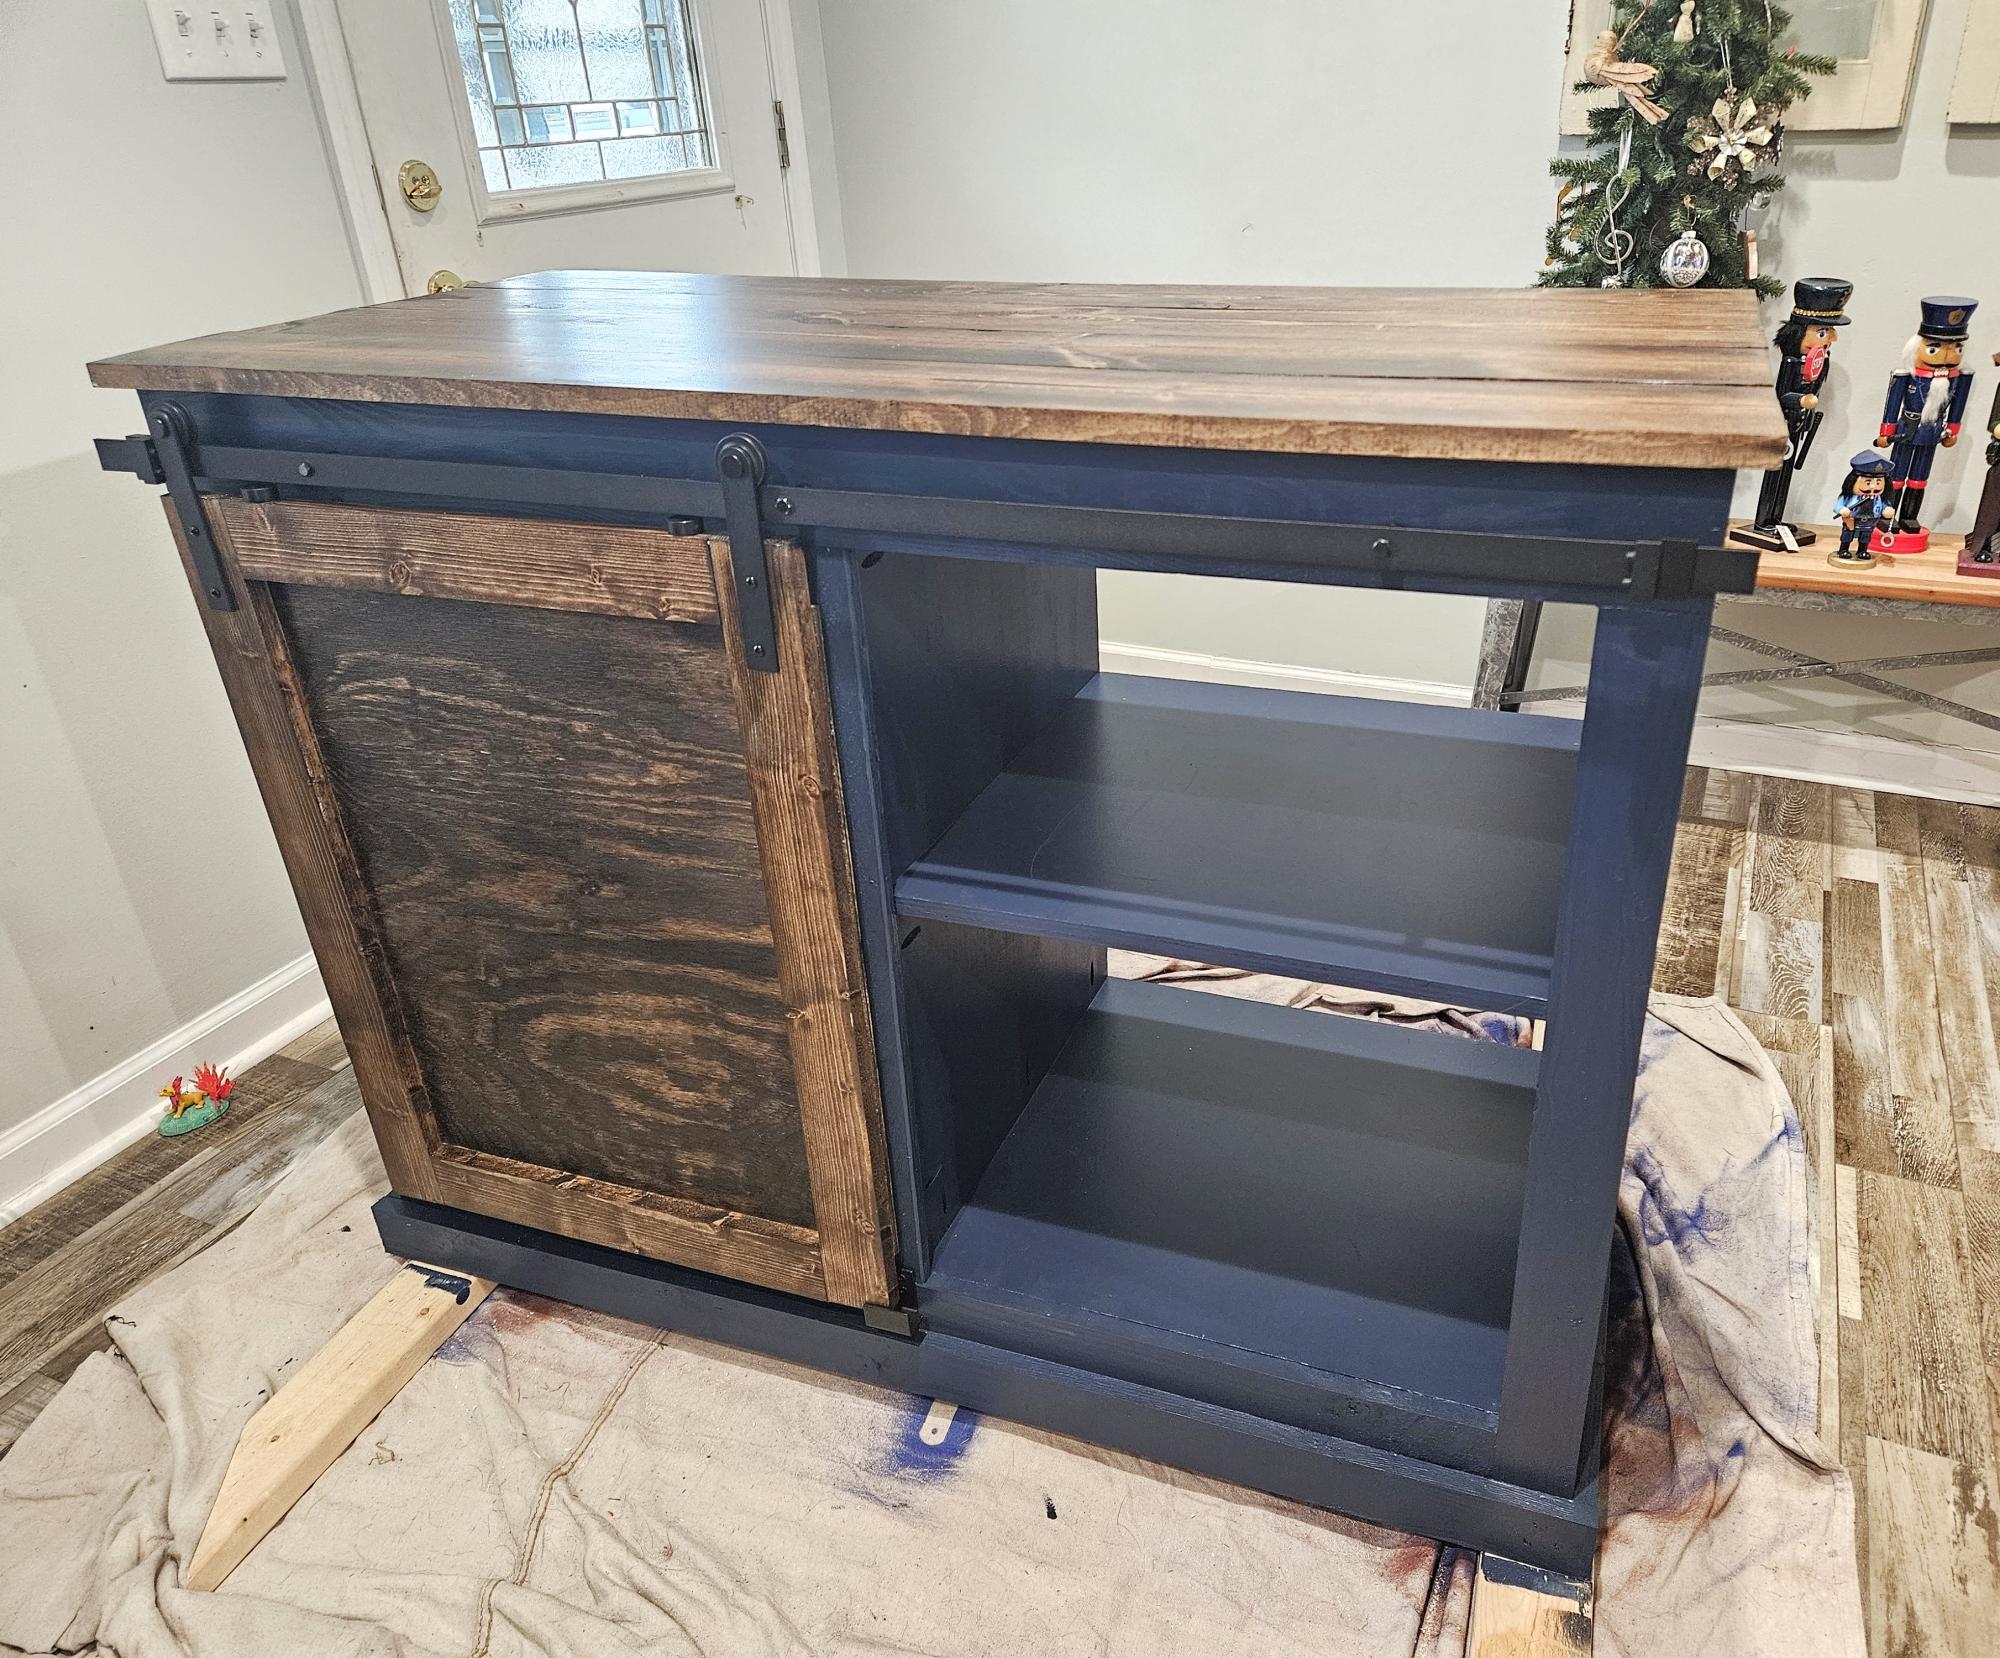
We used Minwax pre-stain conditioner, then one 10 minute application of Mixwax Honey stain, followed by Mixwax Satin Poly. It turned out great and we are already moving on to other projects!

Estimated Cost
About $400 inclusive of lumber, stain, poly, and sanding.
Estimated Time Investment
Week Long Project (20 Hours or More)
Finish Used
Minwax Pre-Stain Conditioner
Mixwax Honey (10 minutes then wipe off)
Mixway Satin Poly (3 coats, sand with 600 grit after coat 1, 800 grit after coat 2).
Recommended Skill Level
Beginner

New coffee table & a place to rest our feet!

Submitted by Quartney on Sun, 07/08/2012 - 18:43

We needed a coffee table that we could rest our feet on comfortably while watching television (how gauche!). I altered the plans so the table is 15.5" high--just perfect for legs!

Like any project, this one had its ups and downs. I had to remake the table top twice (using the same wood), as the pieces just didn't line up right at first. And then I had had the brilliant idea to stain the bottom part gold for a pop of color in the room. Not cute. I had to paint over the stain with oil-based primer (followed by latex paint); it was worth it to get the final result!

Estimated Cost
$110 for wood and hardware
Estimated Time Investment
Weekend Project (10-20 Hours)
Finish Used
SW Antique White oil-based stain on the top; SW Black Bean paint on the bottom
Recommended Skill Level
Intermediate

Farmhouse End Tables from Ana's Book!

Submitted by ksmith311 on Fri, 04/25/2014 - 10:48

I made two of these farmhouse end tables for a friend/client. She wanted them to be very light gray when painted. I went to the blue store to get some paint mixed and waited... and waited.. and waited... and couldn't find anyone for the paint section. So I eventually just mixed it myself. It does have a bit of a bluish hint to it but I think they are very pretty.

These were a fun build and probably the best drawers we have ever made but we did have to use wooden guides on the inside to be sure it will close perfectly.

I hope she loves them!

Built from Plan(s)
Estimated Cost
100 for two
Estimated Time Investment
Weekend Project (10-20 Hours)
Finish Used
light gray paint
Recommended Skill Level
Intermediate

Chaise Lounge Chair

Submitted by dsipe on Mon, 05/18/2020 - 13:34

This took way longer than anticipated. I didn’t account for how much time would go into sanding, priming and painting the wood. Also, the plans were changed to use 2x6’s but didn’t take that into account for the stop block. Still trying to figure that part out when fully reclined. Other than that, it turned out really good.

Estimated Cost
$65
Estimated Time Investment
Weekend Project (10-20 Hours)
Recommended Skill Level
Intermediate

Fire Table Sectional and corner conversation set!!! Perfect!!!!

Submitted by Anonymous (not verified) on Tue, 08/02/2016 - 14:45

This was the first time I had ever worked with some of the tools and really done any serious building.  We built a new deck onto the back of my home and I could not stand the cost of the furniture to make it complete.  Thank you Anna I have become fearless with tools!!  Our deck has become even more special!!

Estimated Cost
Furniture ~ $280
Cushions ~ $250
Estimated Time Investment
Week Long Project (20 Hours or More)
Recommended Skill Level
Beginner

PB Sawyer Trestle Look Alike

Submitted by samdwest on Tue, 07/17/2012 - 14:32

So my husband and I have this thing...I find the projects, he builds the projects and I get to finish it. I'm more of the artsy one and he is more hands on. So this is the first table we did from Ana!

Estimated Cost
$35
Estimated Time Investment
Afternoon Project (3-6 Hours)
Finish Used
Yellow Paint w/ Glaze...will update with specifics later!
Recommended Skill Level
Beginner

Vanity Flair

Submitted by cbeach1717 on Sat, 07/21/2012 - 14:43

This small vanity is having a huge impact in our powder room! We were thrilled to remove the builder's grade prefabricated vanity and replace it with this custom built table finished in multiple layers of homemade chalk paint and that will soon house a vessel sink.

Estimated Cost
$75
Estimated Time Investment
Weekend Project (10-20 Hours)
Finish Used
Wood stain, chalk paint, wax
Recommended Skill Level
Intermediate

DIY Hay feeder Stuffed Animal Storage

Submitted by SweetAsh on Mon, 08/29/2016 - 08:12

All scrap lumber was used on this, cost was $0

3/4 plywood 2'x4'

1x6x24"

1x4x24"

1x2x13" front trim

Estimated Cost
$0-$10
Estimated Time Investment
Afternoon Project (3-6 Hours)
Finish Used
Minwax Dark Walnut
Recommended Skill Level
Beginner

Comments

SweetAsh

Mon, 08/29/2016 - 08:29

My son loves horses, so I made him this Horse Wall Hay Feeder to keep with the theme but where he would have a place to put his babies! :)

Ultimate Workbench for me

Submitted by ianr on Mon, 06/22/2020 - 15:13

I altered the original plans in the following ways:

  • Only built one rolling cart because I already had a multi-drawer tool chest that fit right under the workbench.
  • Built the right half of the workbench as a separate piece from the miter table because attic access is right above it and we need to move the workbench to get to it.
  • Built a half cart for the table saw because the Dewalt contractor saw extends too far to the sides to have it boxed in.
  • I'm going to add a sliding plate that locks down for my miter saw so I can pull it away from the wall without dragging or lifting it.
  • I used a nail gun with two inch nails instead of staples since I don't own a staple gun that holds staples that long.

I'm not that experienced with projects so here are a couple of things I learned:

  • Attach the castors far enough under the cart so that the wheel never extends beyond the sides.
  • Watch what grade sandpaper you use on the plywood. It's easy to strip off a layer.
  • This was not a one-person project for me. Even with clamps, I still needed help bracing parts and rotating pieces.

Thanks for the great plan! Now I can start on all the other projects on our improvement list.

Estimated Cost
350
Estimated Time Investment
Weekend Project (10-20 Hours)
Recommended Skill Level
Intermediate
Back