Community Brag Posts

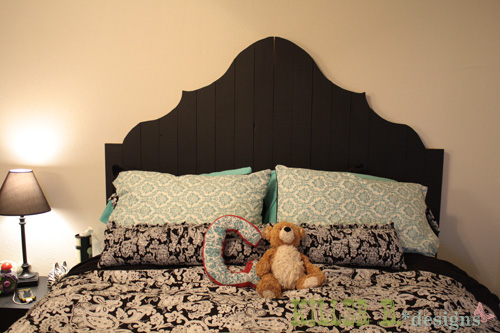
Swedish Bed with Metal Legs

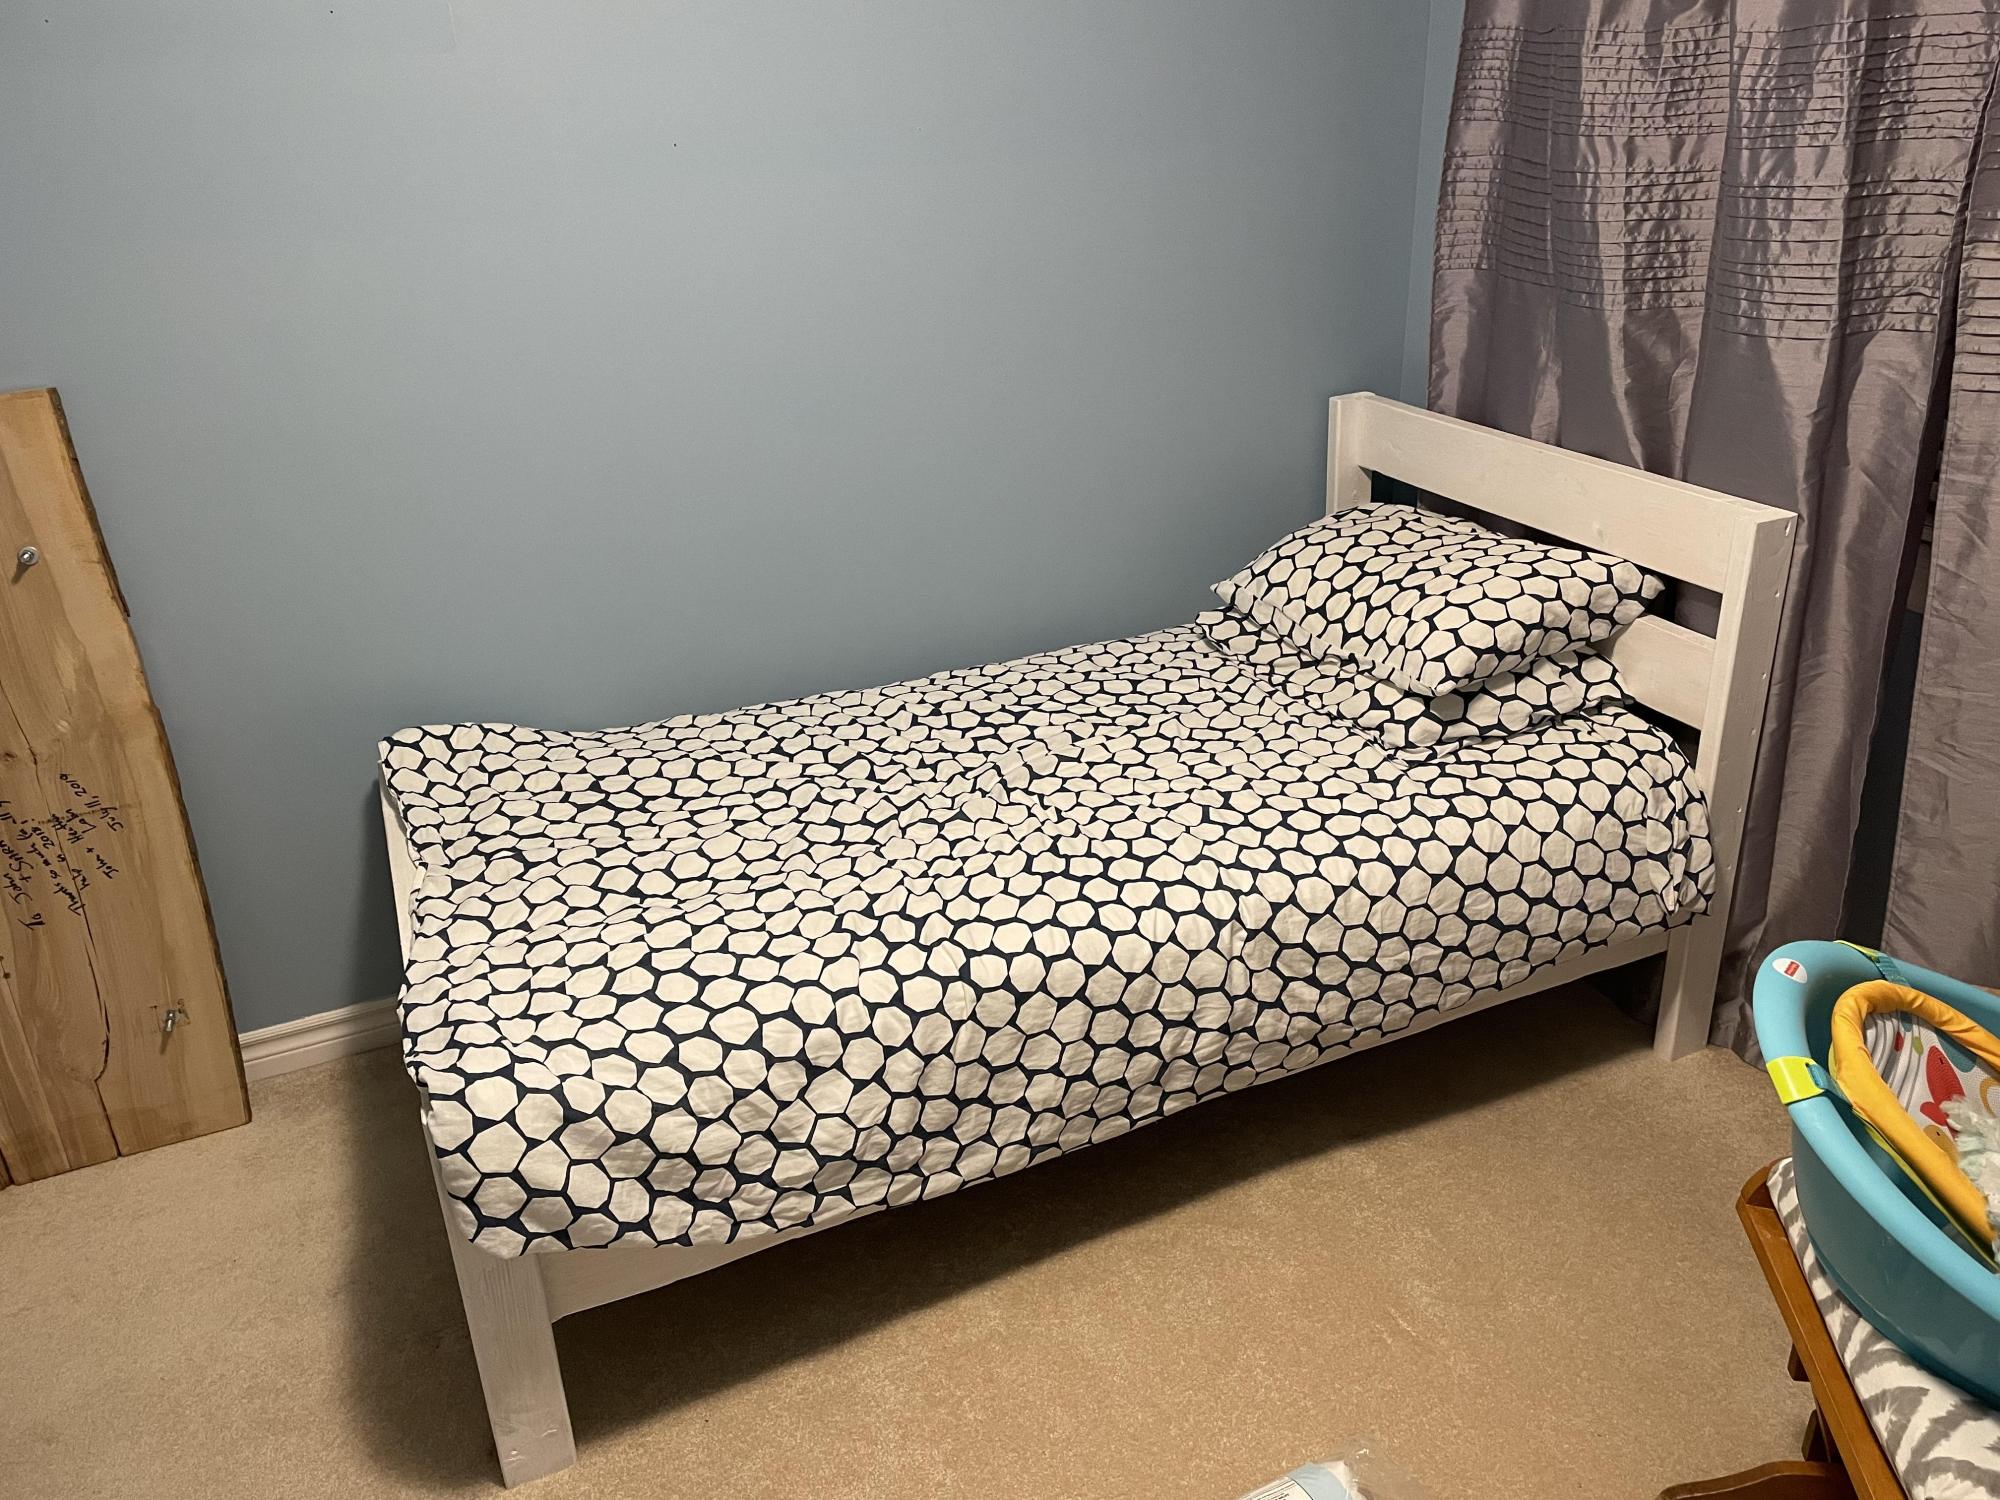
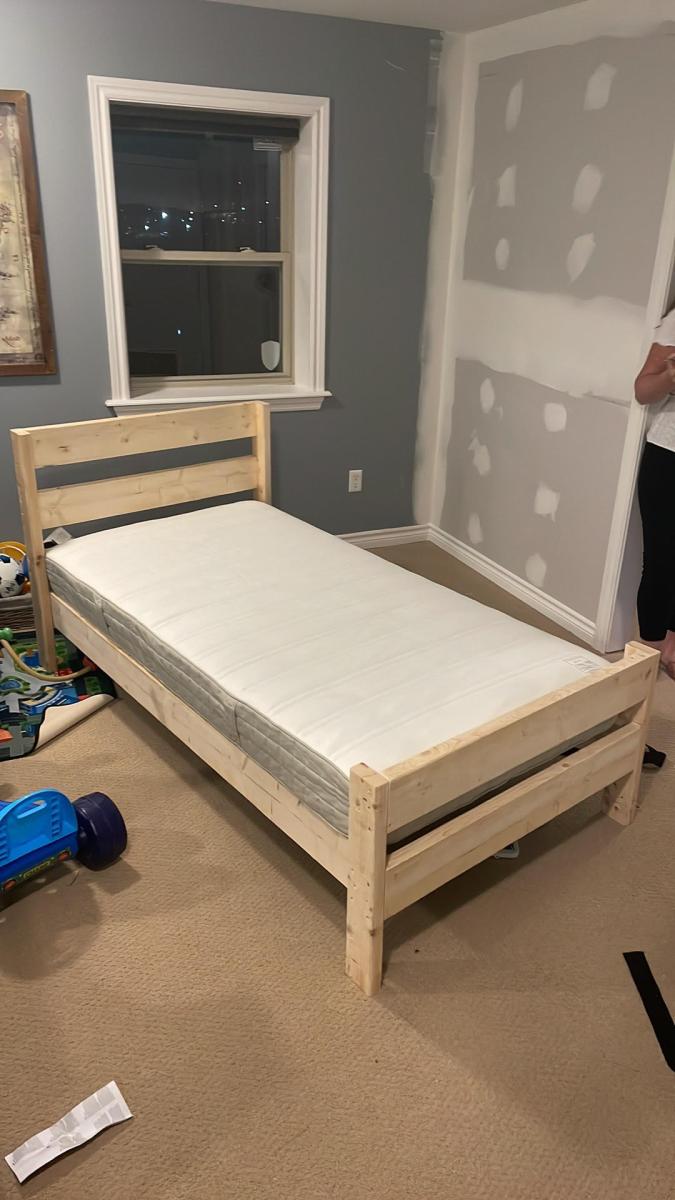
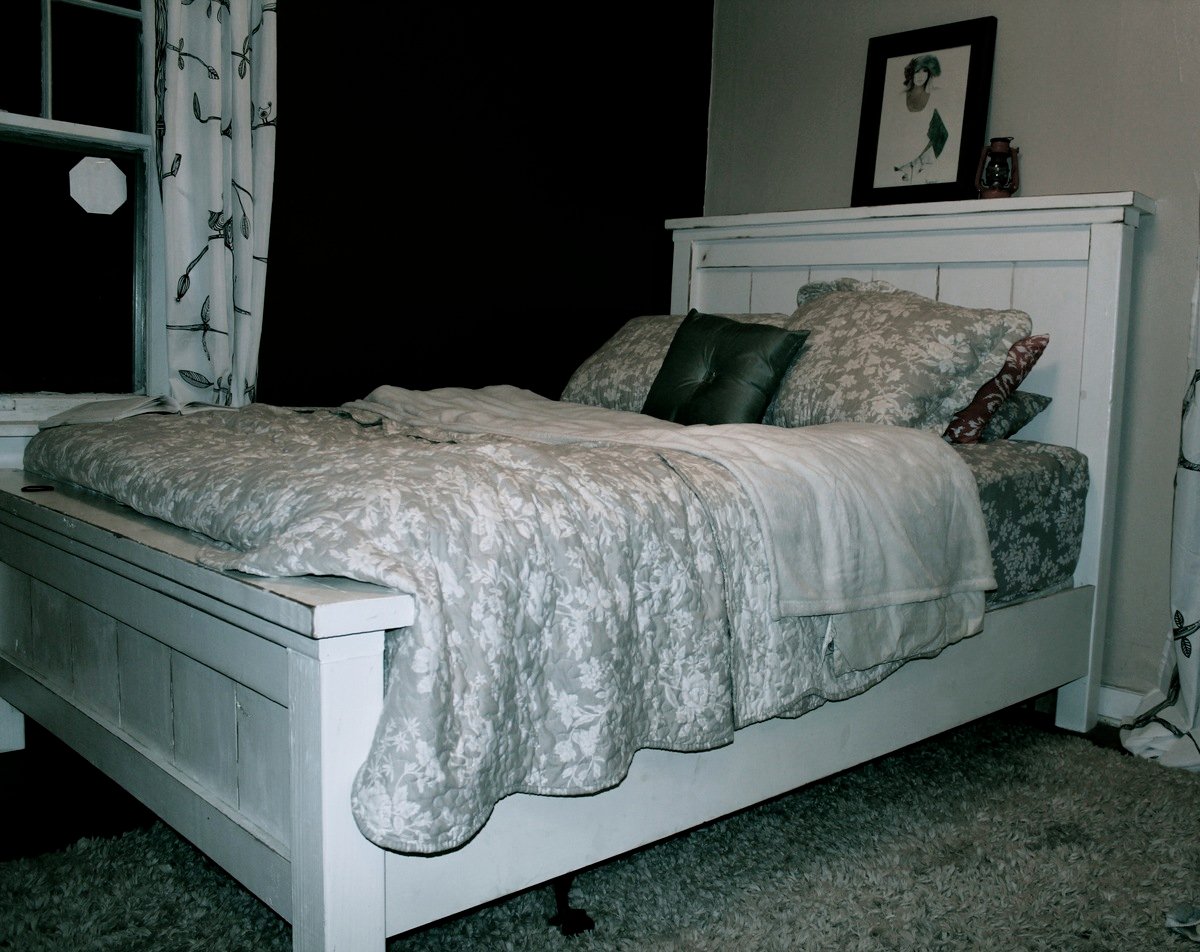
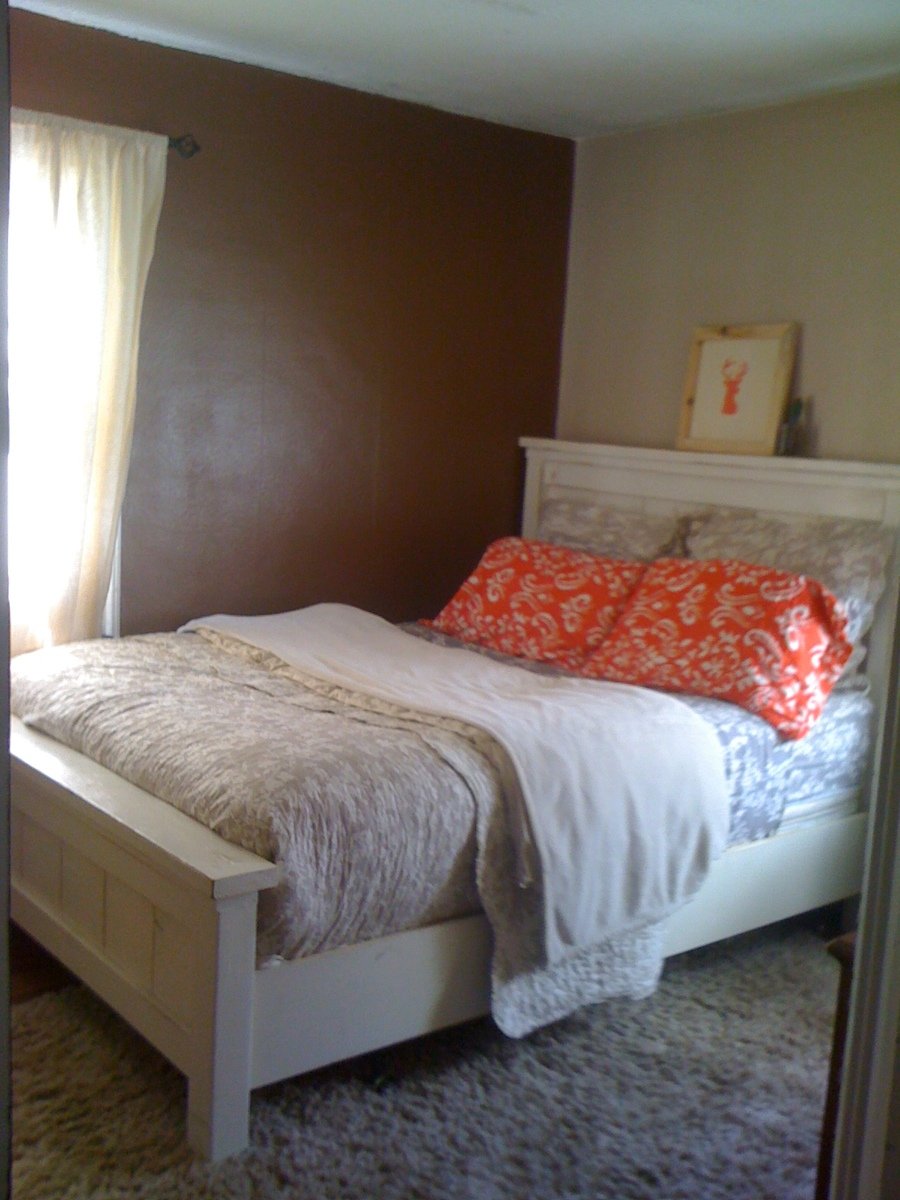
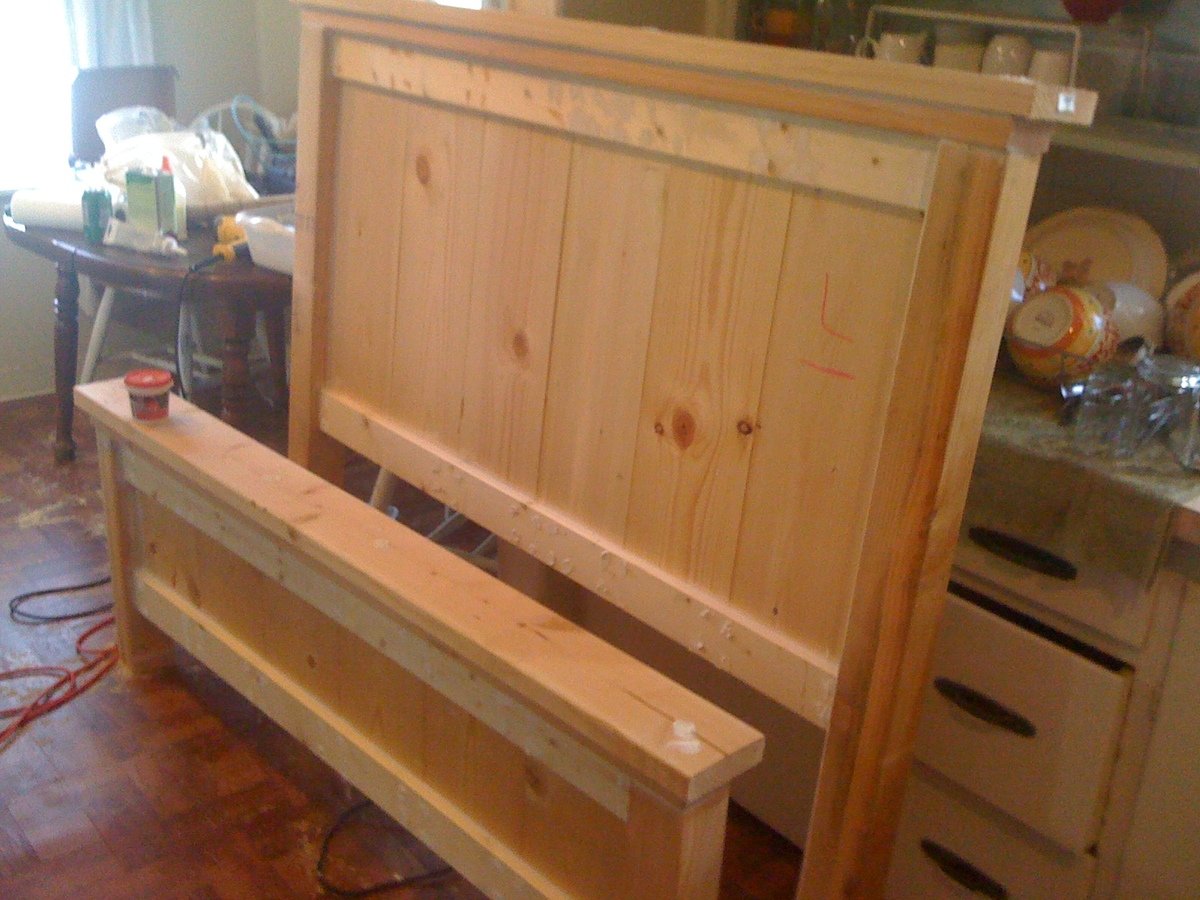
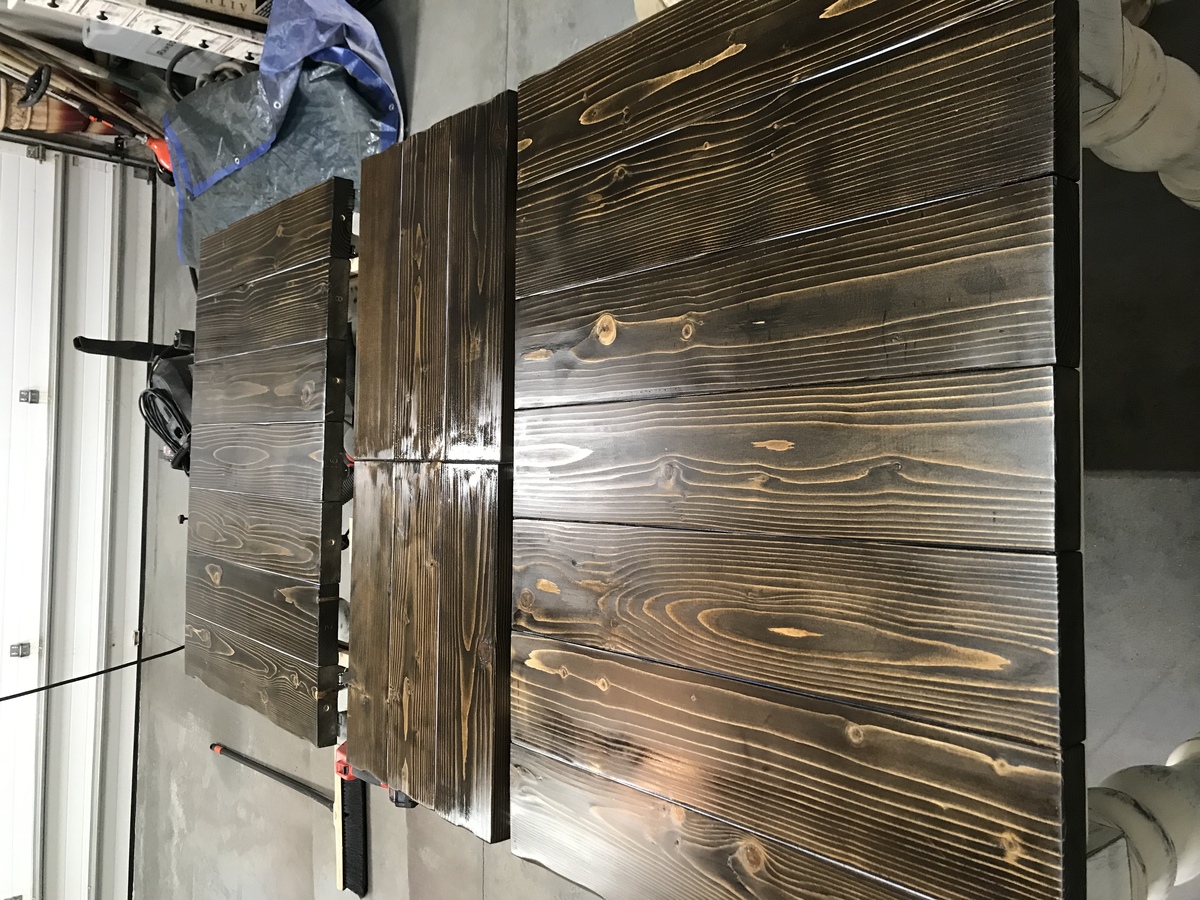
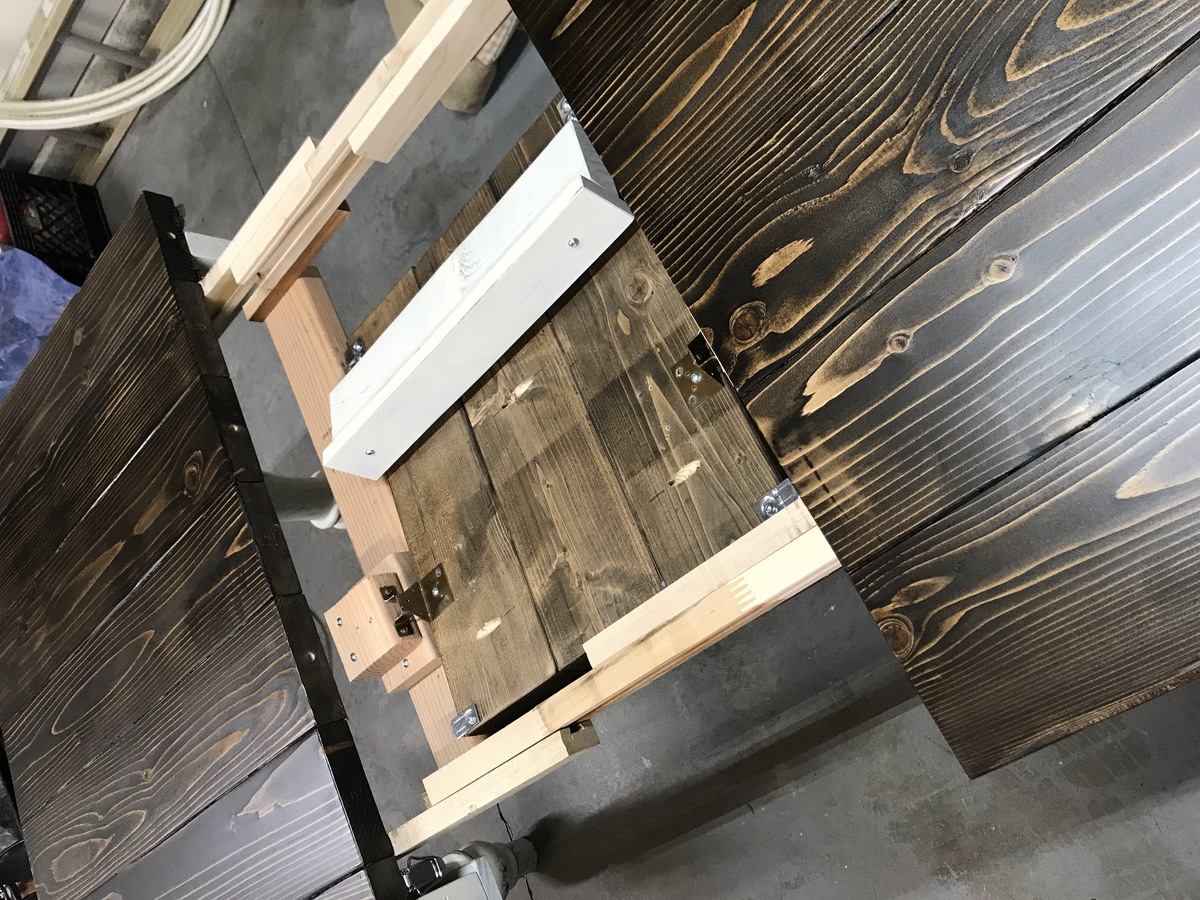
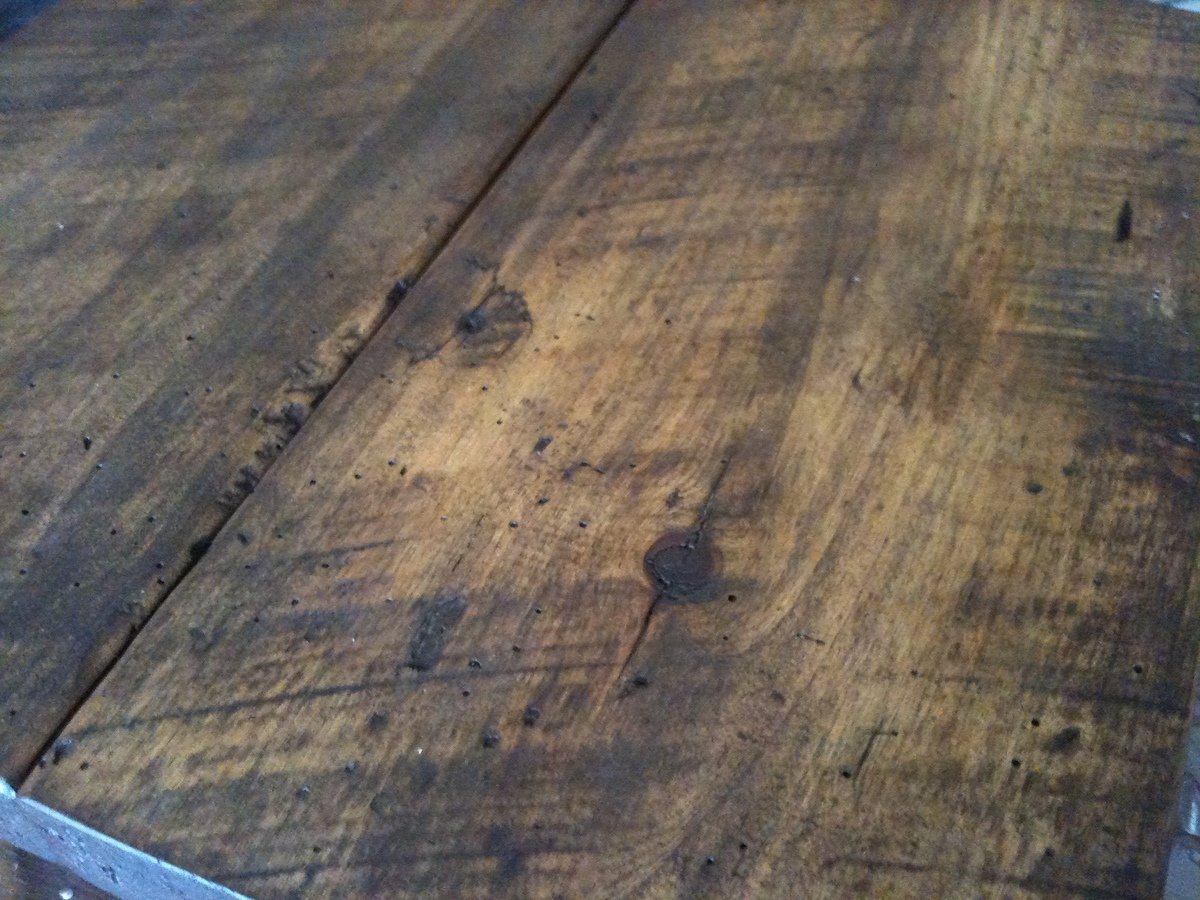
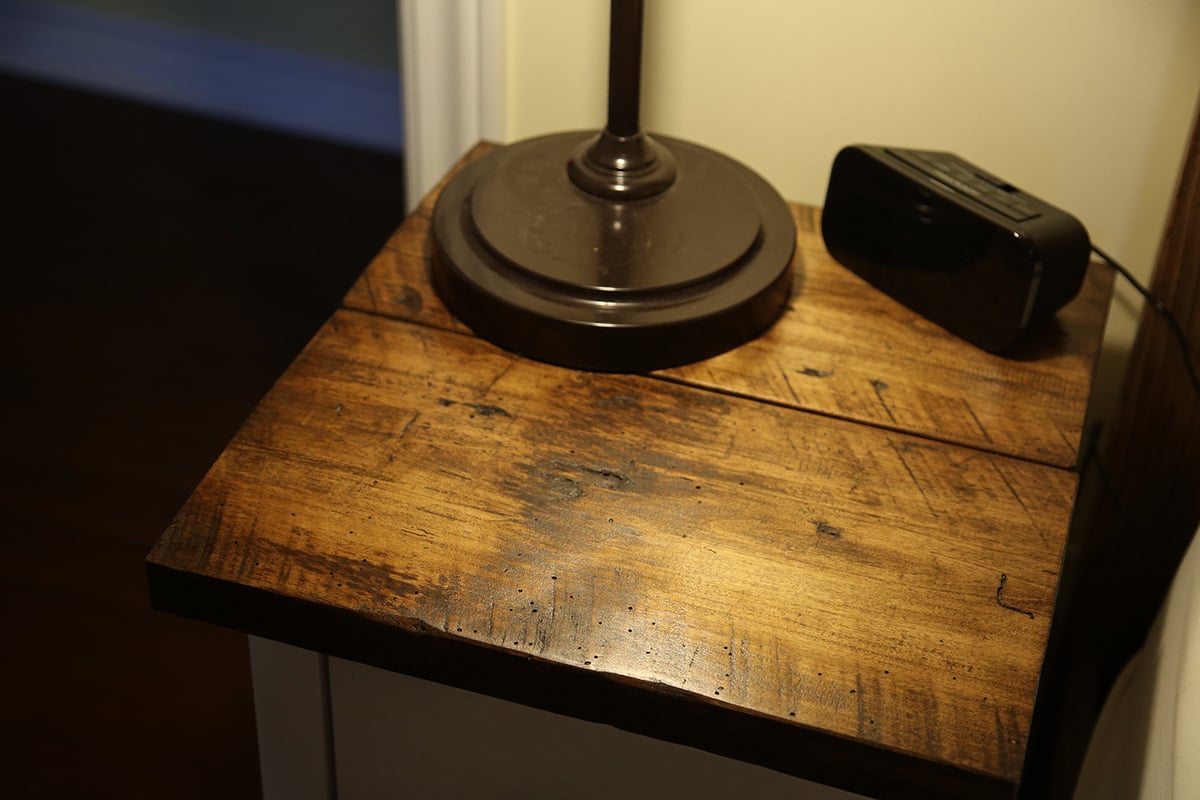
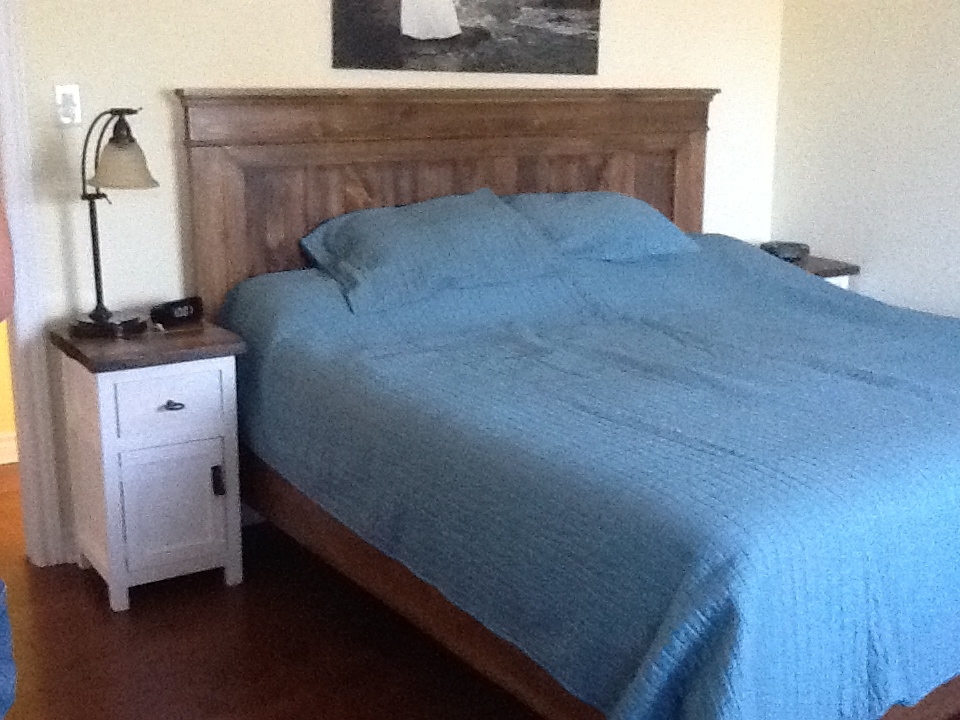
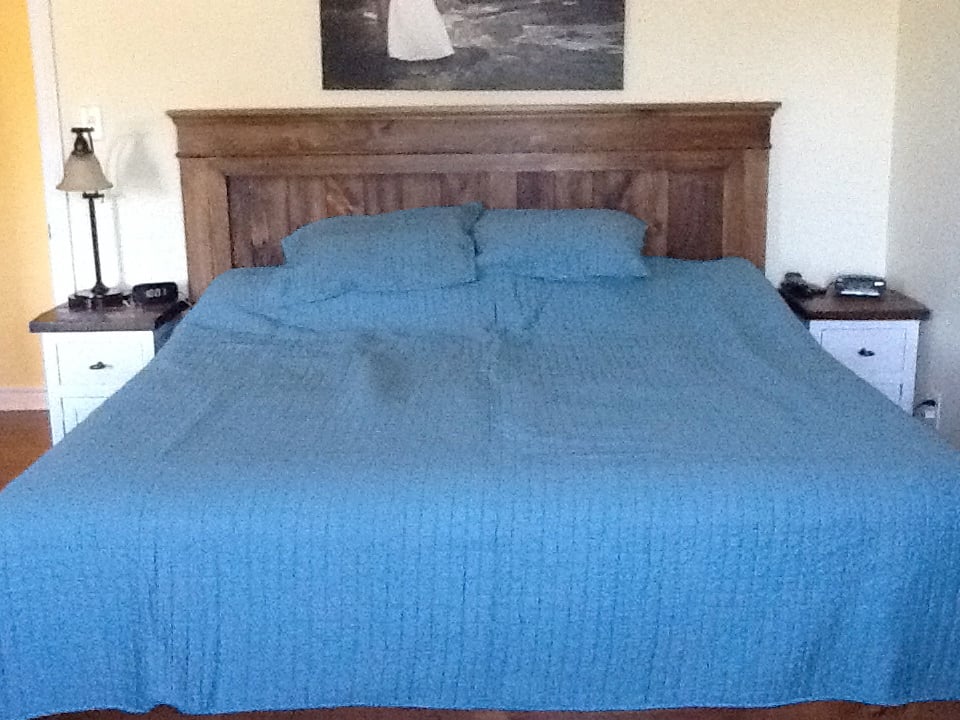
My best friend (and upstairs apartment neighbor) was looking for a "grown up" bed for her apartment. When she saw the Swedish Bed, she fell in love. We built the frame out of 1×10′s and the “guts” were reclaimed wood from my Dad’s barn (to cut down on costs). She painted it a flat black using mistint paint pints from McCoy’s that were $1 each. The pipe legs were from Lowe’s in the plumbing section, and they’re threaded for easy installation. You just thread them into a little square base that you can screw straight into the wood, and pop on a threaded endcap so it doesn't scratch your floor or rip your carpet. Her first choice of 10" proved to be much too tall after she plopped on her enormously tall pillow-top mattress. So we exchanged them for the 6" version for a much more balanced look. She loves it!

Built from Plan(s)
Estimated Cost
$175
Estimated Time Investment
Day Project (6-9 Hours)
Finish Used
Flat black latex Oops paint
Recommended Skill Level
Intermediate

Long desk

Submitted by murphygirl on Tue, 09/24/2013 - 10:22

I was looking for a long desk for two people and wasn't able to find anything that wasn't custom. I decided to try and here it is! I now have a massive and sturdy desk I can be proud of.

Estimated Cost
$100
Estimated Time Investment
Weekend Project (10-20 Hours)
Finish Used
Stain/poly mix
Multiple coats and used steel wool between each.
Recommended Skill Level
Beginner

Comments

Farmhouse Truss Beam Dining Table

Submitted by Lantz198 on Sun, 12/06/2015 - 09:45

I changed some of the original dimensions so that it better fit my dining area. My table top is 41" wide x 87" length. To accomplish this width I used 2" x12"s for the outer boards and 2"x10"s for the two inner boards.  My inside supports were all cut to 72" (6 ft) so that we could comfortably seat 3 chairs on each side. I used 2"x4"s instead of 2"x10"s as the breadboard ends (just personal preference). I used 6" lag style screws to assemble most sections and I left the heads (black in color) of the bolts exposed for a more rugged apppearance. The top was secured through the bottom of the 4x4 using counter-sunk 4" screws and 2" pocket screws for the 2"x4" cross boards. I distressed the entire table and sanded smooth.

Built from Plan(s)
Estimated Cost
All together I would put the price around $230-$250 to complete.
Estimated Time Investment
Weekend Project (10-20 Hours)
Finish Used
Finally the stain is Minwax Ebony and 3 coats of Minwax Helmsman (Satin) from Home depot. Must sand between each coat.
Recommended Skill Level
Intermediate

My Rustic X Coffee Table

Submitted by Anonymous (not verified) on Sat, 01/26/2019 - 08:33

Rustic X coffee table I built from the plans on this website. This is the first piece of furniture I’ve built.

Built from Plan(s)
Estimated Time Investment
Weekend Project (10-20 Hours)
Finish Used
Walnut Finish
Recommended Skill Level
Beginner

Simple, cheap, easy and FREE console table

Submitted by MLE04 on Mon, 09/12/2011 - 12:26

My husband and I wanted to try something relatively simple before attempting to make a dining room table.

We used some old fence boards that were very weathered, so we expected that the end result wouldn’t be perfect.

It is definitely rustic, but I think it is charming!

We modified the stretcher and the table top, but otherwise followed the plans.

It was easier than I expected... I think I am hooked!

Estimated Cost
Free
Estimated Time Investment
Afternoon Project (3-6 Hours)
Finish Used
none
Recommended Skill Level
Starter Project

Comments

Birthday Farmhouse Queen sized Bed

Submitted by ksmith311 on Sun, 09/29/2013 - 12:41

We built this bed way back in April for my birthday, but hadn't gotten the bedding quite right until now. We love this thing and it is sooo sturdy. I wish I would have taken more time on finish work to get the paint just right. I will probably repaint it in the future but for now it is a beautiful and necessary addition to our bedroom.

Thanks so much for the plans Ana, this was our first furniture project besides shelves and boxes. It definitely gave us the confidence to continue building and even to start creating our own plans and furniture designs.

** updated photos on 11/21

Built from Plan(s)
Estimated Time Investment
Weekend Project (10-20 Hours)
Finish Used
Antique white paint in semi-gloss and distressed with Early American Stain.
Recommended Skill Level
Starter Project

Saw Horse Inspired Coffee table

Submitted by Nathan O on Tue, 12/15/2015 - 18:01

I essentially followed the Rogue Engineer plans exactly with the exception of making the table on 50 inches long to help it fit better in my living space. I also opted to not add the lower support struts that would be perpendicular to the table top. I felt like that were bulky and were necessary for support. I may choose to go back and add them though. A miter saw and Kreg Jig are essential to get this project done with ease. I gave it a rough sanding to help keep the rugged texture of the original woodand maintain the reclaimed look. Feel free to post any questions.

Built from Plan(s)
Estimated Cost
$30-$50
Estimated Time Investment
Weekend Project (10-20 Hours)
Finish Used
Mini Wax Dark Walnut and Poly
Recommended Skill Level
Beginner

Husky farmhouse table w/ butterfly leaf

Submitted by Anonymous (not verified) on Wed, 02/06/2019 - 17:43
  • Hand built Husky Farmhouse Table, plans from Ana White adding a hideaway butterfly leaf
Estimated Cost
$350
Estimated Time Investment
Week Long Project (20 Hours or More)
Finish Used
4 coats of Polycrylic Clear Matte
Recommended Skill Level
Intermediate

Comments

Factory Cart Coffee Table

Submitted by LindseyA on Mon, 09/19/2011 - 18:17

I was feeling like I needed a new project, so I called my sister. She was more than willing to give me ideas to build for her new condo and gave me a WHOLE wish list of furniture projects to choose from. After looking at her list, we decided on the factory cart coffee table. If you look elsewhere, this kind of table ranges from $600 - $1500 dollars! And our version costs right around $100!

Ana's version set the basis for the build and the only modification was adding three 1x2's under the slats on the top (rather than directly attached the slats) so that the compartment underneath can serve as a secret storage area (plywood lined and screwed into the lower supports). We absolutely love the table and it looks AWESOME in her living room!

Built from Plan(s)
Estimated Cost
~$100 (Wheels were the most expensive part, but give the table its style!)
Estimated Time Investment
Weekend Project (10-20 Hours)
Finish Used
Alternating Rustoleum "Sunbleached" stain and Minwax "Dark Walnut" one coat of each color at a time, with time to dry in between coats) with a satin poly finish.

Wheels are 6 inches tall from a local supply store and were spray painted oil rubbed bronze.
Recommended Skill Level
Beginner

Comments

skyeblu87

Tue, 09/20/2011 - 11:22

I just wanted to say that your finish is gorgeous! Your table is beautiful too, but my goodness does that finish bring it over the top! Good job :)

Rhune (not verified)

Thu, 10/11/2012 - 12:48

How many of each color did you use? I'm looking for this driftwood look for my kitchen shelves.

Taylors console

We needed TV and game system storage for our vacation cabin and didn't want to spend a lot. This is perfect!

Built from Plan(s)
Estimated Cost
$80
Estimated Time Investment
Weekend Project (10-20 Hours)
Finish Used
Used a mixture of some old darker stains I had on hand over the bare wood, then some Vaseline on edges I wanted to distress. Painted with DIY chalk paint (approx 1 teaspoon of unsanded grout mixed with a little water, stirred into 1 cup of latex paint.) Distressed with sander, then finished with two coats of wax.
Recommended Skill Level
Beginner

Square Farmhouse Table

Submitted by 42jbmayer on Sat, 12/19/2015 - 21:25

This is a square farmhouse table I built for my dining room.  It is just under 5ftx5ft size.  The top is 6 planks that I cut down from 2x12 down to 10inch sized planks.  Then routered each plank with a 1/8 roundover router bit.  I made the bench big and wide since I wanted it safe and stable so my toddlers don't fall off.  Lots of sanding since this is all kiln dried construction lumber.  I sprayed varathane poly, water based, and loved it.  I put 4 coats on of semi gloss, came out perfect.

Estimated Cost
250-300
Estimated Time Investment
Week Long Project (20 Hours or More)
Finish Used
Varathane Dark Walnut
Recommended Skill Level
Intermediate

Comments

Bench with foam padding

Submitted by Anonymous (not verified) on Mon, 02/11/2019 - 16:52

This was a fun little project. I made the bench to be placed in our foyer to sit down and put your shoes on and off. 3” foam and fabric makes for a comfy bench.

Estimated Cost
$100 ($60 lumber, $40 3” foam and fabric)
Estimated Time Investment
Afternoon Project (3-6 Hours)
Finish Used
White paint
Recommended Skill Level
Beginner

Ella's Doll Bed

Submitted by margjack on Sun, 09/25/2011 - 17:12

Just finished the American girl farmhouse bed for my sweet niece's birthday & she loved it! The best thing was that it was made totally from scraps and paint on hand - only had to spend $6 for the fabric!

Estimated Time Investment
Afternoon Project (3-6 Hours)
Finish Used
white spray primer; Gloss white spray paint
Recommended Skill Level
Beginner

Bedside Tables

We love our farmhouse king bed, but that meant that our old side tables didn't fit anymore! (our old bed was a queen)

I really like the mini farmhouse bedside table, but the open storage would be problematic with the dog, so I added full length sides and a door.

The top of the tables is a board we found at my husband's grandparents farm, and the pulls are from some old tack. The metal loops were on some old horse harness, and the leather was cleaned up from the same piece. I was able to drill a hole in the leather and then pre-dill the doors to accept post screws from home depot.

I love these tables!

Built from Plan(s)
Estimated Cost
$125 for both tables
Estimated Time Investment
Weekend Project (10-20 Hours)
Finish Used
The tops are stained with Varathane gel stain in Walnut, and then a wipe on poly.
The sides were done with Kilz primer and then a white paint.
Recommended Skill Level
Beginner

Comments

JoanneS

Wed, 10/02/2013 - 19:11

Love these tables! The wood top is just gorgeous, and I love you you re-purposed other items to make the hardware. That is so creative! Great job!

spiceylg

Thu, 10/03/2013 - 05:24

I concur. Love the tables and love that you re-purposed items for them!

jackiemacrae

Sun, 11/10/2013 - 18:58

Thanks guys!
I'm loving these- they are perfect for the space, and it makes me smile to know that the re-purposed parts come from the cottage.