$10 Ledges
These are super simple and easy to build. The stained ones are in my dining room and the blue ones are in my craft room. Not sure how much they cost since I used scrap wood.
![](/sites/default/files/3154812219_1341888552.jpg)
![](/sites/default/files/3154812220_1341888552.jpg)
These are super simple and easy to build. The stained ones are in my dining room and the blue ones are in my craft room. Not sure how much they cost since I used scrap wood.
We needed a table for the breakfast nook in our new home that we will be moving to in June. We were so excited about this table that we built it ahead of time and sold our other dining room table. We love this table! Thank you so much for the awesome plans.
I modified the table to be a little smaller for a space. it came out beautifully. Love this build as it allows for a very large yet stable table that allows for seating on the ends as well.
Side note i found notching out the x brace and using only two solid pieces to a be a more effective way of creating both a solid joint as well as well as a smoother looking joint.
My dad and I built this table together just the 2 of us last Tuesday
This is my first build. I found the plans for it almost perfect but made a couple of adjustments.
FYI- if you do the 5 crossboards on both platforms, you will need to buy 3 more 2 x 4's to get the cuts you need for everything.
I also added posts in the center to ensure that there is no future sagging.
To get it into my closet sized laundry room that is right off of my kitchen, we painted it before assembling it inside the house. We attached the posts to the bottom and installed that first, then added the top. The clearance in my space would not allow it to be completely assembled before we put it in.
The extra posts don't allow for 3 baskets, but it does still allow for two. I'm also thinking of doing some pull out drawers or something in the bottom.
We painted with metallic silver spray paint and it worked great.
I found the plan for a small vanity and fell in love! I really wanted to build it for my 3 year old. With her room being small and all of her toys having separate spaces for each her room was getting crowded! So with some thinking I came up with a plan to double the whole plan and got myself a media center that took up less space than everything else while still looking pretty! My little girl loves that she can store all her toys, still have her desk and be able to watch movies from her bed.
Easy plans to follow and build .
Changing Table.
Scott and Judy Sparks
This is my version of the workbench console table. The plans were very easy to follow. I used studs for the top of the table, but at least one of them was warped. This left me with a warped top. Therefore, I had to redo the top, ensuring that I had straight studs the second time. I actually laid them all out in the aisle of the hardware store to make sure they were straight. I wish I did this the first time.
The towel rack is just piping and a valve from the hardware store. There's also a bottle opener on the right side.
I was going for a more rustic/industrial feel, so I didn't use a polyurethane.
A table of my own design, that can can be pulled apart in order to save floor space, and create work space.
Had an awesome time building this! Very little modification from original plans. Used Thompsons water seal, Desert Brown.
My first attempt at a potting bench! Not quite exactly to plan, but it came out exactly as I hoped!
Thanks Ana!!
Made mine 8ft long, with just one drawer. So far the bench is great for my space, highly functional, holds all my stuff, and looks good too (I think).
bonan.califonica
My mother found this old end table in her mother's basement in the mid 90's and brought it home with her to refinish. The table was very flimsy and Mom just didn't know how to fix it, so it sat in her garage since then. I saw it back in March when helping clean out the garage. I asked if I could restore it for her. I think it turned out really nice. Thanks to this site, I have been given the confidence to tackle projects like this. Just wanted to share the project and say thanks to everyone here for making this site a great resource.
I fixed the table legs, sanded the table, used red mahogany stain, and about 15 coats of Poly to give the table a high gloss finish.
The additional photos are 1 of the original table and 1 of the table after staining and no Poly applied.
Mom was shocked with the finished project. Nothing more pleasing then see Mom smile!
This is my biggest project to date; I put it together with a few modifications to the plans on this website (as I'm sure everyone does!) It will be my wife and my bed for quite some time and hopefully I can pass it along in the future. Seems sturdy as a rock and the additional storage will benefit us as our home has minimal closet space. The finish is a waxed-stained-sanded painted surface.
I broke this project into 3 phases: headboard, benches, and footboard. Juggling two kids and a wife, its hard to be able focus completely on a project without some (often welcome) interruptions.
One final note: this website introduced me to and this project confirmed that my favorite tool in my tool shed is the Kreg Pocket hole Jig; bought it thinking I would use it on a buffett table I built and have used it on every project since!
Wed, 12/24/2014 - 07:17
Could you tell me what modifications you made to the original plans?
Tue, 12/10/2019 - 21:03
I'm also interested in the modifications! I wanted to make the footboard taller, like yours is.
Shortened to 5ft length.
I used a lot of extra screws in the legs for additional supports, and filled all the gaps and screws with wood filler. I also used electric planer on top to flatten surface and then sand, sand, sand.
I built this bed for my daughters newly remodeled bedroom. It was overall pretty simple build. The plans were simple and easy to follow. I did add some center supports on the storage boxes under the center slats for added strength.
My first build was the rolling bar cart. It took 3 to work out my kinks but I love them!
Cerissa Neal
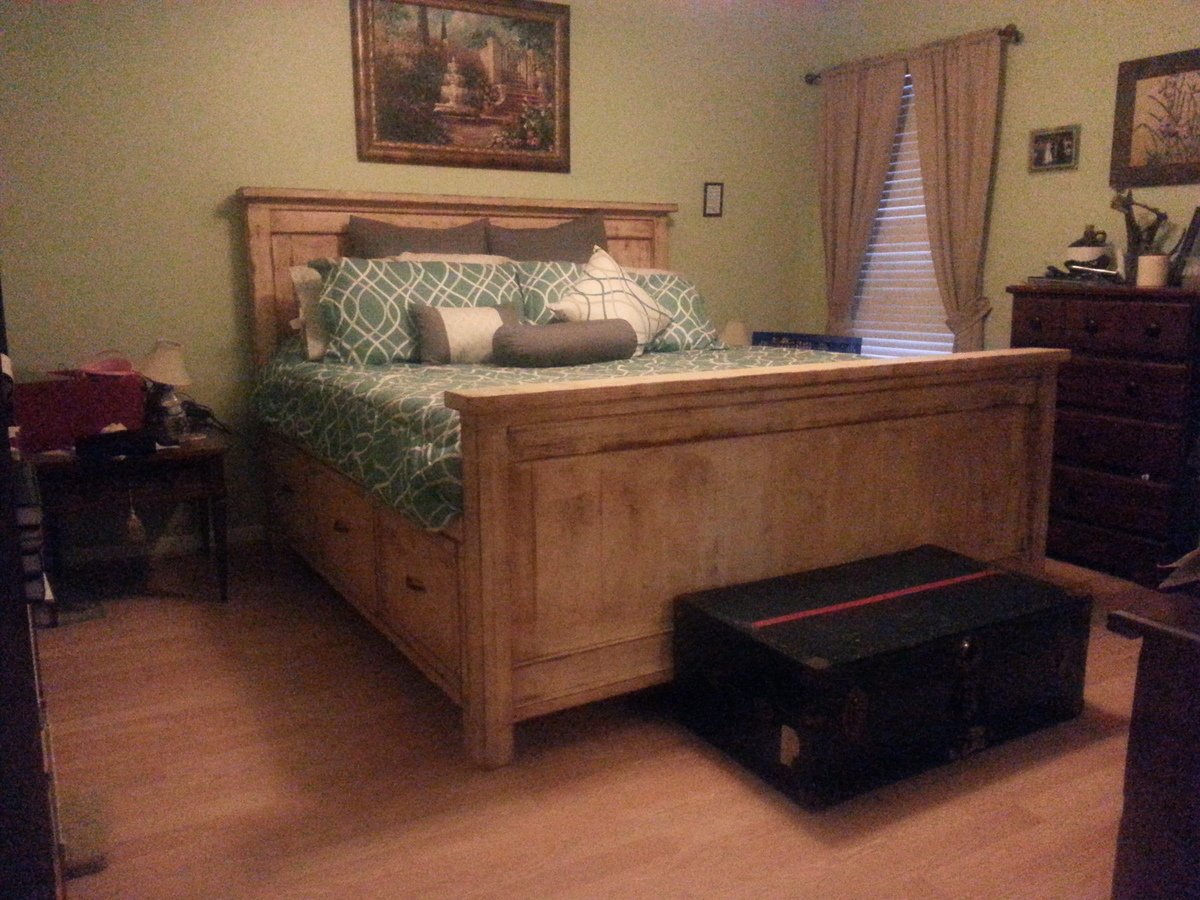
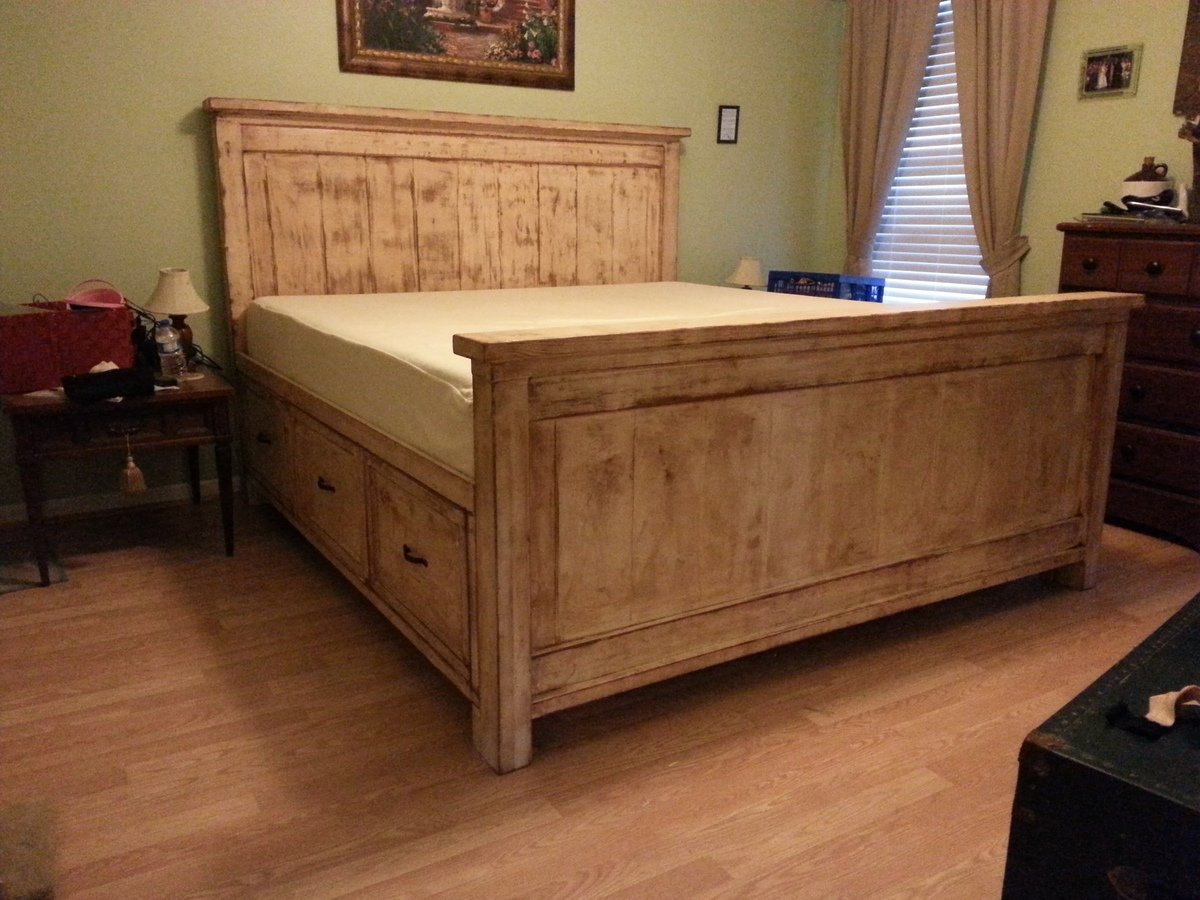
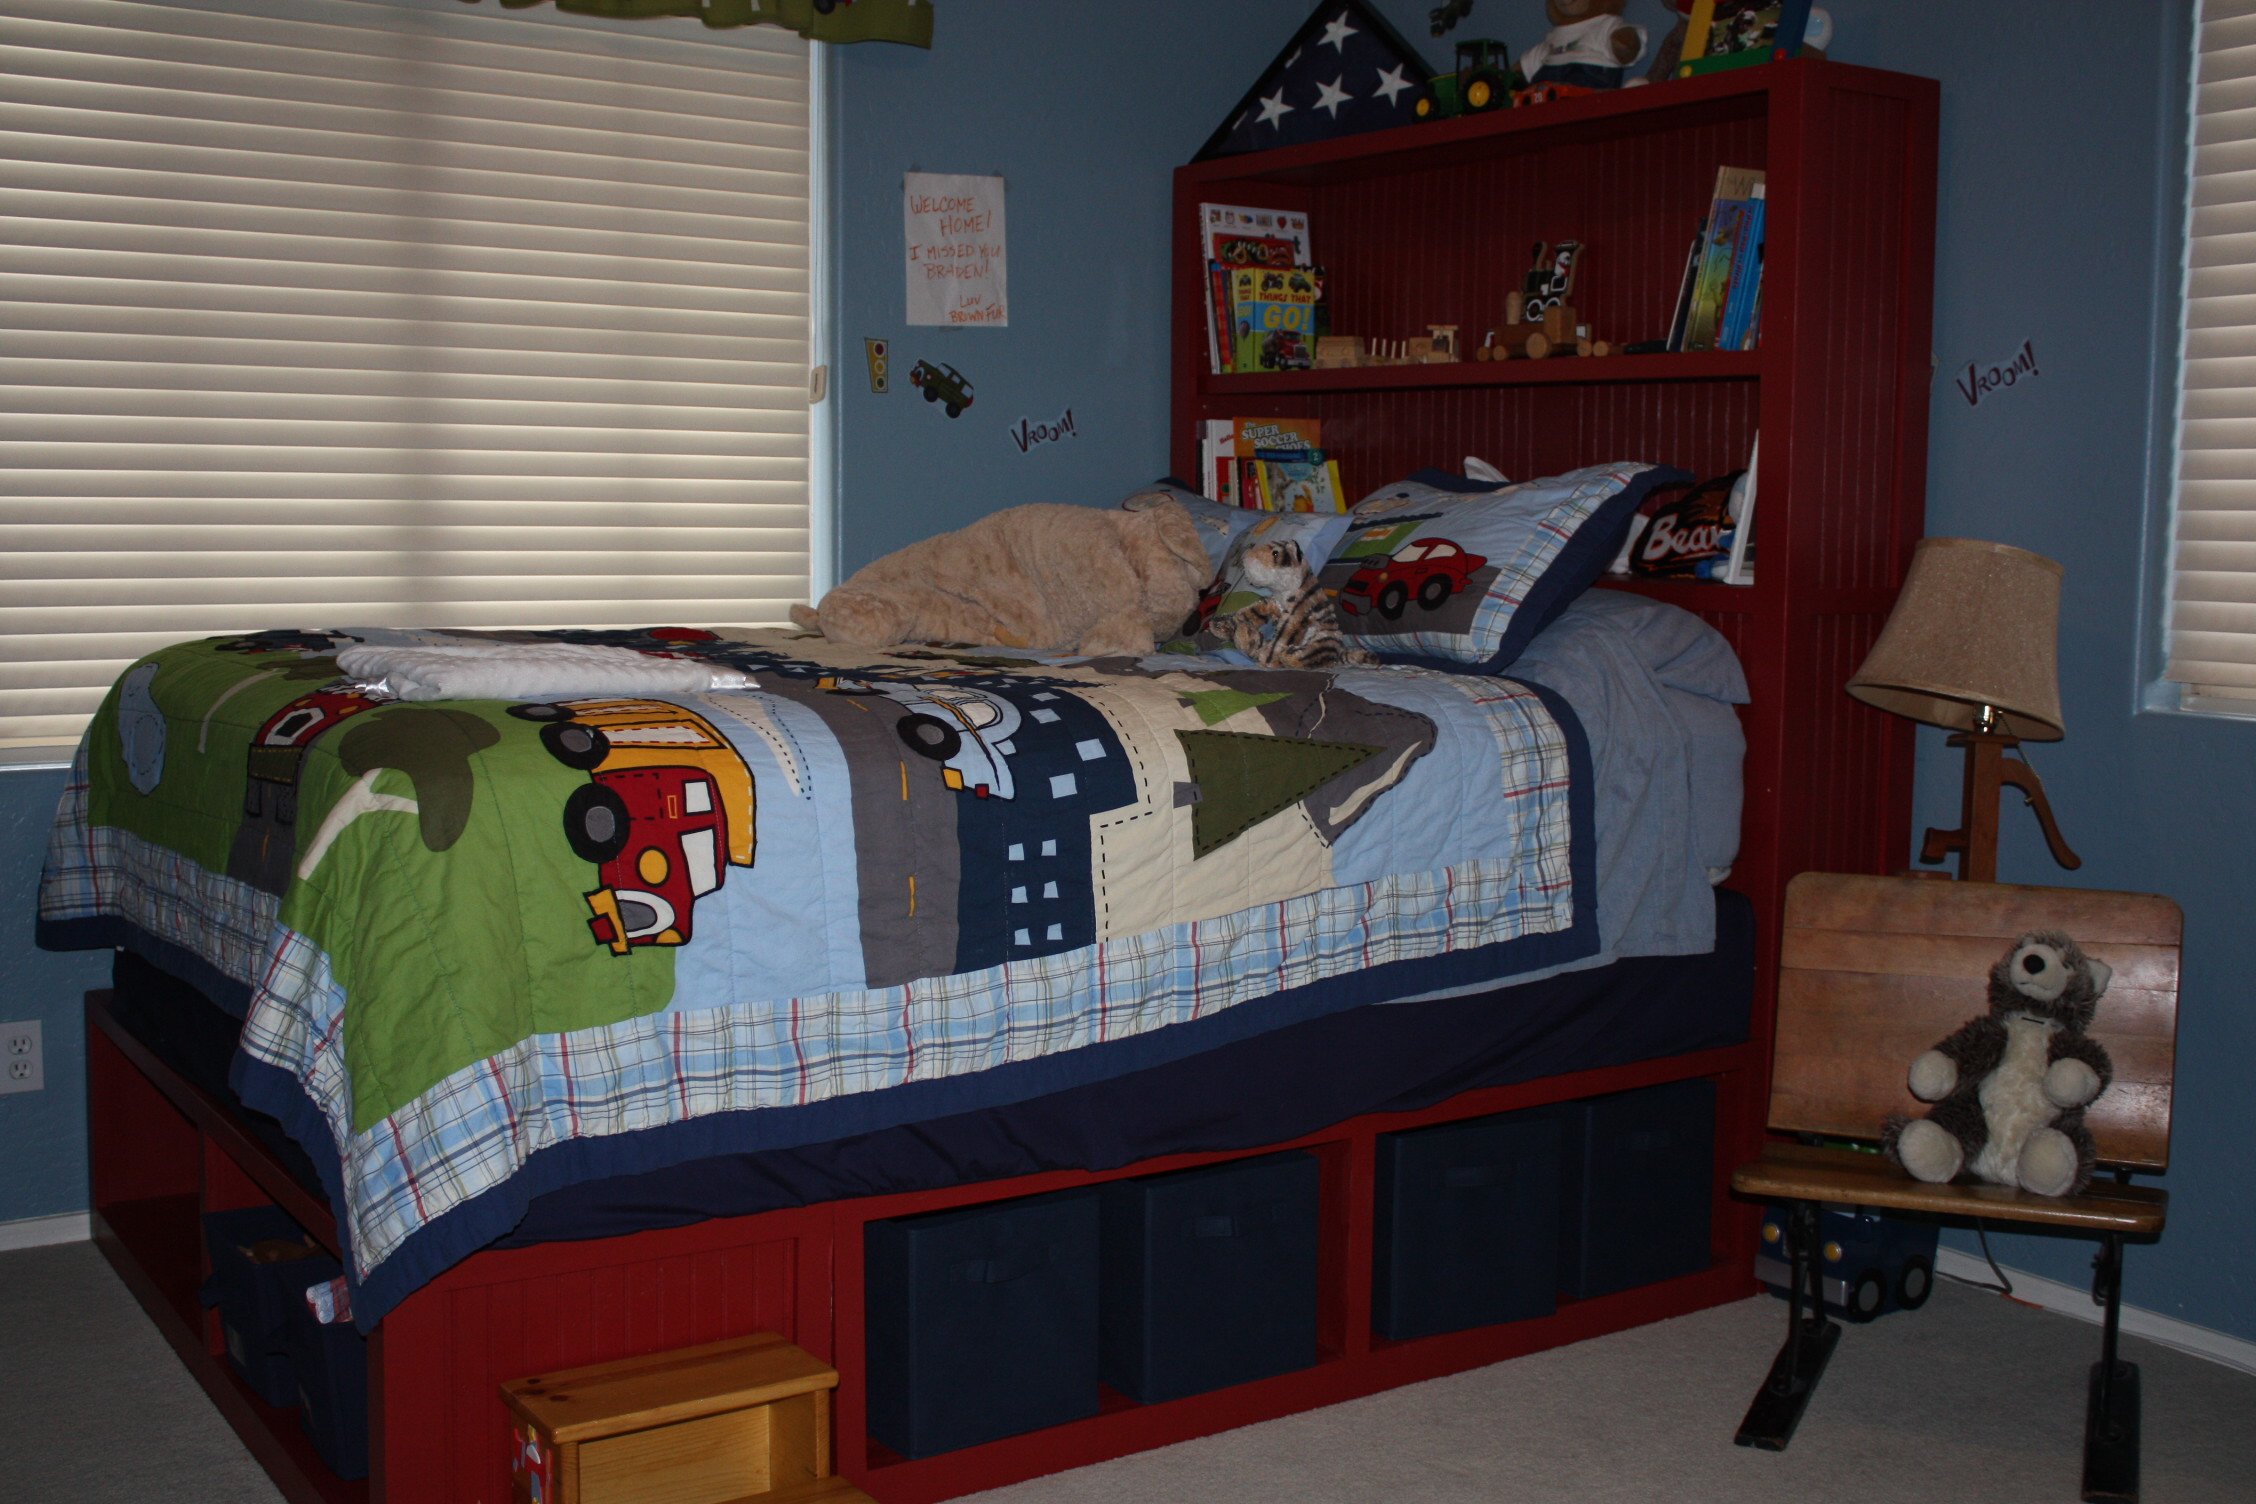
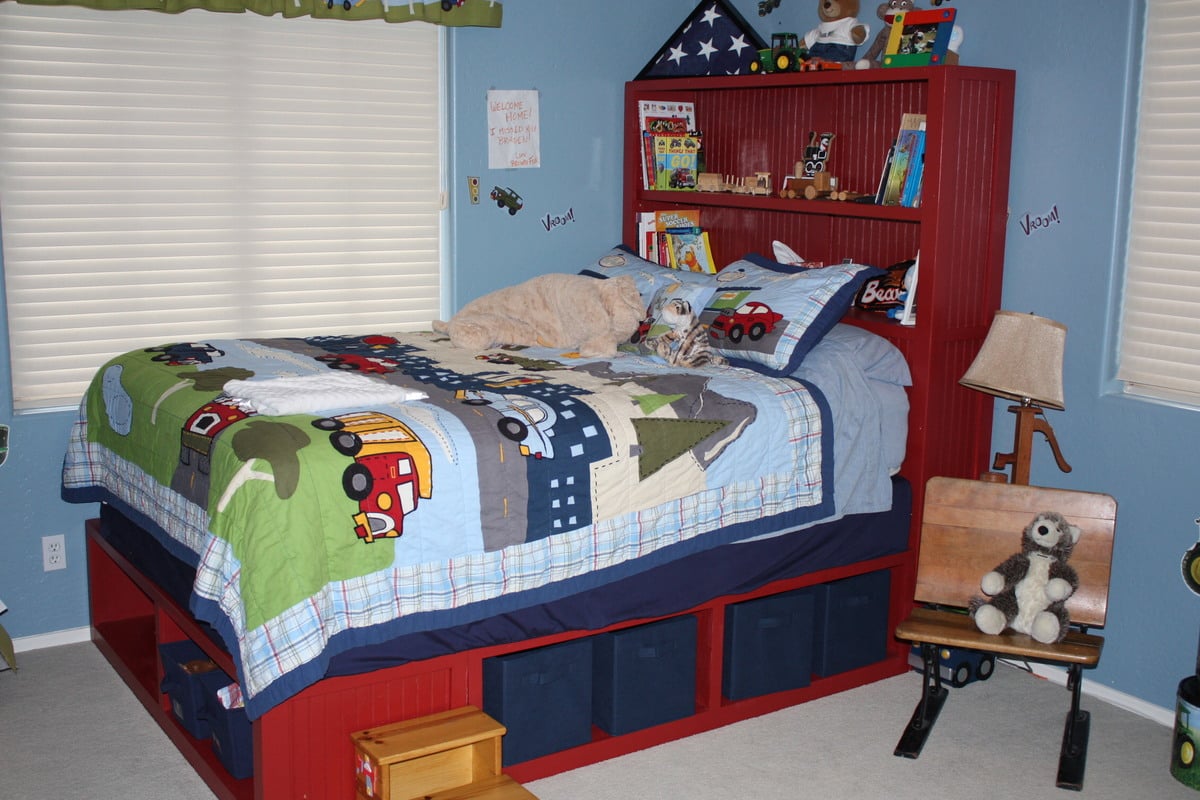
My boy was sleeping on a queen box spring / mattress sitting on the floor; figured he needed a bed and the storage bed seemed just the ticket.
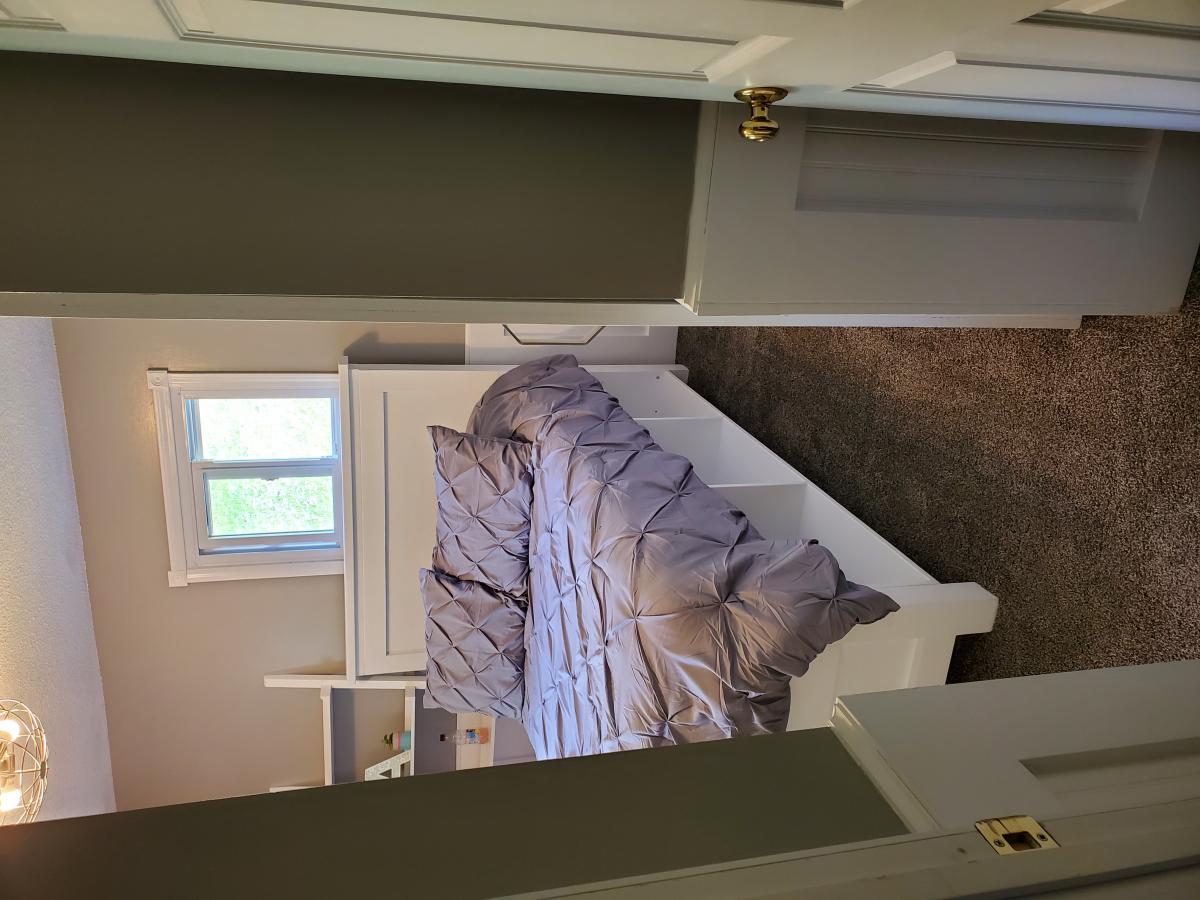
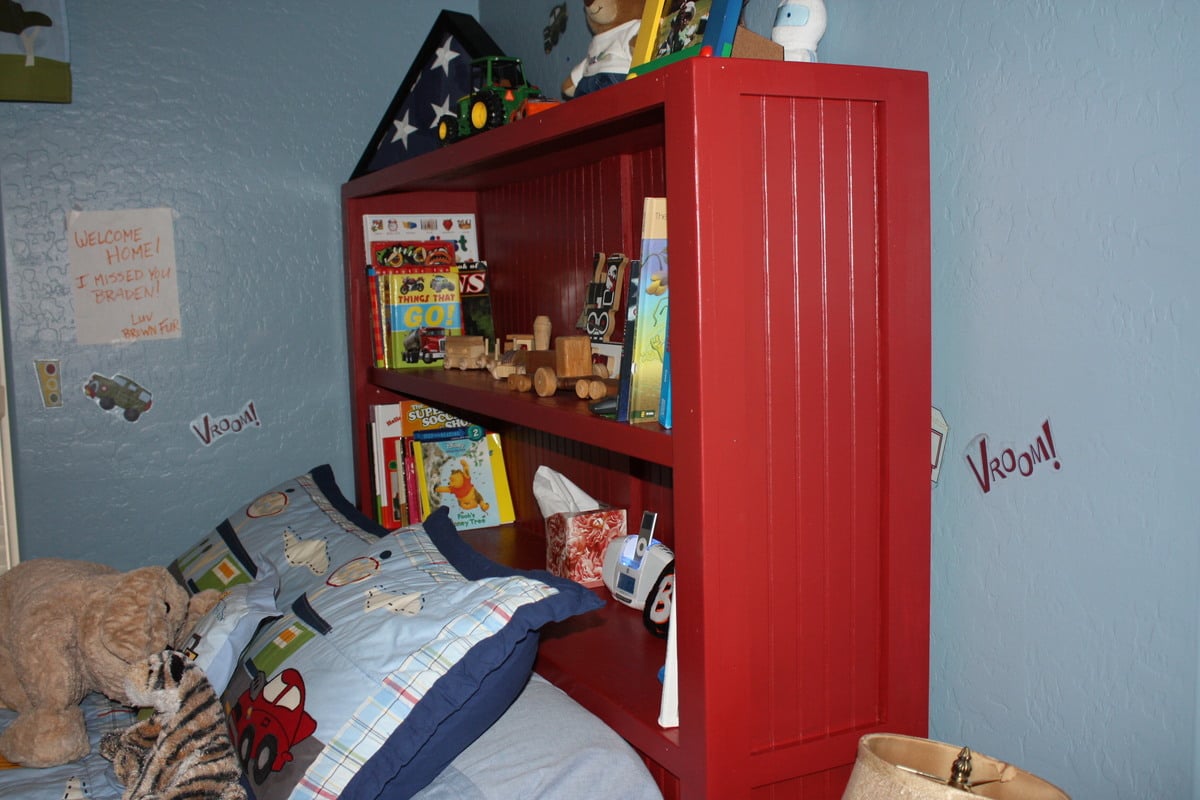
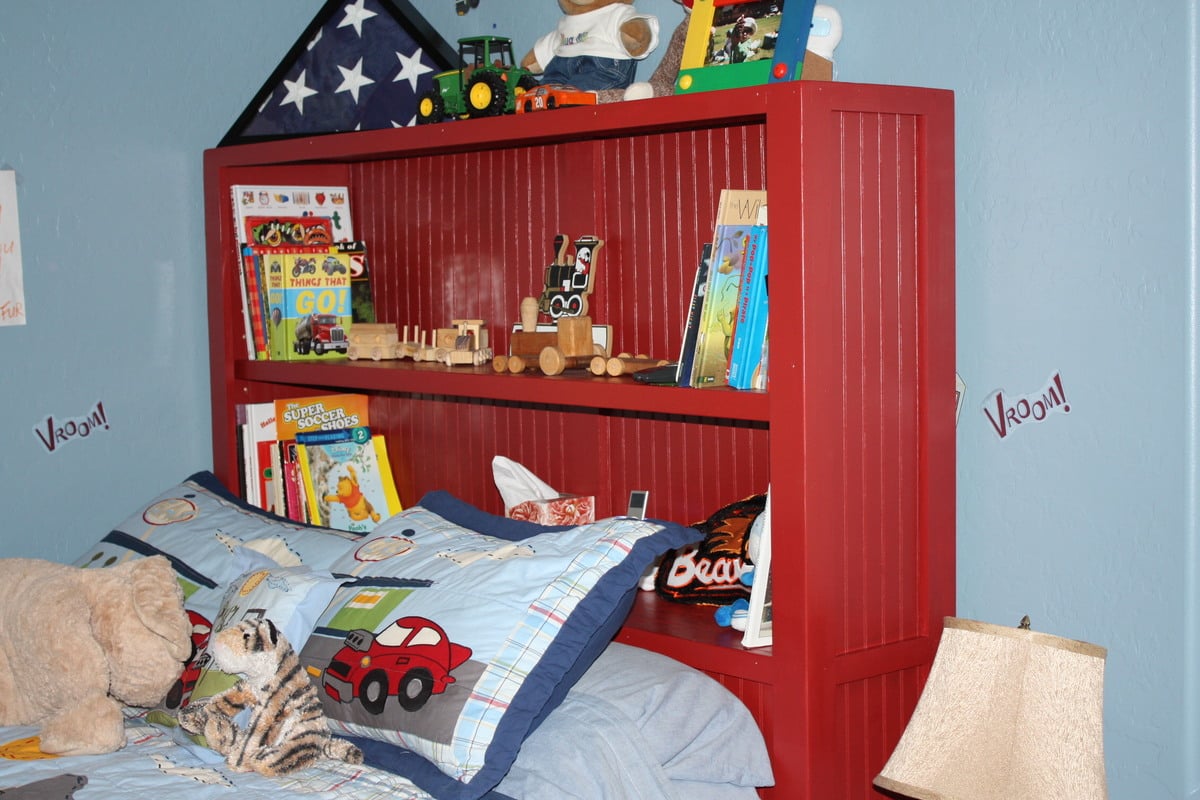
Found some beadboard on clearance for $16 a 4x8 sheet so picked up about 5 sheets. It was on clearance since it was prefinished. Not a big deal since I knew I'd be painting the bed (had to prime the stained wood first). I think the beadboard adds a nice touch on the ends.
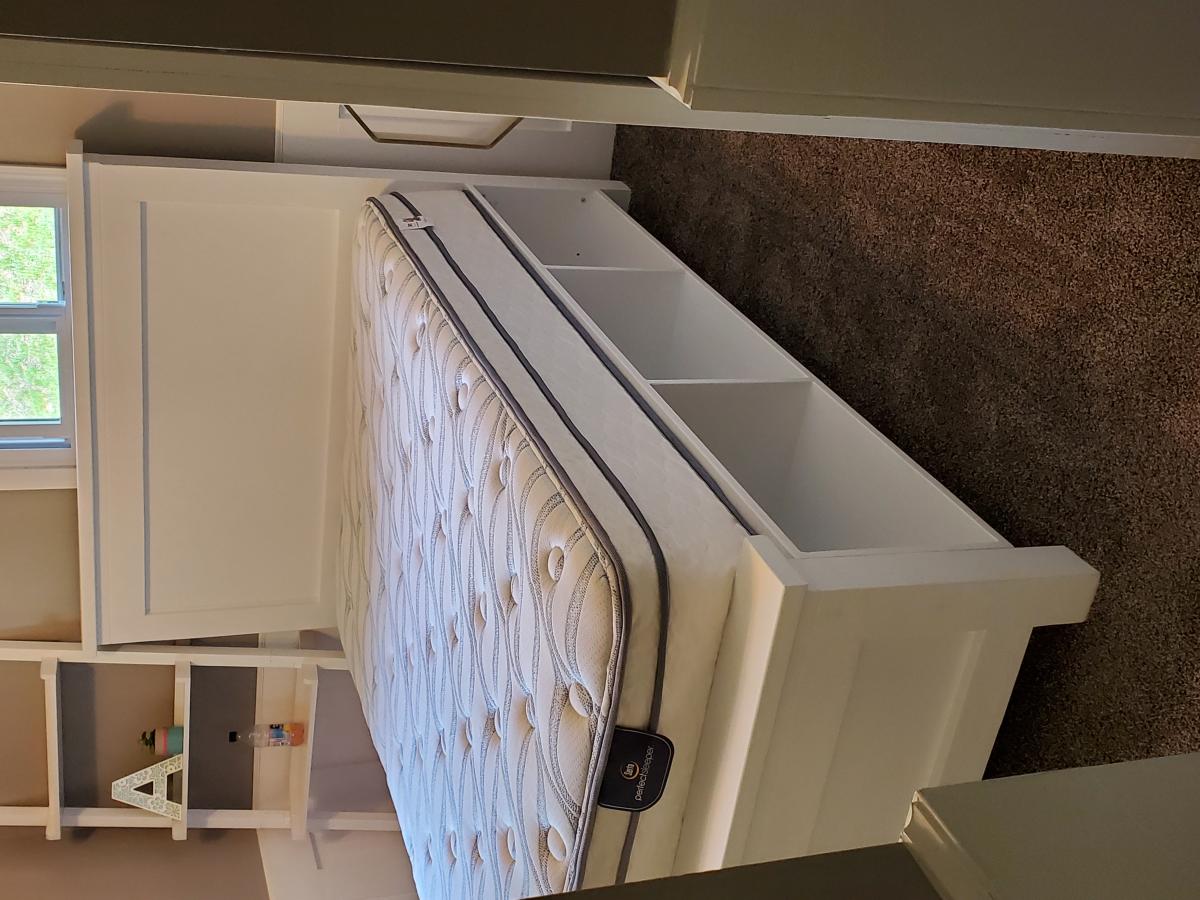
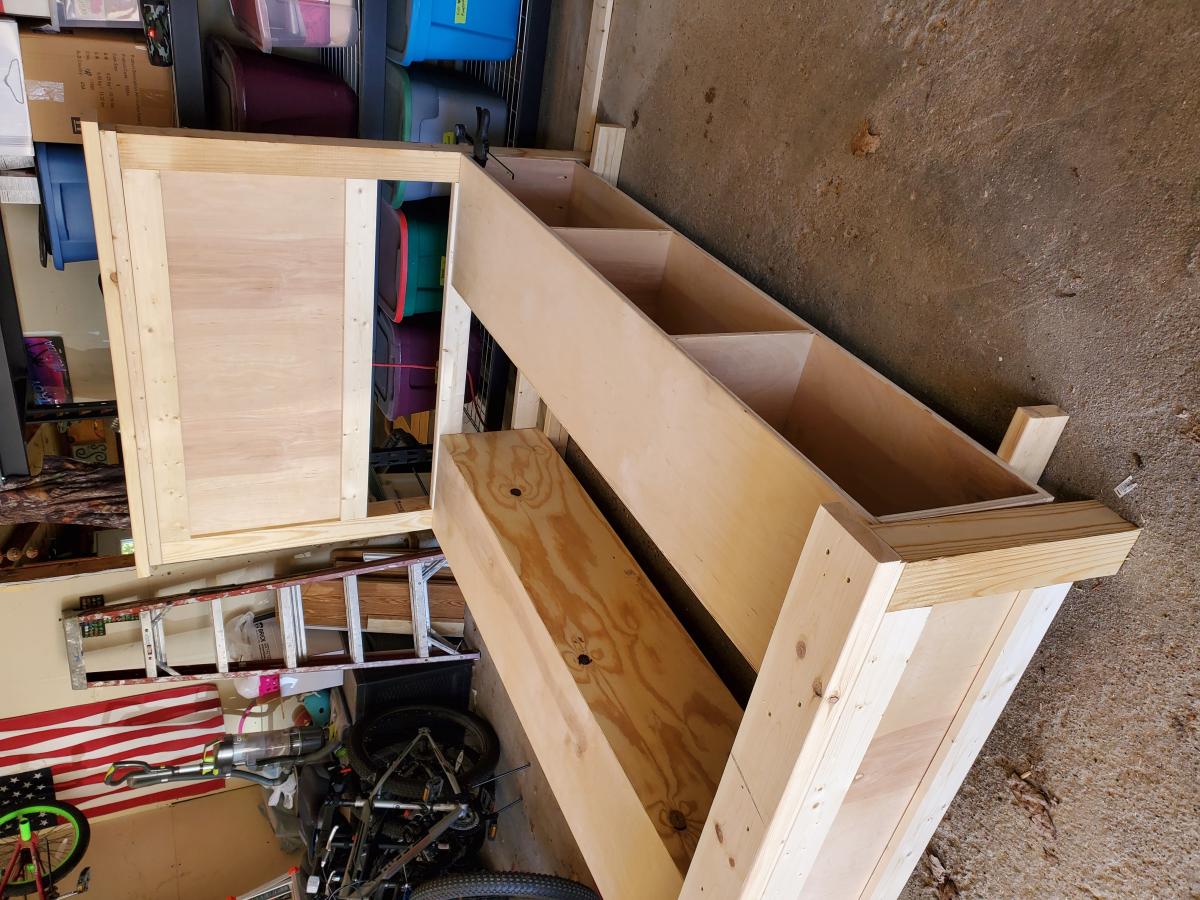
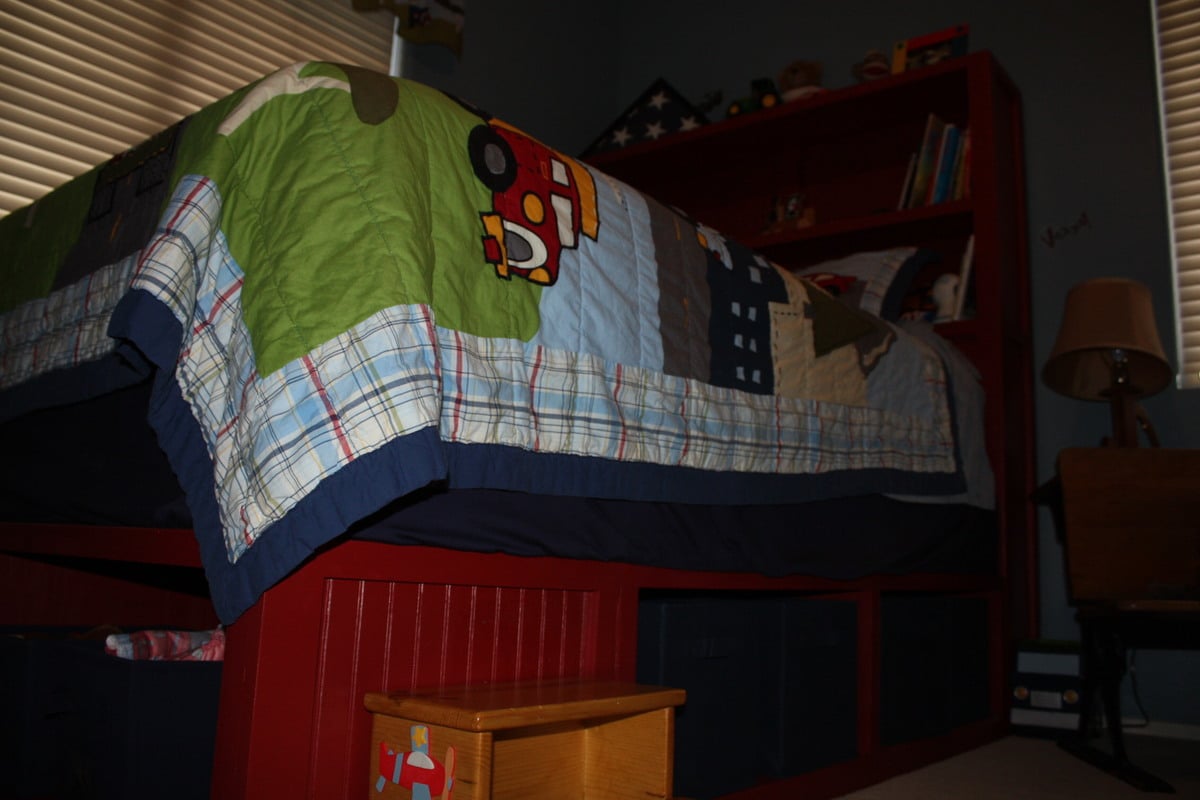
Haven't built drawers yet, but the wife kind of likes the looks of the cubby bins so drawers can wait.
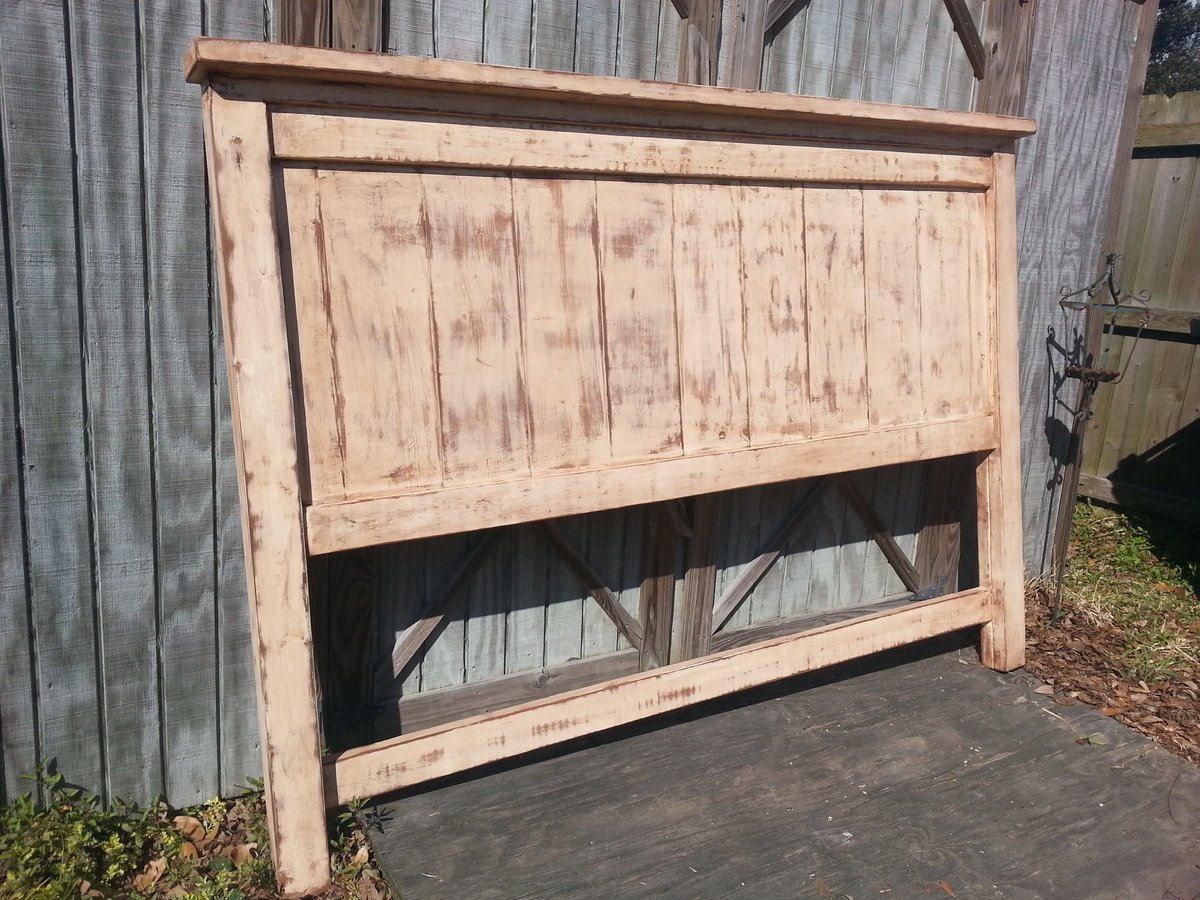
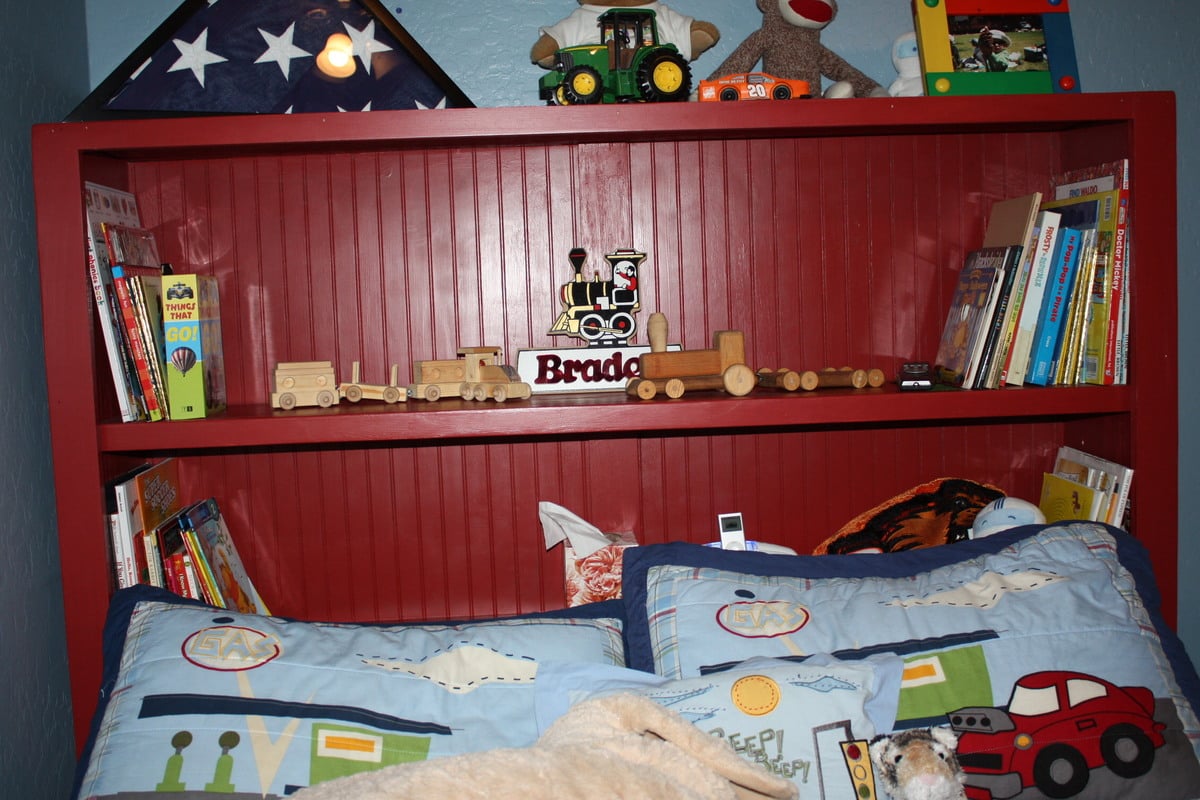
The headboard wasn't from any plan; just followed the same basic concept as the bed; sides are 3/4 plywood, but I rabbitted out the trim in order to insert the 1/4 beadboard. Used some scrap hardboard pegboard as a template for the shelf pin holes on the inside of the headboard to enable an adjustable shelf.
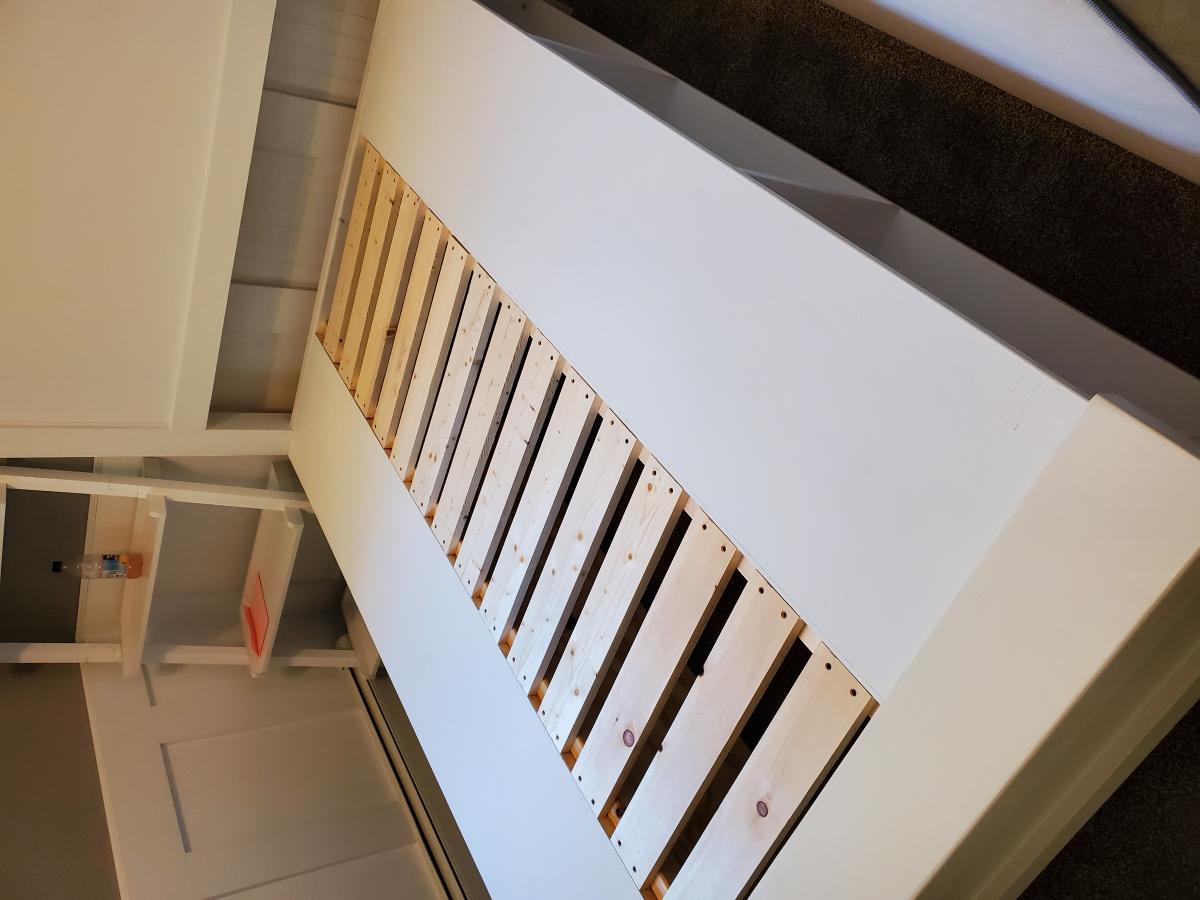
The bed sits up a little high for our liking, but eventually we will remove the boxspring and just set the mattress on the bed frame; just have to figure out where to store the boxspring . .
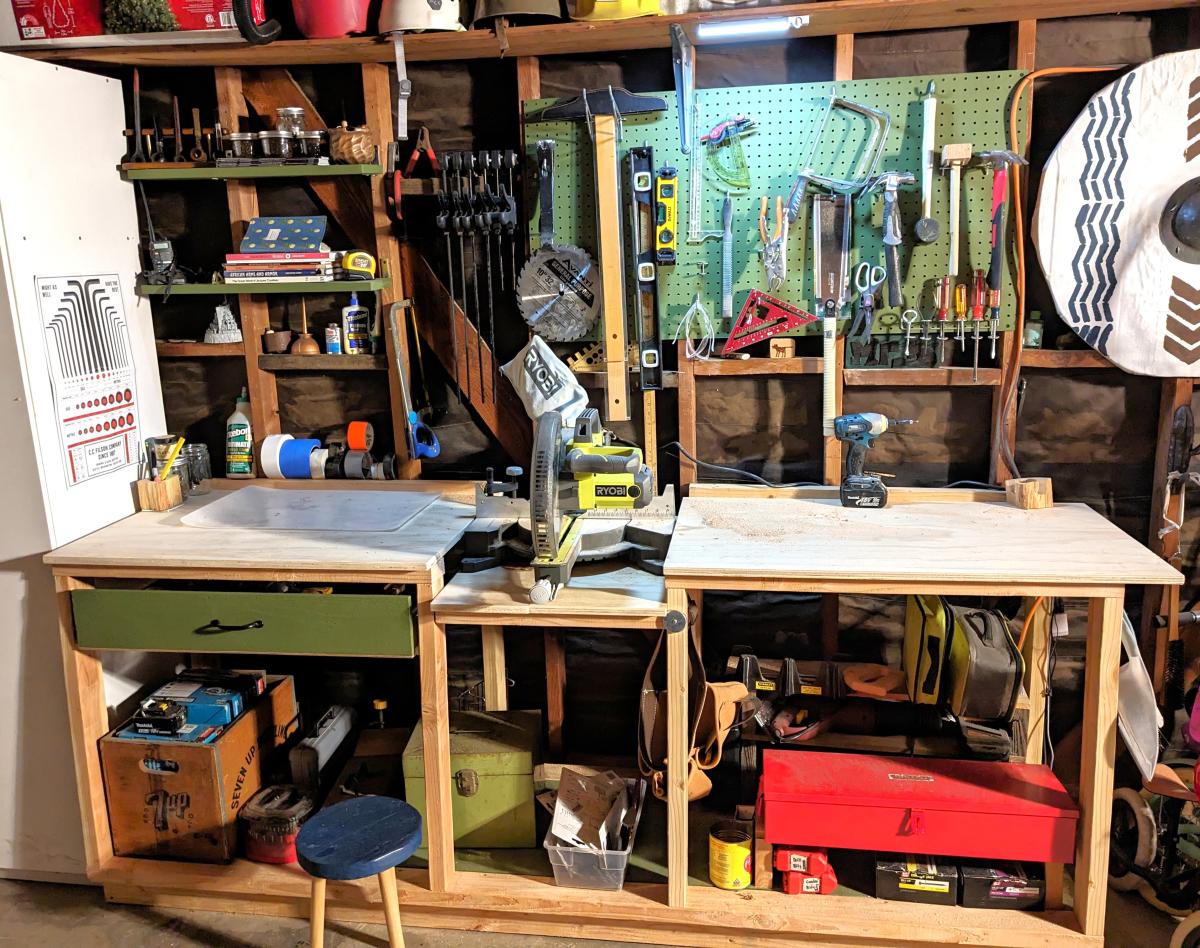
I miss the family when they're out of town, but at least I get a lot of projects done . . .
Thu, 08/30/2012 - 17:19
This is beautiful. Love your colors and use of beadboard! Great job! I love the bins too....really terrific!
I wanted a farmhouse table look, but no too county. I think that this table accomplished that.
I debated a while with staining the entire table or staining the top and painting the legs. I'm really glad that I decided to paint the legs. I think it turn out great.
This was my first DIY wood project. I'm pretty much addicted now. Every time my wife wants to get a new piece of furniture, I always tell her that I can probably build it.