Community Brag Posts
Ana inspired playroom
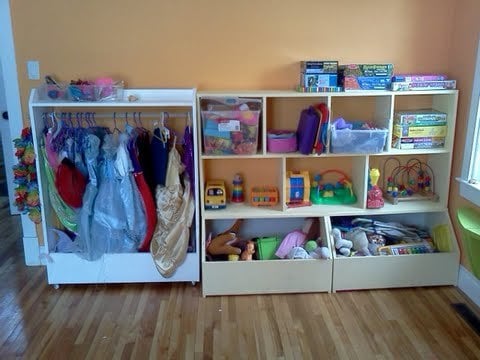
There are three plans combined here in this picture. All three completed in the past year. The toy boxes are from the one plan, the cubby shelves from another and finally the dress up stand is the third. It is never this tidy in our playroom! Ah ah, what you cannot see is the other half :D But the girls do enjoy it quite a bit and it does keep most toys off the floor and easily accessible. Thanks Ana for a great variety of plans!
Built from Plan(s)
Estimated Cost
150$ plus scraps
Estimated Time Investment
Weekend Project (10-20 Hours)
Finish Used
plain old wall paint leftover from renovating the house!
Recommended Skill Level
Beginner
My First Ana-White.com Project
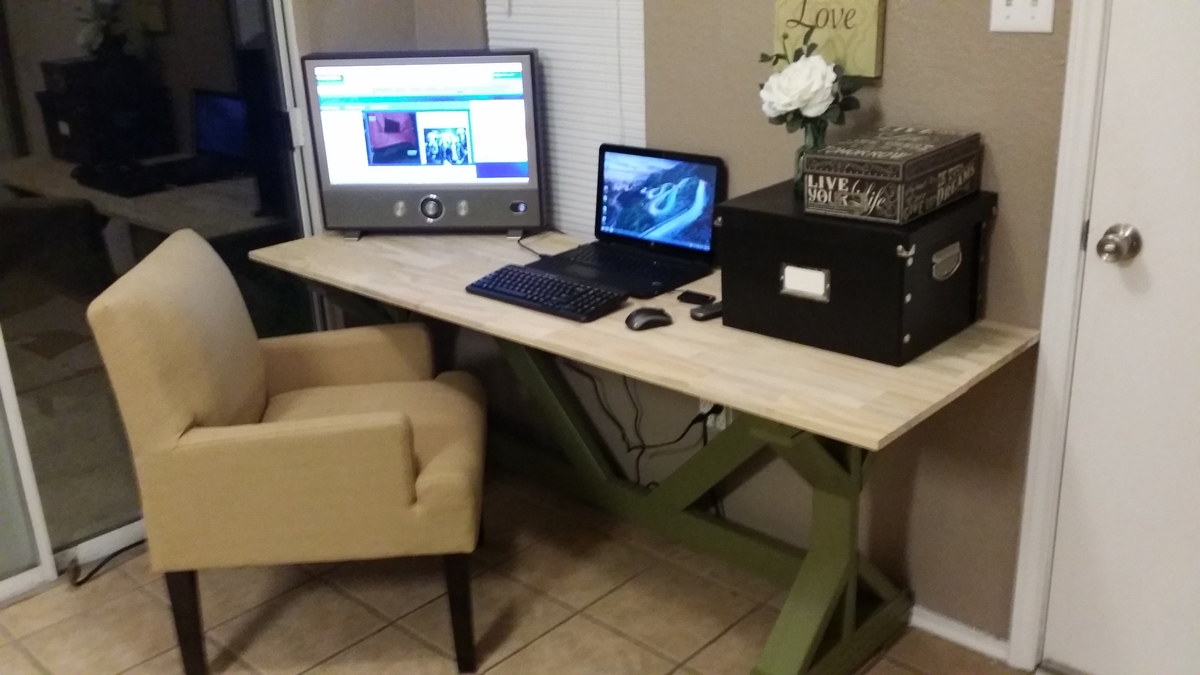
Made a few changes to the cuts on the supports as I made a mistake on the mitres. However, it worked out and added a different look than the plan's design. (notice pointed mitres on supports)
Built from Plan(s)
Estimated Time Investment
Day Project (6-9 Hours)
Finish Used
Behr Premium Plus Ultra Satin Green (Craftsman Era Color)
Recommended Skill Level
Beginner
Only my second build since the huge Pottery Barn stic desk!
Can't believe I did it myself without hubbys help at all!! Wasn't expecting to like the outcome, much less LOVE it!!
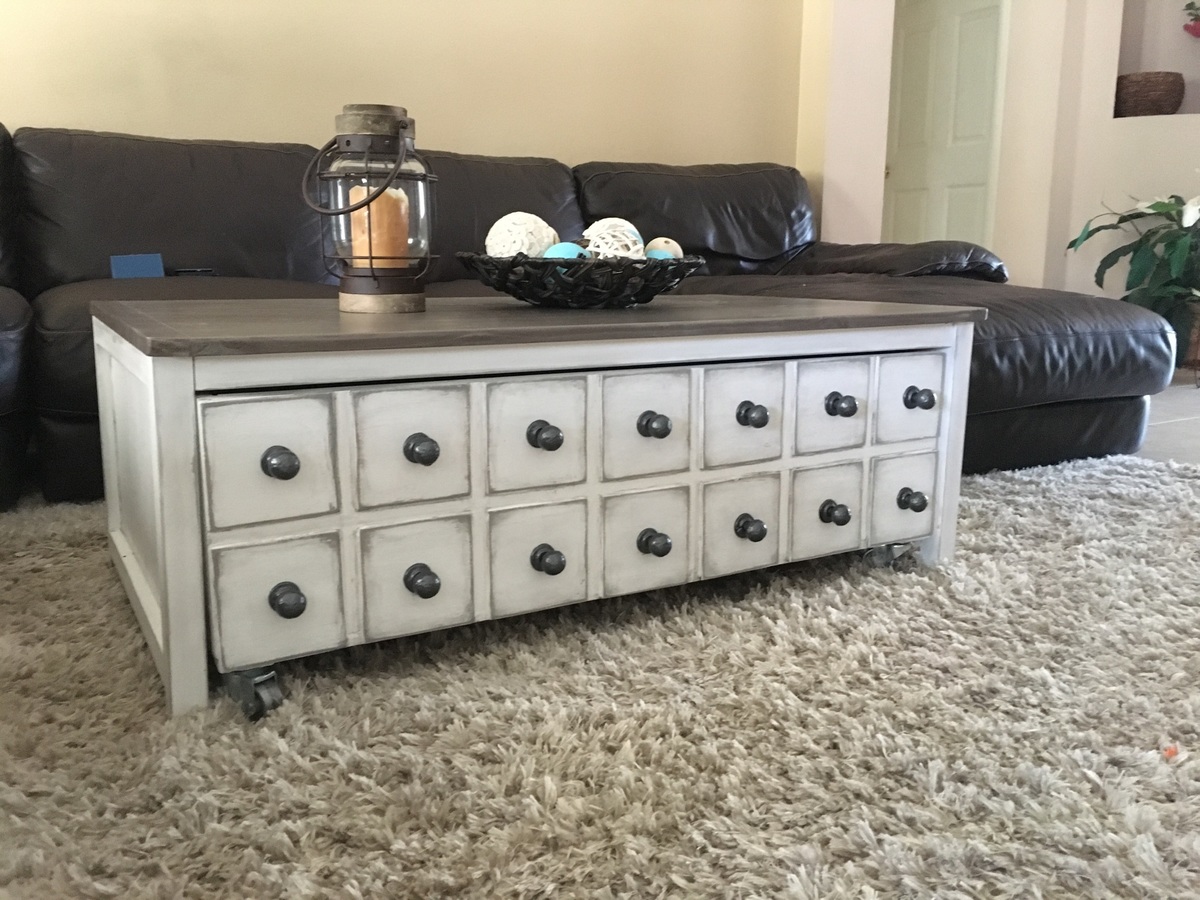
I made my stain with grey paint and special walnut stain...came out beautifully!! I used Behr white paint on the base and grey paint as the glaze. I got the knobs on sale at Hobby Lobby and painted them a dark silverish color. The inside of the box is the same as the top.
I will say this is far from perfect...but I learned a lot and know I will do even better on my next project ;) Thank you for these plans!! Can't wait to build more!!
Built from Plan(s)
Estimated Cost
Around130 with knobs.
Estimated Time Investment
Weekend Project (10-20 Hours)
Recommended Skill Level
Beginner
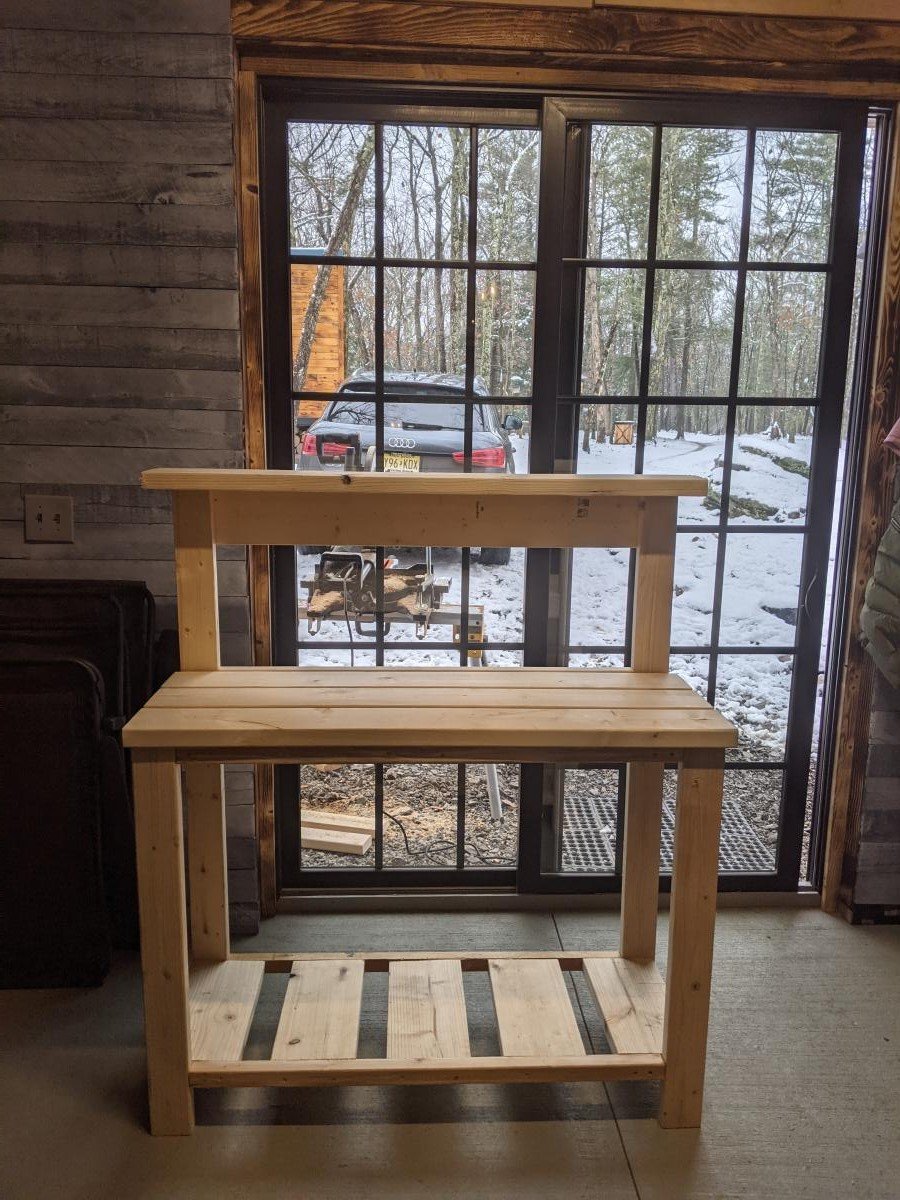
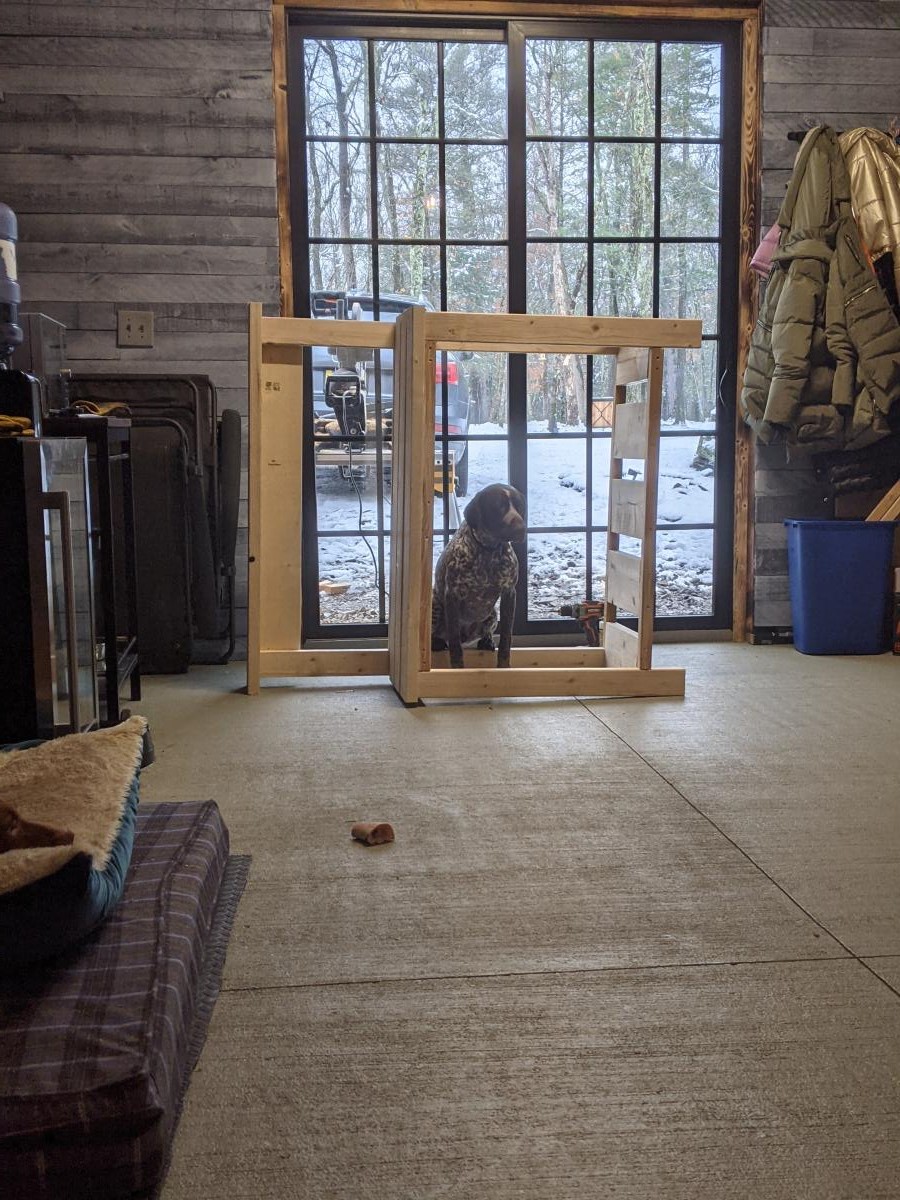
Potting table
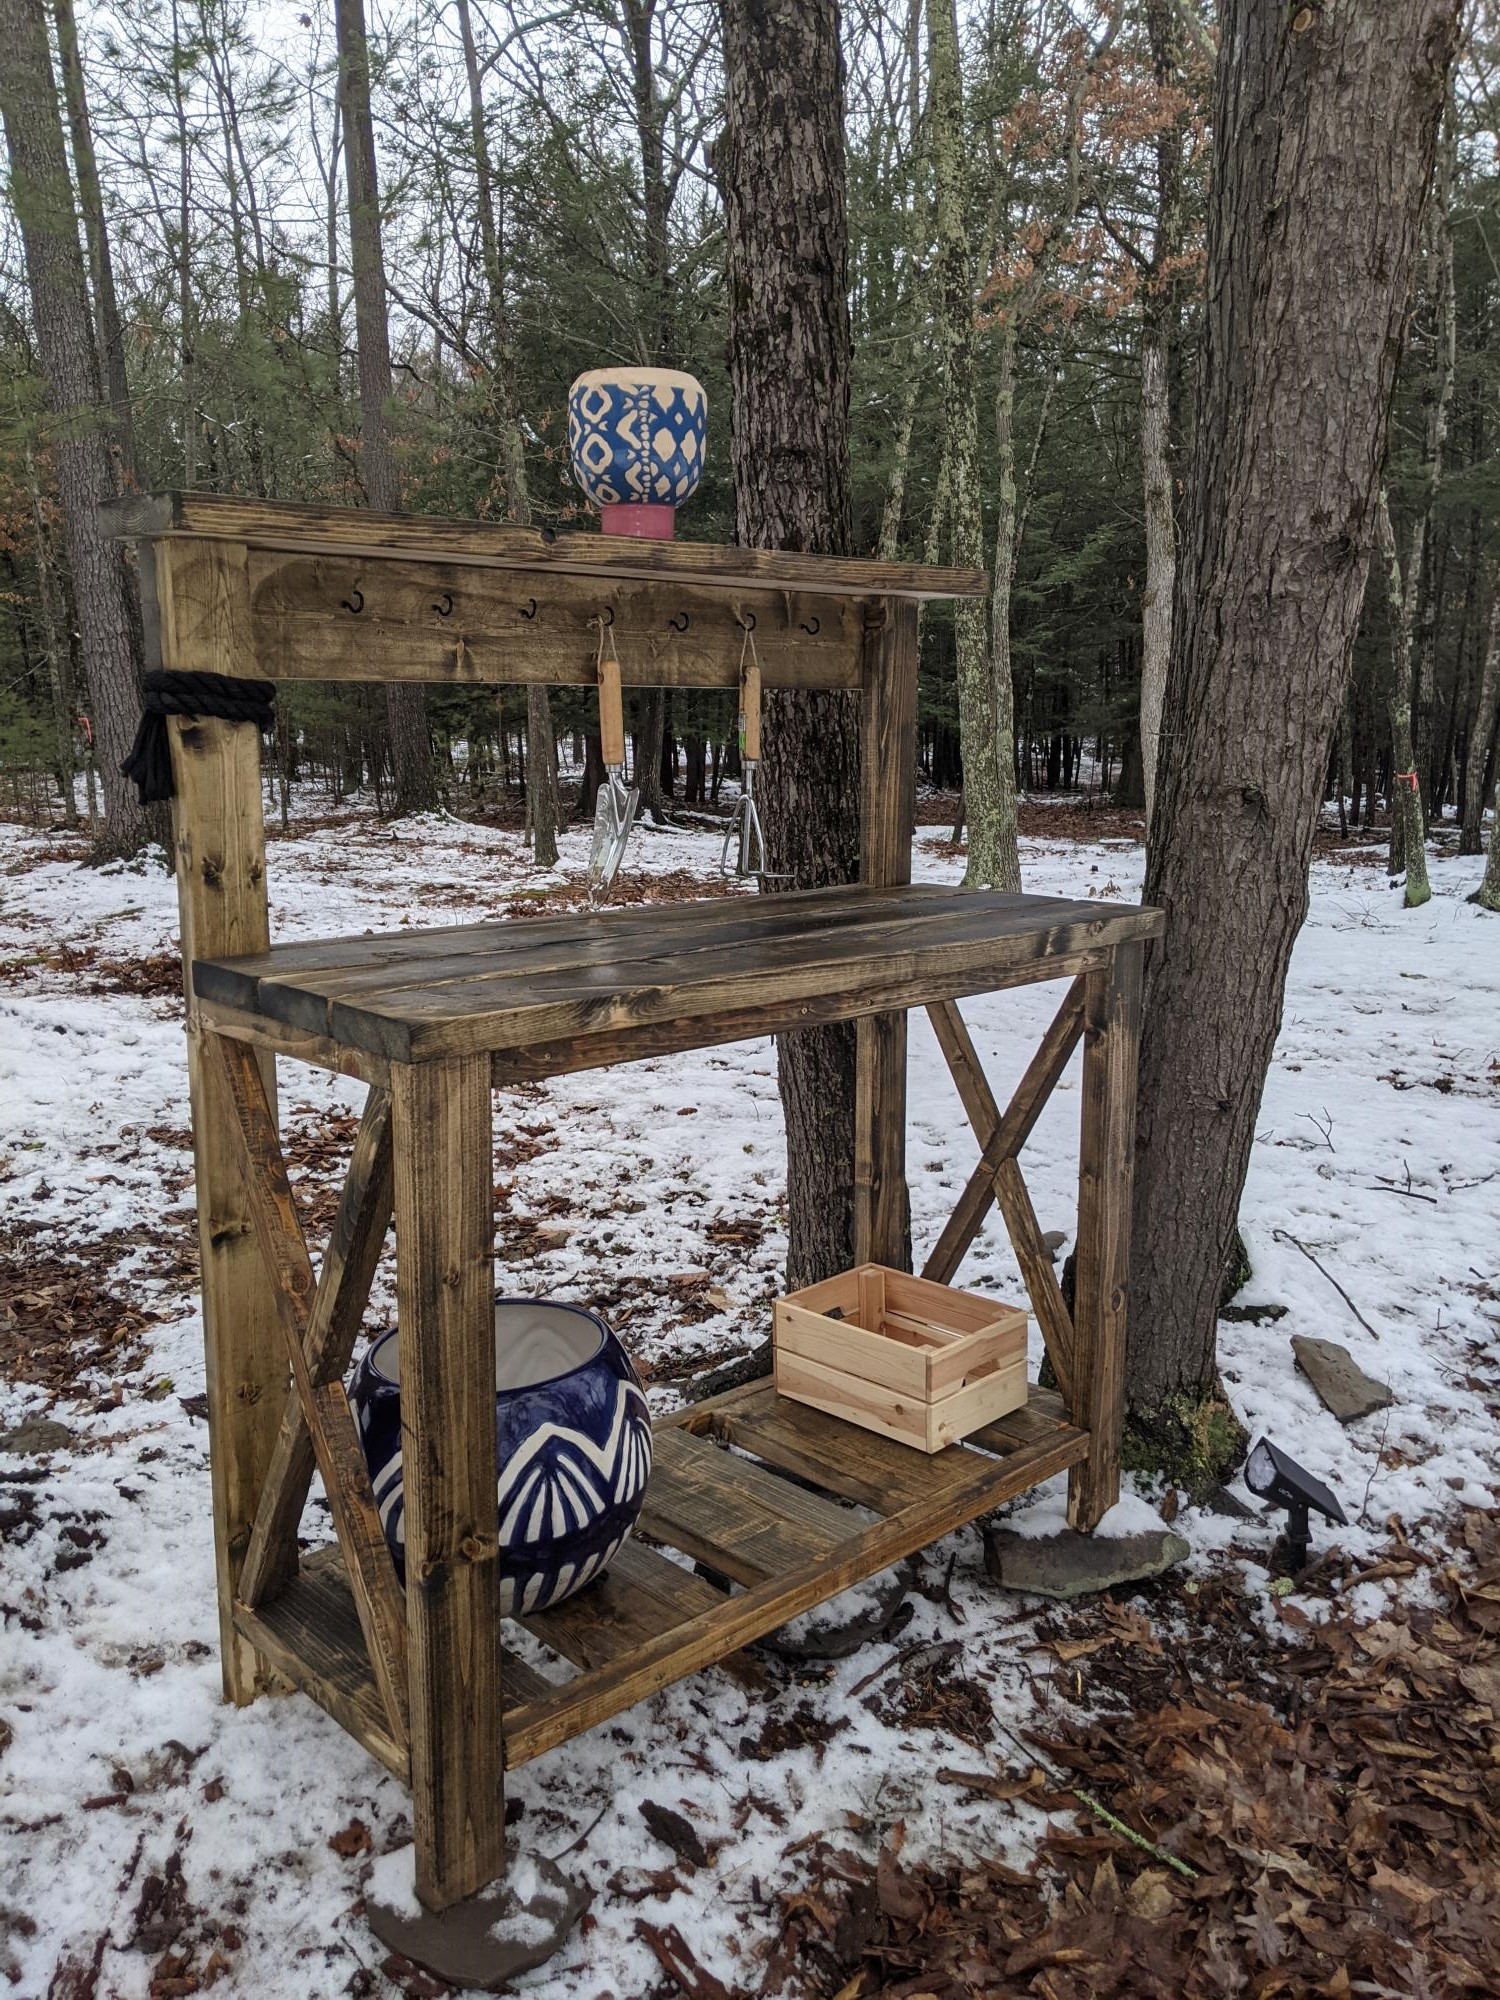
Potting table, was easy to build, very strong and stable because of the size of the wood used. It's a big table -- an entire dog fits inside :)
Built from Plan(s)
Estimated Cost
150.00
Estimated Time Investment
Afternoon Project (3-6 Hours)
Finish Used
Ready Seal, Burnt Hickory
Recommended Skill Level
Beginner
Comments
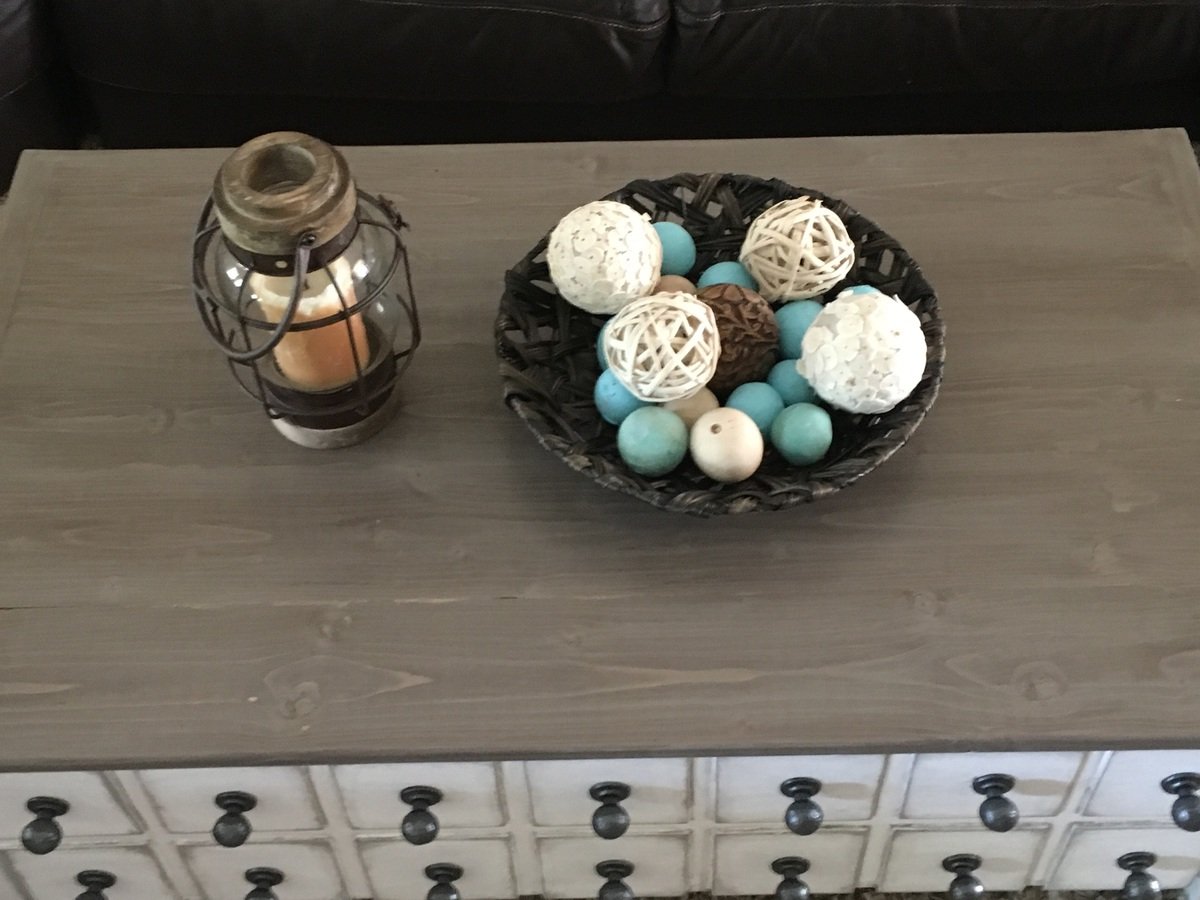
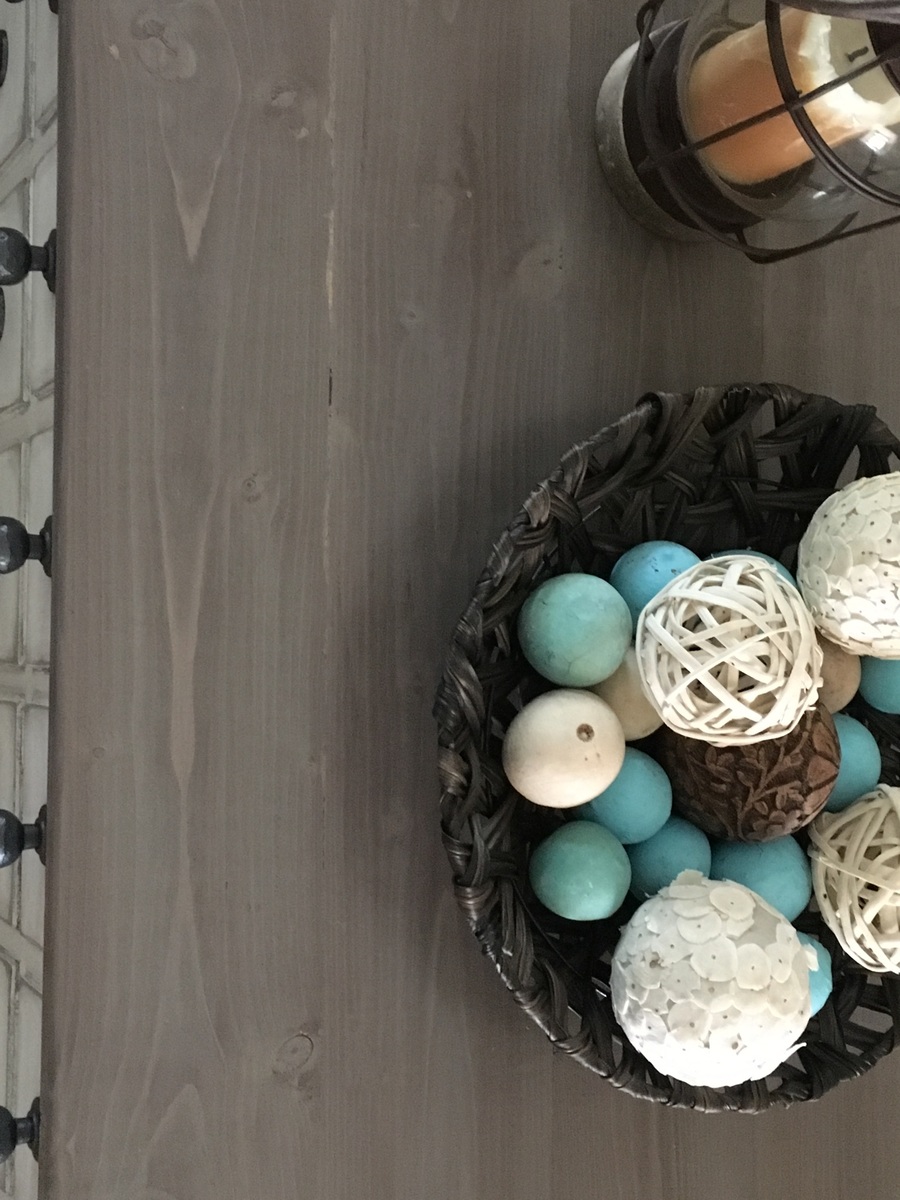
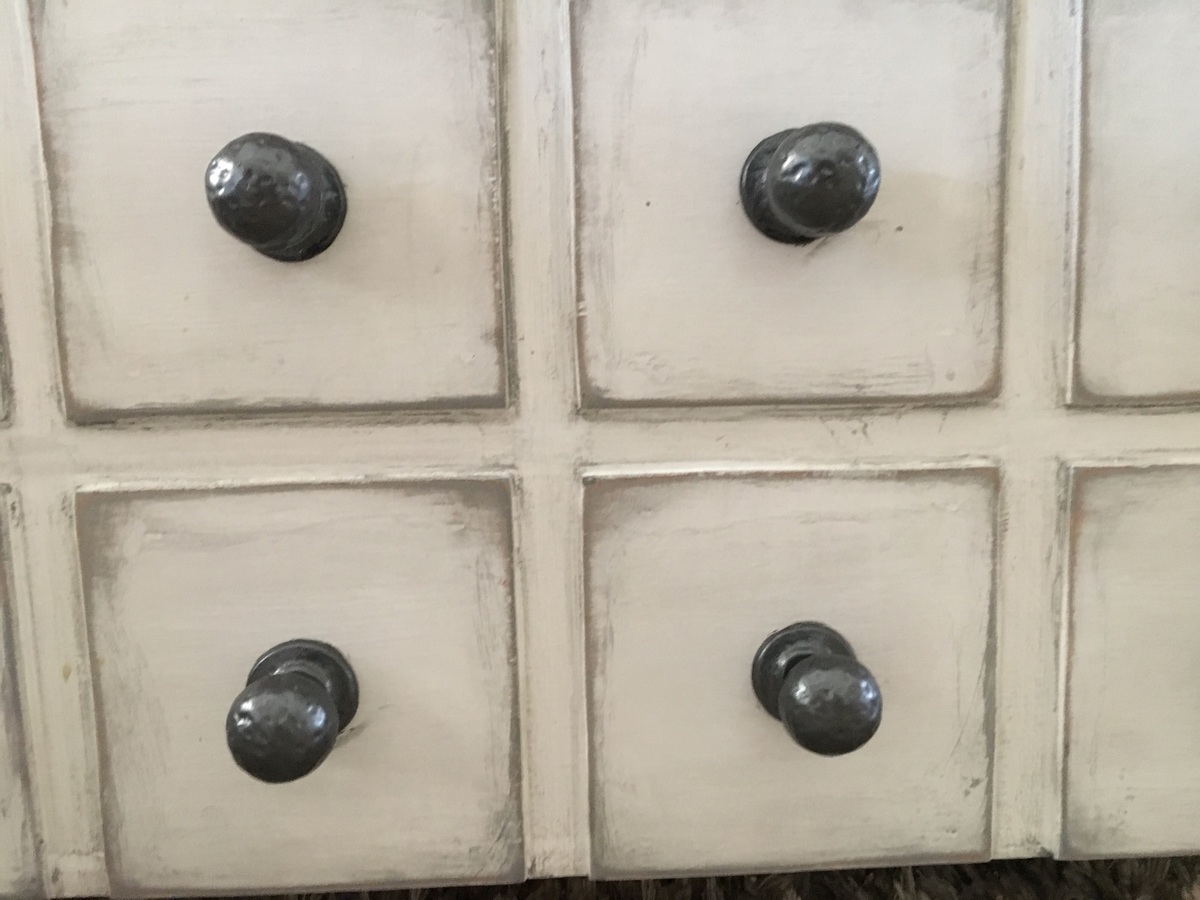
Customized console
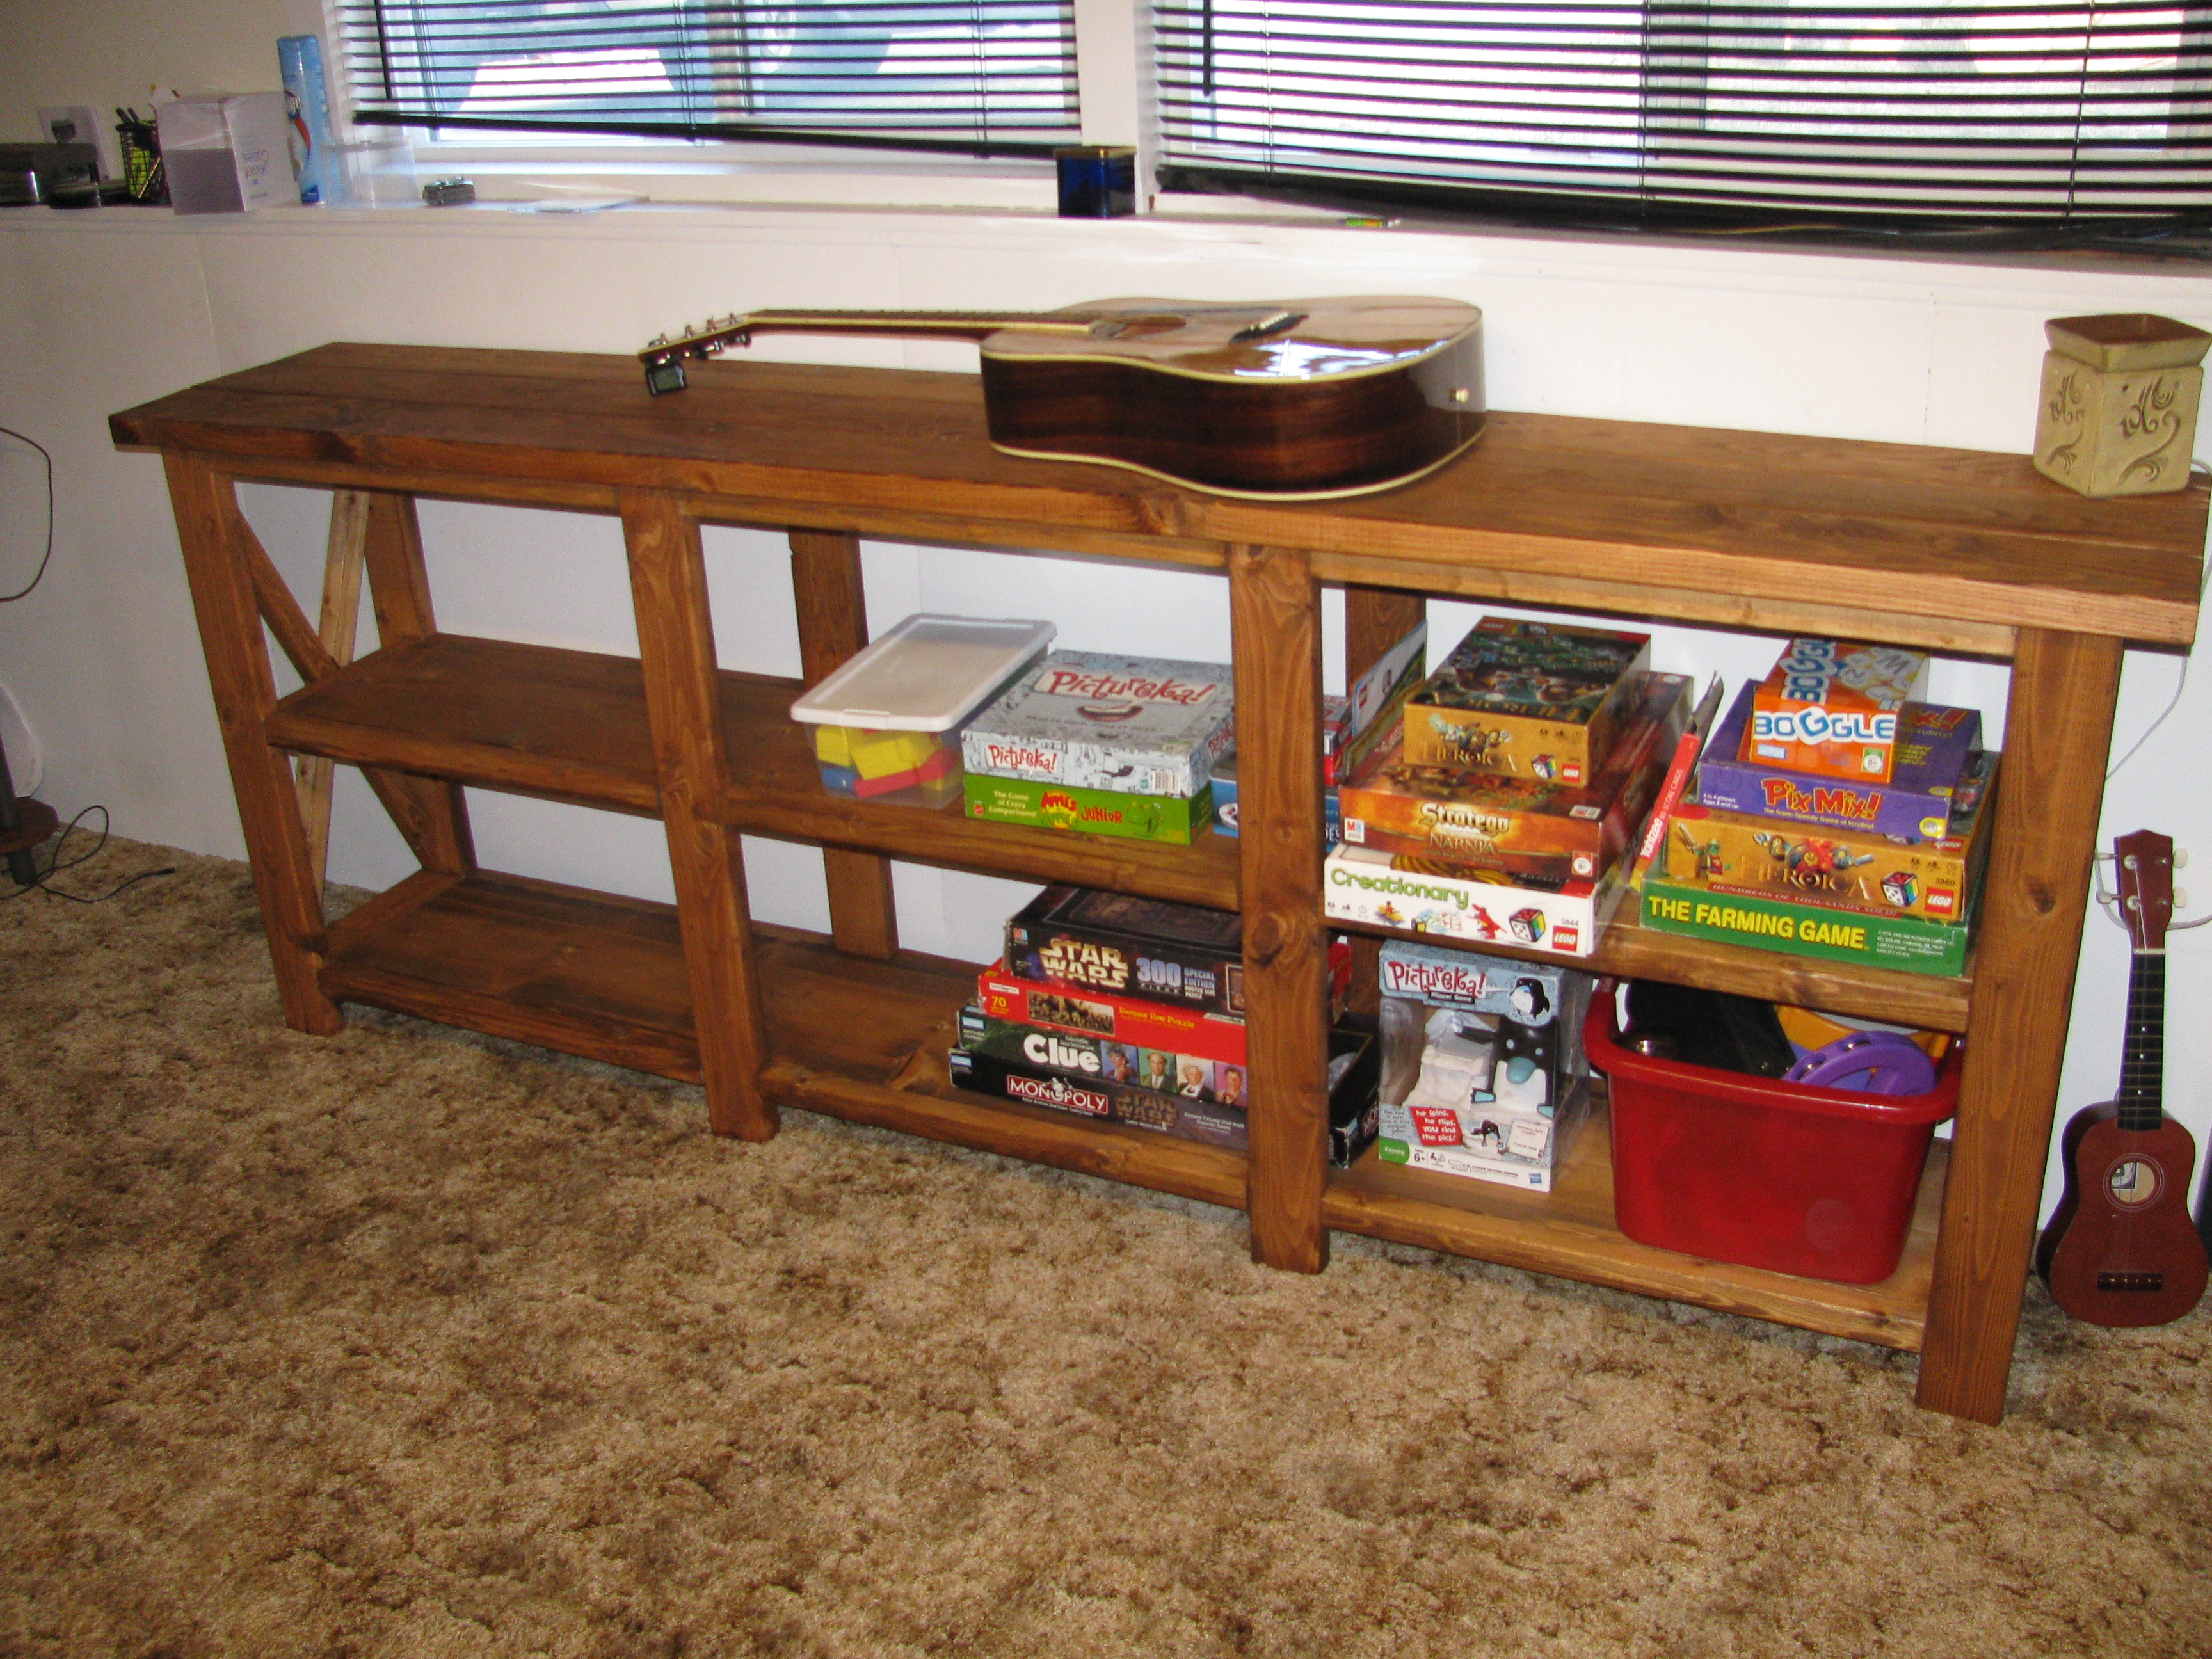
Modifed the Rustic X console to fit the width of den area's windows. Wife wanted storage, I needed a project.
Estimated Cost
$55
Estimated Time Investment
Day Project (6-9 Hours)
Finish Used
Minwax Early American 230 stain. Just brush on, wipe off after 15 minutes, and let dry.
Recommended Skill Level
Beginner
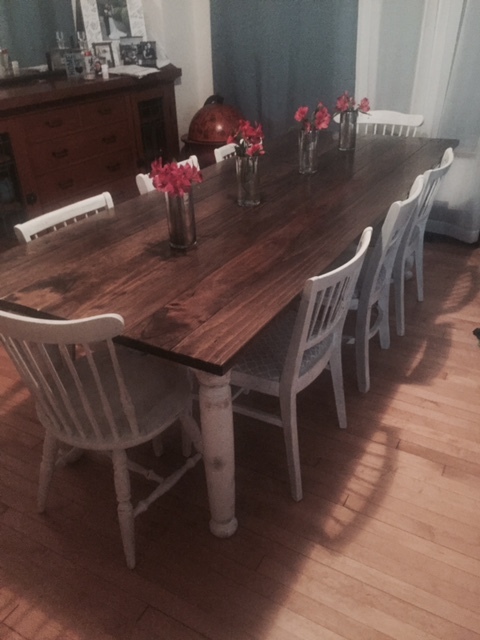
Triple Pedestal Farmhouse Table
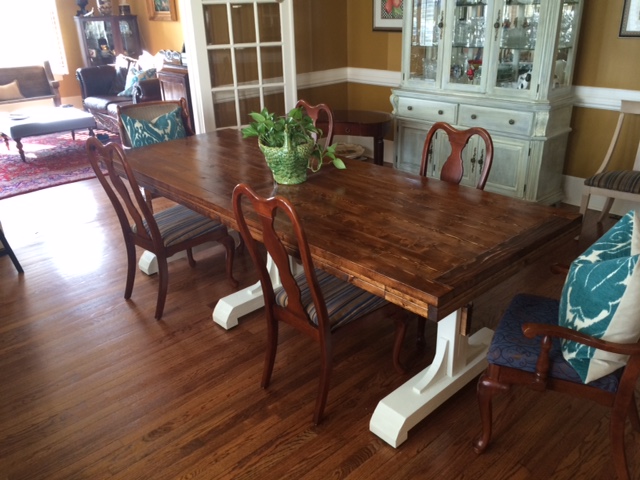
Table was really fun and difficult to complete. It took me about 30 hours to complete. However, it is a real hit in the neighborhood. I used pine and some of the material was really soft and difficult to sand/finish. Decided to paint the pedestals chalk white (wife's inspiration), which was a really good choice. Fitting the center sections of table top to frame was most difficult aspect of project. Thanks Ana for the inspiration!
Johnny Wilson
Shelbyville, TN
Estimated Cost
Estimated cost about $300 for materials; wood, stain, paint, poly, etc.
Estimated Time Investment
Week Long Project (20 Hours or More)
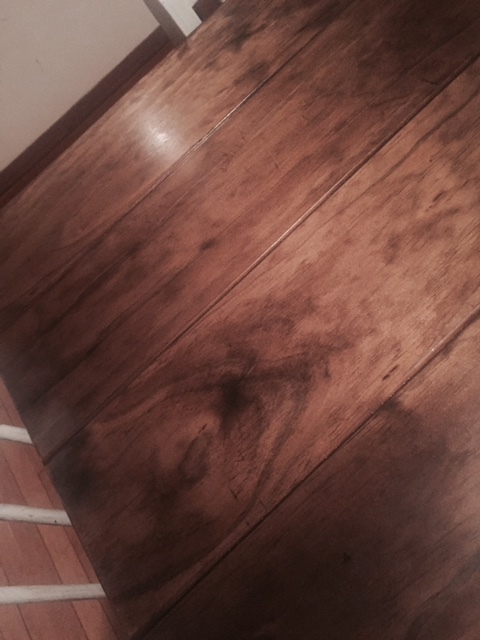
Finish Used
Table Top; Minwax Early American Stain + Minwax Polyurethane
key: Use t-Shirt to wipe down stain after applying with brush!
Legs: Chalk Paint (mixed at Lowes)
key: Use t-Shirt to wipe down stain after applying with brush!
Legs: Chalk Paint (mixed at Lowes)
Recommended Skill Level
Intermediate
Rustic Bench
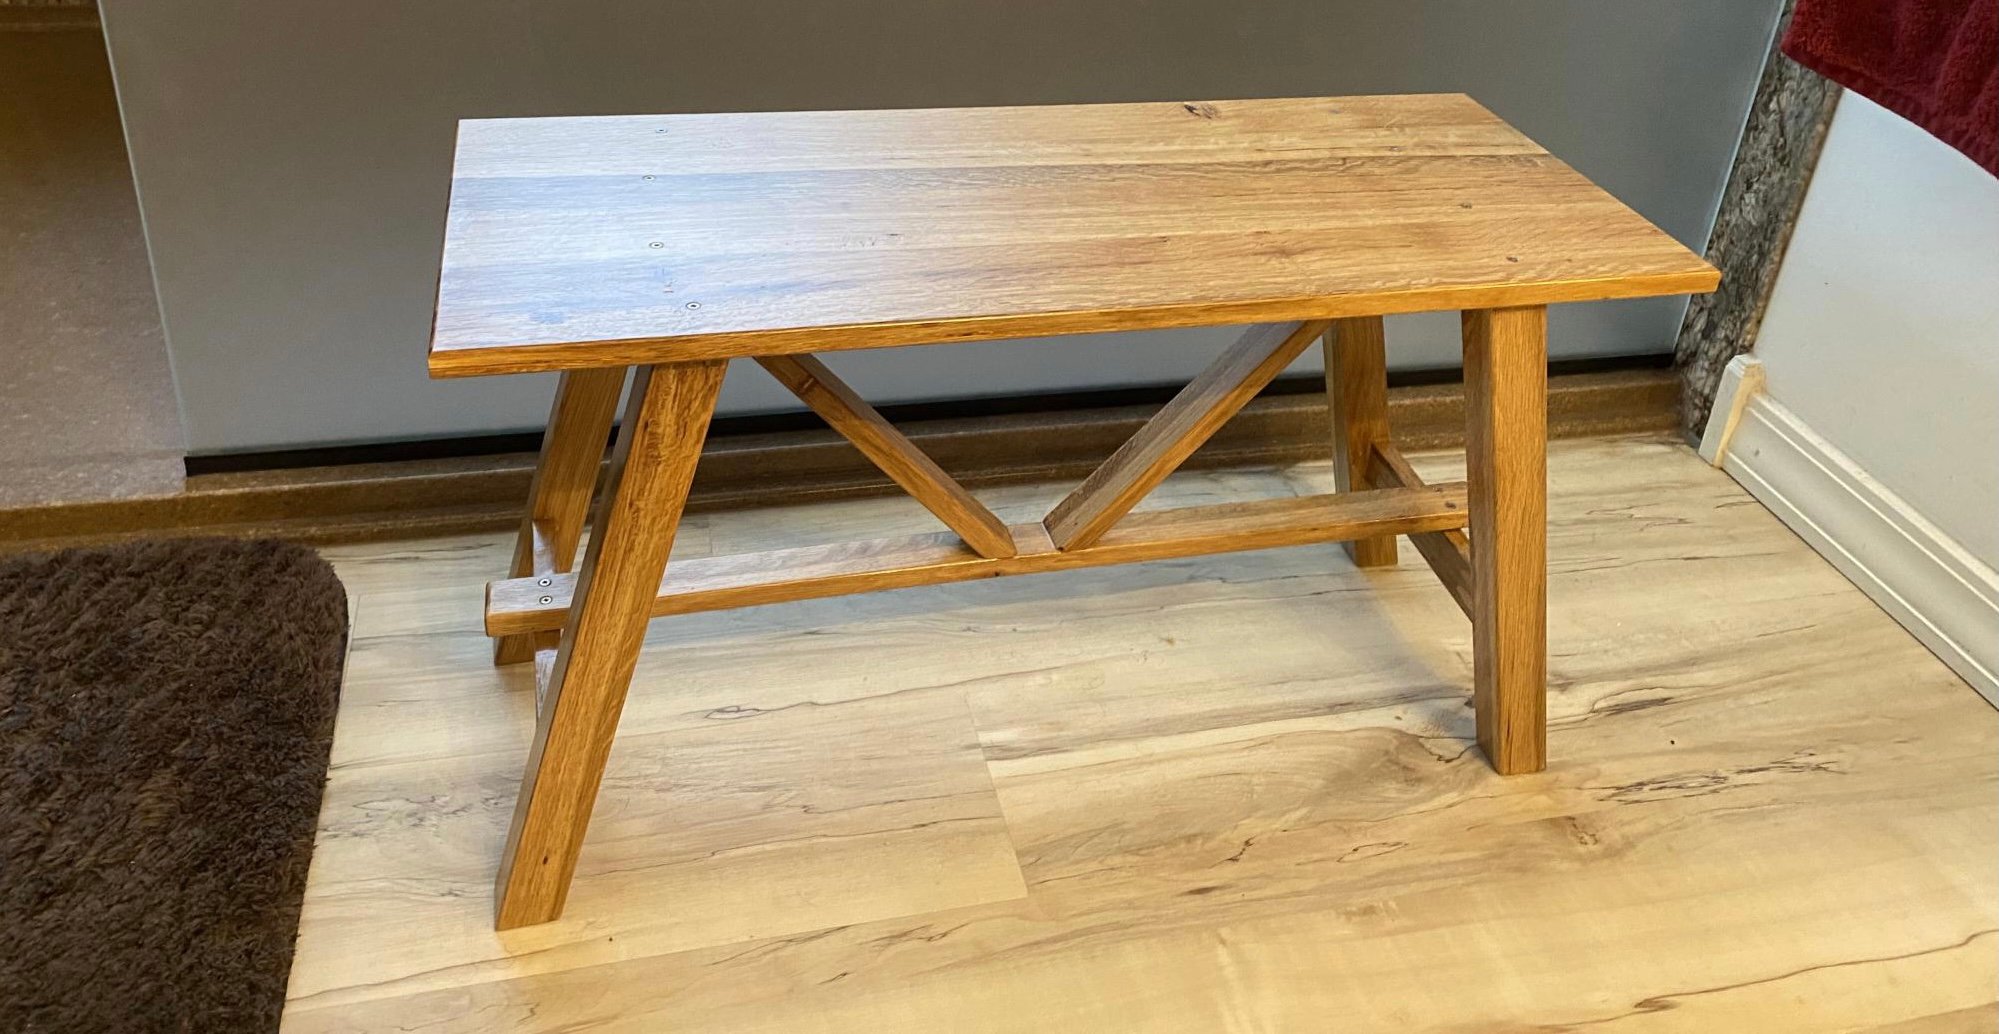
This rustic bench is perfect for our remodeled bathroom. It is made from post oak lumber harvested from my property and milled myself using a friend’s sawmill. No stain, just polyurethane.
Built from Plan(s)
Estimated Cost
$10
Estimated Time Investment
Day Project (6-9 Hours)
Finish Used
Polyurethane
Recommended Skill Level
Intermediate
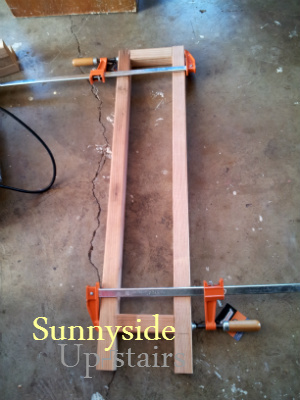
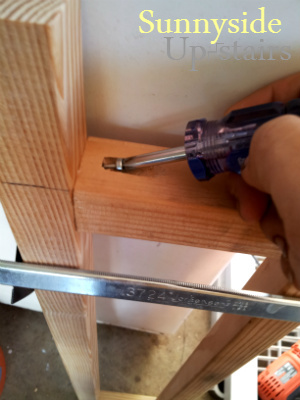
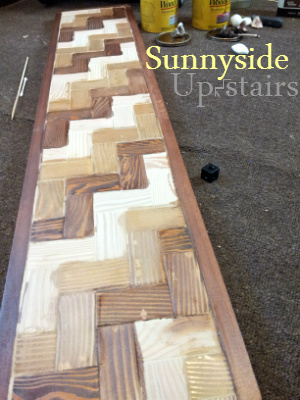
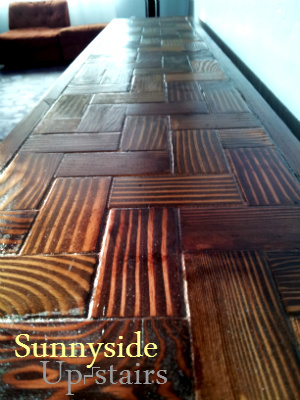
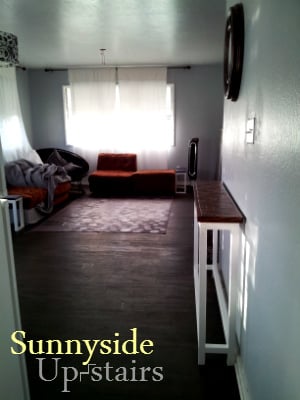
Herringbone Top Console Table
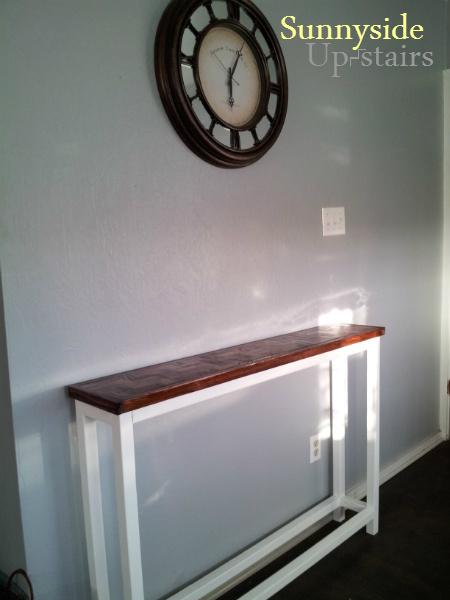
I was looking for a "super easy console table" and once I was ready to build it, I mustered the confidence to try a more complex table top design. Using pocket hole joinery, 2"x2" legs and supports, scrap 1"x2" "blocks" for the herringbone pattern, scrap 1/2" 8"x4' plywood, 3/4"x1/2" pieces to frame the top, and much wood glue, I built this 8.5" narrow console table for under $30. The plan shared on this site was one of the inspiration pieces that helped me believe I could do this too!
Estimated Cost
$28.10
Estimated Time Investment
Weekend Project (10-20 Hours)
Finish Used
Minwax Golden Oak and Red Oak. Watco Danish Oil in Black Walnut. Olympic Semi-Gloss white (off the shelf).
Recommended Skill Level
Beginner
Comments


Wed, 02/27/2013 - 19:06
Really beautiful!
I'm going to have to copy you now, you know! What a fabulous idea, fabulously implemented!

In reply to Really beautiful! by romanweel
Fri, 03/01/2013 - 00:17
Practicing Patience
=D It was satisfying to make, although watching glue and wood filler dry made me feel like I was the most impatient person in the world. Thank you for your kindness!
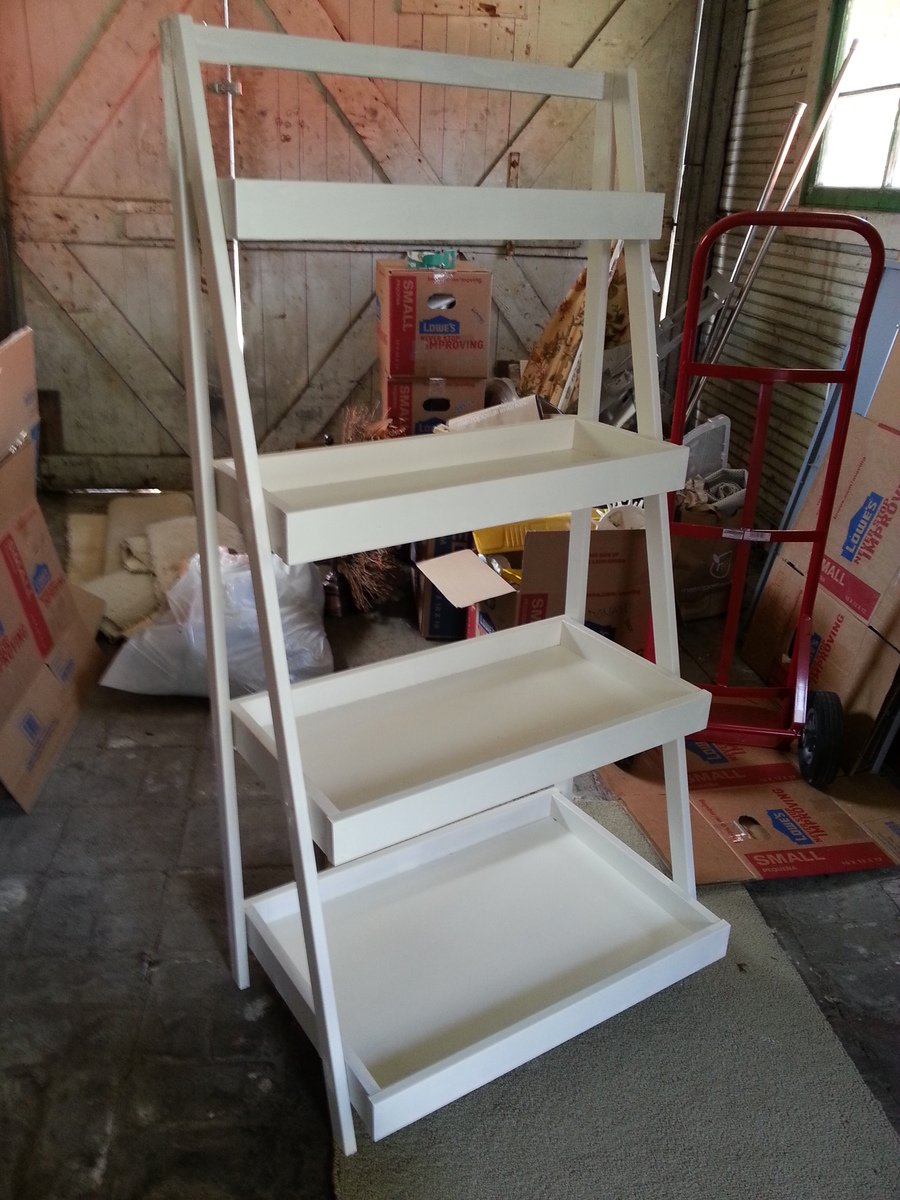
Ladder Shelf
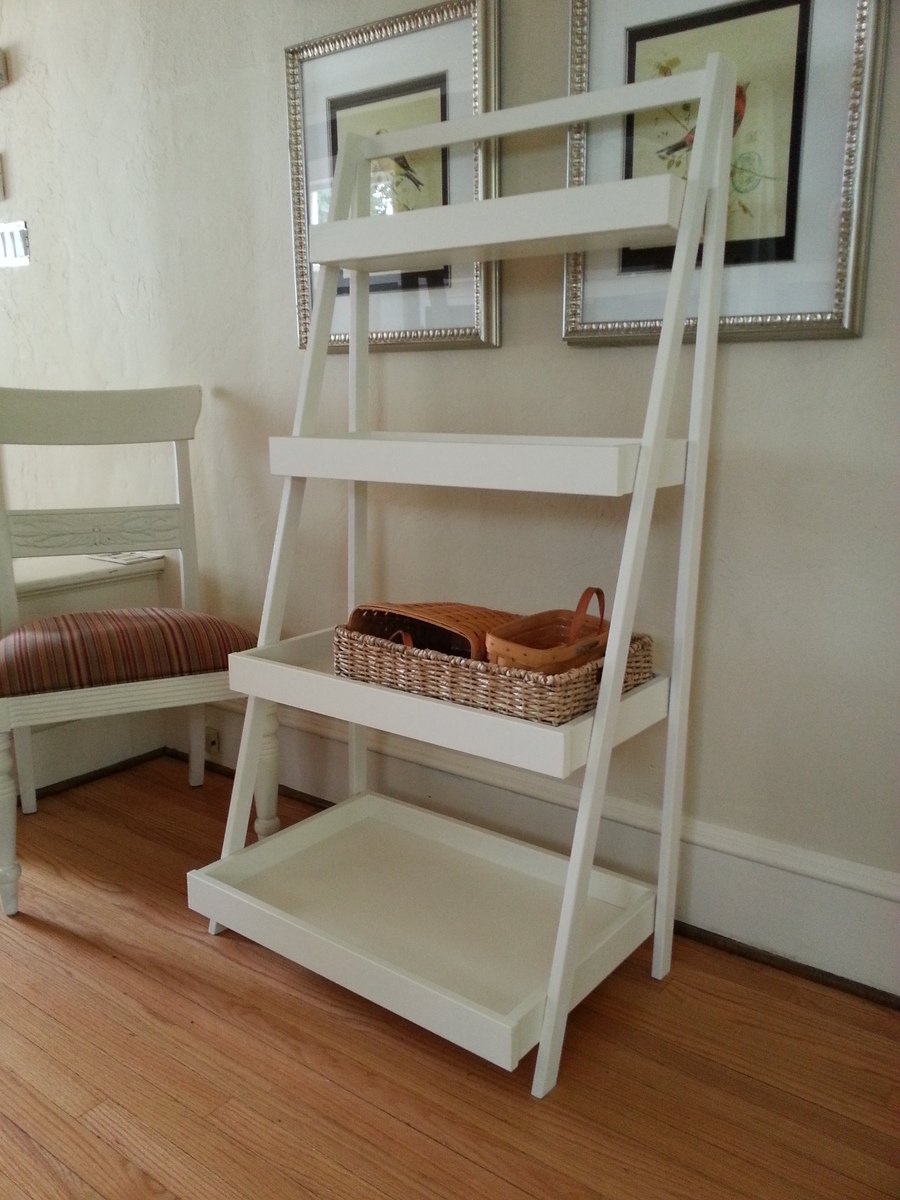
My master bath was in desparate need of storage, and as usual, it was Ana's site to the rescue. I built this Ladder Shelf exactly from Ana's 'Painter's Ladder Shelf' plans. I built and had it painted in about 2 days. Now I finally have a place to store towels. Thanks again, Ana!
Built from Plan(s)
Estimated Cost
$40
Estimated Time Investment
Day Project (6-9 Hours)
Finish Used
1 coat of primer, then a light sanding, then two coats of Sherwin-Williams Dover White in semi-gloss
Recommended Skill Level
Intermediate
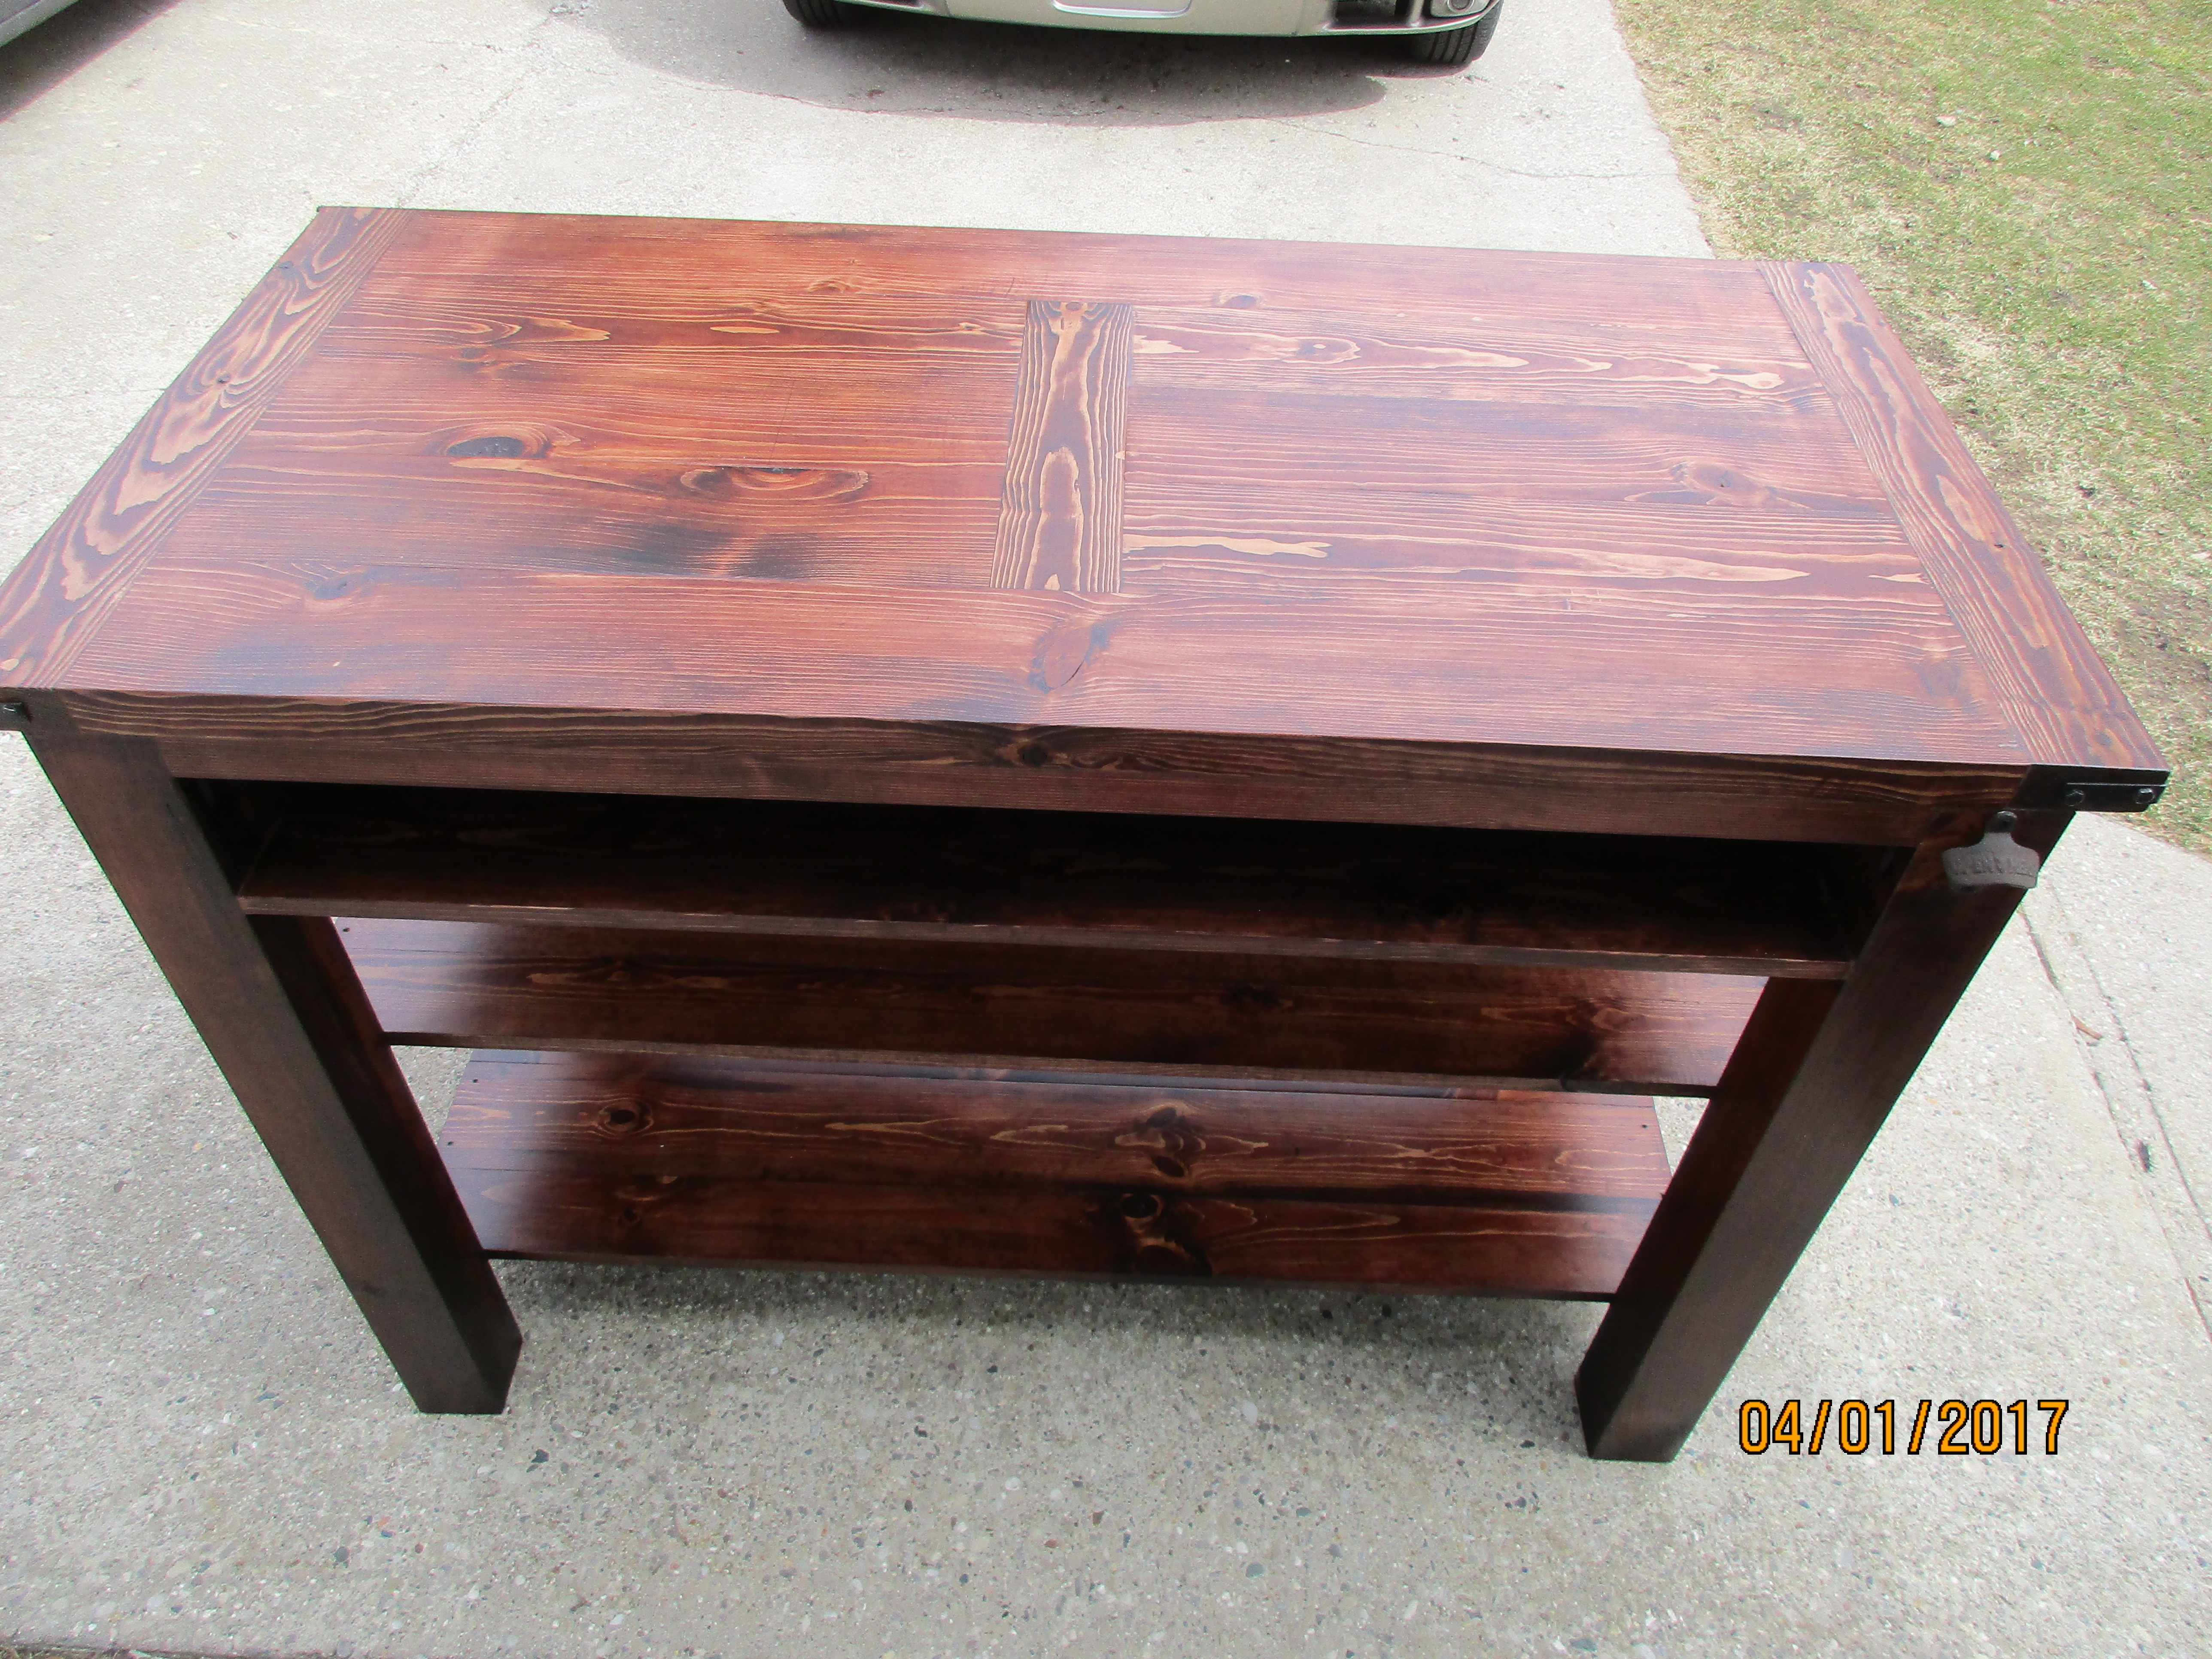
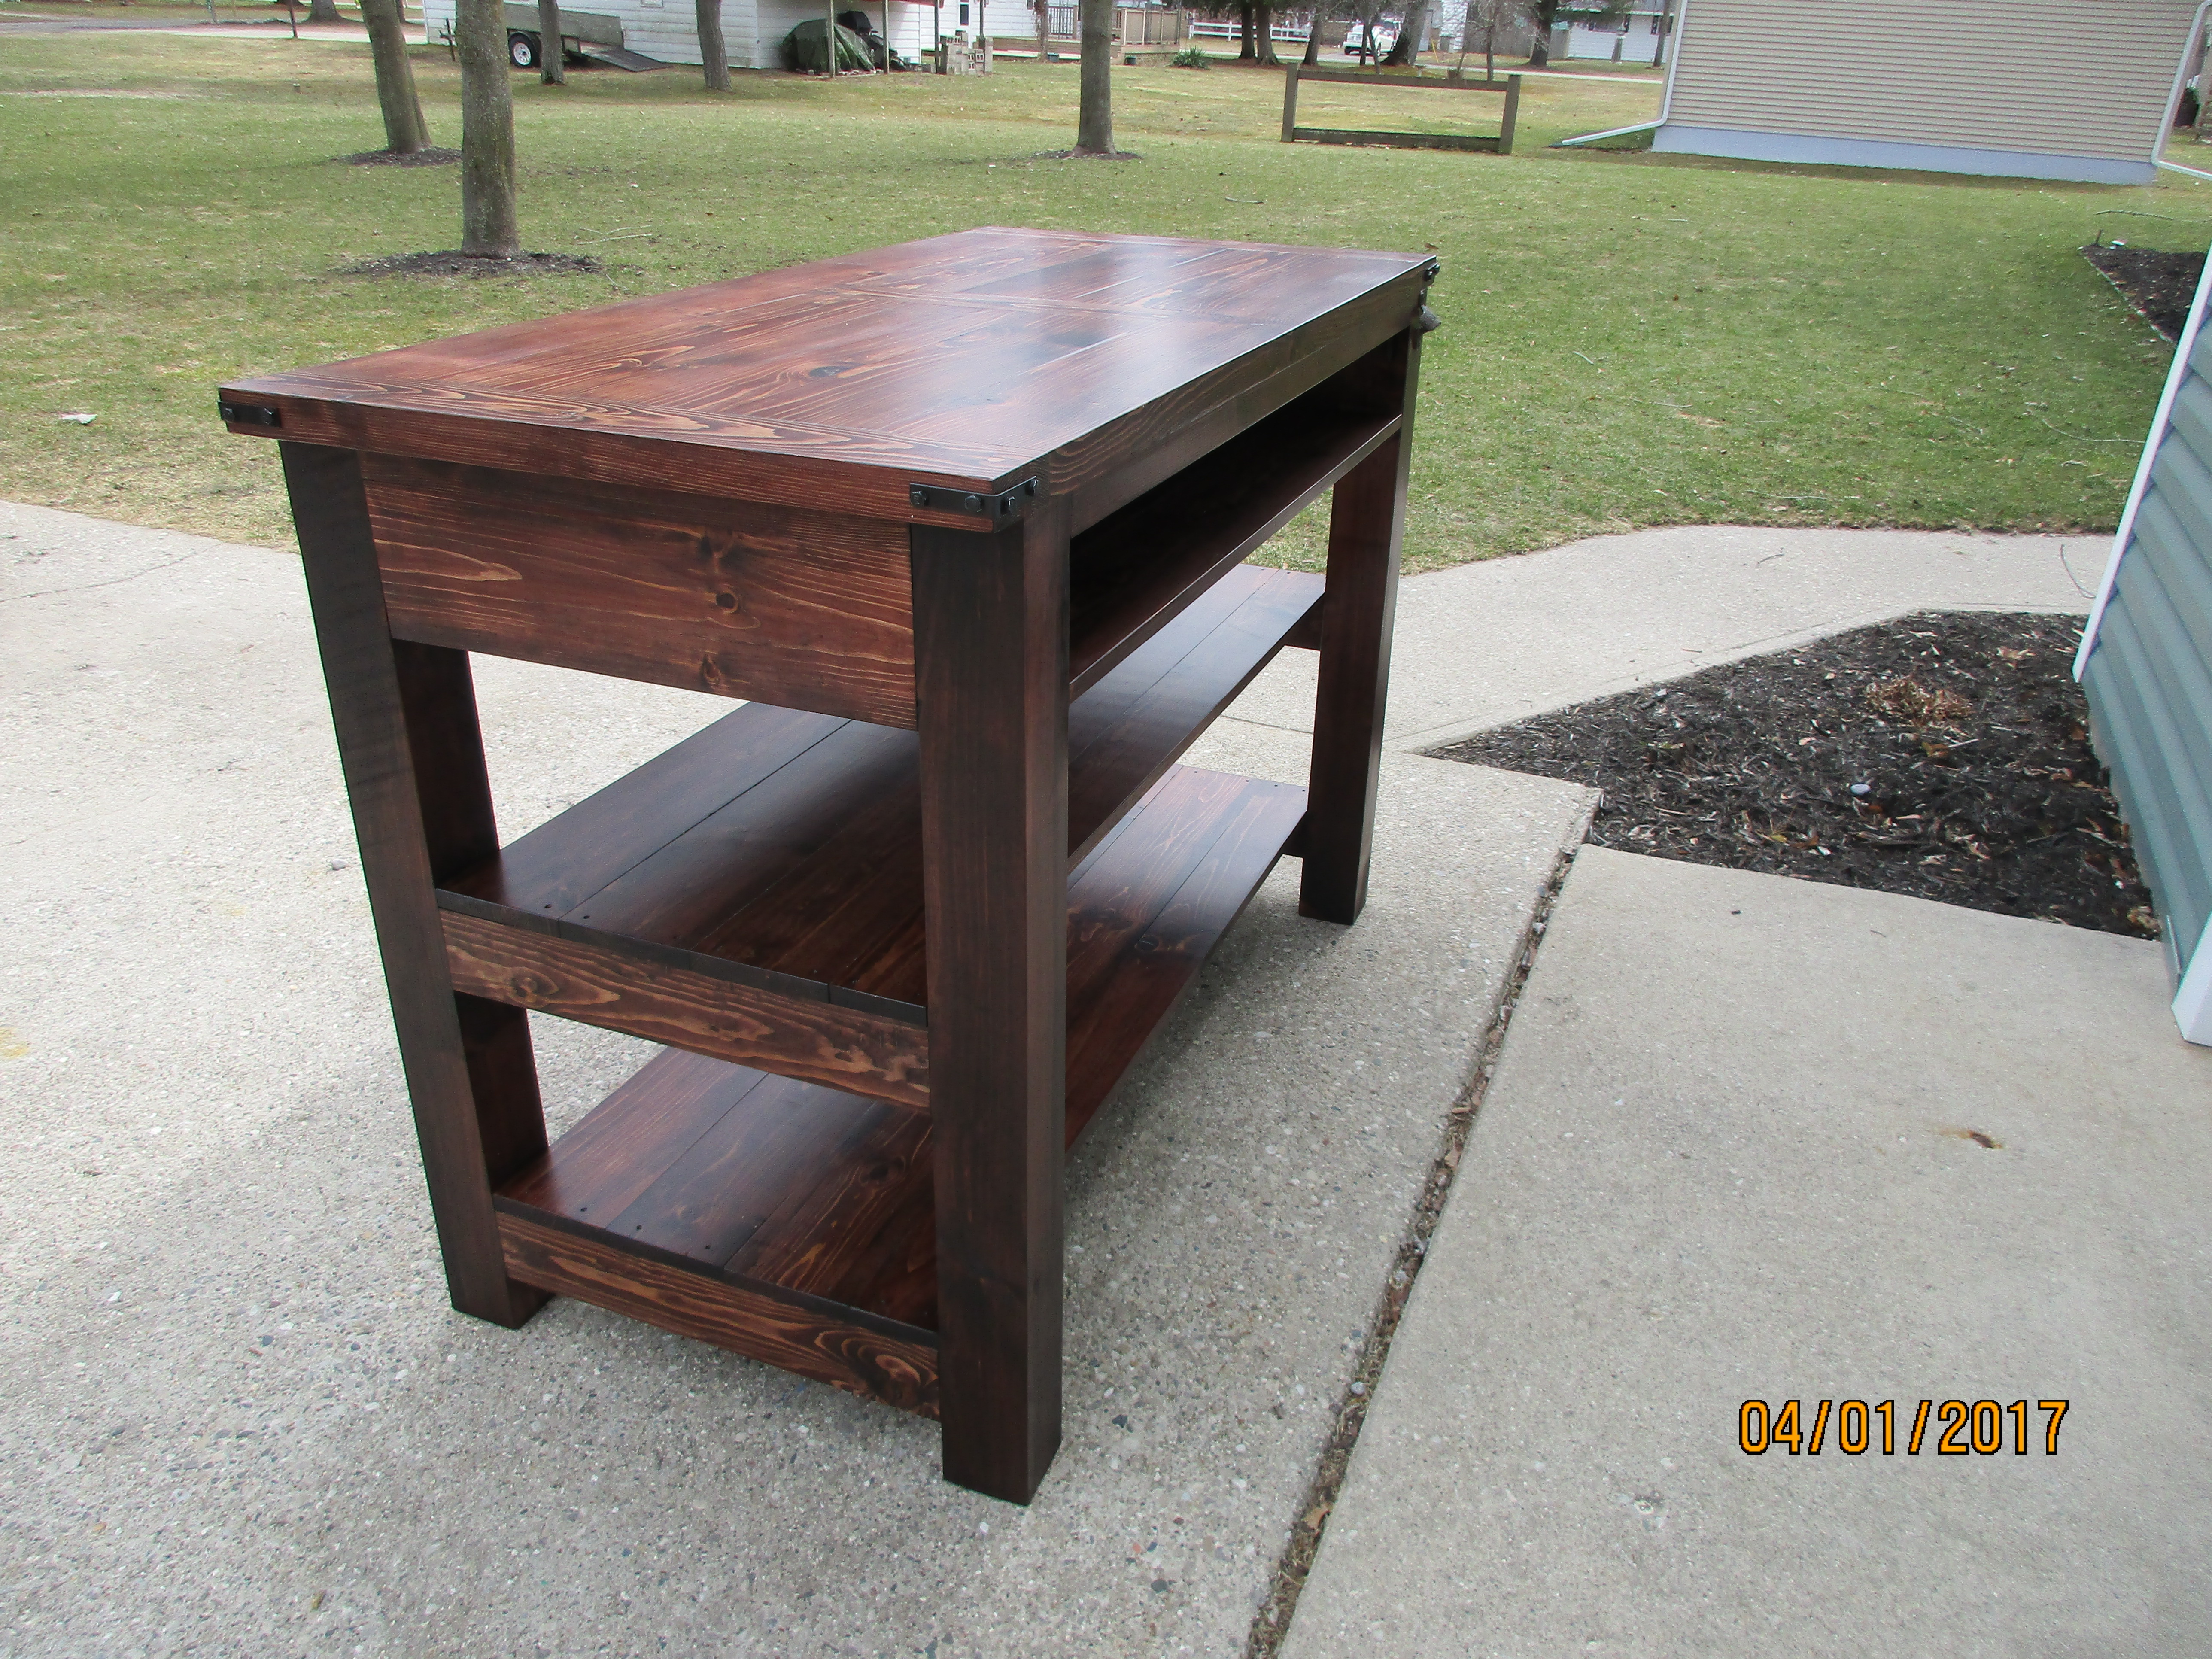
Rustic Island
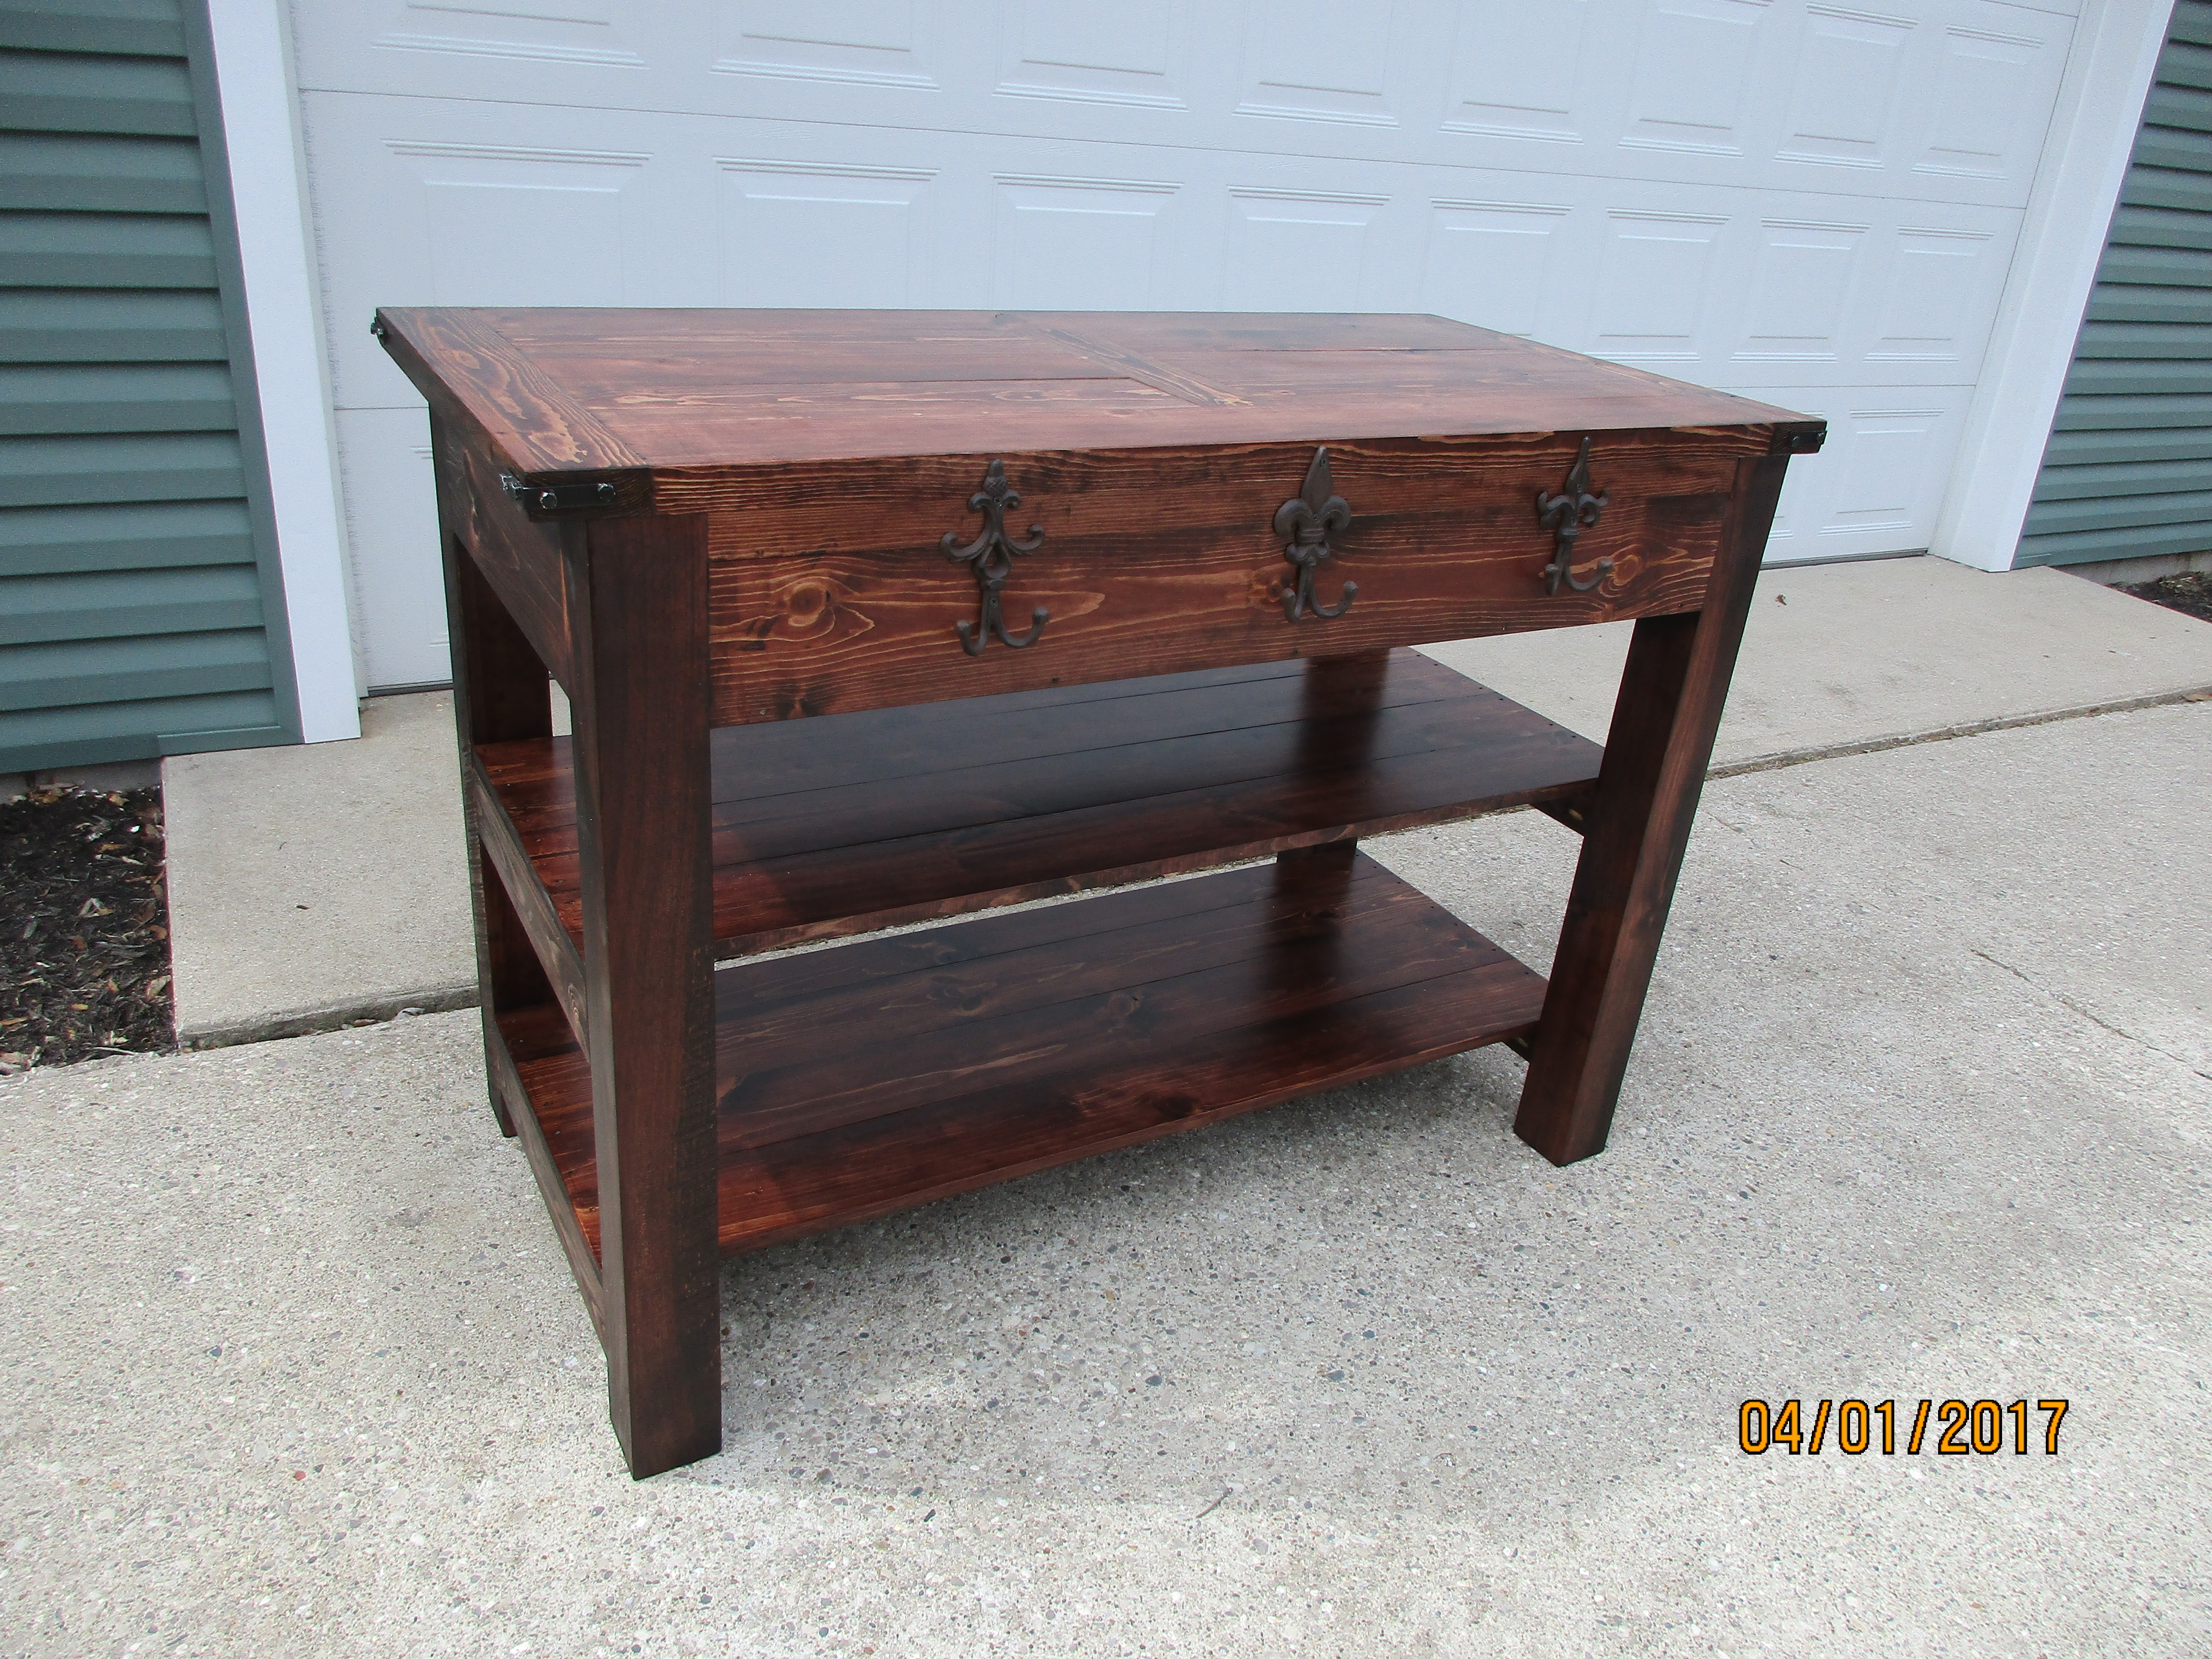
We altered the plans to match our kitchen island to our 10-seat farm table my husband made. The top design is a replica of our table. We then added some wrought iron hooks and iron bottle opener for detail as well as corner plates to match our dining table. We decided to leave out the drawers and add a little open cubby for storage instead. Will look great with our rustic, country theme in our house!
Built from Plan(s)
Estimated Cost
$250.00
Estimated Time Investment
Weekend Project (10-20 Hours)
Finish Used
Miniwax Red Mahogany stain, 2-3 coats of urethane, assorted hardware for details.
Recommended Skill Level
Intermediate
Kitchen Cabinets with Drawers
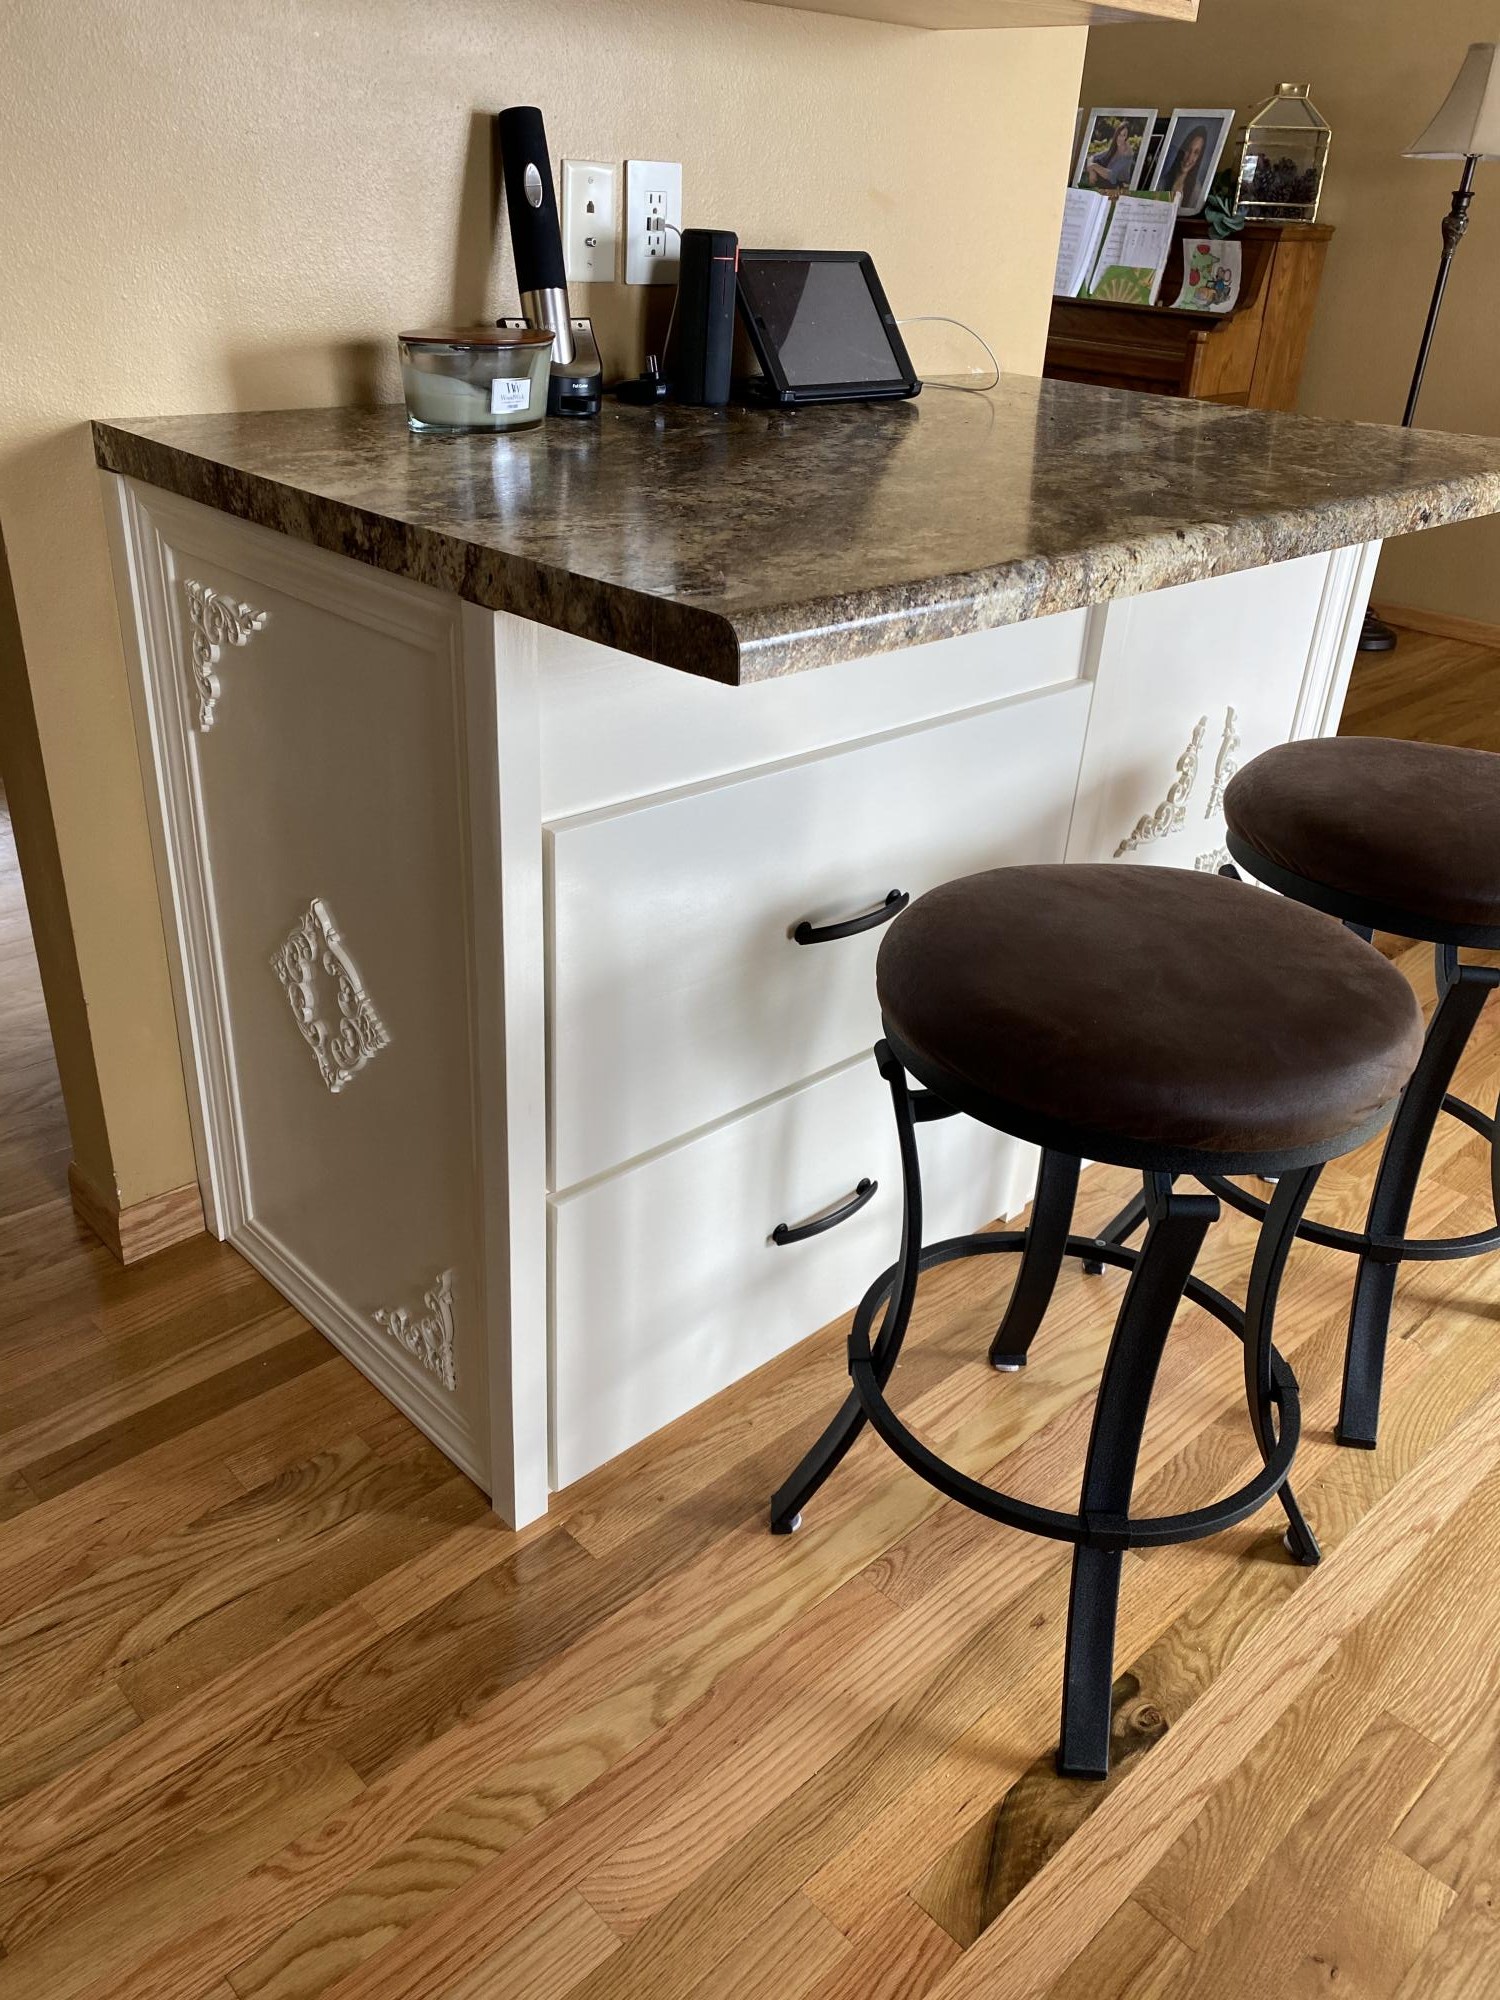
I made this kitchen cabinet to replace the one we had there. The one we had was originally a peninsula. We had a severe water leak and had to replace the wood floor. We decided to swing the peninsula against the wall under the wine rack I made and posted earlier. The peninsula cabinet had some pretty severe water damage and only had 1 drawer and cabinets. We didn’t like having to dig for things so I made all drawers and we love it. I made this from pine using some of the techniques I learned from Ana and have incorporated into my other projects. I used Kreg’s pocket hole jig for almost all the joinery and Kreg’s drawer slide jig for the drawer slides. I used Hickory ball bearing, soft close drawer slides. It is painted Rust-Oleum Heirloom White satin with a semi gloss poly.

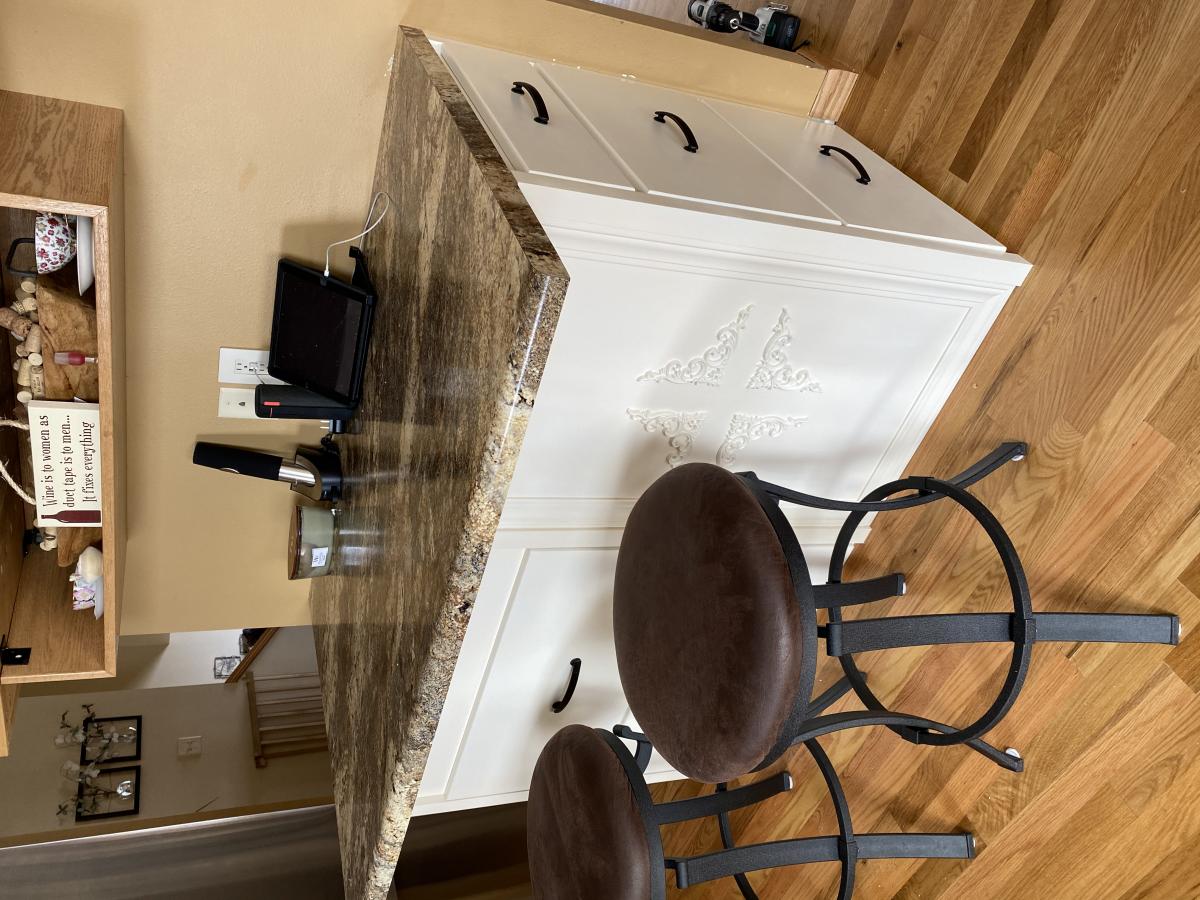
Estimated Cost
$600
Estimated Time Investment
Weekend Project (10-20 Hours)
Recommended Skill Level
Intermediate
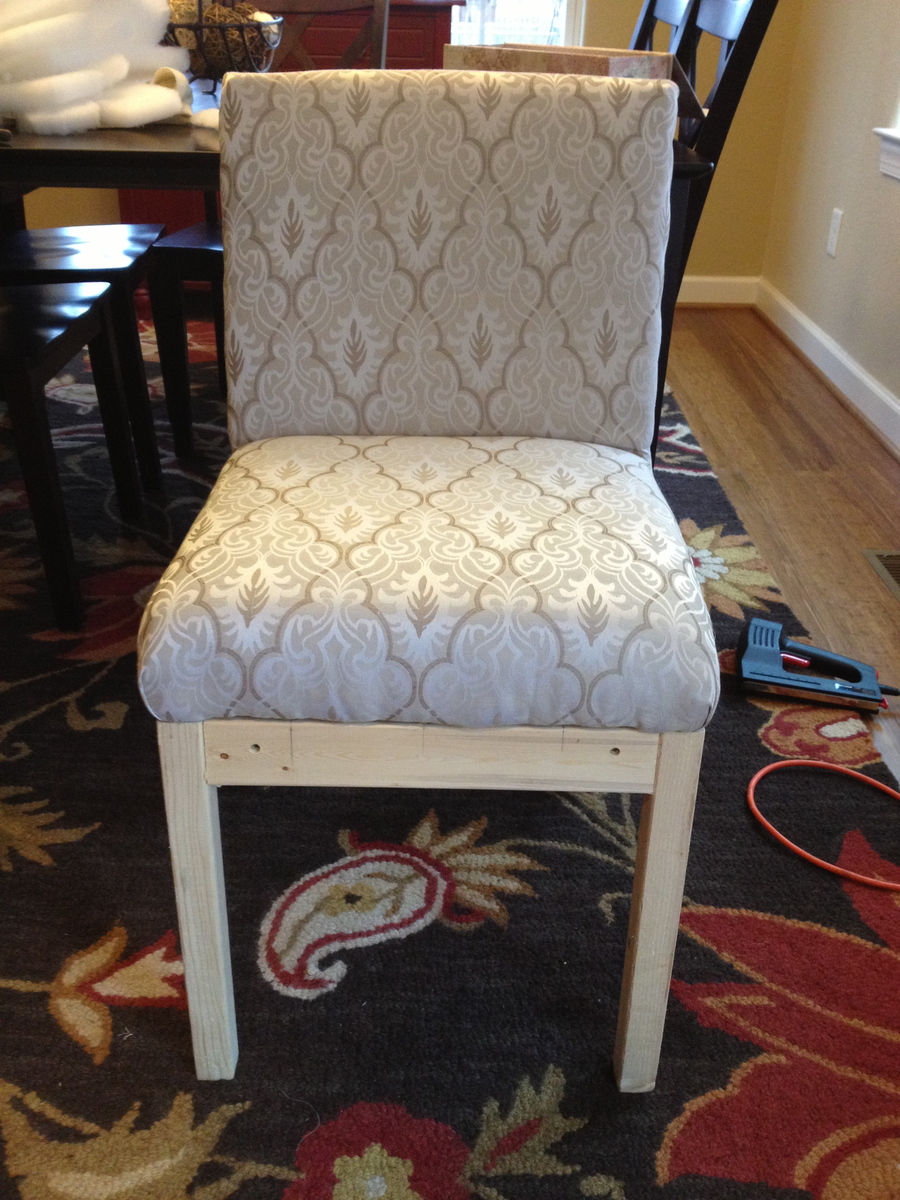
No sew Parson Chair!
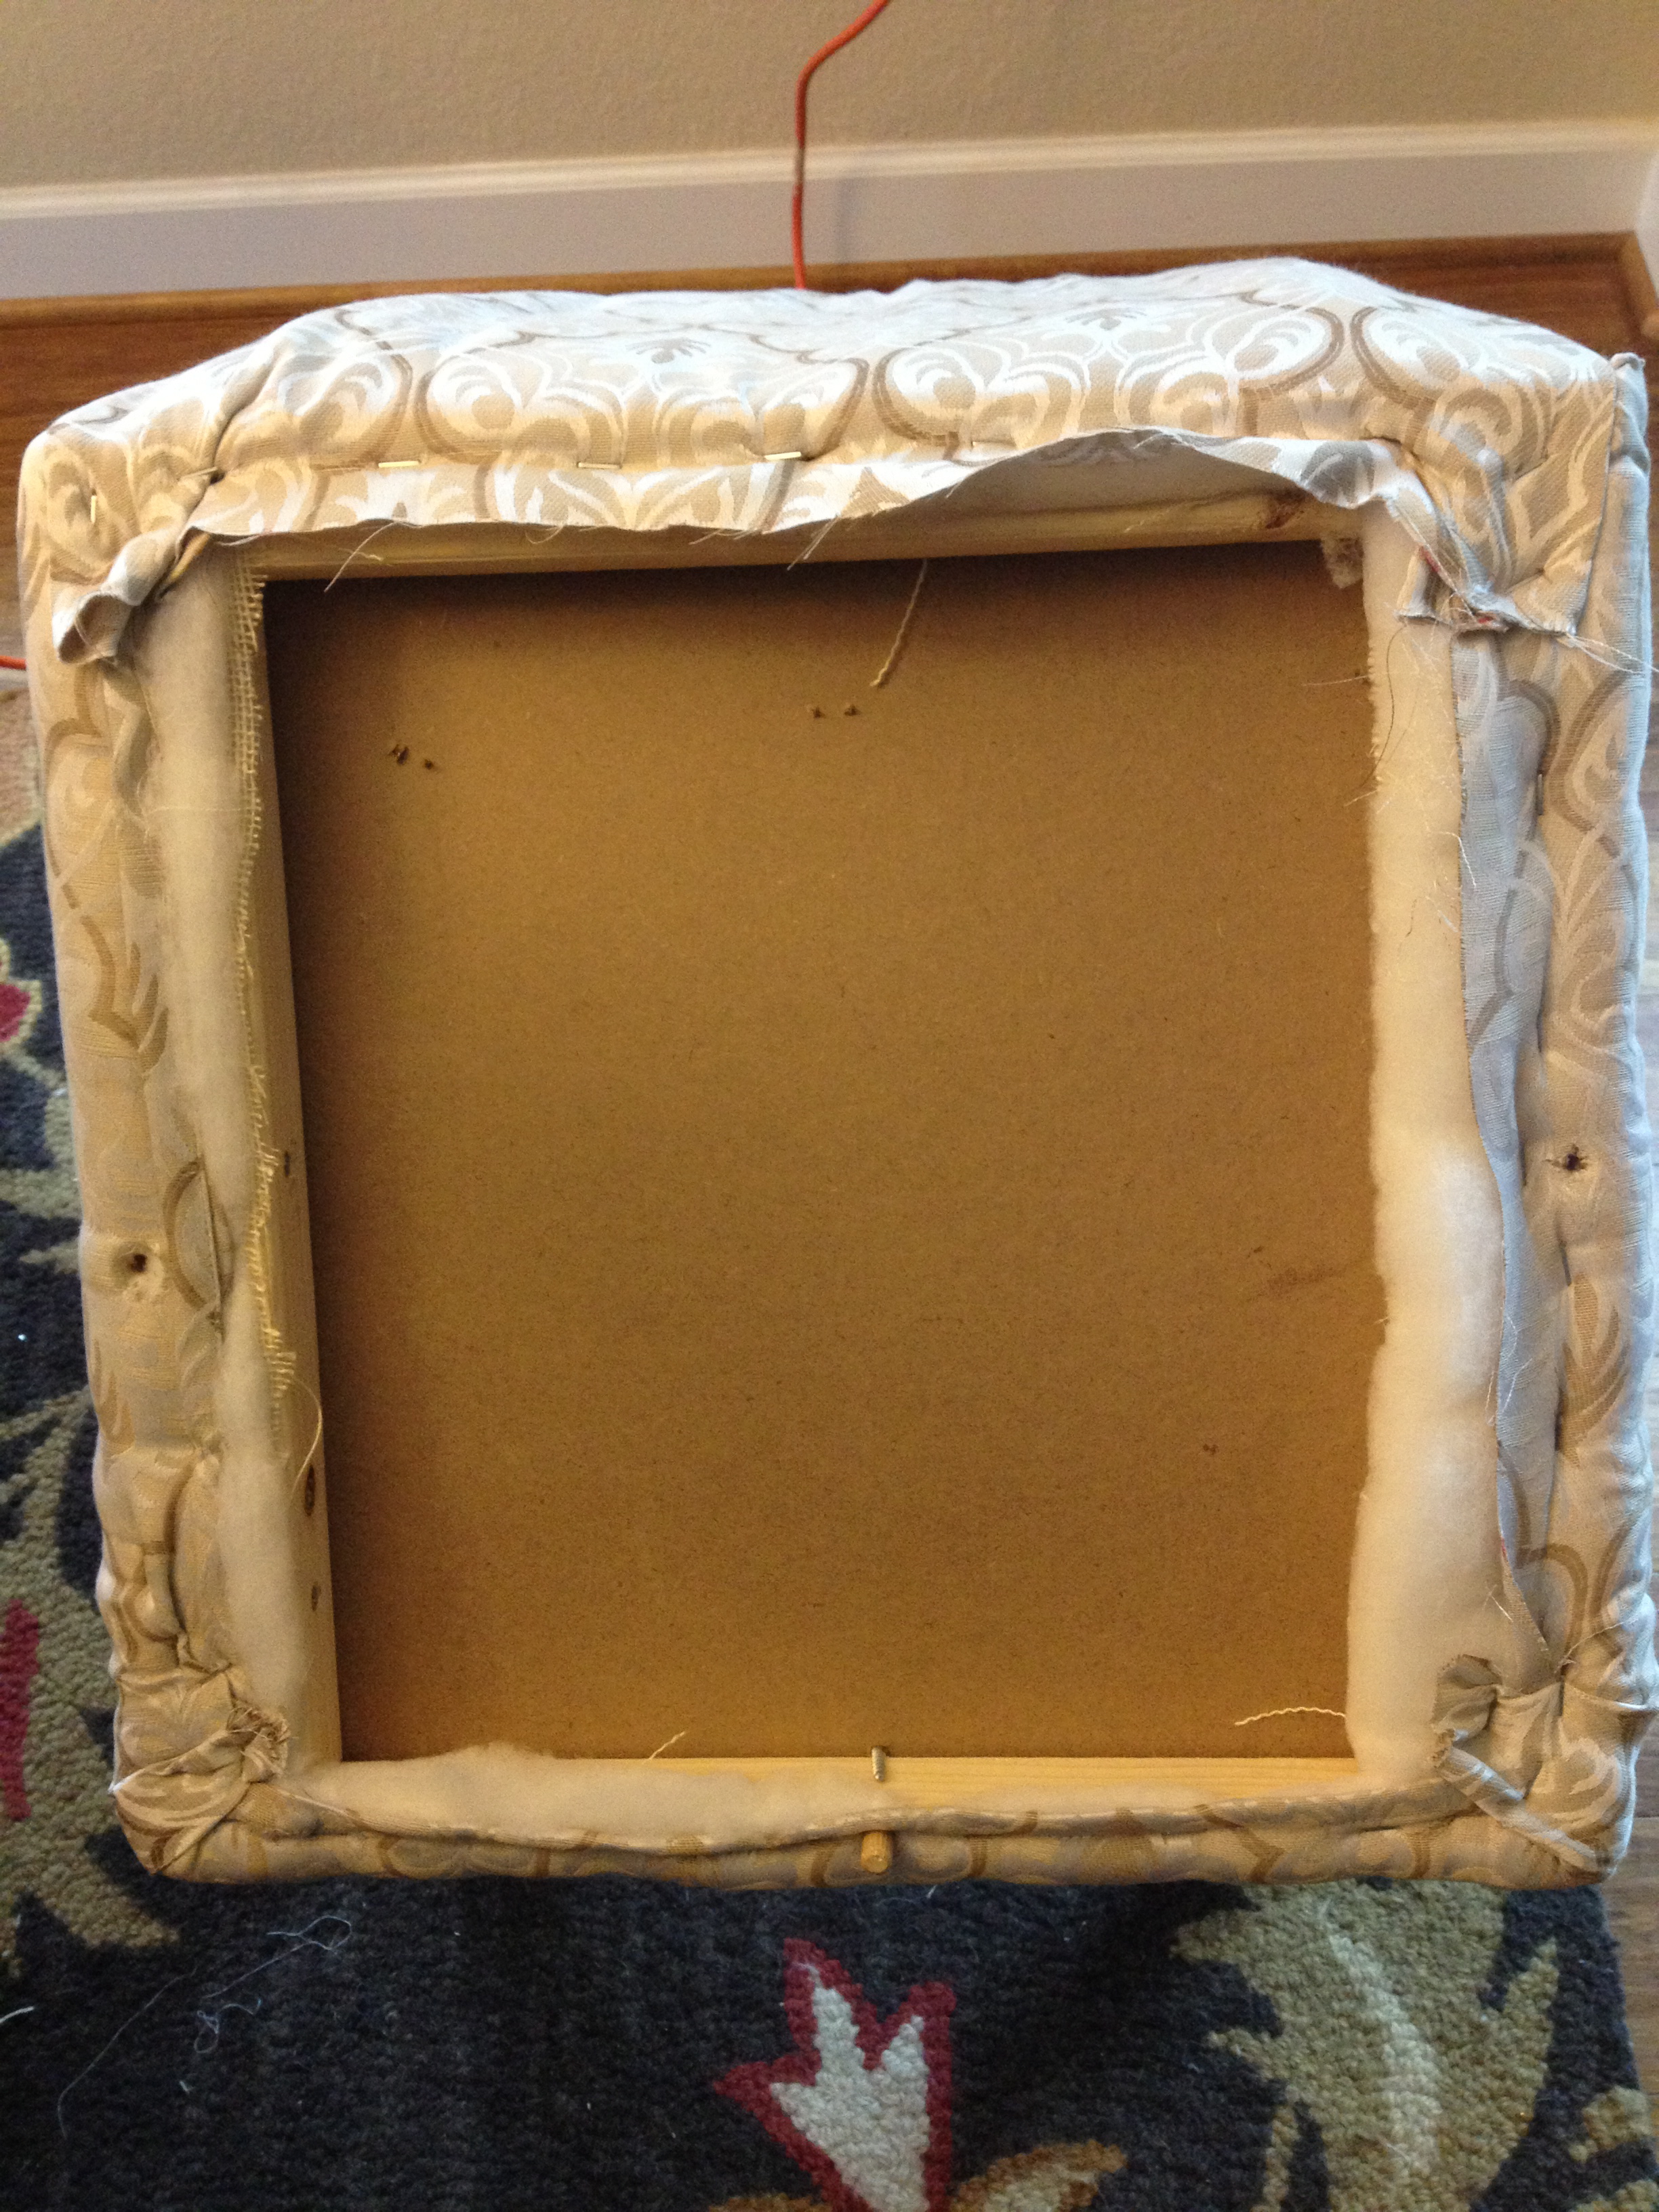
this project called for sewing the cushion covers, but i was to lazy to take out the sewing machine, so instead I stapled the fabric and it turned out pretty good if I do say so!! thanks for the plans!!
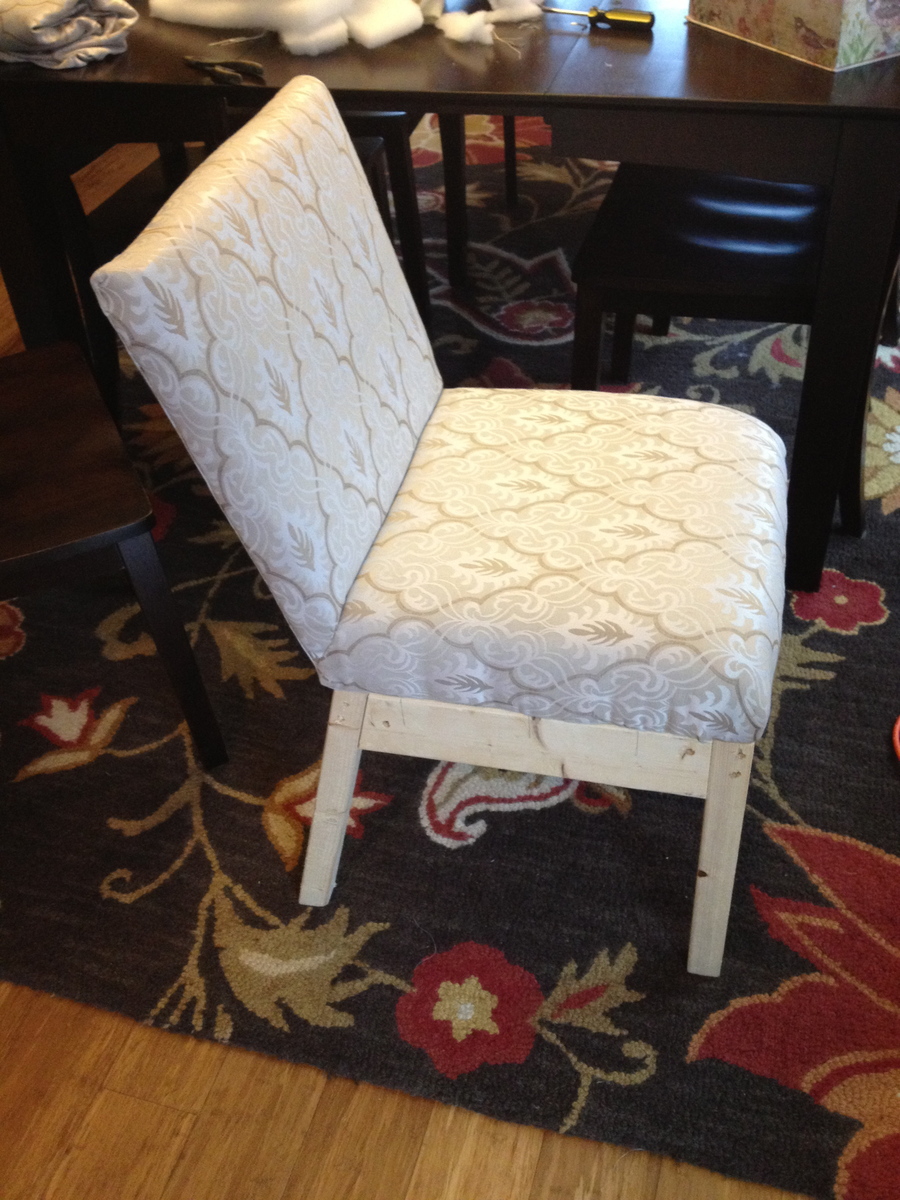
Estimated Cost
$60.00
Estimated Time Investment
Afternoon Project (3-6 Hours)
Finish Used
minwax
Recommended Skill Level
Intermediate
Comments
Tue, 02/26/2013 - 16:07
Oh, very nice! I am making
Oh, very nice! I am making one of these right now. I need to go out to get the foam before I can proceed. I'm excited. It's great to see how nice yours turn out!
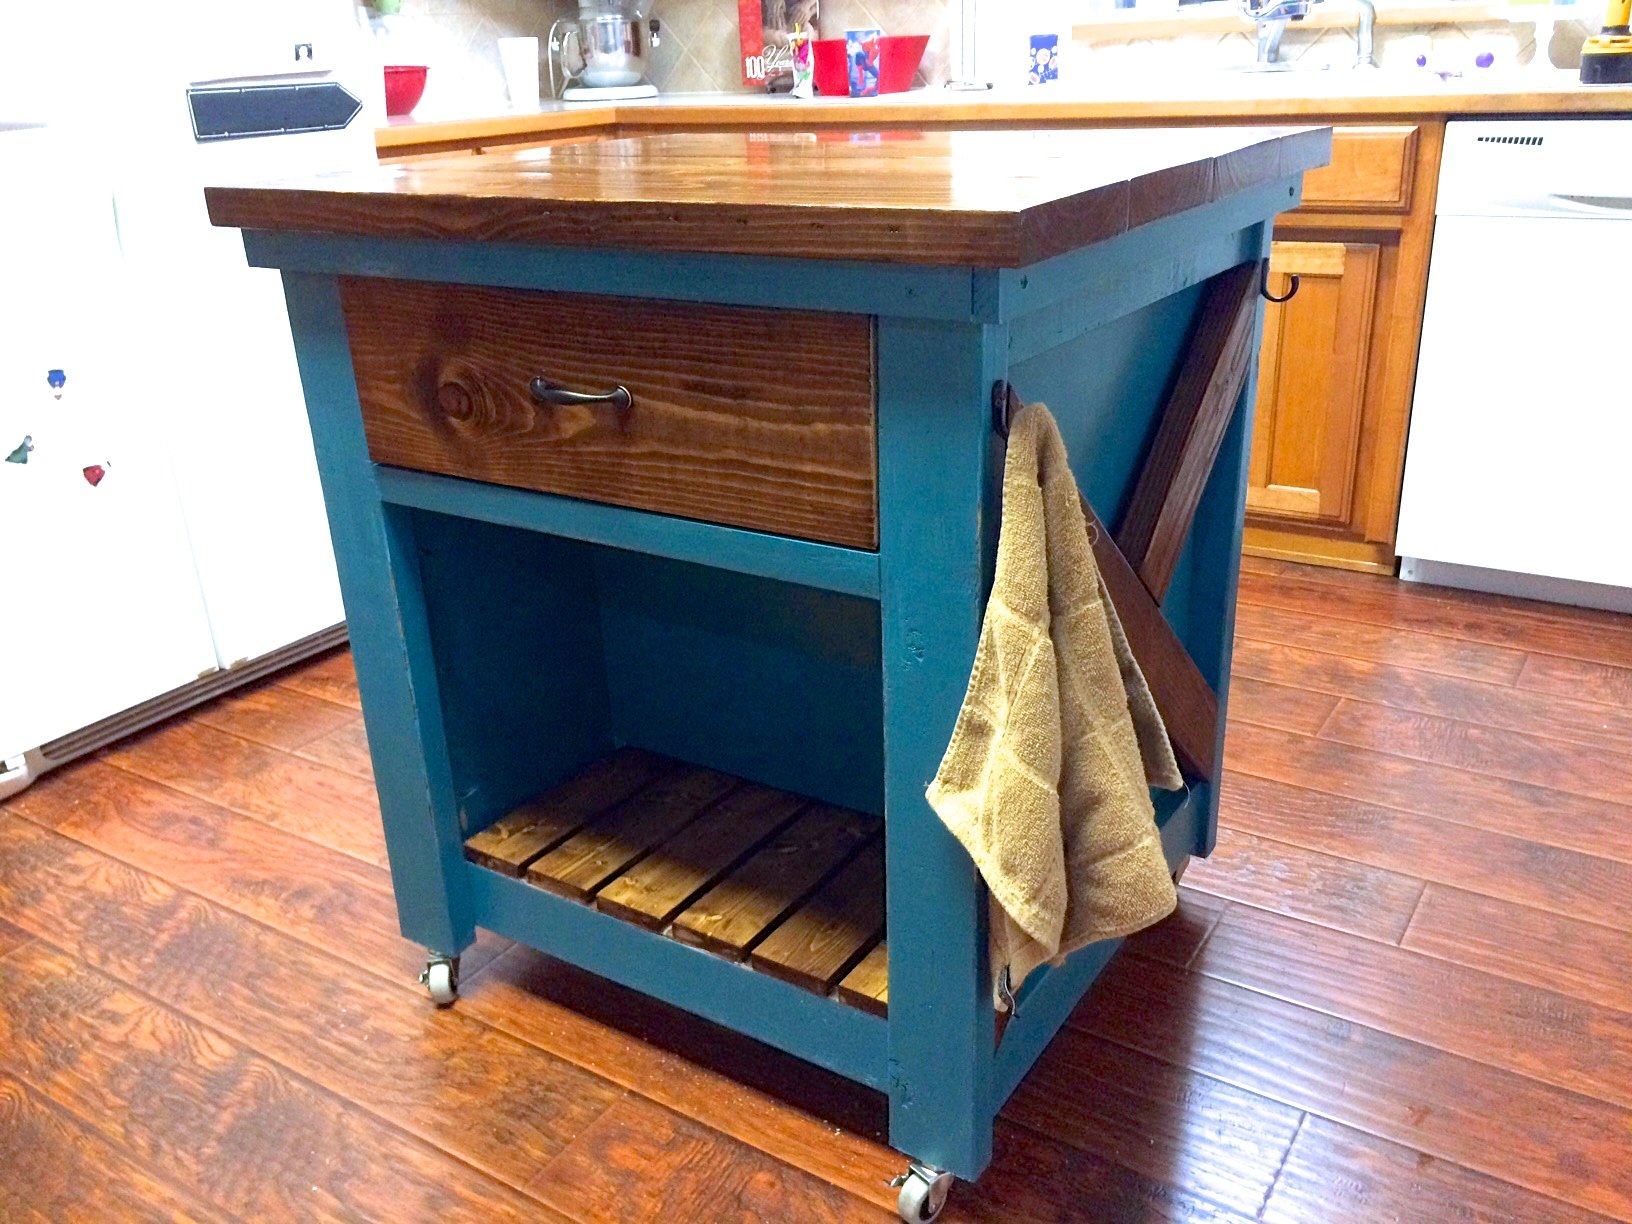
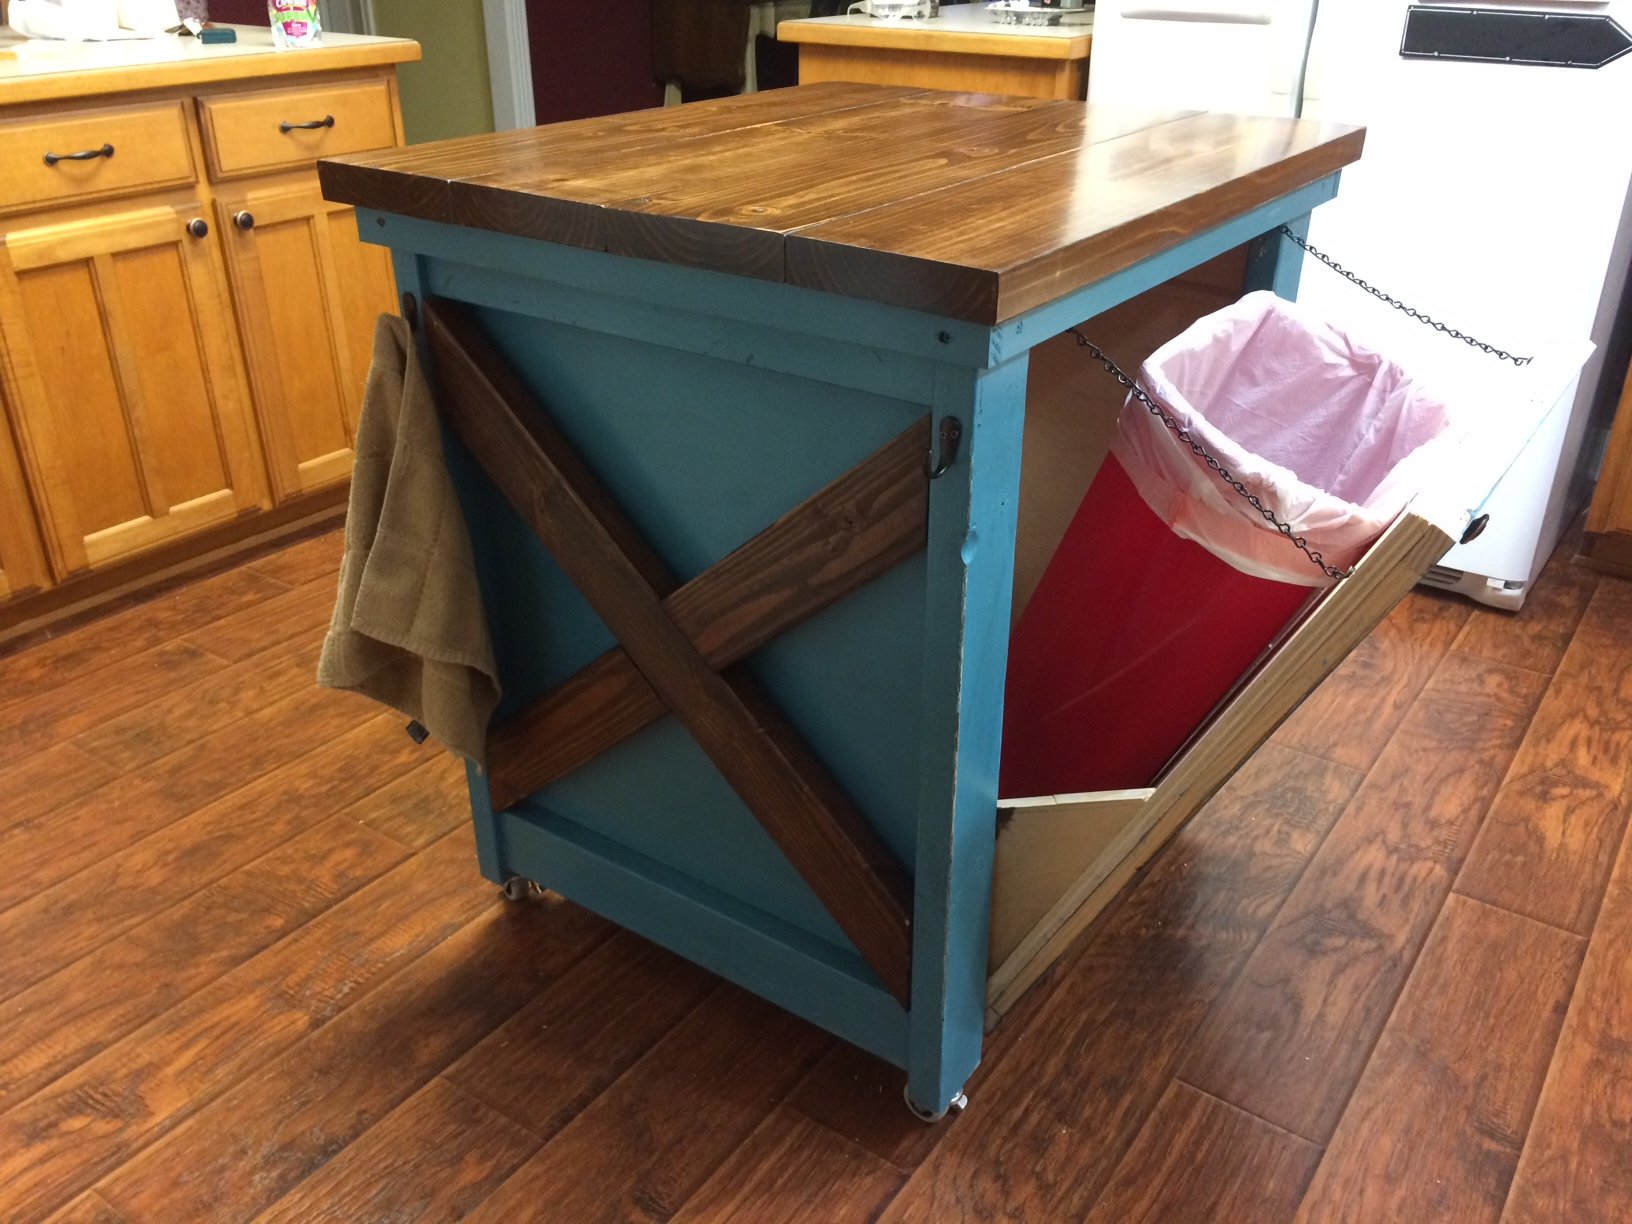
Kitchen Island with Trash Bin
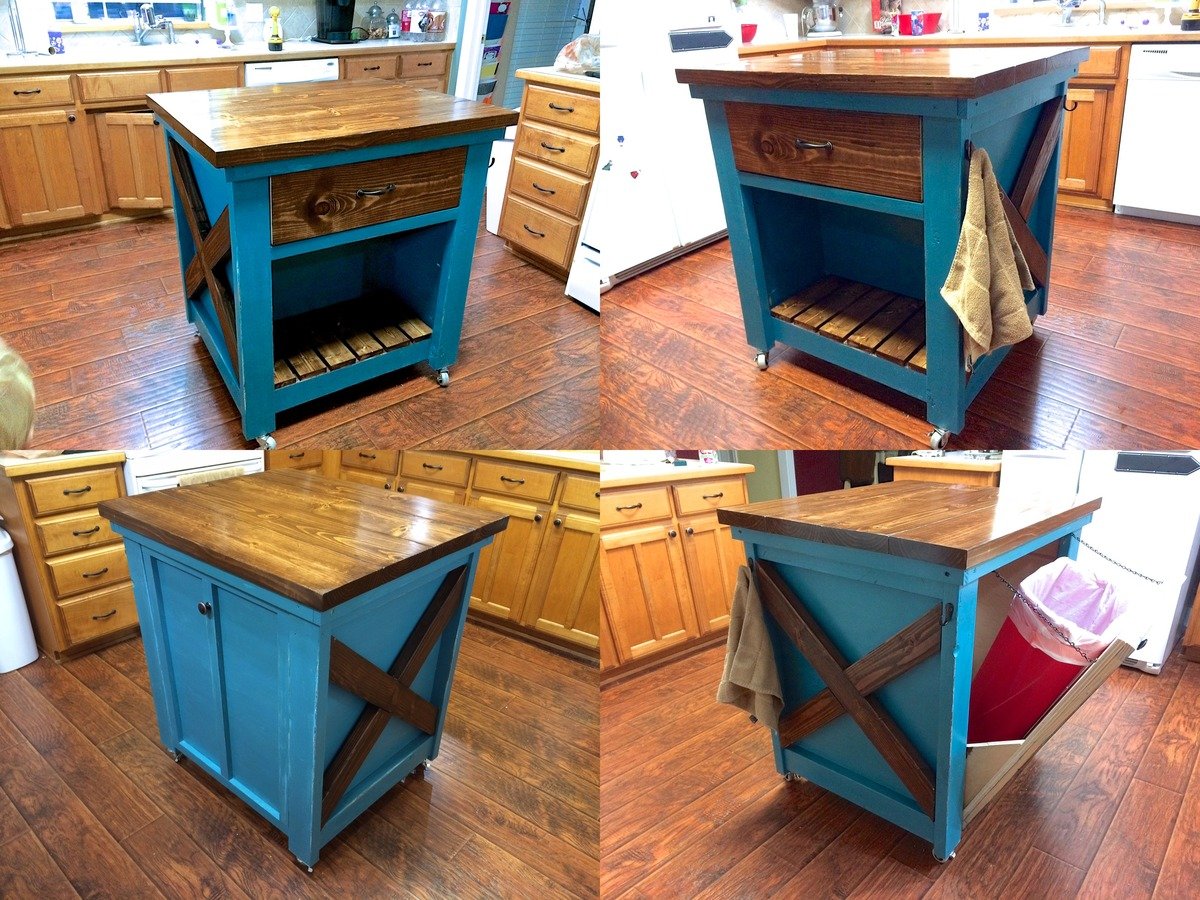
Well this was definitely the most challenging so far because we decided to modify the kitchen island plans to incoporate the tilt out trash bin. Very pleased with the results. Extended the back of the island to accomodate a 11" deep trash bin. Slim trash cans fit perfect. Found a gift wrapping bin for half price after Christmas and it is a perfect fit and 13 gallon bags fit great.
The x's were definitely a challenge because it changed the angles and it would have been best to just mark it with the board before finishing the whole box.
Now we just need to paint the cabinets and change the countertops and paint the kitchen walls. Not happening anytime soon, but at least the island is done.

Built from Plan(s)
Estimated Cost
$120 approximately - This included some hardware.
Estimated Time Investment
Weekend Project (10-20 Hours)
Finish Used
Used dark walnut stain for top, drawers, and underneath slats.
Did a very minimum distressing to edges of the turquoise pieces.
Did a very minimum distressing to edges of the turquoise pieces.
Recommended Skill Level
Intermediate
Comments
Mon, 01/05/2015 - 19:18
Thanks Ana! We love your site
Thanks Ana! We love your site. We've never built anything before finding it a couple months ago and now we can't stop.
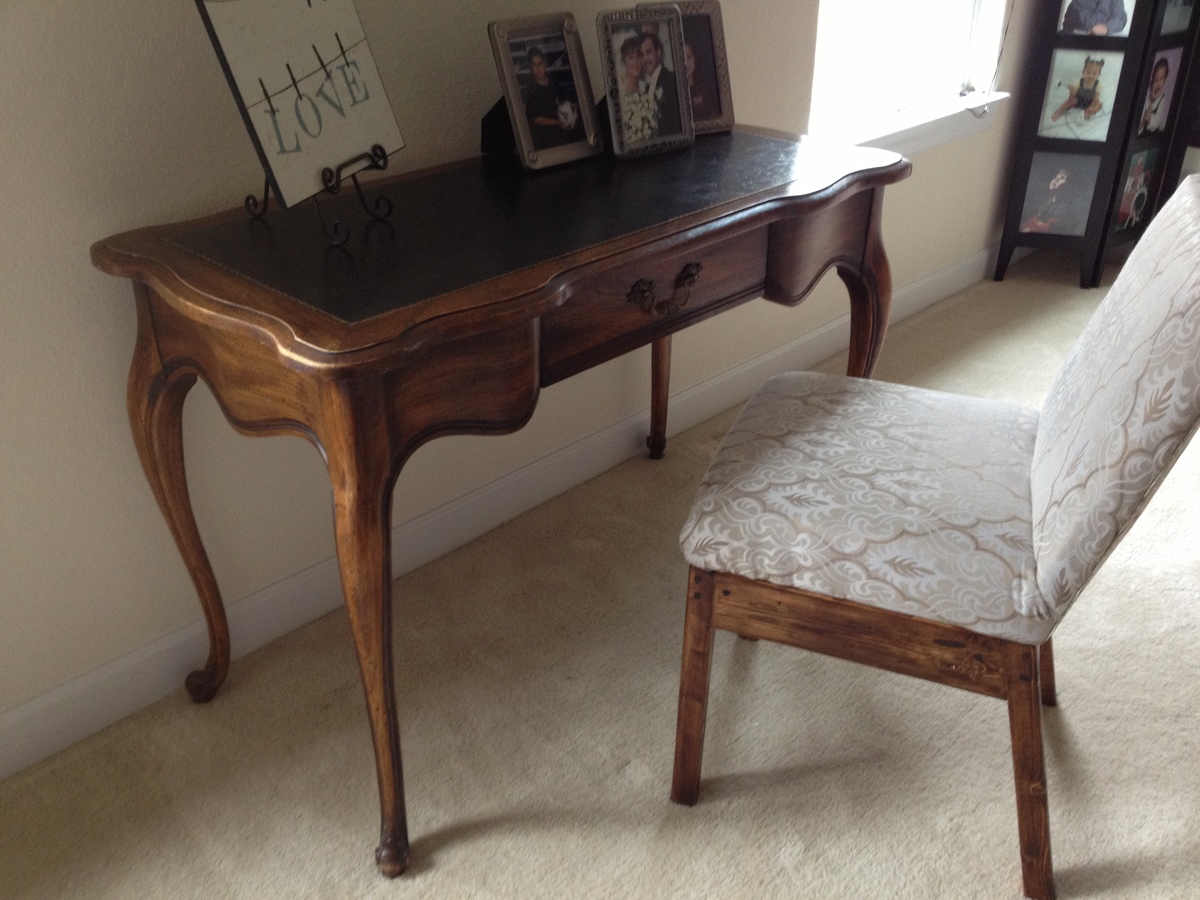
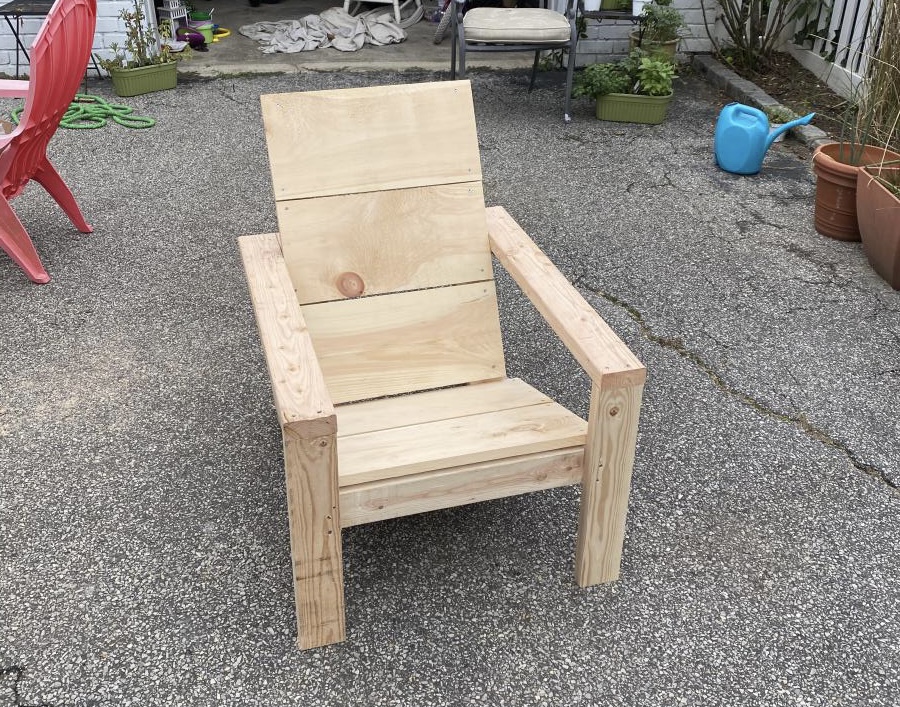
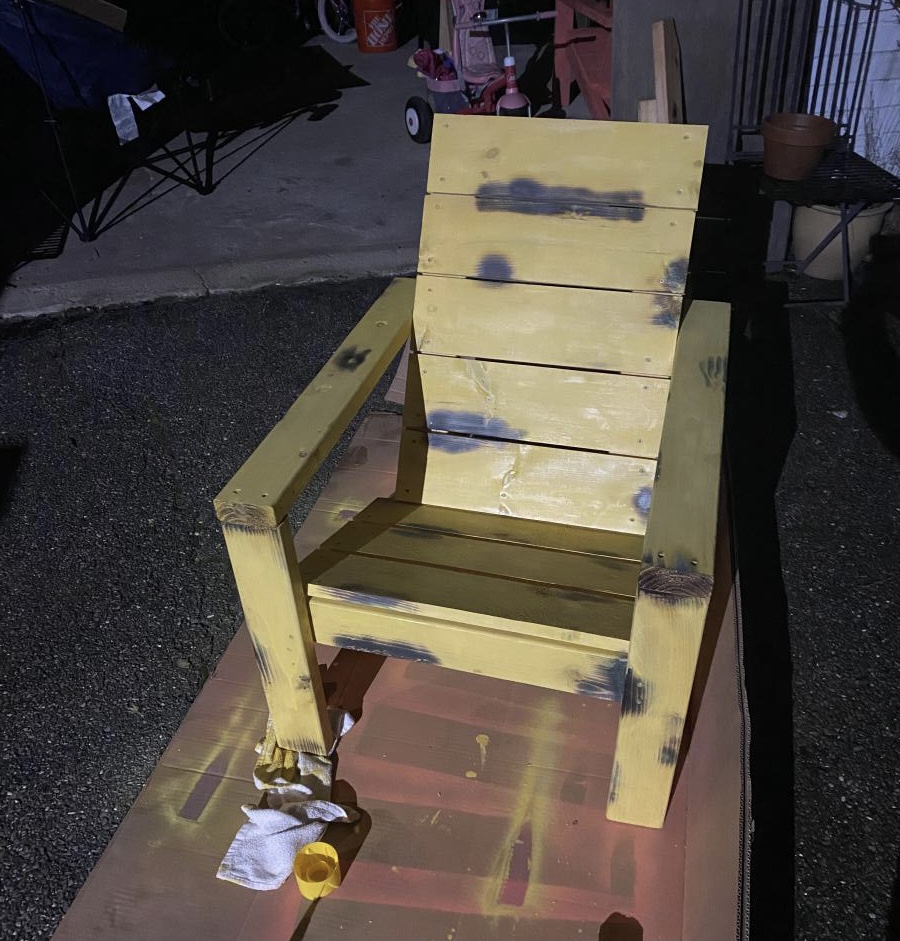
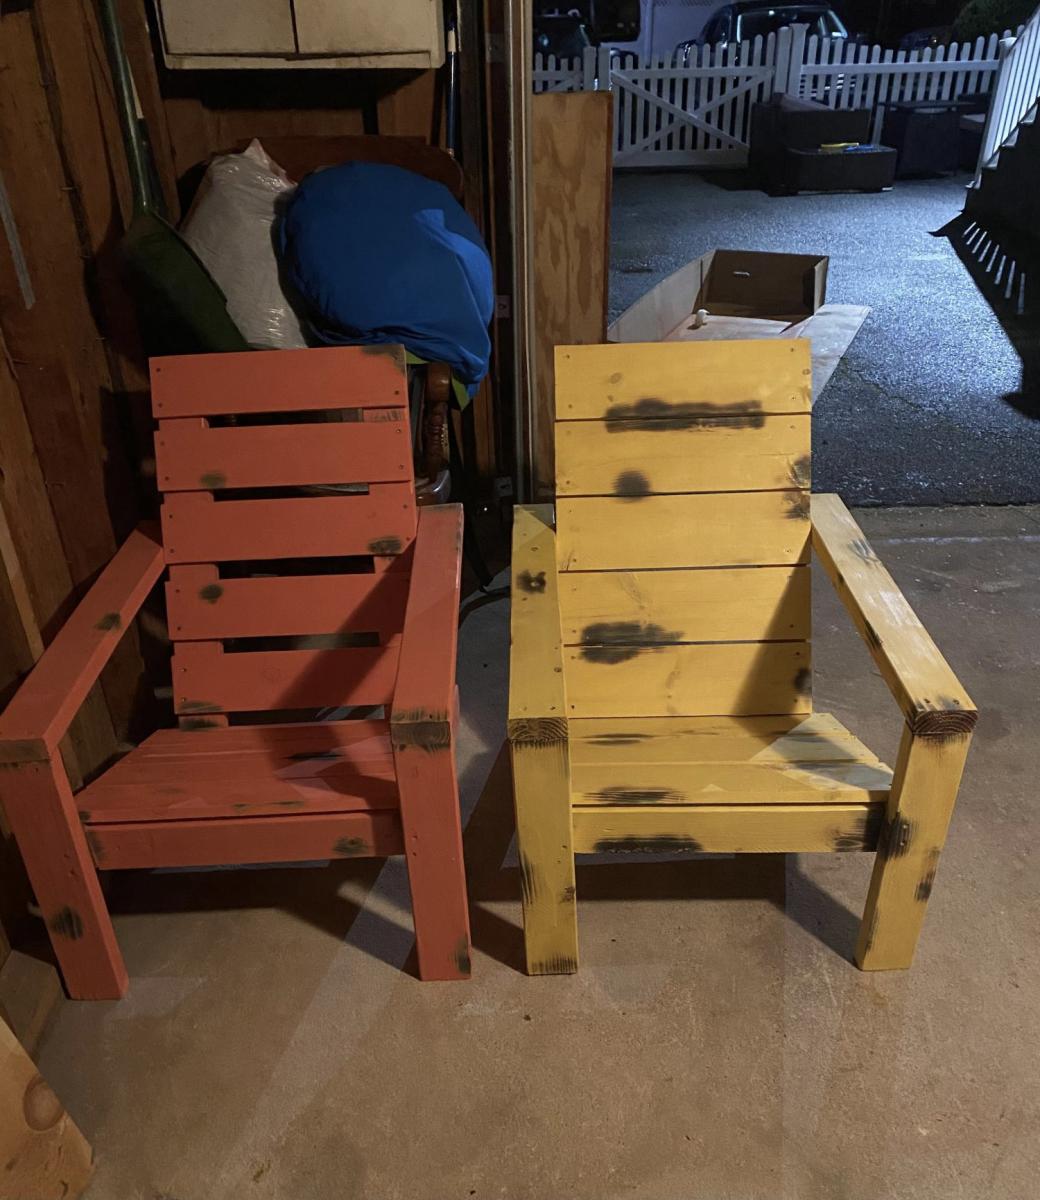
Went thru 5 different boards

Loved the ease of making this chair but the modern look needed to be adjusted. 1x4, 1x5, 1x6.... tried a bunch and landed on 1x5’s and couldn’t be happier. Easy to do a chair in a day start to finish (build, sand, paint, dry, protective coat).
Built from Plan(s)
Estimated Cost
40
Estimated Time Investment
Afternoon Project (3-6 Hours)
Finish Used
A spray paint that shouldn’t but used. Grab a brush, easier in the long run!
Recommended Skill Level
Beginner
Sideboard

7 ft long gigantic sideboard. Removed the options for the drawers and extended the cabinet doors for extra storage needed. My favorite project to date.
Built from Plan(s)
Estimated Time Investment
Weekend Project (10-20 Hours)
Finish Used
Minwax Early American stain.
Recommended Skill Level
Intermediate
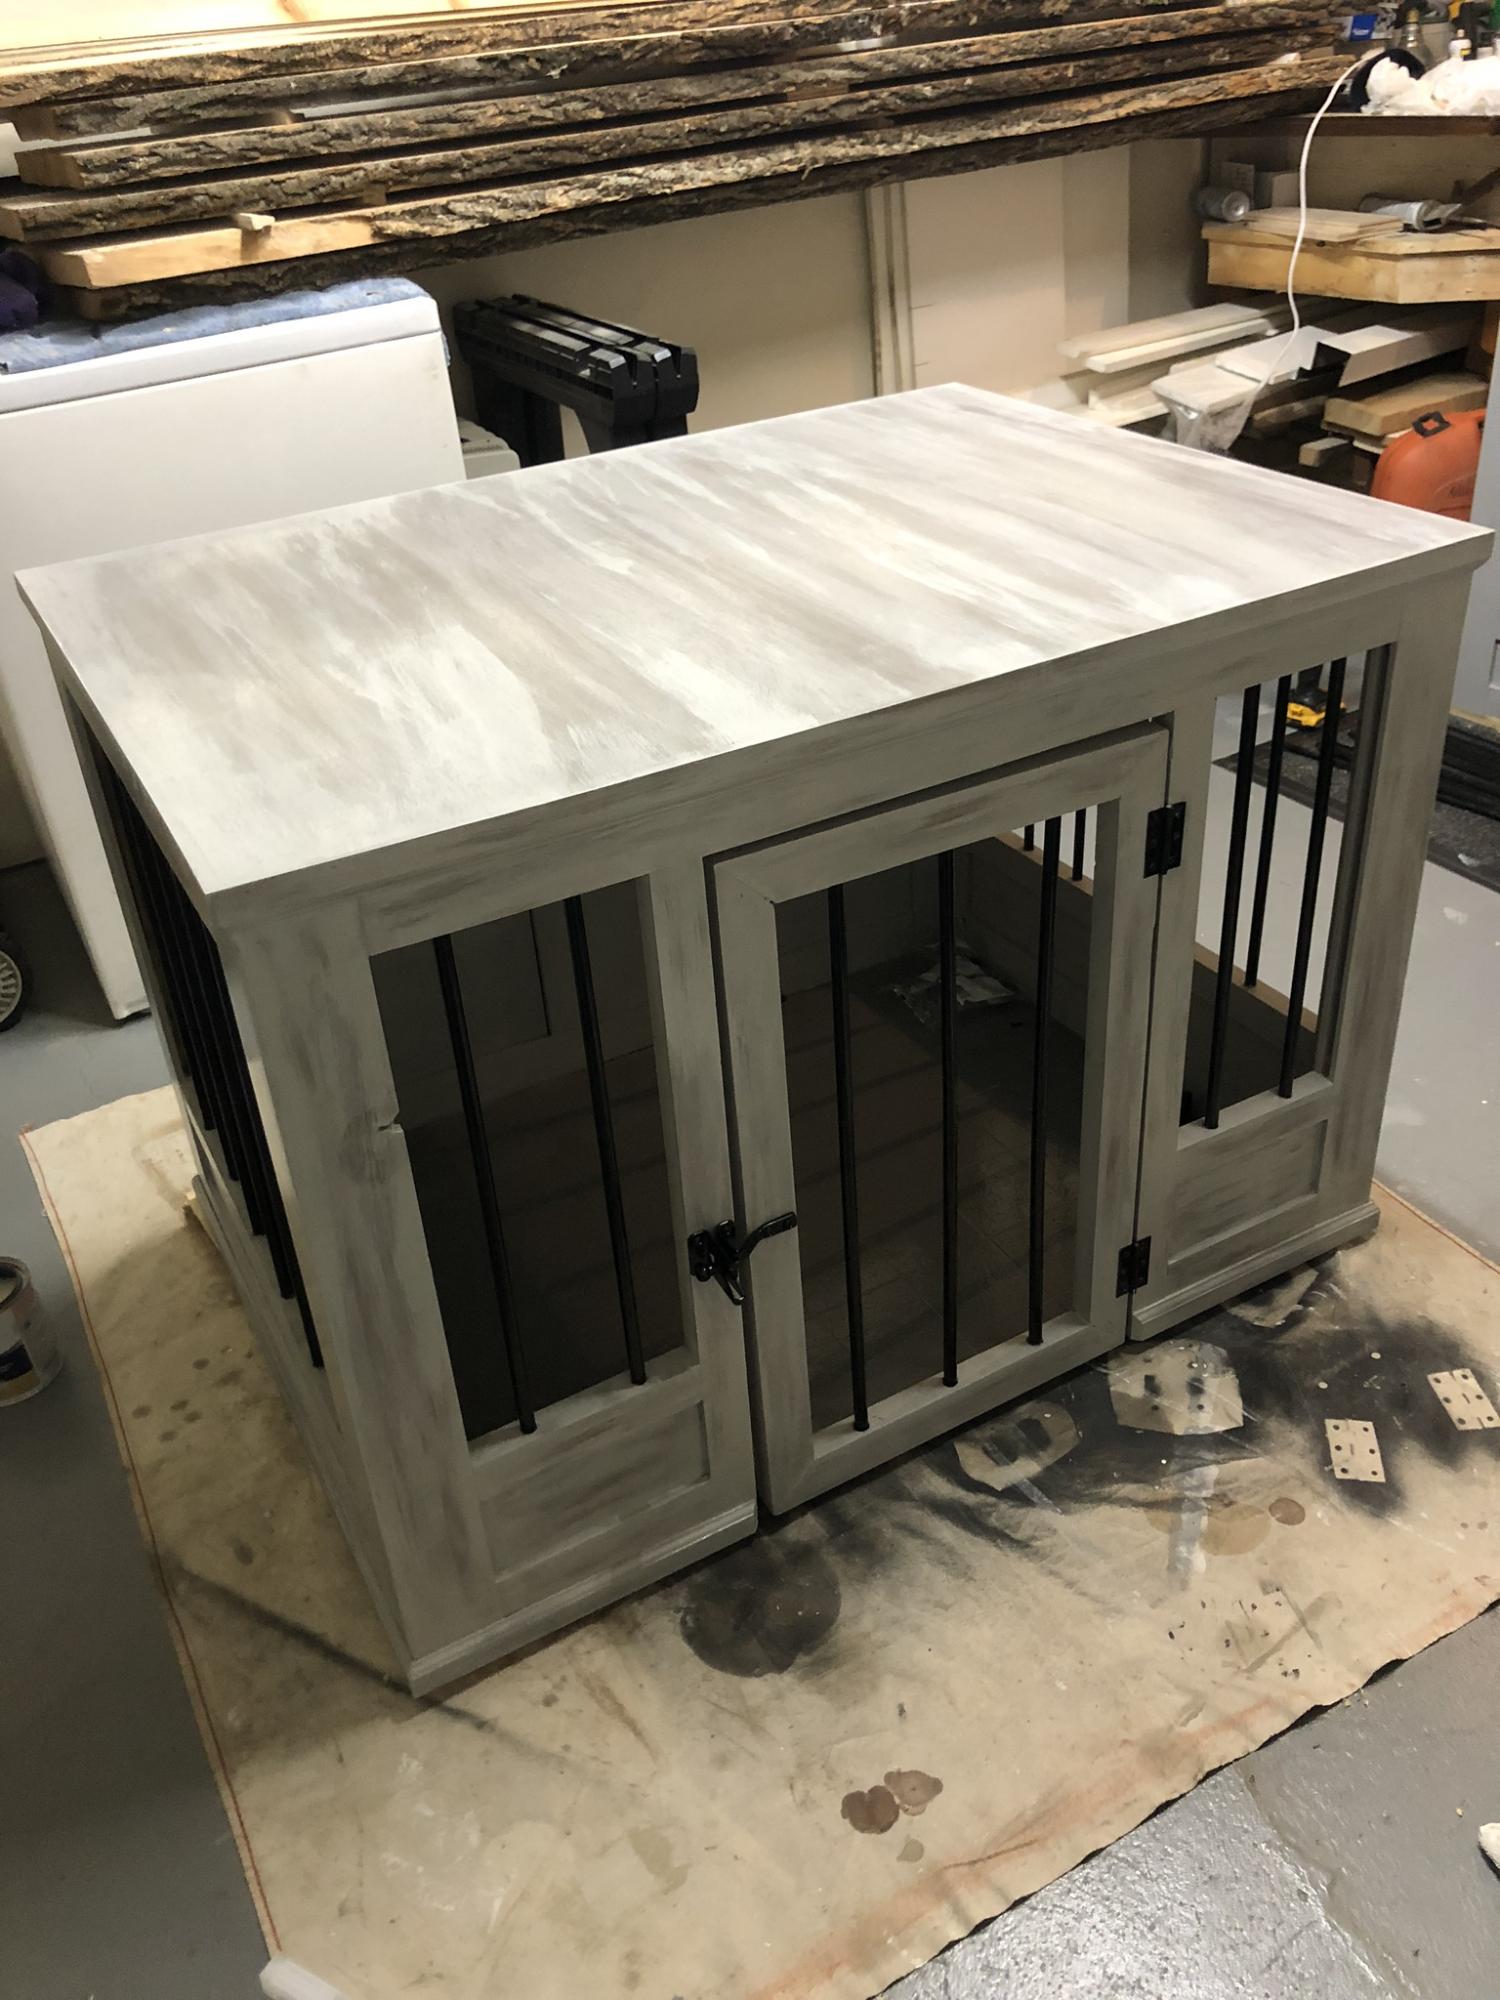
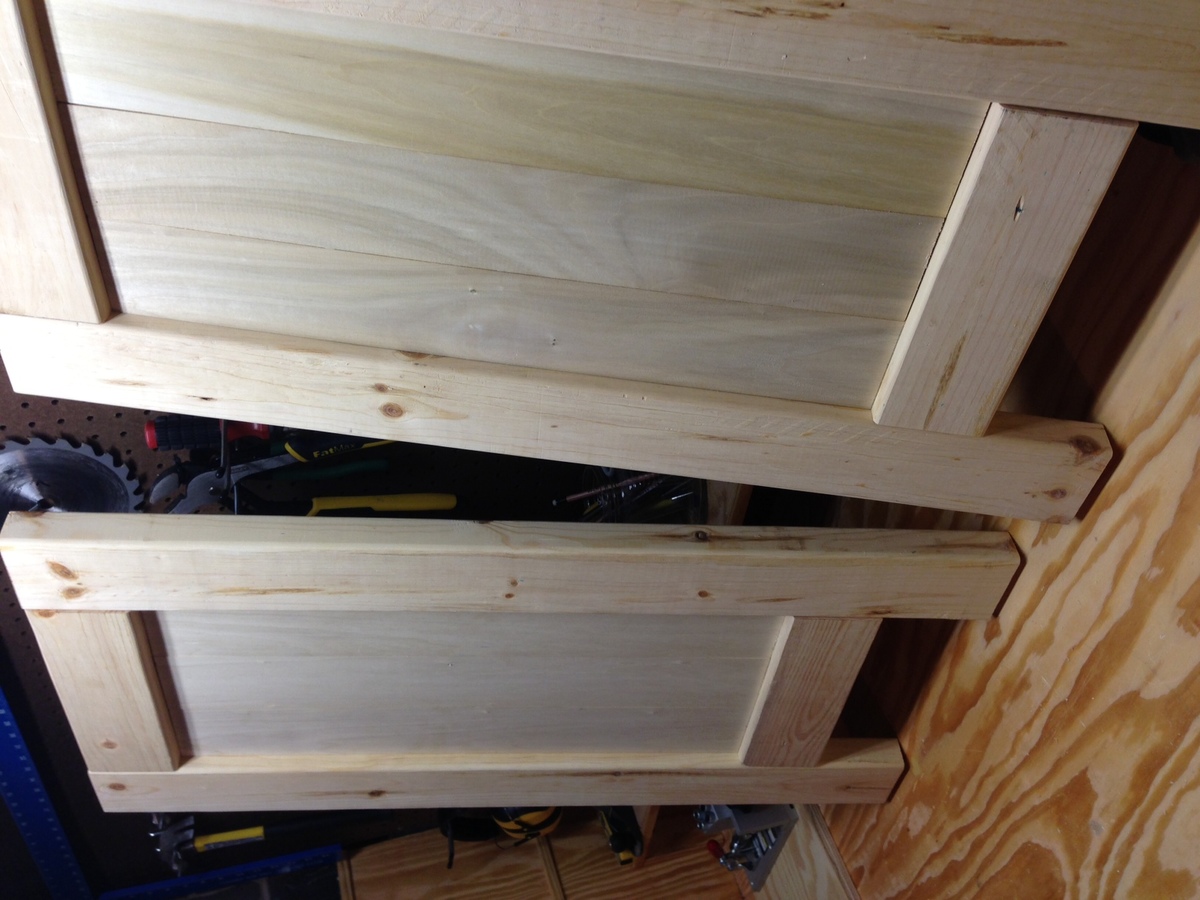
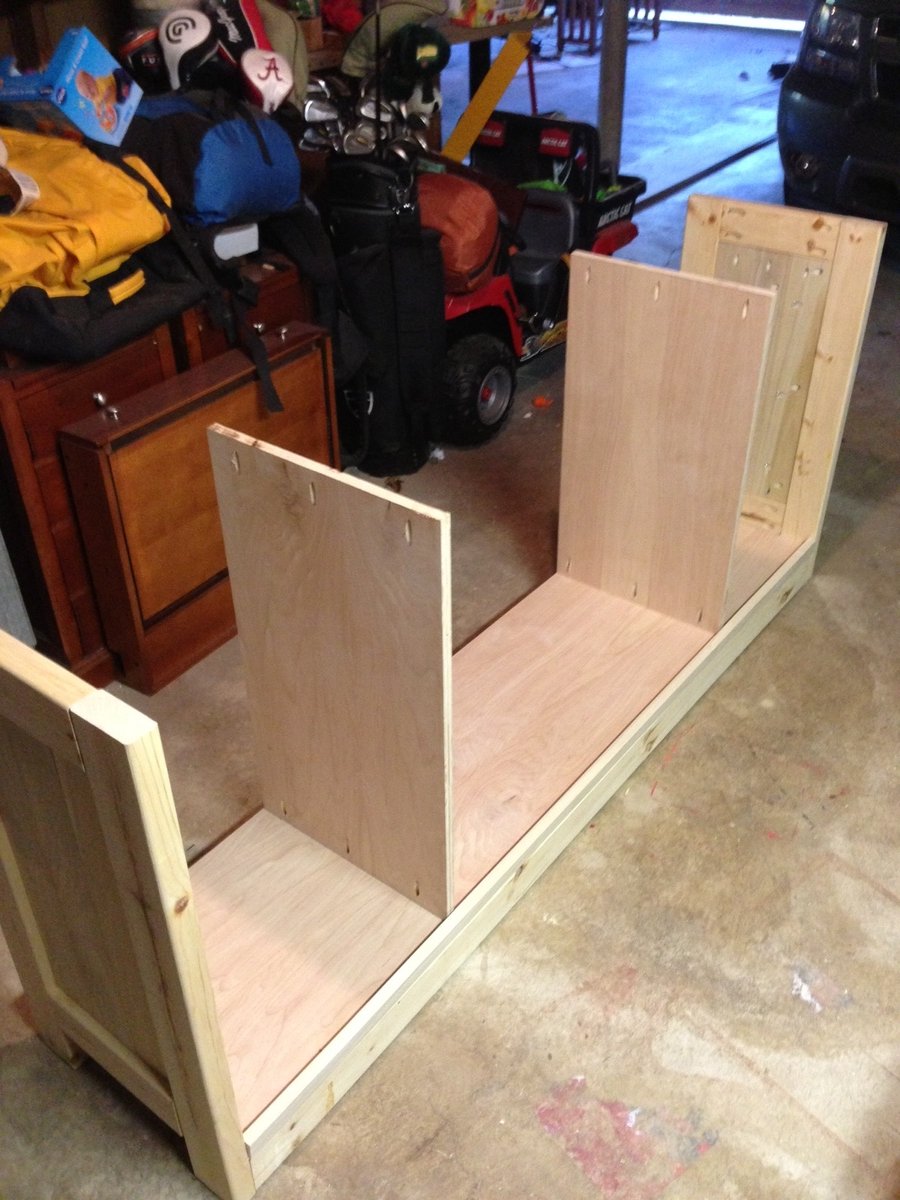
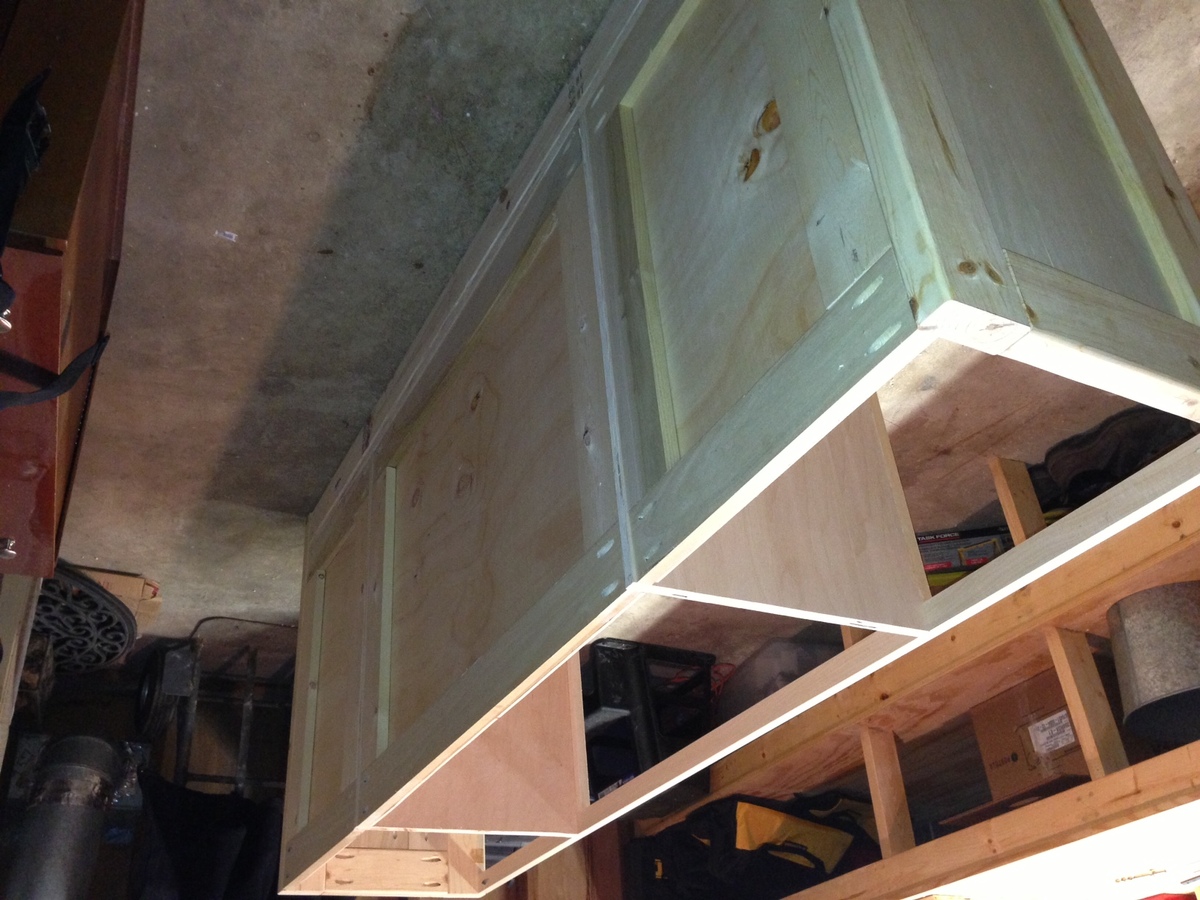
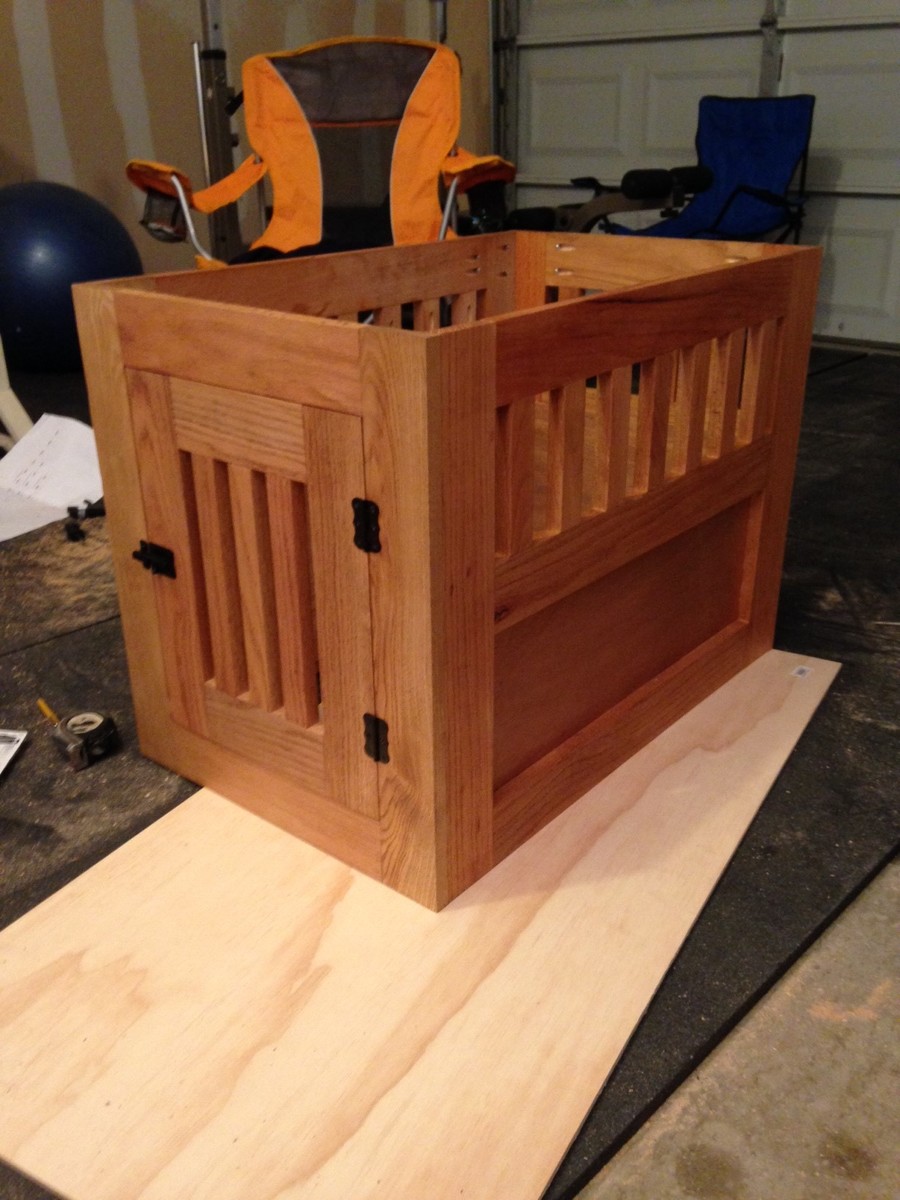
Oak Pet Kennel End Table
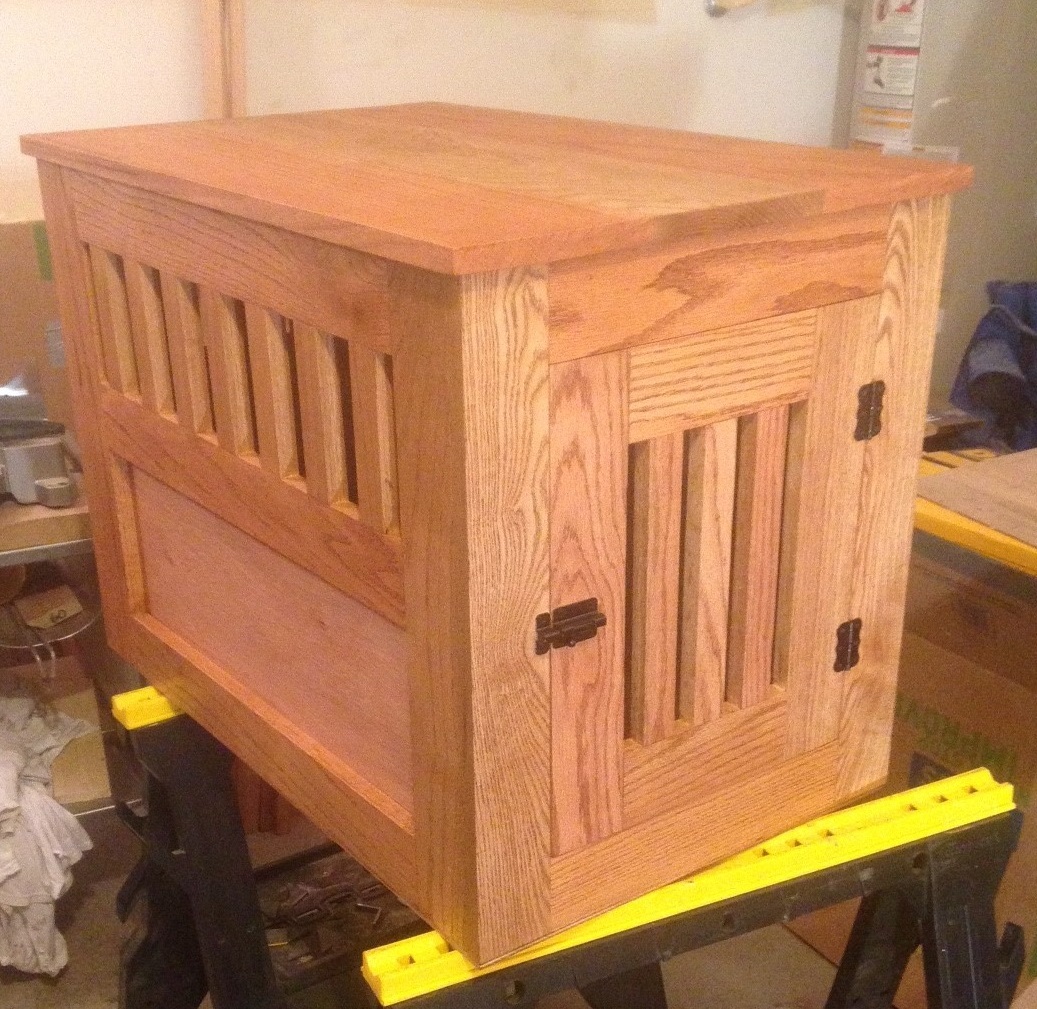
Built this pet kennel end table from Ana's plans for my dad for Christmas. Only changes I made were to the dimensions to better fit my dads mid-sized dog and the top which I made by laminating a few boards rather than sheet material. Everything but the side panels is oak. Plans were really simple and I'm really happy with the finished product. As soon as I revealed it on Christmas morning his dog knew who it was for and ran right in and laid down with his new bone. Very awesome payoff to say the least.

Built from Plan(s)
Estimated Cost
~$100 bucks or more depending where you get your oak. I got my for a steal from a guy emptying his shop otherwise I would've used cheaper wood.
Estimated Time Investment
Weekend Project (10-20 Hours)
Finish Used
Danish Oil - Dark Walnut, several coats. The oak doesn't absorb the dark color very much but gives a really nice smooth finish.
Recommended Skill Level
Intermediate
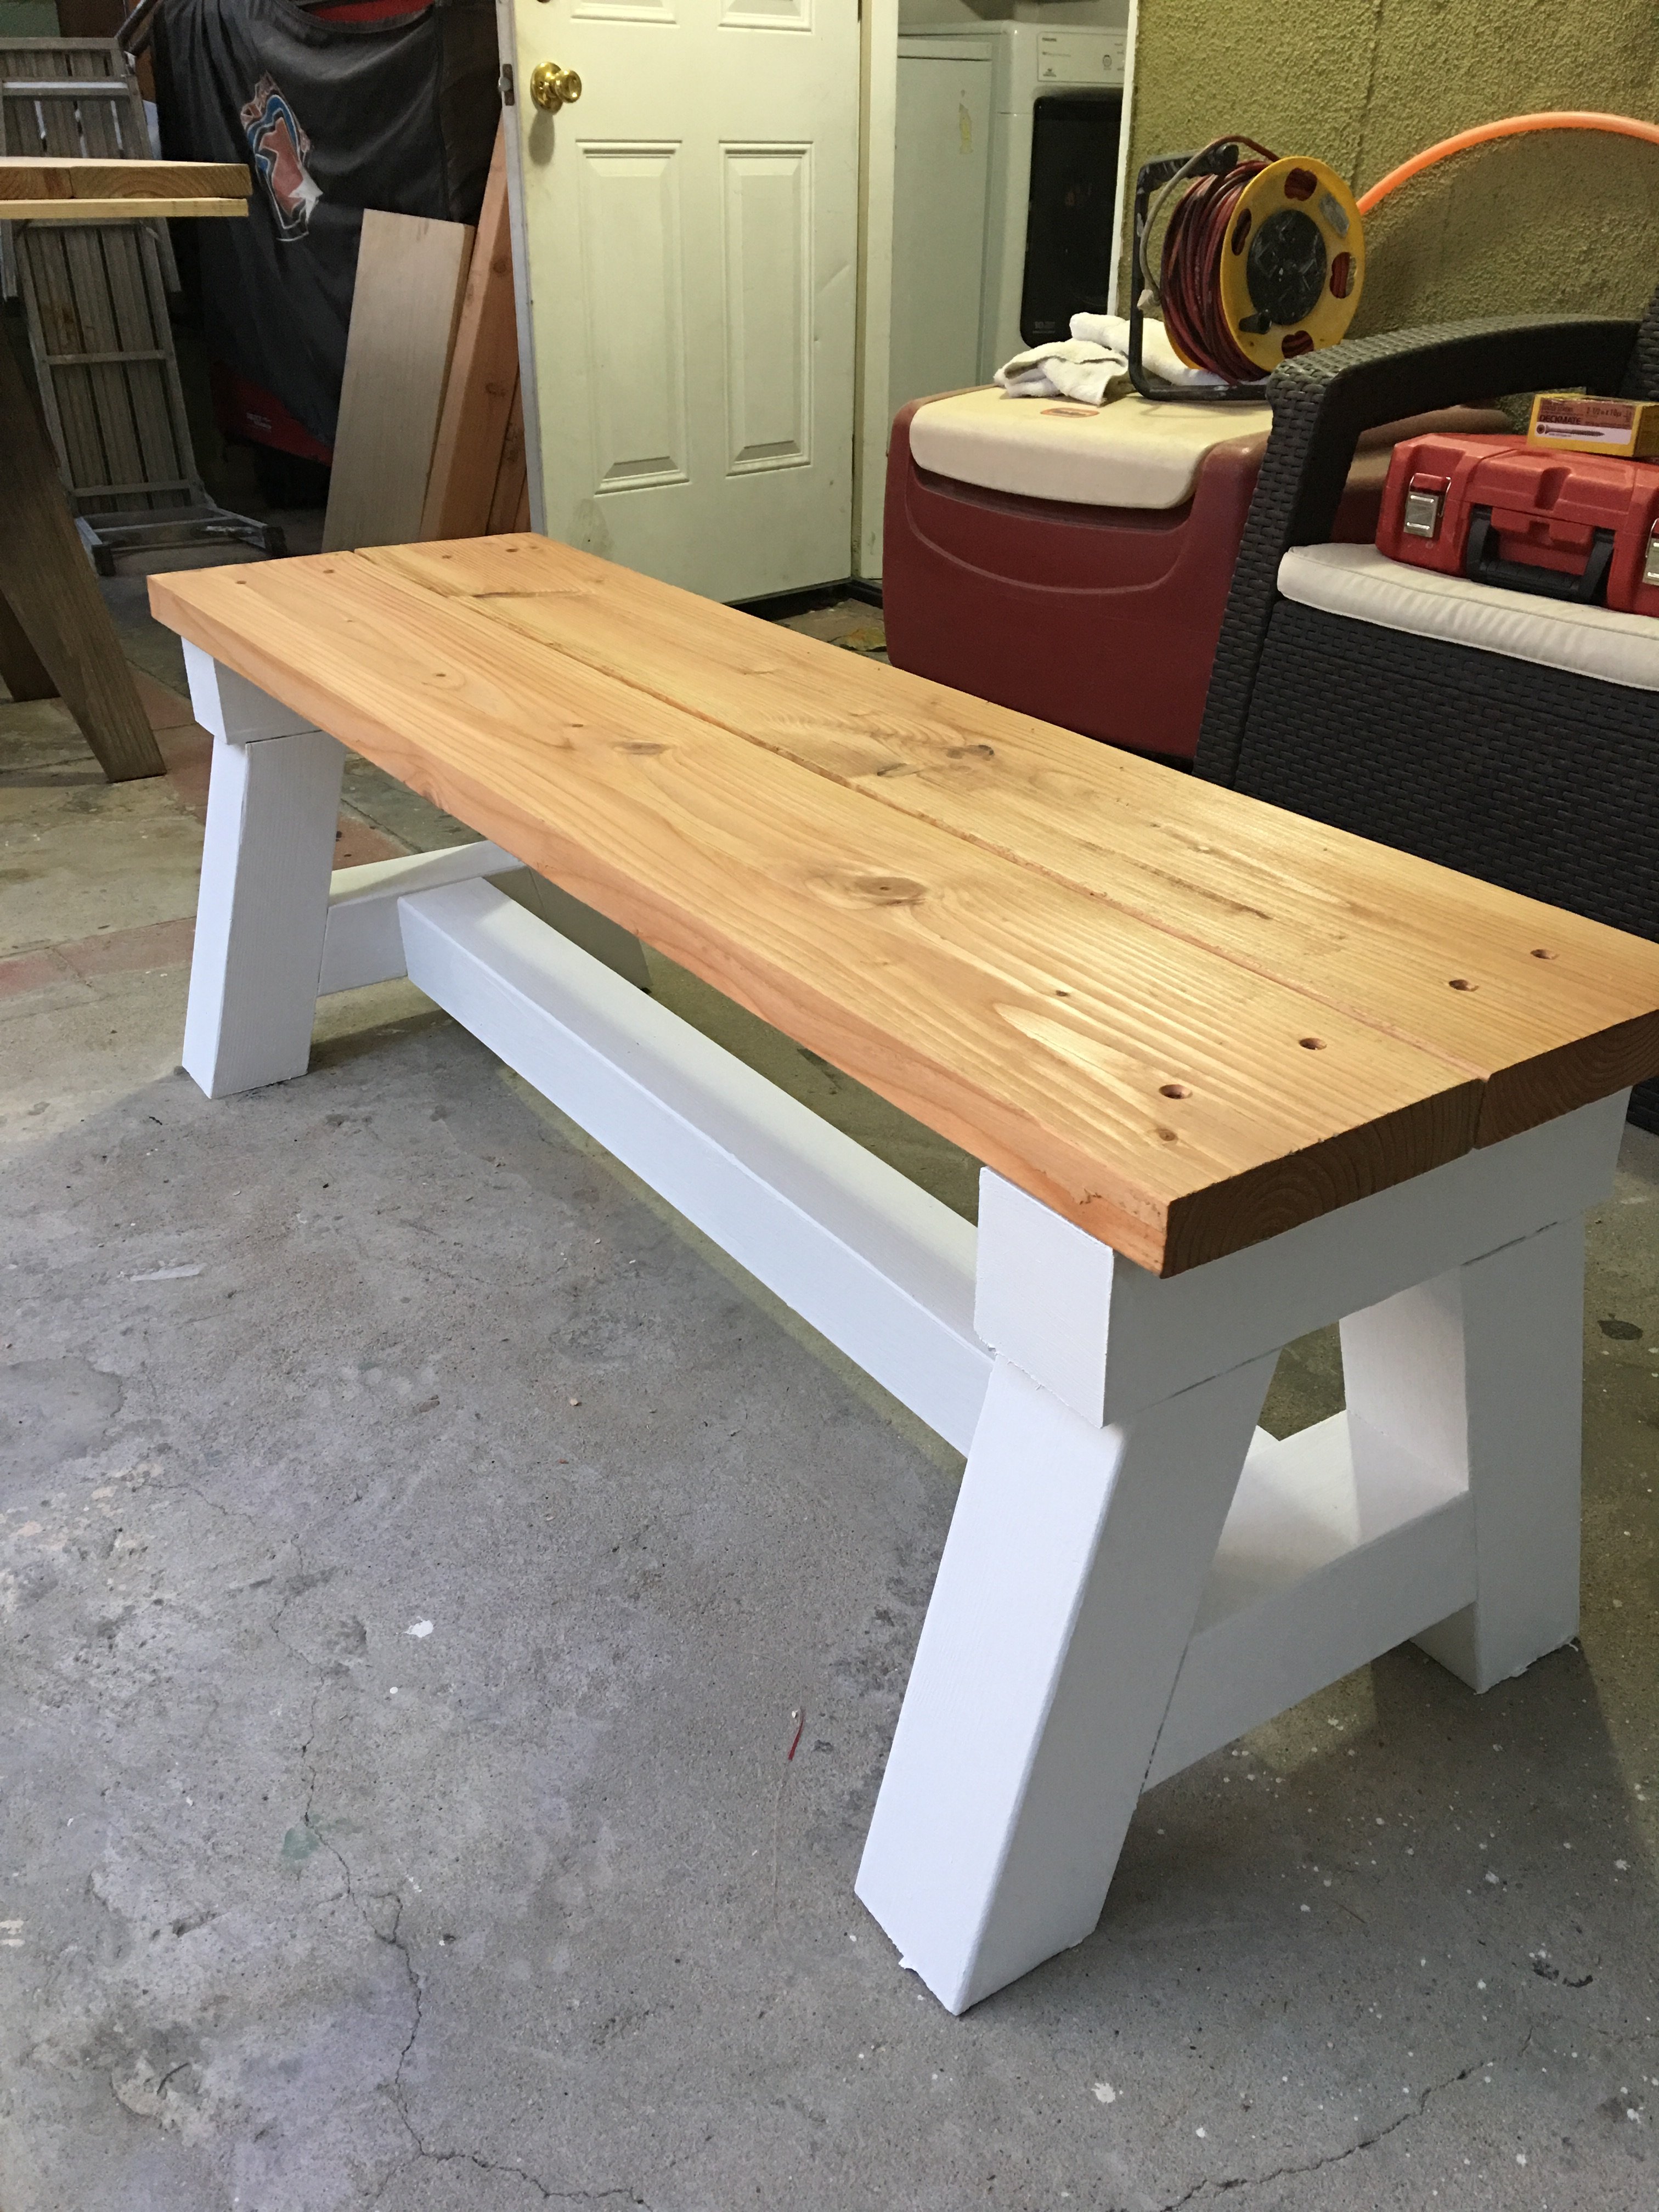
Farmhouse bench
This built was easy with Ana white blue prints I used 2x10 for the top and also made the matching bench.
thanks Ana white
Estimated Cost
200 for both table and bench
Estimated Time Investment
Week Long Project (20 Hours or More)
Finish Used
Minwax wood finish weathered oak 270
Recommended Skill Level
Intermediate
Queen Headboard
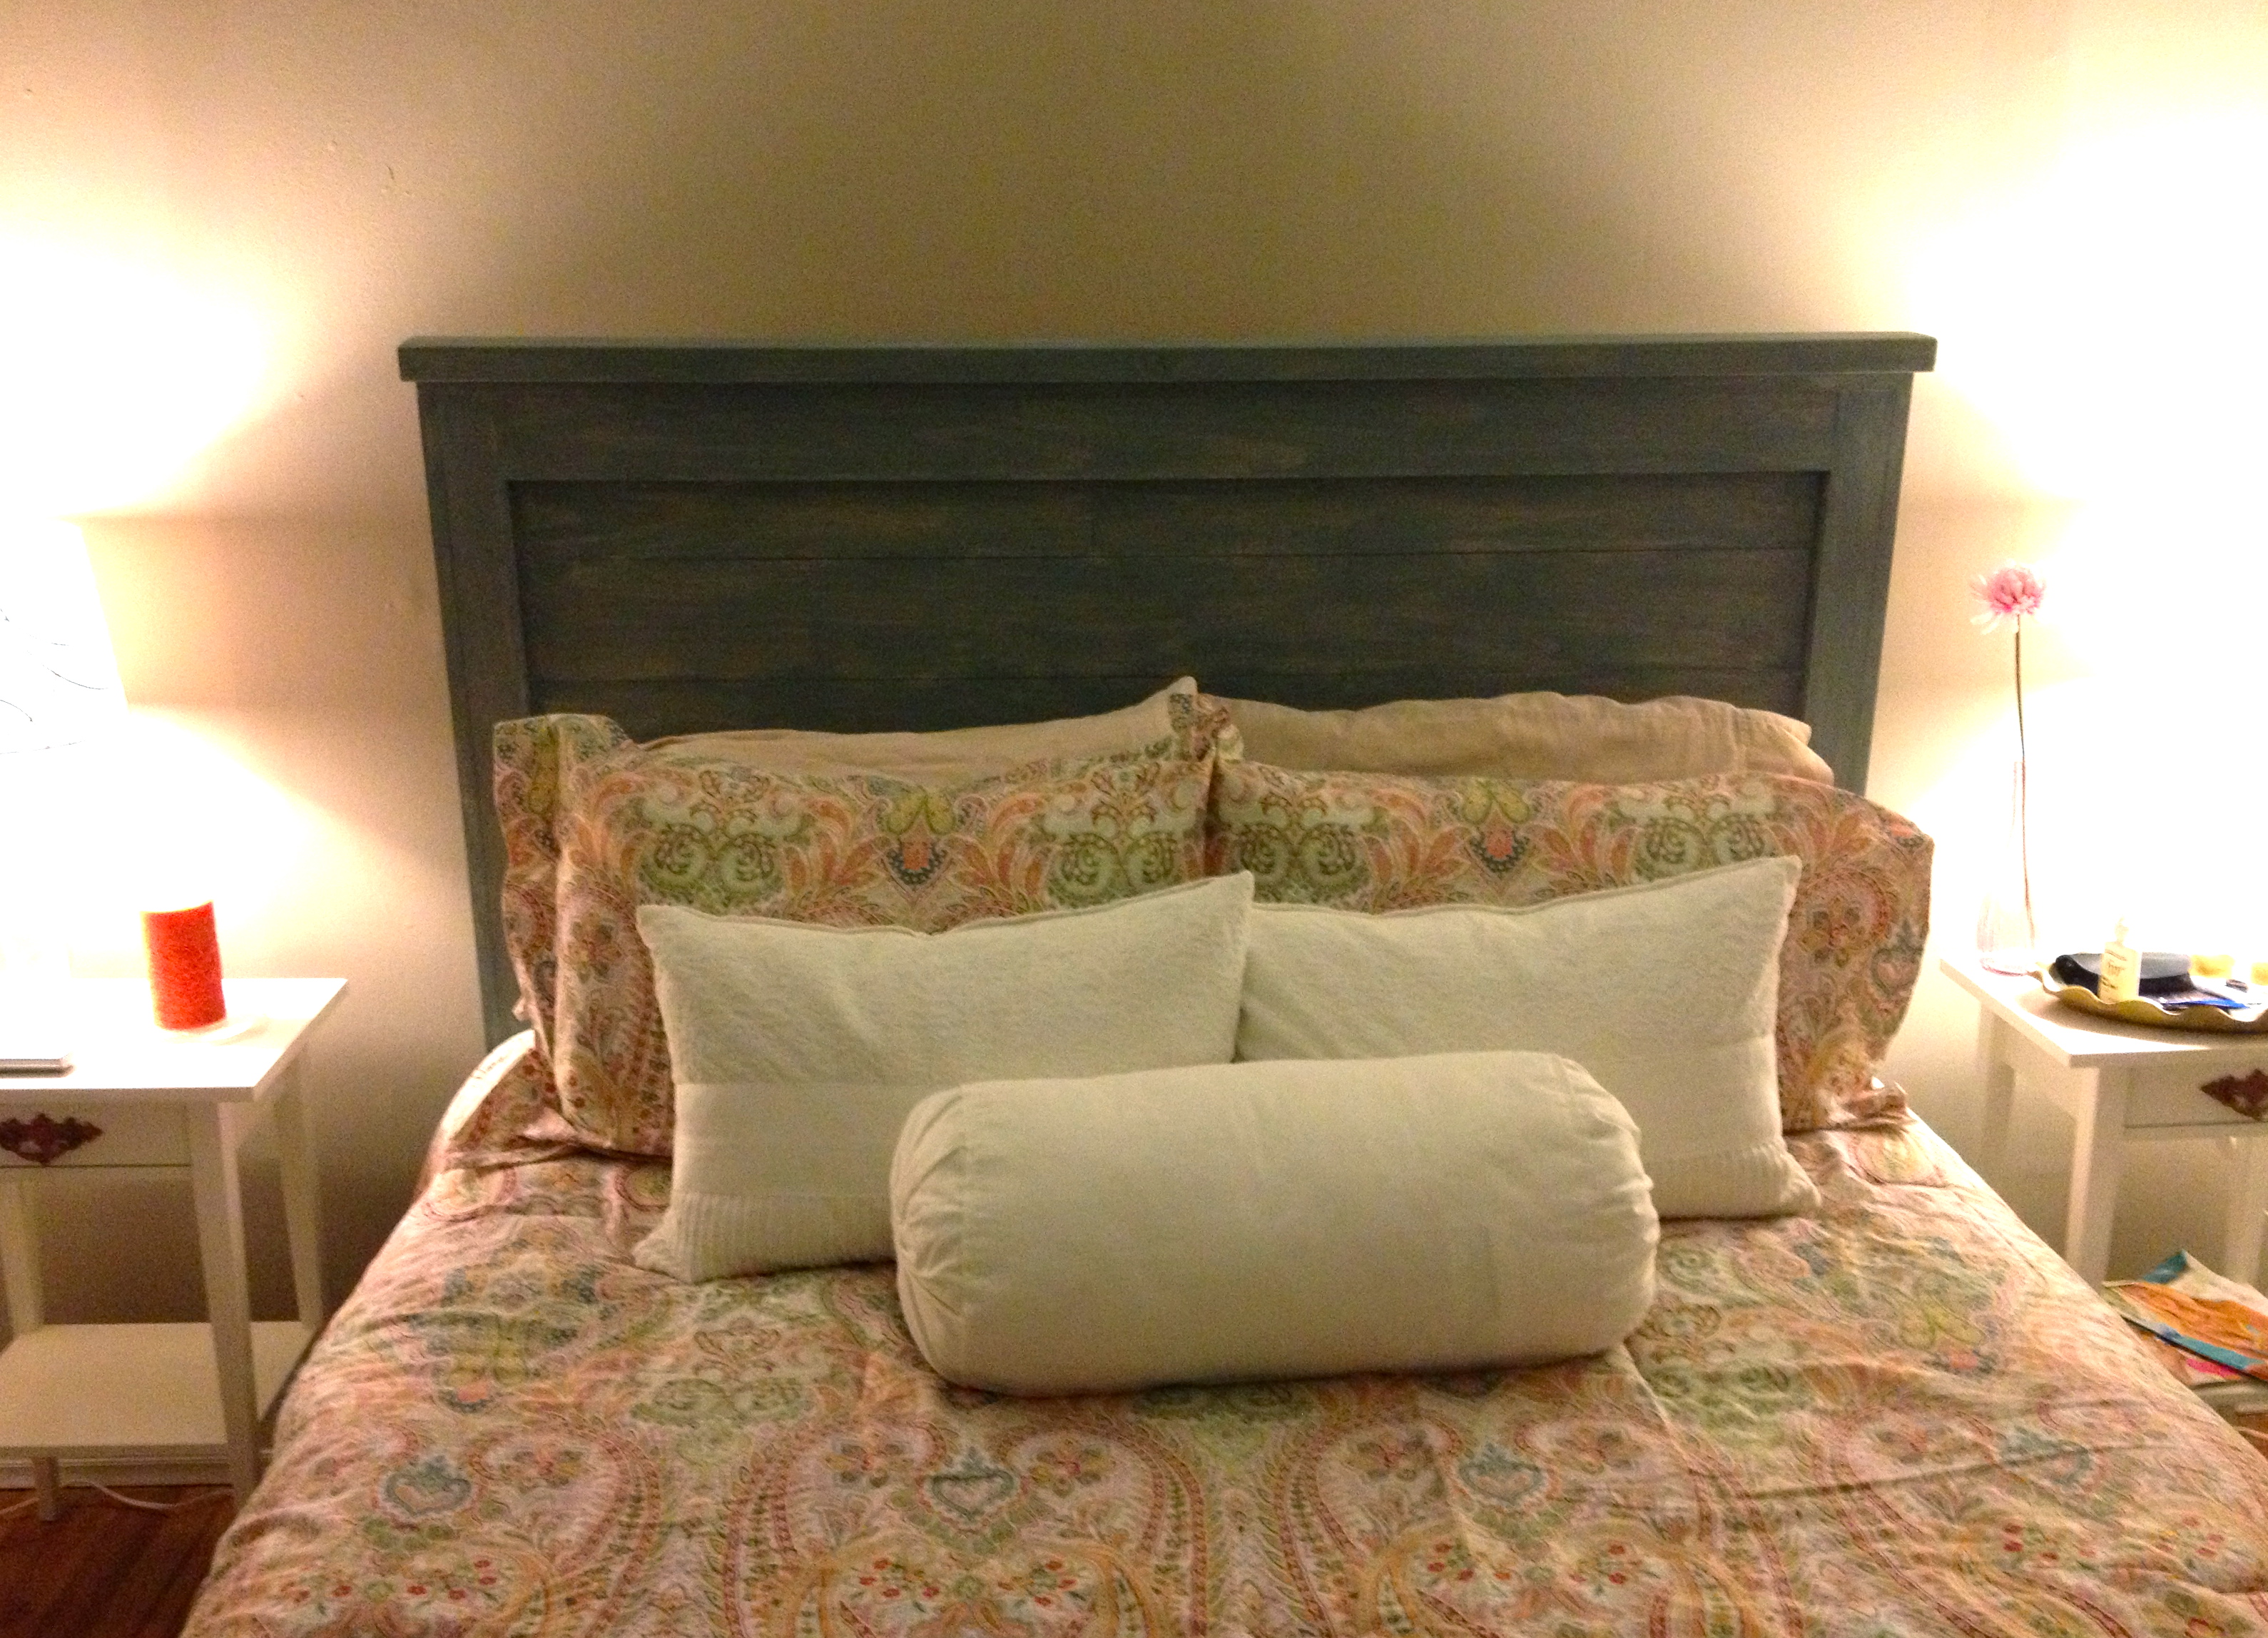
Was my first DIY project and was surprised as to how easy it was. The directions in the plan were spot on and look forward to future projects.
Estimated Time Investment
Afternoon Project (3-6 Hours)
Finish Used
Minwax Stain - Riverstone
Recommended Skill Level
Beginner
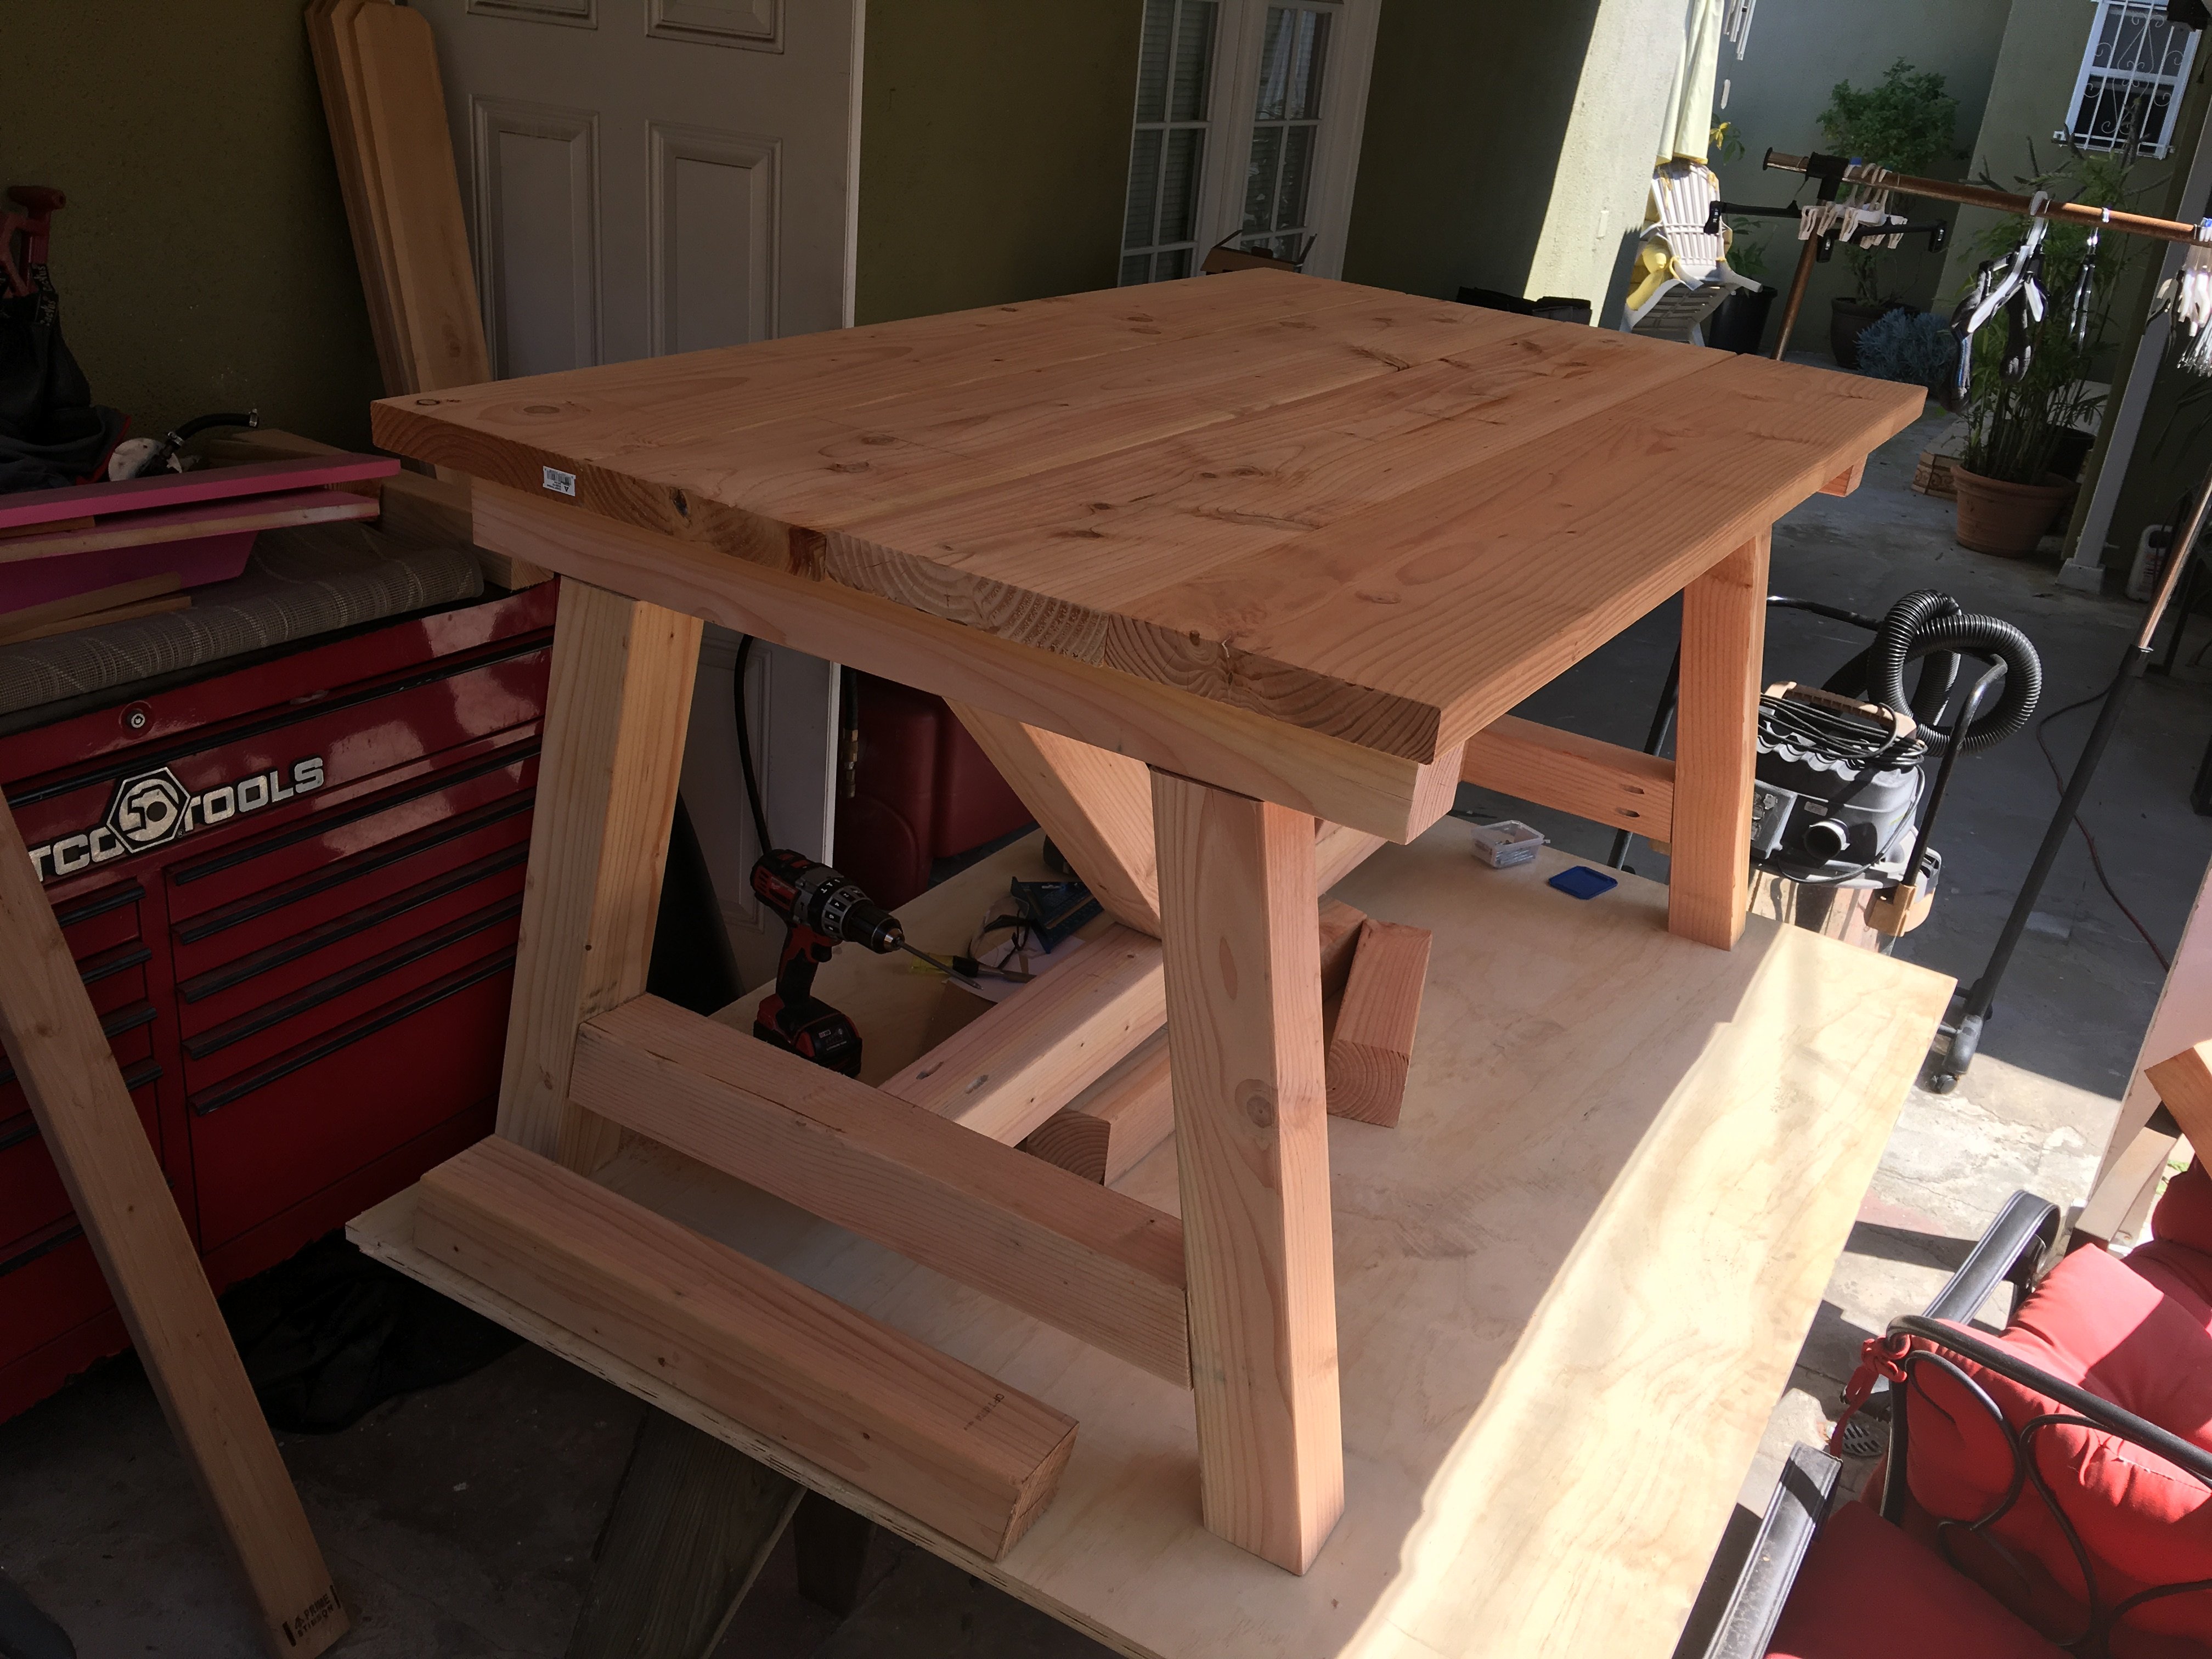
Husky Farmhouse Table
My Dad came to visit for Christmas and he knew for months that all I wanted to do was have him build this table!! We used pine and found really cheap legs on amazon that were being discontinued. They were $15 each!! We plan on having a large family so we made this to fit 8 people. There is enough room to add chairs to seat 12 for parties and events though.I got all of the chairs off Craiglsist for free and just painted and recovered the seats. I am totally in love with this table! Thank you Ana White for the plans and my Dad for his hard work!
Built from Plan(s)
Estimated Cost
$250
Estimated Time Investment
Day Project (6-9 Hours)
Finish Used
We used one coat of Minwax stain in Dark Walnut. we then added three coats of clear spar urethane in a satin finish. I didn't want the table to be too glossy looking. After that dried we applied a coat of wax and viola!! The chairs and legs we painted with primer in a slightly off white color. Then we dabbed a paintbrush in the tiniest amount of stain and went around the legs and chairs really lightly to give them a worn look. I love how it turned out!!
Recommended Skill Level
Intermediate
King Farmhouse bed
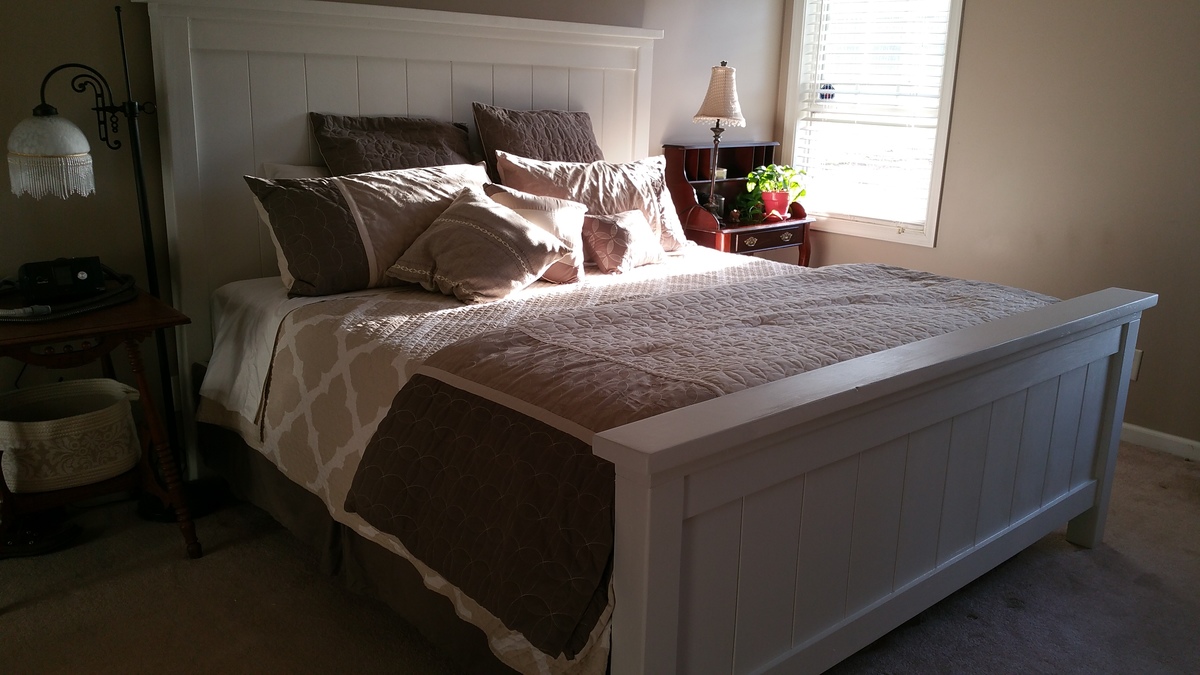
Thanks to Ana for her inspiration and such great plans. My wife wanted a taller headboard and footboard so we added to the overall height of both. Everything else is pretty much per Ana's specs. Our big box stores here wouldn't know a straight board if it slapped them in the face. After putting my headboard and footboard together the gaps looked terrible. So I decided to veneer both with 5 mm underlayment ripped 7.5 inches wide and angled to 45 degrees on each side. Once that was glued and nailed into place both pieces looked much better. We decided to do without a box spring so the deck/frame is built from 2 2x10's, 5 2x4's, 6 2x4 "feet", and two sheets of 1/2 inch plywood. This thing weighs a ton!
Built from Plan(s)
Estimated Cost
$450 for wood, hardware, primer, and paint.
Estimated Time Investment
Week Long Project (20 Hours or More)
Finish Used
Behr antique white (although the wife swears she is going to distress it later).
Recommended Skill Level
Beginner
Comments
Sun, 10/18/2020 - 08:43
Great job! Question about the heights.
How many inches did you add to the headboard and footboard?
Comments
Ana White Admin
Wed, 01/27/2021 - 10:01
Super cool!
Love this piece, looks good and super functional!