Home Fireplace Wall

I'm a complete amateur and the instructions made it so easy!
Lori
Built from Plan(s)
I'm a complete amateur and the instructions made it so easy!
Lori
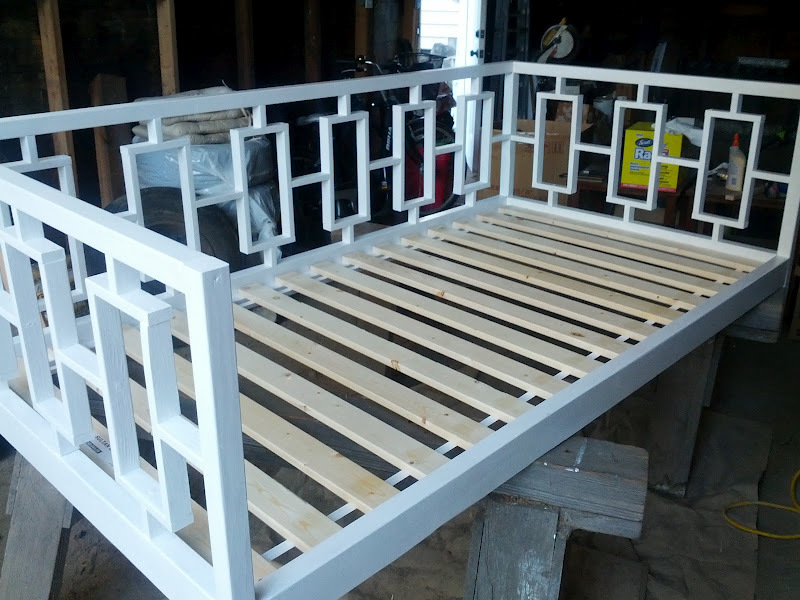
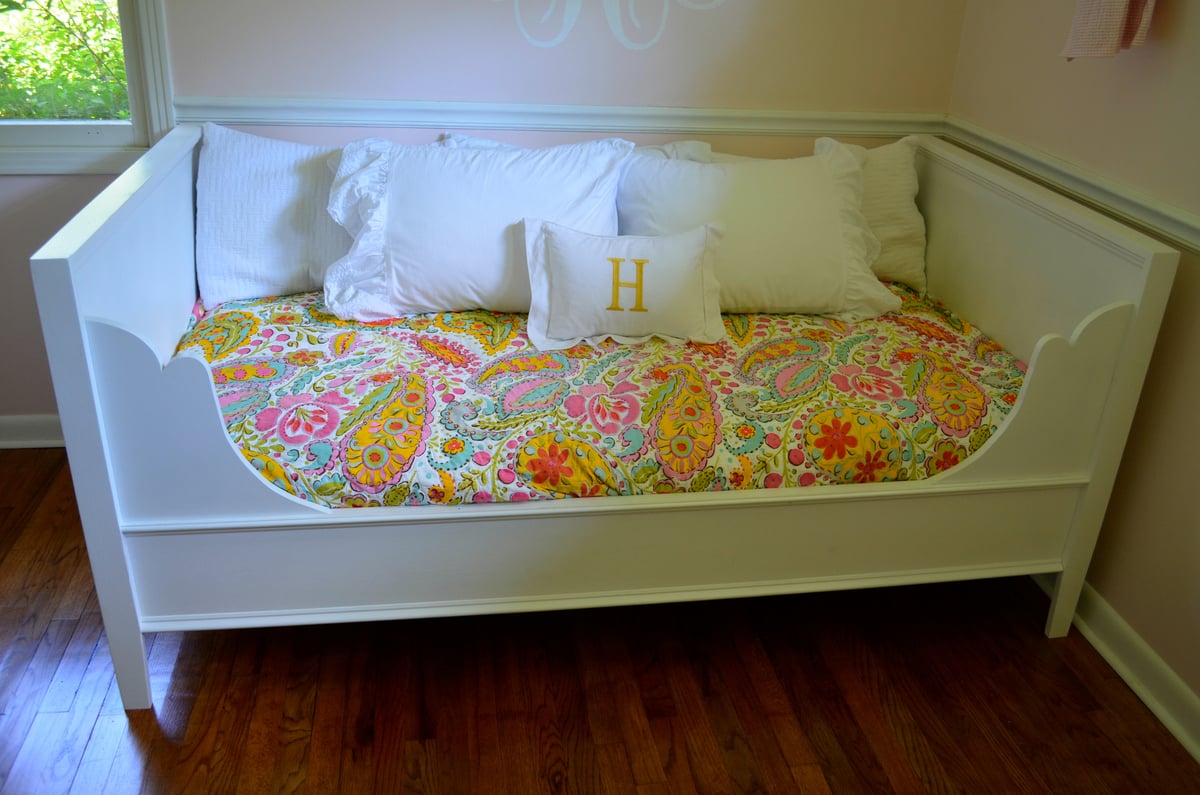
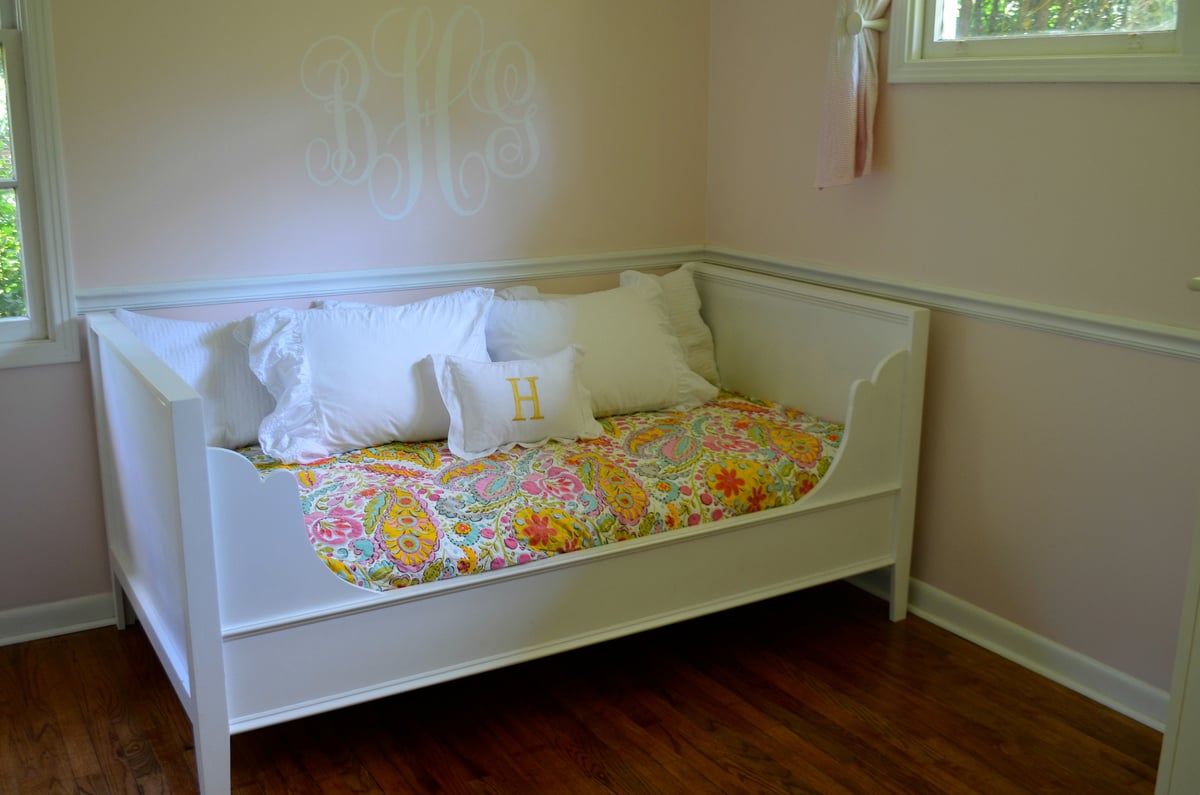
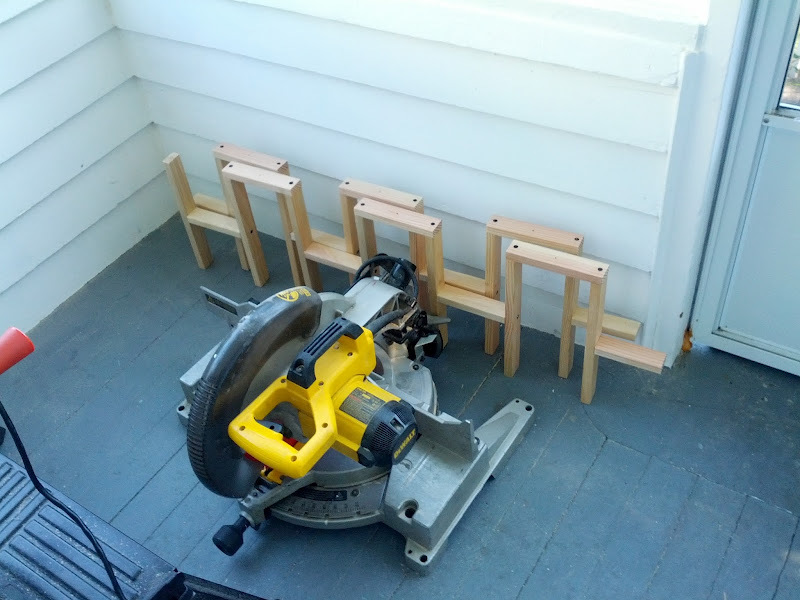
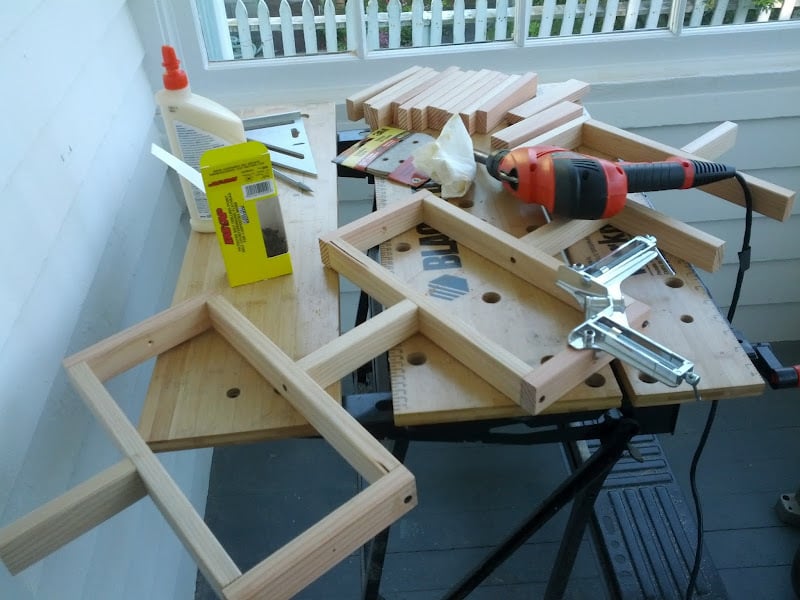
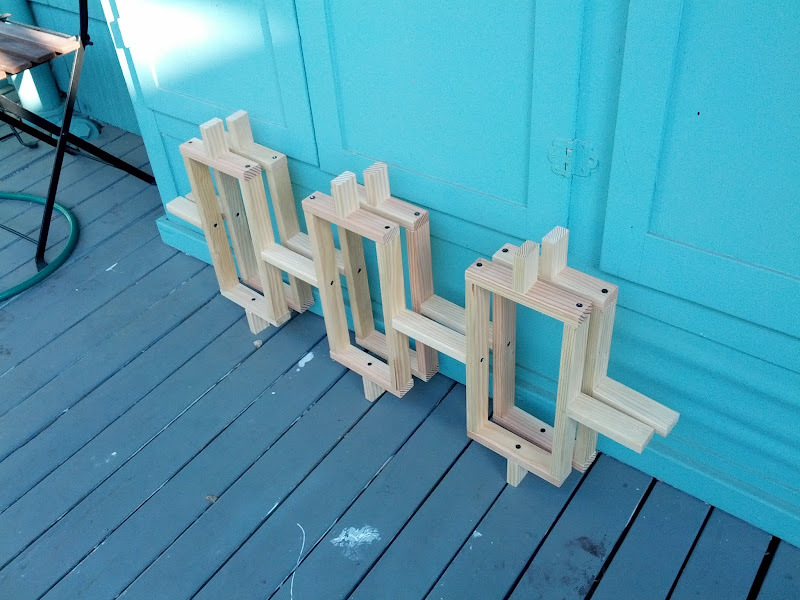
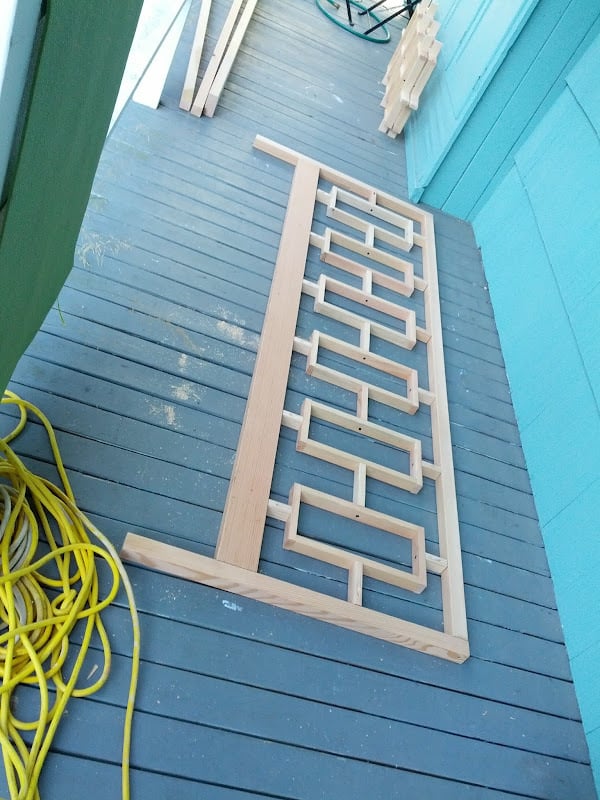
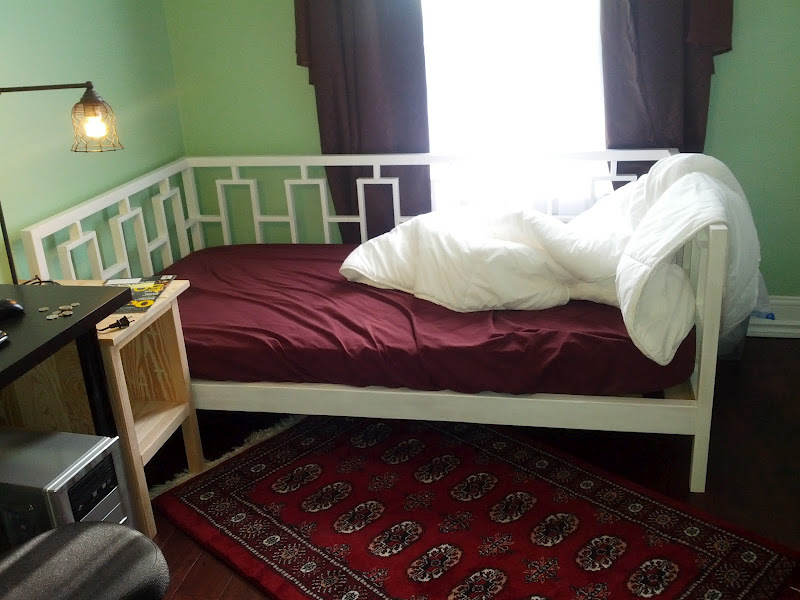
For my first woodworking project ever, I decided to make the Rectangles Daybed. I have not handled a power tool before, except the drill. So, over all, I'm quite happy with the result.
I got odd lot fir, which was more expensive, but prettier and easier to work with. I would probably not do that if I had known I was painting it. I also decided to put in IKEA slats instead of making my own.
I put more details in my blog posts.
Sun, 09/16/2012 - 17:12
Is there any chance you are making this to sell? if so, how much? Email me at [email protected]
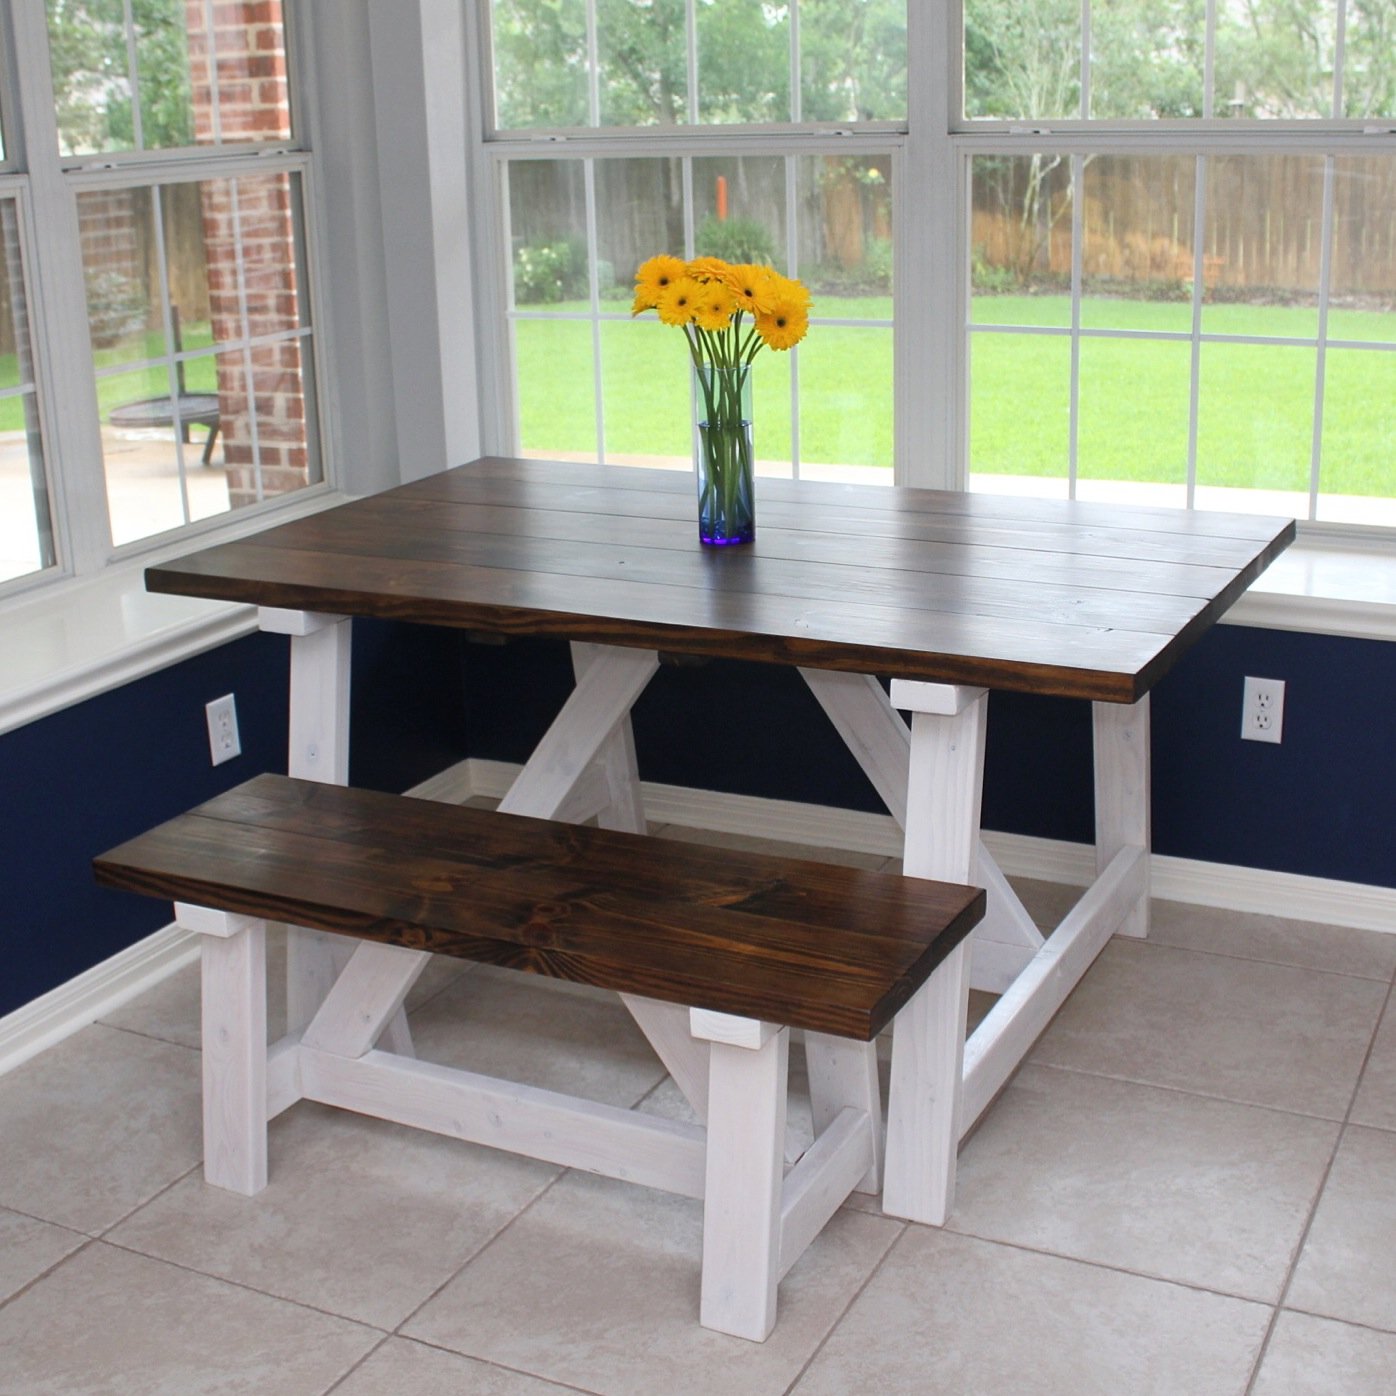
We shortened the original table plans by 2 feet to fit it inside our breakfast nook and it turned out perfectly!
Wed, 06/11/2014 - 08:41
Love the bright beautiful space! Great build and mod, thanks for sharing!

This was a fantastic project and I love the way it turned out. You can check out my blog post for more details how it all came together.
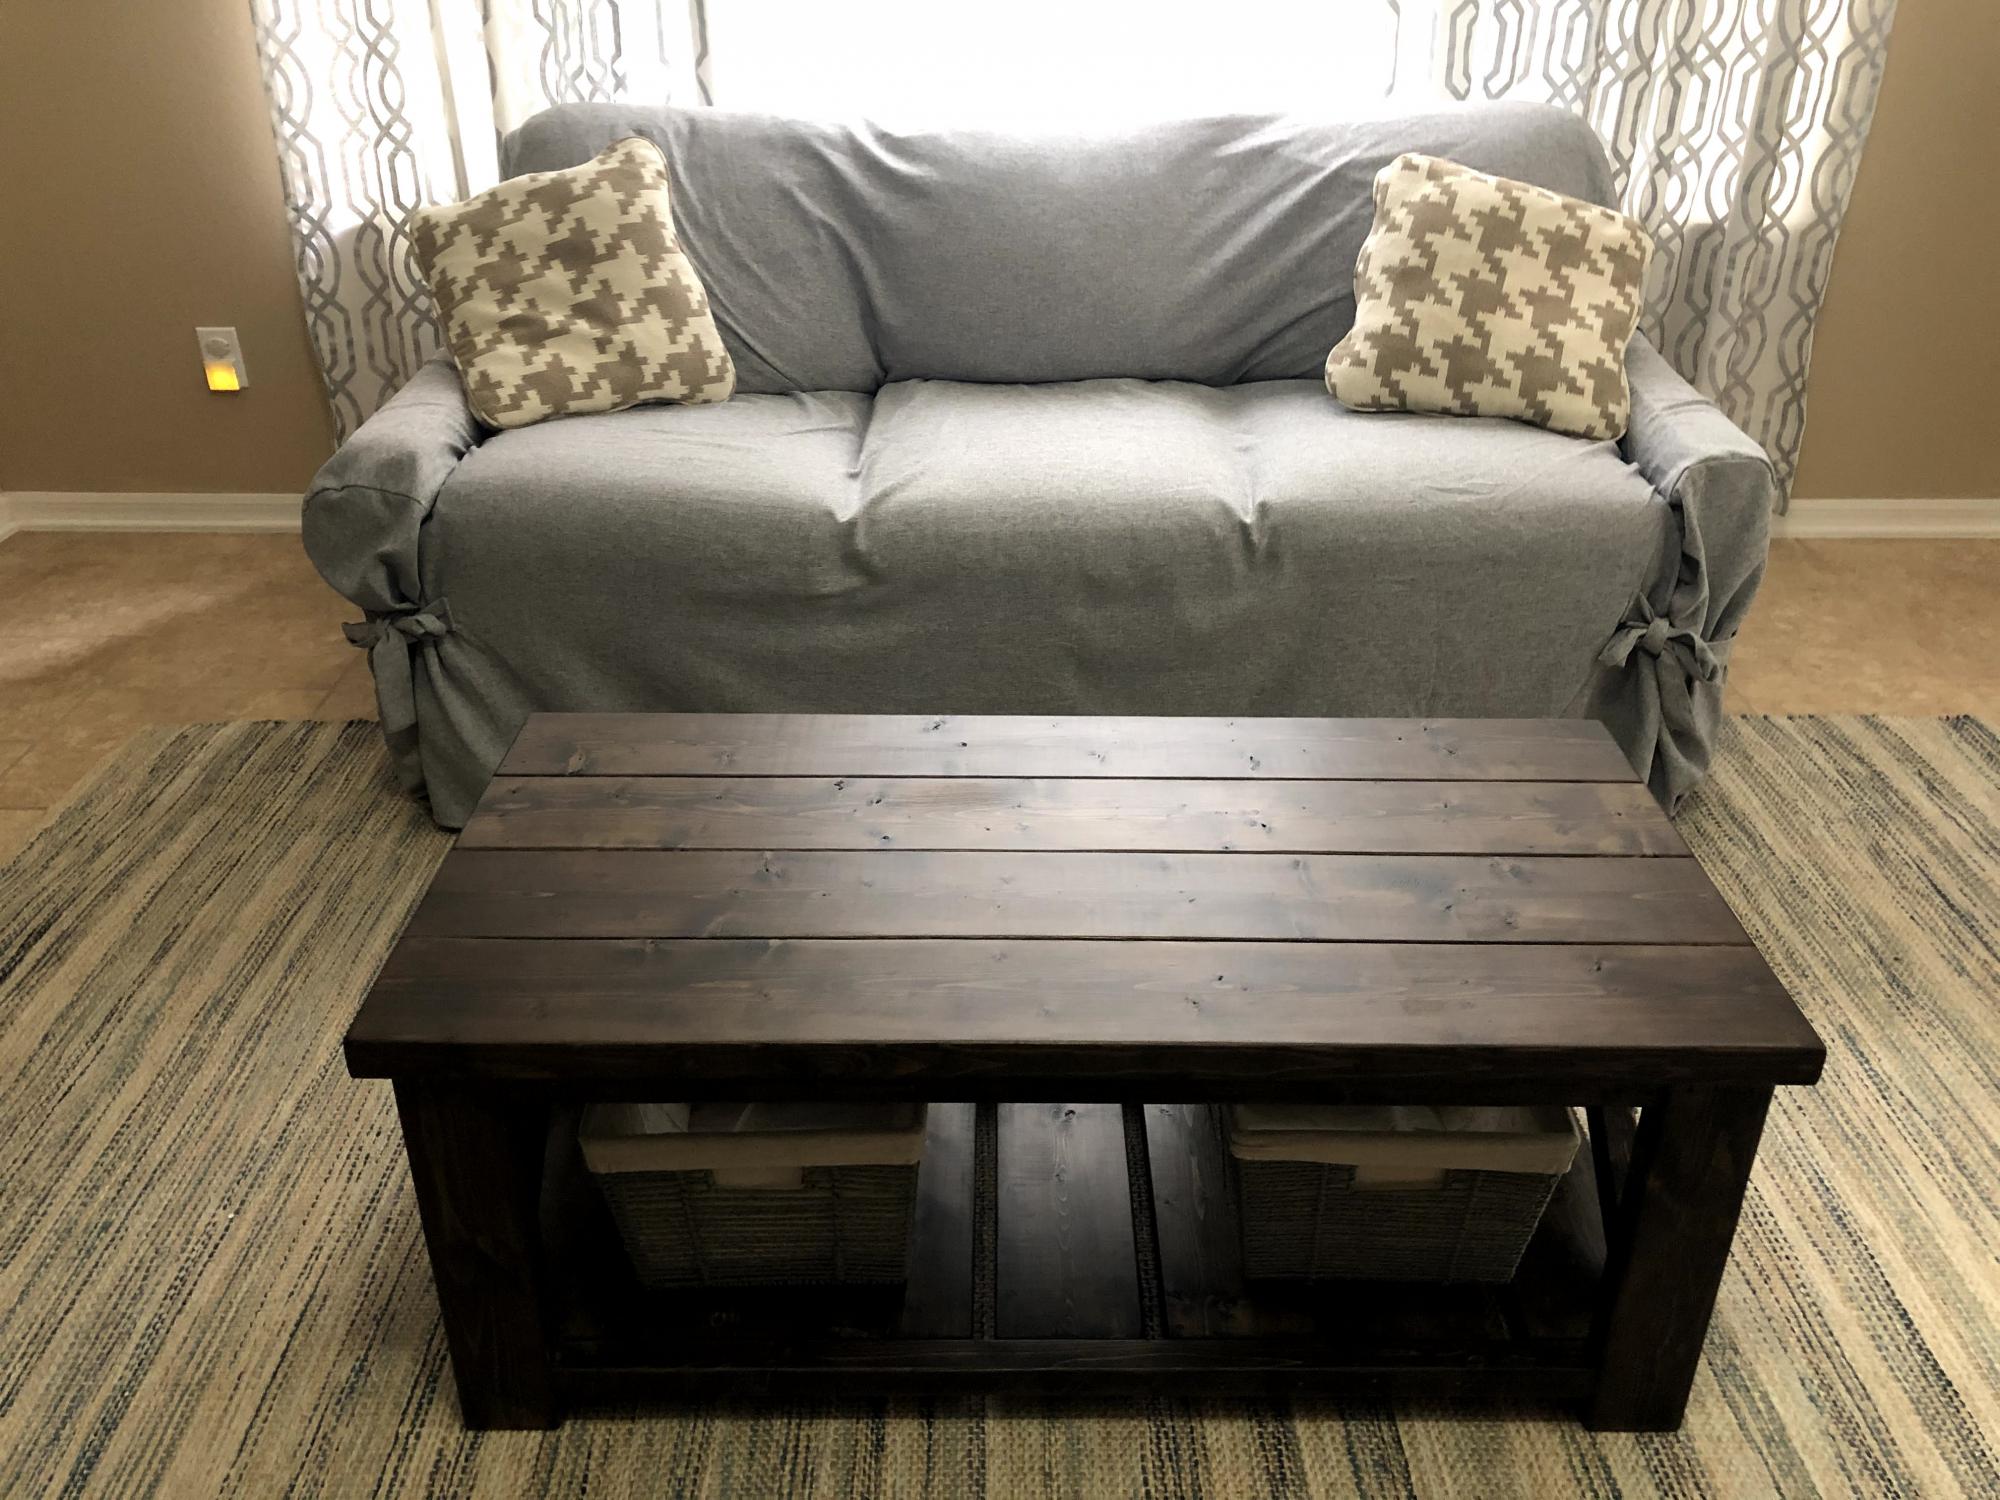
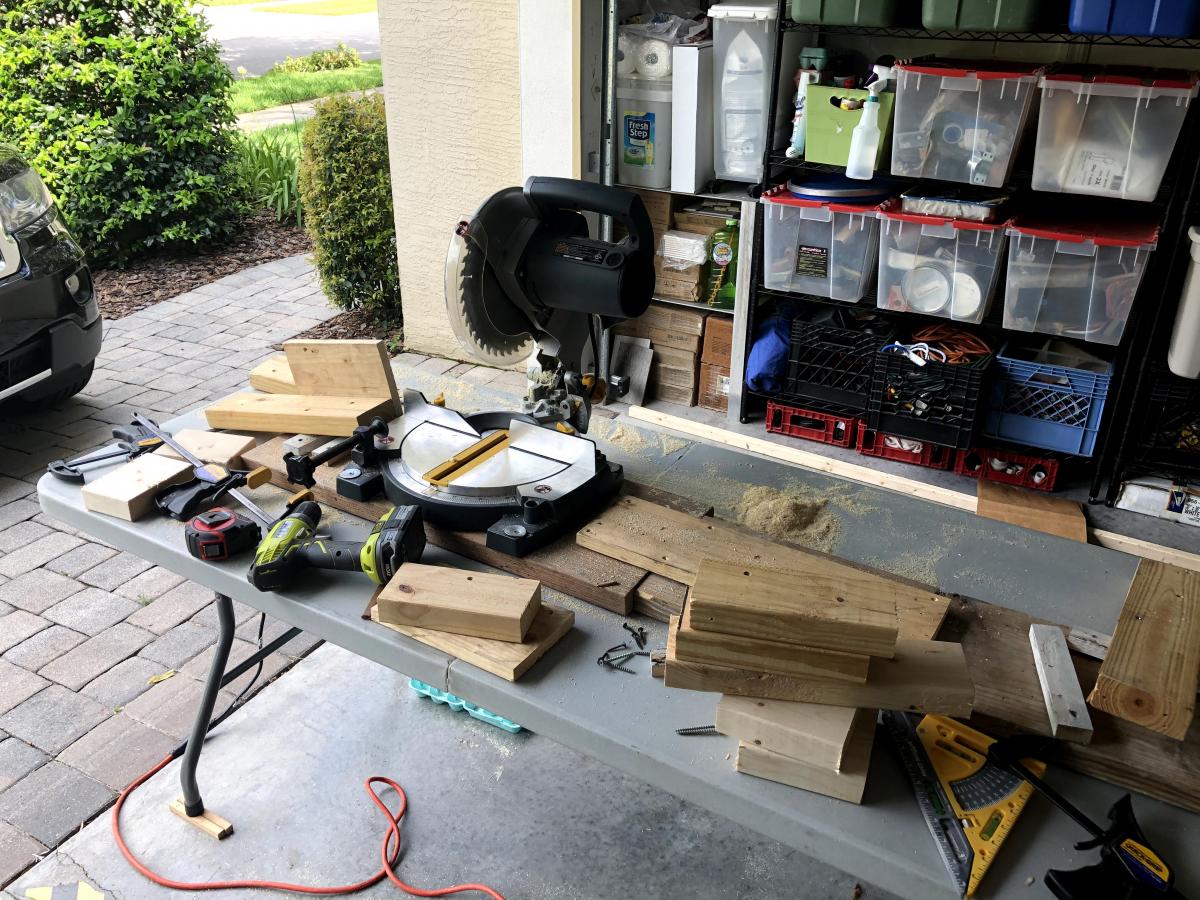
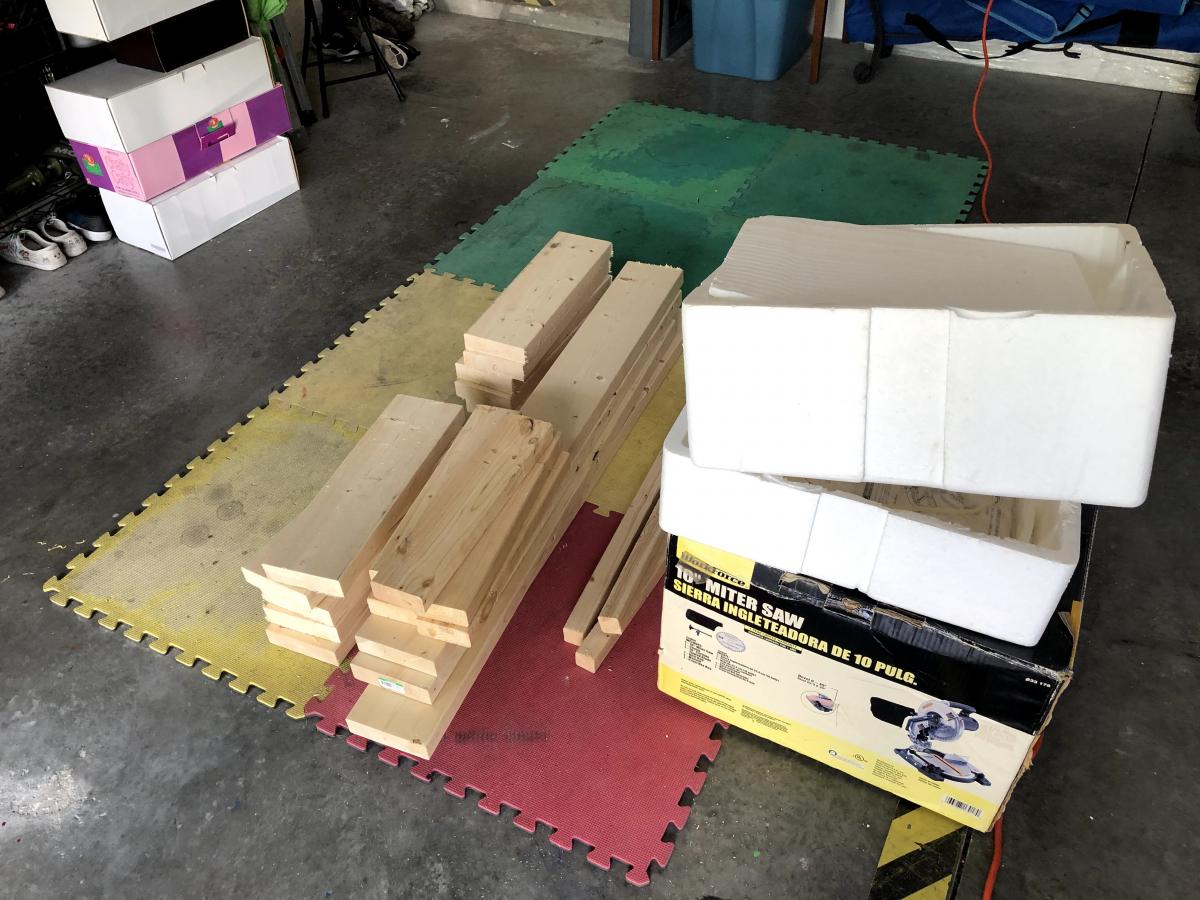
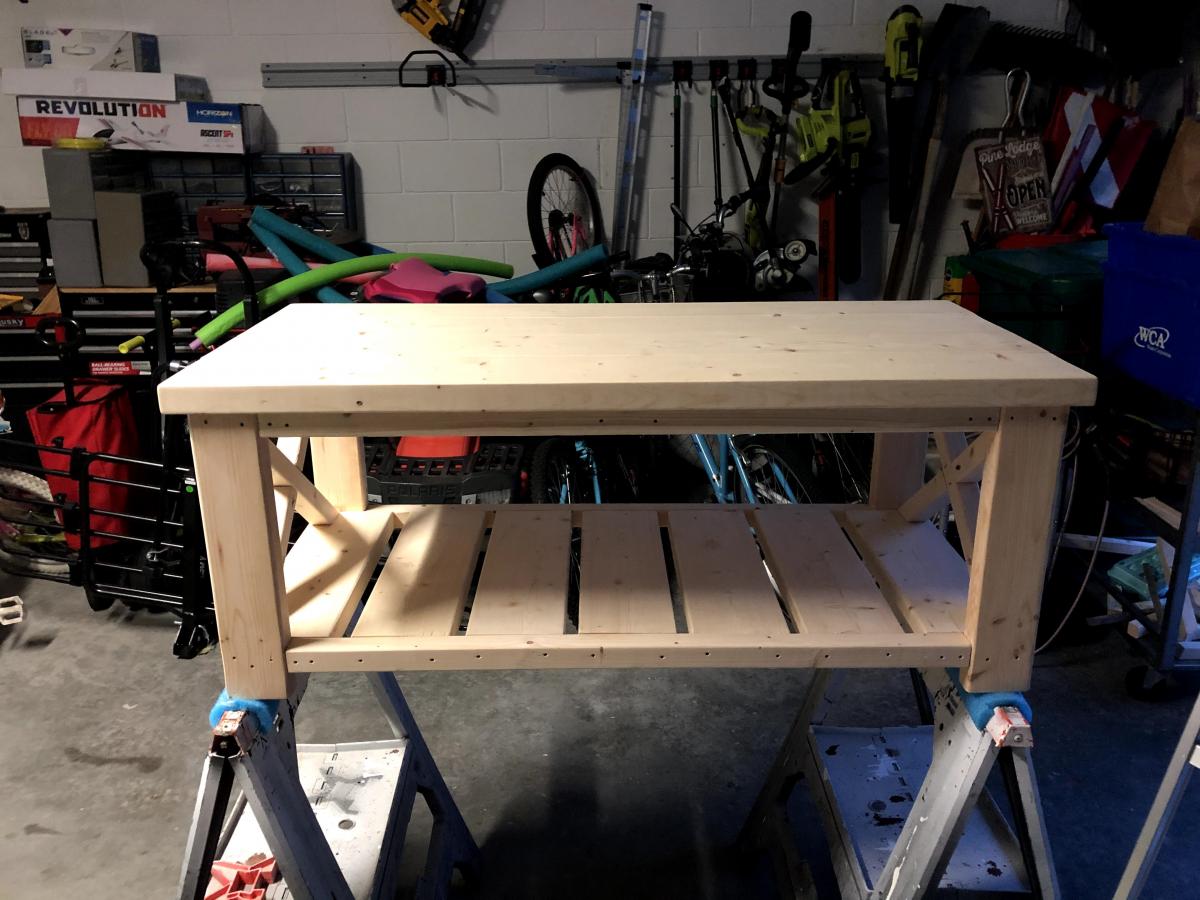
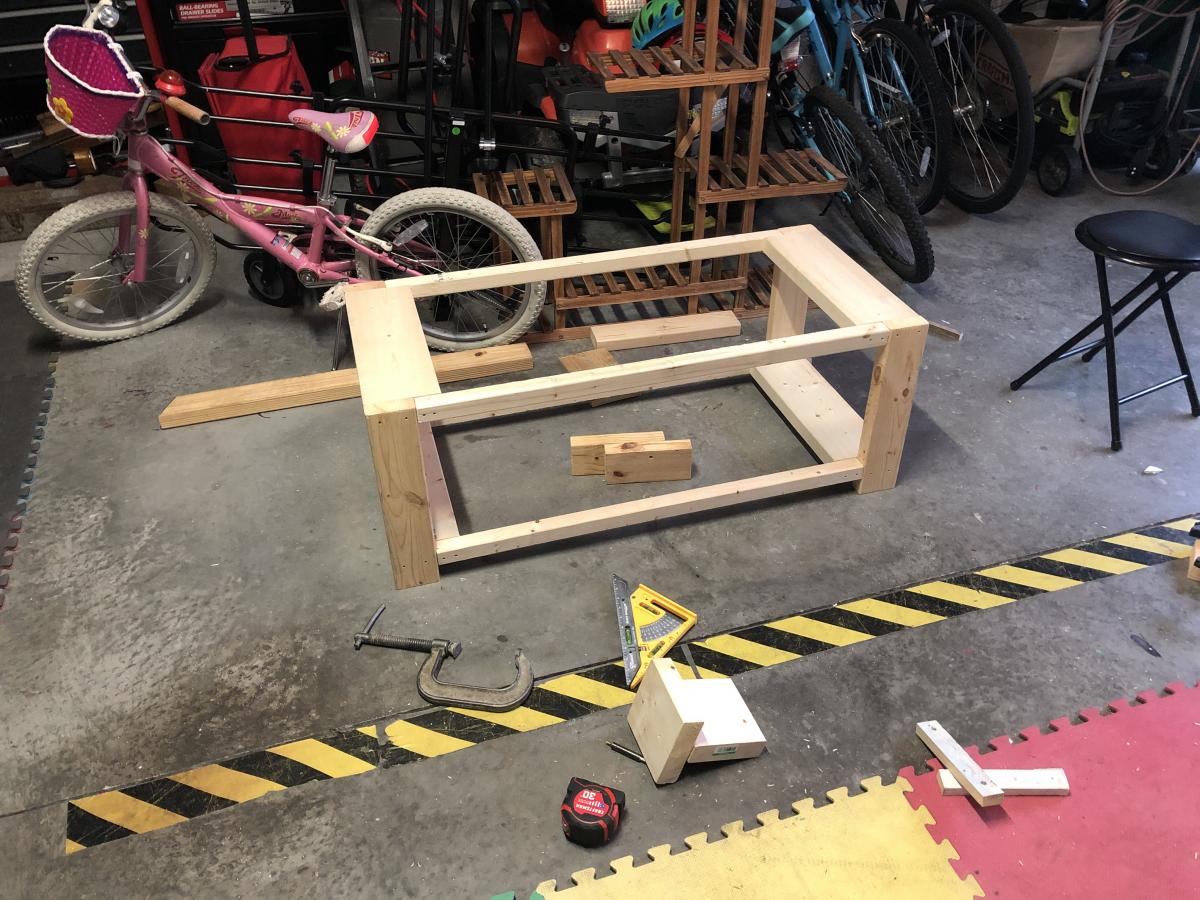
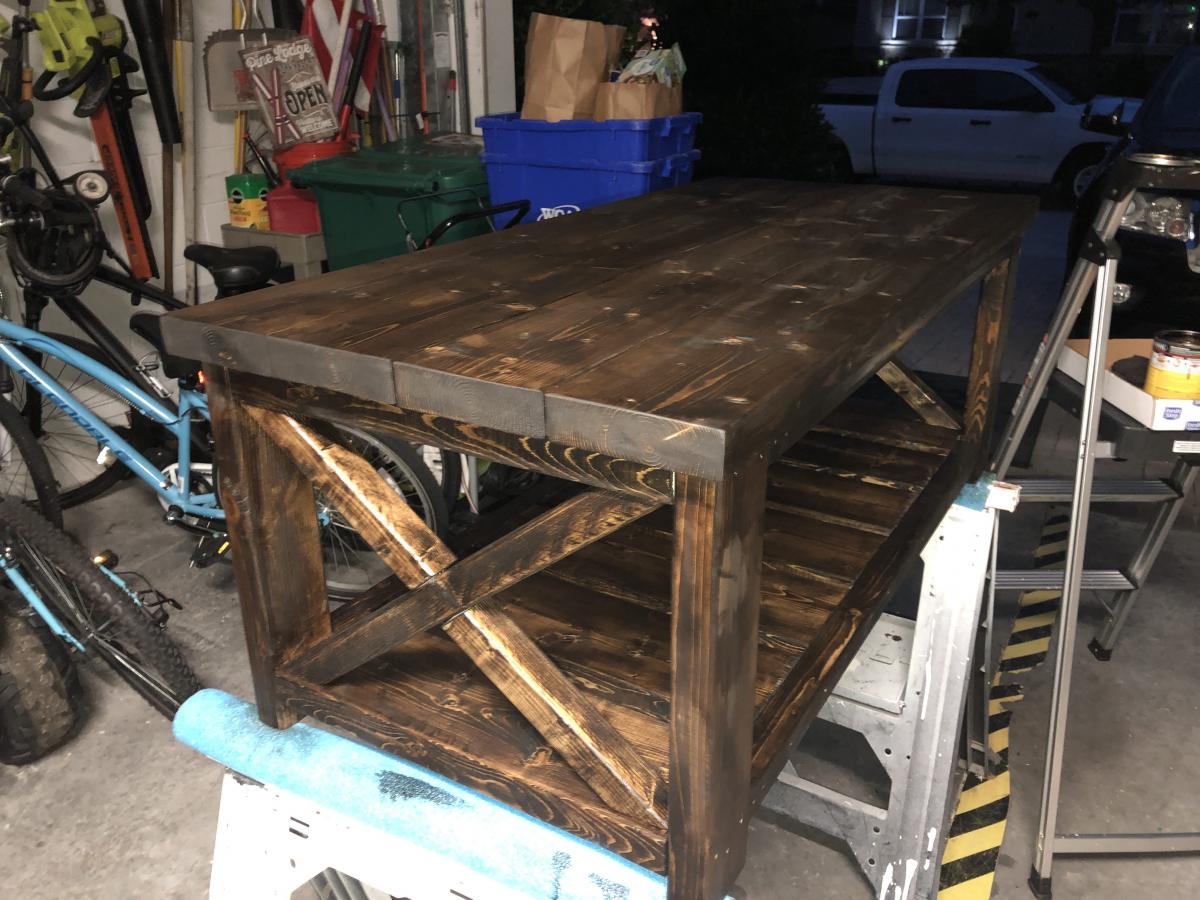
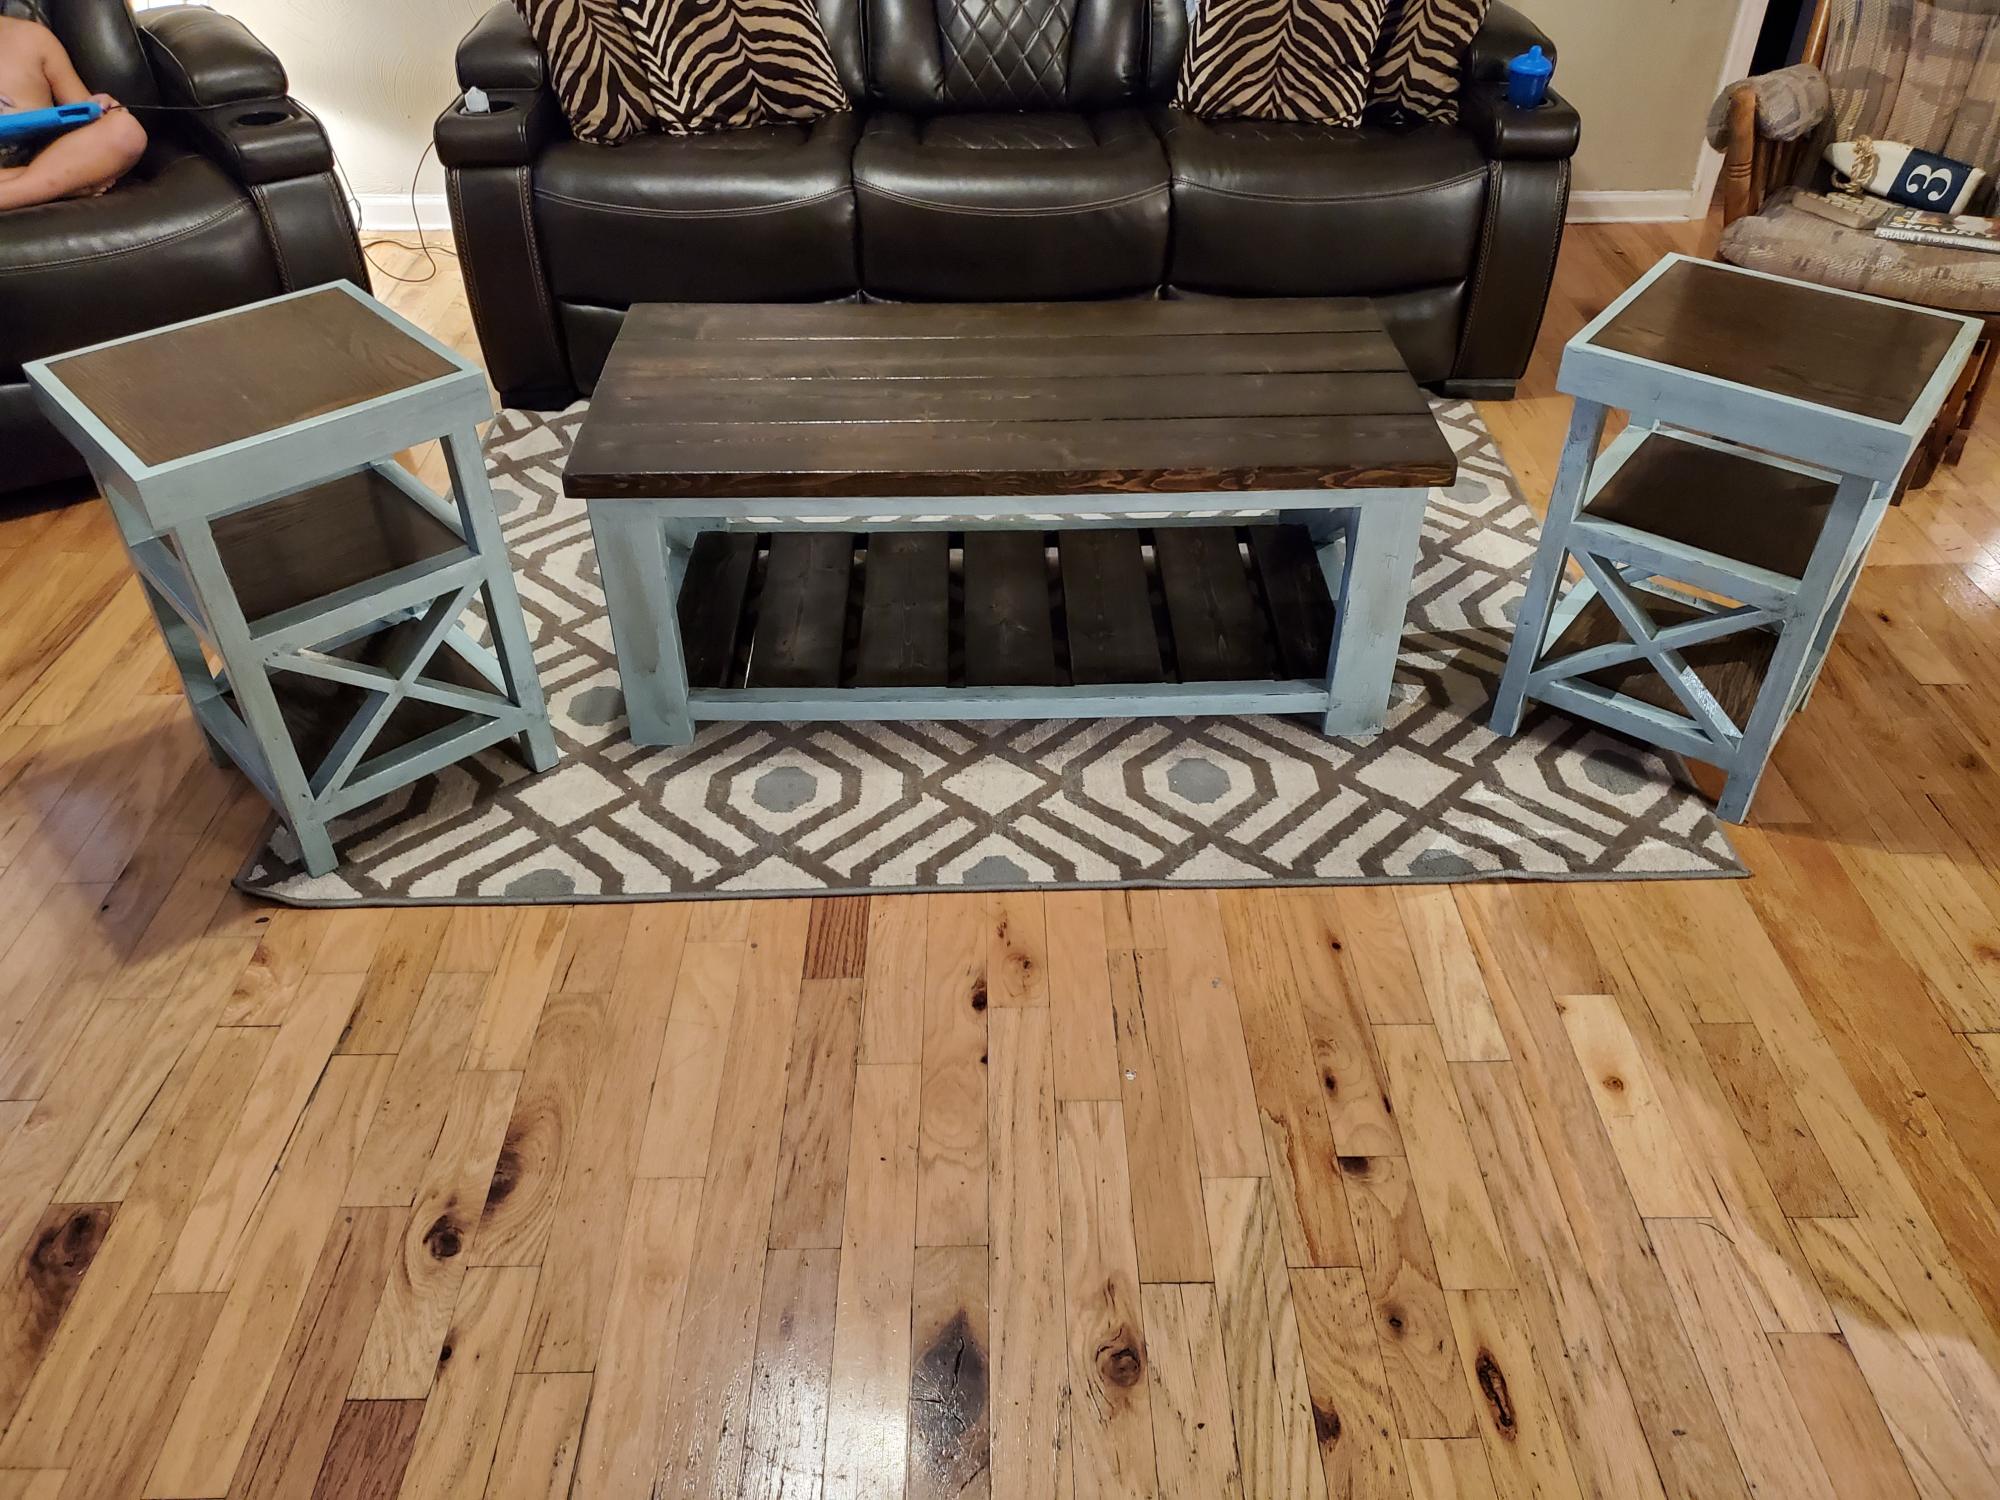
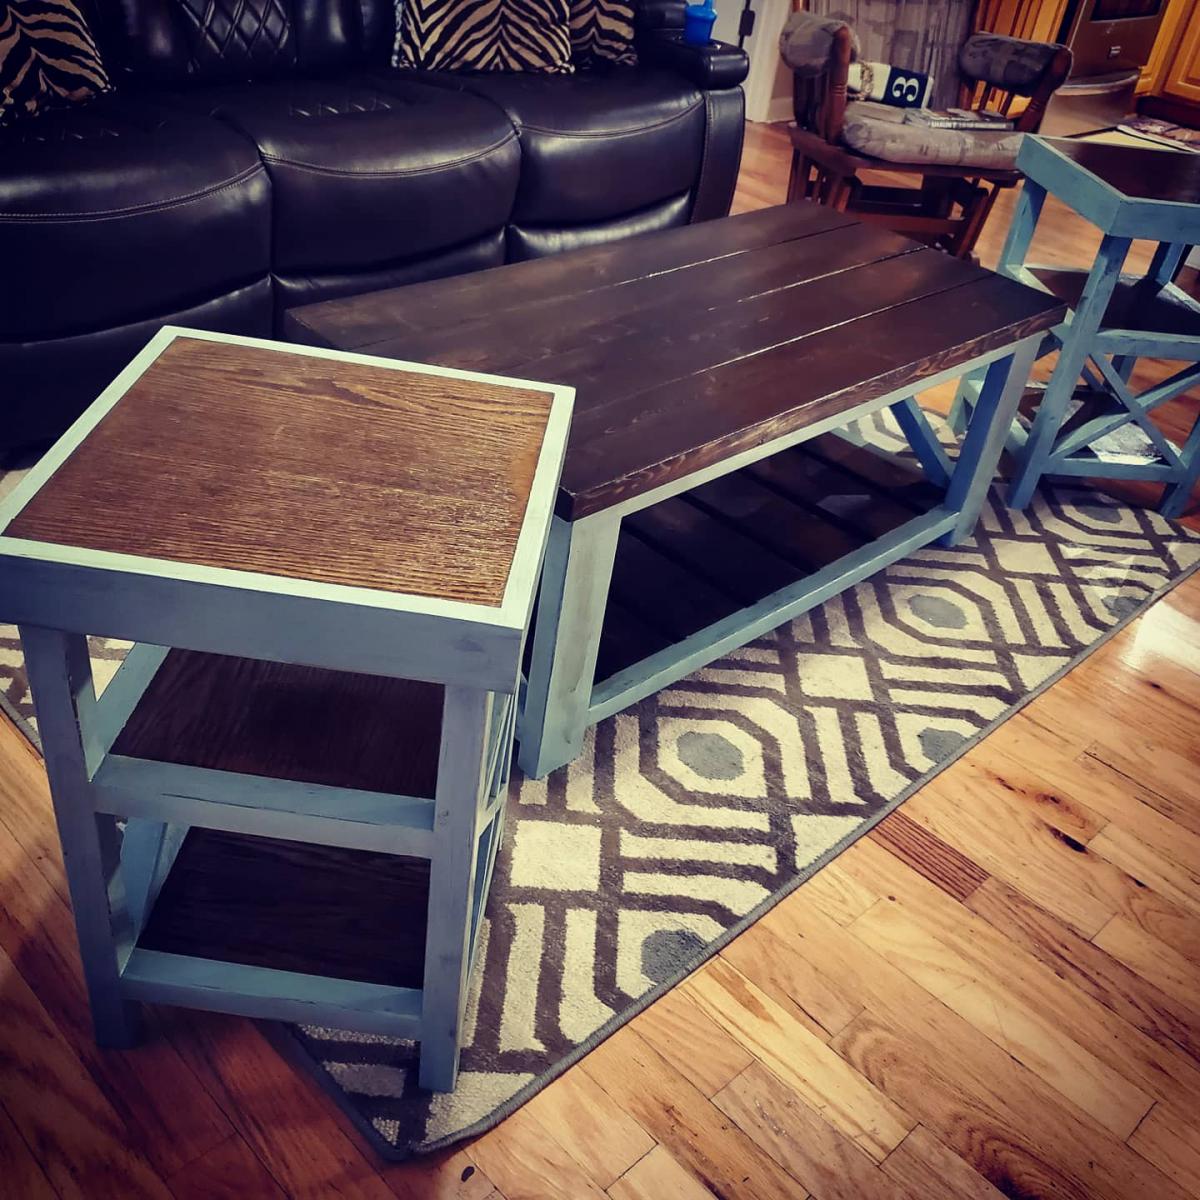
Started down this road on May 30th 2020. First it was the $40 Coffee Table (Which cost me $47 in wood from Lowes) Highly recommend a Miter-saw with a long enough fence to make identical cuts, I learned my lesson. Cut and built the table over the weekend. Had some trouble with the X's on each end, do not use the dimensions in the plans for the X's they were 3 inches to small. (Watch the video and follow Ana's technique.) Sanded all the wood stained with Jacobean 2750 tint Minwax and sealed with Satin Polycrylic. After it was finished my wife asked for the matching side tables see the other Brag Post. See Photos for Details.

We decided to build the Farmhouse Table after our 30 year old dining table began to crack and just wasn't working so well for our family of 5. This was our first project, so we made a lot of mistakes but also learned a lot. One of the hardest things was finding decent lumber that wasn't warped or split. We also made two Farmhouse Benches but they aren't included in this photo.

Thank you soo much for the apron plans. I've used a sewing machine about 5 times in my life, and I didn't know what "stitch in the ditch" or bias tape or trim was, but with the plans and some web searching, I was actually able to sew this apron. It took me considerably longer than others, especially because I don't have an iron, pins, or a seam ripper (ripping a seam took me over an hour). Again, thank you sooo much! I hope to never lose my pen and tape measure at the lumber yard again with this handy creation :)

Sun, 06/15/2014 - 05:27
Great job on the work apron, Yvonne! Congrats on conquering the sewing machine!

In reply to Looks great! by JoanneS
Tue, 06/17/2014 - 00:27
Thank you, Joanne. :) There is so much I want to learn, and for some reason, I feel like I need to learn it all now, when my life is busier than ever. Hah!
In reply to Amazing job by spiceylg
Fri, 06/27/2014 - 10:55
Thank you so much. It reminded me of using a jigsaw, and vice versa. :)

Needed a big desk. Made mine at 8' long.
Tue, 10/04/2016 - 05:47
The desk came out great. I made the same desk, I went with the 2x12x6 dual board top. I like the look of the solid piece on top...will have to try it on the next one.
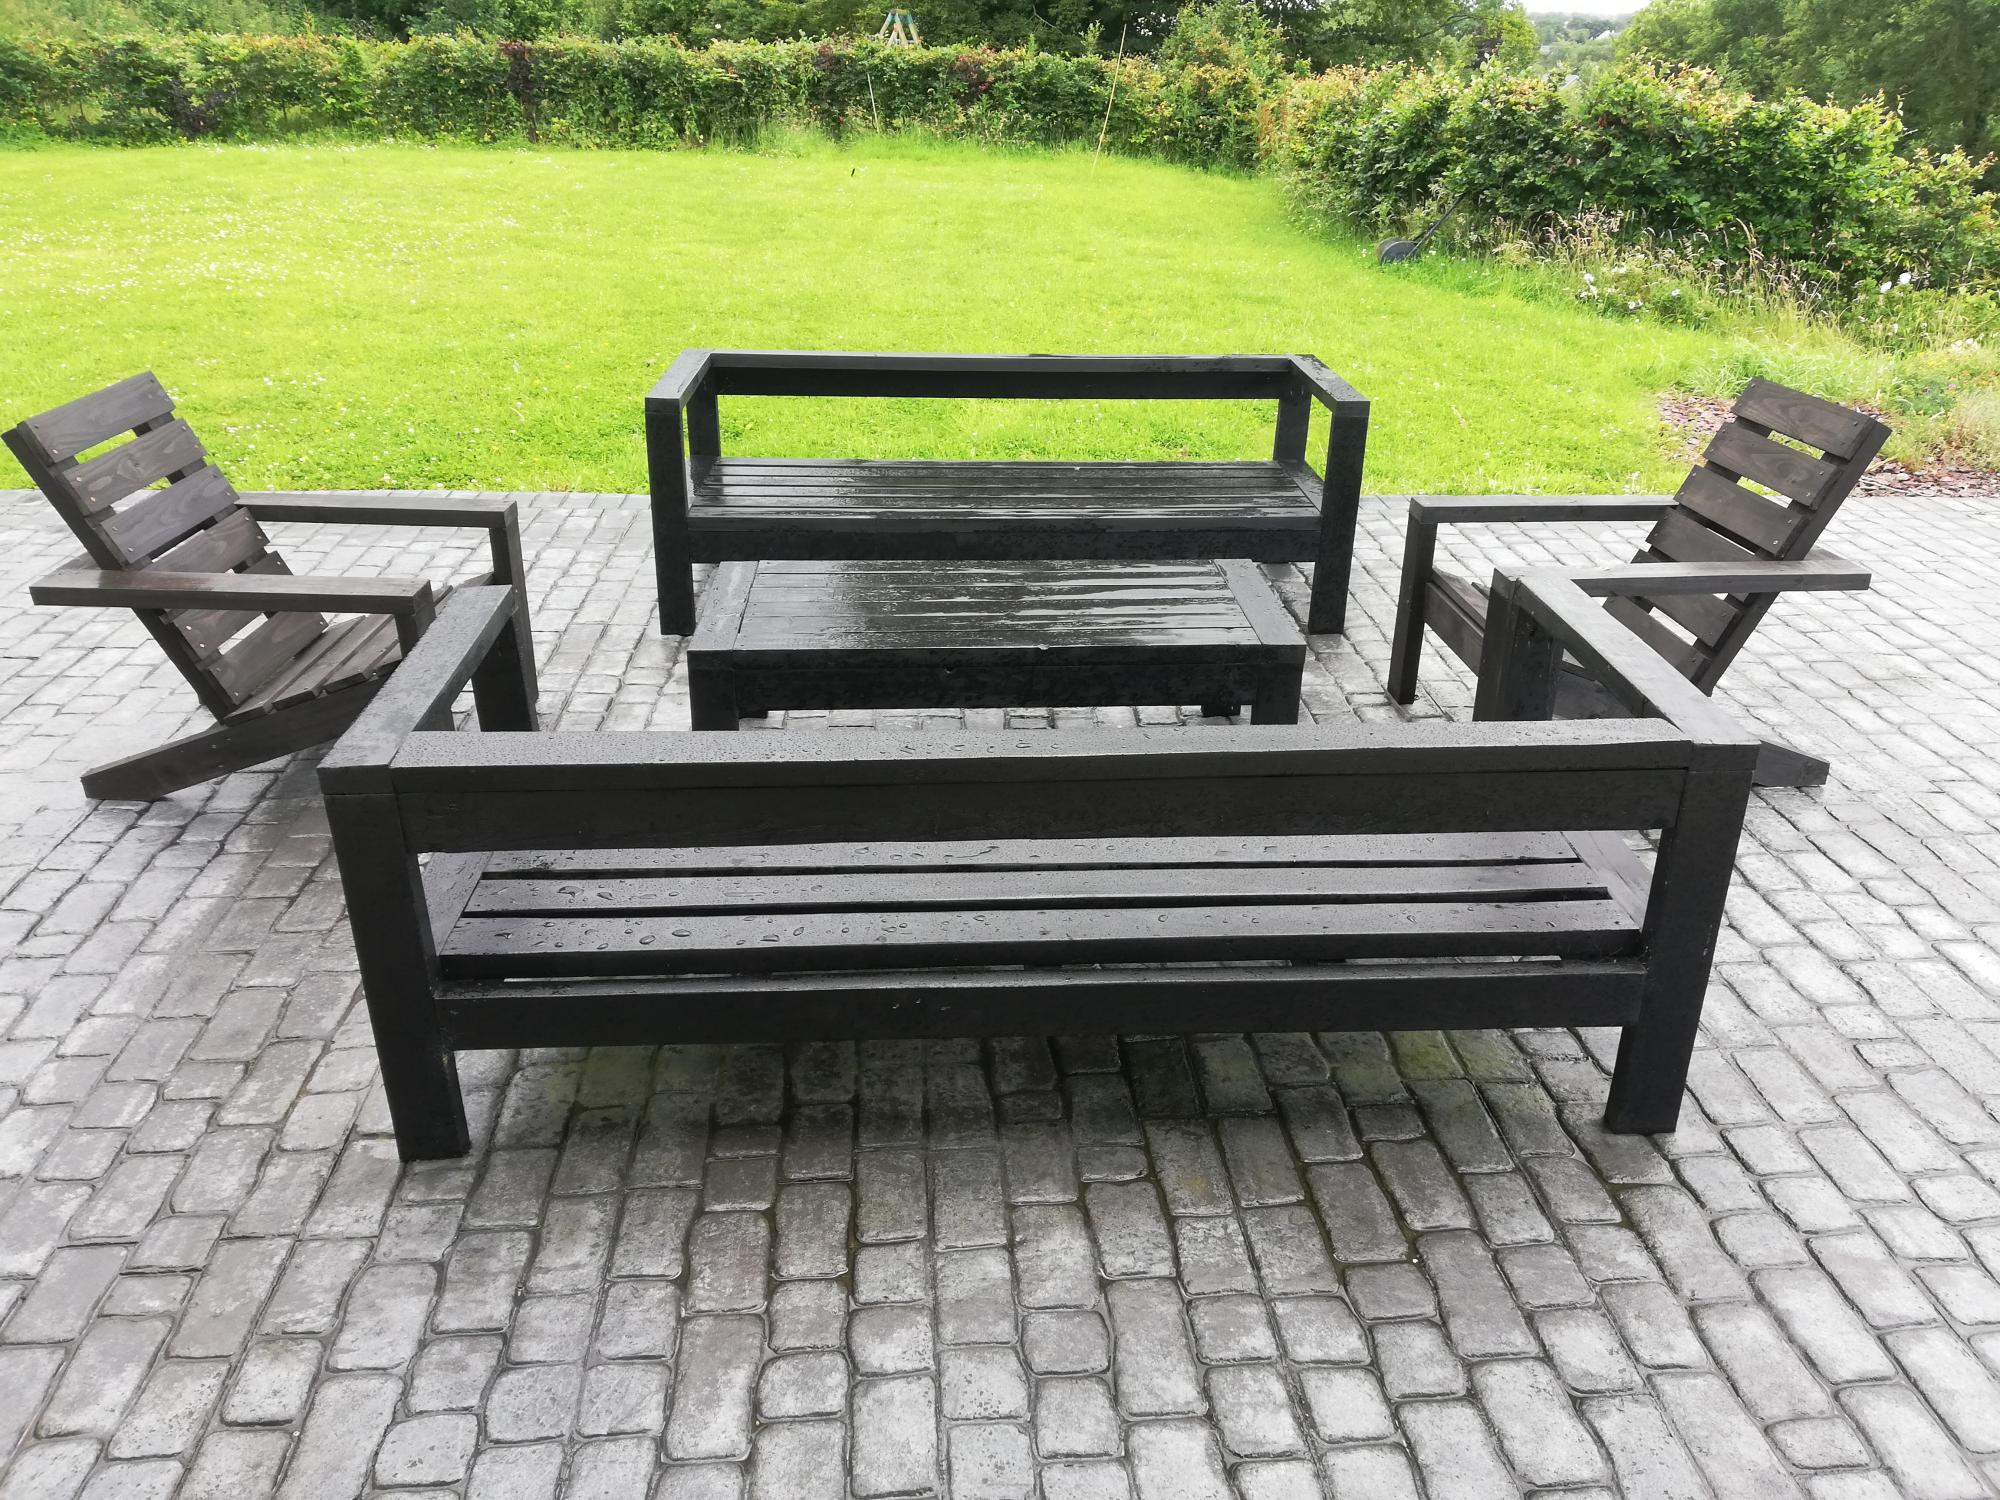
Thanks Ana for your great plans... Unfortunately it hasn't stopped raining since we finished the armchairs! All we need now is the sun :)
We used 4x1 for the seats to match the outdoor sofas.
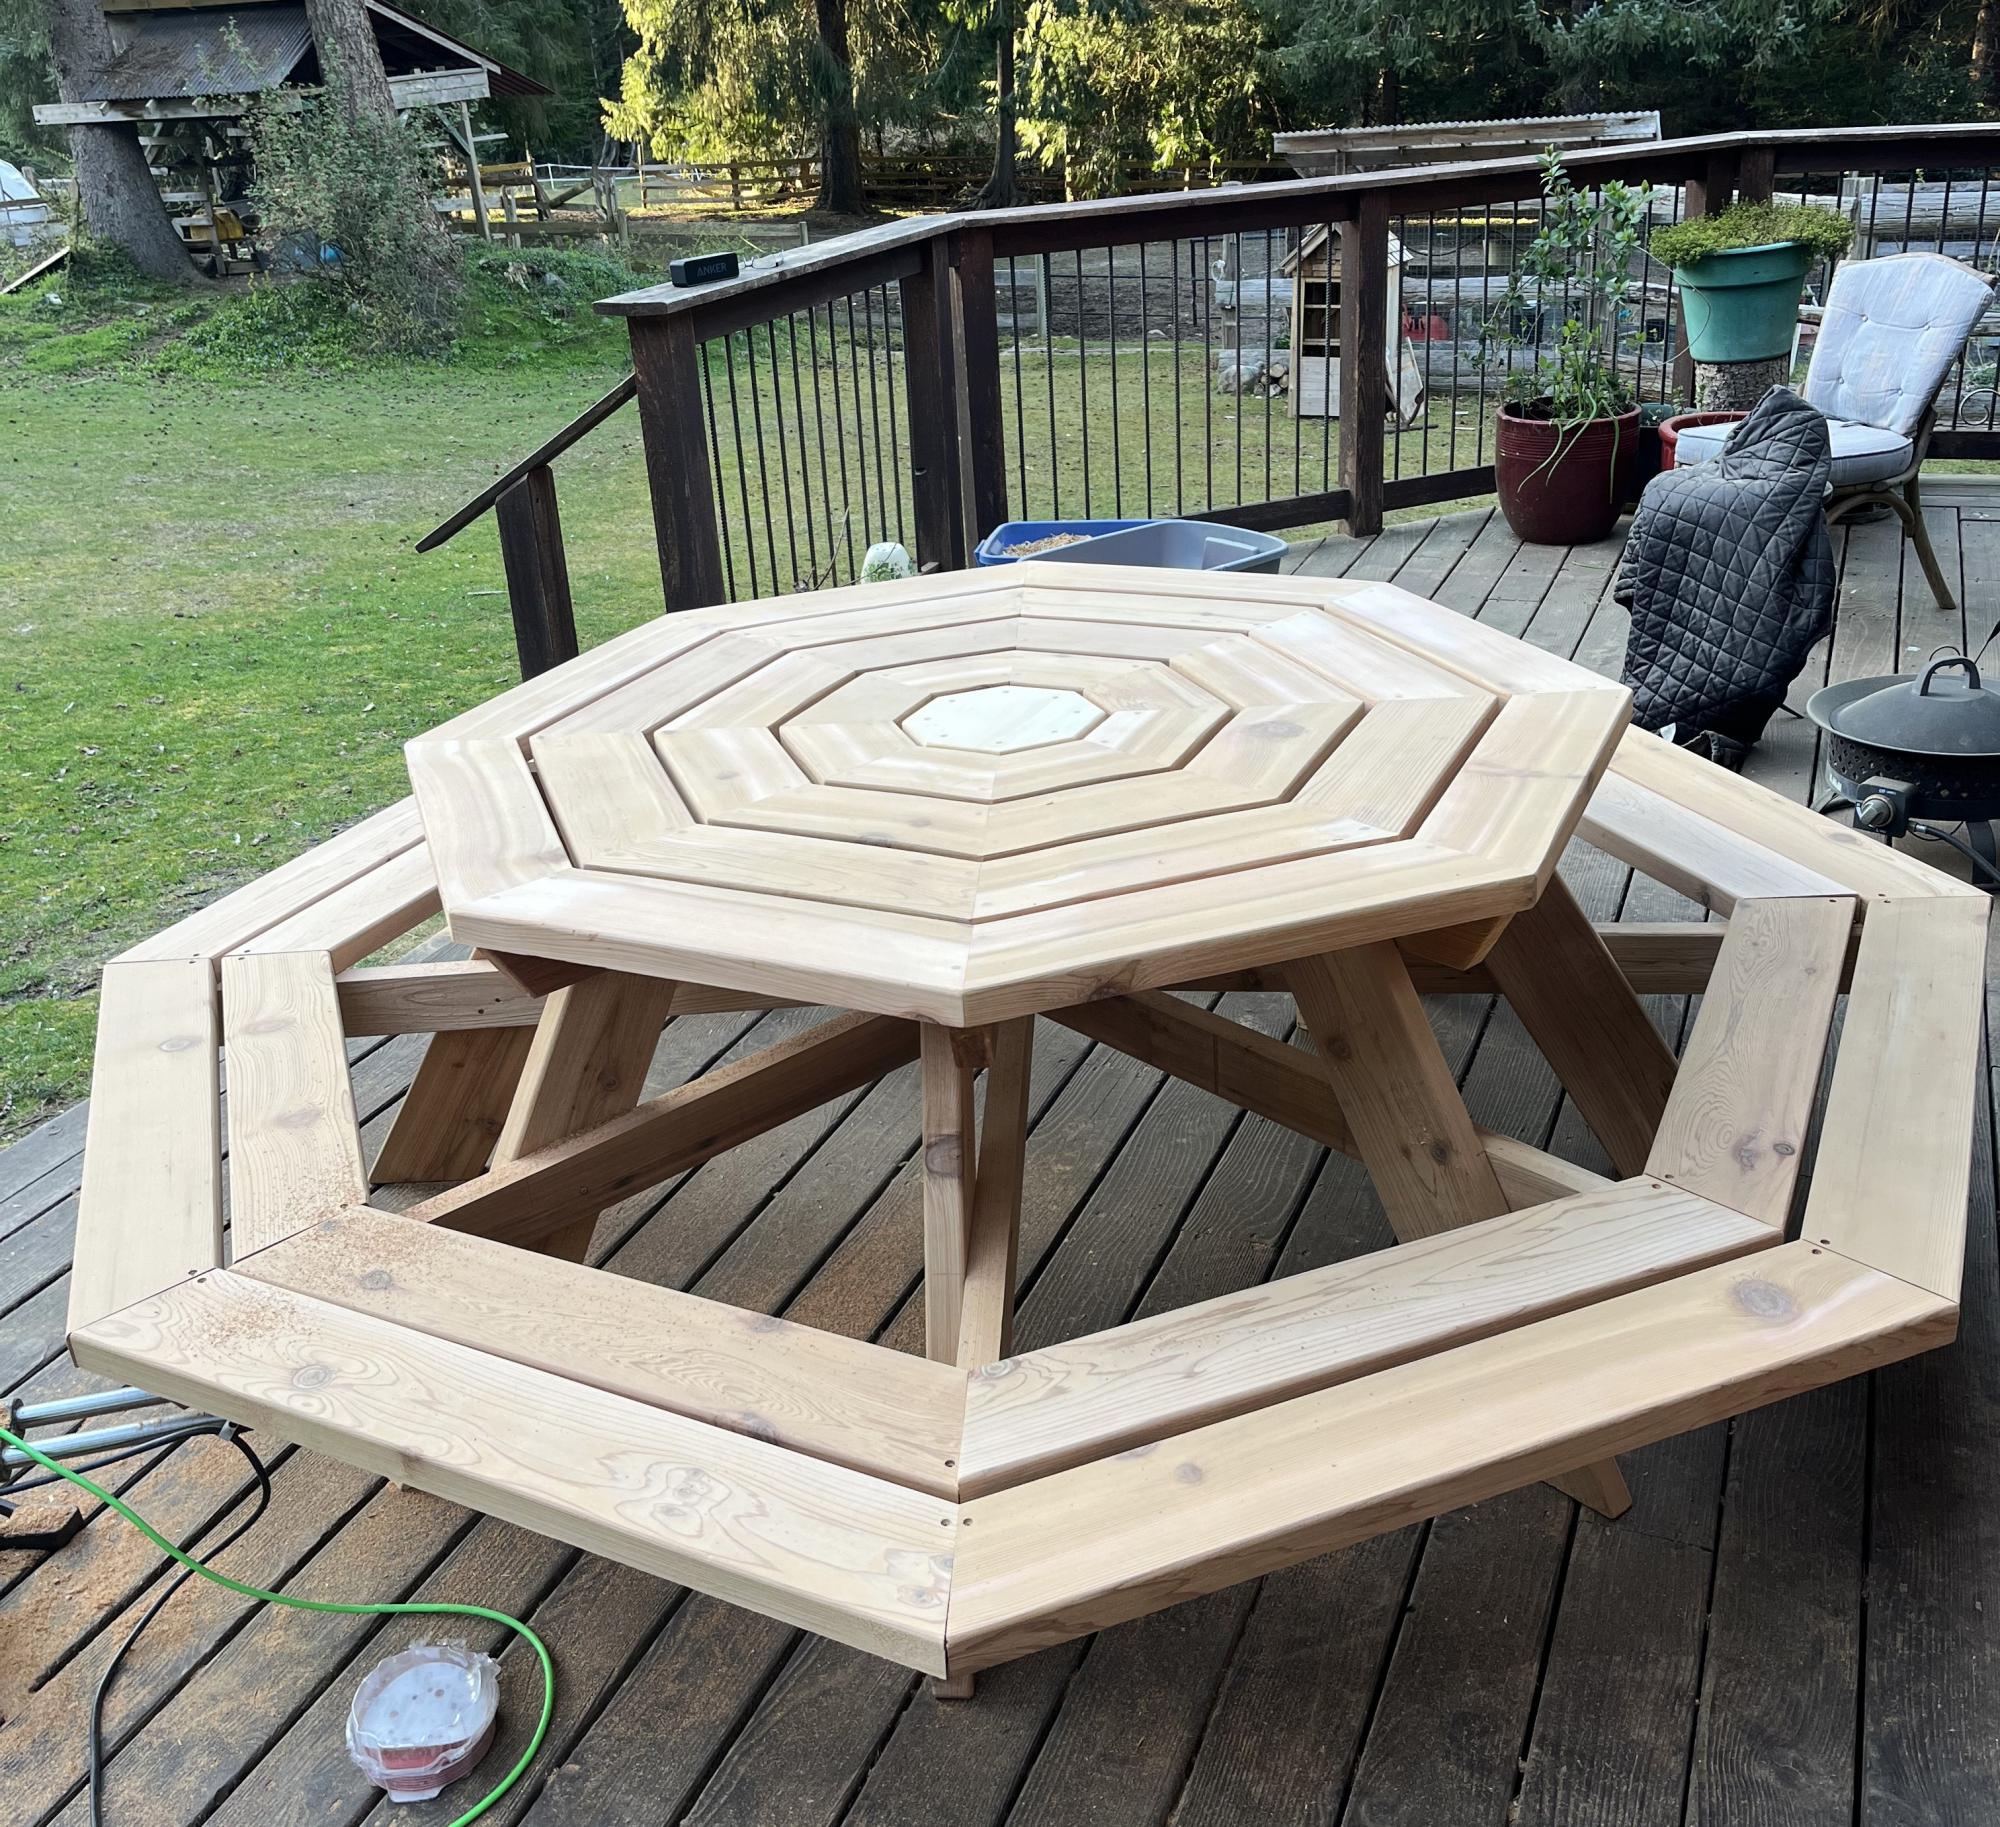
DIY Octagon Picnic Table
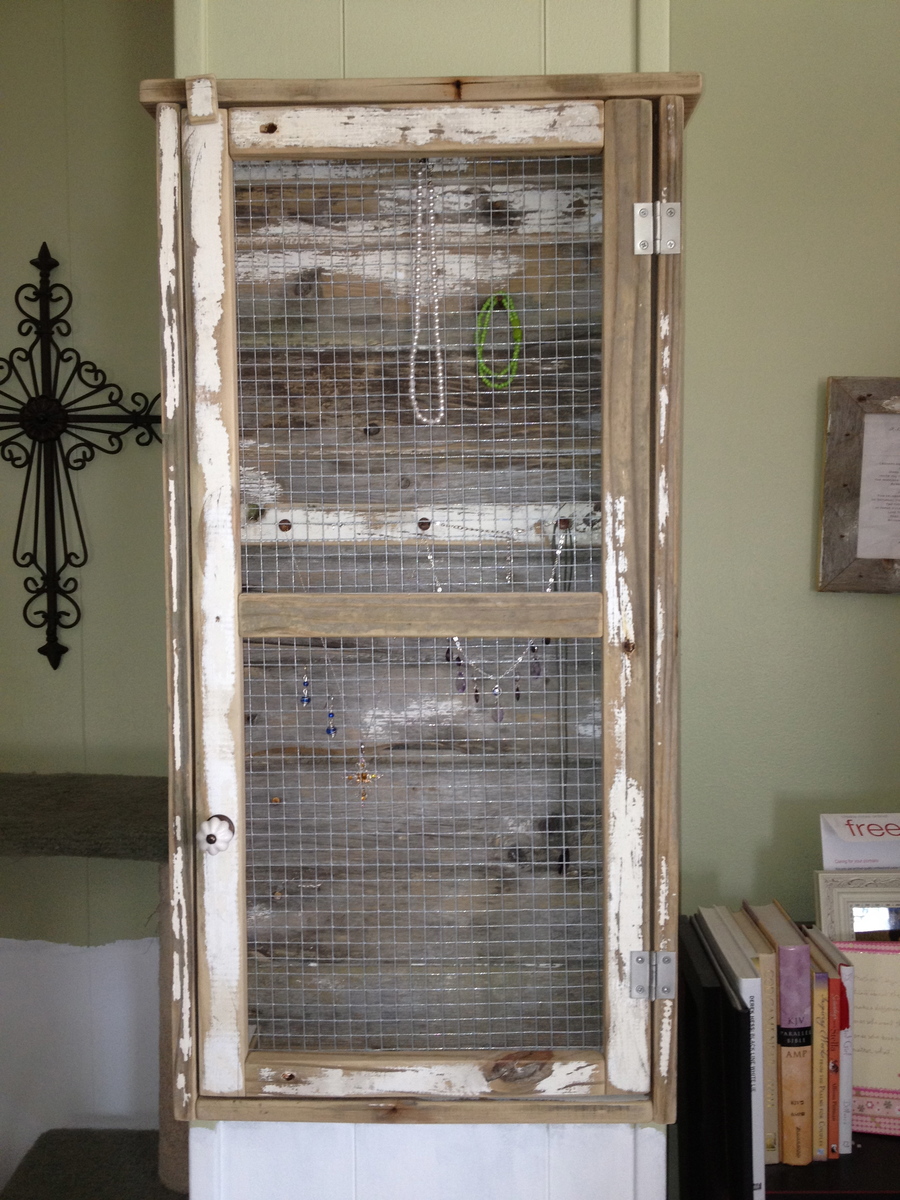
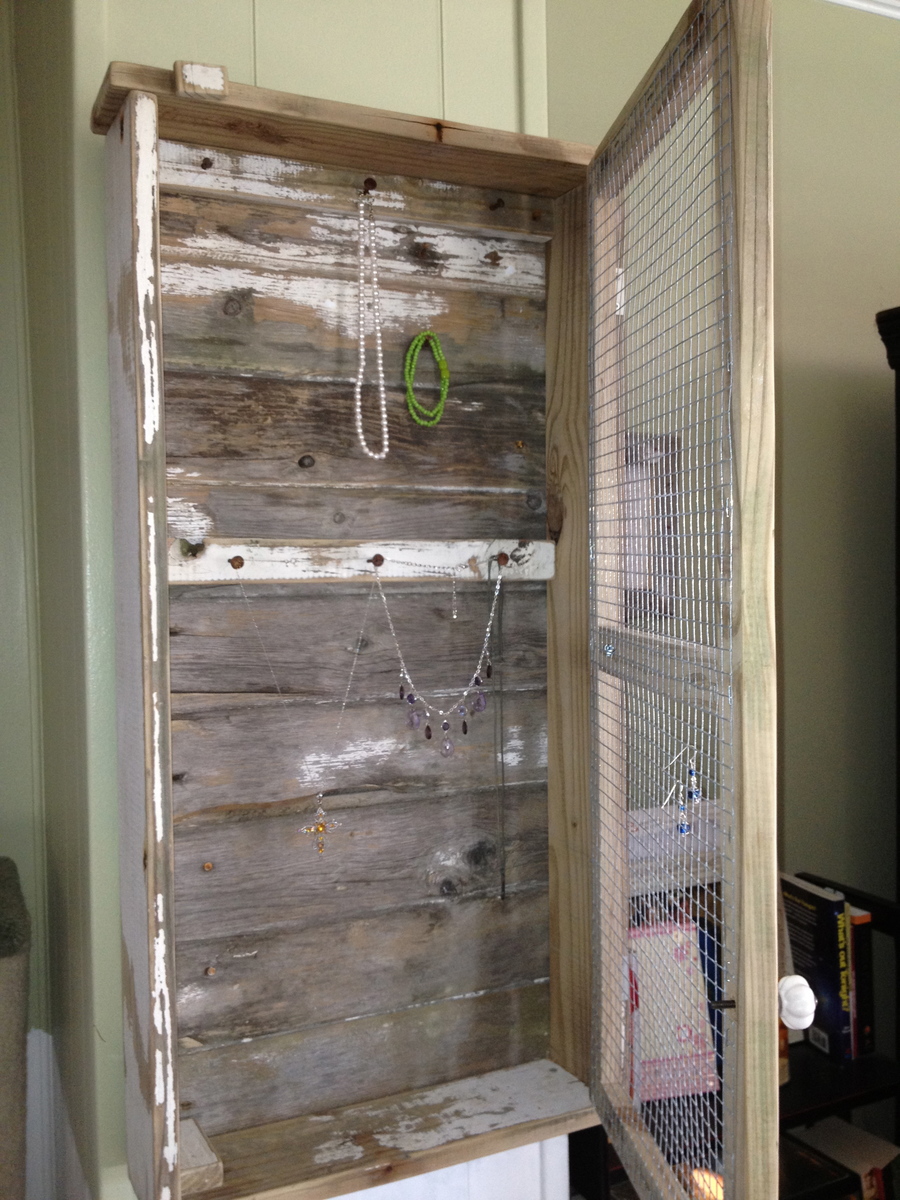
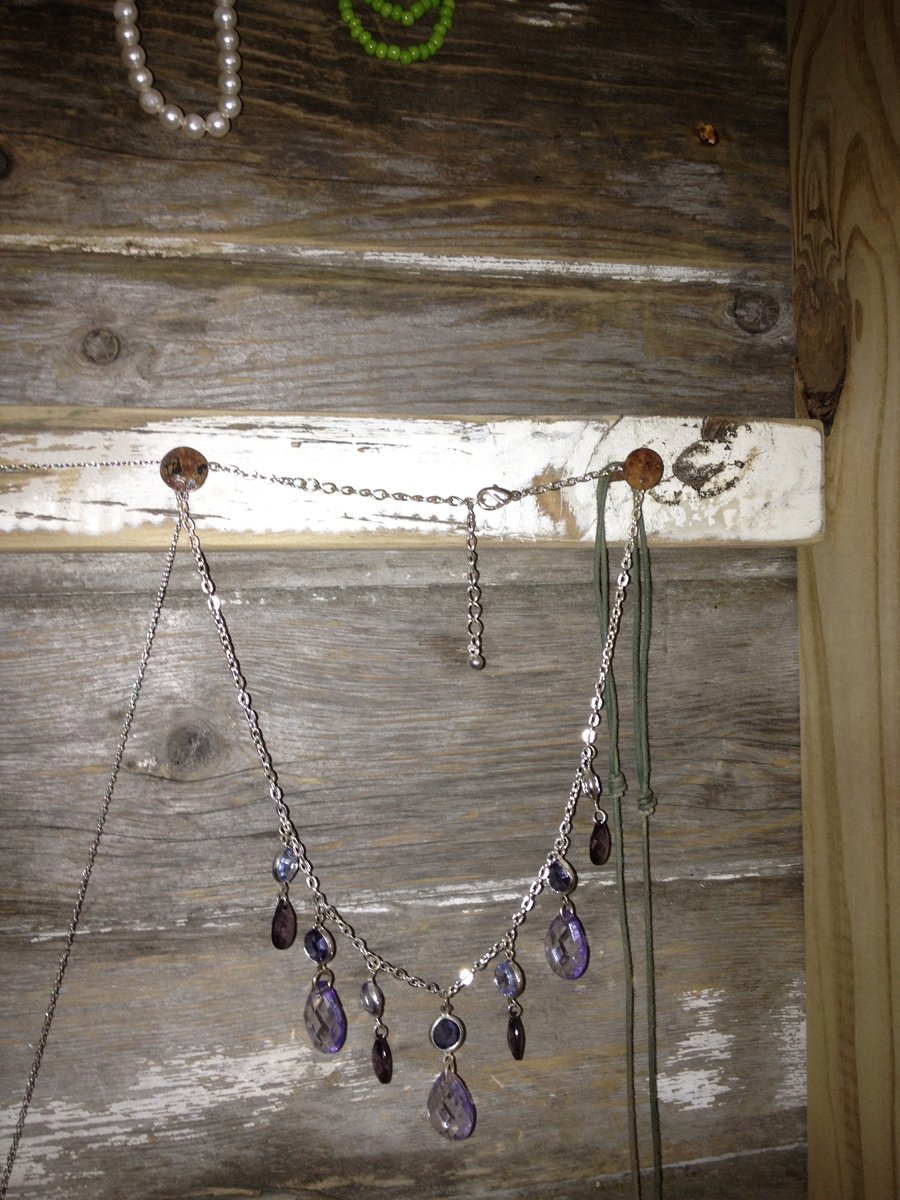
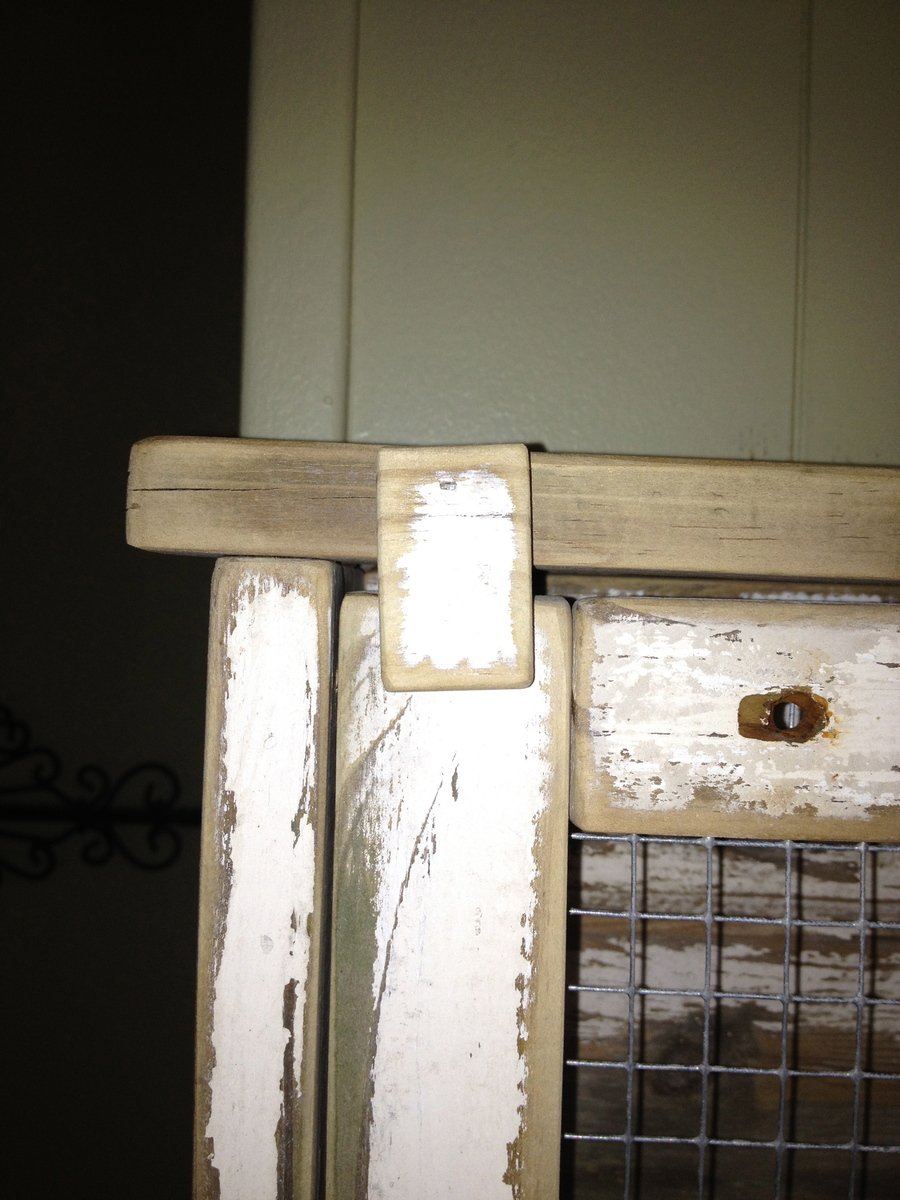
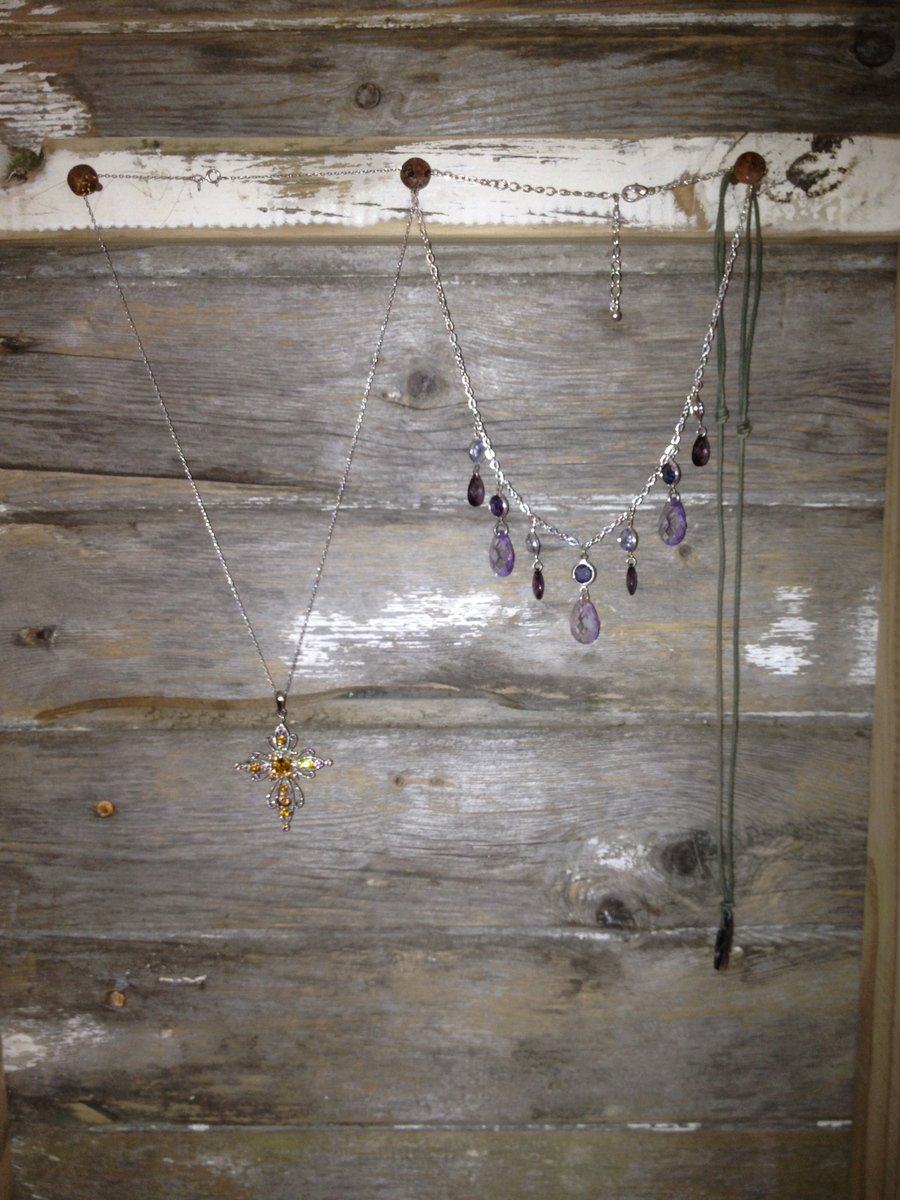
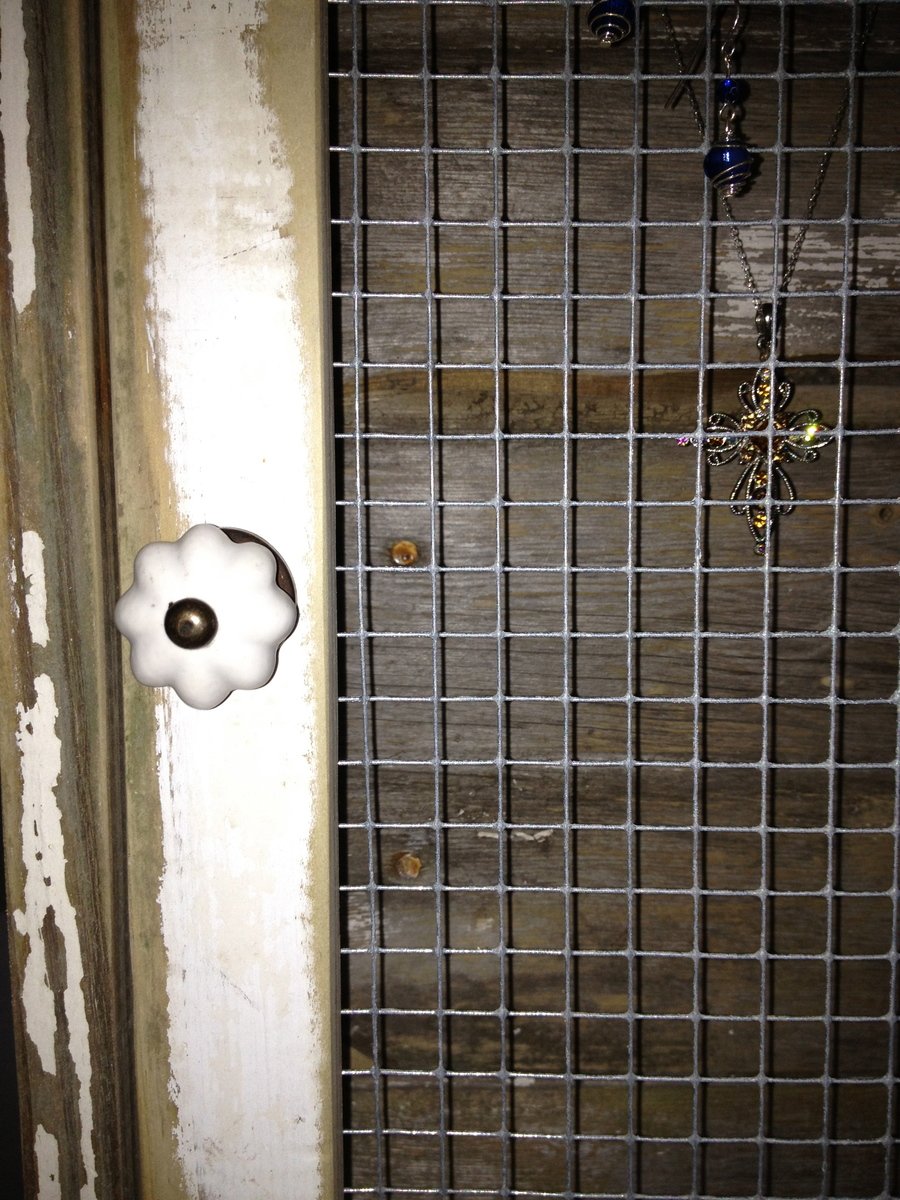
I used the wall jewelry cabinet plan and modified it a bit to fit the materials that I already had in the garage. The whole project was built using salvaged barn wood and siding that was built in the 1800's. It took a little longer to square up the boards and sand them to a friendly feel but I had little to no finishing time in the end. The plans were so spot on that used them almost exactly.! I just added another cross support to the door and used old barn wood tongue and groove for the back. I also fastened a little piece of wood at the top of the door with one brad nail. I did this to keep the door shut in a more attractive way then a clasp or hasp. The little piece swings out of the way with ease. I bought the knob at hobby lobby for 2 dollars and the hinges were less than 2 dollars. The hardware cloth came in a roll that was 24 inches by 25 feet long for 10 dollars. Basic wood working knowledge and tools are super helpful with this project and as is stated in the original plans... a kreg jig makes it so much faster and easier.! Thanks so much for sharing!!
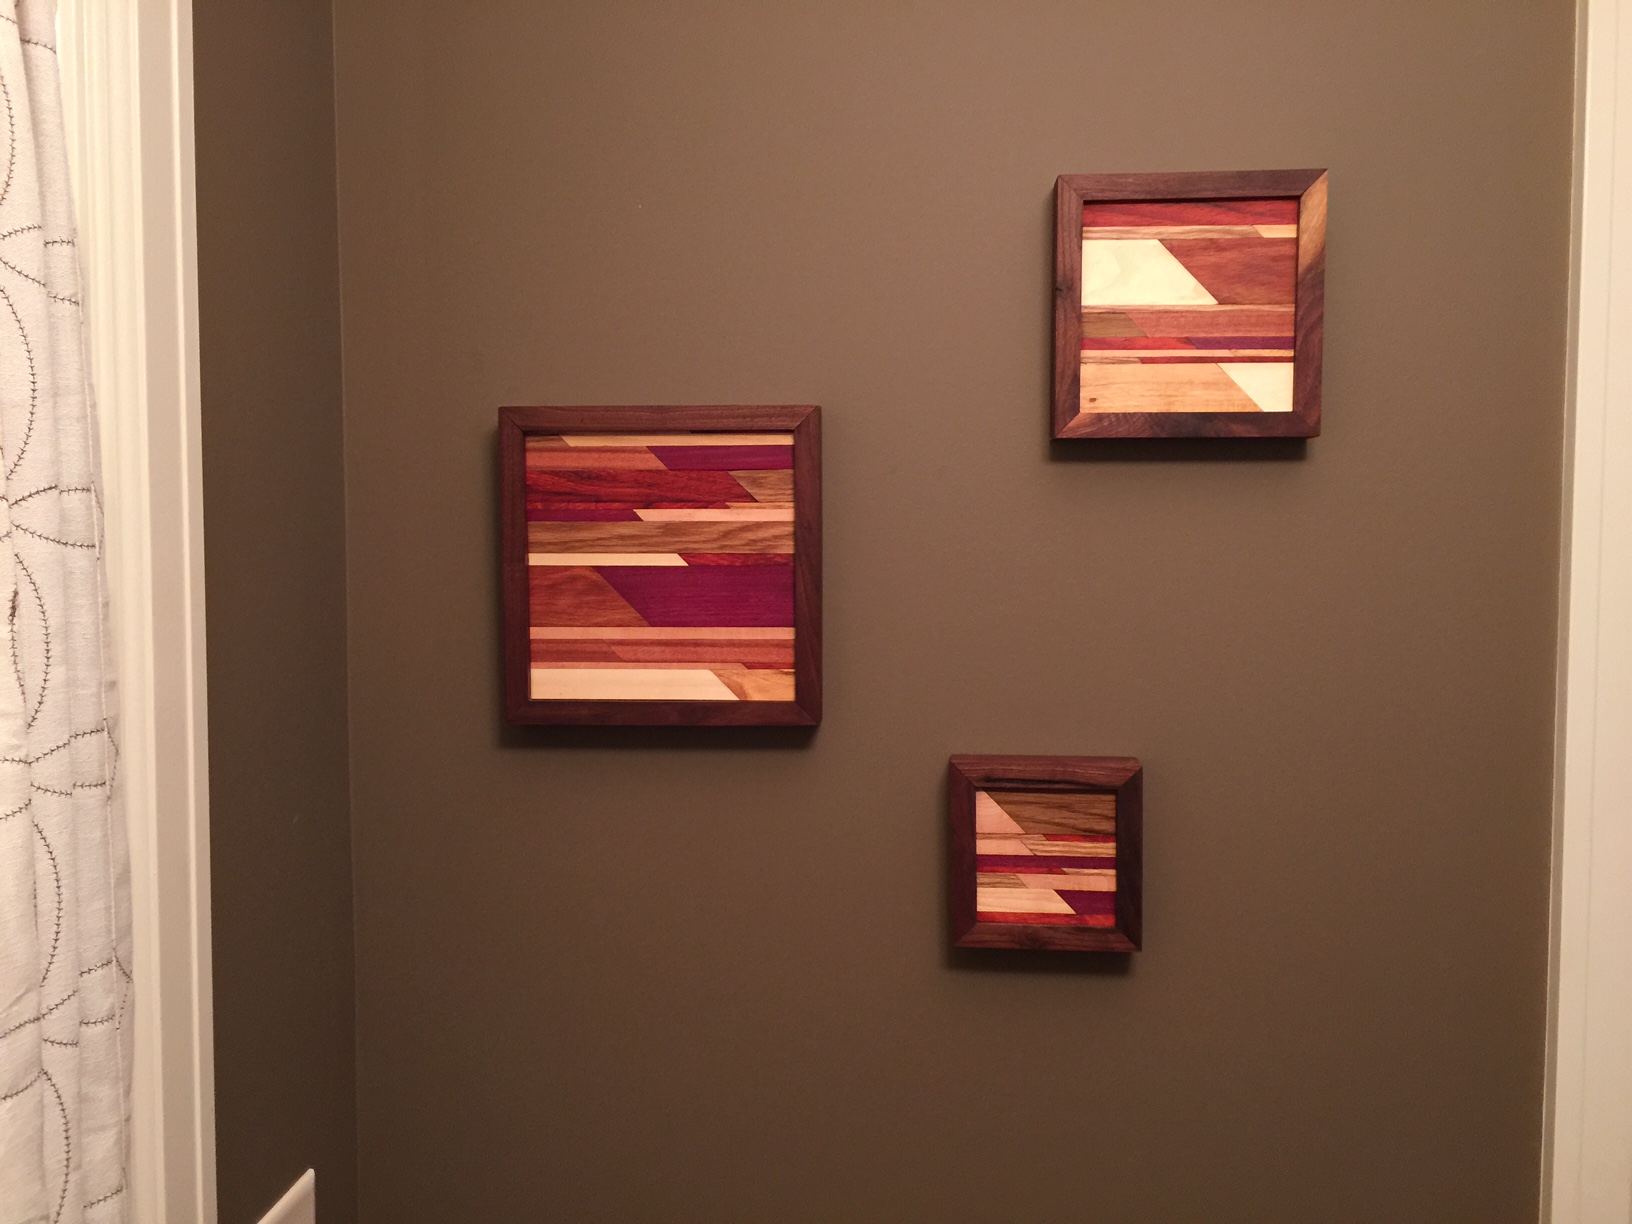
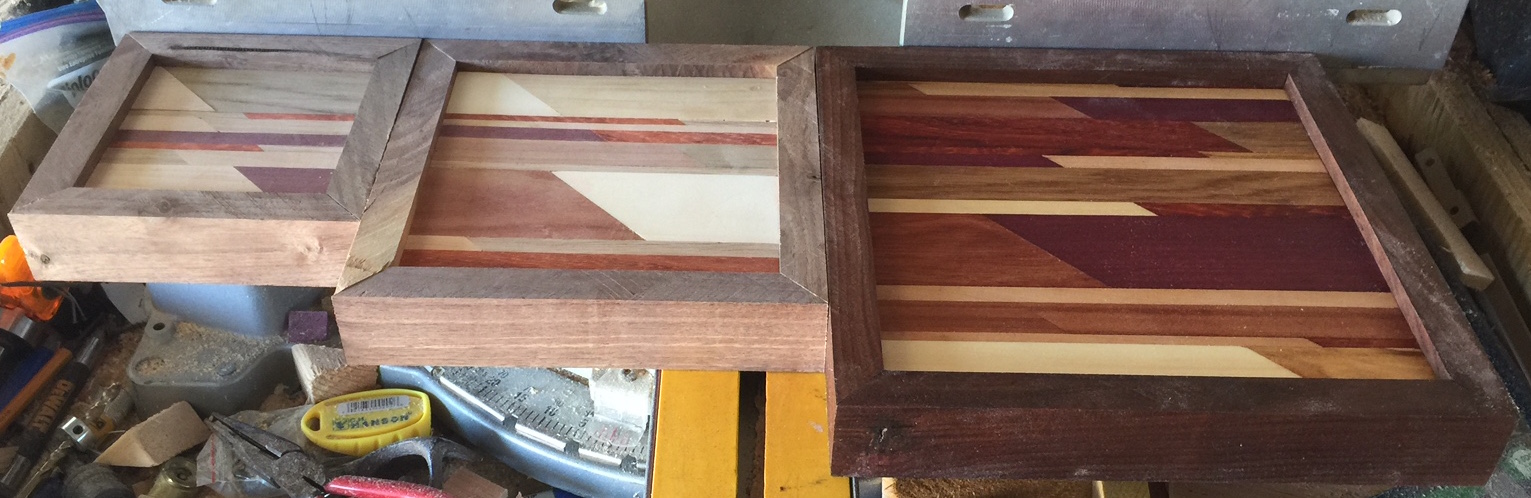
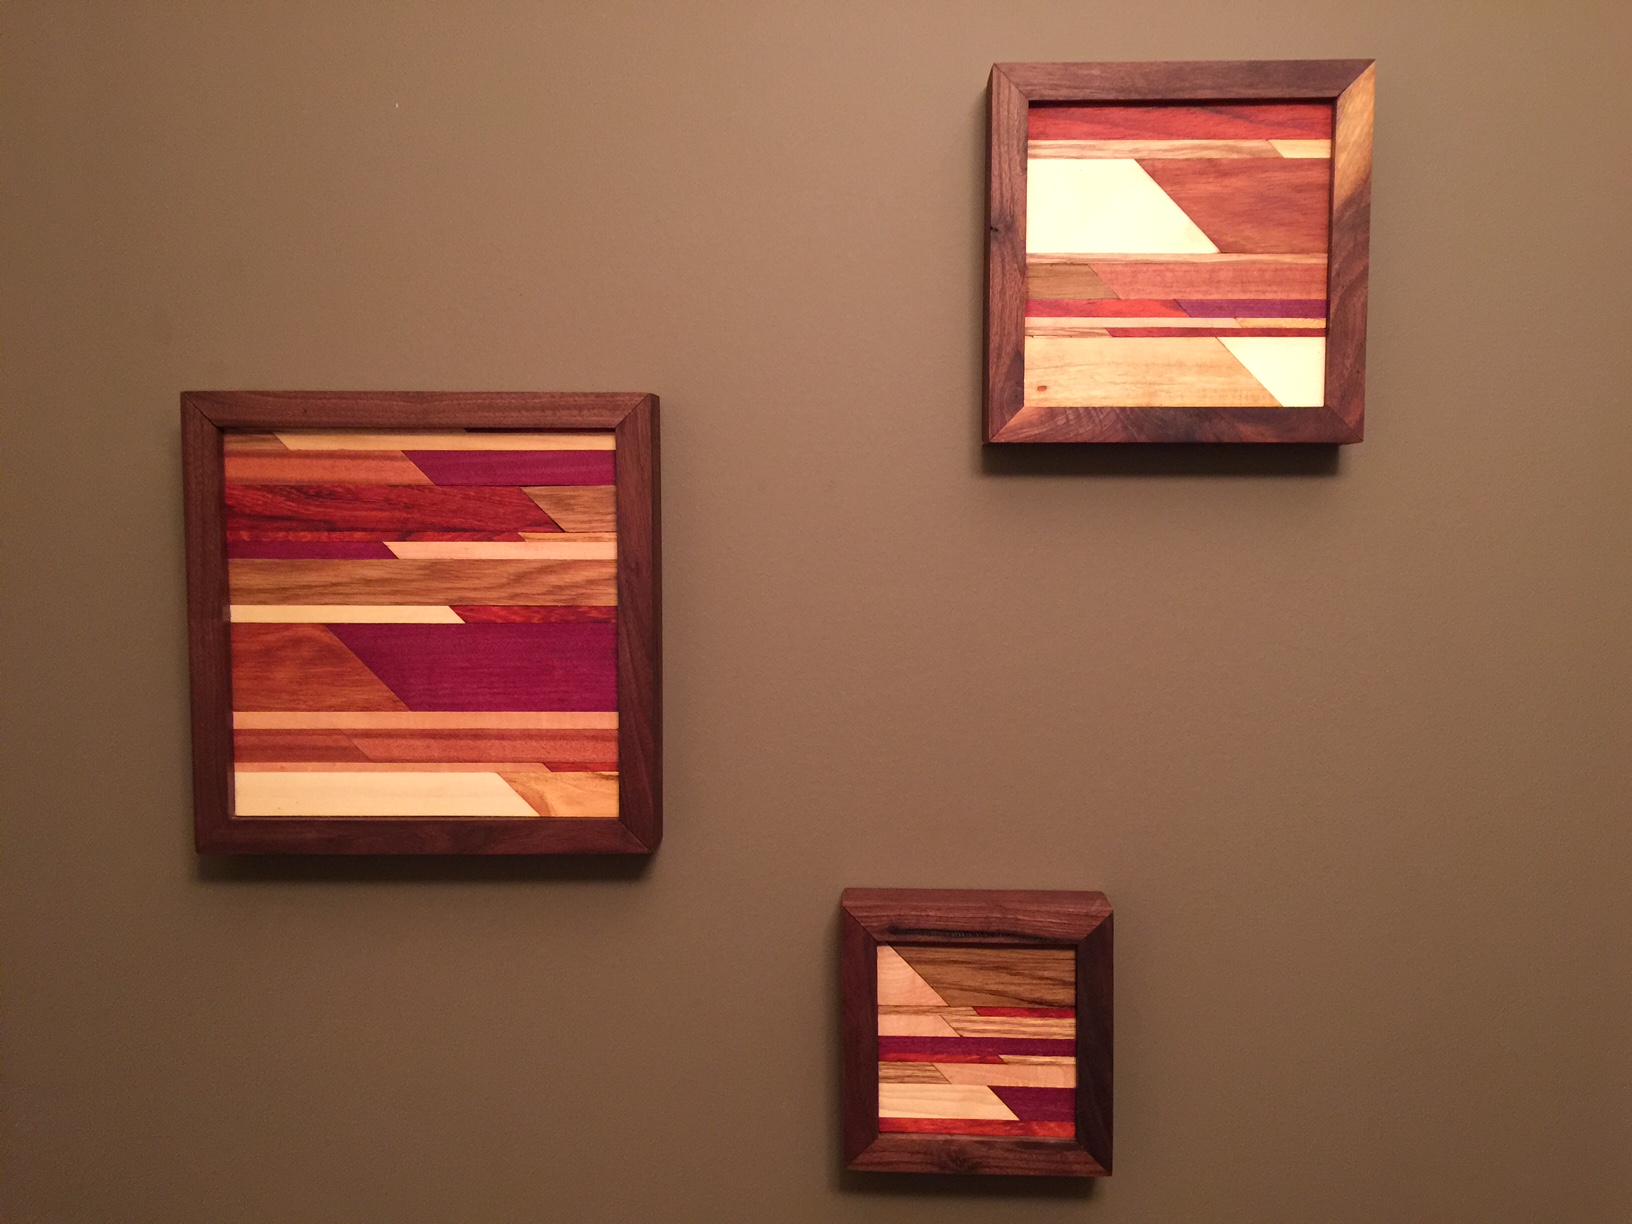
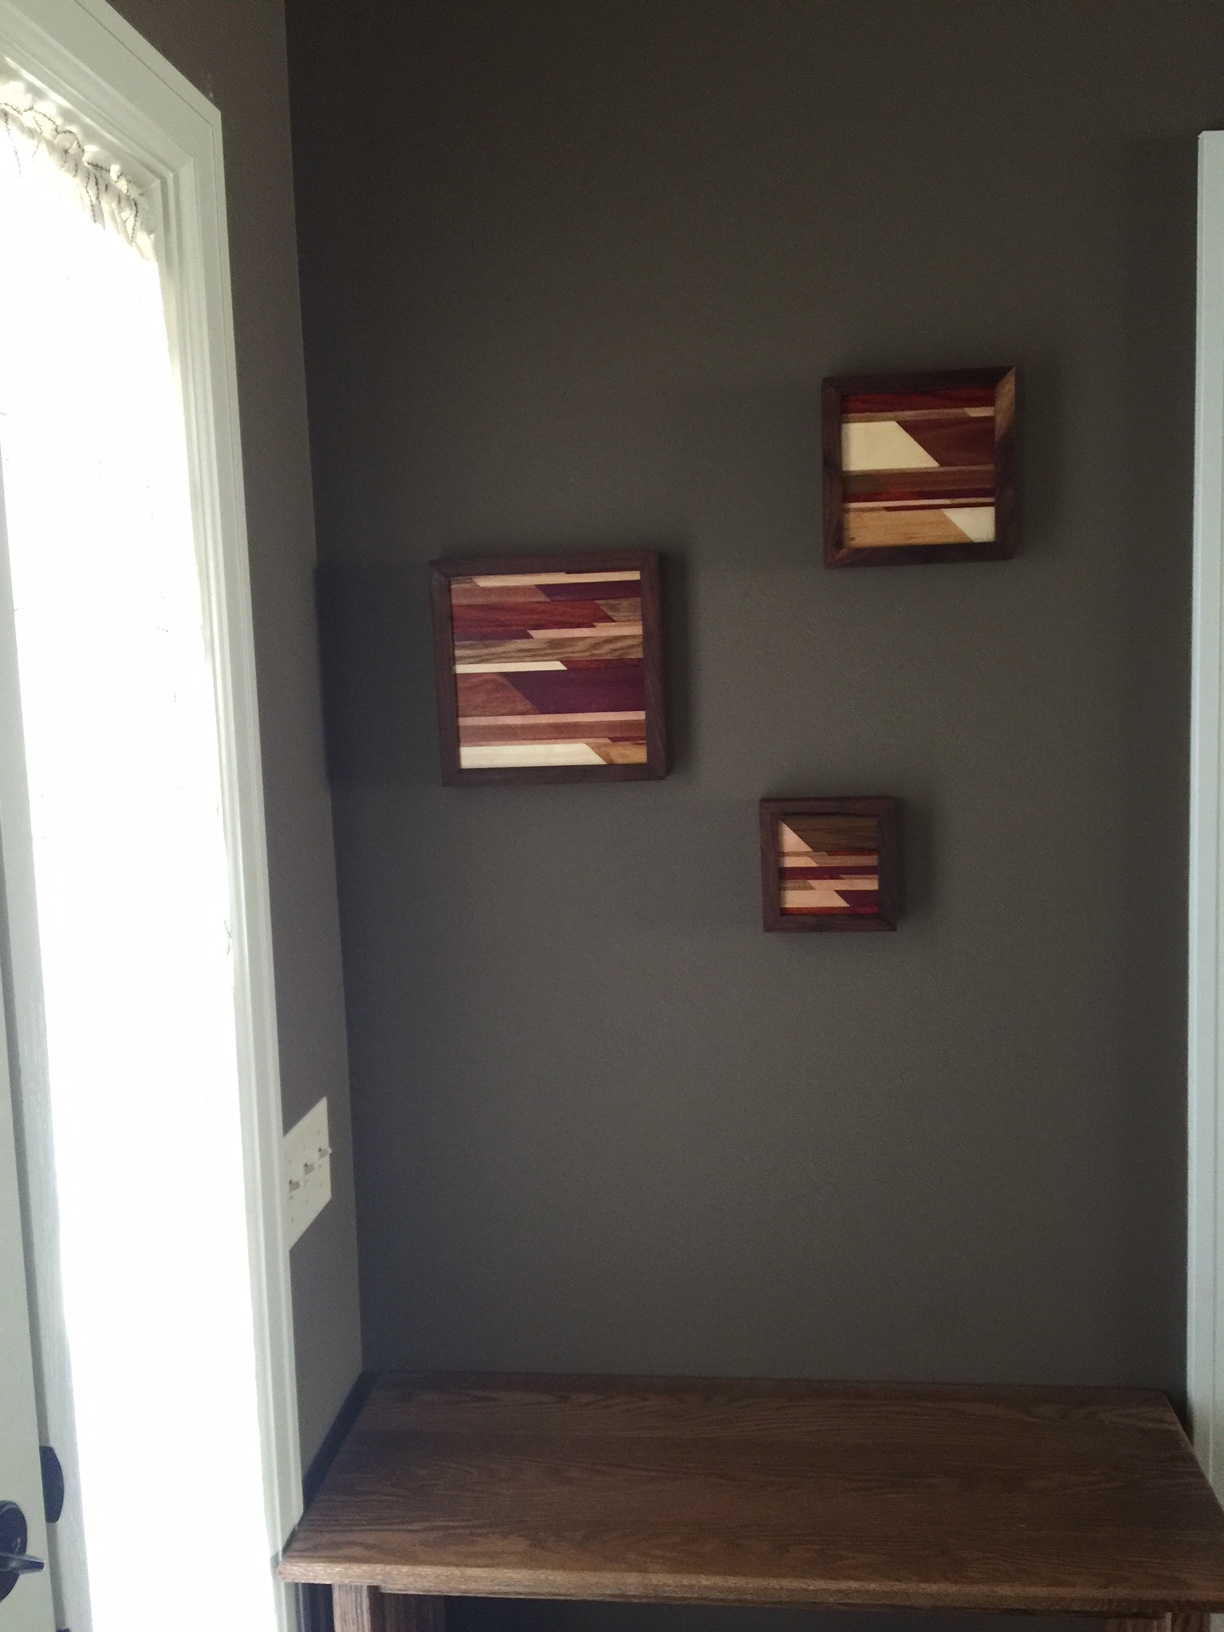
I saw a post on Fixthisbuildthat.com about making wall art. It looked super cool so I thought i would give it a shot. My wife loved the first one so I made two more per her request. These are pretty easy to do if you have a table saw and a miter saw.
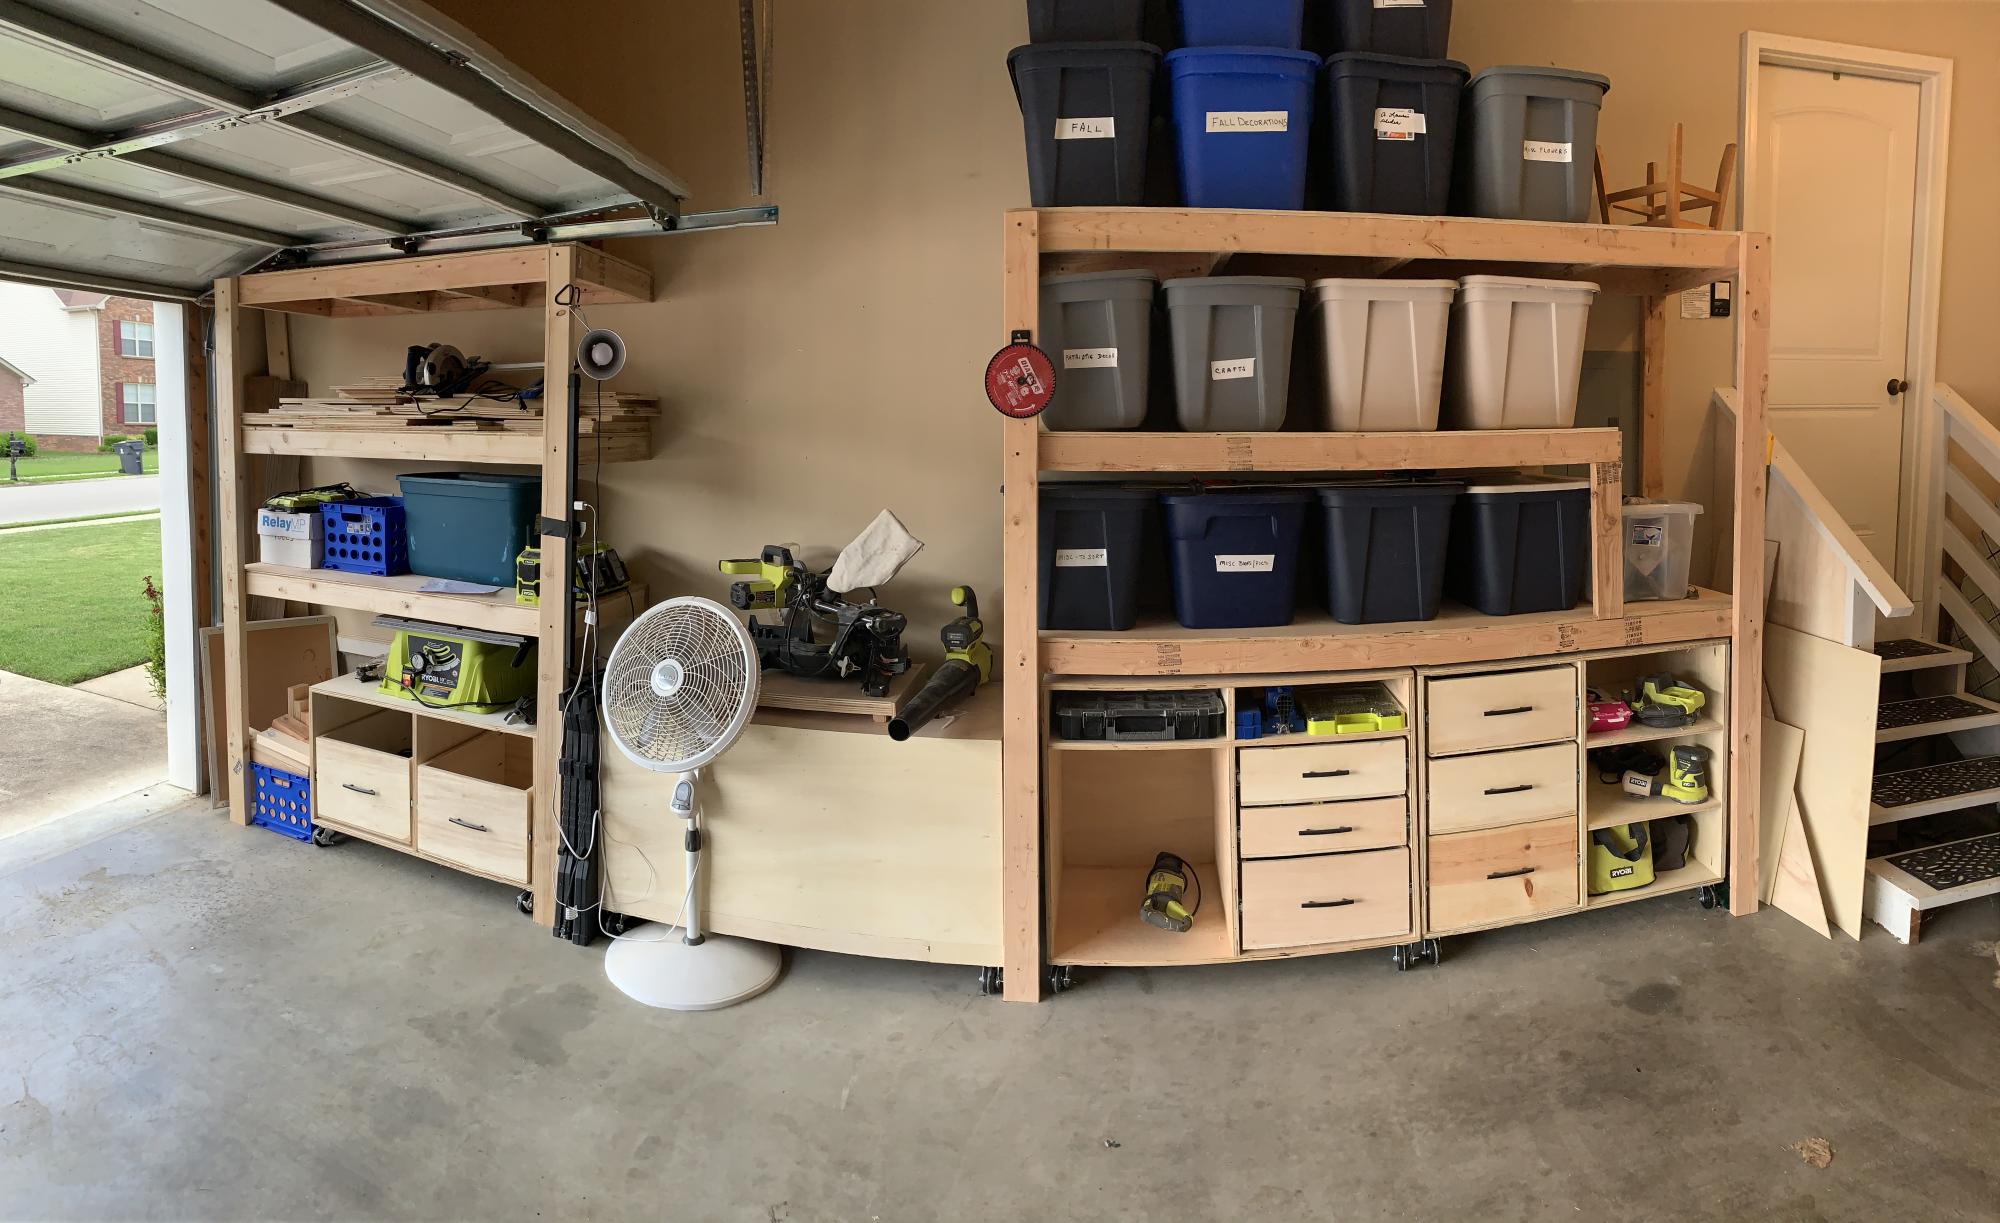
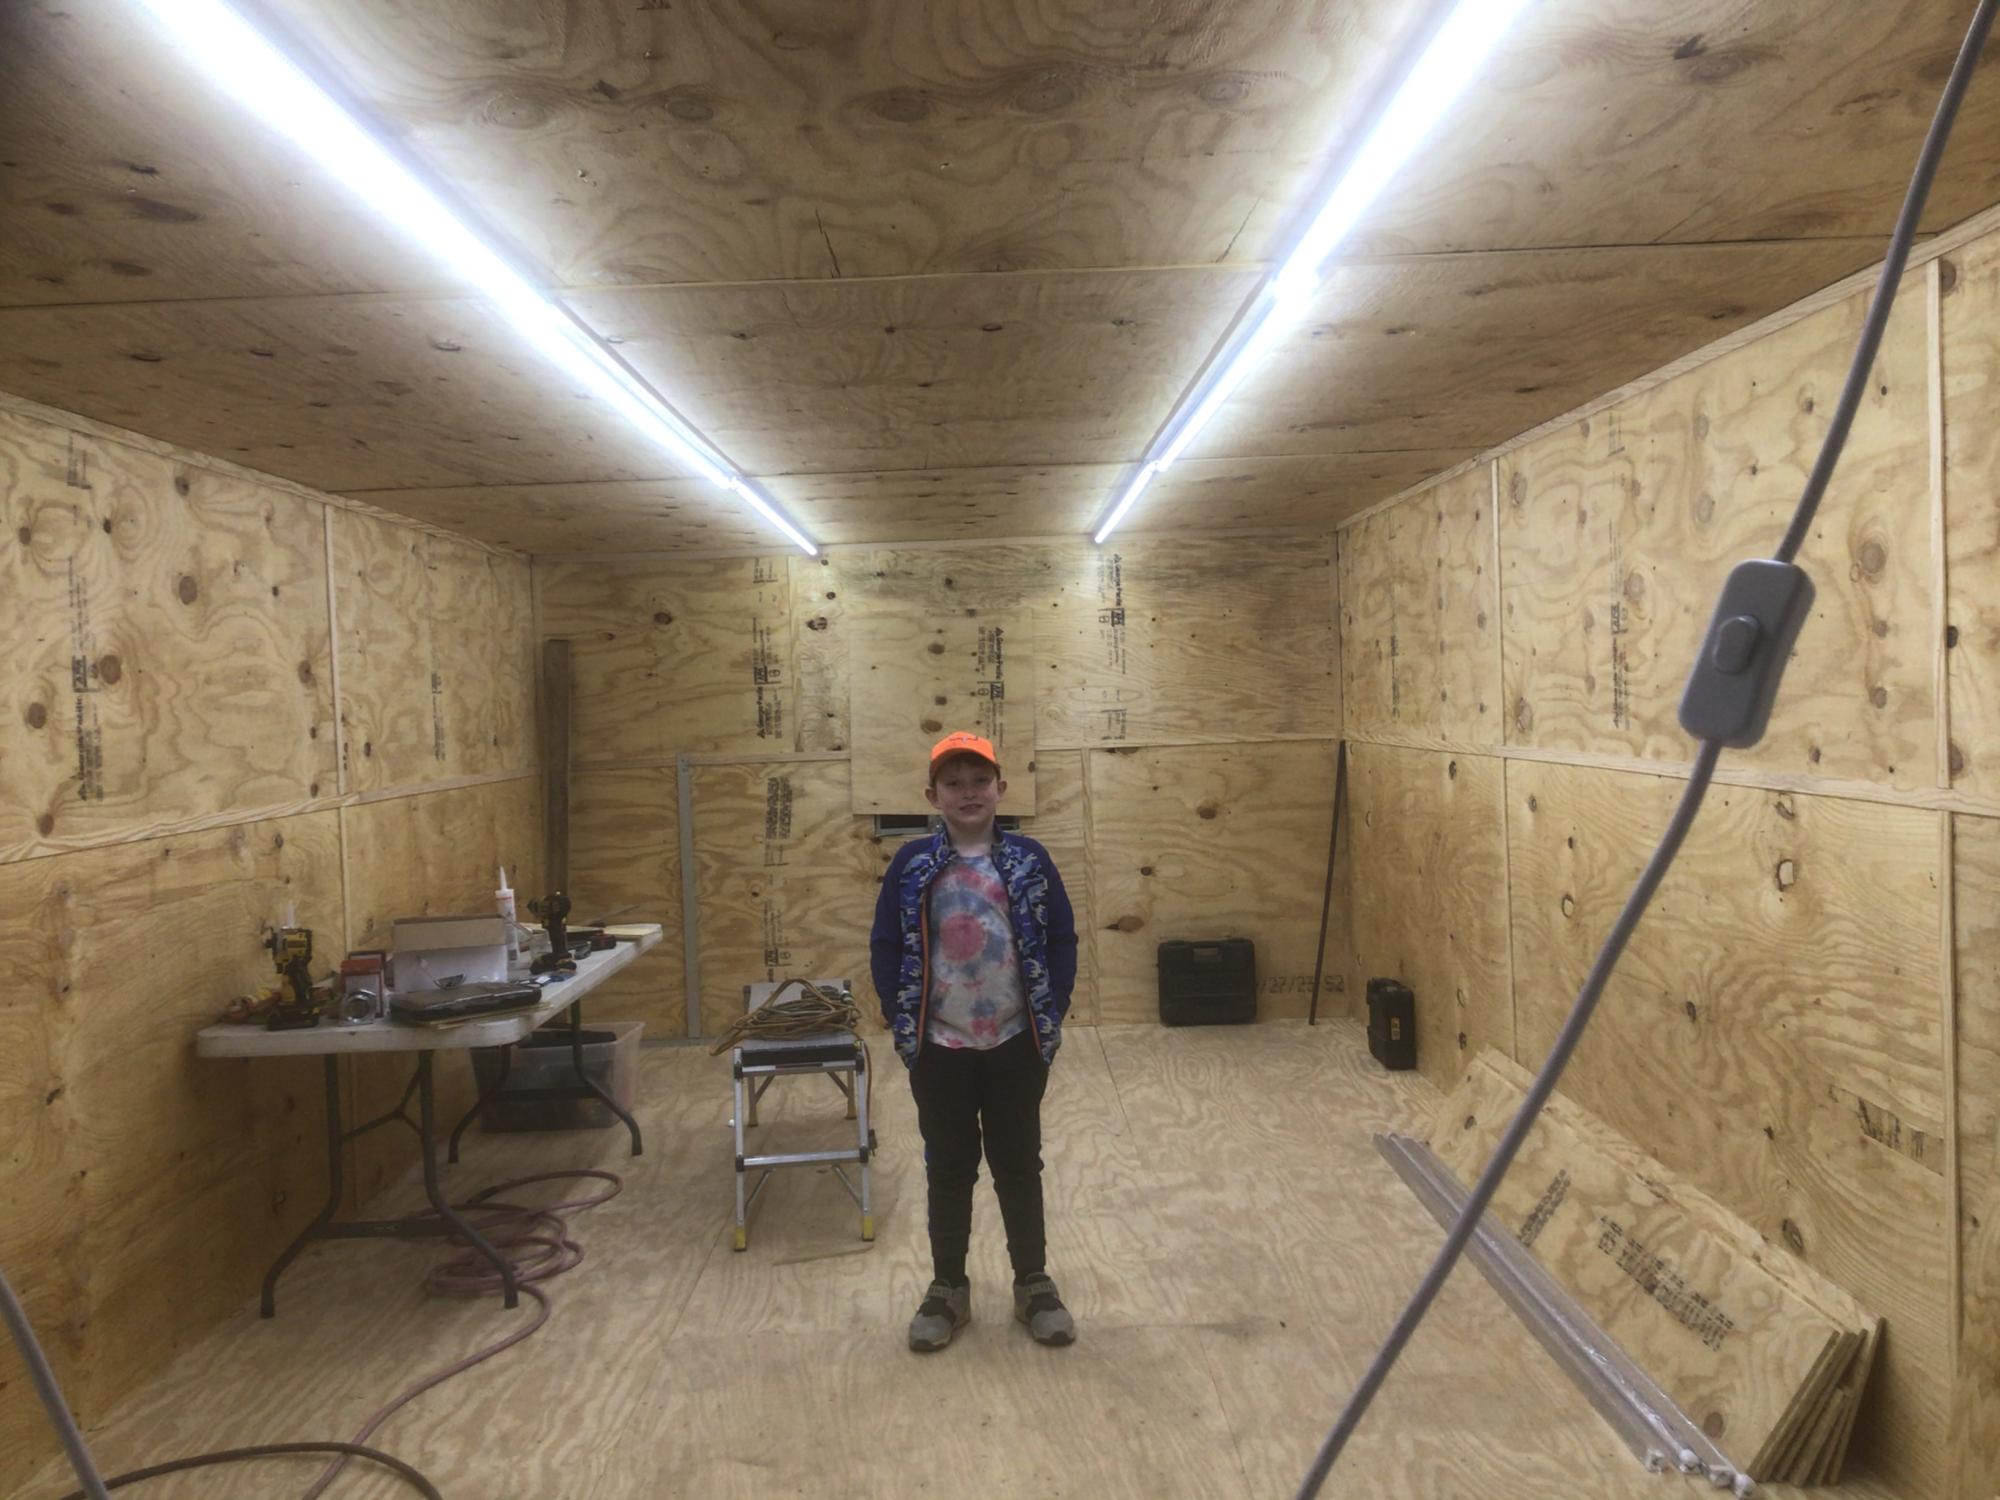
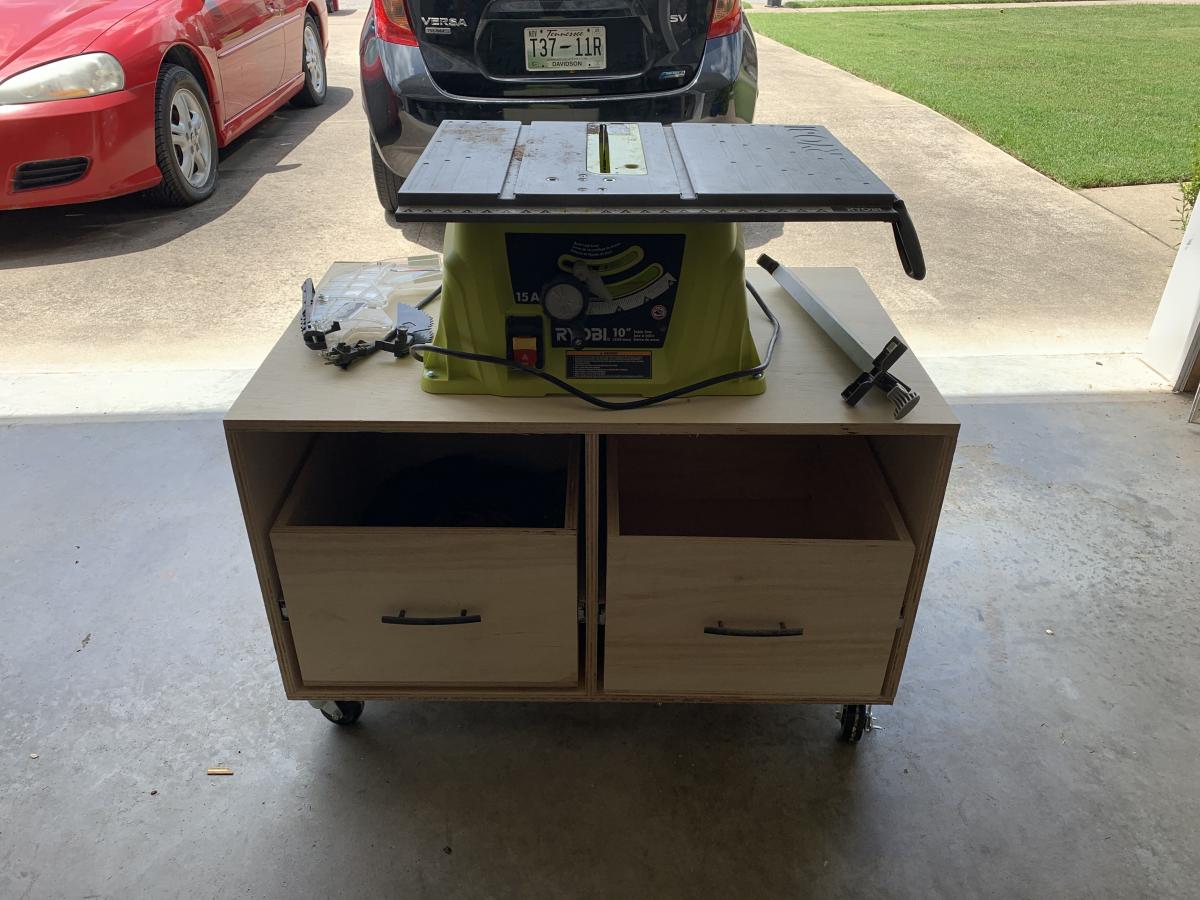
I bought a whole workshop full of Ryobi tools second hand from my brother over a year ago. I started researching workshop plans and came across Anna White’s Ryobi Nation Dream Workshop. I downloaded the plans and spent about 2-3 months working on it in my spare time. I made a lot of mistakes along the way but I’m pretty happy with it overall!
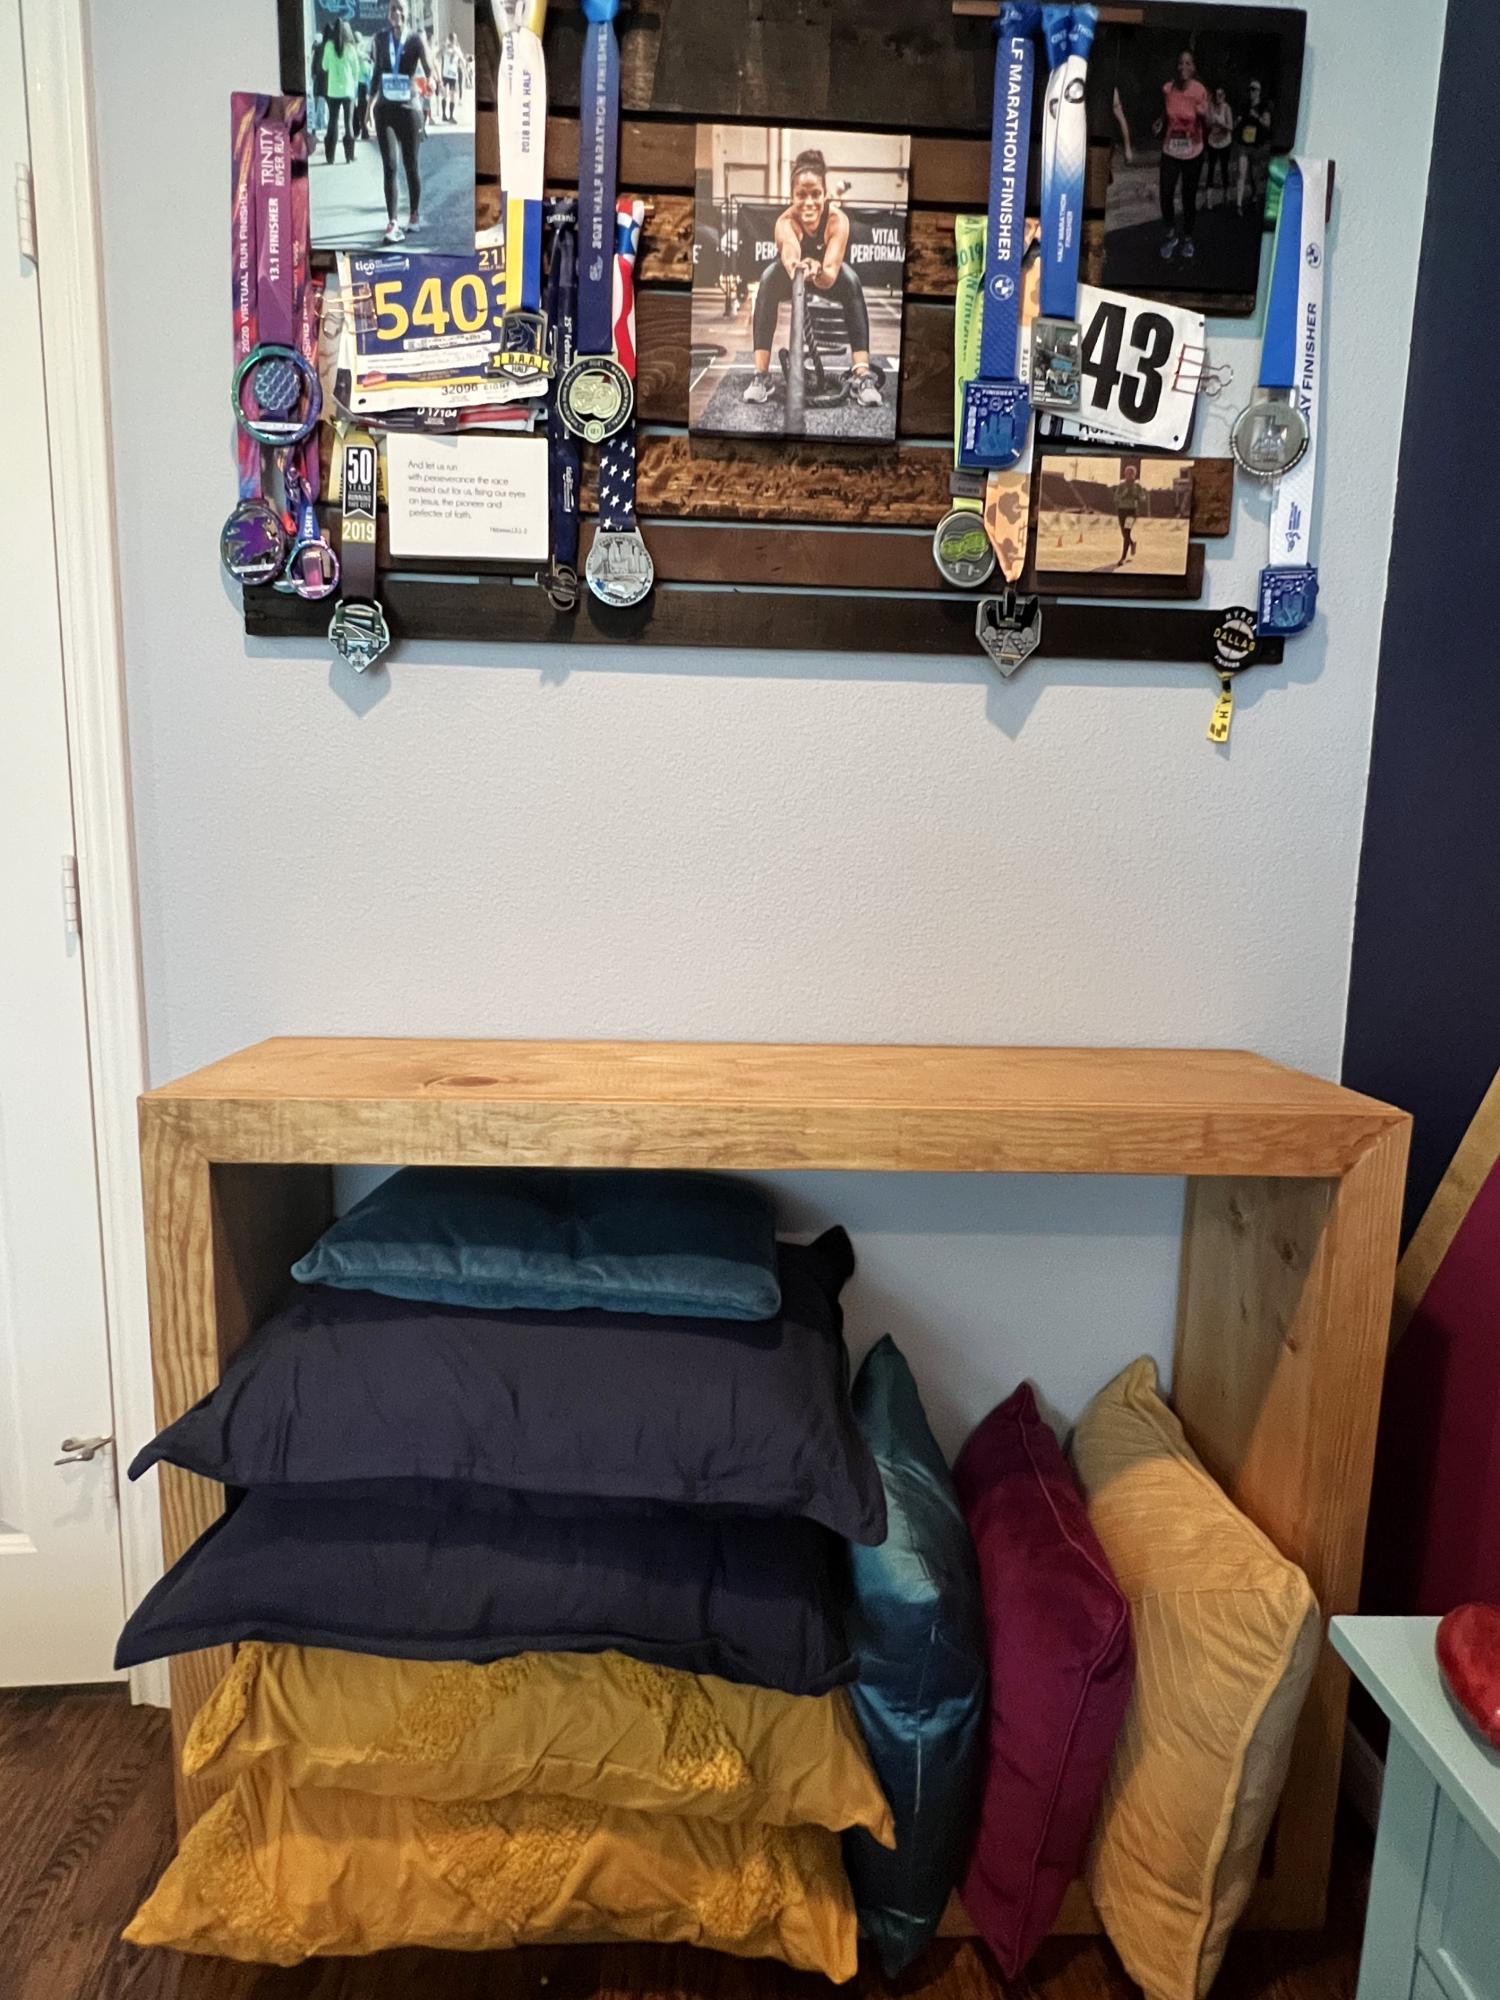
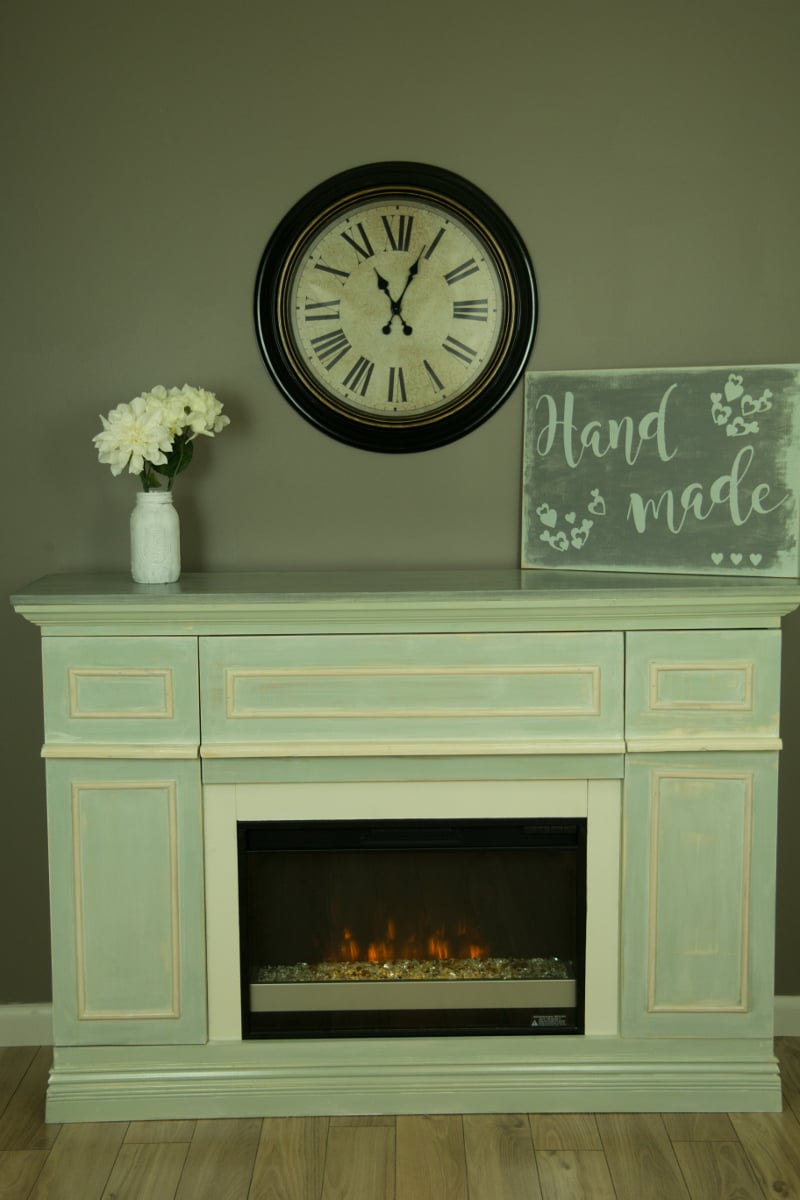
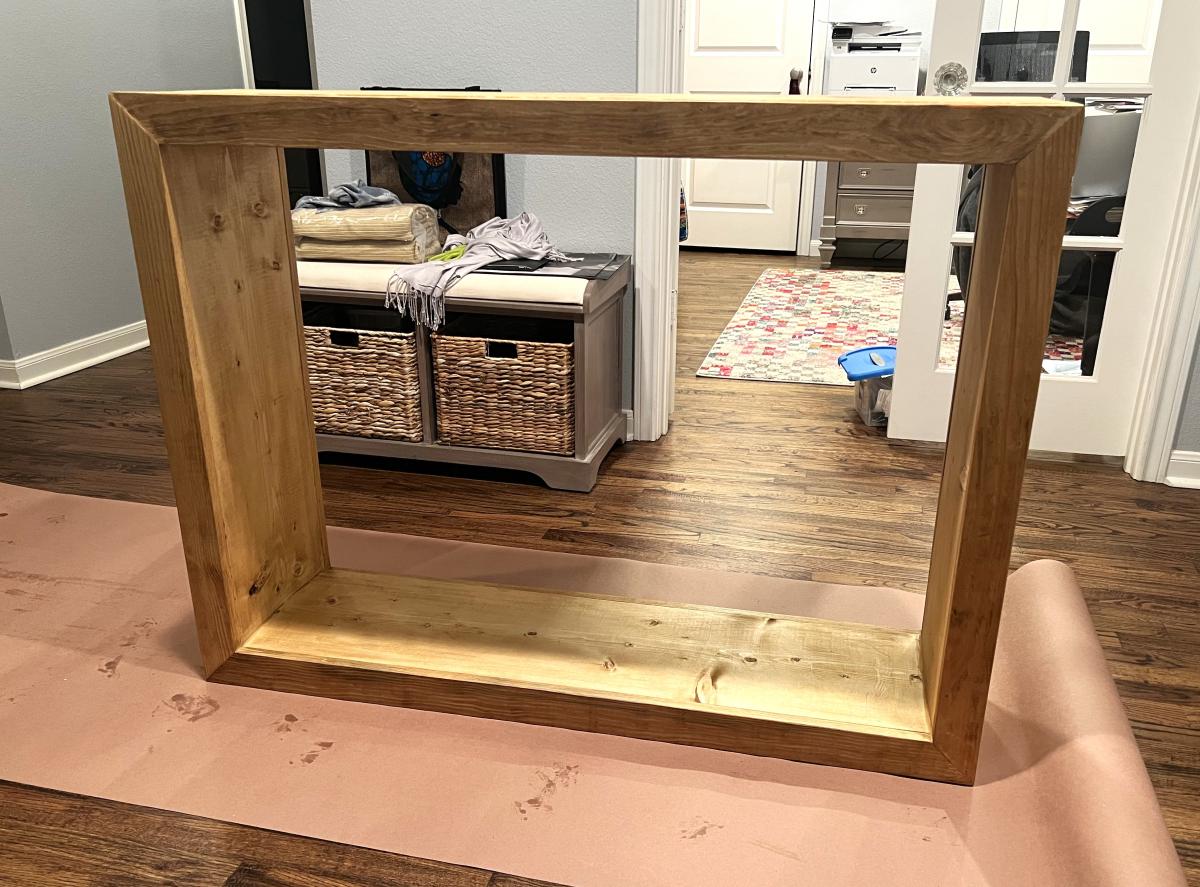
This is the 52 inch waterfall console. I fell in love the it and thought it might be a great way to store my bed pillows when they aren’t in use. I modified it to be shorter and taller, to fit my space and needs. This was my first time using a kreg jig and brad nailer… tutorials on those would be great, but I figured it out! And I’m so excited I did - this is a game changer for my building projects!
Ashlie Alaman
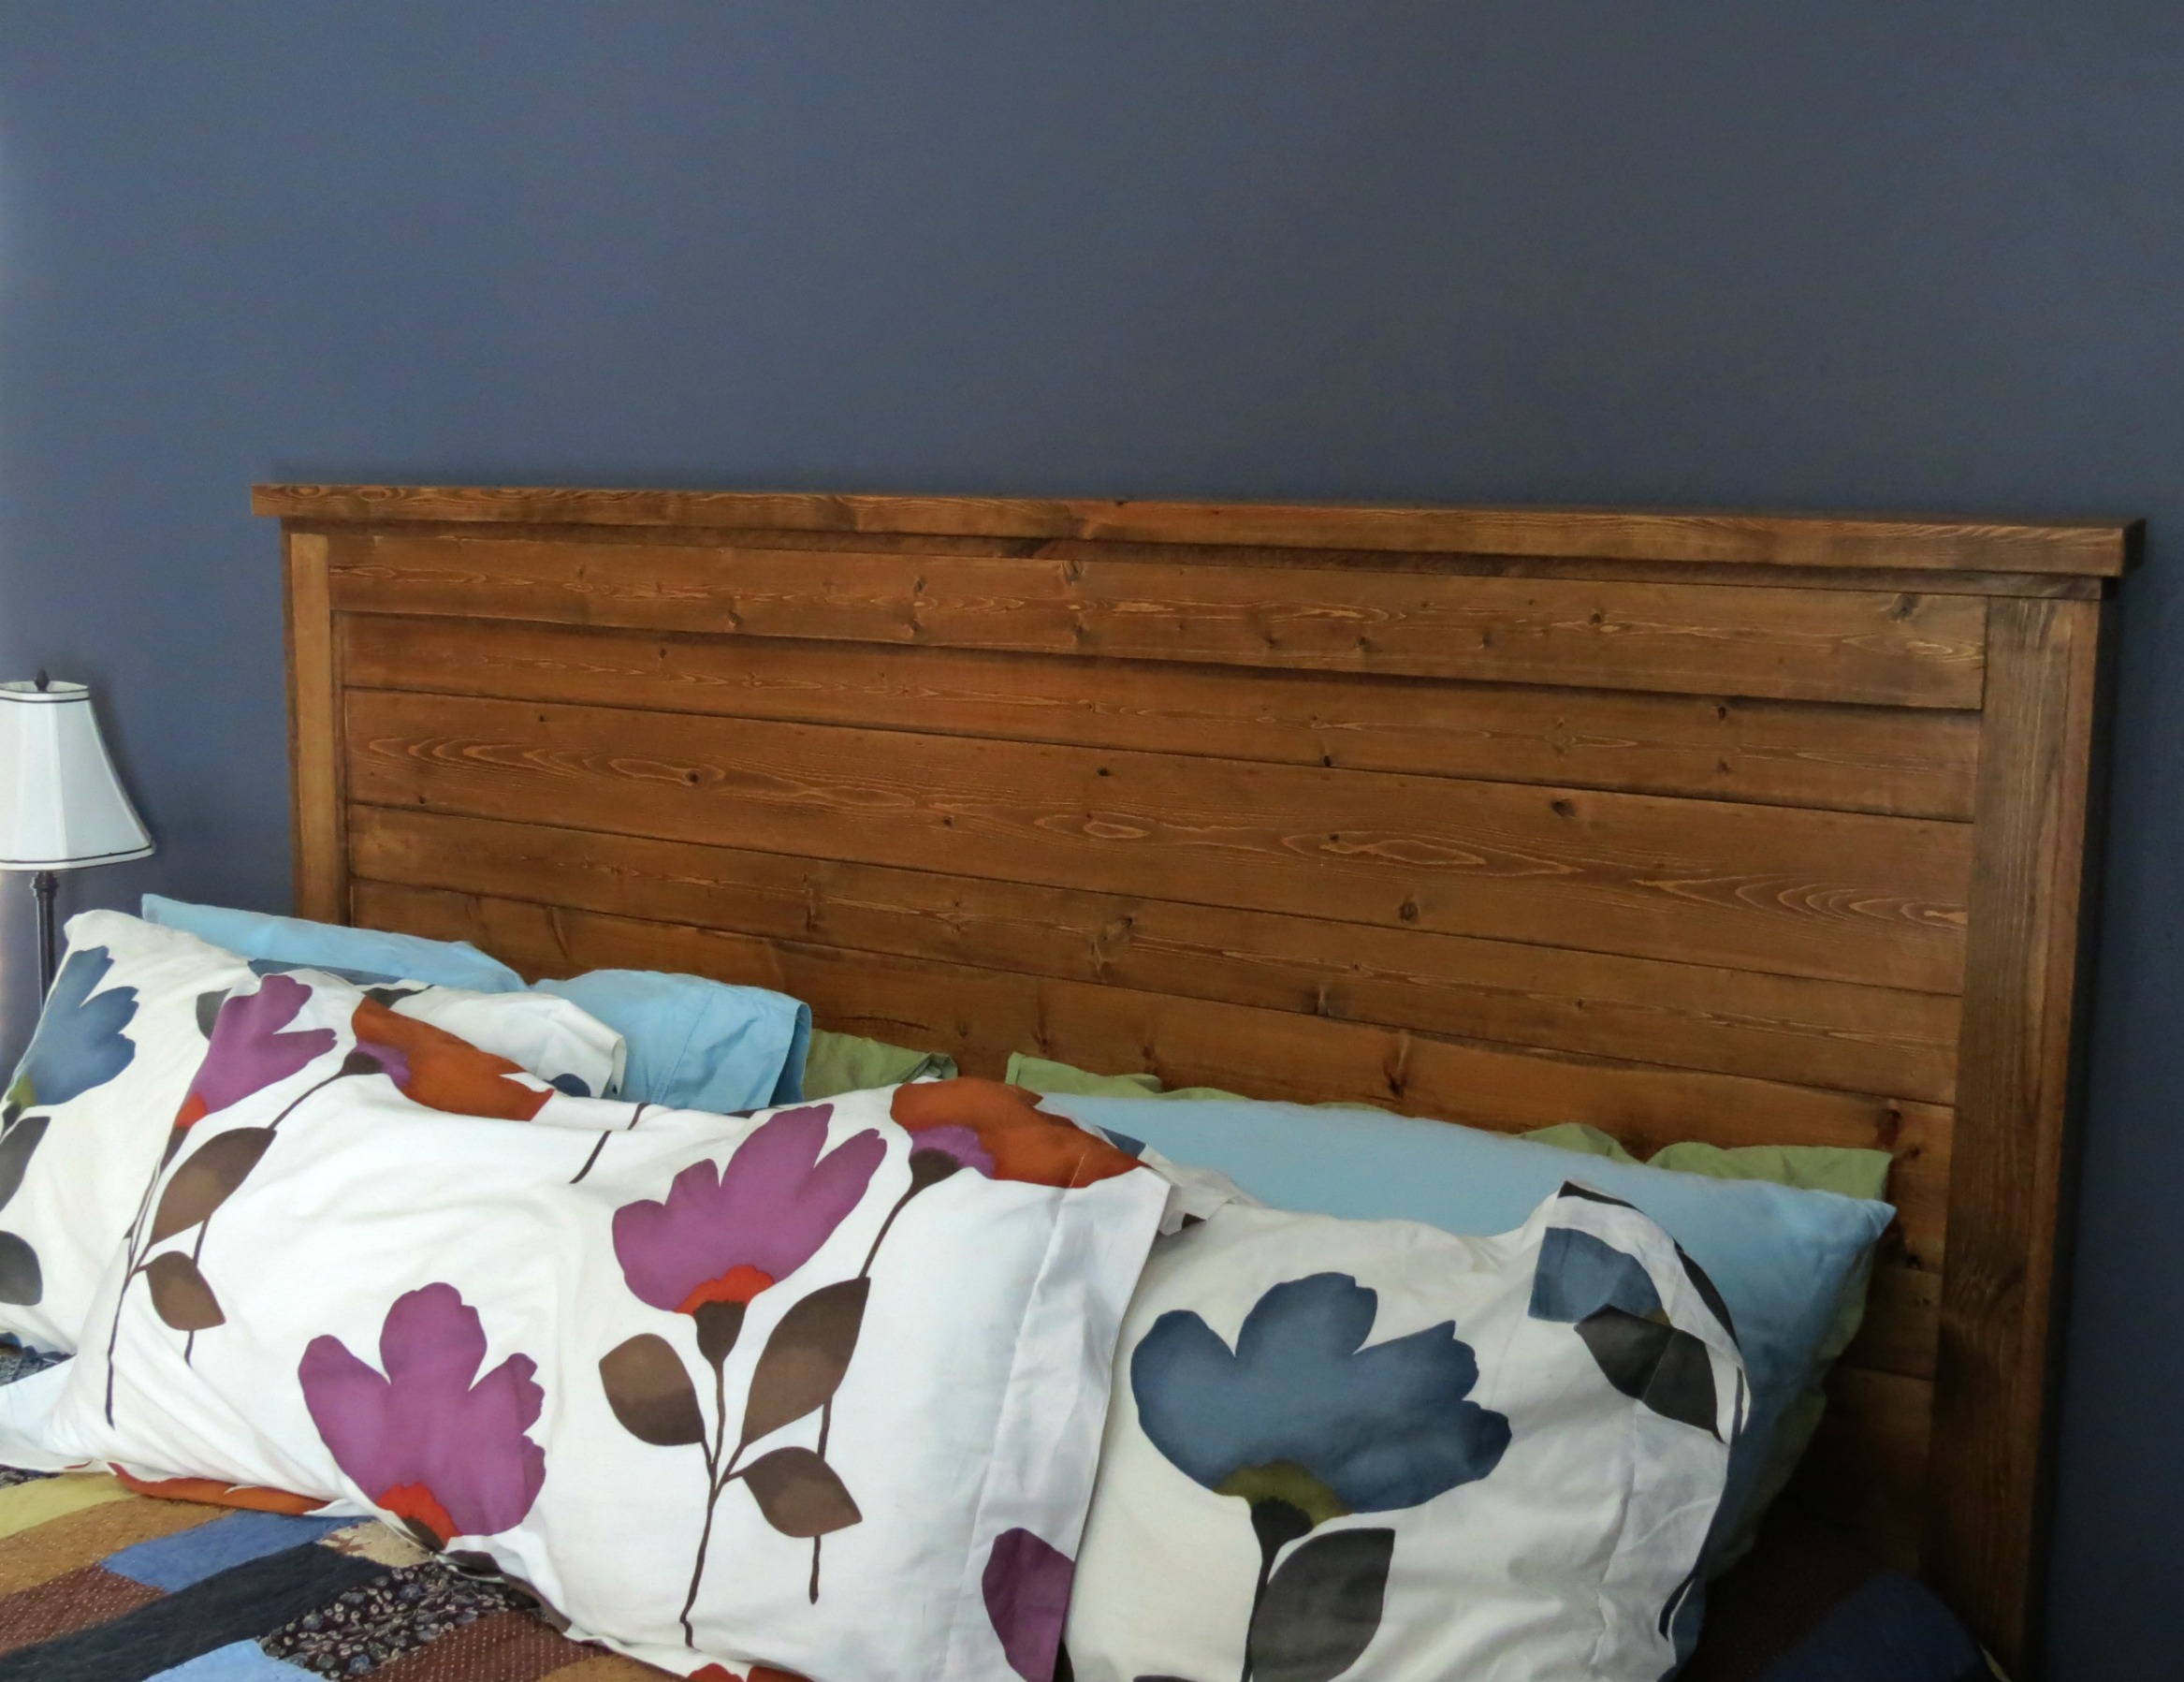
I did not edit this project, except the original project plan called for the bed to be turned sideways, I made this with the bed facing the right original way. The longest part of this project was waiting for the stain. It is not included in the estimated build time.
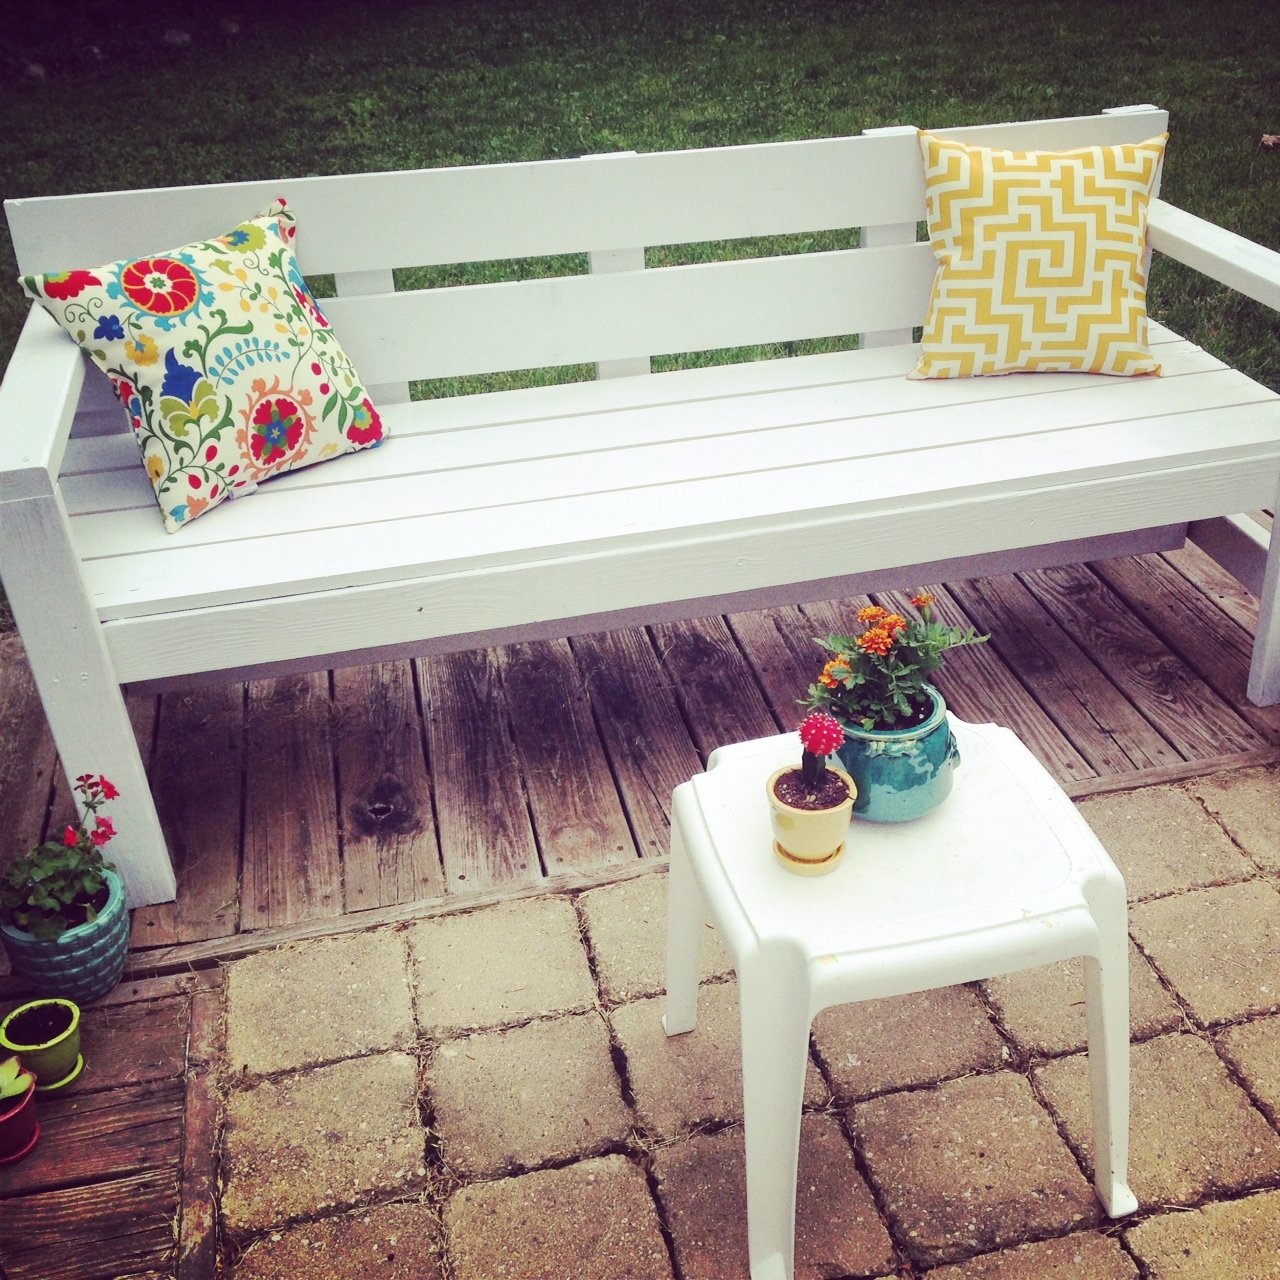
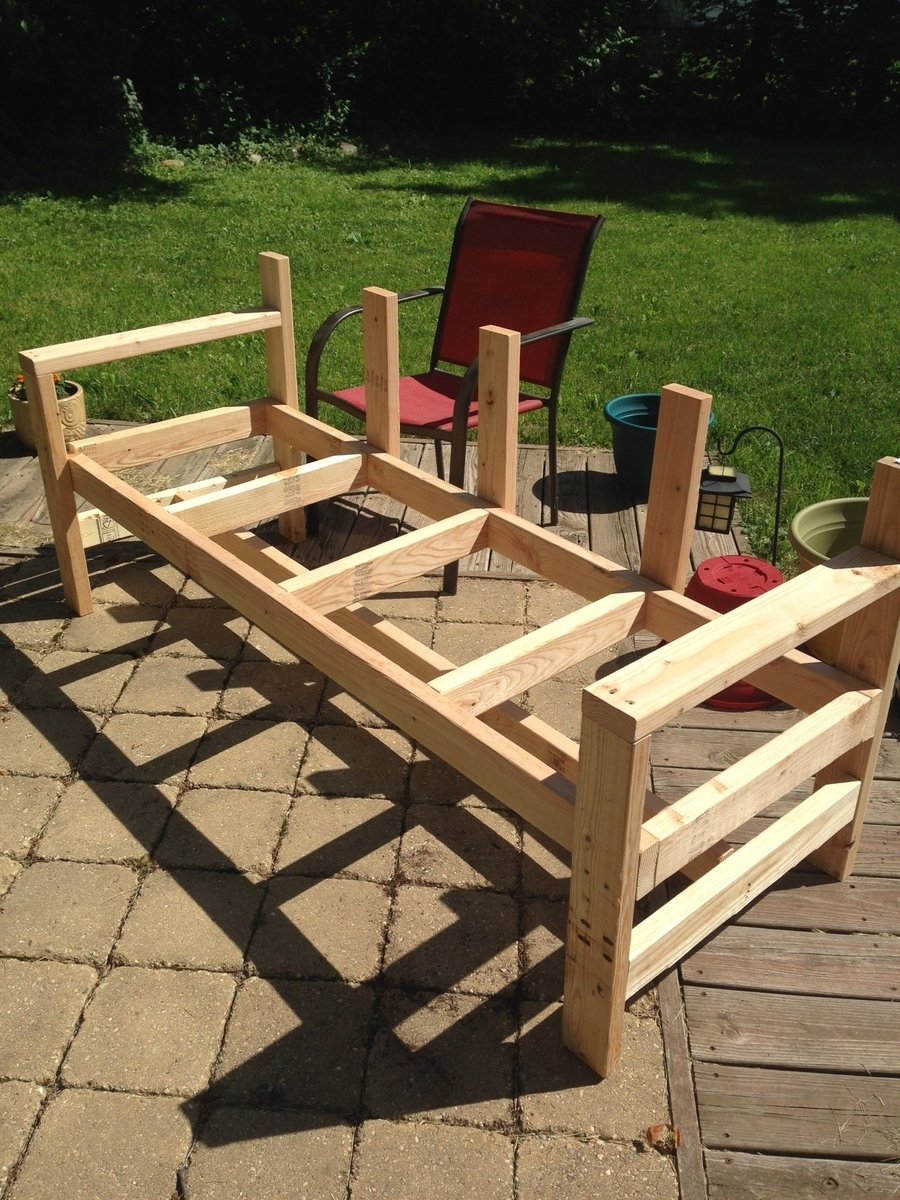
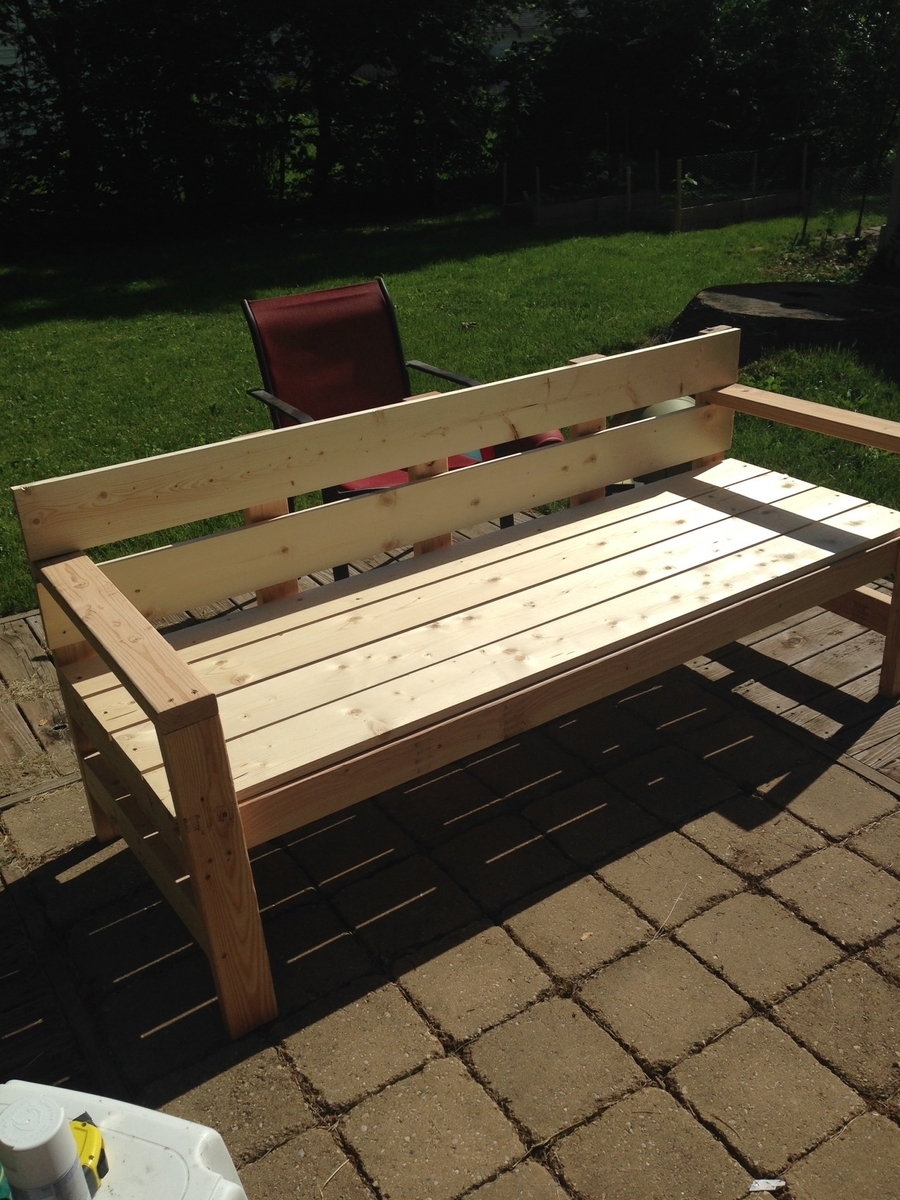
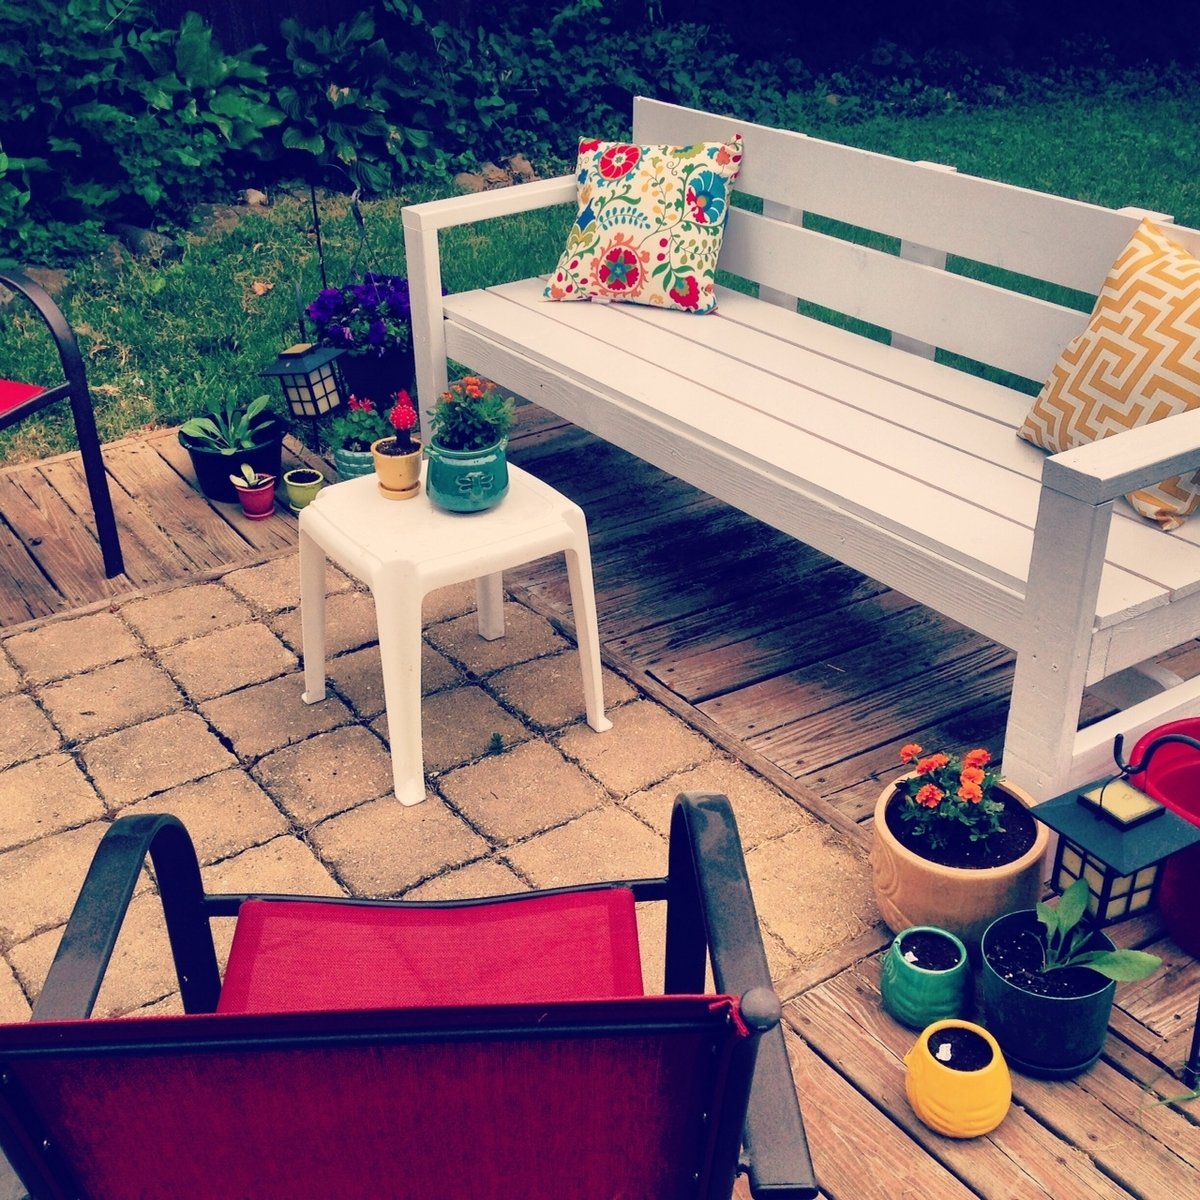
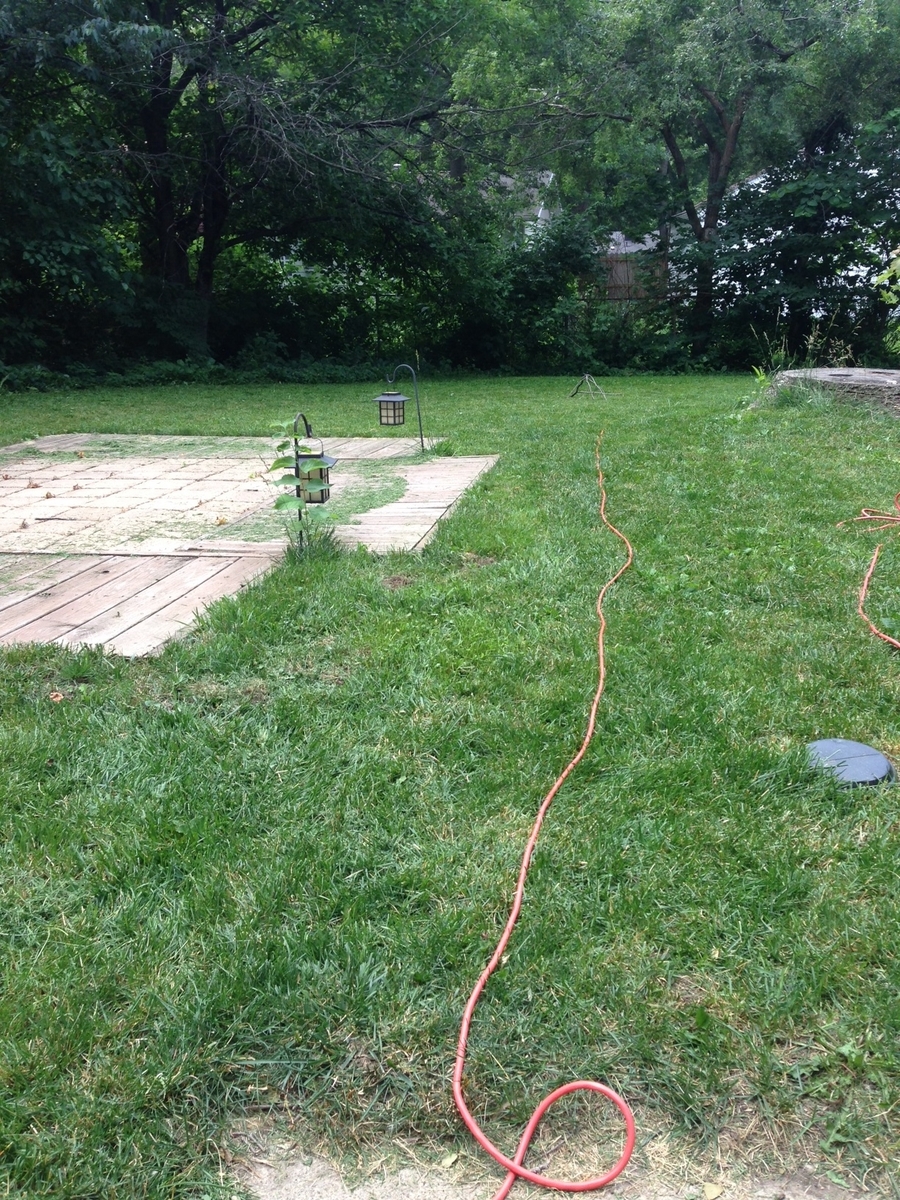
My patio was bare. (see boring before picture). So, I made this bench and wiped out a garden sale at Joann's, and now I'm SUPER excited about how it turned out! Really simple and straight-forward build, but this one was pretty hard to make by myself because it is super heavy! Nonetheless, I managed on my own, and I'm not the strongest person around, so that goes to show you that you can do it as a 1(wo)man show. Love this bench! Thanks Ana!!

Fri, 04/16/2021 - 14:38
I love this bench. What's the measurement please?
Thanks

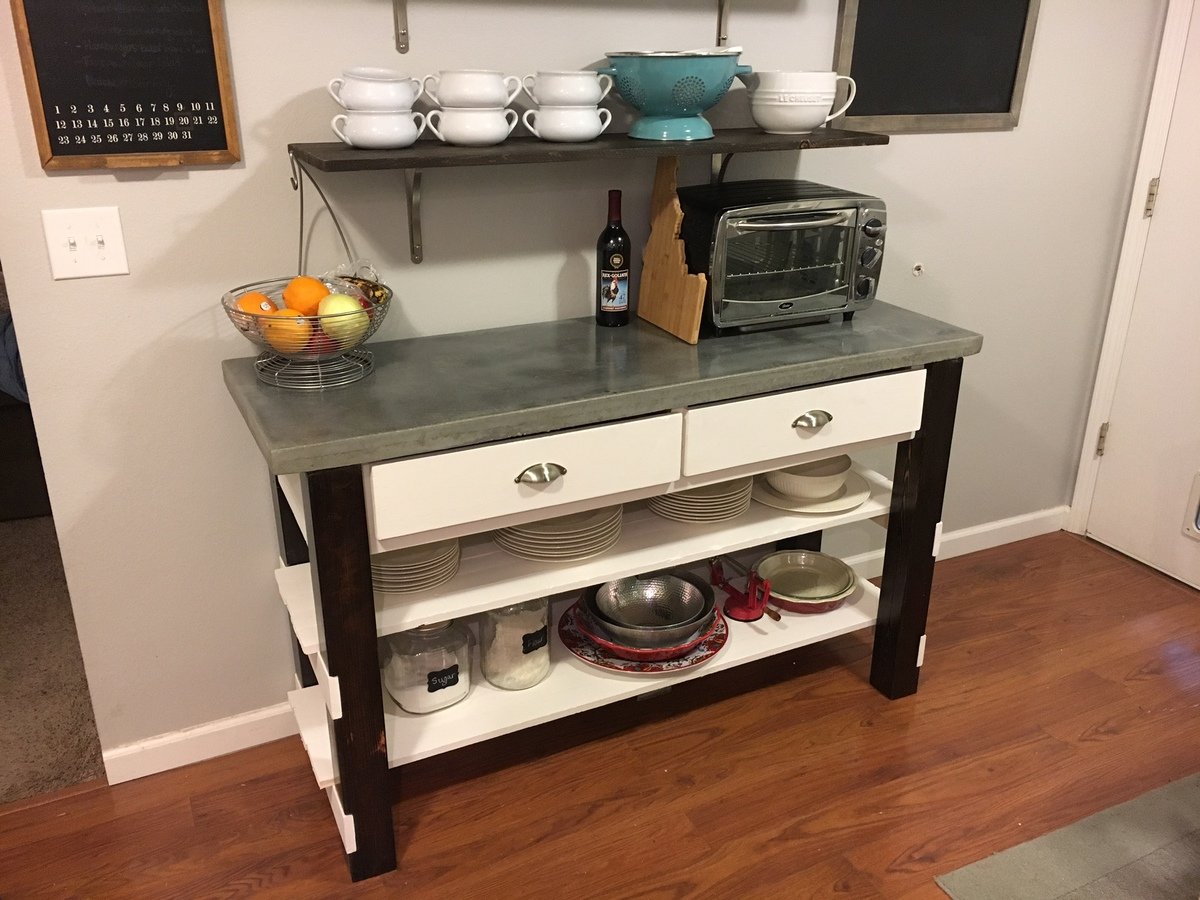
I used the plans to build my island, but I'm using it more like an extra counter. I reduced the depth by about 4 inches so it would fit in the space better. I did all my cuts with a circular saw, and I can recommend using a table saw and/or chop saw to get straighter cuts. The gem of the island is the concrete countertop. I poured 2 bags of concrete reinforced by rebar, darkened with a charcoal colorant. This was an experiment to see if concrete countertops would work for our whole kitchen. Success!
Built this awsome 40 dollar farmhouse table and matching set of side tables. Original plane was 20 per table but I went with oak plywood so more luke 40. All in all nice little table once thwy were all finished.
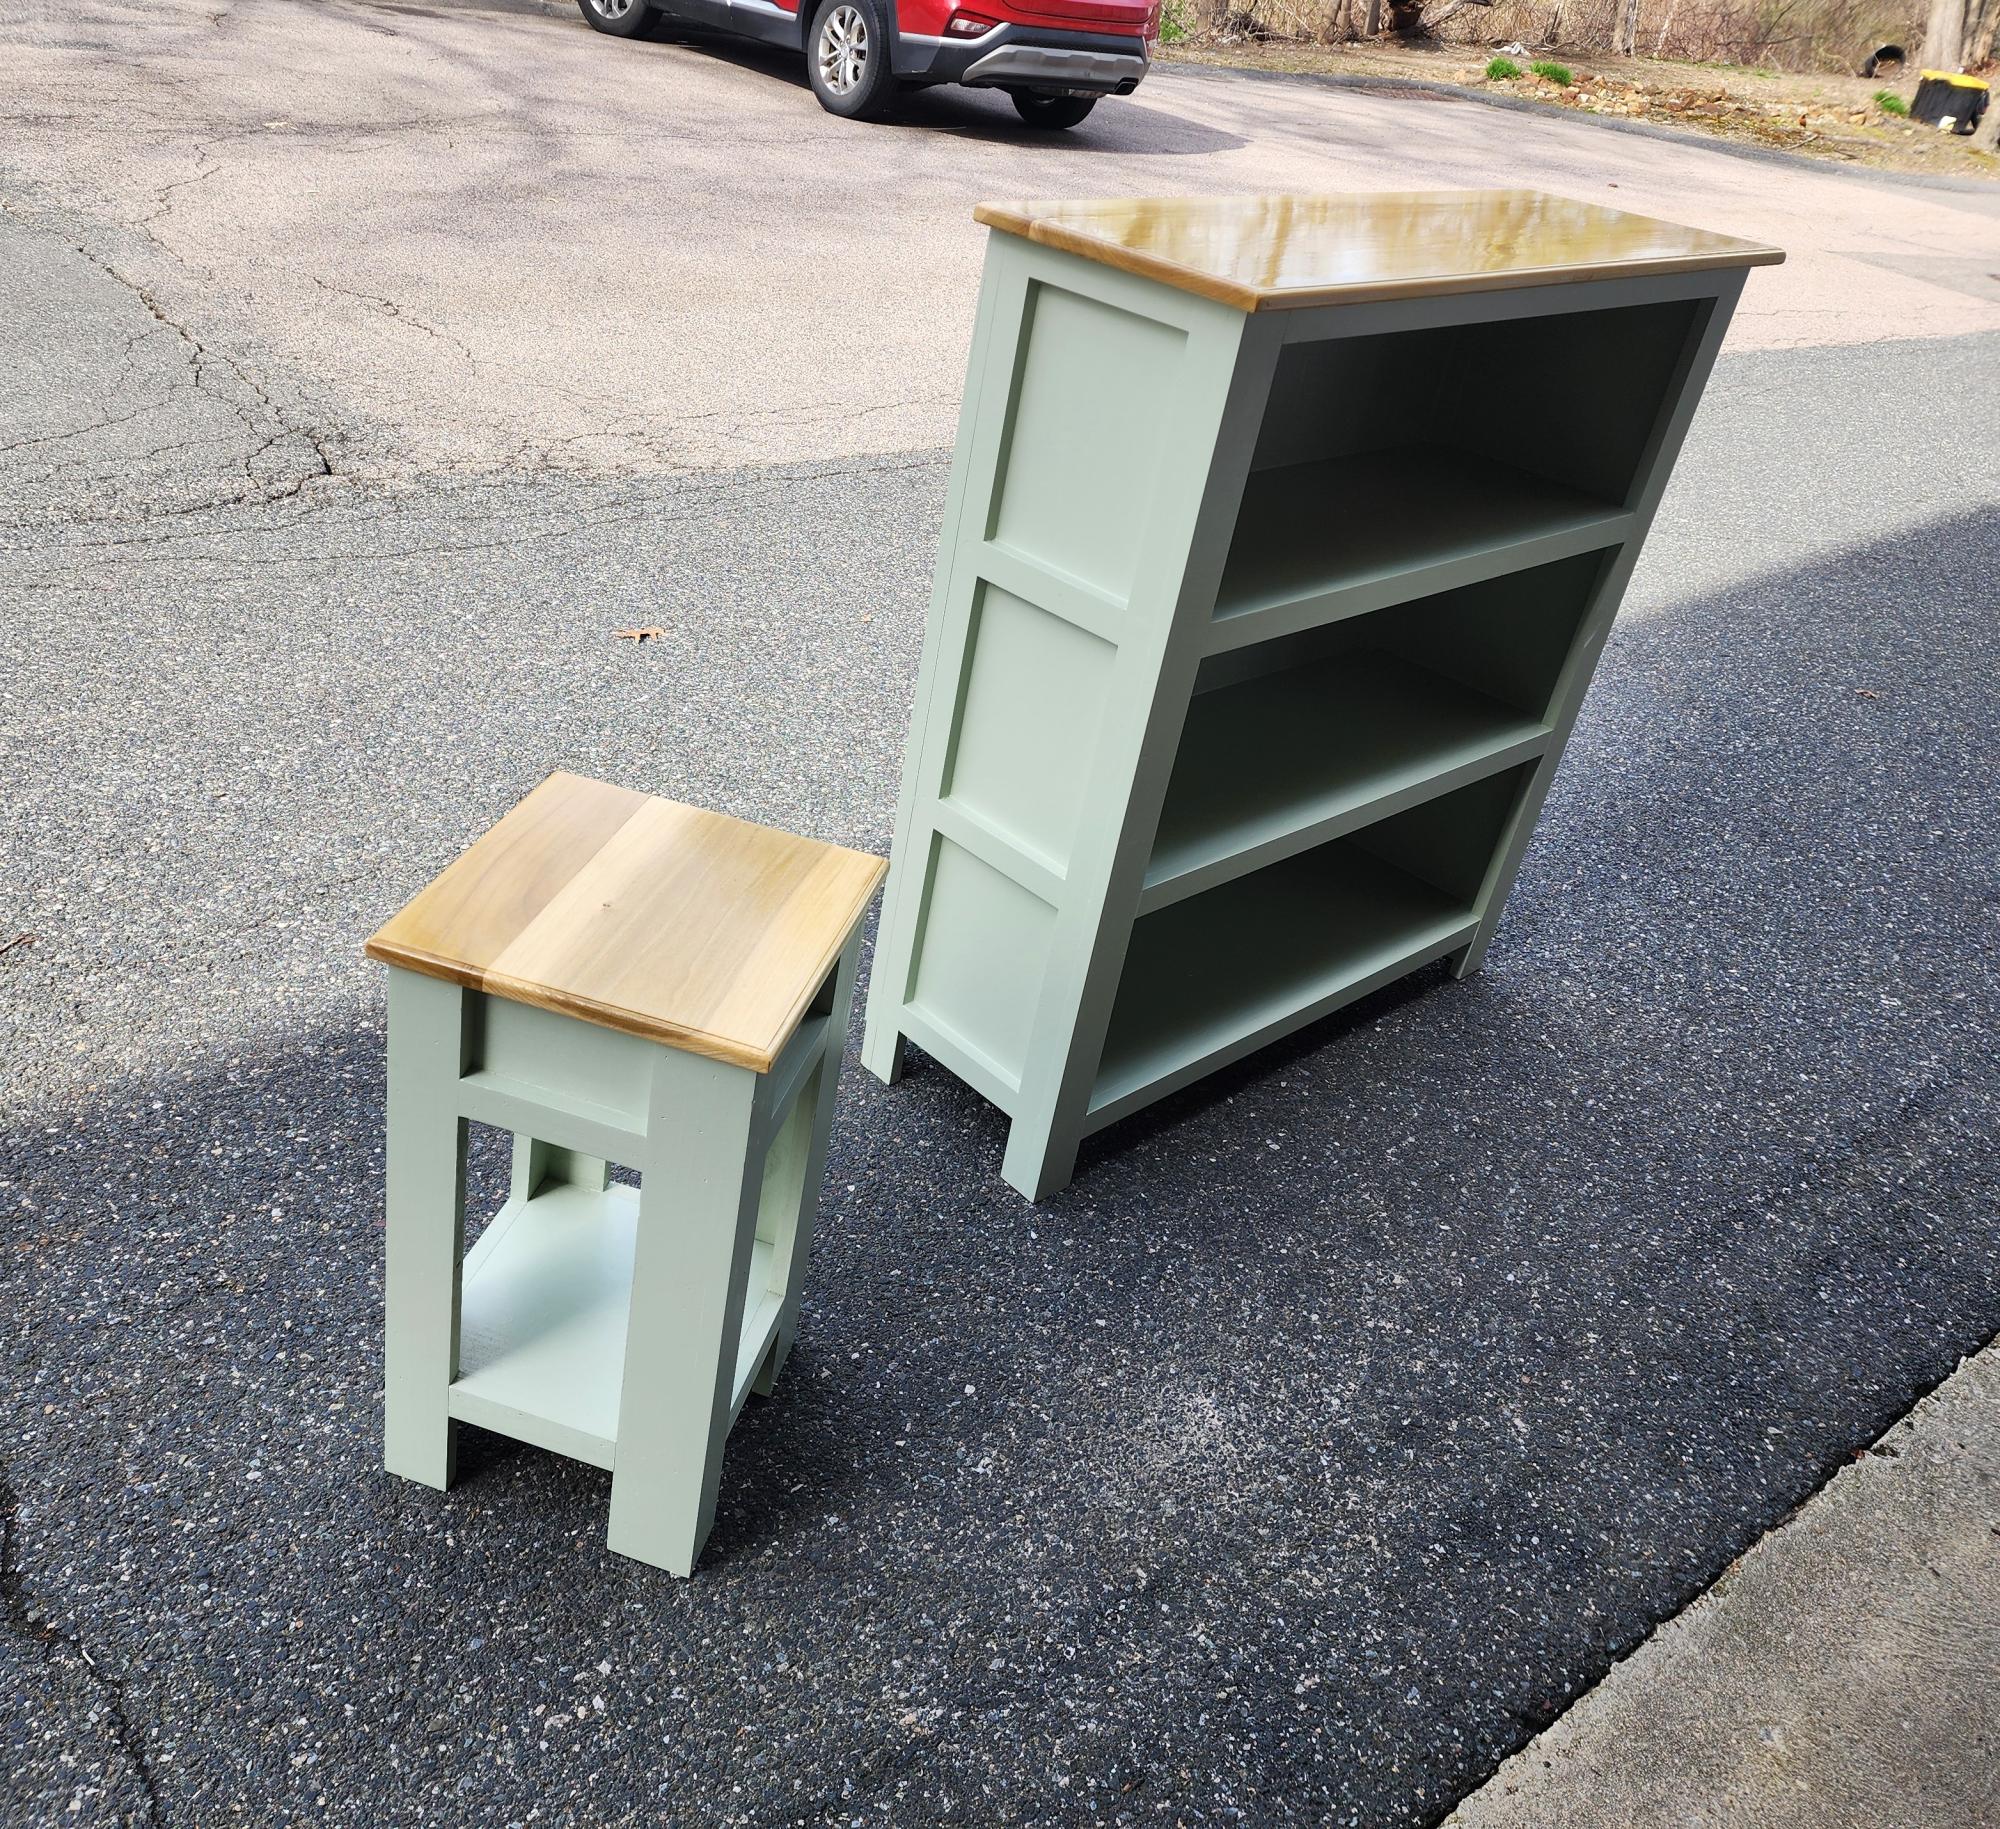
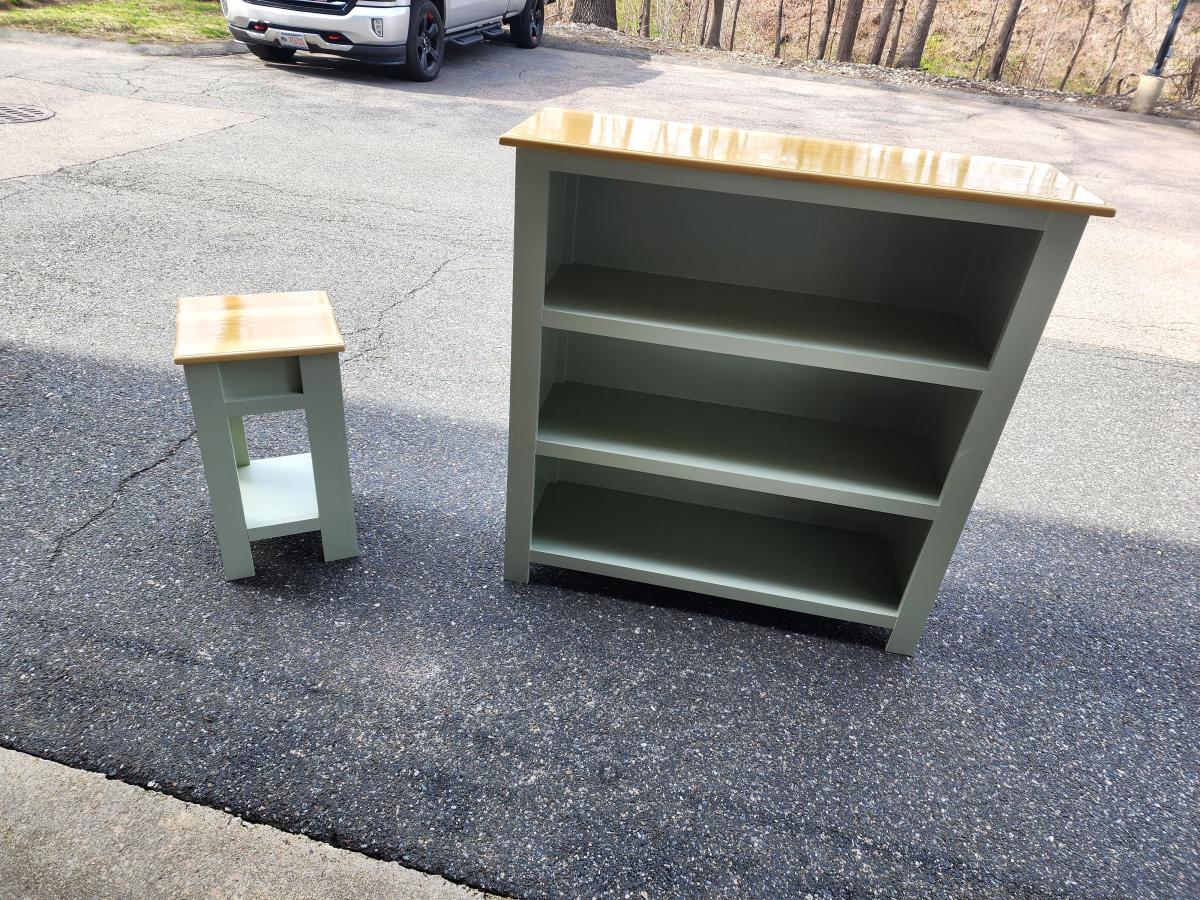
Madethe framed three shelf bookshelf with plans from Ana White. It was a gift for new baby in the family. I added a matching side table I designed based off Ana's plans! I used poplar 3/4" plywood, pine trim and poplar top for both pieces. Used Sherwin Williams Emerald trim paint in light green. Love the way these turned out!
Ray Bruhn