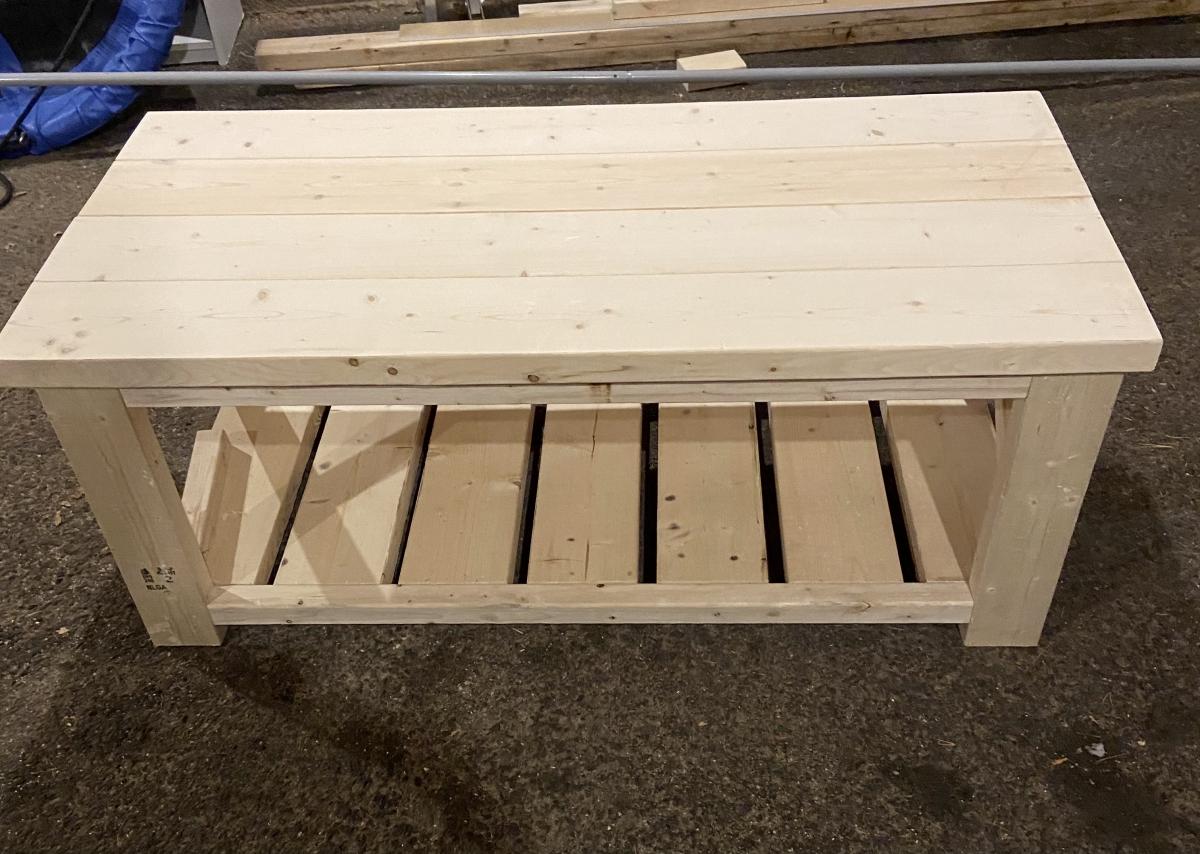
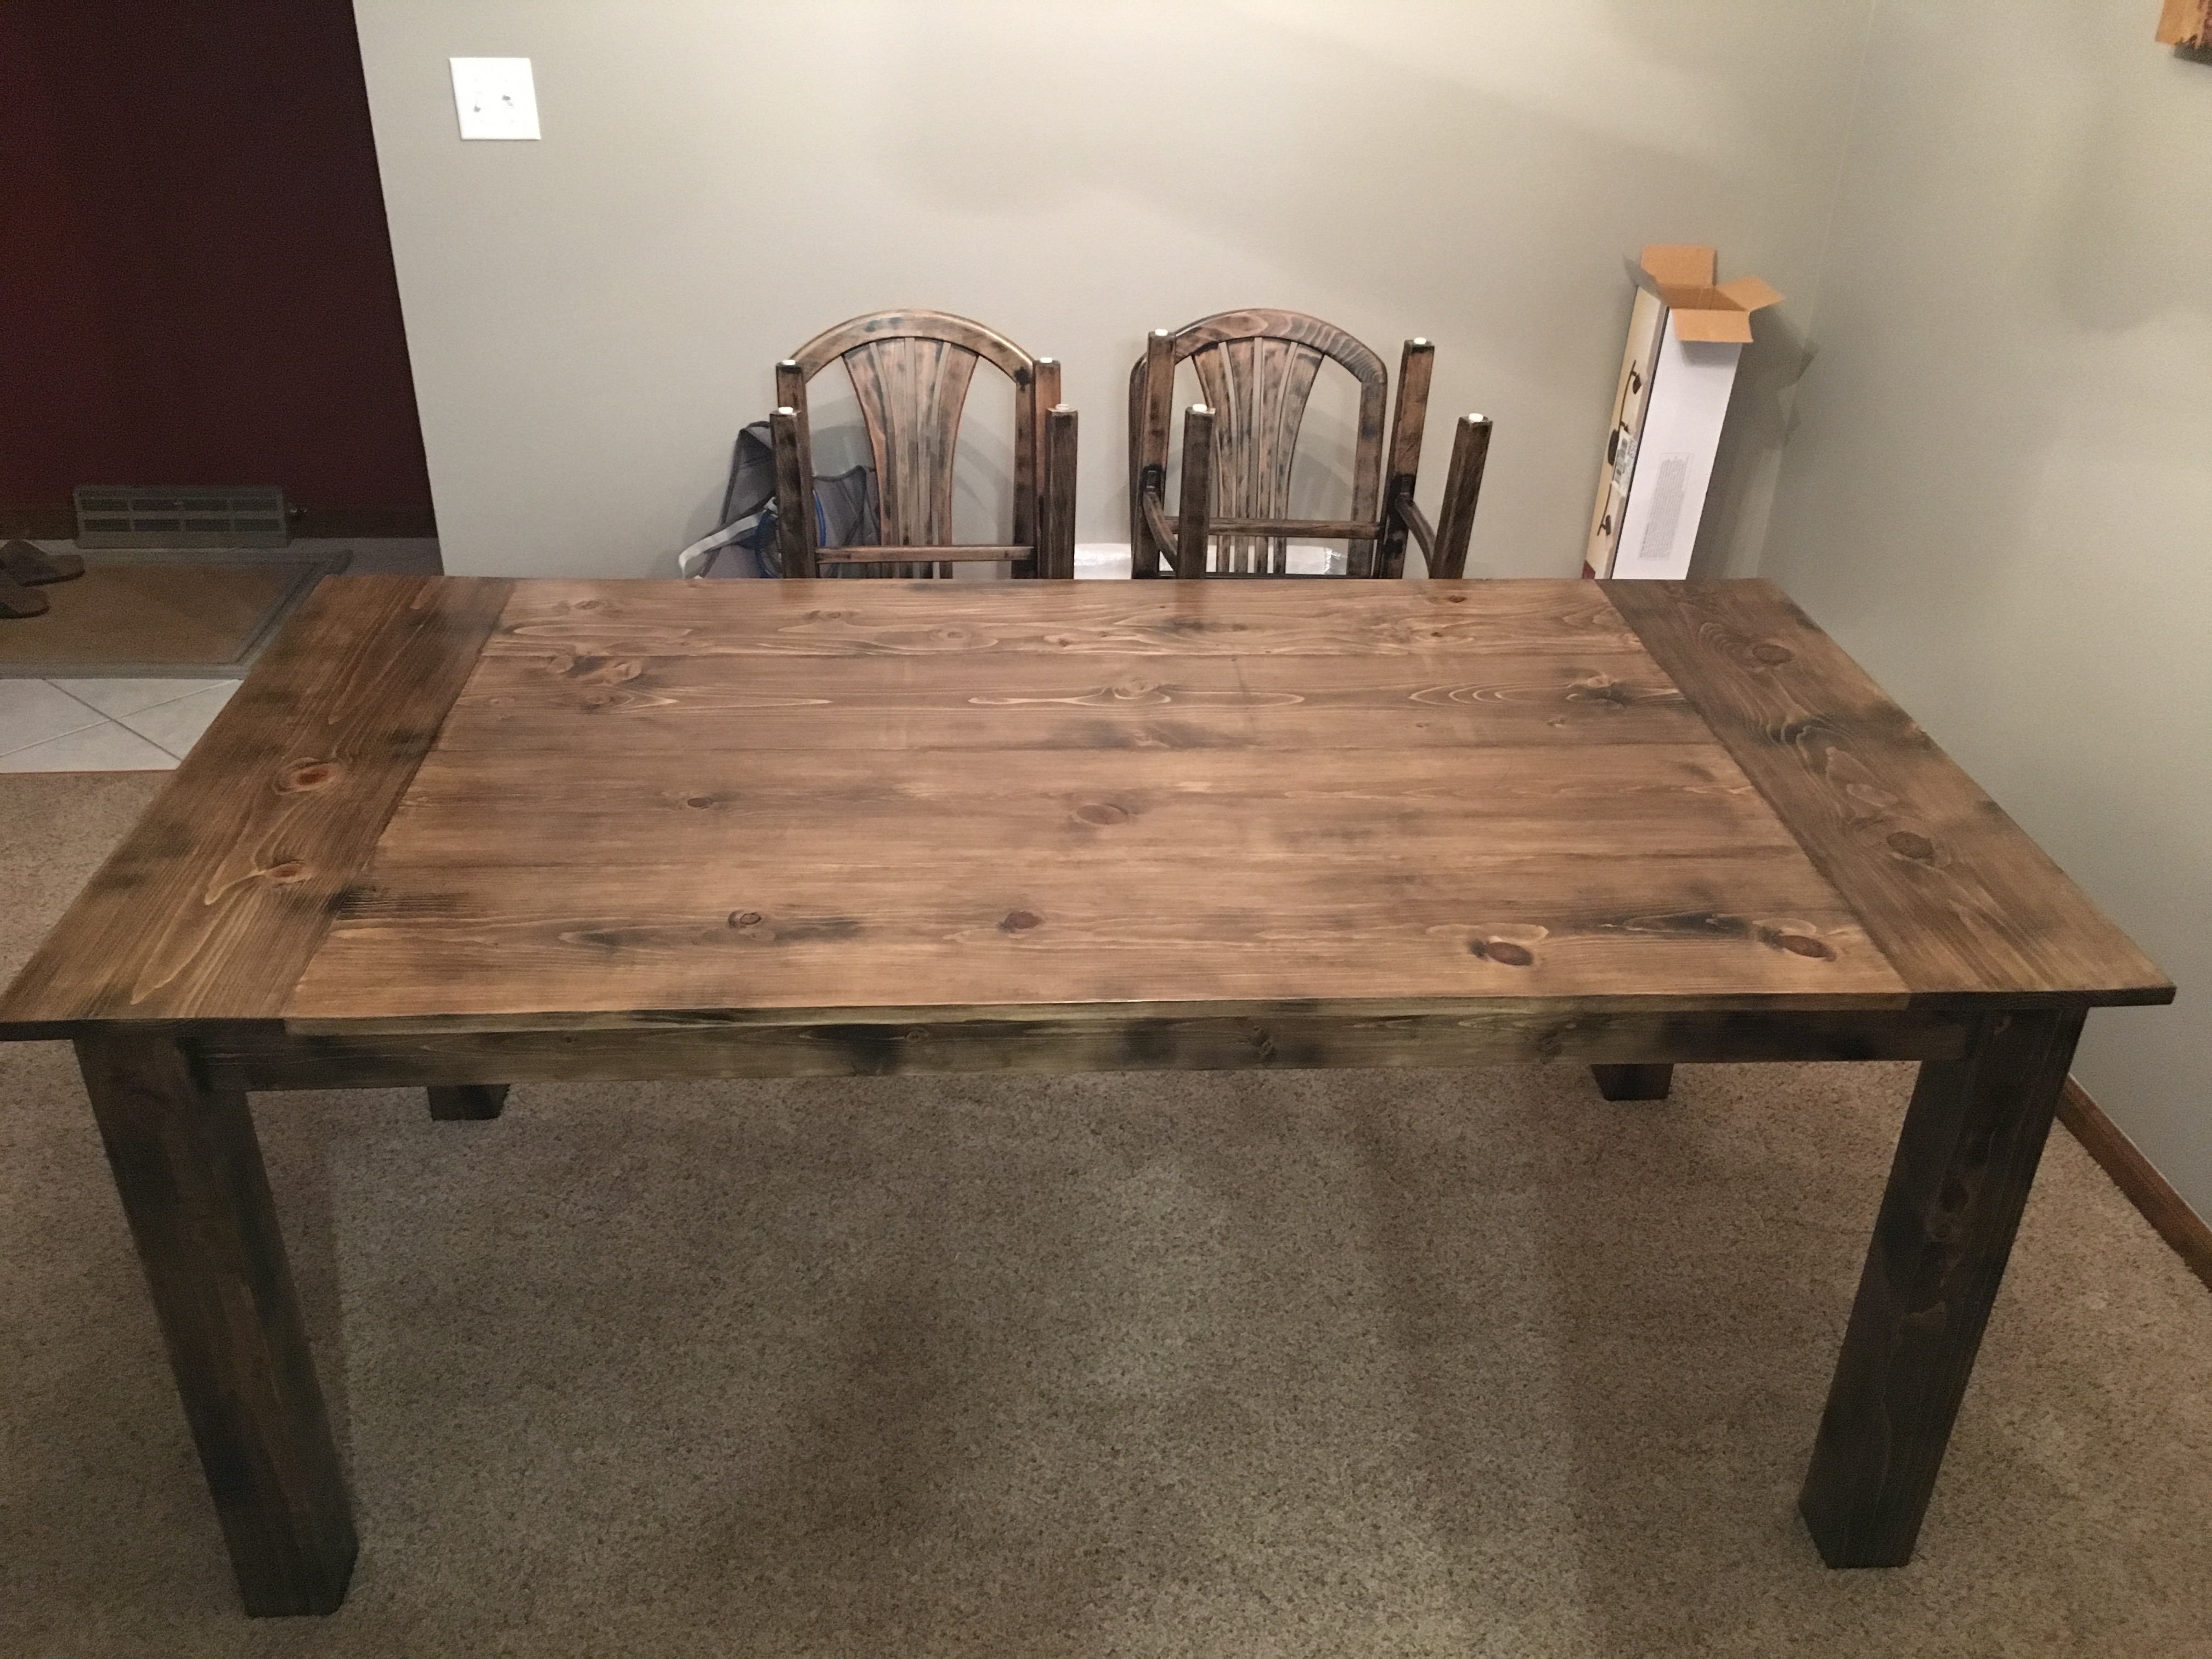
Farmhouse Table
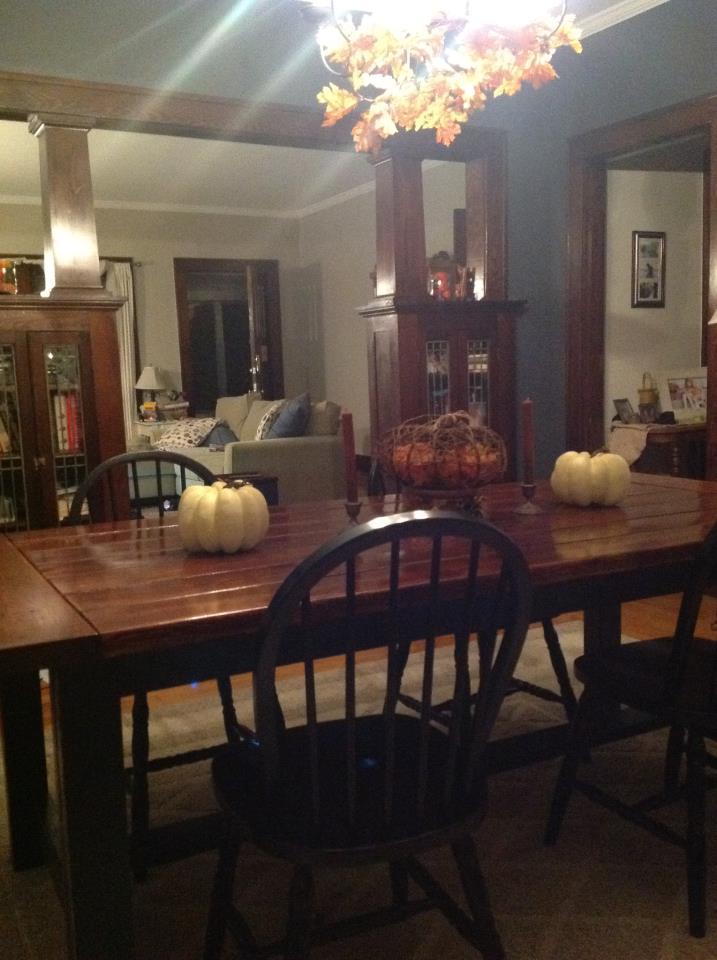
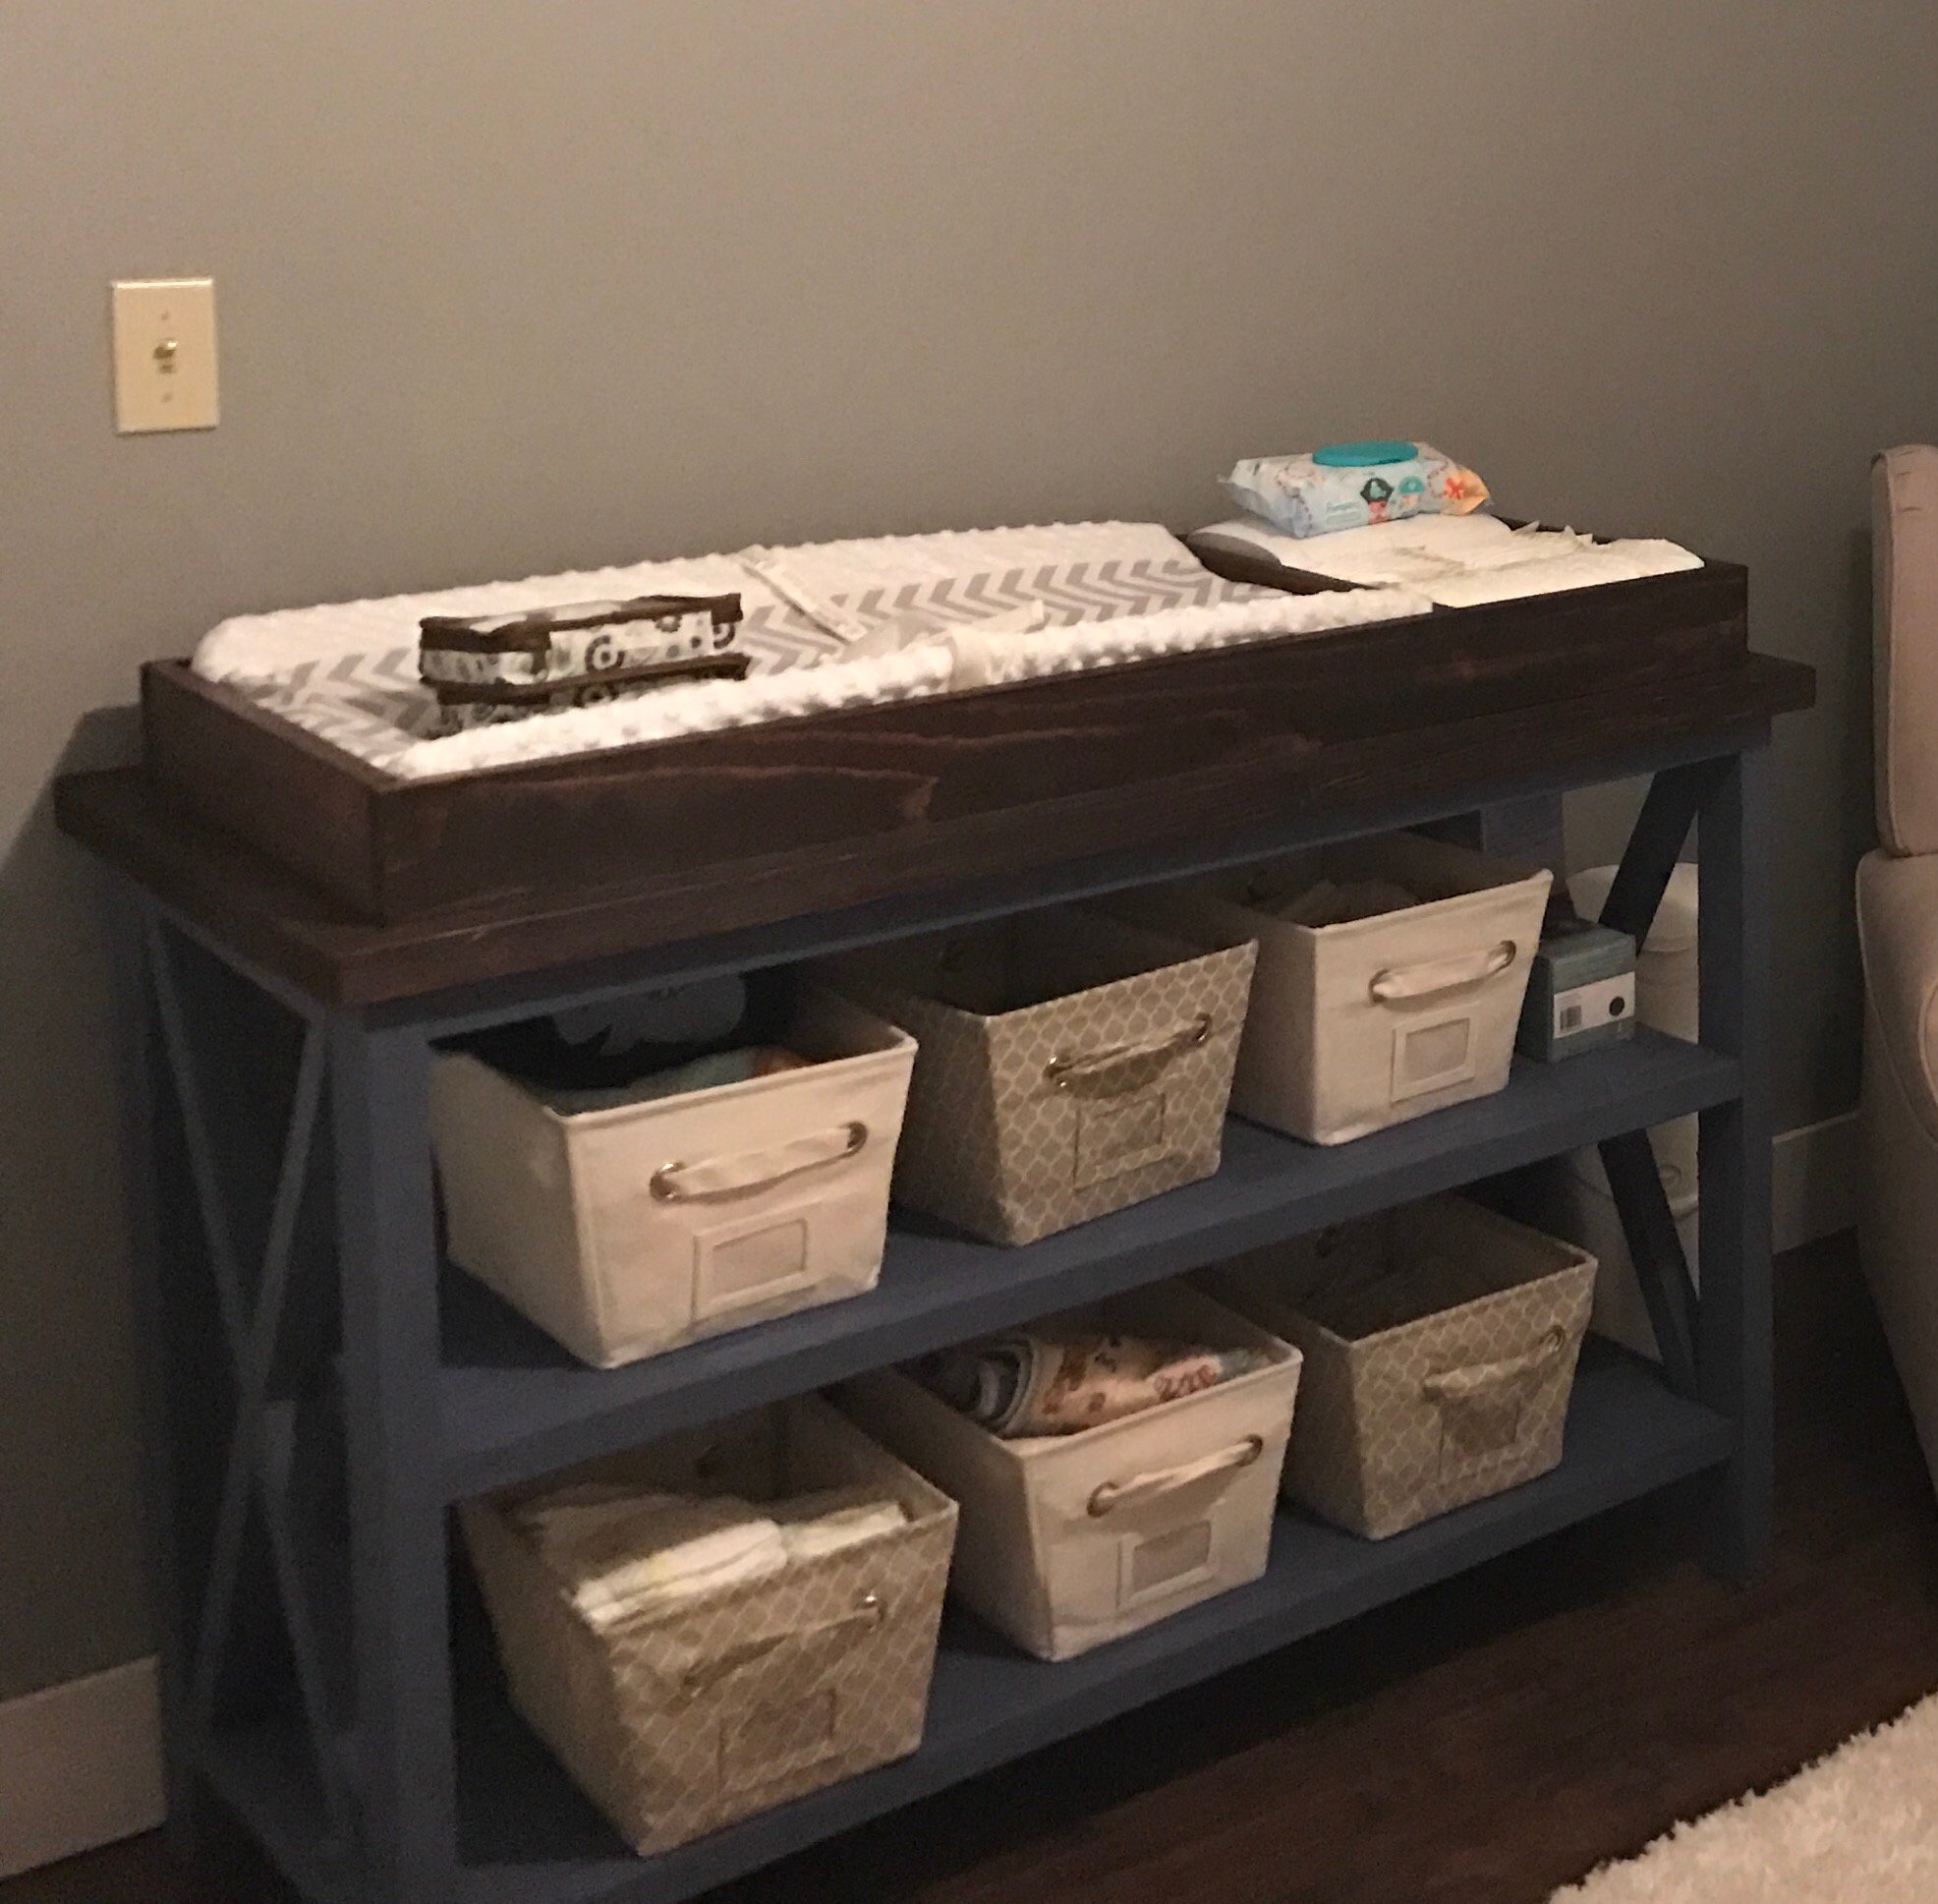
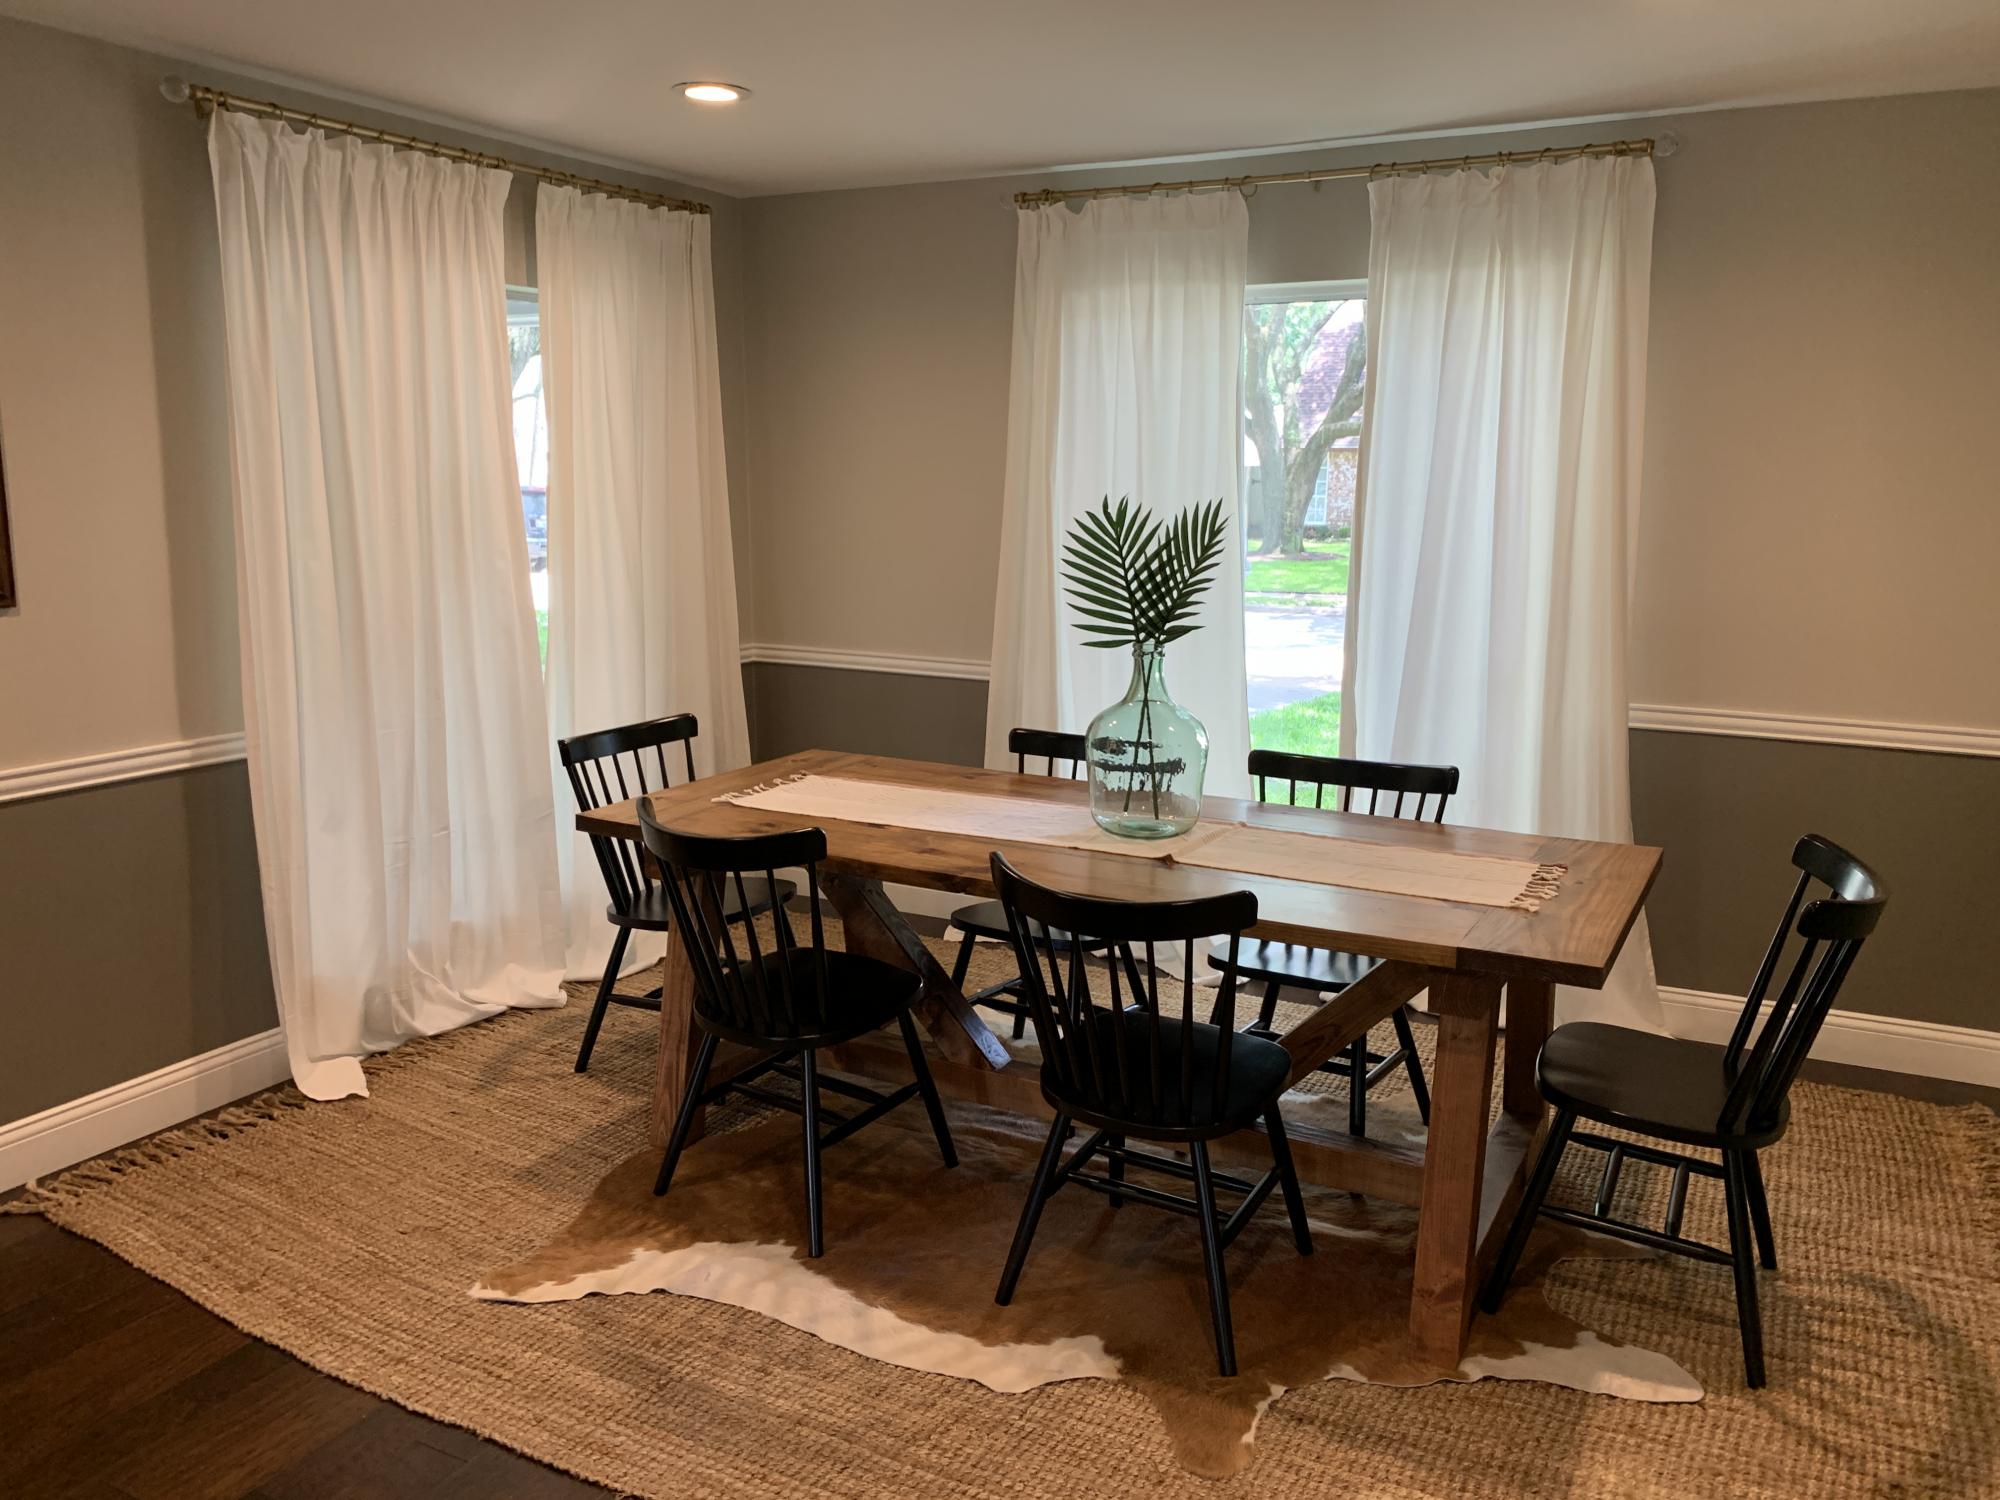
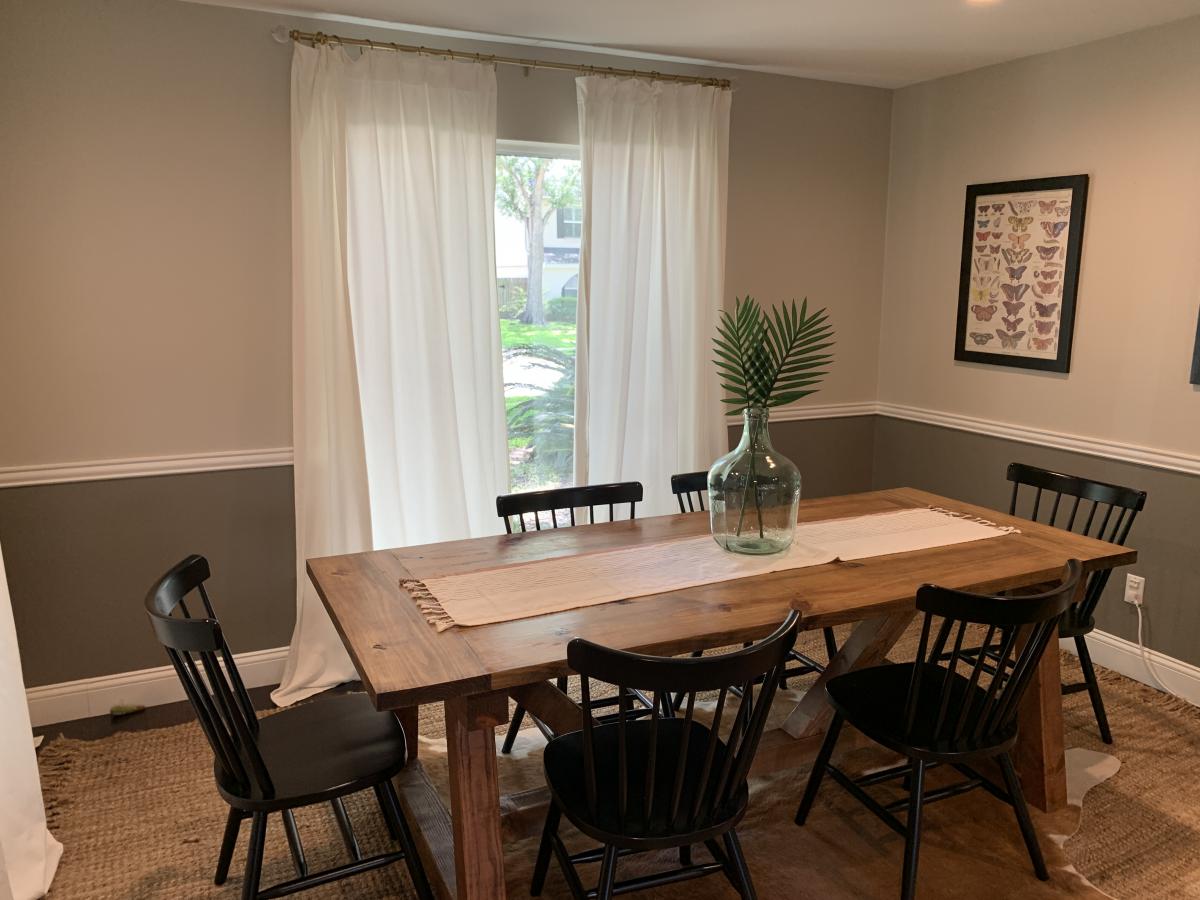
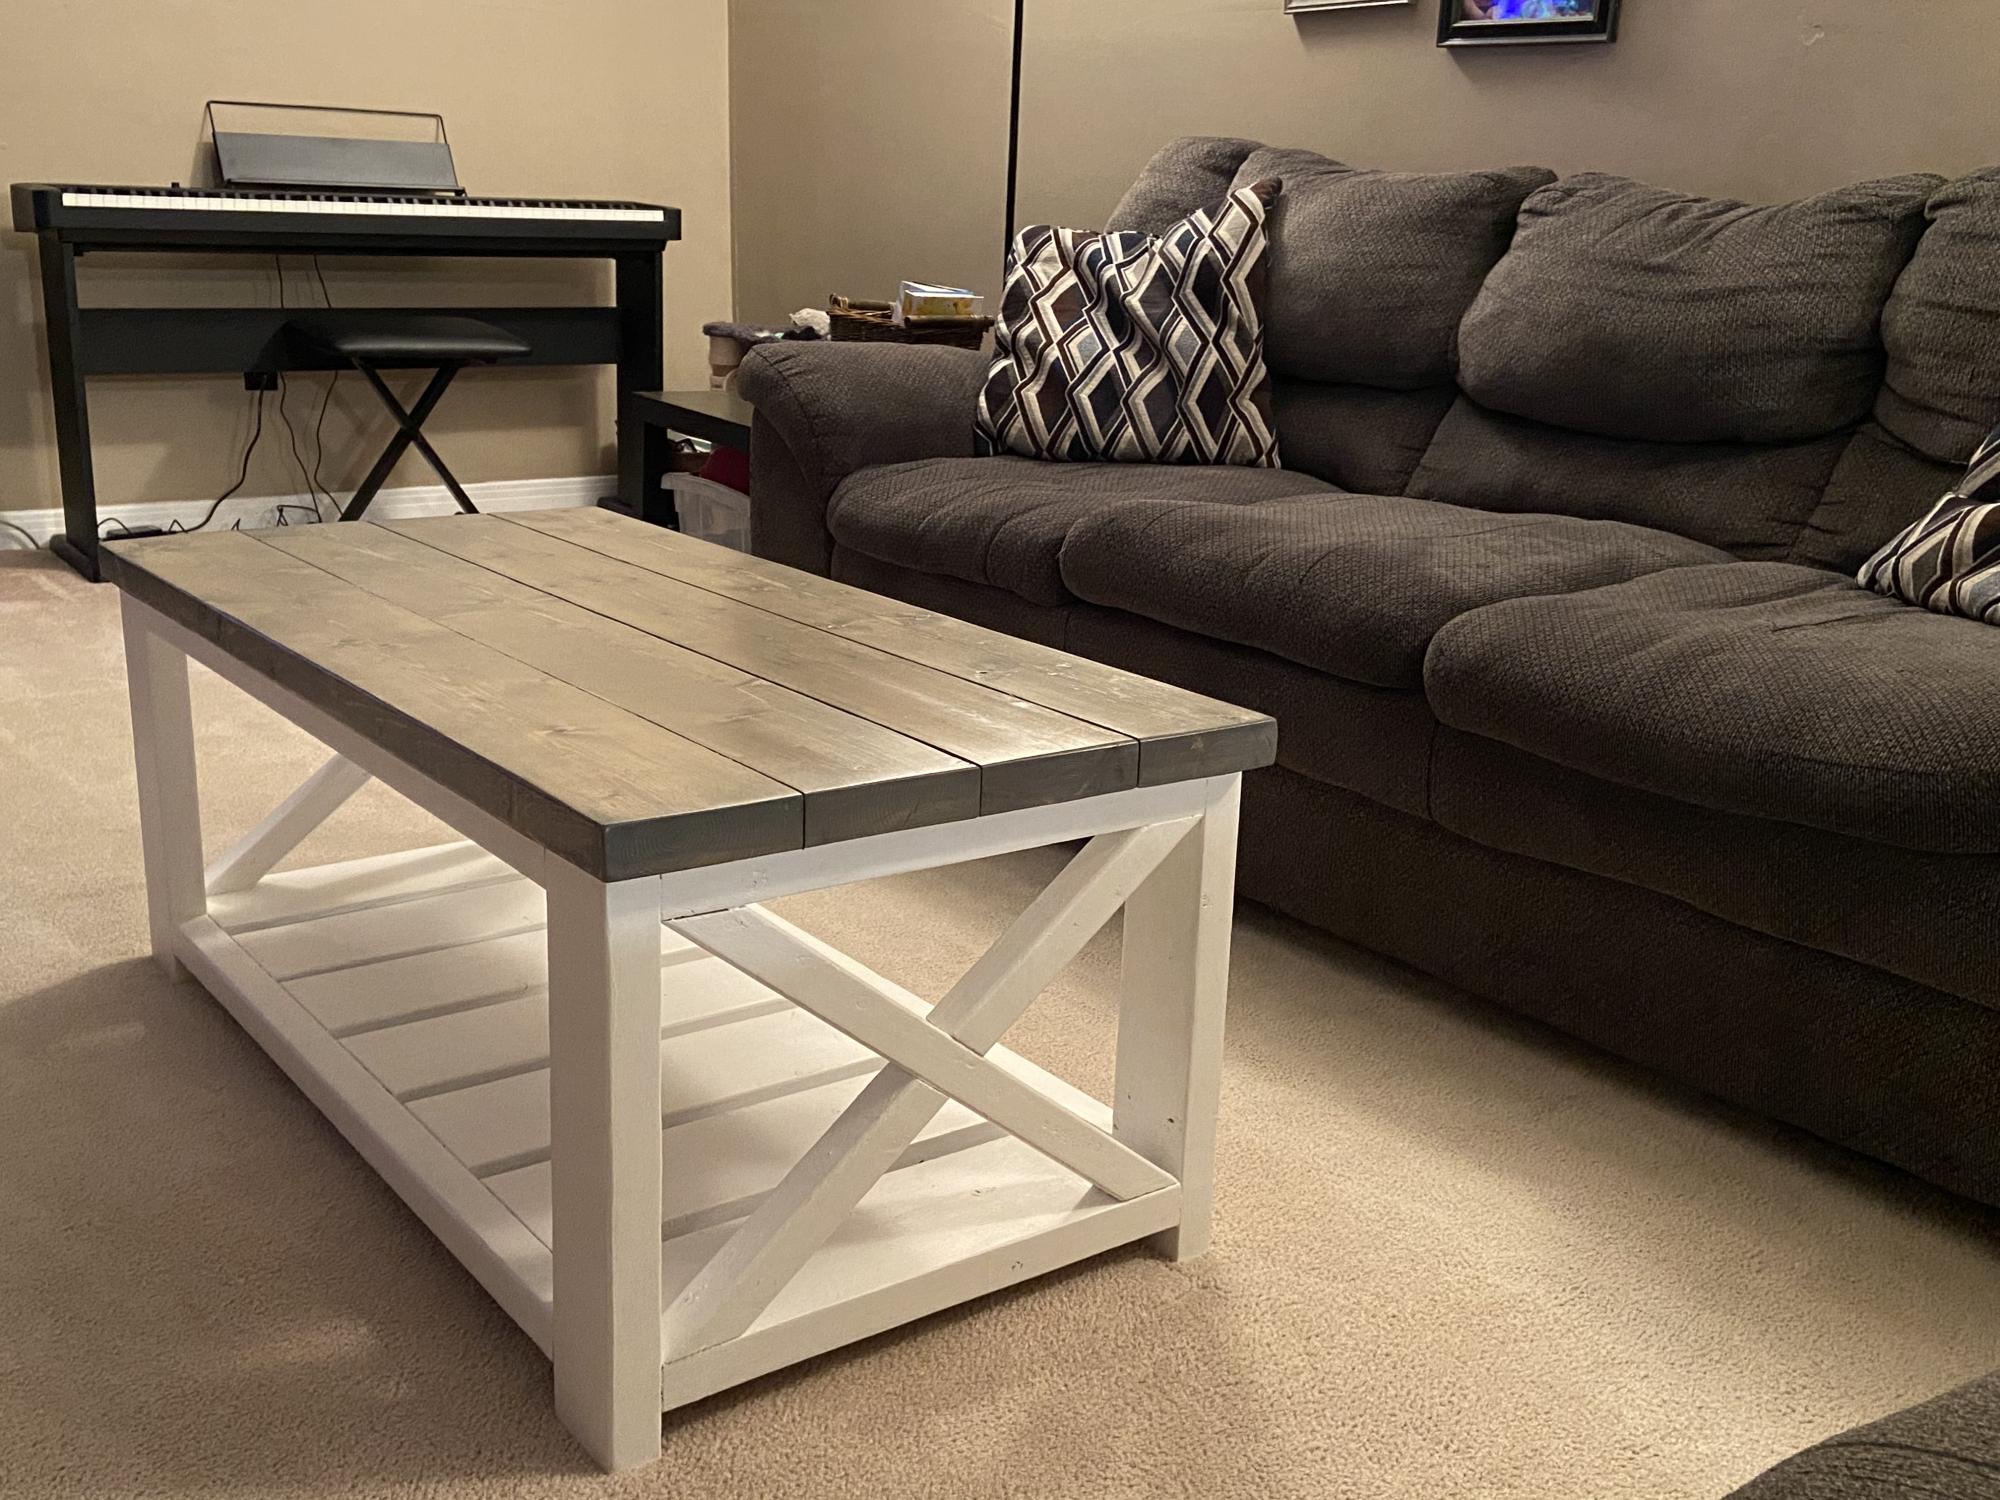
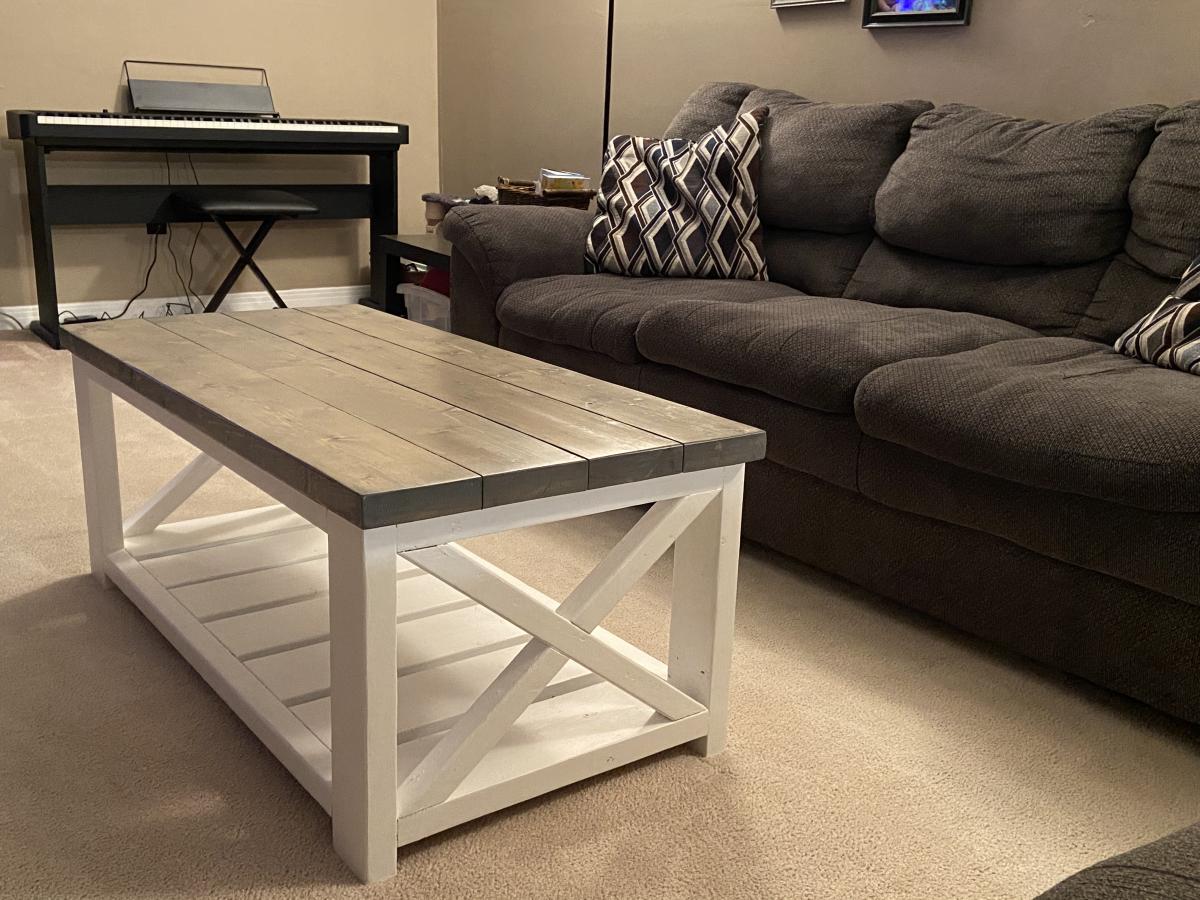
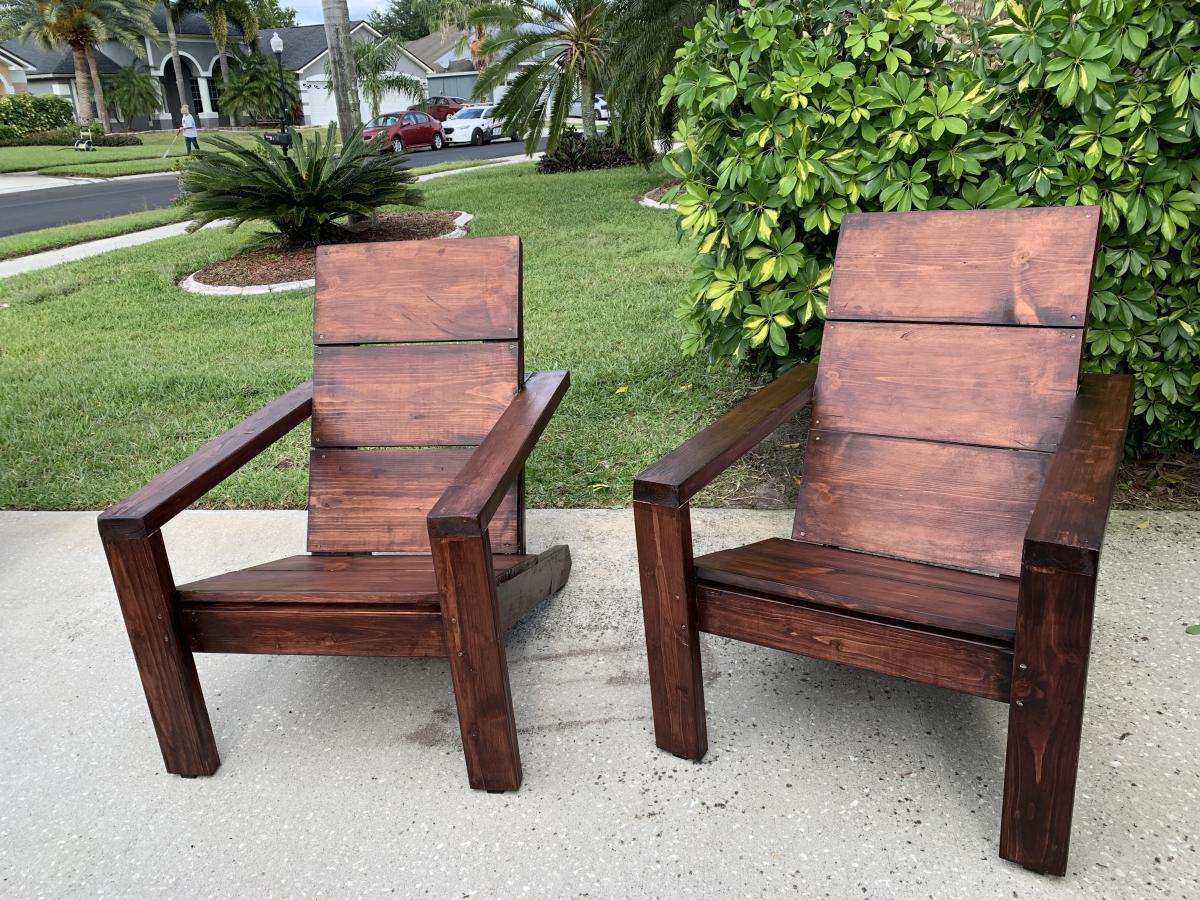
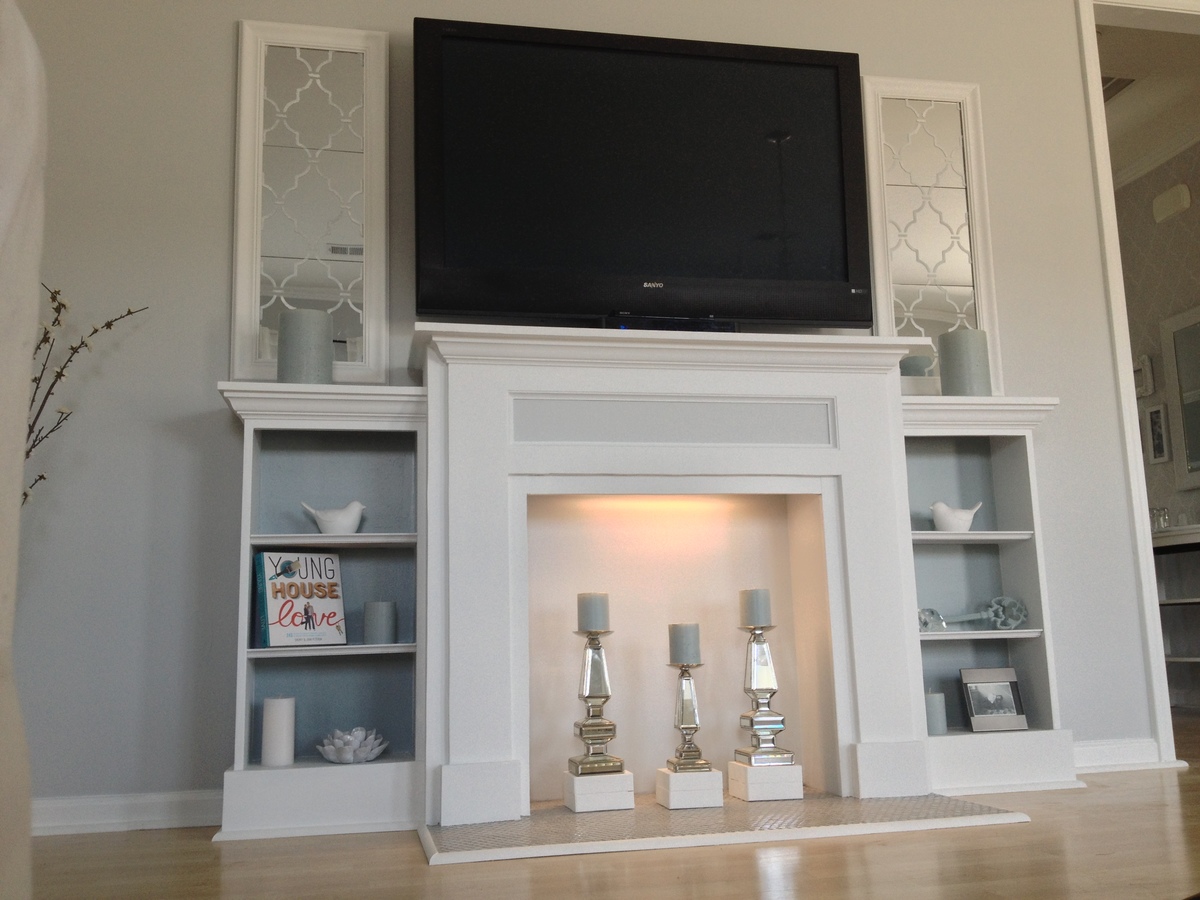
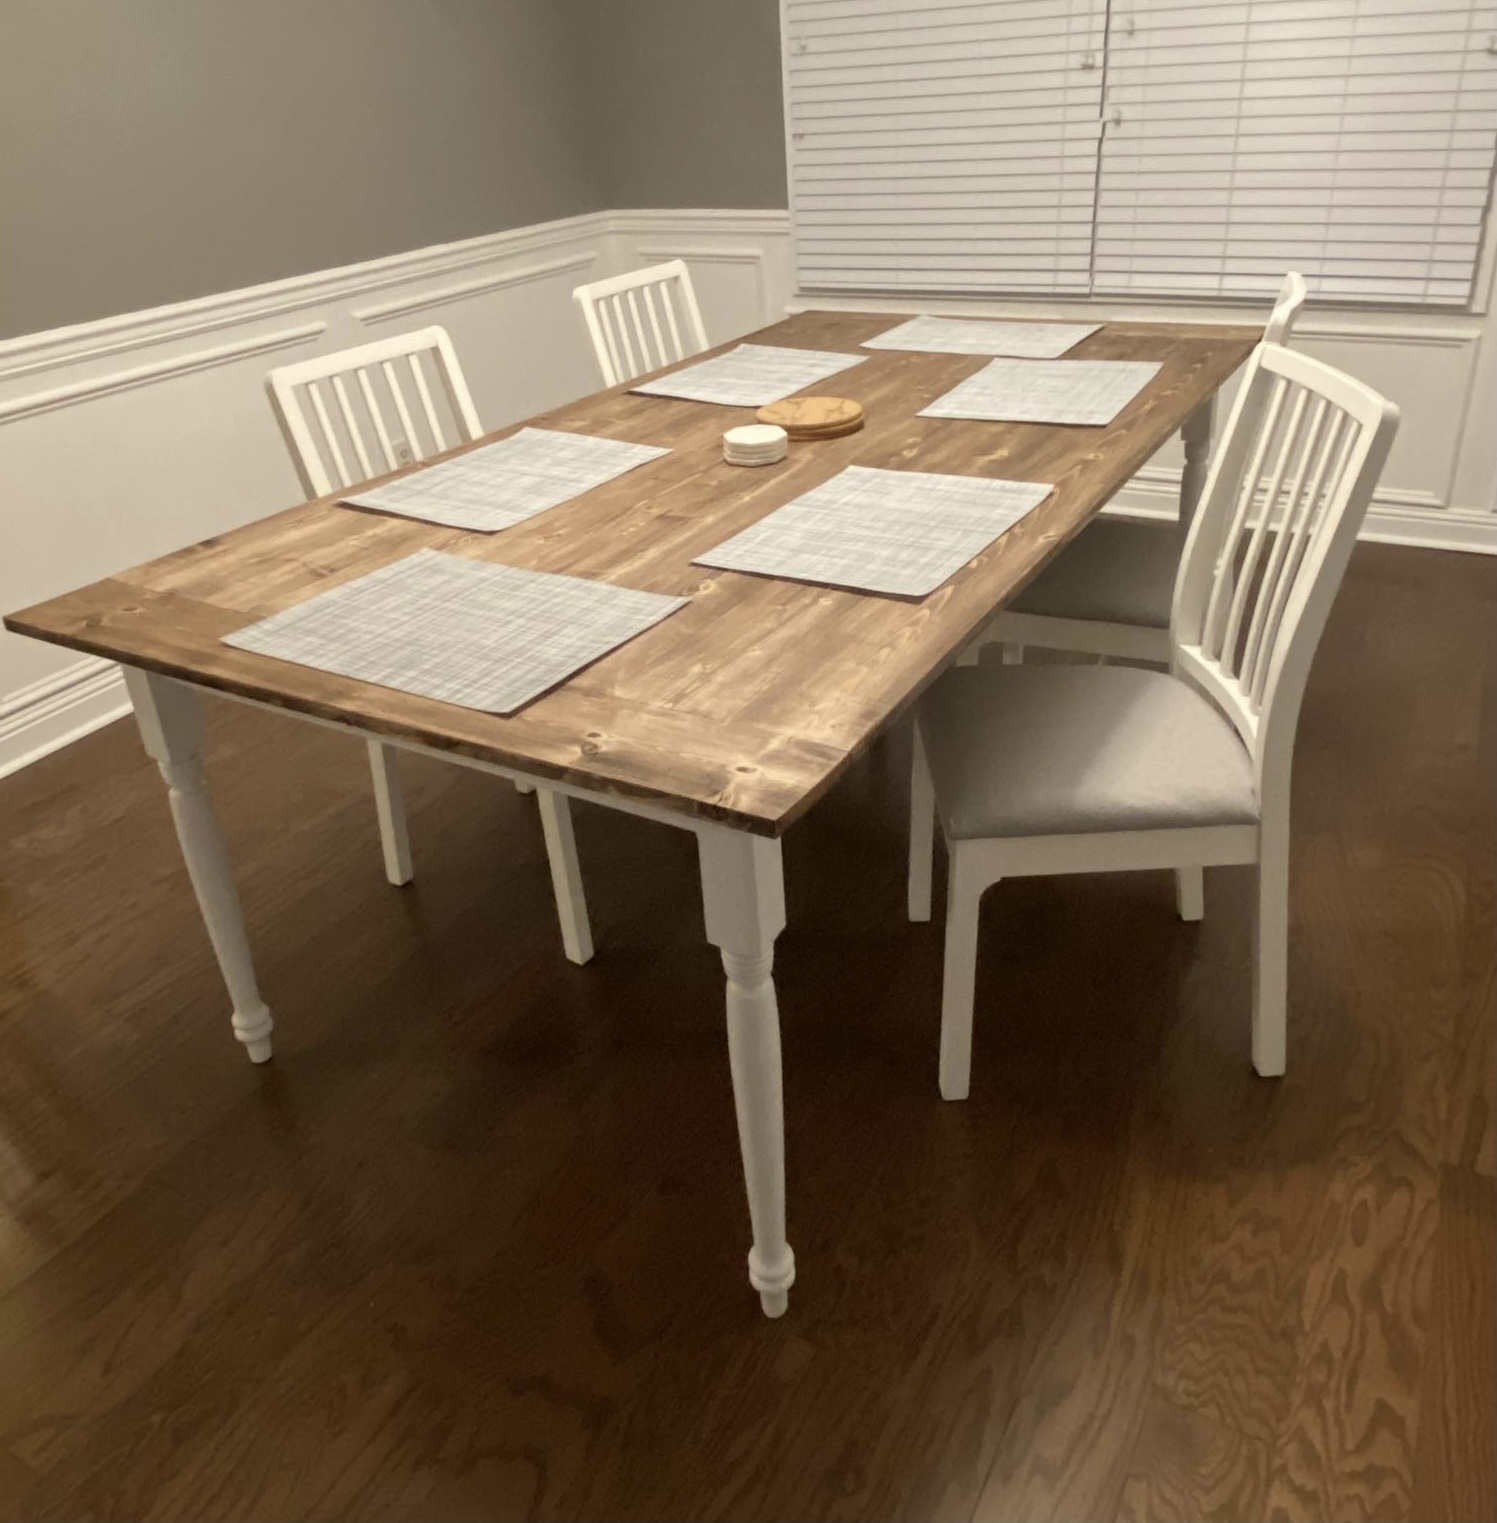
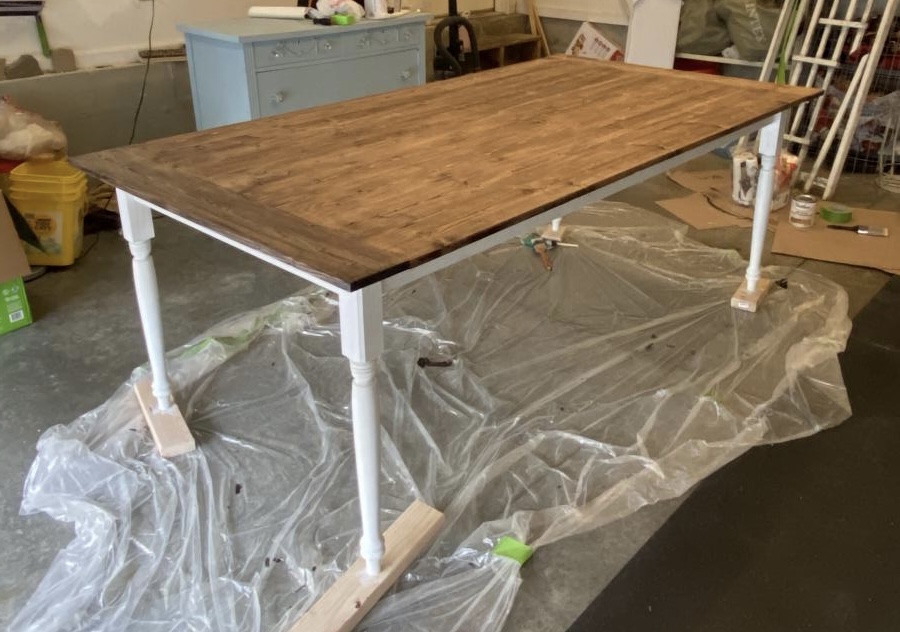
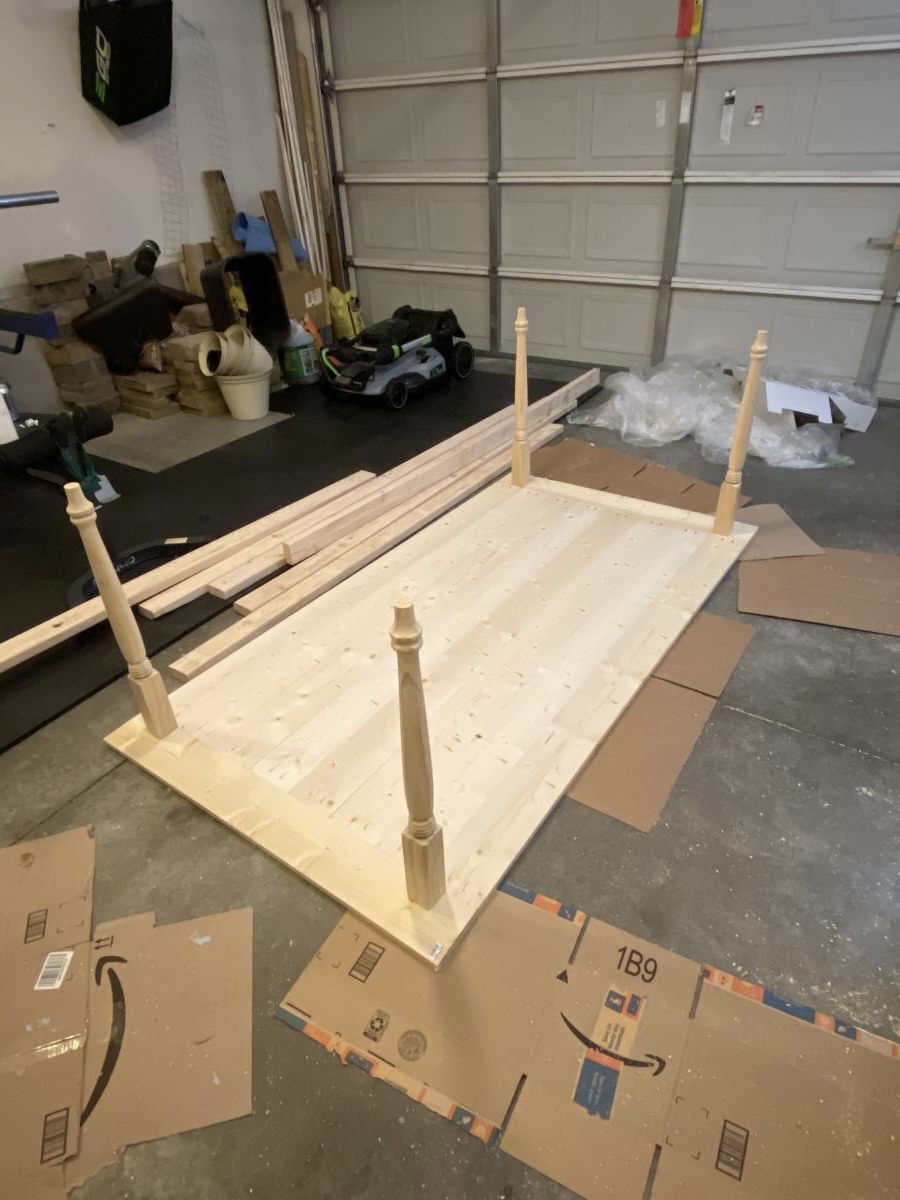
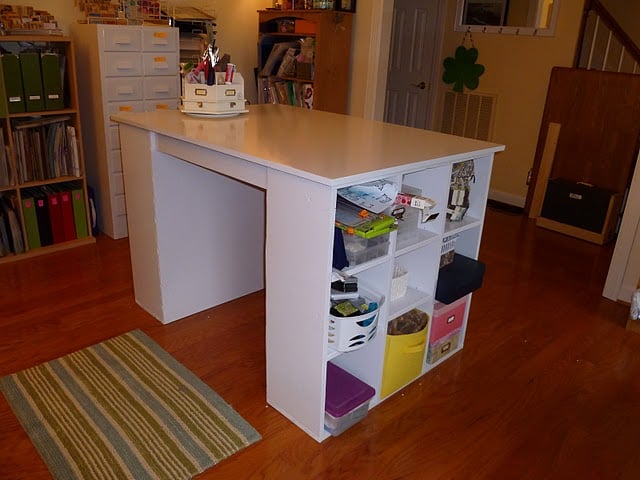
After searching retail stores for farmhouse tables and not liking the pricetags, my wife talked me into tackling this plan. (I'm glad she did) This is my finished product.
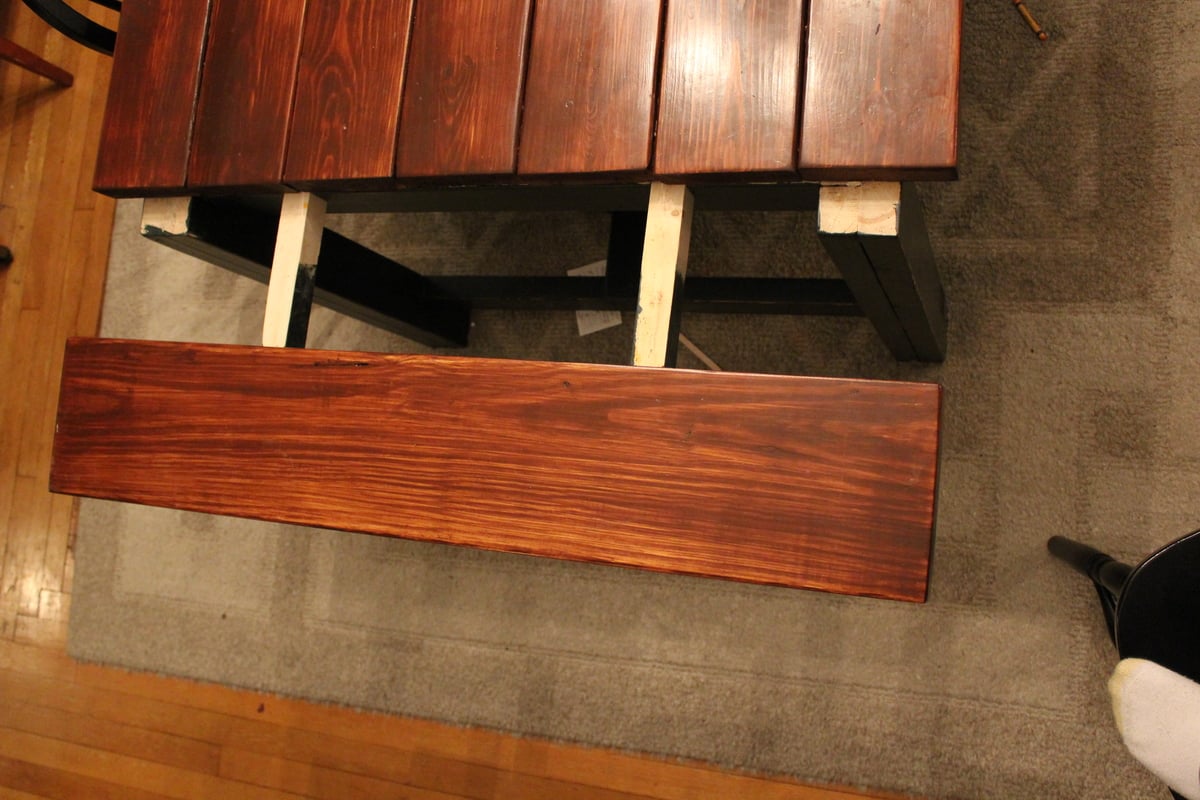
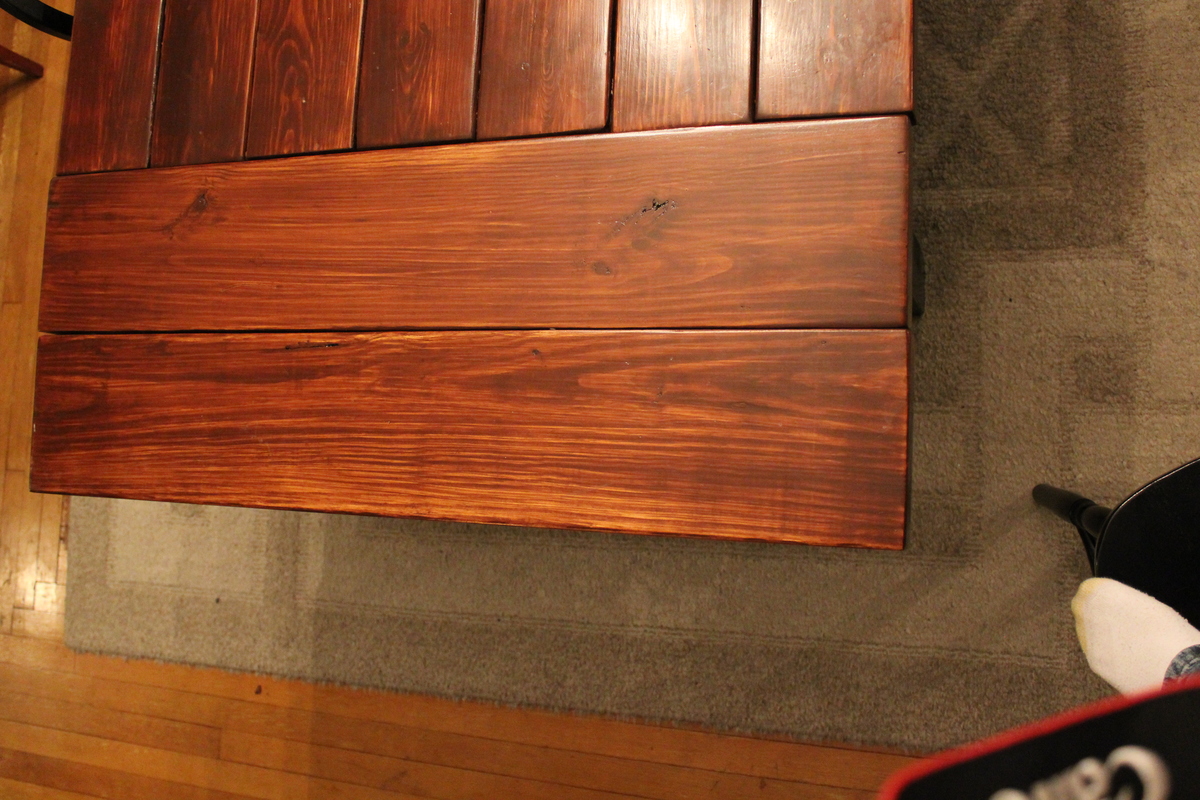
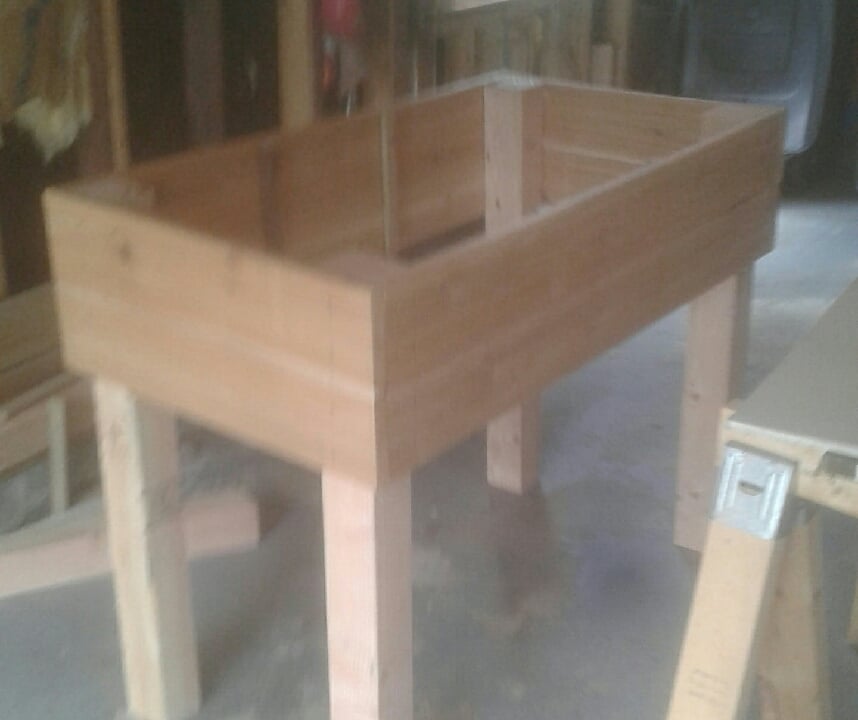
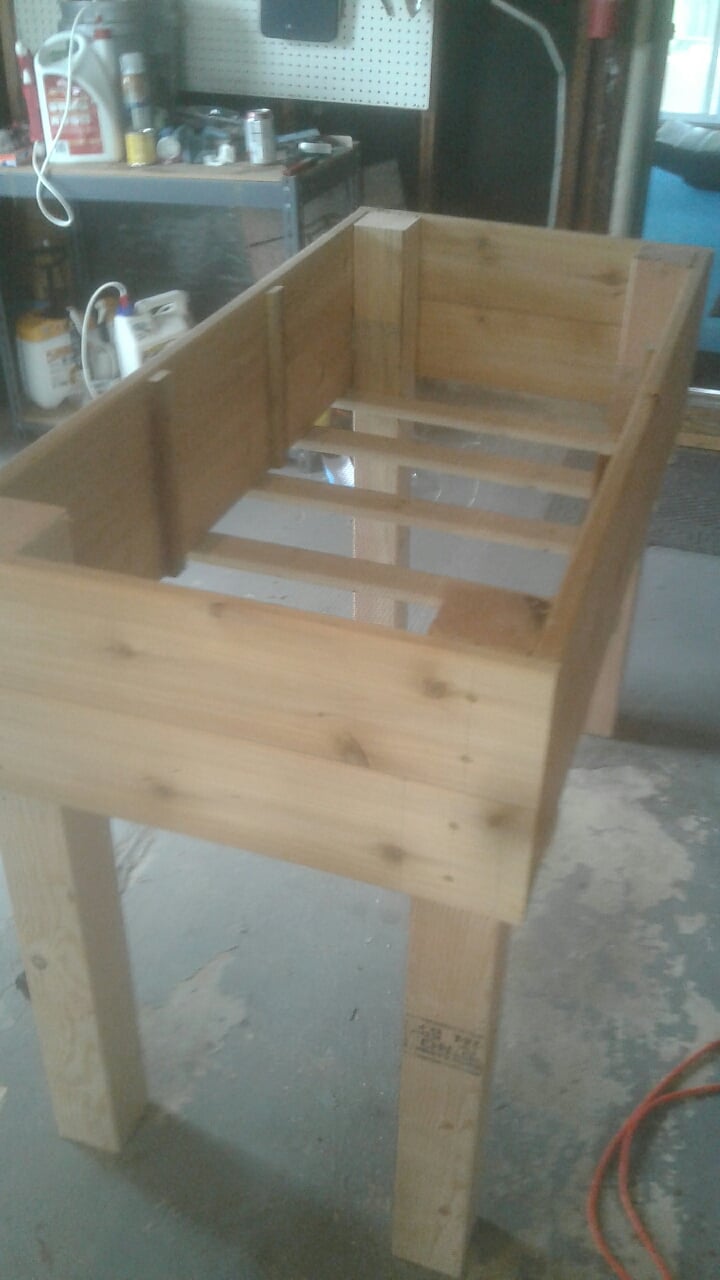
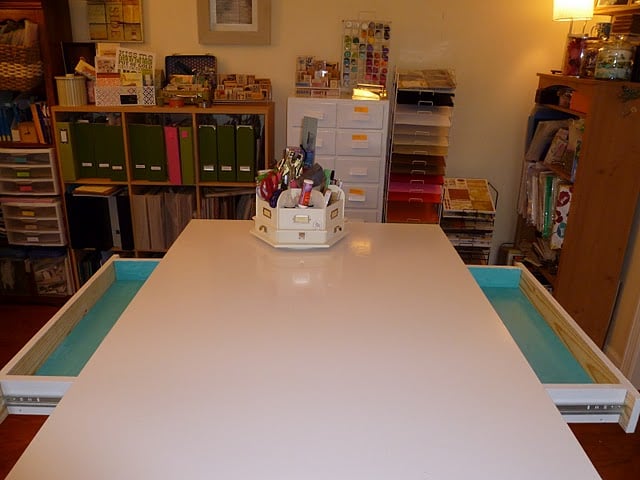
I made the breadboards extendable so we could add extra boards if we needed additional seats for guests.
Built from Plan(s)
Estimated Cost
$100
Estimated Time Investment
Weekend Project (10-20 Hours)
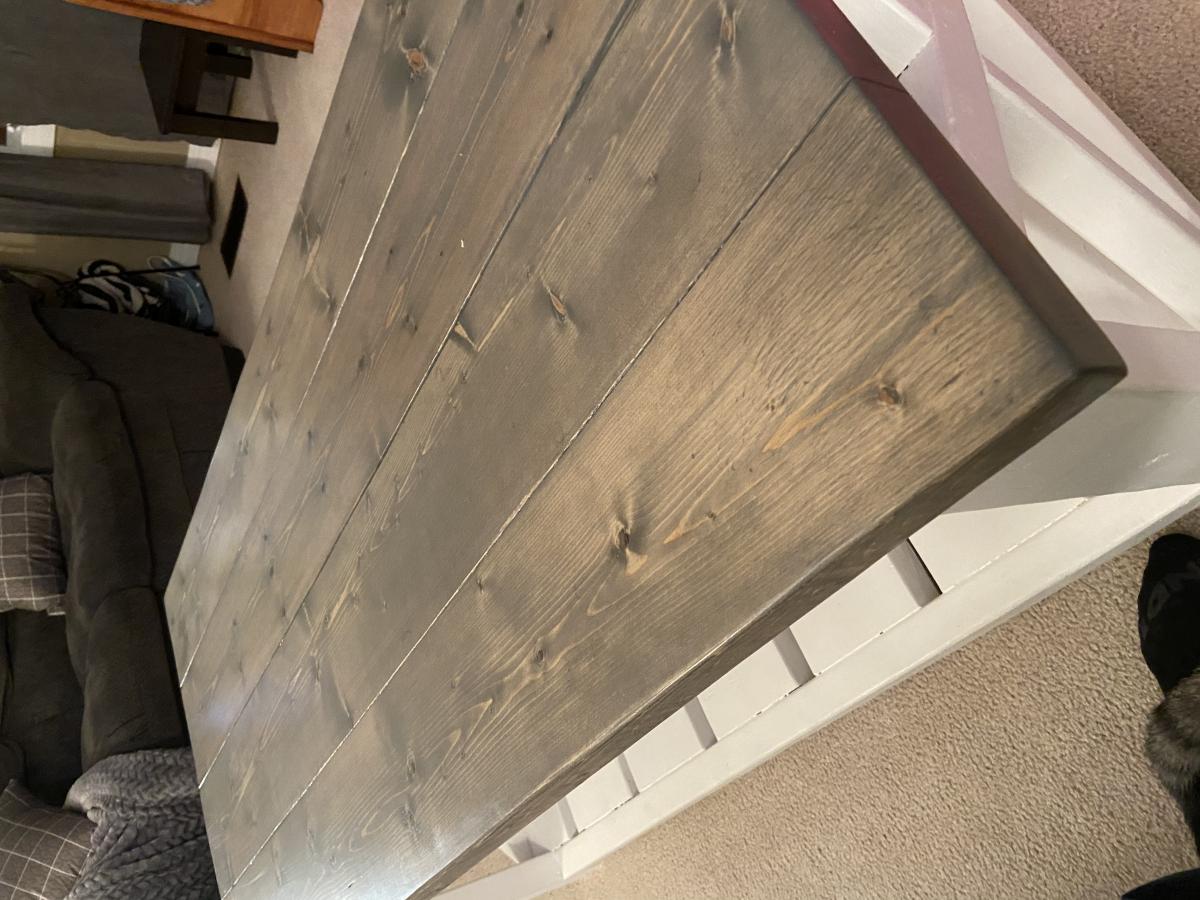
Finish Used
Minwax Polyshades American Chestnut Satin
2 coats Minwax Clear Satin Fast Drying Polyurethane
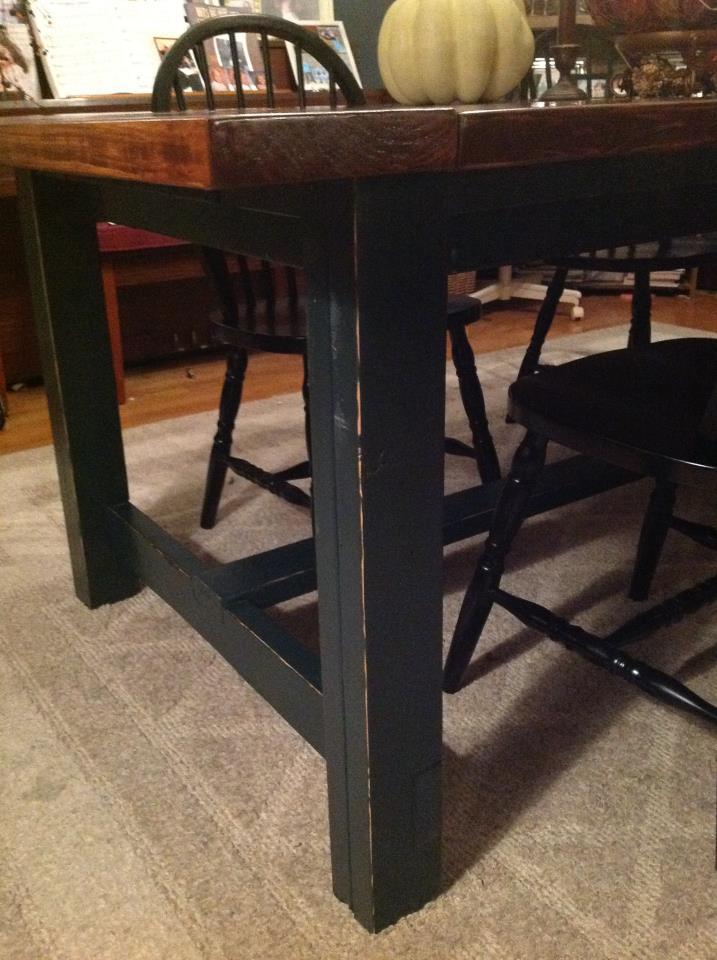
Legs are painted in a color called "Dark as Night"
2 coats Minwax Clear Satin Fast Drying Polyurethane
Legs are painted in a color called "Dark as Night"
Recommended Skill Level
Intermediate


Comments
Panda25 (not verified)
Tue, 01/22/2013 - 19:28
LOVELY!
Could you tell me how you made the breadboards extendable??
AlInOhio
Thu, 01/24/2013 - 12:03
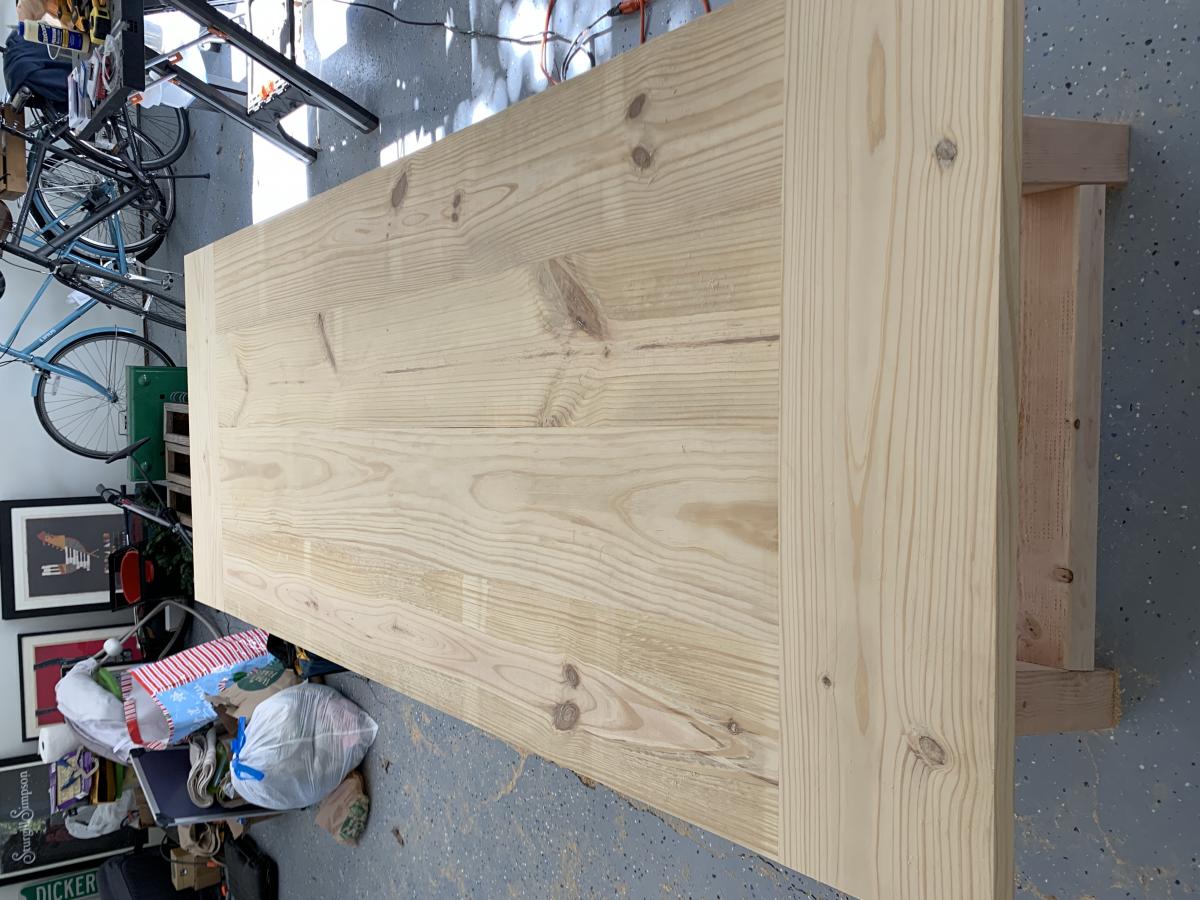
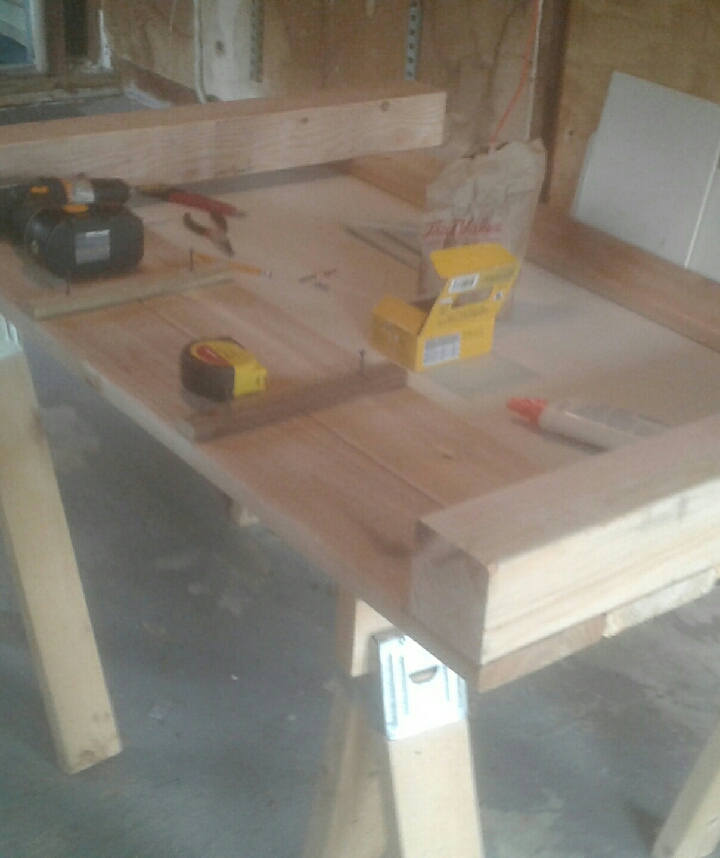
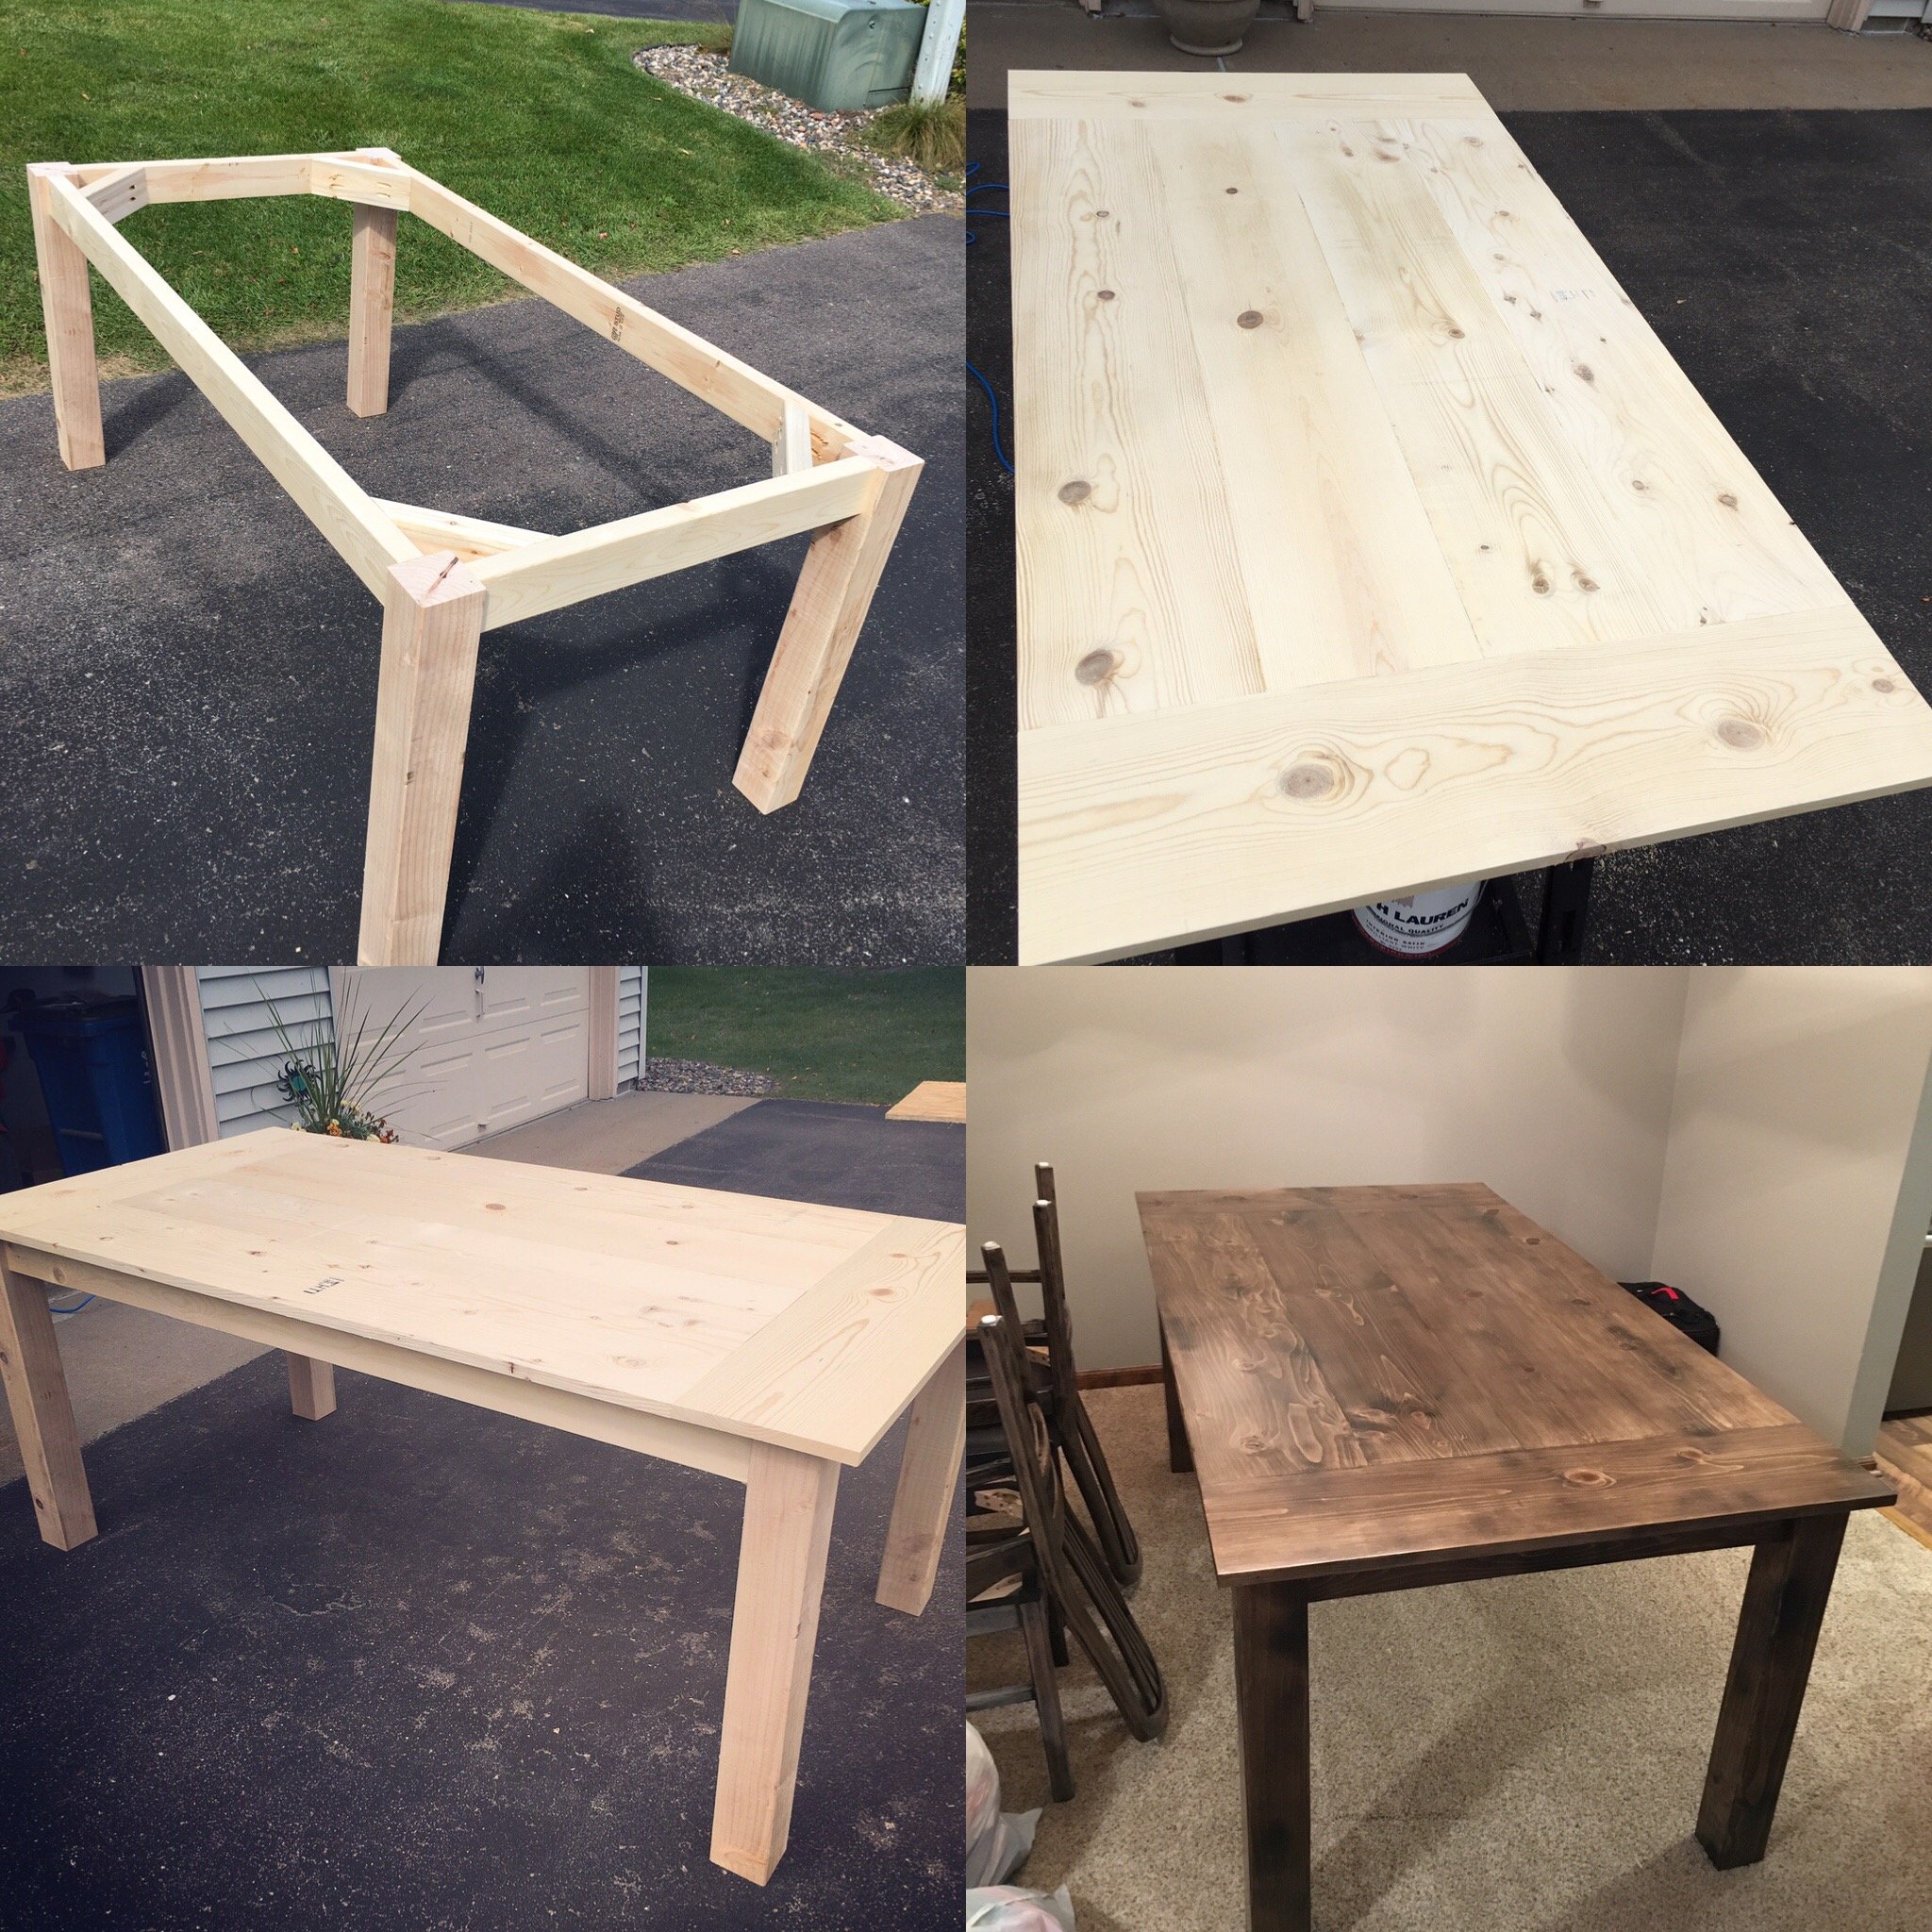
I basically notched out the
I basically notched out the end apron so that 2x2's could slide through, then attached the 2x2's to the breadboard. I originally attached them so they were just under the edge of the breadboard, but have since changed it so that it goes about halfway. I hope you understand what I am trying to say, if not I can add some more pictures.
new girl
Sat, 02/23/2013 - 17:55
pictures
This is so beautiful.. Exactly what I want could you please add more pictures of how you made the extensions.
alasiri
Sat, 05/18/2013 - 06:55
Every time we visit websites,
Every time we visit websites, we saw almost the same as the other article and topic but I am shocked when I first read the title from this page. I never think that the blogger has the knowledge of making something new online. I only saw this kind of blog in this page. I concur that the blogger has the intellect of Albert Einstein. منتديات