Community Brag Posts
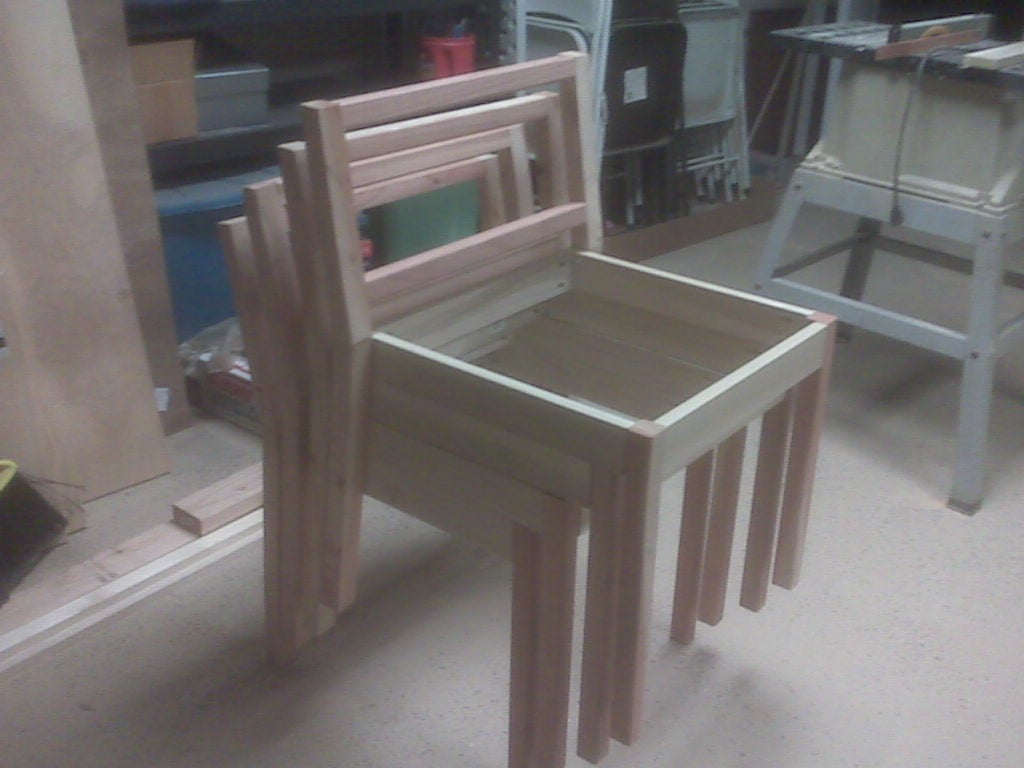
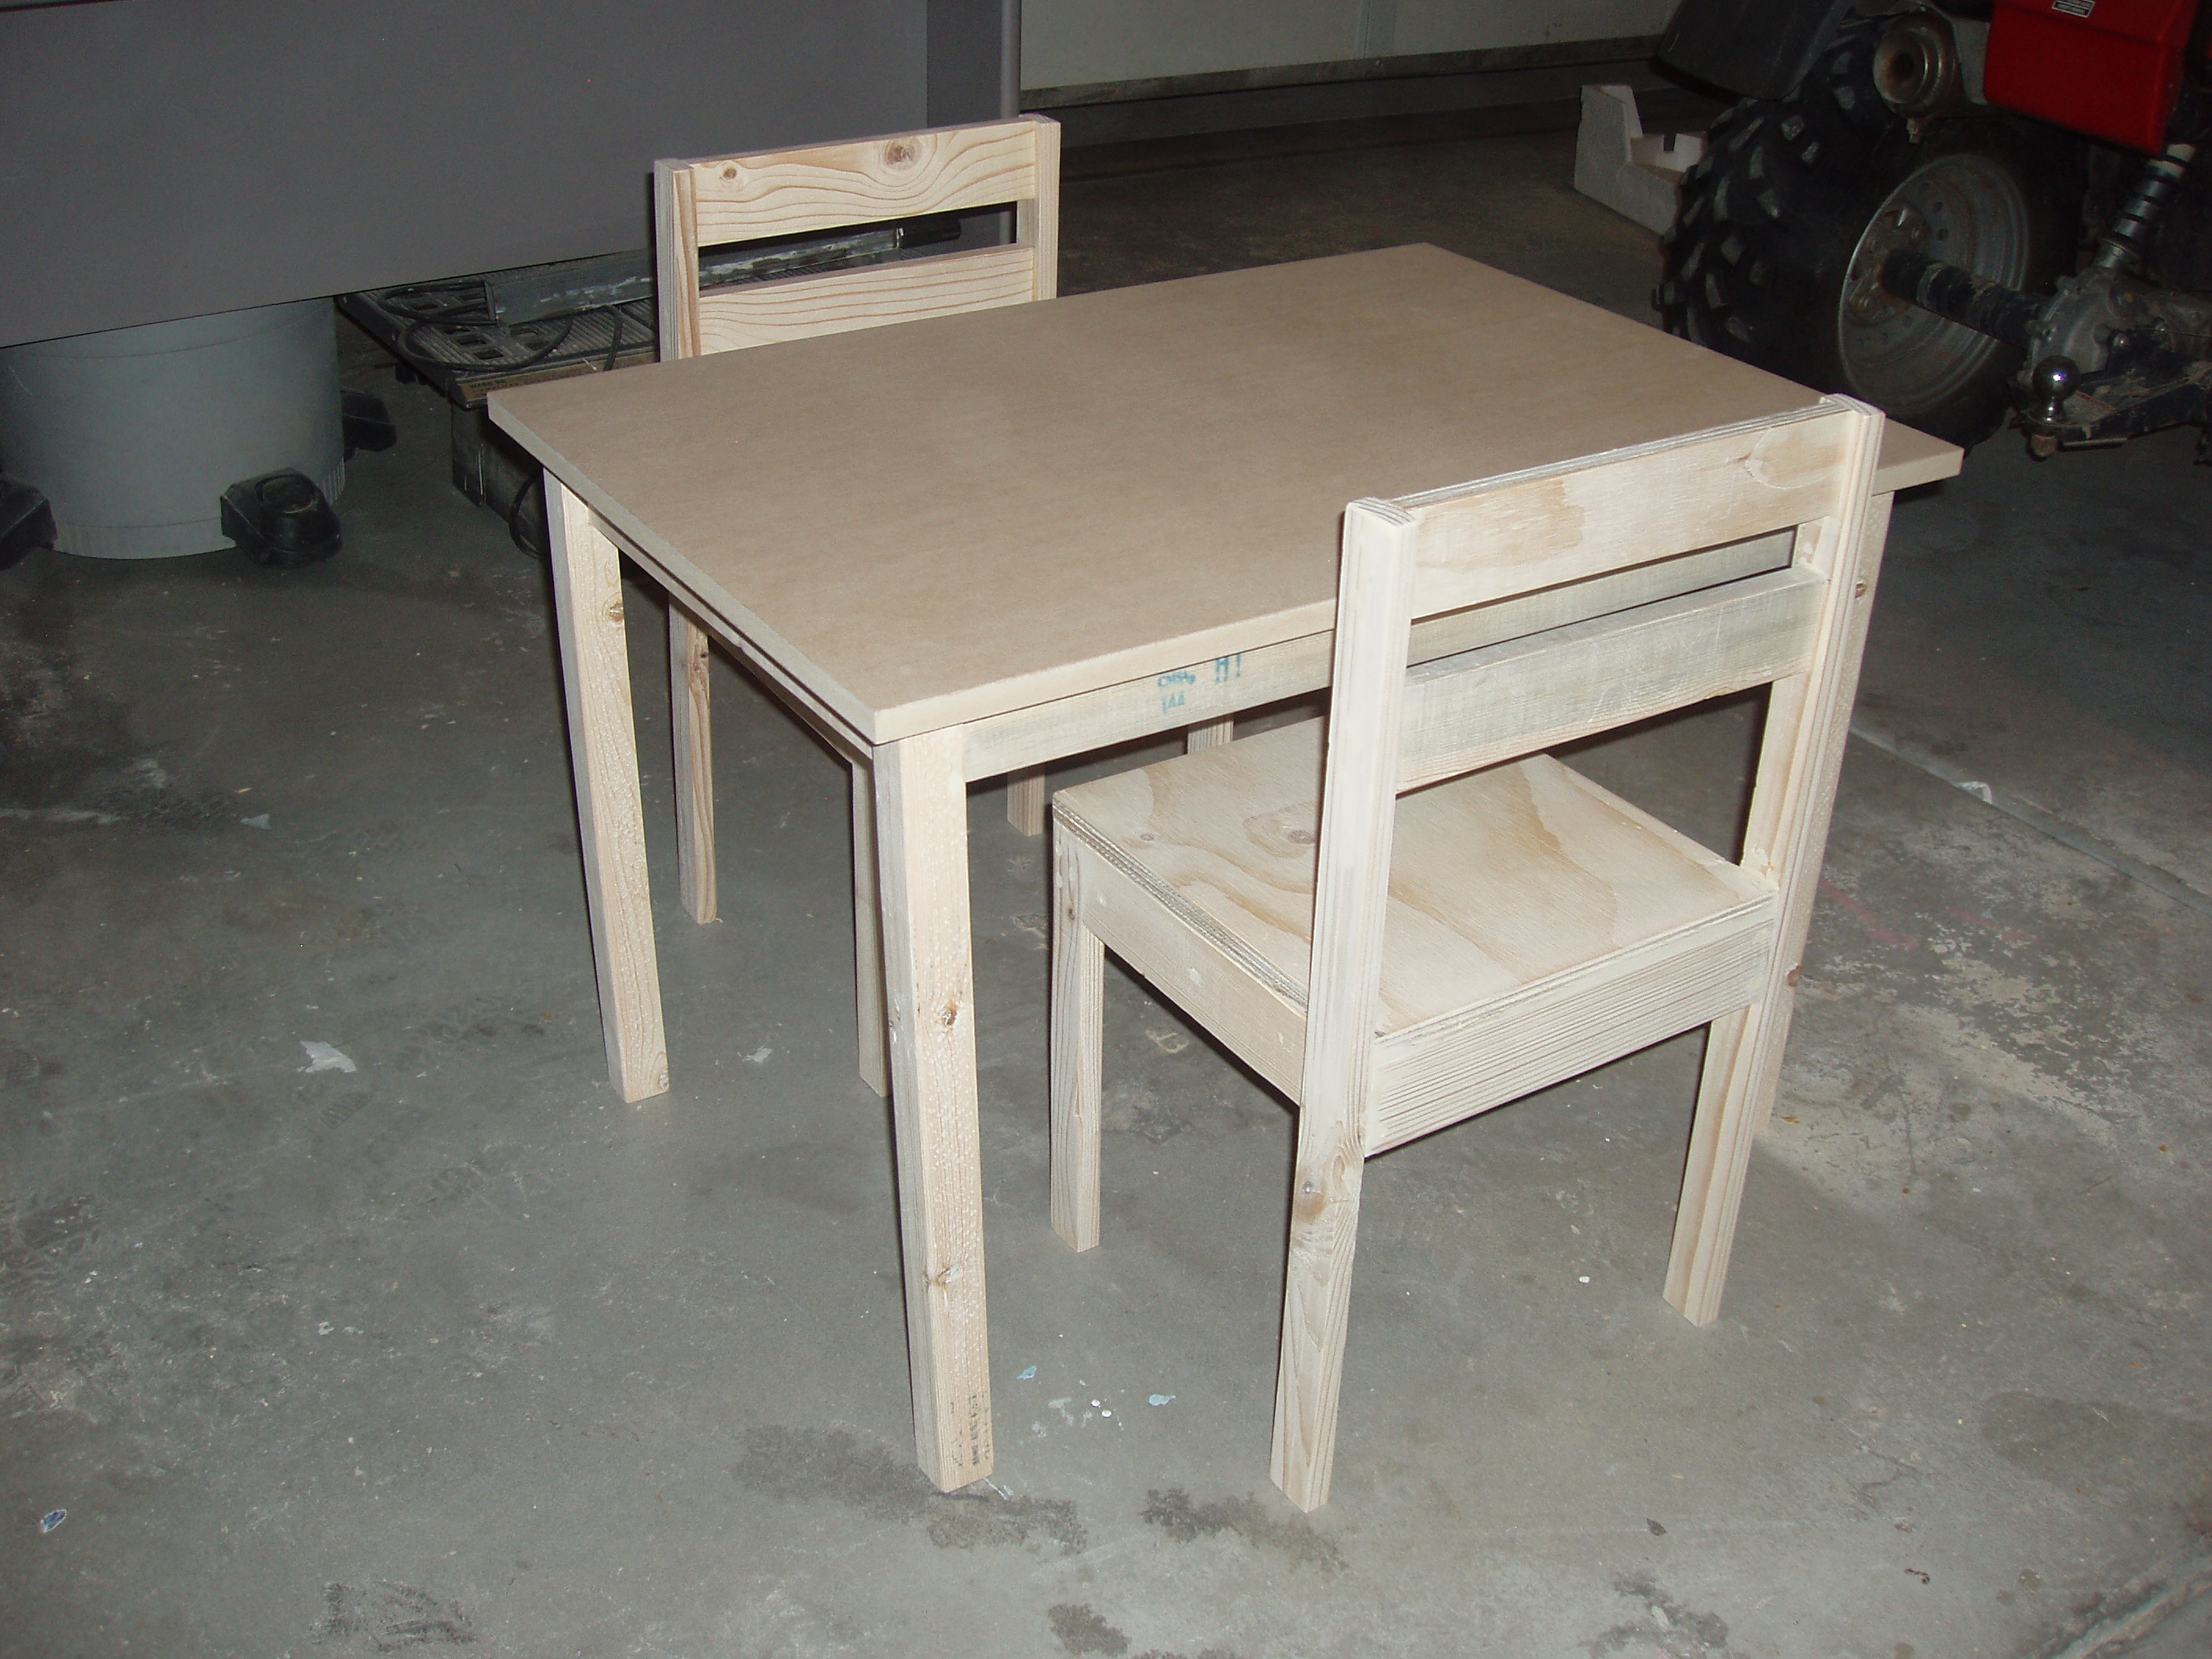
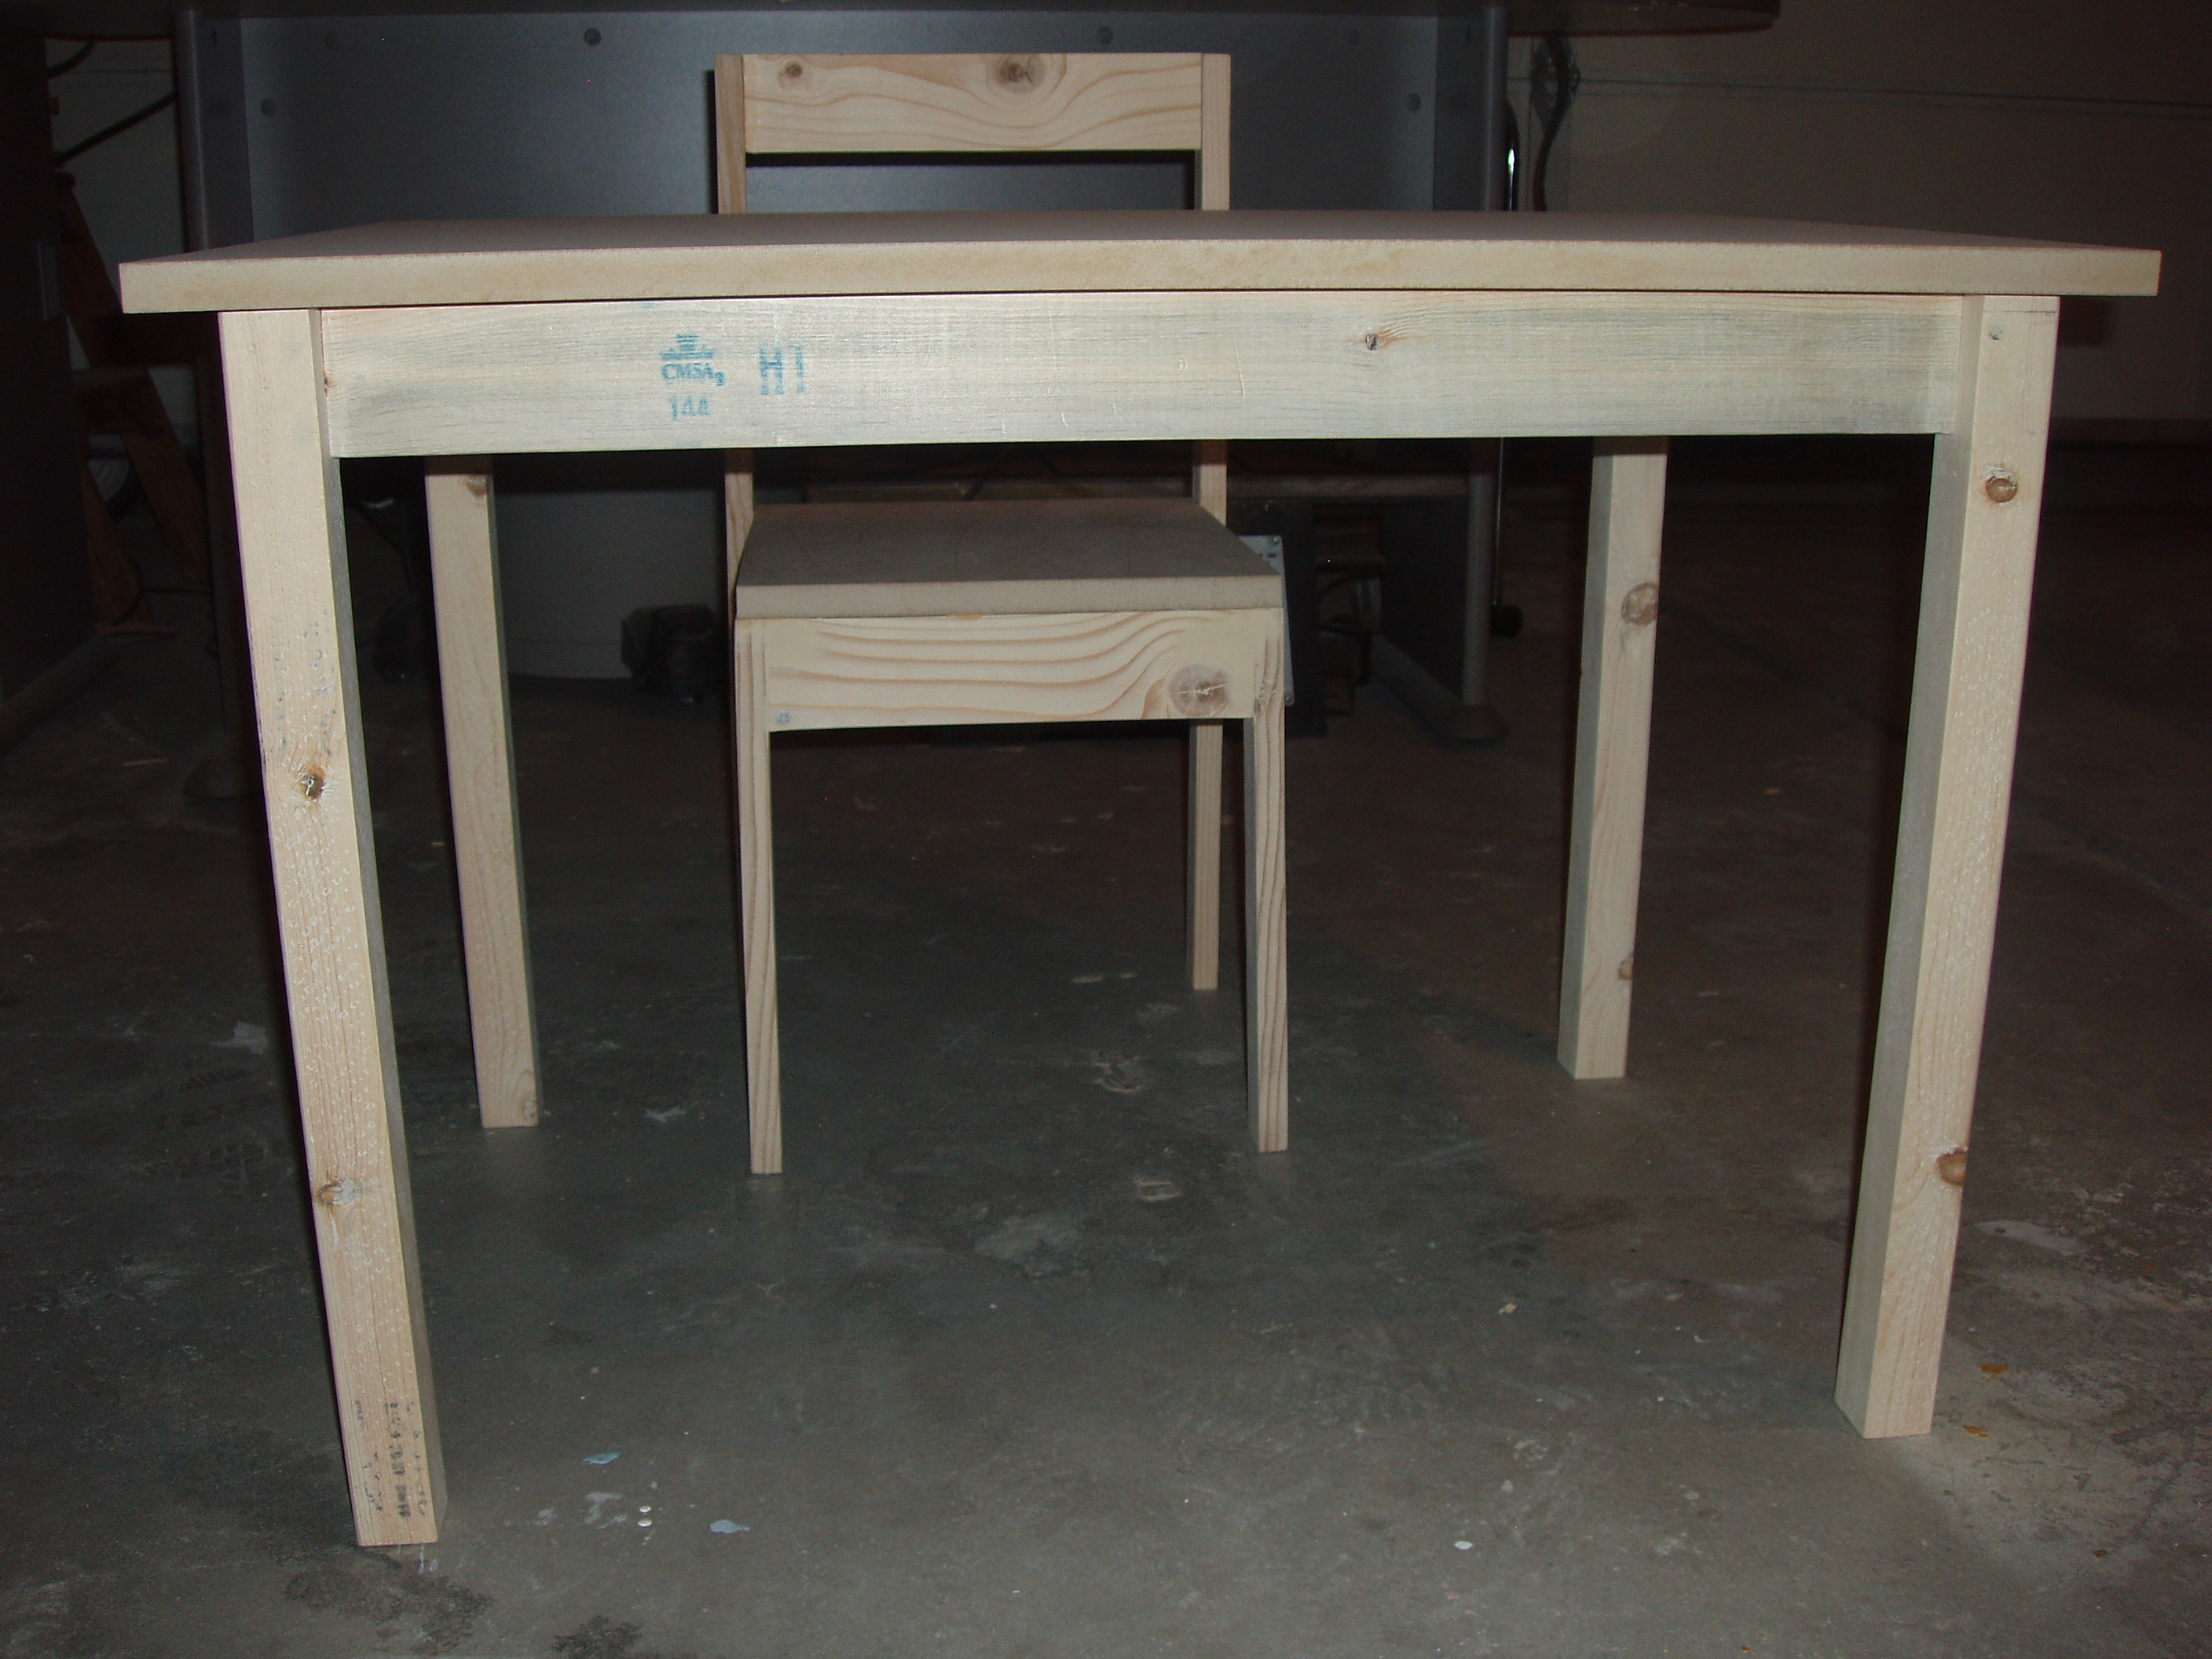
Table, sized just right
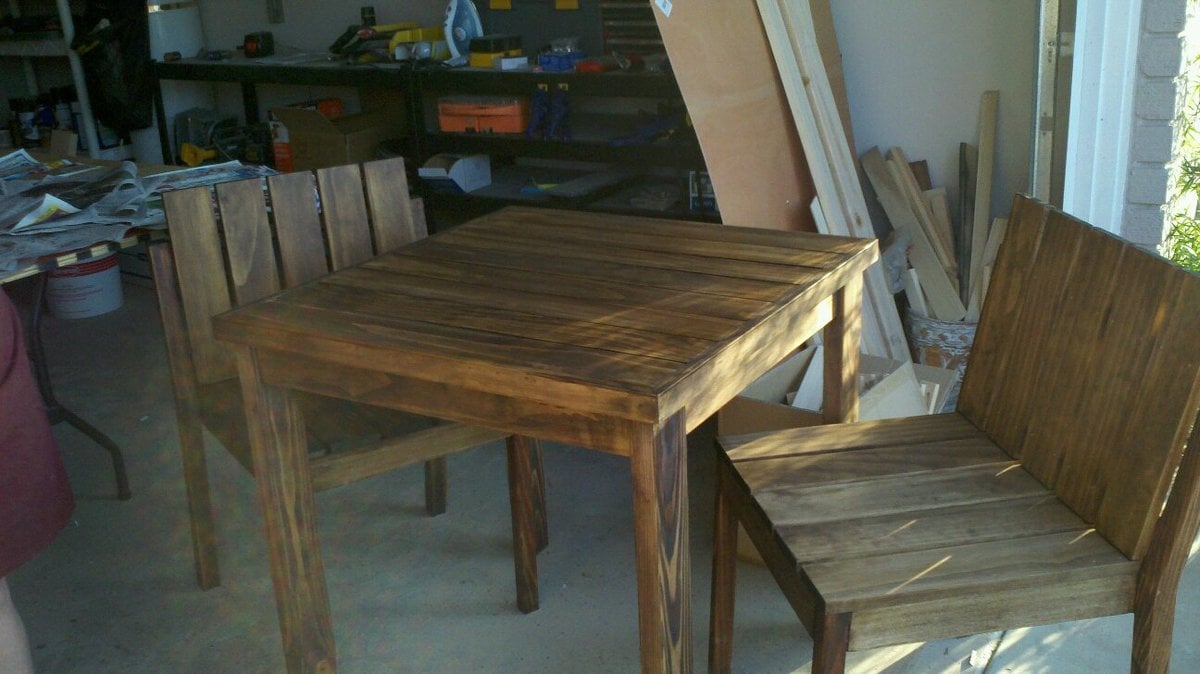
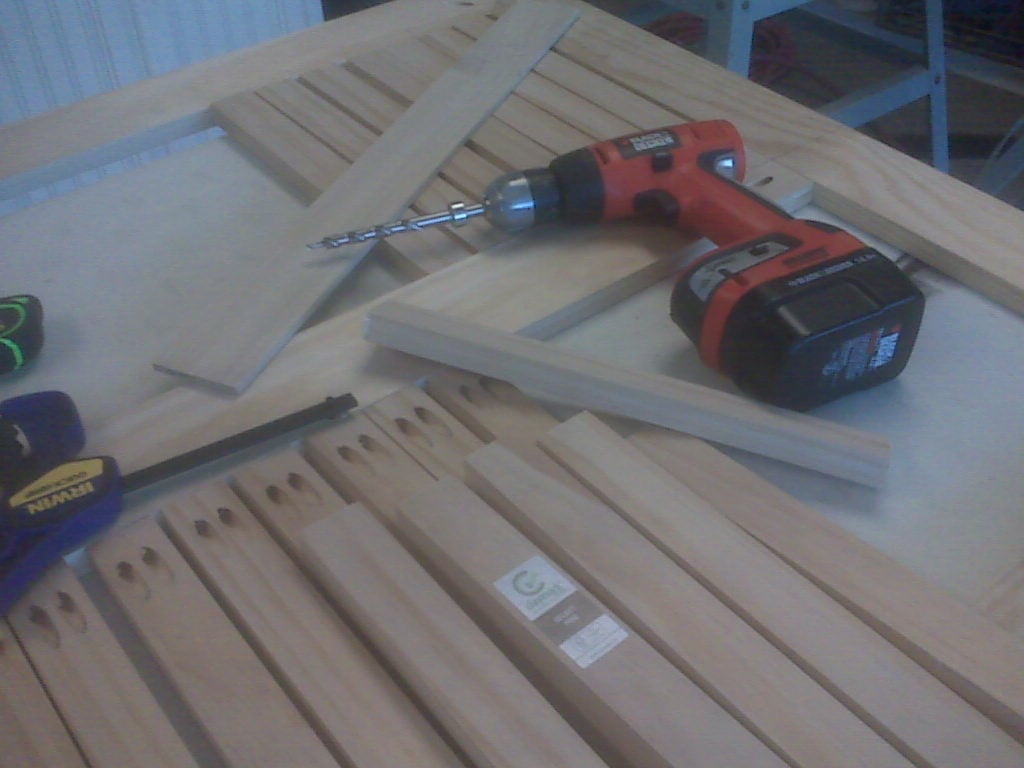
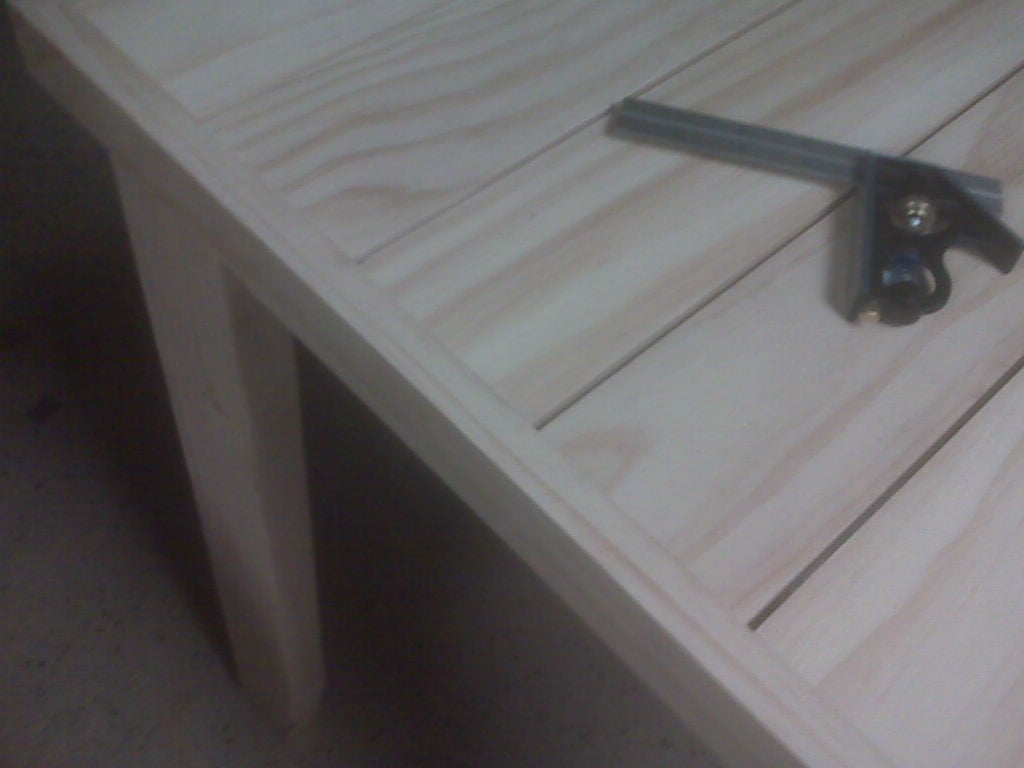
Whew! This was a challenge. Yes, it should have been easy - Ana's plans are really straight forward and seem easy enough to follow. I think I just have a hard time following directions! First, the table needed to be small, so I was going to have to tweak the plans anyway - why not make it just a bit different? Well, because then it's not so simple!
Almost finished with my first plan, the table boards started splitting. I had to make what I had work, so back to the drawing board, and the end result did turn out beautifully.
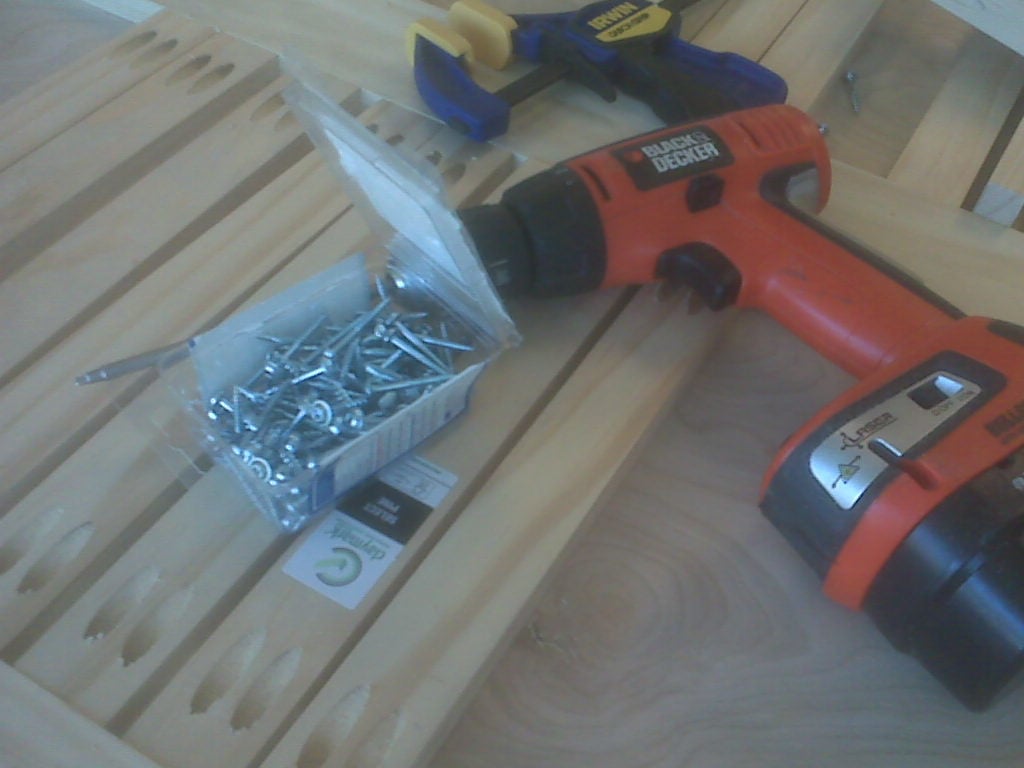
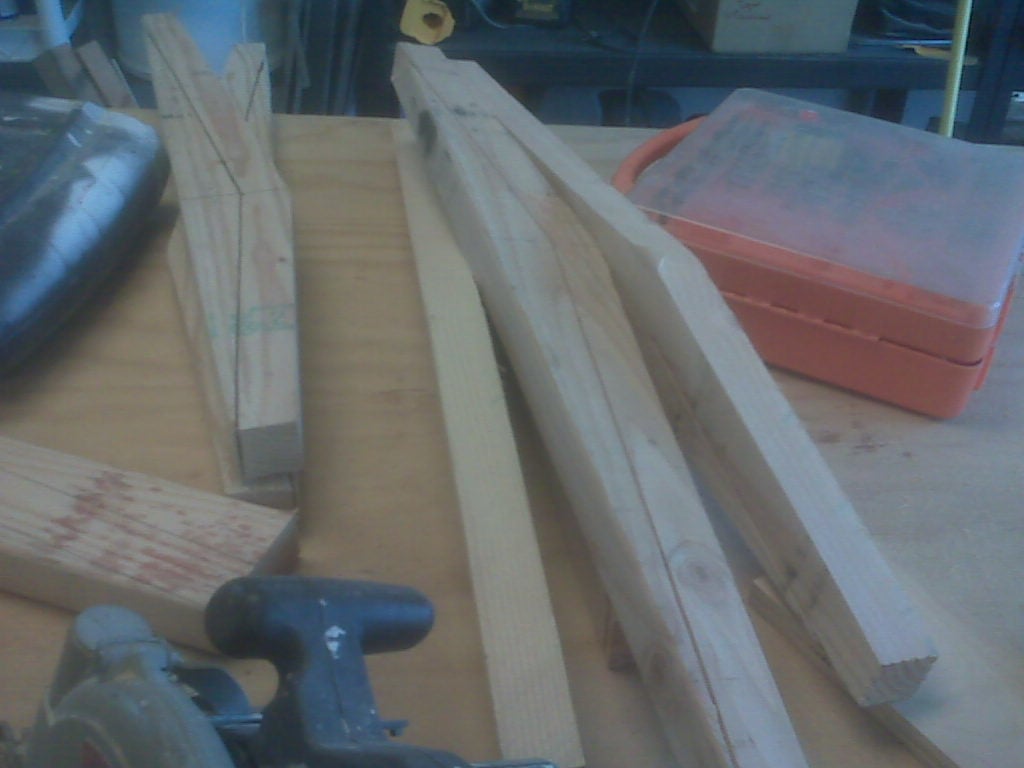
The chairs were a challenge because I really didn't want to use my husband's BIG circular saw. I bought a new cordless, lighter saw - and it wouldn't cut through the 2x4s. After butchering the first set of legs, I dampened my fears and pulled out the big saw. How silly I was - it was easy to use and cut right through those 2x4s with ease! Once I had the legs cut it was pretty simple to put the chairs together. I would suggest that you sand and finish all the pieces before you begin putting them together. And, attach the seat slats before attaching the seat to the back piece! I ended up adding an additional 2x2 across the seat so that I'd have something to nail the slats to (Thank you to my son for that idea!).
I had the table and 4 chairs sitting on the lawn waiting for my son to pick up, and had quite a few people stopping by to ask about them. I always tell everyone that I've found this wonderful site just full of beautiful furniture plans waiting to be built - thanks, Ana!
Built from Plan(s)
Estimated Cost
$200-250 for table and 4 chairs
Estimated Time Investment
Week Long Project (20 Hours or More)
Finish Used
Minwax stain with polyurethane, mission oak.
Recommended Skill Level
Beginner
Comments
Step Stools are Awesome
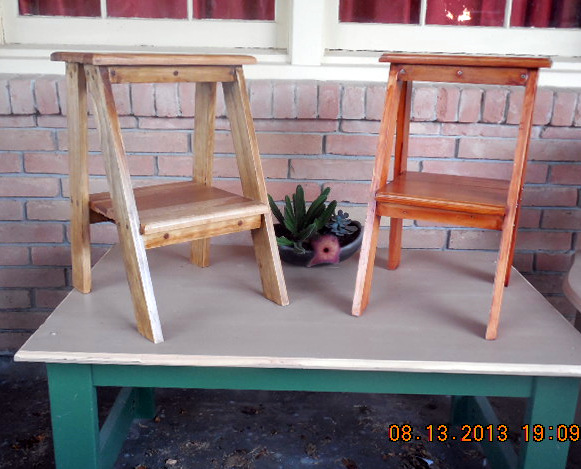
About three years ago I made my first project from Ana's plan for the Super Easy Little Tricky Ladder Table. It is the one on the right in the opening picture. That little step stool (that is what it is used for) has stood the test of my 175 lbs and the terrors of two grandkids dragging it around for all sorts of mischief. Since then I have made another version of that same stool but a little wider and shorter for more stability and I like the new proportions
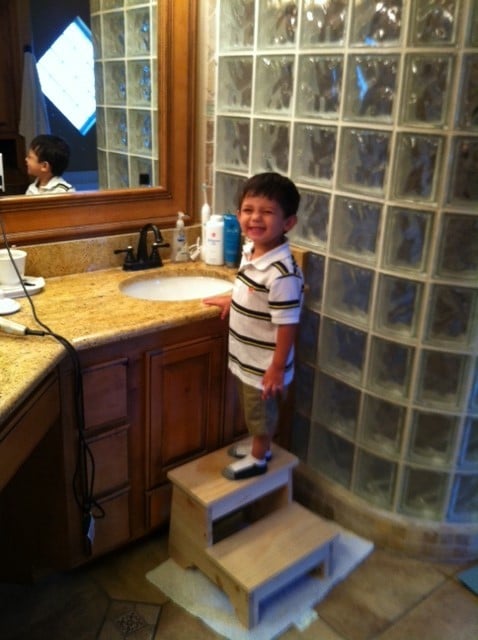
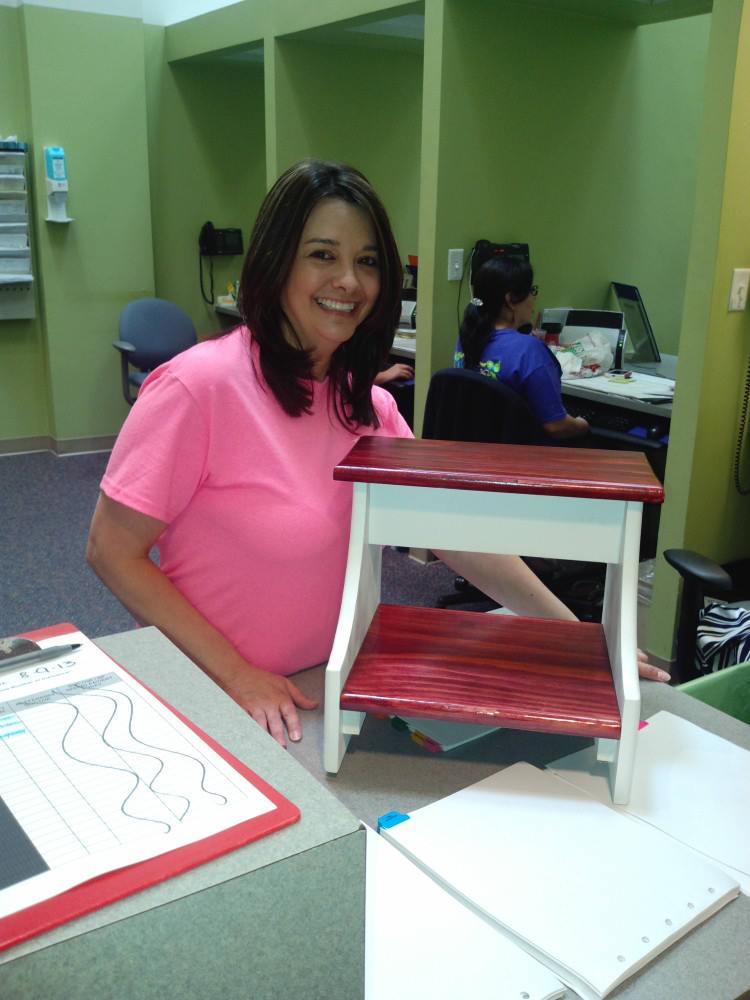
I have also made one of Ana's Vintage Step Stools and that is the one with the kid standing on it in the bathroom. Perfect. The last picture shows my knock-off of a classic Shaker step stool except I hinged the top to add a small amount of storage under it. That is not me in the picture. Its a co-worker.
I encourage everyone to build these stools. My family has found them to be very very useful in the kitchen, in the bathroom, reaching high places in closets and I even use them to paint rooms. Easier than dragging a step ladder around.
My only caution is to use the best grade of pine or a stronger wood and to overdo the strength of the lower step connections. Do NOT build these out of furring strip wood. I did and it collapsed immediately. Not the joint but a leg below the lower step connection.

Built from Plan(s)
Estimated Cost
About $36 for all four. Two days per stool to build and finish.
Estimated Time Investment
Weekend Project (10-20 Hours)
Finish Used
A great variety as the photos show. On the last stool I tried the paste stain to my horror.
Recommended Skill Level
Beginner
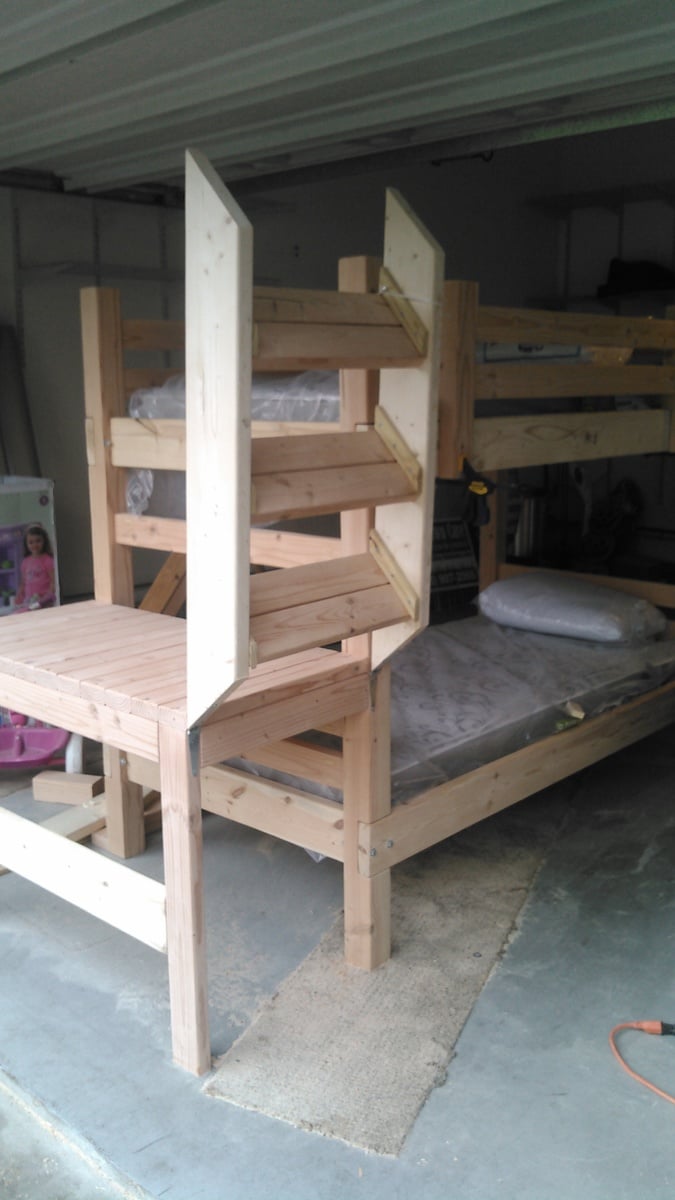
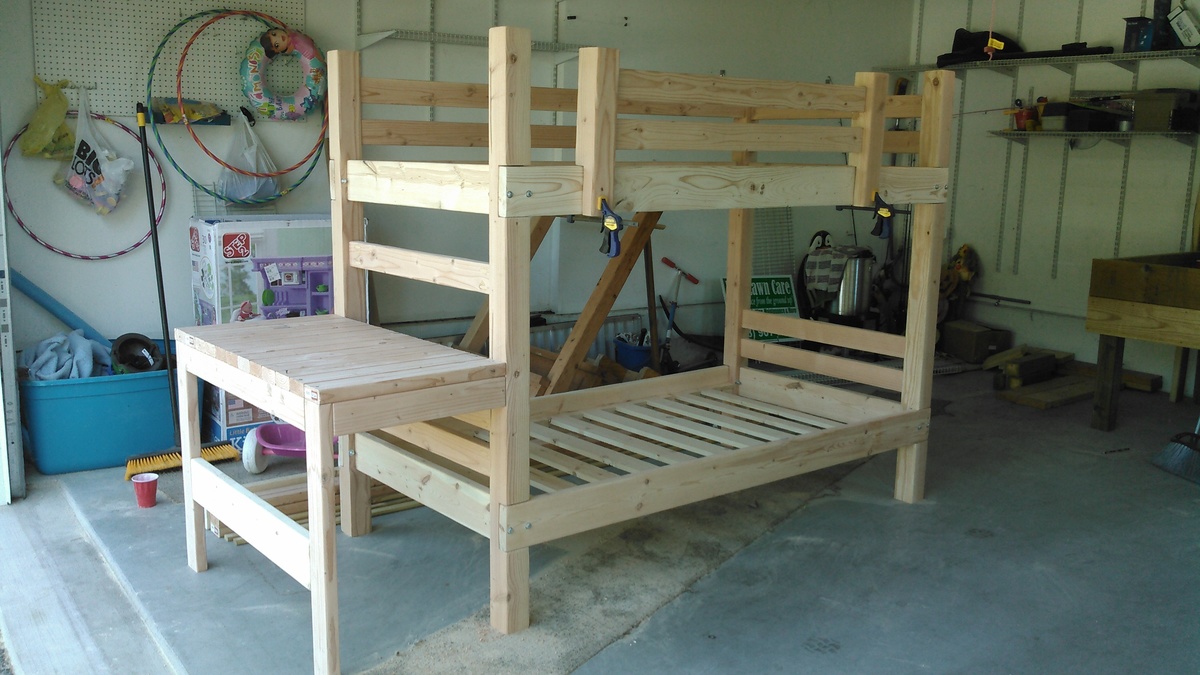
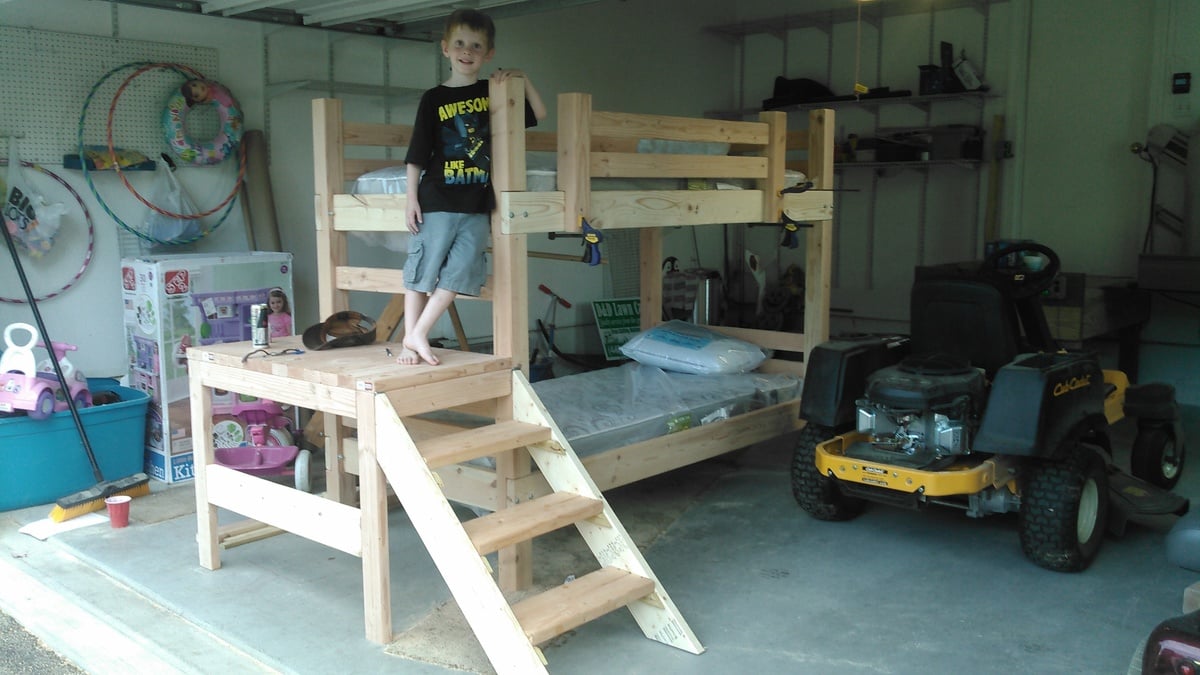
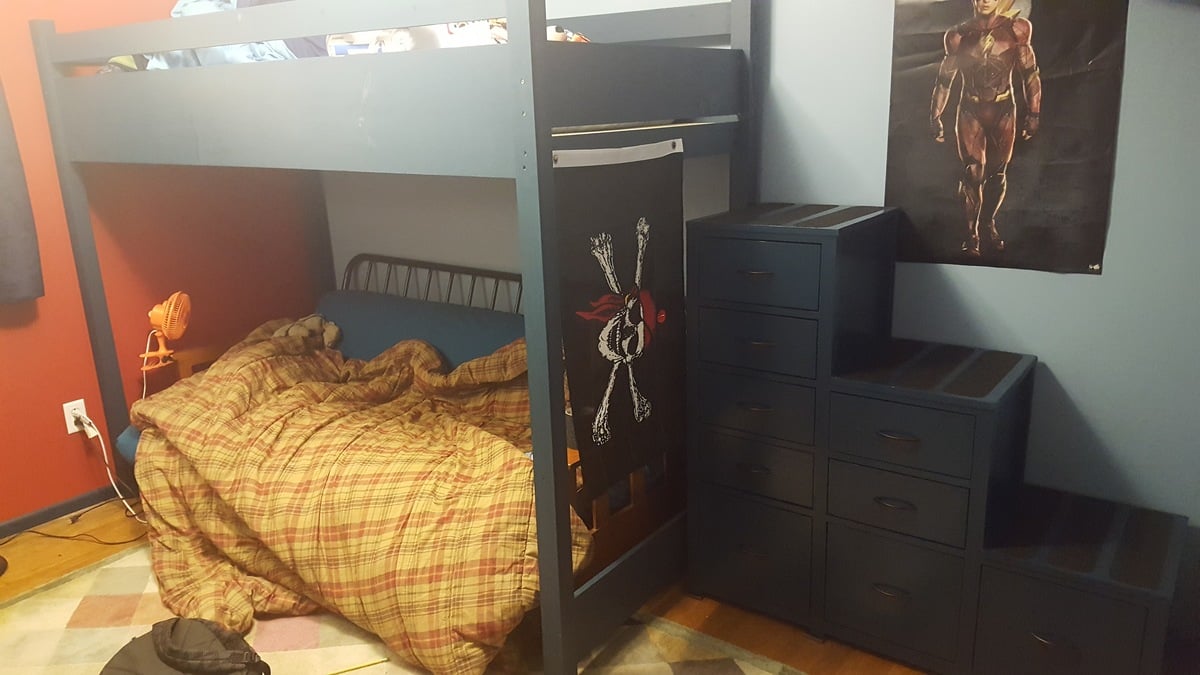
Altered Camp Loft Bed w/ stairs
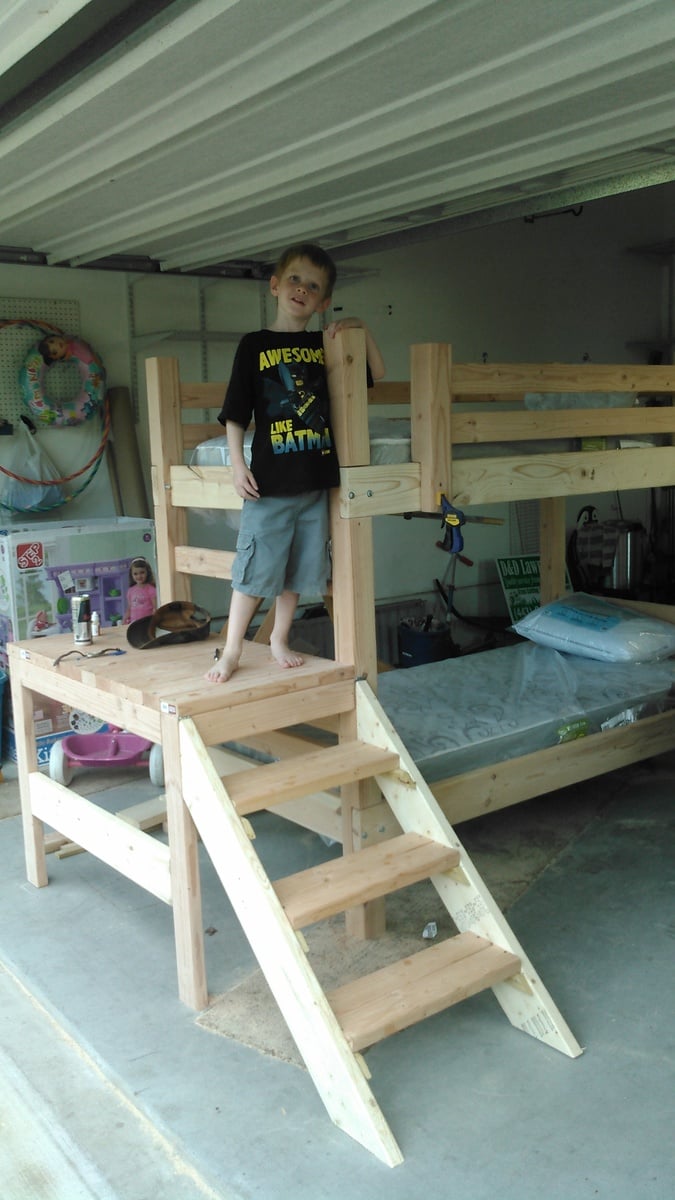
Started with the basic loft plans. Changed out the 2x4 post for some sturdy 4x4's and added a bottom bunk to build this set for my two boys. I also deviated from the plans by using carriage bolts to connect the landing for the steps and the side rails to those post so the bed can easily be disassembled and moved in the future. Finally I placed the steps themselves on a set of hinges so I could easily access the area underneath the landing if needed. This has the added bonus of allowing me to lock the steps in the up position to restrict access to the top bunk during visits with younger family and friends. Now just need to stain it, seal it, and put inside.
Built from Plan(s)
Estimated Cost
200.00
Estimated Time Investment
Weekend Project (10-20 Hours)
Recommended Skill Level
Beginner
Comments
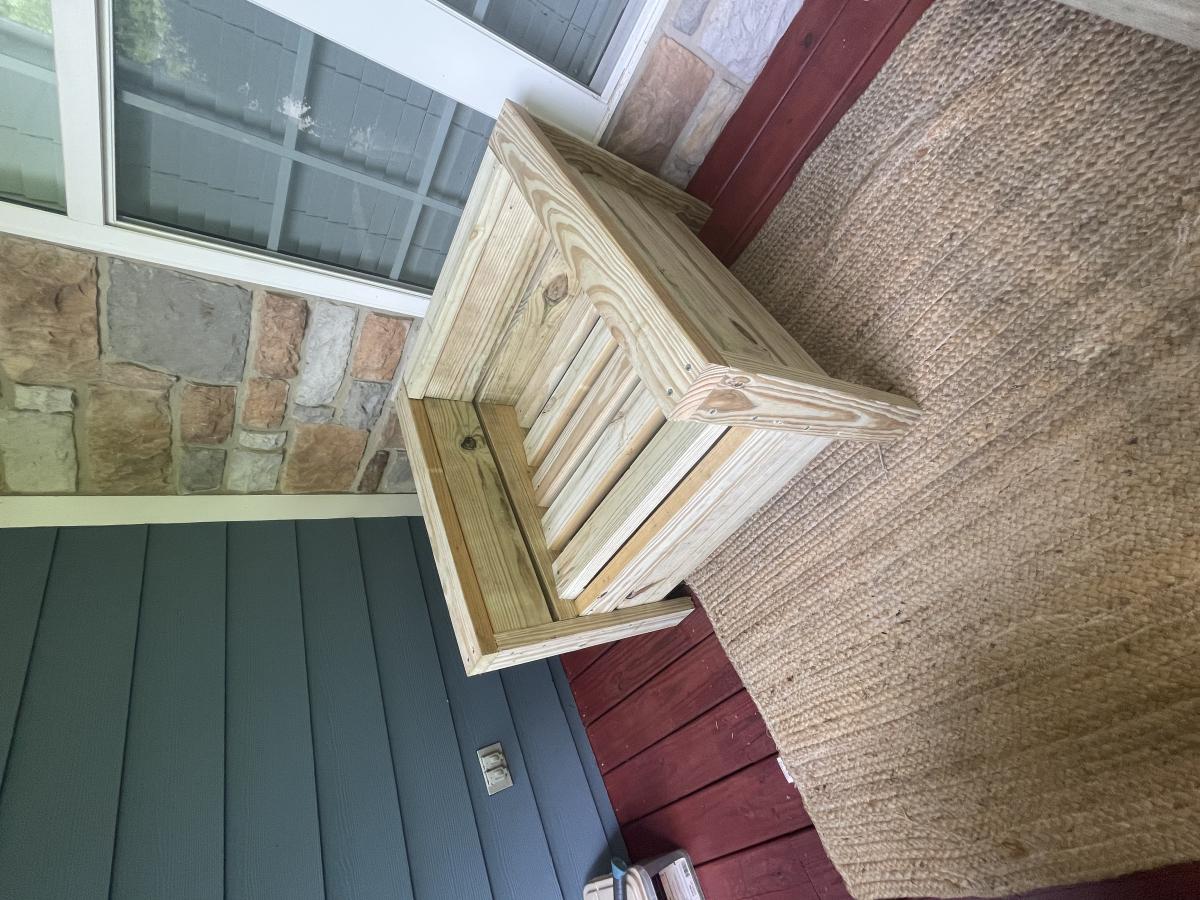
2x4 Patio Chairs
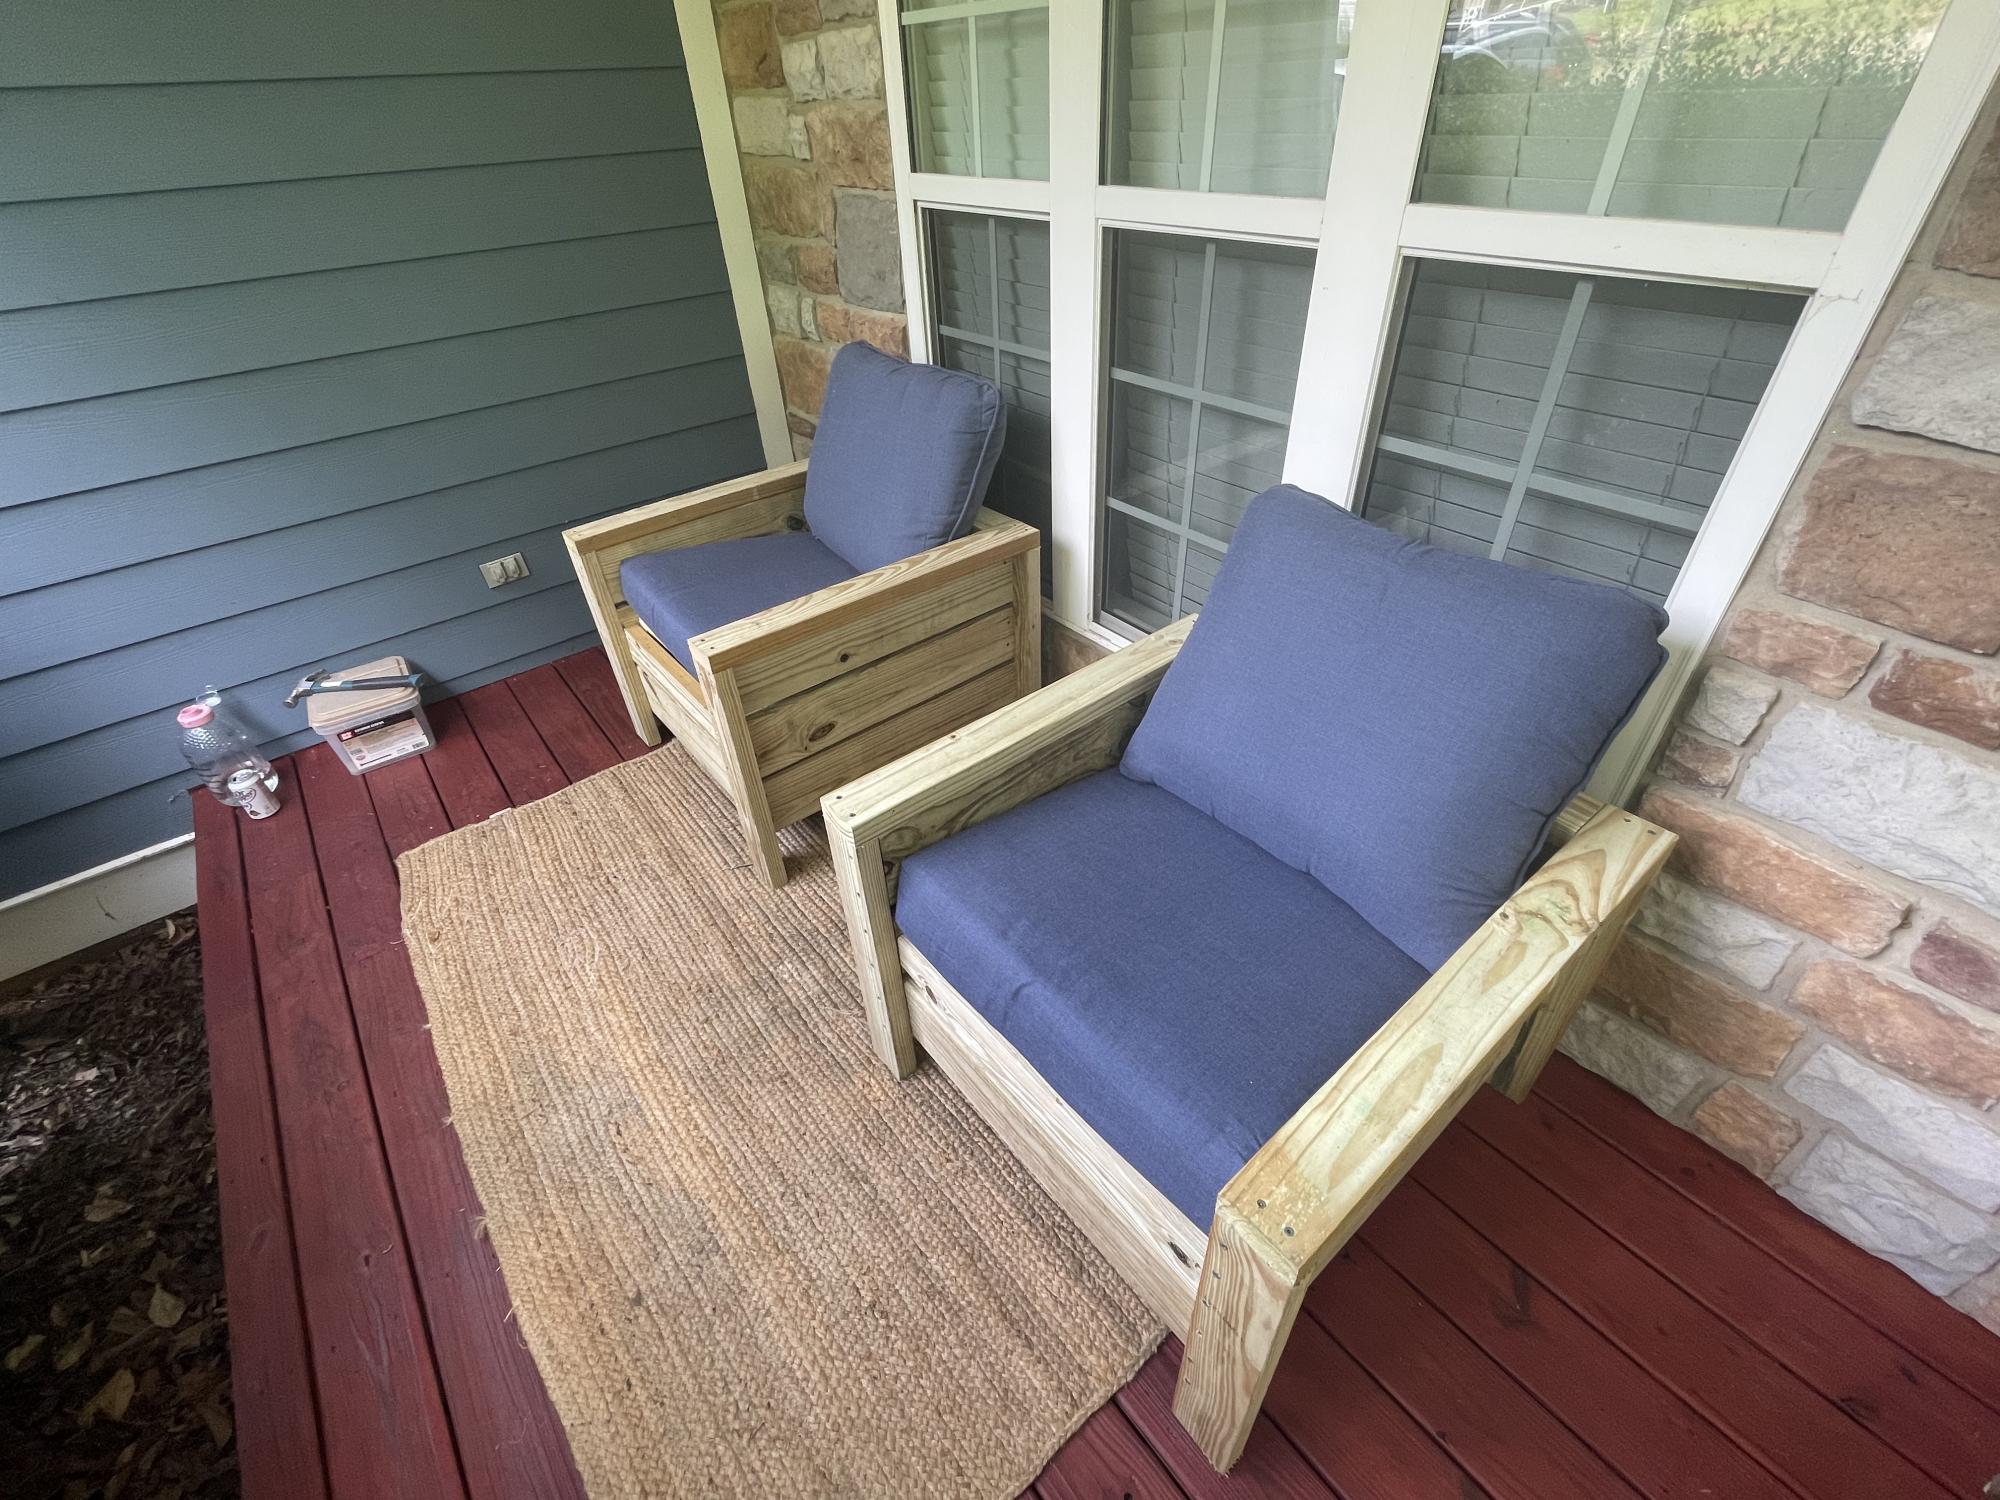
Simple to do with a good saw and drill. Took me about 3 hours to do both.
Comments
Clara Table and $4 Chairs
These chairs were super easy to make and so was the table. I did make a couple of changes if you'd like to read about it on my blog.
http://isteppedoutofmycomfortzone.blogspot.com/2011/01/i-love-to-build-…

Built from Plan(s)
Estimated Cost
$15 - $20
Estimated Time Investment
Afternoon Project (3-6 Hours)
Finish Used
I sanded it smooth with 320 grit sandpaper and gave it to her unfished so she could choose her colors.
Recommended Skill Level
Beginner
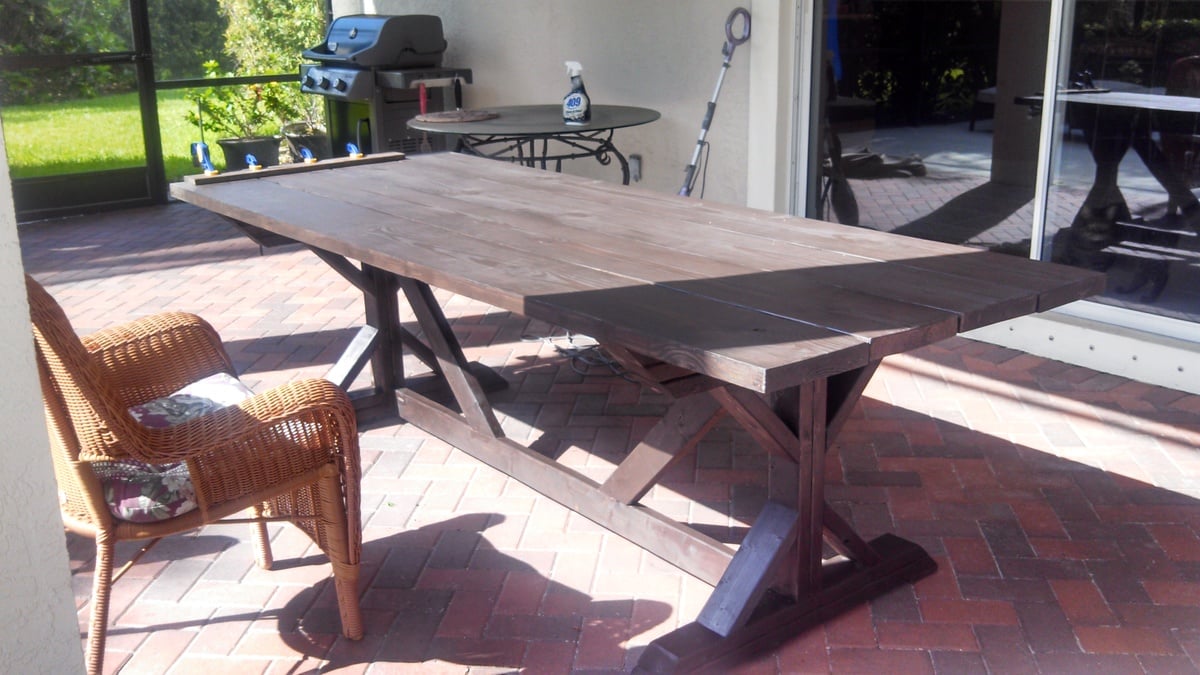
Outdoor Farmhouse Table
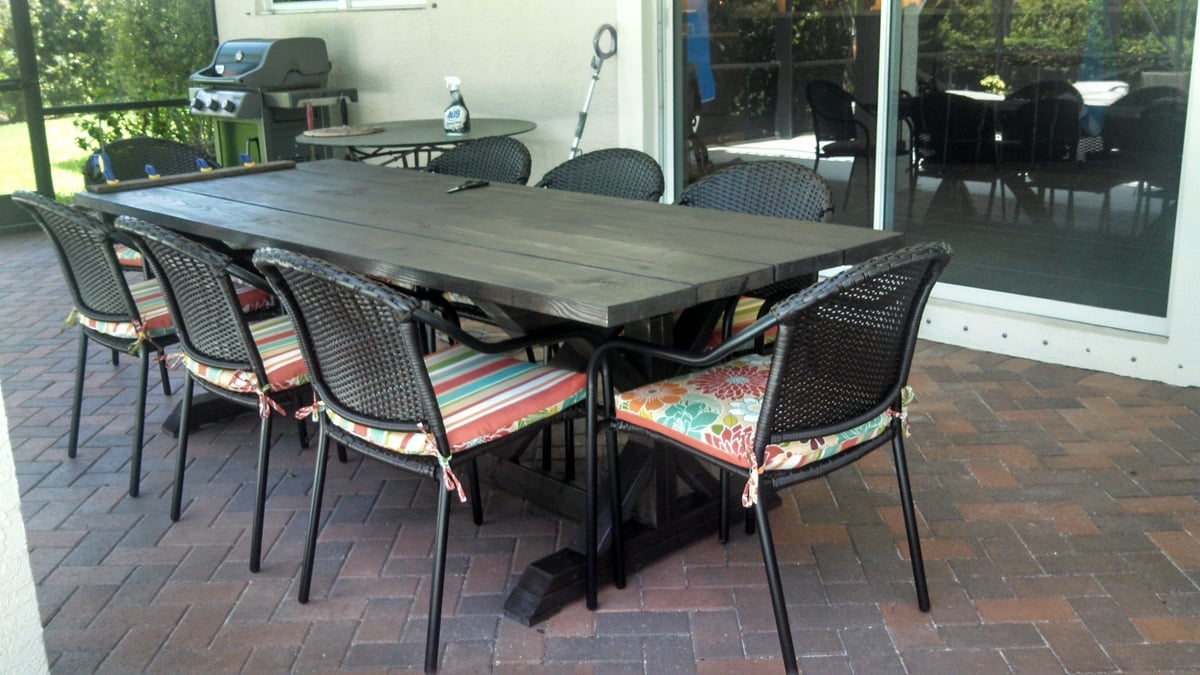
Outdoor farmhouse table built using Ana's plans. Modified the plan slightly, used 3 2X4s on the top (instead of the 2 1X4's that Ana's plan used) and attached everything from underneath using pocket screws so that no hardware is visible from the top. Used a nailer board under each side of the tabletop to provide a place to attach the top without using huge screws.
Table was built using non-pressure treated lumber (because we wanted the stain to stick well). The finish was done with 2 coats of a chocolate outdoor stain. Took 2 days from start to finish, although much of that time was waiting for the paint and/or glue to dry. Very simple project, only used a few tools. The only "big" tool we used was a 12" sliding compound saw to make the end cuts. Also used the Kreg jig in a few places where we didn't have clamps large enough or, in the case of the table top, we wanted the wood to be able to "float" without warping other boards.
Built from Plan(s)
Estimated Cost
150
Estimated Time Investment
Weekend Project (10-20 Hours)
Finish Used
Chocolate outdoor stain/sealant (2 coats), no rubbing off the stain, applied moderately thick coats and allowed the wood to absorb the stain.
Recommended Skill Level
Intermediate
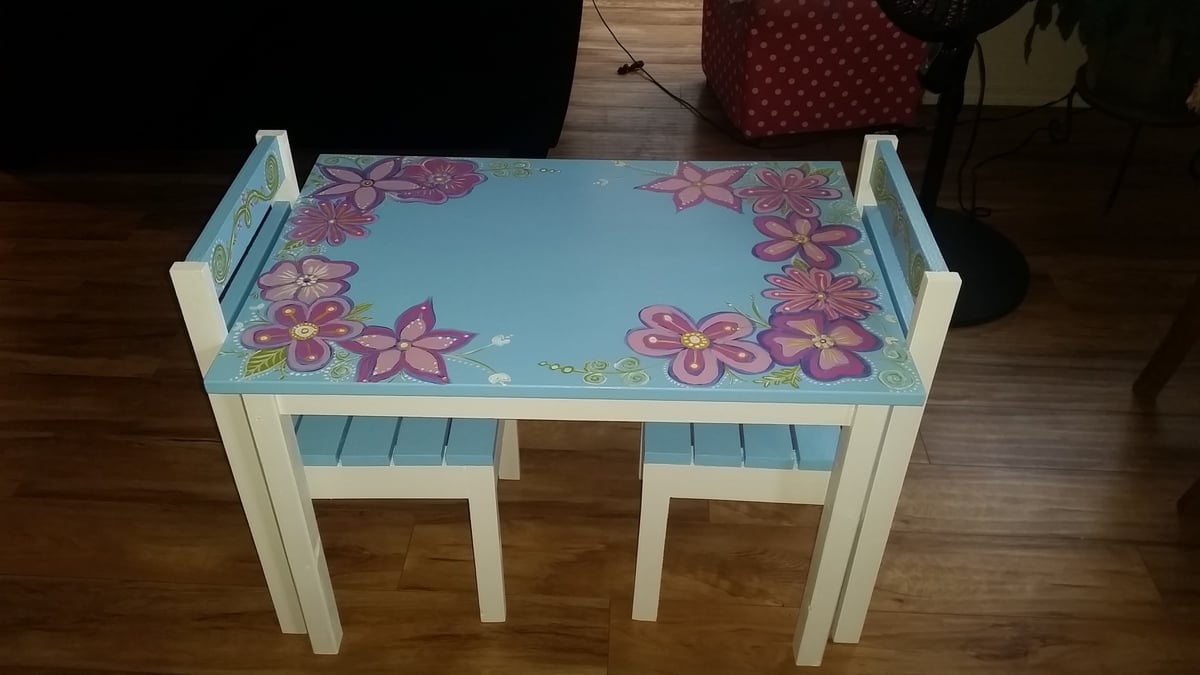
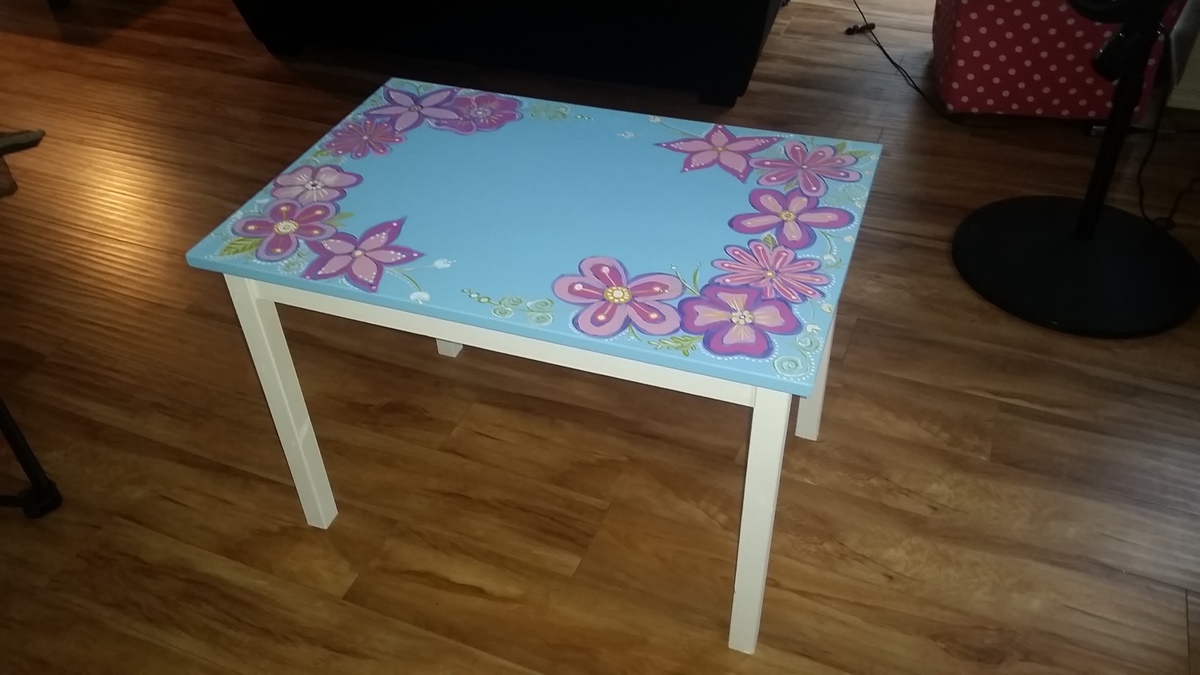
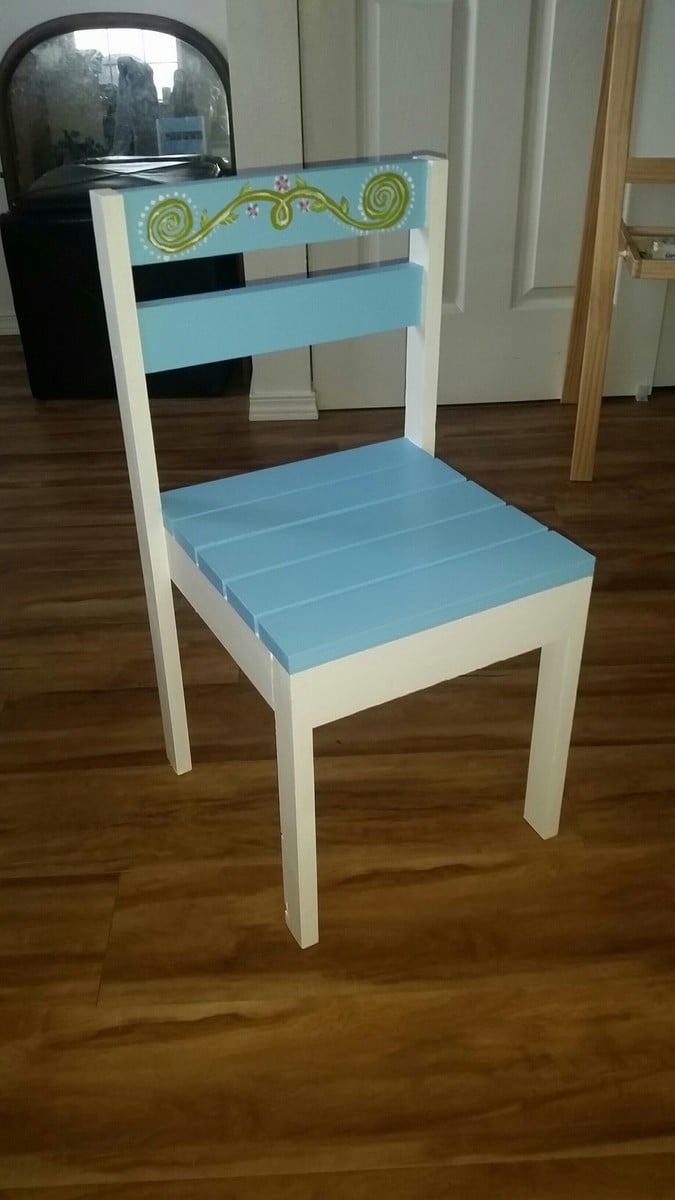
Skai's Table and Chairs
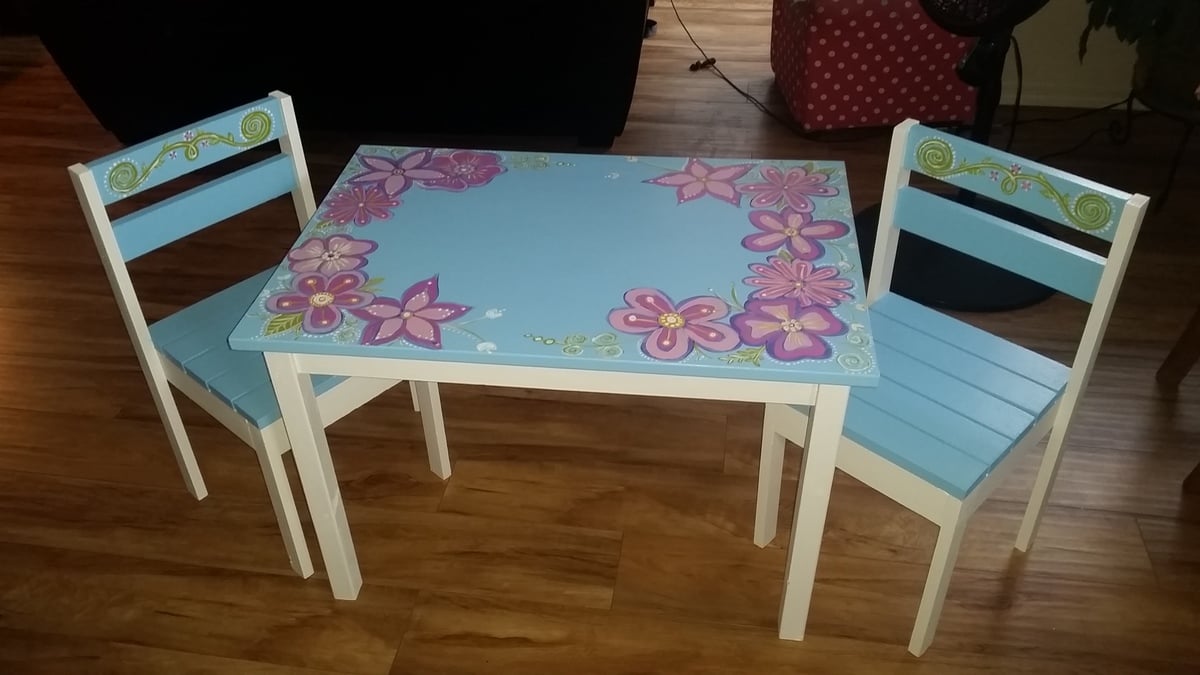
My daughter needed a table and chairs for her room and we luckily ran across these fantastic plans. Thanks!
Built from Plan(s)
Estimated Time Investment
Weekend Project (10-20 Hours)
Finish Used
Valspar paint + primer, Valspar paint (sample size blue) in Billow, assorted acrylic paints from crafts store, will be finishing off with a clear coat to seal
Recommended Skill Level
Beginner
Comments

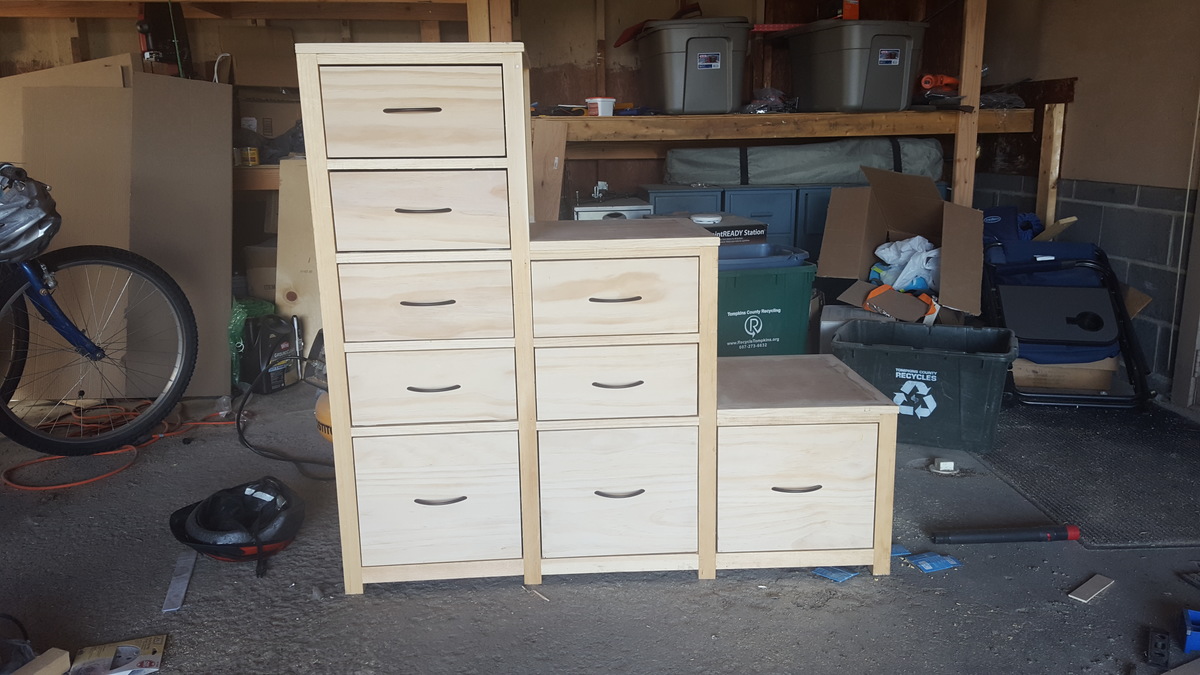
DIY Bunk Bed Step Dresser Based on Ana White Plans
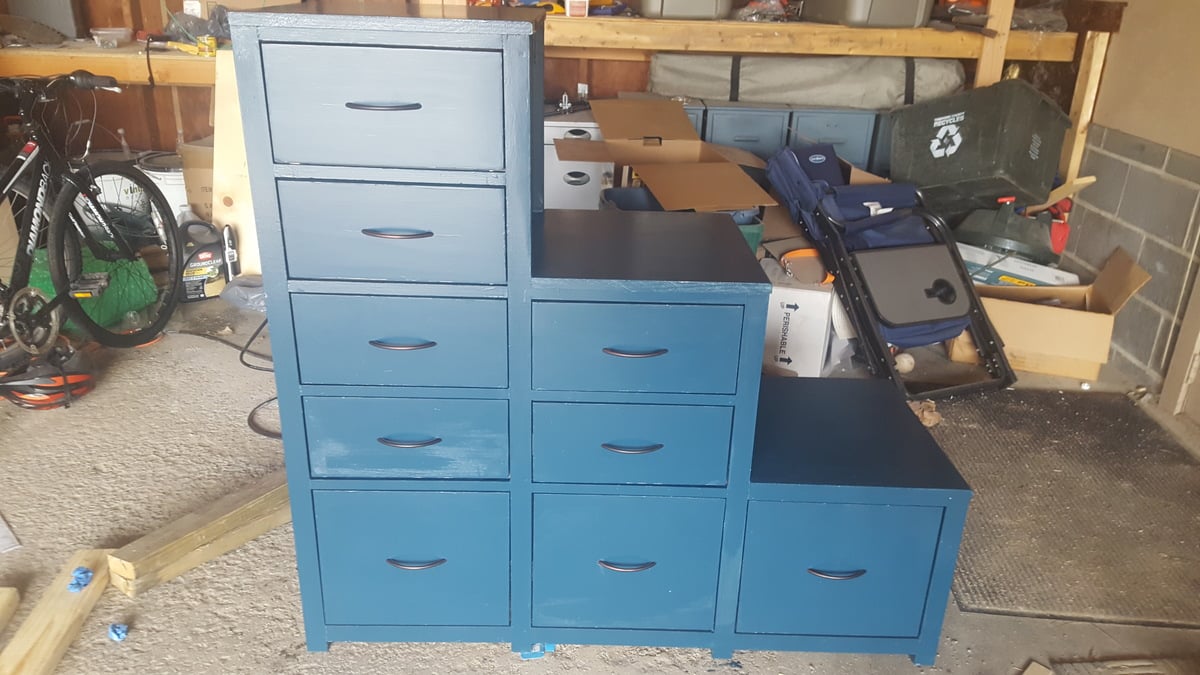
Based on the Kendal Extra Wide Dresser but customized to work as a companion piece to the loft that I built for my son earlier this year.
Built from Plan(s)
Estimated Time Investment
Week Long Project (20 Hours or More)
Recommended Skill Level
Intermediate
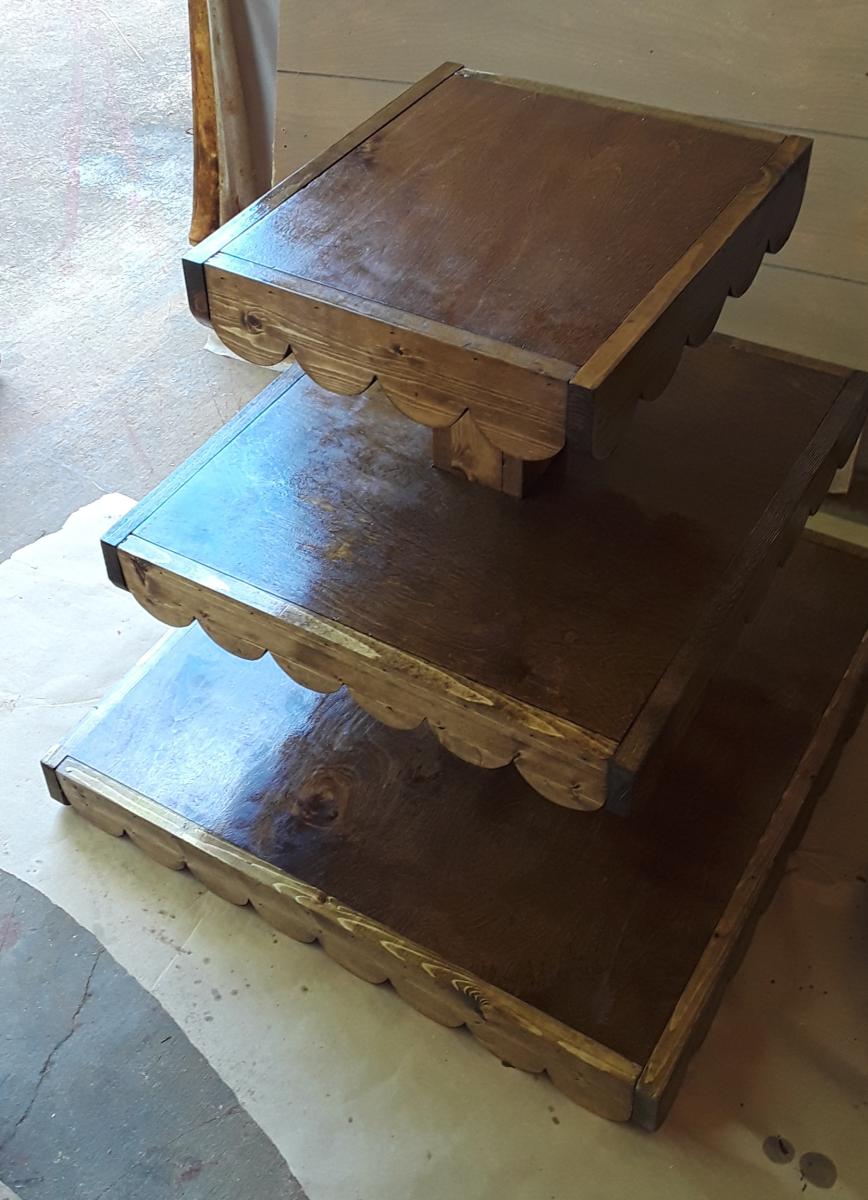
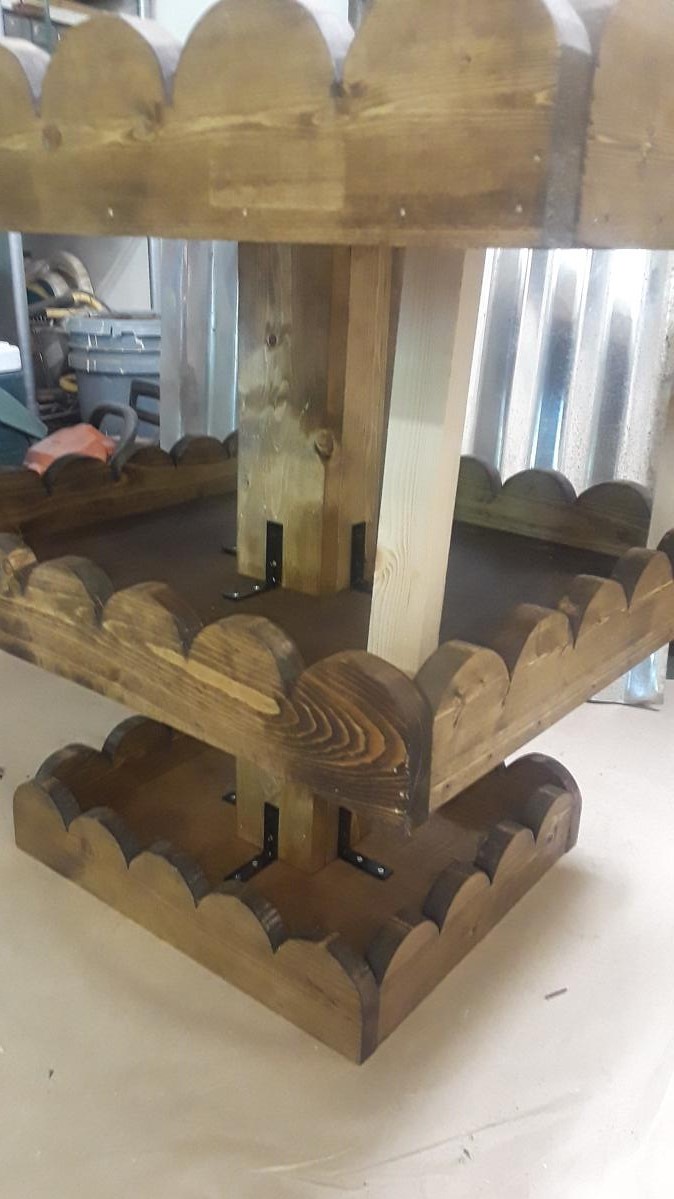
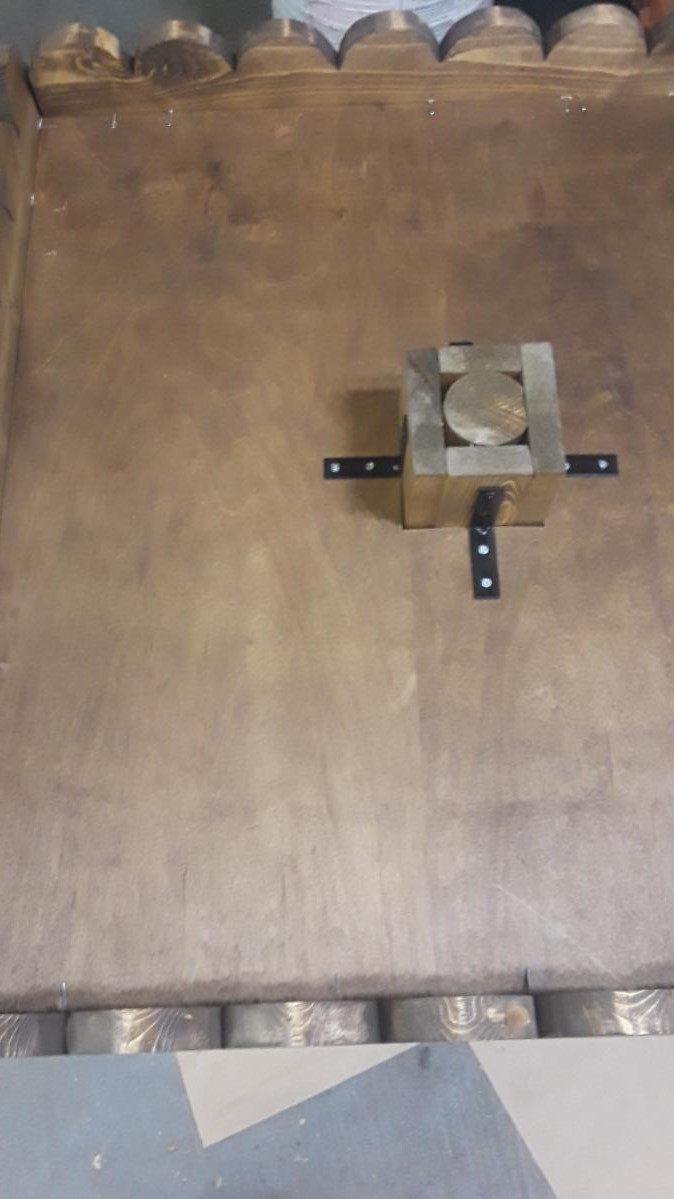
Rustic Cupcake Stand
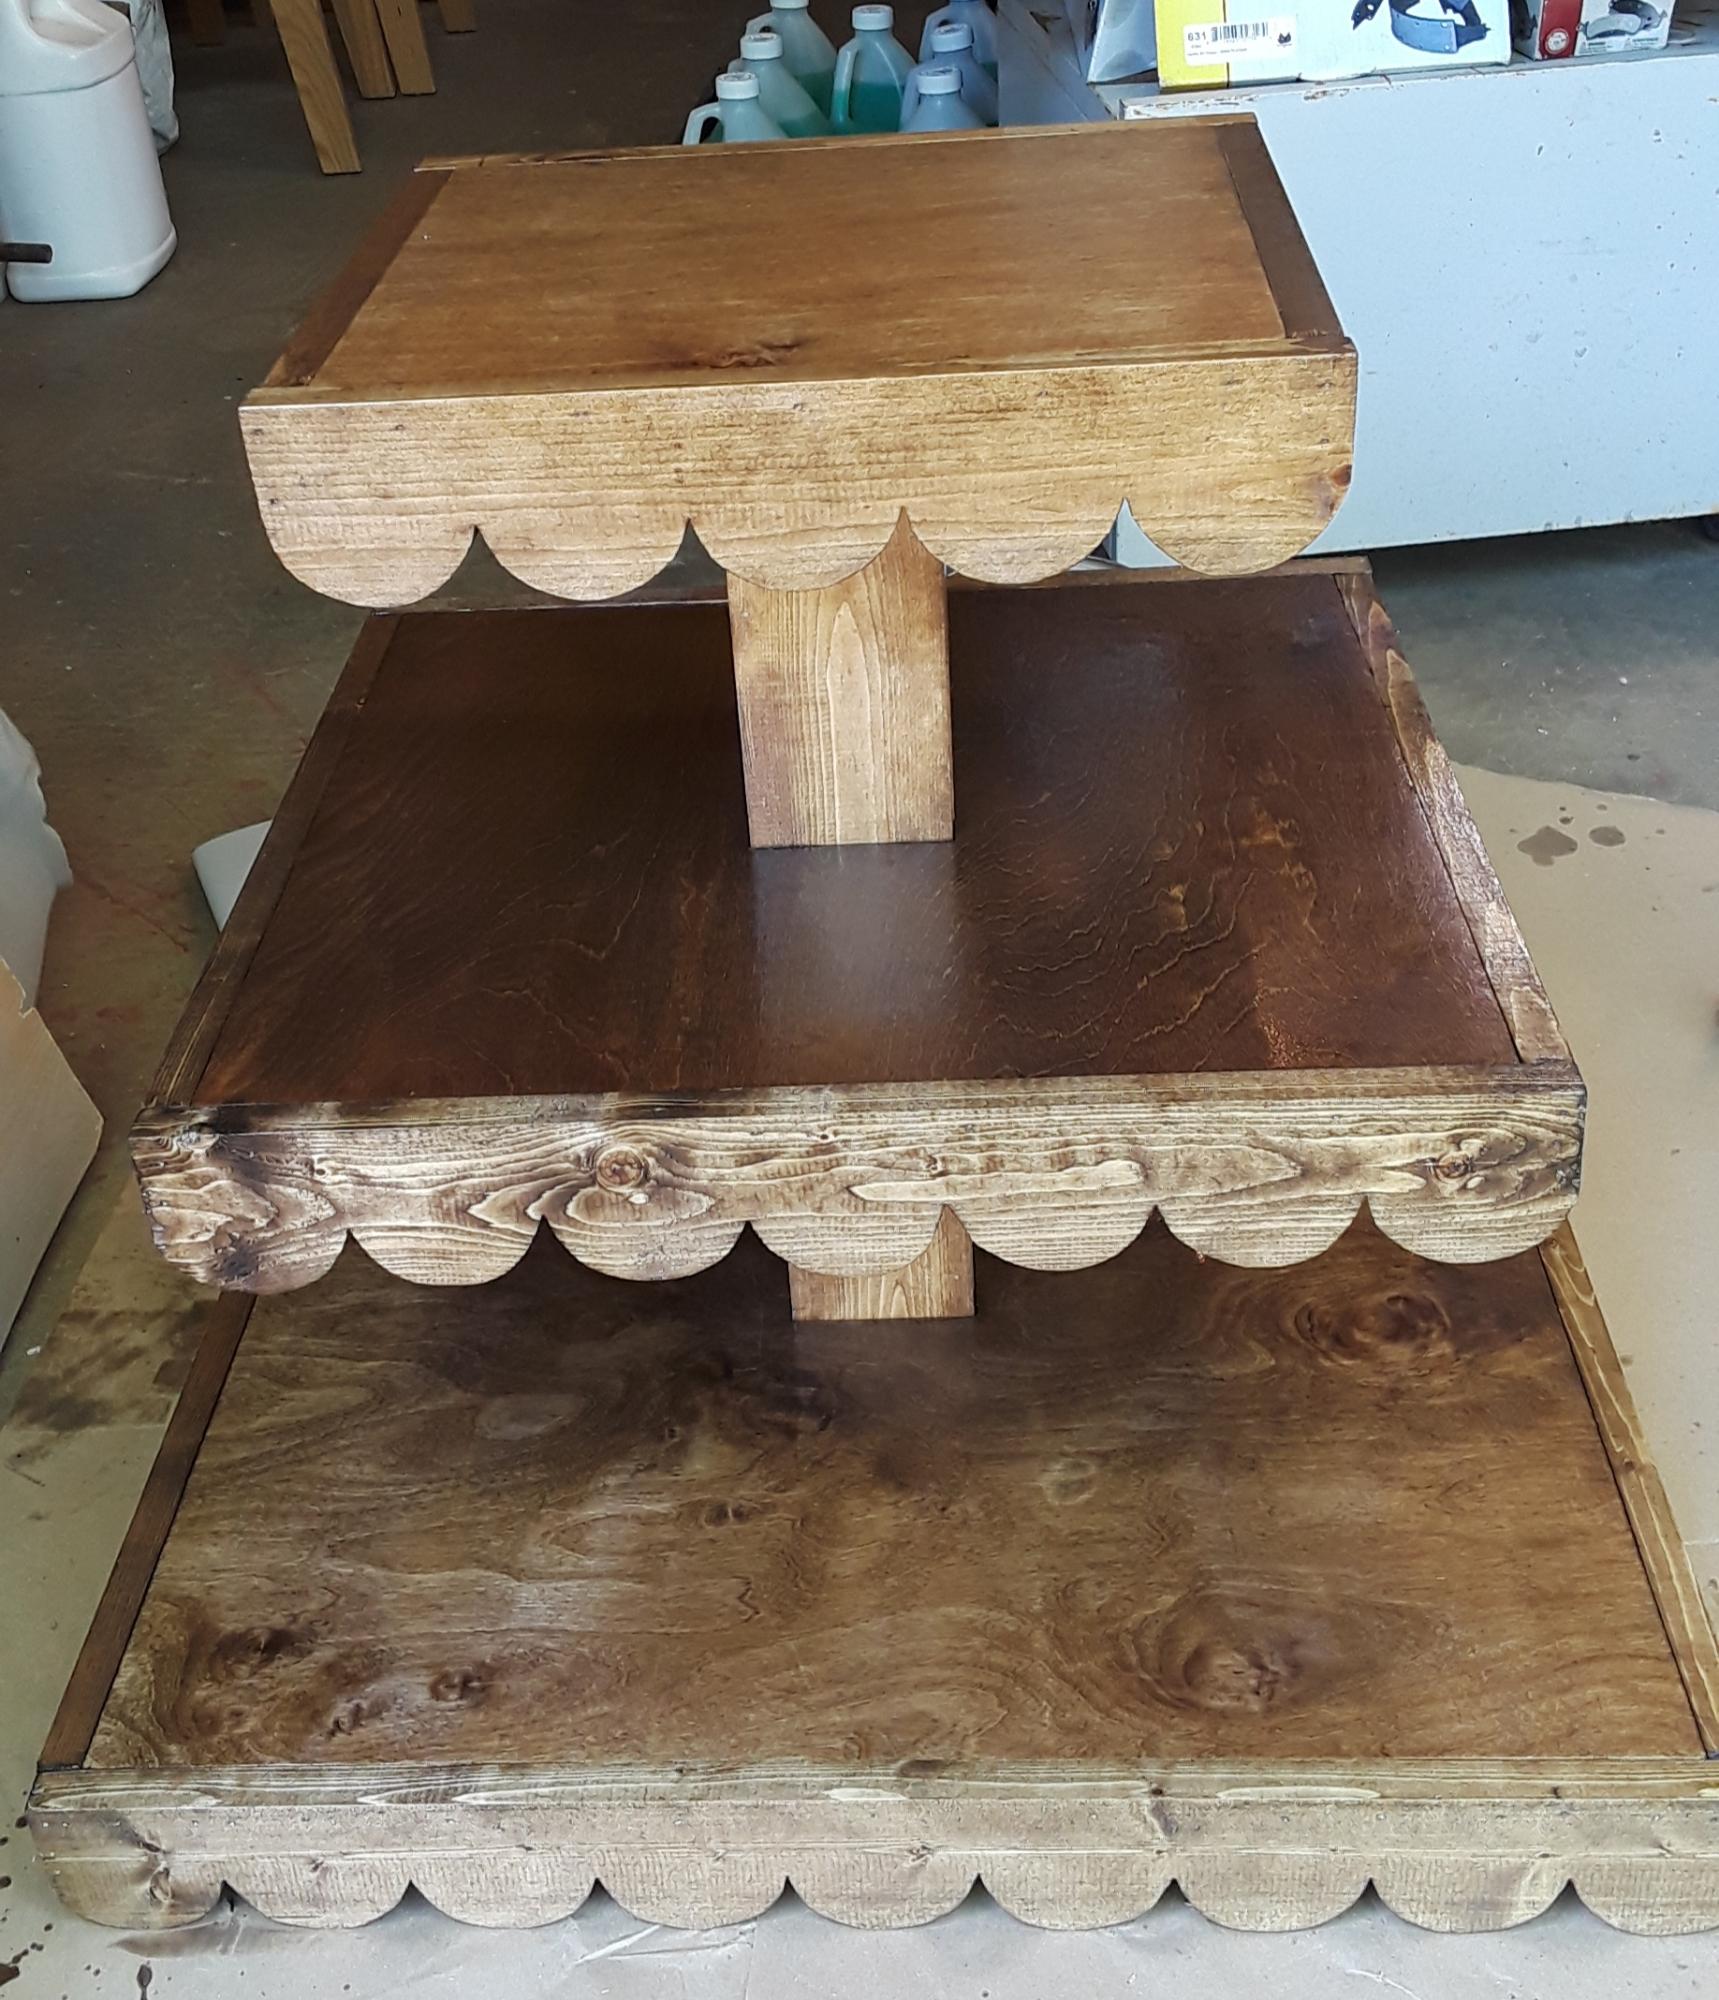
Rustic Cupcake Stand!
Built from Plan(s)
Tall Farmhouse Queen
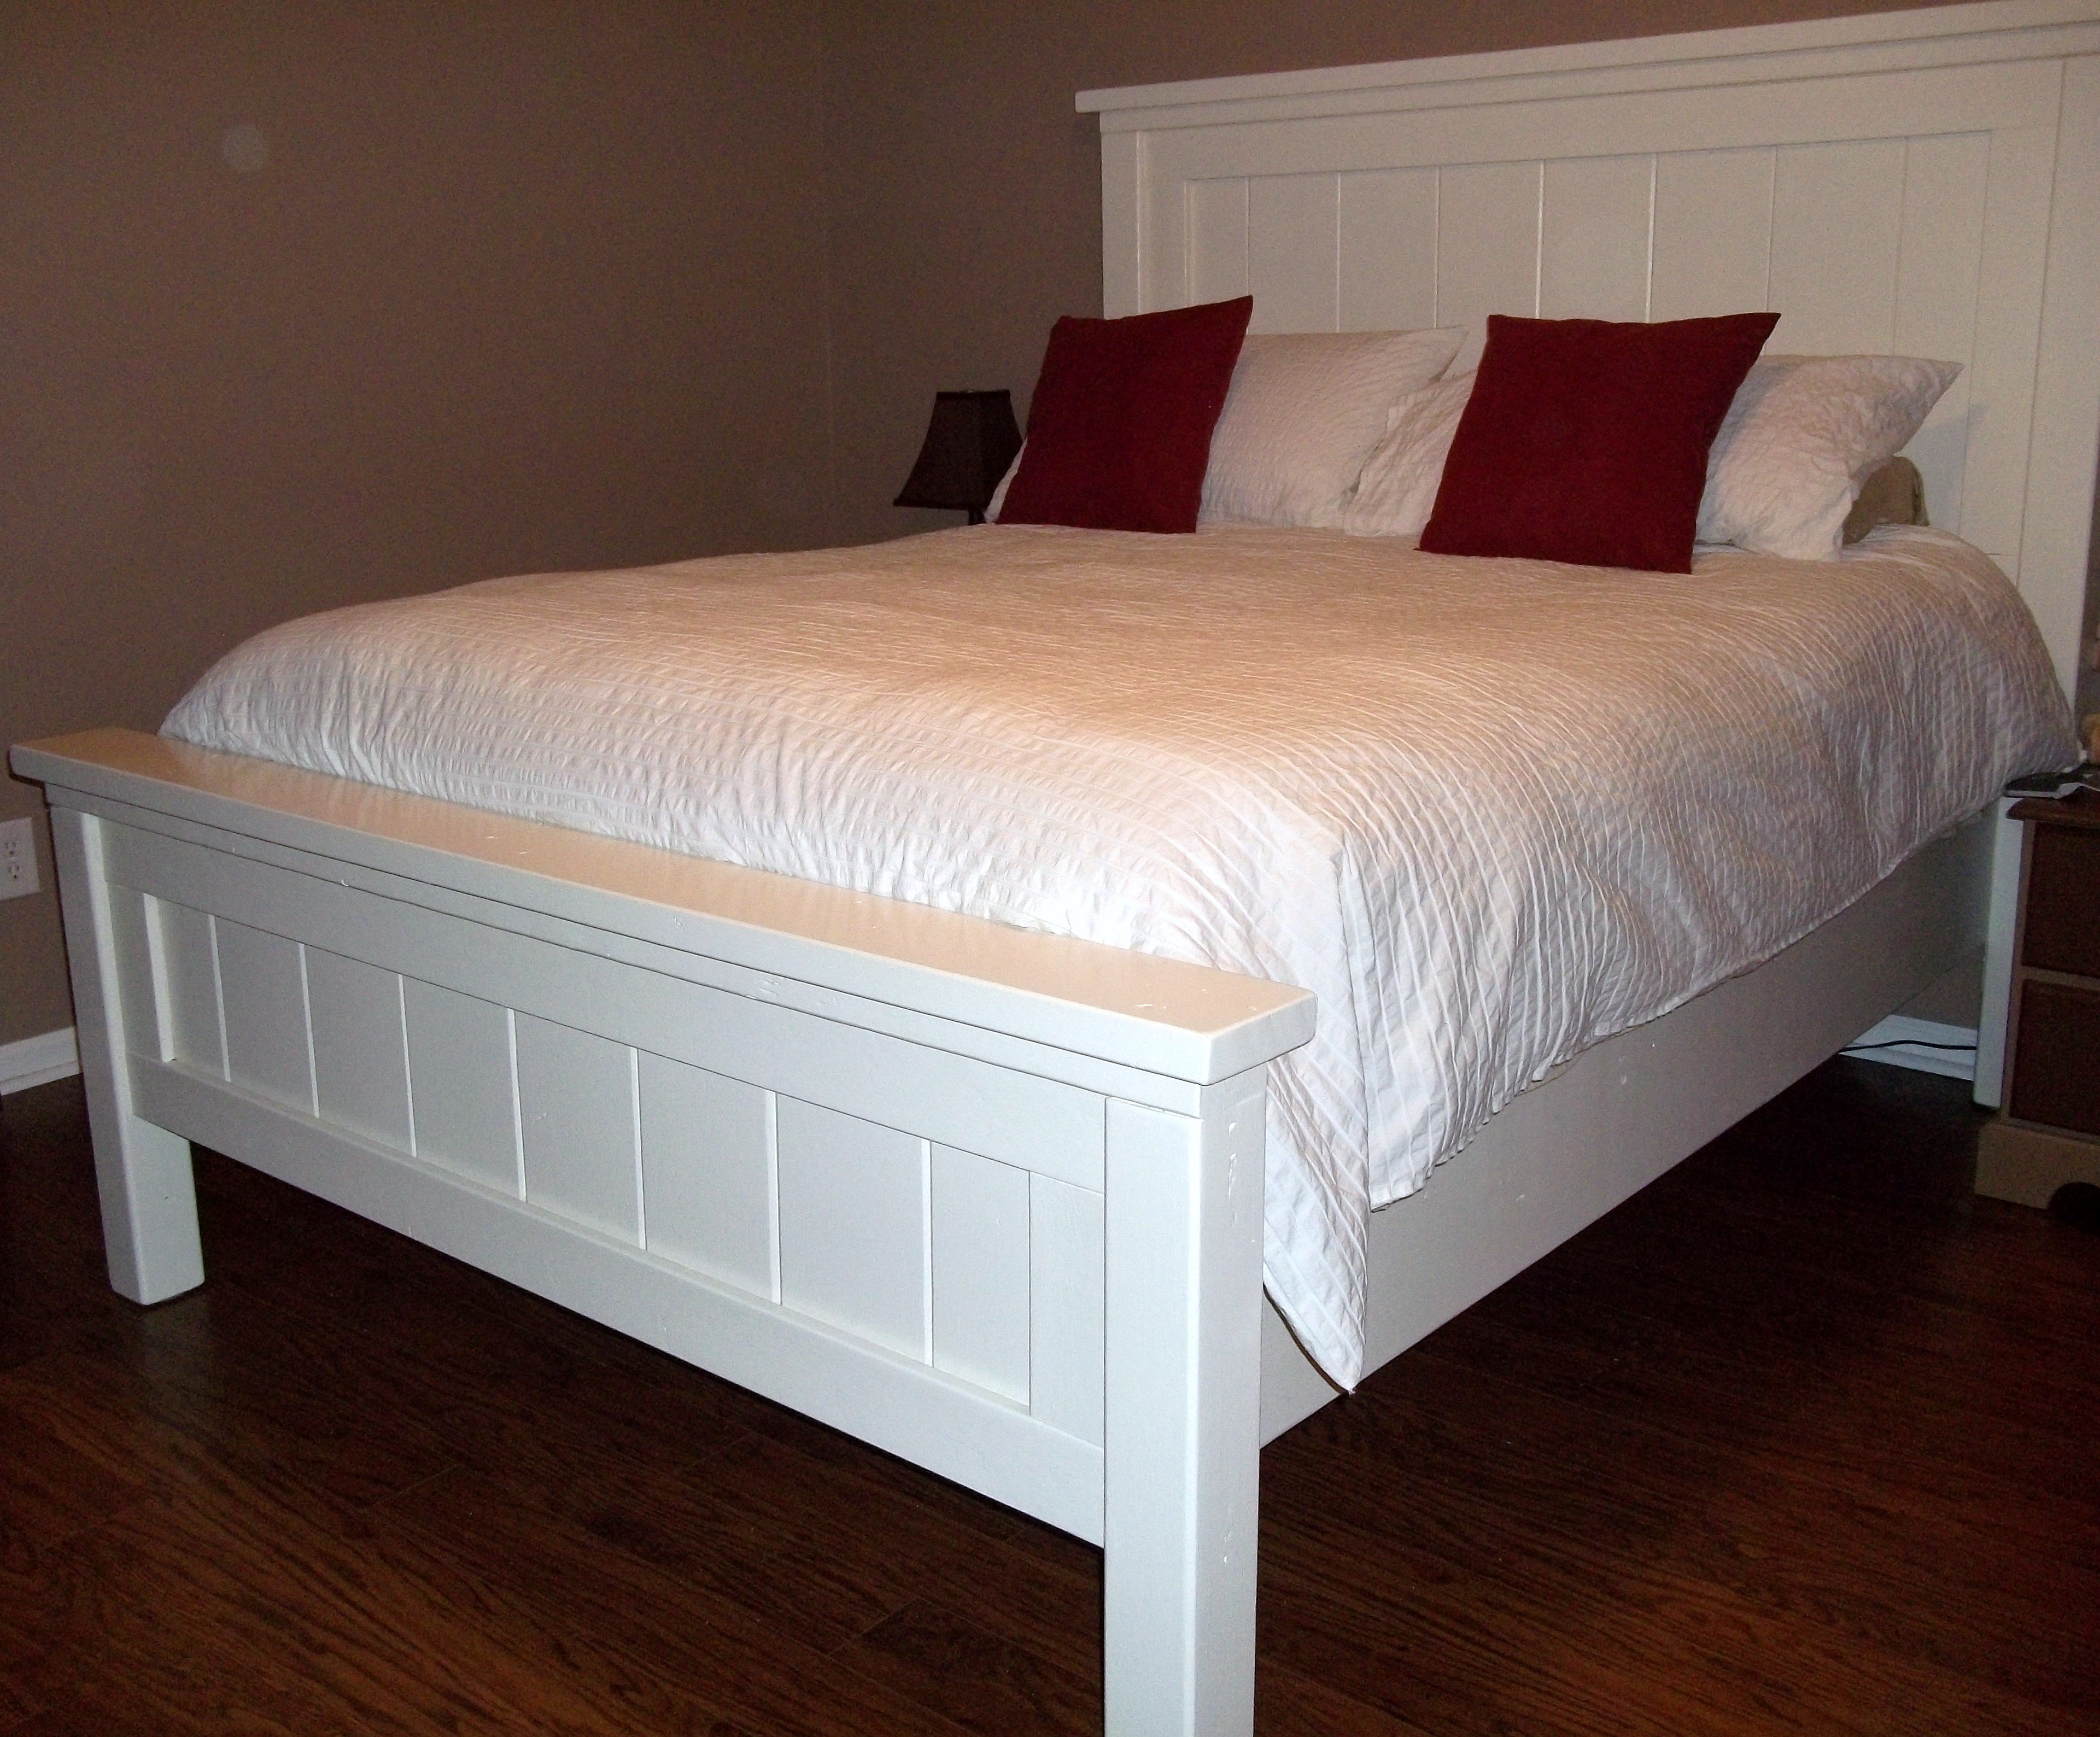
This bed is our first build. We added 4 inches to the height of posts on headboard and footboard. We also used brackets rather than screwing directly into footboard to make the bed easier to move if we ever need to.
Built from Plan(s)
Estimated Cost
$175
Estimated Time Investment
Weekend Project (10-20 Hours)
Finish Used
Two coats of Bin primer followed by two coats of Behr Premium Plus Ultra Heavy Cream.
Recommended Skill Level
Beginner
Comments
Sun, 07/15/2012 - 01:43
Bed brackets?
I just finished building this same bed and I'm looking for
an easy way to mount it together invade I new to move it. Where did you find brackets for the head and foot board? Could you post a picture of them?
Thanks,
Brandon
Mon, 10/01/2012 - 00:42
How tall is the bed from the
How tall is the bed from the ground to the bottom of the side rail? I'm wanting 14" so I don't need a box spring {we're both tall so I don't want to feel like I'm on the ground}
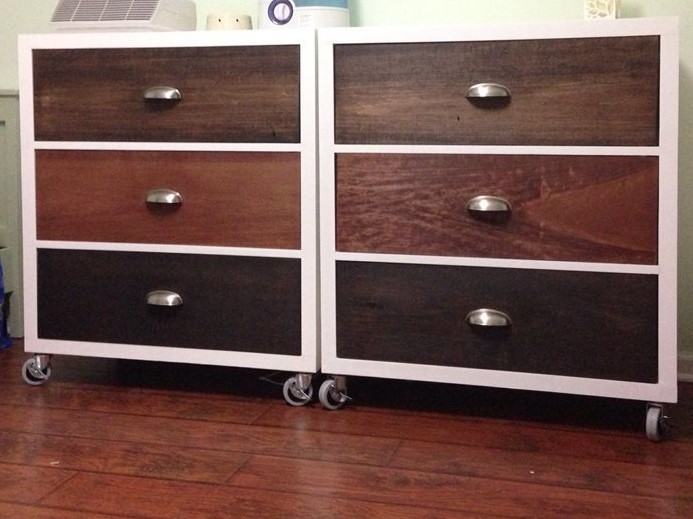
Patchwork Three Drawer Rolling Dressers
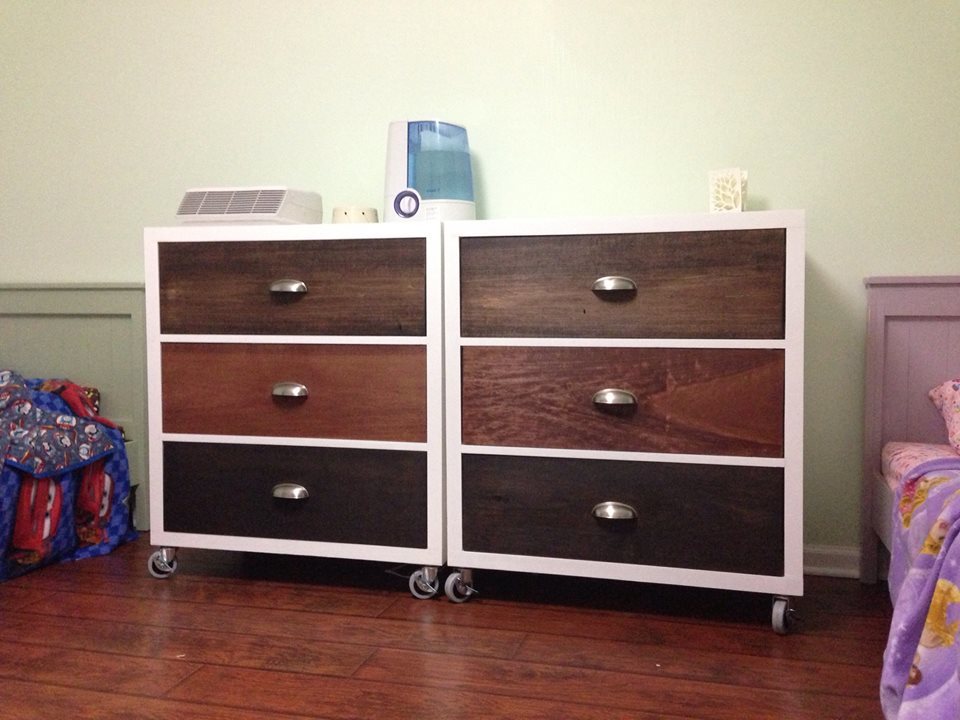
We decided to build these for the kids, to get the old Ikea dressers out of their rooms. The build went very easy. Now the kids have a room full of only handmade (ana-white) furniture!
Built from Plan(s)
Estimated Cost
$400 for the pair, including hardware
Estimated Time Investment
Weekend Project (10-20 Hours)
Finish Used
Random left over stains :)
Recommended Skill Level
Beginner
Comments

Tue, 08/20/2013 - 19:55
Beautiful! =D I love the
Beautiful! =D I love the finish style you chose! I'm not typically a fan of drawer pulls, but I love the way it looks on your rolling dressers.
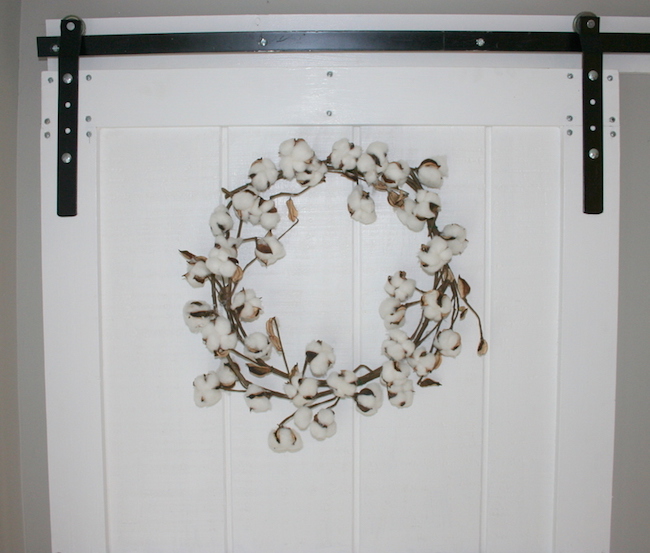
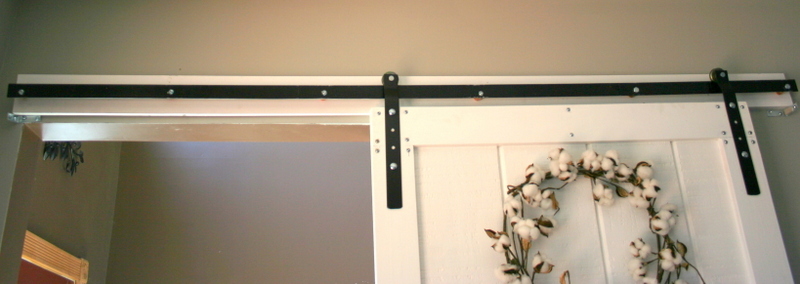
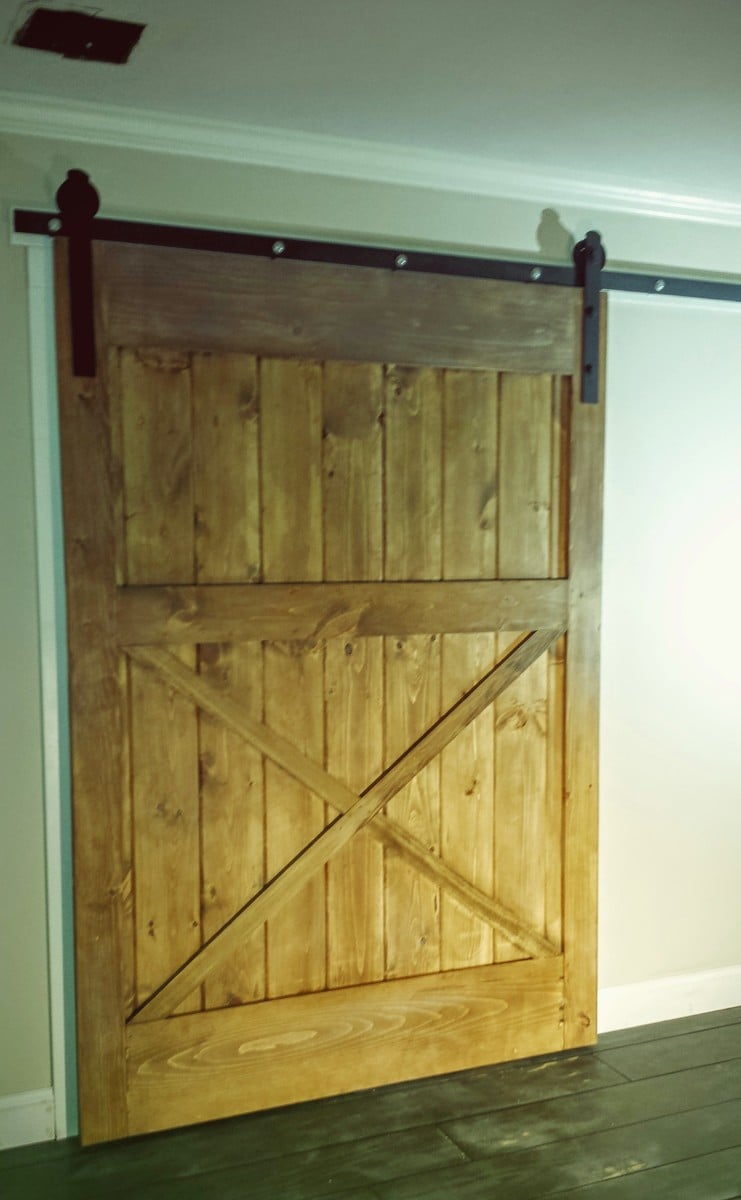
DIY Barn Door and Hardware for around $80!
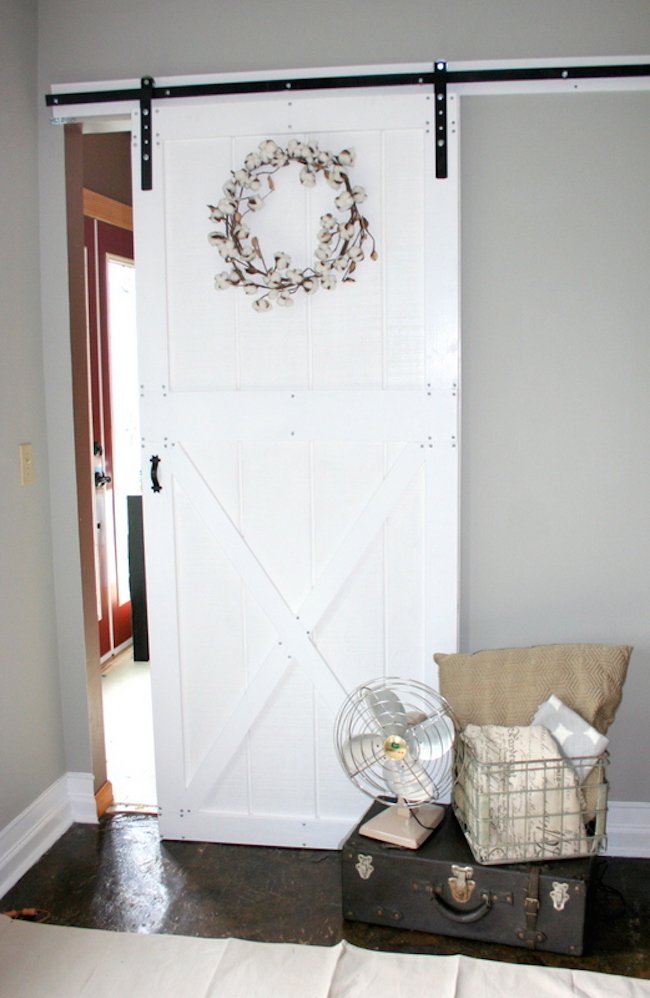
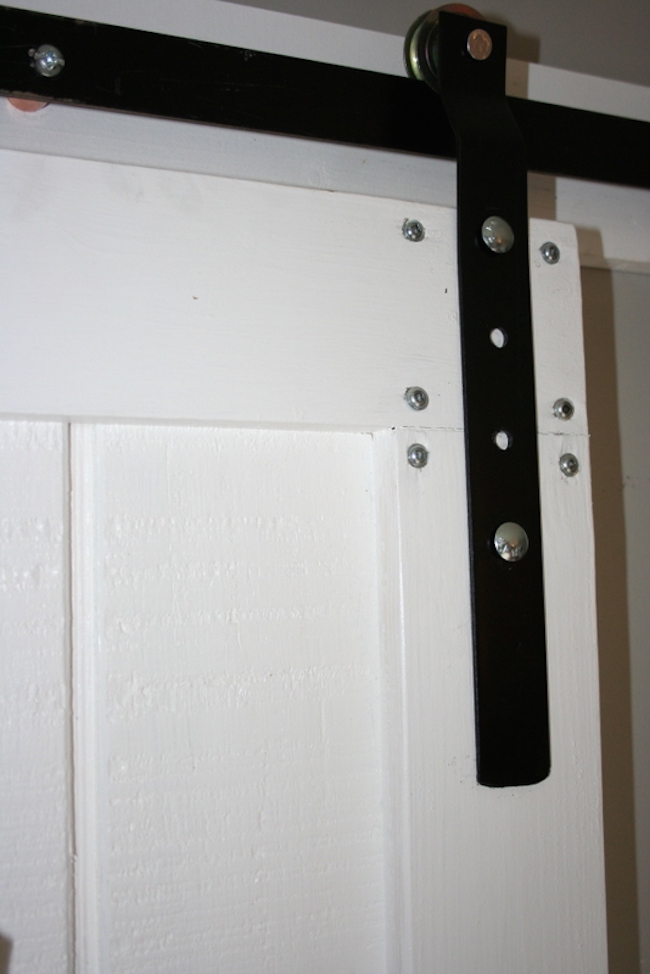
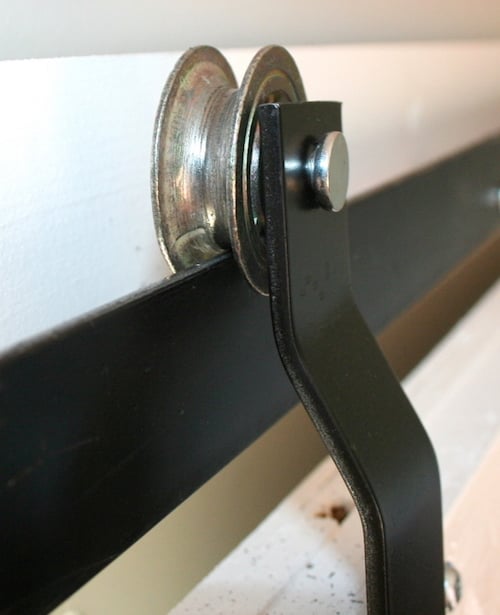
I really wanted to put a barn door in my husband's home office, but have you looked at the prices of the kits? No way was I going to spend that for a door. So I decided to fabricate it myself. For the rail hardware- I used a 72" steel rod, copper pipe fittings, and lag screws. For the door hardware, I used 12"ish, long pieces of steel, pulleys, and carriage bolts.
The door itself is made from plywood siding, 1 x 4's, 1 x 6's, and 1 x 3's. The entire door and hardware cost around $80 to make myself. It's functional and looks amazing! The entire tutorial is up on my blog!

Estimated Cost
$80
Estimated Time Investment
Day Project (6-9 Hours)
Finish Used
white paint
Recommended Skill Level
Beginner
Comments
Farmhouse table

We adjusted the plans so this table top measures 84" x 48". Our chairs were also a little taller than normal, so we raised the legs to make sure the height of the table would be comfortable with the chairs.
I've lost all the math we did, so I'm sorry I can't help you make these adjustments. We made this table a couple years ago.
We used 4x4s for the legs and I'm really glad we did. A previous Ana White table we made, we used thinner legs and the poor thing squeaked like crazy. This table is much sturdier. We also used thicker pieces for the top which also adds to the stability.
A friend helped us plane the table top and fit it all together. It's just pine though, so we have had some warping, but it isn't bad.
We bought a kreg drill to make the assembly smoother. Love that thing!


Built from Plan(s)
Estimated Time Investment
Weekend Project (10-20 Hours)
Finish Used
Paint with built in primer on the legs. I didn't bother urethaning and so far it has held up well. Table top I used a dark Minwax stain (I think Jacobean) with a urethane sealer. Wipes up great and is holding up well to kids.
Recommended Skill Level
Beginner
Love how this turned out!
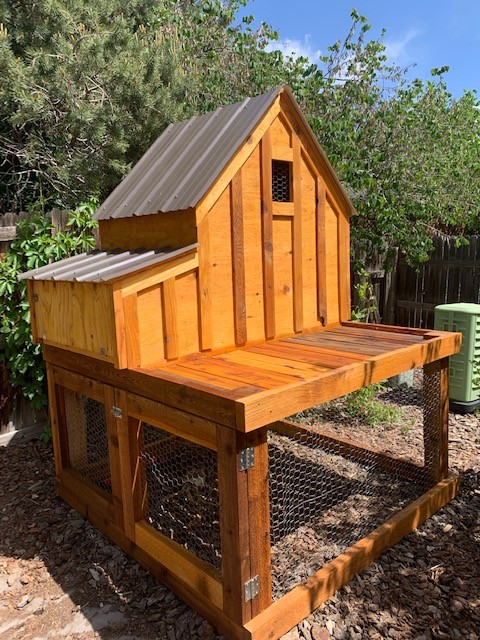
Thanks for the plans! We have a small backyard and I wanted something that we’d actually enjoy looking at. I skipped the planter box and will likely put some potted plants up there instead. All I need is a matching metal cap for the roof peak, and of course chickens!
Comments
Farmhouse Table
This is my very first woodworking project (except for a Paper Towel Holder in High school over twenty years ago).I have always wanted a long farmhouse table, so when I saw the plans,I was excited to try building my own. Thanks so much Ana for making this doable!
Built from Plan(s)
Estimated Cost
Under $200.00
Estimated Time Investment
Week Long Project (20 Hours or More)
Finish Used
Minwax Special Walnut #224 and Polyurethane
Recommended Skill Level
Beginner
Comments
In reply to Great job! I love your by Lori E (not verified)
Thu, 03/26/2015 - 20:29
thanks!
Thank you Lori!
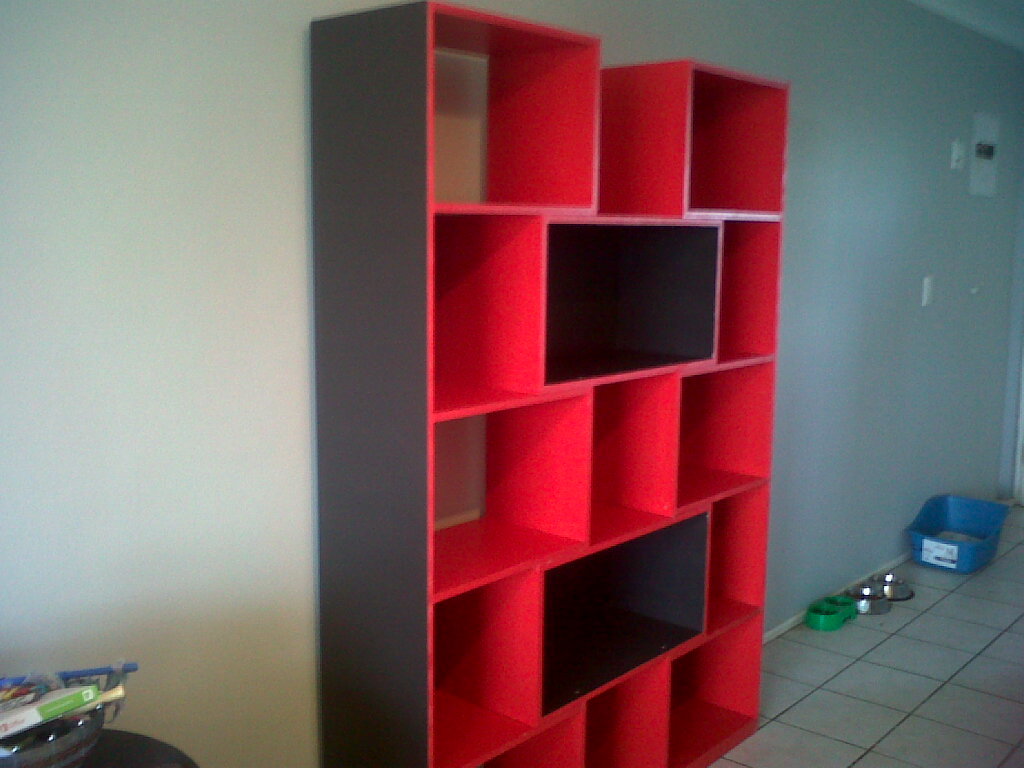
Puzzle Bookcase
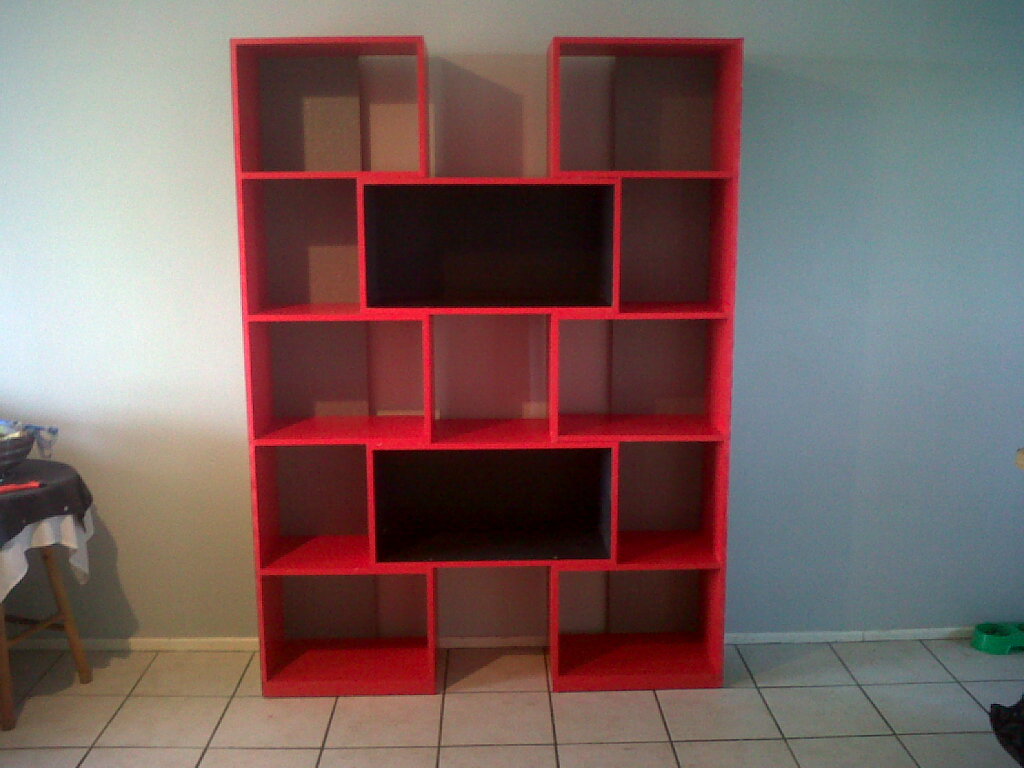
This was my first attempt at DIY - had to convert to Metric! thank goodness I calculated right - end product is awesome. I lined the back panels with textured Silver wallpaper - gives an awesome contrast.
I'm Hooked, already looking for my next project!
Finish Used
Matt sheen enamel paint and wallpaper
Recommended Skill Level
Starter Project
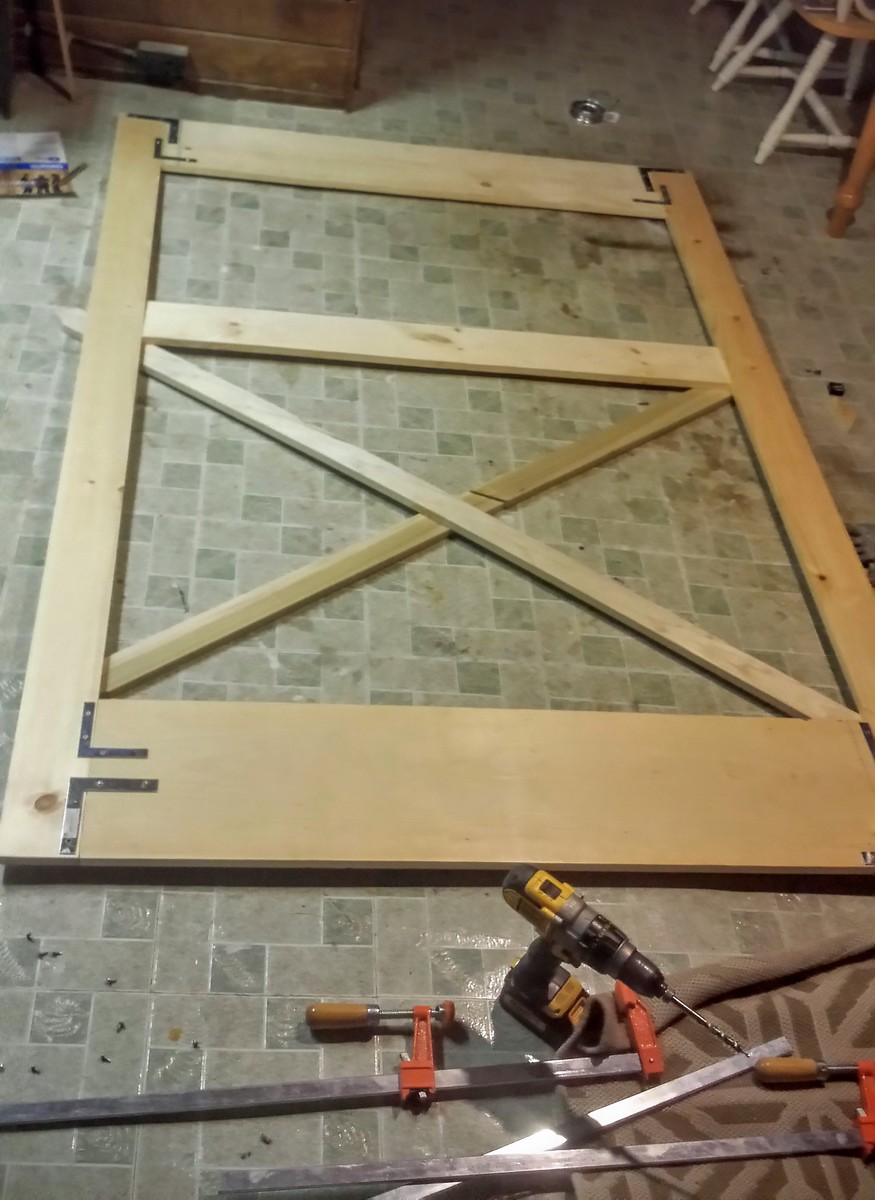
DIY SLIDING BARN DOOR
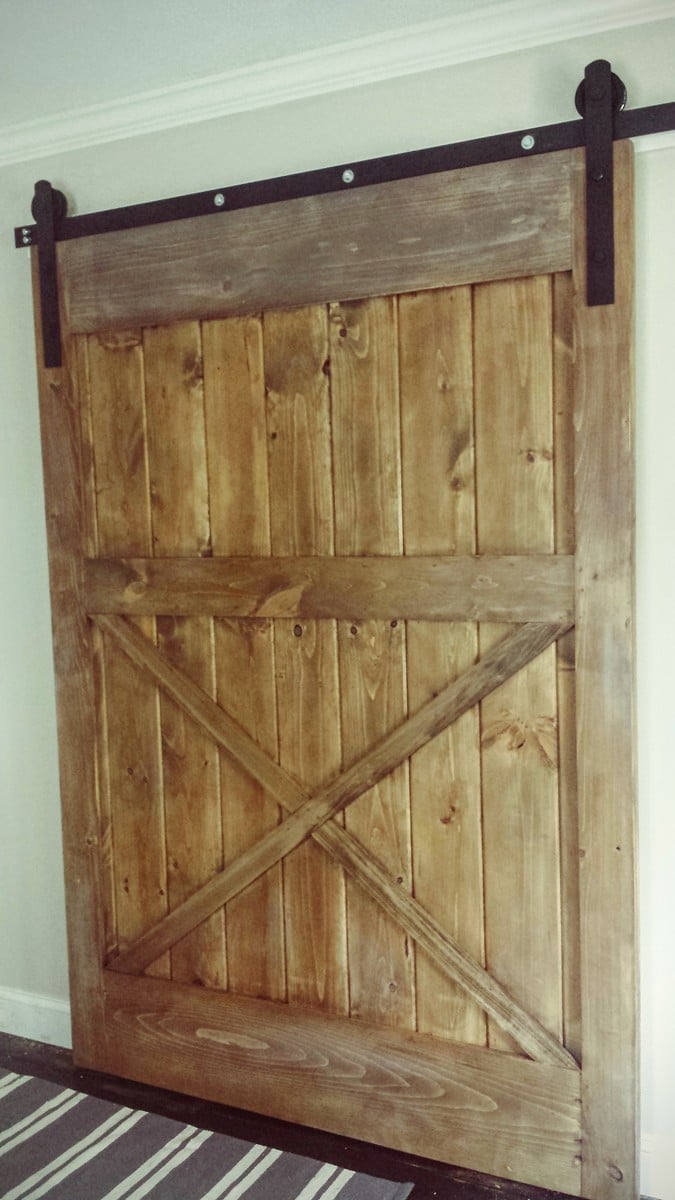
To date this has been my favorite and fullfilling DIY project!! Skills were learned, $$ was saved and it looks fabulous!!! It wasnt easy but it wasn't impossible. April WIlkerson provides a detailed tutorial on her website along with a fantastic youtube video on her channell. I hope this inspires someone else to take on this challenge!! If you have any any questions please feel free to ask me!! Enjoy.
Built from Plan(s)
Estimated Cost
$100
Estimated Time Investment
Week Long Project (20 Hours or More)
Finish Used
Minwax Special Walnut, Minwax gray, ragged white followed with a satin poly.
Recommended Skill Level
Intermediate
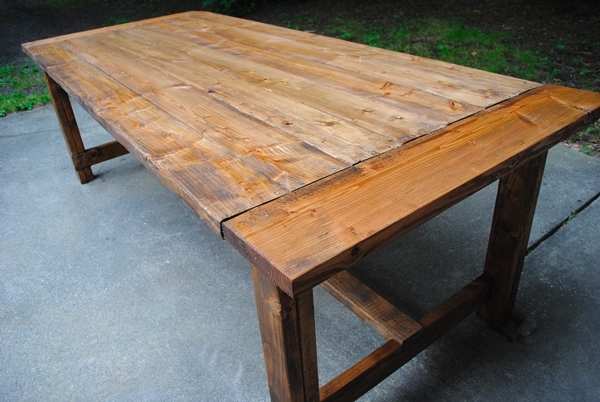
Farm table.

Built this 8' farm table after watching your video. Its my first piece of furniture.

Estimated Cost
$200.00
Estimated Time Investment
Weekend Project (10-20 Hours)
Finish Used
Milled red oak.
Recommended Skill Level
Beginner
Comments

Sun, 10/14/2018 - 13:51
What a fantastic first piece!
What a fantastic first piece! I love the size, it is just right for your space!
Desk
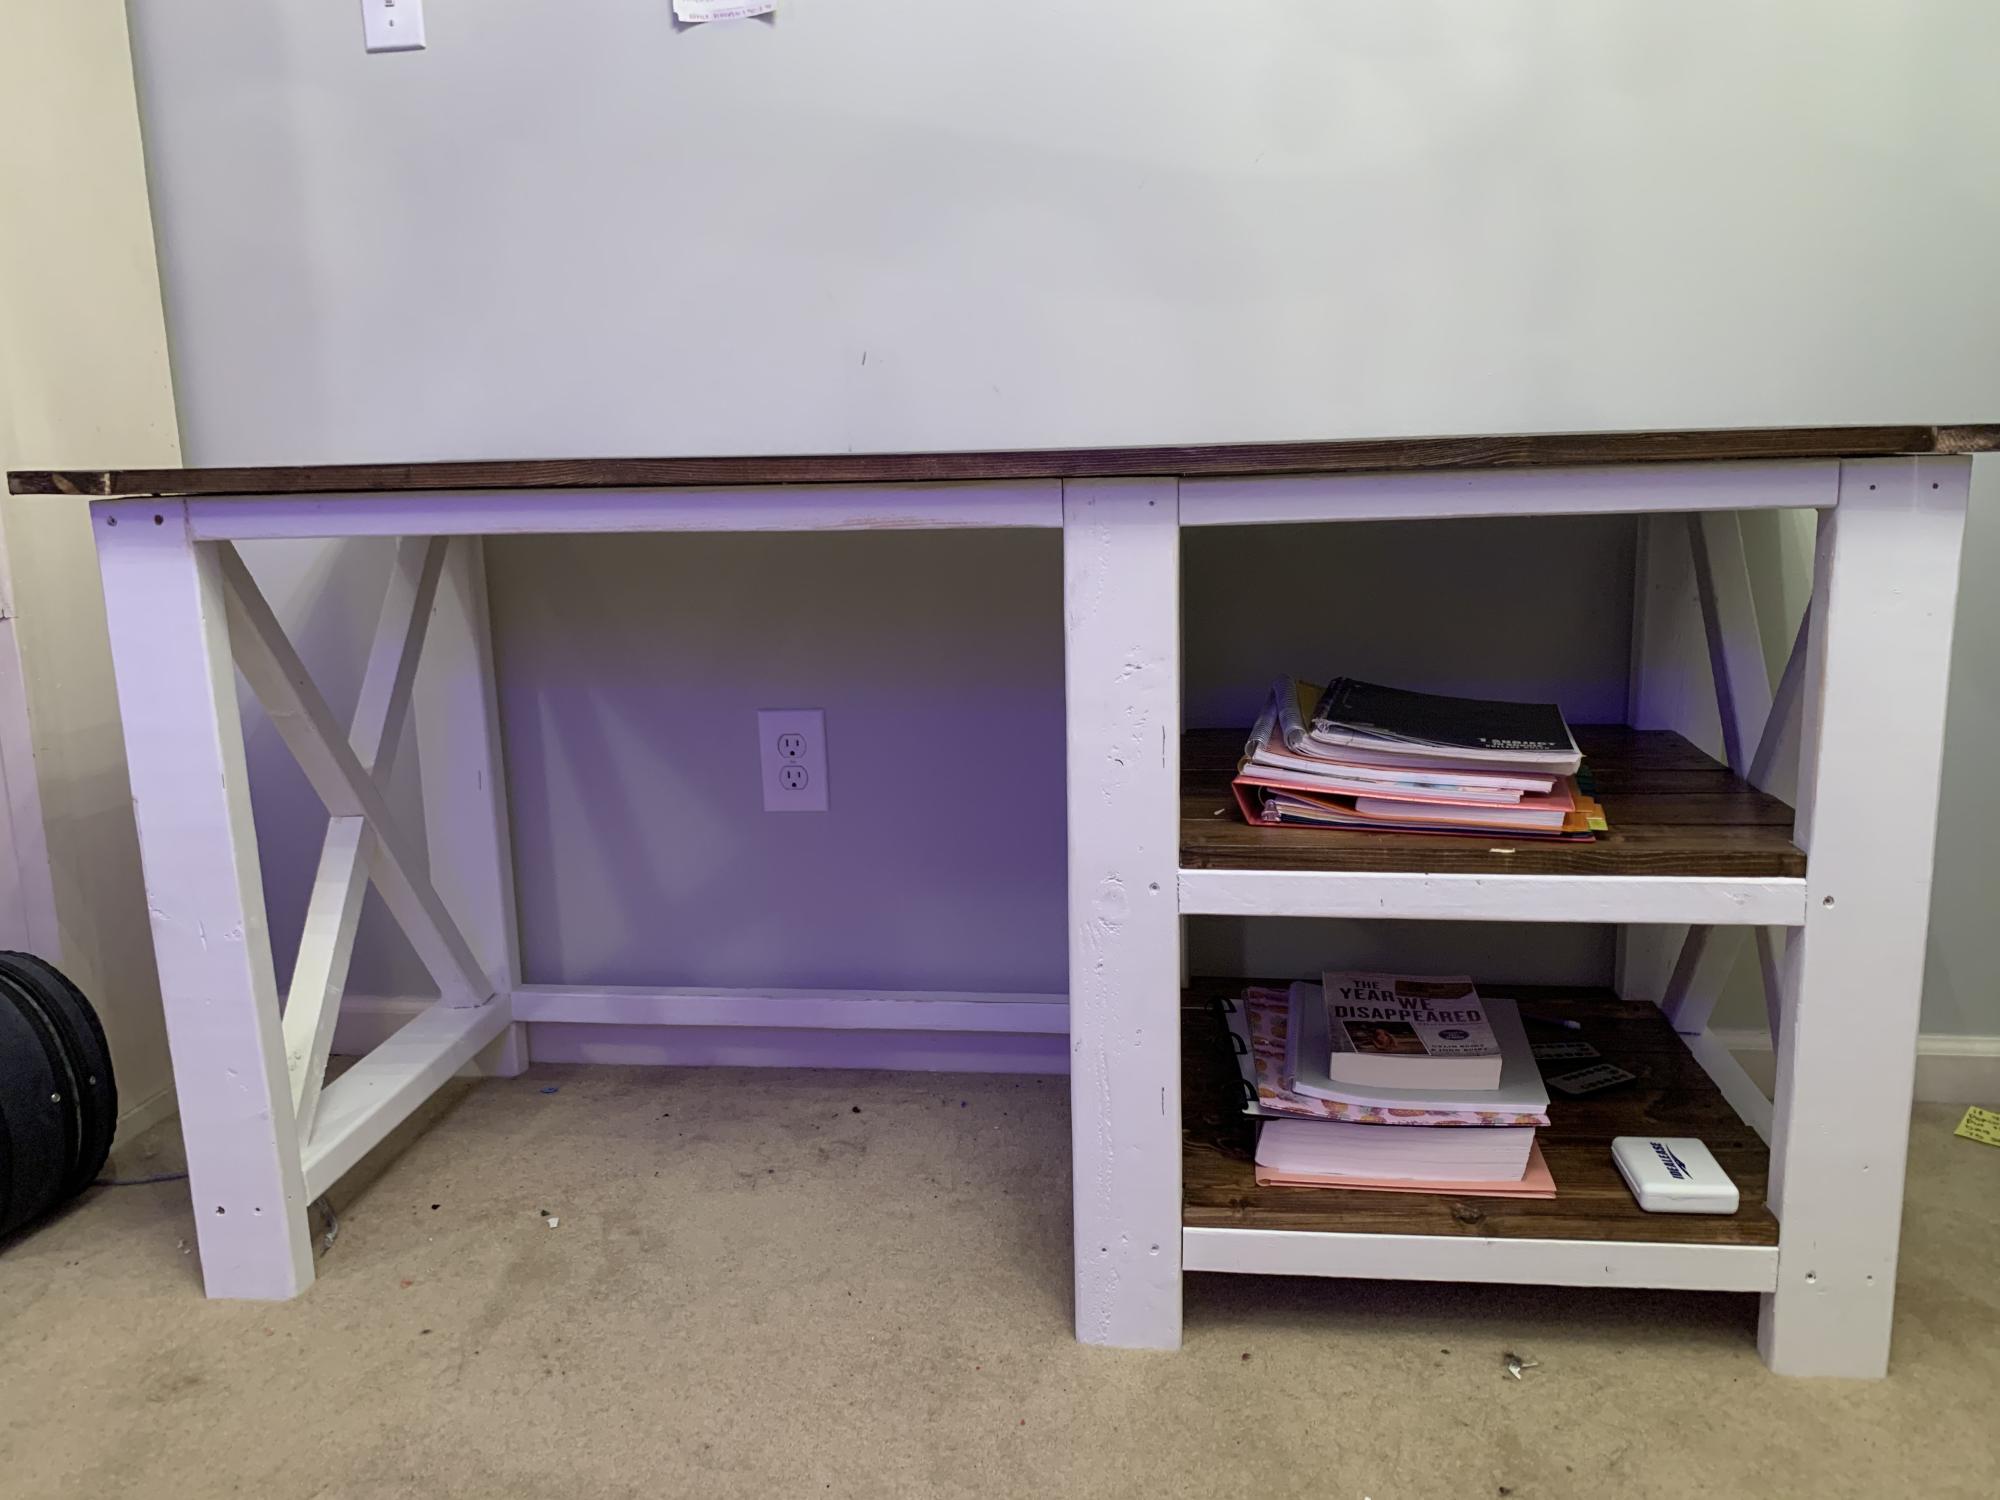
During the transition to online school, I built this for my daughter. Works great. Obviously needs some finish work, but she wanted to use it right away. lol
Built from Plan(s)
Comments
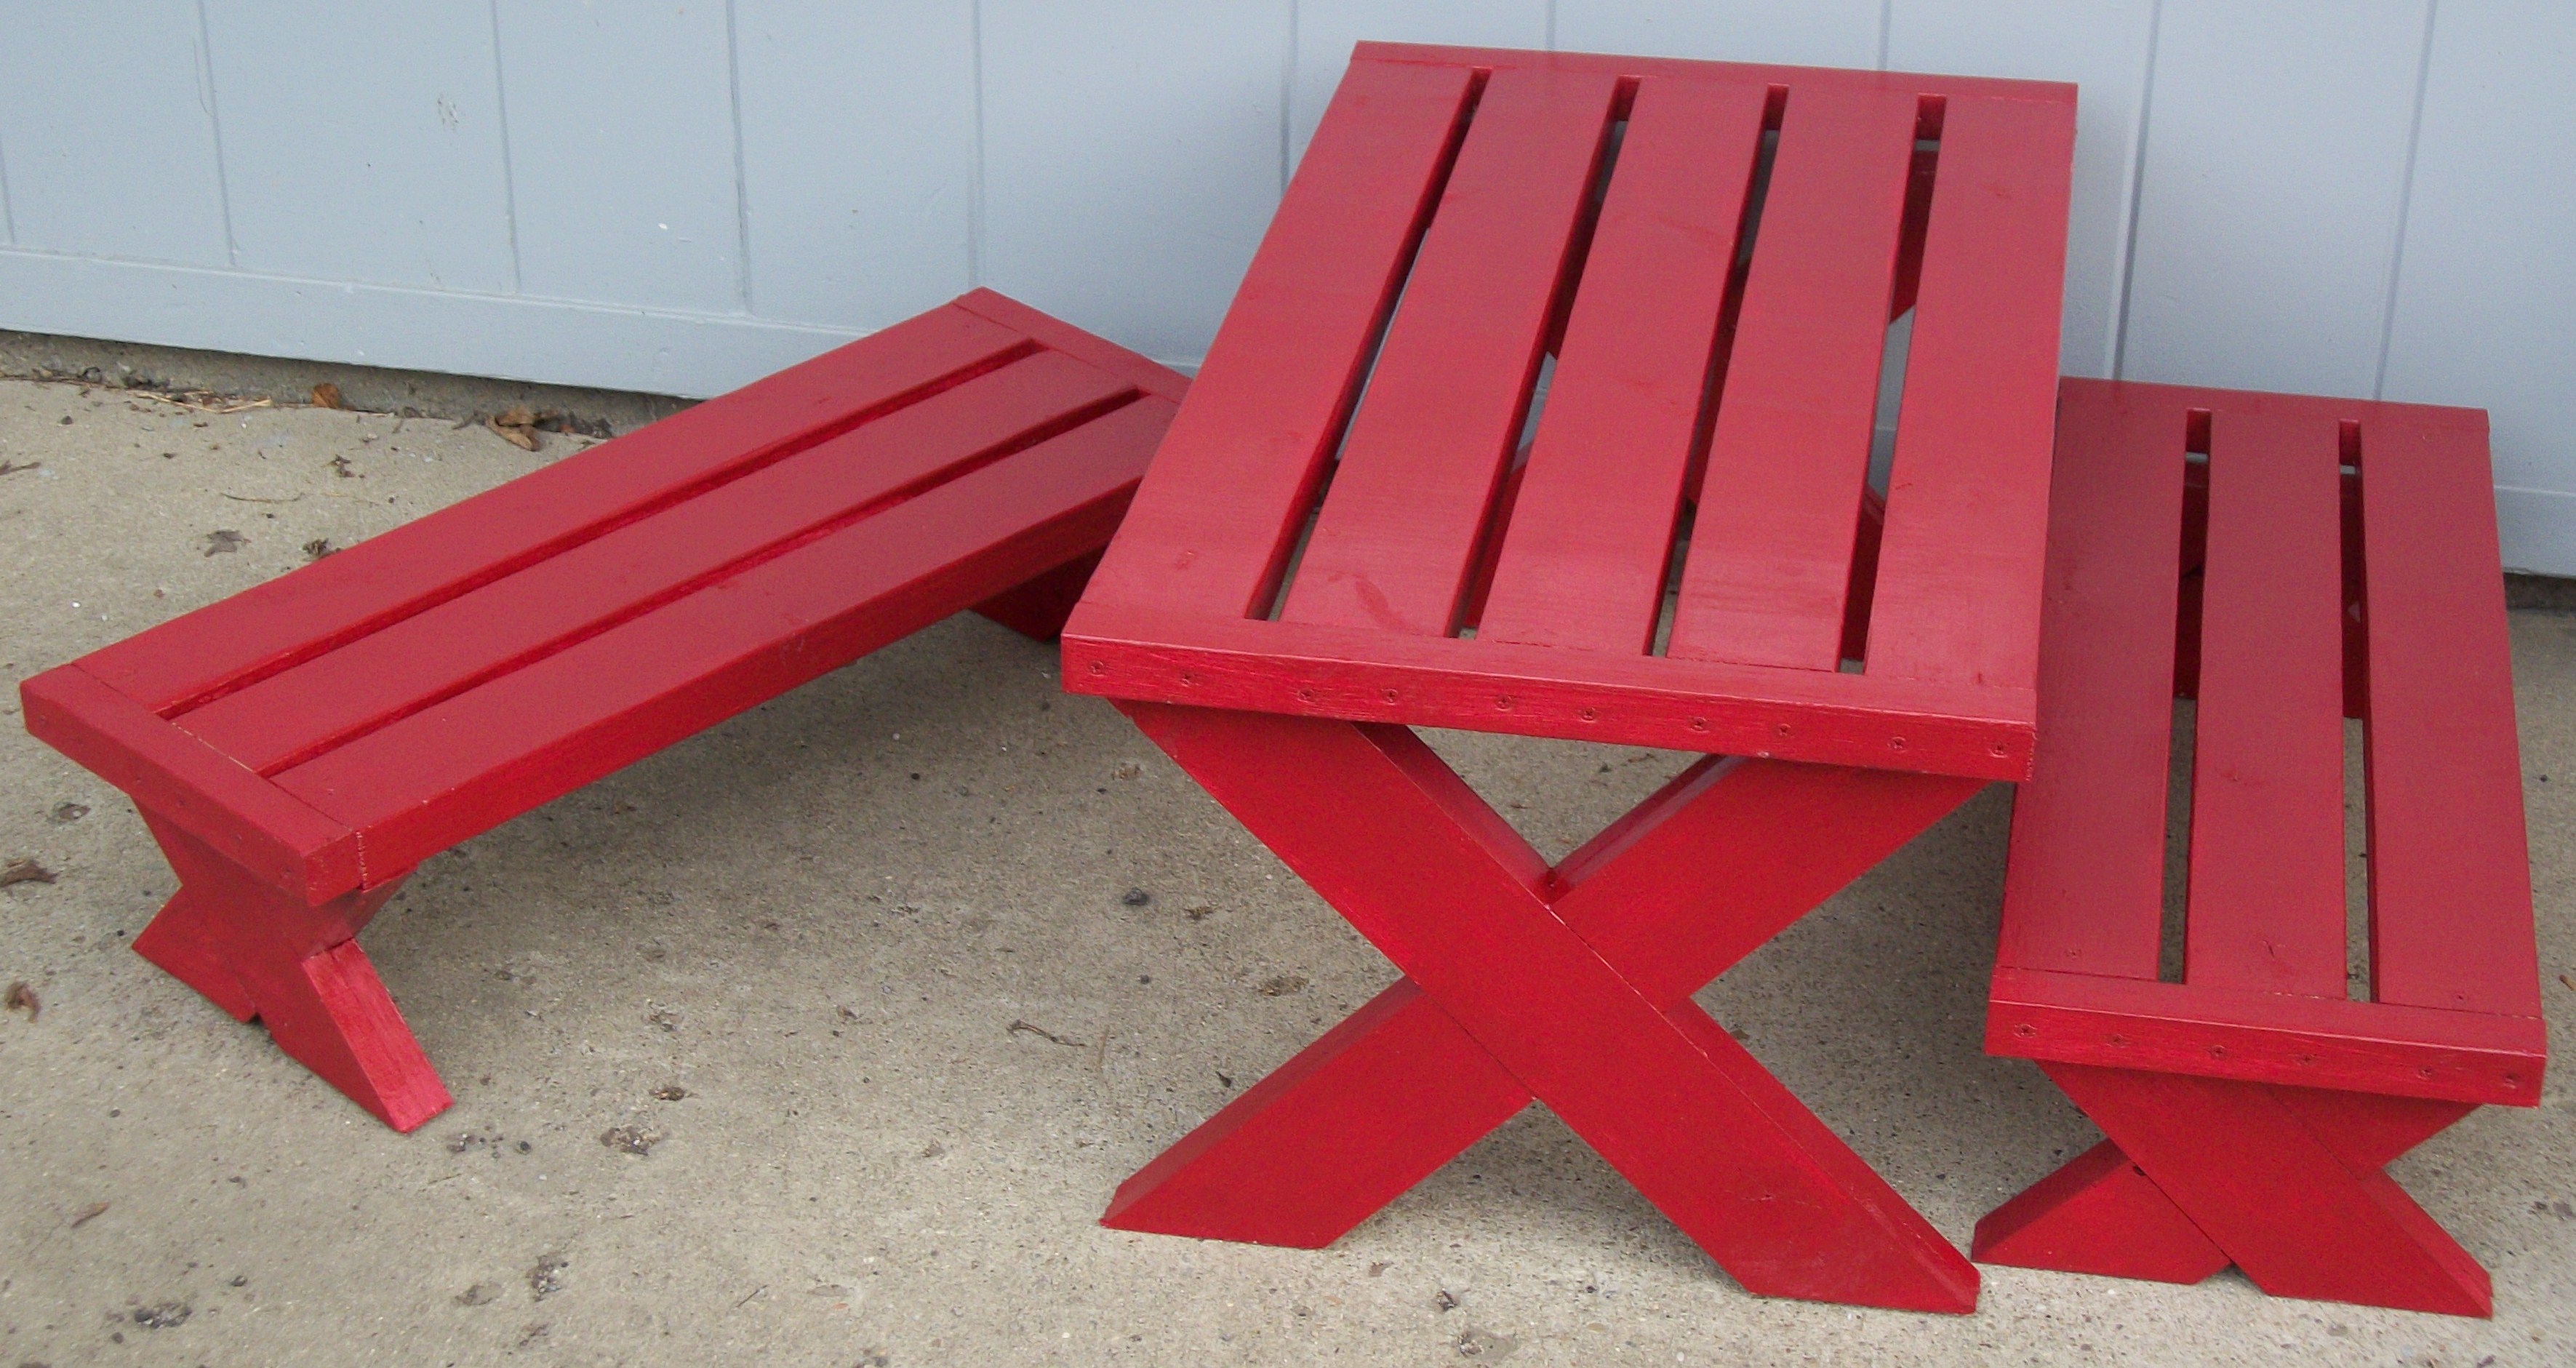
Build a modern childs picnic table or x benches
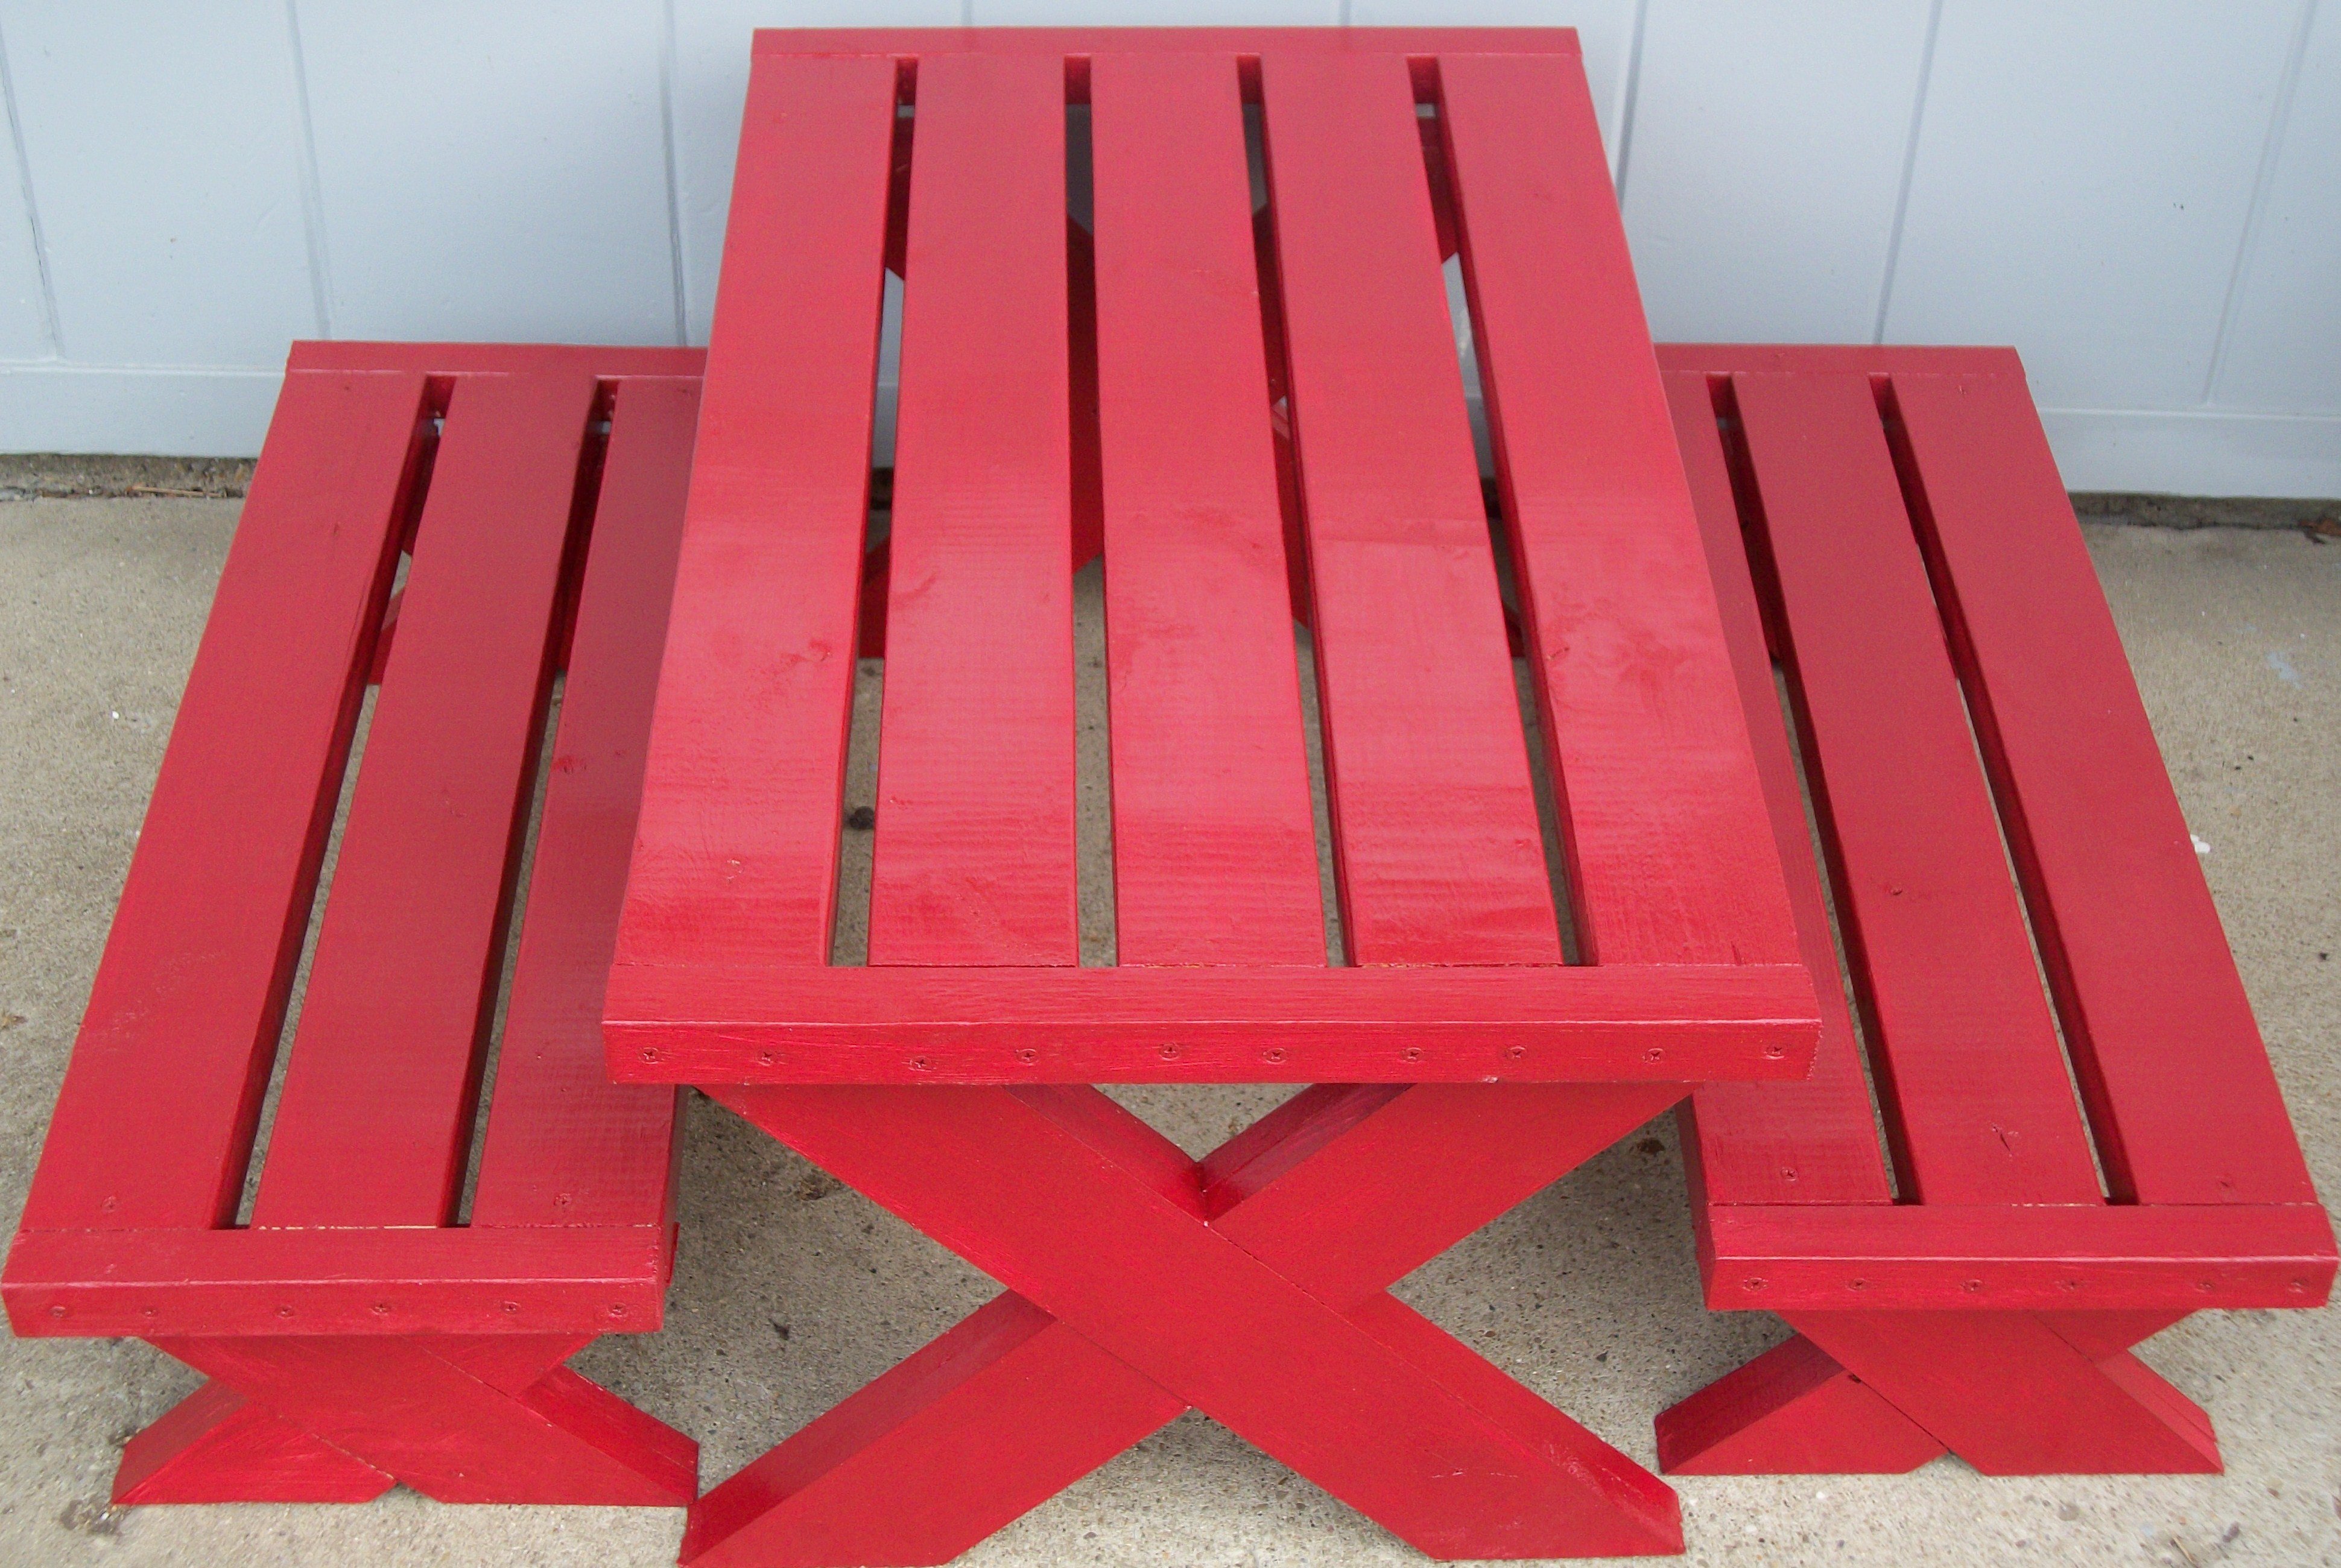
This was little tougher for me being new to wood working. But I like the look a lot better.
Built from Plan(s)
Estimated Cost
20-25 dollars
Estimated Time Investment
Day Project (6-9 Hours)
Finish Used
water-proof red paint
Recommended Skill Level
Beginner