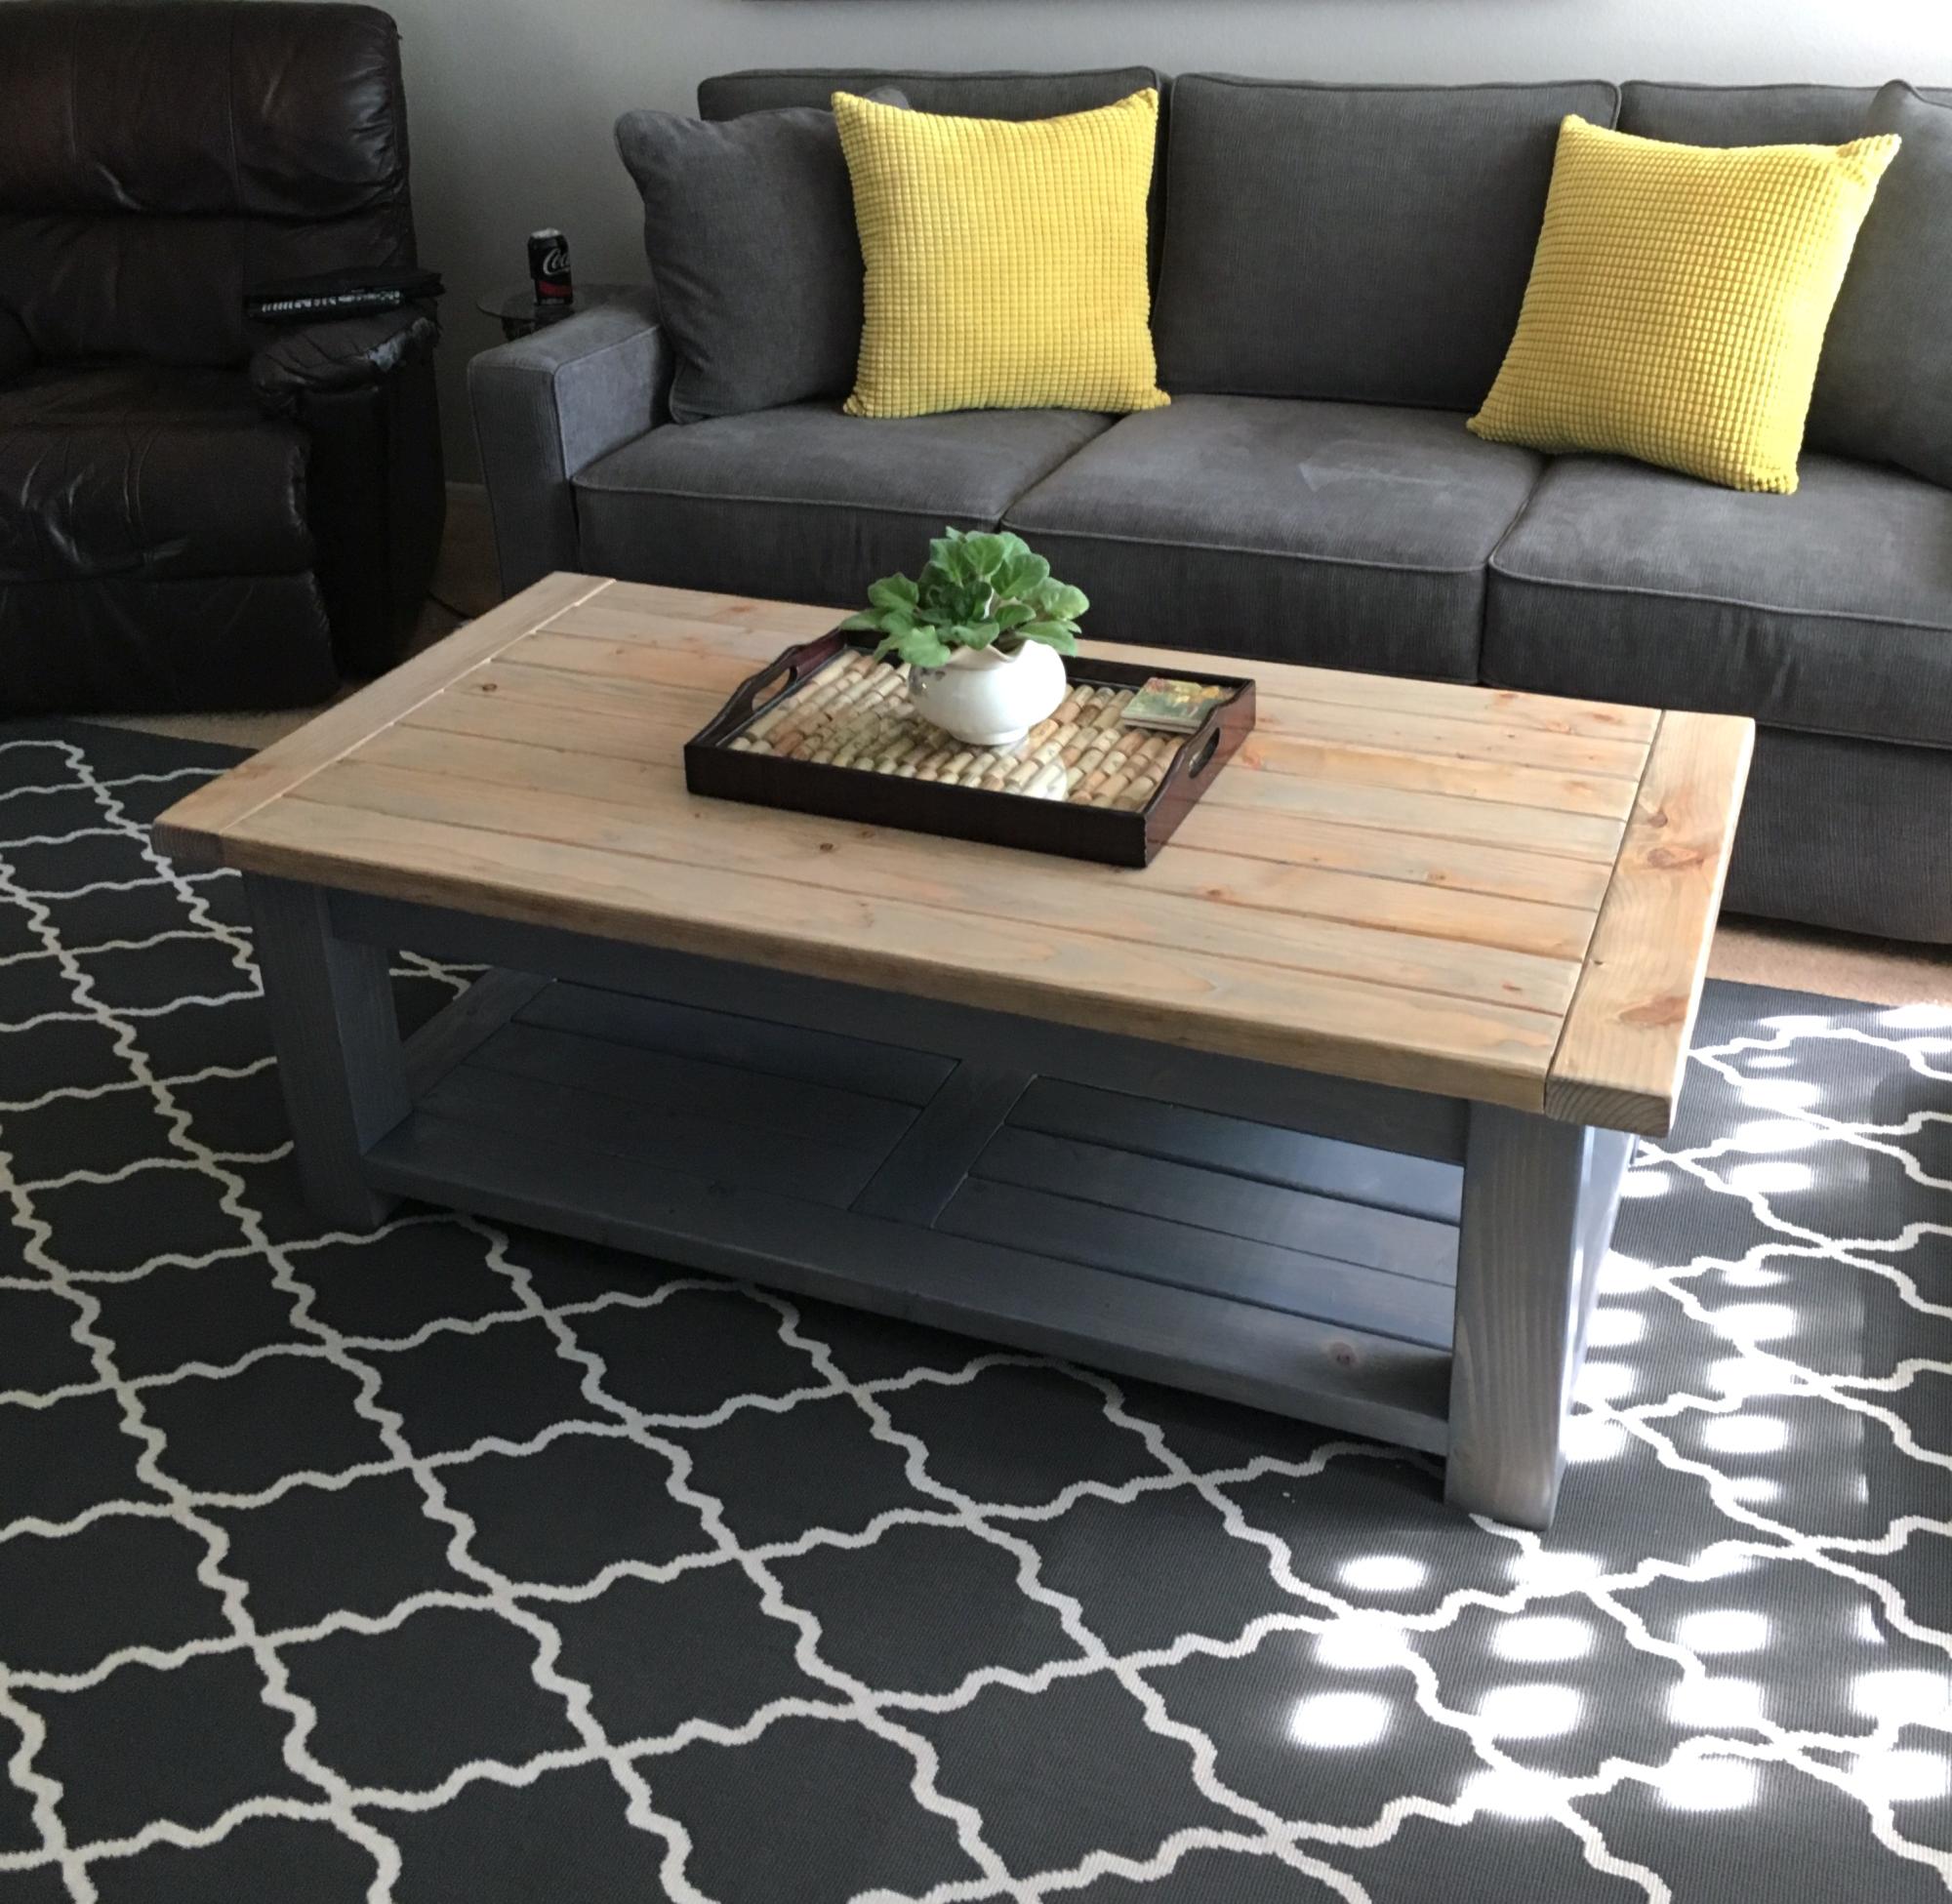
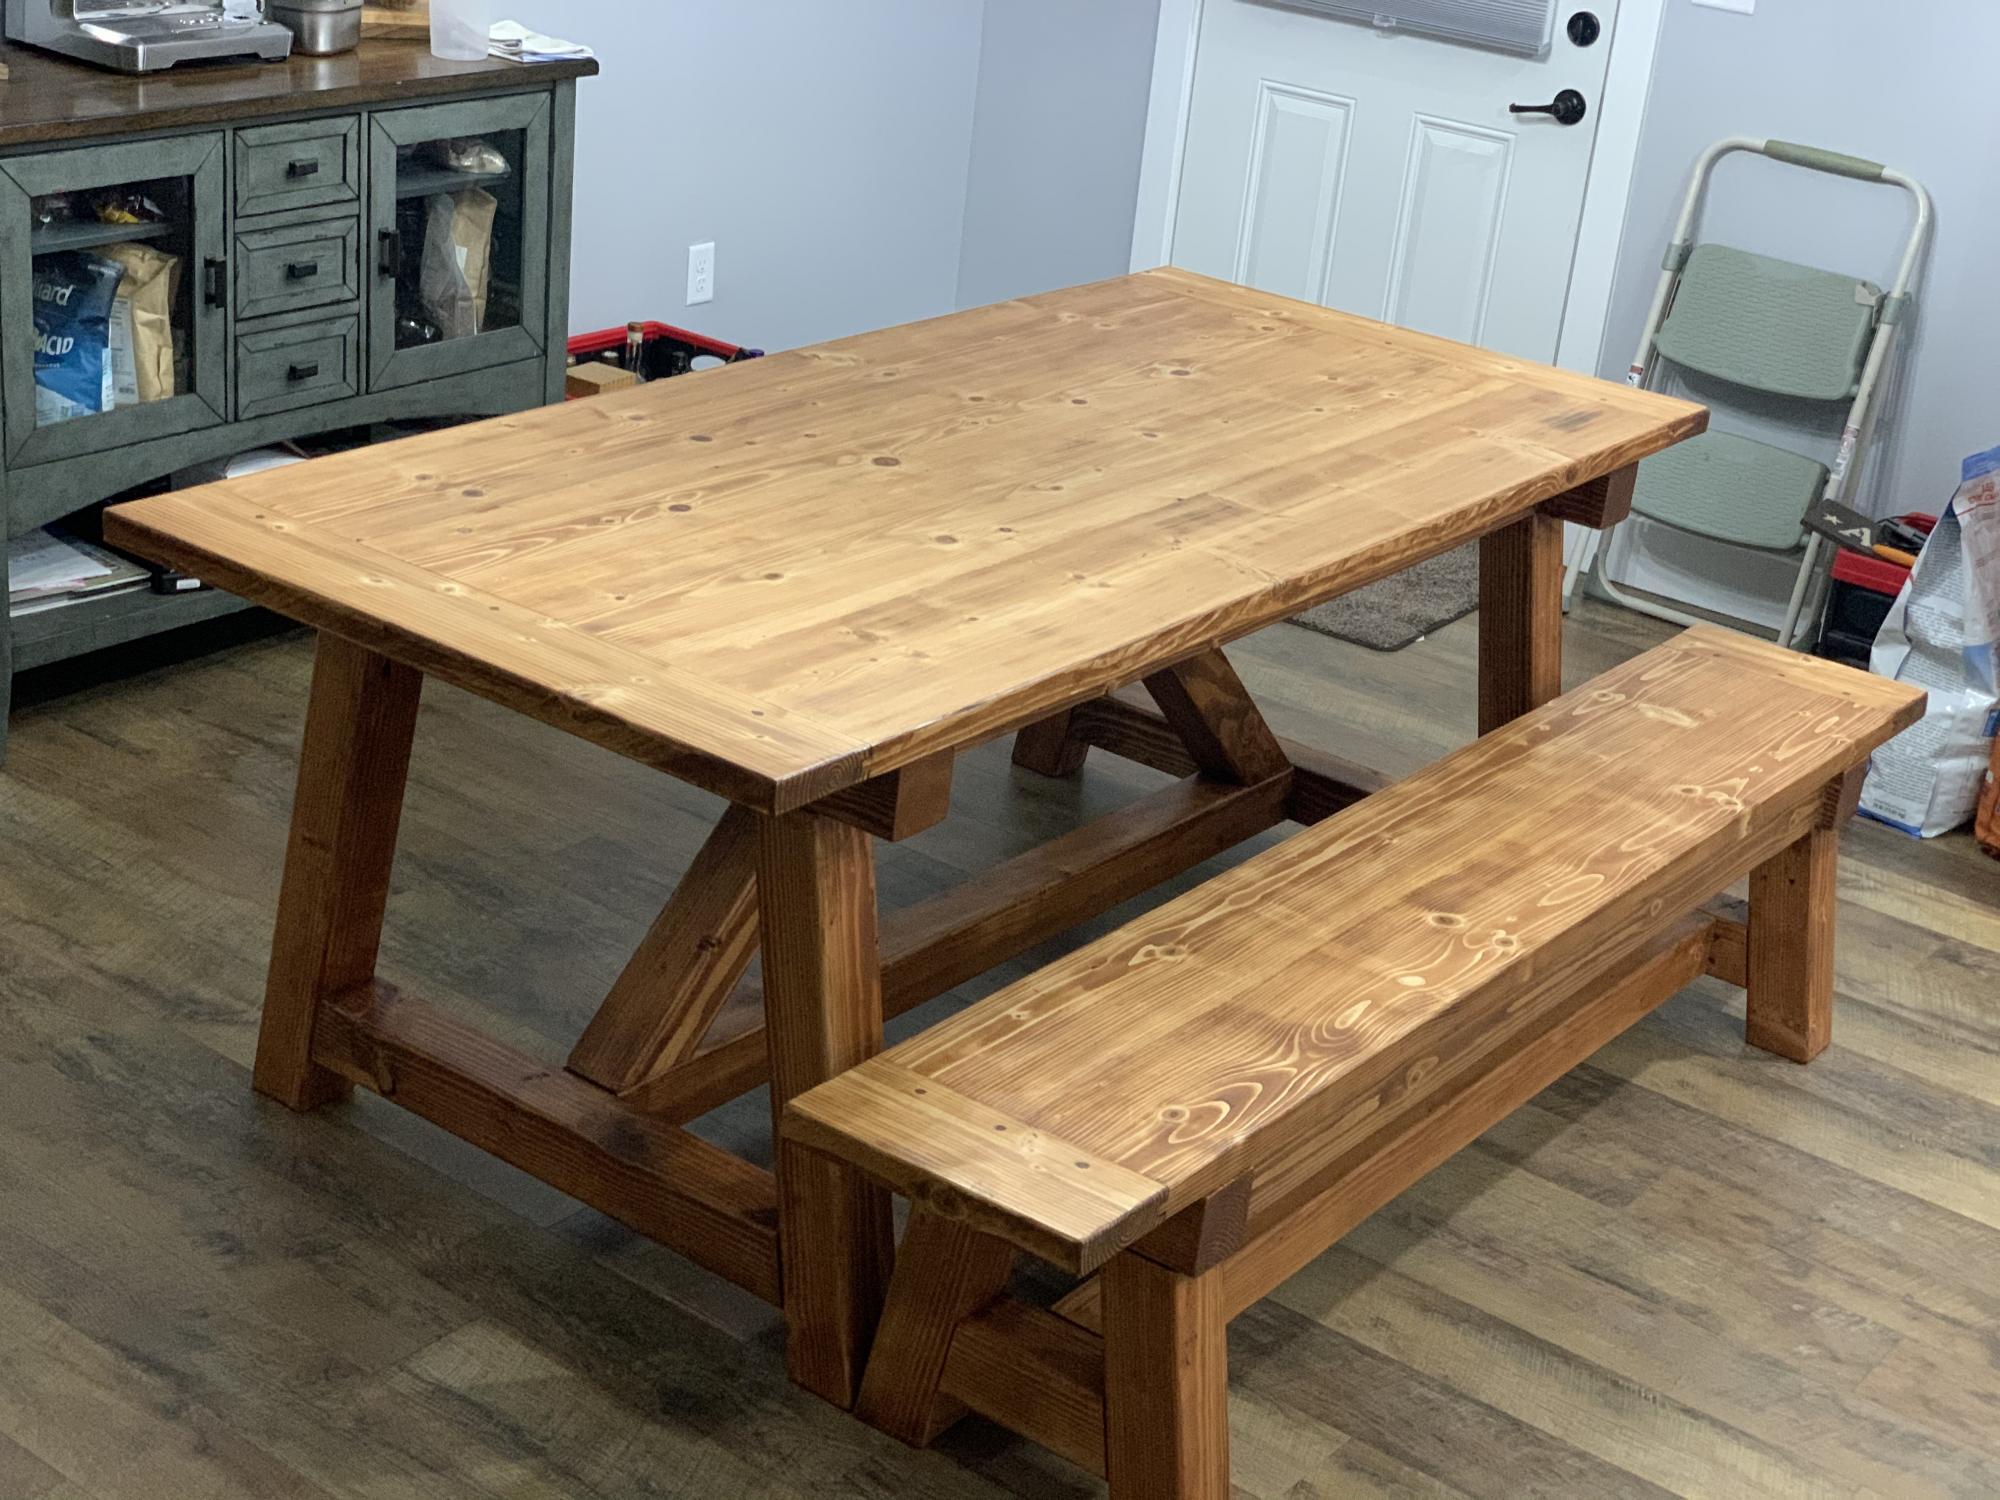
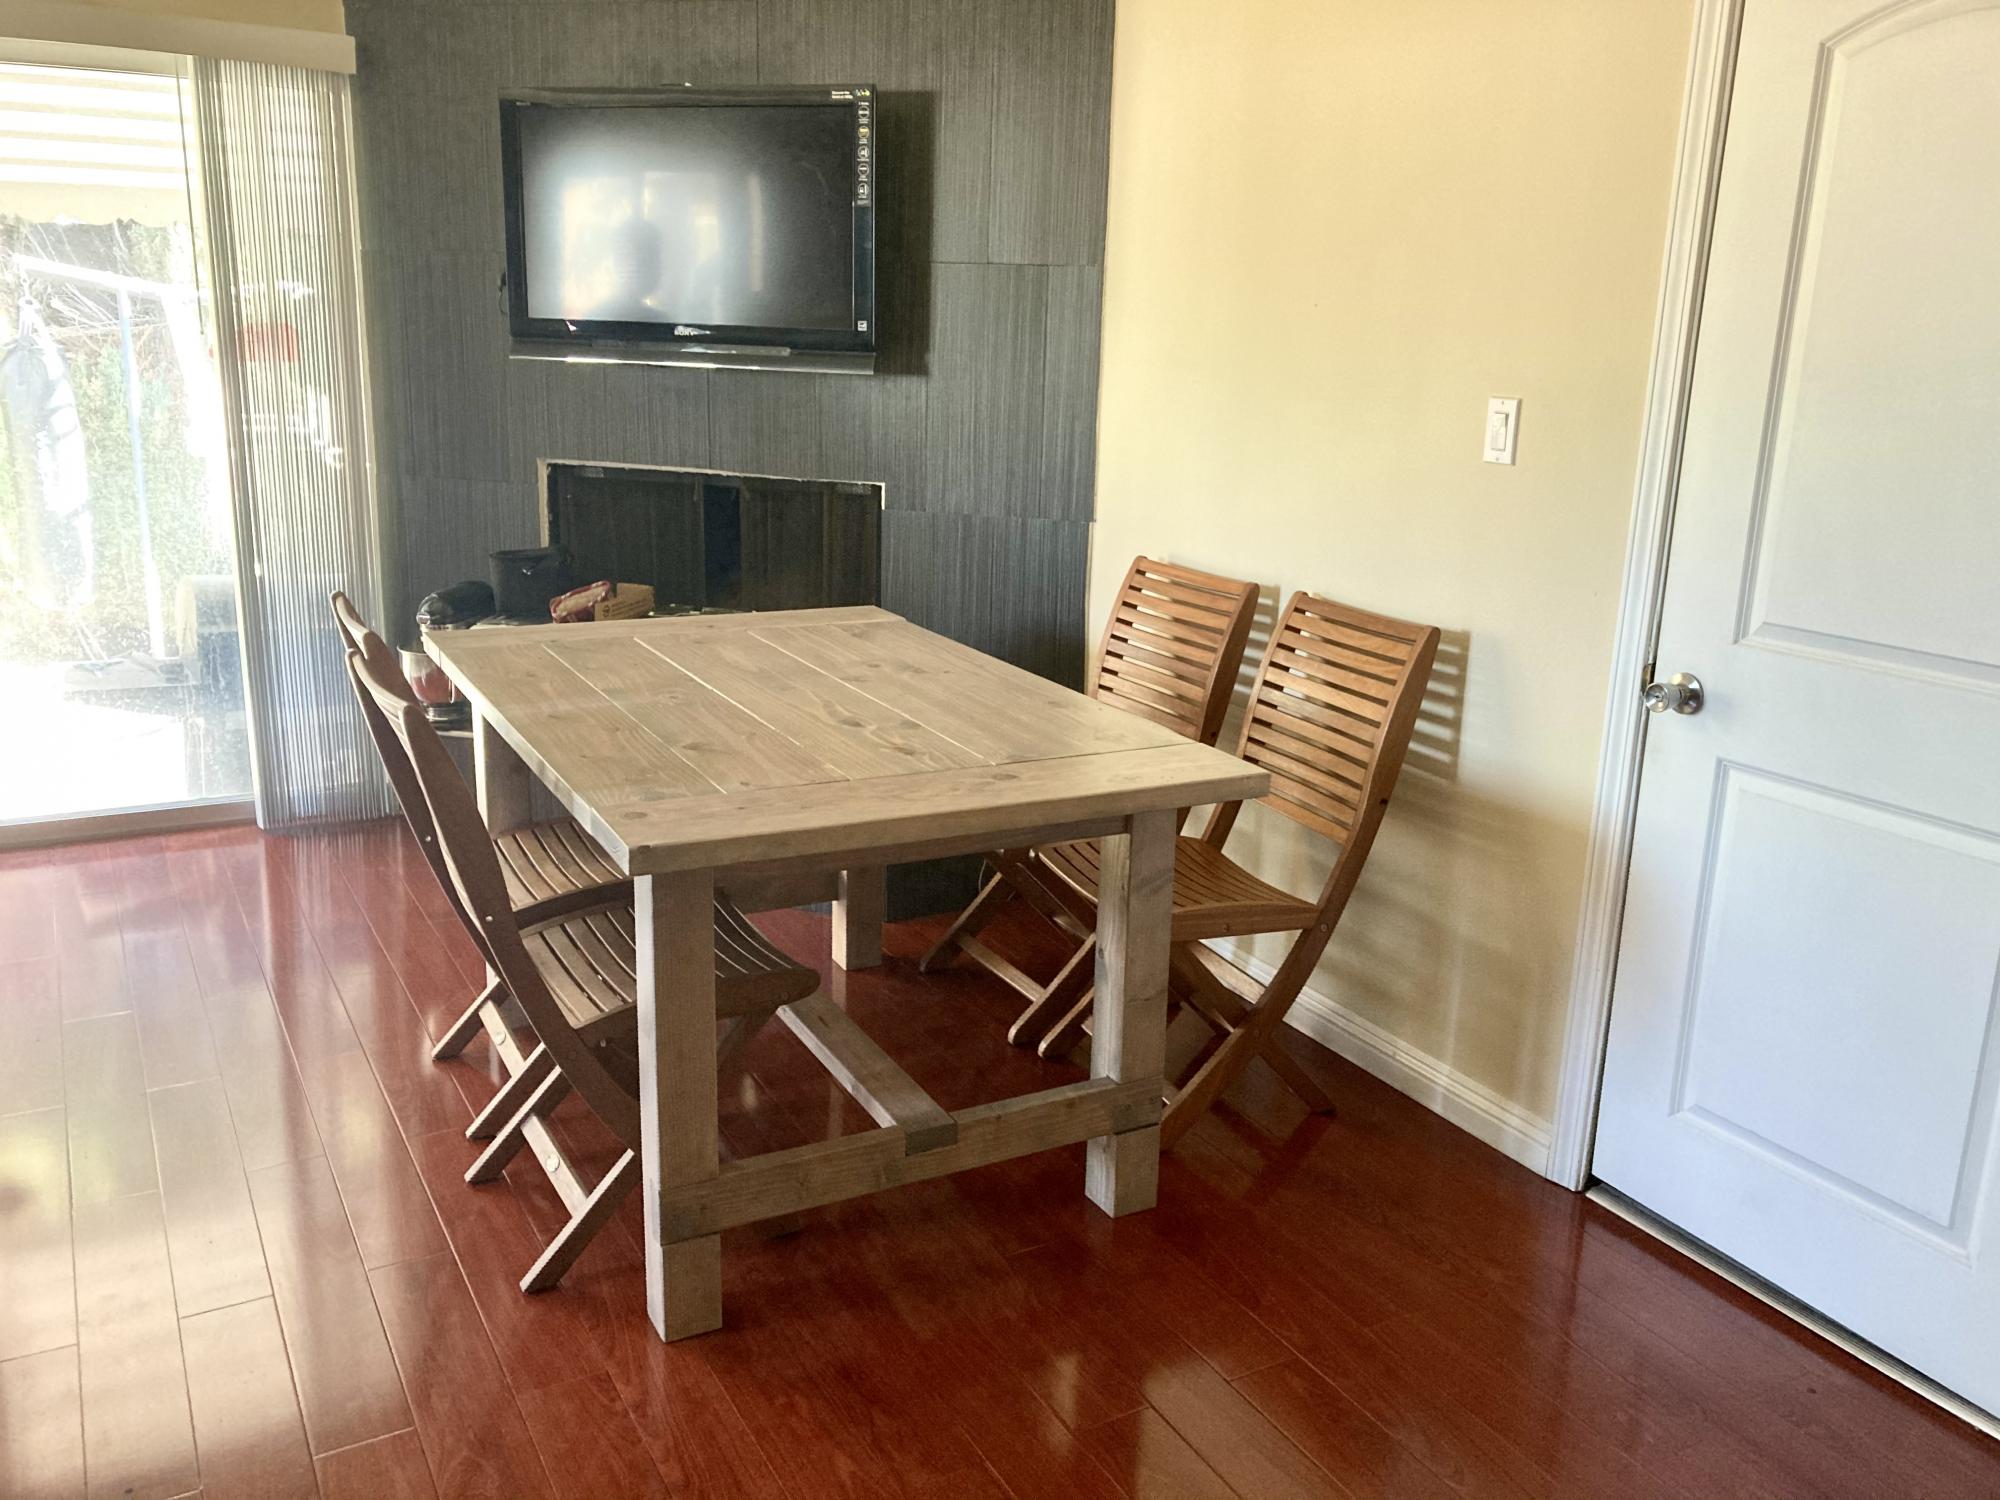
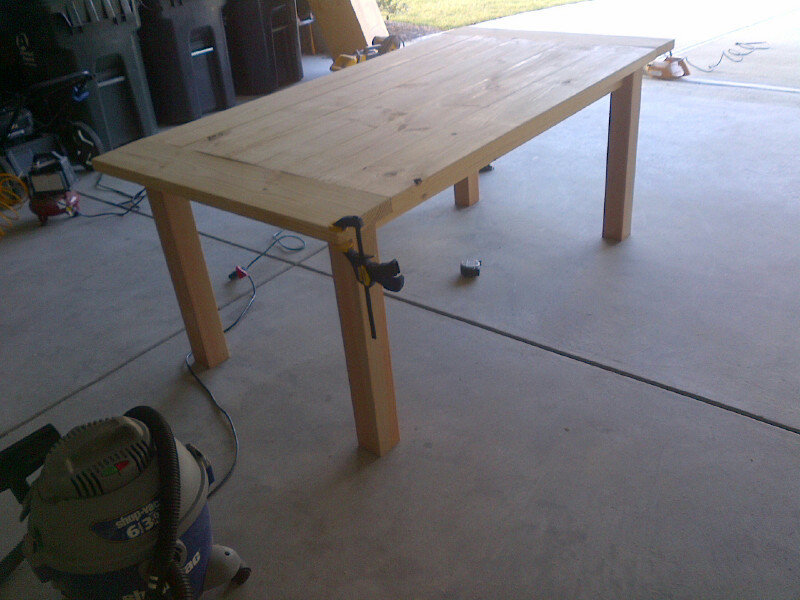
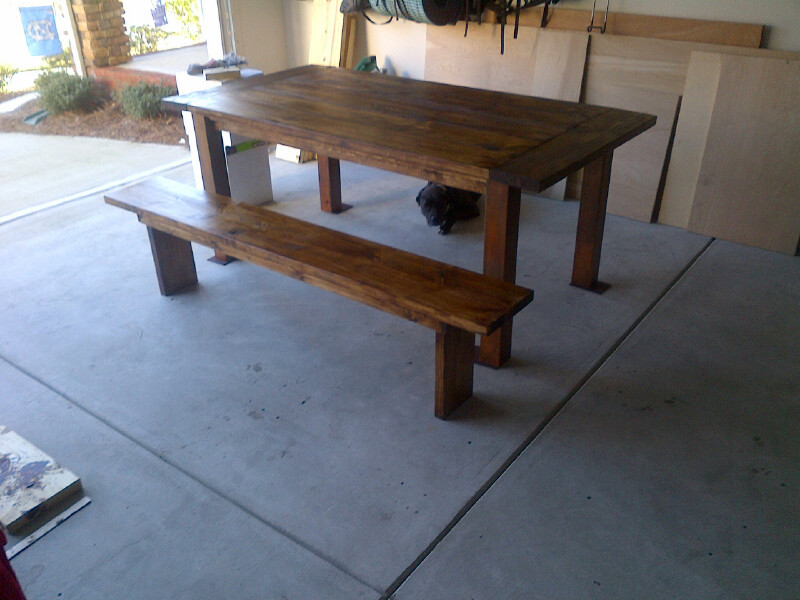
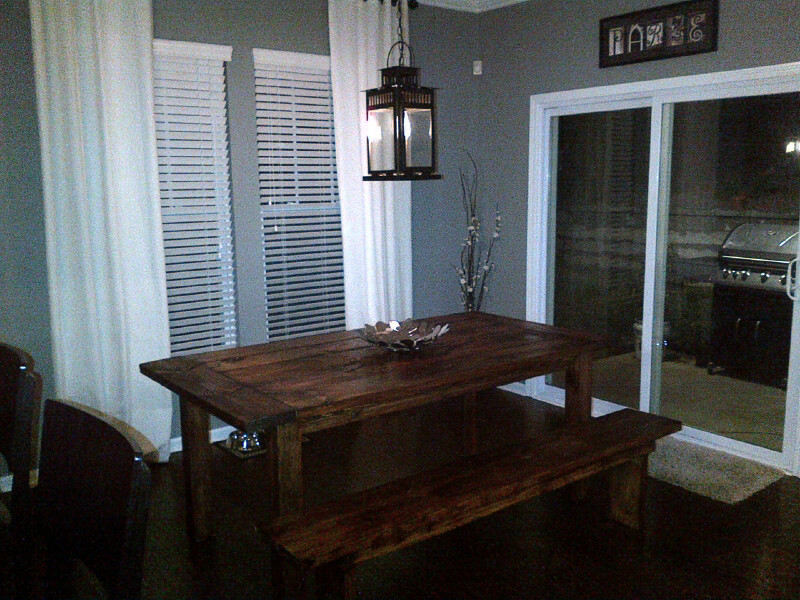
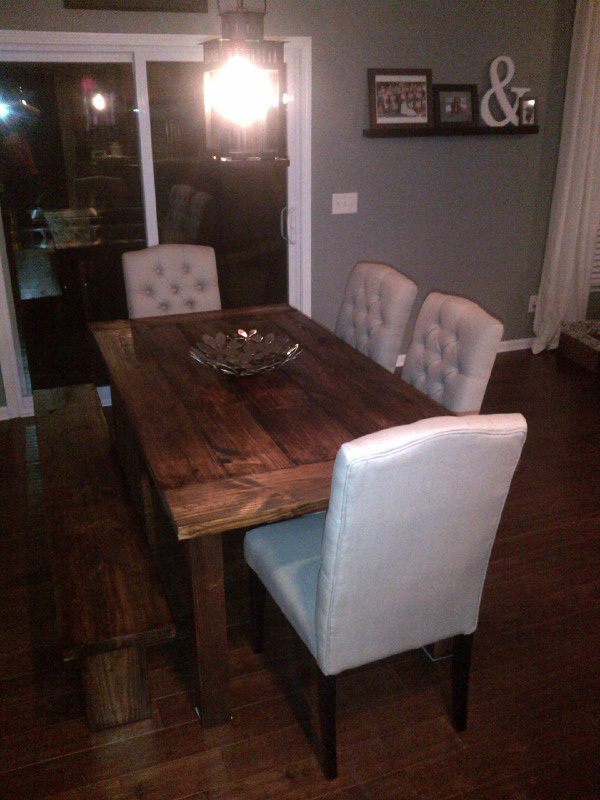
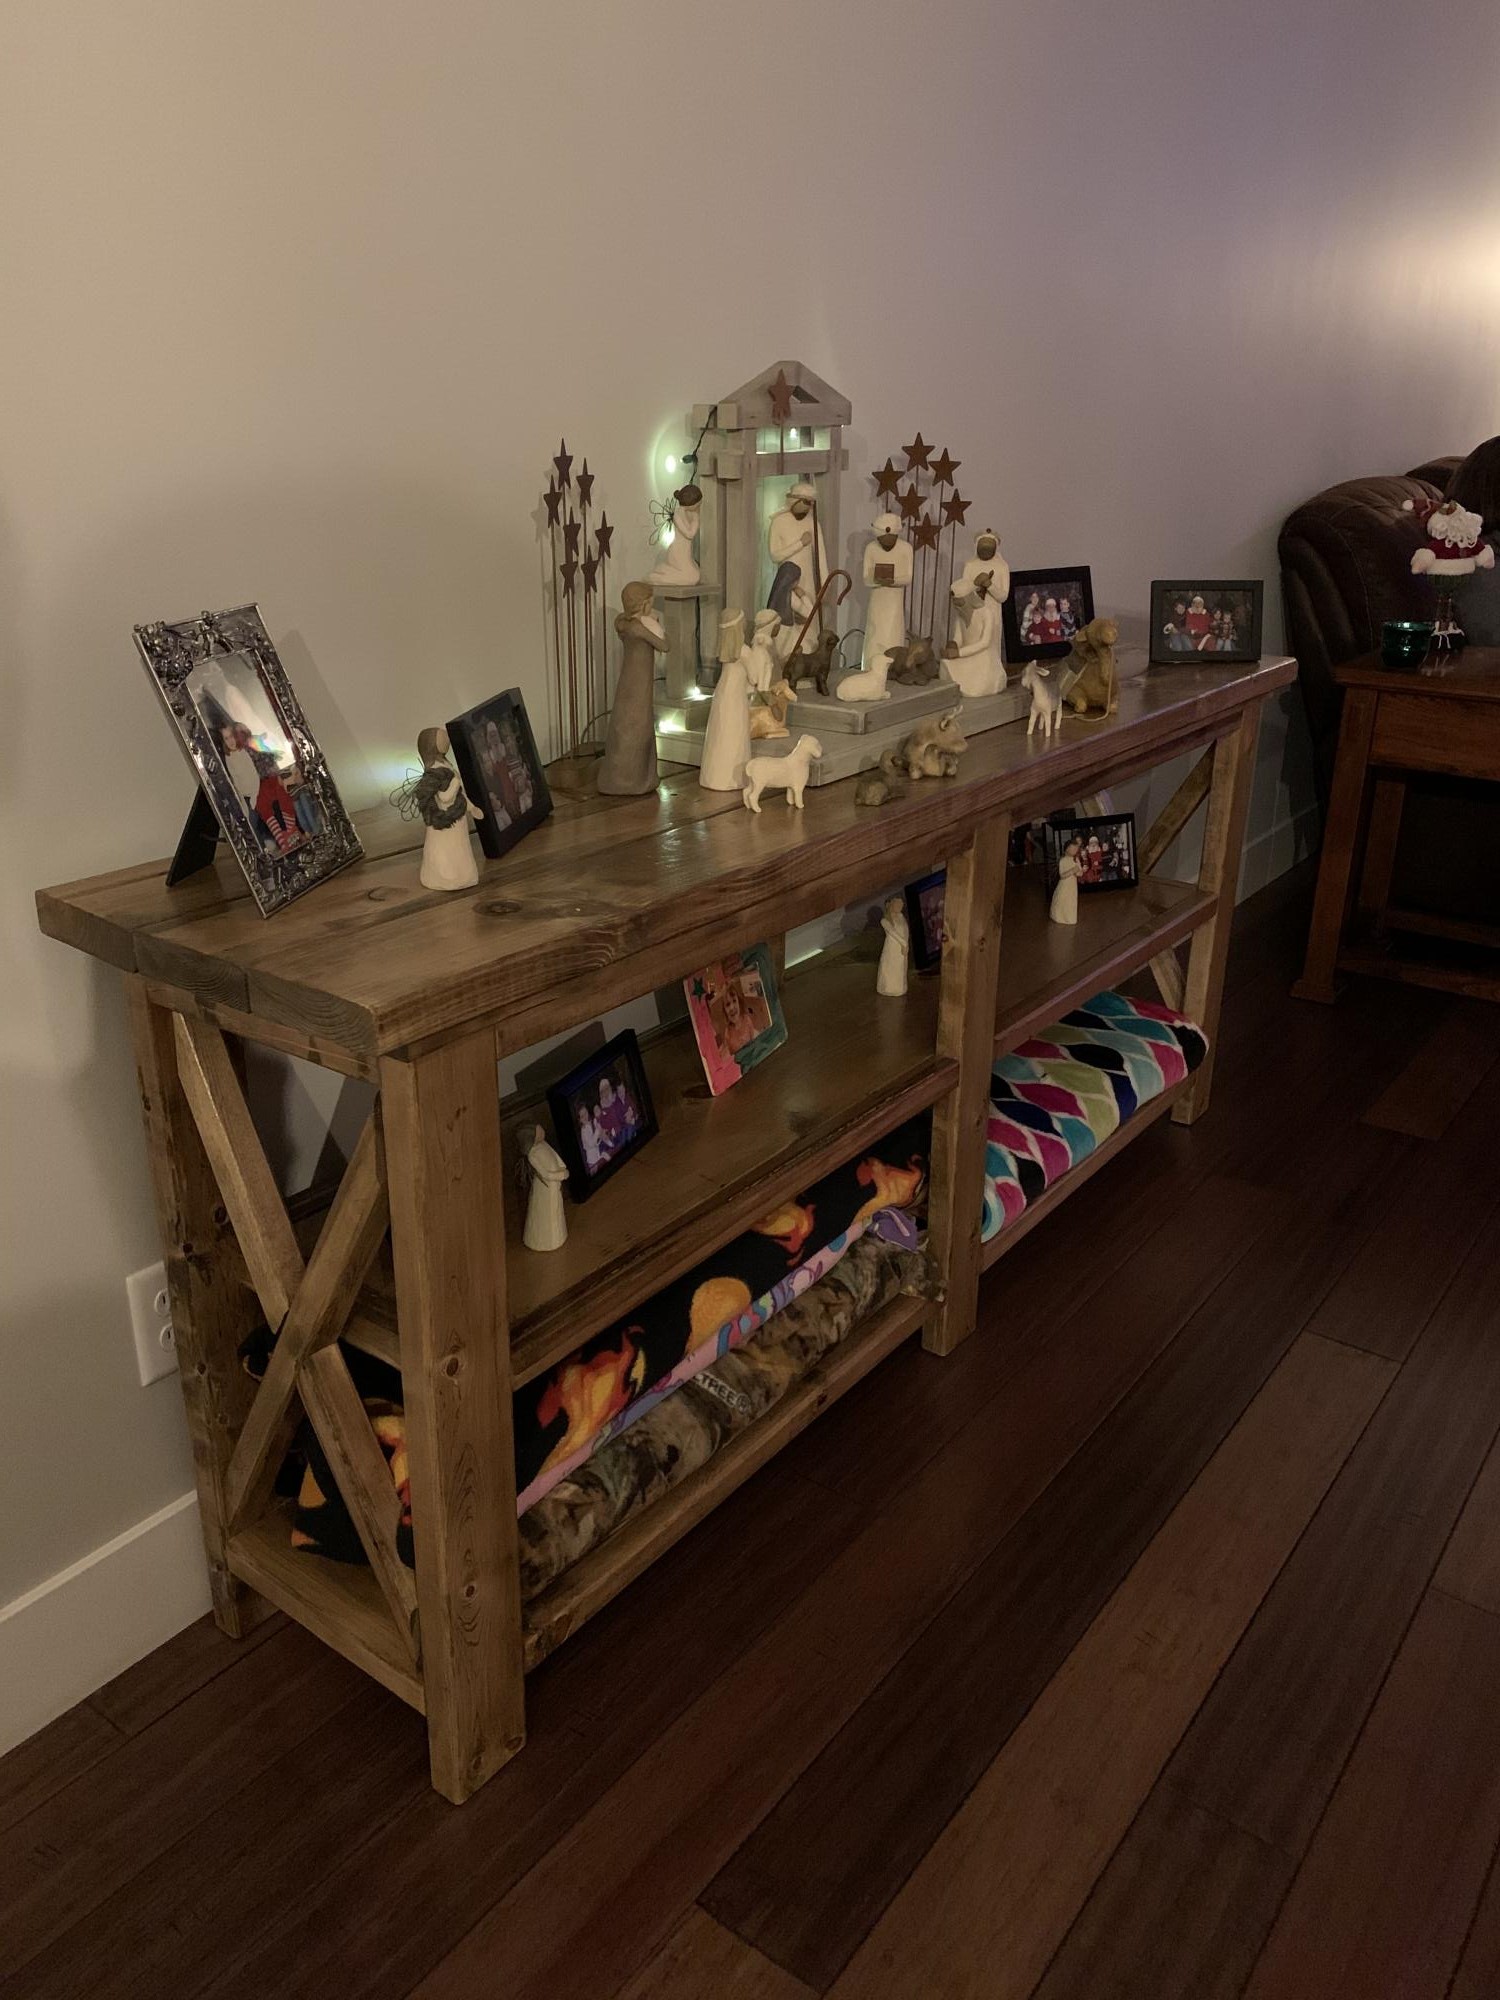
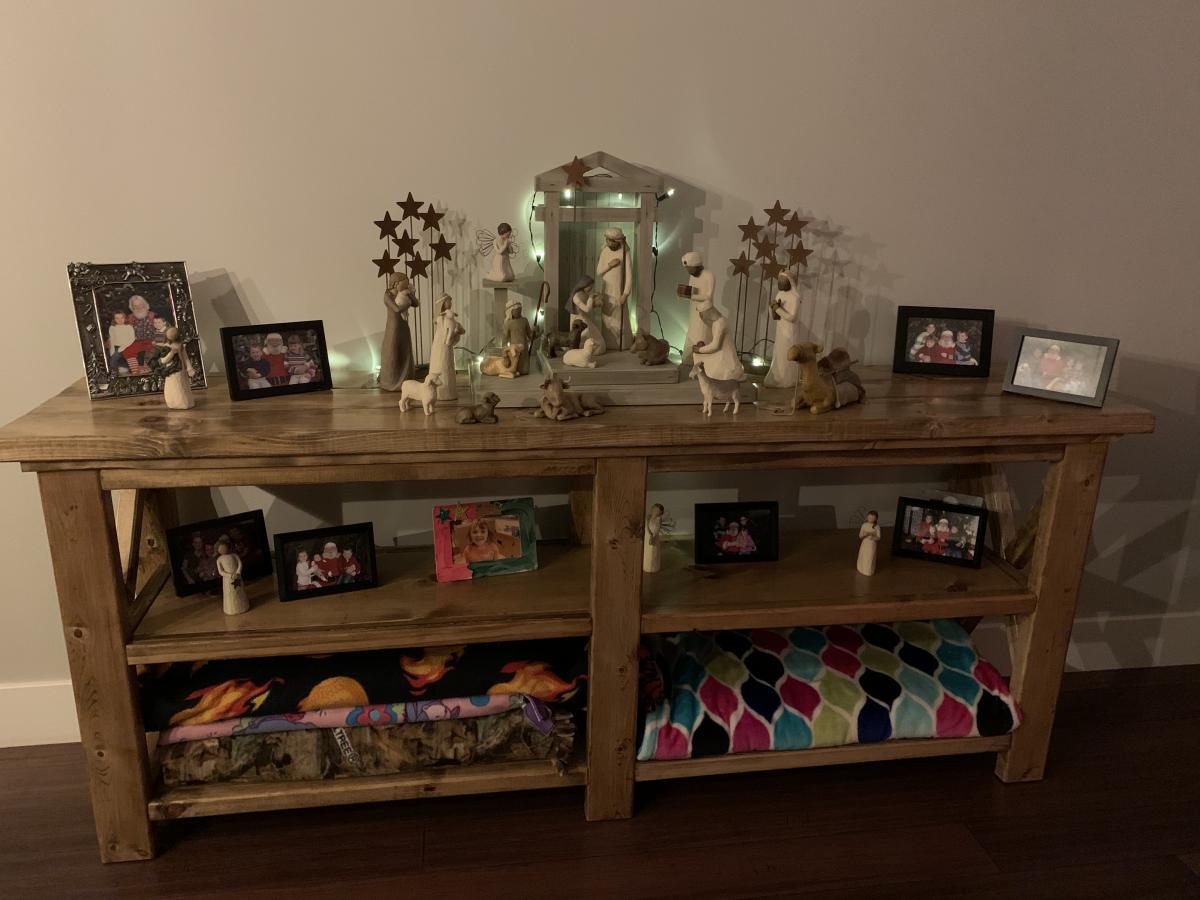
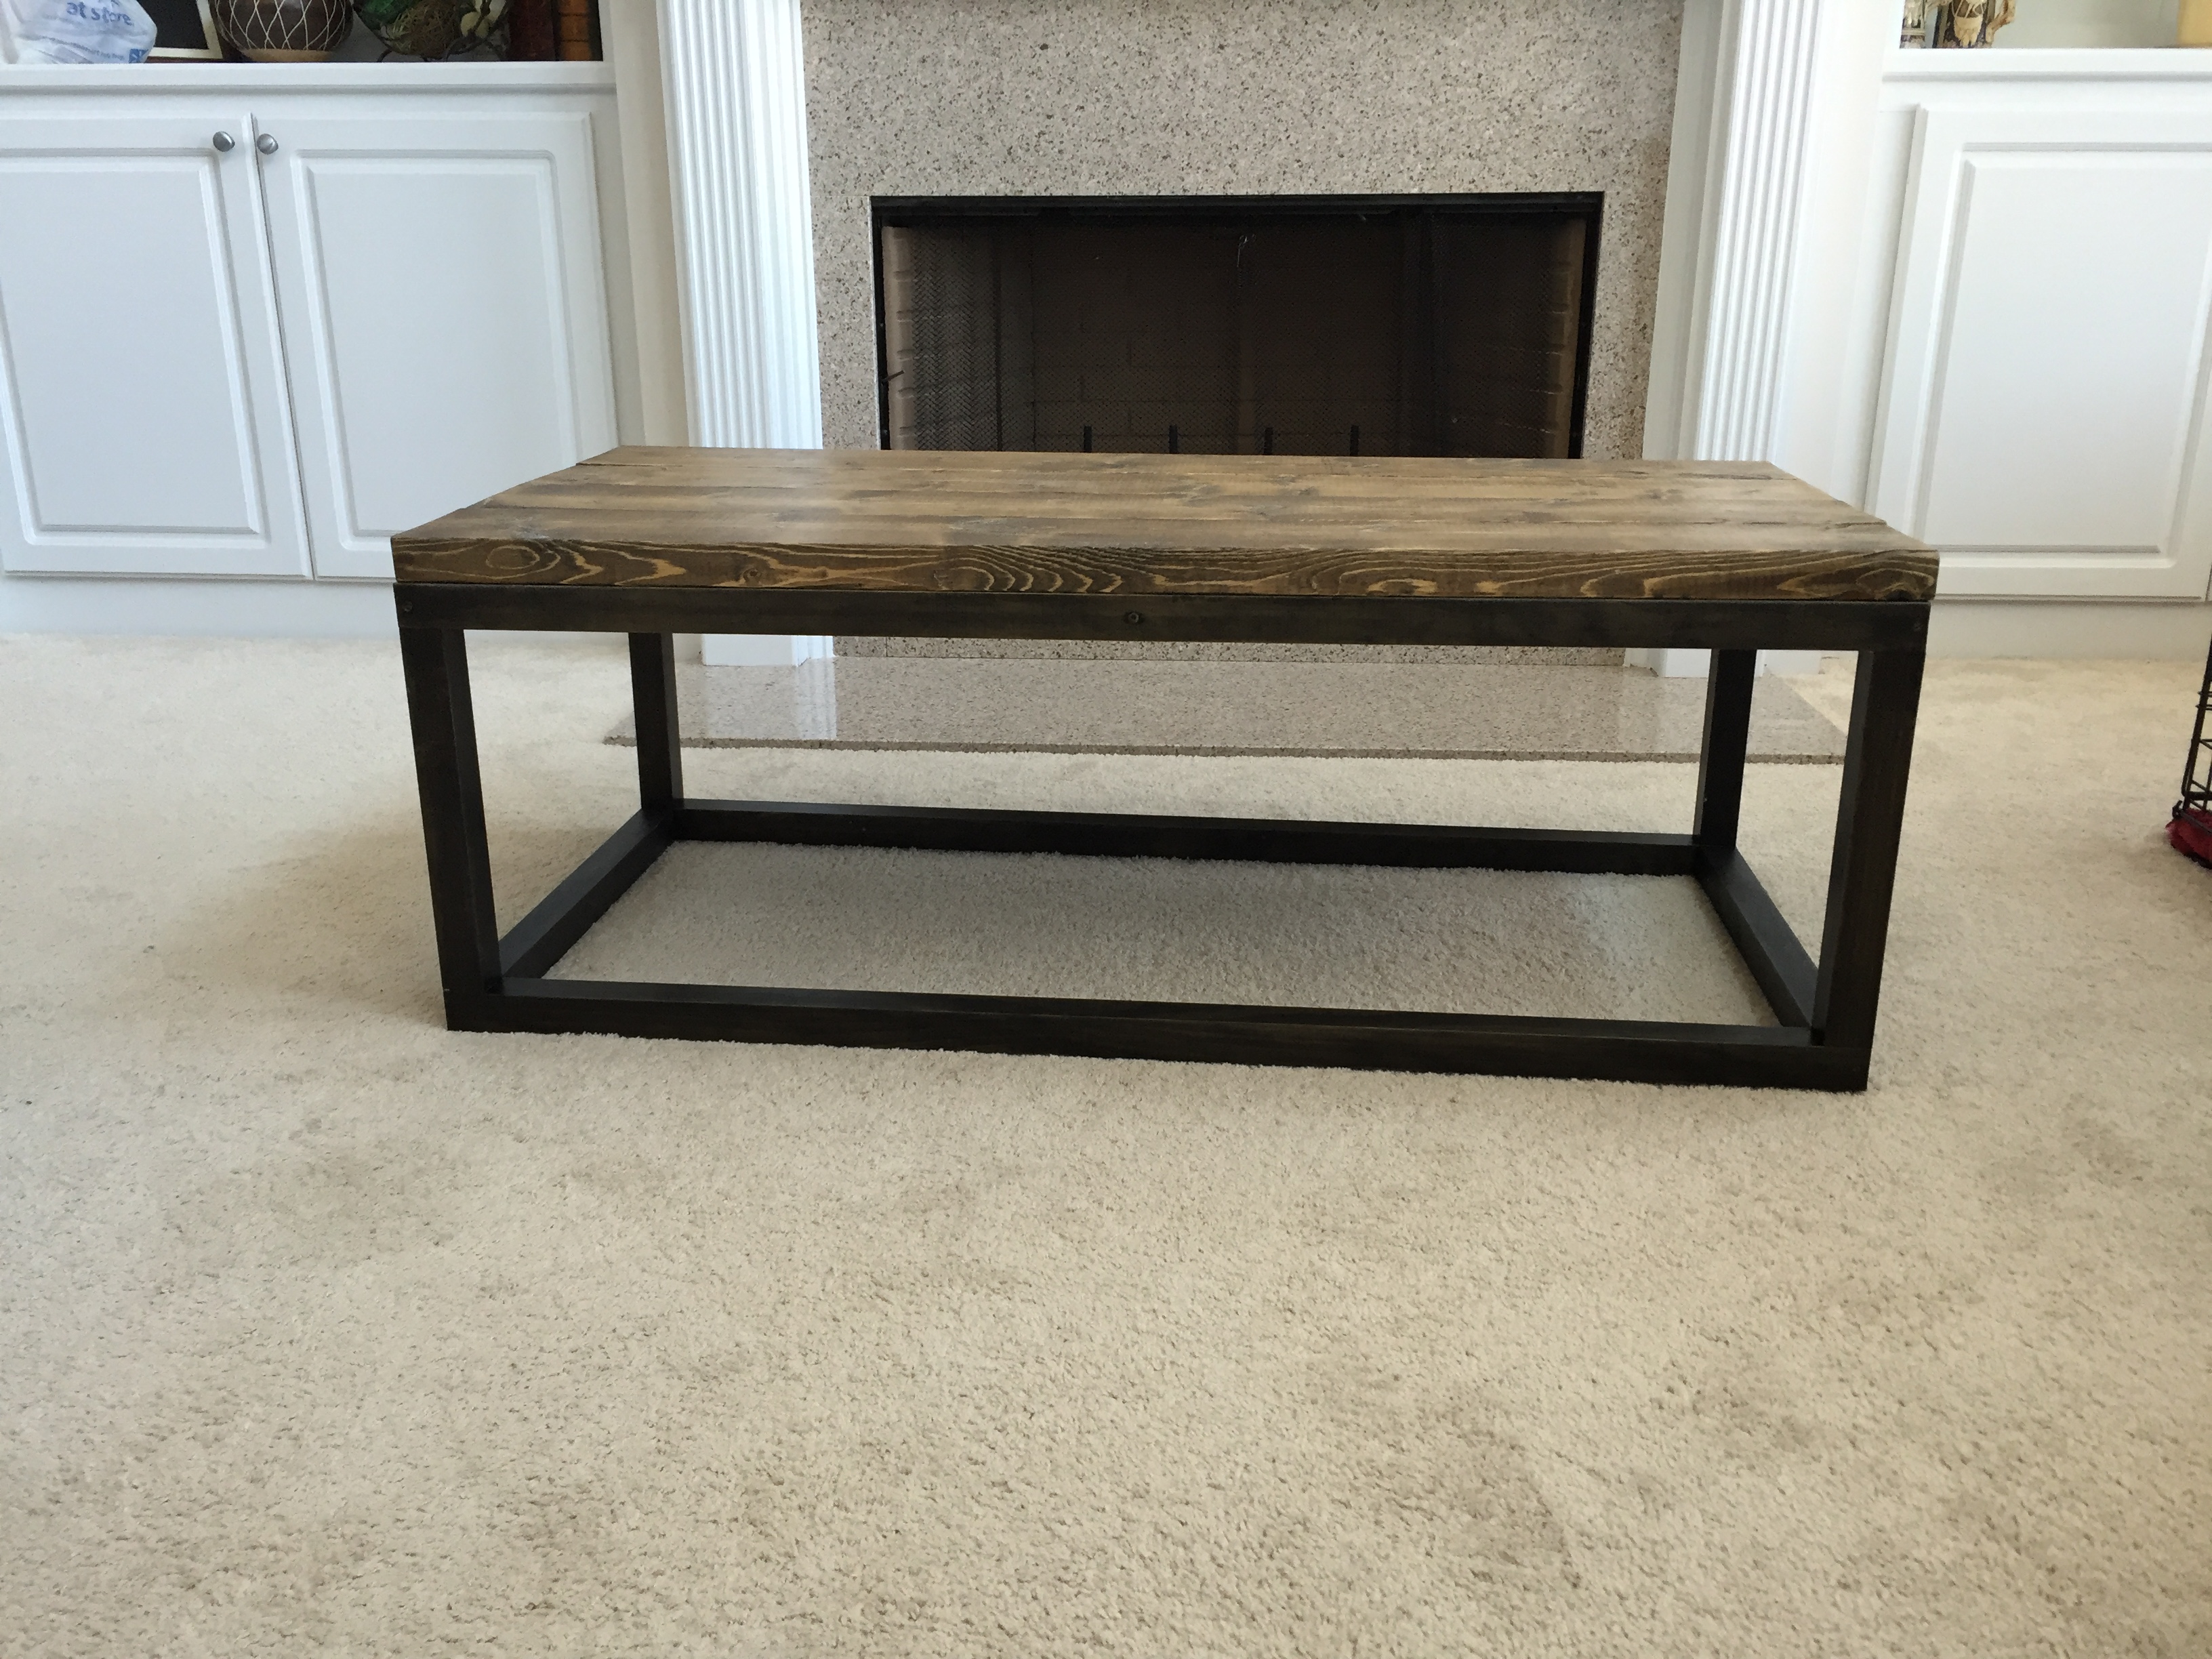
My wife has been looking for a new kitchen table for the house. Me being thrifty and not wanting to drop a grand plus on a kitchen table at PB, I decieded I would make one.
I modified a few of the plans I found on this site to make it work for us and our space.
After about a weekends worth of work and $140 in stain and wood, I got a table that's 100 times better than what PB has for sale.
I even got a little crafty and figured out an Ikea hack for the light.
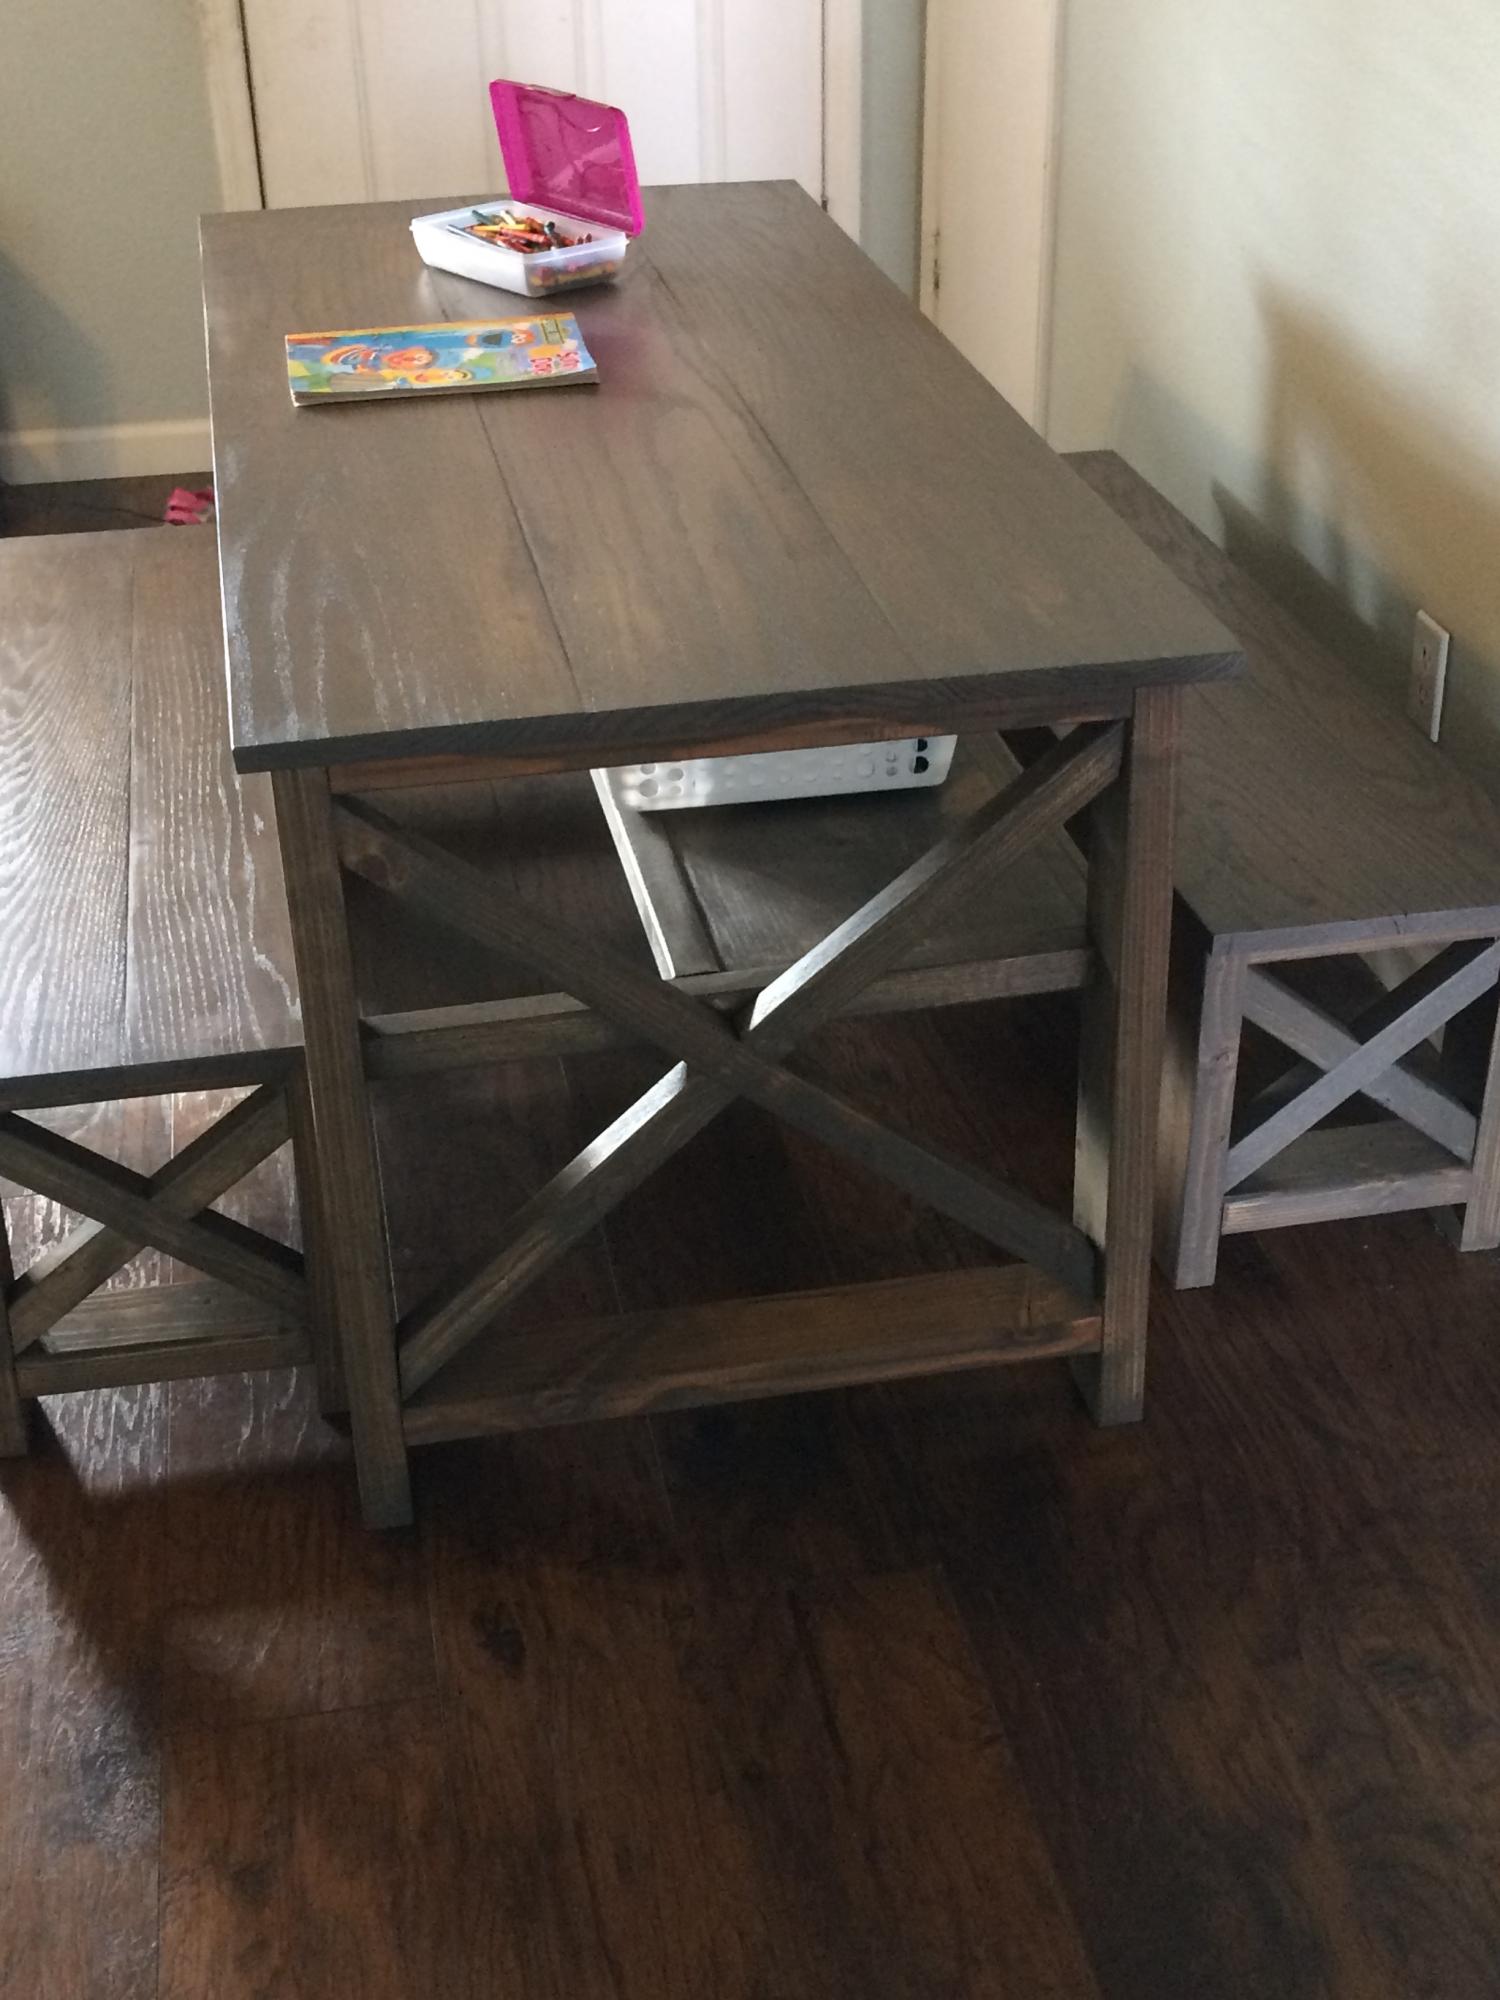
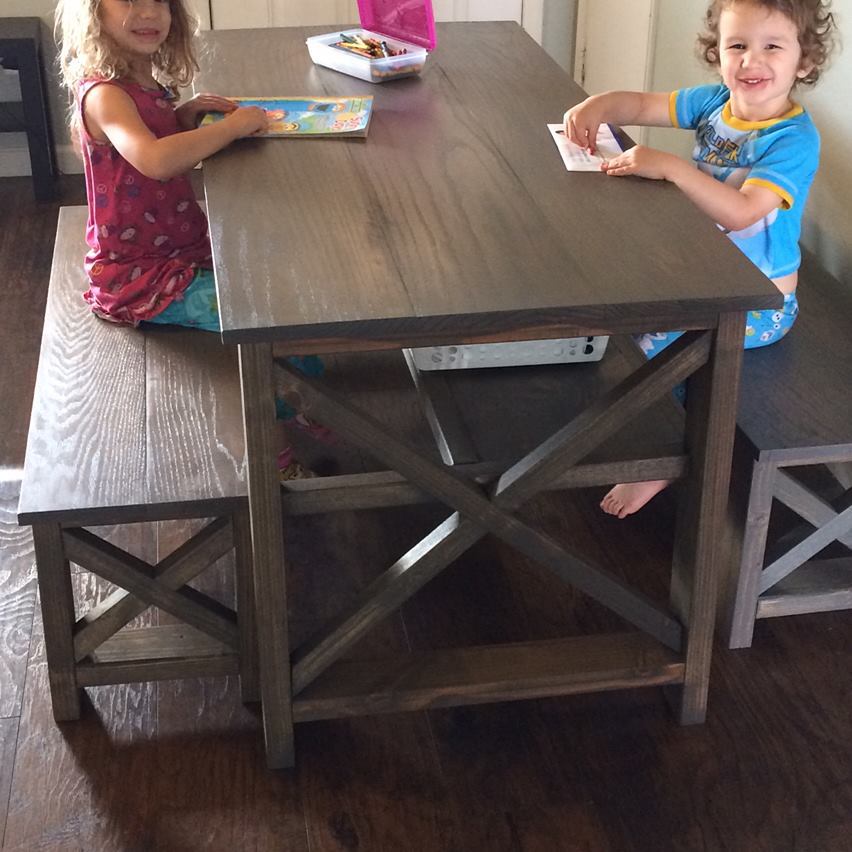
I used builder grade top choice 2x8s, 2x10s, and 2x12s for the table and bench, a blow torch to distress the wood a bit, and three coates of misson oak stain.
If anyone wants my plans, I have them done up in CAD as well.
C


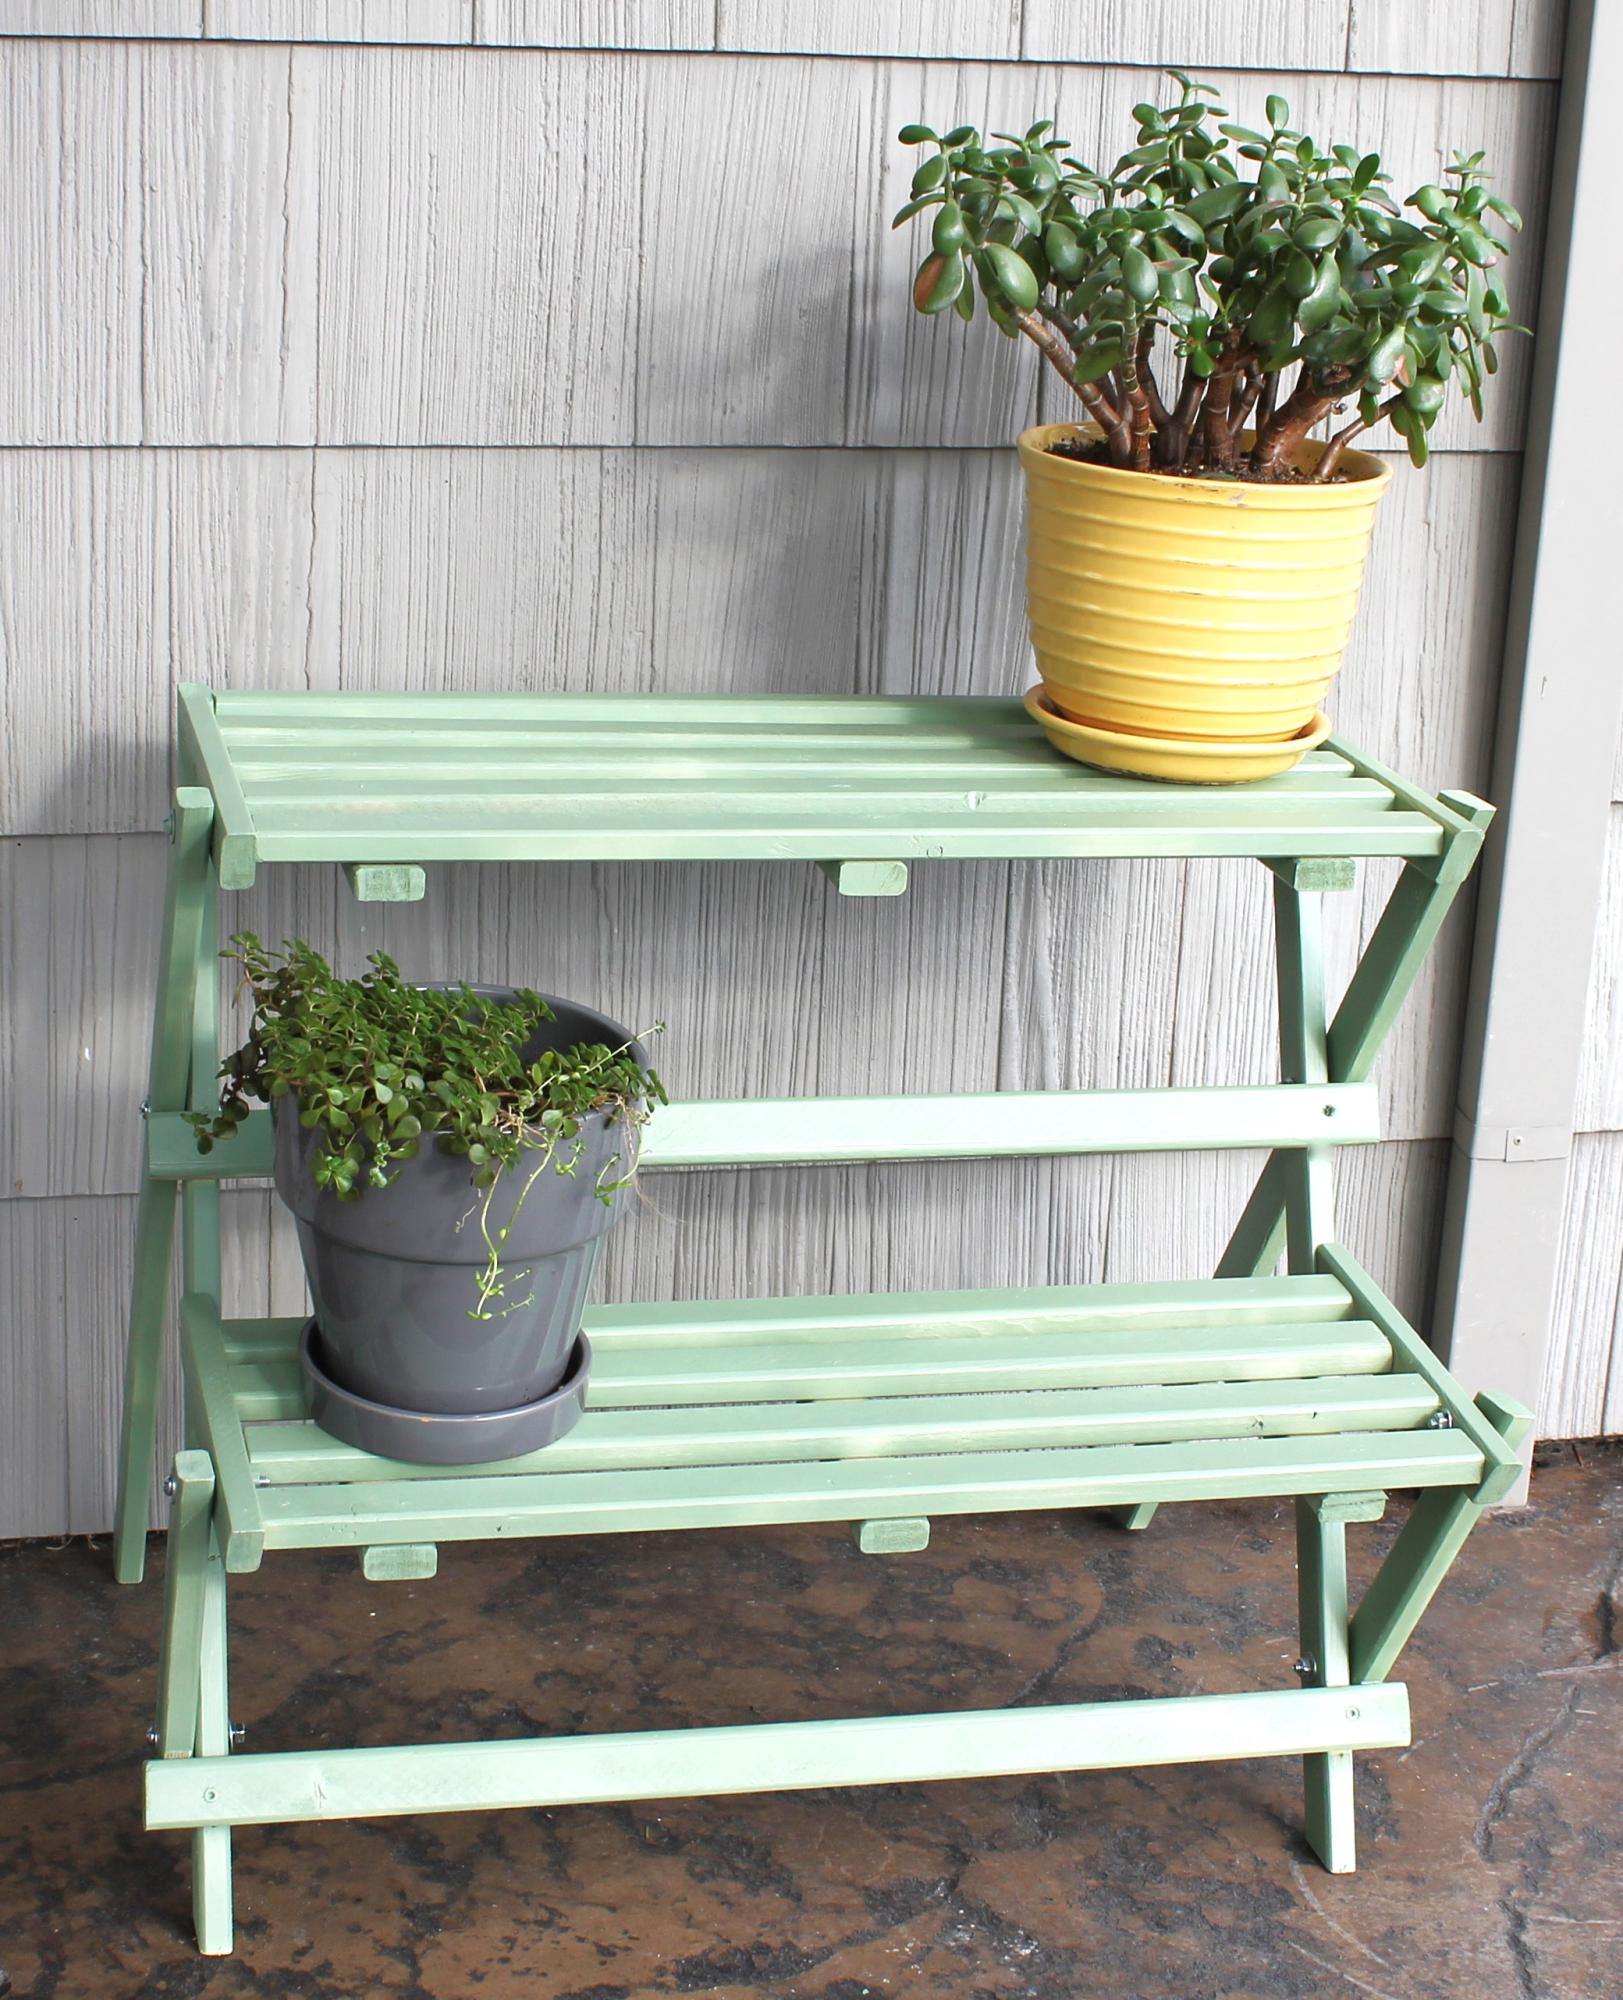
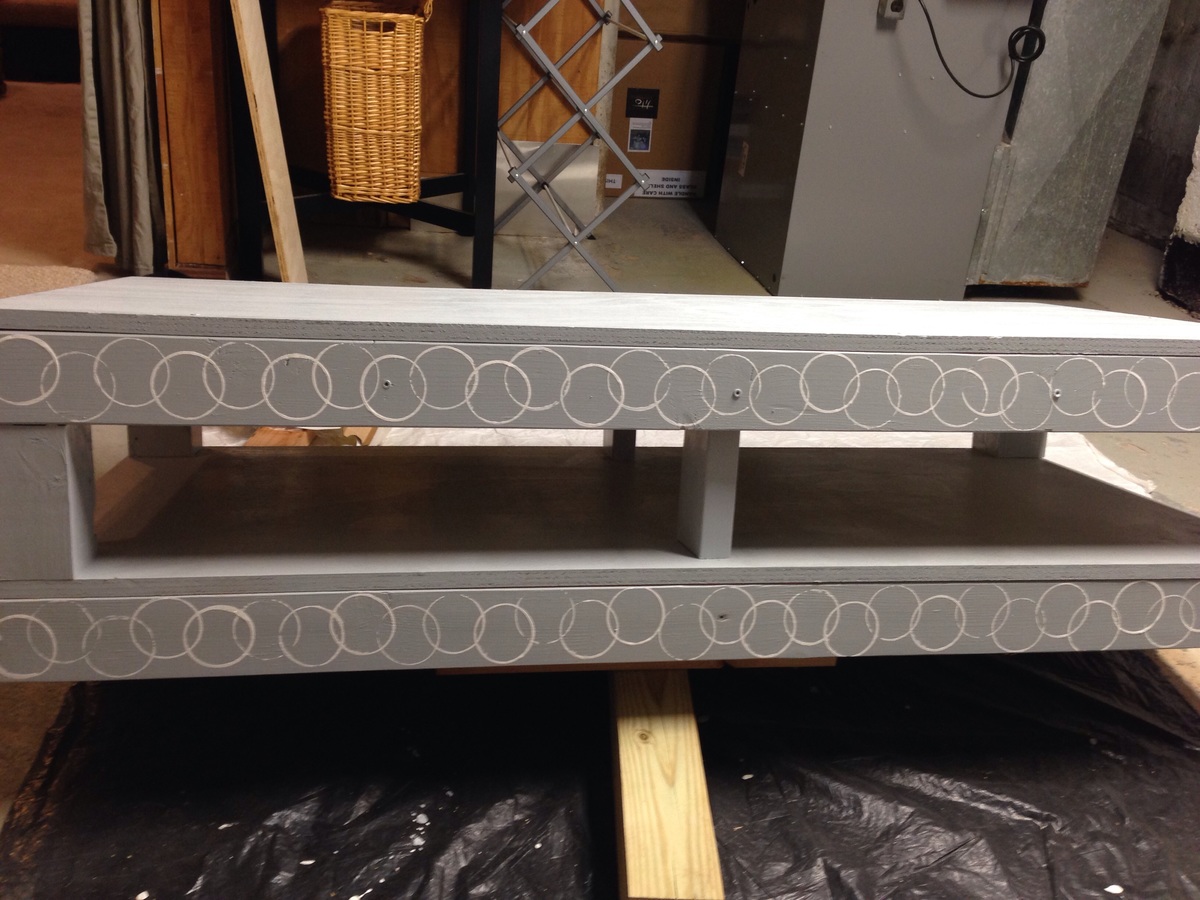
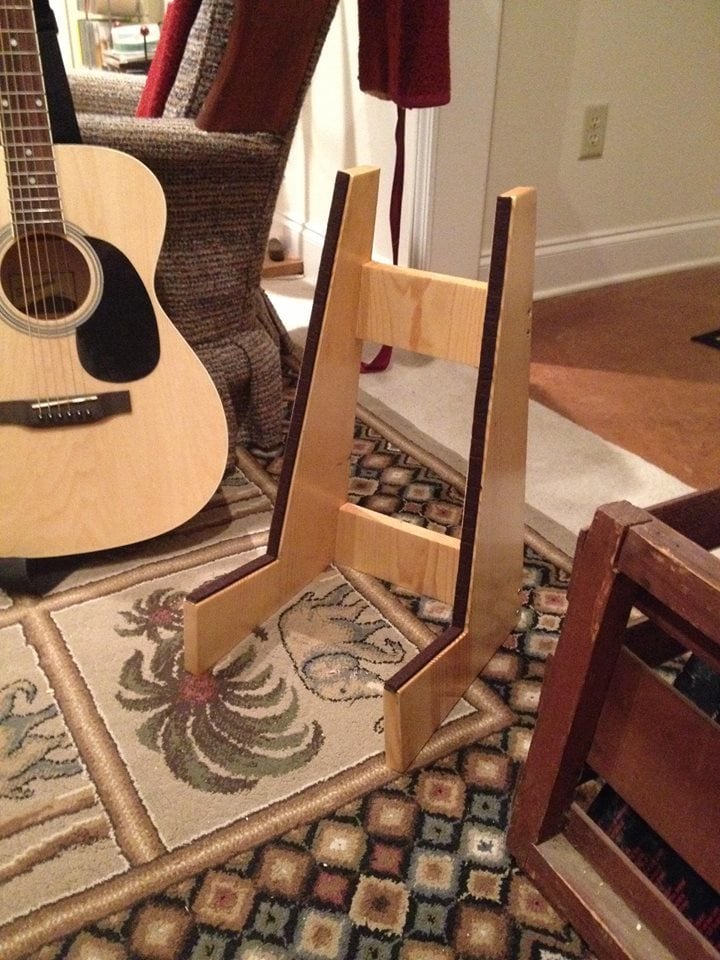
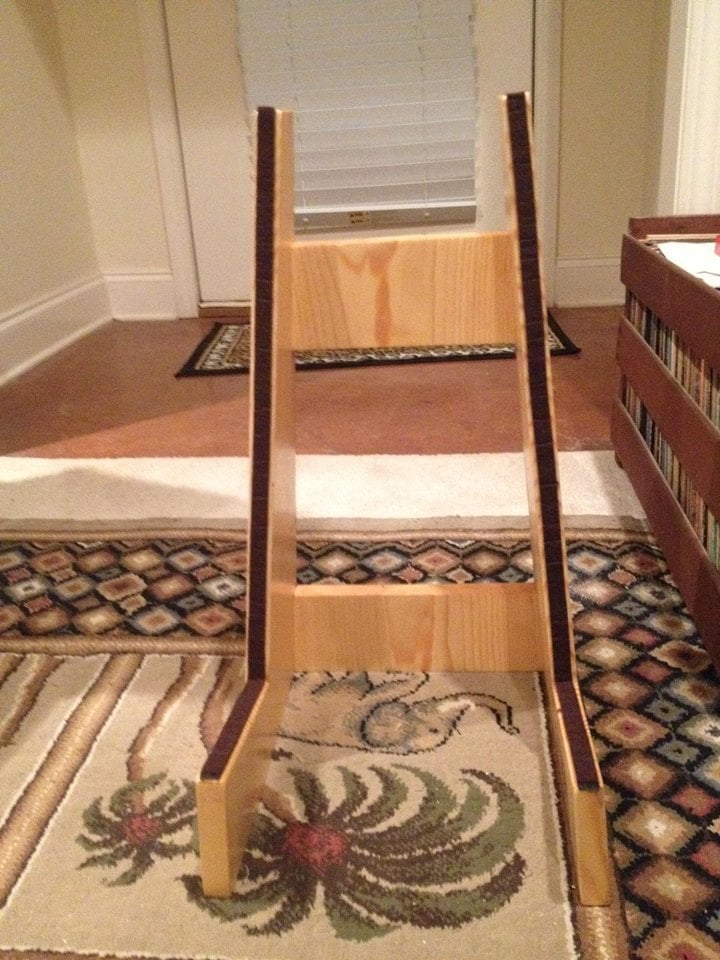
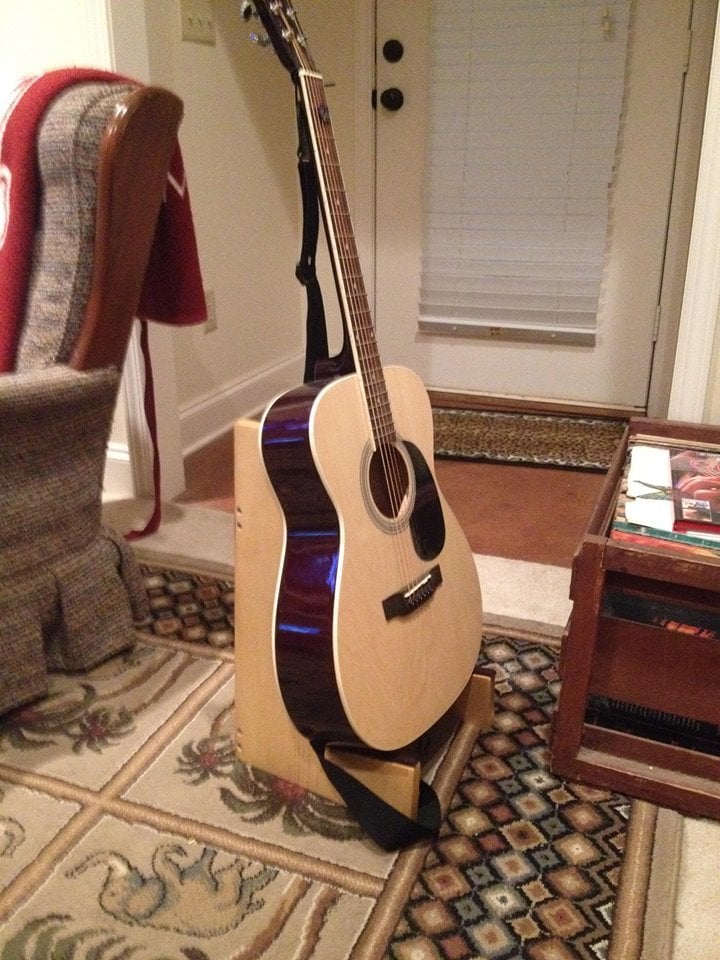
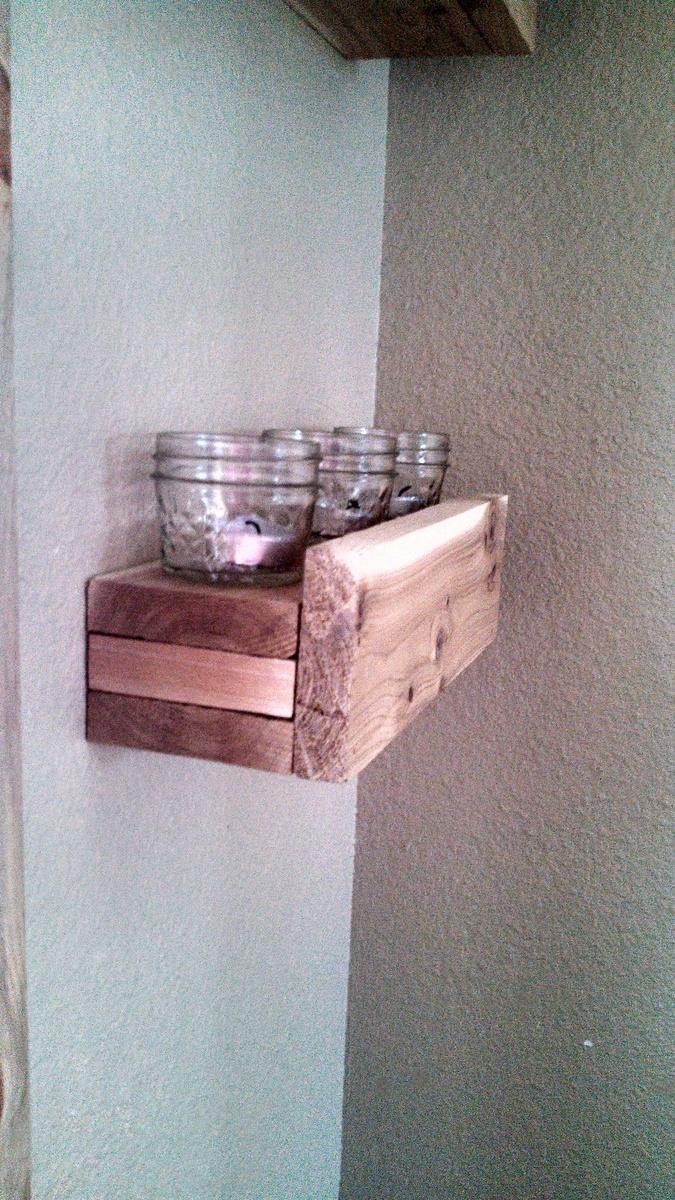
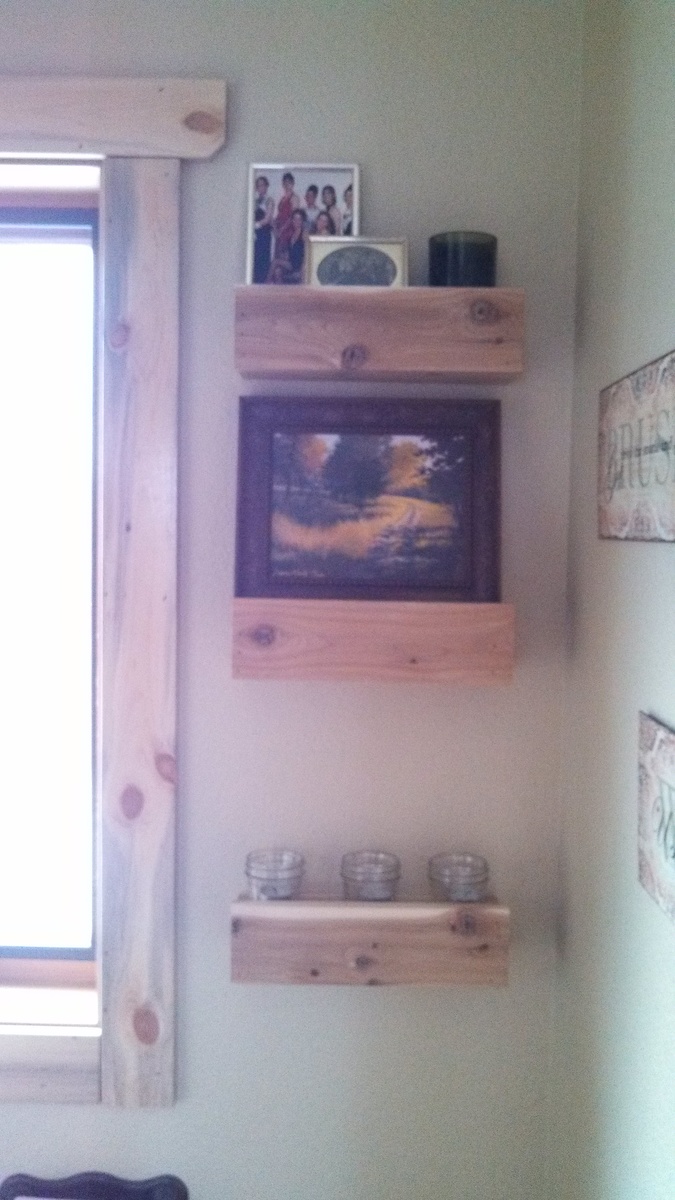
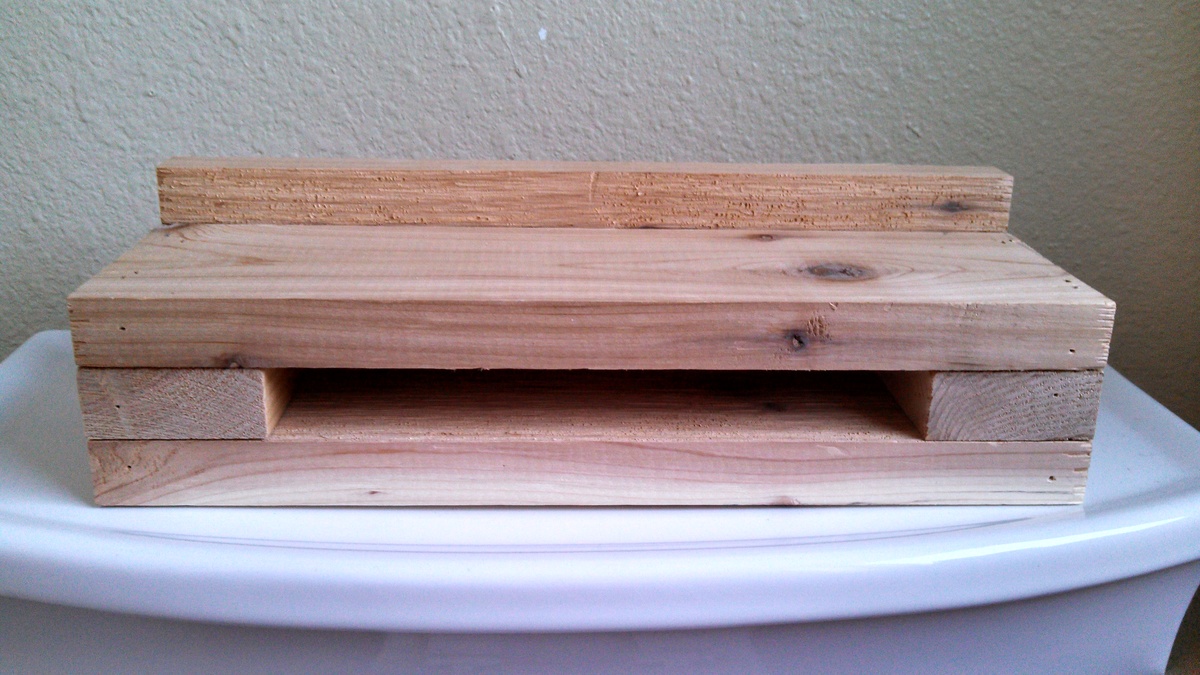
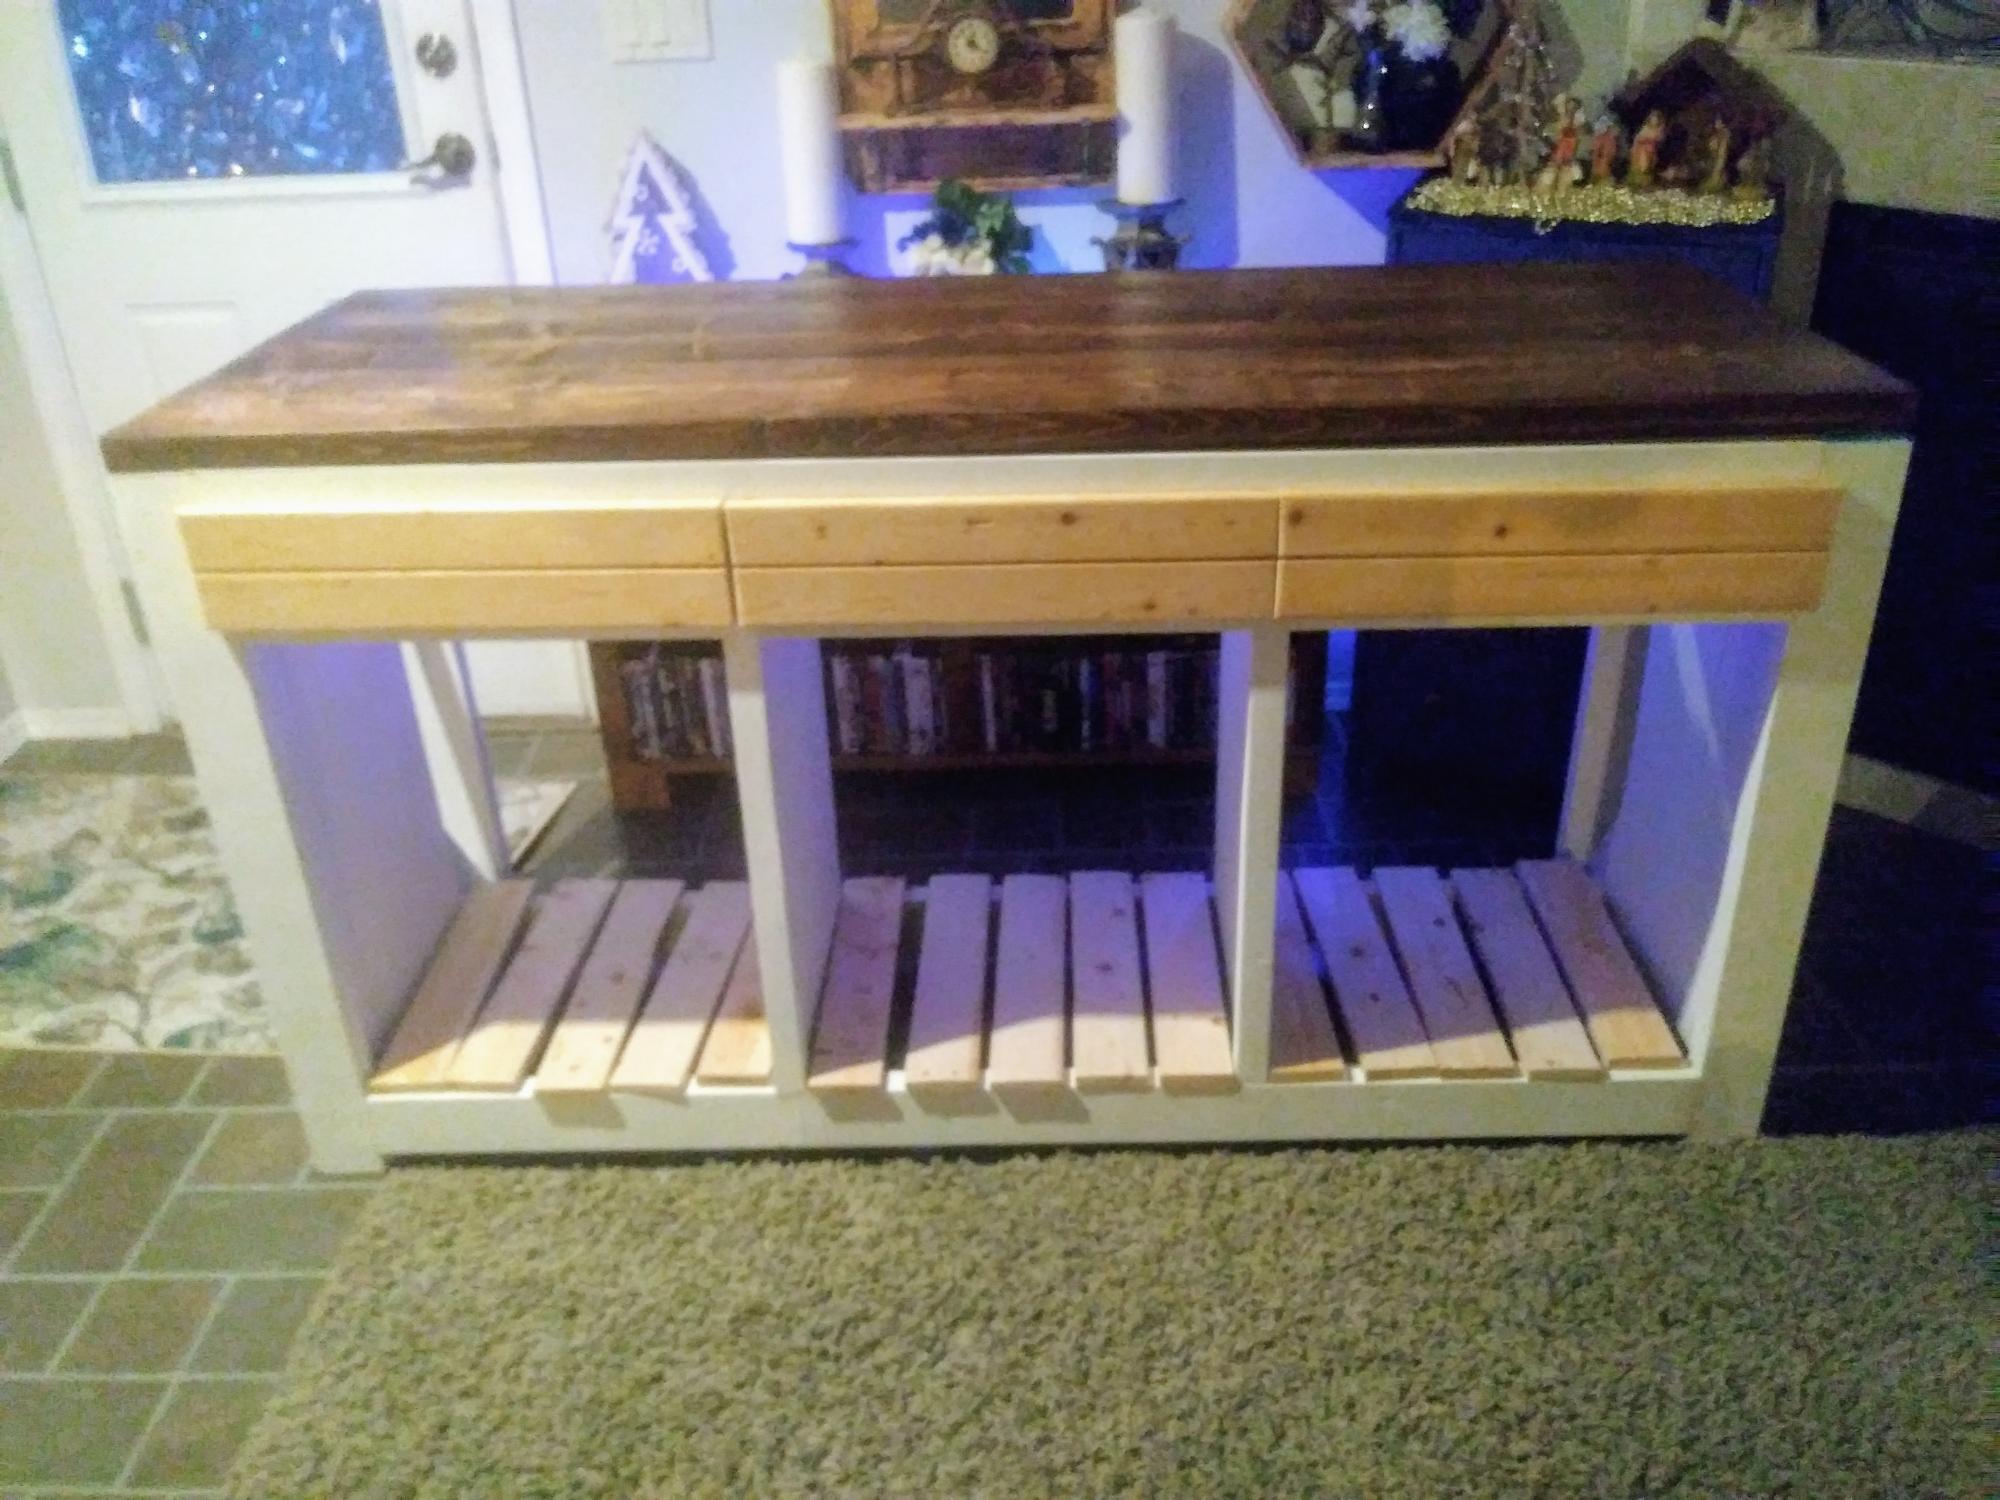
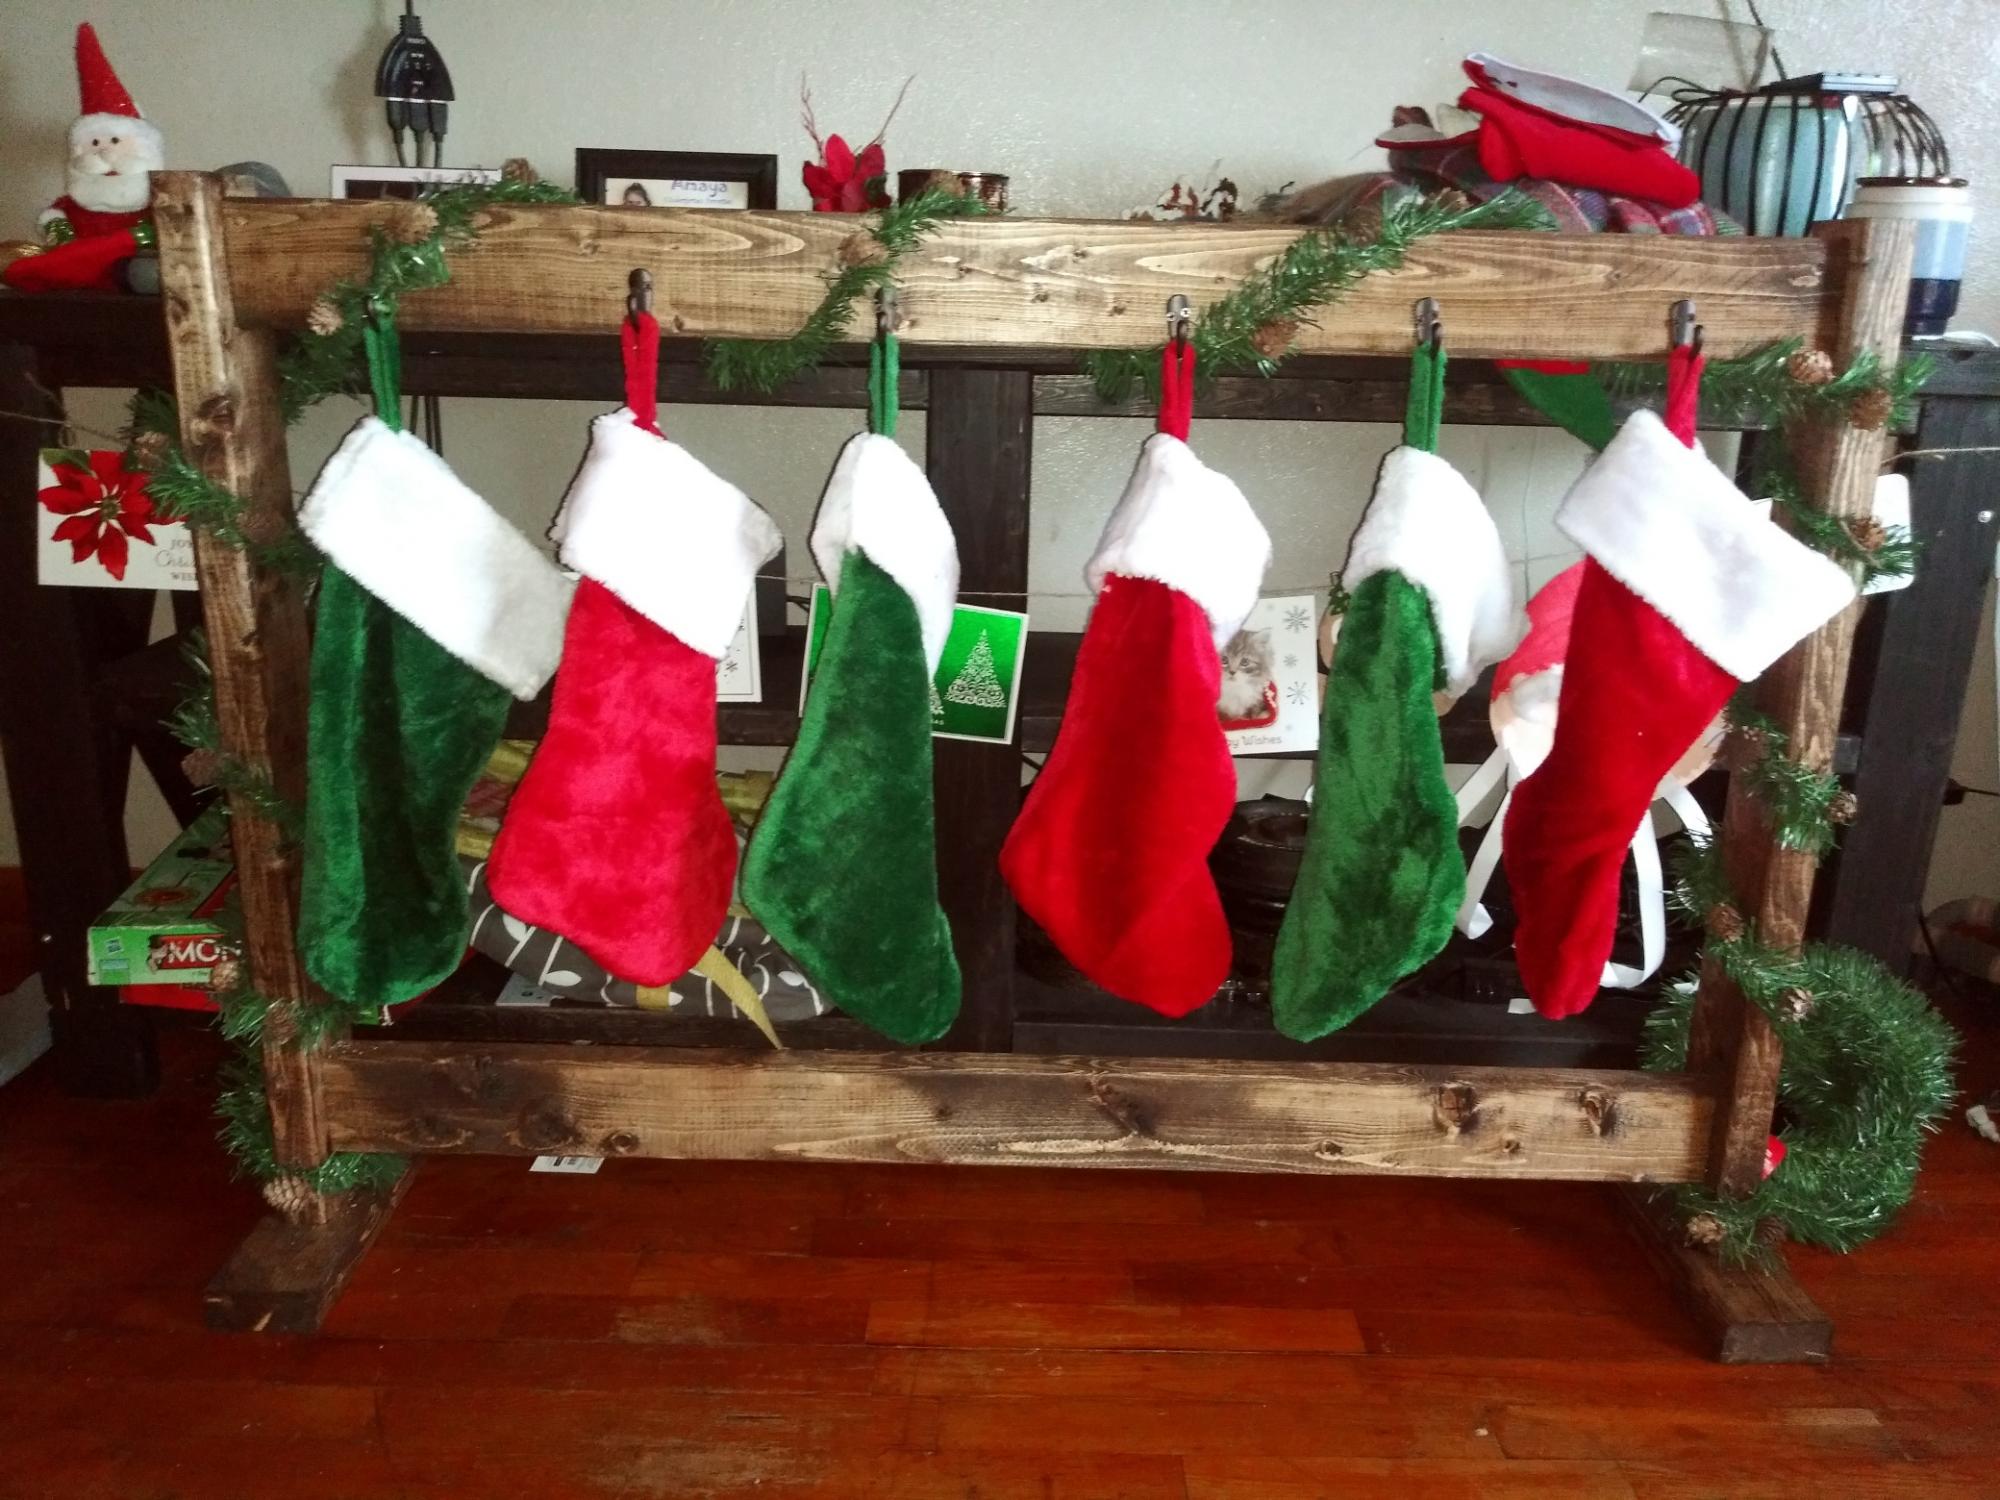
 My FIRST carpentry project! Good thing my husband was willing to help as it was a little heavy and I was googling terms like "counter-sink." It would have been so much easier if we hadn't made it a birthday surprise for my daughter. She LOVES it!


Comments
jamesstuckey13
Wed, 05/01/2013 - 03:07
Nice Job!
This is a very useful website and I have found good information here and I really appreciate the efforts of the writer of this essay for sharing nice ideas. Thanks!