Community Brag Posts
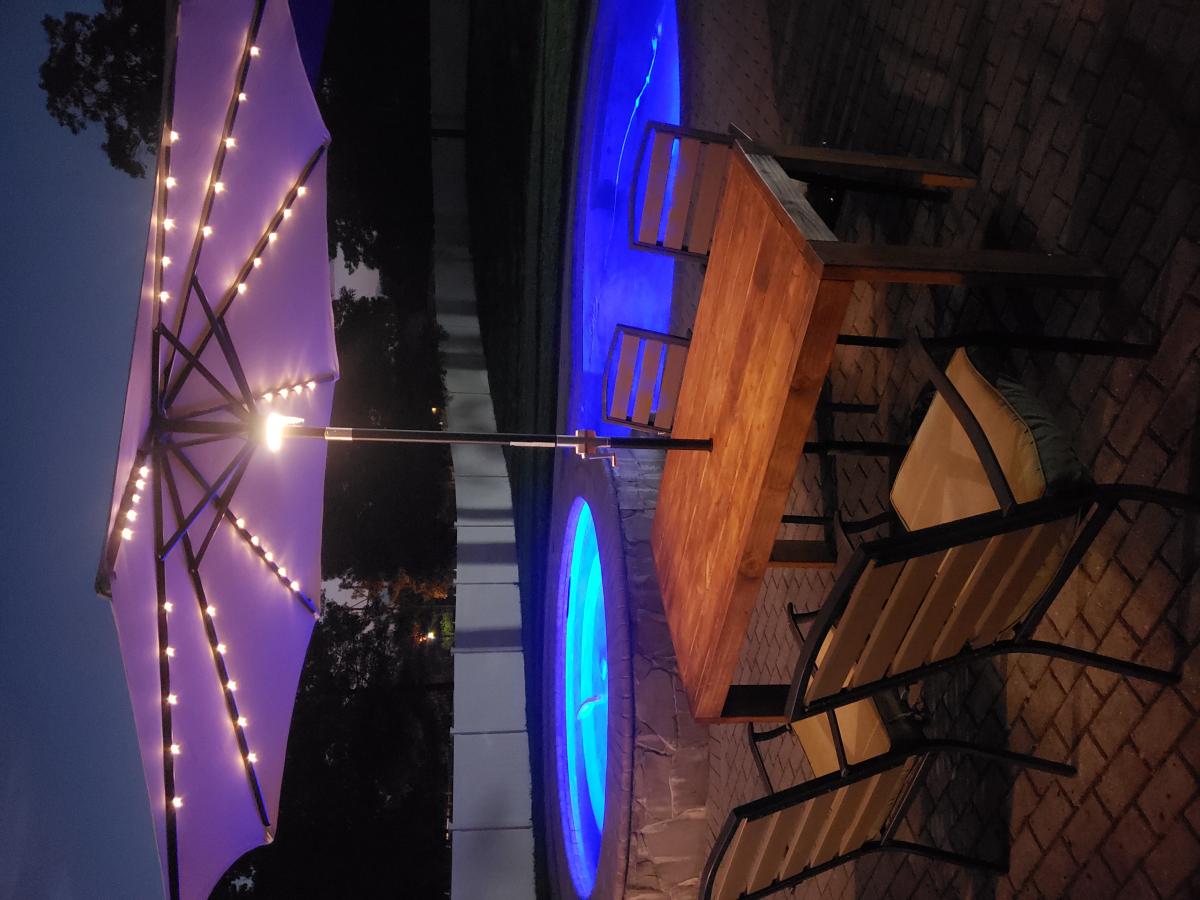

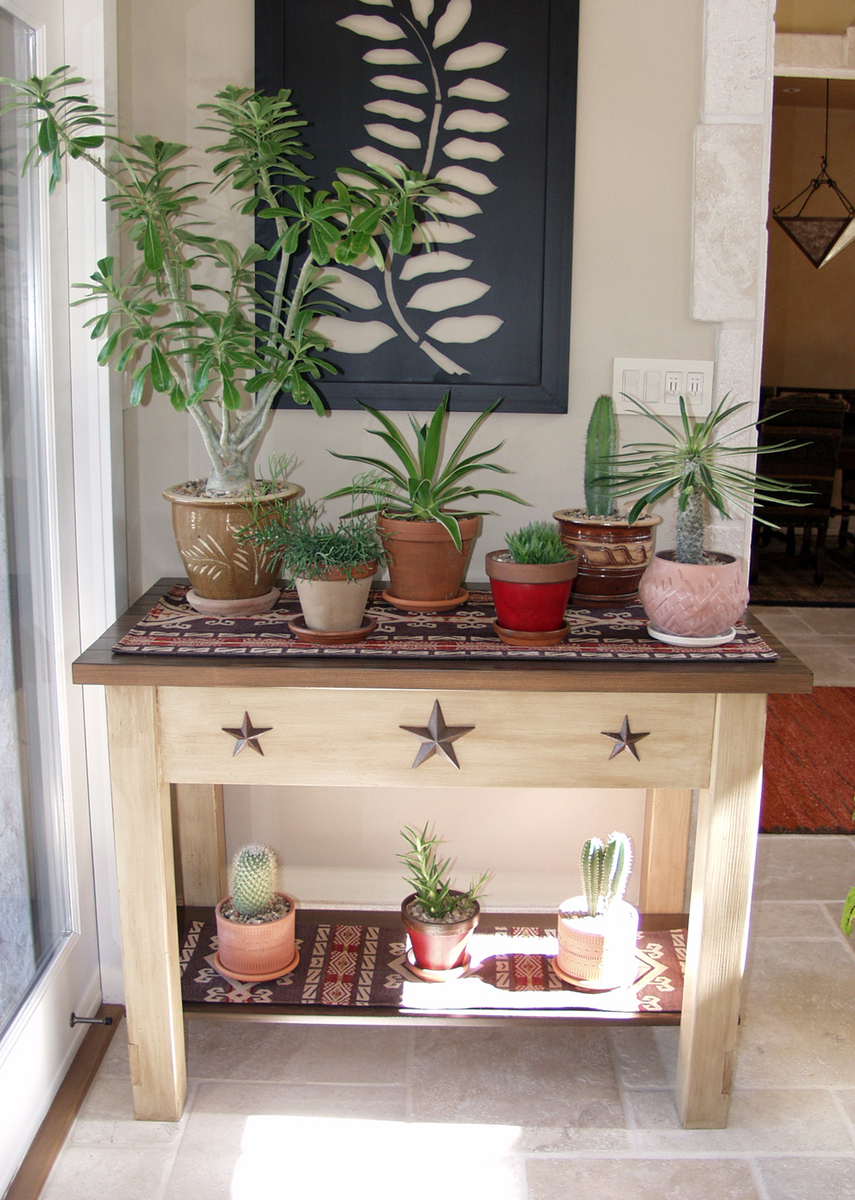
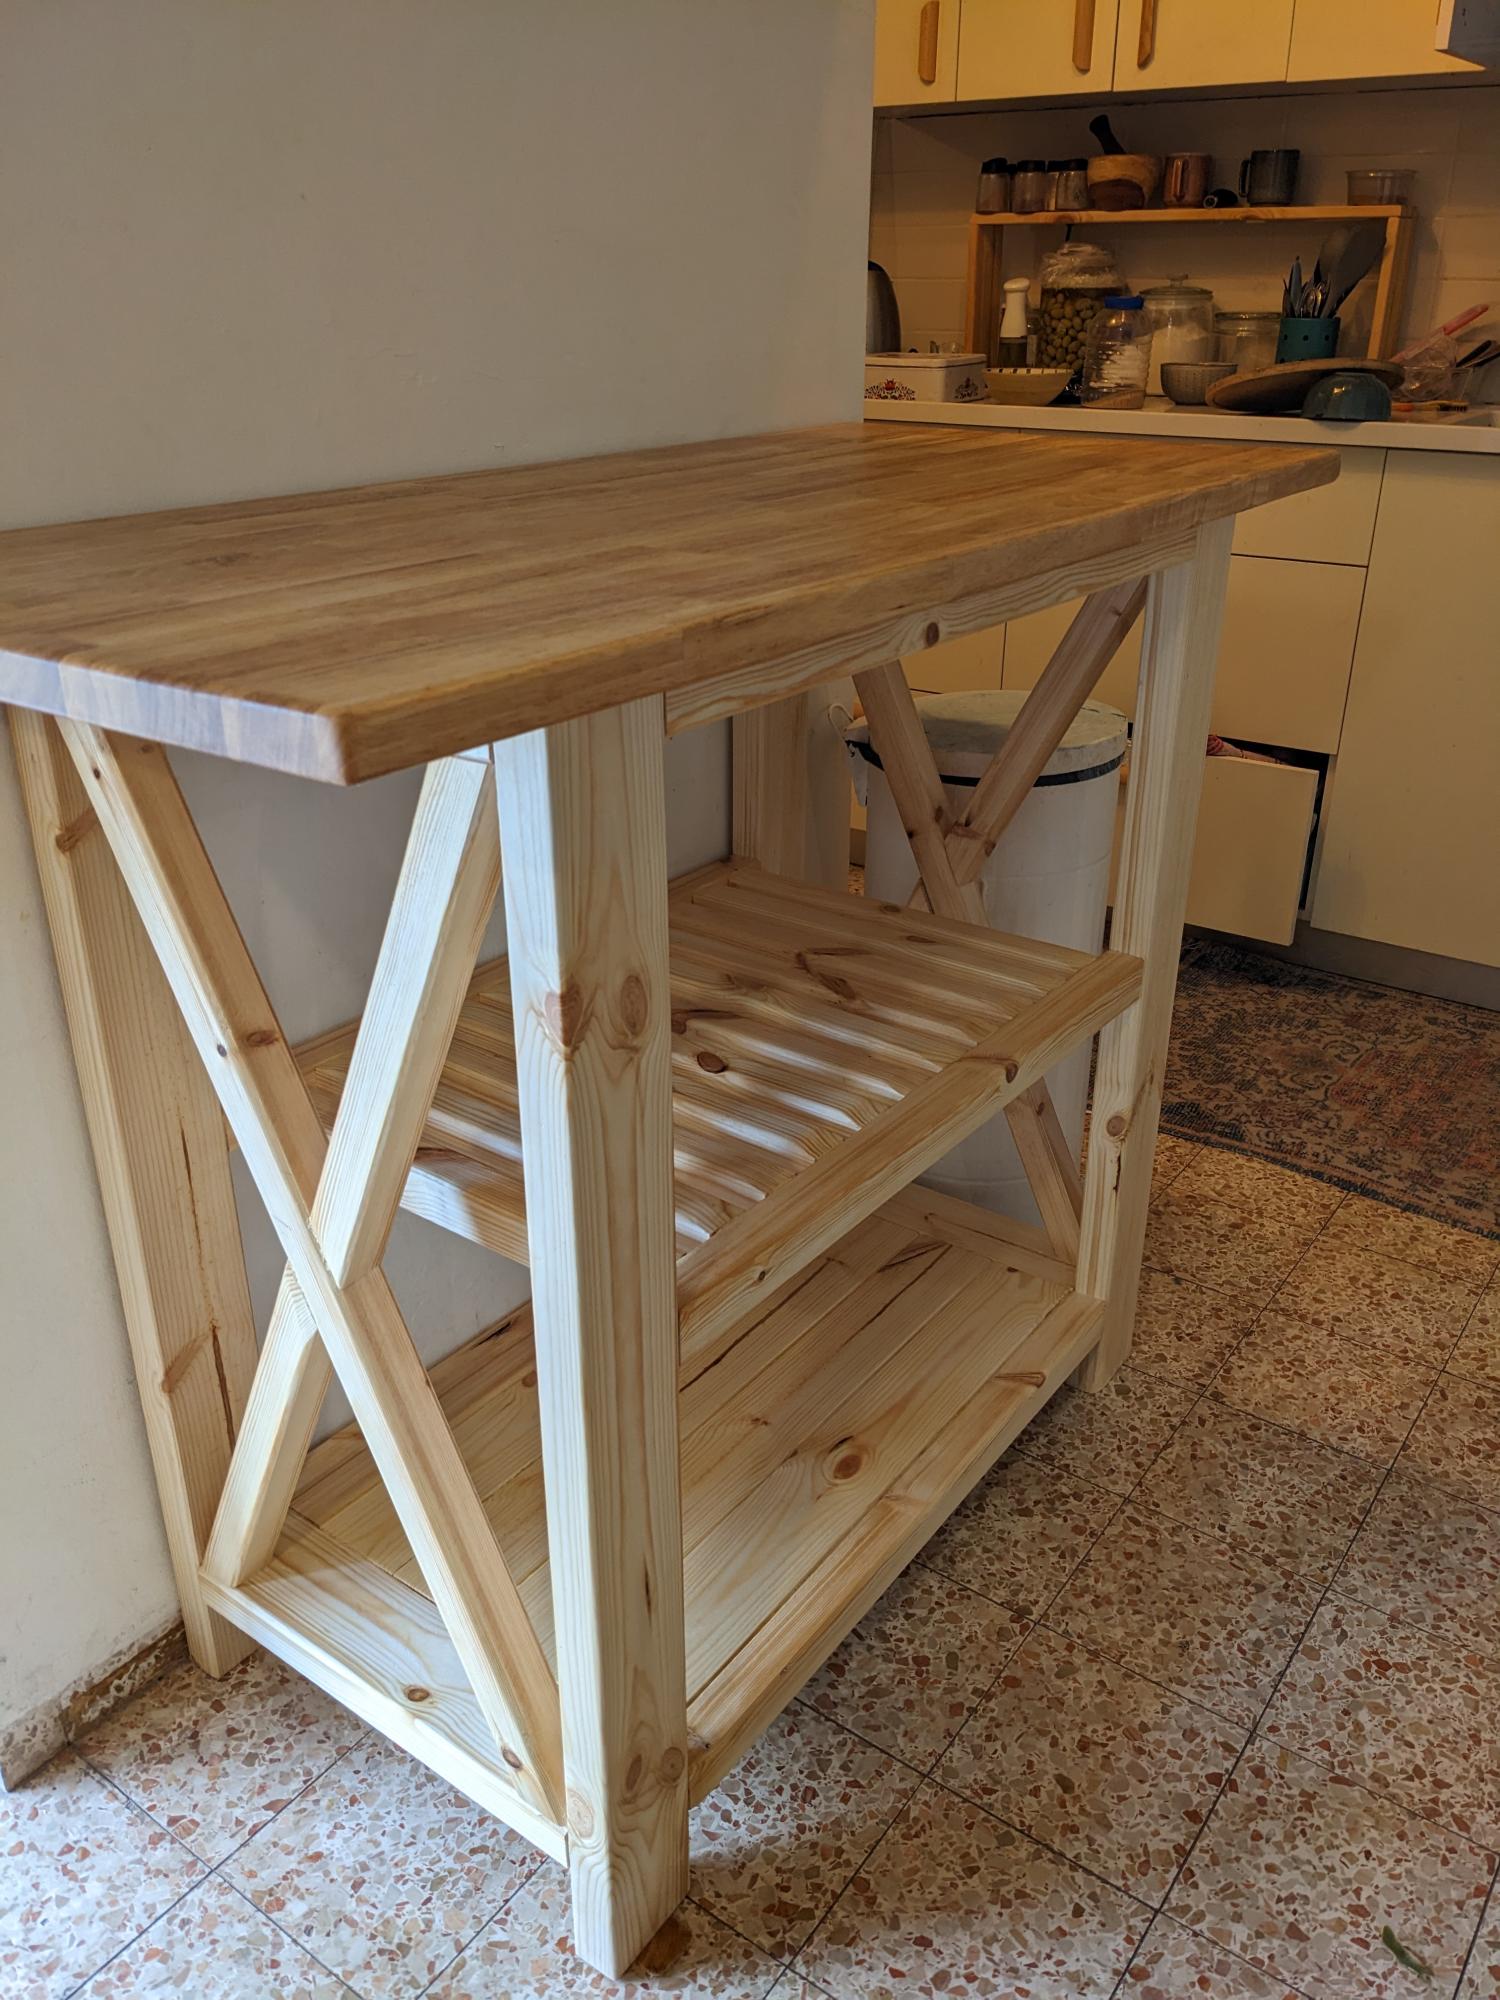
Kitchen Island (or Cactus Table!)
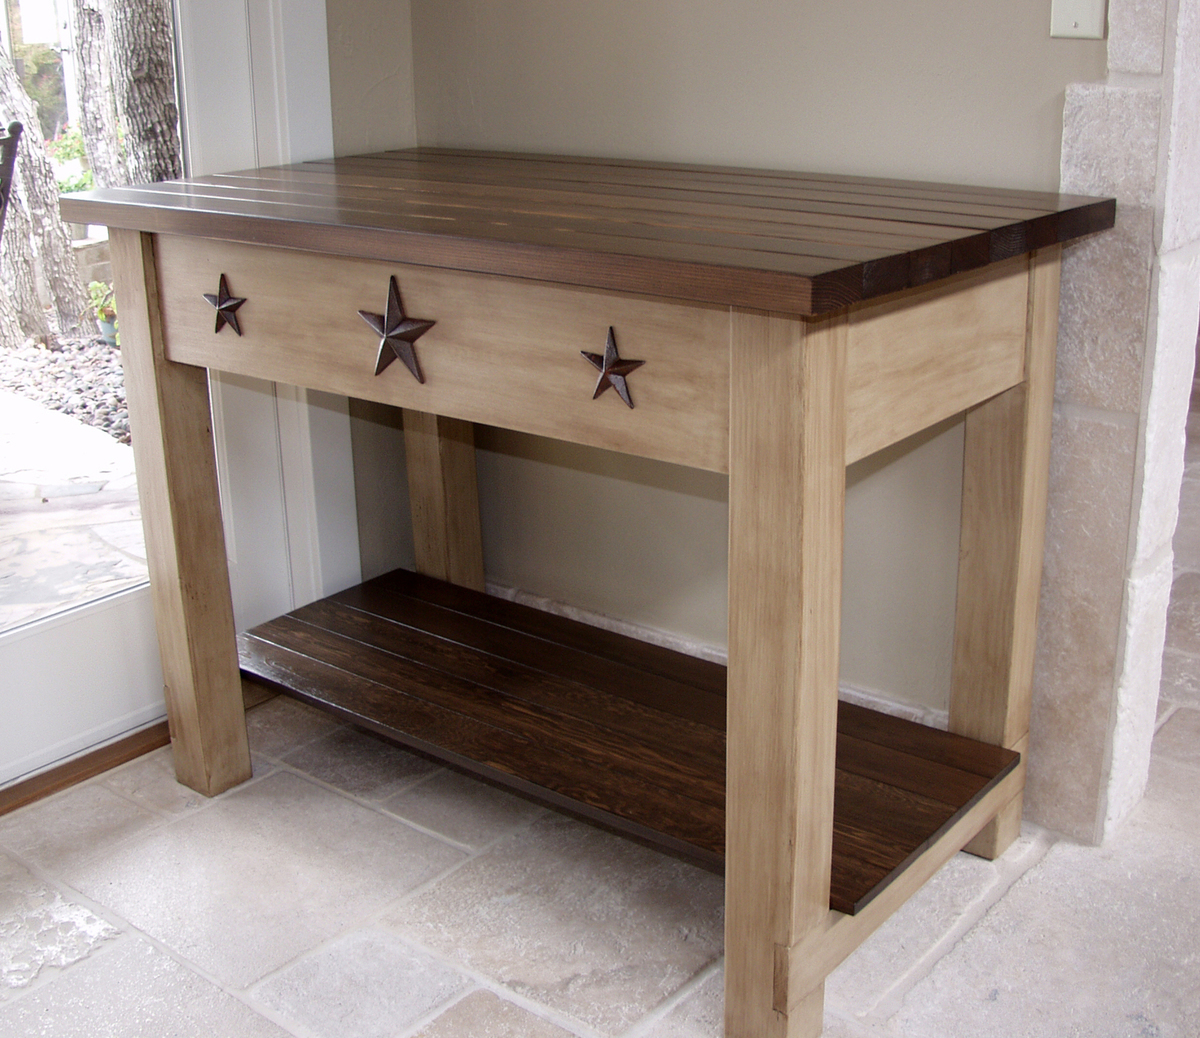
I absolutely loved Michaela's Kitchen Island (http://ana-white.com/2010/03/plans-michaelas-kitchen-island.html), so I modified it to suit my needs of having a table to place my cacti in the winter months. I modified the size, removed one of the shelves, and left the drawers out so that I could put my Texas stars.
Built from Plan(s)
Estimated Time Investment
Week Long Project (20 Hours or More)
Finish Used
Tabletops: Mixture of Minwax water-based stains using Antique Walnut & Onyx, topped with 4 coats of General Finish Satin EnduroVar.
Table: 2 coats of General Finish Milkpaint in Millstone, followed by 4 coats of General Finish Glaze in Van Dyke Brown, followed by 1 coat of General Finish Satin EnduroVar.
Table: 2 coats of General Finish Milkpaint in Millstone, followed by 4 coats of General Finish Glaze in Van Dyke Brown, followed by 1 coat of General Finish Satin EnduroVar.
Recommended Skill Level
Beginner
Comments
Sat, 05/17/2014 - 11:09
modifications?
Love your version of this project! we are using your version for a bathroom vanity...any input as to the modifications you made would be appreciated!
Sat, 03/26/2016 - 14:58
Love this !
Trying the painting techniques on a different table ... love the glazing
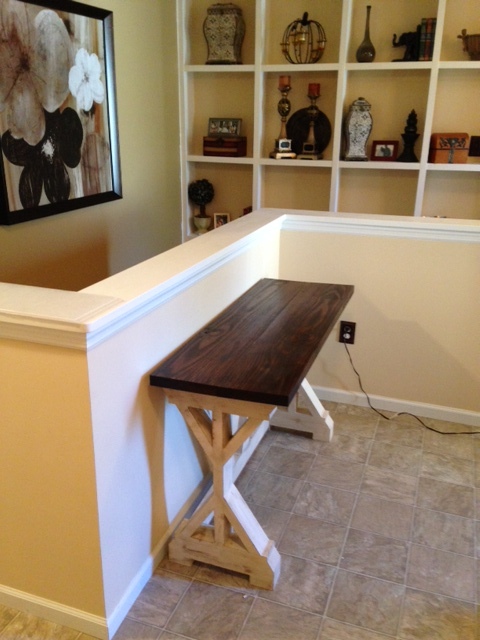
Fancy X Desk
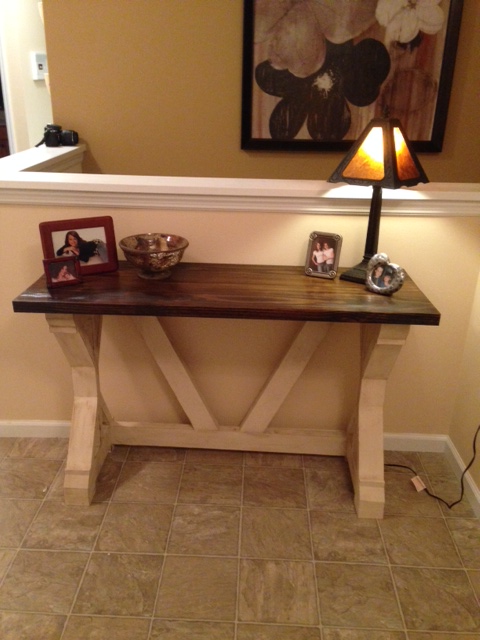
Fancy X Desk goes Entryway table. Built this with instructions for the Fancy X Desk. Shortened the desk down to 4 feet. Love the way it came out - mixed my own stain color for the top and used homemade wood filler made of the planed wood chips and gorilla glue. The stain on the top is so amazing you cannot even tell where the wood was joined. Loved the plans Ana! Will be sharing later on my blog www.HelloILiveHere.com
Built from Plan(s)
Estimated Cost
$15.00 (used scrap wood in the garage only purchased desk top piece)
Estimated Time Investment
Afternoon Project (3-6 Hours)
Finish Used
Mixed stain color - used Dark Walnut and Expresso (make sure you use a pre-sealer on the pine so you dont get that blotchy look)
Bottom - Primer for bare wood and Annie Sloan Old Orchre and Brown Wax
Bottom - Primer for bare wood and Annie Sloan Old Orchre and Brown Wax
Recommended Skill Level
Beginner
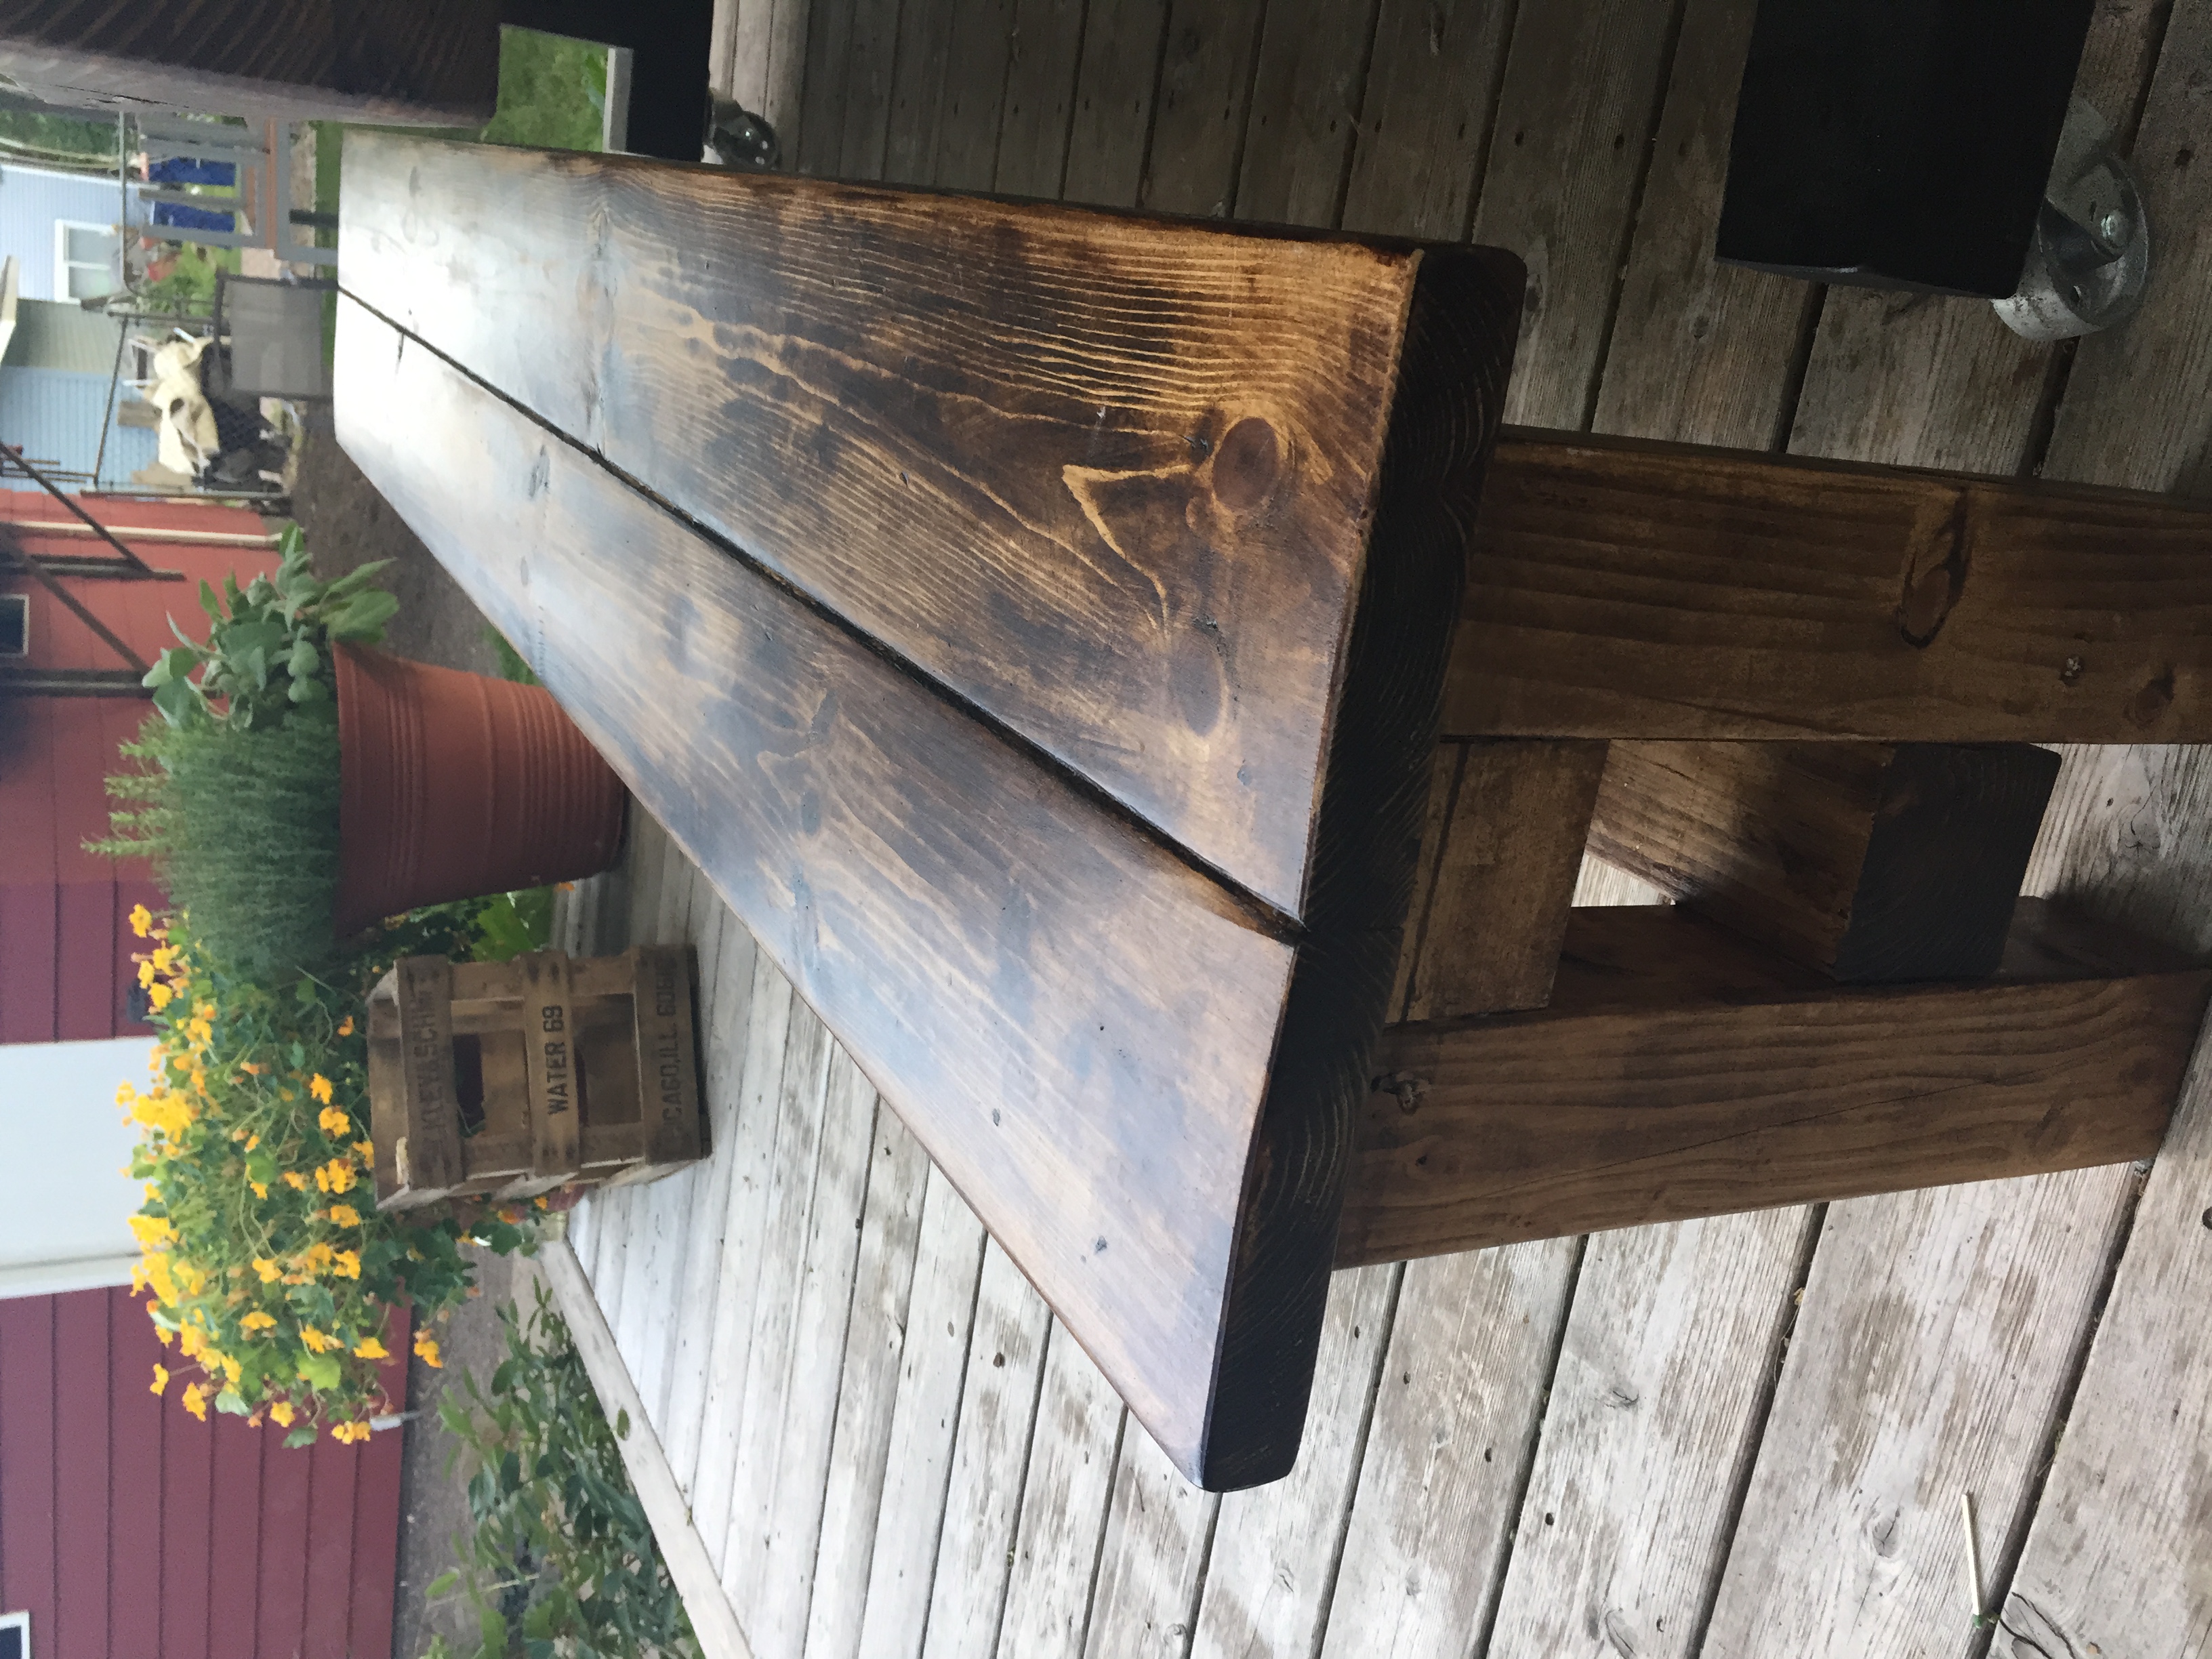
Butcherblock Farmhouse Table and Benches
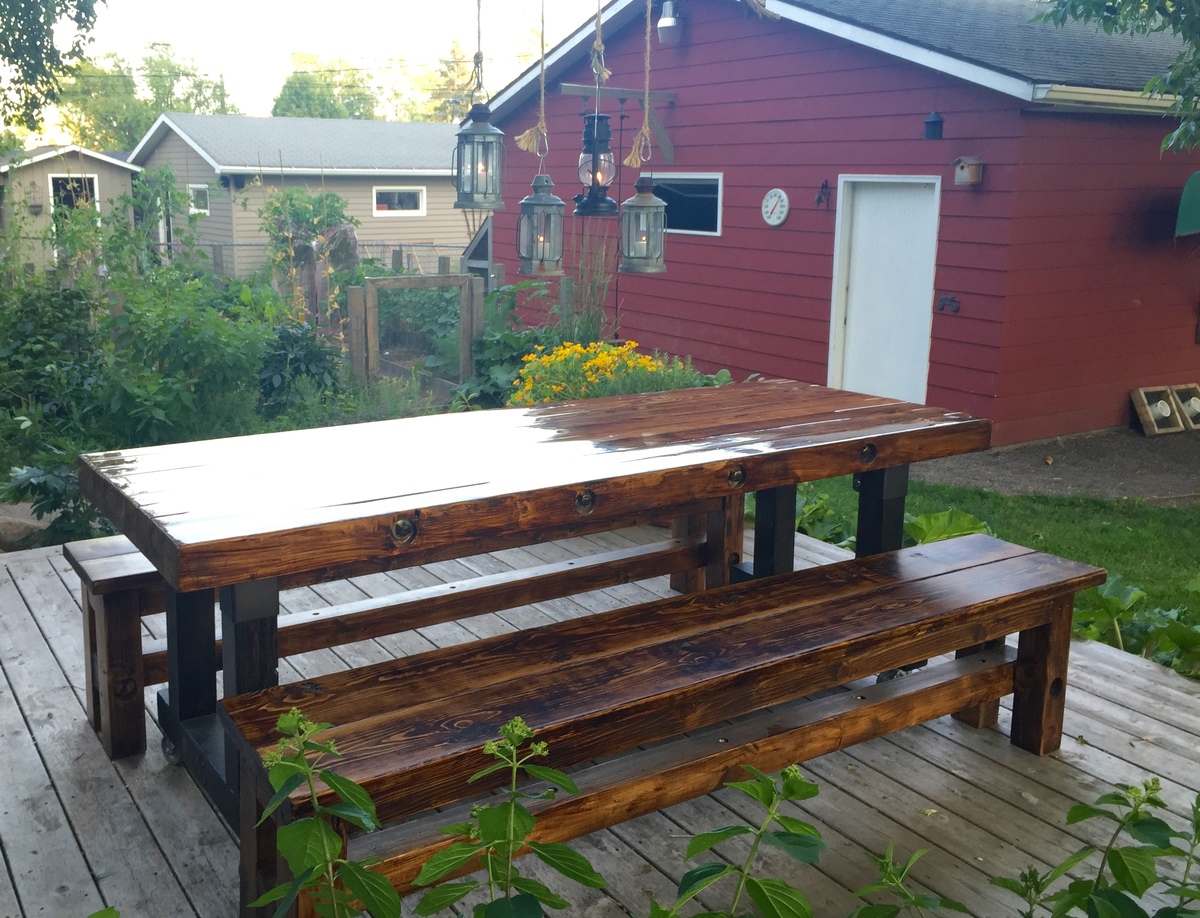
My parents needed a table for their newly expanded dining room at our cabin. I love the look of butcher-block, and wondered how I could design a table with the thick chunky look. I decided on using 4x4's for the majority of the build. This project took me a while to complete because in the middle of it, I twisted my ankle while lifting the table! Ha, building can cause some damage. Although, the ankle did slow me down, I was still able to deliver the table and benches to the cabin in time to give it to them for their anniversary present.
Built from Plan(s)
Estimated Cost
$400
Estimated Time Investment
Week Long Project (20 Hours or More)
Finish Used
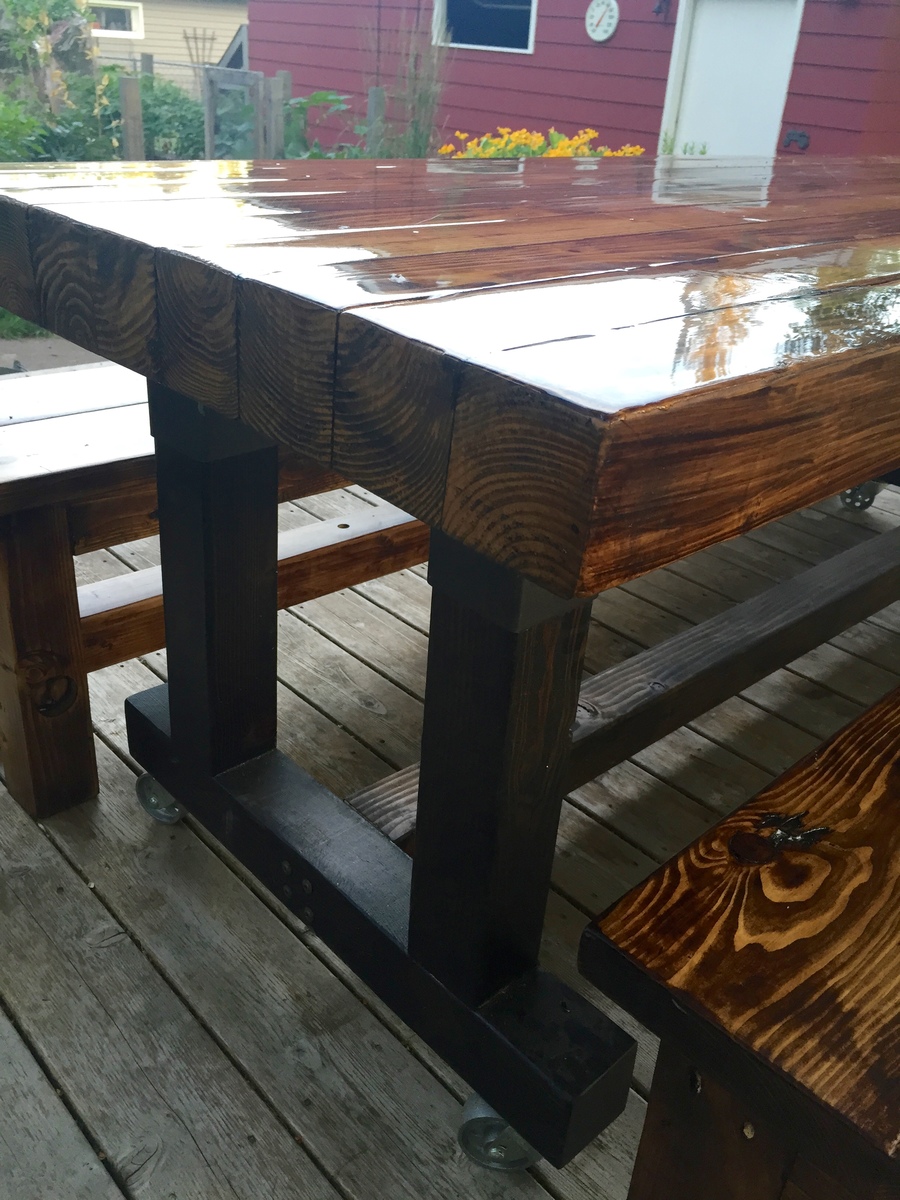
Mixwax: Aged Oak stain for table top and benches, Jacobean for legs
Famowood glass poured on top
Poly on Benches
Famowood glass poured on top
Poly on Benches
Recommended Skill Level
Intermediate


"Big Blue" - 10' Tall Adirondack Chair

Giant version of our adironadack chair plan by Ryan Zielinski


Built from Plan(s)
Storage Step
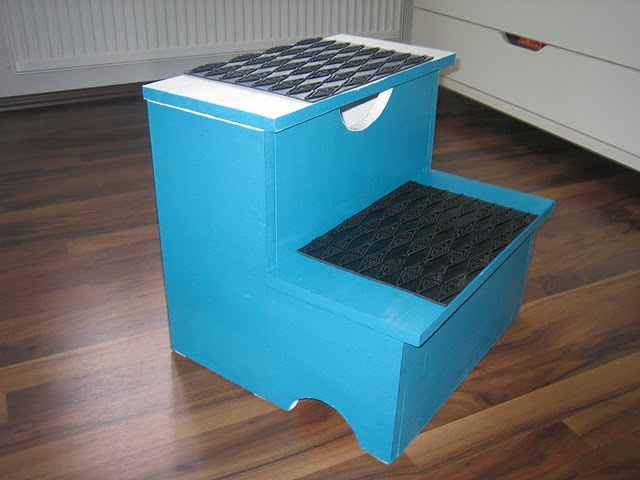
I built the storage step using my own measurements as it's designed for adults. It is used for reaching the very highest shelves in my floor-to-ceiling wardrobe system.
It was my first project using my jigsaw and am very happy with how it turned out.
I added some rubber non-slip mats stuck down so no one goes flying when stretching for clothes!
Have a look at my blog for more pictures and information.
Built from Plan(s)
Estimated Cost
€20
Estimated Time Investment
Afternoon Project (3-6 Hours)
Finish Used
Turquoise and white paint
Varnish top coat
Varnish top coat
Recommended Skill Level
Beginner
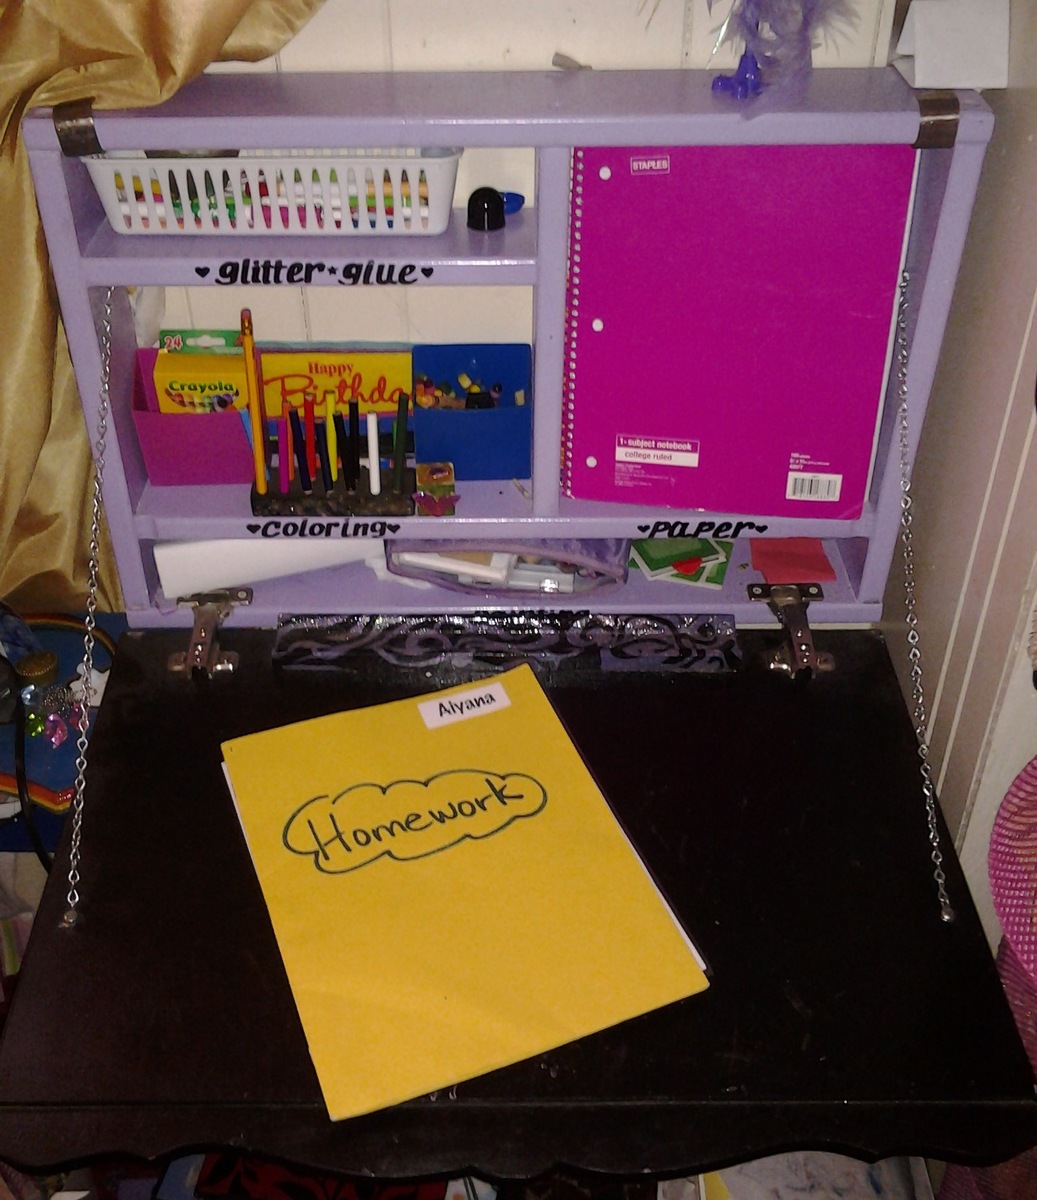
Aiyana's Wall Art-Desk
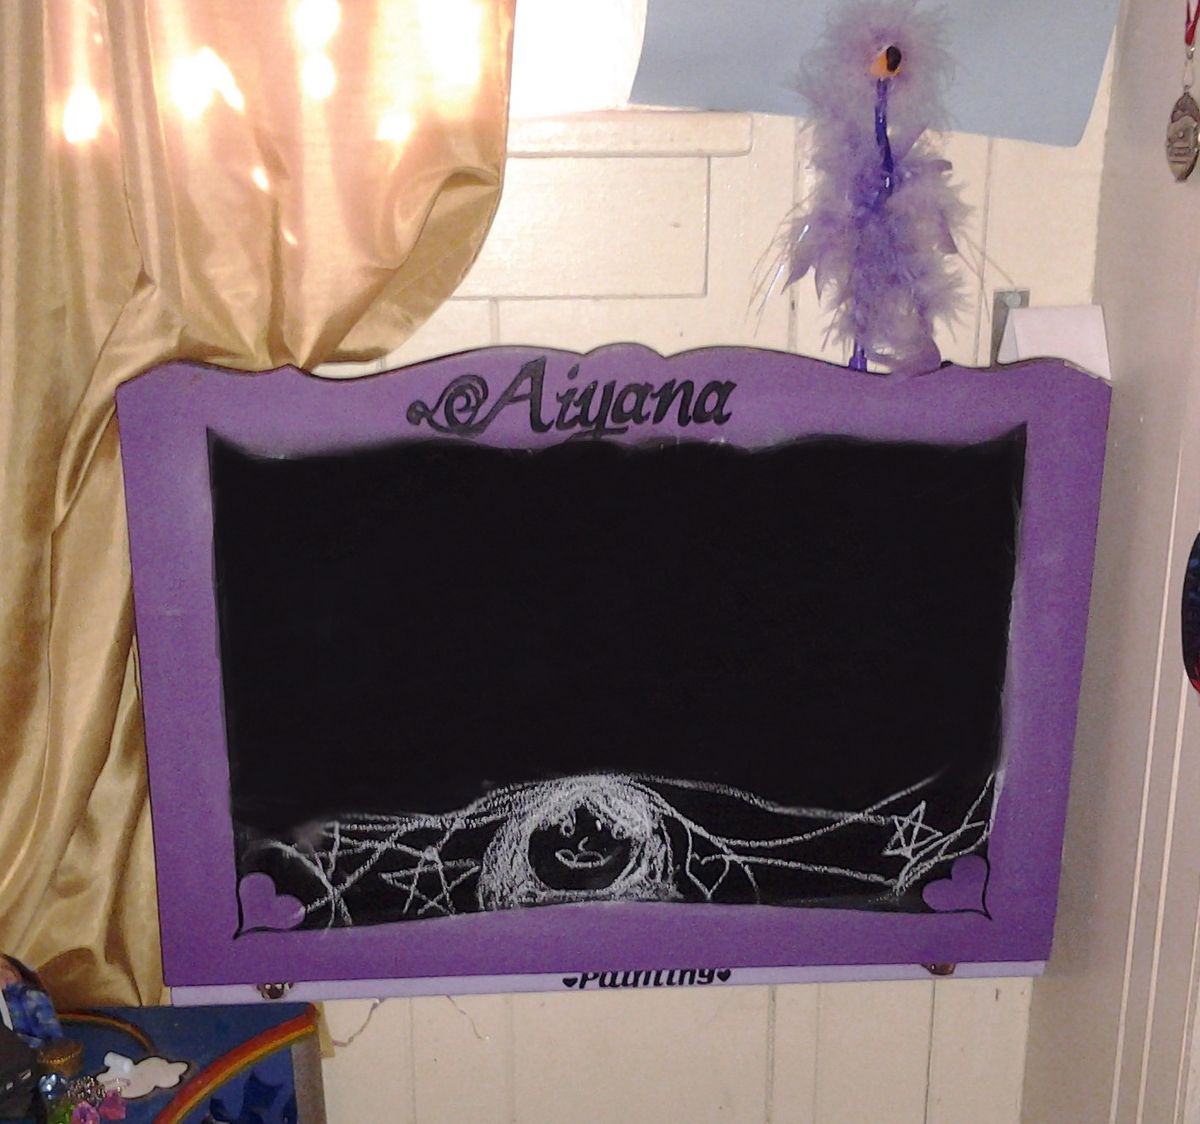
I was able to construct this art desk out of scrap wood I had after breaking down an old futon and dresser from which I decided to add a nice piece of molding to create the more "elegant" essence that my daughter likes. I had been given some purple chalkboard paint and bought some black chalkboard spray for the front and freehand wrote her name. I also decided to add a pencil holder and "gutter" (a place for them to rest while in between colors - like on a school desk). She absolutely loves it and I find her creating more art since I gave it to her, plus she is able to do her homework here too. Thank You Ana for the awesome Ideas and plans you offer us! It saves me a ton of money and enables my household to have things when we'd otherwise have to do without. Thank you, Thank you, Thank you!
Built from Plan(s)
Estimated Cost
$10-$15 total for the hinges, chain and the chalkboard spray paint. Everything else was leftovers from other projects.
Estimated Time Investment
Weekend Project (10-20 Hours)
Finish Used
Gloss and Chalkboard Spray Paint and brush-on Chalkboard paint
Recommended Skill Level
Beginner
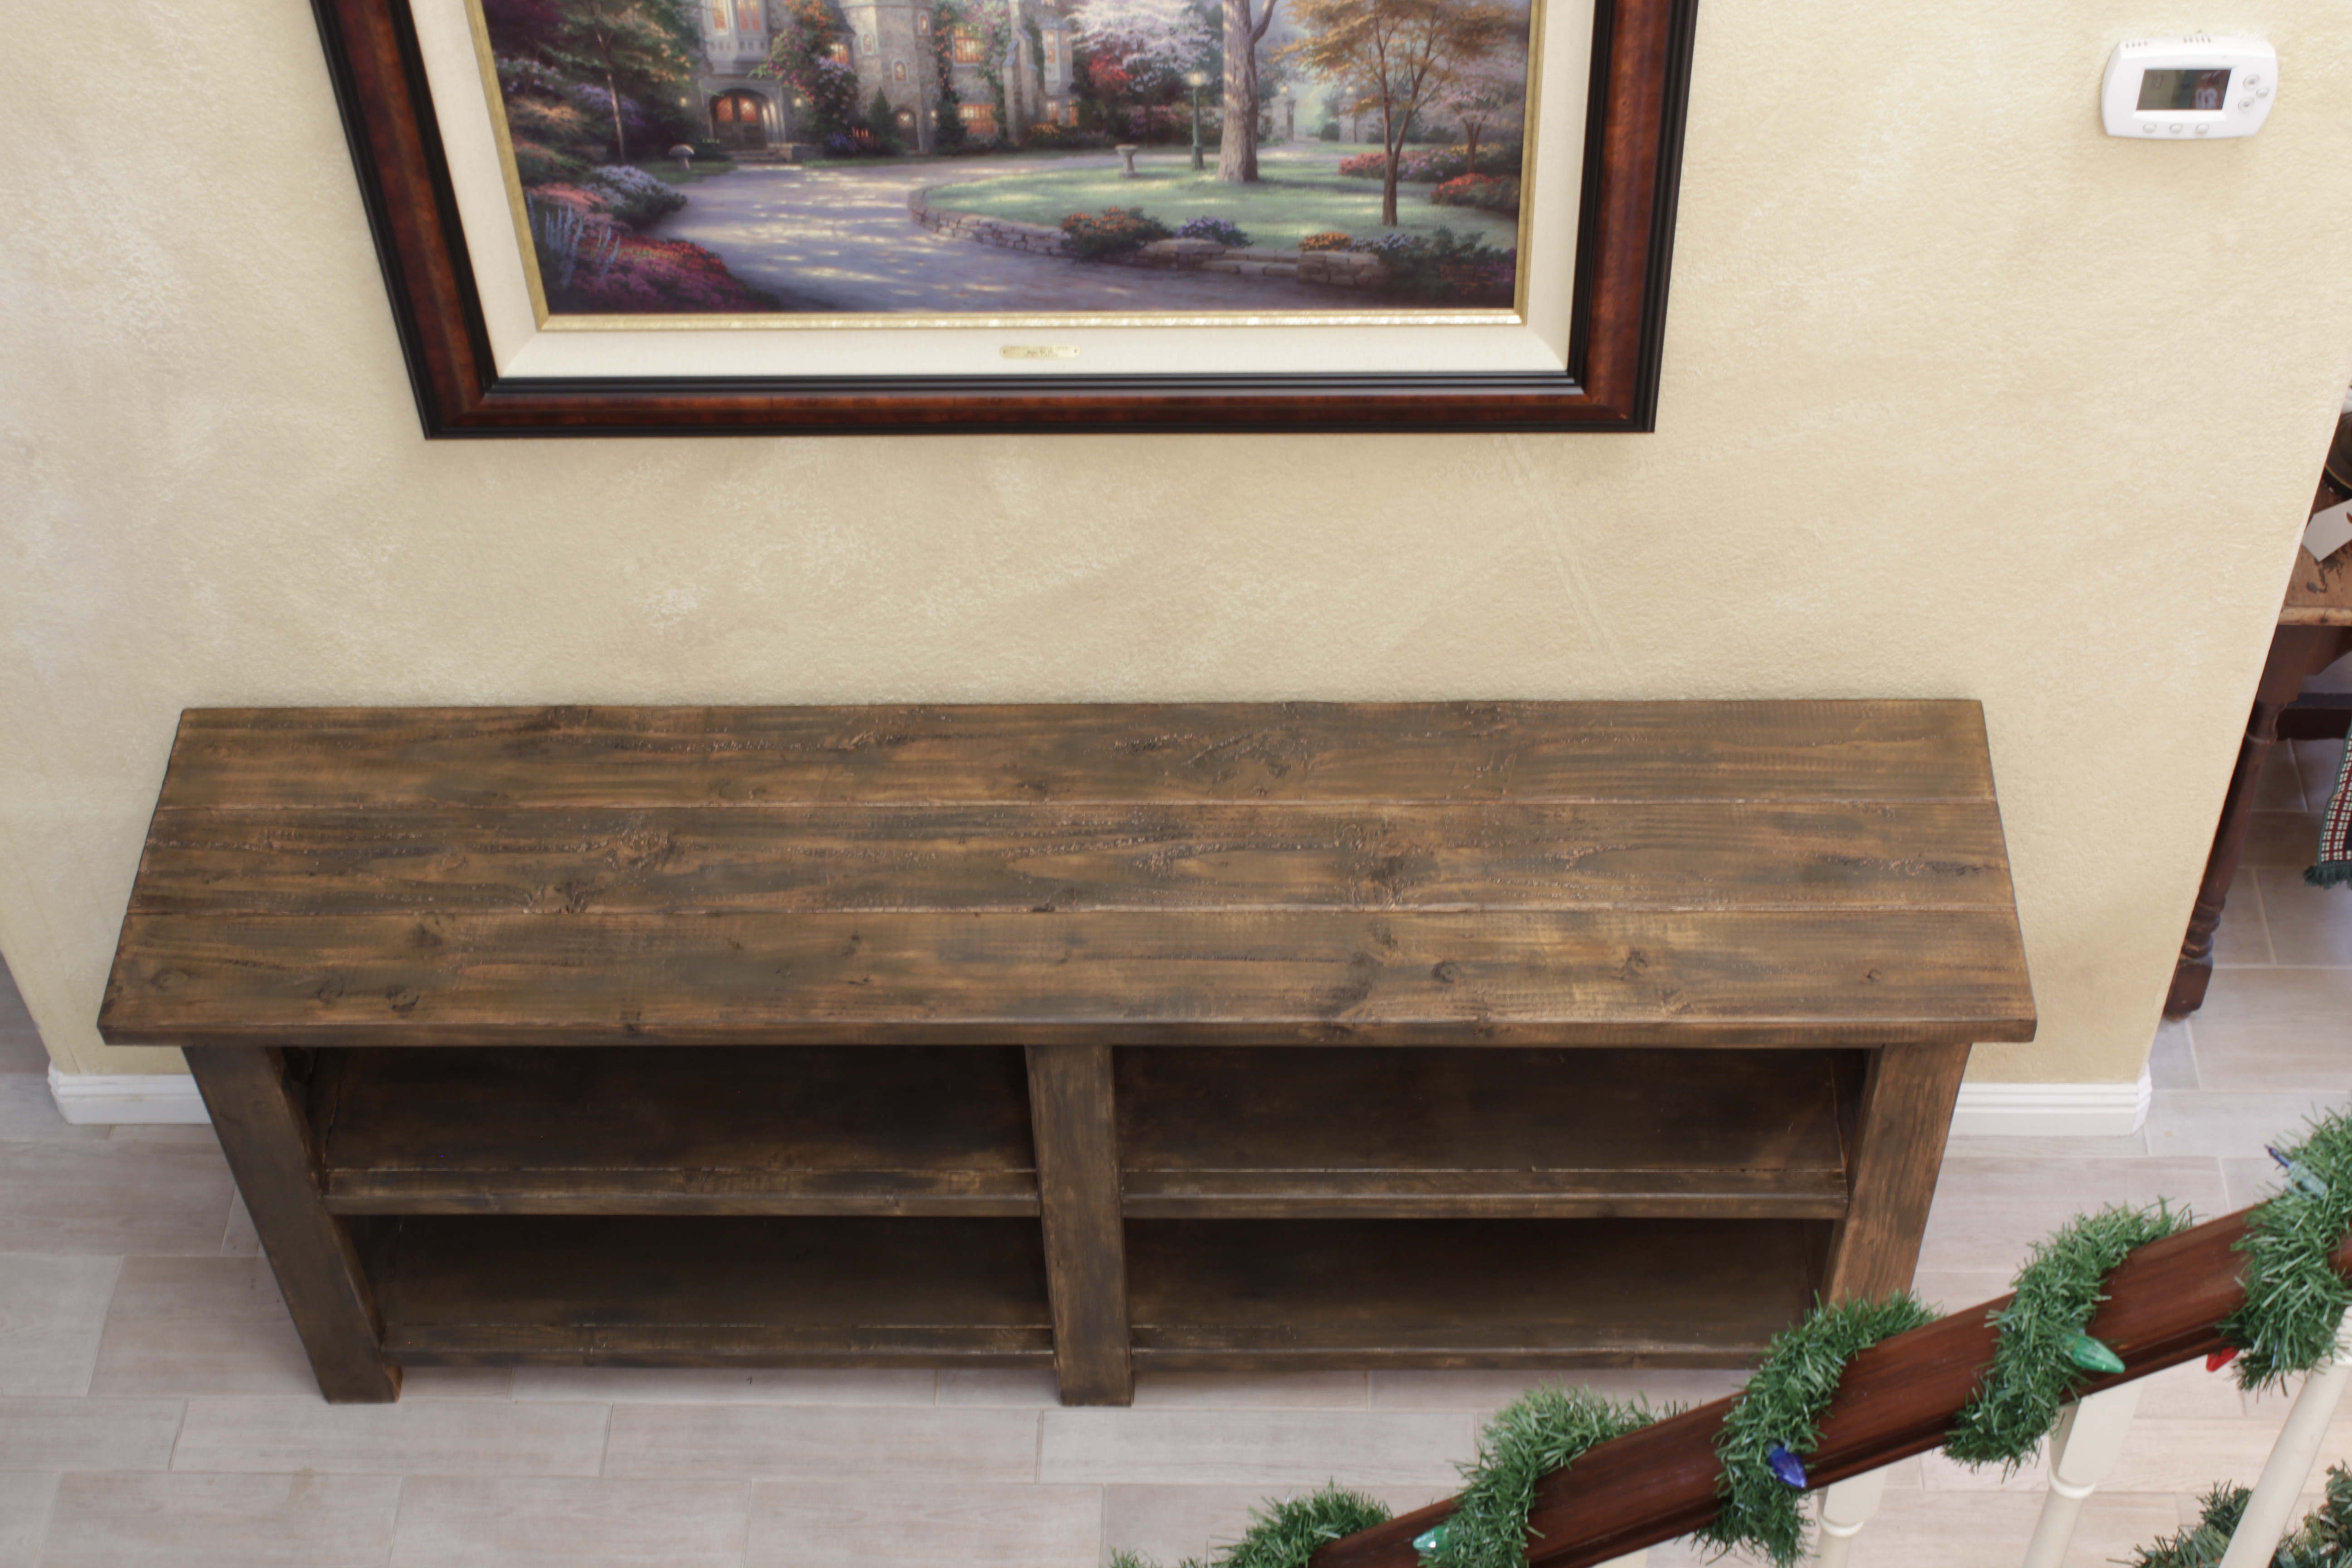
Rustic X Console Finished With Annie Sloan Chalk Paint and Wax
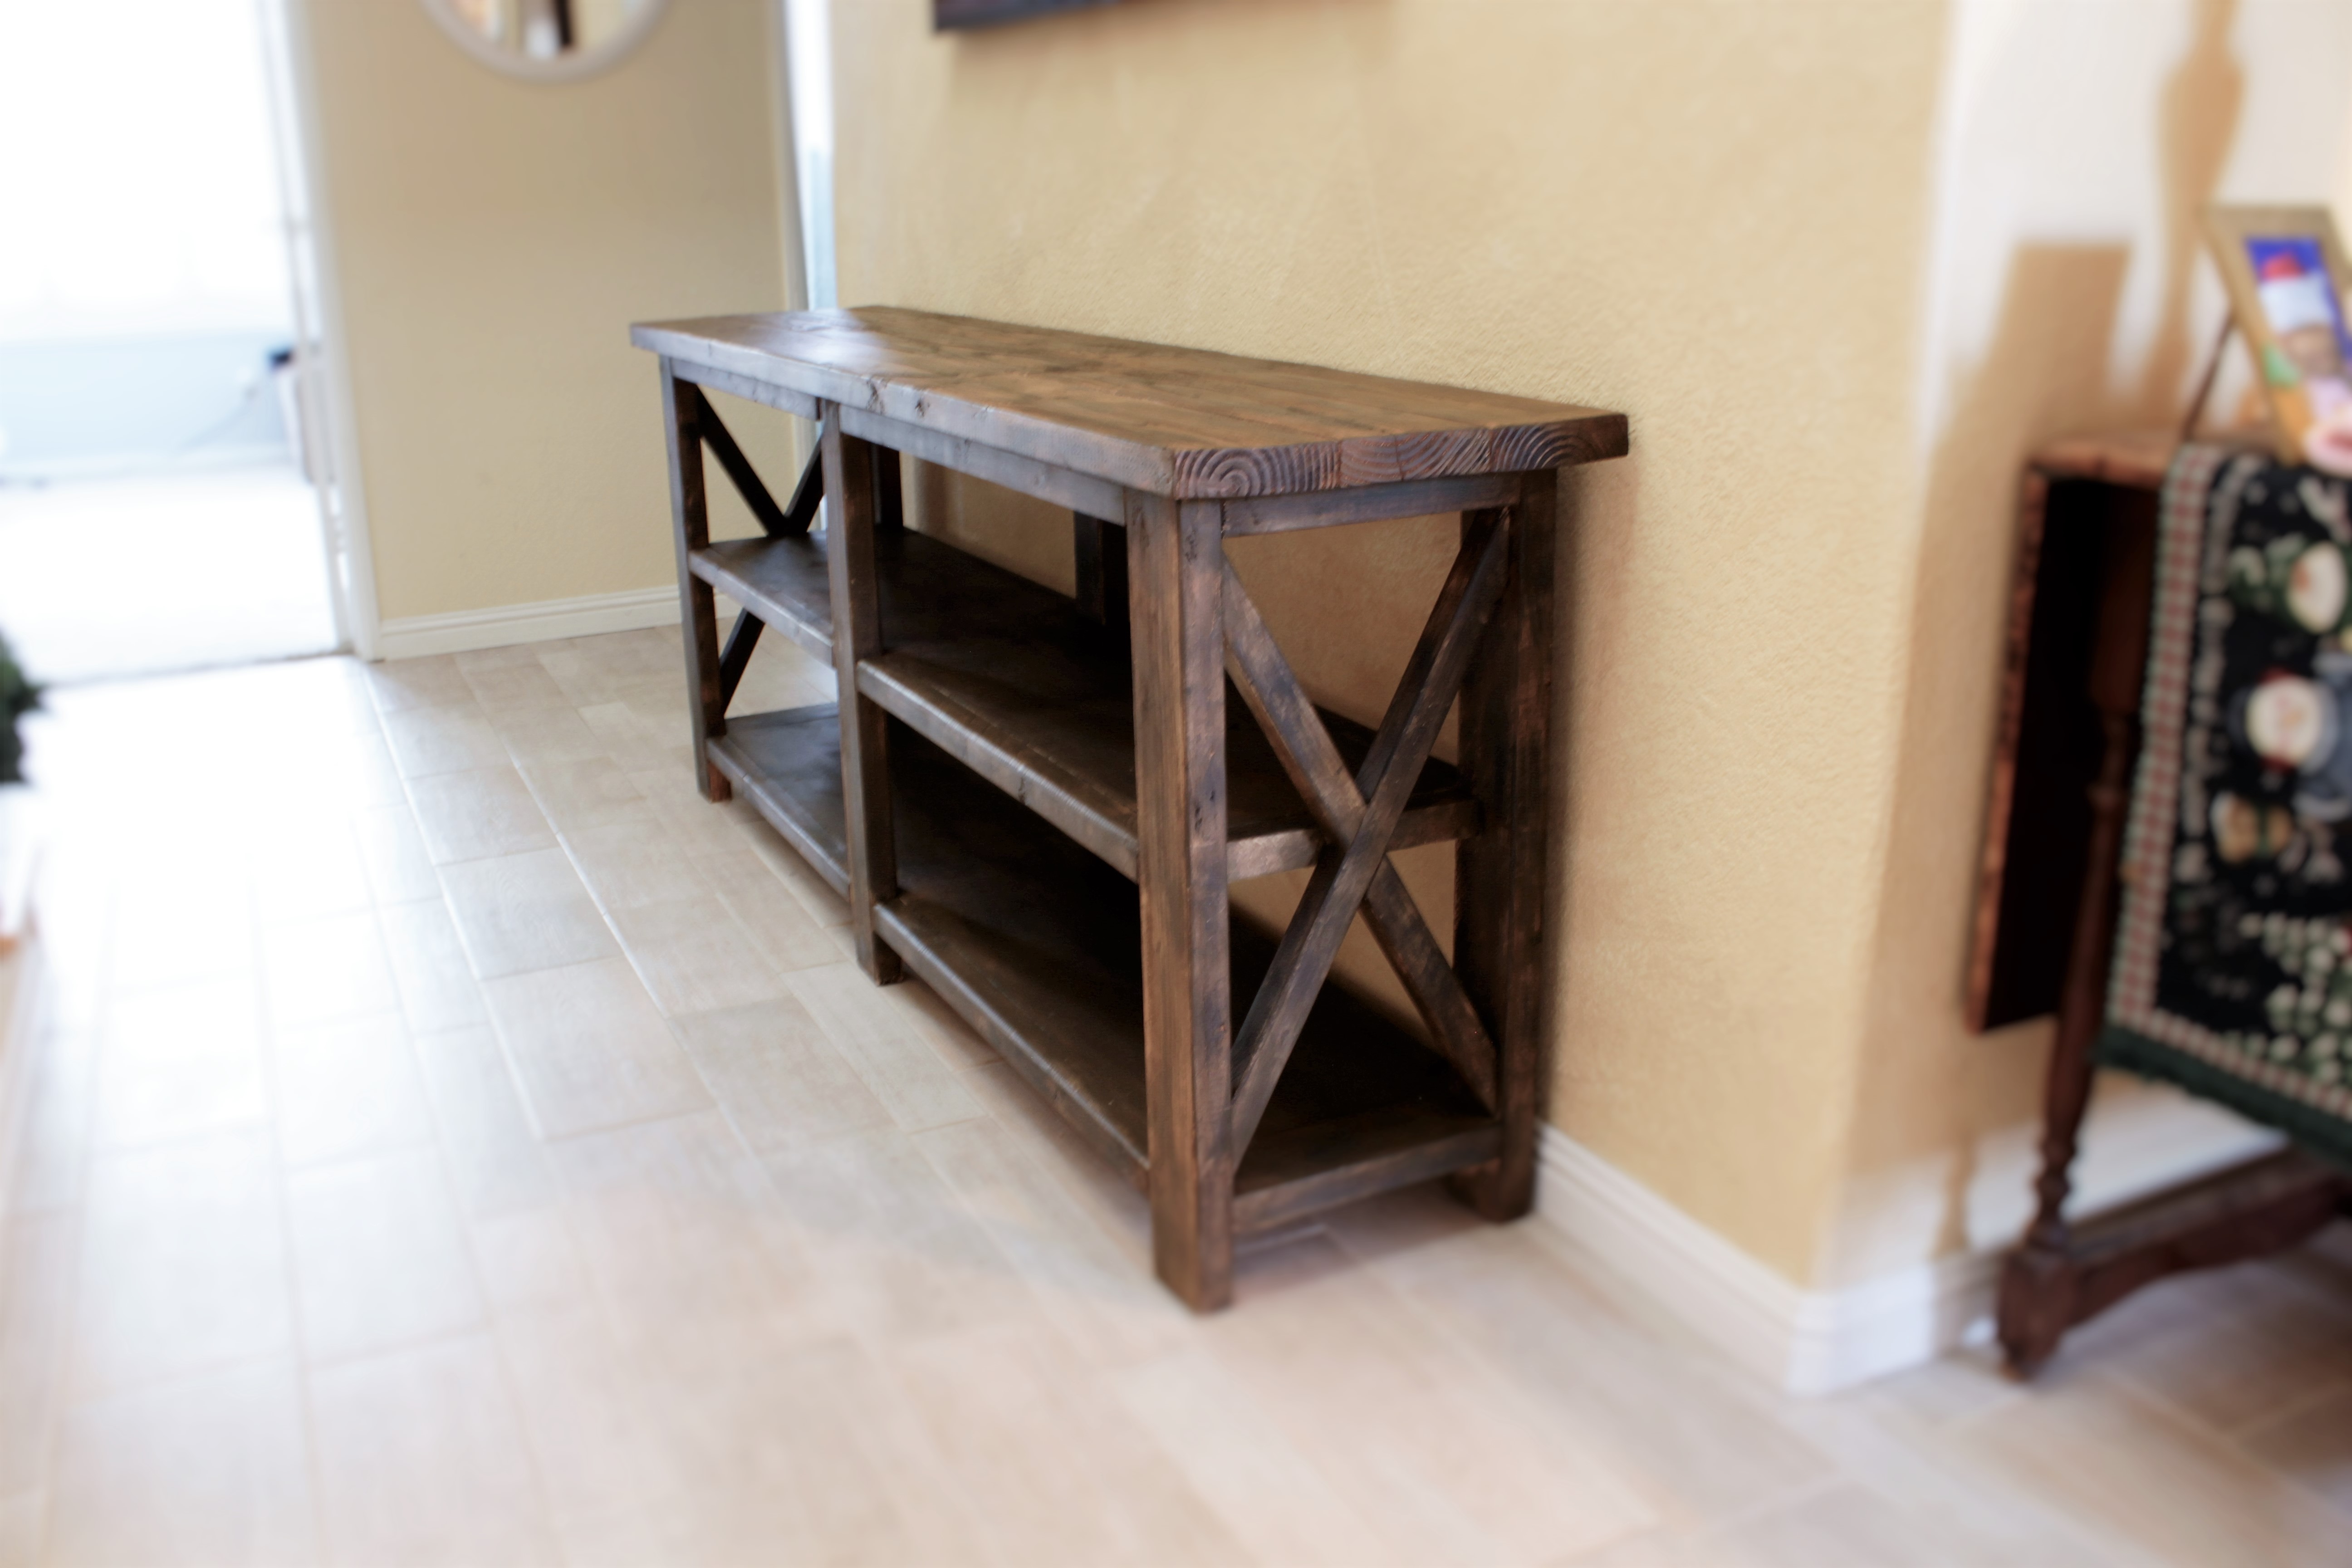
I love this table! Thank you Ana for the plans! Everyone who sees it says it came out incredible. I used my birthday money to buy the Kreg Jig for this piece and I'm glad I did! I'm excited to continue building. This was my first real build and it was fun! I painted it with a mixture of Barcelona and Graphite Chalk paint to make the brown and then I used that brown mixture to paint it as well as Graphite so it has two tones of colors. Chalk paint from Annie Sloan. I then clear waxed for protection and finished with dark wax.
Built from Plan(s)
Estimated Cost
$80
Estimated Time Investment
Weekend Project (10-20 Hours)
Finish Used
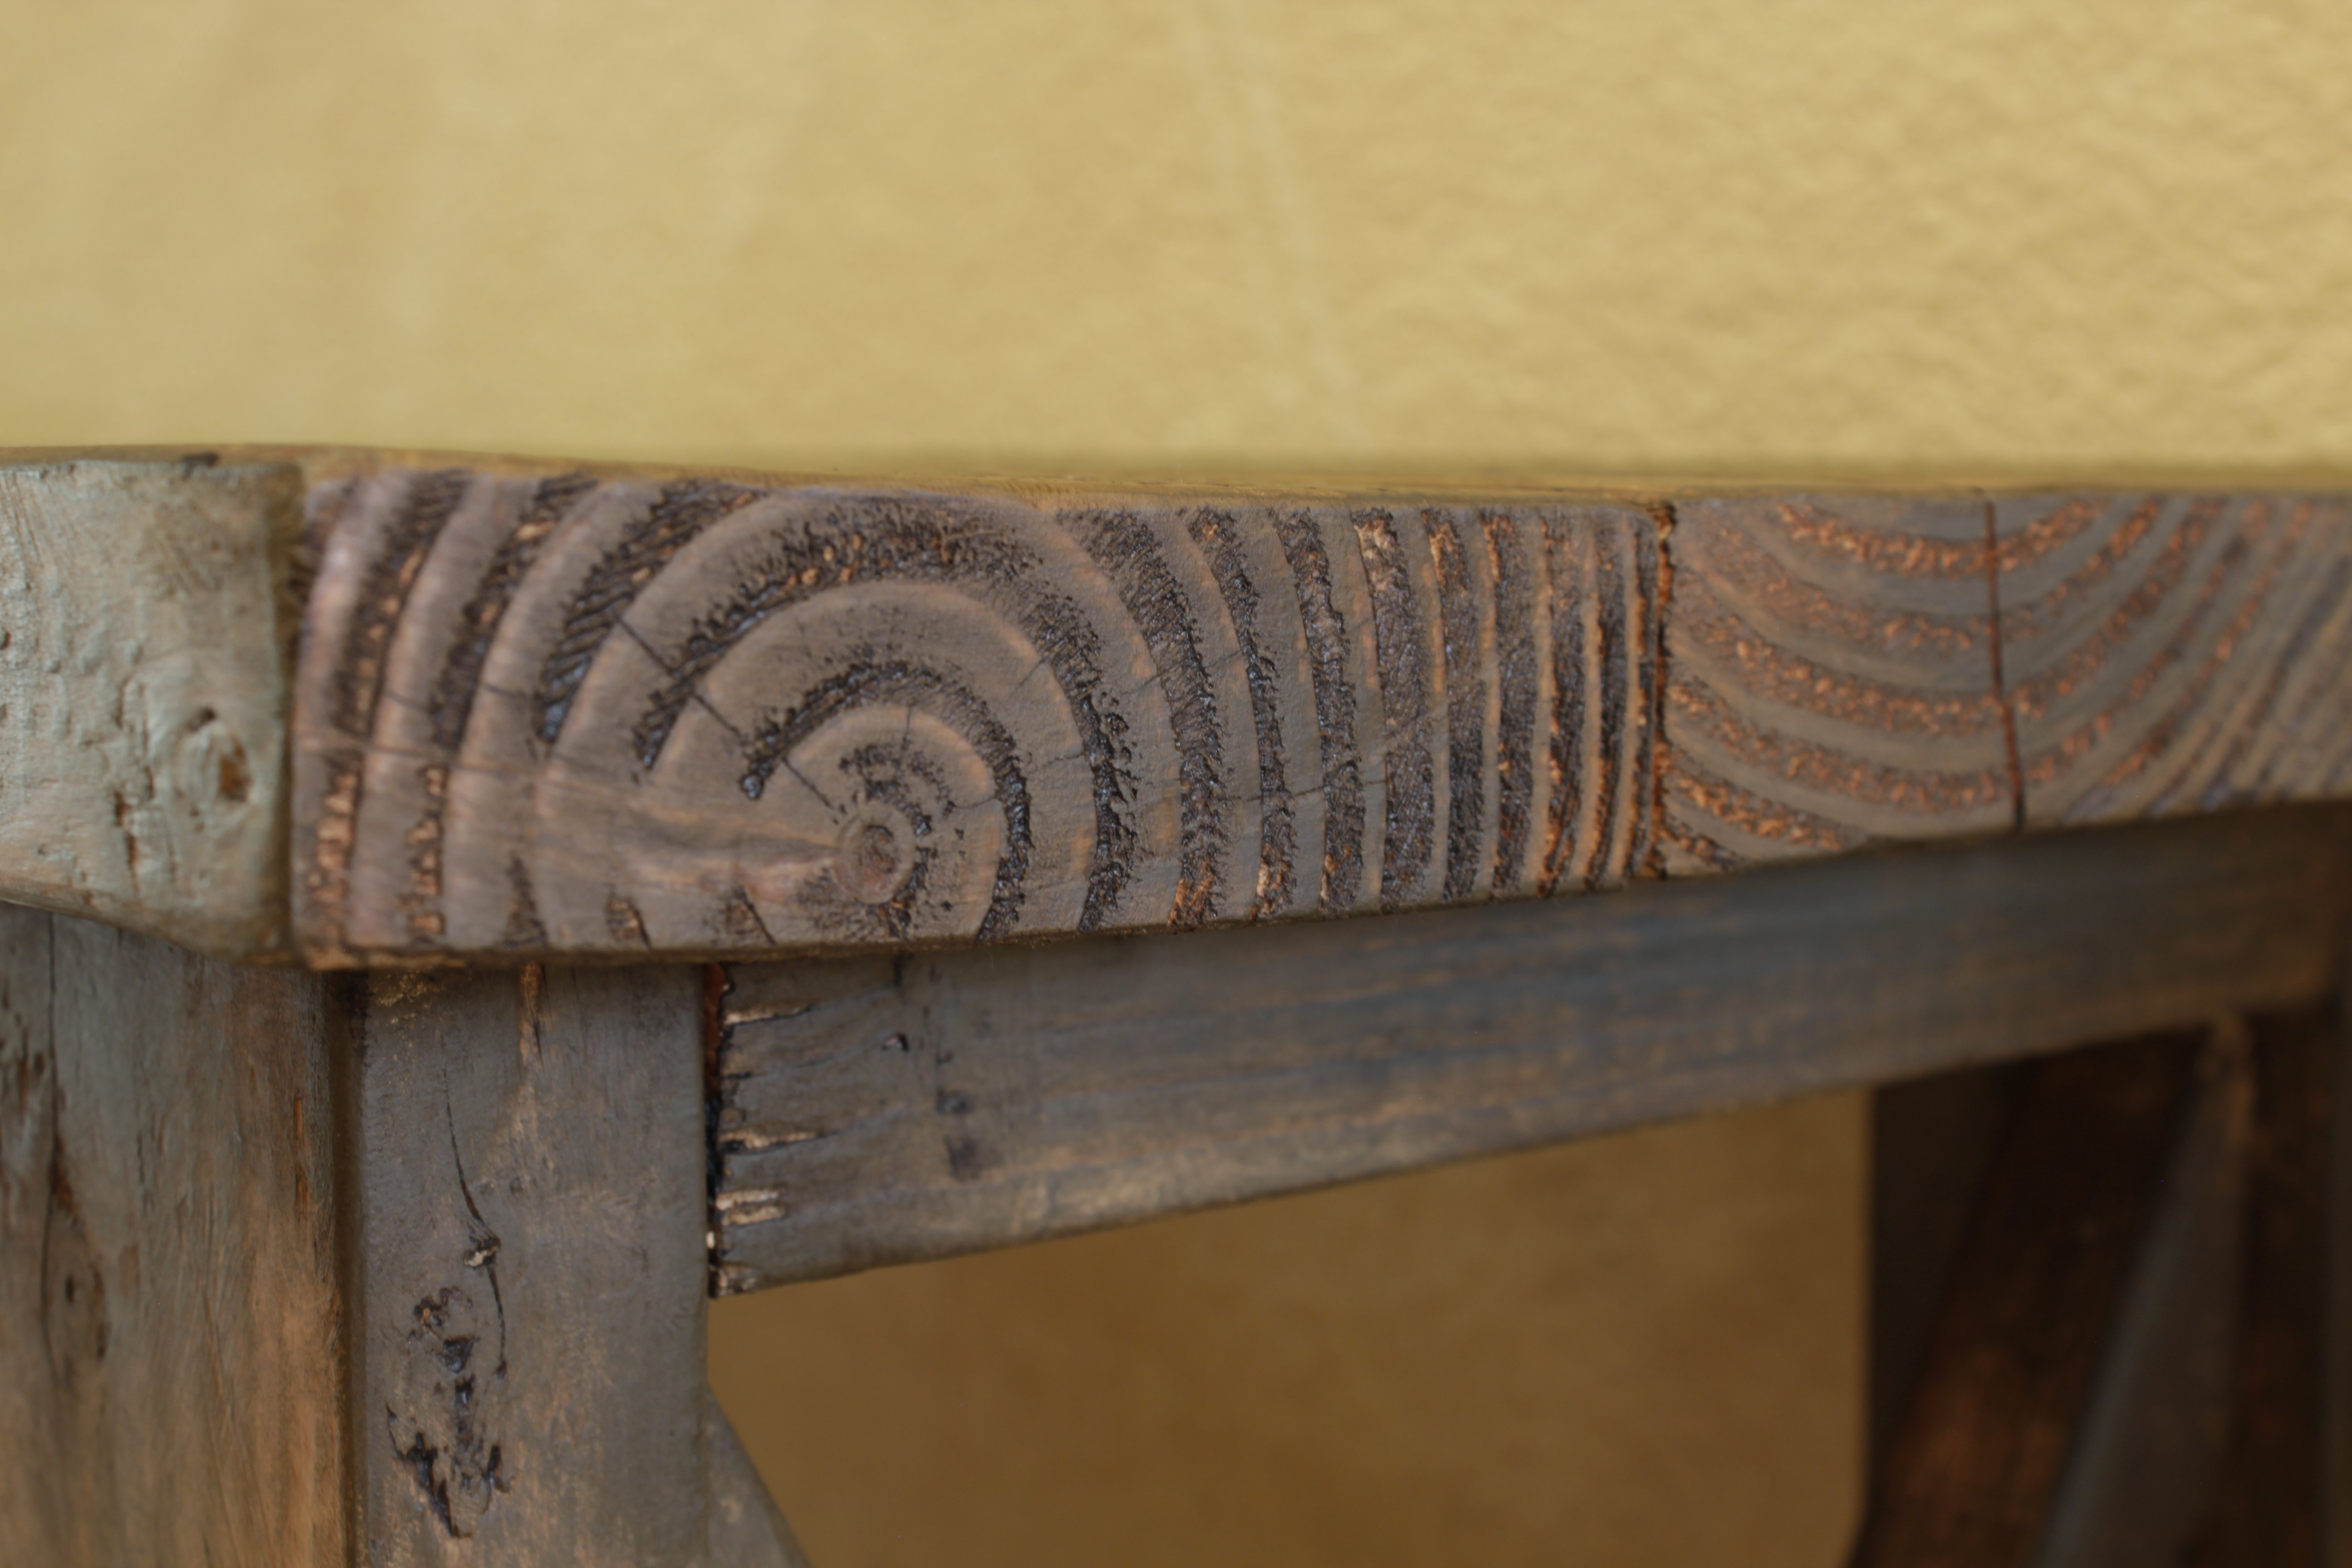
Chalk paint and wax by Annie Sloan. I used Barcelona Orange mixed 50/50 with Graphite to get the brown. I then painted with that brown mixture and Graphite. I clear waxed with Annie Sloan clear wax for protection and finished with her dark wax. I rubbed the dark wax in the grooves and knots so they would stand out.
Recommended Skill Level
Intermediate
Love this design
Had to change it up a little..
Built from Plan(s)
Estimated Time Investment
Weekend Project (10-20 Hours)
Recommended Skill Level
Intermediate
Rustic x
מבוסס על התוכנית של אנה
Comments
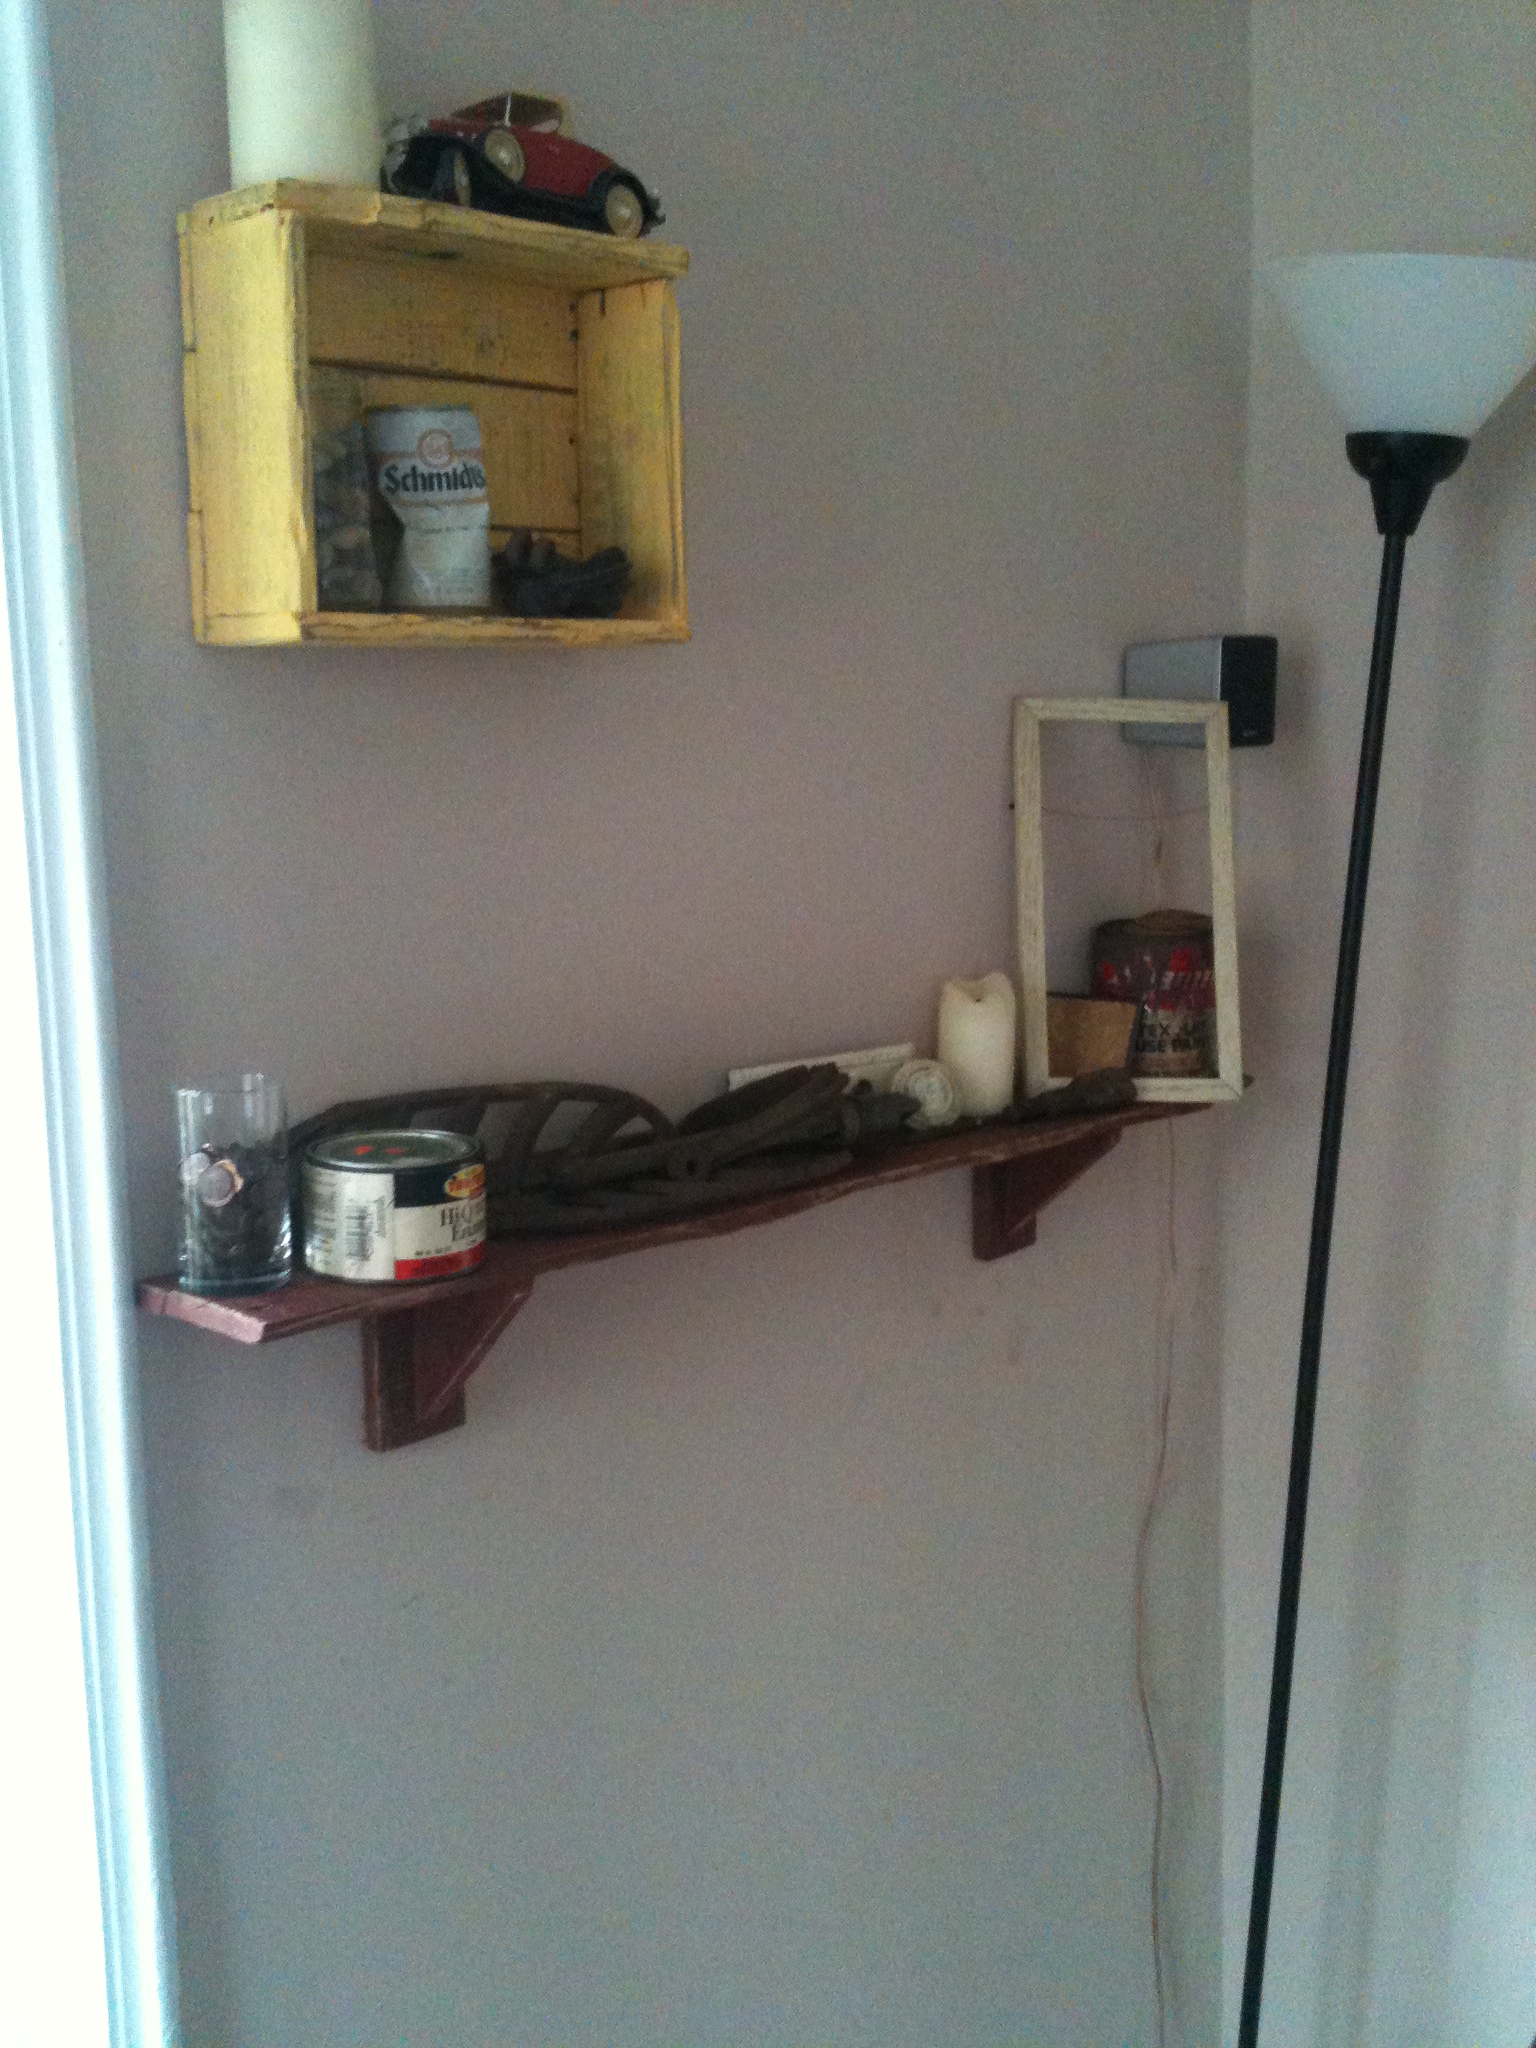
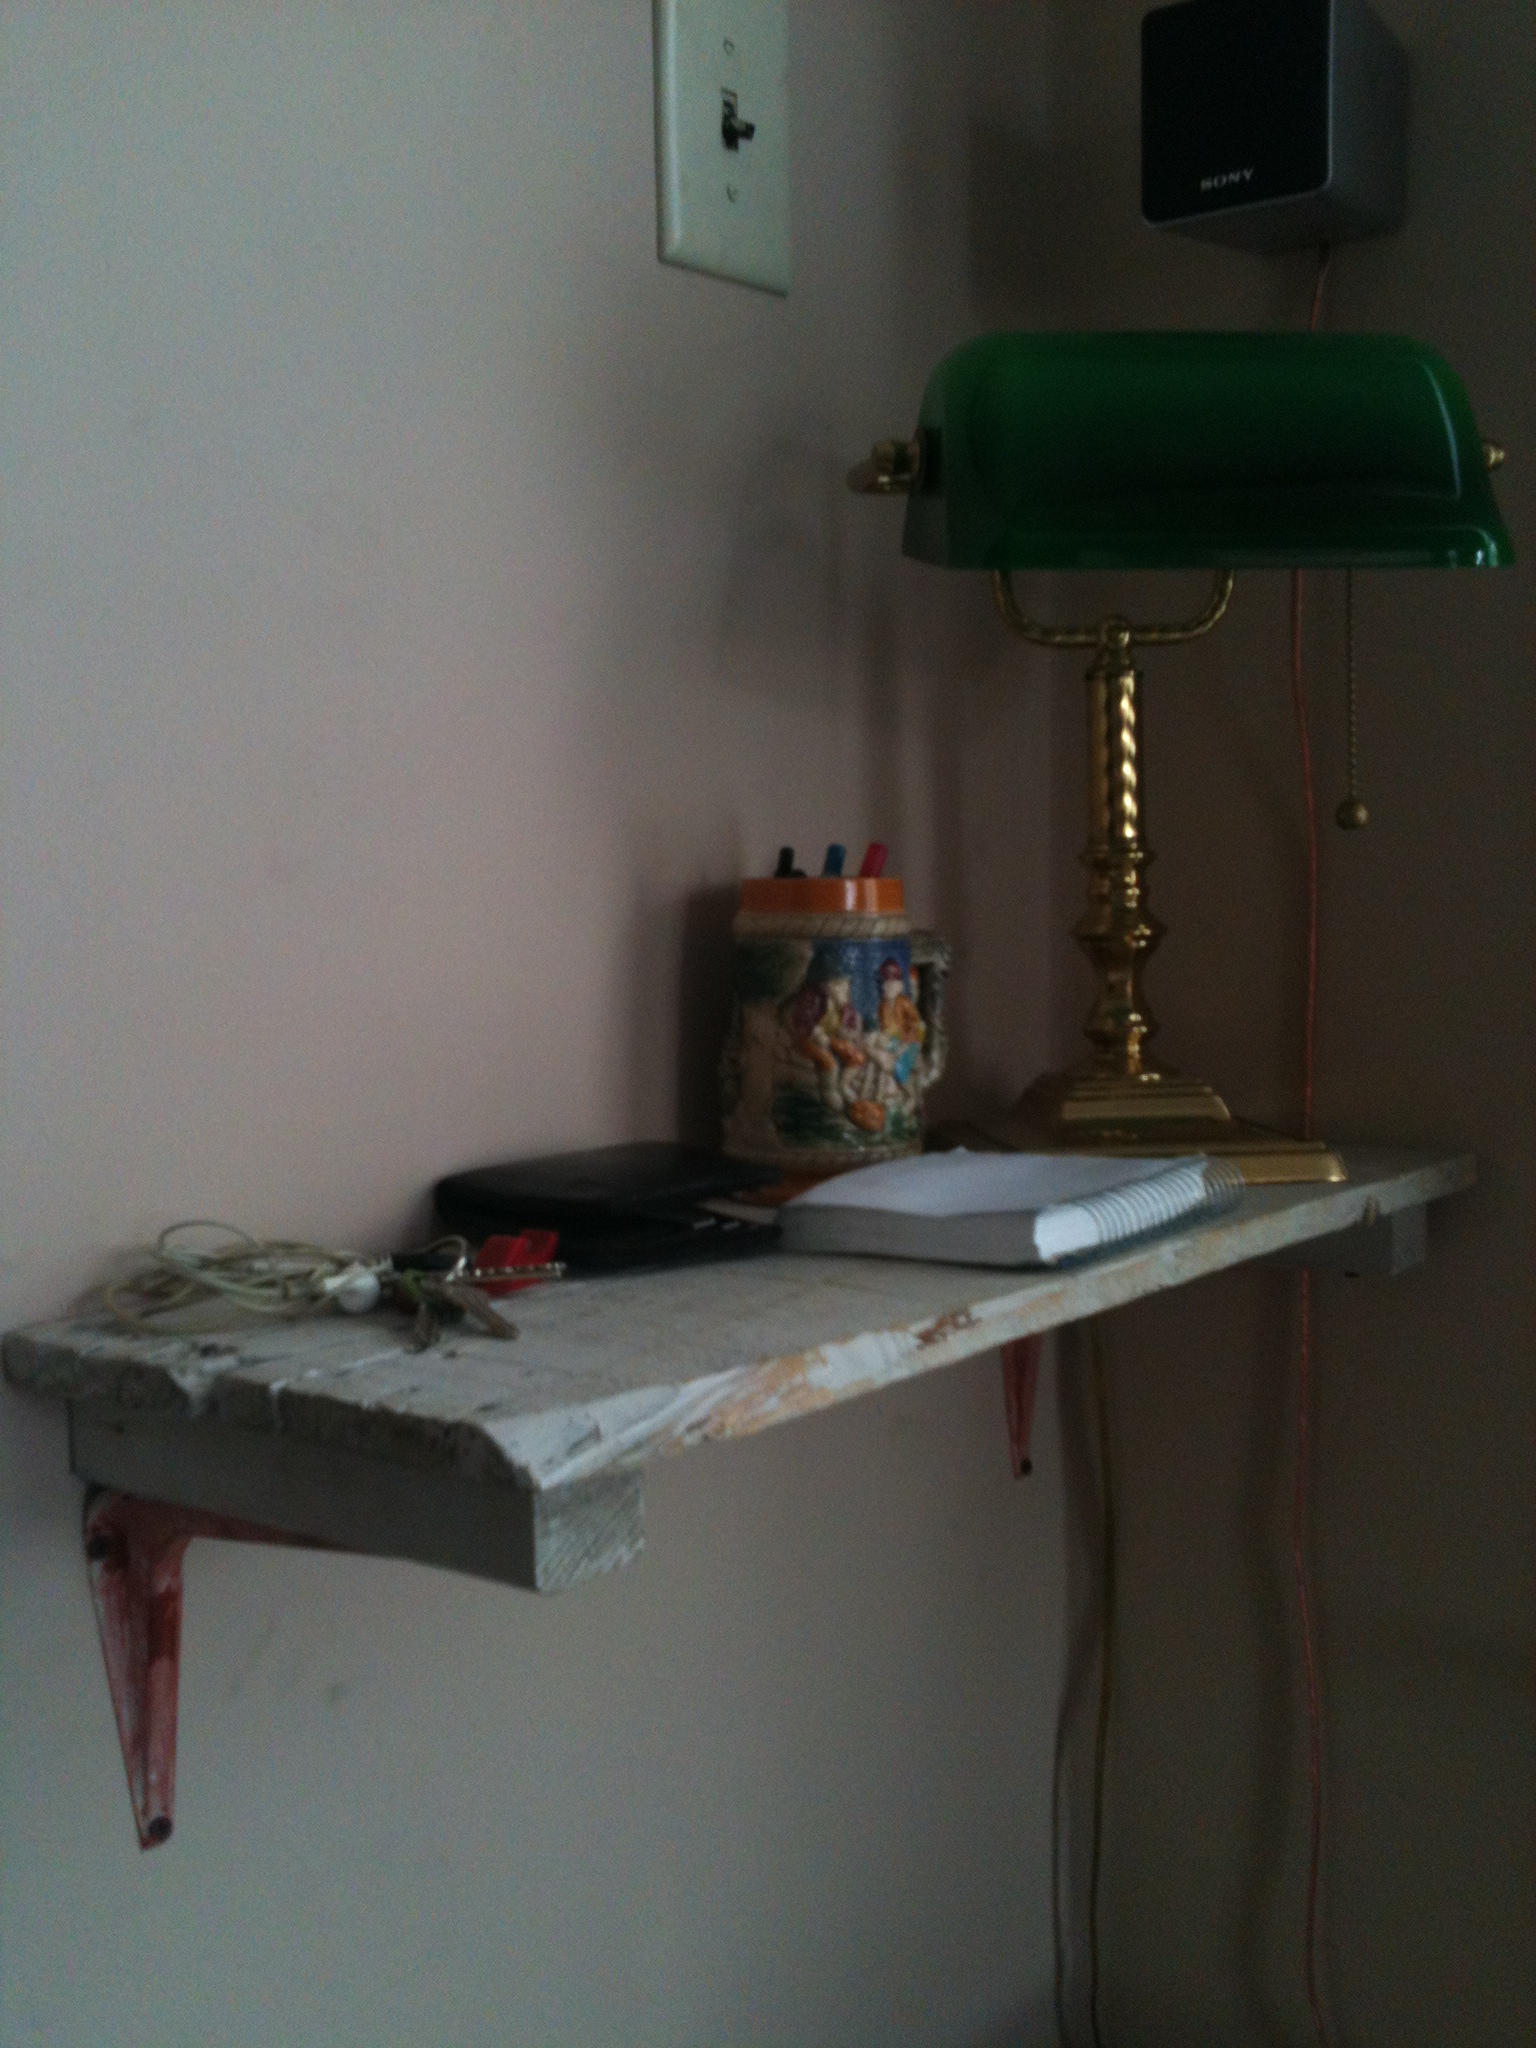
Quick and free wall decor
So about a month ago I had planned for people to be over for a casual evening of story telling, snacking, casual beer drinking and the exchanging of a variety of craft beers. All in all, a good time, no biggie.
Fast forward a little bit after making this commitment, the roommate tells me he and his girlfriend are getting their own place and therefore moving out. Great! Now I don't have to put on pants when I wake up to pee at night.
Fast forward to the first of this month, he's moved out. Gone with him is much of the furniture and things in the house. Not really a big deal except now it looks like I live with nothing but a bed, a couch and some milk crates. Not the image I want conveyed to a group of people who are going to see where I live for the first time.
Of course maybe a more normal person would go buy some things to fill the gaps, unfortunately for a 24 year old making not nearly enough over minimum wage, that isn't an option. Besides, even if I could afford it, furniture markup makes me ill.
So I had two weeks to make enough furniture to make my house appear respectable with a limited budget. To my favorite medium it was, pallet wood.
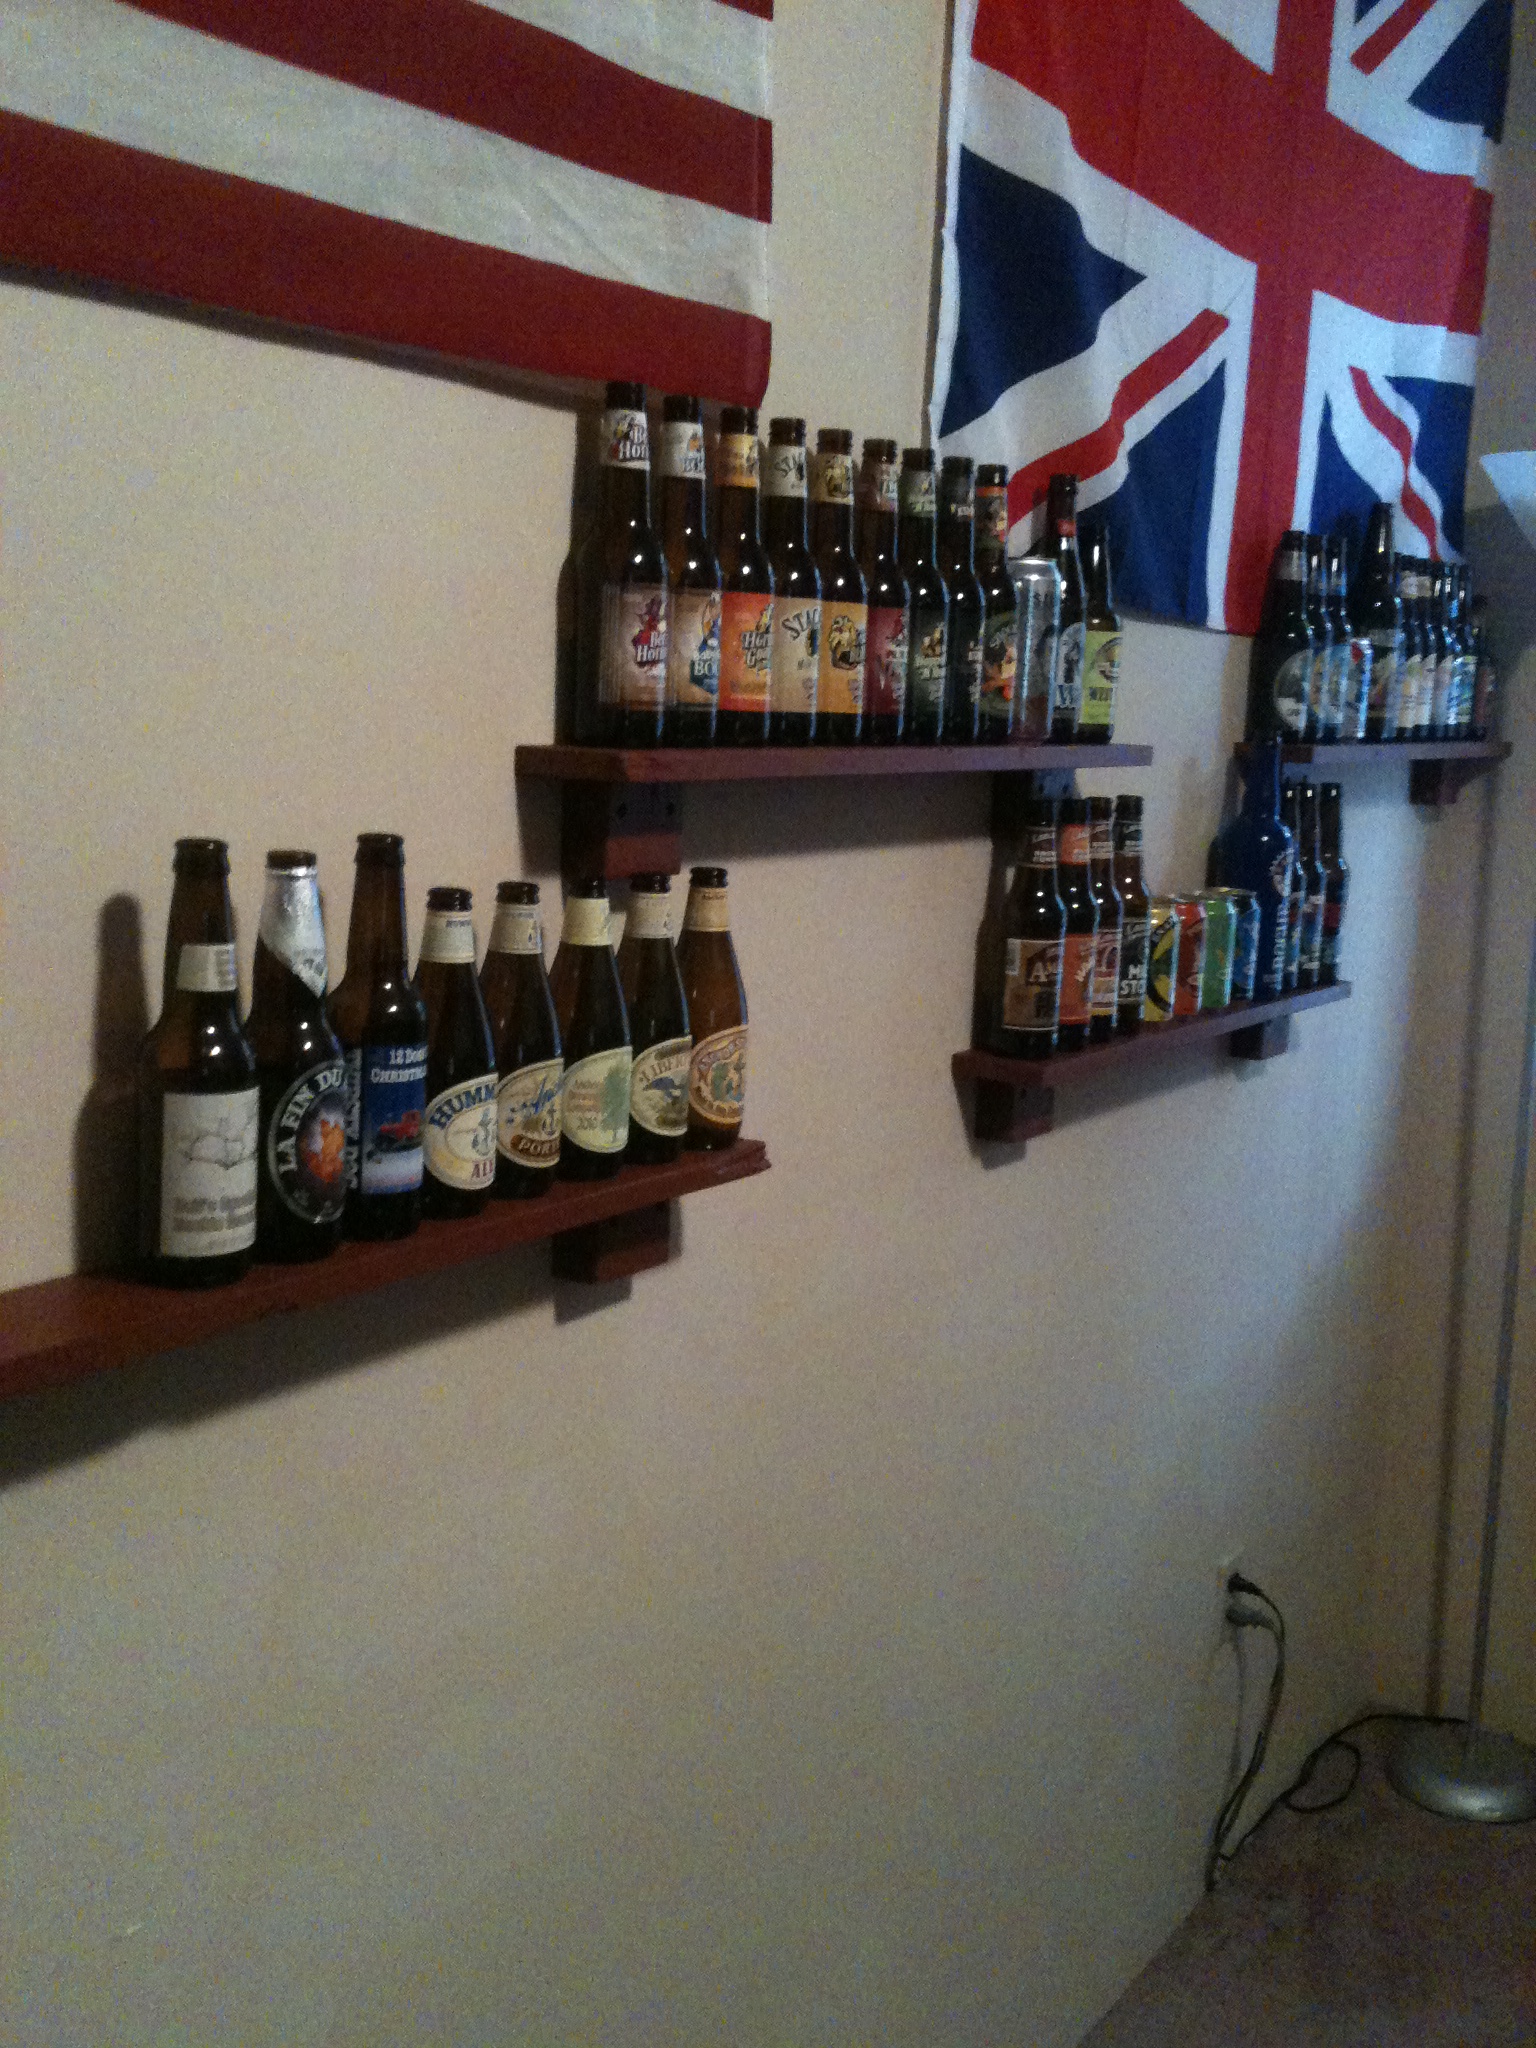
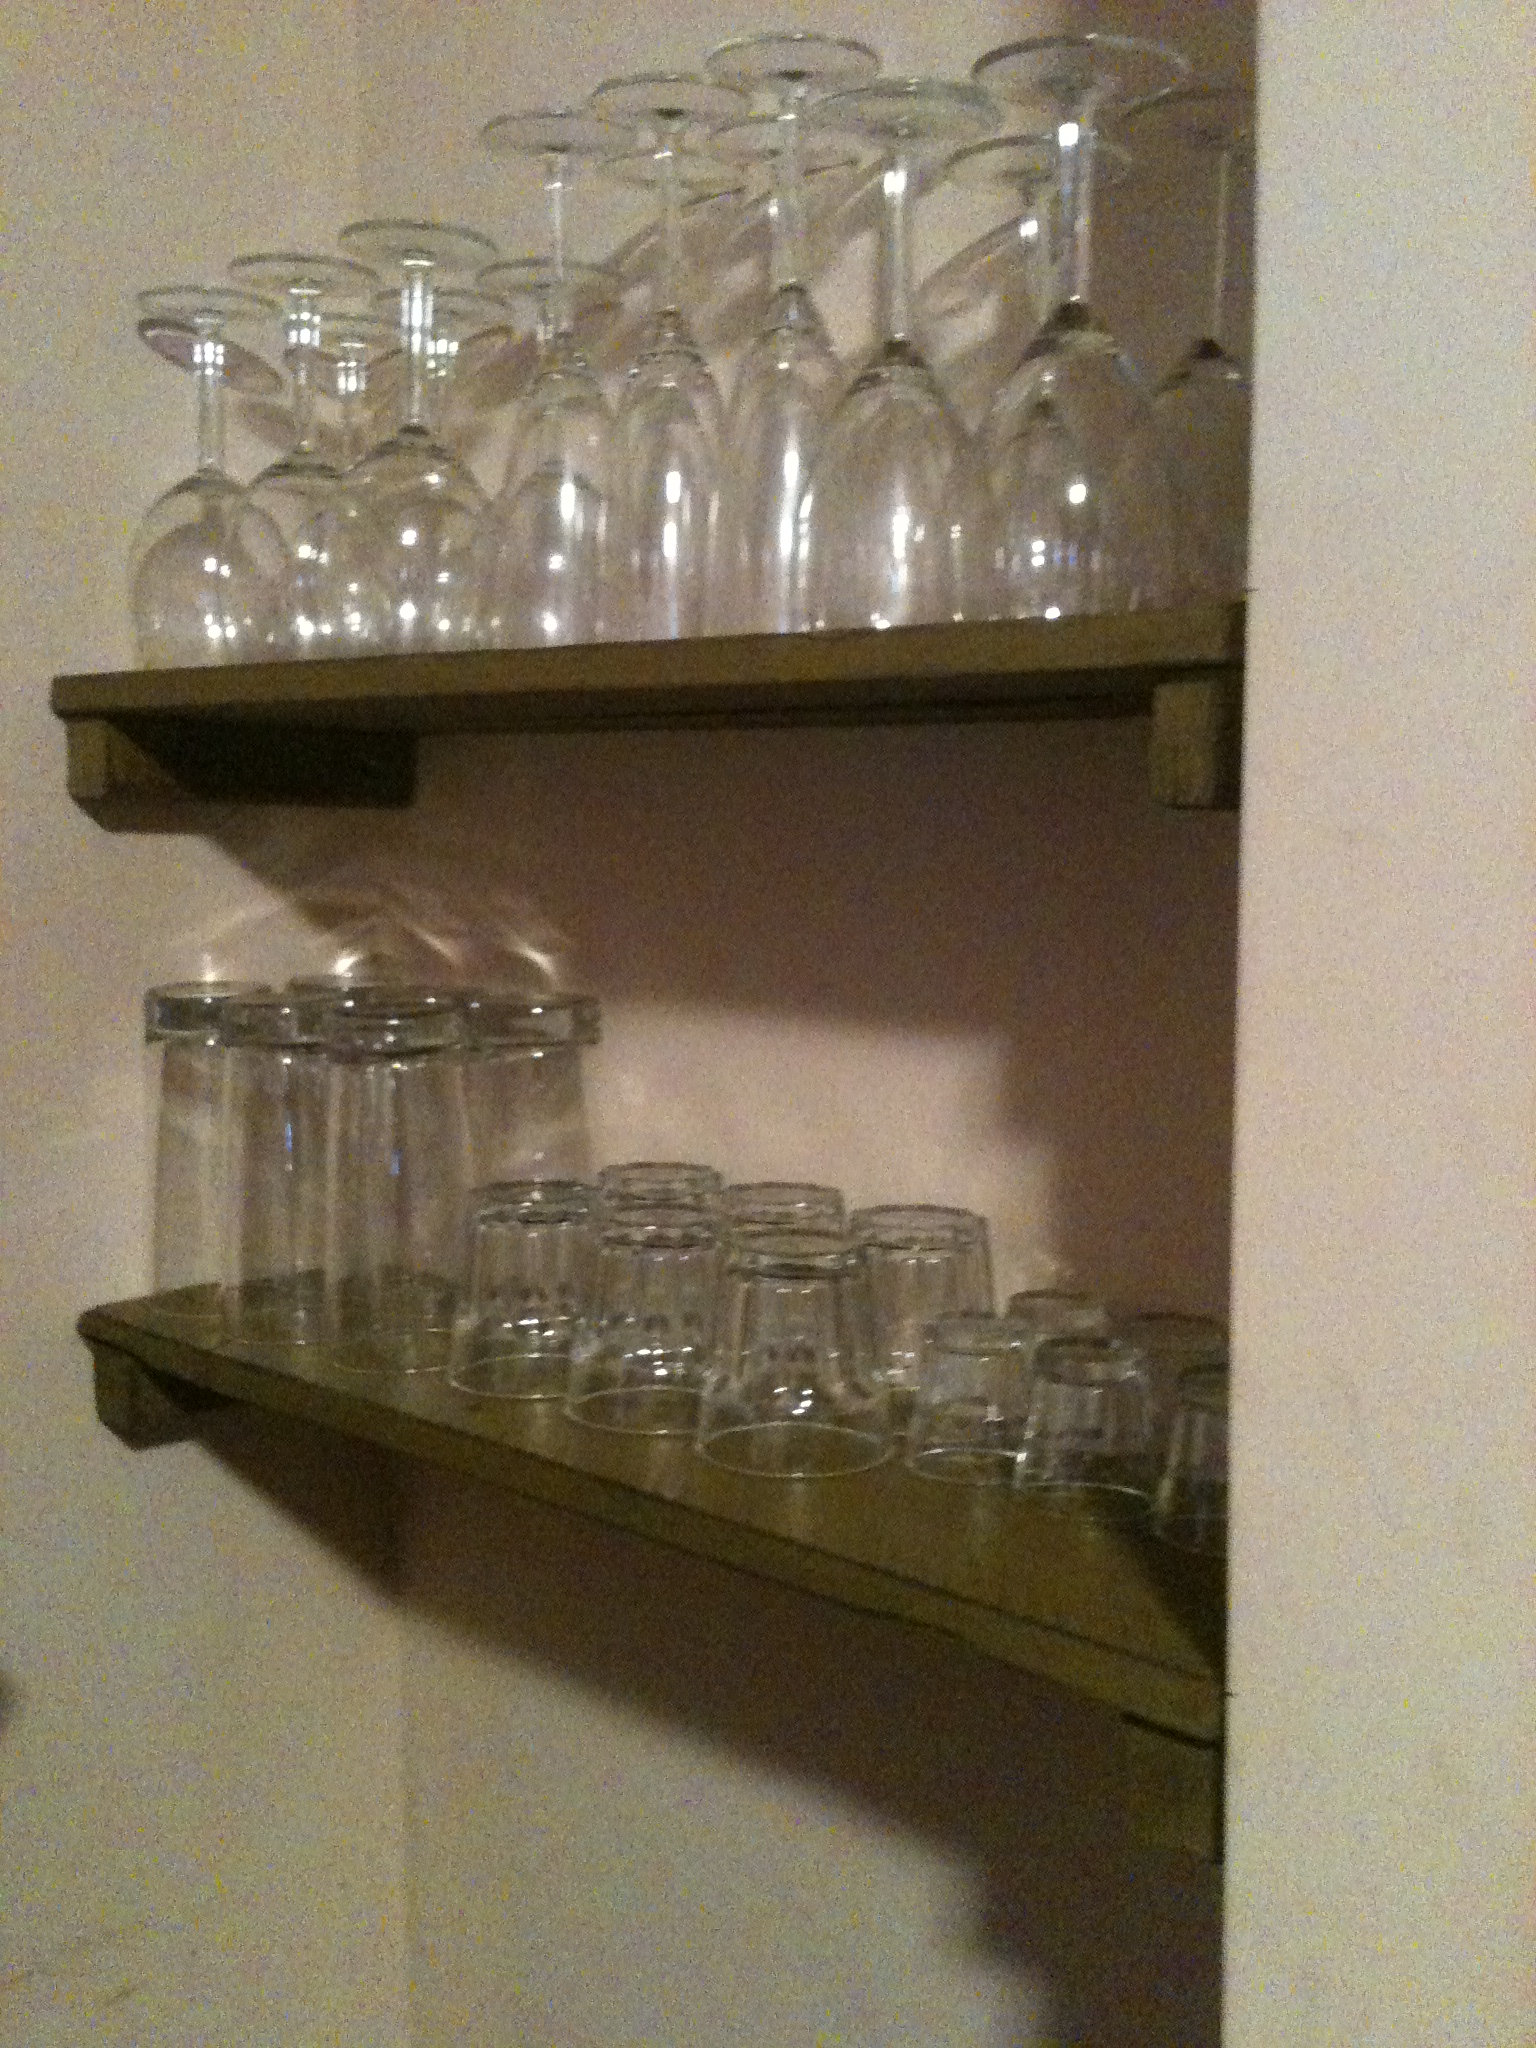
Everything featured here is made with reclaimed pallet wood, leftover paint and leftover screws/nails/sandpaper.
Except for the beer bottle shelves which were simply painted the paint was all worn down to look aged by using worn out sanding pads on a random orbital sander(seriously, leftover sanding pads). They were all left that way then with the exception of the shelves for the glassware which were rubbed down with ebony stain.
I'm listing my time for all these at just 3-6 hours even though it took two weeks because the time was spread out between other projects at the same time and most nights I only had a couple hours to work on them after work. Plus the obvious time for paint to dry.

Built from Plan(s)
Estimated Cost
Free
Estimated Time Investment
Afternoon Project (3-6 Hours)
Finish Used
Oops paint sanded with used sanding pads on a random orbital sander.
Recommended Skill Level
Starter Project
Comments

Wed, 10/19/2011 - 08:14
Very creative use of
Very creative use of materials!
From the labels on the bottles on your shelves I think we have similar tastes in beer. =)
Wed, 10/19/2011 - 17:46
If your tastes are "anything
If your tastes are "anything I can get my hands on" than yes we do! That's actually only about a quarter of my collection so far, the rest are on the opposite wall.
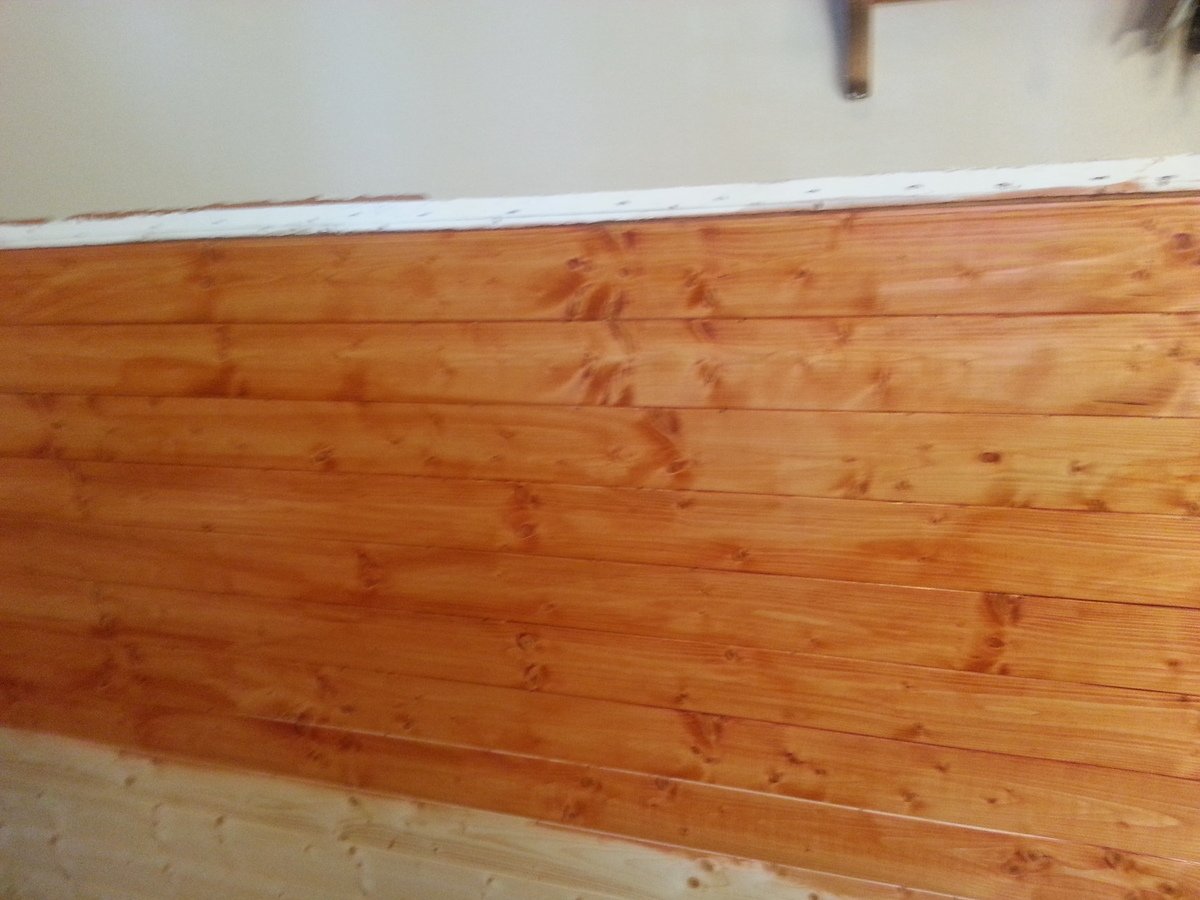
Entry Way
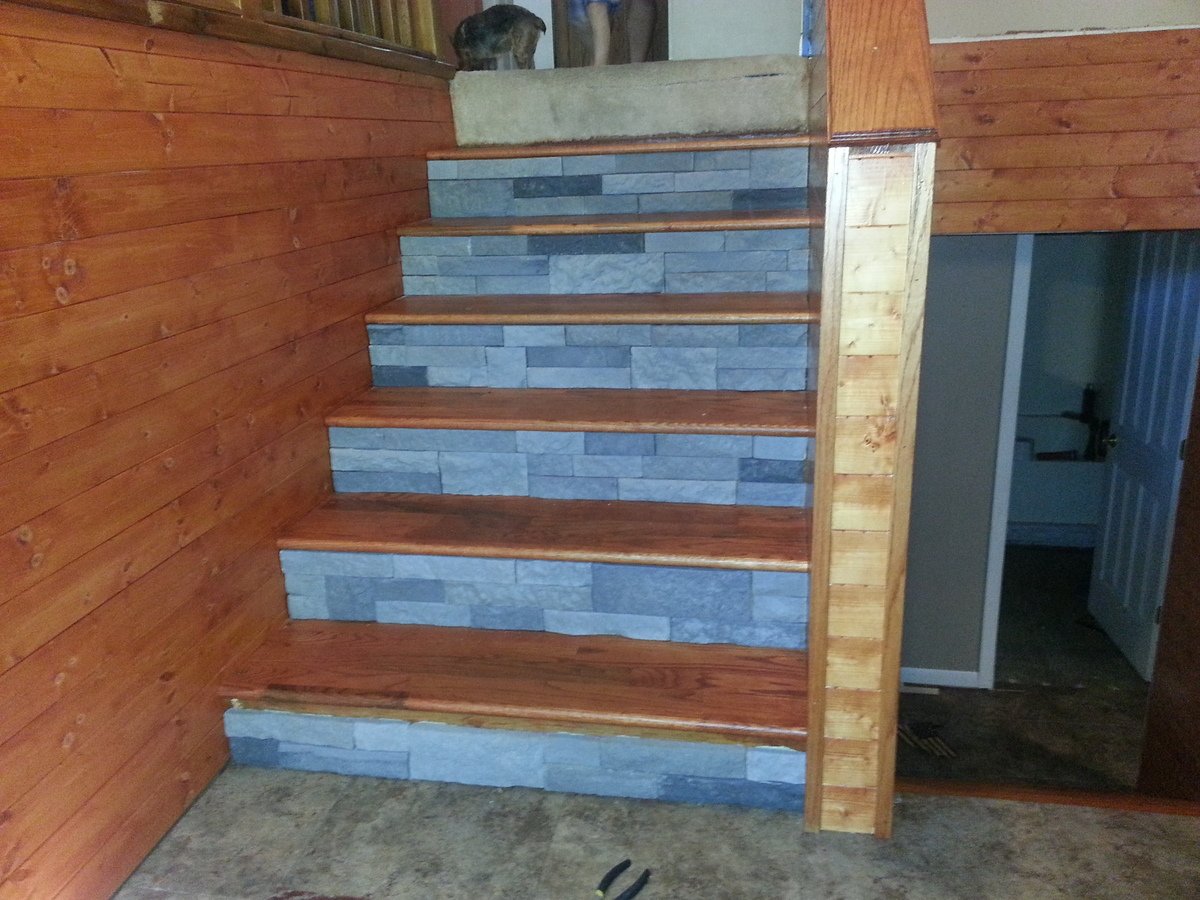
I helped a buddy redo his entry way into his house by putting up pine boards, brick for stairs, and oak steps.

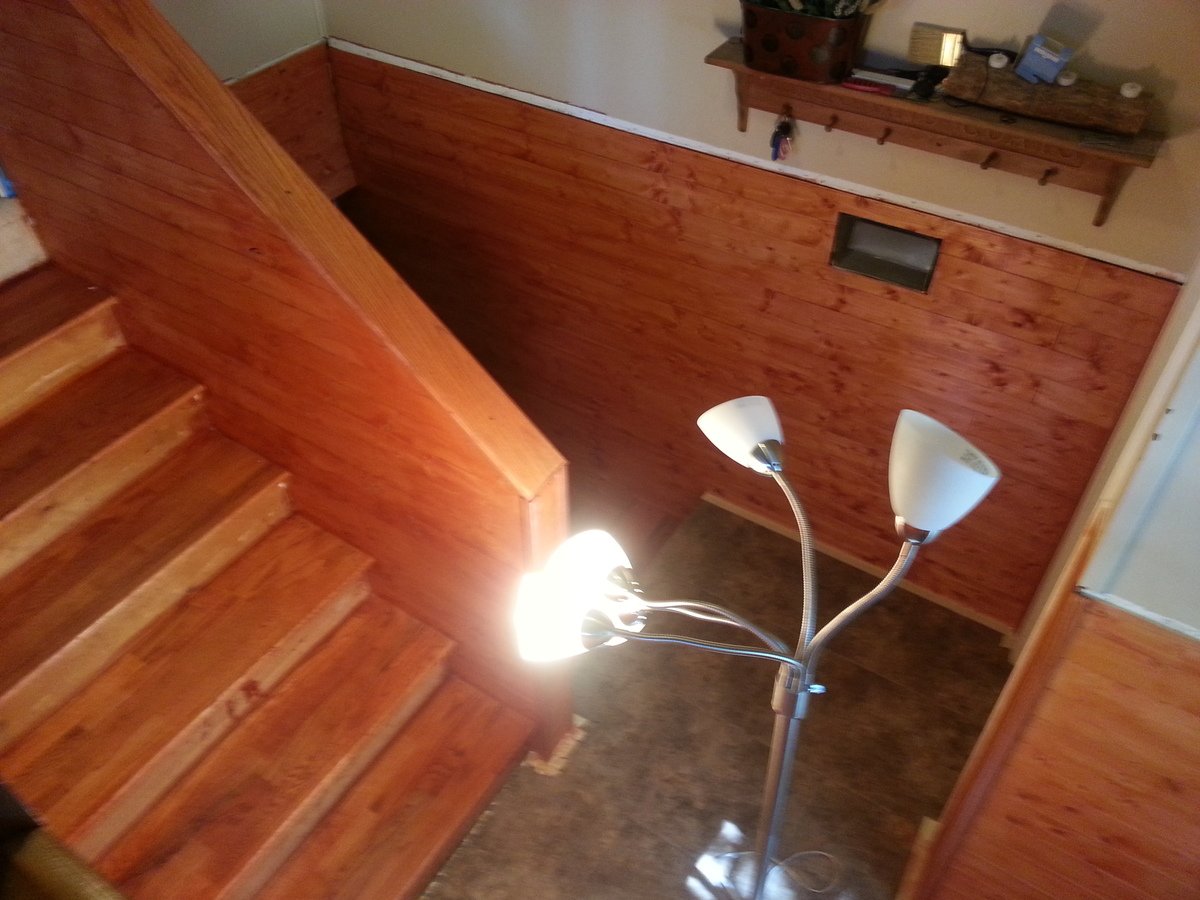
Estimated Time Investment
Week Long Project (20 Hours or More)
Finish Used
Cherry finish on the pine/oak Satin Min Wax poly
Recommended Skill Level
Intermediate
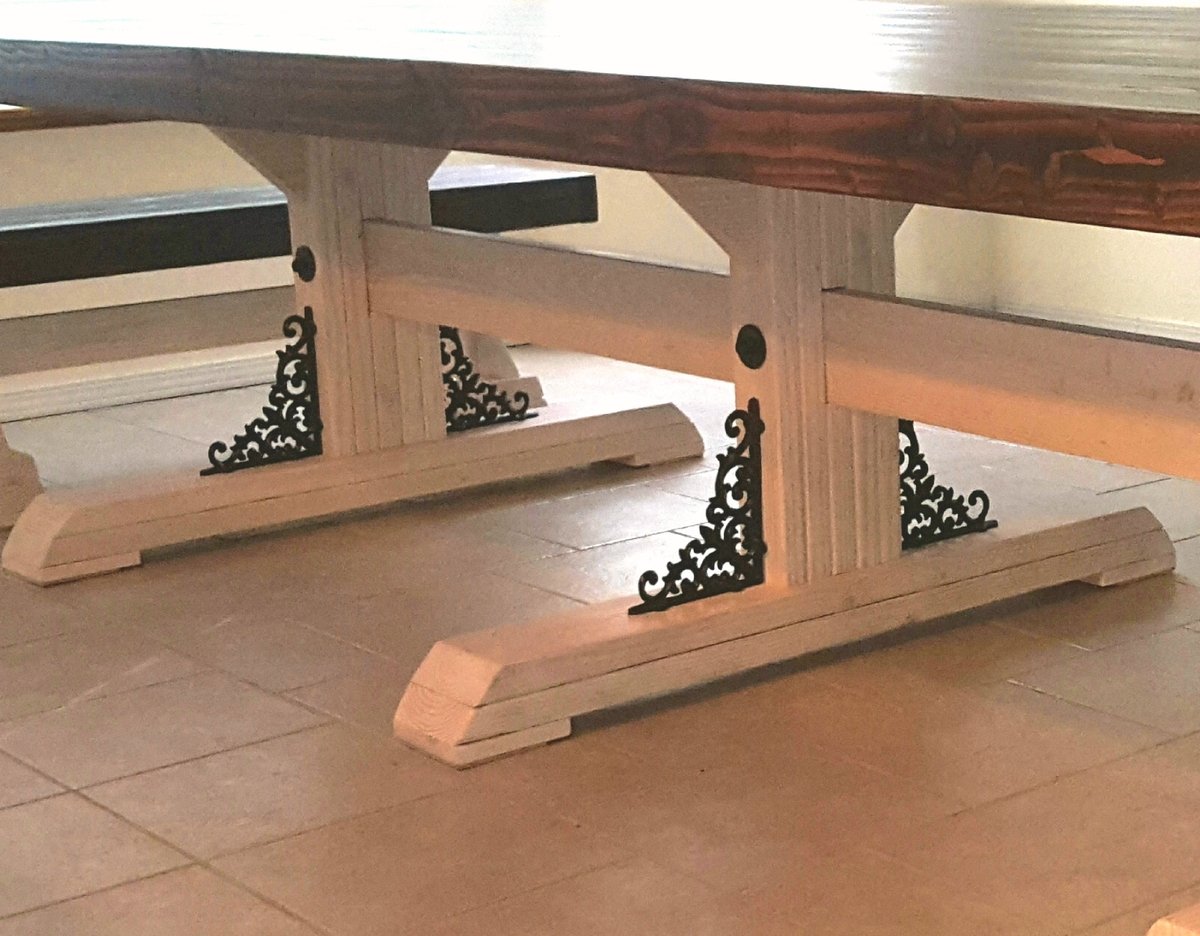
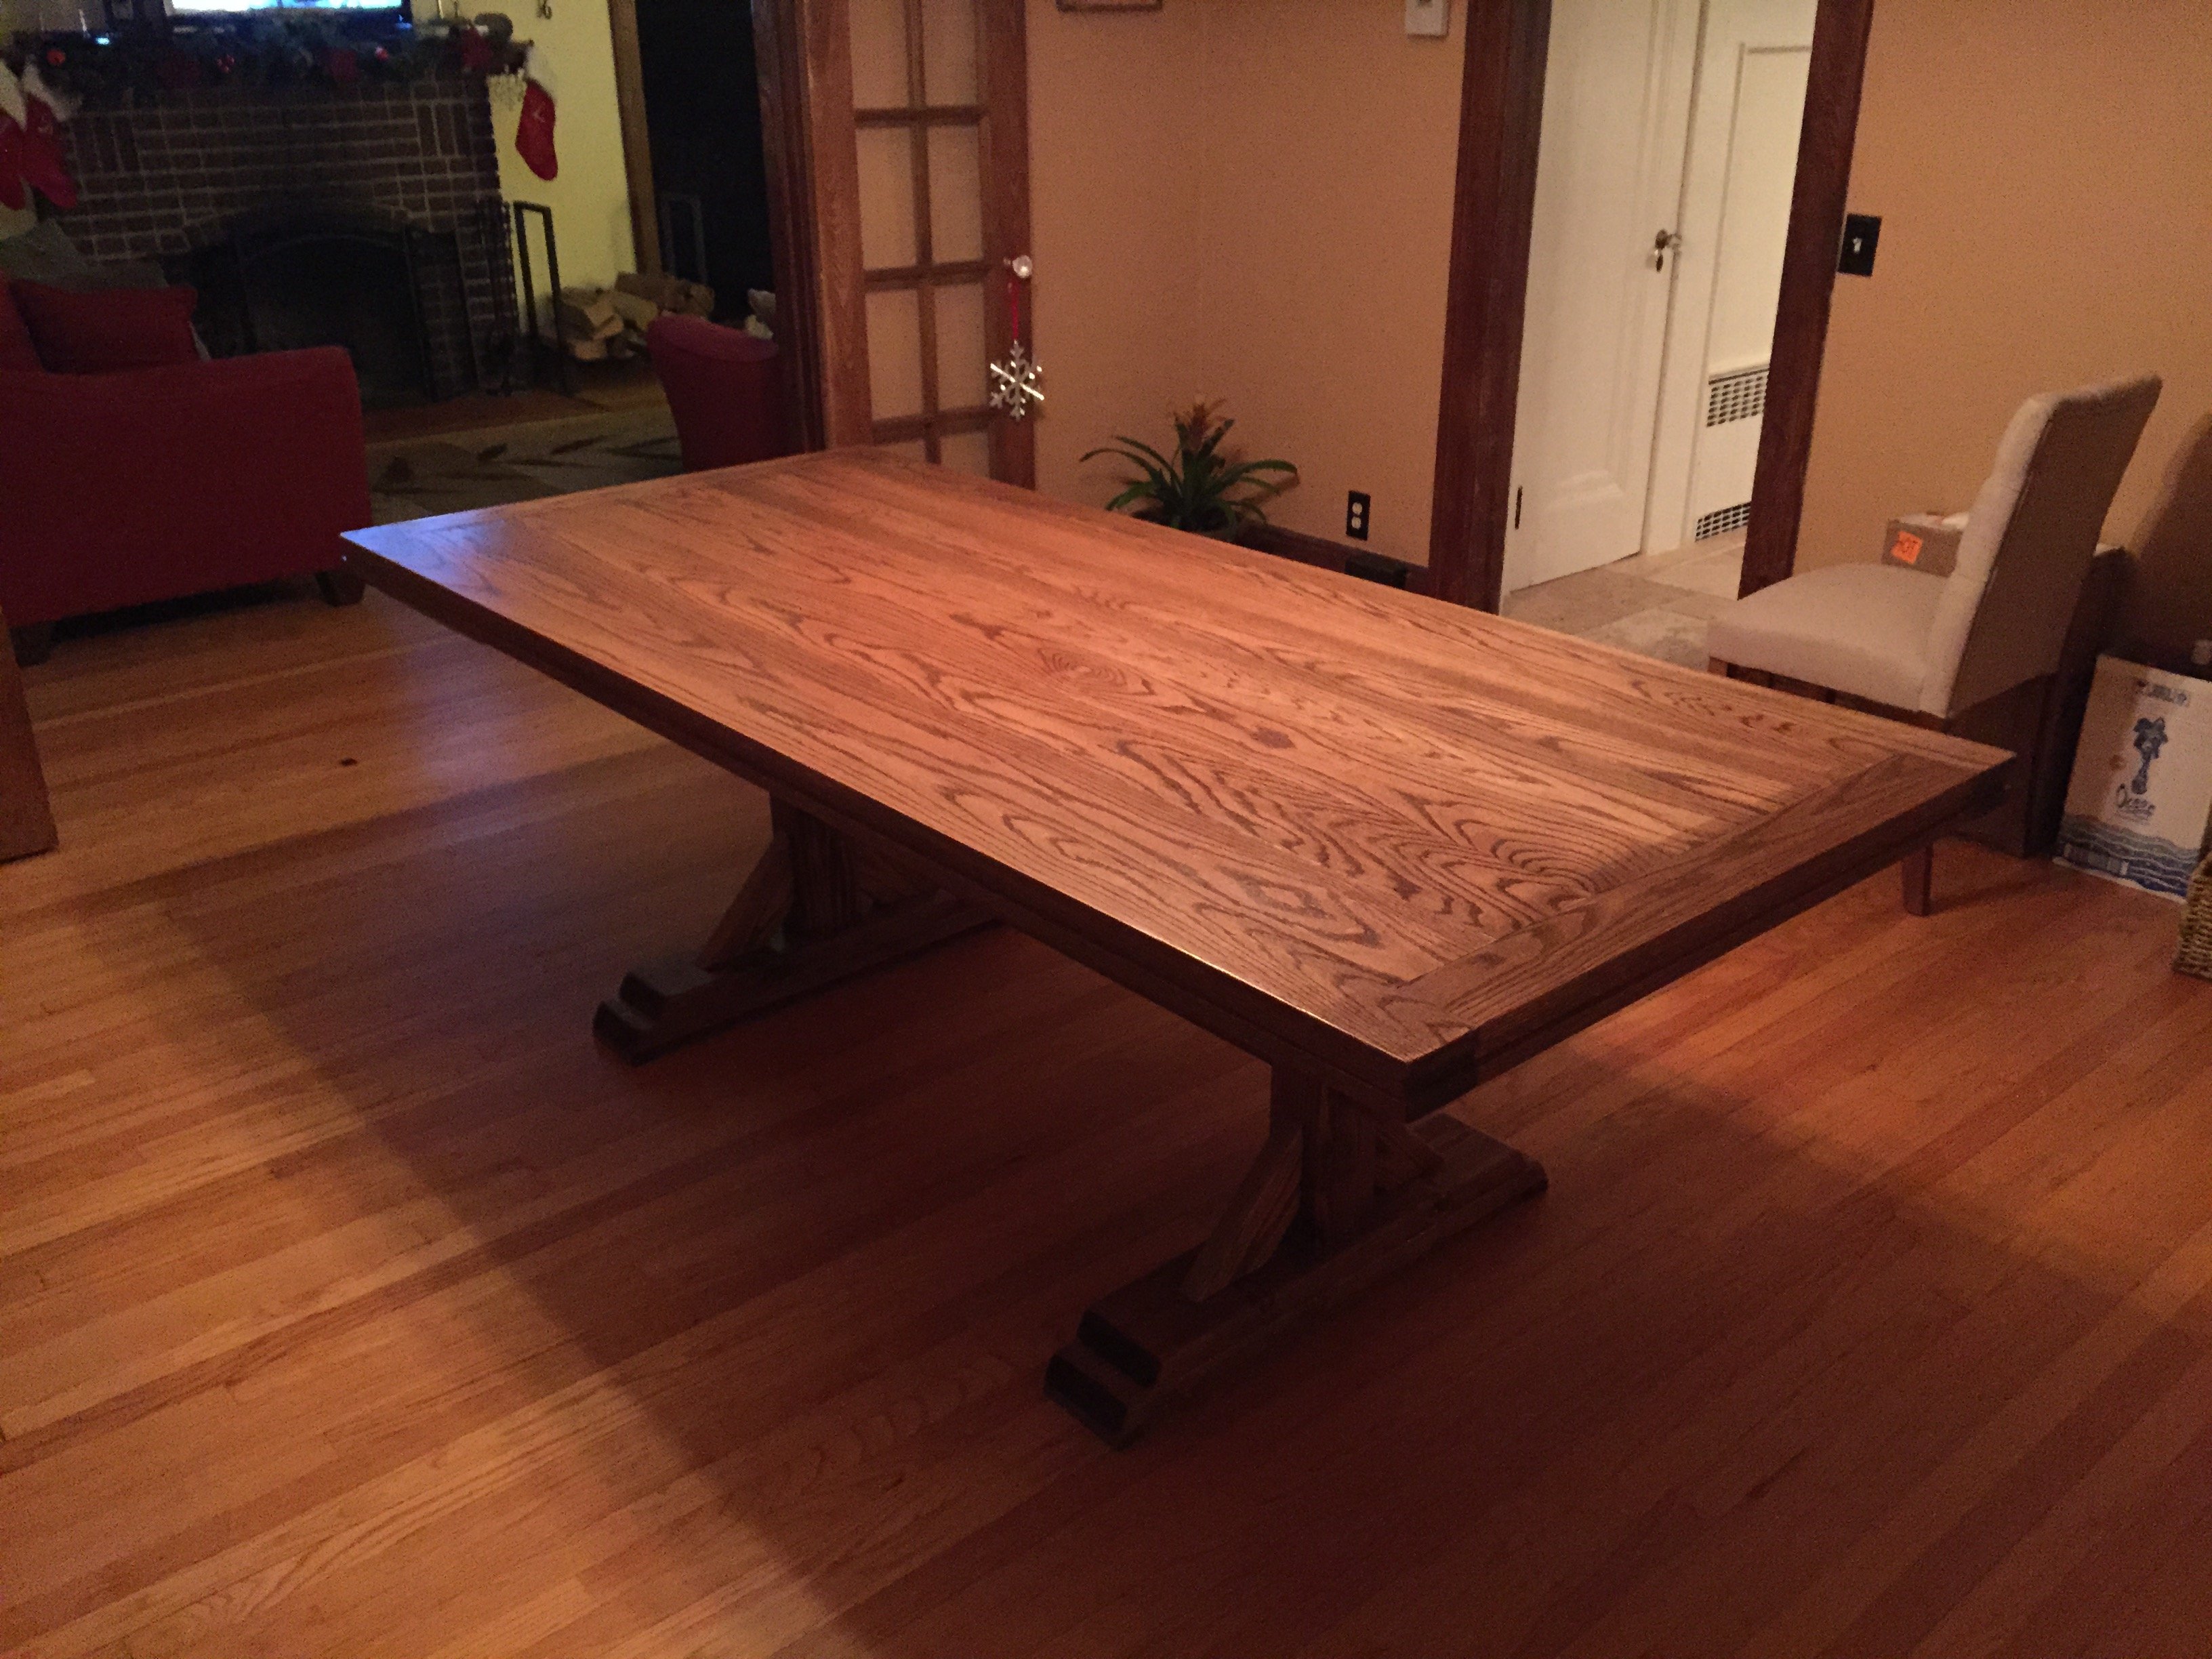
Double Pedestal Farmhouse Table
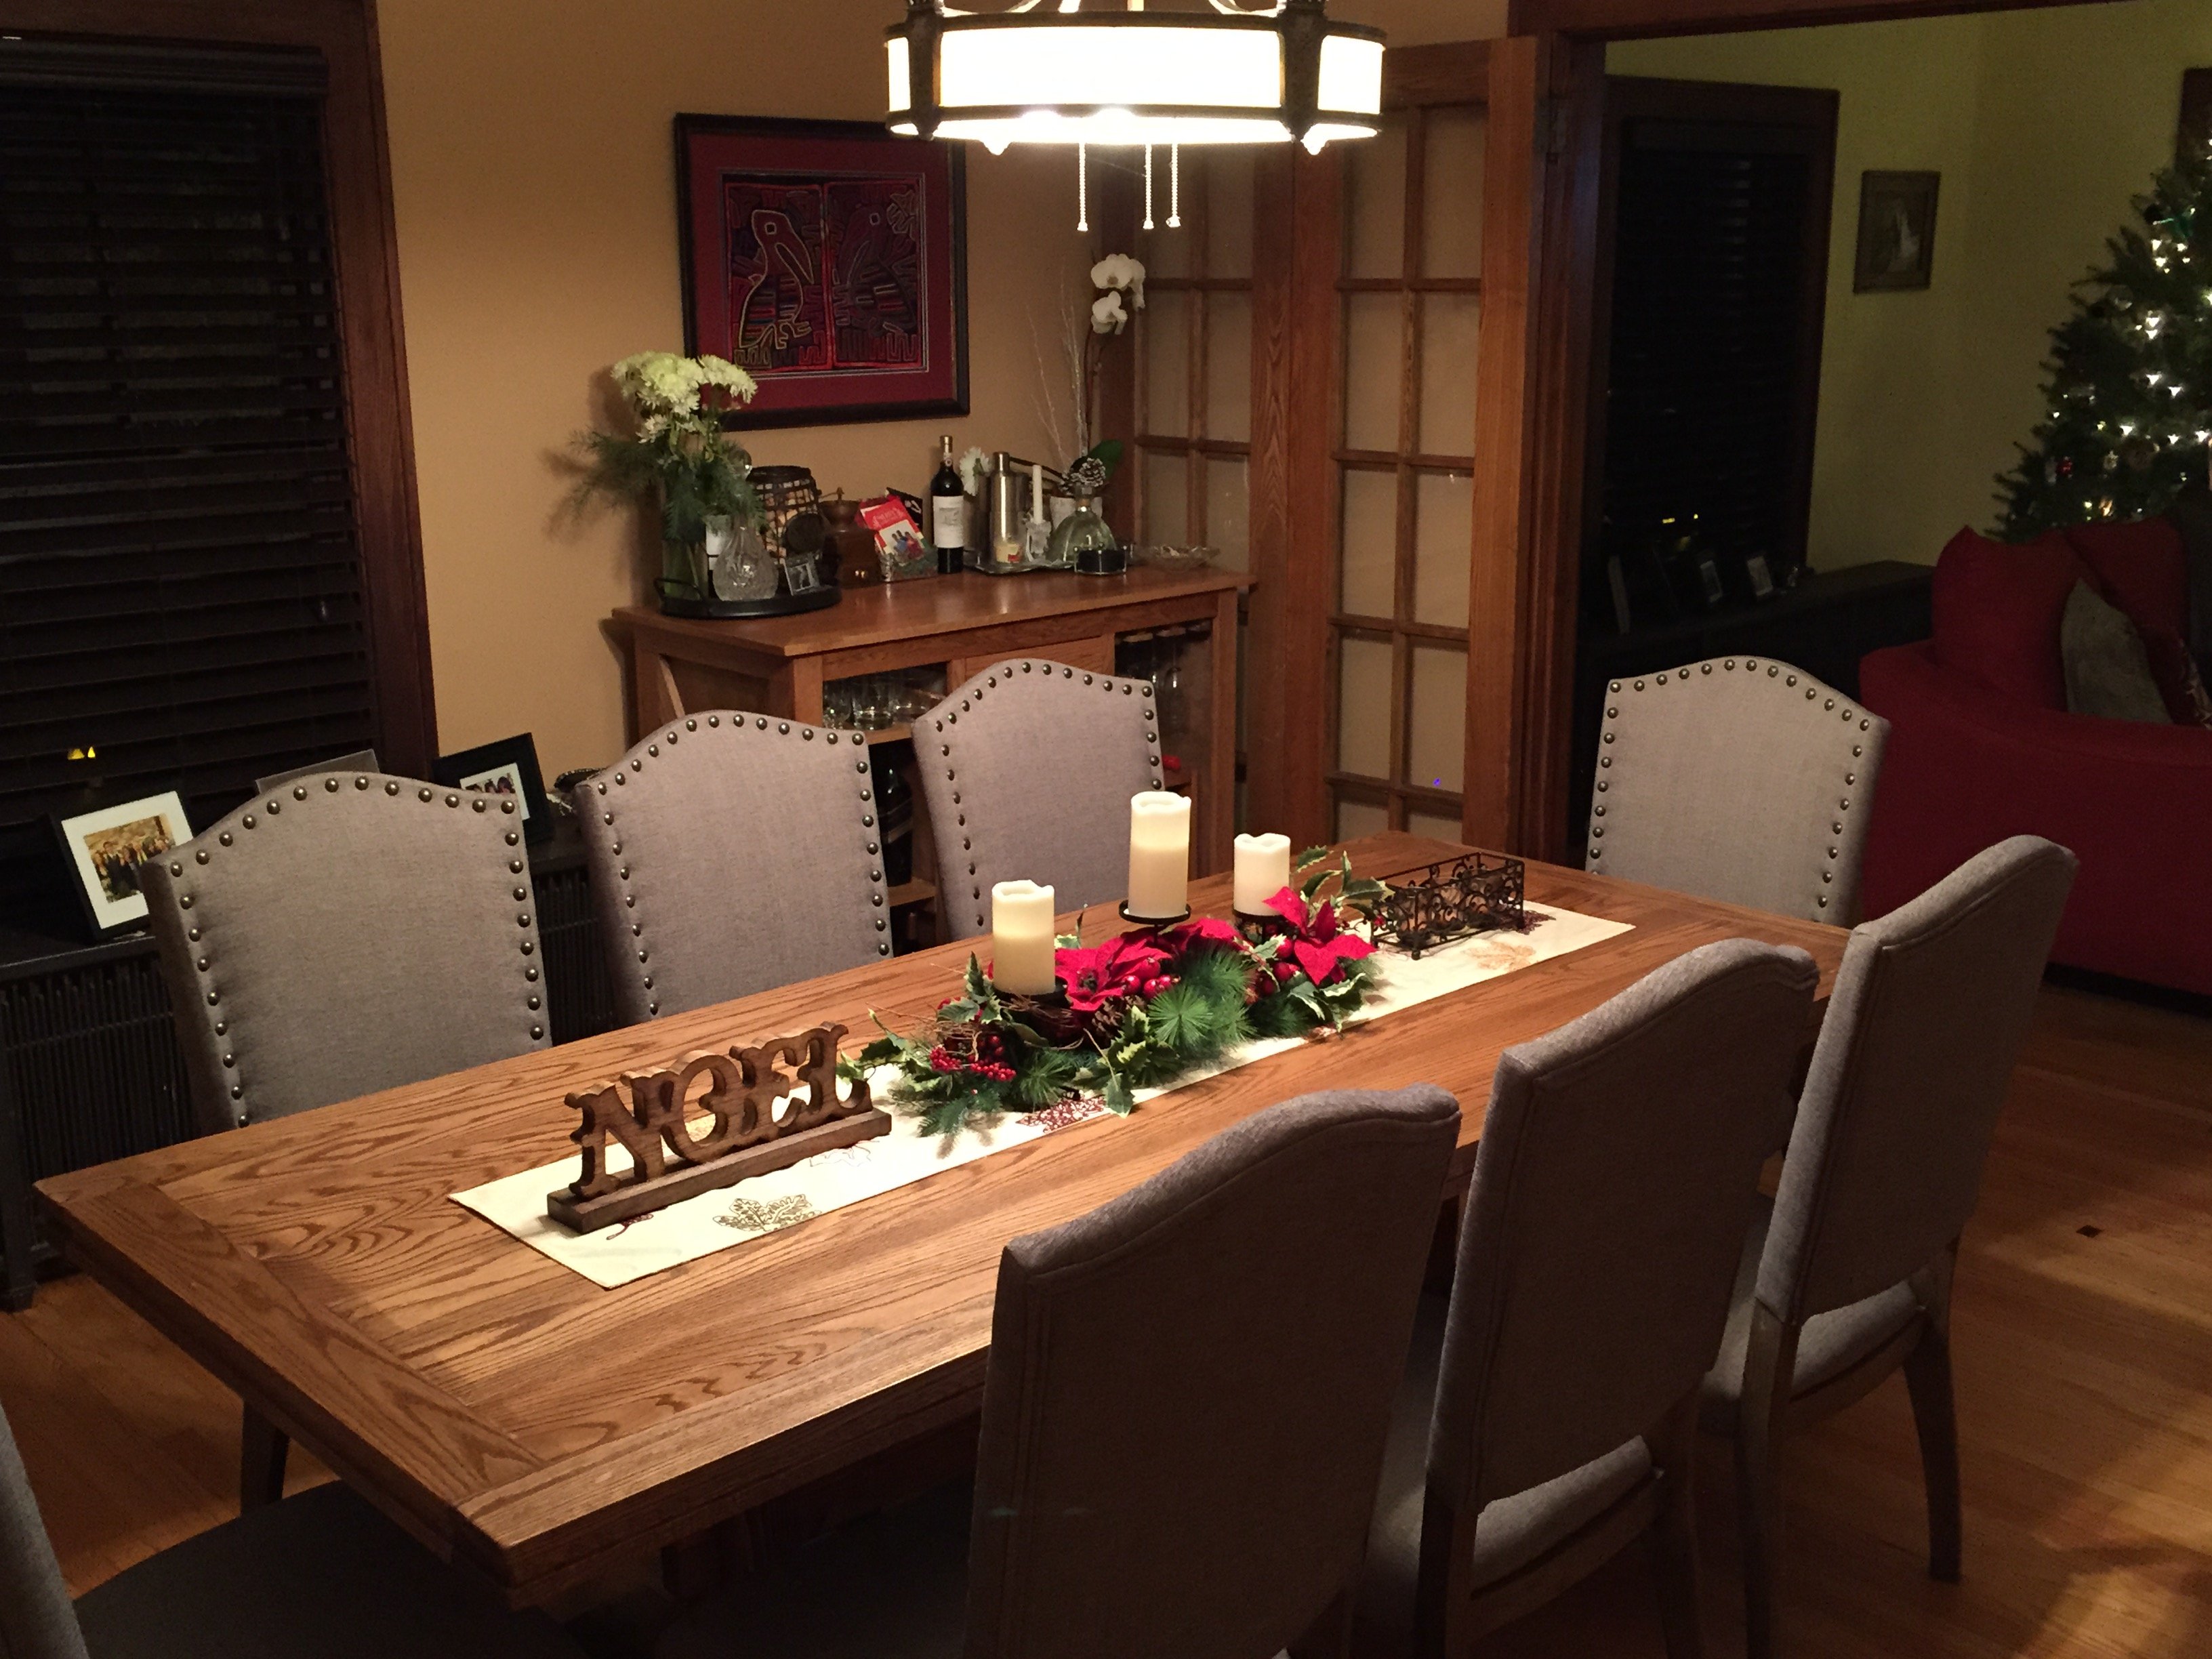
Keep on building on! This is the second peice I've built for our dining room - built a bar first. I opted to only make 2 pedestals instead of 3 that was on the plans. Dimensions are a tad smaller to fit our room nicely, measuring 90in x 40in. My wife and I absolutely love this table! I used Red Oak for the top and Doug fir for the base. Hardest part was lugging around that dense oak and looking for chairs! The stretcher was also a bit of a task as well. Had to go out a buy a rubber mallet to bang it in enough so that the slack on both ends were even. We particularly like this piece because it will be used often and many memories will be created around this table! Thanks again for the inspiration!
Built from Plan(s)
Estimated Cost
$400, but sold previous dining table and chairs for $425
Estimated Time Investment
Weekend Project (10-20 Hours)
Finish Used
Miniwax Special Walnut,
Spar Urethane
Spar Urethane
Recommended Skill Level
Intermediate
8 foot mudroom hall tree
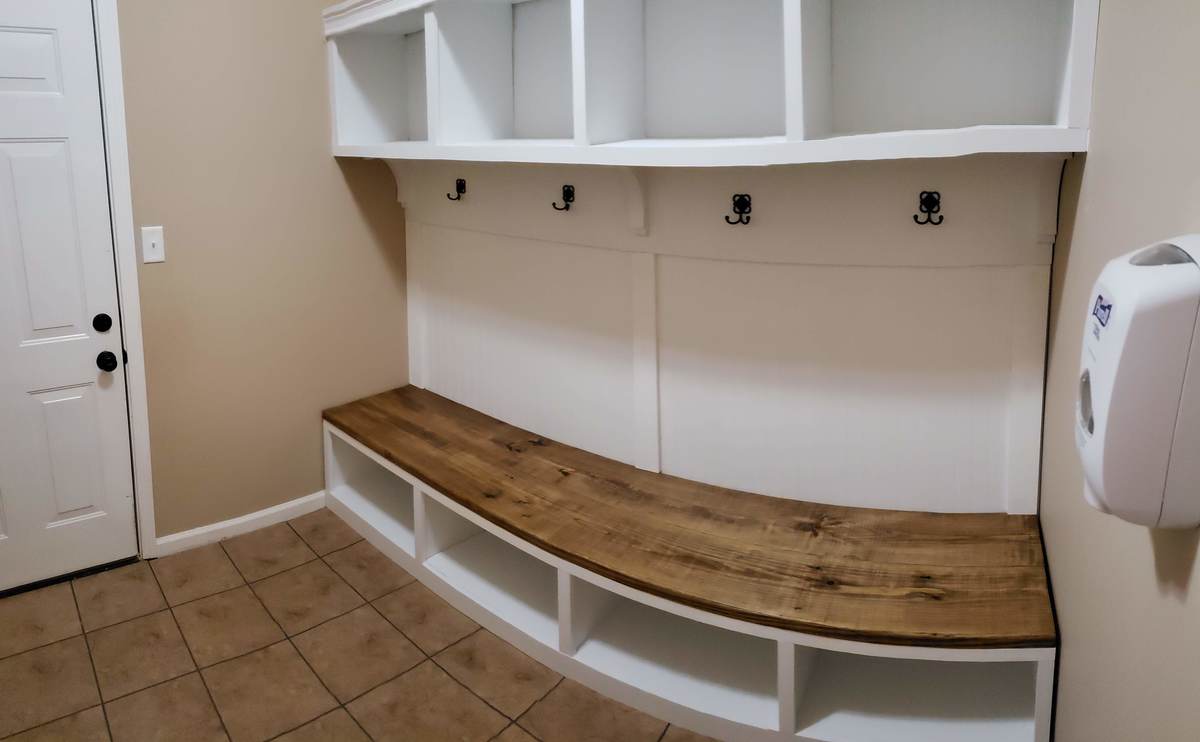
We had an 8' mudroom, that previously contained our laundry area as well. We moved that and had this space to fill up. We used 3/4" plywood for the most part, and some 1x2 finishing pieces in the front, as per your plan. We built the bench and then installed it, but the upper shelves had to be built in place on the wall, because we couldn't fit it in the room if we pre-built it. So that was a bit of a challence. Turned out great though. Thanks for the plans!
Built from Plan(s)
Estimated Cost
About $400
Estimated Time Investment
Weekend Project (10-20 Hours)
Finish Used
Mudroom and hall tree.
Recommended Skill Level
Intermediate
Comments
Faux fireplace mantel
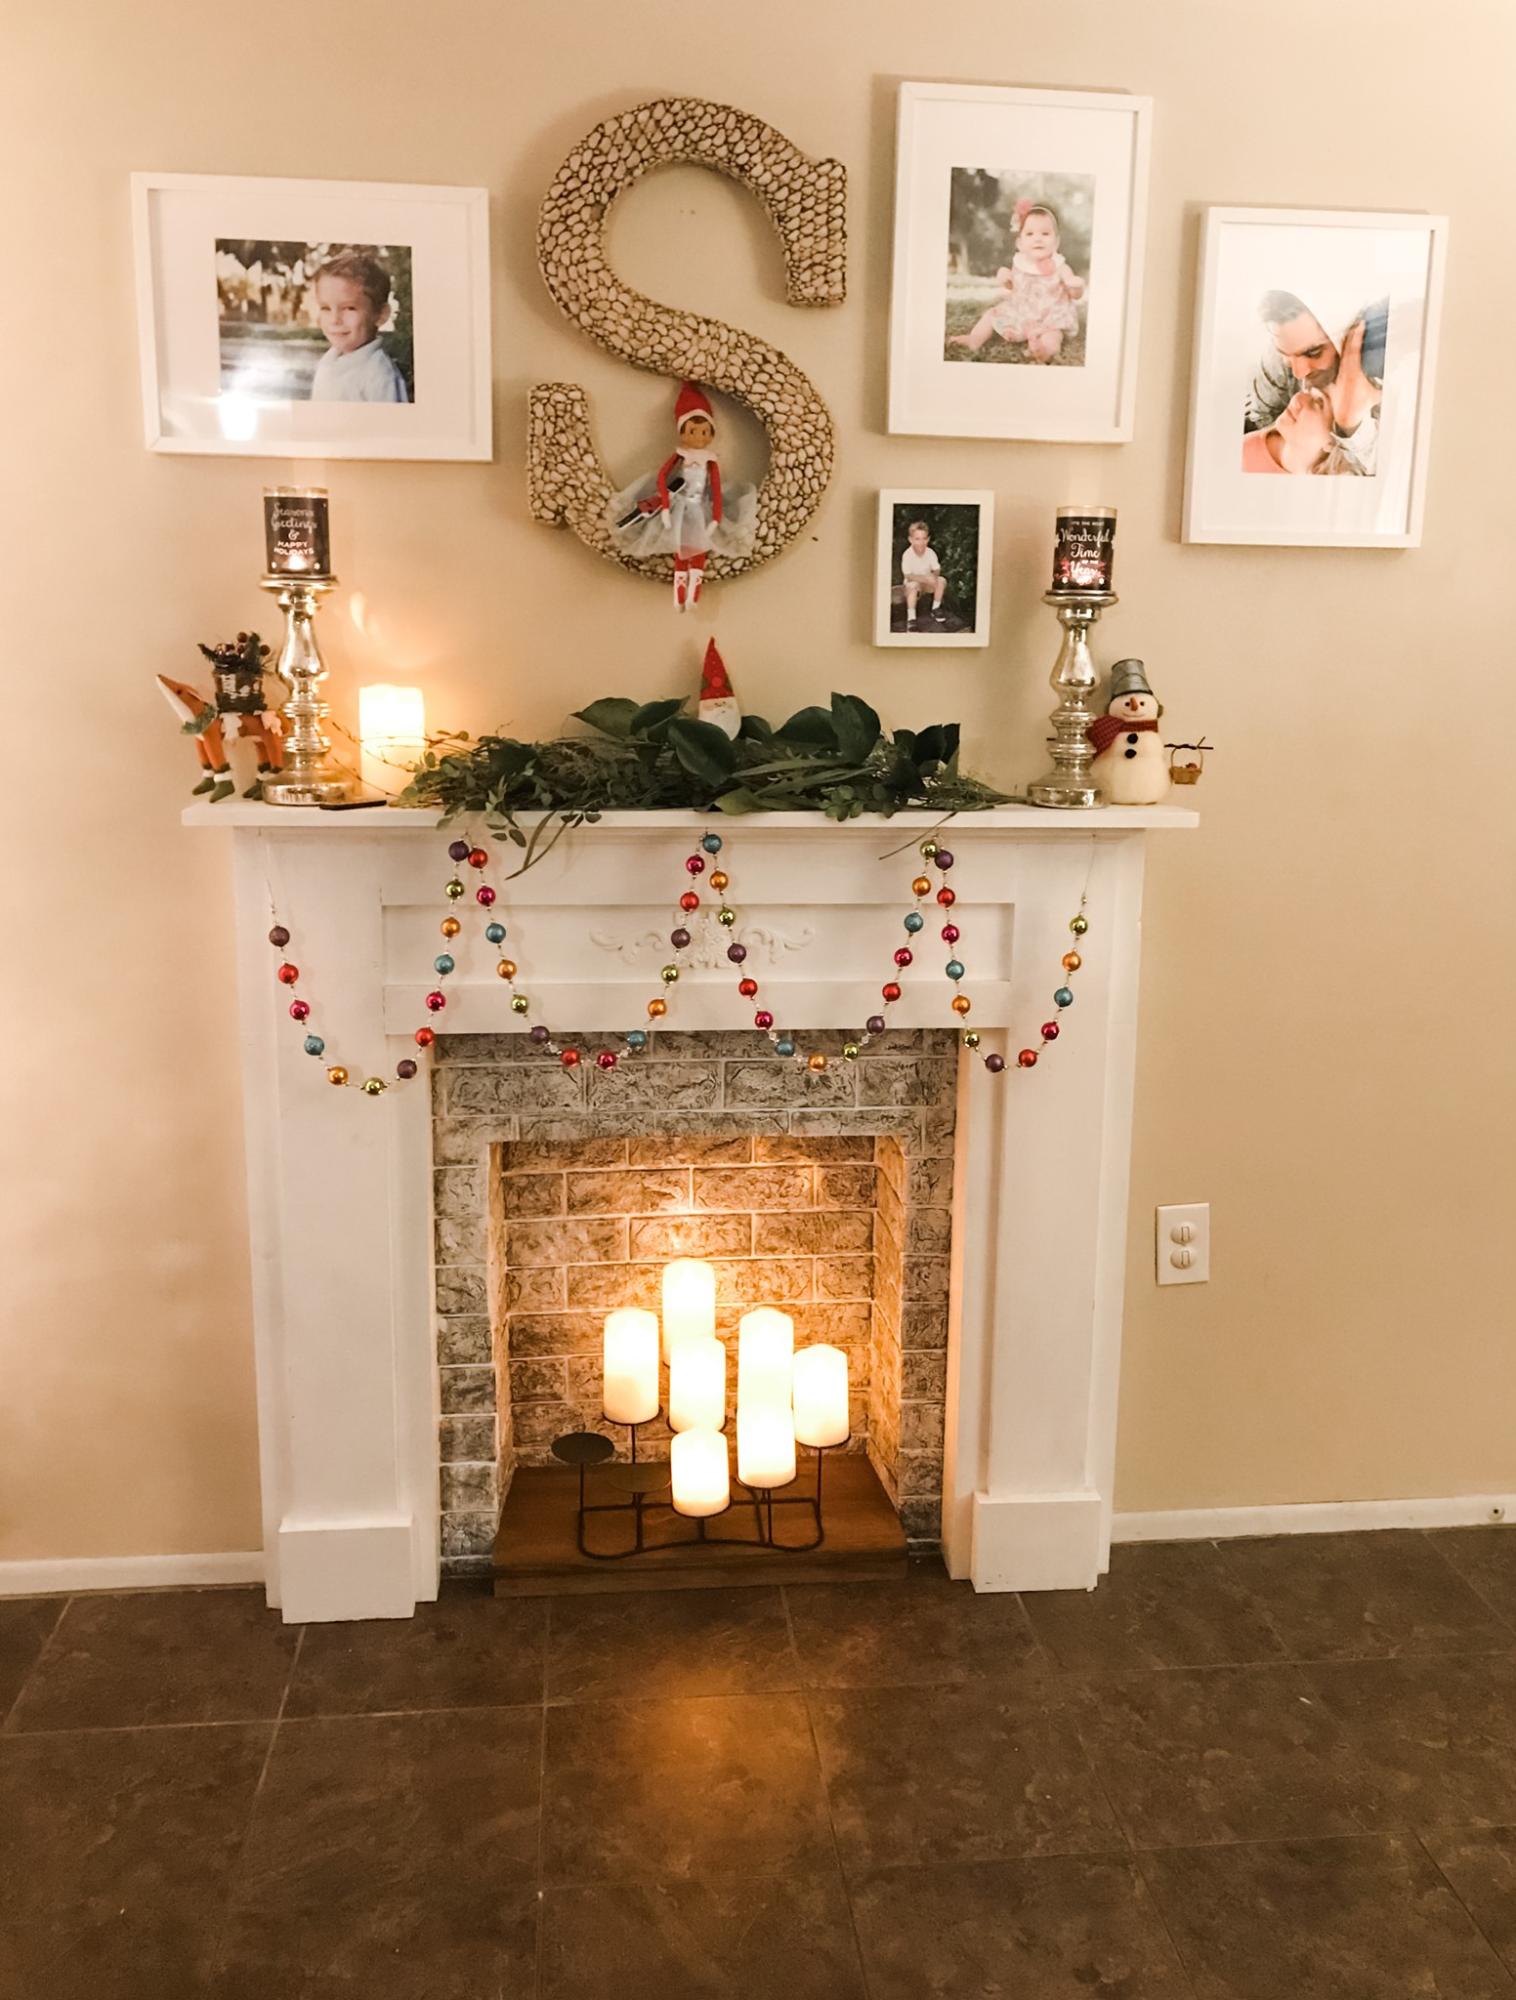
Took the faux mantel a step further and created a faux brick interior by cutting into the wall and building a simple wooden "hearth" to rest the candles on. I've had many people over to my house and they all thought that this was a real (although out of commission) fireplace. Faux brick panels were purchased on Amazon which comes in a plastic-y kind of material. Not quite styrofoam, but some type of foam that is easy to work with. Came in a white color, but I simply rubbed it with shades of beige and gray paint to achieve the look I wanted.
Built from Plan(s)
Comments
Sun, 02/12/2023 - 11:30
Wonderful cozy addition!
Love the brick accent, beautiful build! Thanks for sharing.
A solution to the Boy's never-ending toys
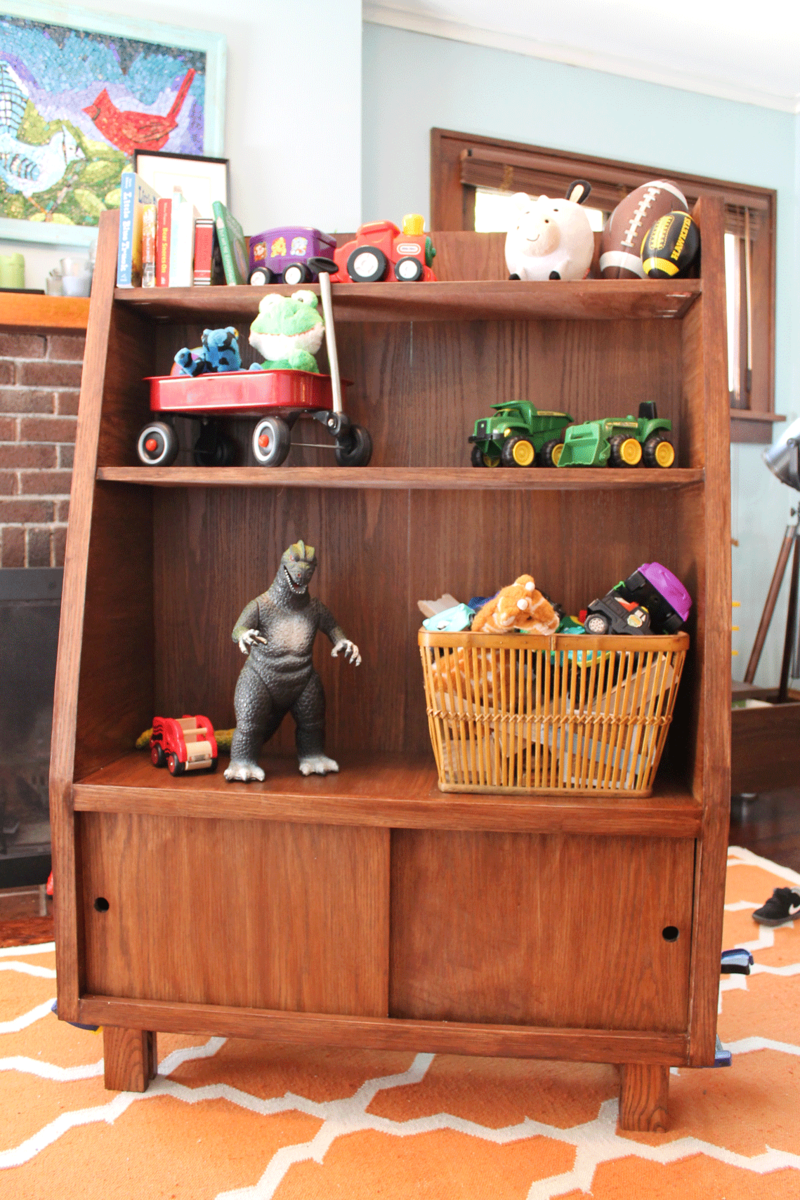
I've made several of Ana's plans with success, so when my toddler's toys started overflowing his toy box I came here for a good shelving solution. Unfortunately, I have a tiny house and I didn't find anything that was perfect, so I downloaded sketchup and made my own plan. This, based on a land of nod piece and the Banker's Bookcase techniques, is the result.
Built from Plan(s)
Estimated Cost
I wanted to stain, so I went with oak - added up to 75-100
Estimated Time Investment
Weekend Project (10-20 Hours)
Finish Used
minwax gel stain and antique walnut polyshades
Recommended Skill Level
Intermediate
Comments
Mon, 10/24/2011 - 18:22
Vintage Charm
I love it! It reminds me of the bookcases we used to have in the nursery school classrooms at my church as a kid, except much prettier. You did a really great job, and I love the doors to help hide some of the toys!
Extra tall stool

My version of the Extra Tall Bar Stool
Built from Plan(s)
Estimated Time Investment
Day Project (6-9 Hours)
Finish Used
Basic White paint
Recommended Skill Level
Beginner
Brick Cutting Board

This was my first attempt at a cutting board, in retrospect I maybe should of made a simpler one. I made a few mistakes and it took longer than anticipated but I'm happy with the way it turned out. l've shared some of my mistakes and provide some of the tips on my blog. More pictures as well. Cheers, Ian http://www.woodworkingfourdummies.com/blog/diy-brick-cutting-board
Estimated Time Investment
Weekend Project (10-20 Hours)
Finish Used
Mineral Oil
Recommended Skill Level
Intermediate
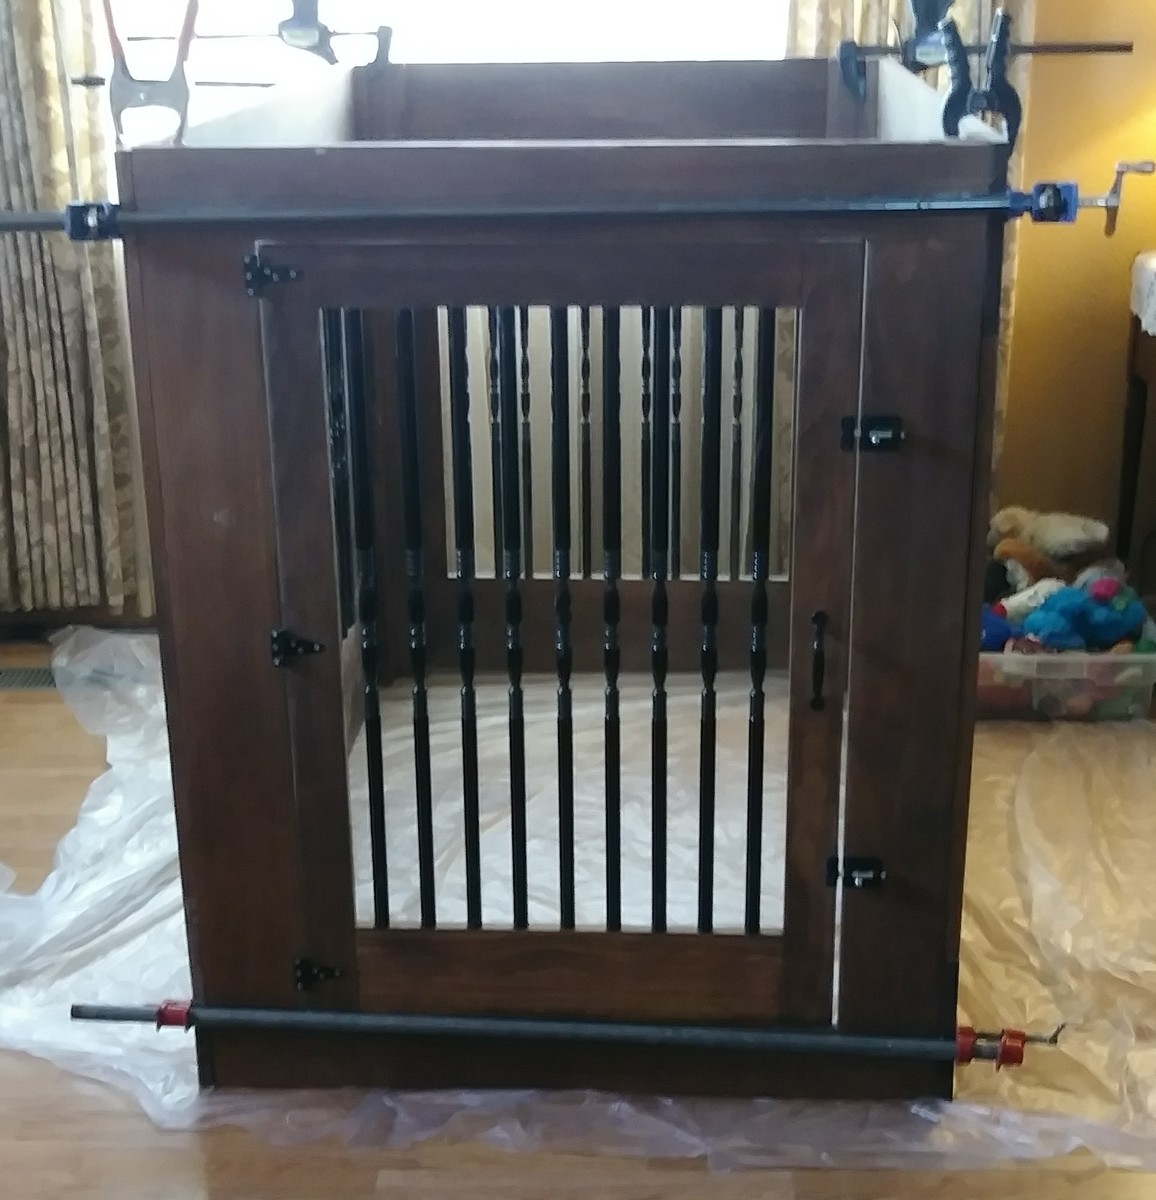
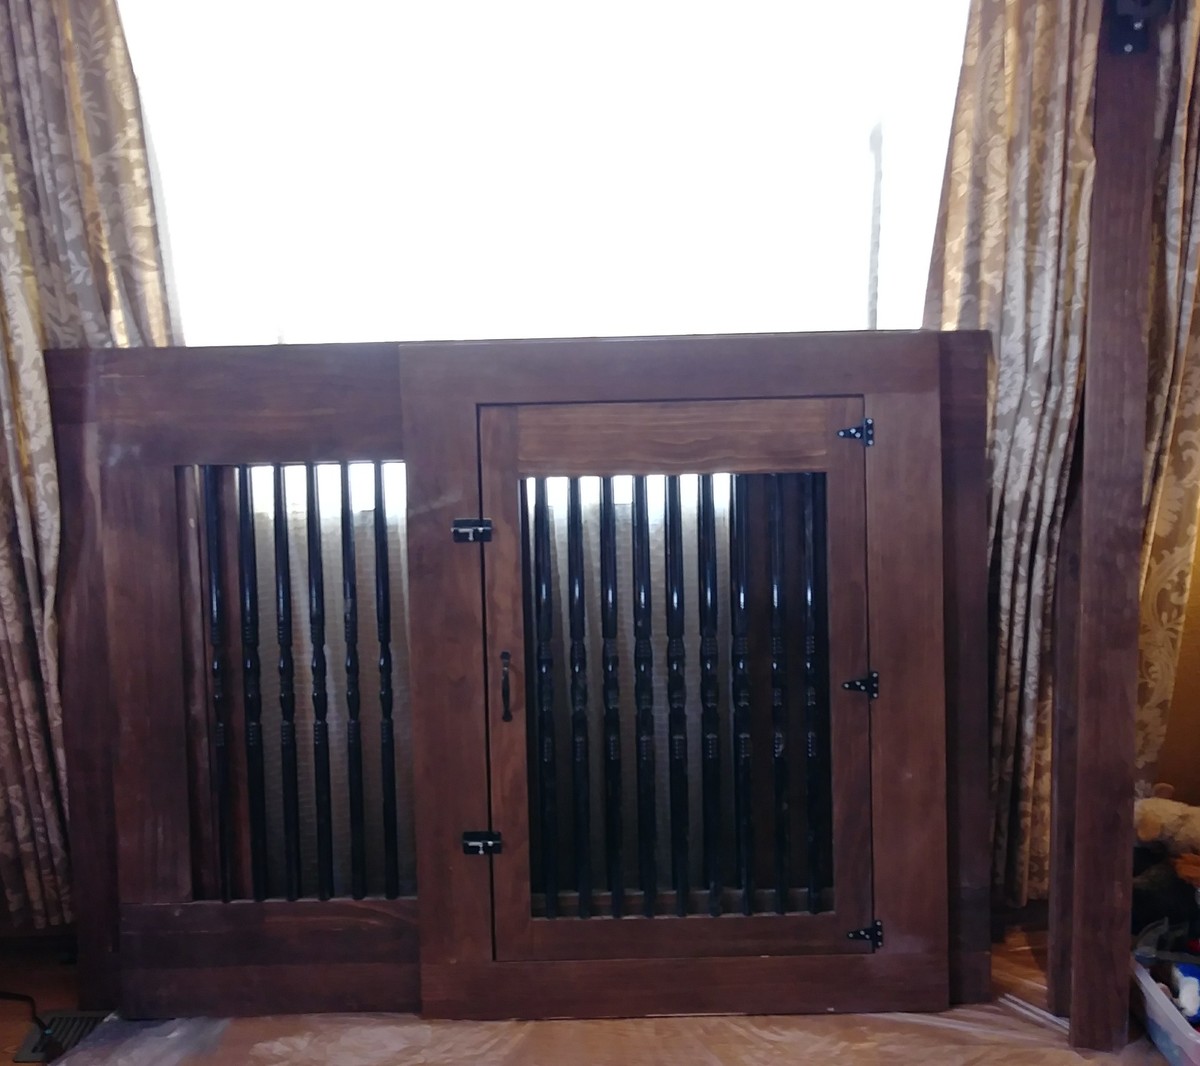
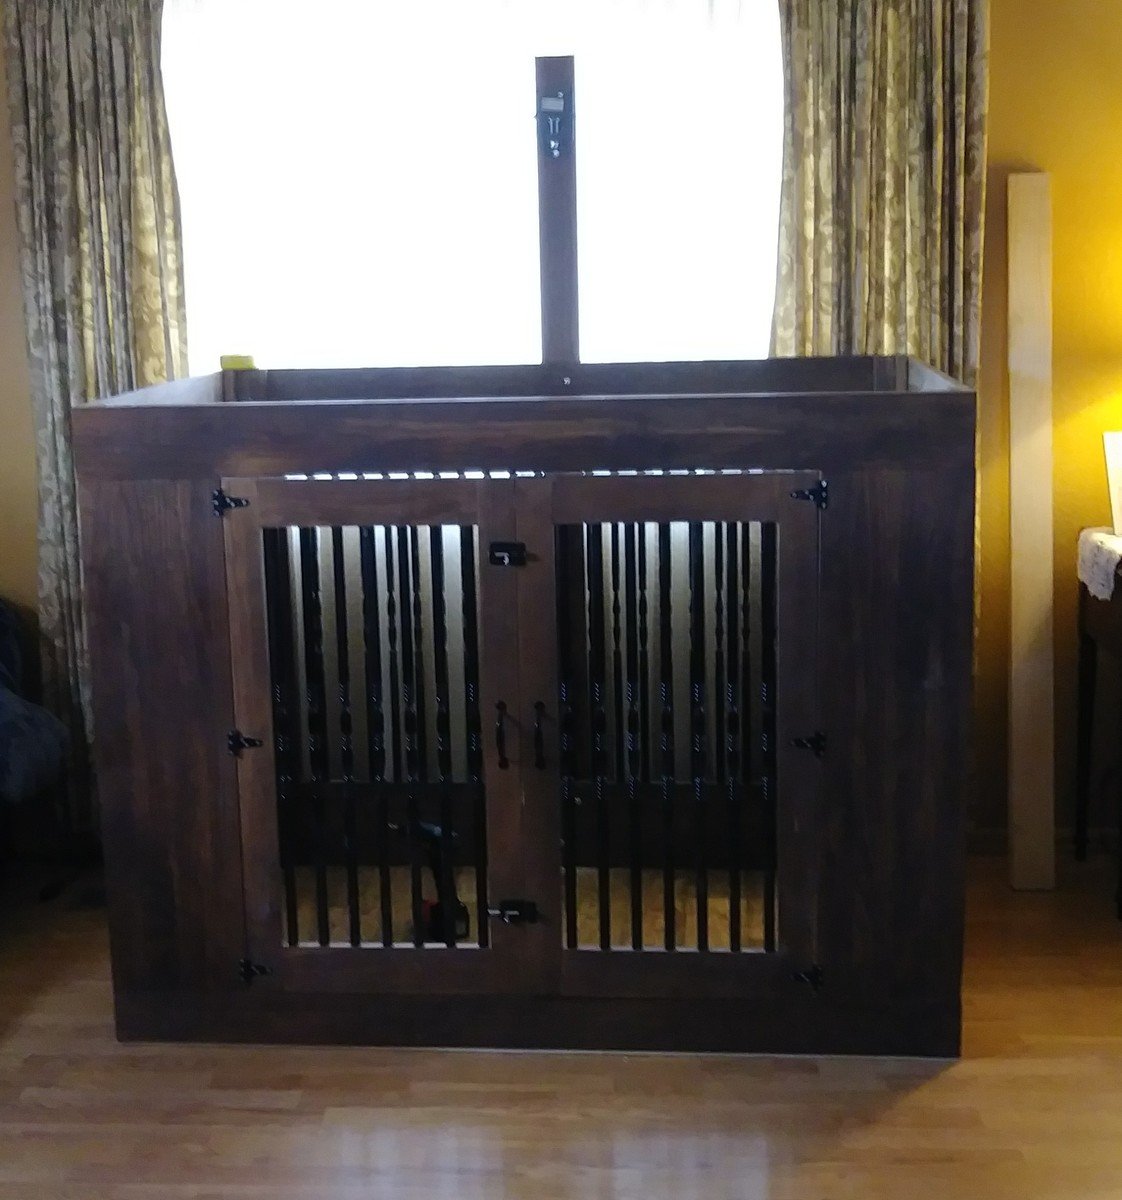
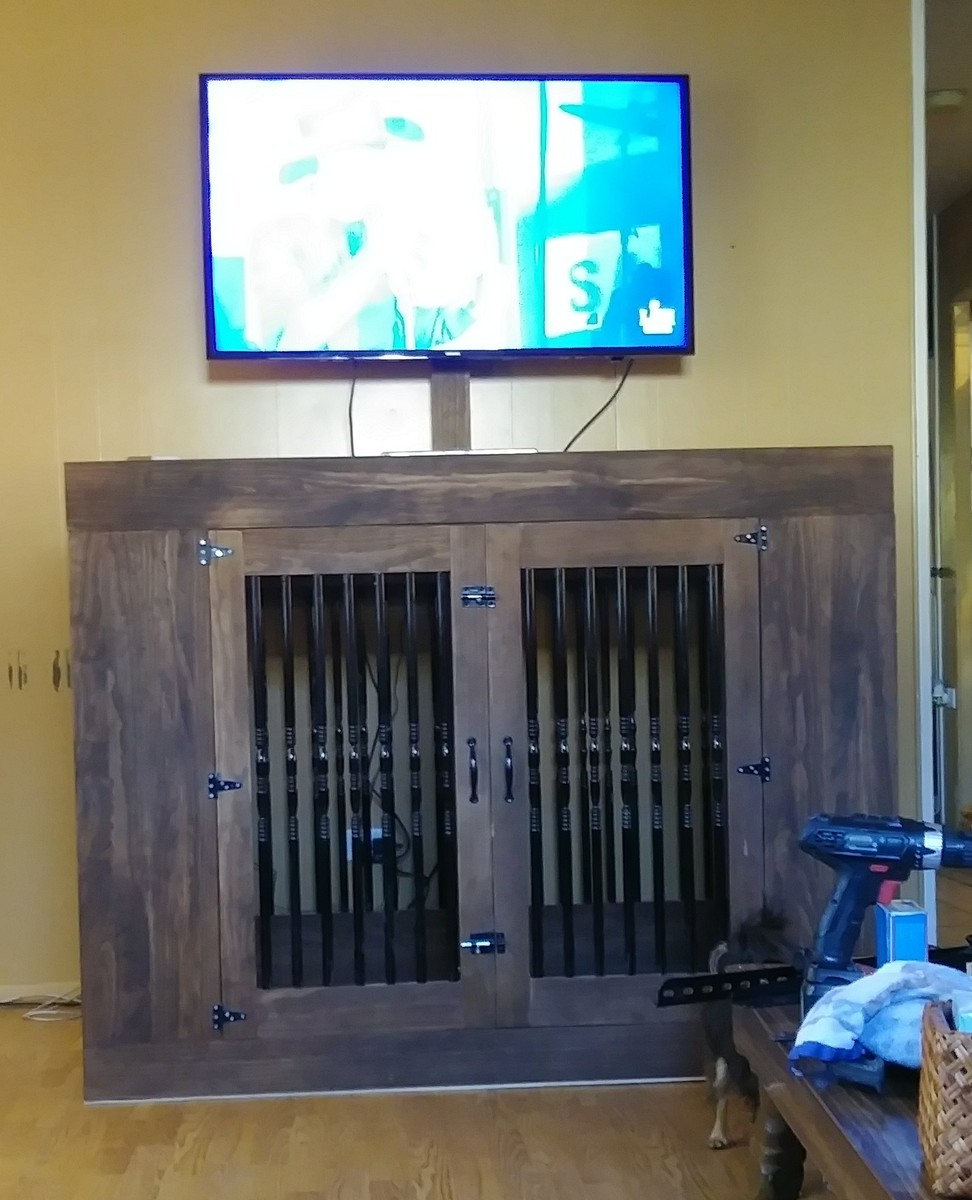
XXL Dog Crate
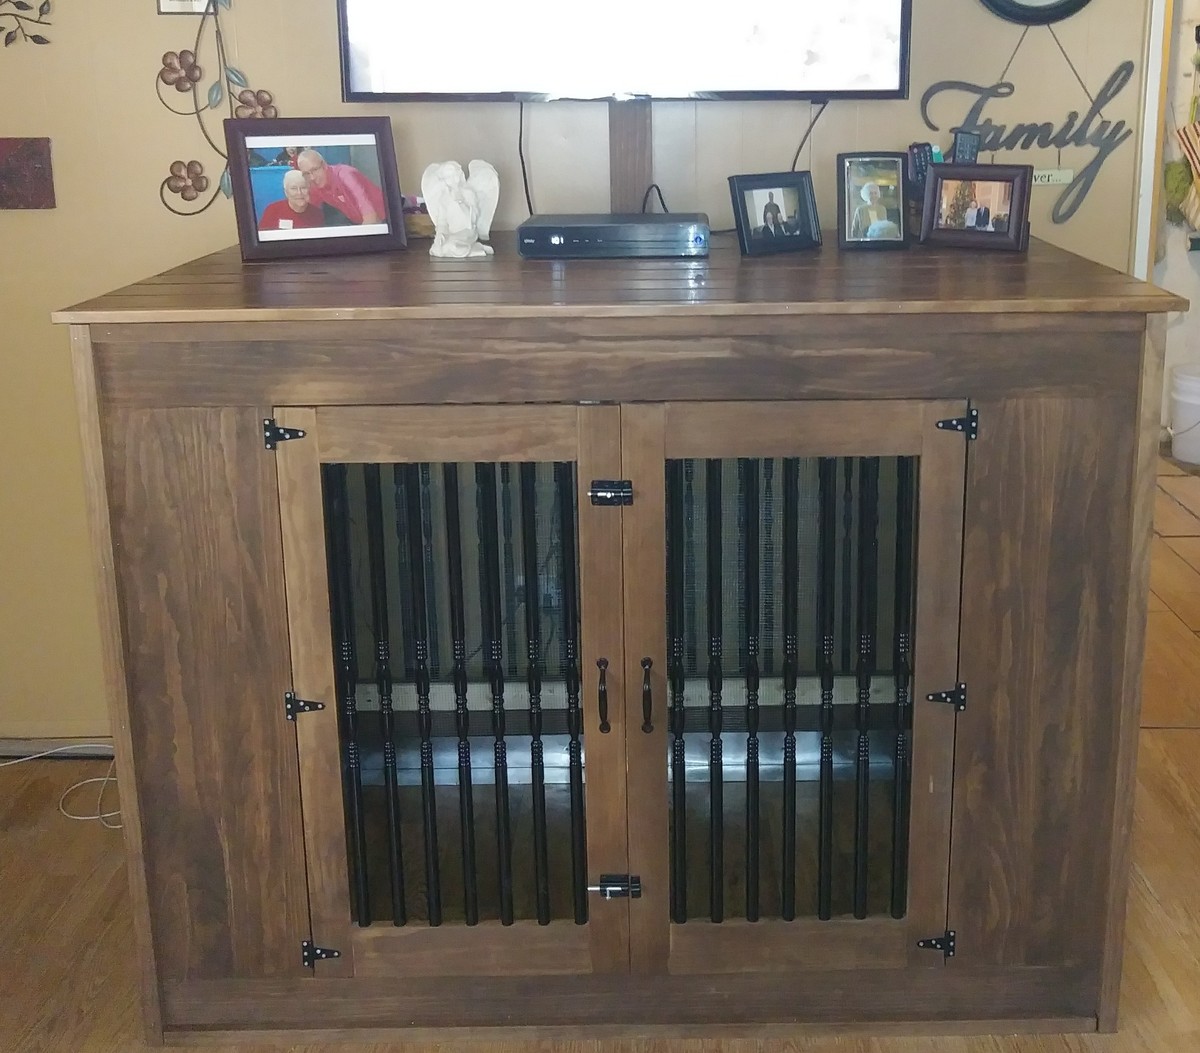
When we made the decision to get a Great Dane puppy, we knew she would need to be crate trained. The idea of a metal XXL crate wasn't terribly appealing so my wife suggested I build a piece of furniture. My skills are above beginner level but I had never built a piece of furniture. I started with the dimensions for the metal crates (54"L x 37"W x 45"T) and put pencil to paper. We agreed we wanted somewhat of a rustic look for the finished crate. I decided to use pine 1×4's, 1x3s and 1x2s, pinned and edge glued together. For ventilation I chose the black metal banister rails. The bottom of the crate is a sheet of sub floor covered with sheet vinyl. I lined the inside of the crate with hardware cloth to deter chewing on the wood. The top is made of tongue and groove carsiding, I had left over from another project. The 4 sides are finished in Dark Walnut Stain. The top has the same stain plus 3 coats of Satin Urethane.

Estimated Time Investment
Week Long Project (20 Hours or More)
Finish Used
Sand sealer ( 2 coats), Dark Walnut Stain ( 1 coat brushed on using foam brush and wiped off with a rag) Satin Urethane on Top only ( foam brush applied, let dry overnight, light hand sanding with 220 grit wet/dry, repeated then 3rd and final coat was applied.)
Recommended Skill Level
Intermediate
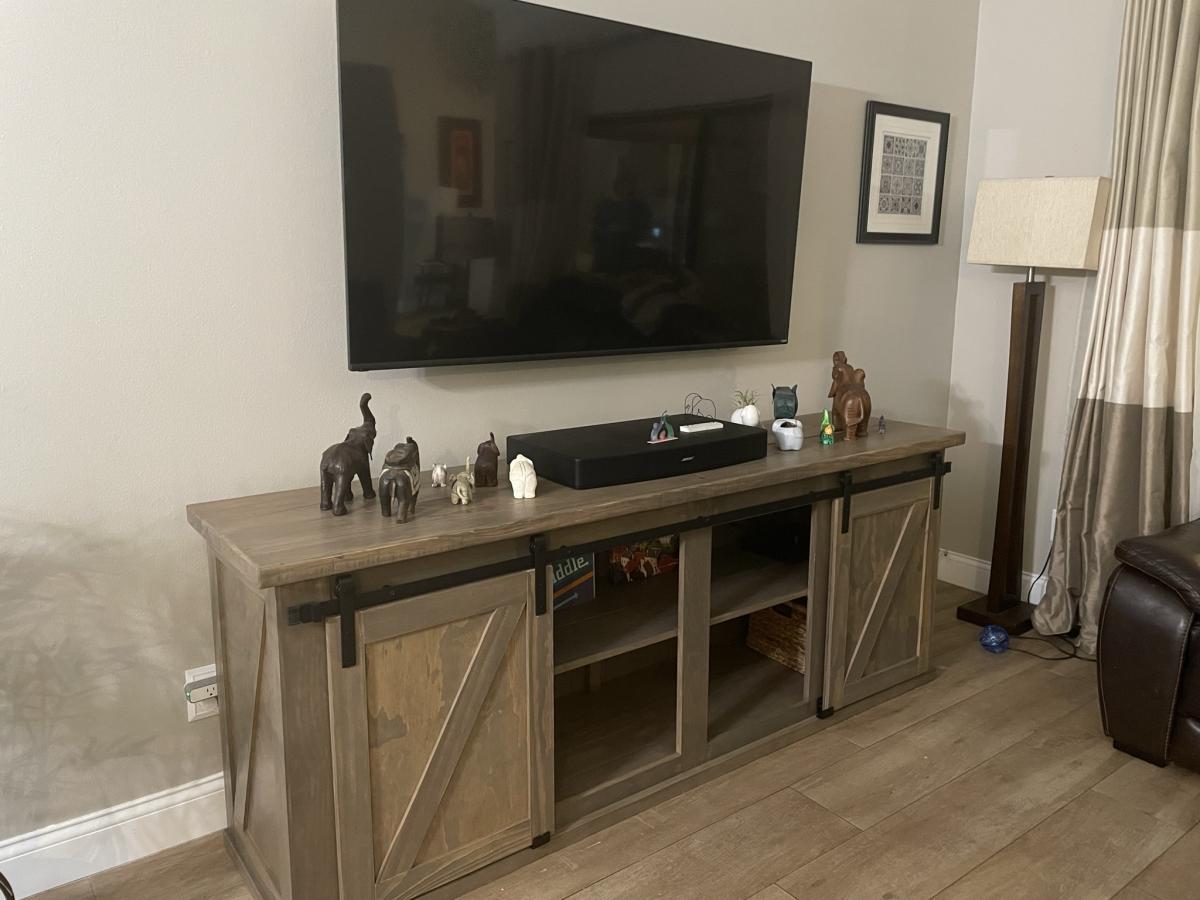
Farmhouse TV console table
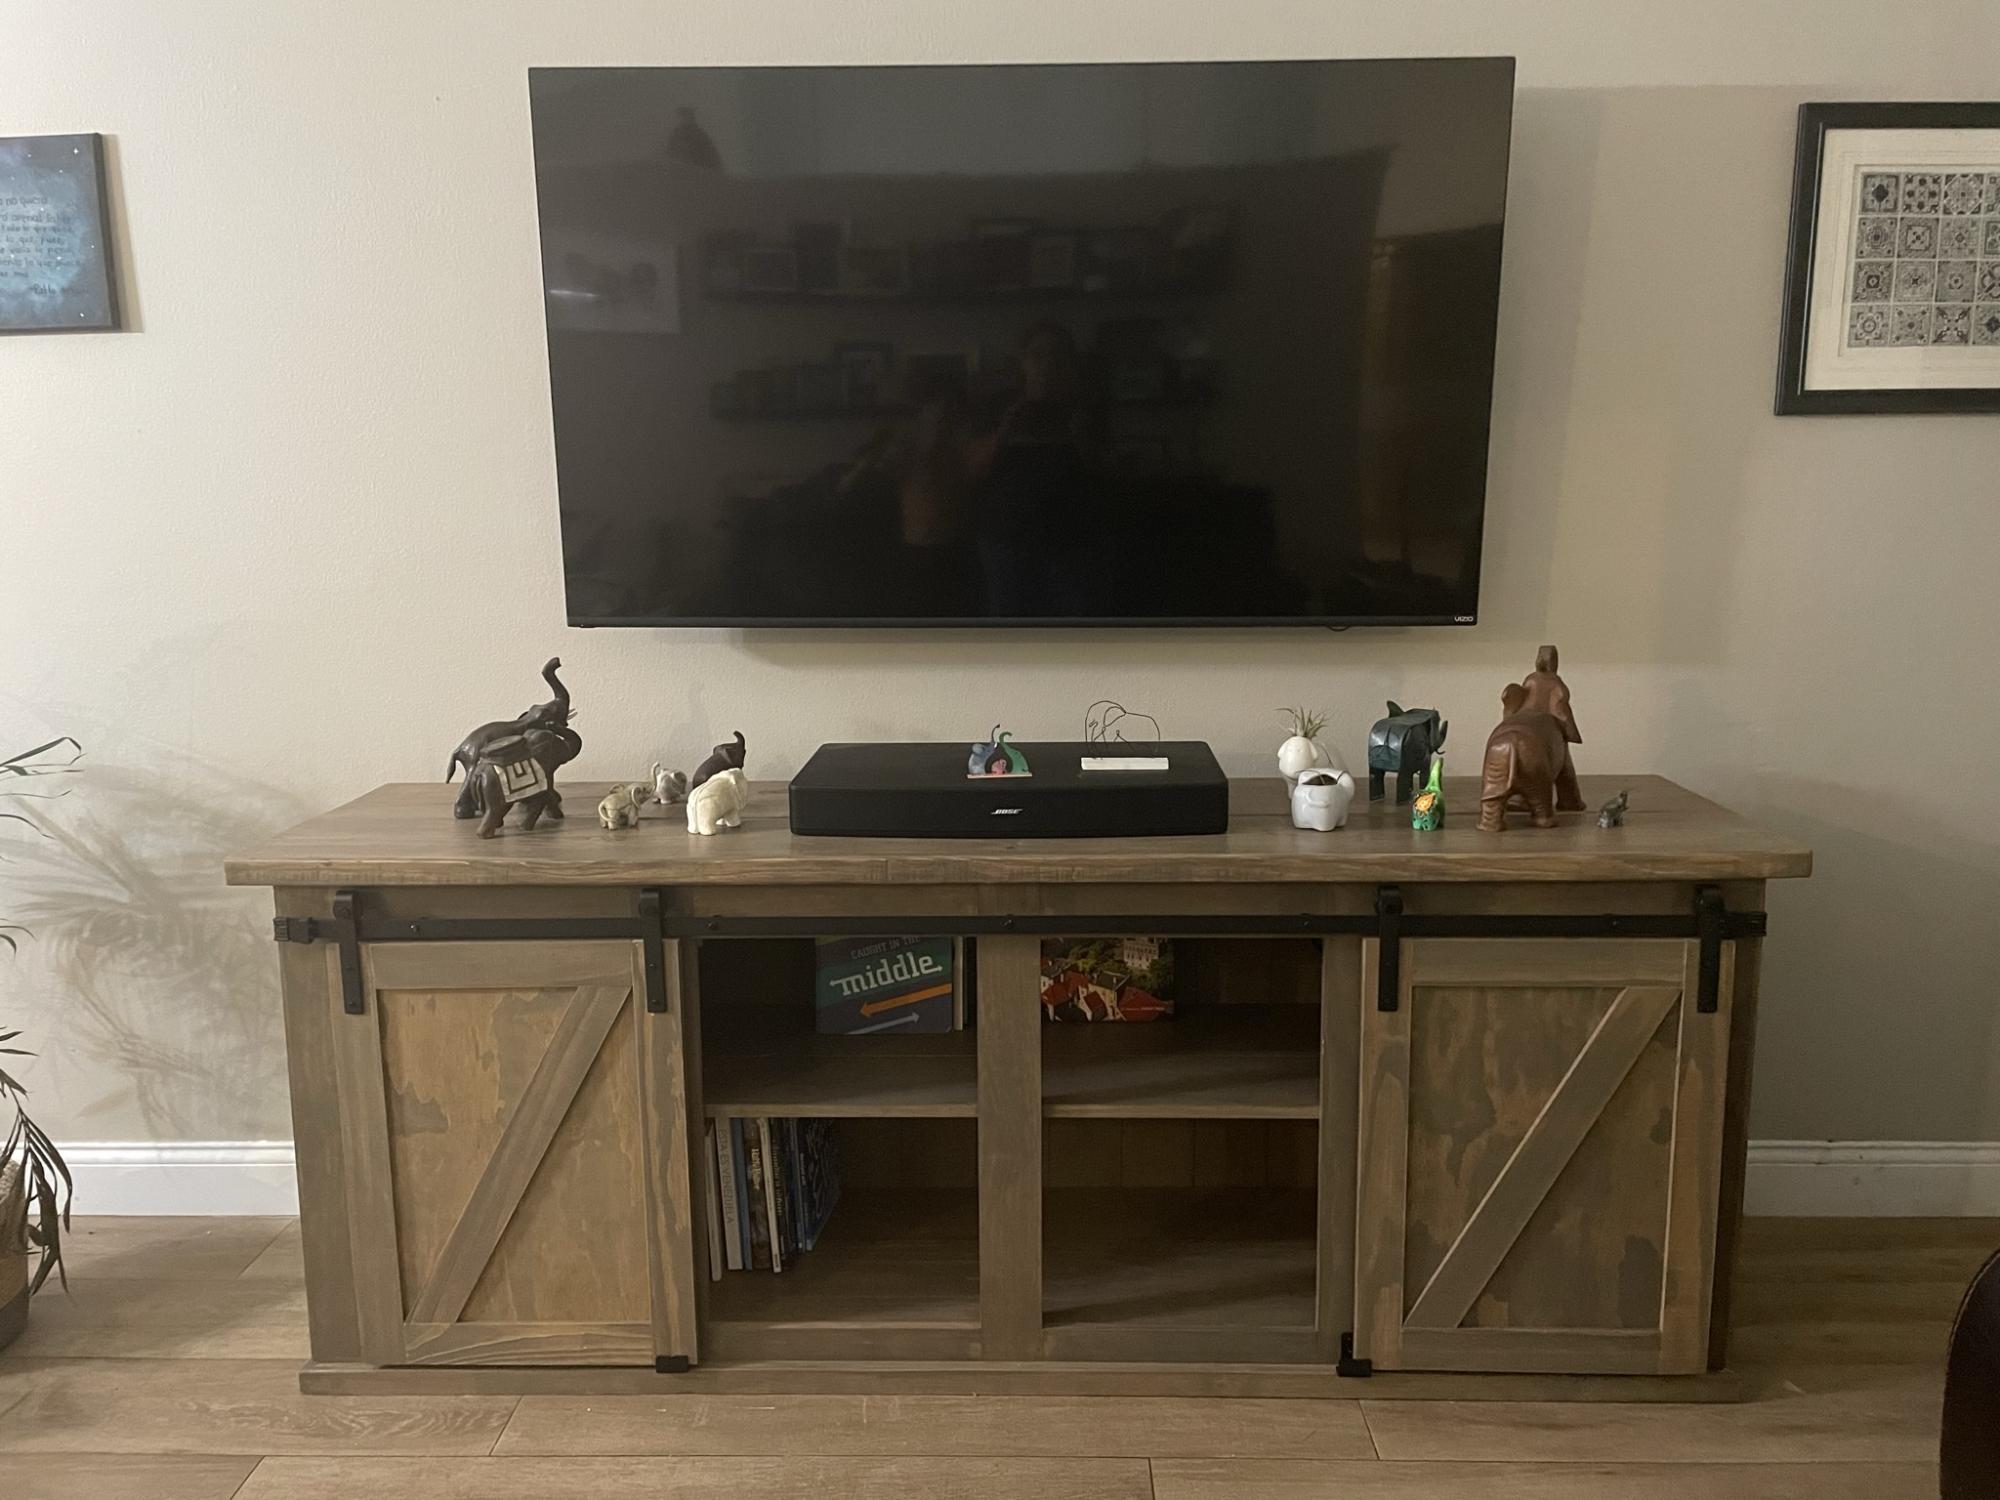
I built this TV console based on Ana’s plan and some modifications from The Turquoise home. Made it 6’ long and a bit lower to fit all my elephants below the TV.
It turned out beautiful and suuuper heavy.
Thank you Ana!
Built from Plan(s)
Comments
Ana White Admin
Fri, 01/27/2023 - 08:11
Looks inviting!
You created a great spot! Thanks for sharing.