Community Brag Posts

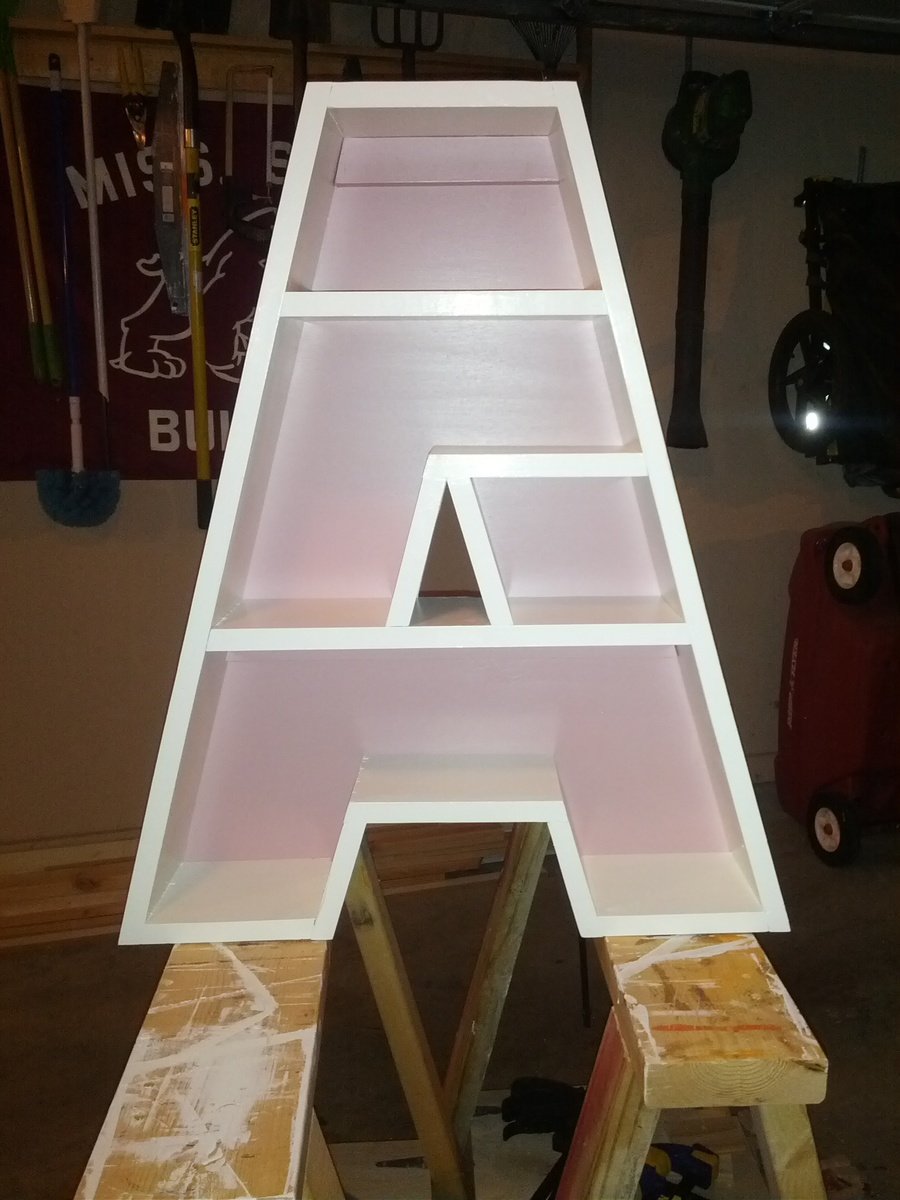
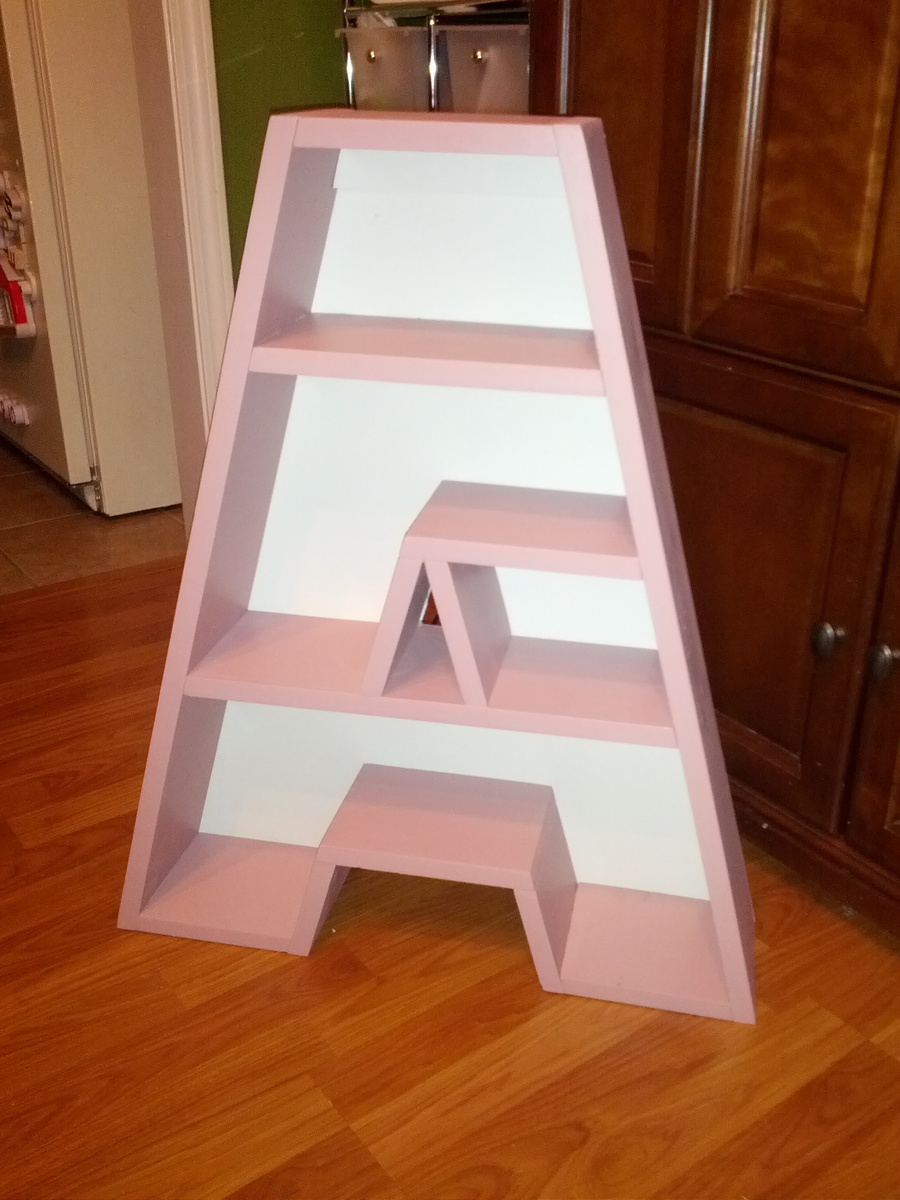
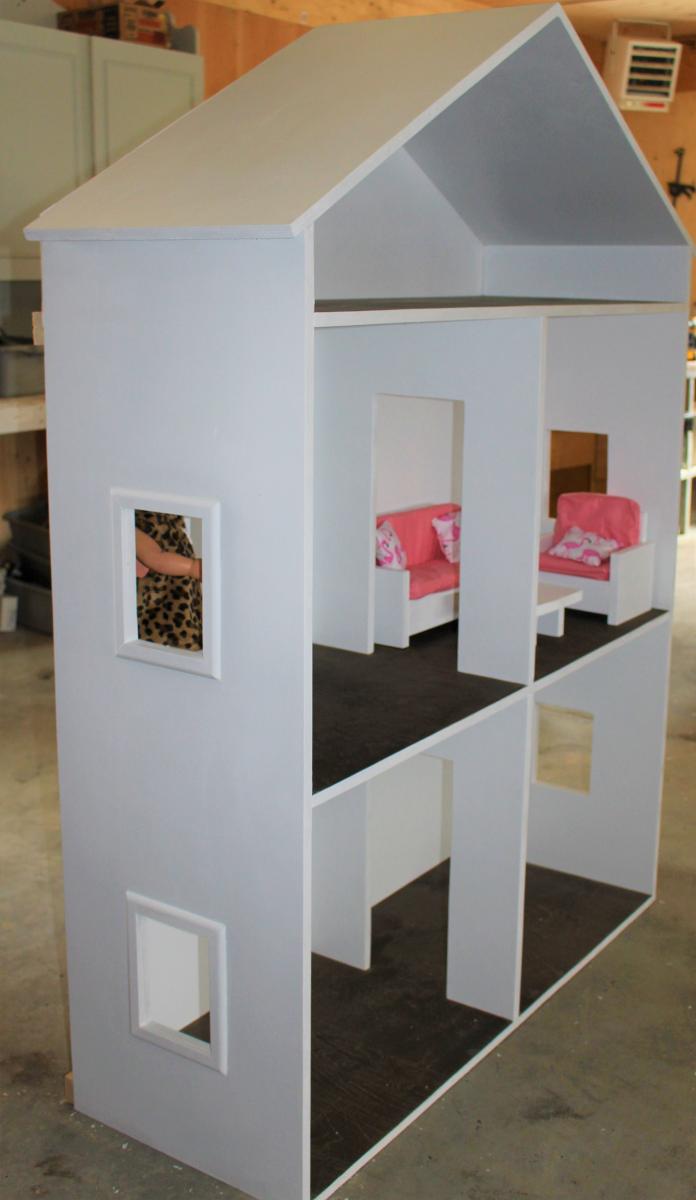
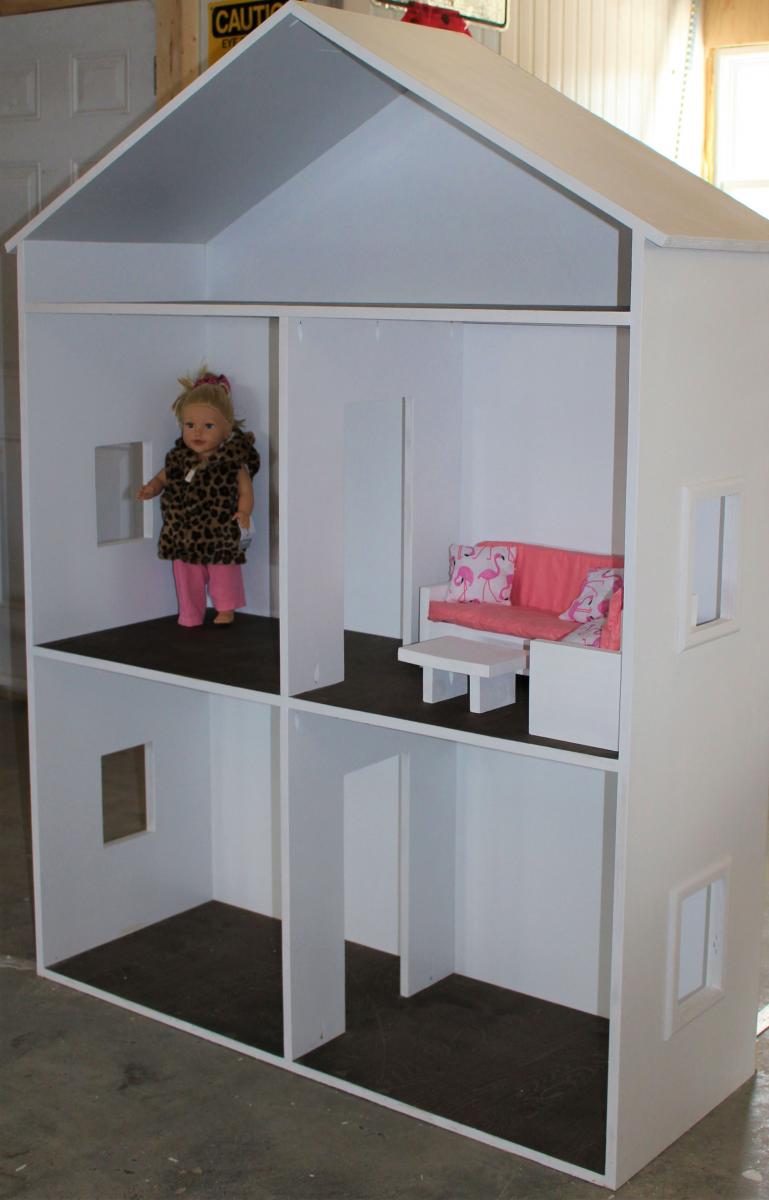
American Girl Doll House

Submitted by Anonymous (not verified) on Sun, 10/06/2019 - 18:59

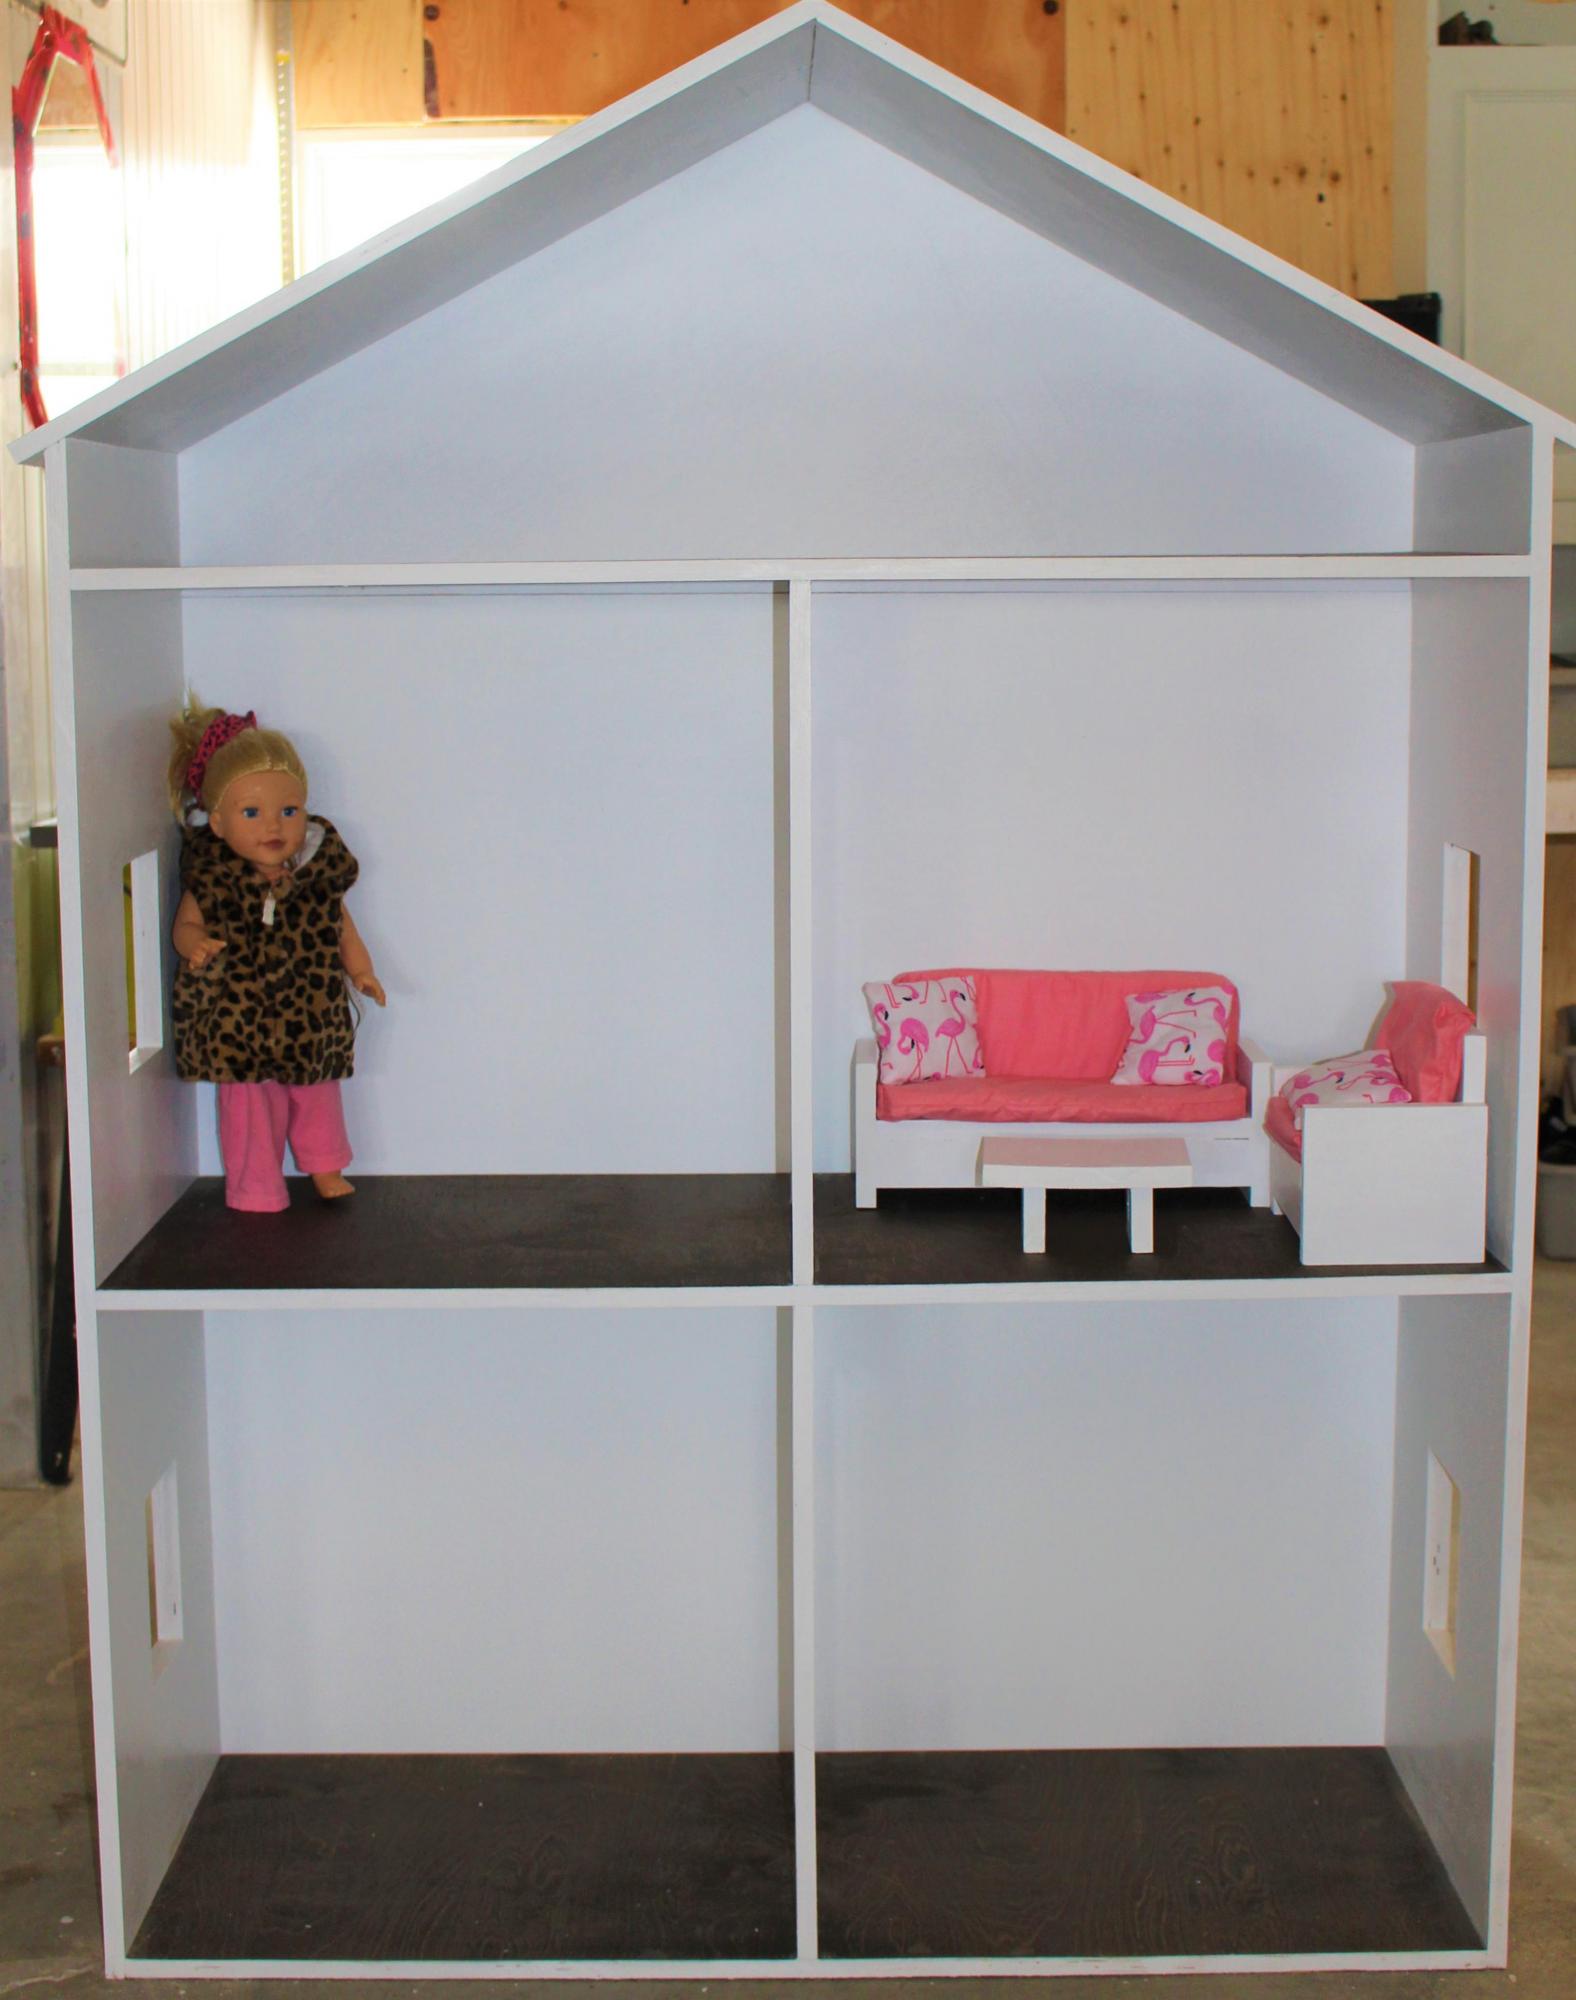
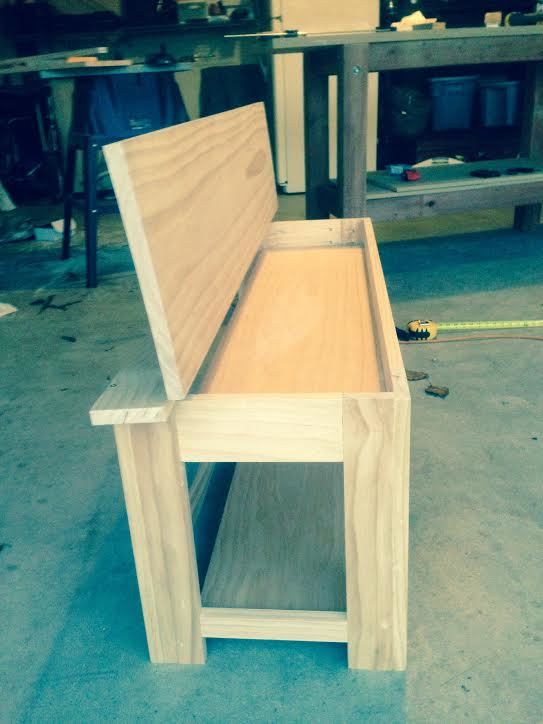
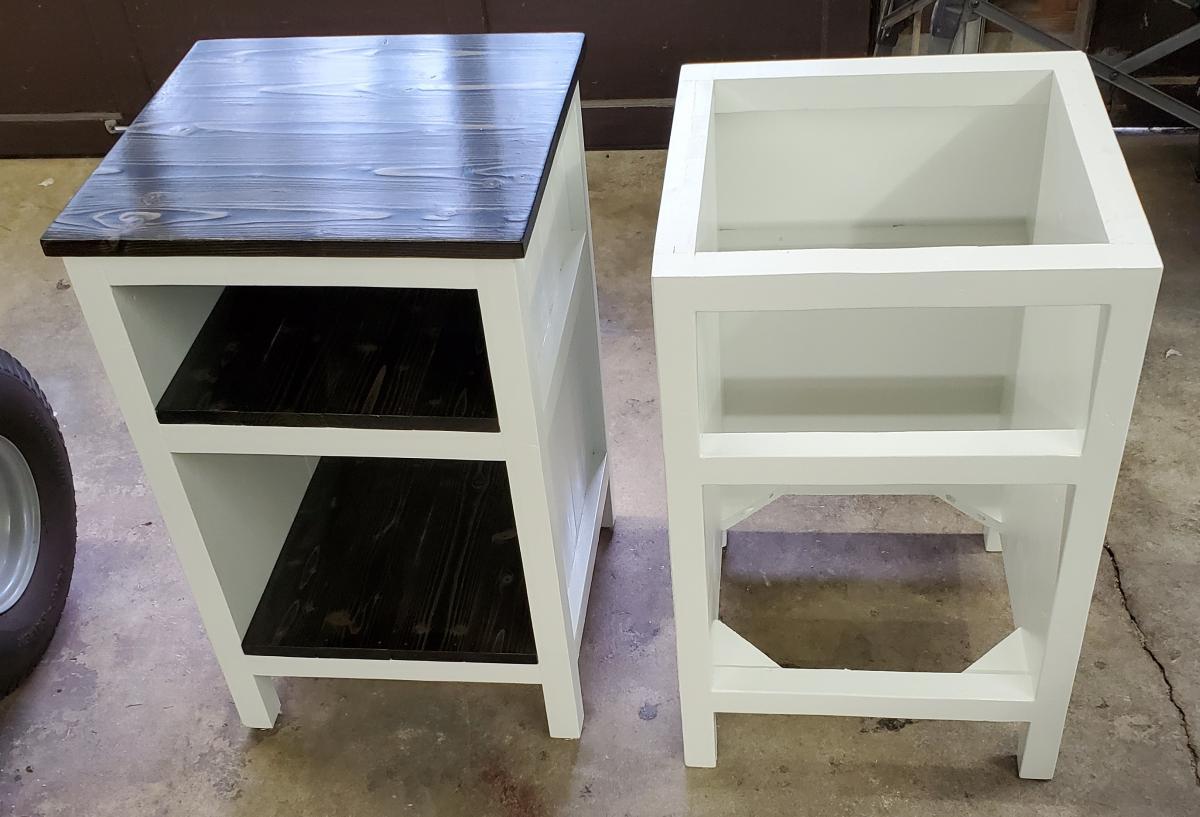
This Project was a Challenge mostly because of its size. Standing 6ft Tall and 4ft wide it was hard to handle at times but easy enough and fun to build.
I followed Ana's Three Story American Girl or 18" Dollhouse plans.
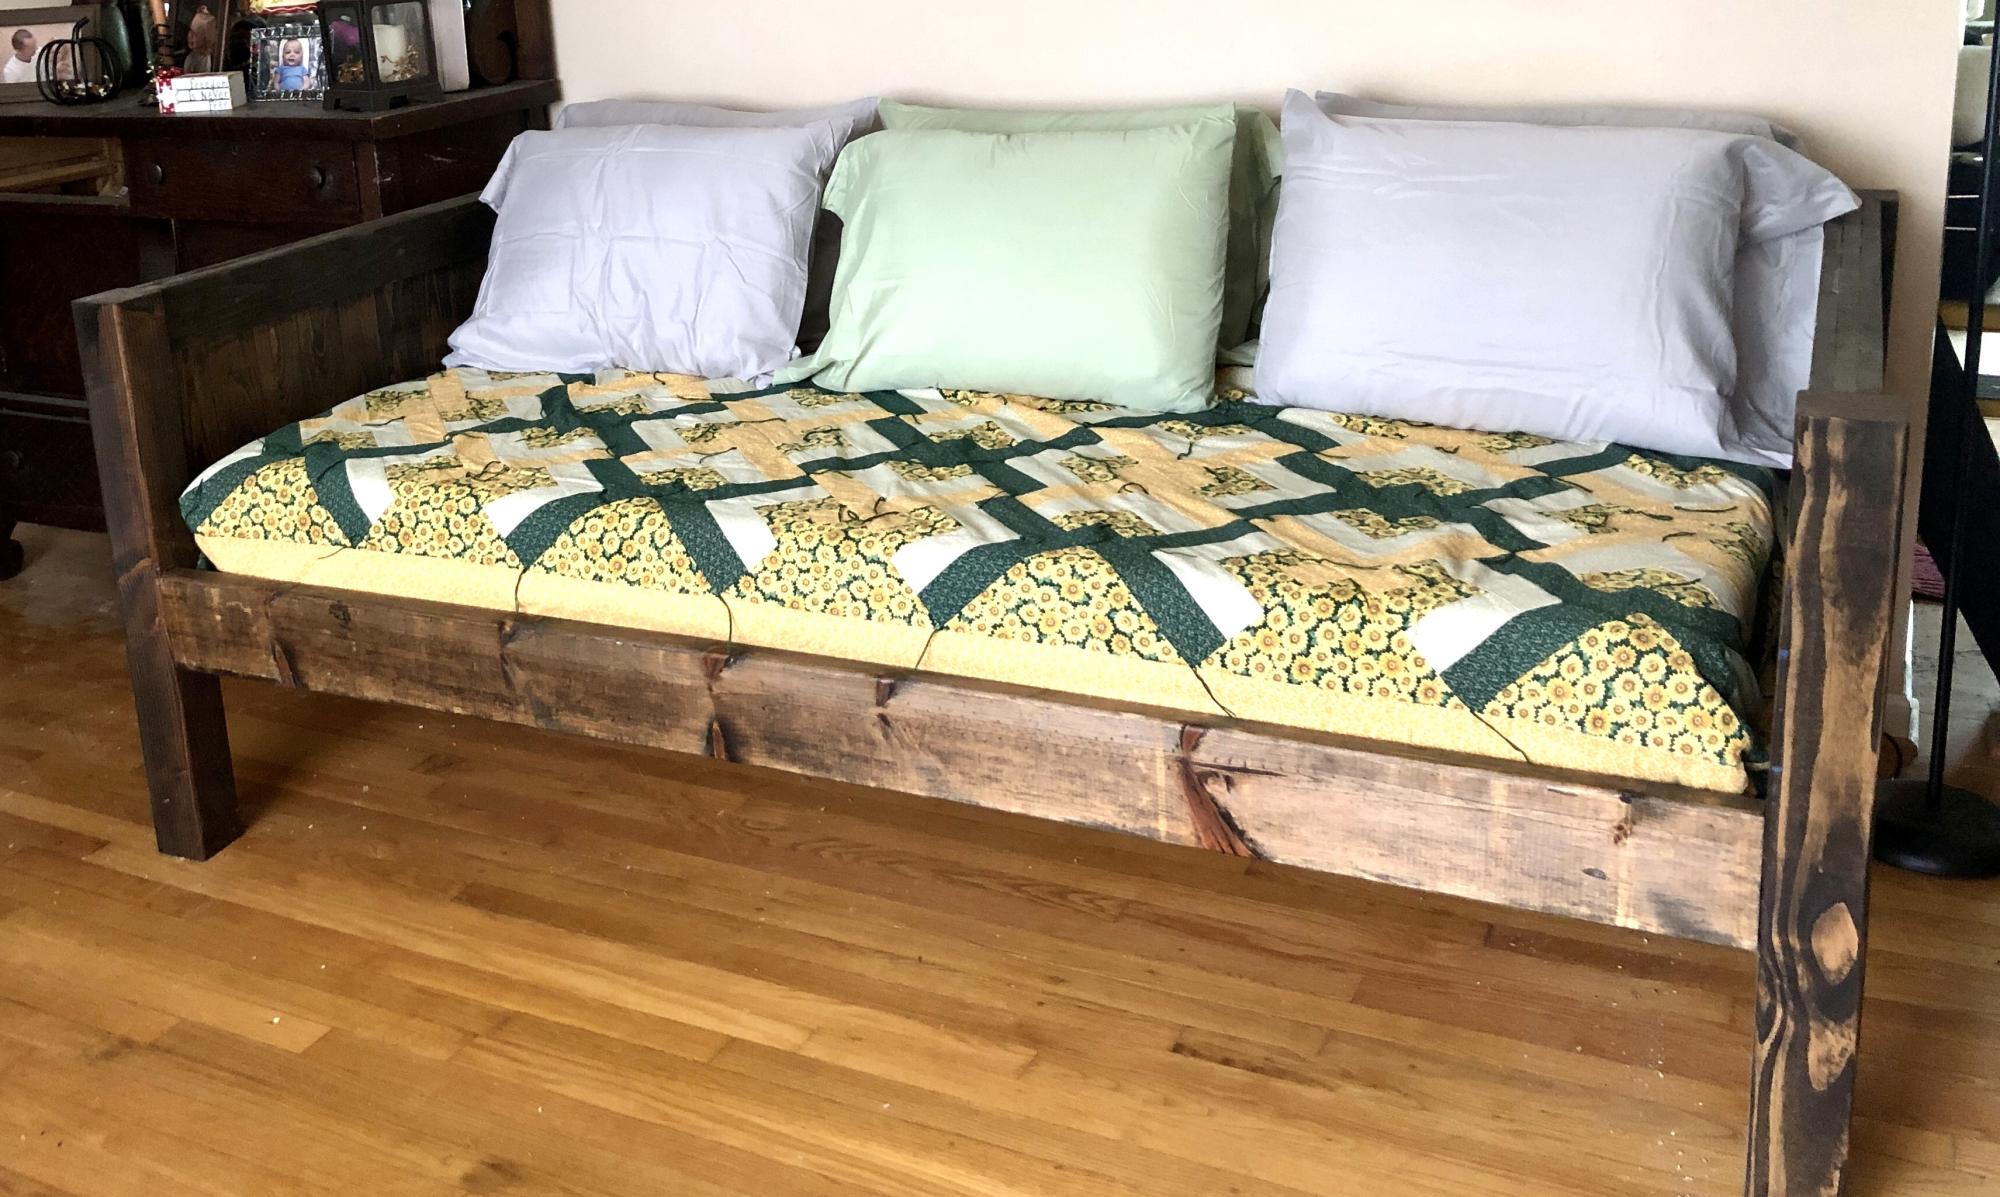
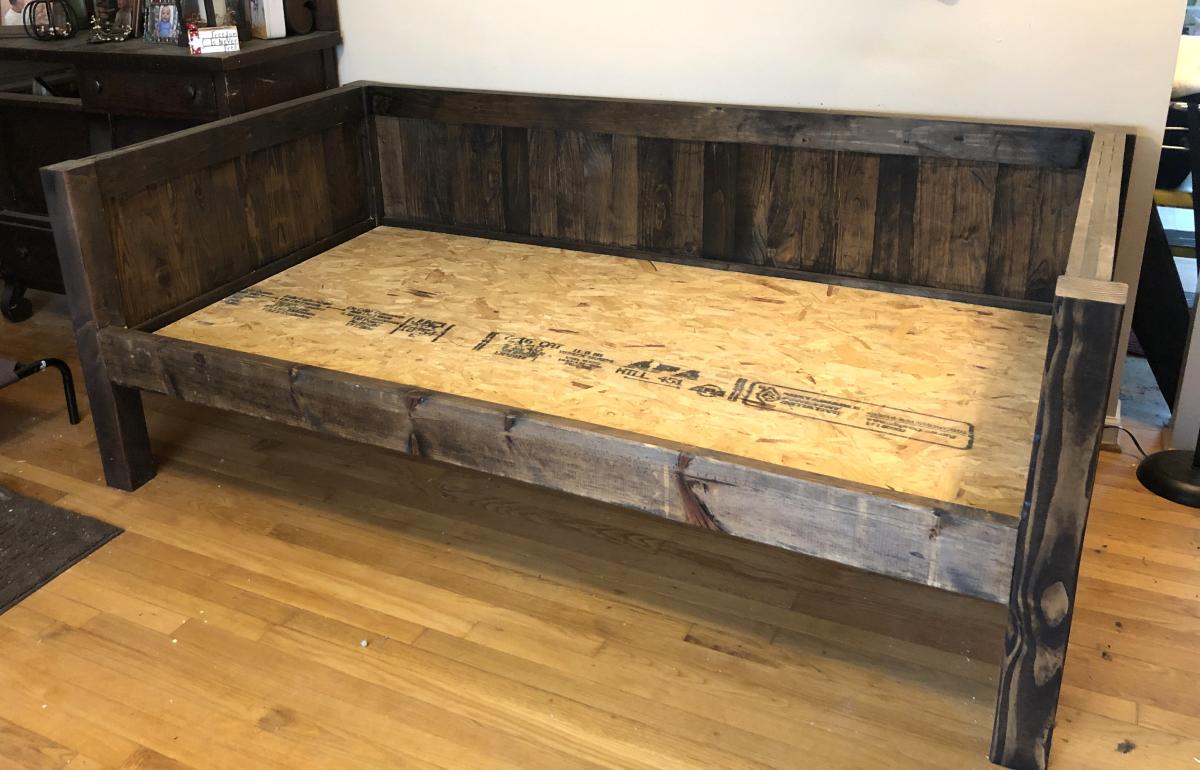
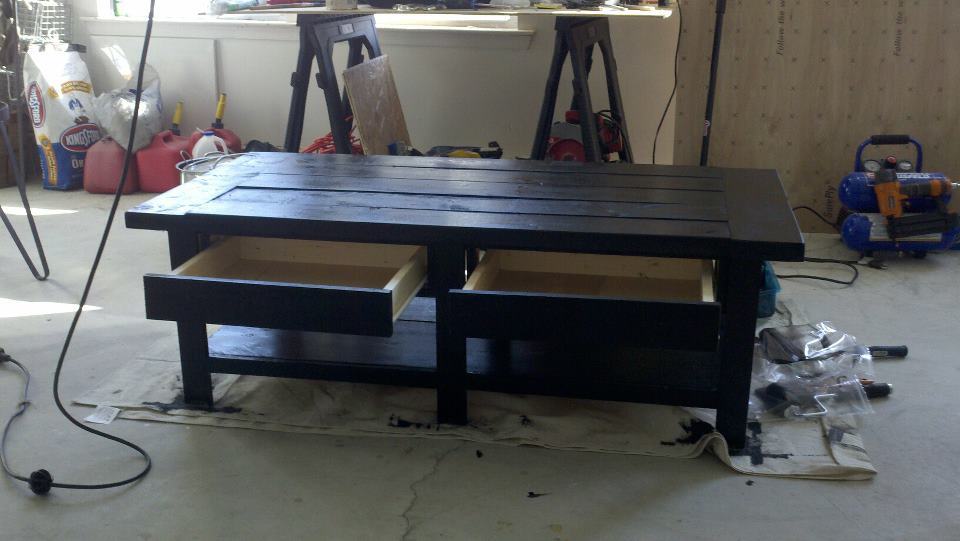
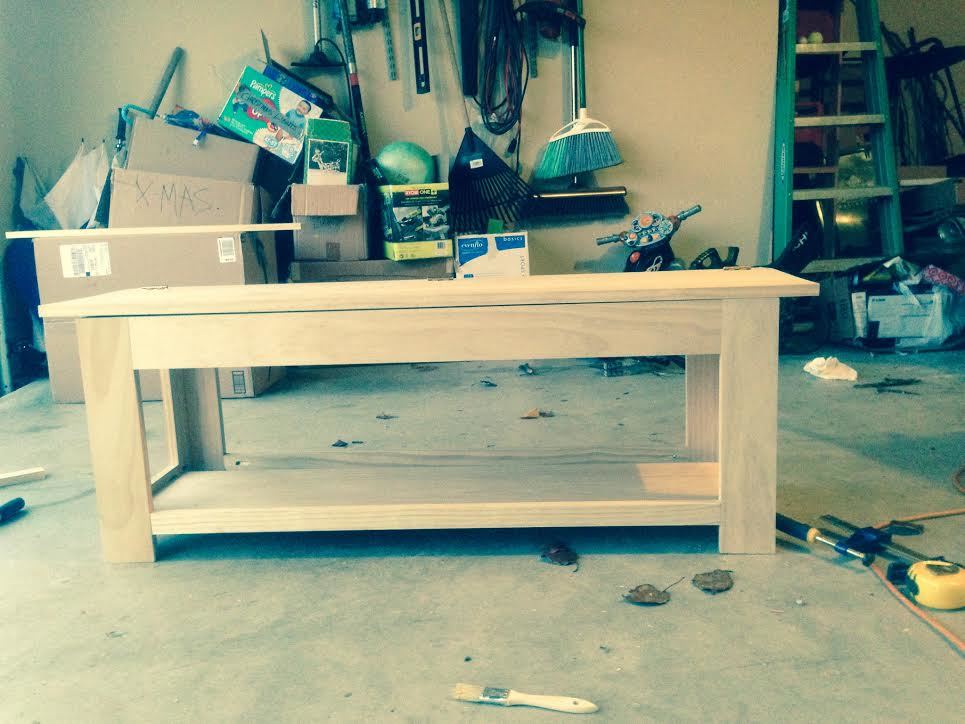
We also made the American Girl or 18" Doll Sofa or Couch.

Estimated Cost
$150
Estimated Time Investment
Weekend Project (10-20 Hours)
Finish Used
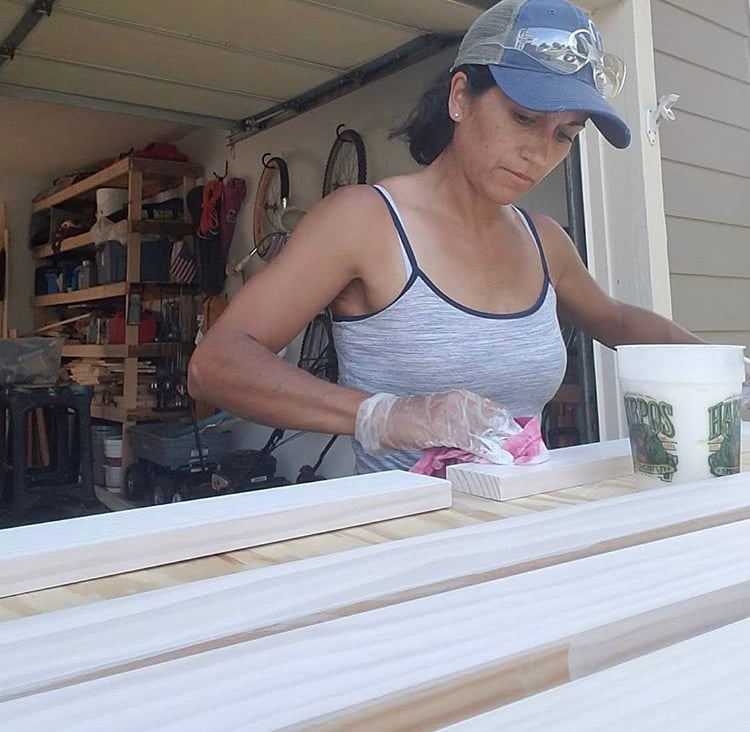
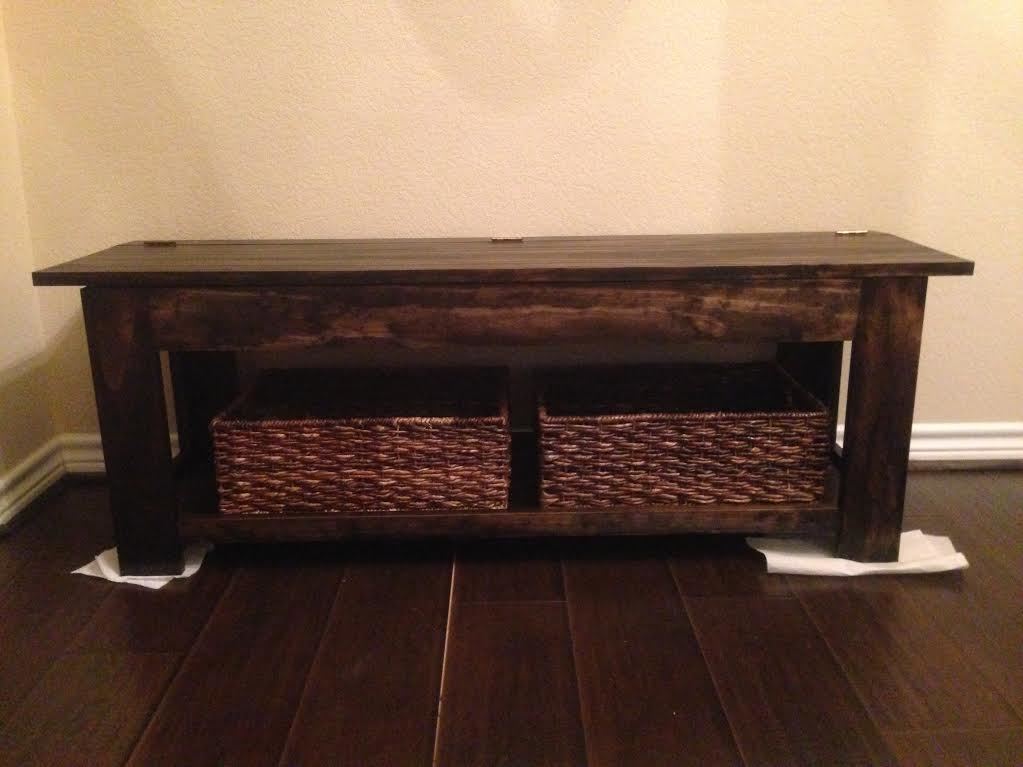
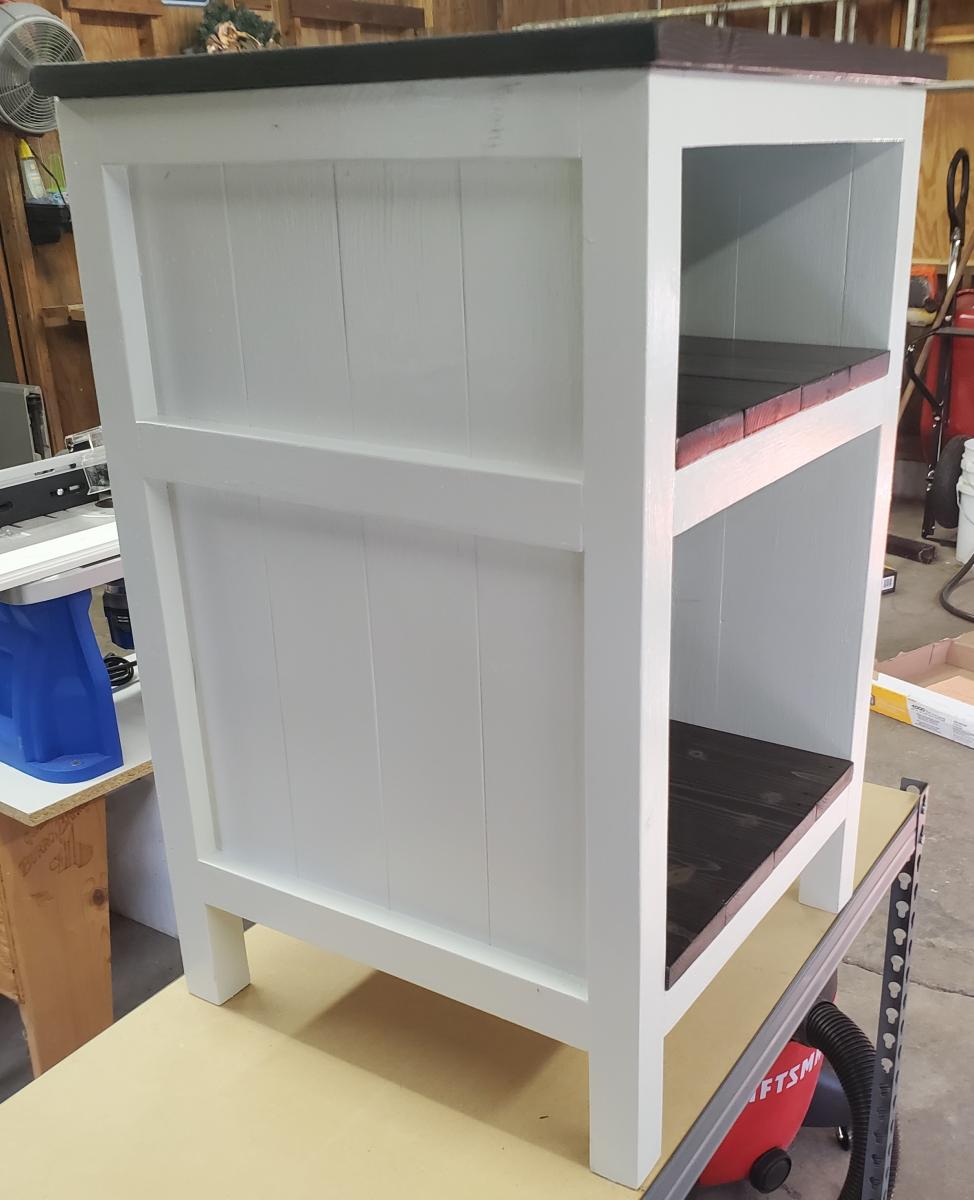
I used White Latex Paint and Walnut Mini Wax stain for the floors
Recommended Skill Level
Beginner

Headboard

I used the Farm House Headboard plan to make this headboard. I had to mix the stain to match a dresser I already had. I used a mix of Minwax pecan, red oak, and jacobean stains for the base coat and then Minwax red chestnut for 2 additional coats. I then used 2 coats of fast drying poly to top coat with. The wood is pine stud grade. I did modify it a bit by adding an additional vertical cross member in the center and I had to add a 1" x 12" at the bottom because the style of the bed frame. I built it in an afternoon but it took several days to stain and top coat.

Estimated Cost
$100
Estimated Time Investment
Week Long Project (20 Hours or More)
Finish Used
One coat of a custom mix of Minwax pecan, red oak, and jacobean stains. Two coats of Minwax red chestnut stain. Two coats of Minwax polyurethane. I sanded between the coats of polyurethane using 320 grain sandpaper. All finishes were done with brushes. I wiped down the stain applications with cotton cloths after waiting 15 minutes.
Recommended Skill Level
Starter Project

A letter shelf

A built these shelves for my nieces birthdays. I reversed the color schemes to keep them separate. The plans provided are great! I would certainly use the added 1 x 2 supports if hanging on the wall because the shelf is heavy (about 14 pounds).

Built from Plan(s)
Estimated Time Investment
Afternoon Project (3-6 Hours)
Finish Used
Valspar paint sample from Lowes
Recommended Skill Level
Beginner

Folding Workbench

Submitted by MrsCordz on Fri, 10/11/2019 - 07:47

We chose this project because we have a small garage and space is at a premium.  The dimensions of this build fit well in our limited space and allowed us to organize items such as paint, stain, screws and nails into one central location. I chose 2x4's on the sides to give it a more stable feel. Our garage and parking lot are all sloped and with the 2x4's this prevented the twisting. It feels solid and the wheels are smooth. We picked everything up at Home Depot. The screws that came with the hinges are to long and my husband used the Dremel to grind them down. You could just buy shorter screws.  This is one of my firsts builds and I've definitely learned a lot of lessons along the way. Measure, measure, then measure again before you cut a piece and use a level surface to make level pieces. Overall, everyone in my family played a part in helping me build this piece and so I love it and will cherish this piece and the memories always. Thanks Ana for all your fun videos, sharing your life with your family, and providing resources like this plan to us for free. I'm thankful for my son who bought me a compound miter saw for Mother's Day and other family for buying me a Ryobi circular saw. I'm truly blessed and loved. Thanks

Built from Plan(s)
Estimated Cost
120
Estimated Time Investment
Weekend Project (10-20 Hours)
Finish Used
I'm leaving it in the raw due to the nature of the piece. I may put a clear coat on it later.
Recommended Skill Level
Beginner

Comments

DIY Toyboxes!

Submitted by Anonymous (not verified) on Thu, 06/29/2023 - 09:54

I love the toy box plans!! I've done some woodworking previously, but this was my first larger project. The first one was so simple and easy to make that I decided to make more!

Tiffanni

Built from Plan(s)

Modified sturdy bench and Weatherly sofa

Submitted by lazyLiz on Tue, 02/14/2012 - 06:04

Modified the design and built from the sturdy bench and weatherly sofa plans for my patio set(will buy cushions in spring). I designed the tiled top dining table but I have yet to learn how to use the google sketch up to be able to submit plans here. However, if interested on what materials and step by step process with photos can be found on my blog link.
Tiled top table measures 42"X96" and 30inch high, seats 8 to 10.
All wood used are pressure treated pine.

Estimated Cost
Patio Set :$100-$150 (got my tiles from clearance section)
Estimated Time Investment
Week Long Project (20 Hours or More)
Finish Used
mahogany latex based exterior primer and paint in one, three coats
Recommended Skill Level
Intermediate

Comments

Beach Cottage Dresser

Submitted by Emendia on Mon, 12/23/2013 - 23:18

This was my first dresser. The original plans say to lay the dresser on its back and center the drawer fronts then nail in place; in my opinion it is faster and more accurate to hold them in place and have a helper nail them in place. Also, the original plans suggest a certain jig for installing the slides which requires a locking c-clamp to hold the jig in place. Well, in my opinion the locking c clamp, along with a magnetic small torpedo level is faster and easier than the jig. A six in steel rule with a slider clamp is also helpful.This was fun project - learned a lot!  Thanks Ana & Patrick!

Estimated Cost
$250
Estimated Time Investment
Weekend Project (10-20 Hours)
Finish Used
DIY chalk paint, knobs from World Plus Market, and lightly distressed along edges so antique white primer would show through along edges. Base for chalk paint is latex plus calcium carbonate. Be sure to dissolve chalk in water before mixing into paint! I did two coats of antique white tinted primer, followed by two coats of chalk paint, then sealed with wax Also, the chalk will whiten your final color, so buy paint a couple of shades darker than what you would like your final finish to be.
Recommended Skill Level
Intermediate

Comments

Emendia

Tue, 12/24/2013 - 08:23

Oh, another lesson I learned: The drawers are made by attaching drawer fronts to the boxes. This makes the front 1.5 inches thick - this means most drawer knobs won't fit unless you use a Forstner or spade bit to bore a hole on the back side of the drawer face - in turn you may need to do this before you assemble the drawer!

Full Length Mirror

Submitted by AndyH on Fri, 03/04/2016 - 18:03

A $10 Mirror framed out with some 1 by 2, 1 by 3 and 1 by 4.

Stained black and then 2 coats of white paint sanding after each to give a rustic/antique look.

Estimated Cost
$35
Estimated Time Investment
Day Project (6-9 Hours)
Finish Used
Stained in black and then two coats of white paint sanded between coats to give antique finish.
Recommended Skill Level
Beginner

Leaning Desk

Submitted by Anonymous (not verified) on Sun, 10/13/2019 - 12:59

I needed a desk to get my computer off the kitchen table. After remodeling my bedroom and sealing a doorway to make the wall space, I needed something that would take up a little amount of floor space. Of course I couldn't find exactly what I wanted so I decided to build it. Found this little gem of a plan and modified it to my liking and needs. I’ve had it up for about a year and I love it.

Built from Plan(s)
Estimated Cost
50.00
Estimated Time Investment
Weekend Project (10-20 Hours)
Finish Used
White washed with a water based pay finish.
Recommended Skill Level
Intermediate

Daybed Mash-up of Plans

Submitted by Anonymous (not verified) on Mon, 07/03/2023 - 12:35

I mashed together several twin bed plans - farmhouse bed, simple twin bed and Hailey Storage bed to create this farmhouse style daybed. It's a very sturdy and heavy piece of furniture.

Built from Plan(s)

Shoe Storage Flip Top Bench - First Attempt at "Woodworking"

Submitted by rskeels on Thu, 12/26/2013 - 07:48

This is my first attempt at building and your website made it possible. There were a couple of mistakes, I admit. This was especially true with the finish. I did my best, but I'm a little impatient with letting things dry.

I am also having a difficult time estimating how long it took to build as I am the sometimes proud father of 3 boys...aged 2, 4, and 5....resulting in frequent stopping, starting, and intermittent chasing down the street. I need an exterior lock on the garage.

Thanks so much for your website Ana.

Estimated Time Investment
Day Project (6-9 Hours)
Finish Used
Minwax English Chestnut - Two Coats
Minwax Jacobean - One coat
Minwax Polyurethane
Recommended Skill Level
Starter Project

Comments

Distressed Fancy X Farmhouse Table

Submitted by Anonymous (not verified) on Mon, 03/07/2016 - 04:50

We used the Fancy X Farmhouse plans and matching bench to create a wonderful new farmhouse table and bench for the lake house. We distressed the tops of the bench and table and stained them Weathered Grey with the base of the table and bench stained Ash.  We absolutely love it!

Estimated Cost
Less than $200 for both pieces
Estimated Time Investment
Weekend Project (10-20 Hours)
Finish Used
We used a stain called weathered grey on the top and sanded some of the stain away in areas that would be typically used a lot and in the areas that showed bare wood we added the Ash stain and rubbed it in and lightly sanded the whole tops before applying final polyurethane coats. The bases were stained Ash.
Recommended Skill Level
Advanced

Comments

Square Picnic Table with Umbrella

Submitted by Anonymous (not verified) on Fri, 07/07/2023 - 11:06

Used your plans to make a sturdy, durable hardwood picnic table for a friend. Top is black cherry (1 1/4") and base/seats are white oak (1 1/4"). The seats are one piece, 11" wide from a white oakoy cut and sawed on our property! Sealed with two coats of Spar Urethane.

Chip McCoy

Built from Plan(s)

Pallet Bookshelves

Submitted by kristilmay on Fri, 02/24/2012 - 10:12

My daughter's room has a strange little cut-out section in one of its corners. We debated for a while over how to make it look like it's supposed to be there. After discussing all of our options, I remembered that we had a wood pallet in our garage. I also remembered seeing a great plan on Ana White's website for a book shelf made from a pallet, so I decided to give it a try. Fortunately cutting the pallet down in half made it the perfect size for this corner. Sarah loves books and drawing, so it makes a perfect little reading/art area. I love how it turned out, especially since it was FREE!

Estimated Cost
FREE
Estimated Time Investment
An Hour or Two (0-2 Hours)
Finish Used
White Paint
Recommended Skill Level
Starter Project

Comments

Two Drawer/Shelf Modern Nightstand

Submitted by asalex1217 on Sat, 12/28/2013 - 19:58

Great design, easy to follow!

Estimated Time Investment
Weekend Project (10-20 Hours)
Finish Used
black glossy paint
(*be sure to sand well!)
Recommended Skill Level
Beginner

Comments

Easy and Fun!

We saw this table here on Ana-White and loved it so much that we decided to take a shot at it. We have done smaller projects with wood before but nothing like this. In all honesty, it was super easy and fun!

Built from Plan(s)
Estimated Cost
$180-200
Estimated Time Investment
Weekend Project (10-20 Hours)
Finish Used
One layer of Special Walnut and two layers of MinMax's polycrylic with a light sanding in between coats.
Recommended Skill Level
Beginner

Planked Wood Bedside Table with Shelves

Submitted by Anonymous (not verified) on Mon, 10/21/2019 - 20:48

I built these for my daughter's 22nd birthday, after she showed me a set of night stands that resembled these from the site. They were my first furniture woodworking project I have ever done. I did add a set of gussets at the bottom, below the bottom shelf. I had to rip the 2x2's for this project, as I can't find any where around that sells them. I opted for a paint brush finish on the body to give it an antique look. I used 7 coats of polycrylic to give the shelves some depth. I just loved how the stain shows off the grain and knots in the wood.

My daughter loved them when I revealed them on her birthday.

Estimated Cost
$100 for a set of 2
Estimated Time Investment
Weekend Project (10-20 Hours)
Finish Used
Minwax water based Ebony stain with Minwax water based polycrylic. For the paint I went with Valspar cool gray paint that I had left over from a bathroom remodel.
Recommended Skill Level
Beginner

Modern Chaise Lounge

Submitted by Anonymous (not verified) on Sat, 07/08/2023 - 10:13

Modified lounger, made from 75mm x 38mm (cls) timber, sealed with 3 coats of exterior varnish.

Had great fun making this one, already on with making my second lounger.

A bit of wood

Back