Just My Size Closet

Just My Size Closet!
Built this from Ana's plans with a few modifications.
Started with a big empty box after ripping the old stuff out and finished with this look.
Adjustable shelves and all !

Just My Size Closet!
Built this from Ana's plans with a few modifications.
Started with a big empty box after ripping the old stuff out and finished with this look.
Adjustable shelves and all !
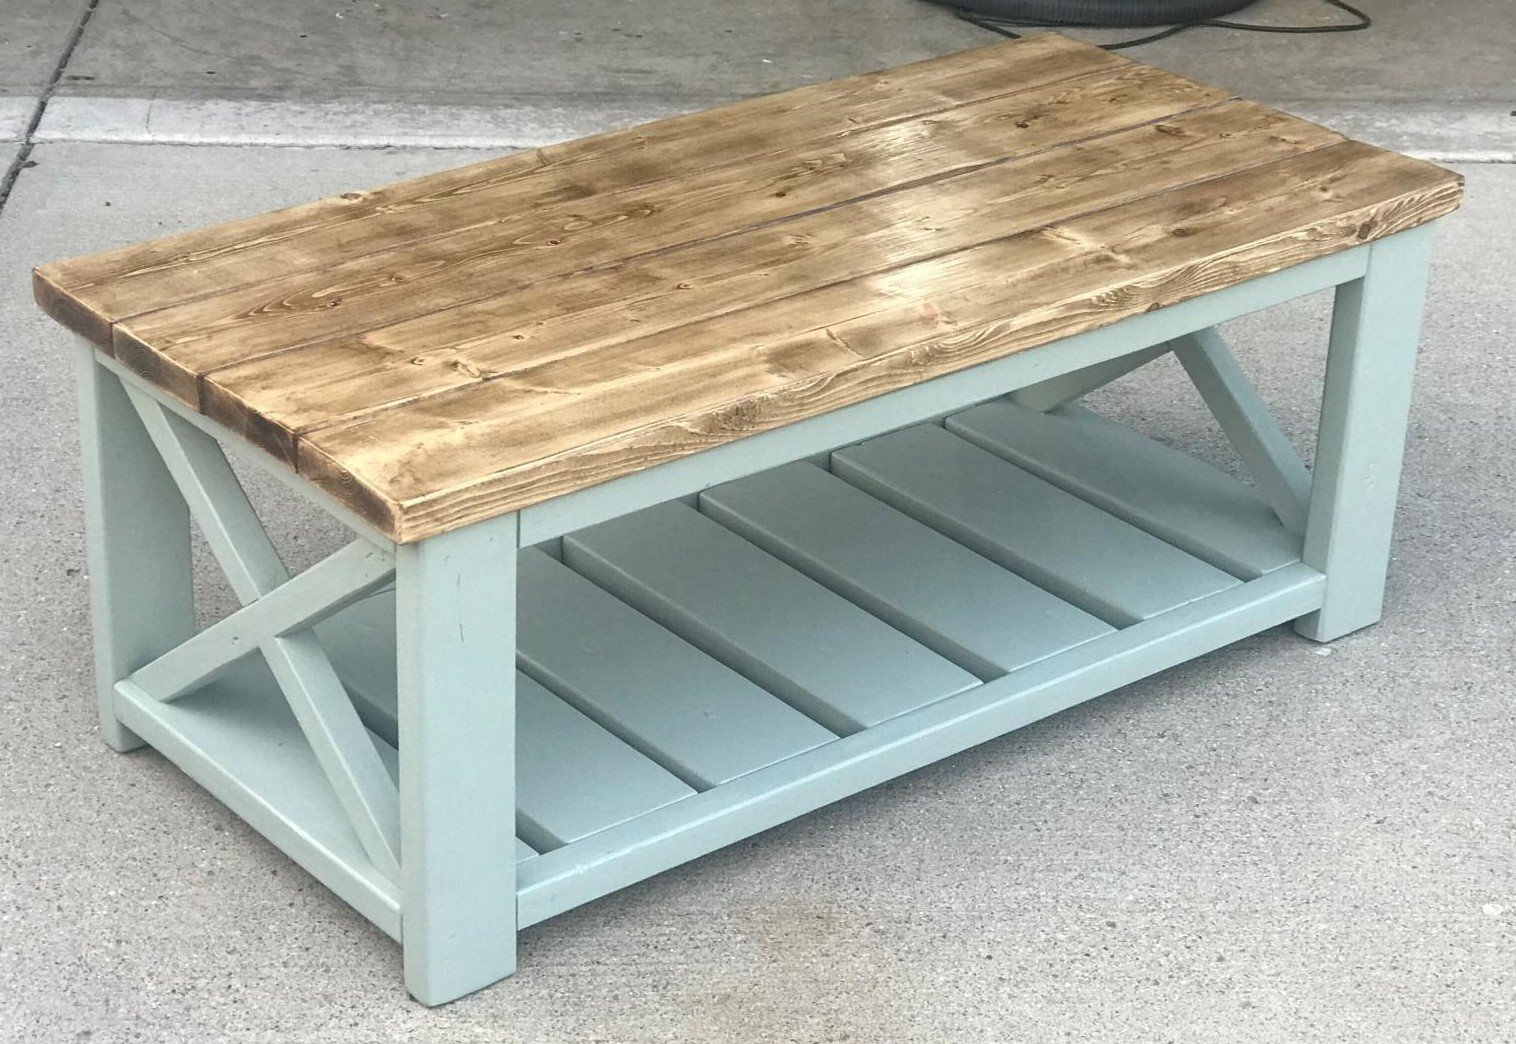
My daughter is going back to school and moving out of the dorms and into a house and needed a coffee table. Saw these plans, had almost all the wood so off we went. Happy with how it came out. We used some paint we had for the base (Pure Sage) and I used a Weathered Oak stain with 5 coats of satin polyurethane for the top. If she has room will make a matching end table!
We slightly modified the grandy console plans and did a different door style per the customer request and also added a 1 1/2" x 2" toe kick with a door guide. Console measures 66" long x 16" deep x 36" high.
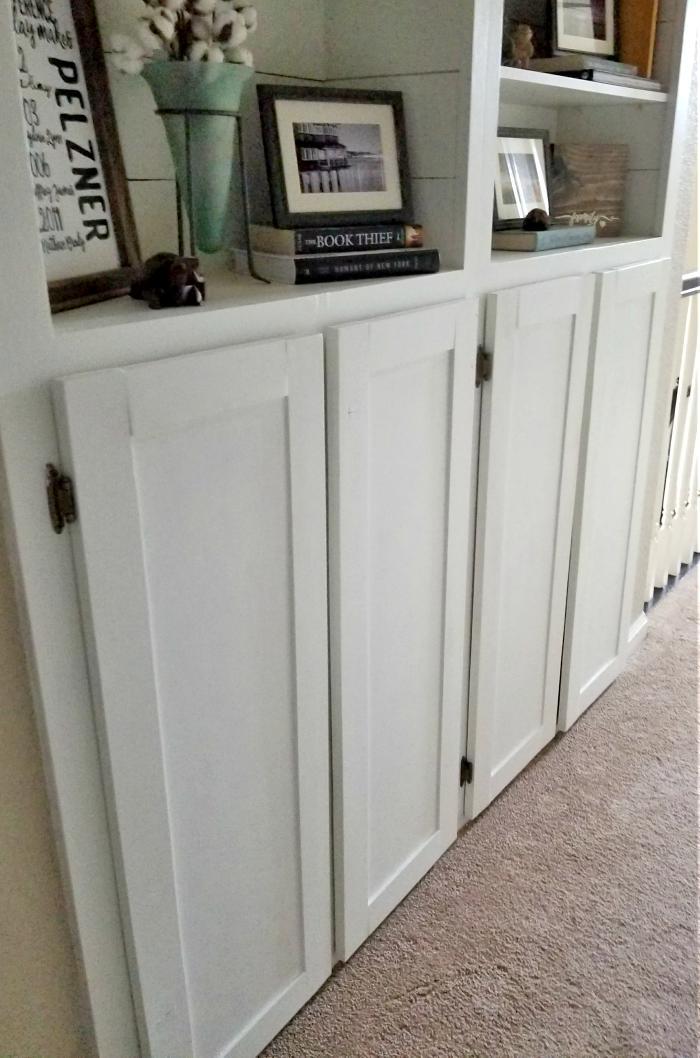
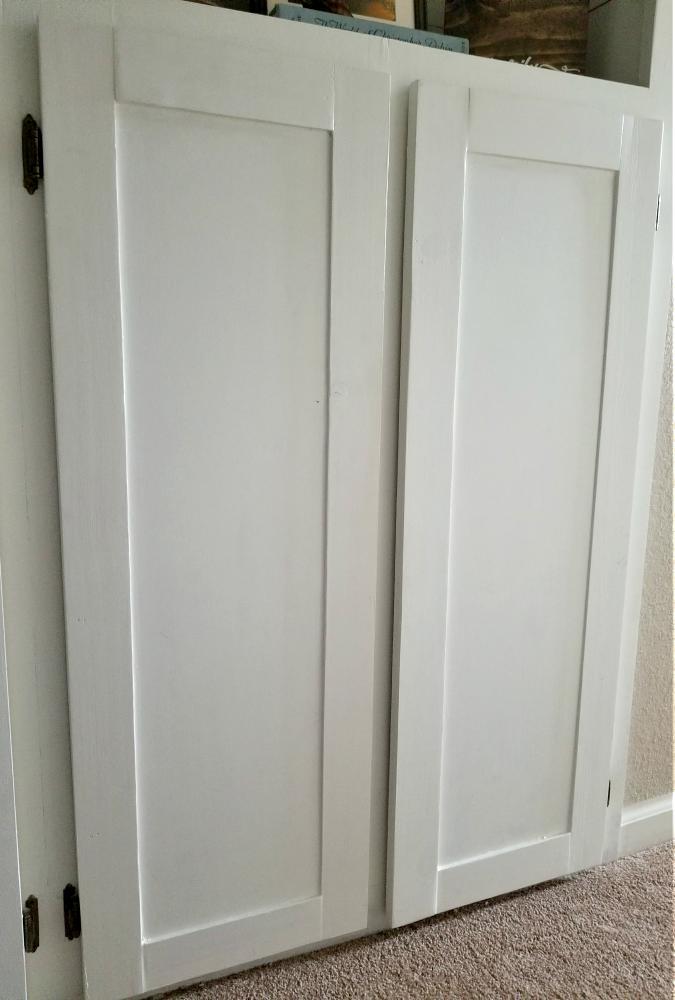
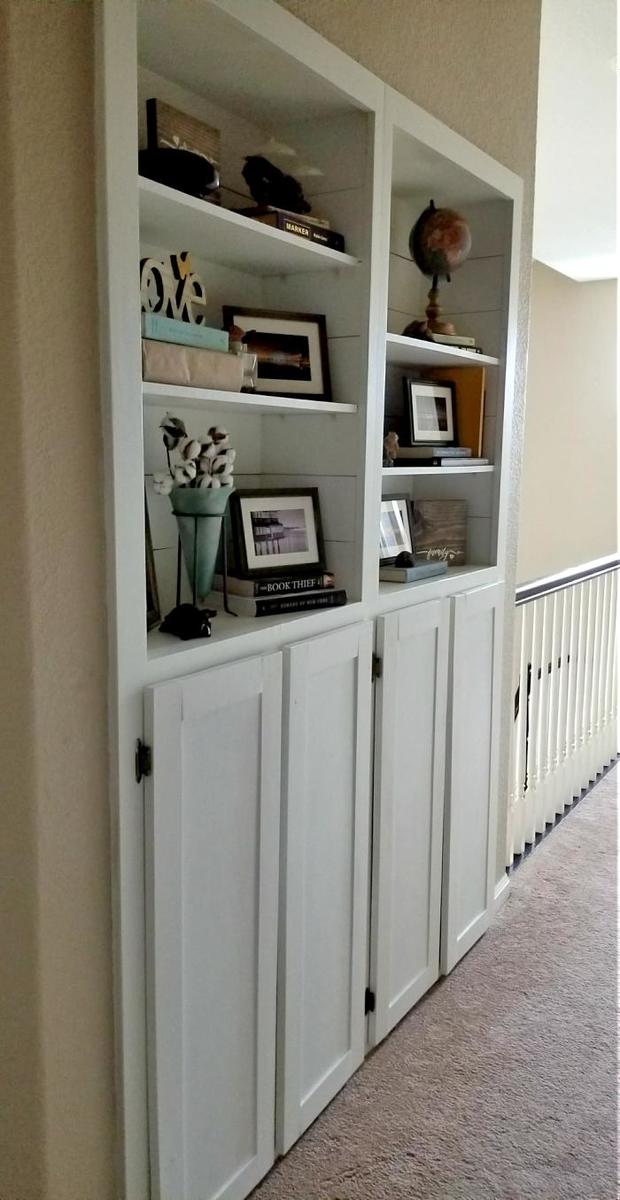
I used the easy frame and panel doors instructions to build 4 new large cabinet doors for my hallway cabinets! I painted them Sherwin Williams Alabaster. You can find my full blog post about them here: http://www.leapoffaithcrafting.com/make-shaker-cabinet-doors/

Thank you for the easy and fun bench plan.
It was really easy to install.
Even my 2 little daughters had fun (-:


Thu, 04/24/2014 - 08:06
I love the finish you did on the bench. Thanks for sharing!
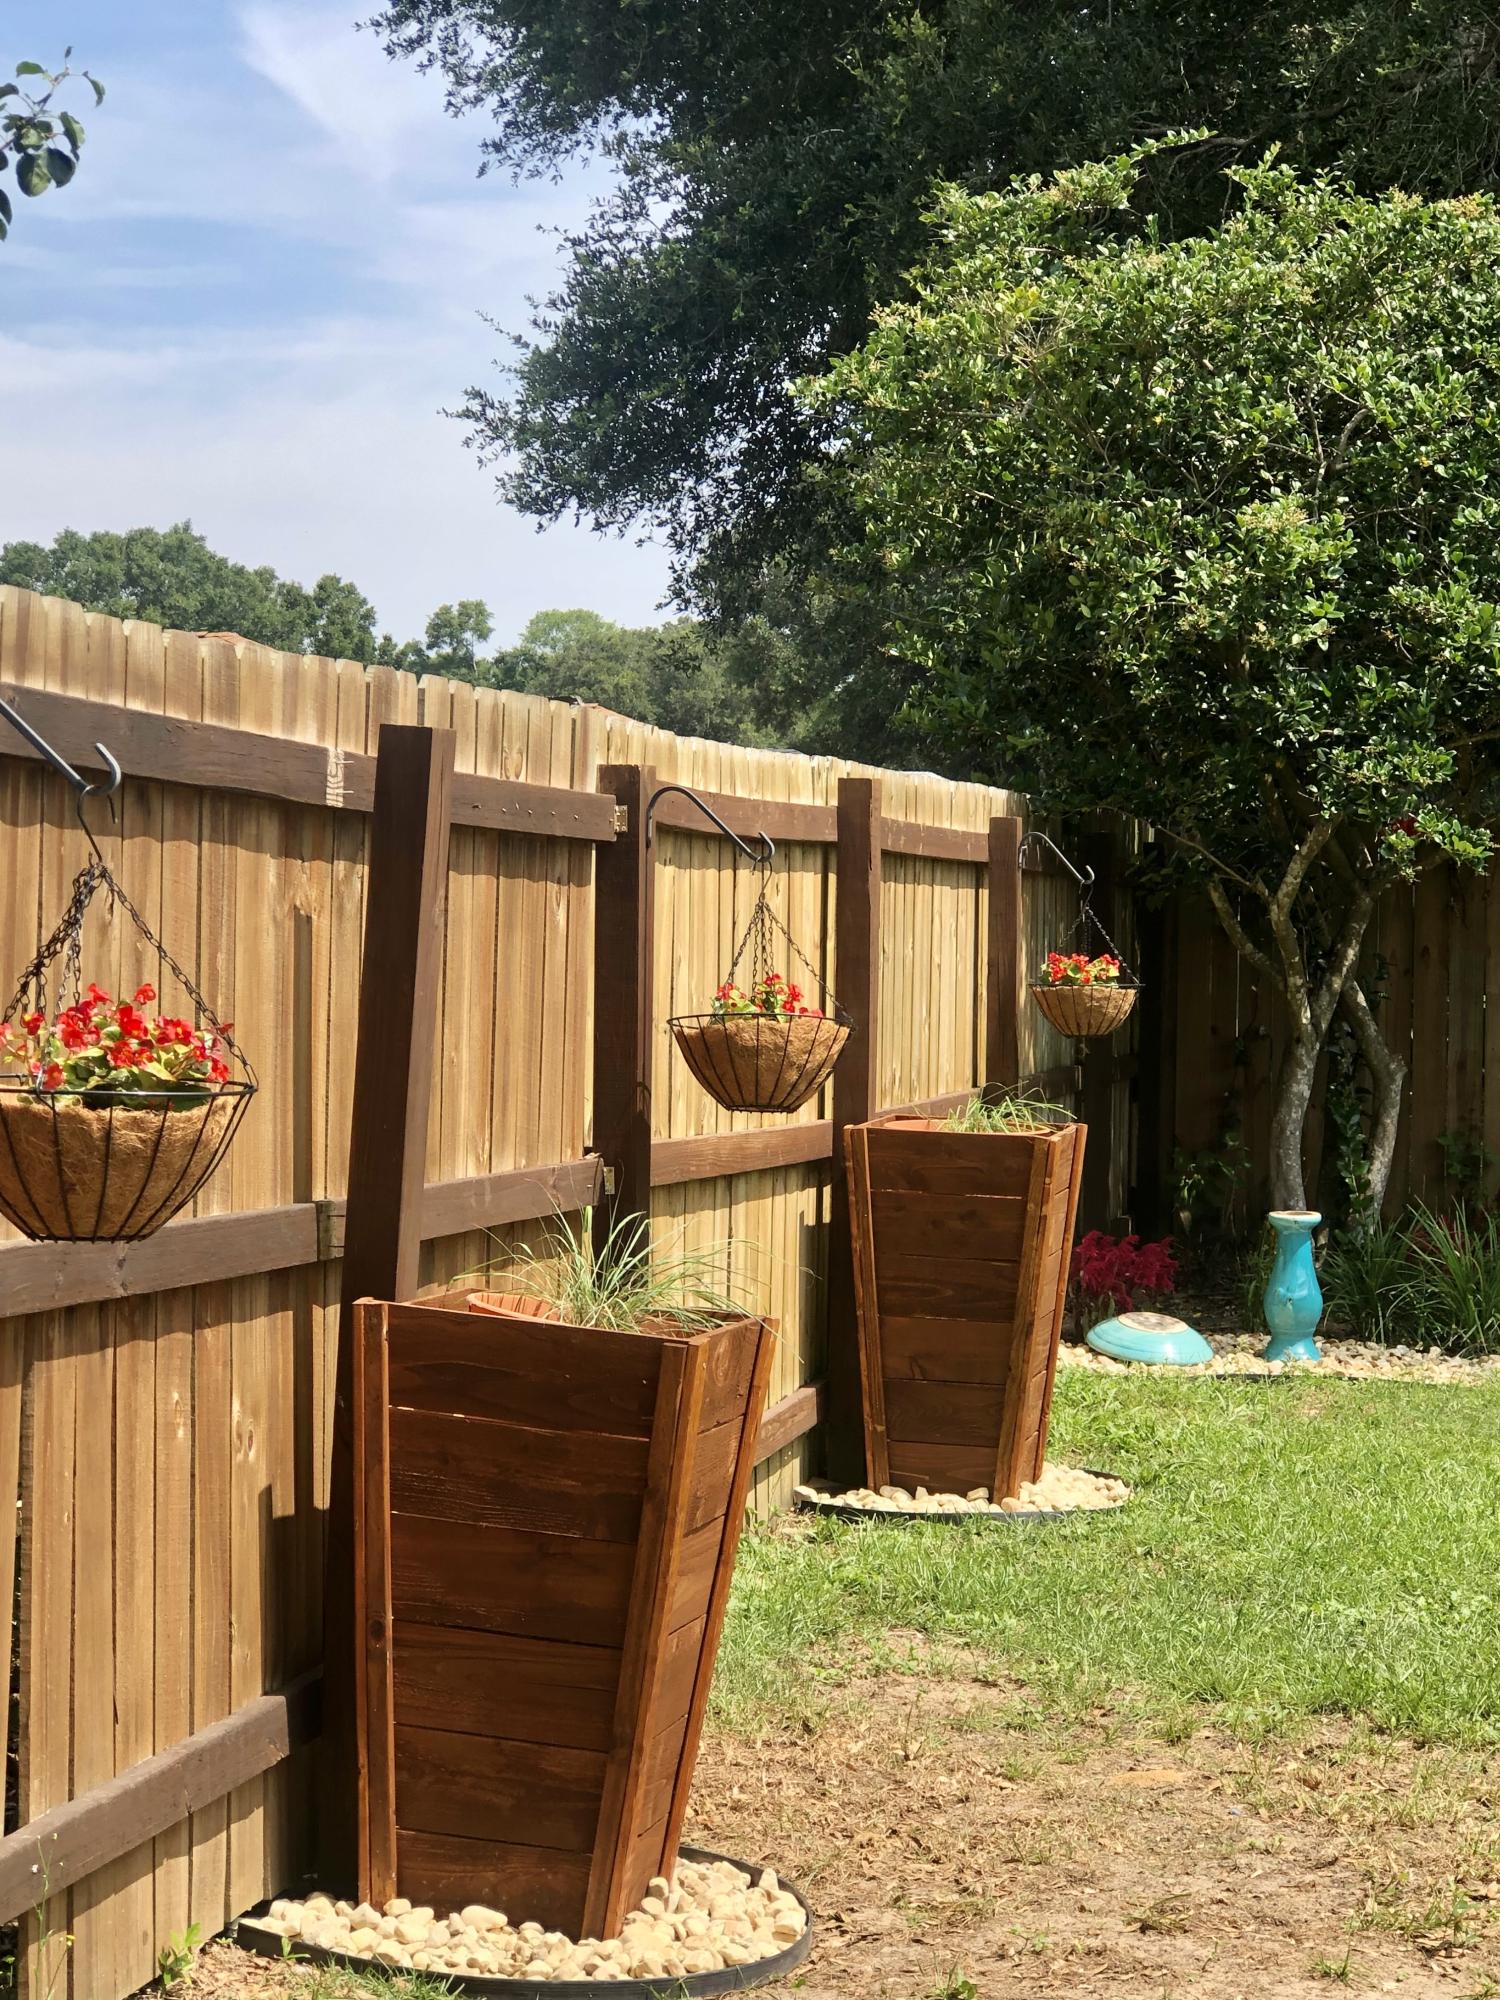
32” wood planters with false bottom
Jenna
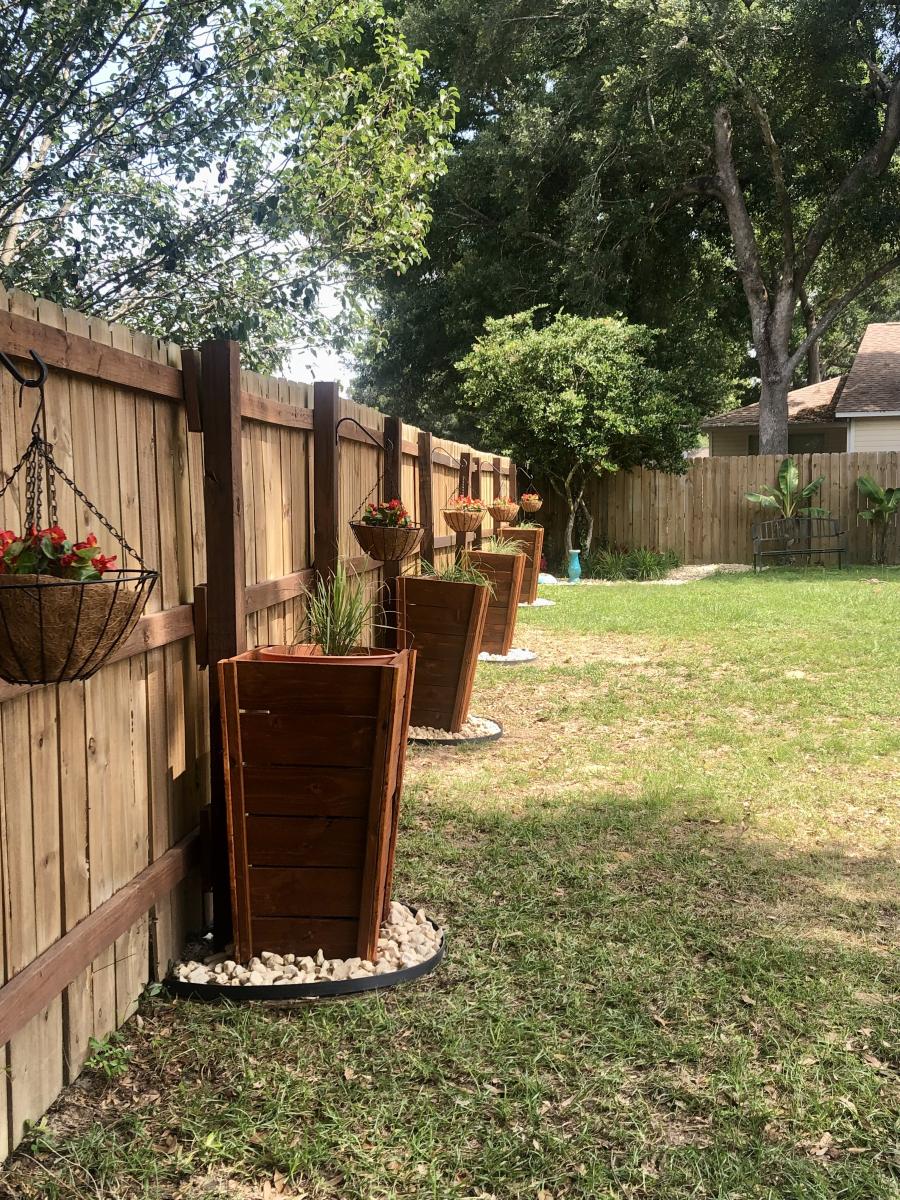
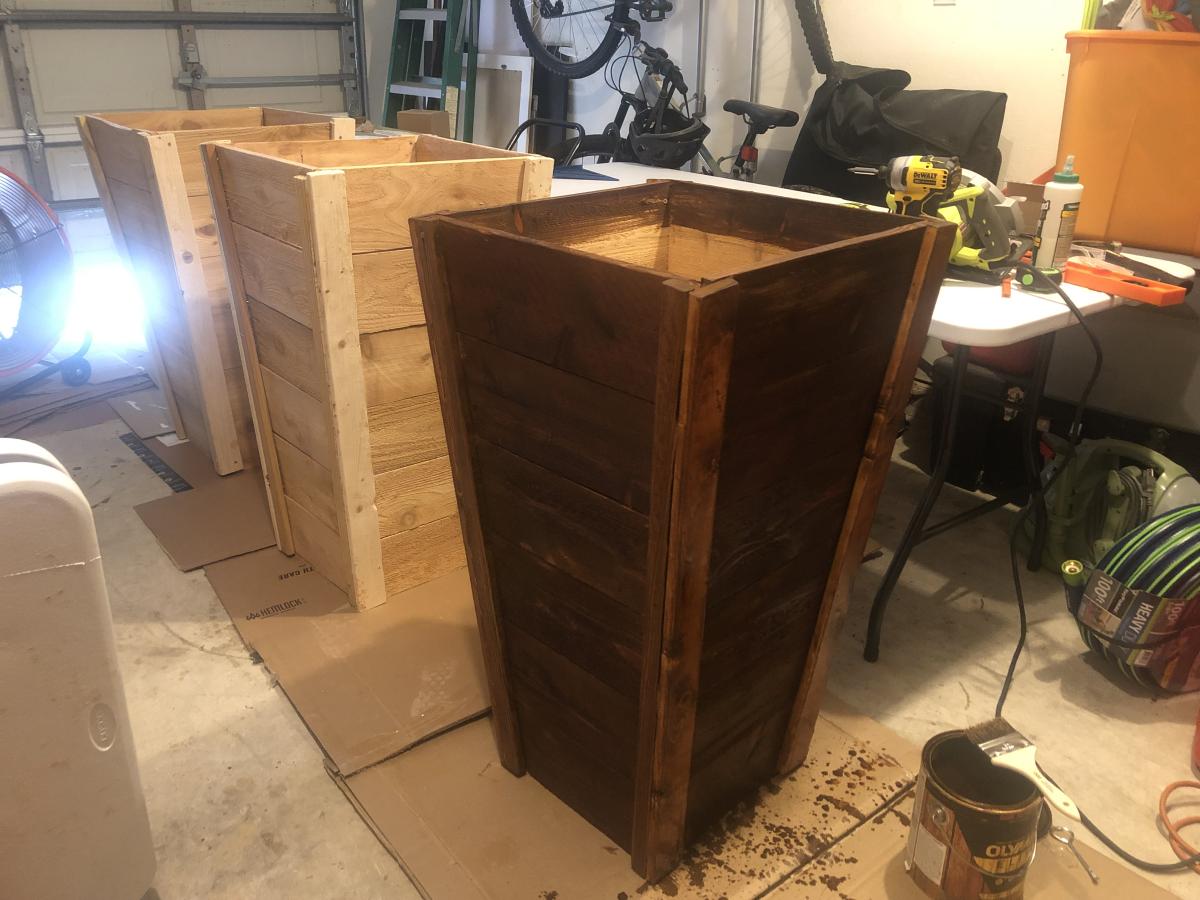
Cost: $45
Made this bench smaller than the plan so it measures 48" X 18". Using it in a spare bedroom so it will eventually get stained to match the wood furniture.
Mon, 12/04/2017 - 09:17
That was my idea as well, to shorten it. My wife just asked me if we could part with a few chairs on the back side of our dining room table and if i would make a bench or two across the back wall. Well "of course" i said hahah!! Nice job on yours!! :{)
Sun, 09/13/2020 - 06:45
That's really beautiful. I think I'll look up the plans and try make one myself.
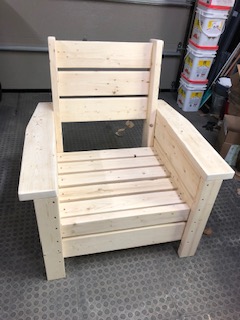
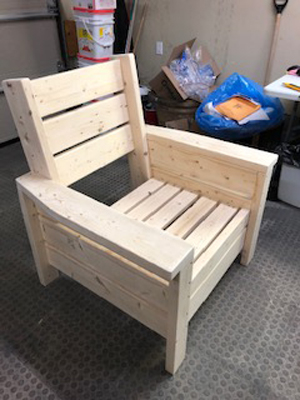
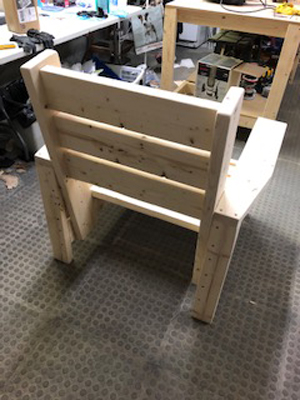
Modified with a high back and modern adirondack arms.
The base of the chair is built exactly to the plan except that the arms are done in a modern adirondack style.
The back was made independently to fit inside the base and then attached to the plan base.
Very comfortable but very heavy chair even without the modified back.
Not stained yet obviously.
Cushions are hard to find I think I would make it slightly smaller next time and maybe even find the cushions first and alter the plan to fit.
Tue, 06/09/2020 - 09:11
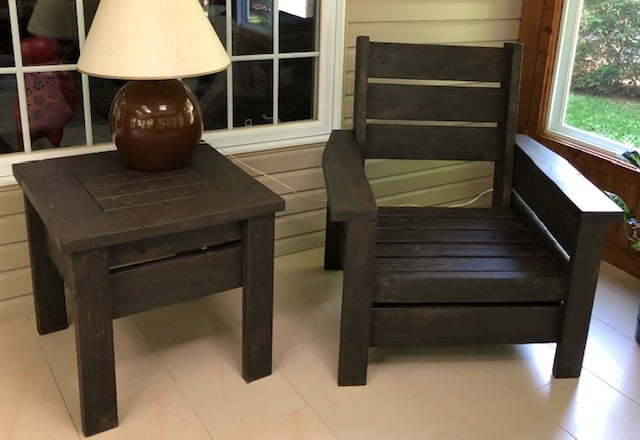
Stained with Saman: Urban Grey mixed with some left over brown 4:1 and now has a companion side table
Wed, 06/24/2020 - 07:33
Do you have the plans for the table you built? Im a brand ne beginner. I am trying the modern outdoor chairs and live this table with them.

I’m a first year teacher of construction class at Waterloo High School in Illinois. We recently used your Small Cedar shed instructions with some modifications for a class project. It’s a bear getting cedar right now, so we used T1-11 for the outside and 2x4 for the frame.


Sat, 03/25/2023 - 09:14
Very fun and job well done! Thank you for sharing.
I love our new table.
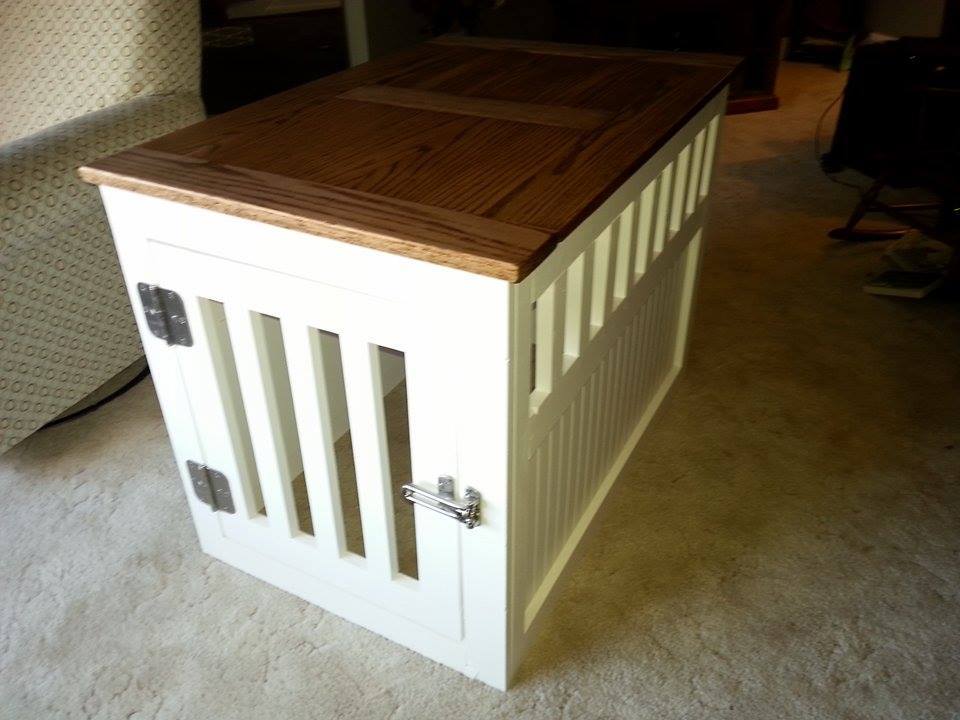
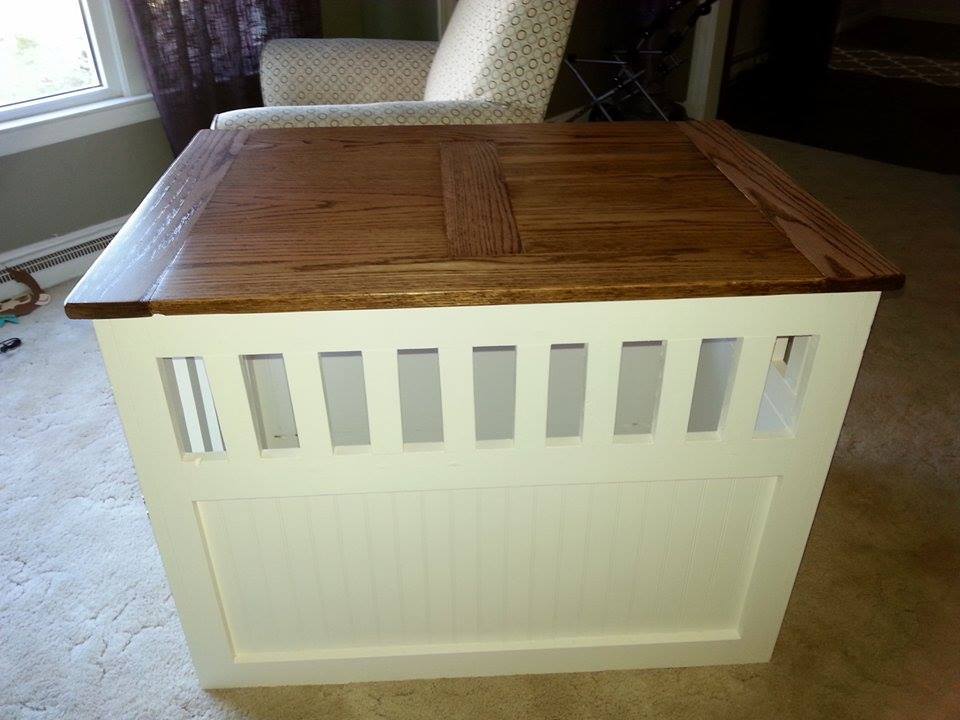
Made this for a animal rescue charity dinner auction. The bottom is made out of all scrap pine i had laying around. The top is made from 1x4 oak.
Painted the base with an off-white and the top was finished with Early American Minwax and topped with a water based poly.
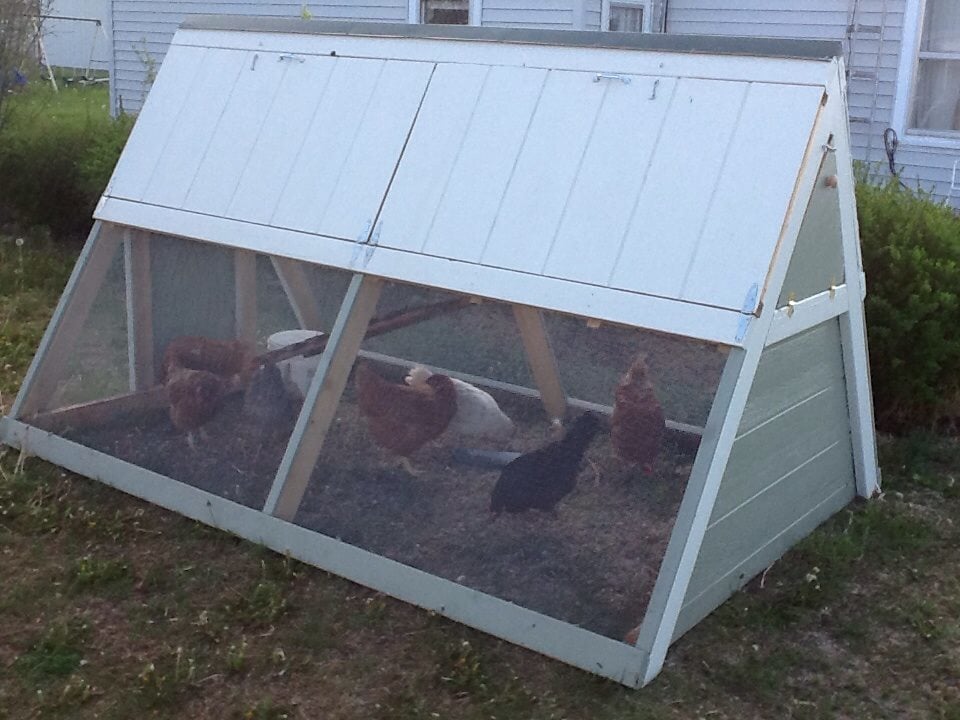
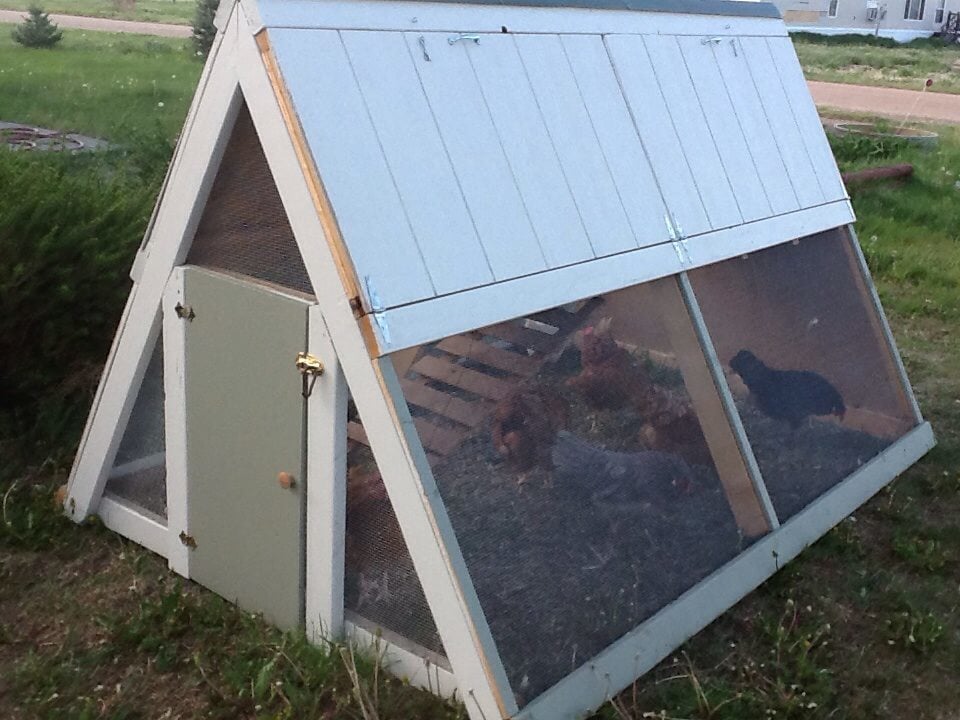
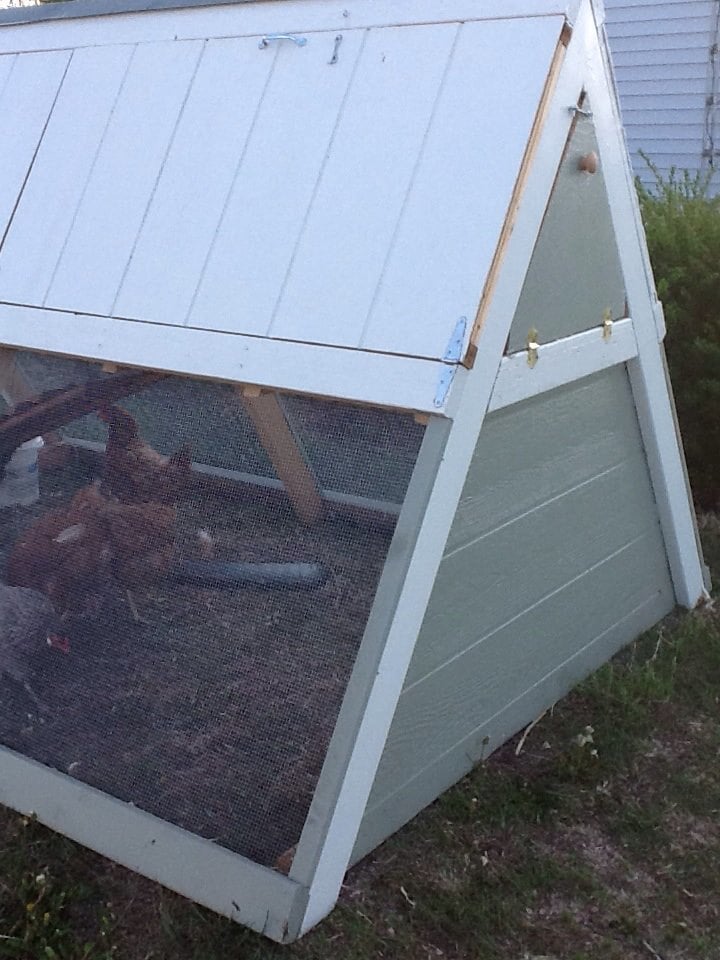
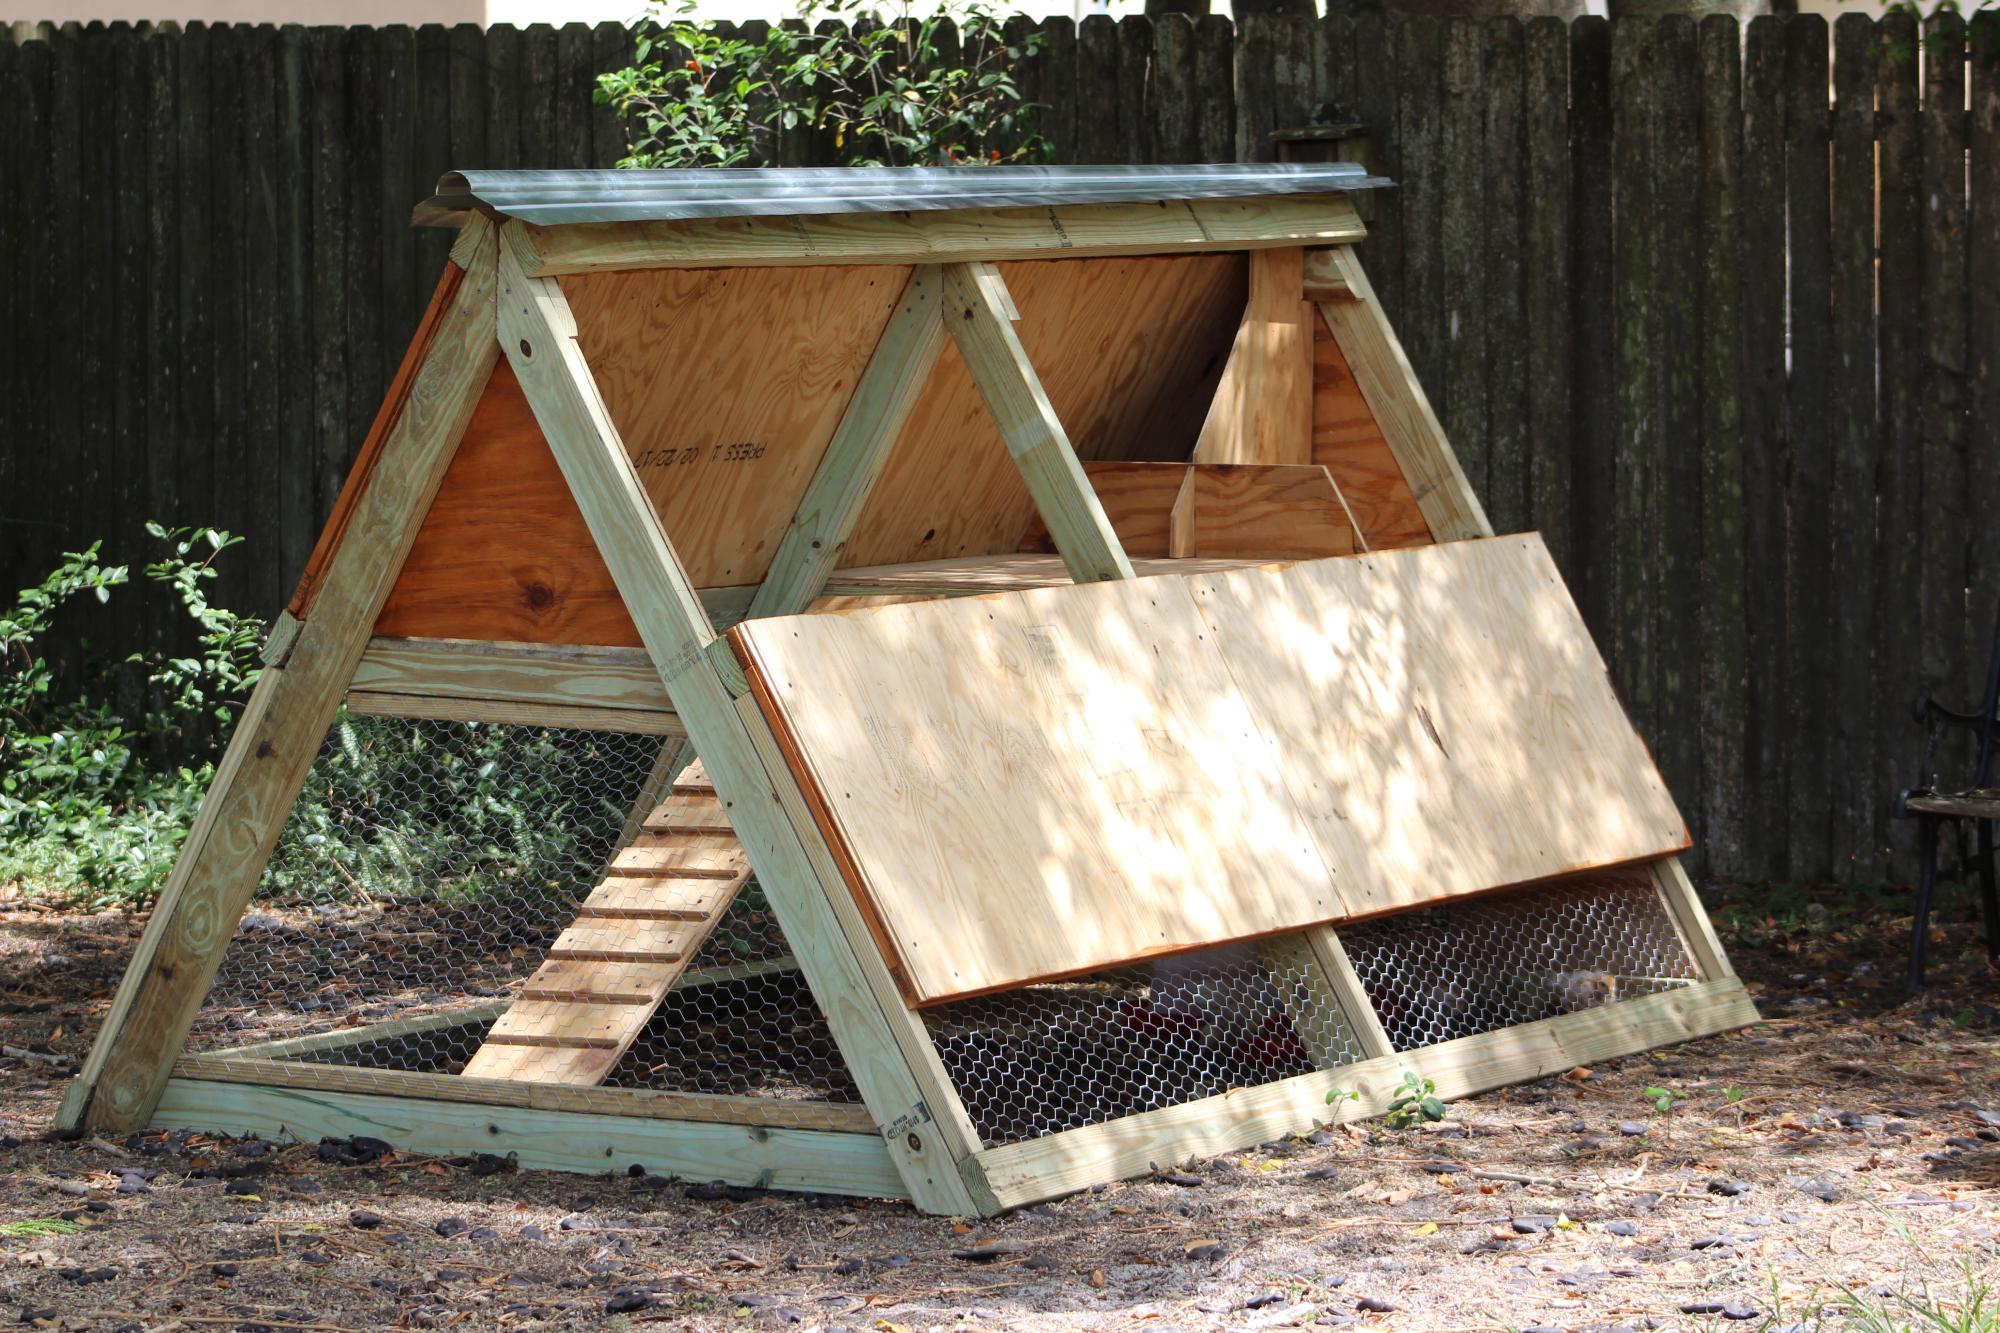
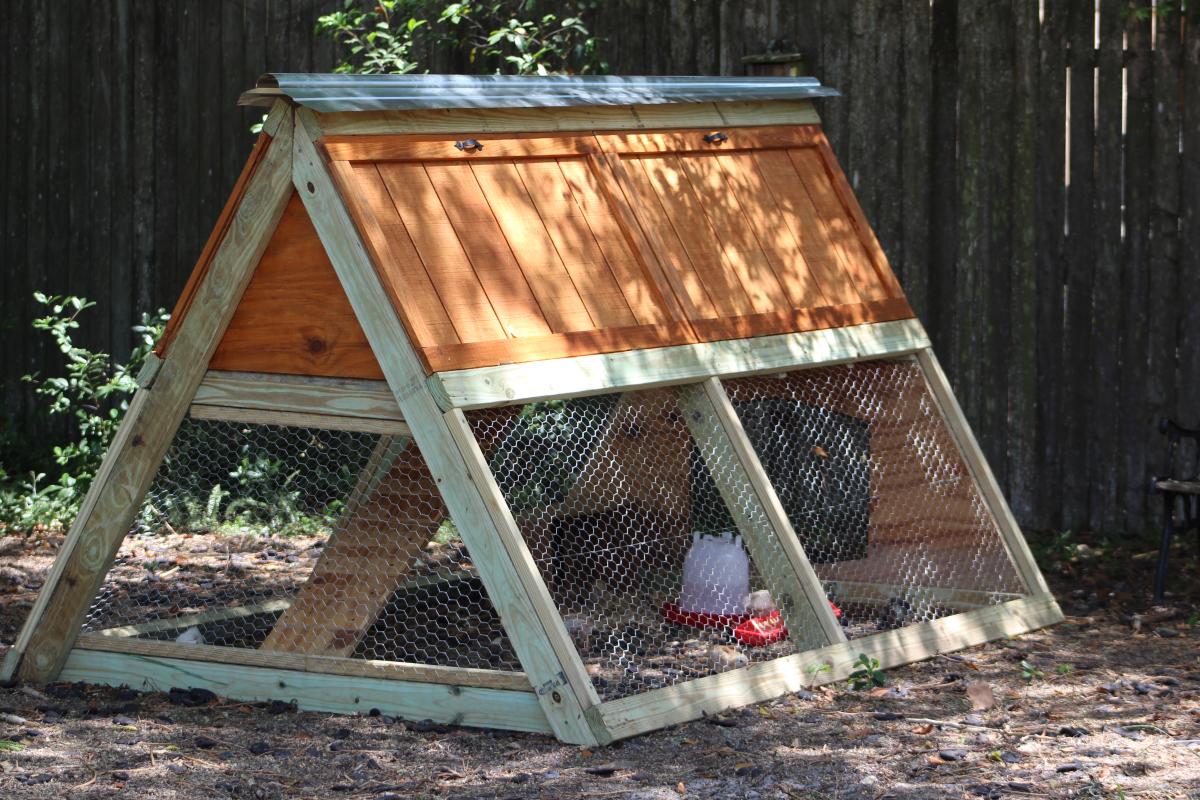
I built this A-Frame Chicken Coop using the Ana White plans. It turned out adorable, strong, and I am very pleased. Final cost was $250, and it took me 4 days (in real time, as a mom of 3). One Saturday at Lowes shopping, one Sunday afternoon cutting, and two days of assembly. Then a 5th for painting. Give or take a dozen extra runs to the hardware store! My brother-in-law helped cut the angles on his miter saw, and my uncle helped with assembly. I kinda doubt this could be done for $100 - maybe if you have a bunch of scrap materials and spare paint. We even have 7 or 8 hens in there! I only intended 3 to live in it, but my uncle added the extras and they all get along happily. I found the roof cap at Home Depot (didn't find at Lowes).
I would also like to point out that I was very afraid to do carpentry - I was afraid to even buy the lumber. But I asked for a lot of help from a lot of Lowe's and Home Depot people, and resisted the naysayers, and just got brave and did it. And it came out beautifully! If you are new to using power tools, get someone to assist, and you would need help anyway with holding things up while another drills.
Wed, 05/22/2013 - 11:59
As an extra note, I used Hardware cloth, not chicken wire. Wire will not keep dogs or predators out (and my dog immediately tried but failed to claw his way in). I bought I believe 36 inch tall rolls - the standard size that I could tell (not 30 inches like in the plans). But it fit perfectly, so I think maybe the plans had a typo? Lay out the lumber according to the plans and it will fit perfectly.
Wed, 05/22/2013 - 21:33
Very nice! Hardware cloth is definitely the way to go.
I essentially stuck to the main plan - except to support the wings I used 2X2 boards and standard hinges.
I was worried that there may not be enough space for my Ryobi 10" sliding miter saw because of the slide however, it fits nicely and there is plenty of space.
Thank you for the wonderful plan. This was my first project of this size and I am very happy with the results!
Fri, 05/01/2015 - 08:10
This is great. I am currently getting my Dad's help to turn an old kitchen cabinet into a miter saw cabinet with wings like this. (it was a 1940's solid wood kitchen cabinet we took out of the house when we remodeled). I really like your 2x2 support struts. Have you considered putting a shelf in the middle of your box? It would add extra support and also more room to store stuff.
Sat, 05/02/2015 - 09:09
Good idea. I did consider adding a shelf however I have now decided to use the lower area to store my small router table. I discovered that it would fit in the spot however it leaves not enough room for a shelf.
Mon, 05/18/2020 - 14:12
I know it’s been a while but do you remember the angle you used on the 2x2 supports? I struggle when it comes to cutting angles.
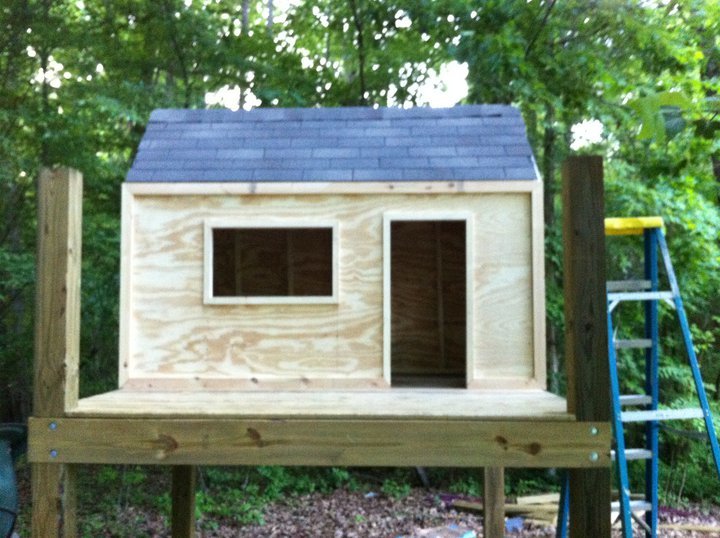
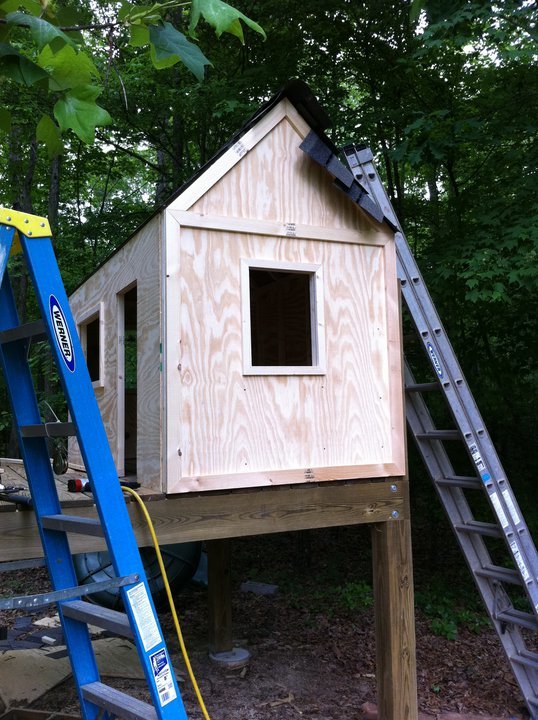
Due to rain (and horrible ability) this project has been taking a LONG time it seems. =) We had one of those "cheap" playsets from one of the warehouse clubs that would scare me to death anytime my girls got to swinging on it. So... we knocked it down and I took some liberty with the details from Ana's playset plans.
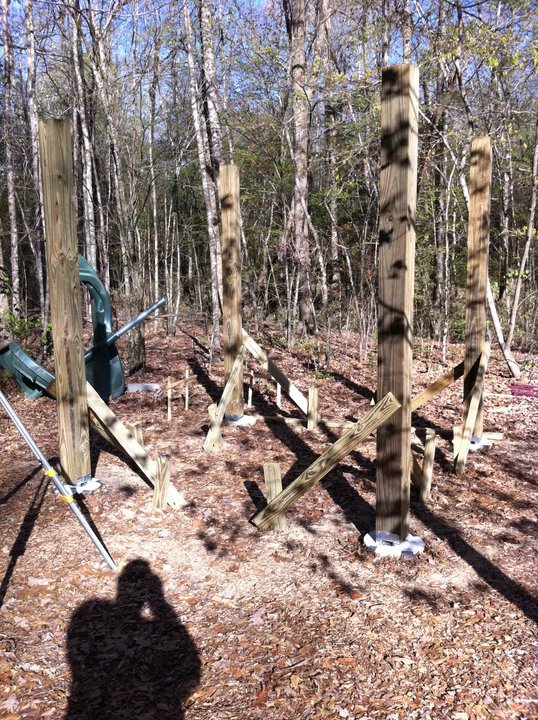
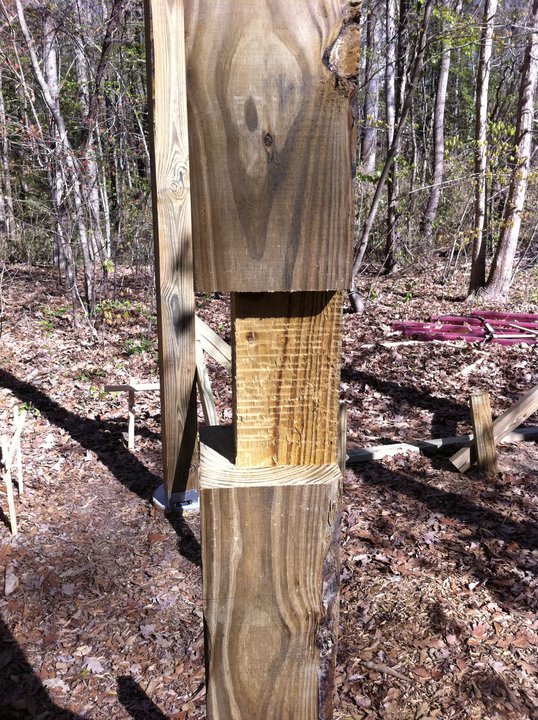
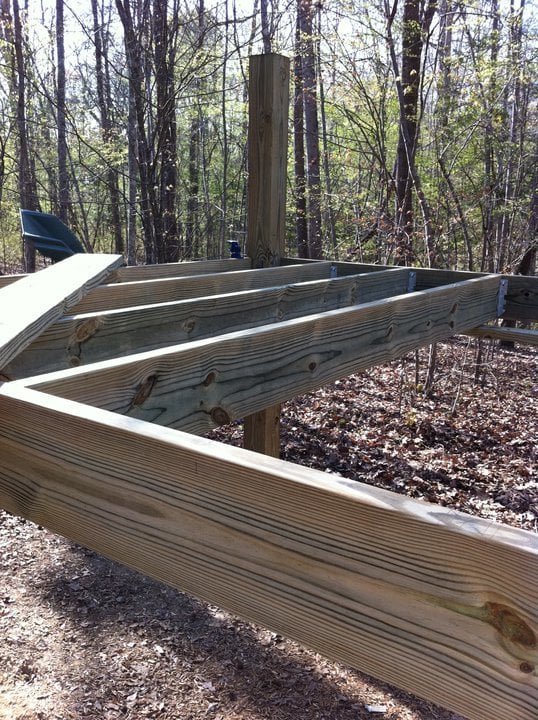
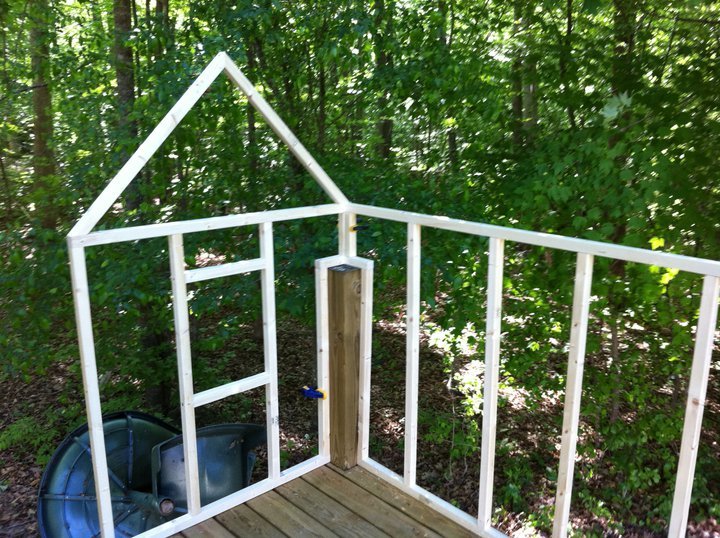
Thank you! My favorite & first is from your mud kitchen! I put in running water!😂 For the GrandLuvs!”
@penny.vanderlugt
My mom was looking for a new outdoor table, and asked me to come up with something. I found the link for these plans (http://www.thedesignconfidential.com/2011/04/free-diy-furniture-plans-t…) to knock off Restoration Hardware's $4000 Provence Beam outdoor table. Overall I liked the plan, with the chunkier look of the 4x4's. But there were a lot of errors in the diagrams, and the finished height is 34" which is ridiculously tall for a table. So we took it apart and cut the legs back down to change the finished height to 30". We chose rough-cut cedar for it's look and outdoor properties, not wanting to use treated lumber for a dining table. We couldn't find 2x10's like the plan, so we substituted seven 2x6's just like Ana's plan, but left a 1/2" gap in between so water can drain and not pool on top and rot the wood. Also, since we were working with 4x4's for the legs, we chose heavy duty lag bolts instead of screws to join them together. I love the finished look they give. Overall it's a sturdy, yet lightweight table that my mom loves and has already used for entertaining!


Wed, 04/25/2012 - 10:02
Thanks Brook! It was so much fun to build. I put my dad and husband to work while I was the "project manager" ;)
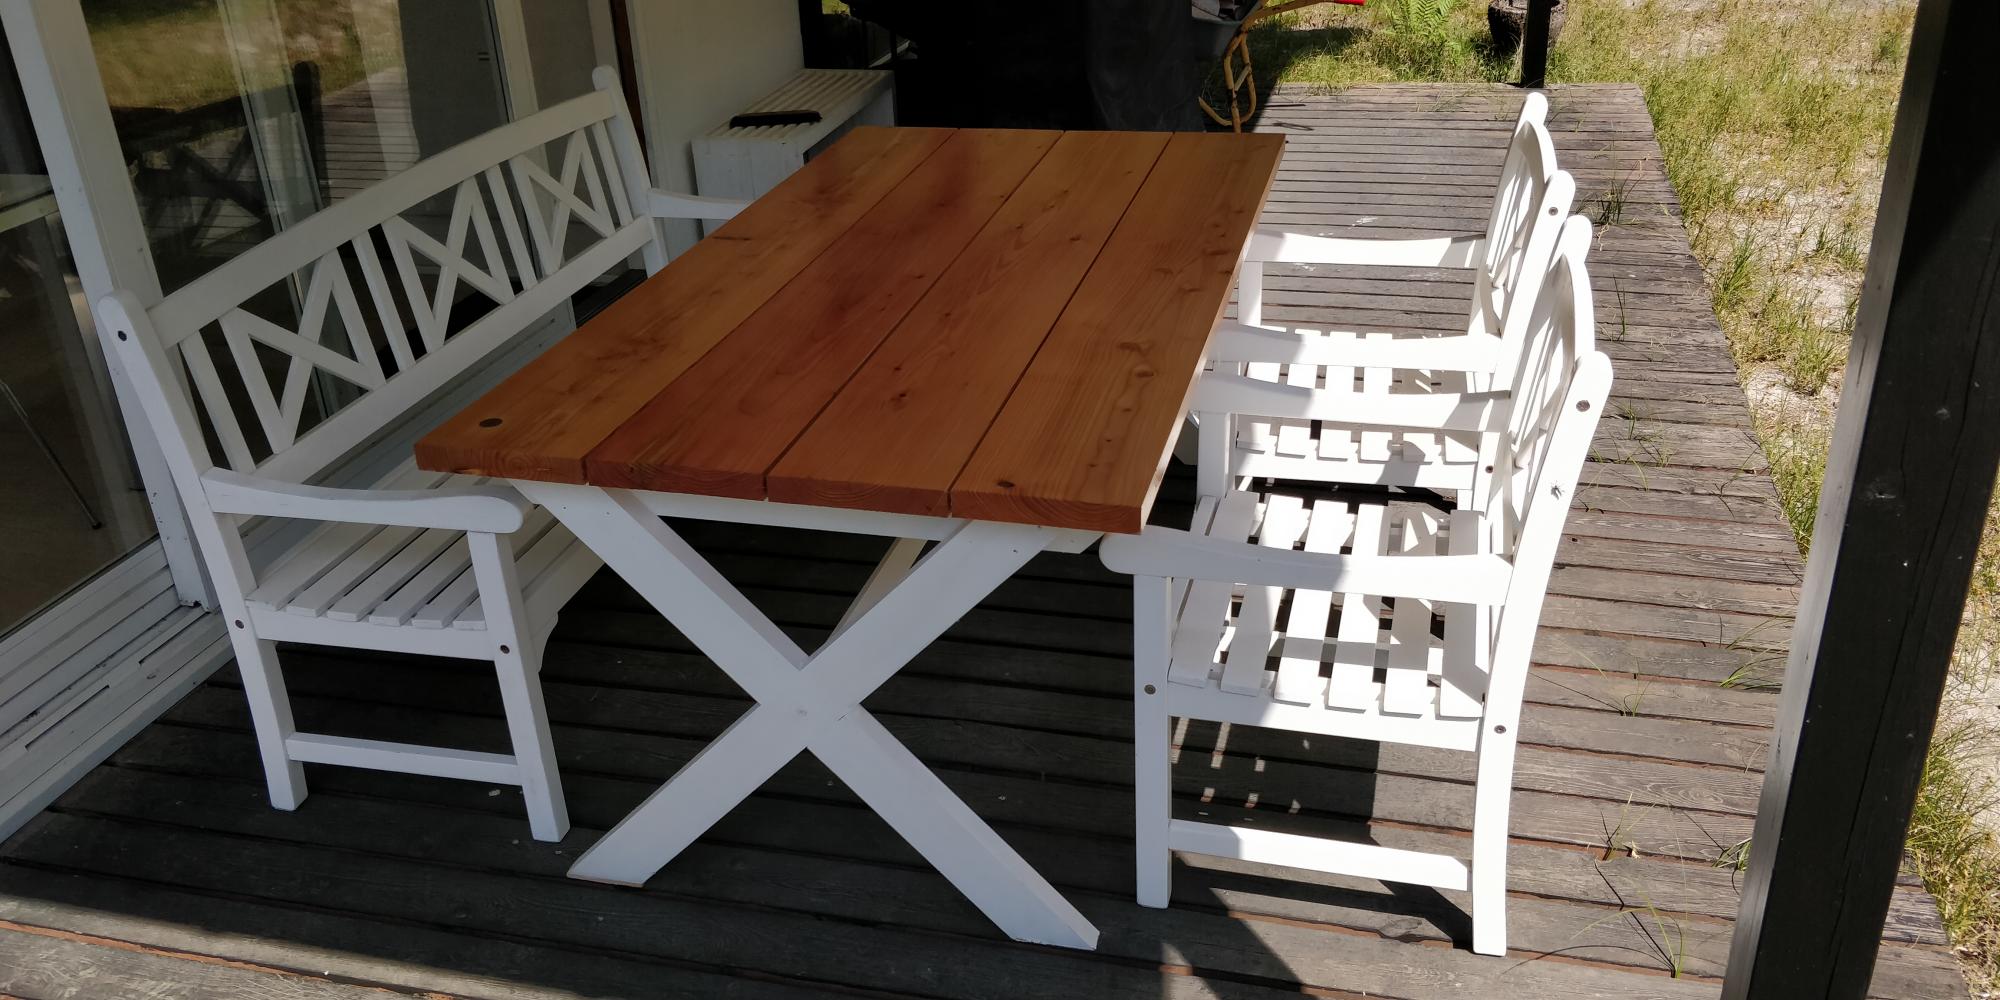
More build-instruction on my homepage : http://bornholmsminisavvaerk.dk/picnic-table/
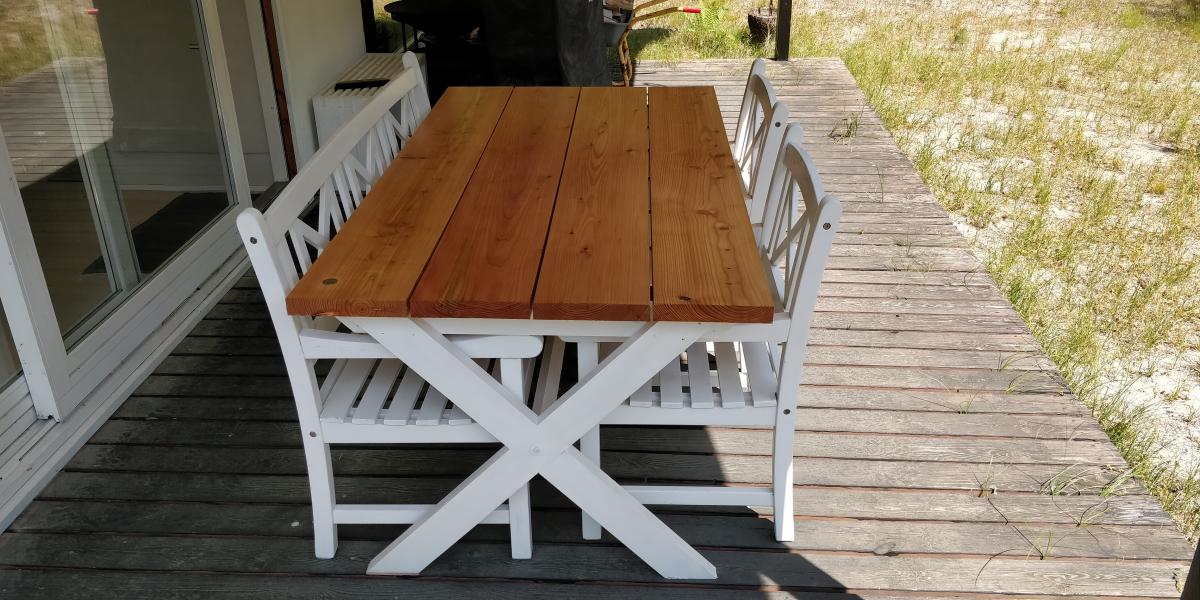
Thanks for the free plans. I did have to make modifications for the doors. i hid the hinges to give it a clean look. i used cedar for the trim and Plywood Siding Panel T1-11 4 IN OC (Common: 19/32 in. x 4 ft. x 8 ft.; Actual: 0.563 in. x 48 in. x 96 in.) for the doors. i used a metal flashing for the roof so it will vent.
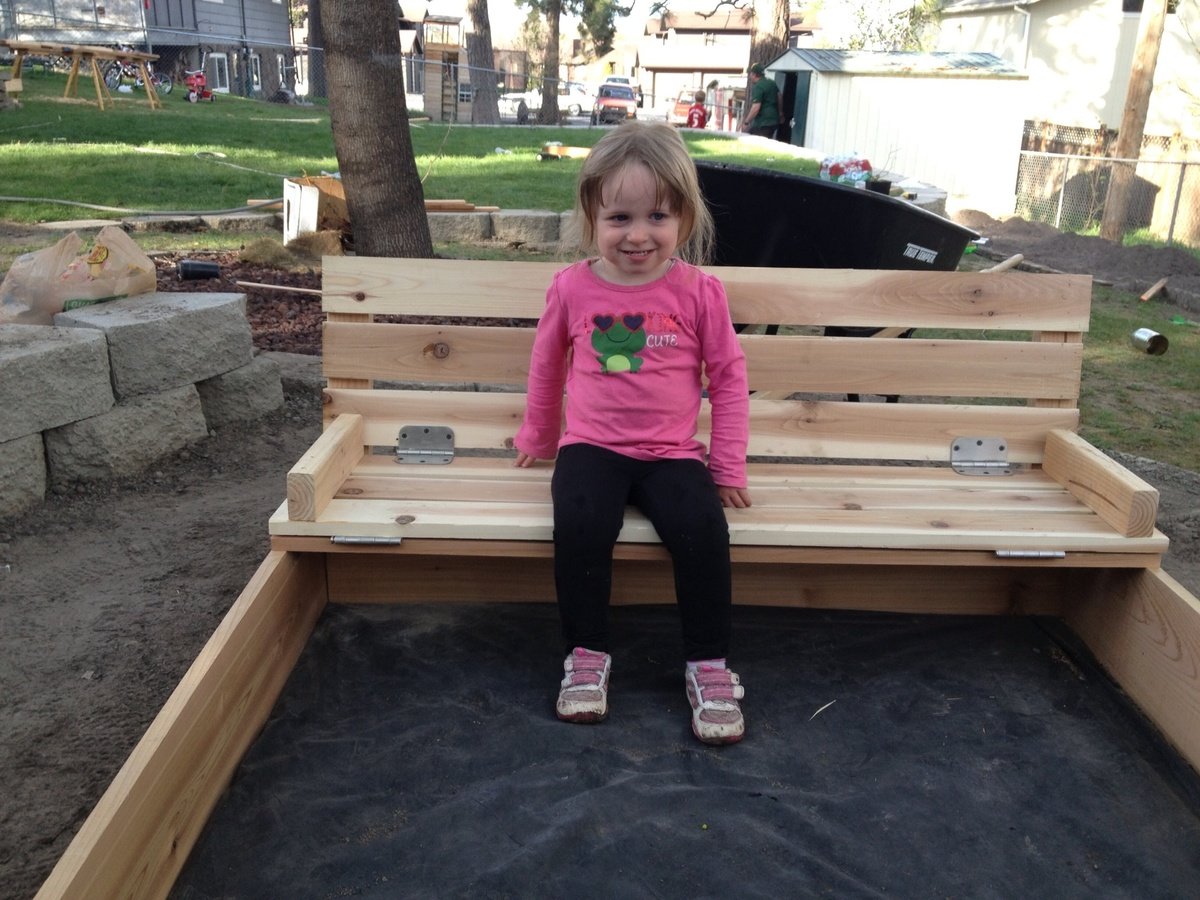
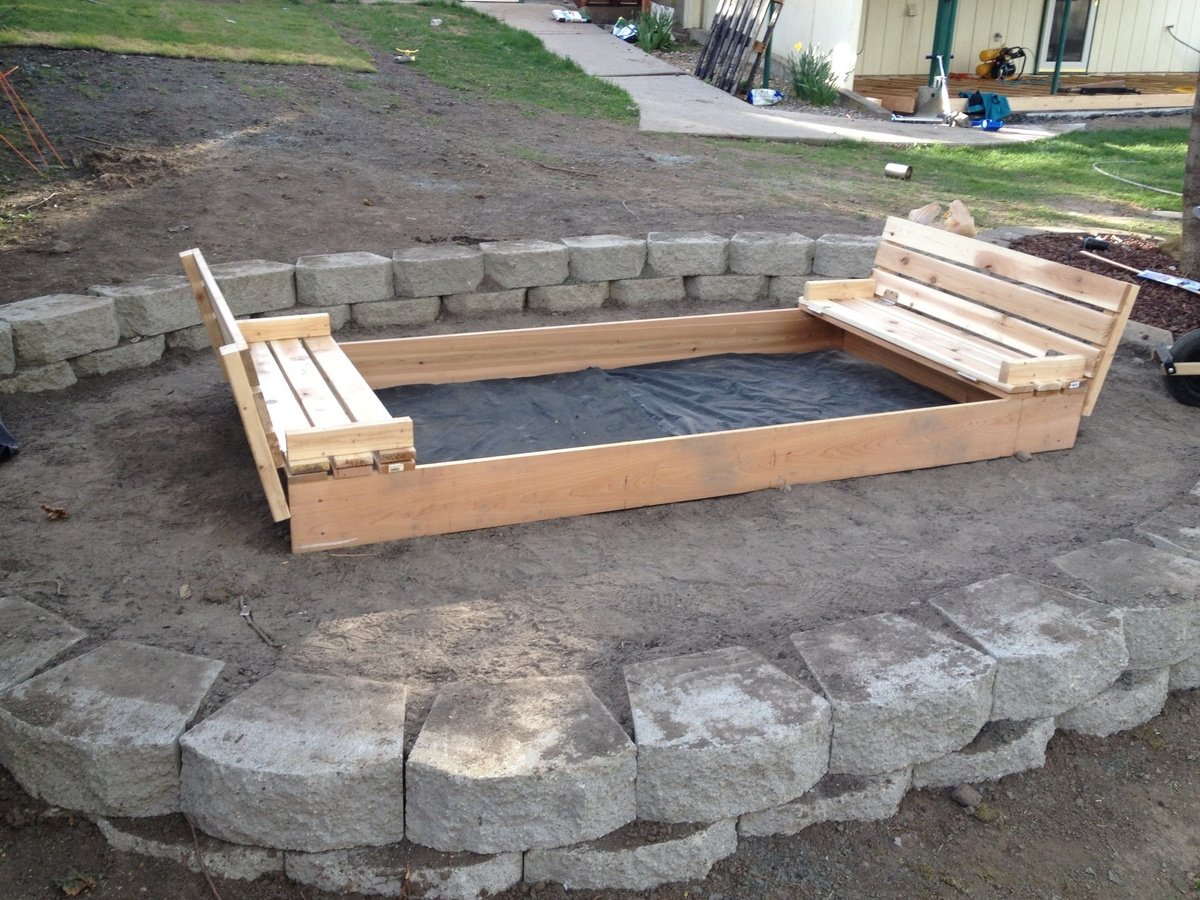
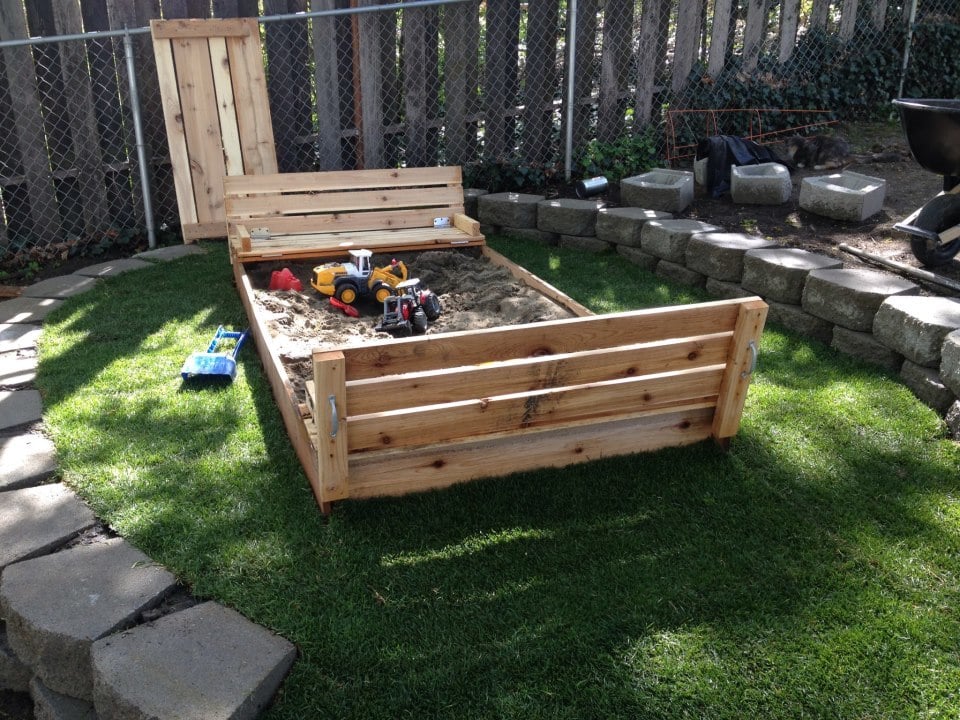
This was my first EVER wood working project.
With that being said, it took me more than just an afternoon.
I used cedar, and all the materials on the cut list had to be sanded , since I didn't like the roughness of the cedar.
I also made the box 4x8. I didn't take into account that that would require a minimum of 48 inches for the top planks. So, some of my top planks are shorter.
I also wished I had a little more instruction from which side to screw the screws in. May sound a little needy for some of you, but I never did anything with wood before. The instructions simply read attach top planks to arm rests (or something int that manner) and I wish it would have told me from which side to screw in (or give me a picture). Looking at some of the brag posts helped a lot.
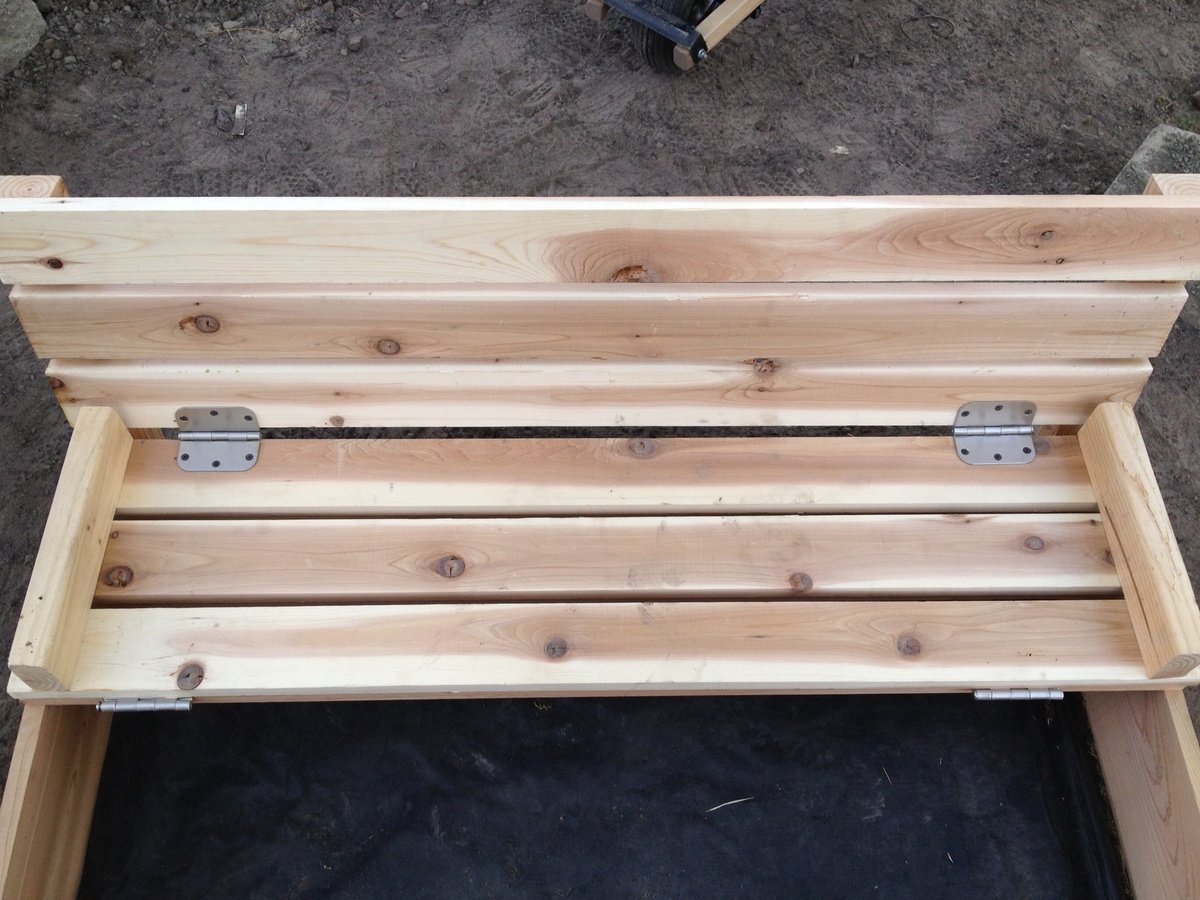
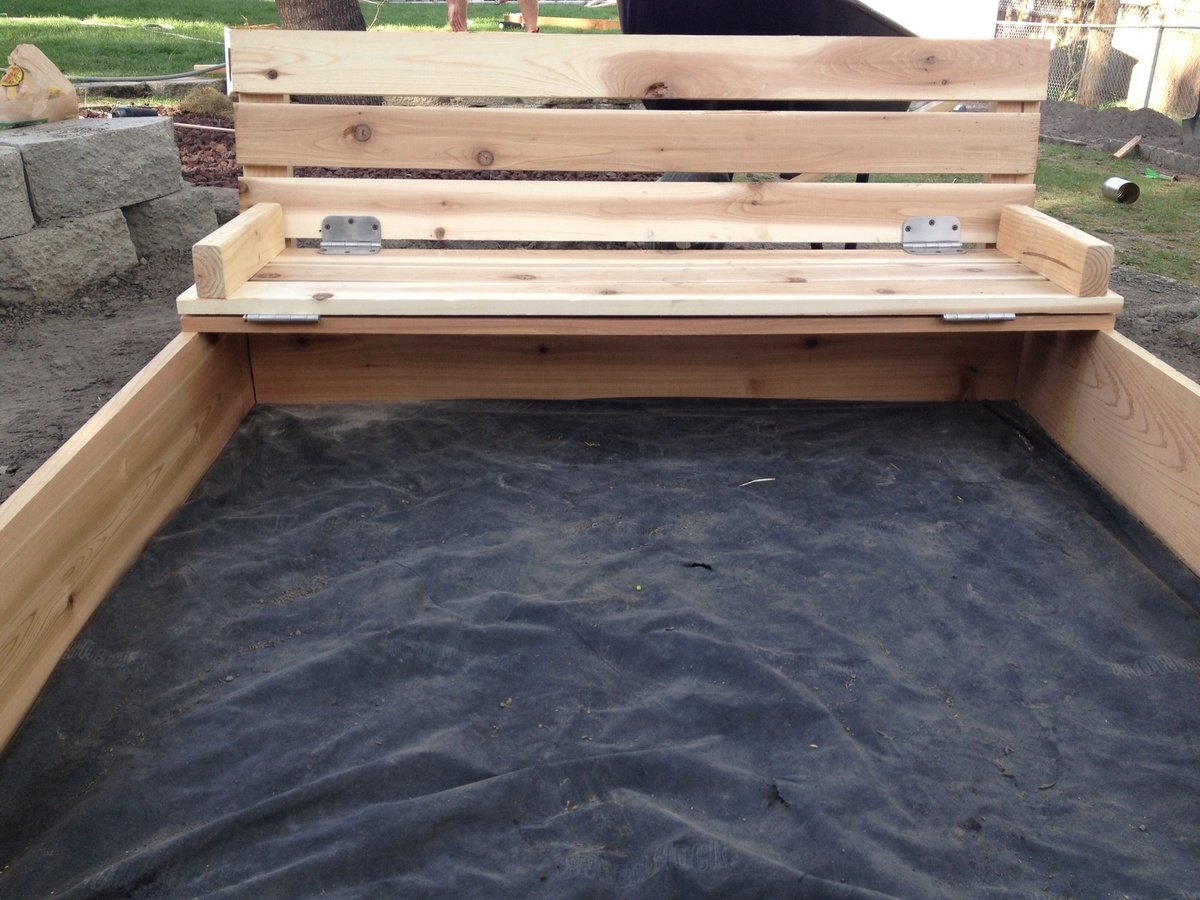
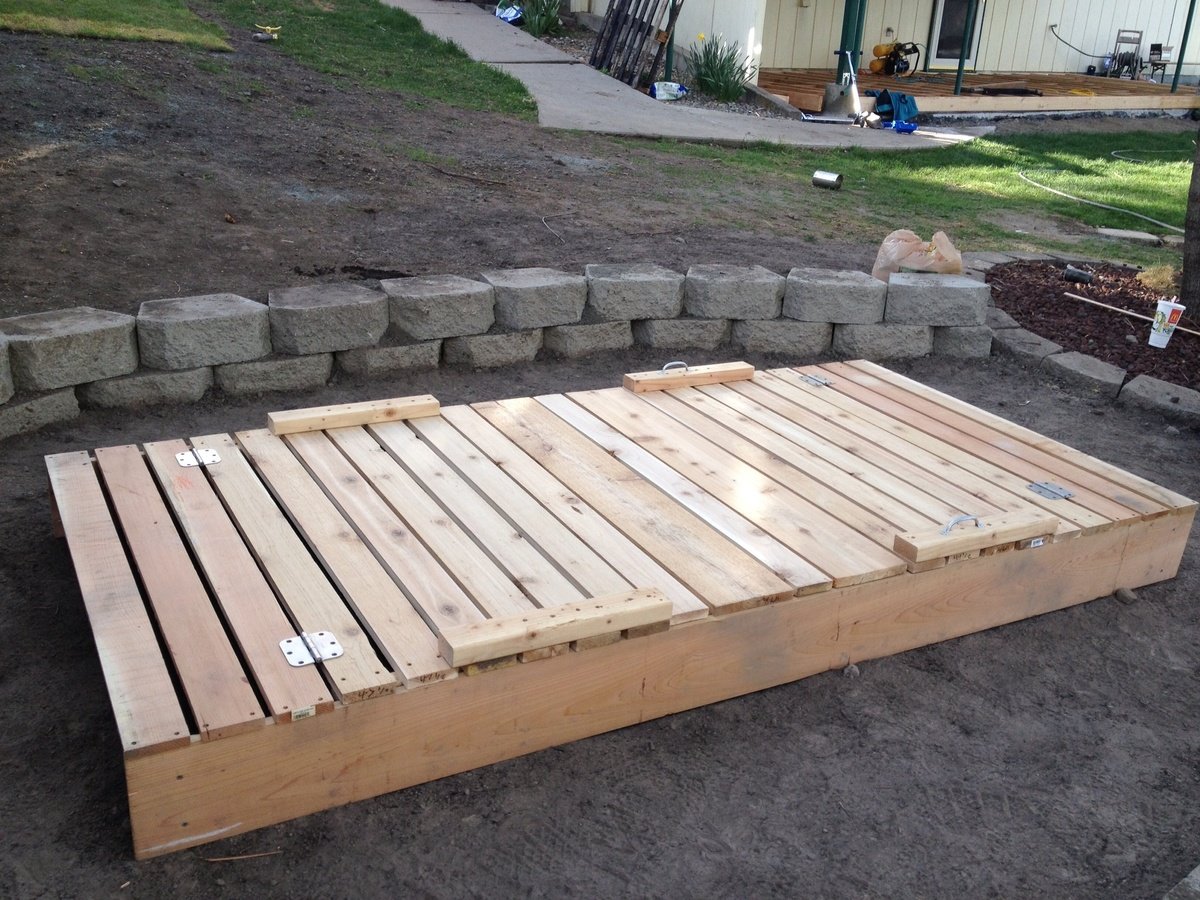
Because its larger size, I decided to make the seats 3 top planks wide (and also the back rest) and made another middle cover piece to bridge the additional gap when both seats are folded down.
Also, the cedar was VERY expensive, and all the screws, hinges, and handles almost cost me as much as the wood.
The sand to fill the box ran us another $80 (for good plays and), but that was because we made it so big.
All in all, a rather pricey sandbox, but worth it because of the large custom sizes, and the cute little seats.
Pictures show the sandbox without sand, and with some of the handles still missing. I also still need to fill the holes.
Will add a picture of finished box filled with sand when it is available.
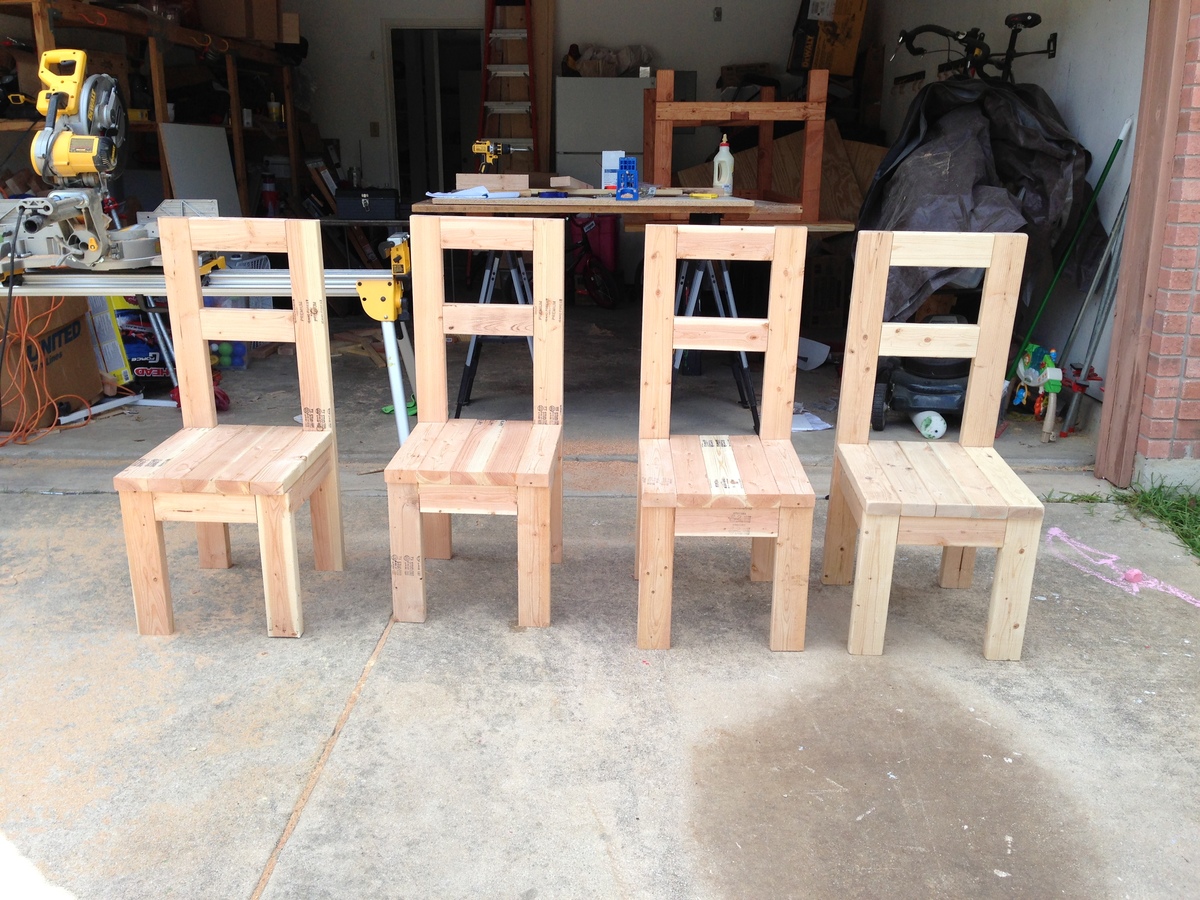
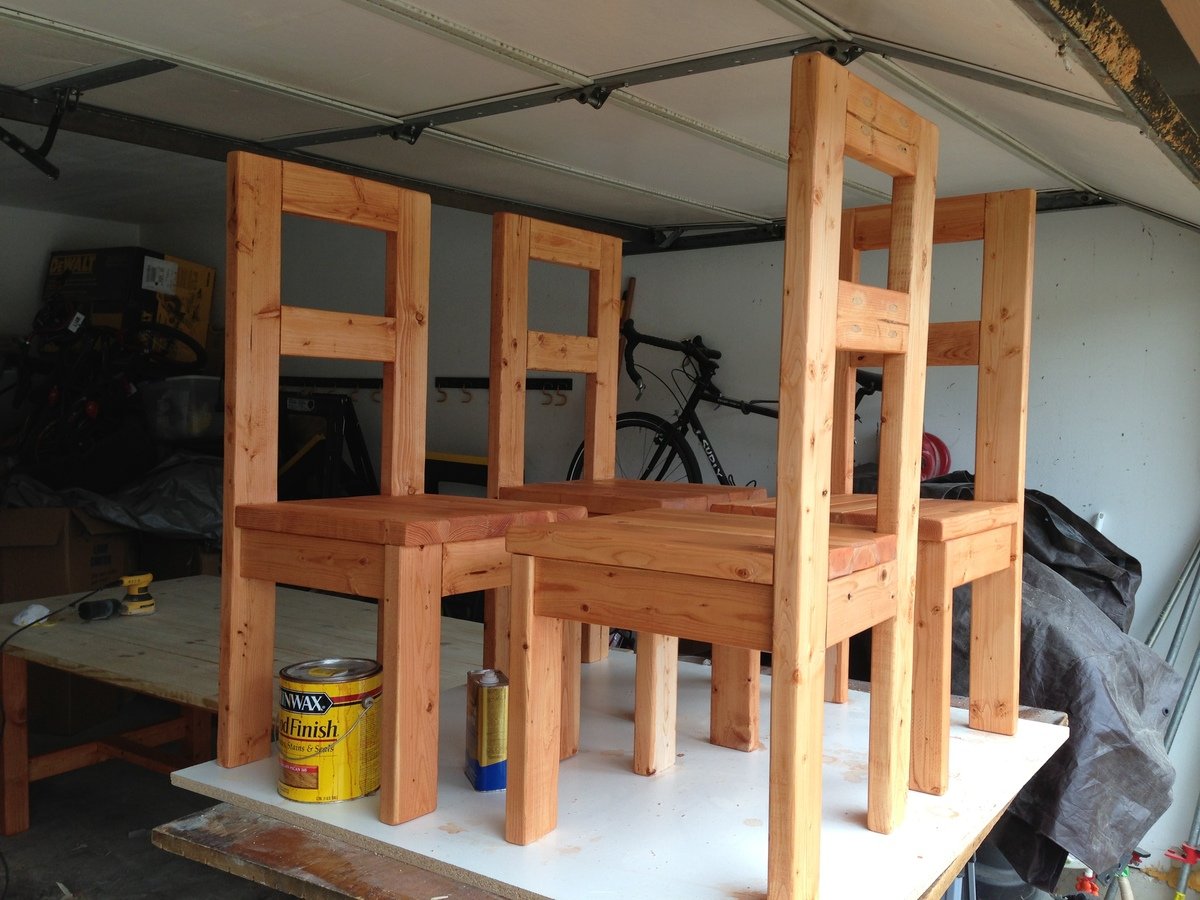
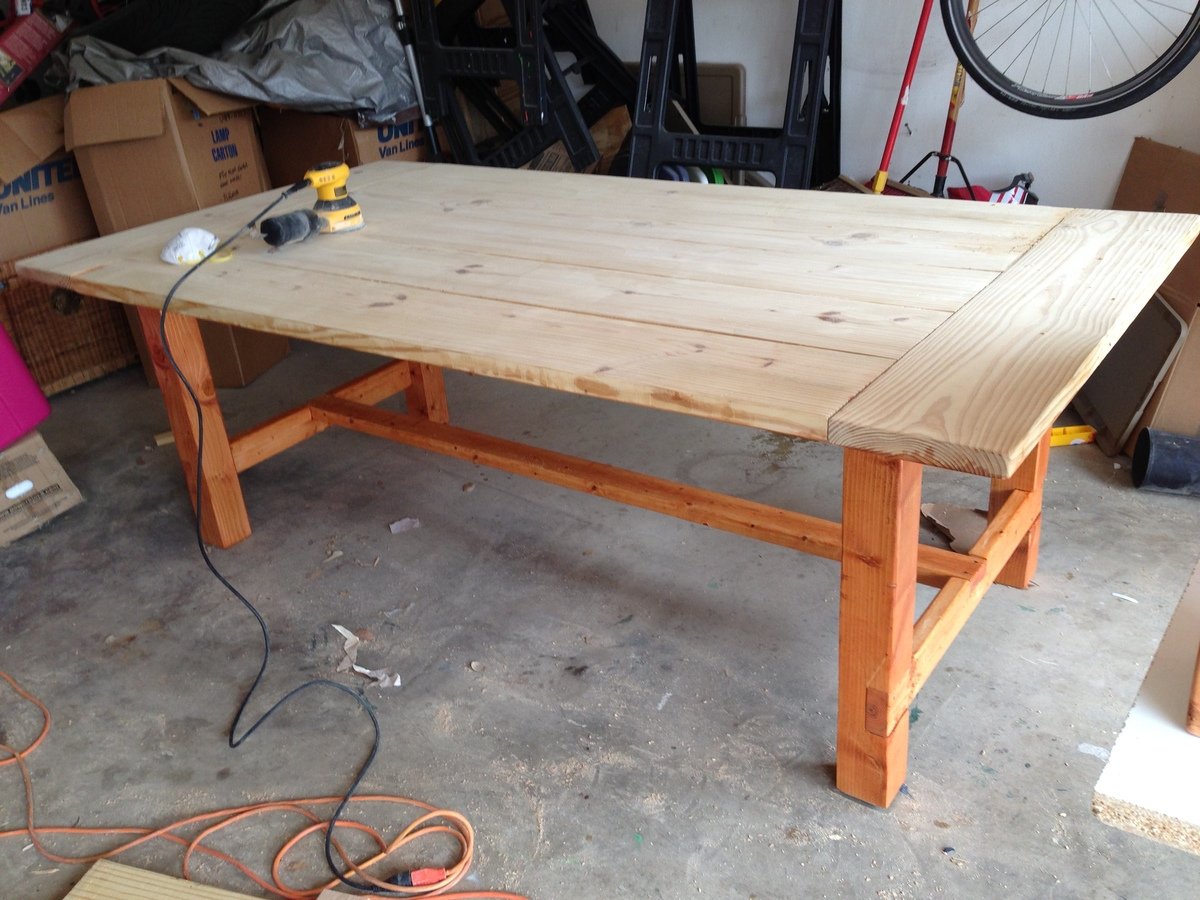
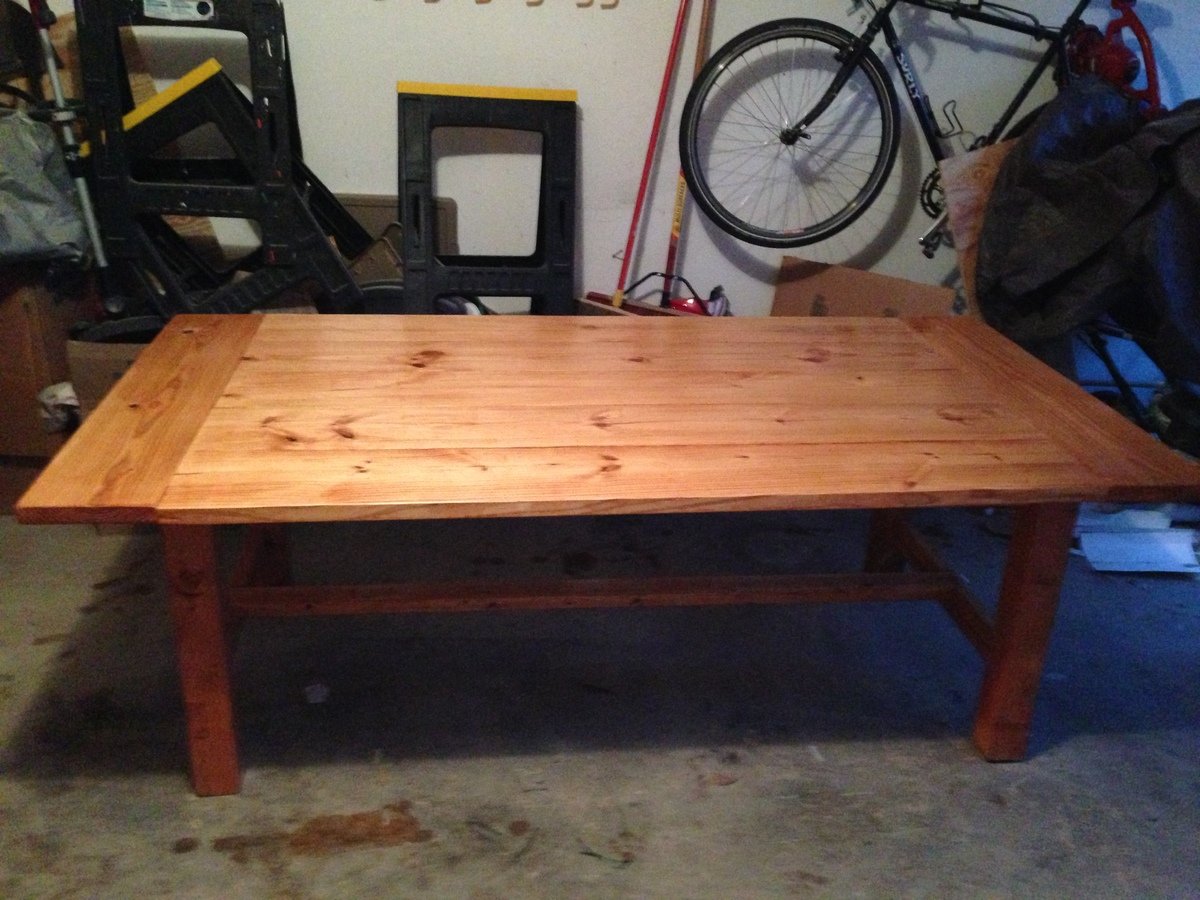
Modern Farmhouse Dining Room Table (with pocket hole) and 2x4 chairs with plans reposted from morelikehome.net.
Surfed the site for the right plans and dove right in. Thank you for the inspiration all!
Mon, 09/10/2018 - 11:05
I have clicked on the link the plans are not there.
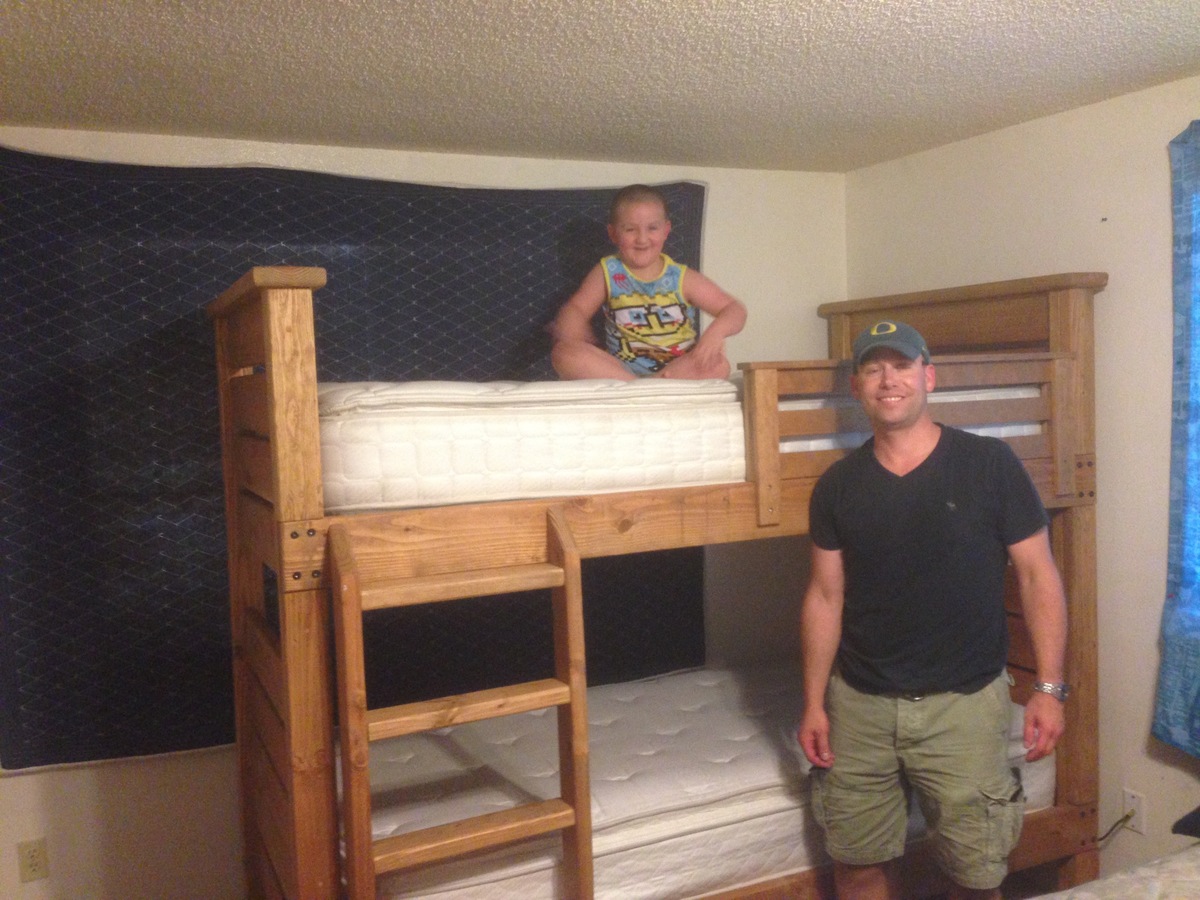
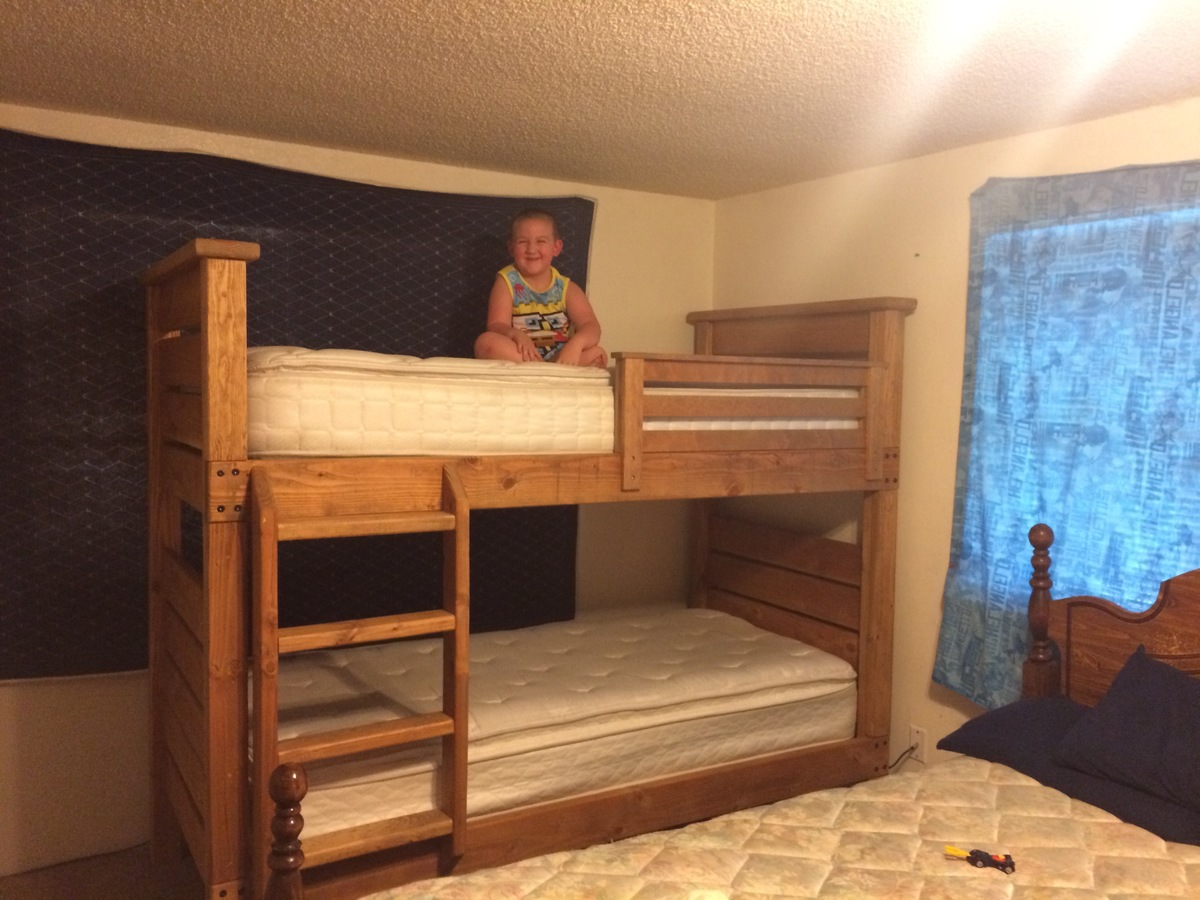
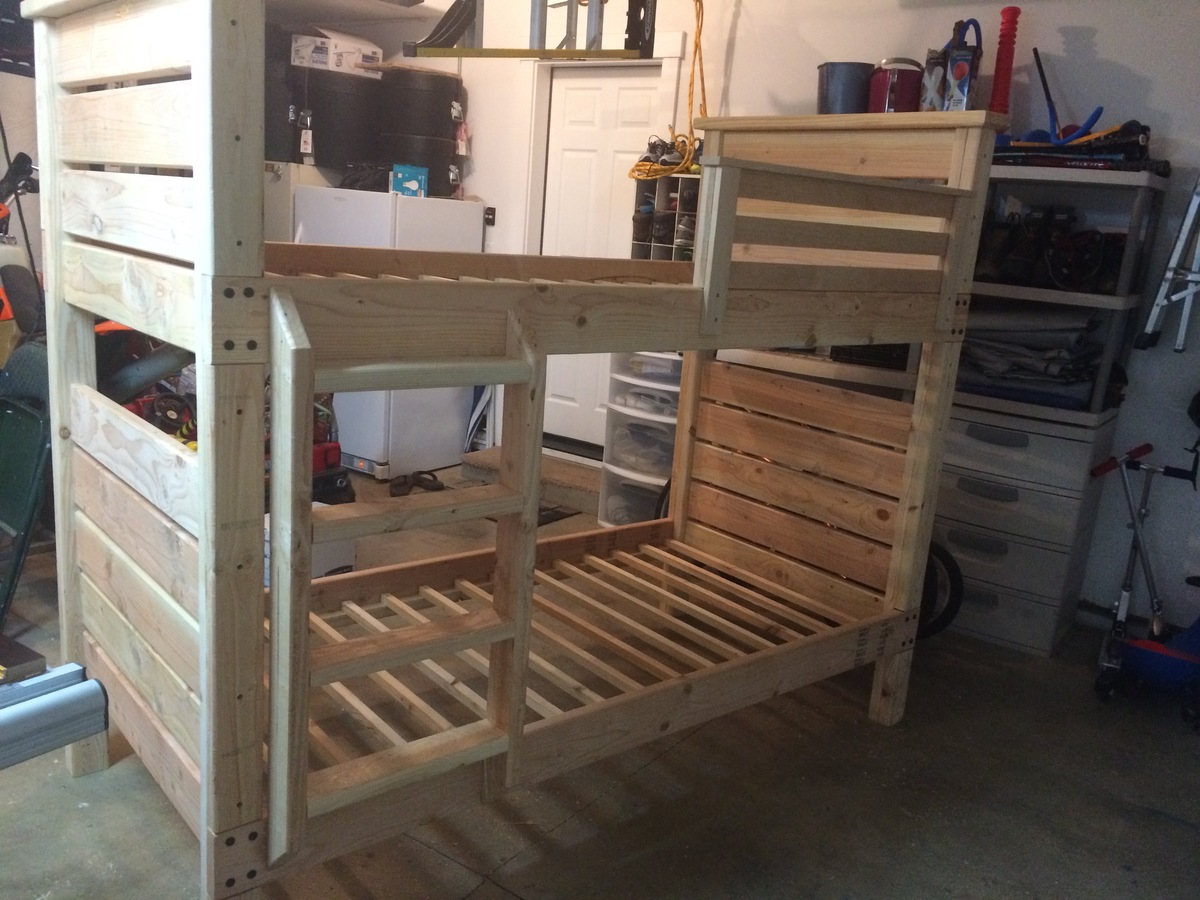
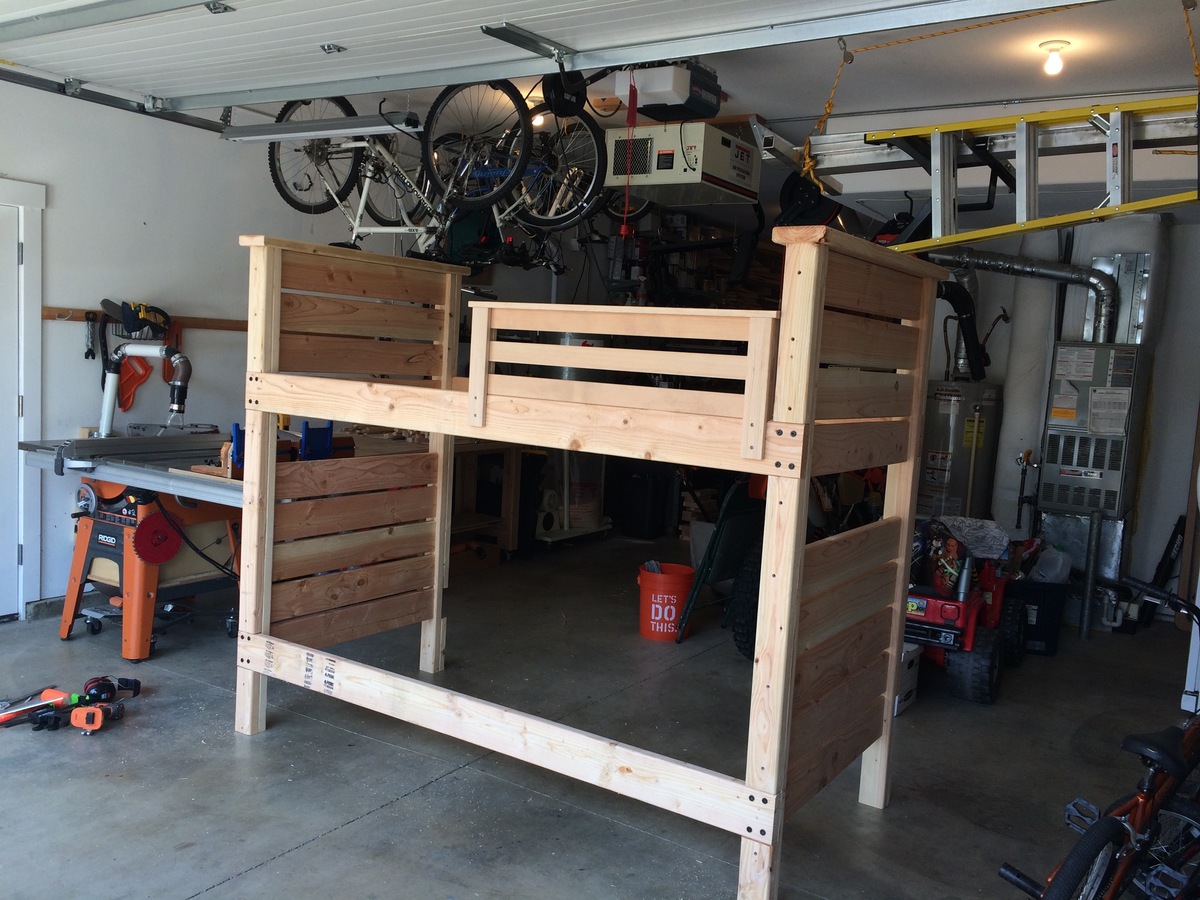
I worked with a local charity group in my area as well as Home Depot, who donated the wood to make a set of bunk beds for a family in need who all shared a room. It was great to help them out and the kiddos were super stoaked to have bunk beds and something special they could call their own!
